Luggage Compartment Zipper
Replacing the zipper isn't too hard, but it is time consuming.
The first task was to find a new zipper. My wife canvassed the local shops and found one that had zippers by the yard. The only problem was that the metal ones only came in white. So another stop was needed to pick up some black fabric dye.
Removal of the cover was pretty easy. The rubber seal just pulled off like a door seal would. The cover was glued to the metal flange and had four pop rivets near the latch points. Drilling those out and carefully pulling the cover from the flange removed it without any problems.
After getting the new zipper and removing the old one, it was apparent that the new one had teeth that were a little too small. My wife found an old sleeping bag we had (dating from the late '70s like the car) that had a black zipper. So she removed the zipper and found that the new zipper pull would fit correctly on it. The pull on the sleeping bag had two pull tabs that were quite large. Upon careful inspection of the old zipper, it was possible that the only problem was that the zipper had come apart at some point the the pull put back on the wrong end. In any case, there were a couple of sticky spots and it would take no more time to put in a new one than the old one.
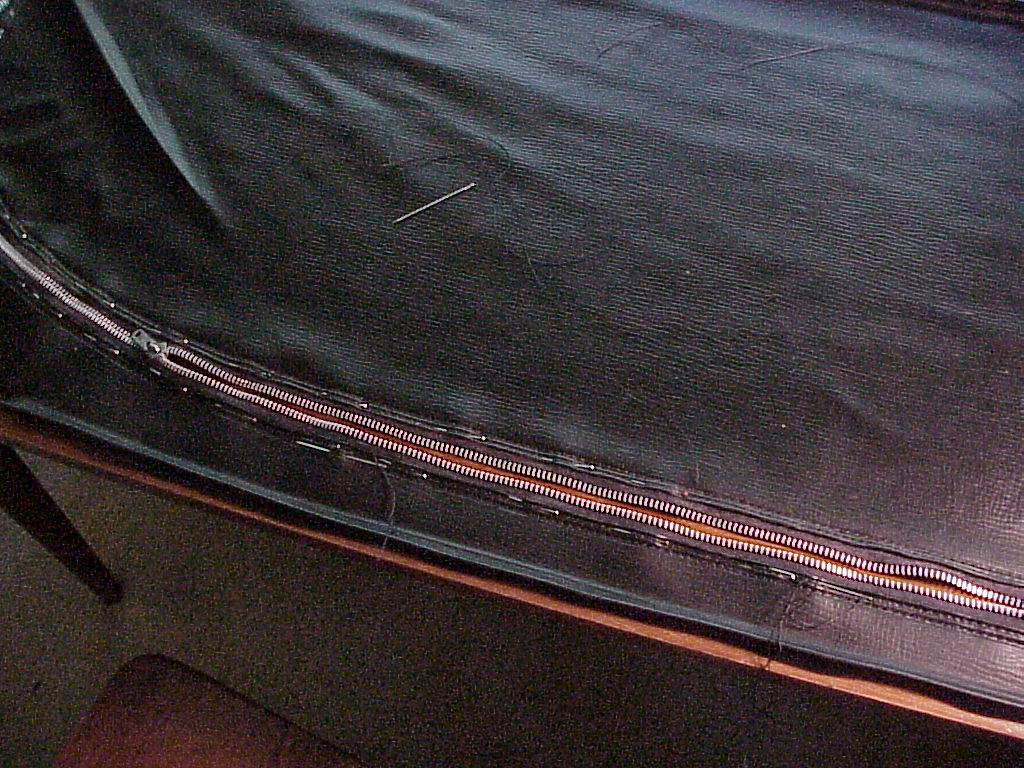
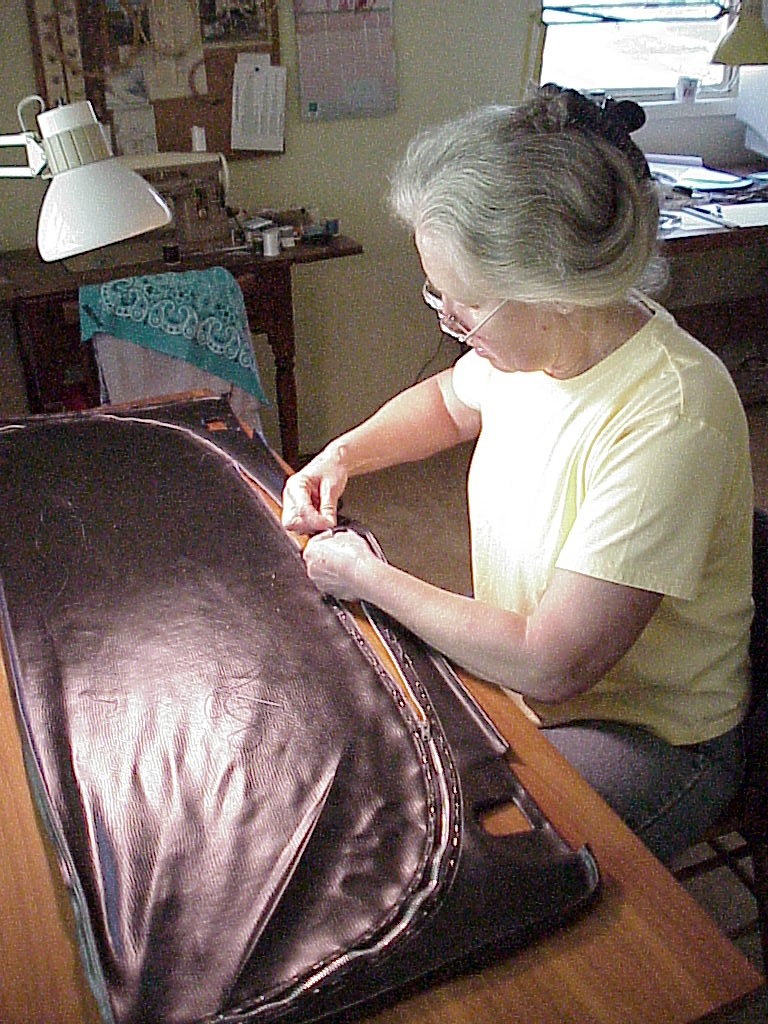
The sewing of the new zipper was done by hand using the same holes in the vinyl. At one end of the zipper, the stitching had pulled through the vinyl, so some black Dacron cloth was used as a reinforcement.
 |
 |
Installation of the cover was just about the reverse of removal. First I pop riveted it in place and then used contact cement to glue the edges over the metal flange. Then the rubber seal was pushed onto the flange trapping the cover on both sides. Here's the final result.

I also re-glued a loose piece of carpet in the luggage compartment. It was easy since I already had the contact cement out to re-glue the cover.