Monterey 2004 Trip Home
Almost the whole drive home was as uneventful as the drive down. I left Wednesday morning around 5 AM, trying to beat the San Francisco traffic and the heat that was predicted later in the day. A bunch of accidents in the south bay area, but I got around them and then across the San Rafael bridge onto US 101 for the trip north. The weather was forecast for over 100° inland again, so it was back to the coast.
I ended up in Gold Beach, Oregon for the night, about a 9 hour drive. The car needed nothing except for fuel.
Thursday morning was a 6 AM start. The weather in the Willamette valley was to be in the mid 80s, so I went across the coast range at Reedsport back to I-5 south of Eugene. Everything was going fine and I stopped for fuel and lunch south of Salem.
Then about 30 miles after lunch, the 330 started back-firing a lot. I slowed down, pulled off and tried to figure out what the problem was. Nothing was obvious. So I started out again. A mile later, I smelled something hot and immediately pulled over. The right exhaust was smoking badly. Not from the engine, but the paint was burning off. Here you can see the exhaust with the burned paint on the left and the other one on the right.
 |
 |
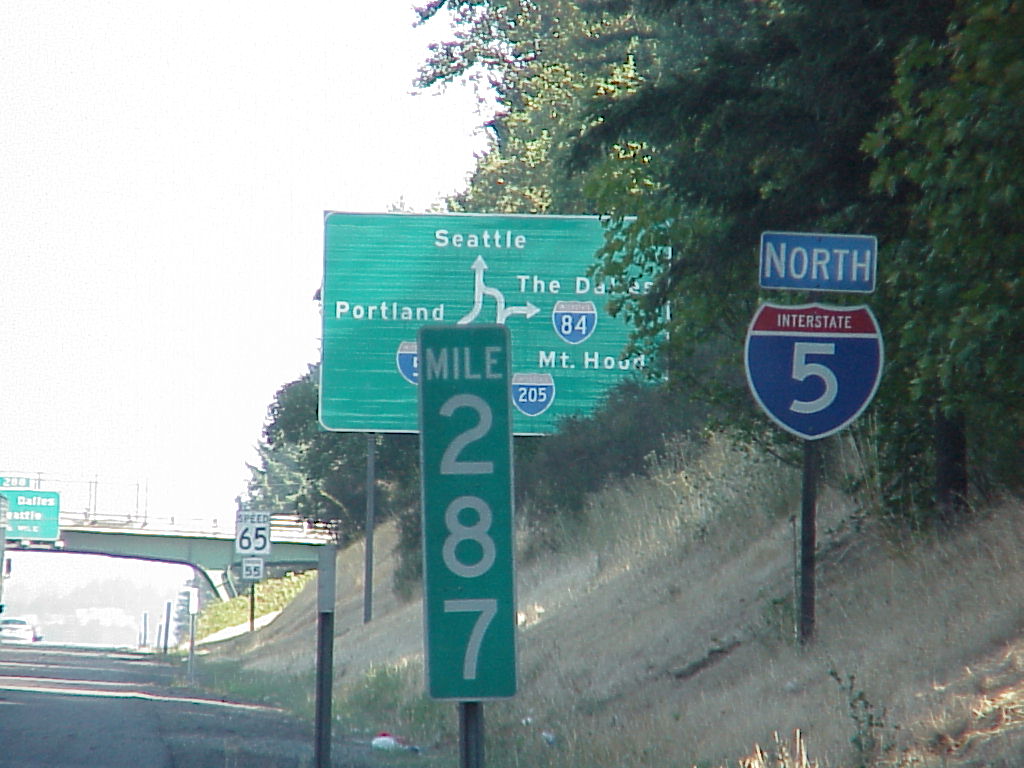
The right bank had lost spark so the gas was just going through the cylinders and burning in the exhaust. So my uneventful trip came to an abrupt halt at milepost 287 just south of Portland. I did some more checking, but the wind from the trucks kept dropping the hood on my head.
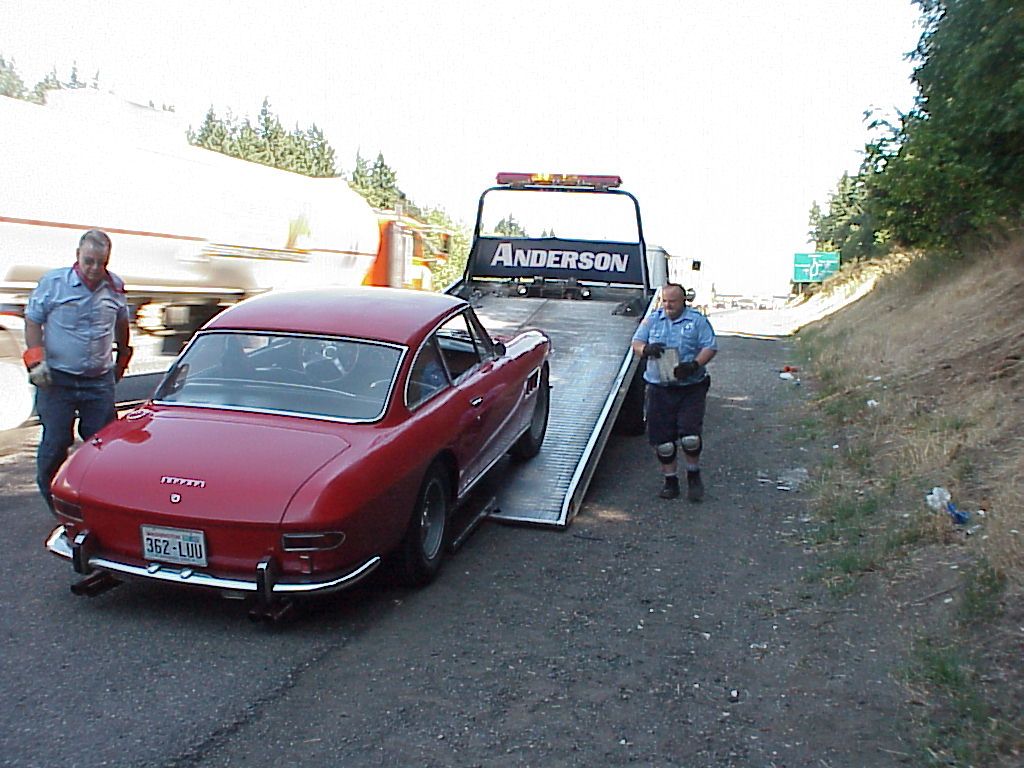
A call to AAA got the car loaded onto a flat bed.
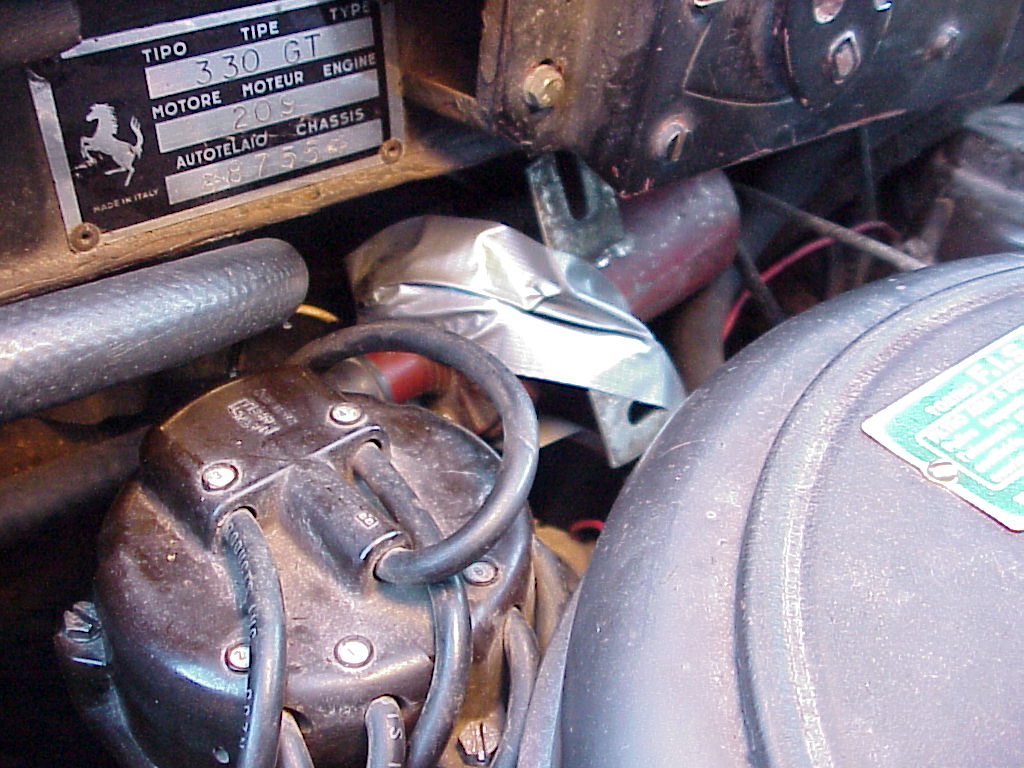
I had the car towed to a friend's house in Vancouver, WA, just across the Columbia River from Portland. Once there, I was able to have the hood stay up so I could diagnose the problem. First, there wasn't any spark. So I checked the point gaps and they were too narrow. I hadn't packed a feeler gauge, so a trip to the auto supply store was in order. Once re-gapped, the car still wasn't firing on that bank. I didn't have a test light or meter, but a length of wire stuck onto the engine compartment light gave me a test light. With that, I discovered that the primary of the coil was open (no voltage/light on the distributor side ). I called Ron Tonkin Ferrari in Portland, but they didn't have a coil in stock. Then I called my wife and talked her through the boxes of old parts in the shop until she found the two old coils that I had (never, never throw away a Ferrari part). She boxed them up and dropped them at FedEx for the early AM delivery service the next day. BTW, for those market timers, I'll announce the next trip in advance so you can buy stock in the overnight delivery companies. The coils arrived at 7:30 AM and I had one installed and working by 8:30. Well, 'installed' is stretching the truth as these are difficult to change without removing the distributor. So I just wired it up and duct taped it to the heater valve and hoses.
Three hours later I was home (after a stop for the A/C hoses that didn't arrive before I left).
 |
 |
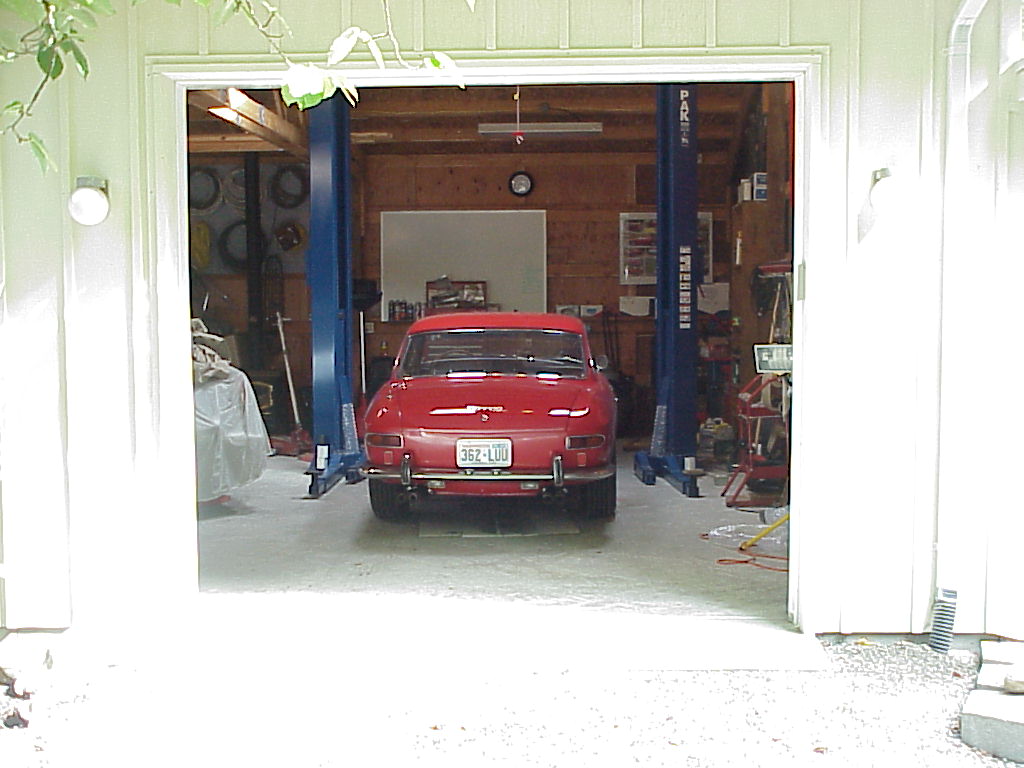
A total of 3433.7 km (2130 miles plus 30 on the tow truck), many tanks of gas, 3 quarts of oil and 1 coil. Not too bad for a 38 year old Ferrari!
BTW, the final cause for the coil going out was that the points had worn enough on the trip to almost close, keeping the coil energized, overheating it. Click here for the final resolution. To keep that from happening, remember to put a few drops of oil on the felt wiper blocks inside the distributors each year.
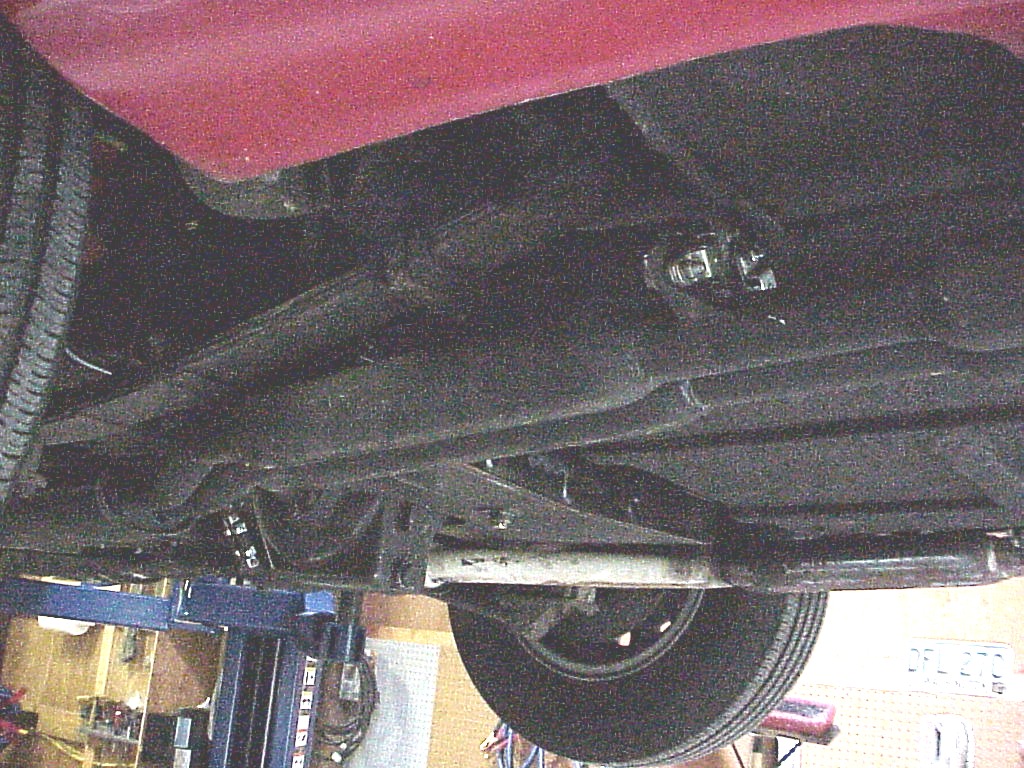
The oil needed changing when I got back. When I had the car on the lift, I always go around and shake and look at everything. When I was shaking the right front wheel, I found that a tie rod had gone bad on the trip. I had replaced this with a used tie rod that I thought just had a bad seal (after replacing the seal). The problem was evidently more than a bad seal or the damaged seal had already let in enough dirt to start the wear. At least this time the tie rod had the tie rod ends on correctly so I got the right part. I did a careful measurement of the distance from center to center on the tie rod ends so the car would be in good enough alignment that I wouldn't need to immediately get an appointment.
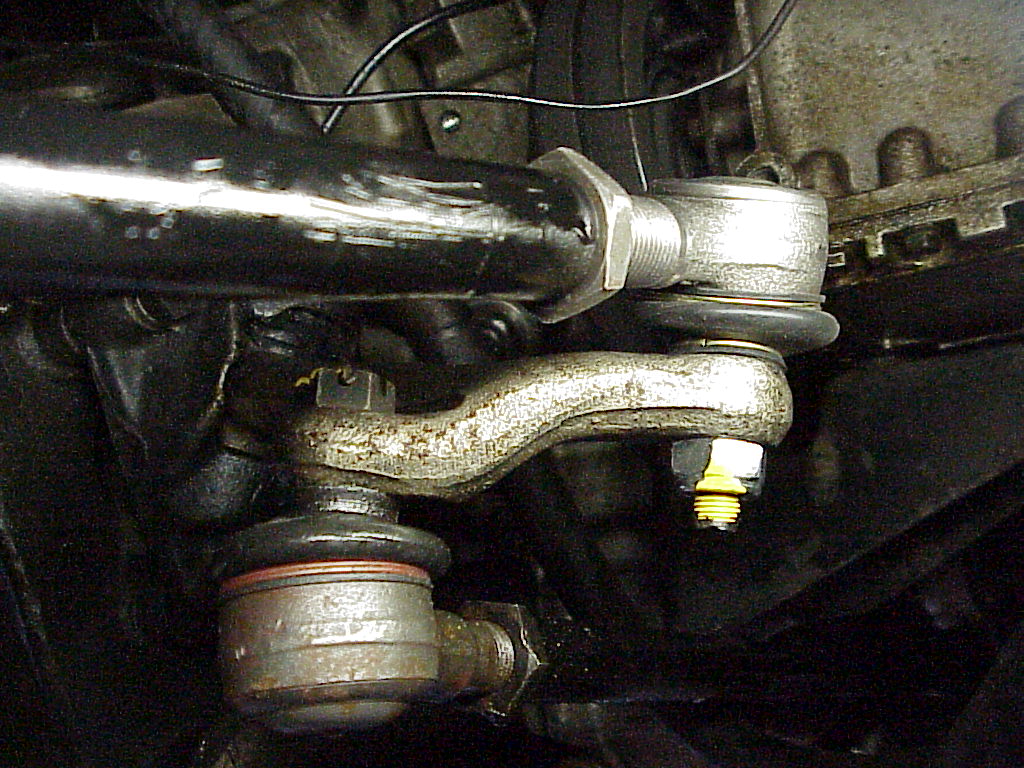
As you can see, this tie rod end has a Nylock nut instead of a castellated nut with a cotter key. I thought about trying to drill a hole, but I bet that the thread area would be really hard to drill through.