Trunk Carpet Installation
Another of the 'trim' items was to complete the trunk carpet installation. Previously, my wife had glued the carpet to the panels that fit to each side of the lock. I had also glued the carpet to the front wall of the trunk in addition to putting the snaps on the spare tire cover piece.
The final pieces were the ones that fit in the wheel wells. These are complicated to fit due to the restricted area you are working in. Further, the contact cement smell quickly filled the trunk area given that there is several square feet of carpet to glue down.
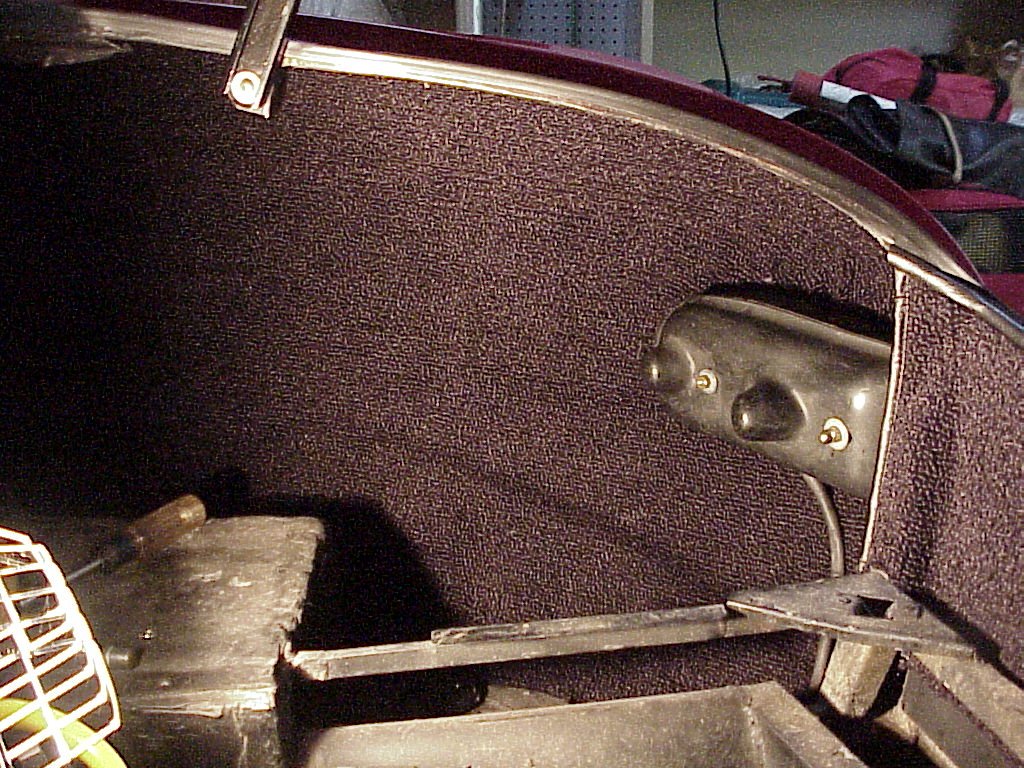
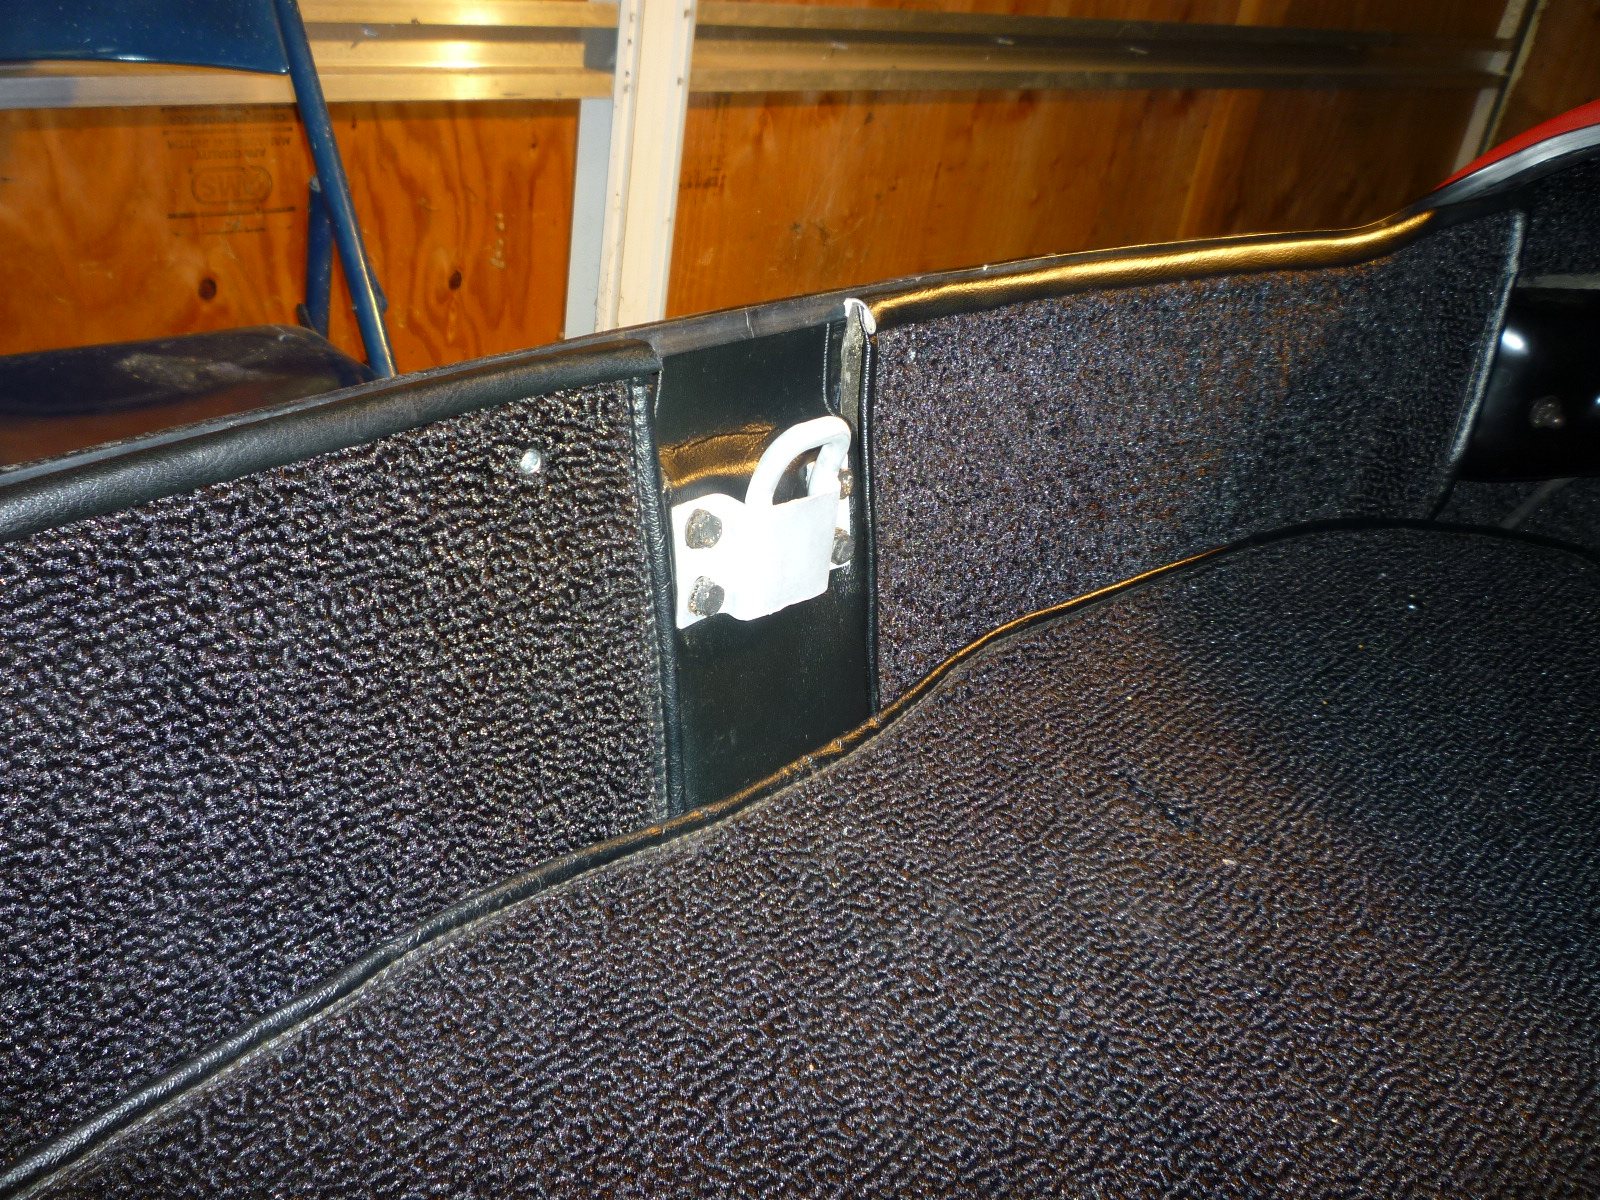
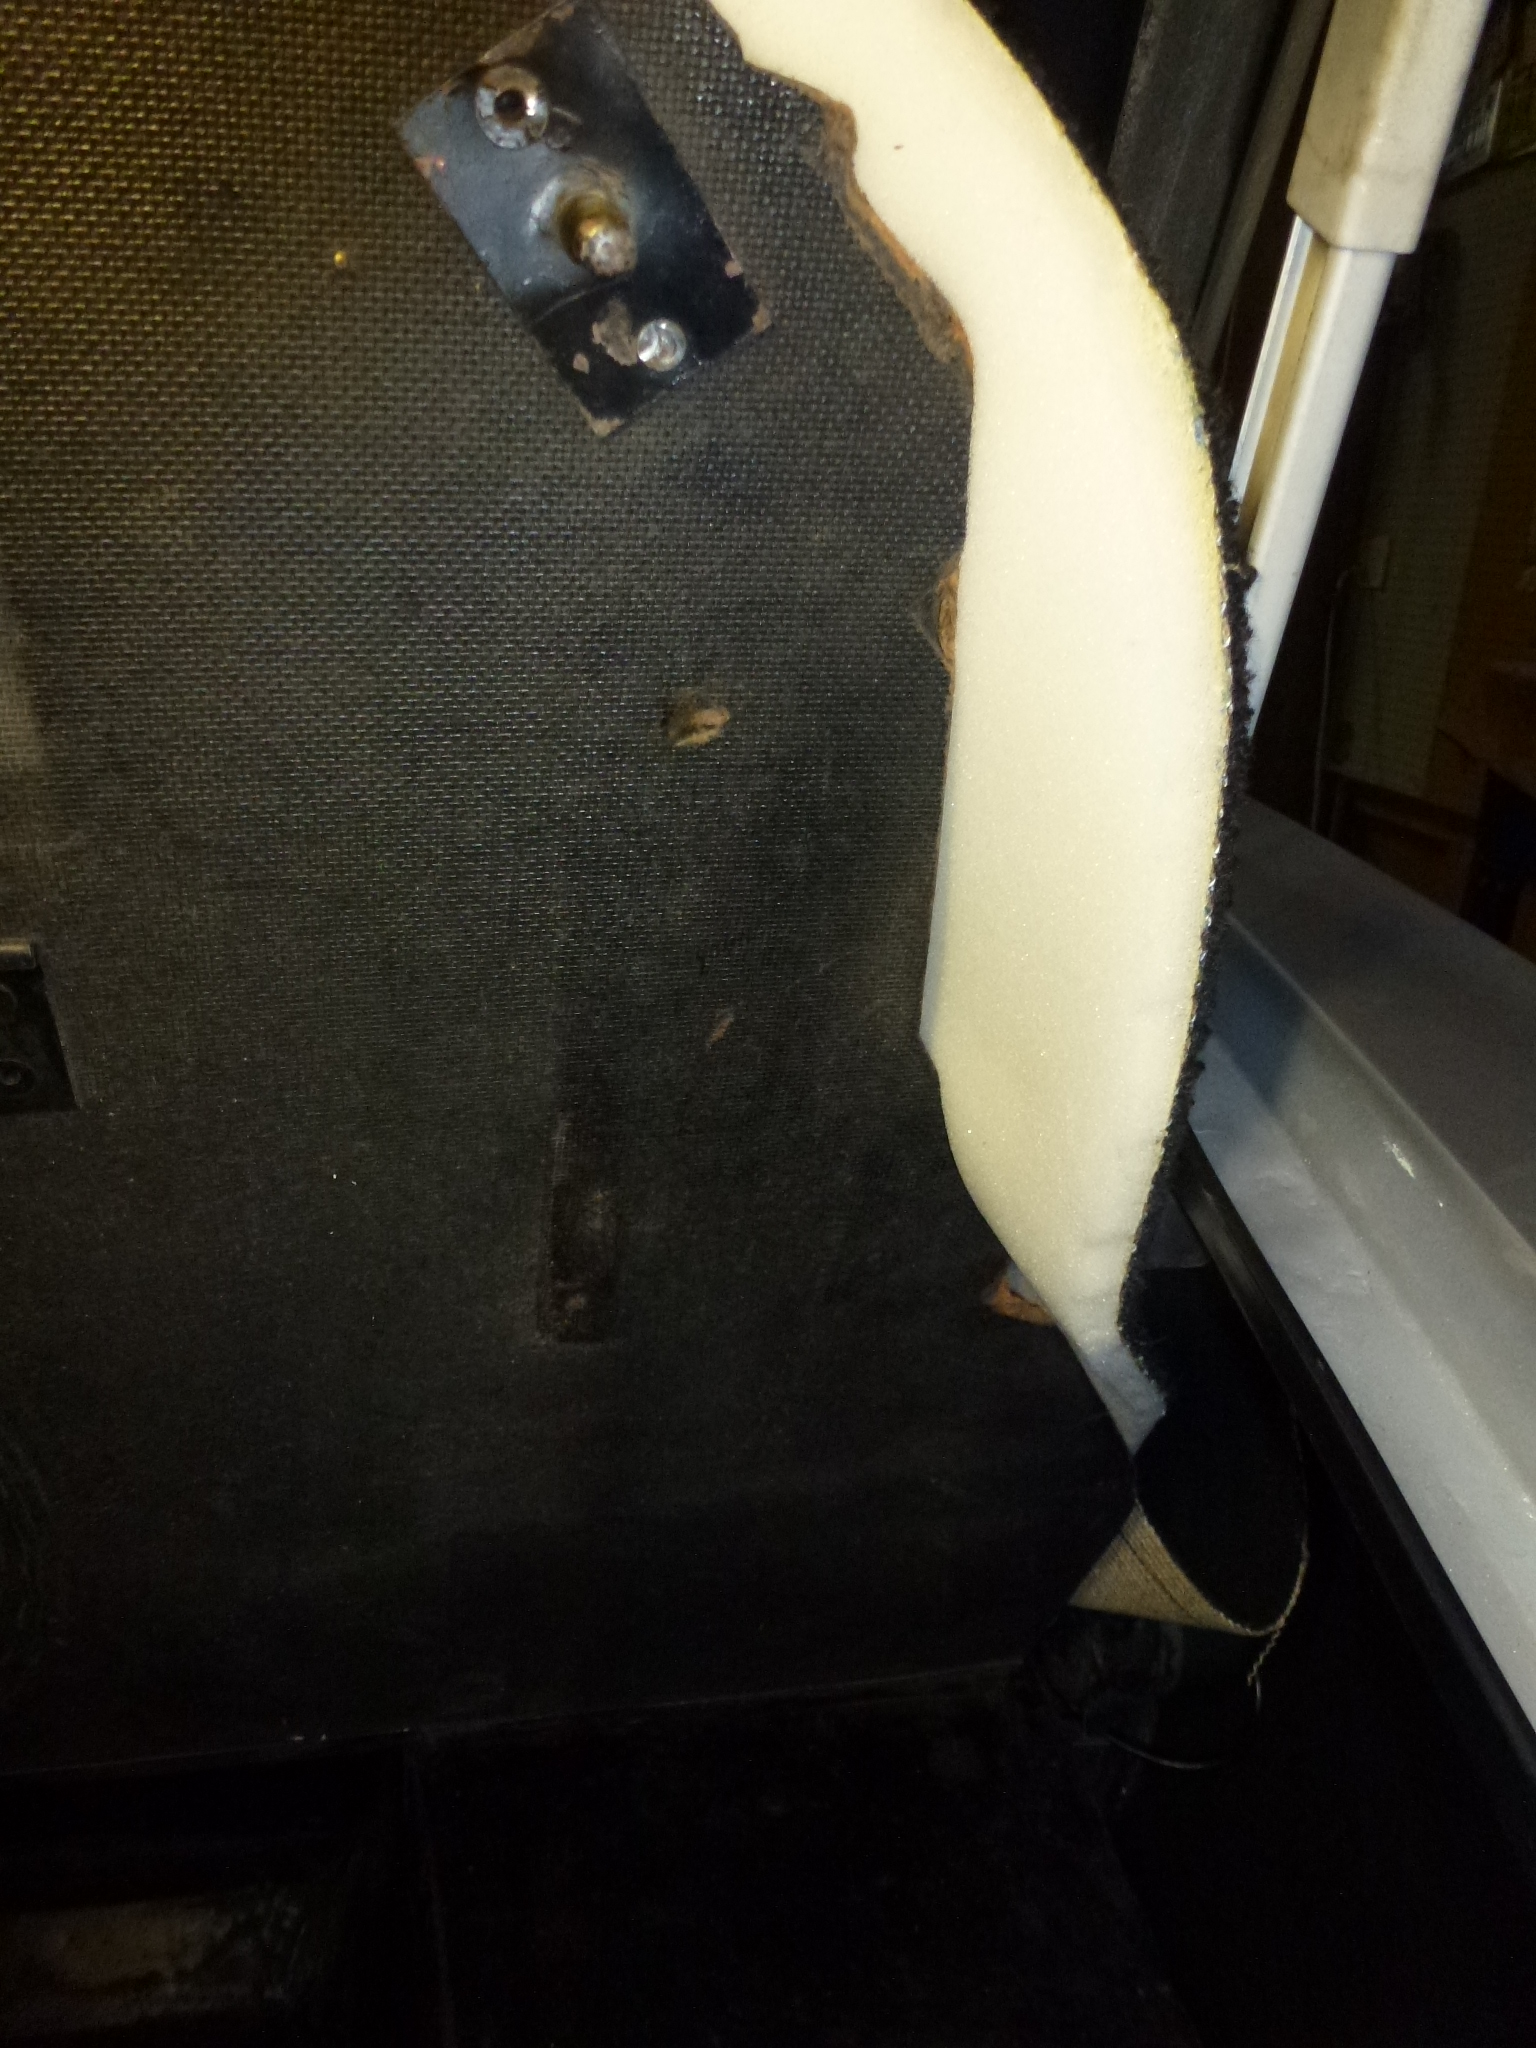
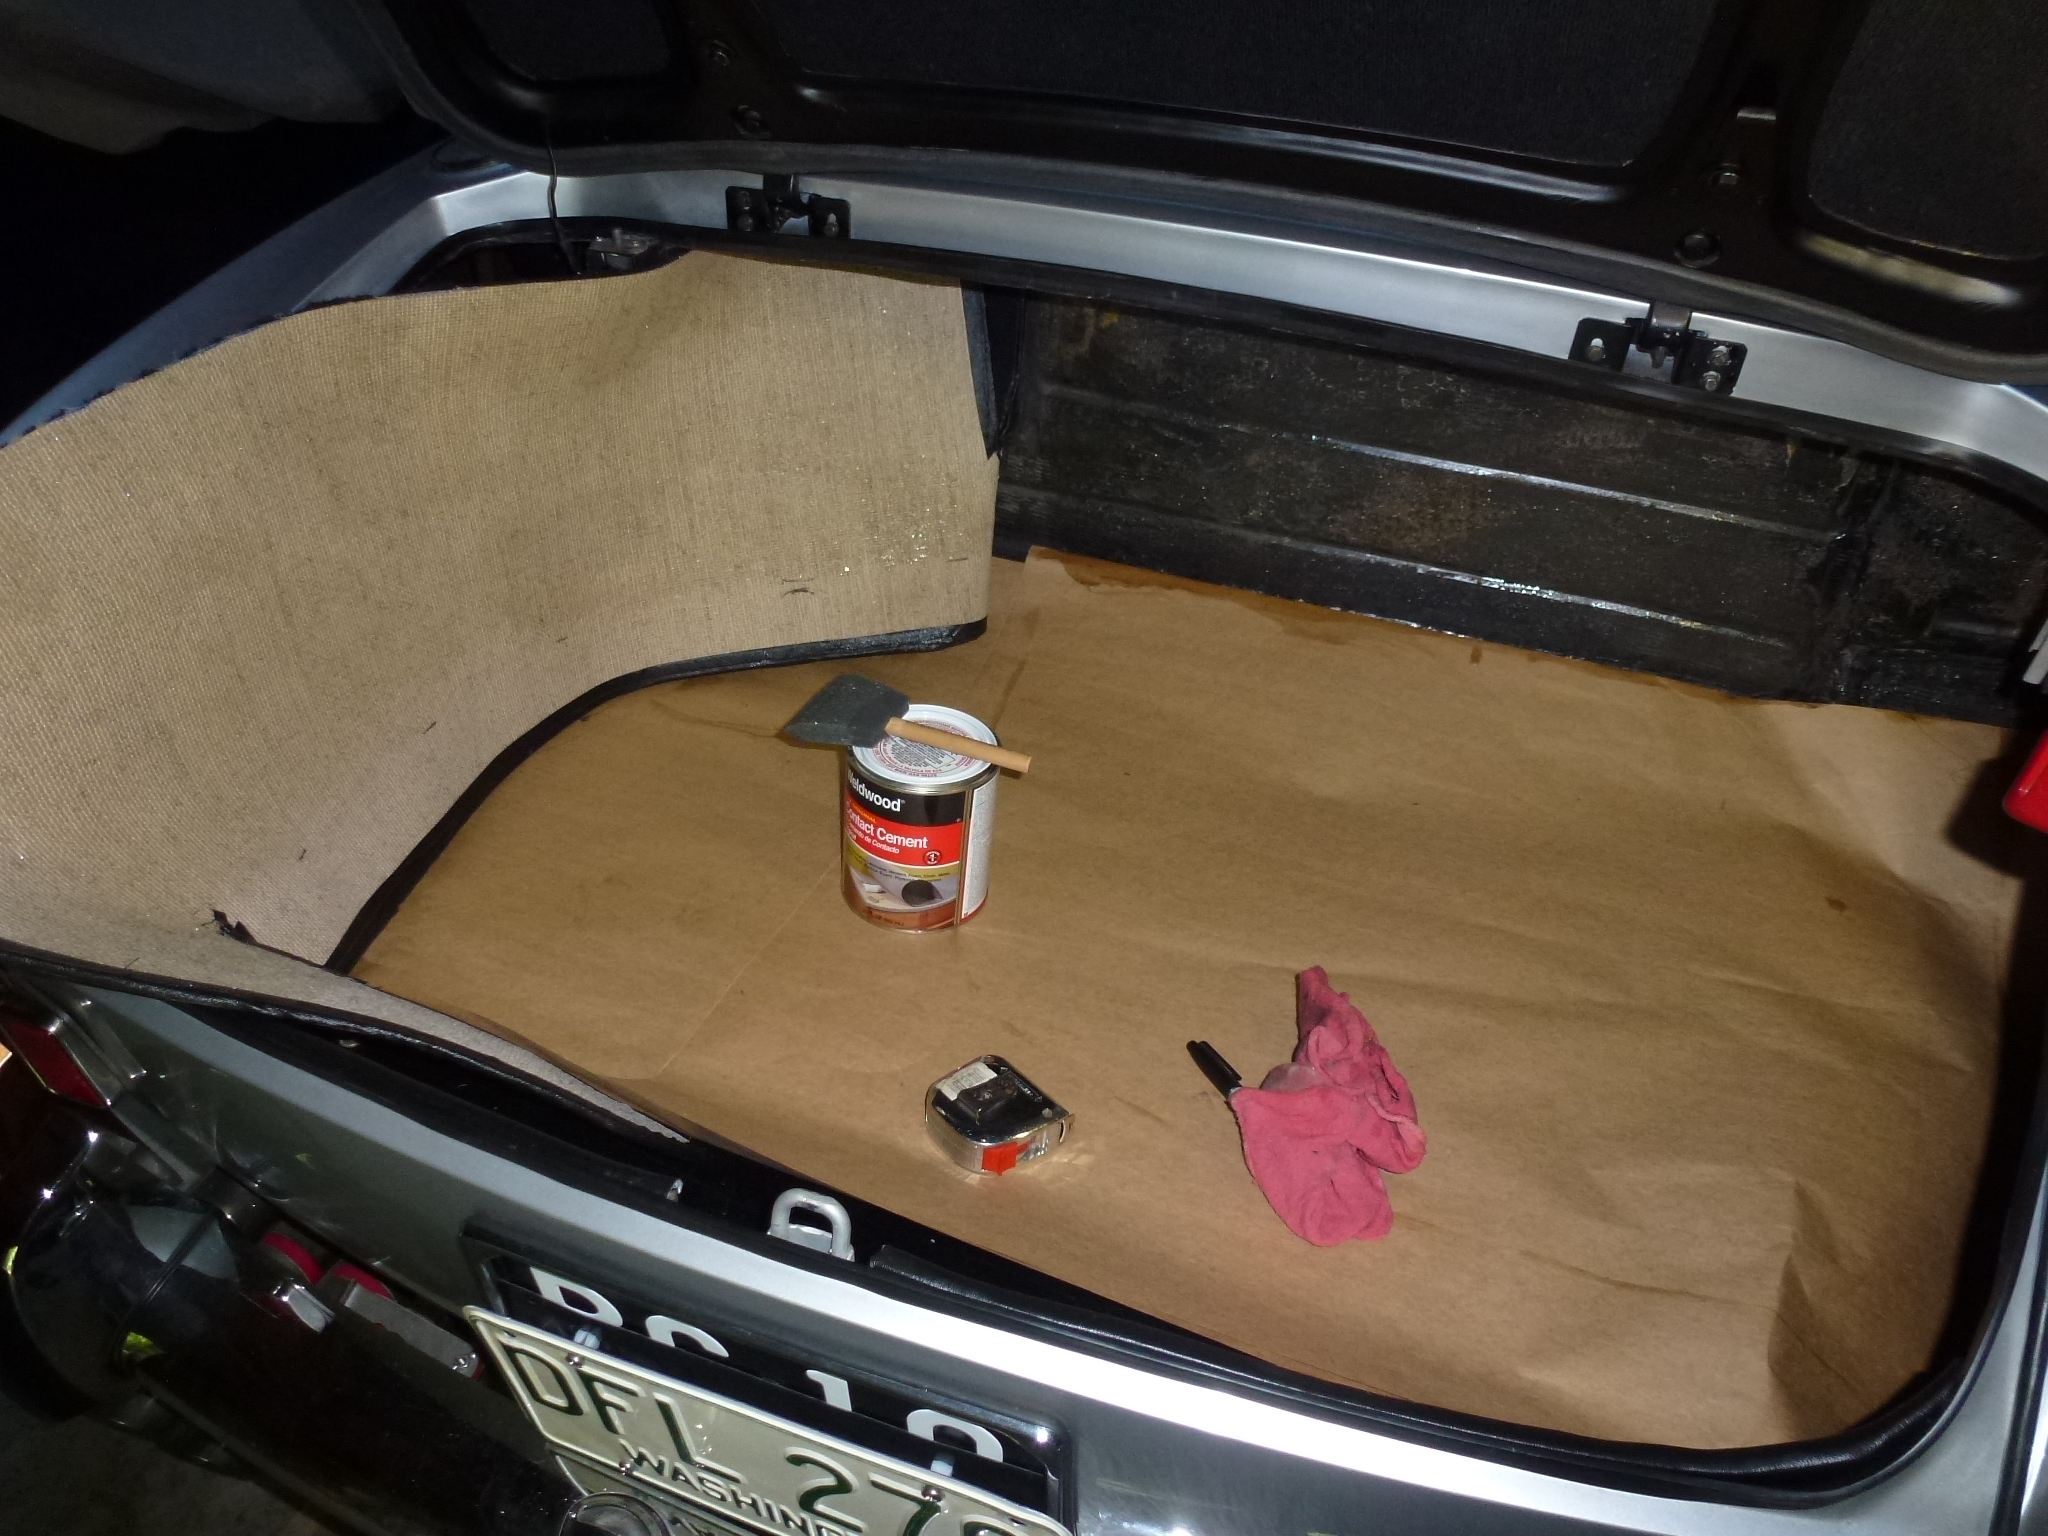
After some trial fitting, I decided to do it in stages. First I glued a 3" strip at the front from top to bottom. This let me adjust the starting place without having the carpet trying to stick all over the place. Once I was satisfied with the initial fit, I then glued the first half in place. After that it was time to start doing some trimming for exact fit. Here you can see the area above the tail light ready to be trimmed to fit.
I went at this slowly, gluing a section and then trimming it to fit without having to worry about the carpet slipping while I was cutting.
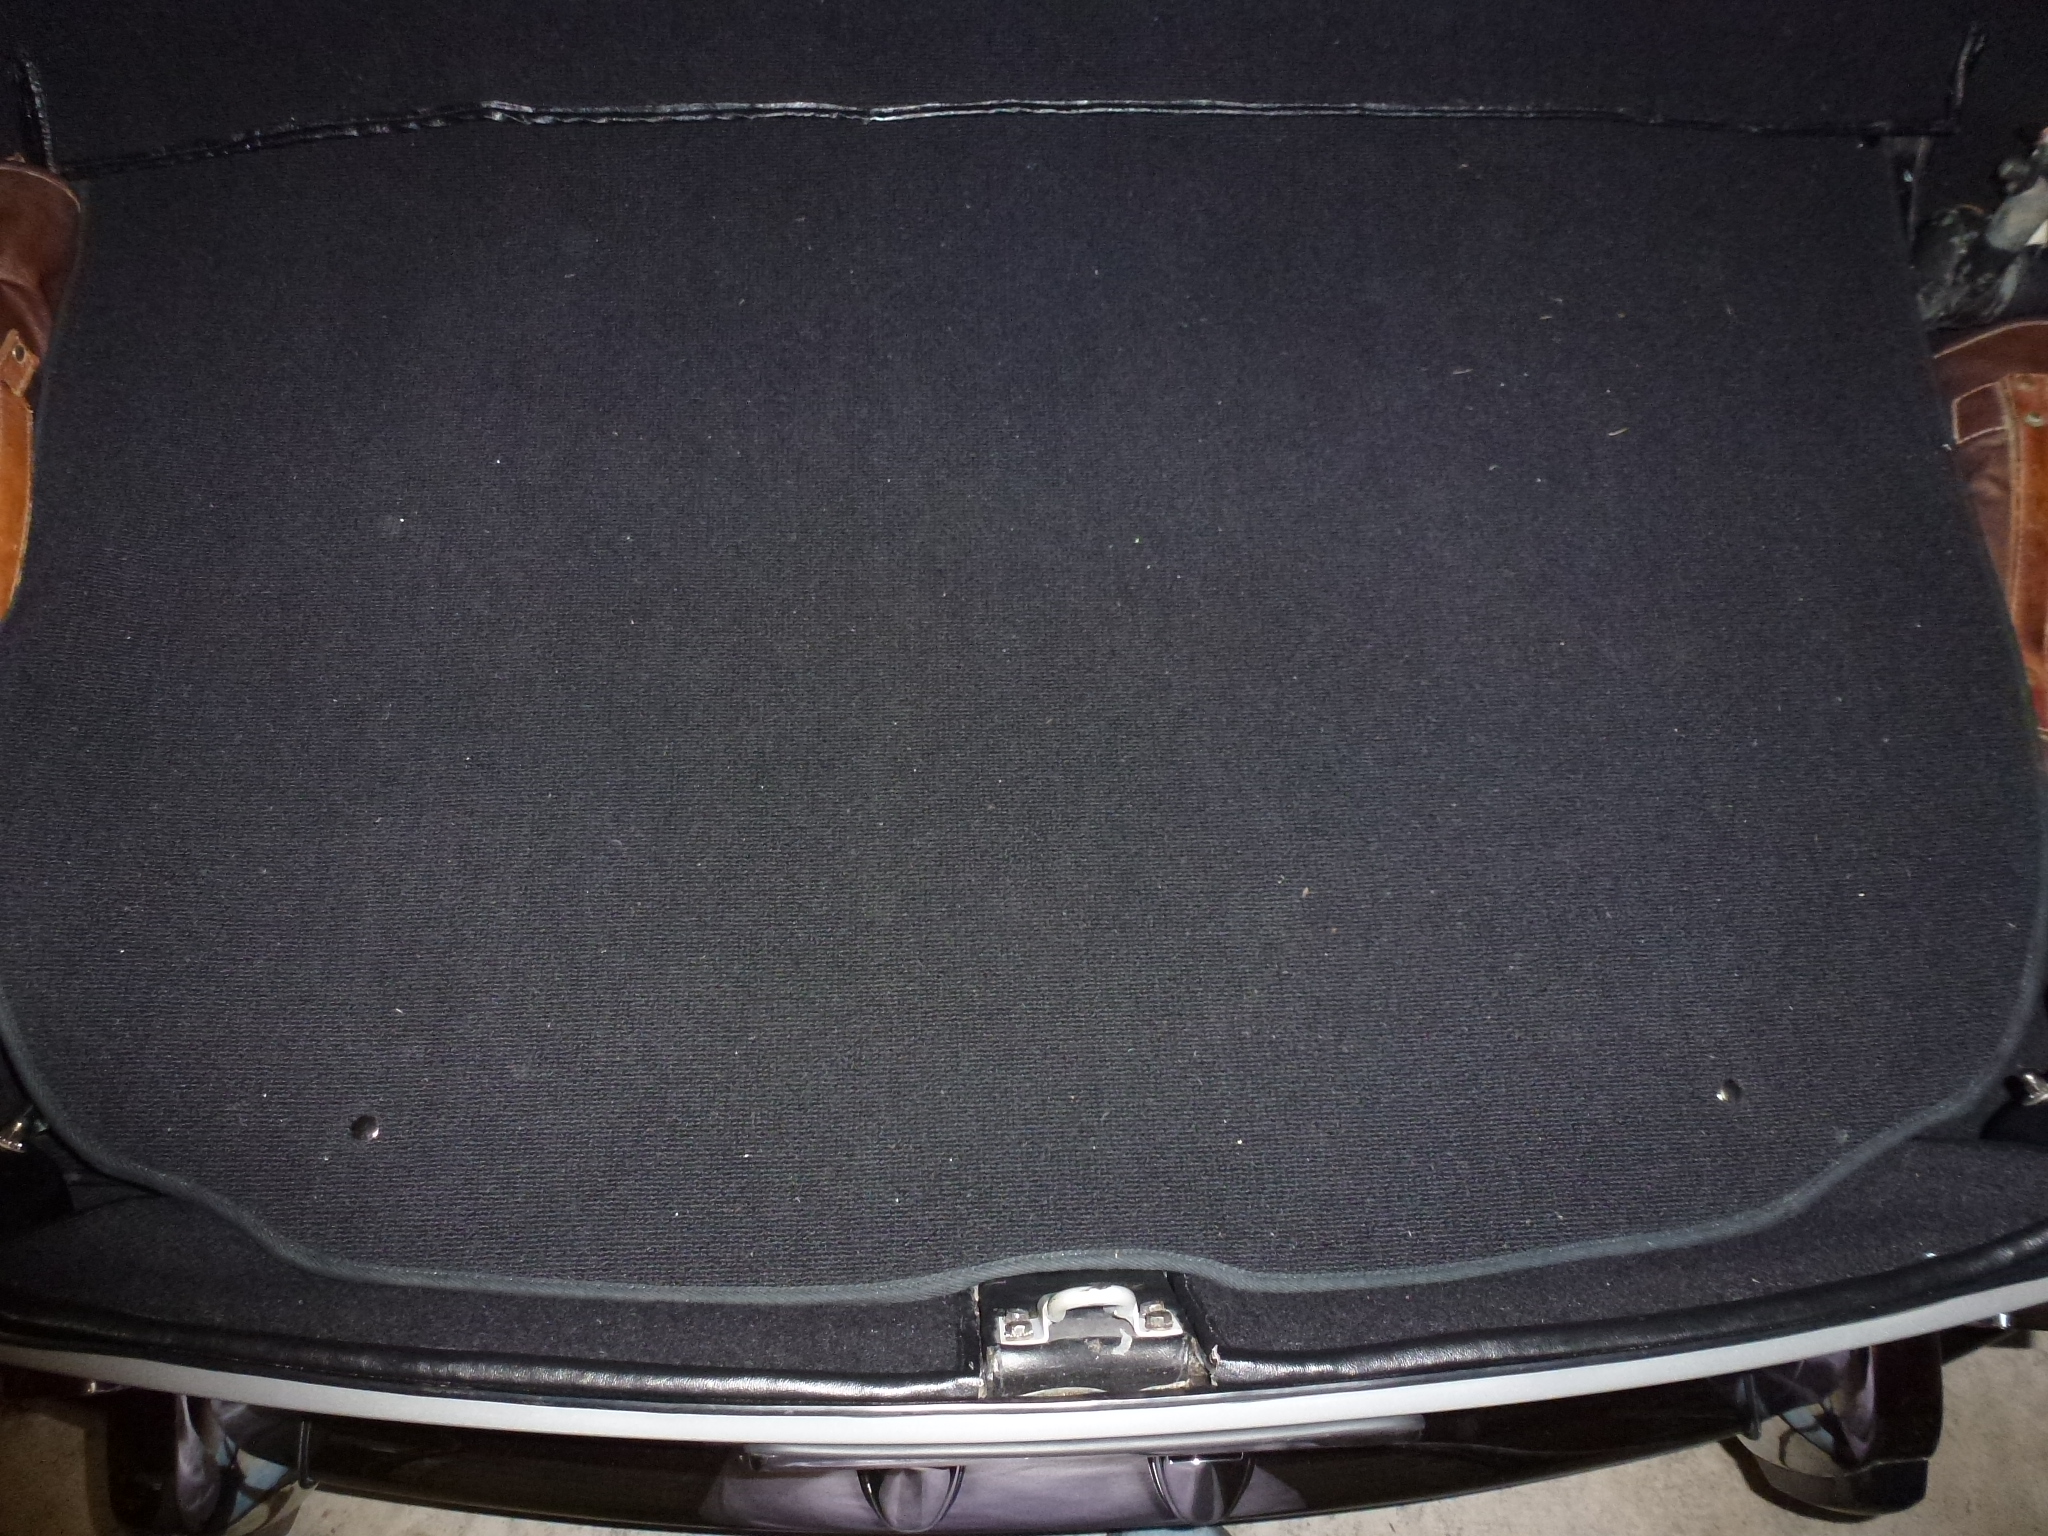
Here's the final results (except needing another 6mm acorn nut for the tail light cover).
I didn't glue in the pieces in the trunk lid yet. I still need to repaint it and the Ferrari emblem will have to come off which would require the carpet to be removed.
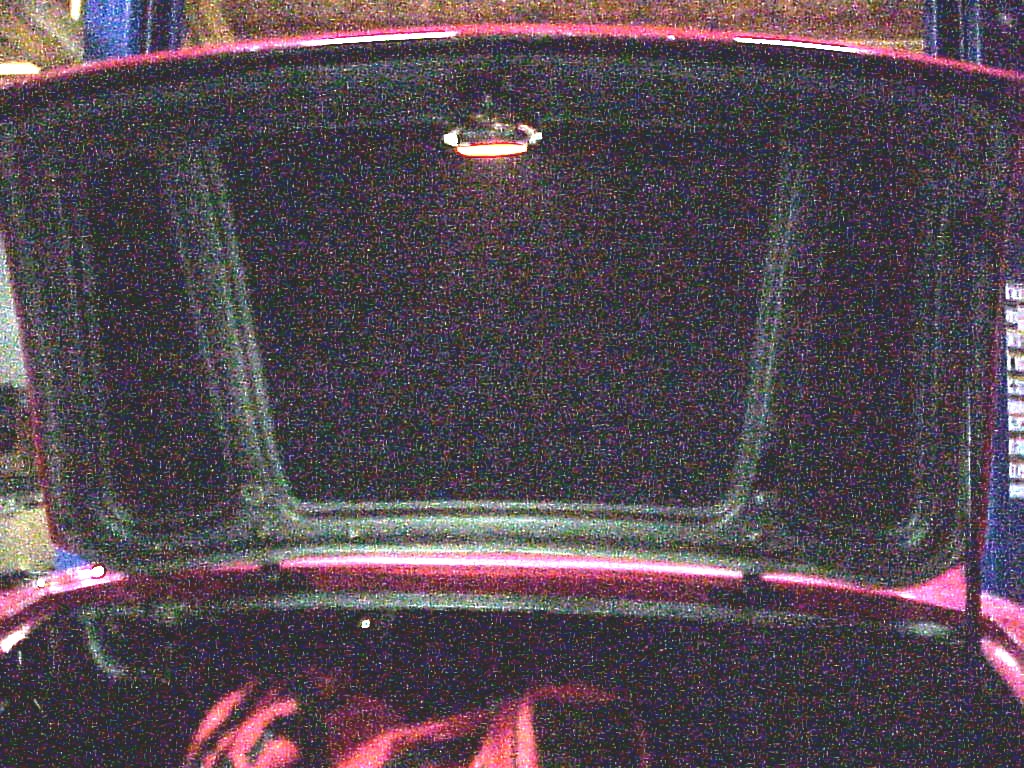
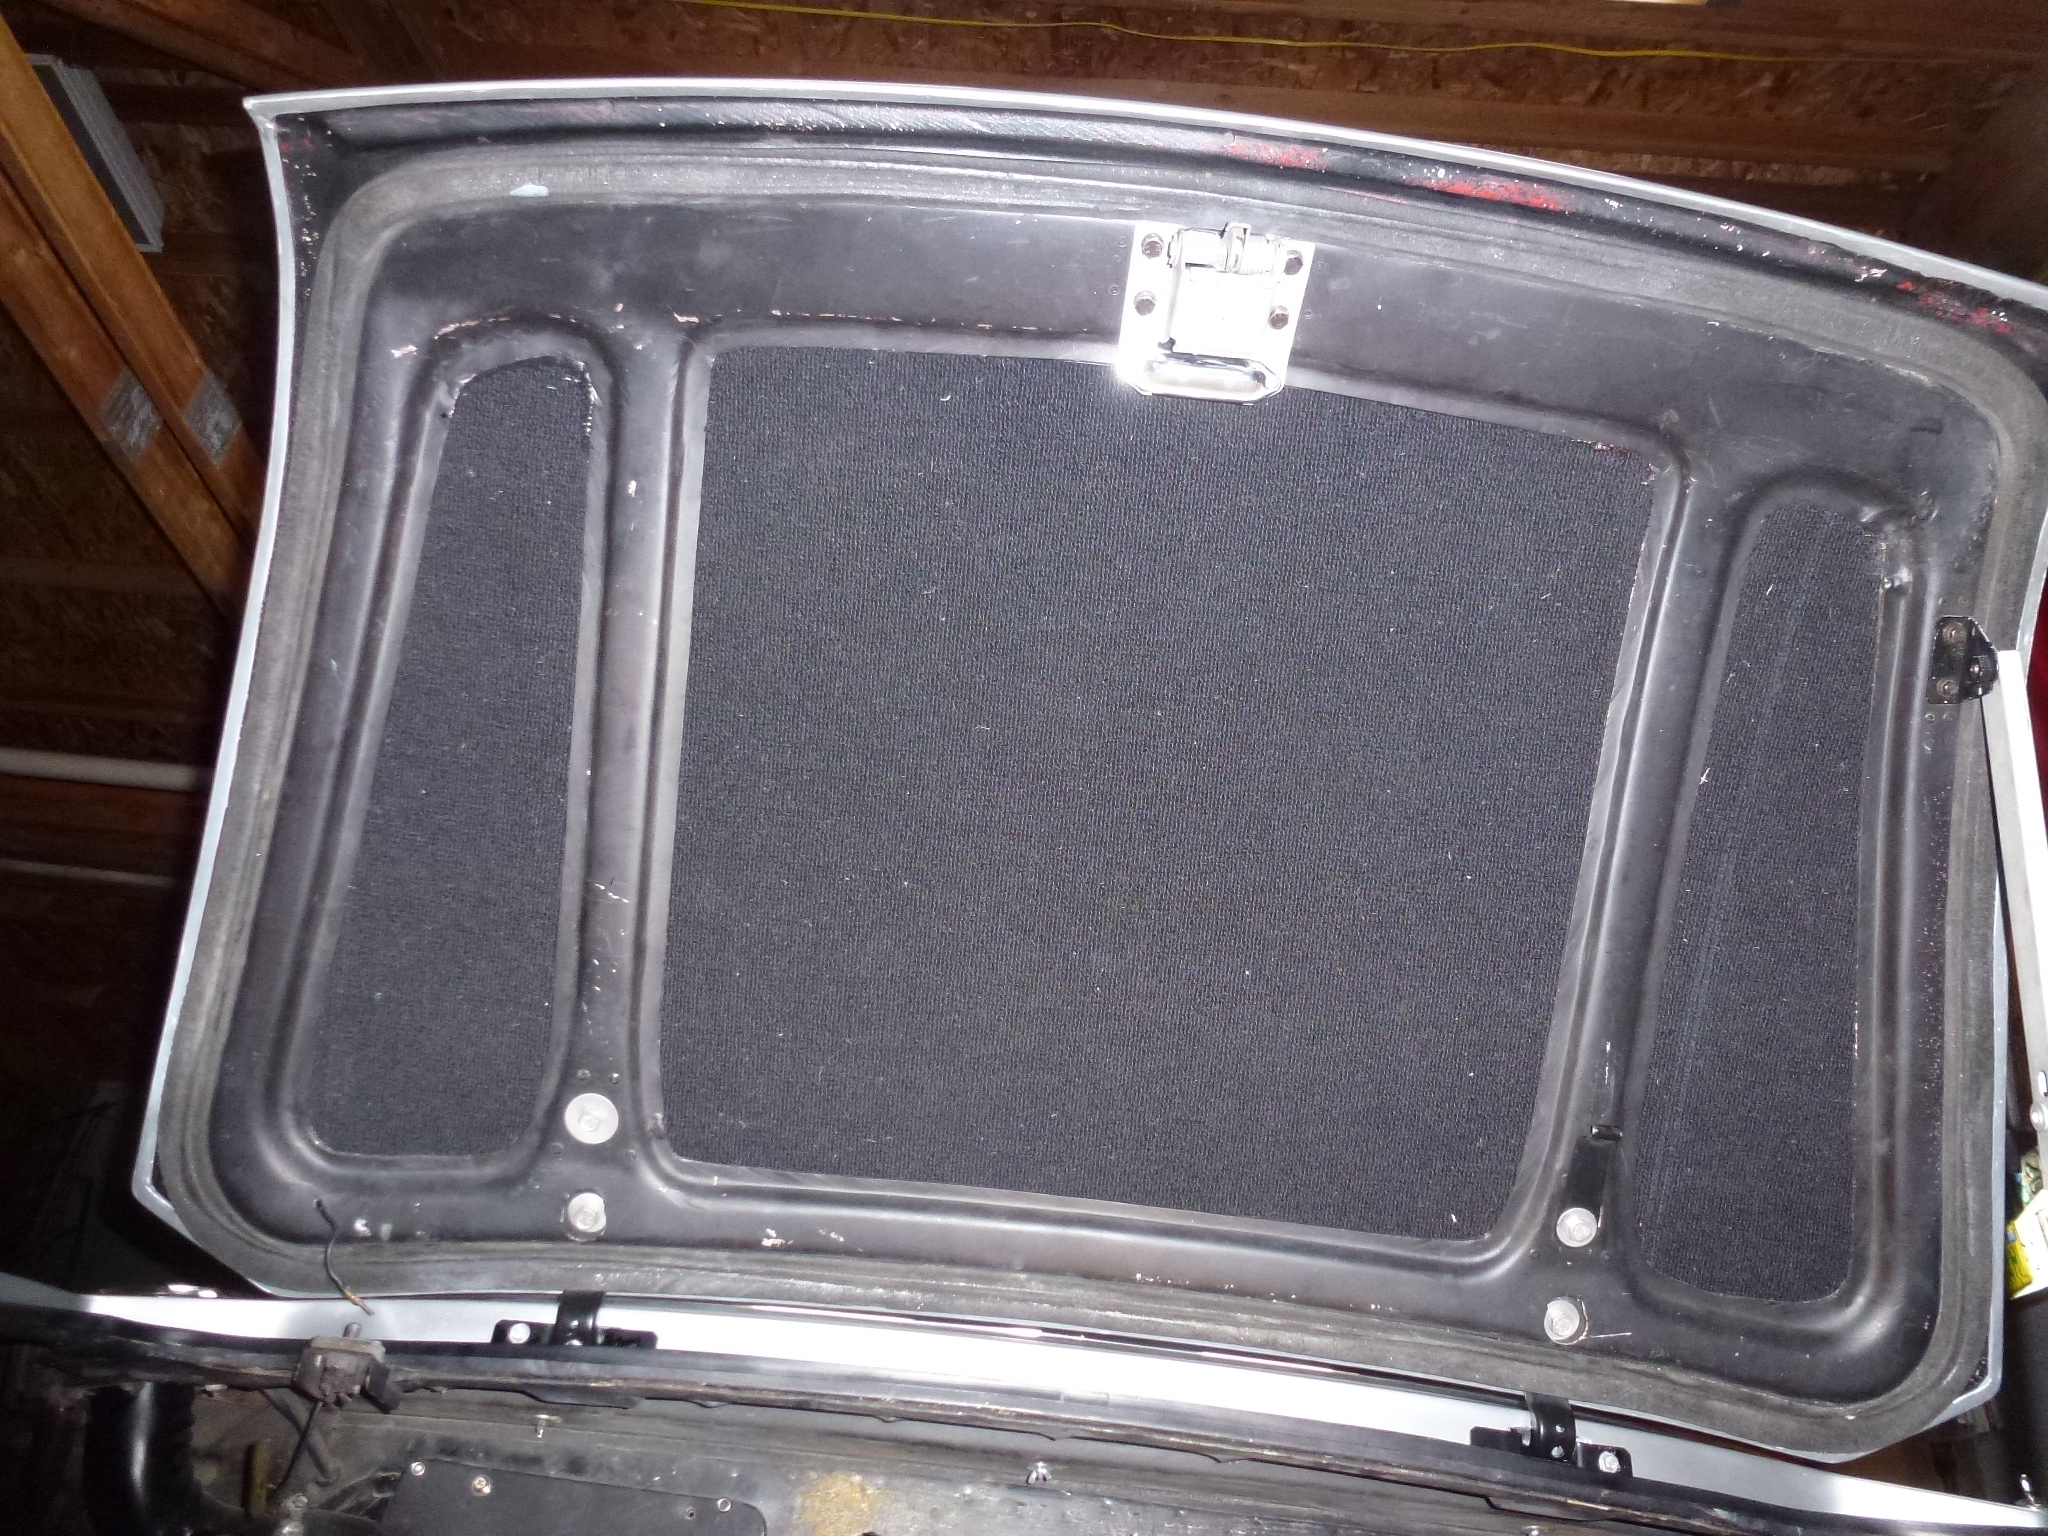
I finally got the trunk lid painted correctly. So I was able to install the three pieces of carpet that fit in the recesses in the trunk lid. They are designed to tuck under the inner panel, but in a couple of corners, it was a really tight fit. In those corners, I was only able to tuck 1/8" or so. I also glued the carpet to the under side of the trunk lid.
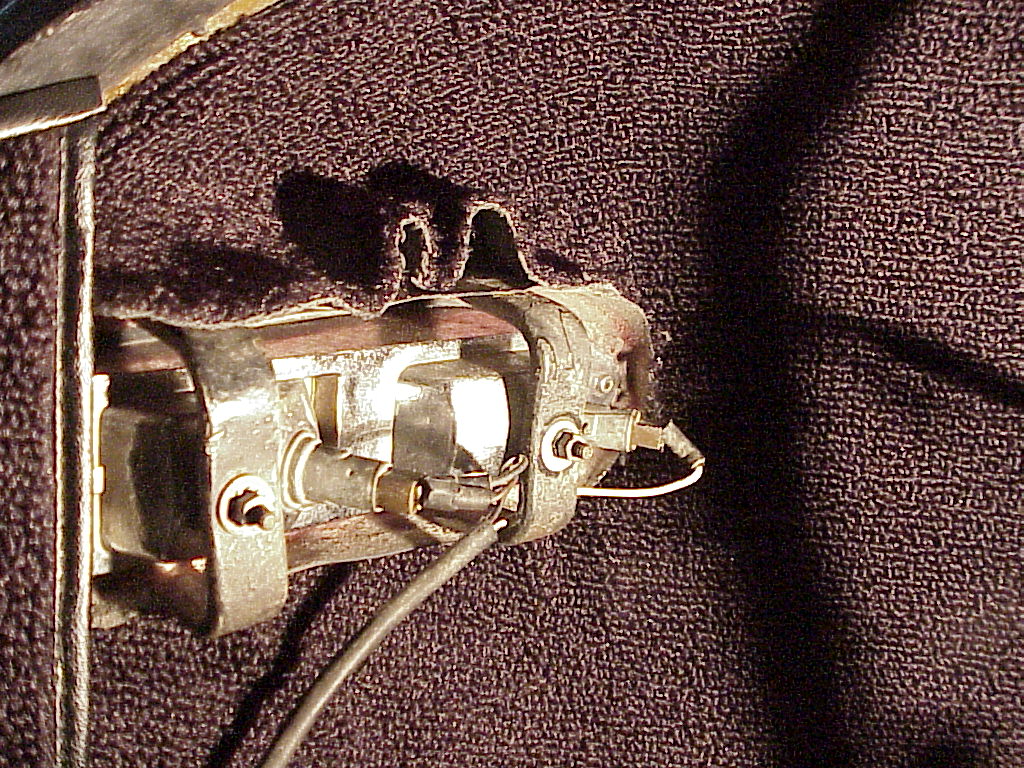
One thing that I had never gotten around to doing was put trim under the trunk catch. I didn't even realize that it wasn't supposed to be black painted metal until a friend was re-doing his trunk and happened to mention it. Since I had the trunk catch off the car for cadmium plating, it was time to fix this.
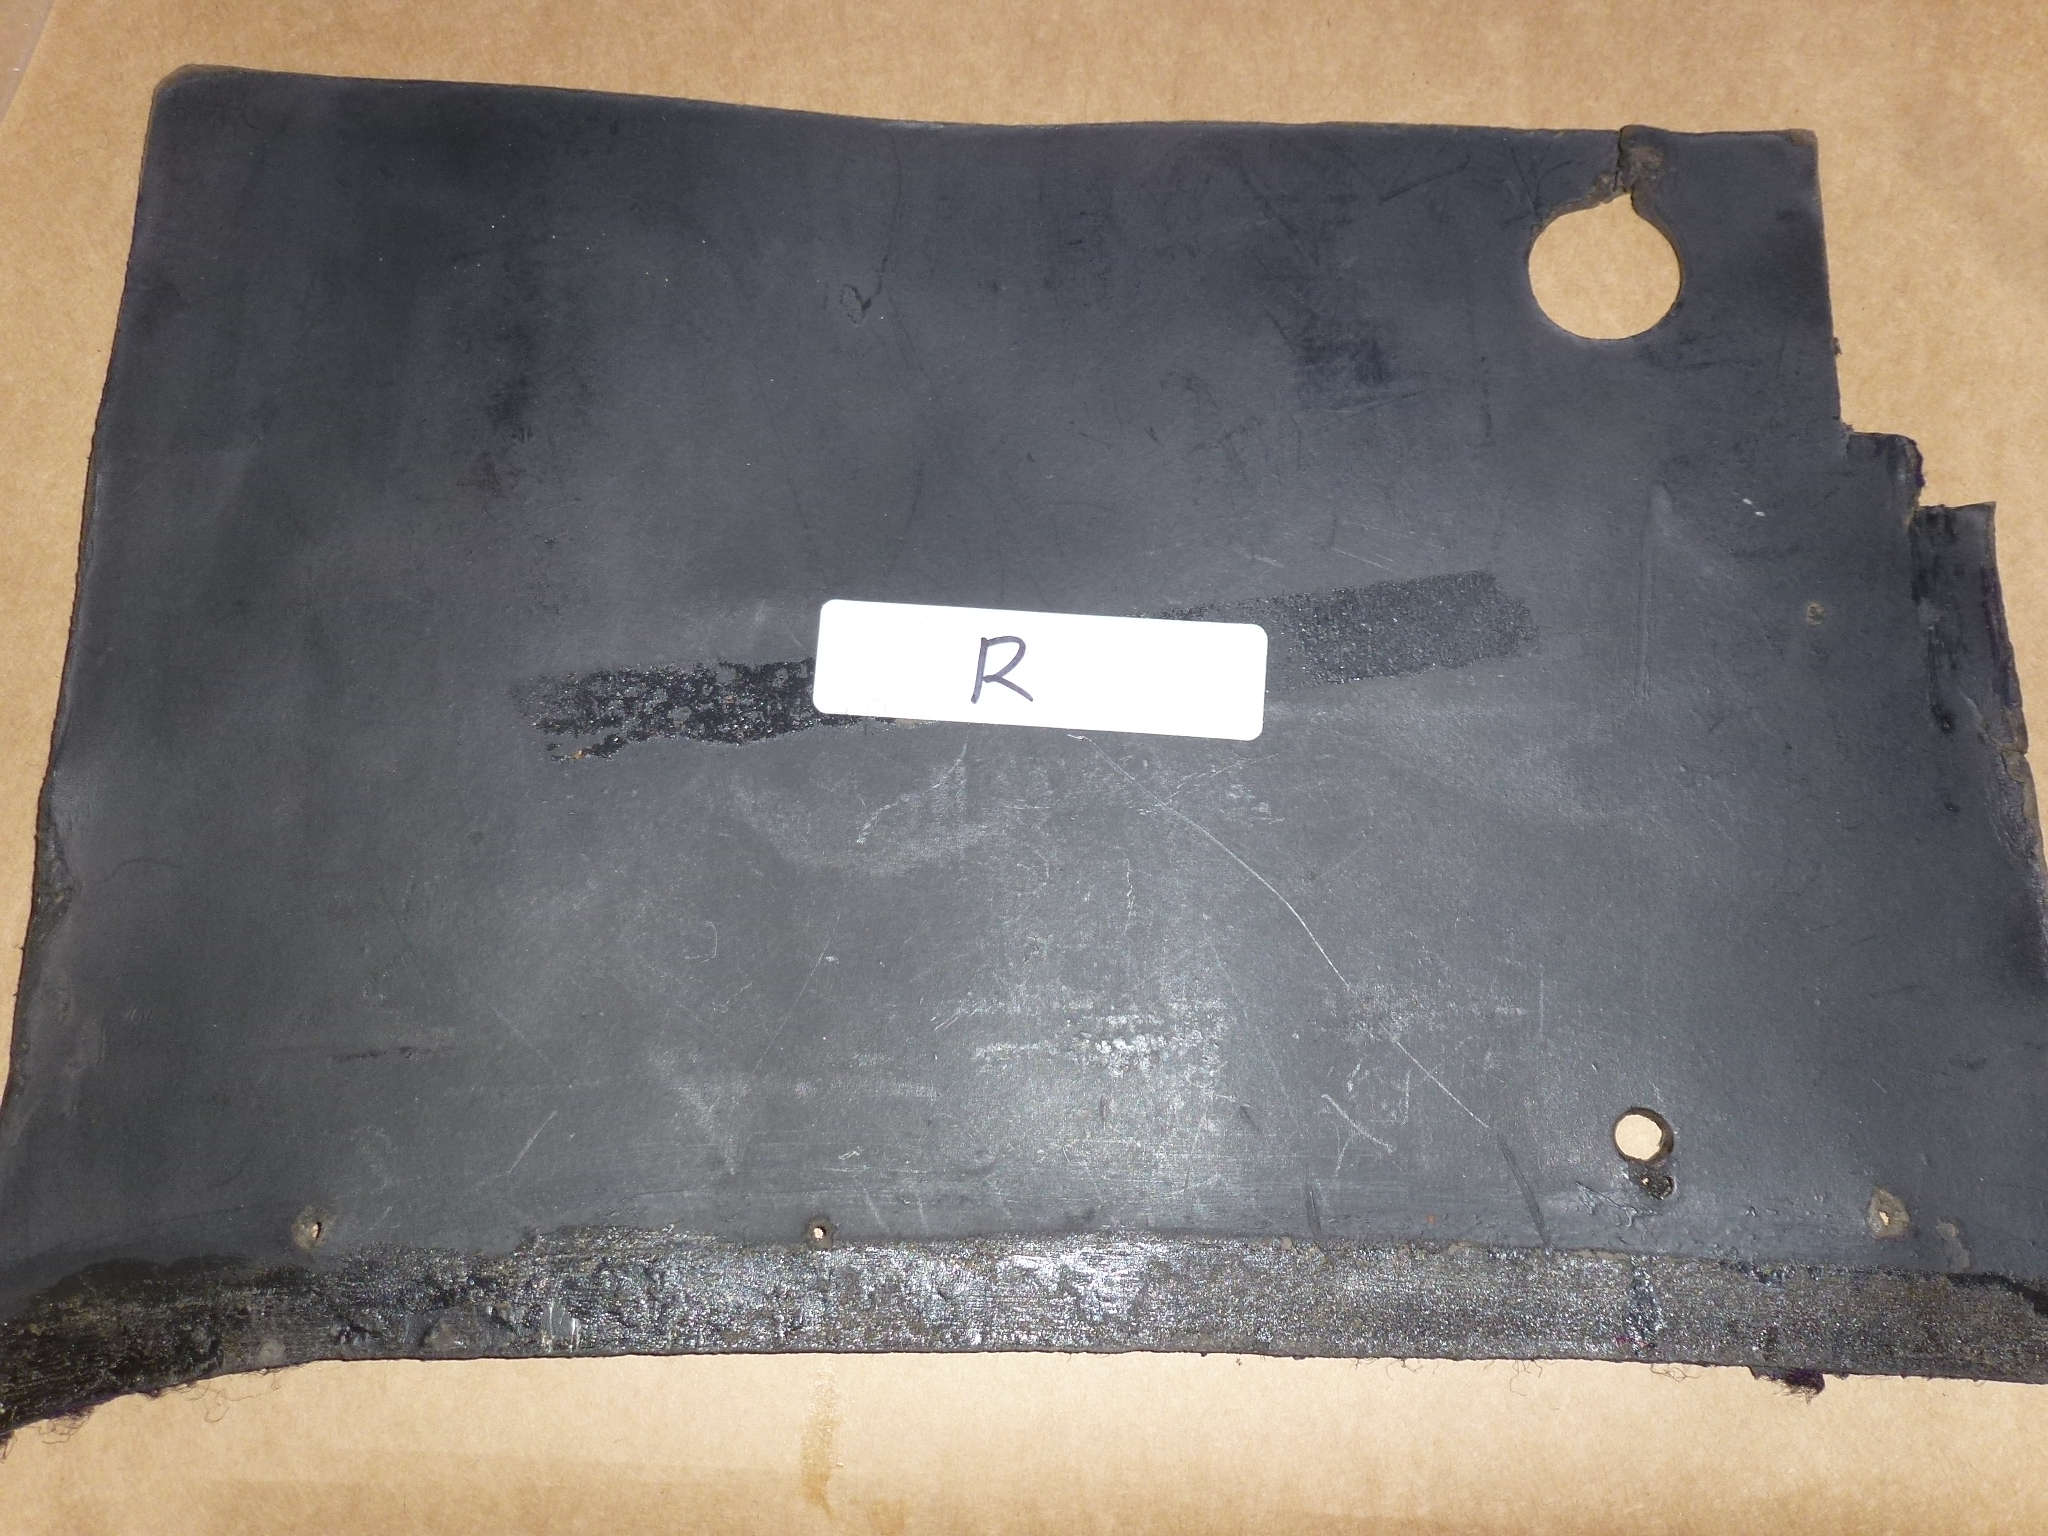
He sent me his old piece for a sample, so I was able to make a matching piece from new leatherette.
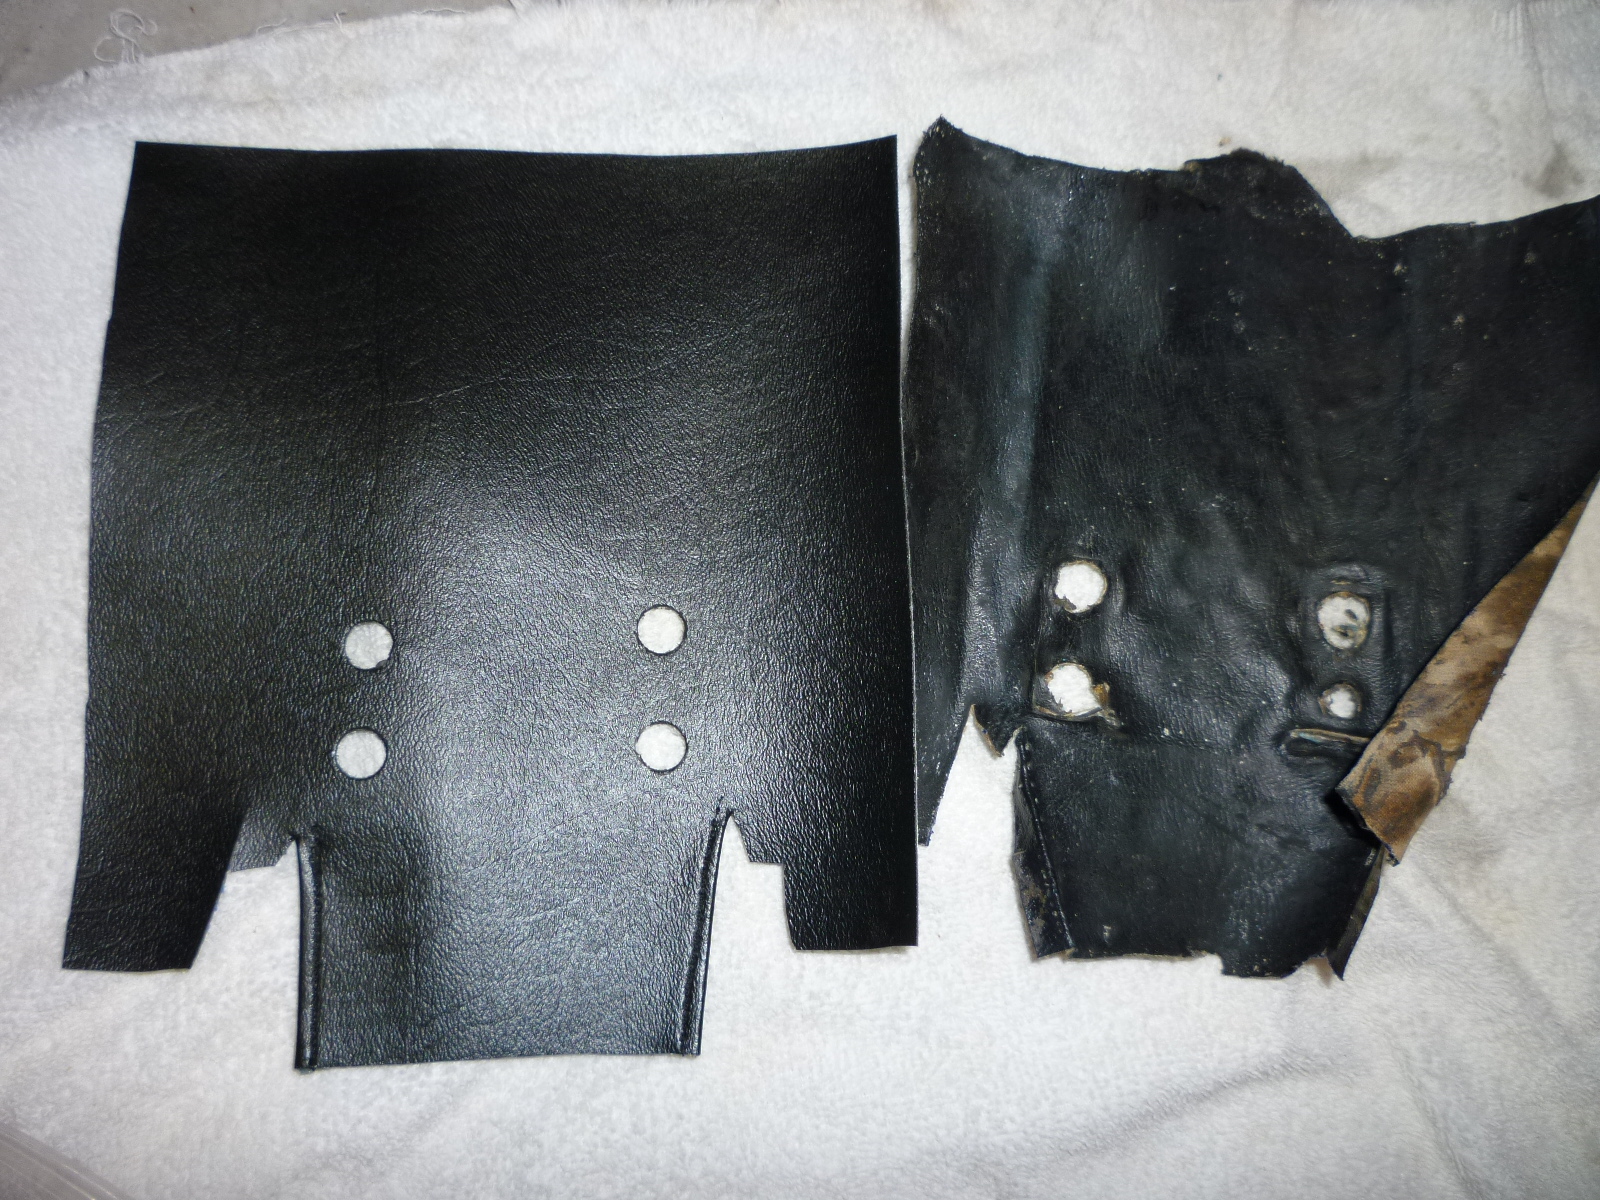
Some cleaning and contact cement glued the new piece down and with the newly plated trunk catch, it looks good.
PS, I know that this is not the right square weave carpeting for the trunk, but it was what I was sold back in 1982 as being correct, so it'll do for now.
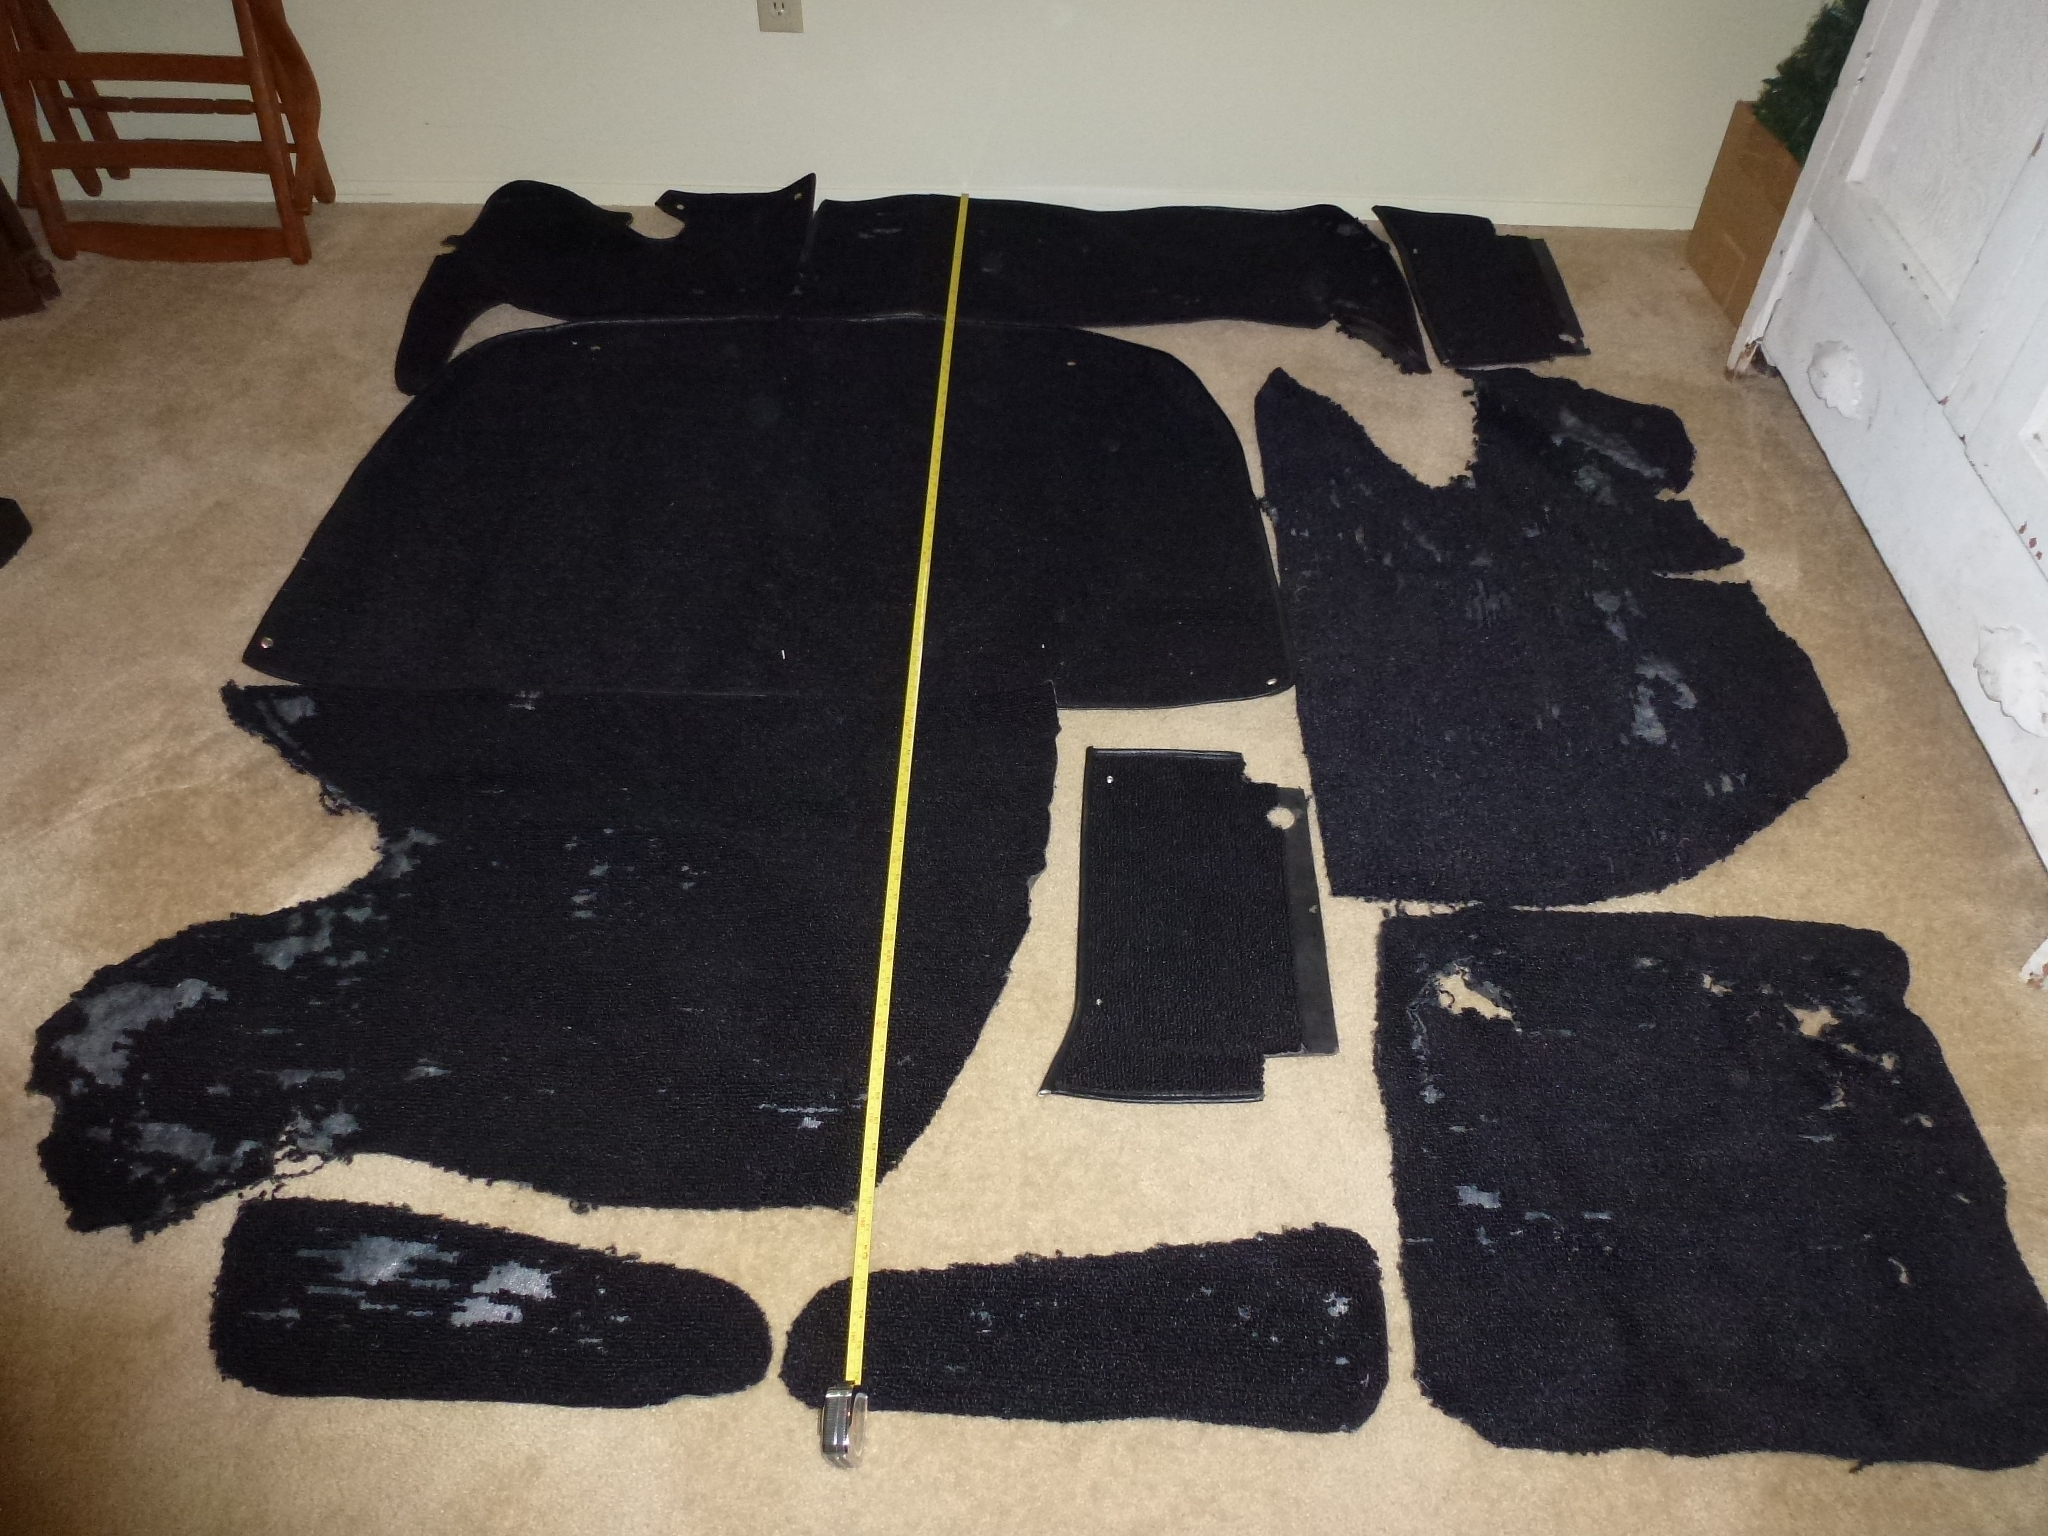
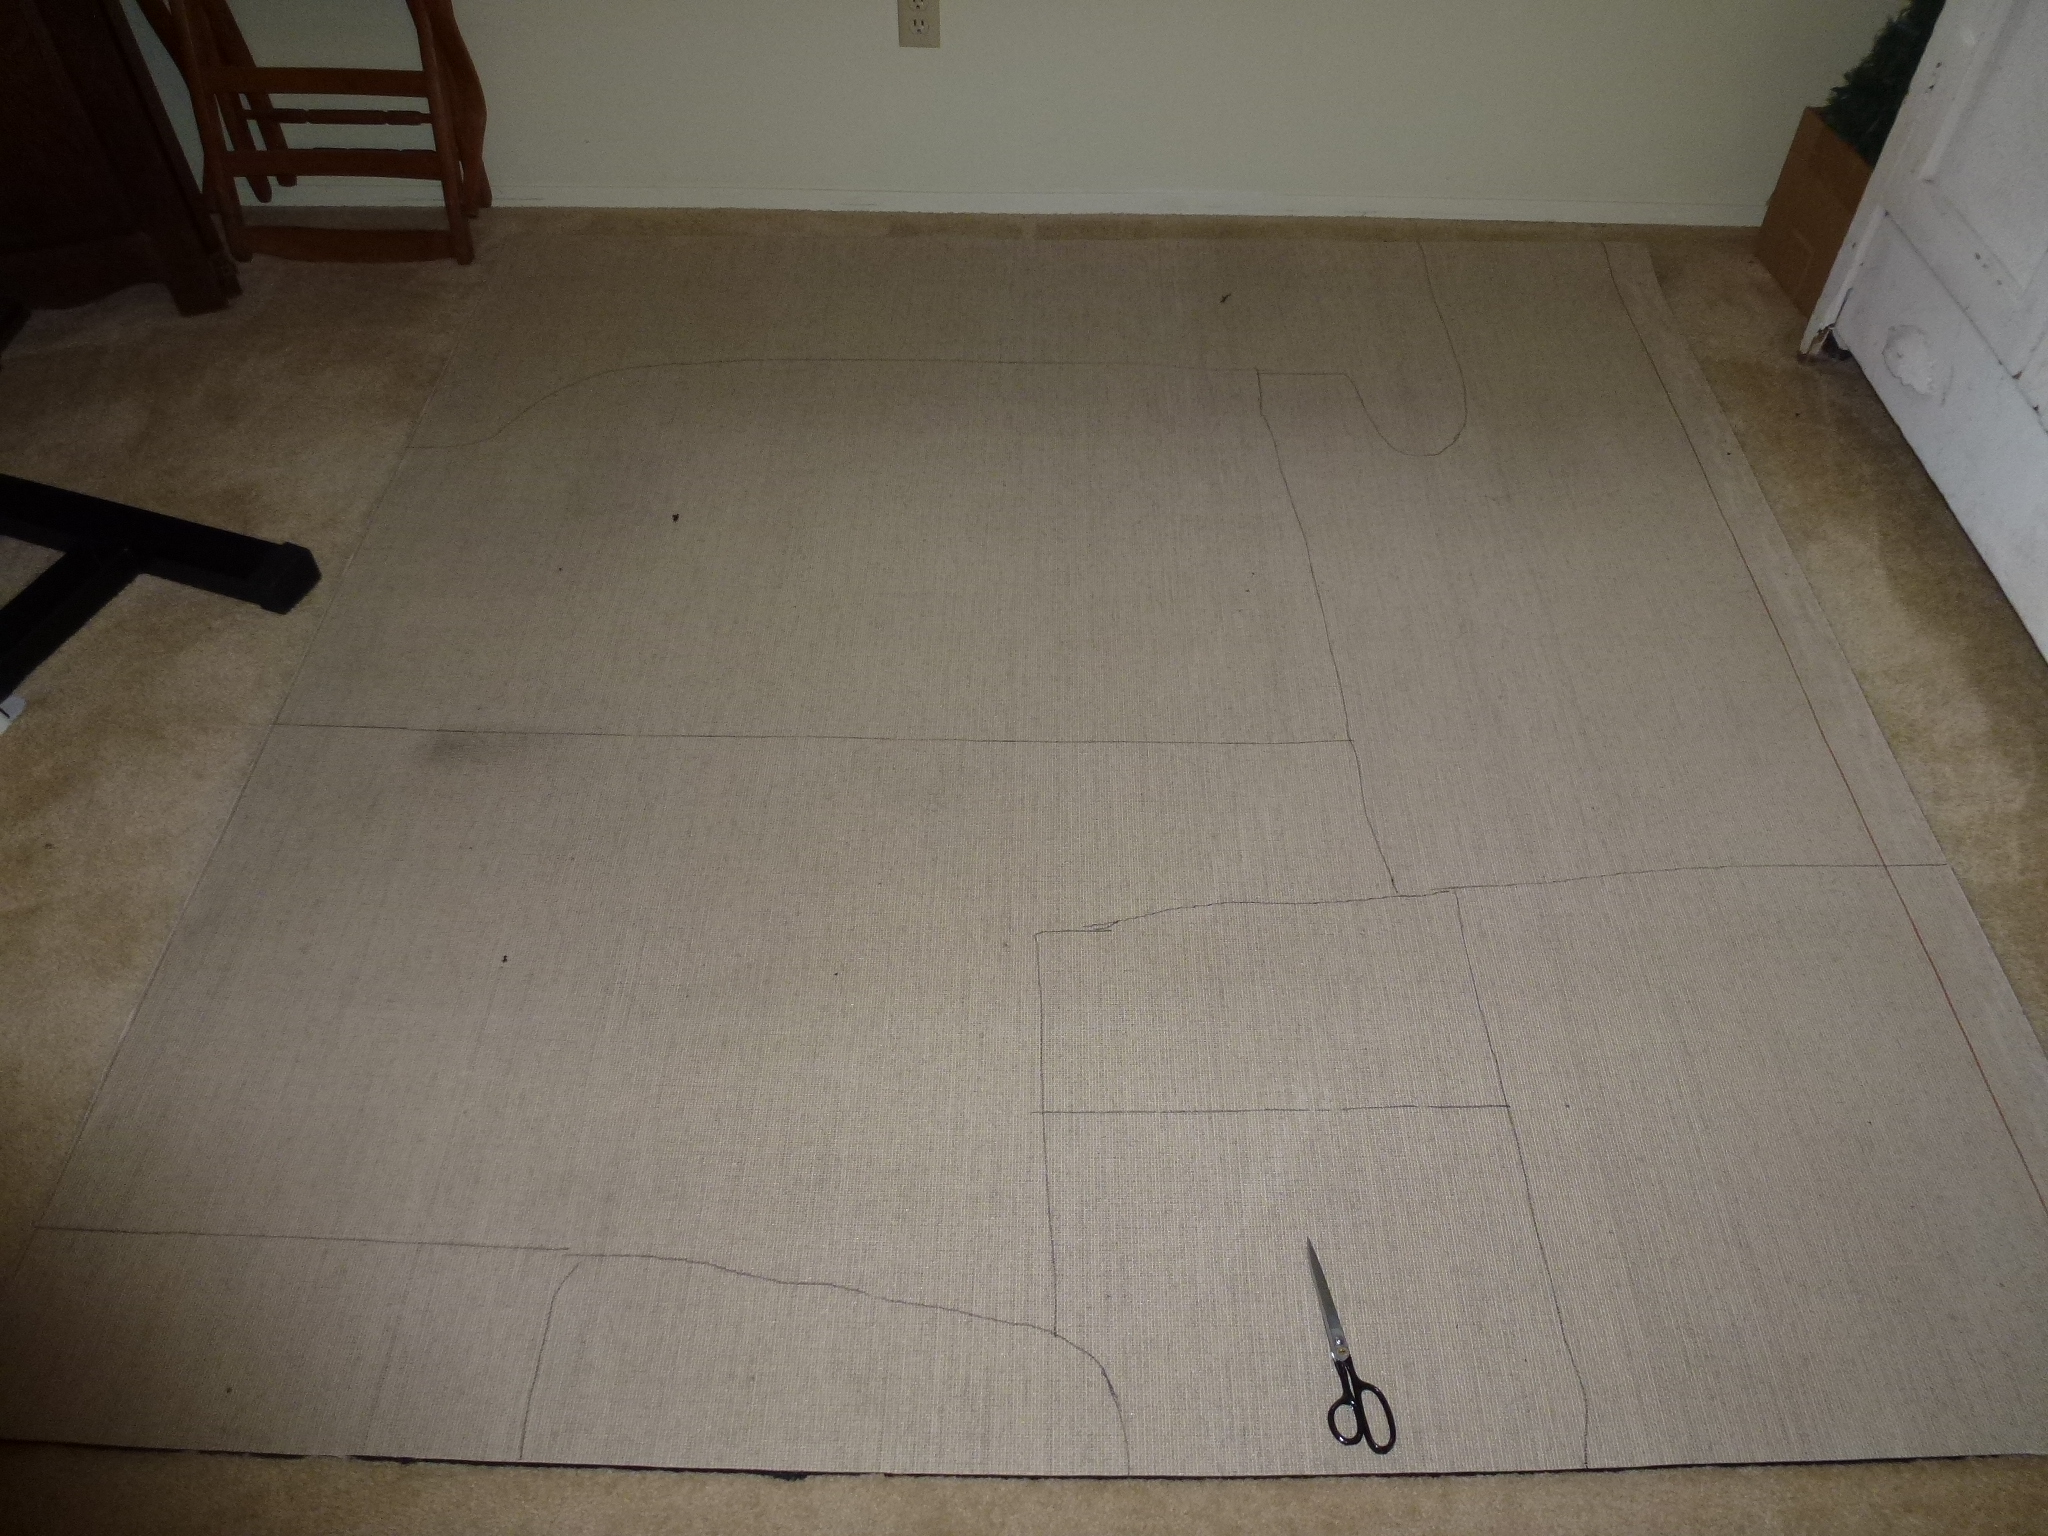
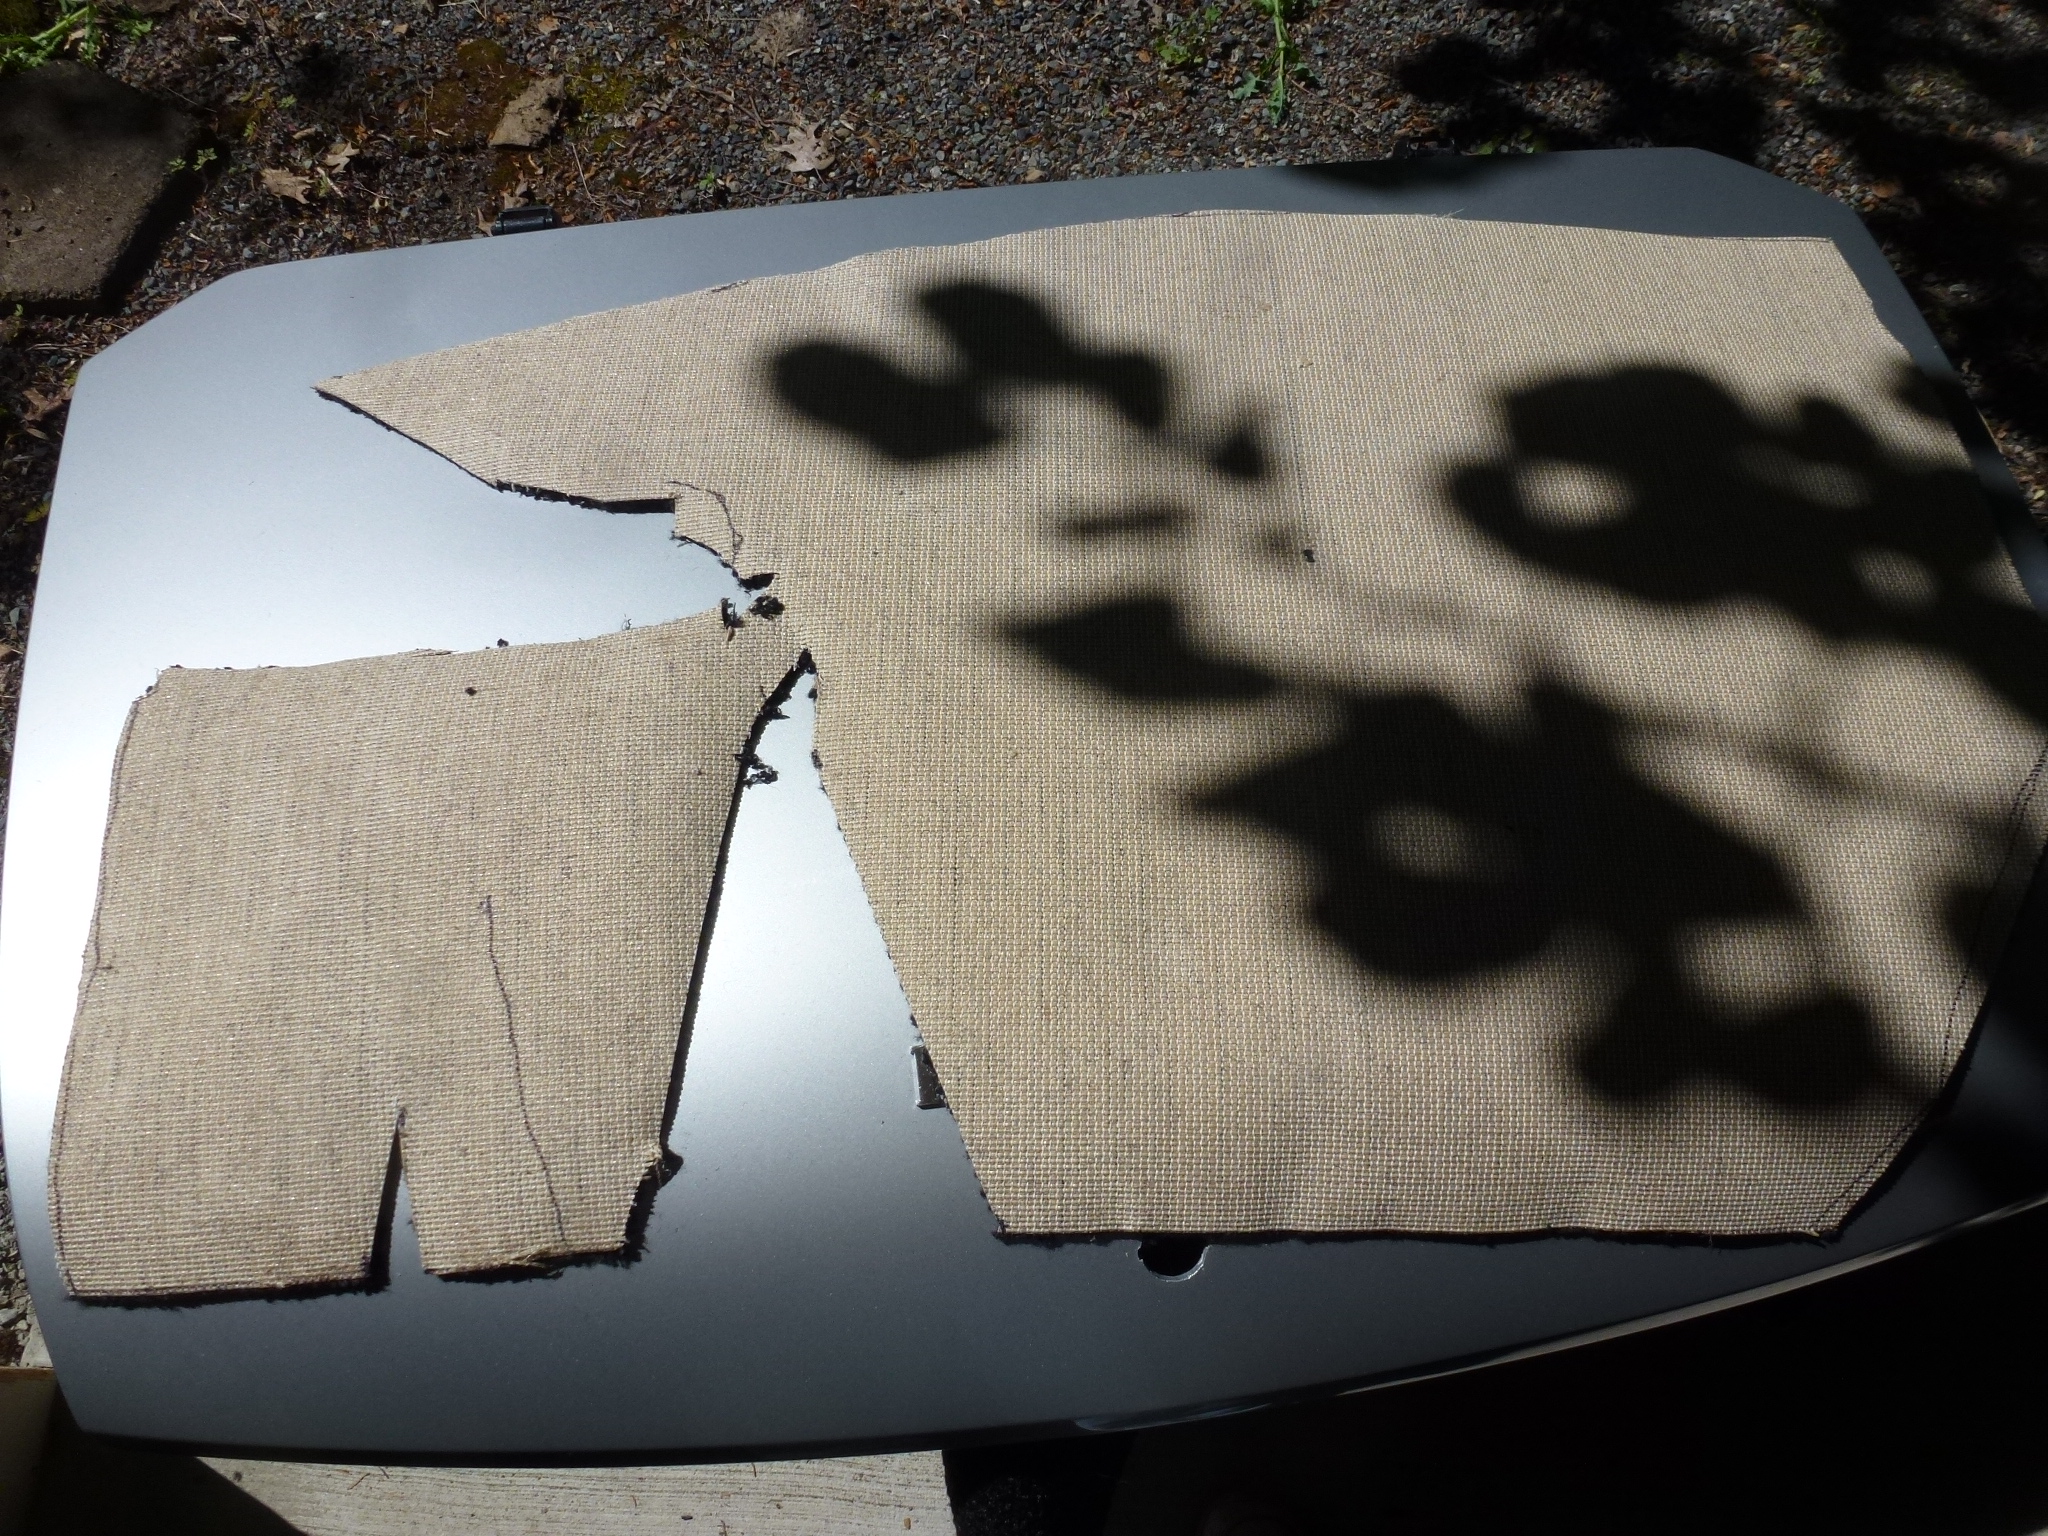
In conjunction with painting the car silver, I decided to bite the bullet and replace the carpet with the proper square weave type. The new carpet is 2 meters wide, so I had to lay out the pieces to see how much length I needed. With judicious measuring, I determined that 2 meters would work.
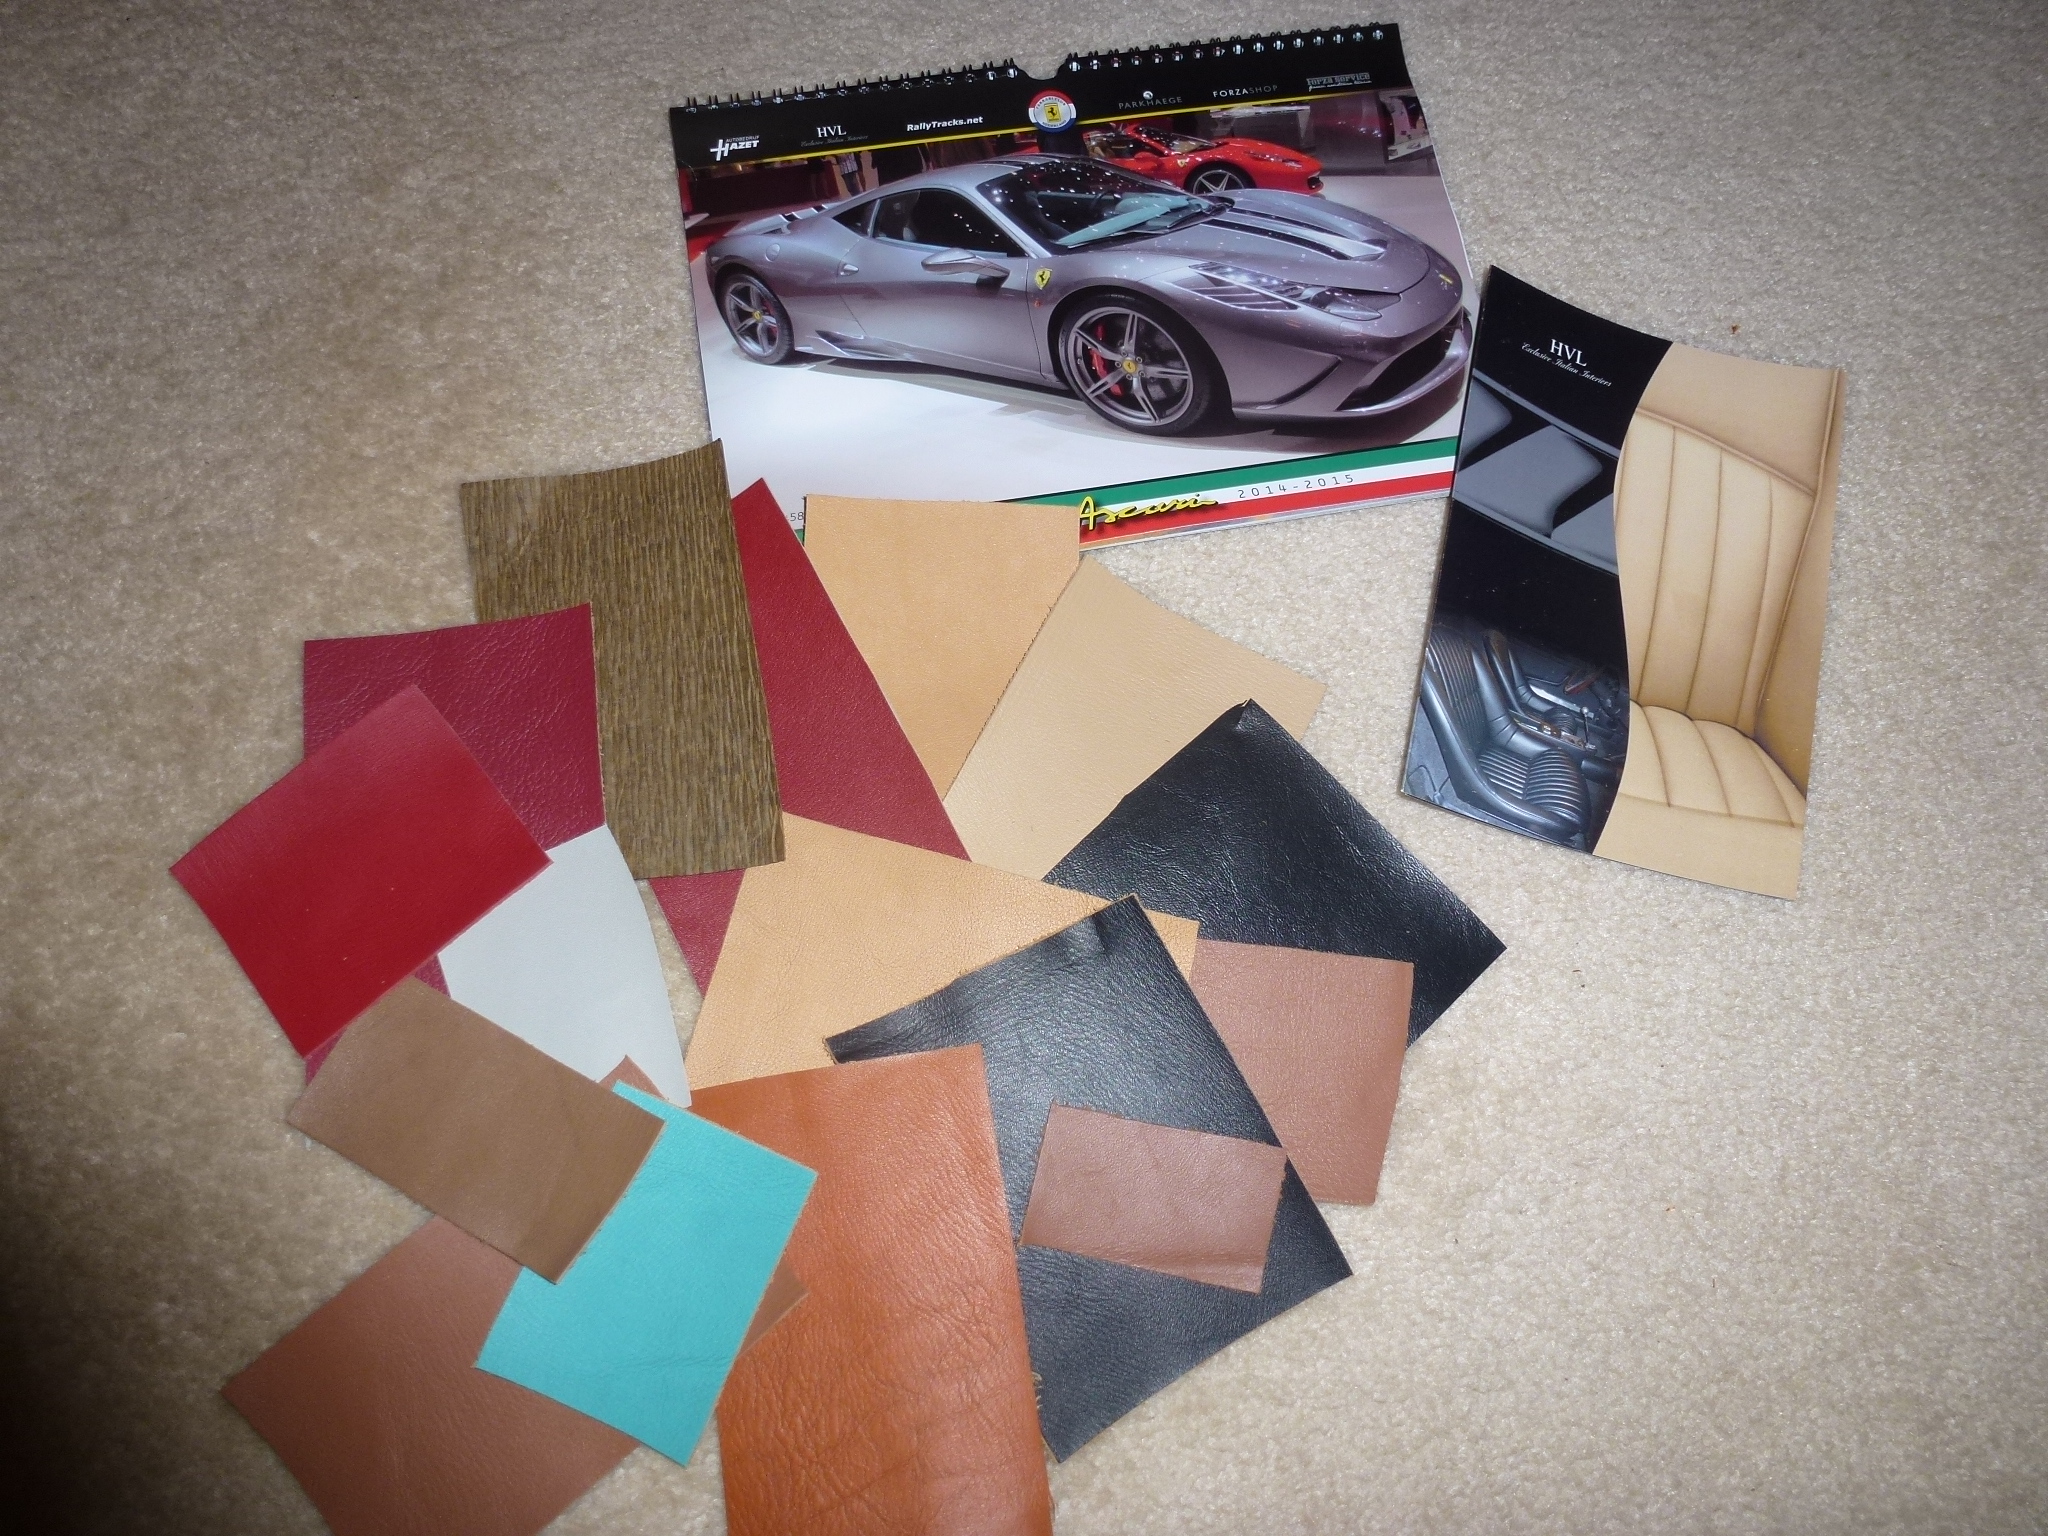
I bought it from HVL in The Netherlands, not cheap and shipping was pricey, but you get what you pay for and Henk has the right stuff. It also came packed with some literature and many samples of their leather products.
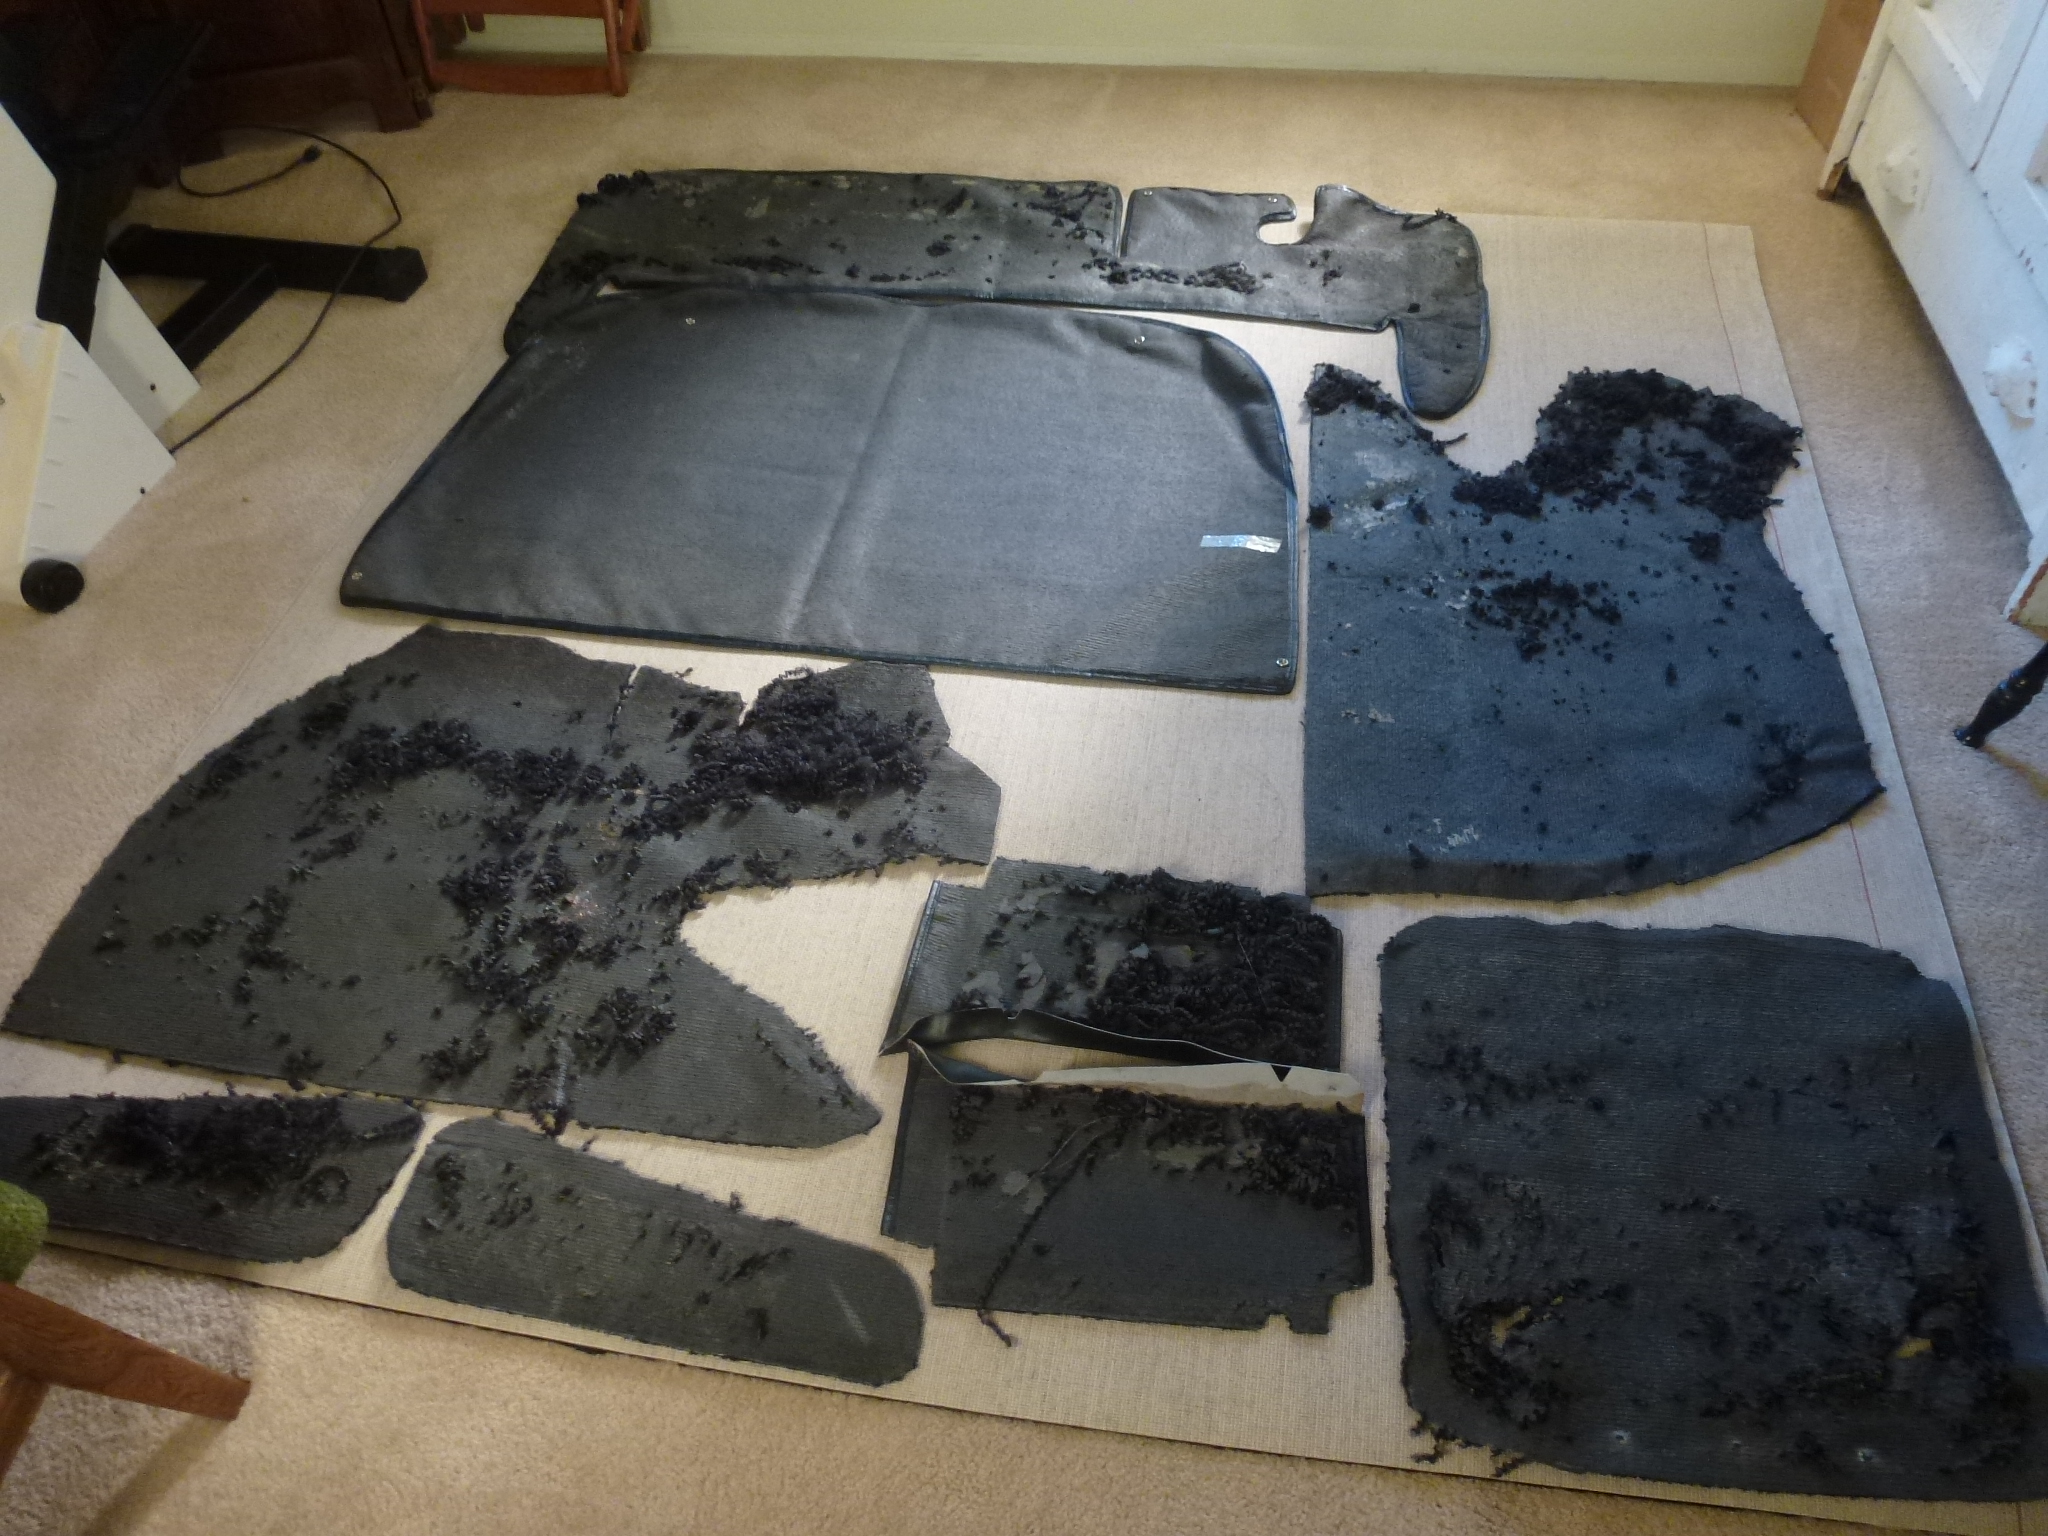
The new carpet came a while ago and I finally unwrapped it to lay out the pieces upside down so I could mark where to cut.
With some judicious layout, I was able to get all of the similar parts running the same direction, so the grain will look correct. The only exceptions are the two pieces that go into the wheel wells, but they are far apart from each other, so I doubt that anybody will notice. There are nine pieces, but five of them do not require any edging, so I'll be able to cut, fit and glue them in now. I'll have to wait to after the shows in Monterey in a couple of weeks to have an interior guy sew on the edging. They are too busy right now.
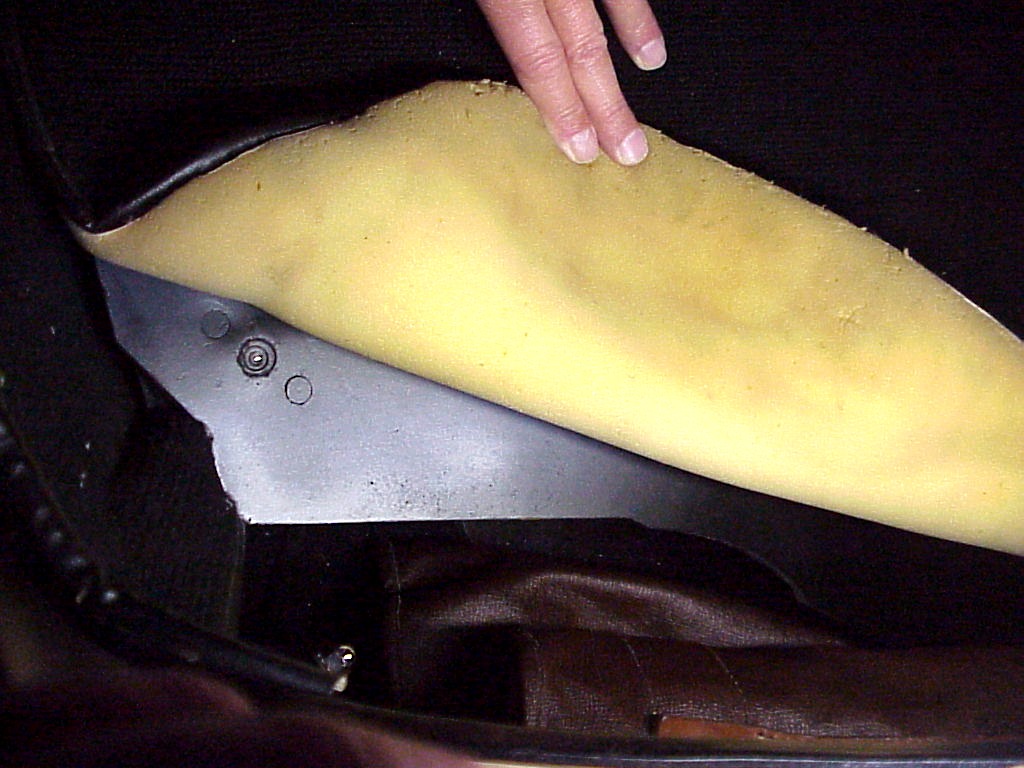
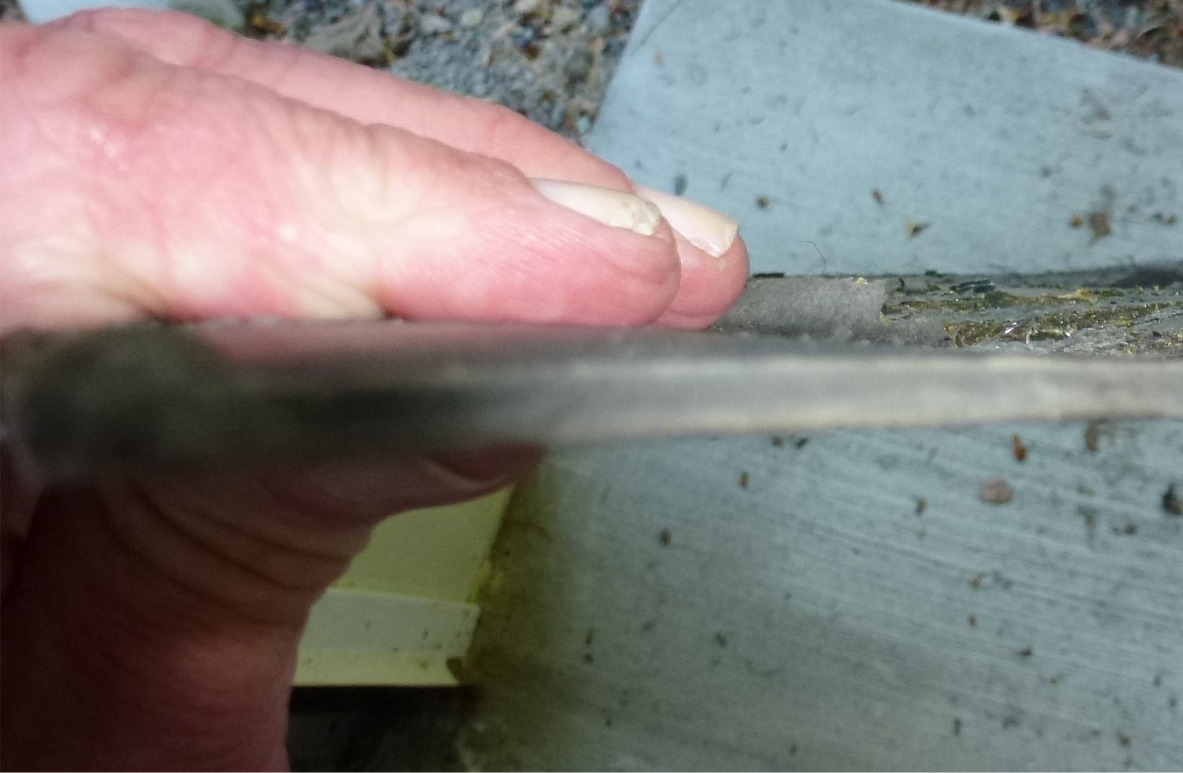
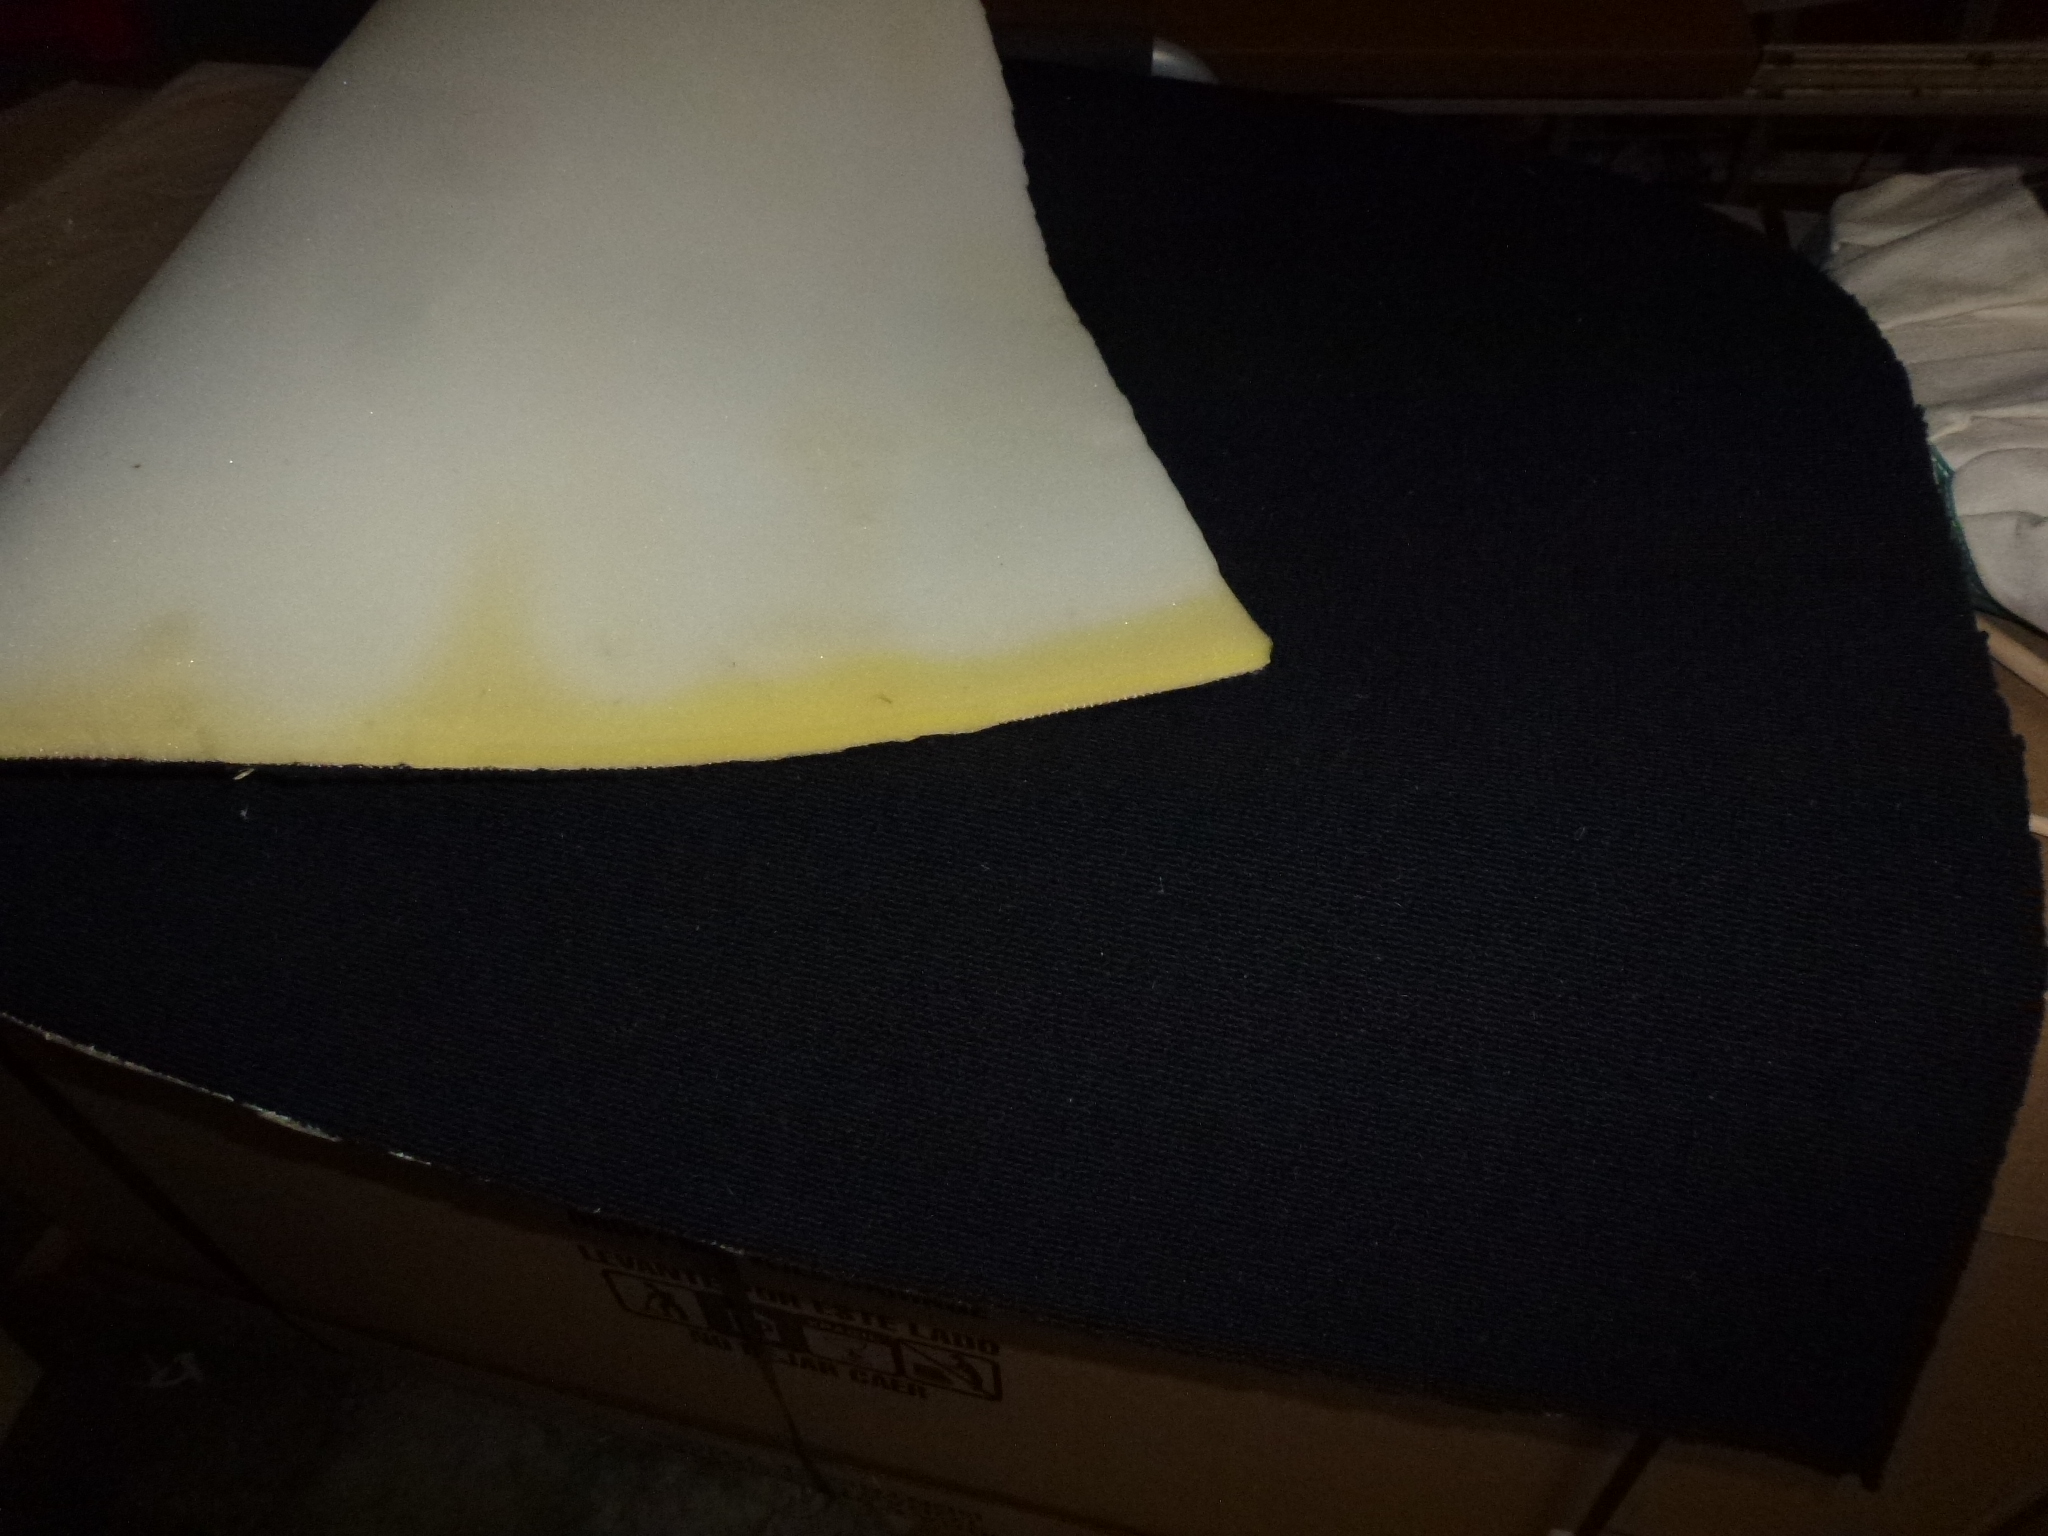
I also ordered some white 3/8" foam that goes on the underside of the carpet over the spare tire cover. There is a recent thread on Ferrari Chat concerning this. Lowell Brown's car still have original trunk carpet, so I asked about his. He said that it's 1/4-3/8" thick, depending on how much it's been compressed over the years and seems to be glued to the carpet in addition to being sewn into the edging. I thought that I could just go to a fabric or crafts store and get what I wanted, but it wasn't that simple. After a few searches on the web, I found the Foam Factory, which had white 3/8" foam that is wide enough. A half sheet will work as it takes about 31"x50". The shipping turned out to be 2½ times the cost of the foam, but it will look right except that it will have to age a few years to have the right 'yellow' patina. Here is a picture of the foam on Lowell's carpet.
I marked between all of the pieces and roughly cut them out.
The pieces in the trunk lid just tuck under the inner framework. There were a couple of places where the framework was pretty close to the outer skin, so I used a Dremel with a cutting disk to make more room. I still had to cut away some of the nap to get the pieces to fit.
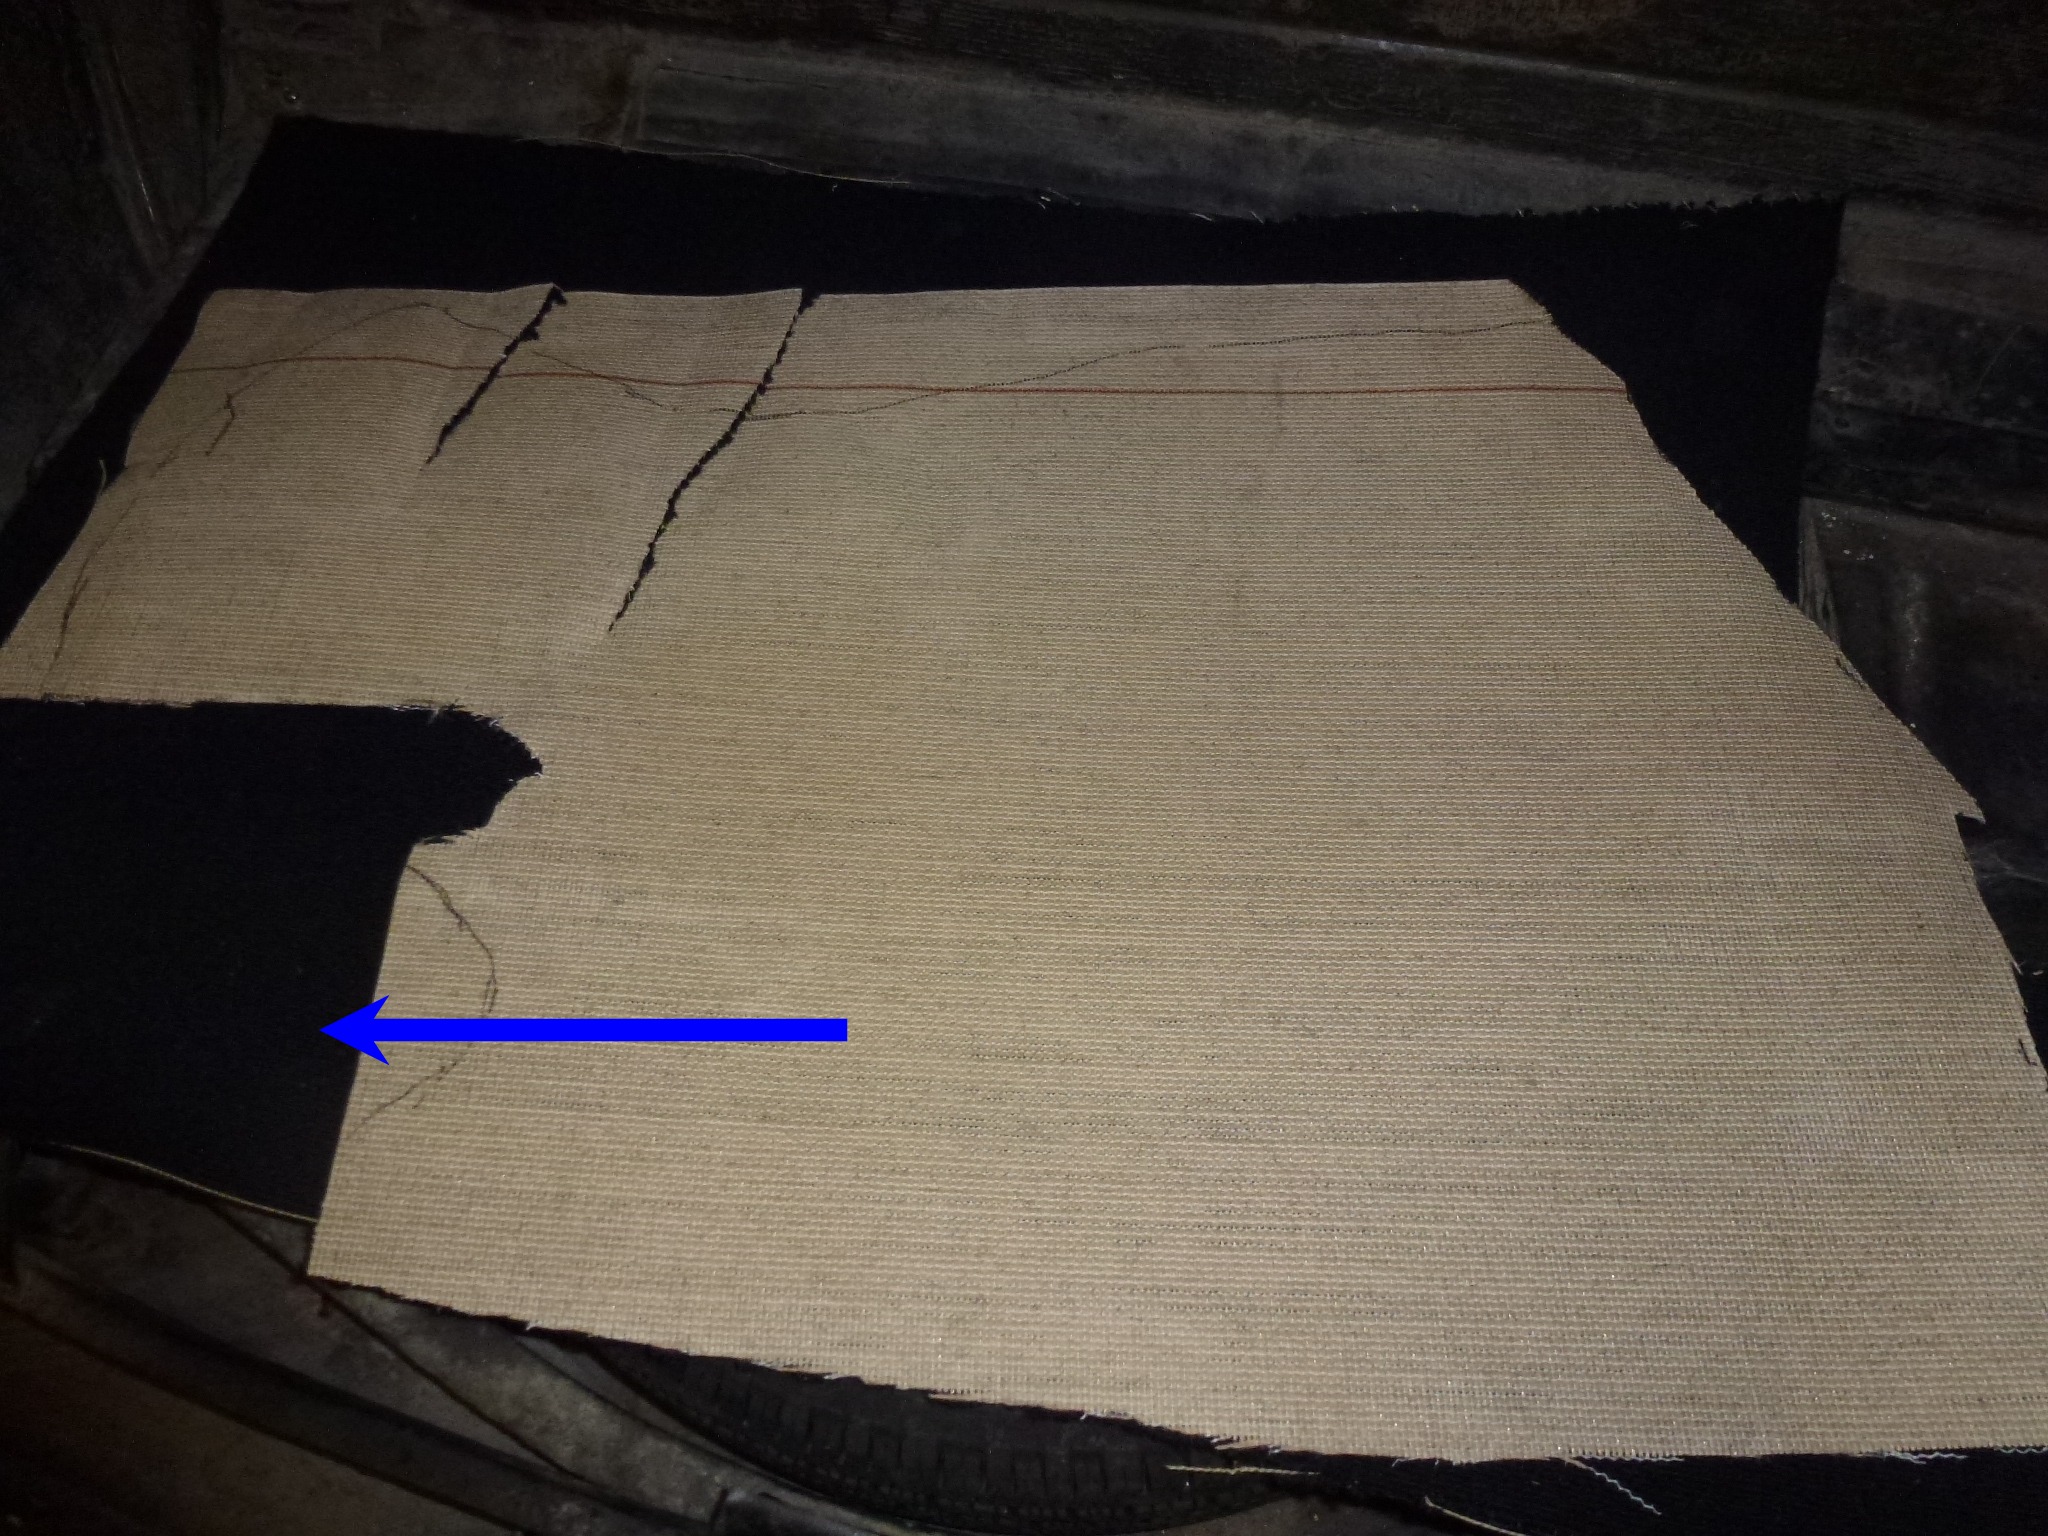
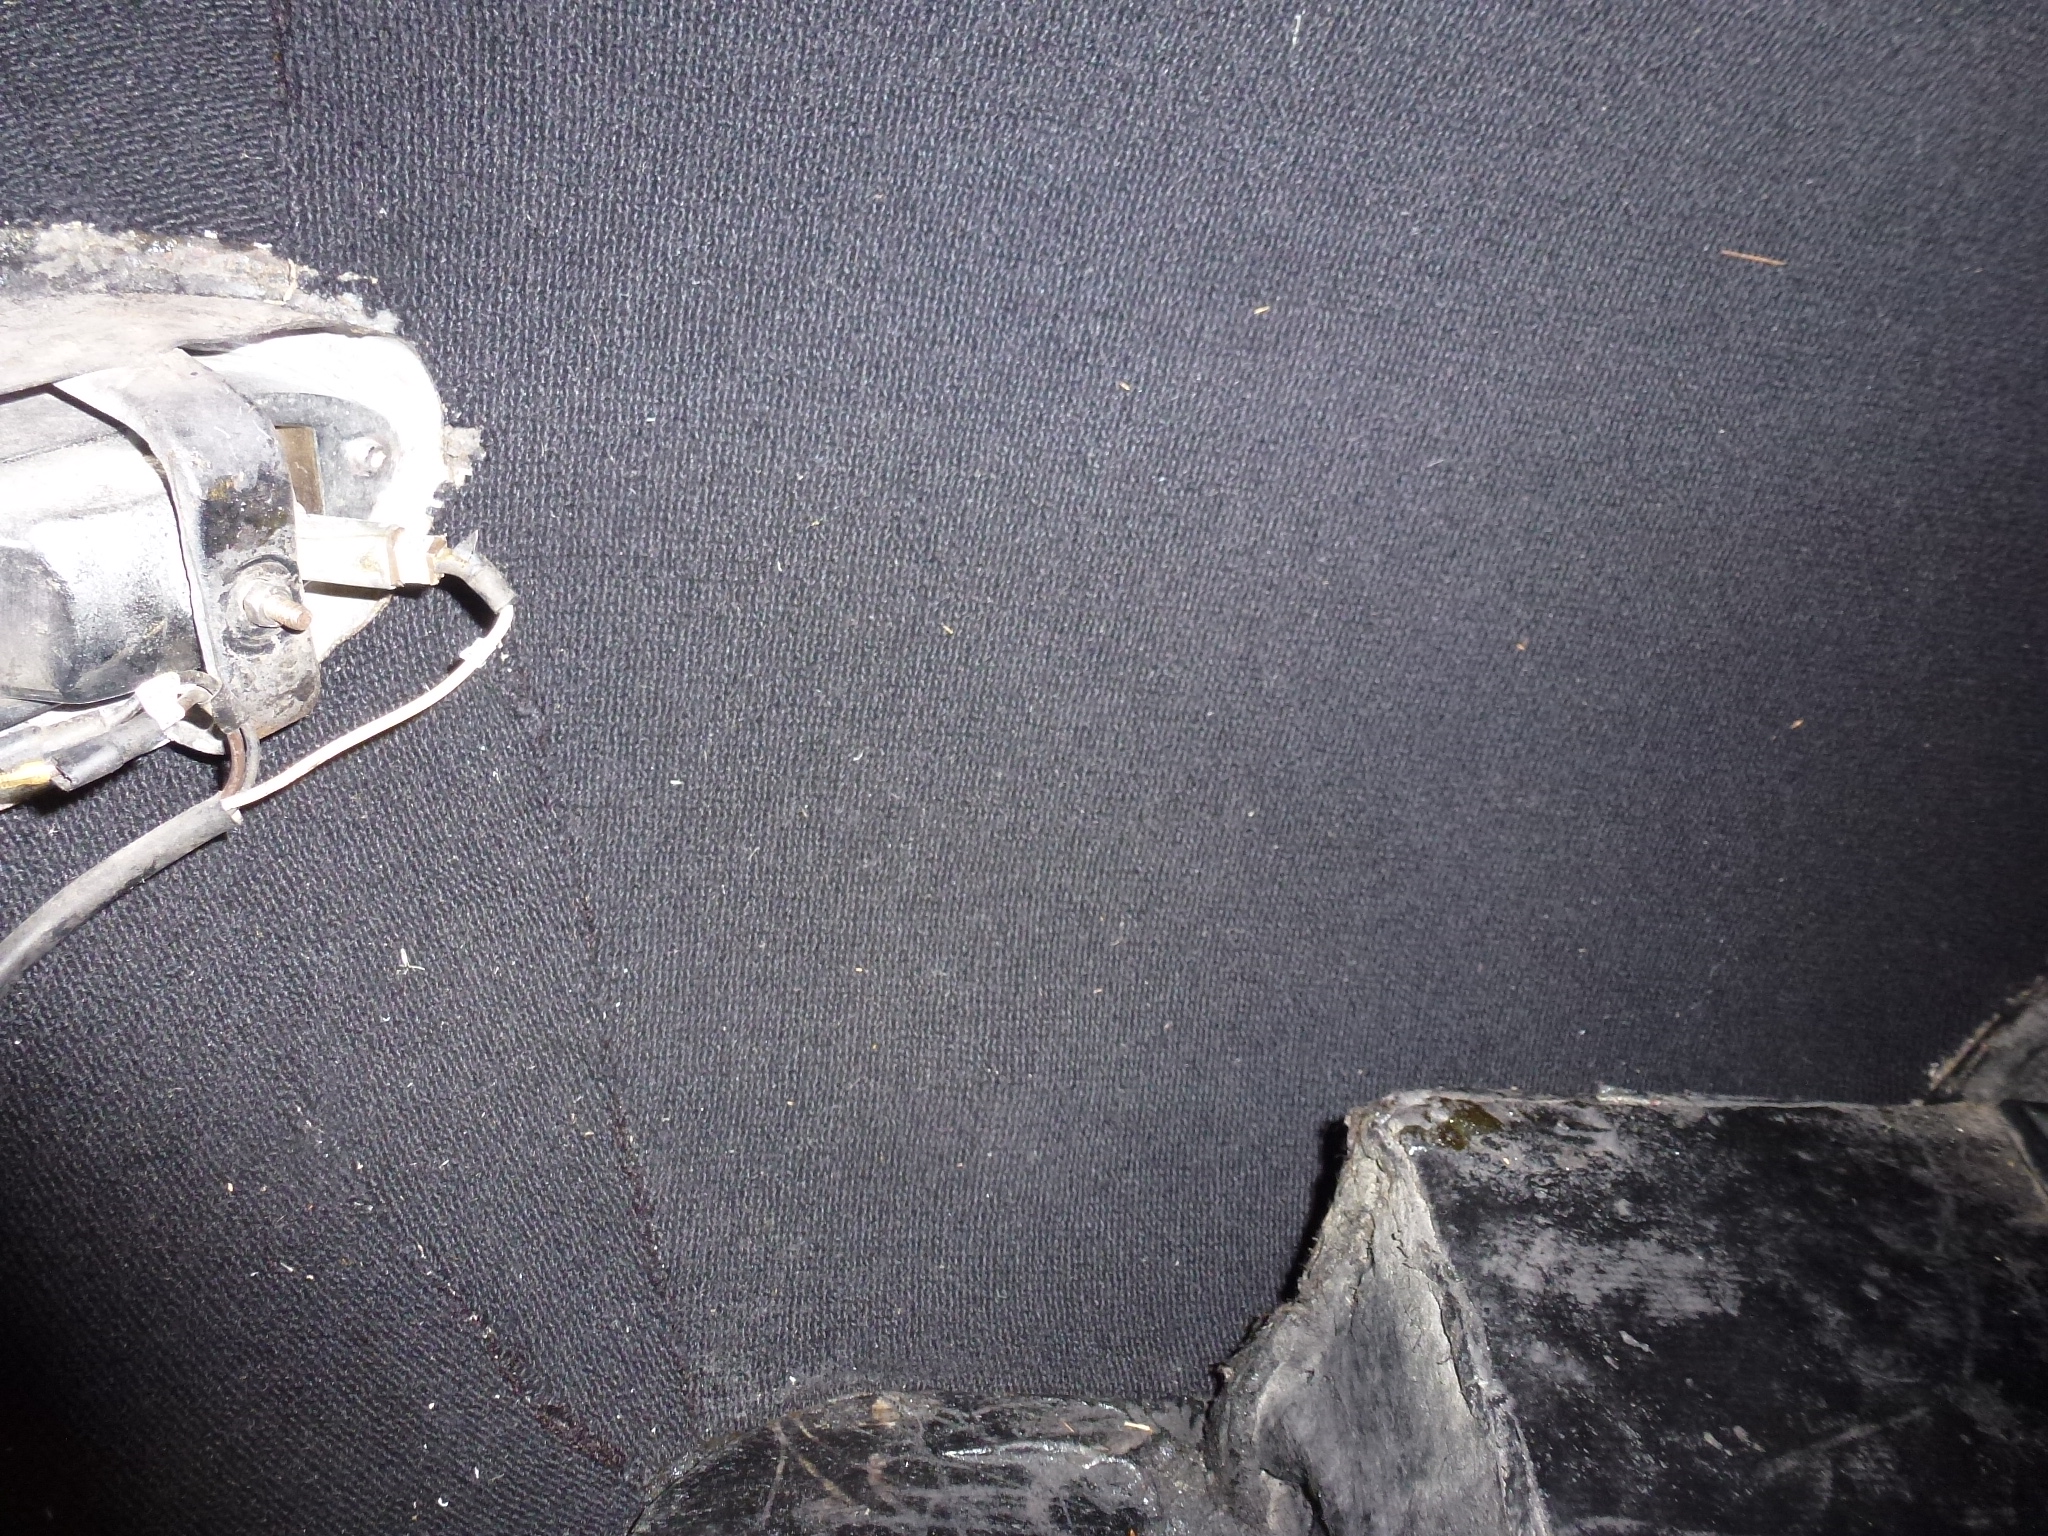
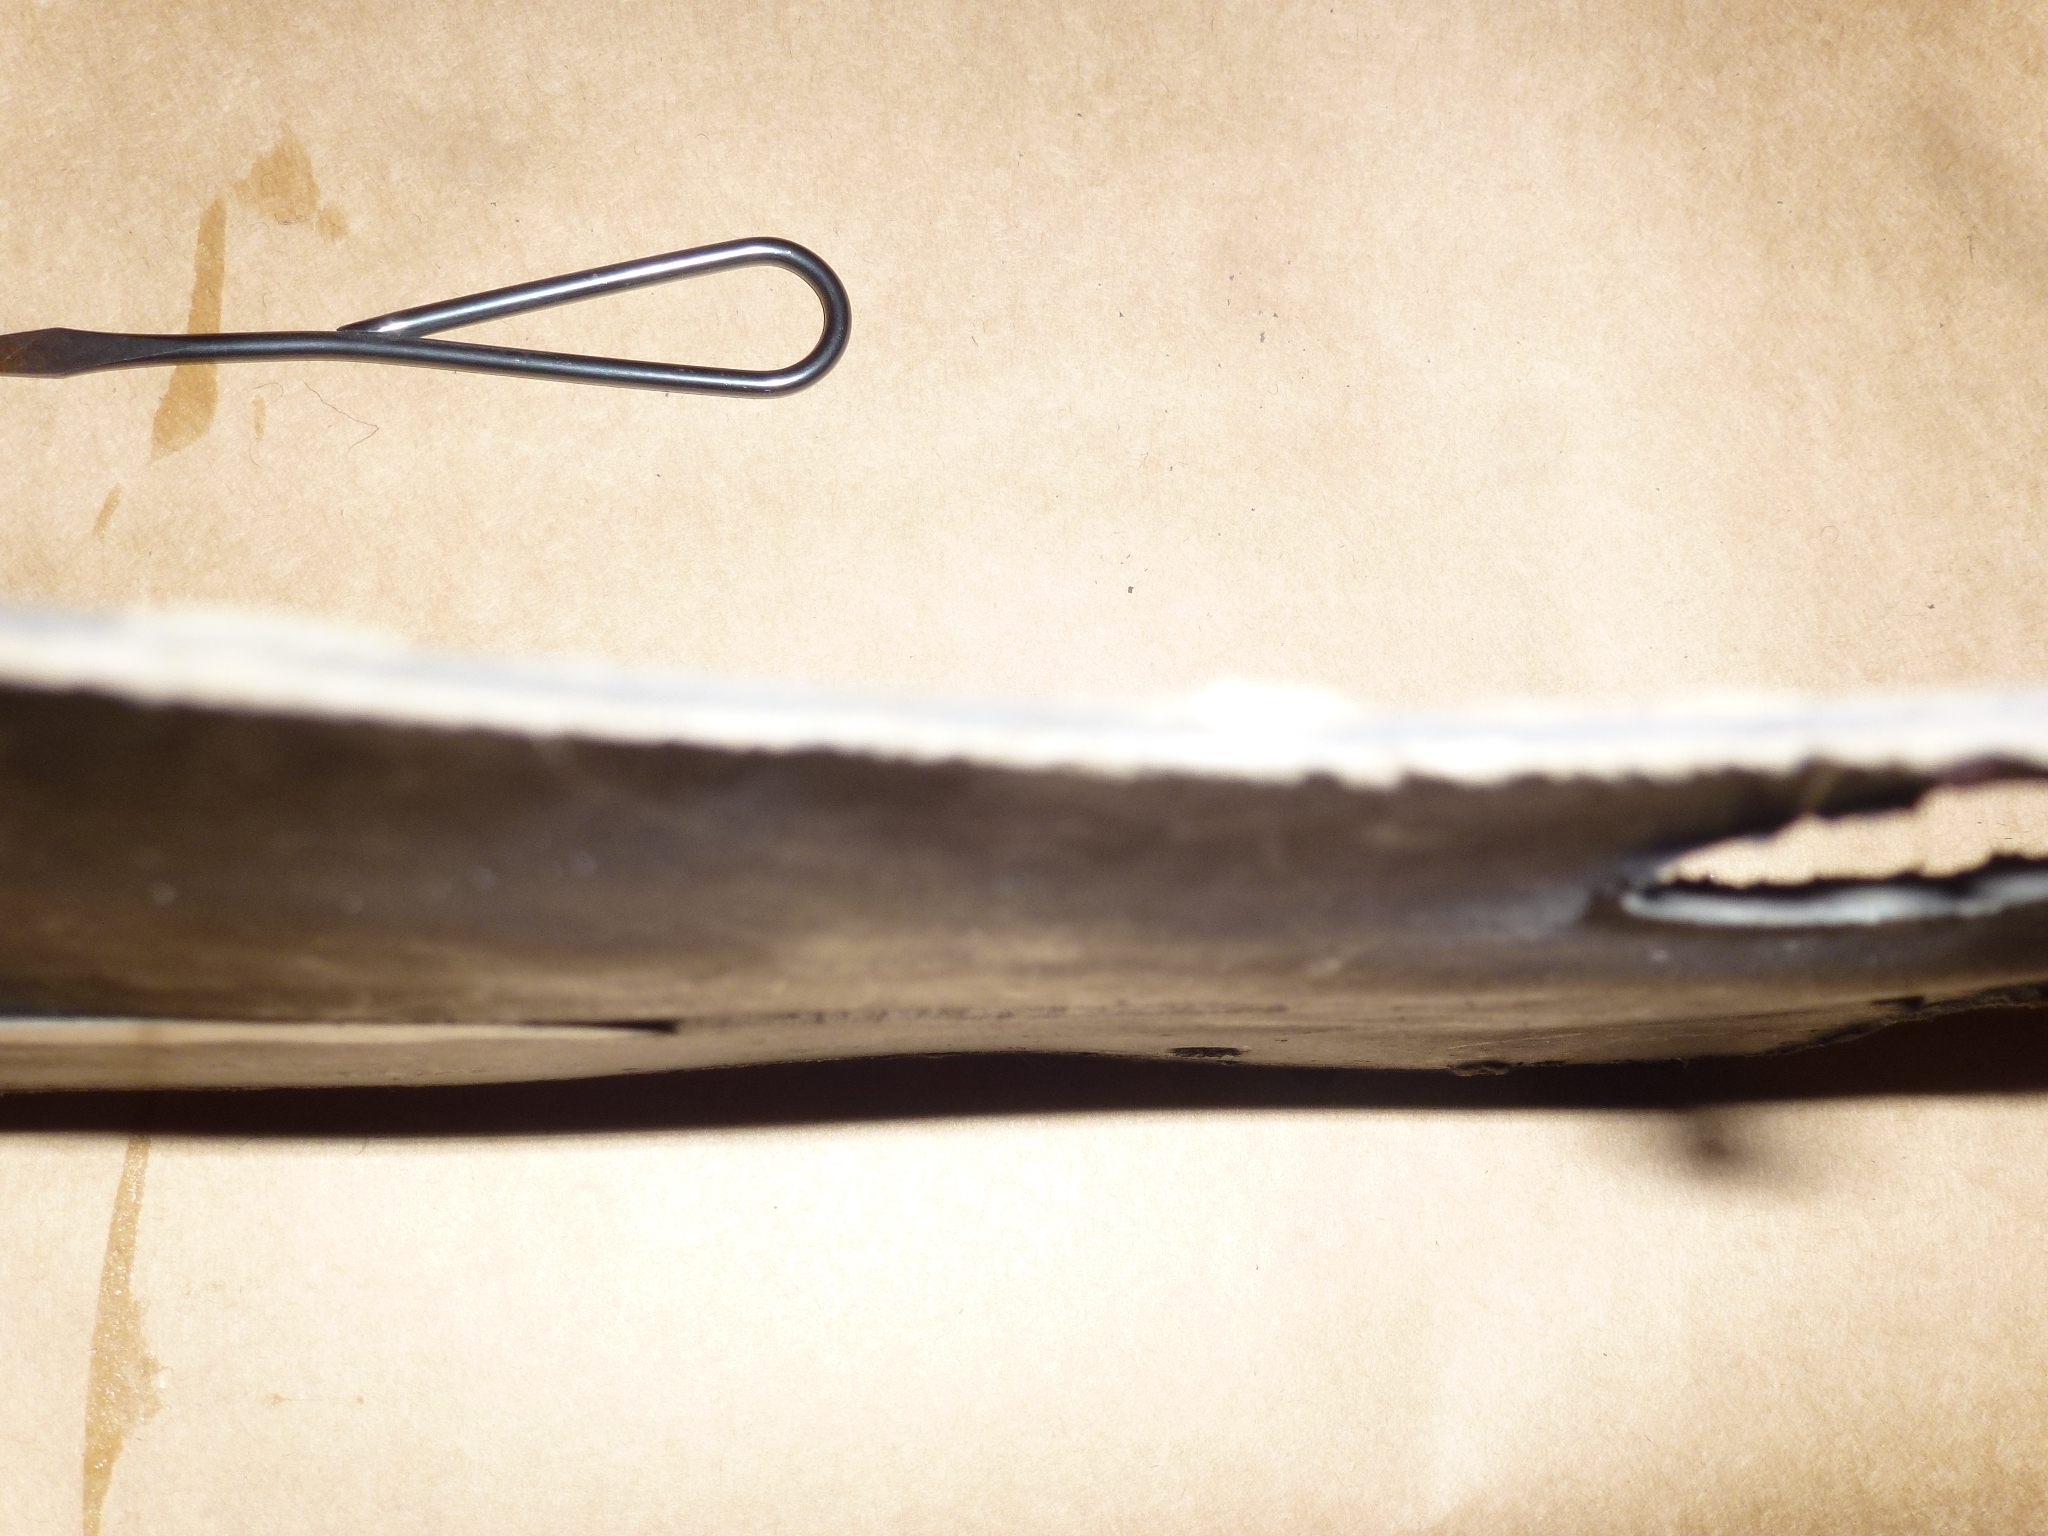
The next pieces I worked on were the ones that fit in the wheel wells. These are complicated and required a lot of fitting. I started with the old carpet as a pattern, but that was a mistake. The old carpet had a rubberized back, so it was stretchy and I used that feature when I glued it on. So I made the cutout for the light housing in the wrong place. Luckily, it was too high and I'll be able to fit in a piece above the housing. Unless you are standing on your head in the trunk, it can't be seen. The arrow points to where I need to add the piece.
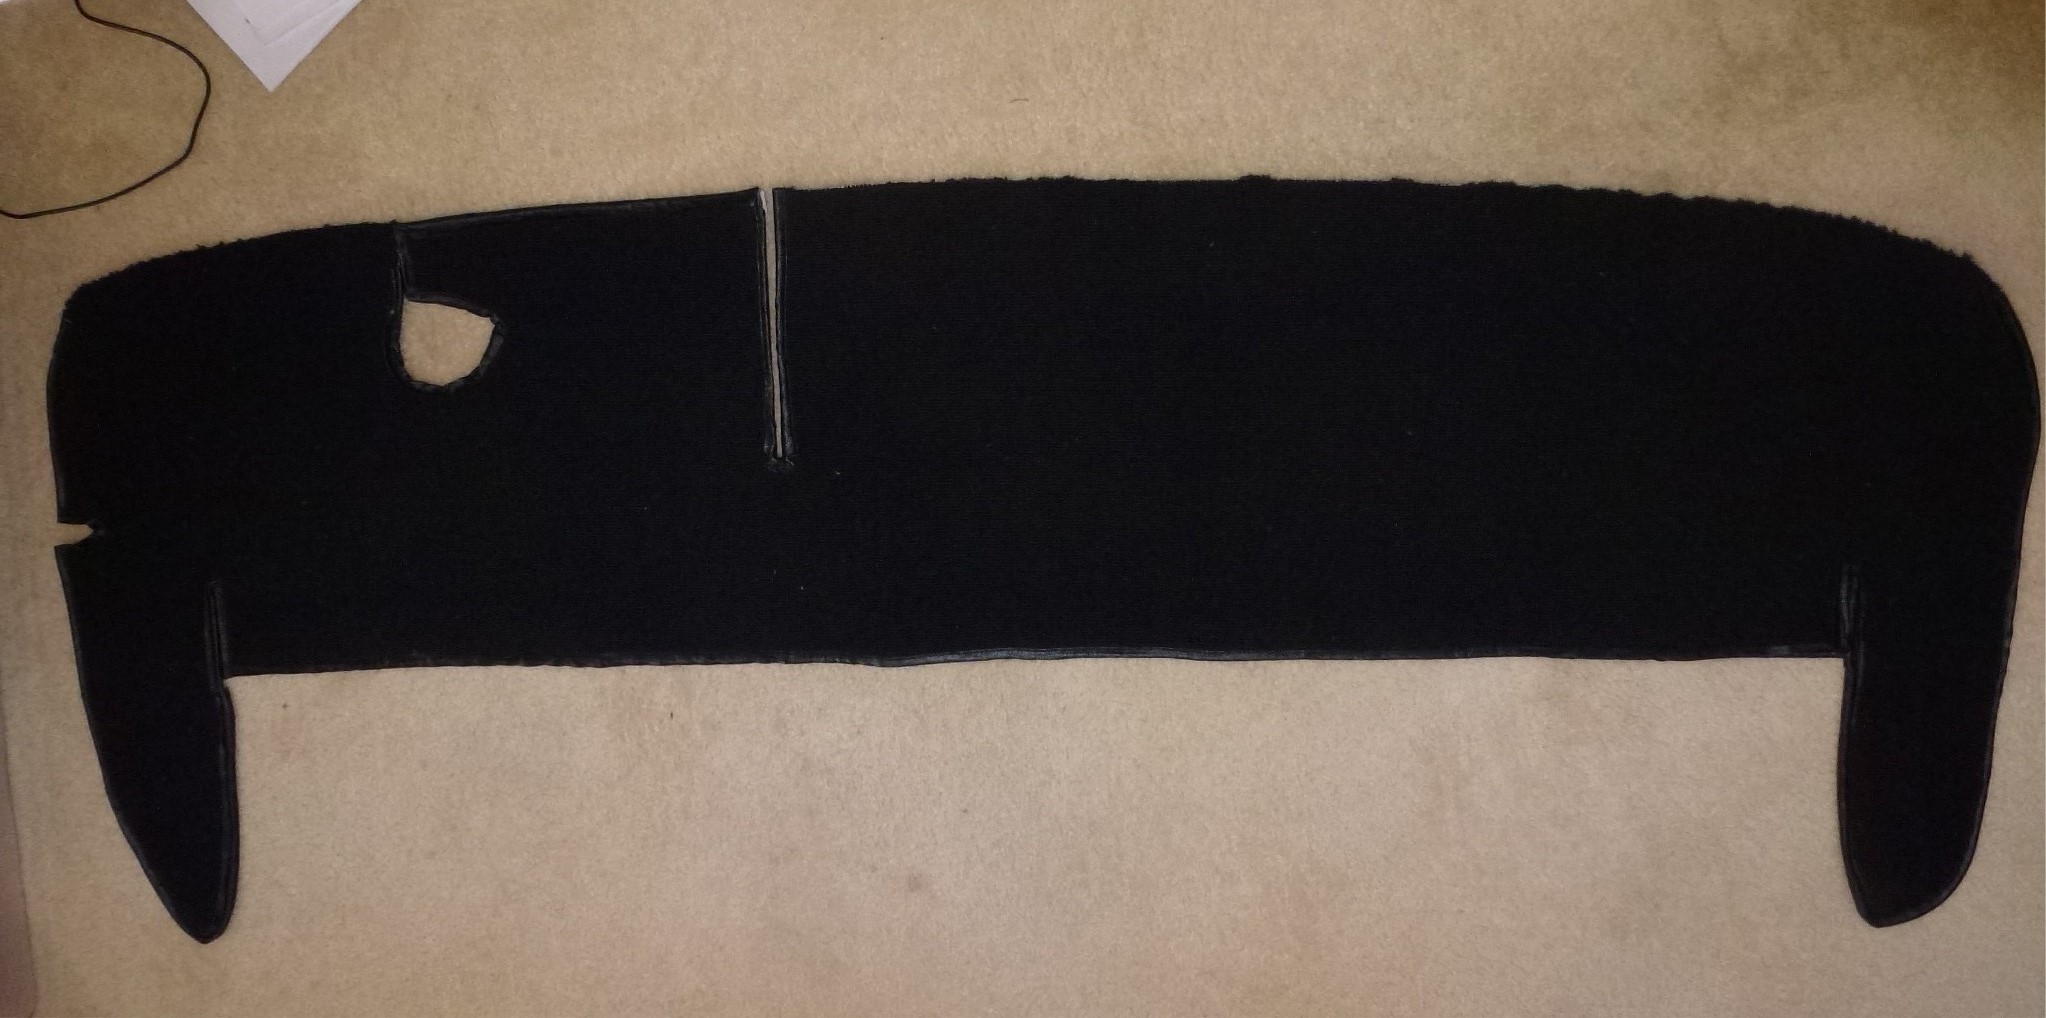
Here is the cut piece. You can see a couple of slits where the carpet has to wrap around a cornet in the trunk floor.
Before gluing in this wheel well carpet, I use it for the rough pattern on the other side.
The final piece for the wheel well looks pretty funny when laid out, but it does fit once glued in.
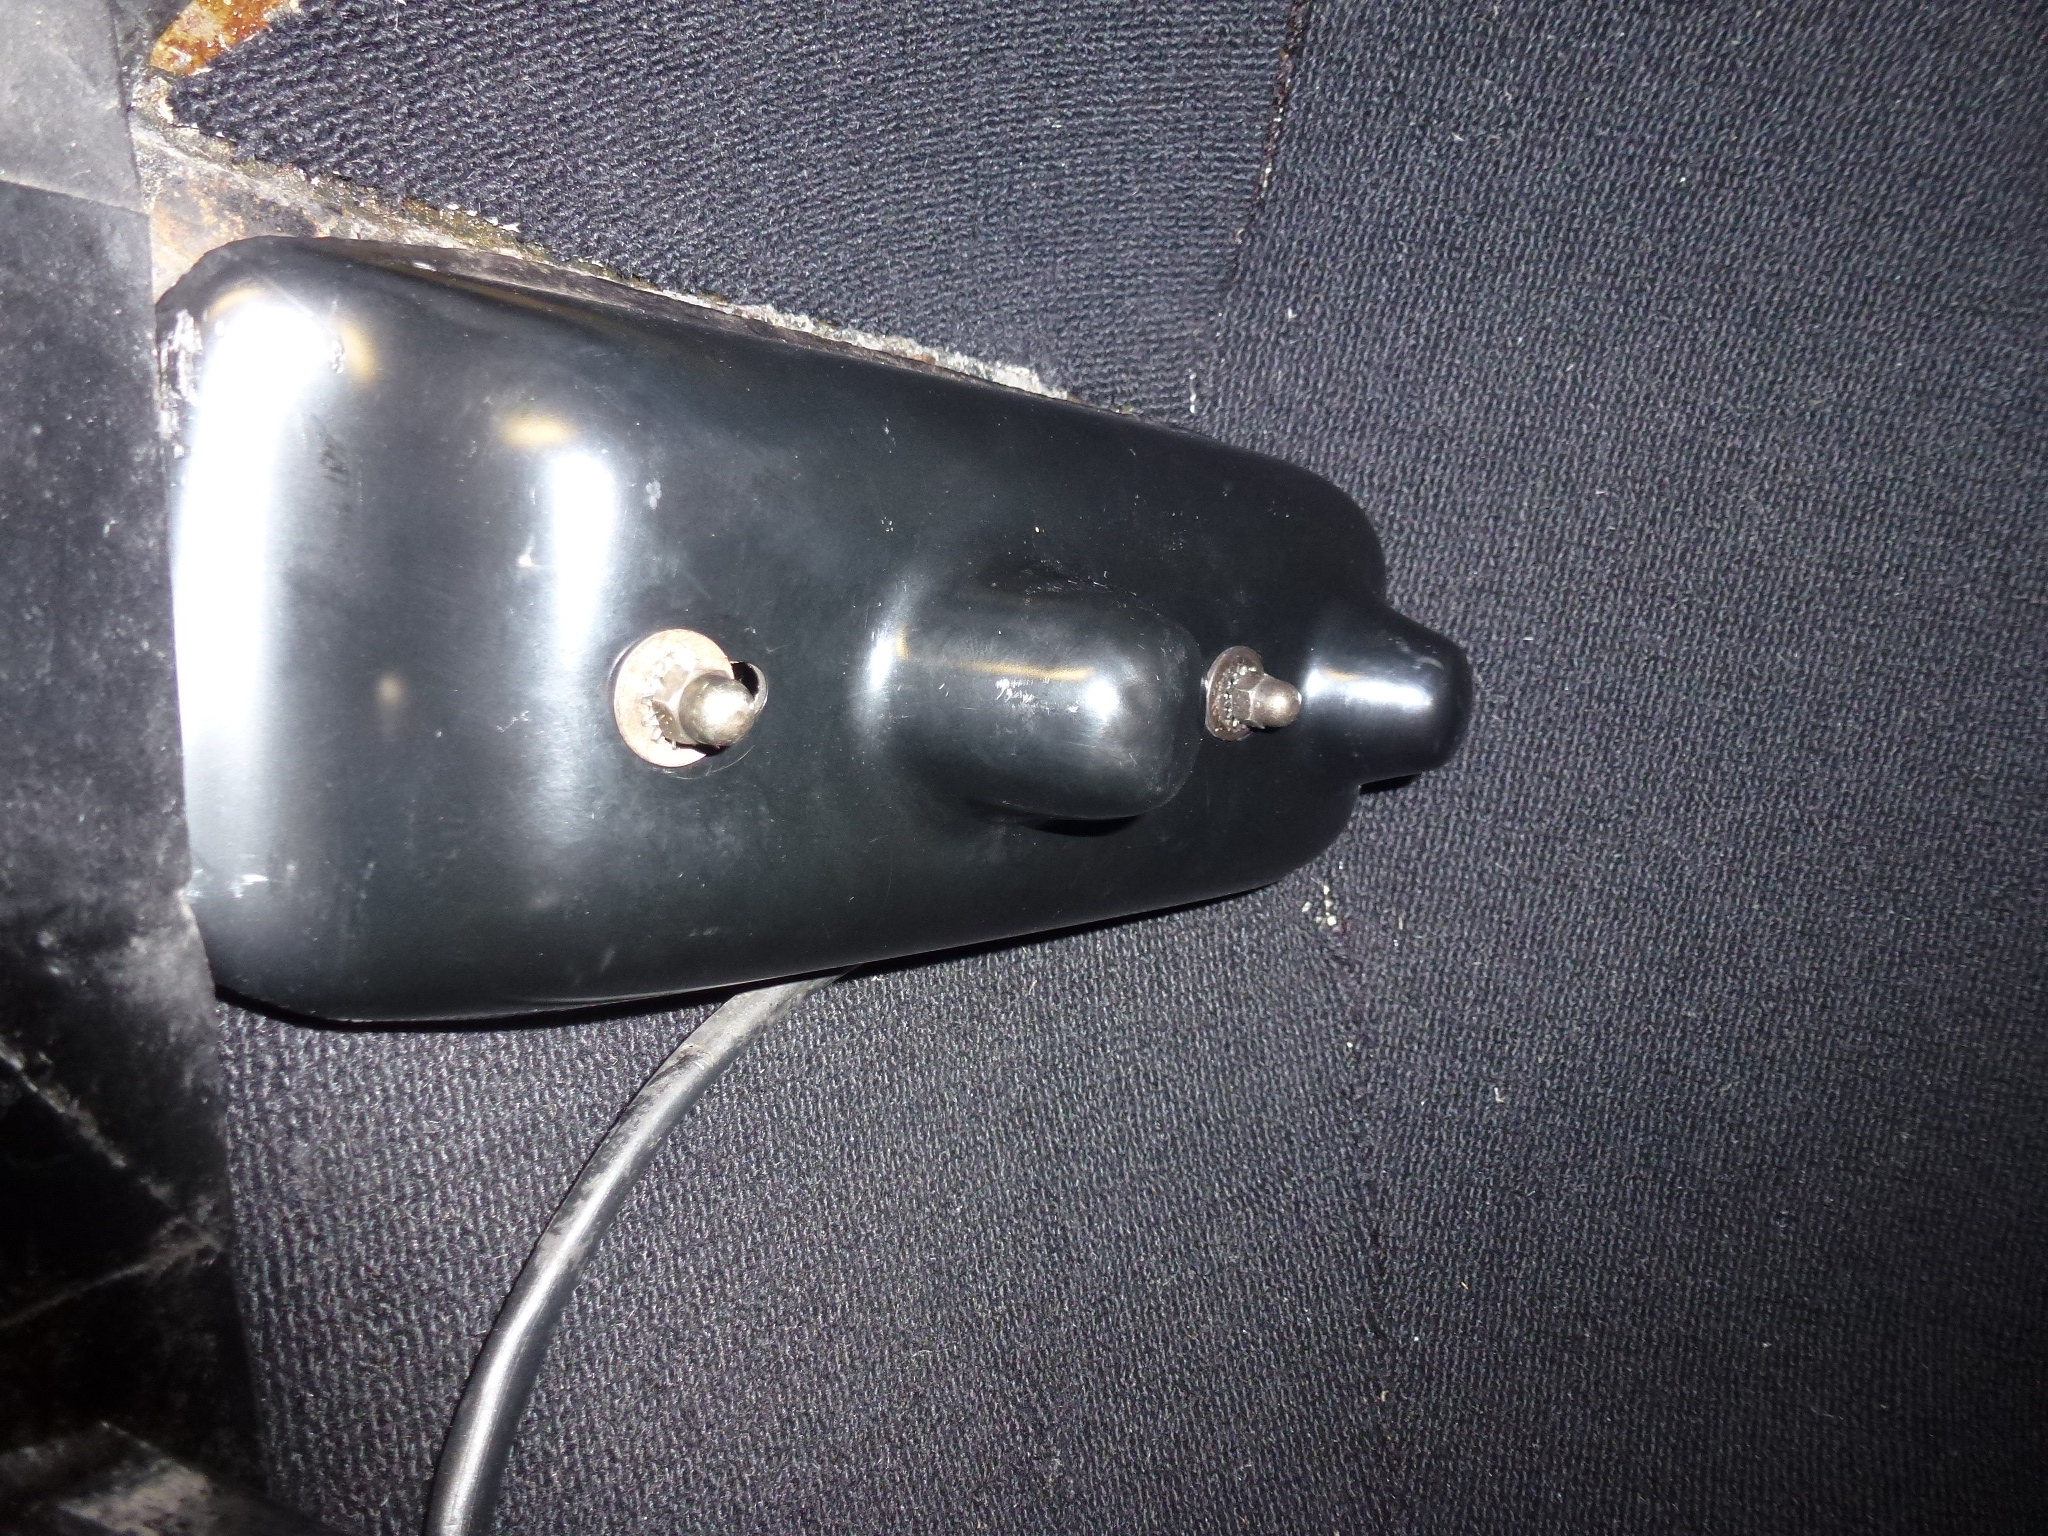
Now I was able to put the tail light housings back in place. Now I don't have to worry about something in the trunk disconnecting a wire. I checked that the turn signals, tail and brake lights worked. Last year, in the last minute push the night before the local FCA concours, I put the covers on, but didn't check the light operation. Of course, I managed to disconnect both brake wires, so lost a point.
Now I need to fit the other four pieces and get edge binding sewed on.
I had to get some heavy duty needles and upholstery thread as regular thread kept breaking about every 2" or so due to the carpet and edge binding thickness. I had a difficult time getting the new needle and thread to work. Eventually I figured out that I was putting the needle in wrong. There is a groove that has to go on the front side. The thread lays in this groove as the needle goes through the material and keeps the thread from fraying and breaking. The other thing is that I'm not a very good seamstress. My wife was much better and used to do any sewing needed on the car. Eventually, I did get the two panes to each side of the latch bar finished. These are glued on thick, stiff cardboard which is screwed to the body. I wasn't sure that this was original, thinking that Pininfarina would have used hardboard. But the hole in the upper right is located where the lower studs come through to hold the European rear plate, plus Lowell Brown checked on his car and it has similar material.
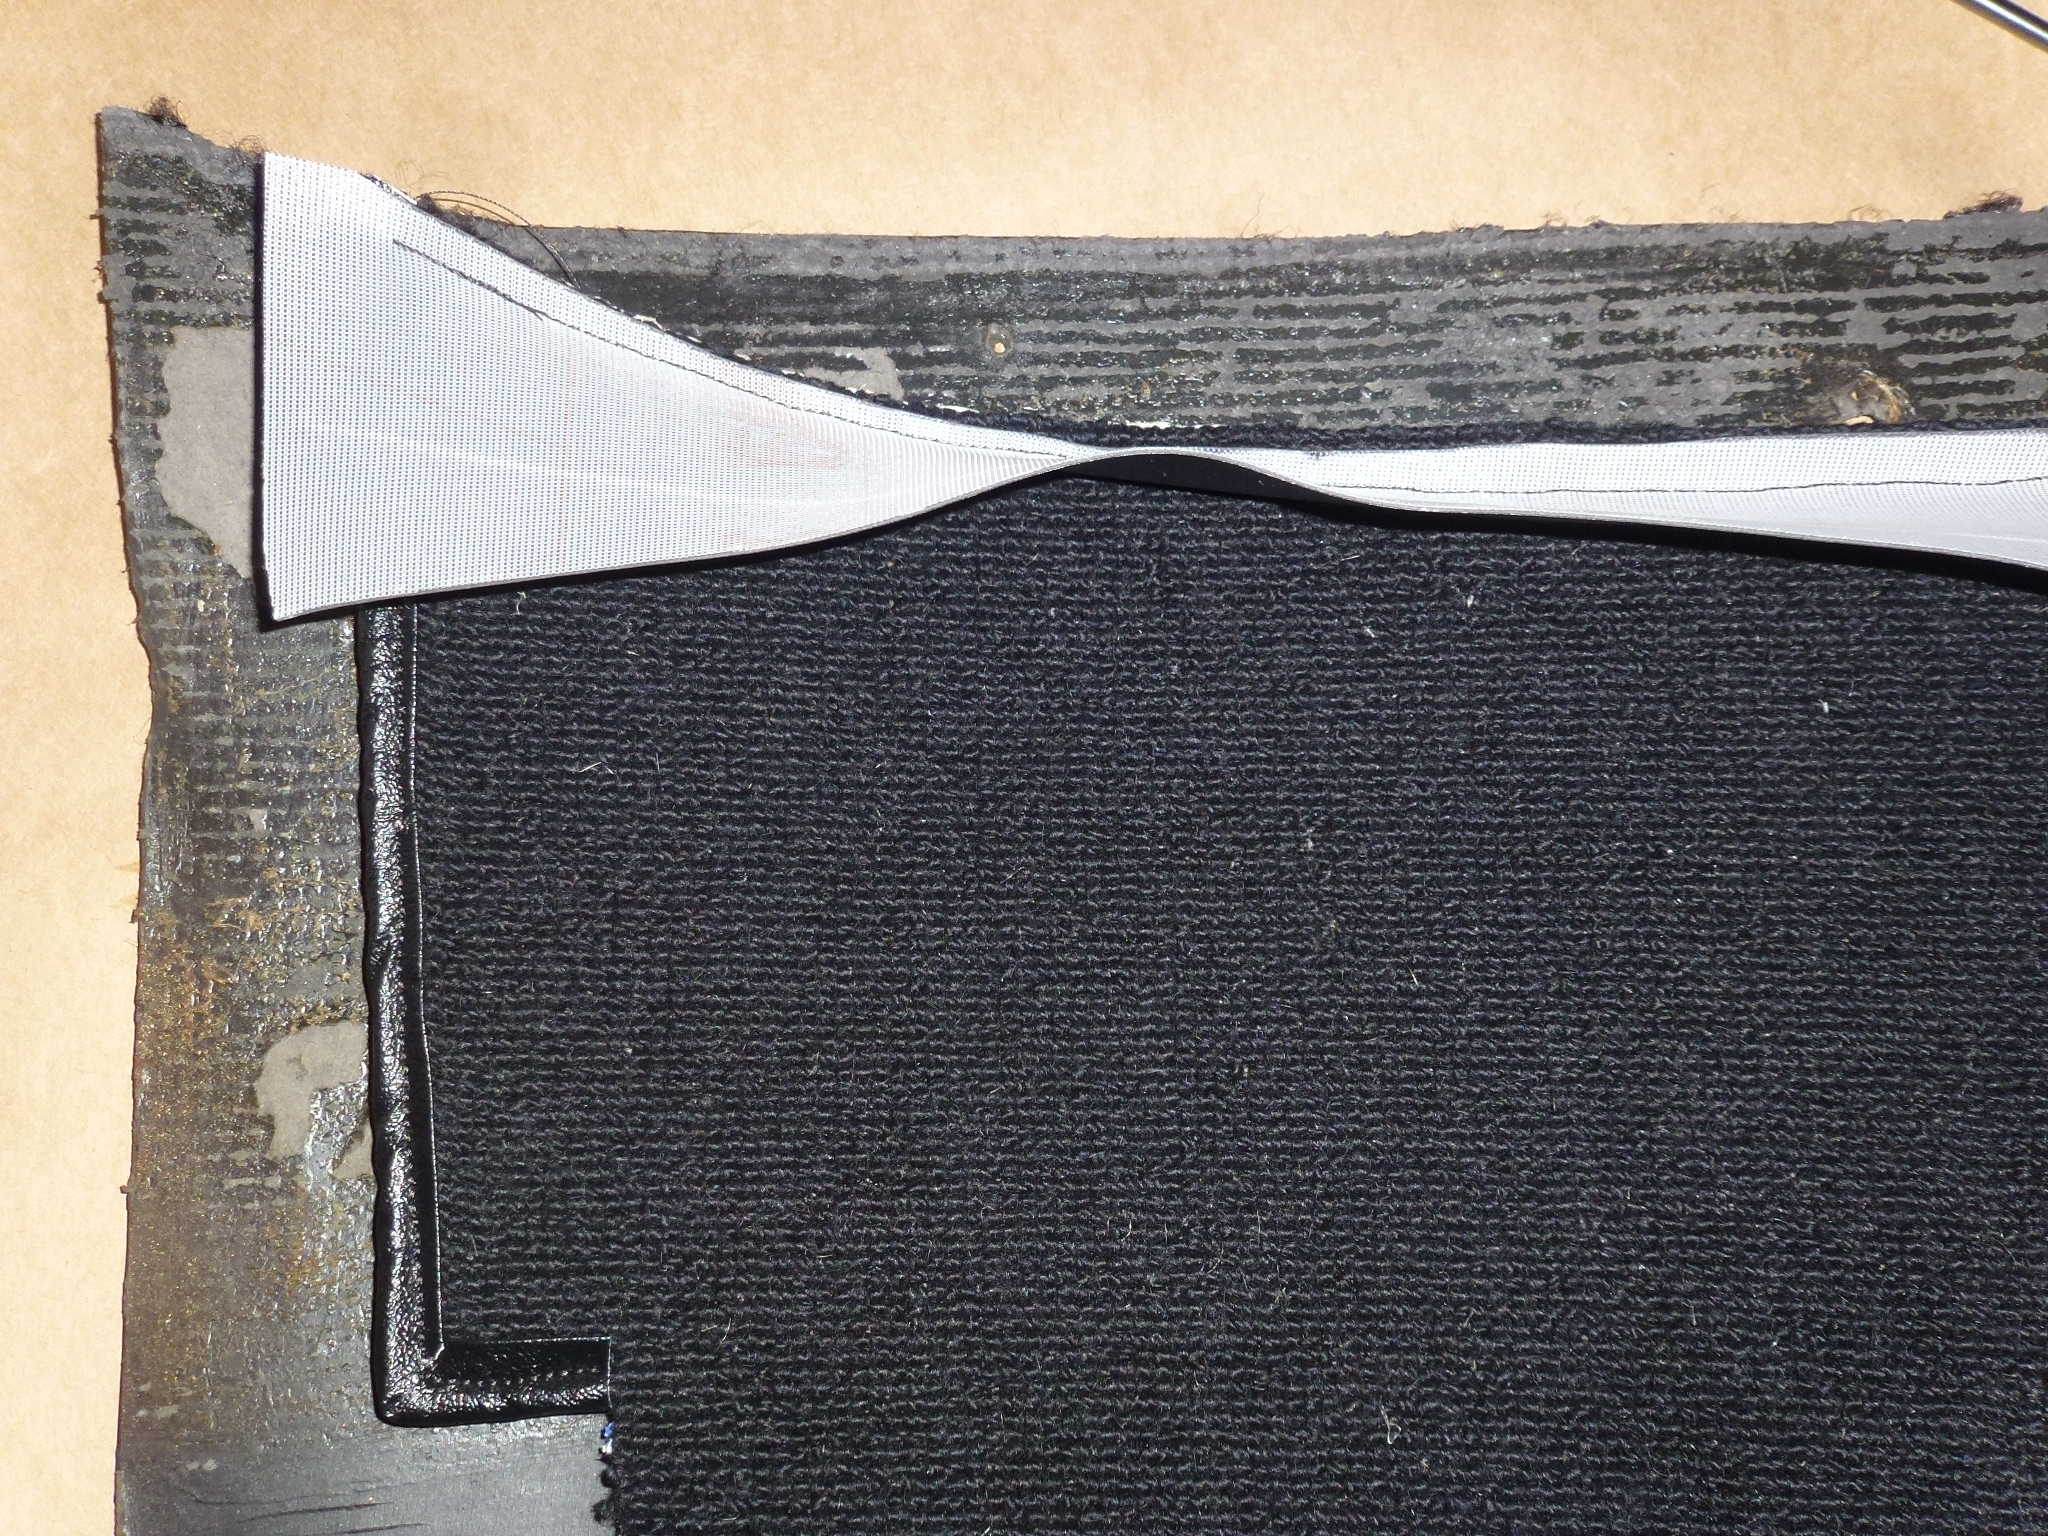
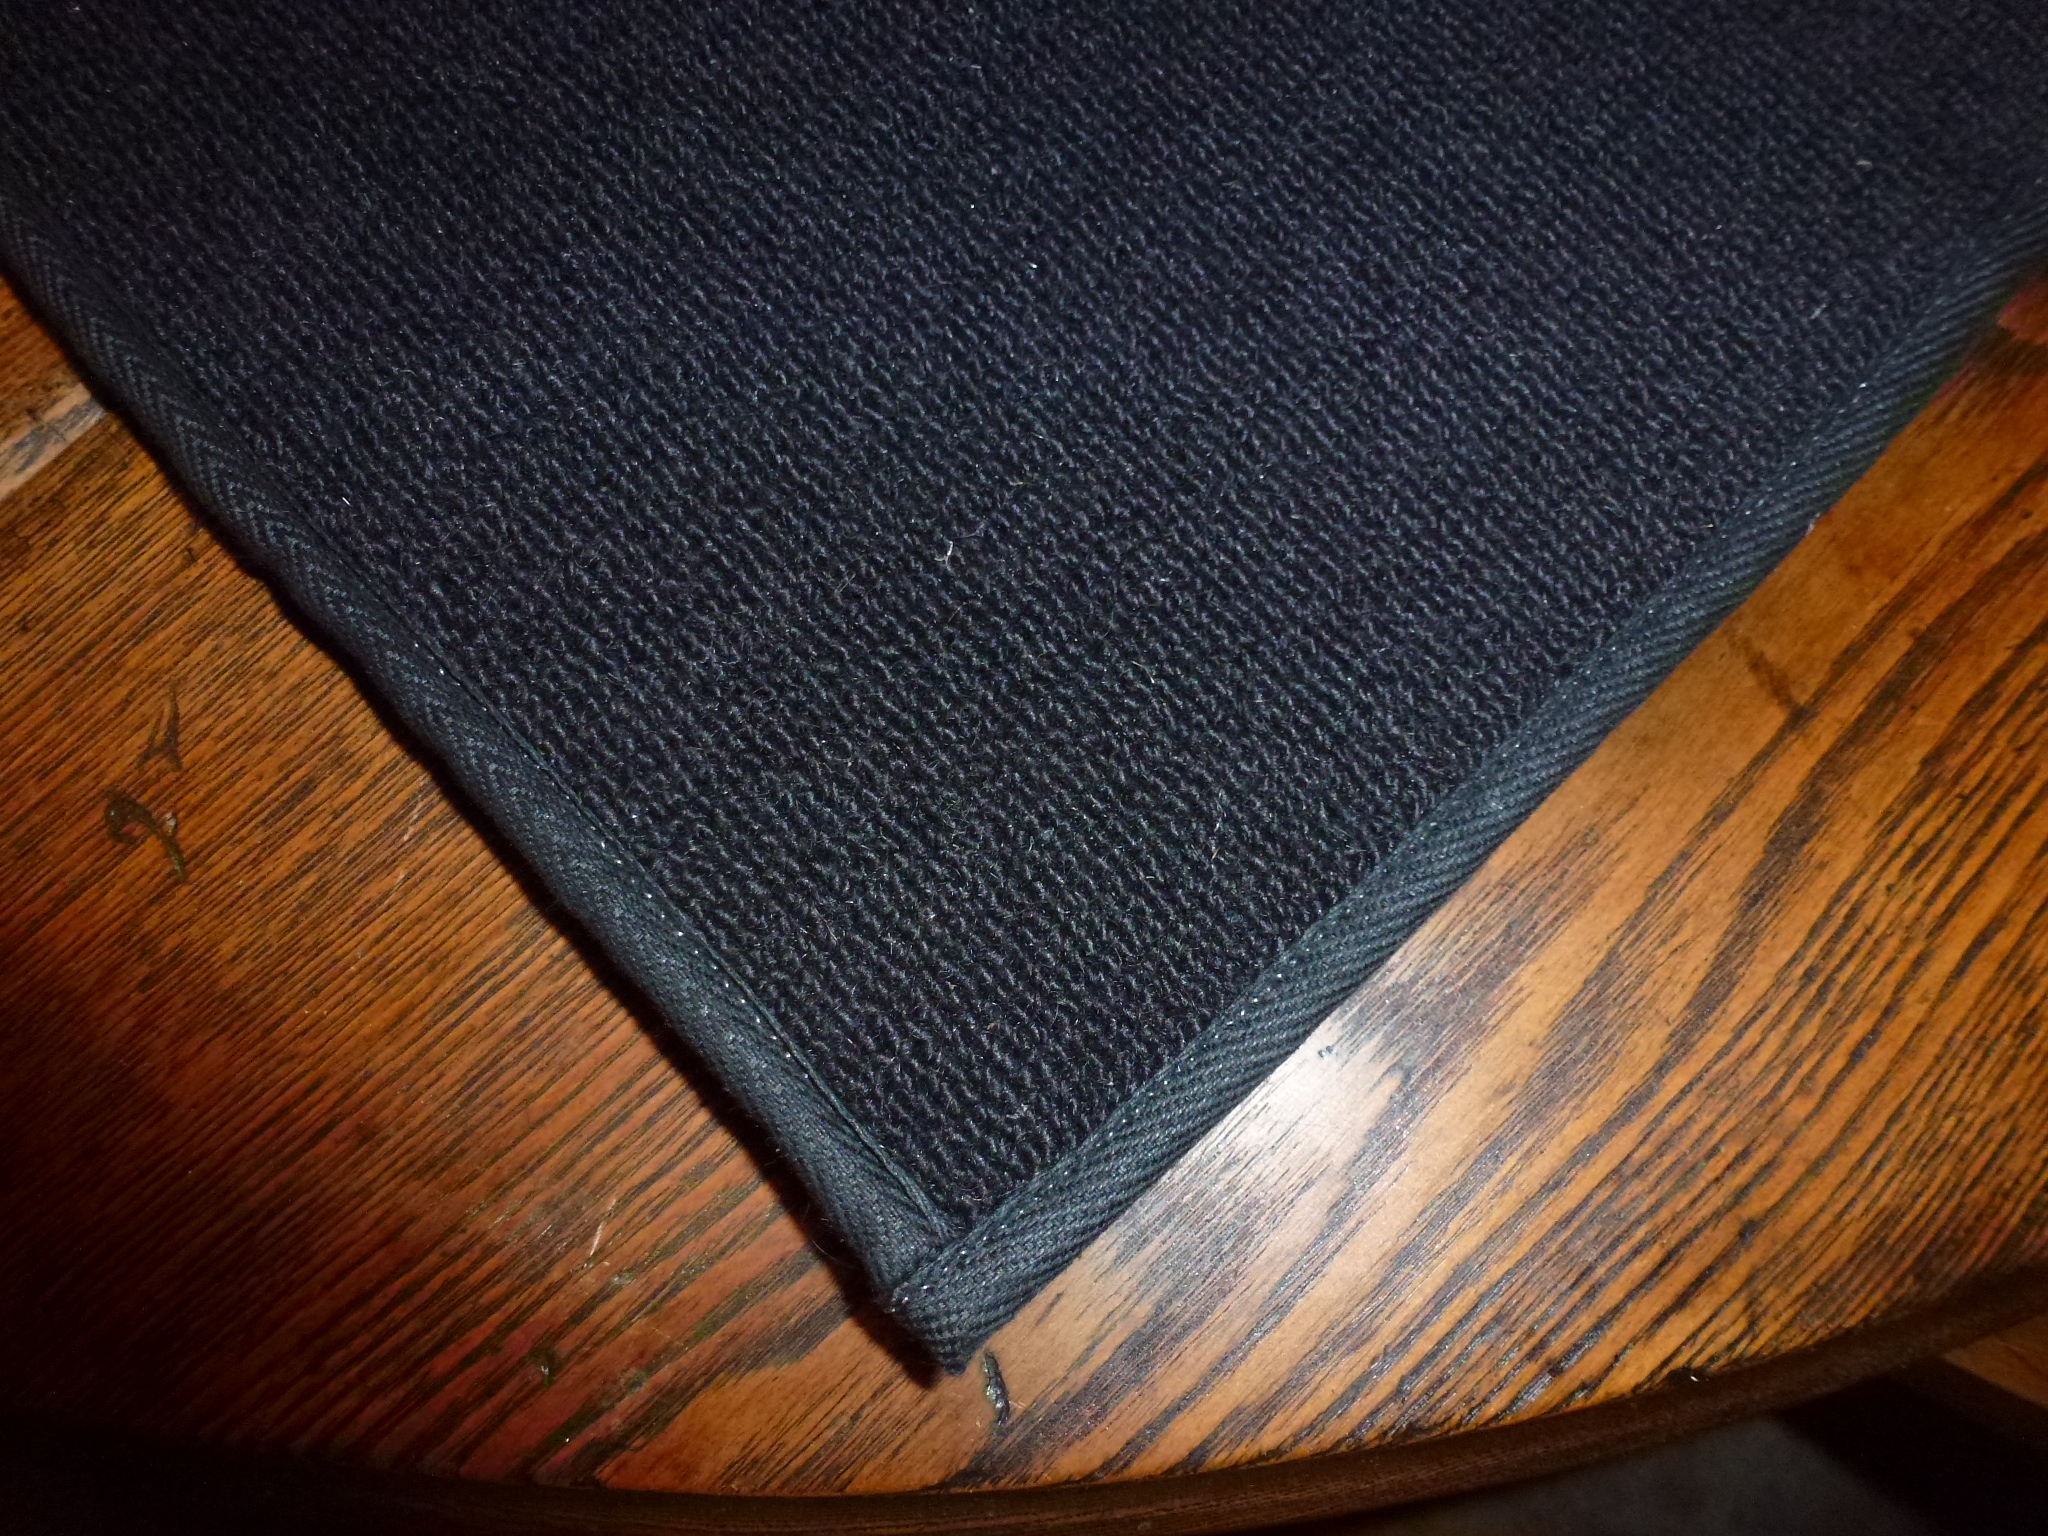
Here is on piece prior to gluing. You can see the edging on the sides and the strip along the top. This gets folded over the backing and glued on the back side so the backing edge doesn't show at the top.
I also trimmed to carpet over the spare tire cover to fit and glued foam backing on it. My previous carpet (see above) was bought pre-cut and didn't have the foam. I noticed that Lowell Brown's car had foam under this piece of carpet, so I had him measure the thickness which was about 1/4". The edging gets sewed over both the carpet and foam. On Lowell's car, the foam doesn't seem to be glued to the carpet, so either no glue was used originally or it has deteriorated. I thought it best to have it glued on, so the foam won't sag and catch if that carpet piece is removed. One thing I noticed was that this carpet is much stiffer plus having the foam glued on means that it hits and has to bend from the trunk opening sides when the spare tire cover is lifted. The cover has reliefs on each side to clear the opening. My old carpet was more flexible, so it just sagged and didn't get in the way. In looking at pictures of Lowell's trunk, his is about the same shape as my old one, so I guess once the carpet gets old, it bends more easily. You can see how it is larger than the cover and hits the trunk strut.
The last piece is the one that fits on the bulkhead at the front of the trunk. This is somewhat complicated as it has a flap section with snaps to allow access to the plate covering the access to the fuel tank by the filler hose. In addition, there are two long sections on each side that fit into the fender wells. It was also difficult sewing on the edge binding as it is so long and several sections couldn't easily be fit on the sewing machine. I now have much more appreciation on how good of seamstress my late wife was.
After installing the snaps, I glued this piece in.

Now I'm just waiting for the carpet people to finish the binding on the section over the spare tire cover. With the additional thickness of the foam, I wasn't able to sew on the binding myself.
I got the carpet back. The cloth binding looks good, but just not quite right.
With the snaps put in the right place, the carpet fits the trunk nicely.
I am going to see if I can sew on the correct binding over the cloth one now that the edge is thinner. If that doesn't work, I'll stitch a seam just through the leatherette binding and glue it onto the cloth binding. That way it will look as if it were stitched on. But with the FCA local concours coming up, this is lower priority than other things I need to finish.