Water Pump Rebuild
The water pump has always leaked some ever since I rebuilt the engine in 1983. However lately it's been getting worse and worse. Unlike most cars, you just don't buy a new or rebuilt water pump and replace the whole thing. In my case, the carbon seal that prevents leakage at the back of the pump wasn't sealing properly. This was apparent as the water was leaking from the seep hole at the rear of the pump.
The seal at the back is made using a spring loaded carbon ring that seals against a large flat washer. I ordered a new carbon seal and appropriate gaskets, assuming that the washer would not need to be replaced.
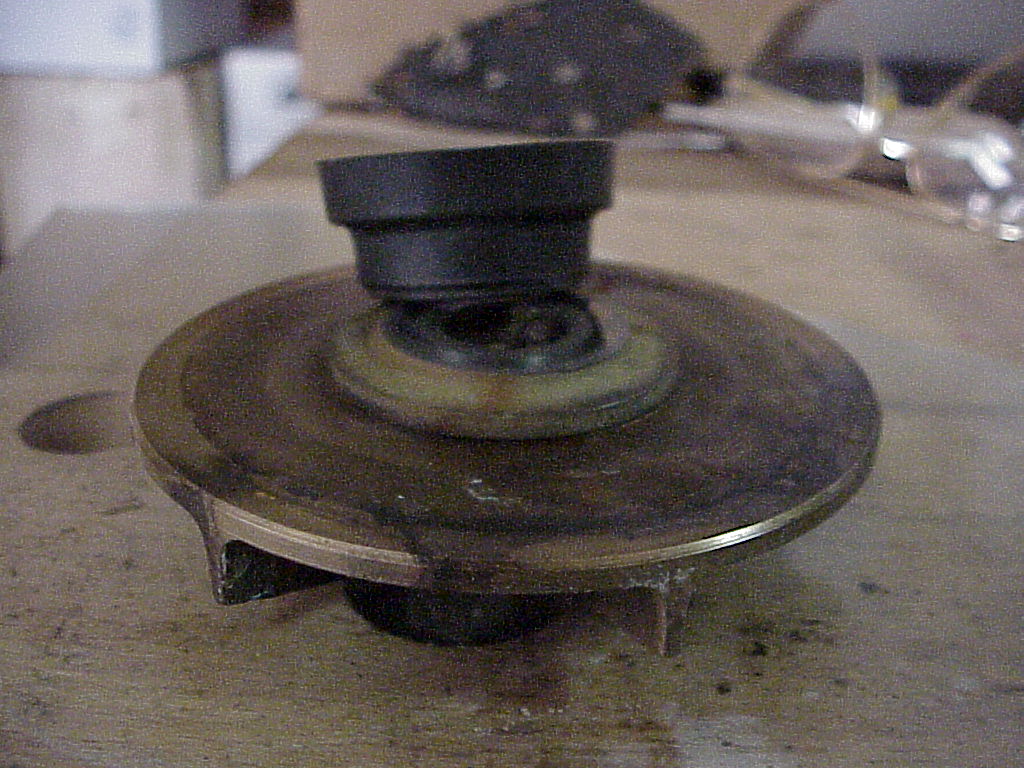
Here you can see the impeller with the sealing washer on top. The rubber part at the top is the spring loaded carbon seal.
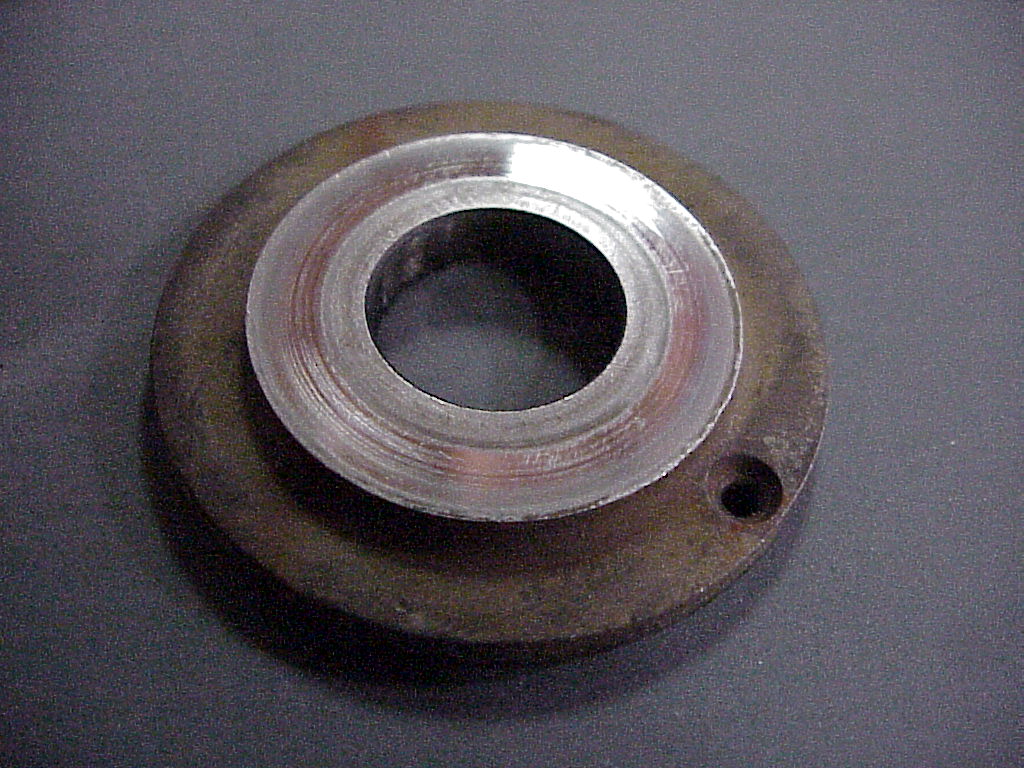
Upon disassembly, the old carbon seal looked fine, but there were several grooves in the washer. I hadn't replaced the washer when I rebuilt the engine nor had I done anything to smooth it out. So the new carbon seal never seated properly against the washer, thus it leaked. Here you can see the grooves.
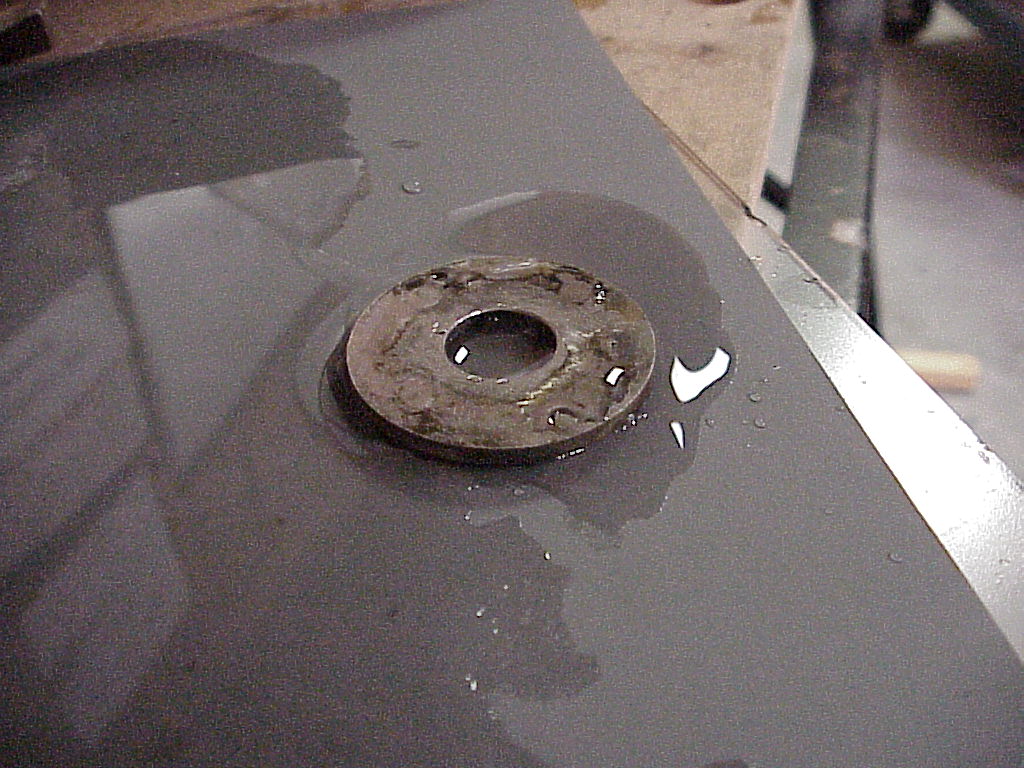
So this time I took the washer and sanded out the old grooves. In order to do this and still keep the face flat and parallel, you sand it by rubbing on wet or dry sandpaper (used wet) that is laid on a sheet of glass. The glass is very flat and if you keep even pressure on the washer, the whole surface is sanded down evenly and kept flat.
 |
 |
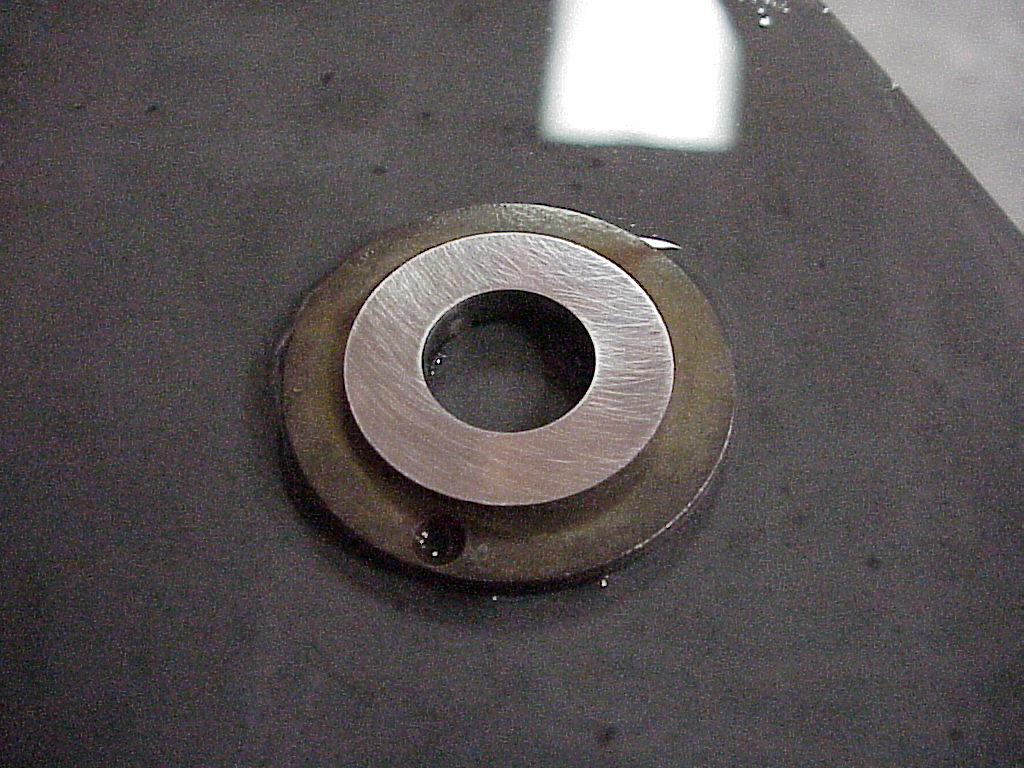
| After 600 Grit | After 1200 Grit |
Another thing to worry about is the small rivet that holds the sealing washer to the back of the impeller. This is no longer available. After talking to several people, I decided to use a small piece of brass brazing rod and peen both ends so it would act like a rivet. First I had to take the rod and file and sand it down to the right diameter. I cut off a short piece and chucked it in the drill press. Then I just used a file while the drill press was turning the rod. Once it was close, I changed to emery cloth for the final sizing. It turns out that the hole in the washer is slightly larger than the one in the impeller. So I ended up tapering the rod slightly. I drove it in from the washer side first and peened over that end. Then I cut off the excess by using a cut-off wheel on a die grinder and peened over the other end.
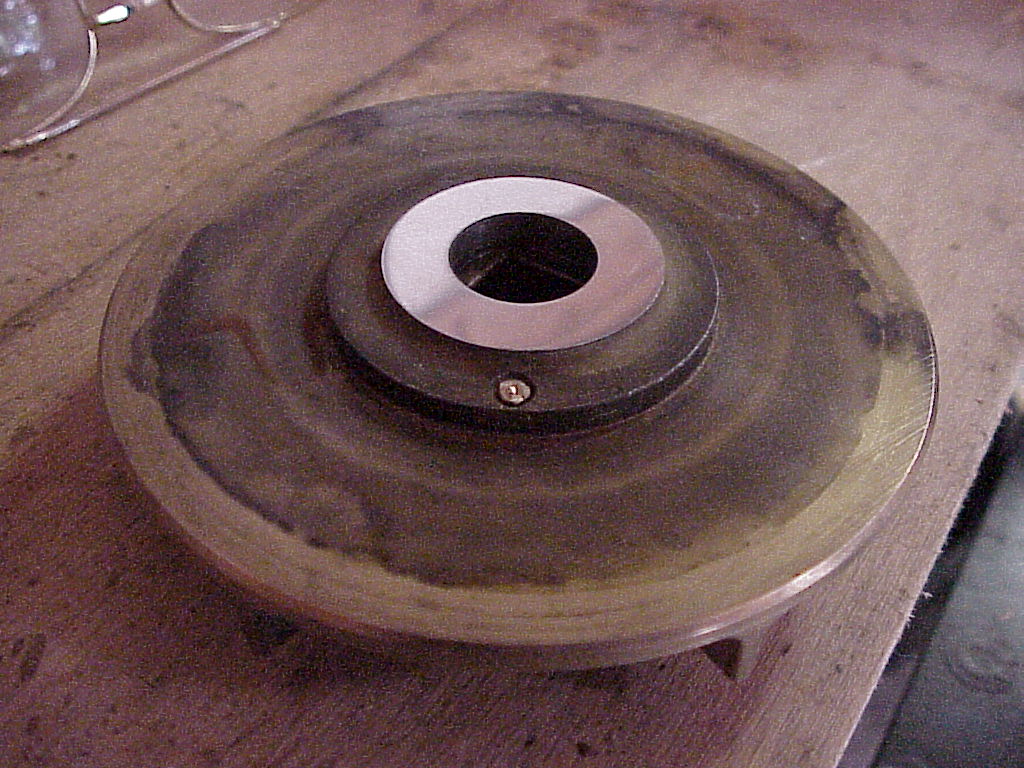
You can see the rivet just to the bottom of the polished surface.
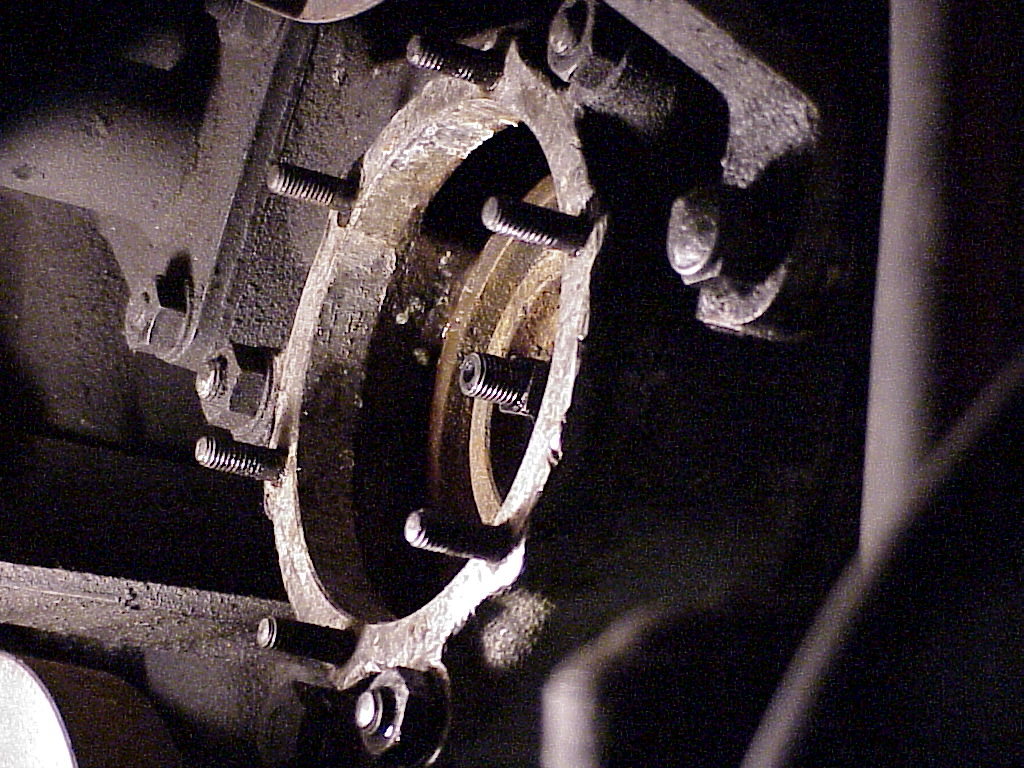
Here you can see the water pump body. The rubber and carbon seal fit around the shaft at the center. The impeller with the washer then fits onto the shaft, being held on by an acorn nut. The acorn nut is locked in place by a washer with tabs that are bent down over the square shaft and up onto the nut.
However, I'm as far as I can go until I get a new acorn nut. The old one is somewhat eaten away and I was worried that I would round it even using a 6-point socket when I removed it. I hope never to have to disassemble this water pump again, but I still won't use the old nut and have the next person needing vise grip pliers to remove it. The couple of places open on a Sunday didn't have the acorn nut in fine thread so I am stymied until I get to a nut and bolt place with a better selection.
It turns out that the only places that have the acorn nut in fine thread are Ferrari parts places (at $20+). I ended up putting the old one back in rather than wait to have one shipped. Since then I did order one and it's in my box of spares when and if I ever have to take the water pump apart again.
After some running to set the seal, I don't see any water leaking from the seep hole anymore and the water level in the radiator isn't dropping like it used to.