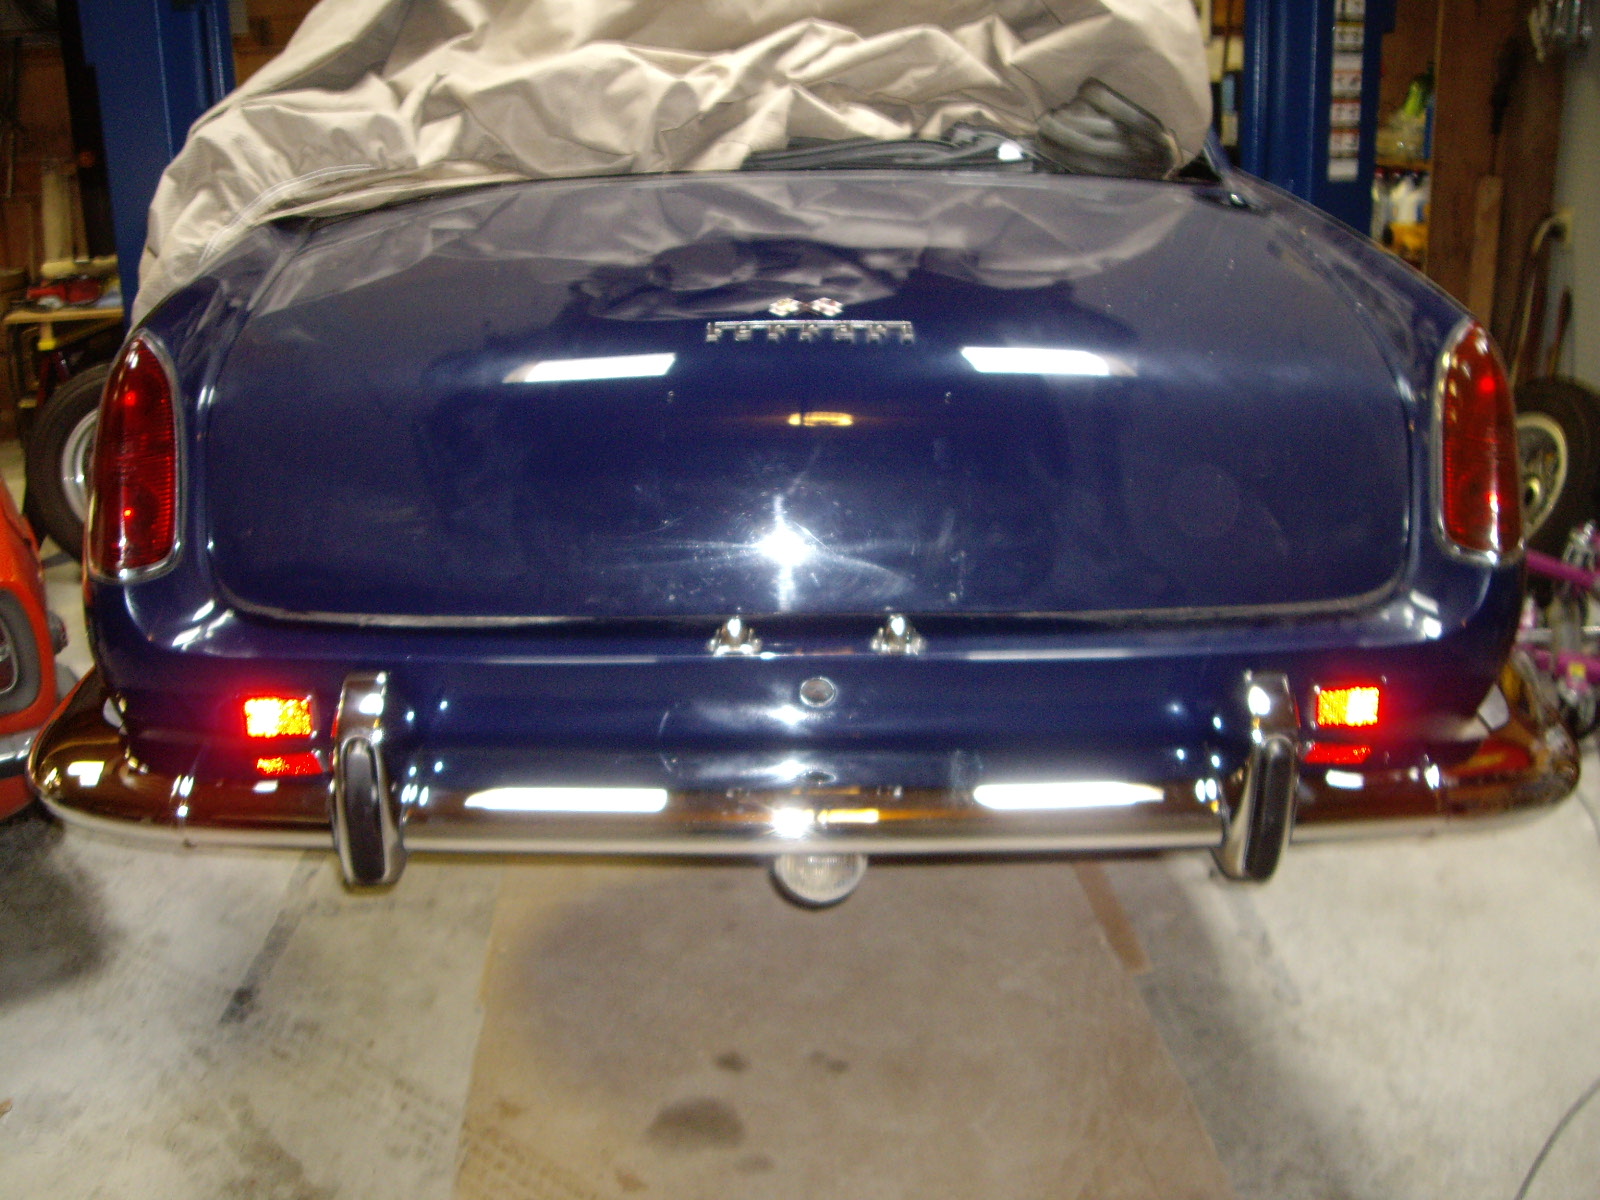
Emblems
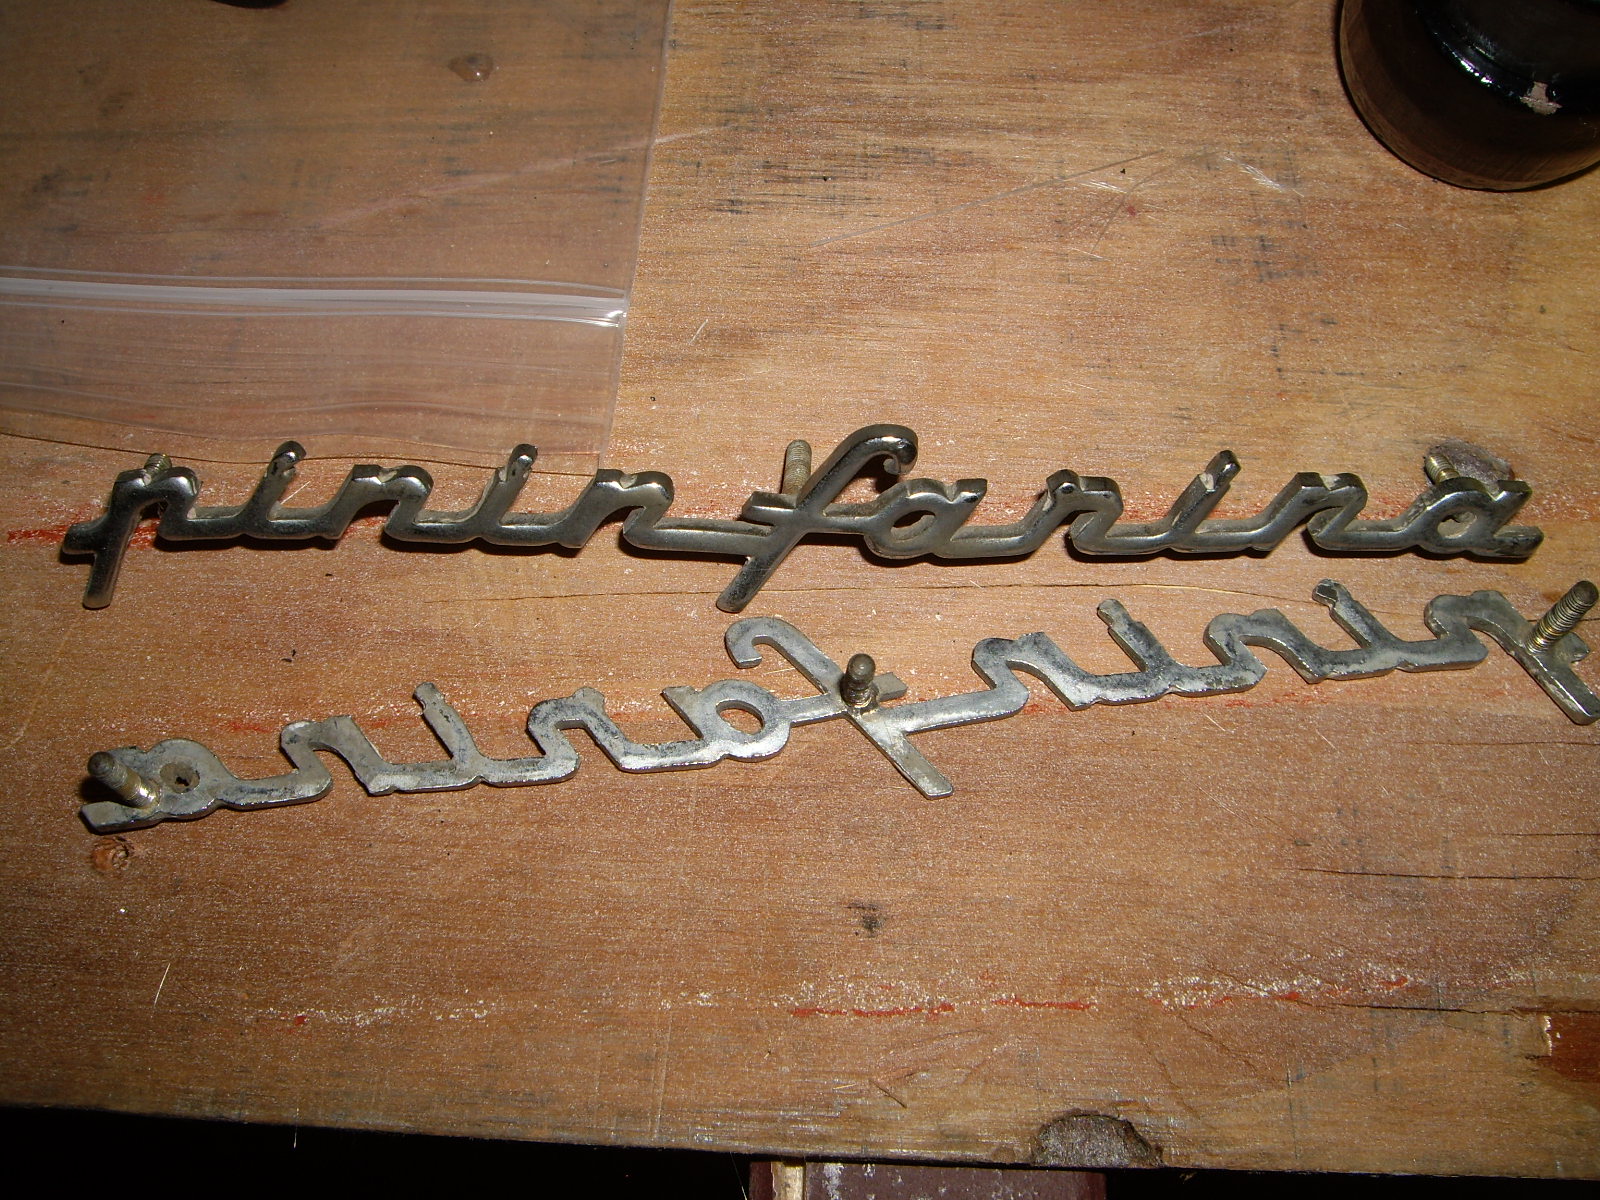
There are a number of emblems, but the PO or his auto body guy ended up filling in the holes for the Pininfarina ones that are mounted on the front fenders. I had taken some pictures on my other PF Coupe so I had an idea of about where they should be installed.
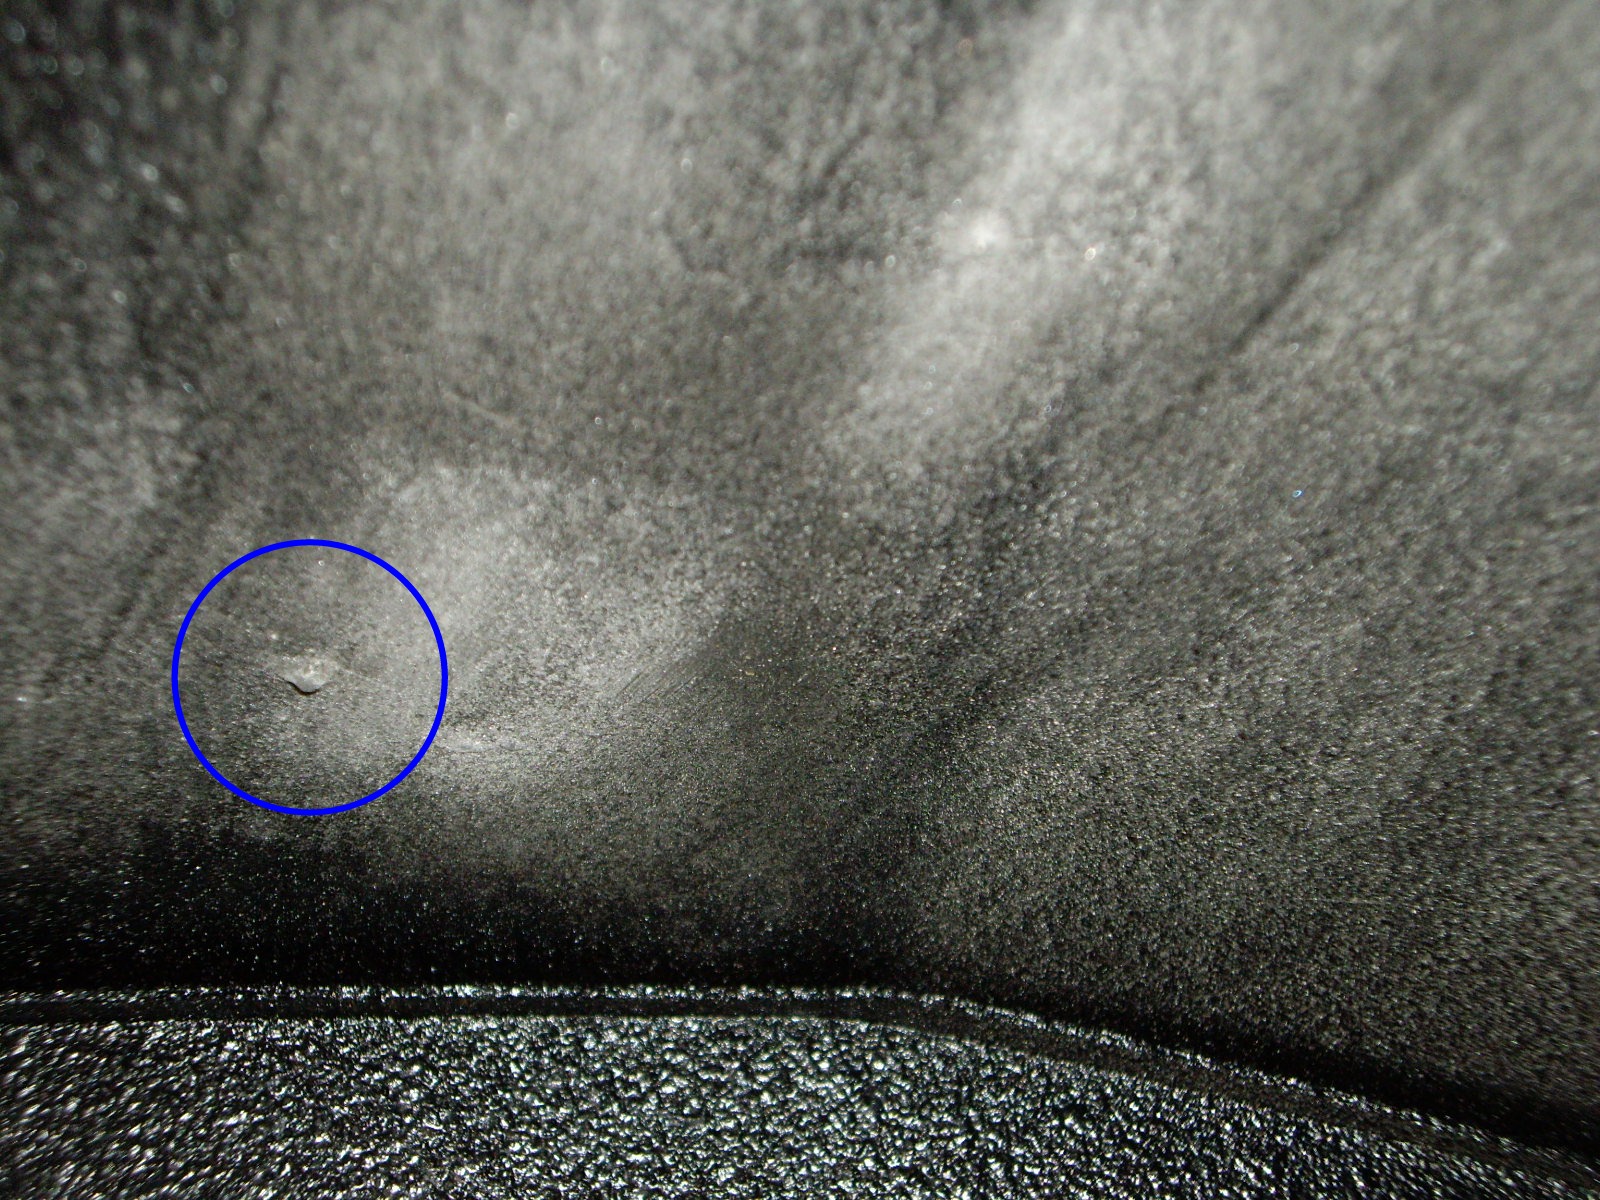
Upon careful inspection inside the fenders, I can see some signs of the original holes. Either the holes were welded up or soldered as there is metal bumps on the inside when I used a scraper. I was hoping that they would have just been filled with bondo.
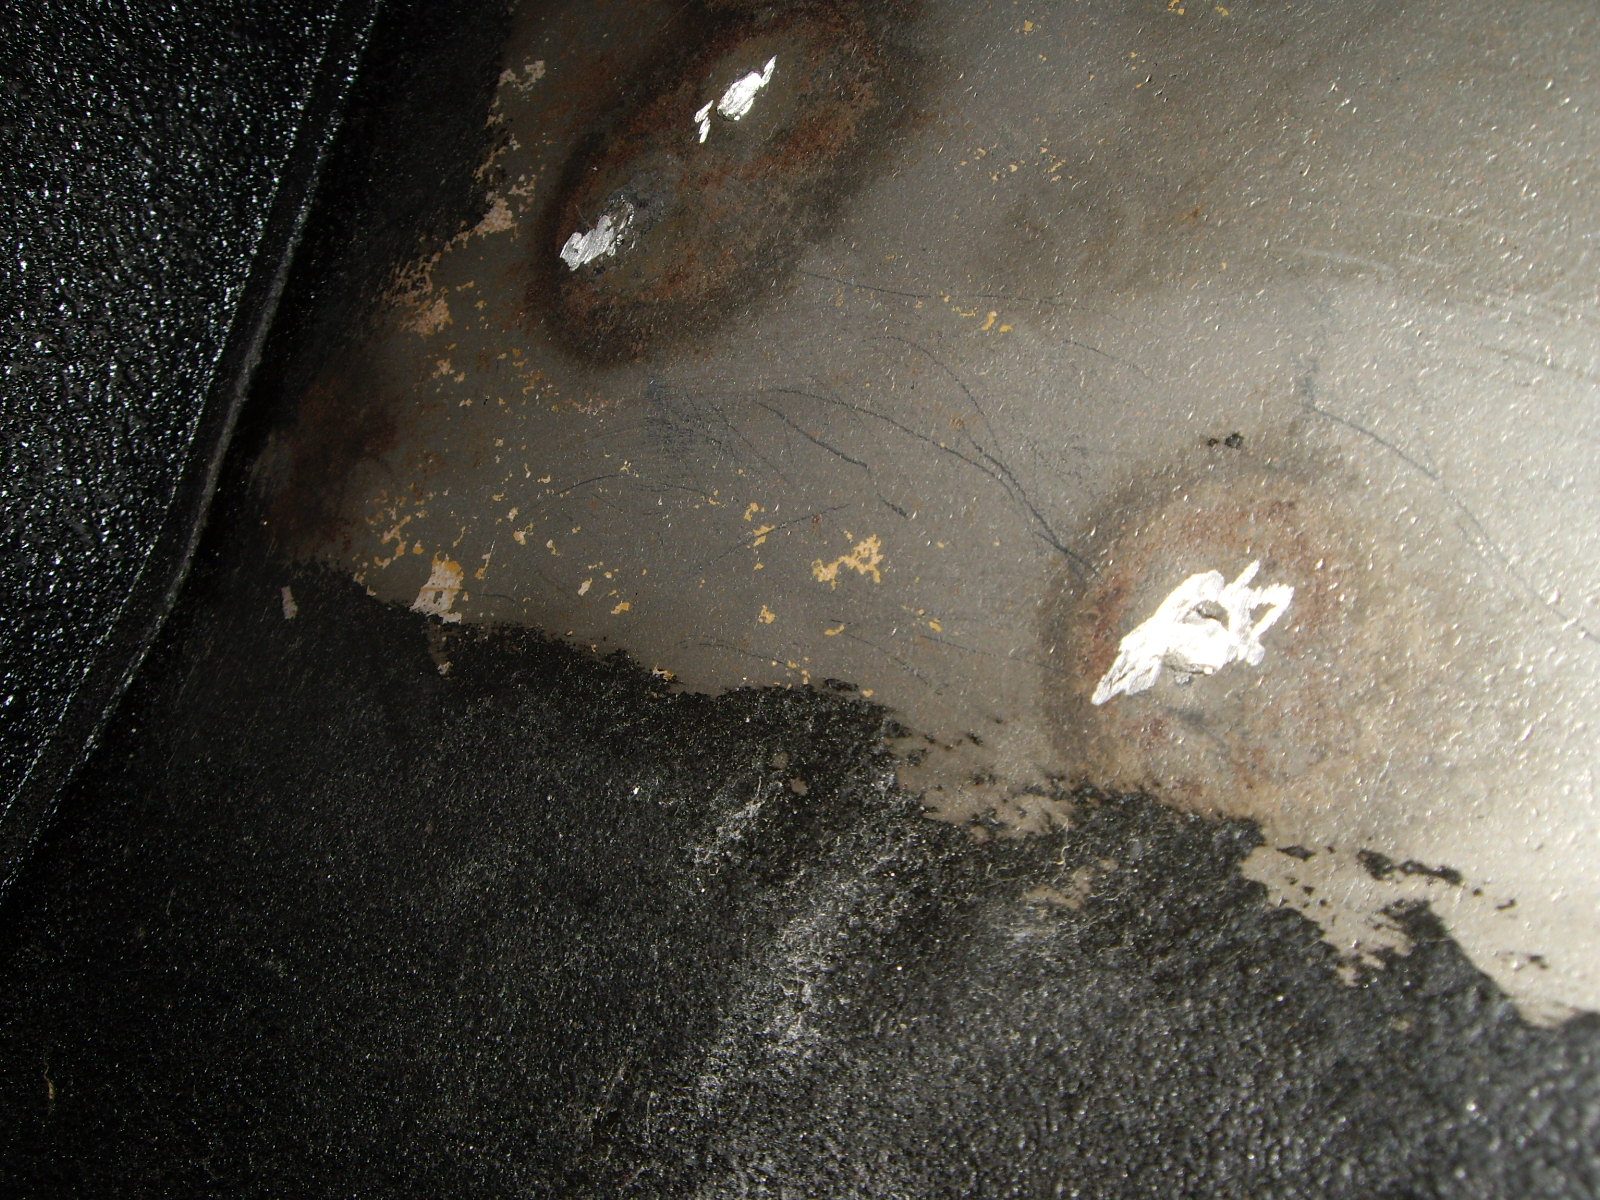
I used some paint remover to clean off the undercoating that was on the inside of the fender. Now the holes are more obvious. It's also clear that they were welded up as you can see the heat mark around each hole.
 |
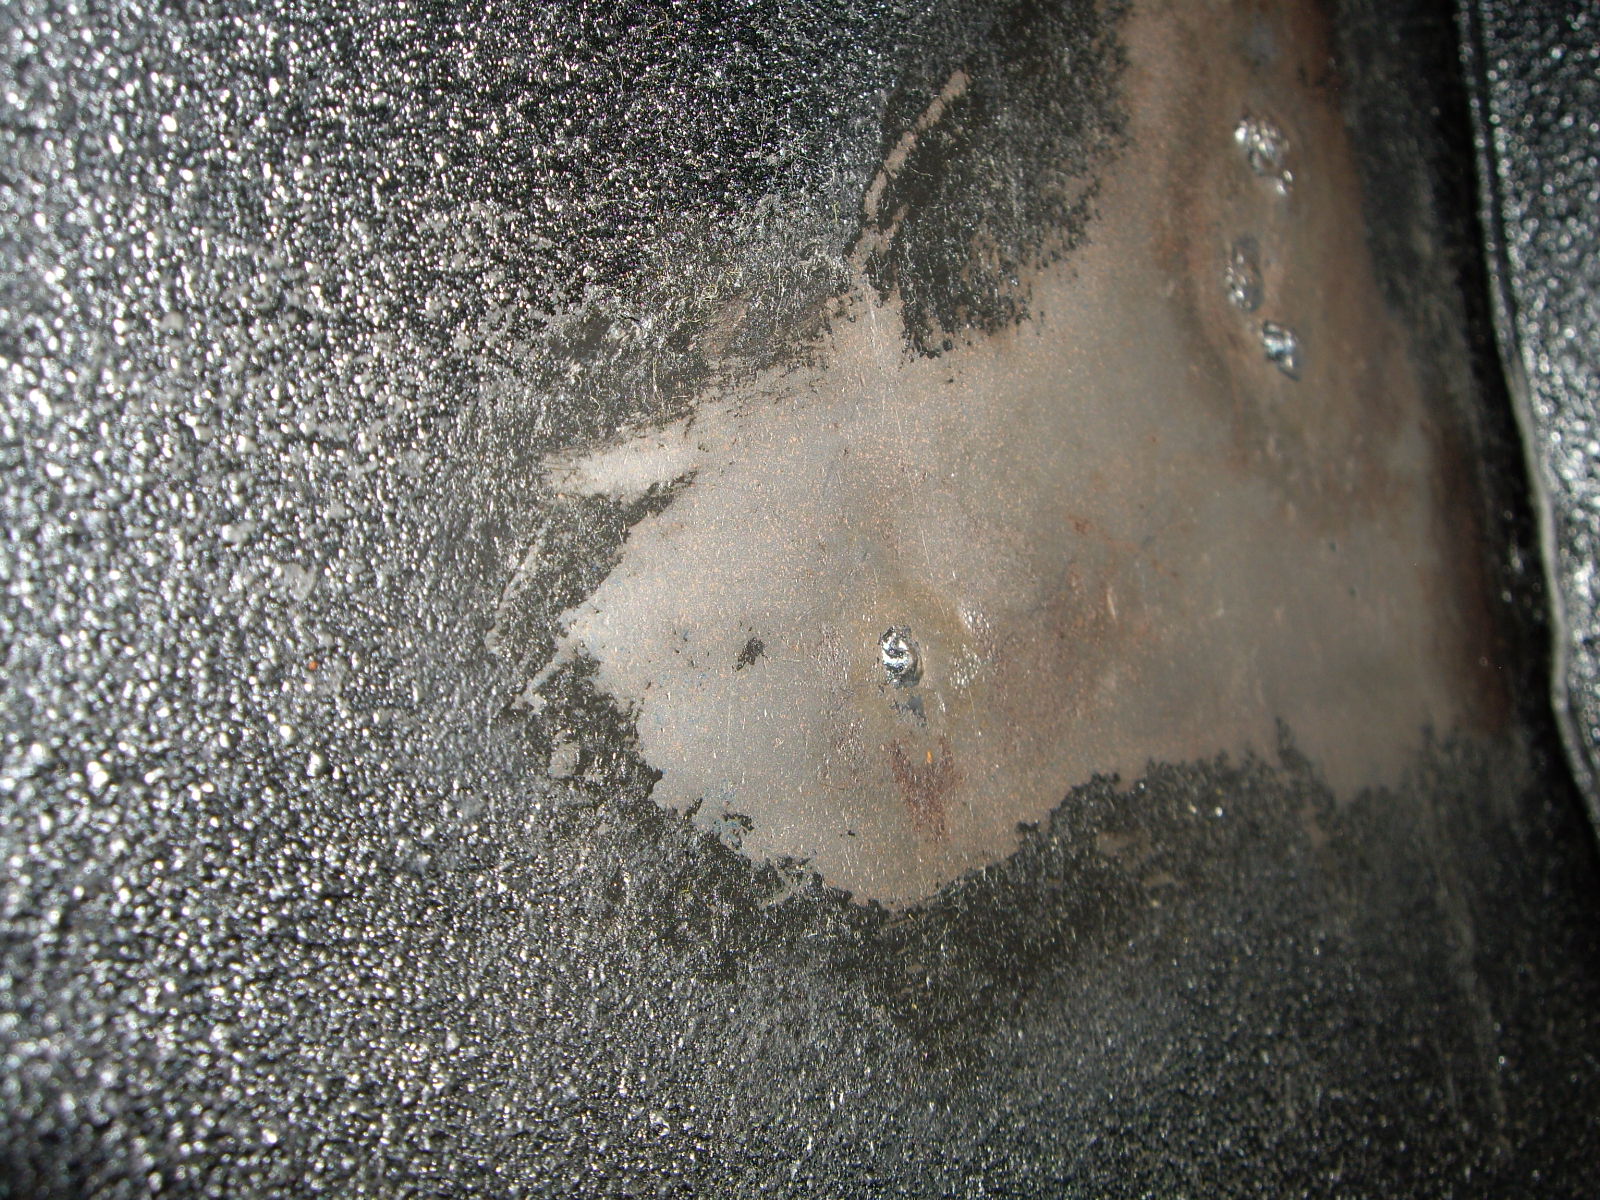 |
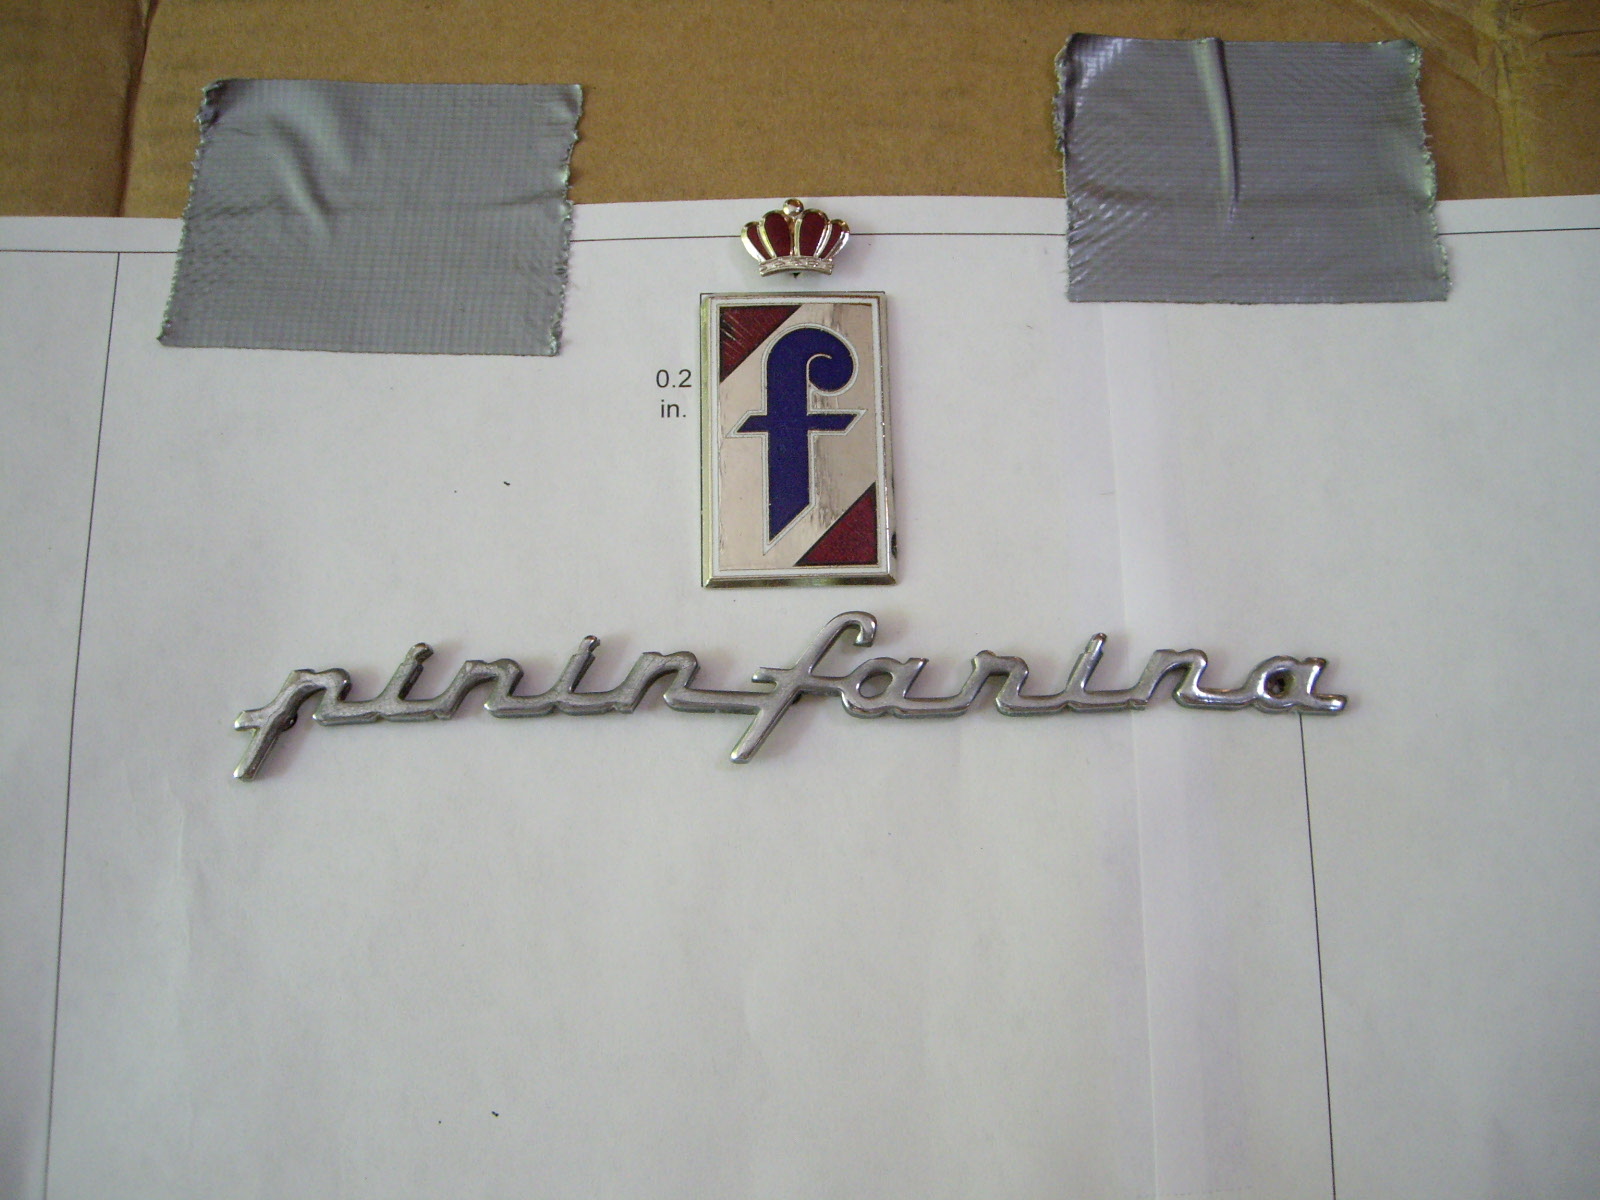
It's also interesting in that there are only 2 holes for the PF script. Either the script that was on the car had the center studs broken off or they were different than the ones on the 330 and what I got for this car.
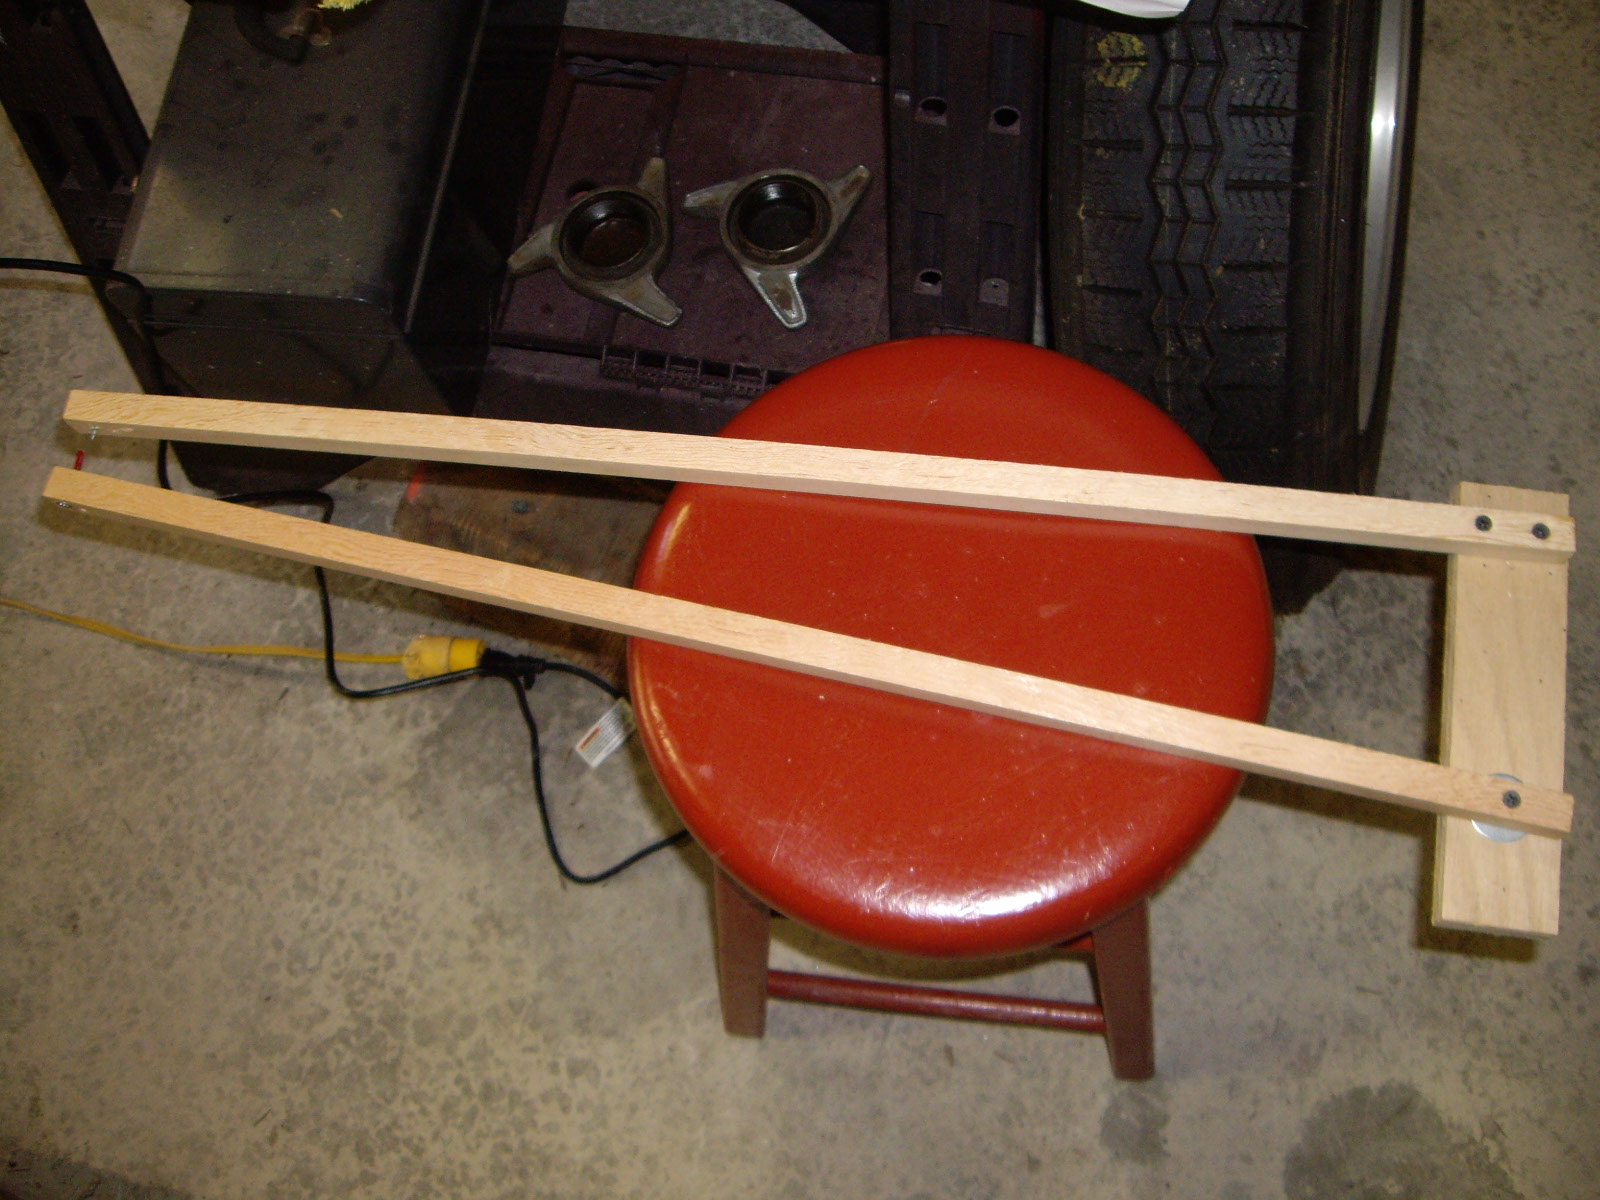
Since there is not enough room inside the fender for a right angle drill on the inside, I need to figure out how to locate the hole locations on the outside so I can drill from there. There isn't any good locations to measure from with any degree of accuracy.
I'm going to try and build a large calipers that I can open and close with a pair of locating points at the ends.
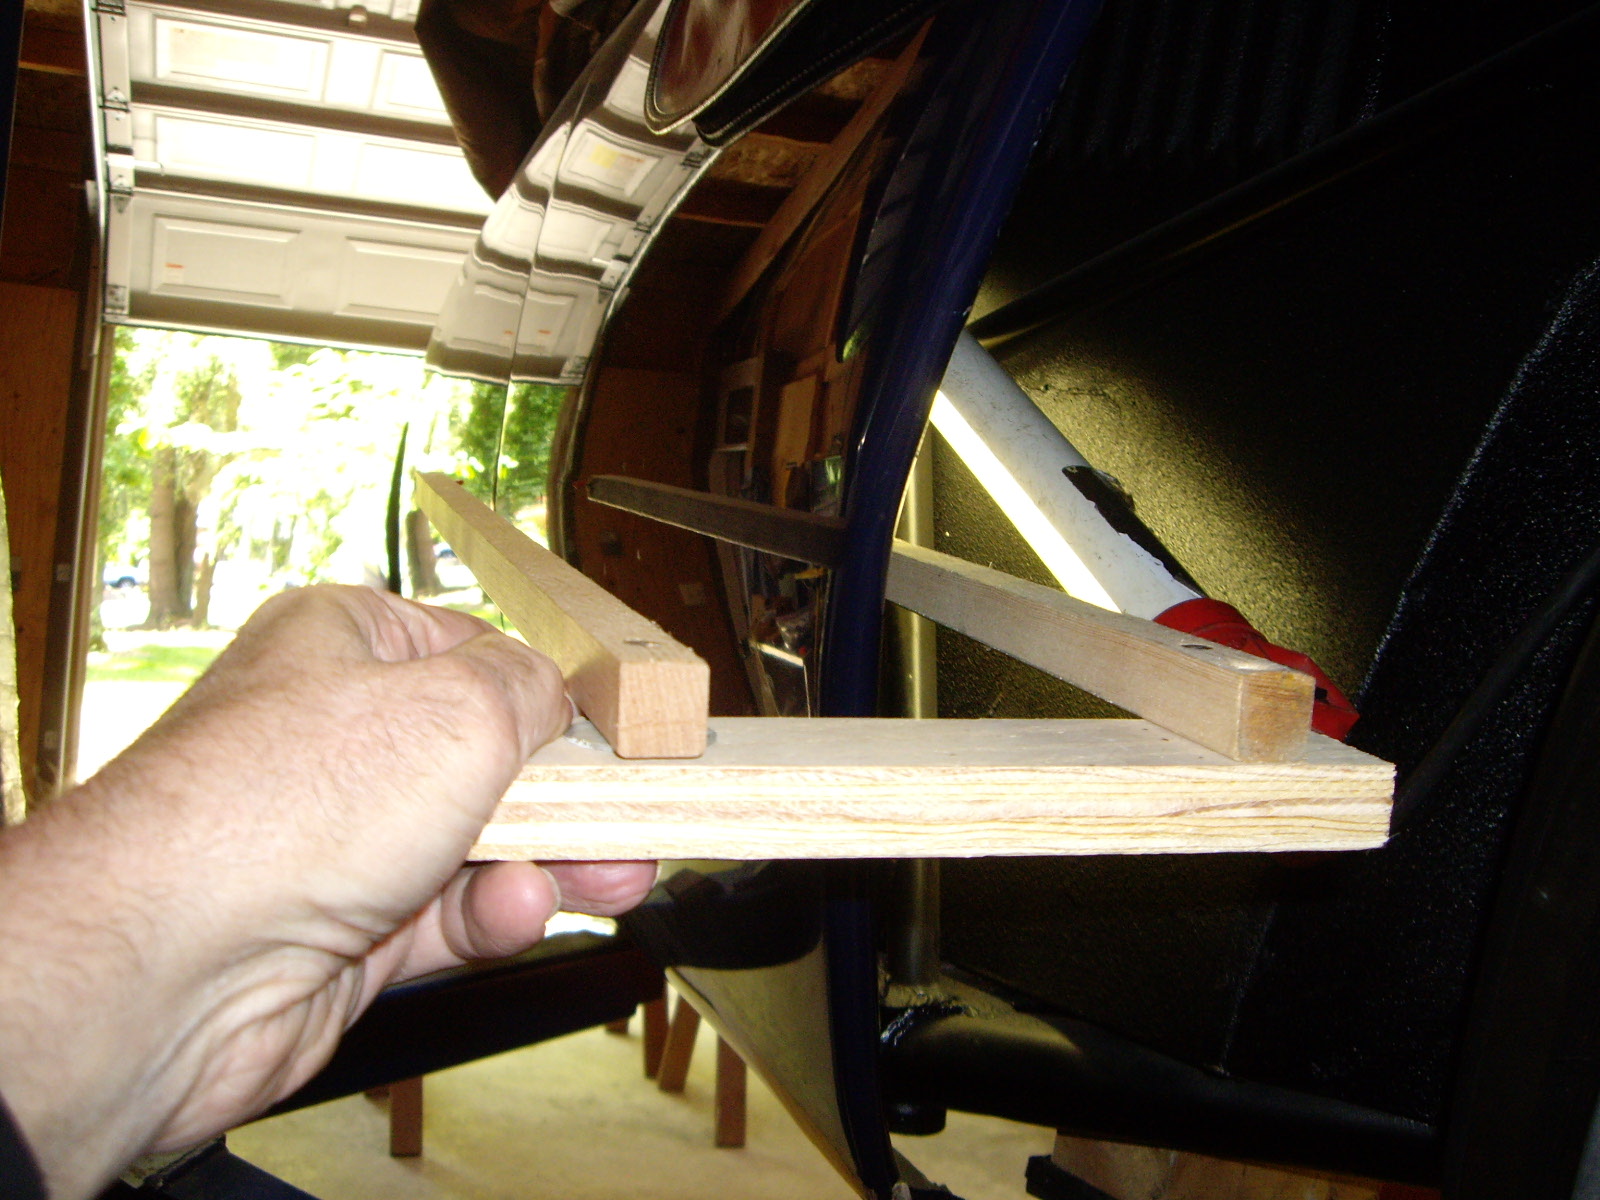
This it the calipers that I made to let me transfer the weld marks on the inside to the outside of the fender.
 |
 |
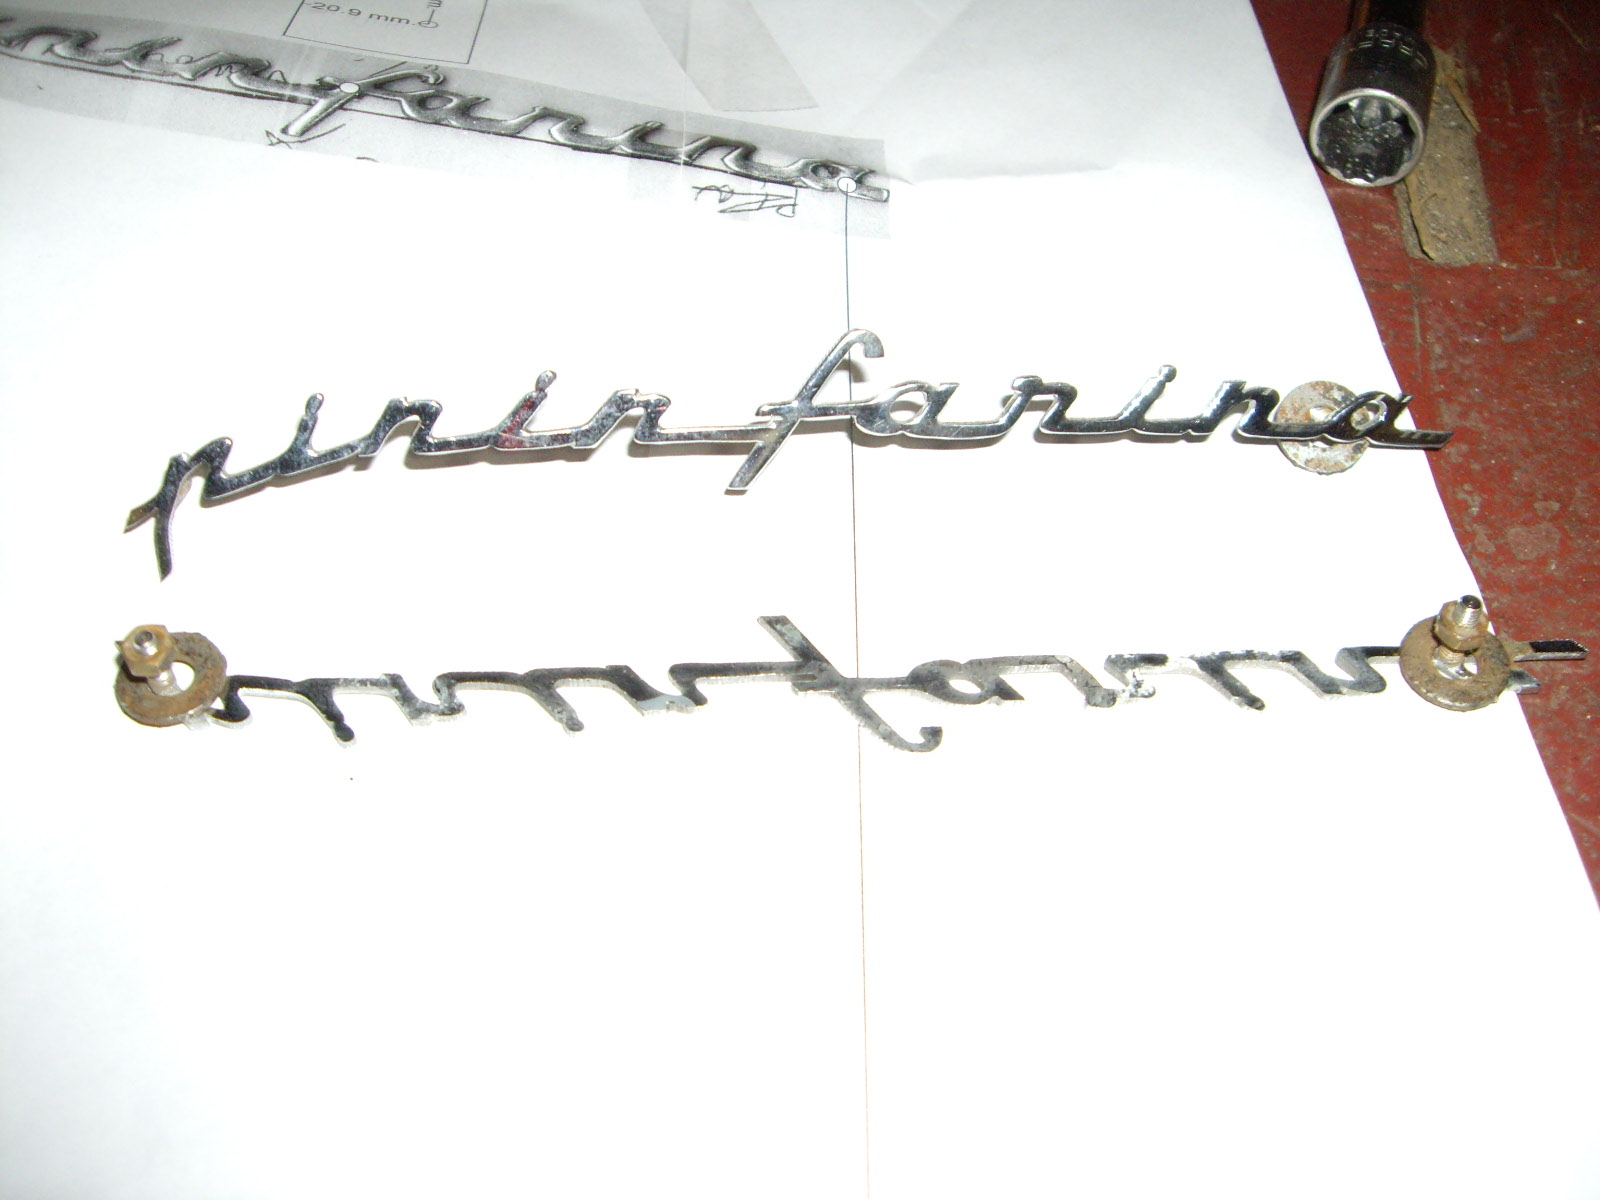
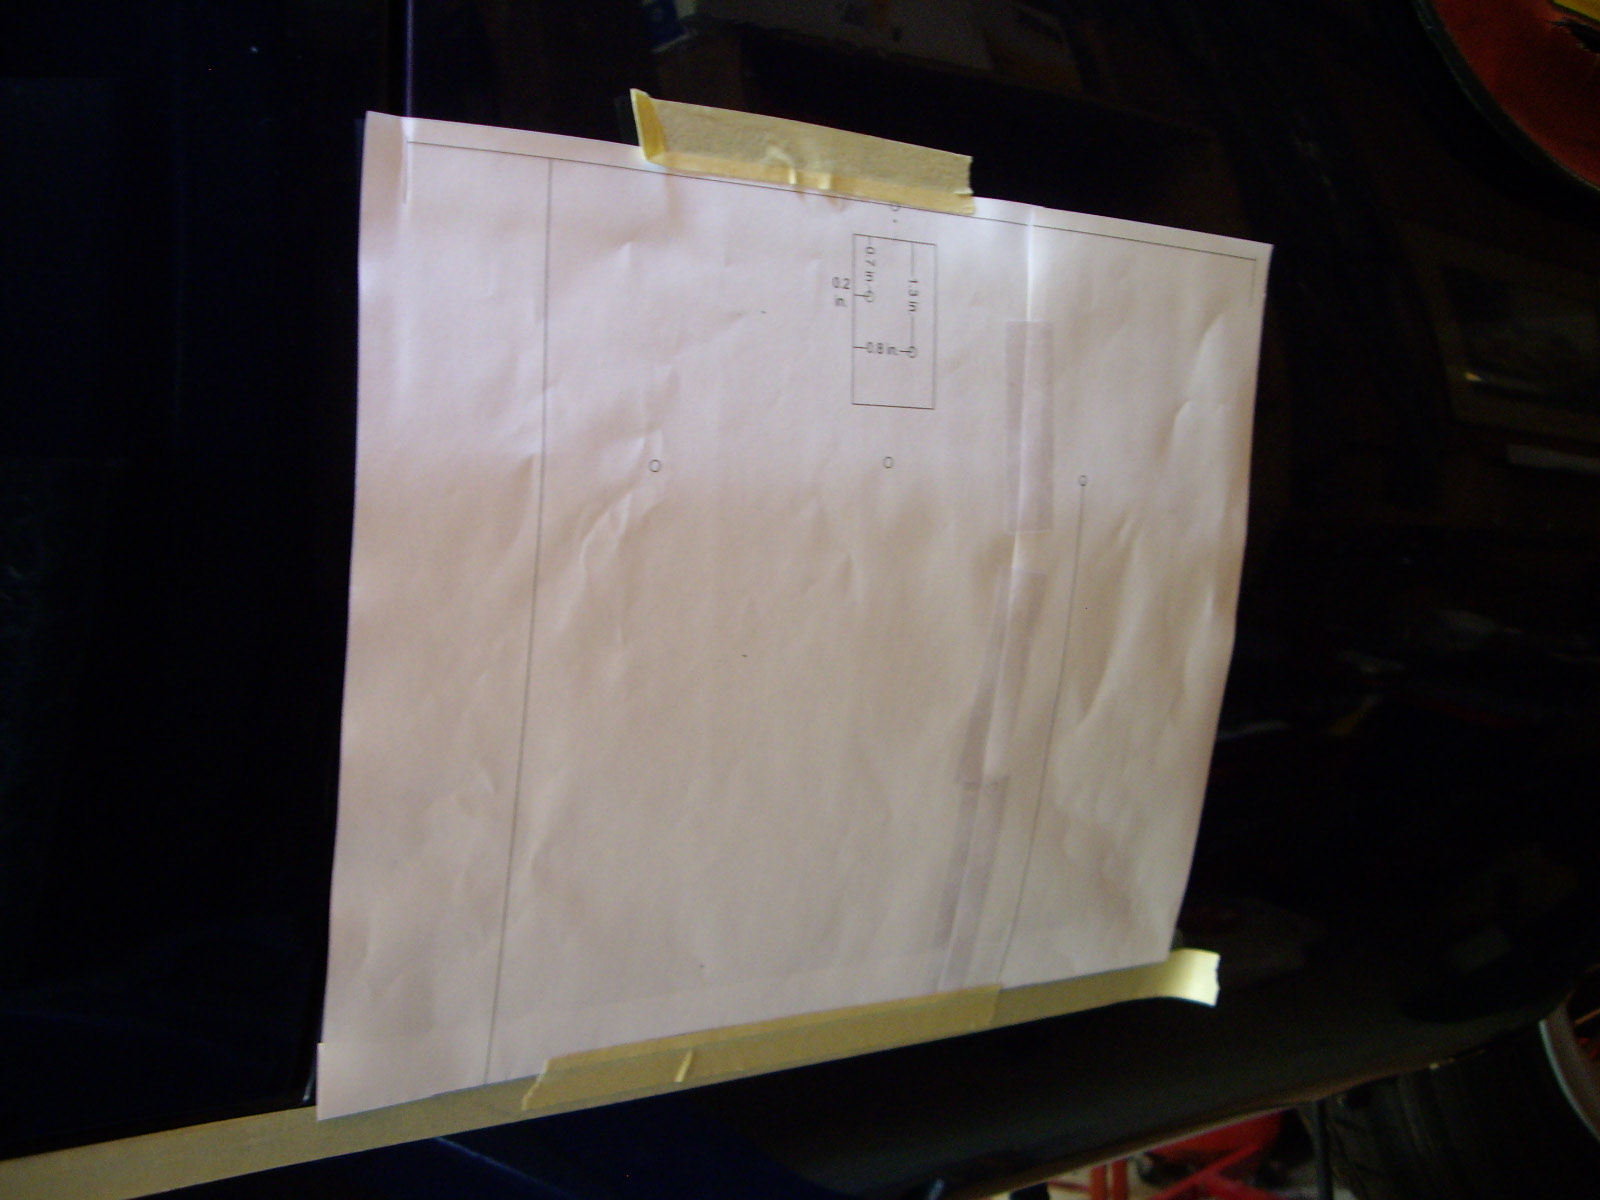
However, after that was all done, it was clear that those holes weren't in the same place on both sides. Further, the new PF shield I have has the studs in different locations. So I ended up creating a CAD drawing to lay out where I wanted the holes so they would match on both sides.
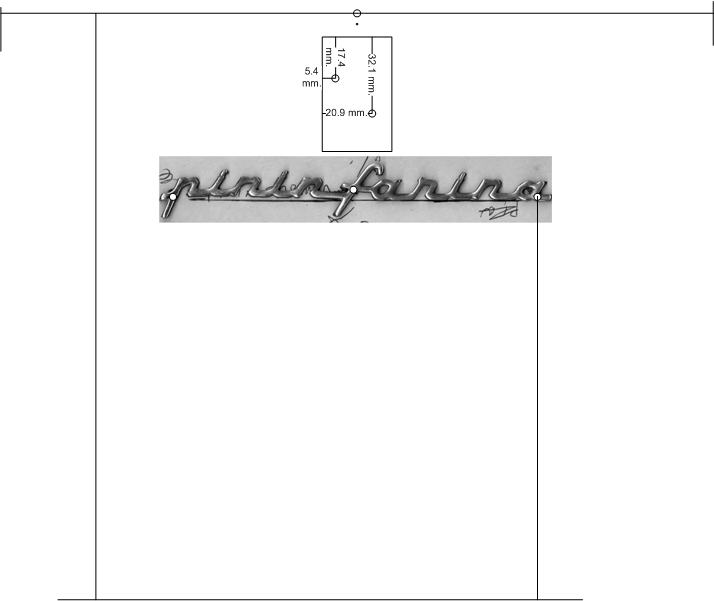 |
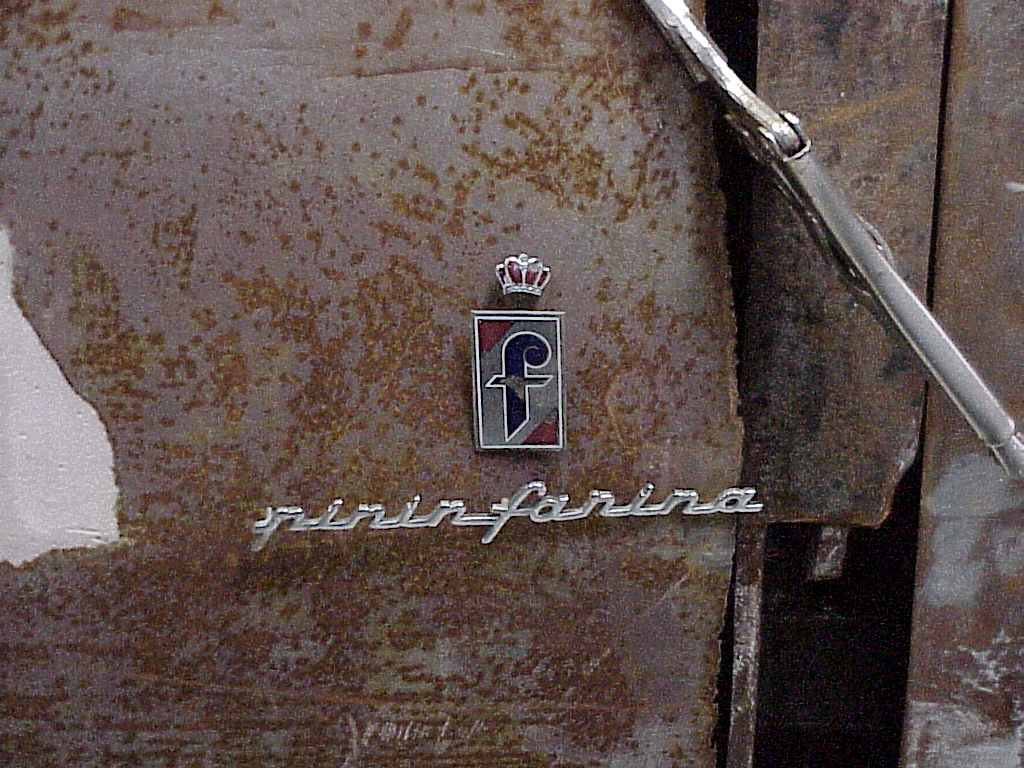
I still wanted to double check, so I took a field trip over to George's coupe. Among other things, his PF script only had two studs and was much finer in design in addition to being cut out instead of cast like mine (left picture).
 |
 |
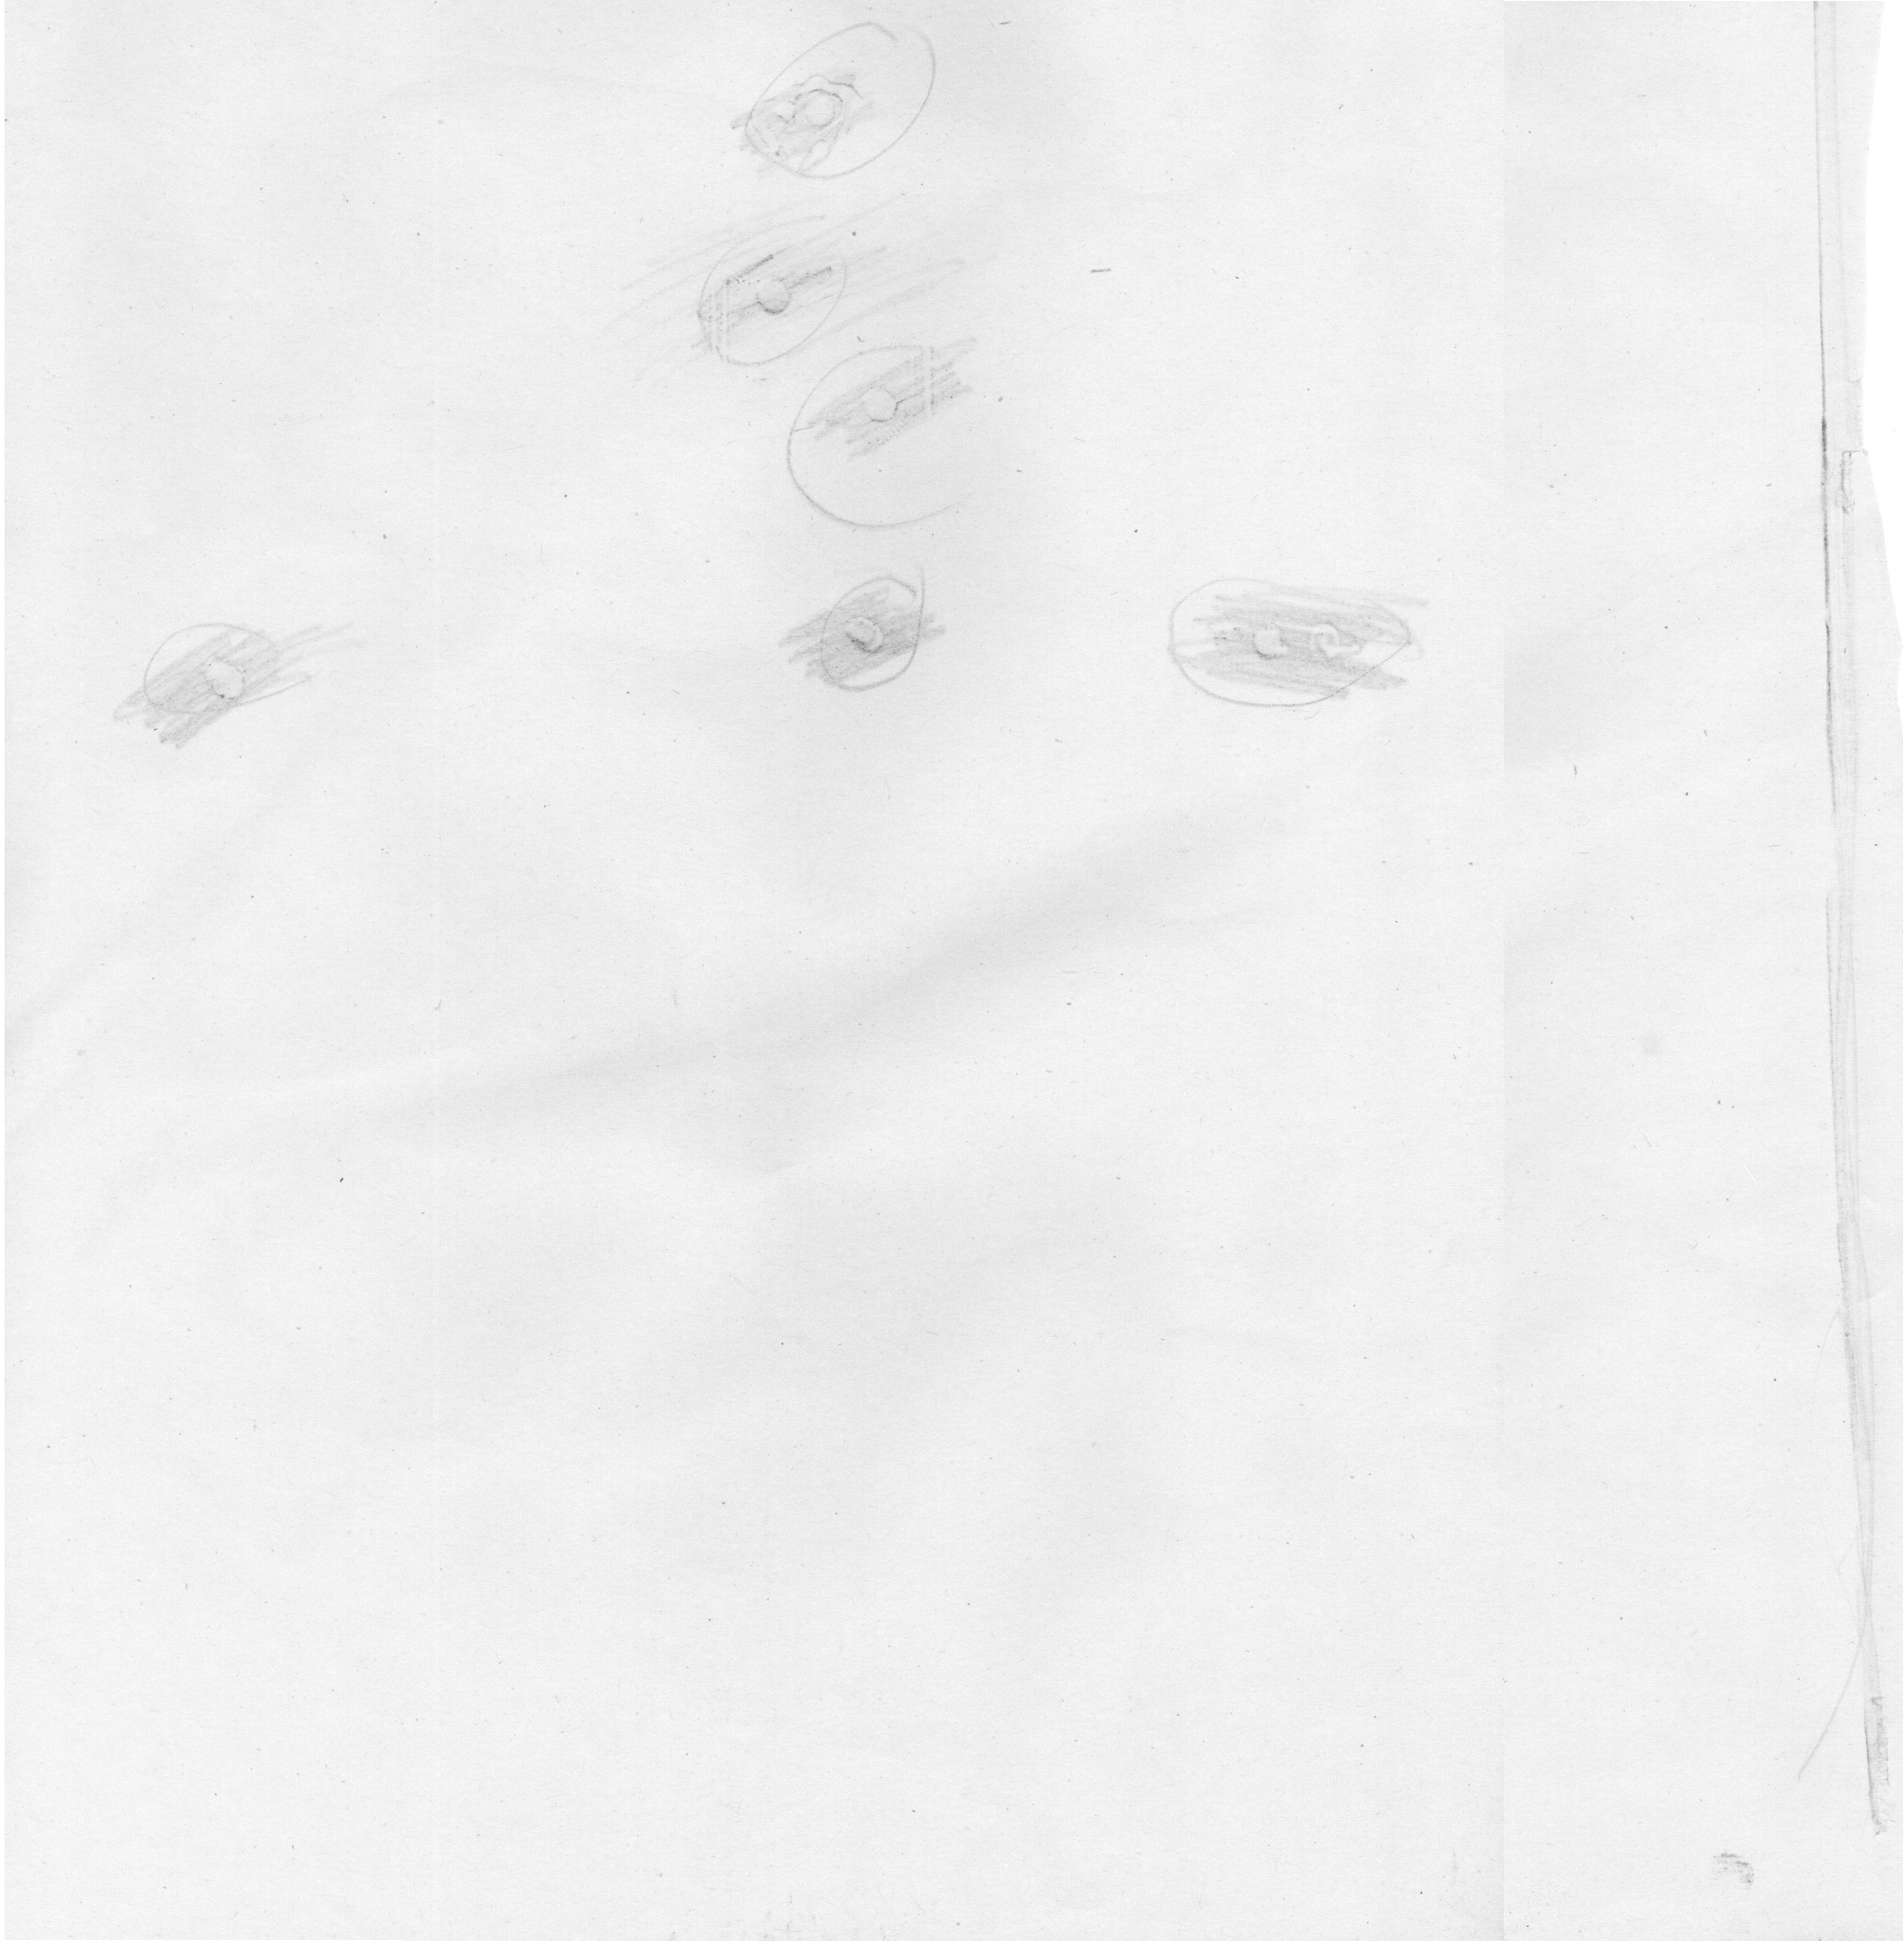
However, his car had four holes for the script. His script fit into two of them, while mine fit into the two outers ones though his center hole wasn't in the right place. I put some tape just below the door and continued it under the script area for a reference line. Then I taped some paper on and rubbing with a pencil, marked the leading door edge and each hole.
 |
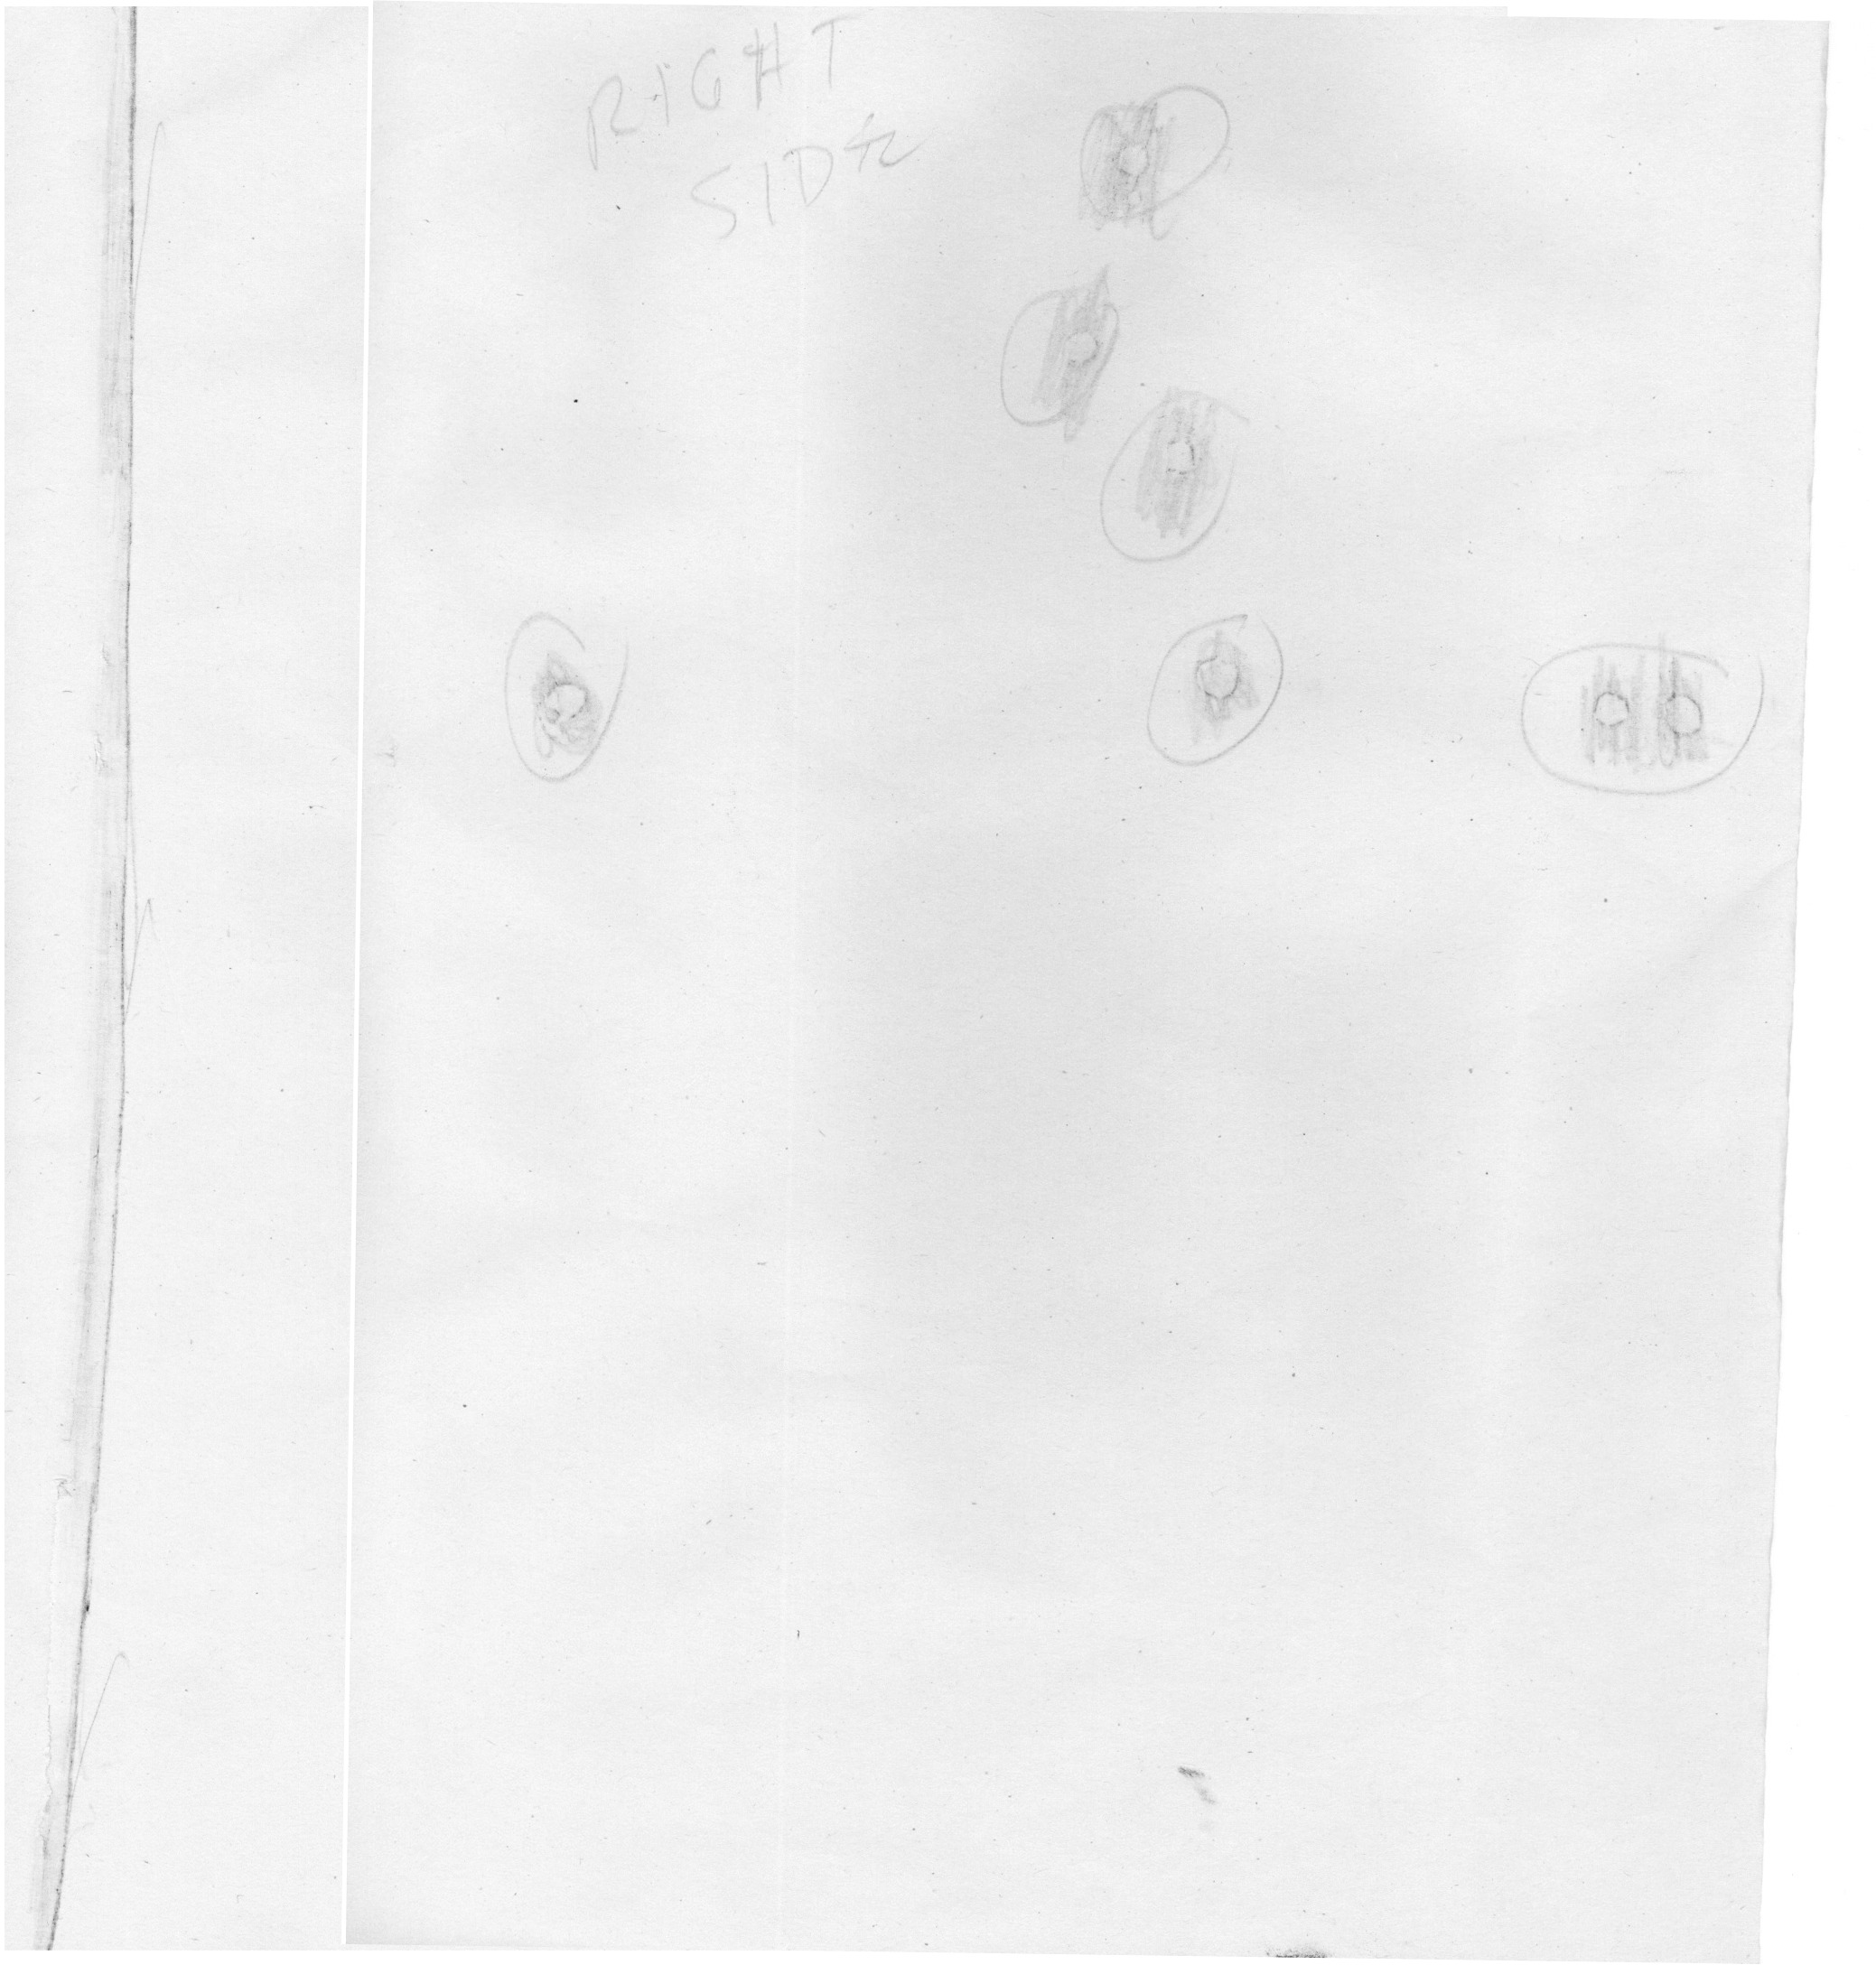 |
One thing was quite clear, his holes were also not in the same location on each side. The right side emblems were 20mm (.8") closer to the door while being 5mm higher.
So now I'm trying to figure out if I have the correct script or need to look for some like George's. Once I've figured out that, I'll be ready to drill the holes and install the emblems.
After asking a couple of people, I decided that the 3 stud cast script was fine for my coupe. A final check using the guide on cardboard and then it was taping up the guide, center punching where the holes were to go, drilling and installing the emblems and script.
 |
 |
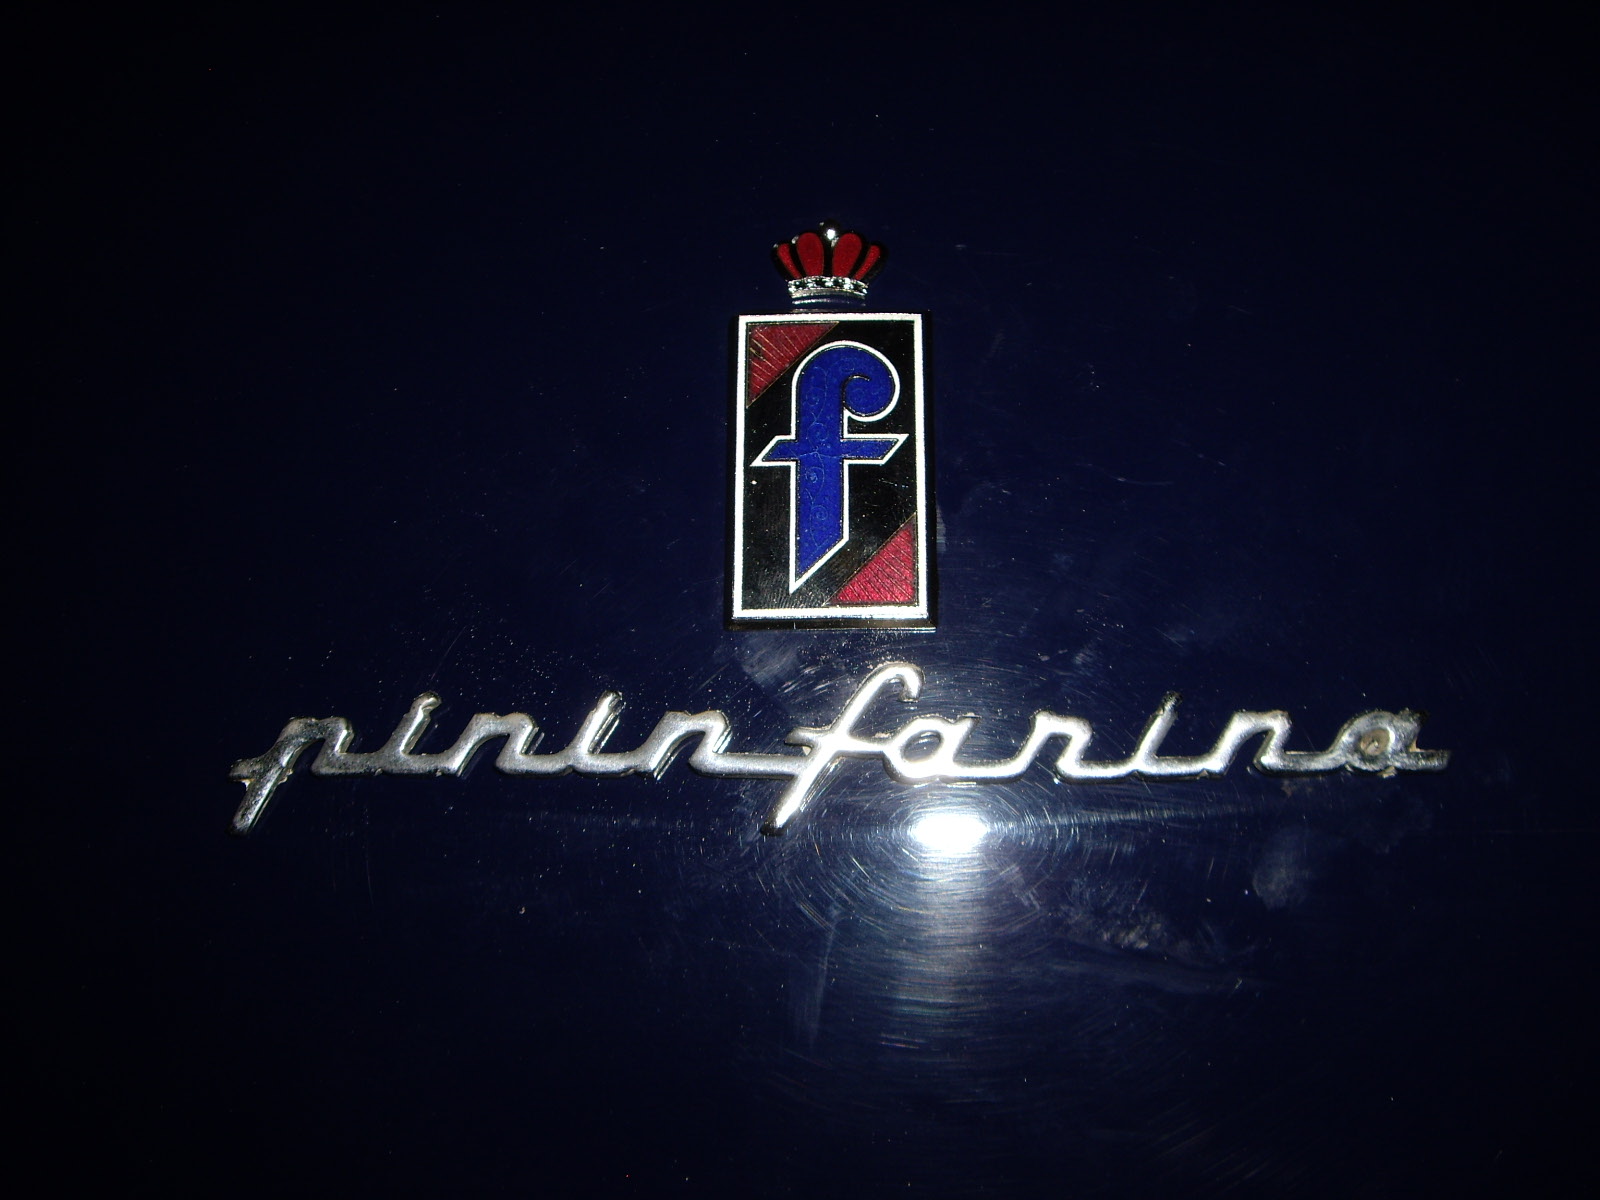
One thing I do with screwed on emblems is to put a thin rubber washer under the metal washer. This seals the hole so water doesn't get inside plus keeps some pressure on the nut without having to tighten it too much. Here's the final product, right or wrong, they're where they are on the car.
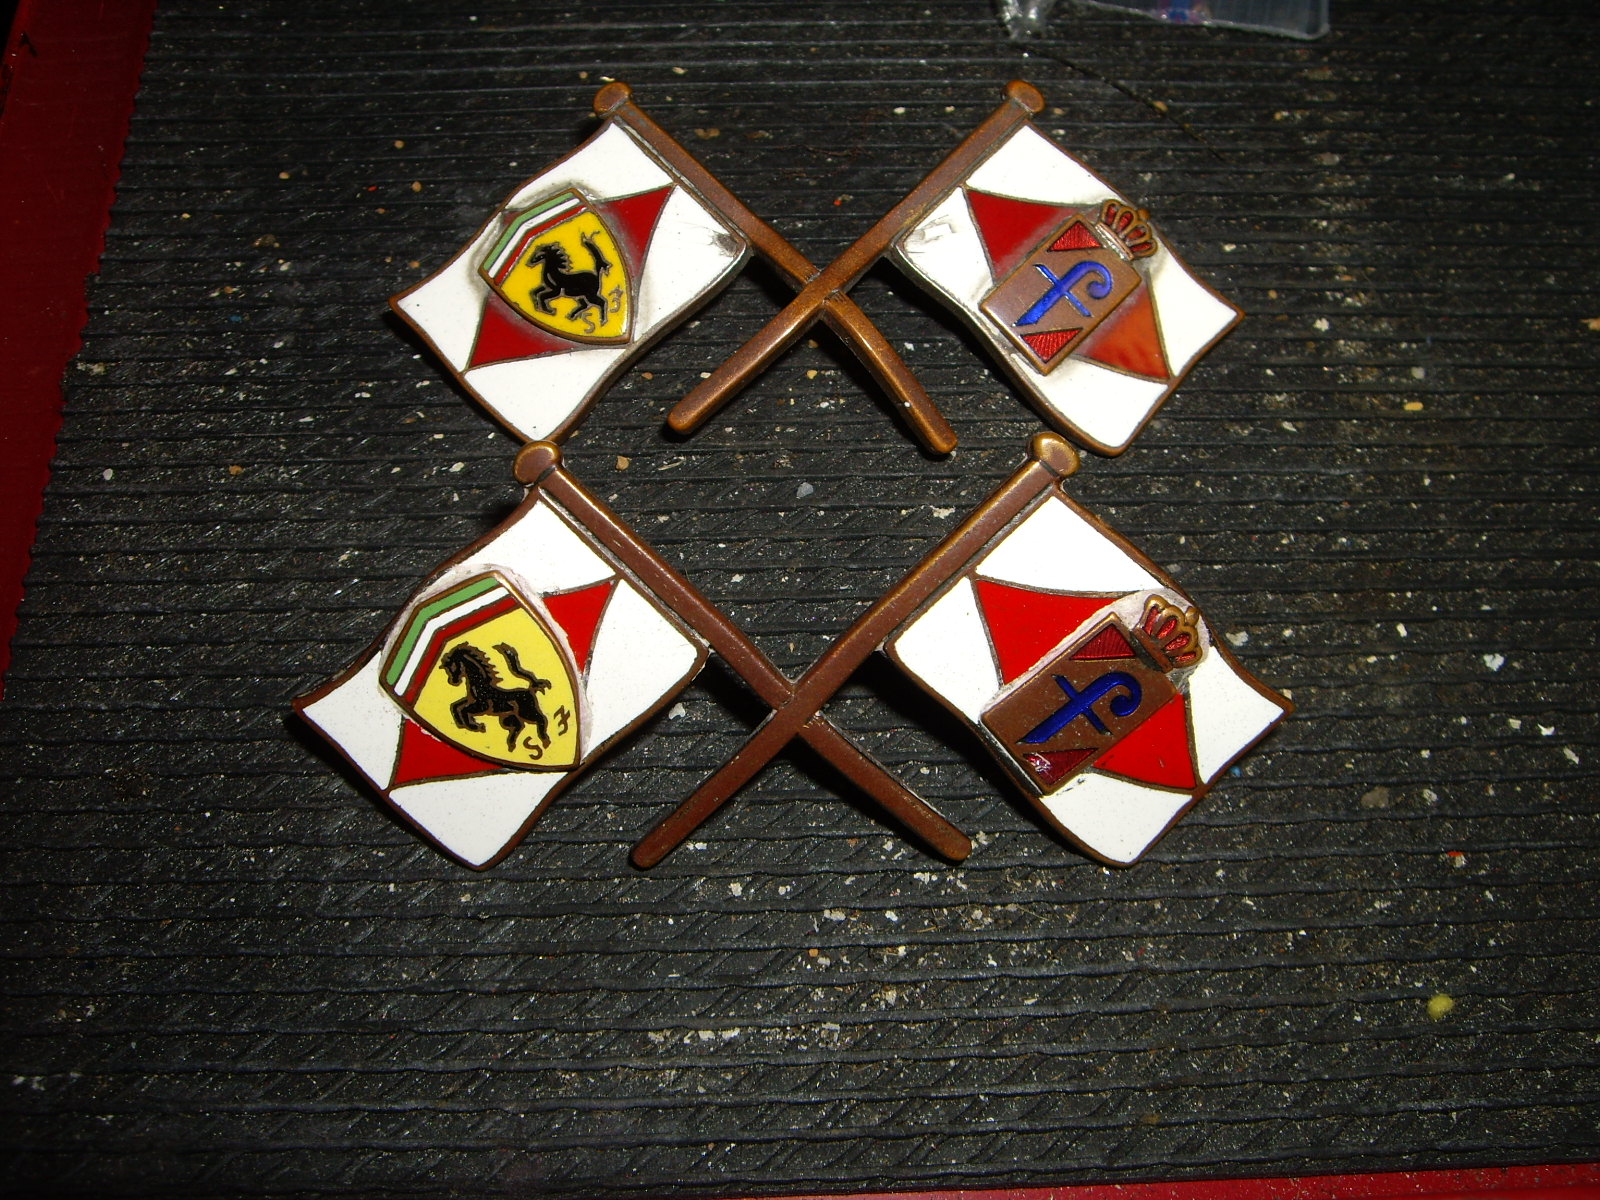
As I was going through the various emblems, I noticed that I have two of the crossed flag ones that go on the trunk deck. Further, they differ from each other in that one has the flag staffs bent. This looks like they were made that way. Now I need to figure out which to use. Note, they are the same size, but just look different due to the macro focus I used to take the pictures.
 |
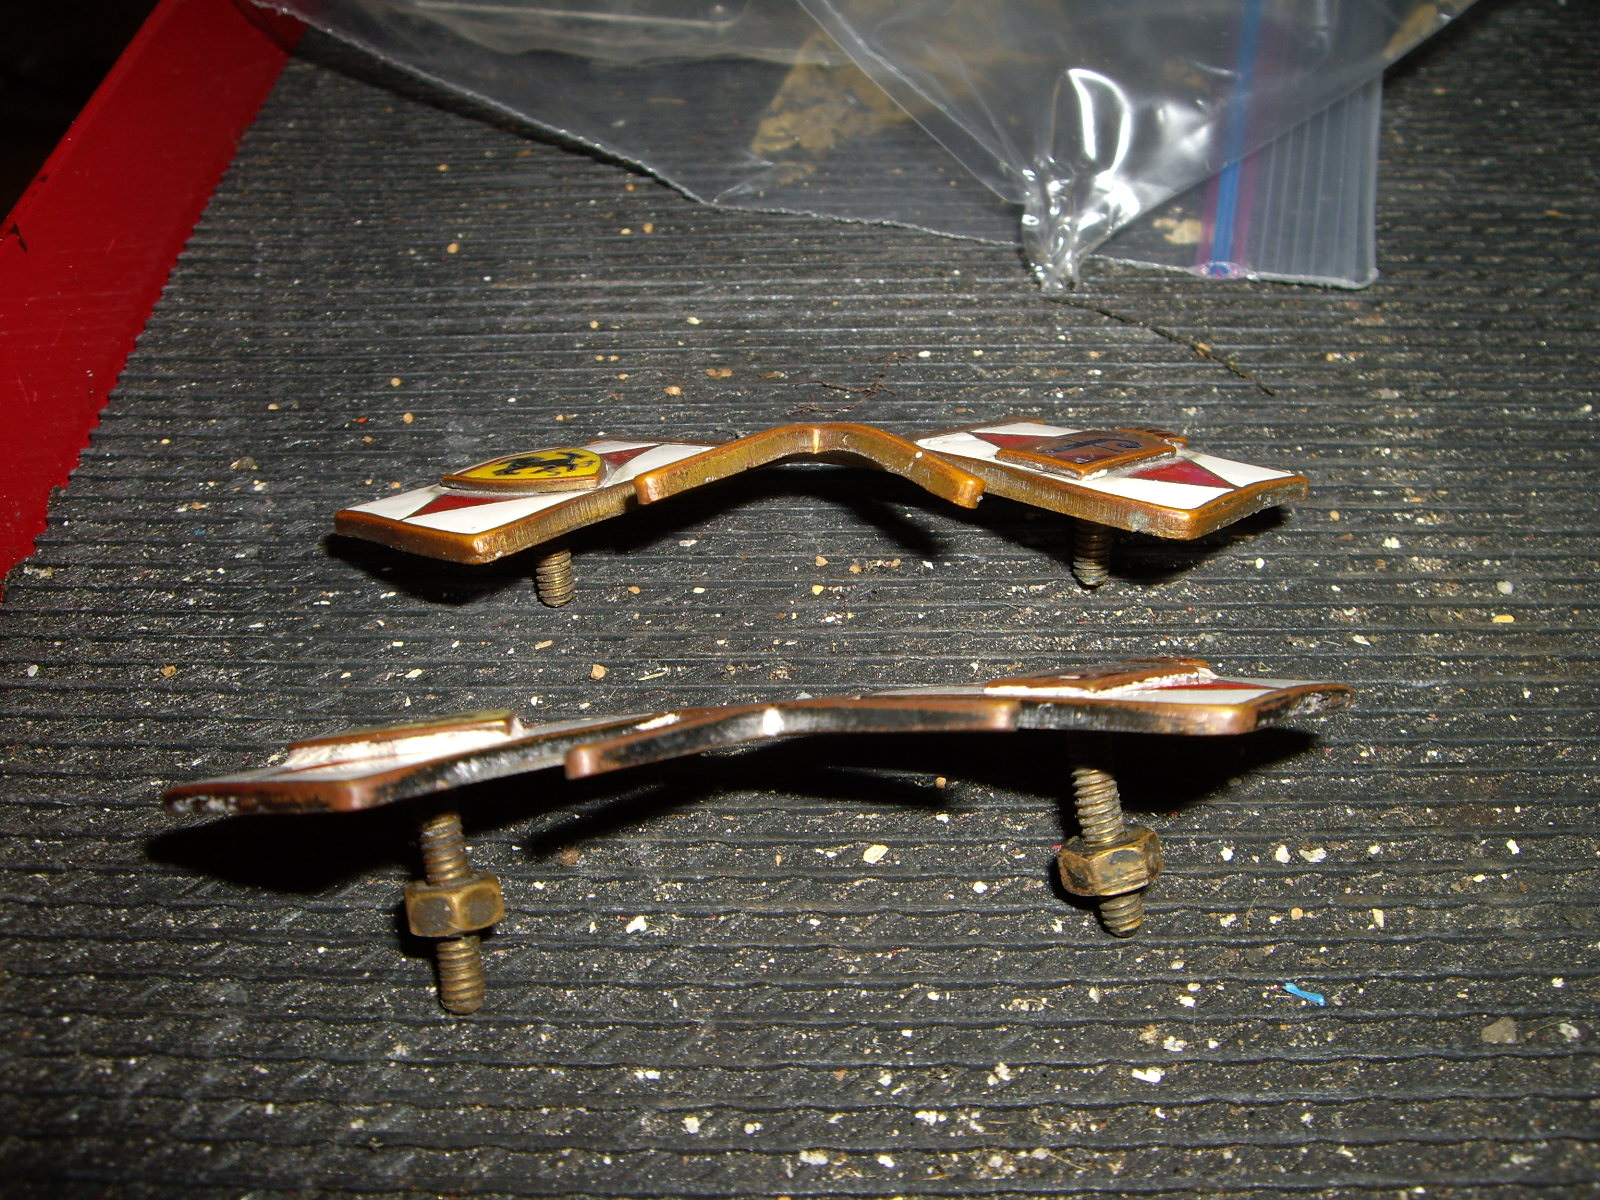 |
I decided to use the crossed flag emblem that was flat.