Engine Assembly
The first step in assembling the engine was to build an engine stand for it. When I rebuilt the engine on my 330 GT, I did it all on a small rolling cart. I was a lot younger then and it was easier to bend over. Now, it'll be nice to have the engine securely mounted at waist height as I work on it.
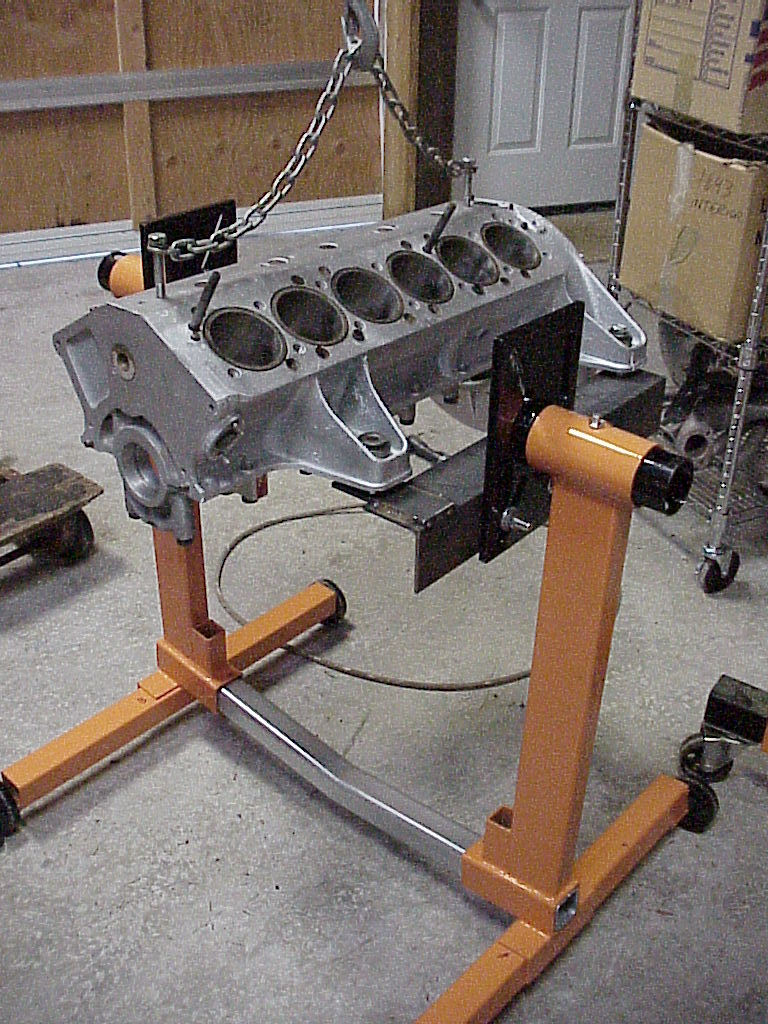
This engine has already had all of the machining done on it. So all I'm doing is to check all of the dimensions to verify that it was done properly.
Here's the engine flipped over ready to install the crank and main bearings.

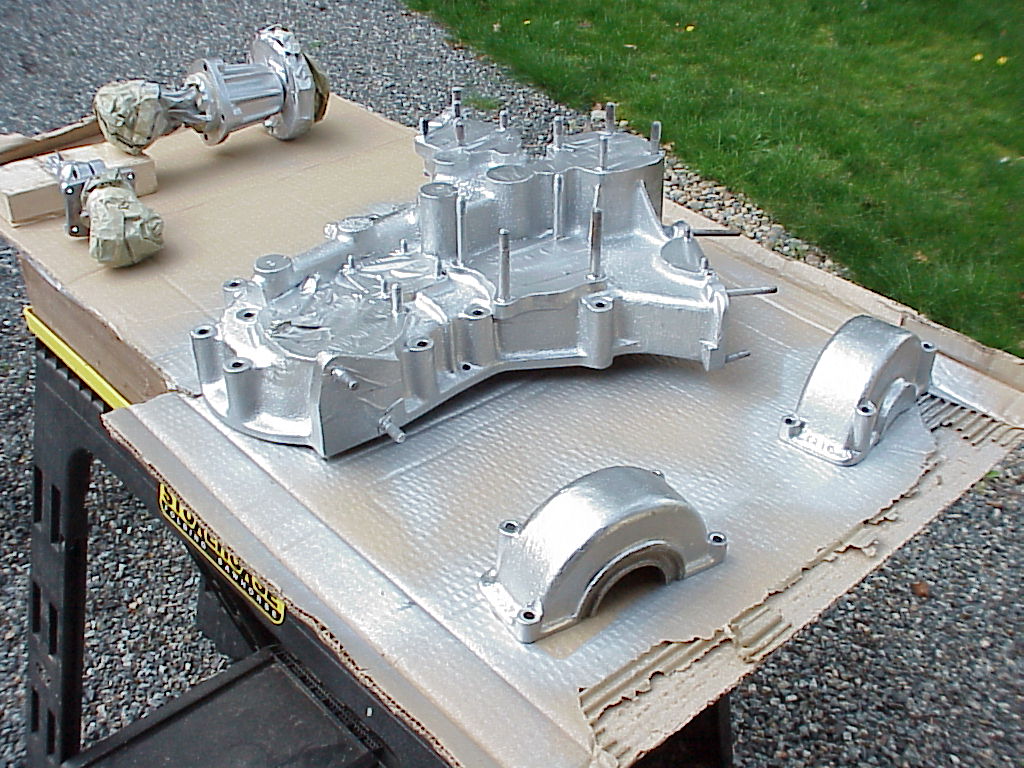
I spent some time (most of an afternoon) getting some of the engine parts painted. Ferrari would paint the block, front cover, pan, etc. a metallic silver instead of leaving the aluminum bare. The block and pan were already painted, but several other parts hadn't been done. The painting time isn't too long, but masking off of the various openings for the front cover took over an hour.
 |
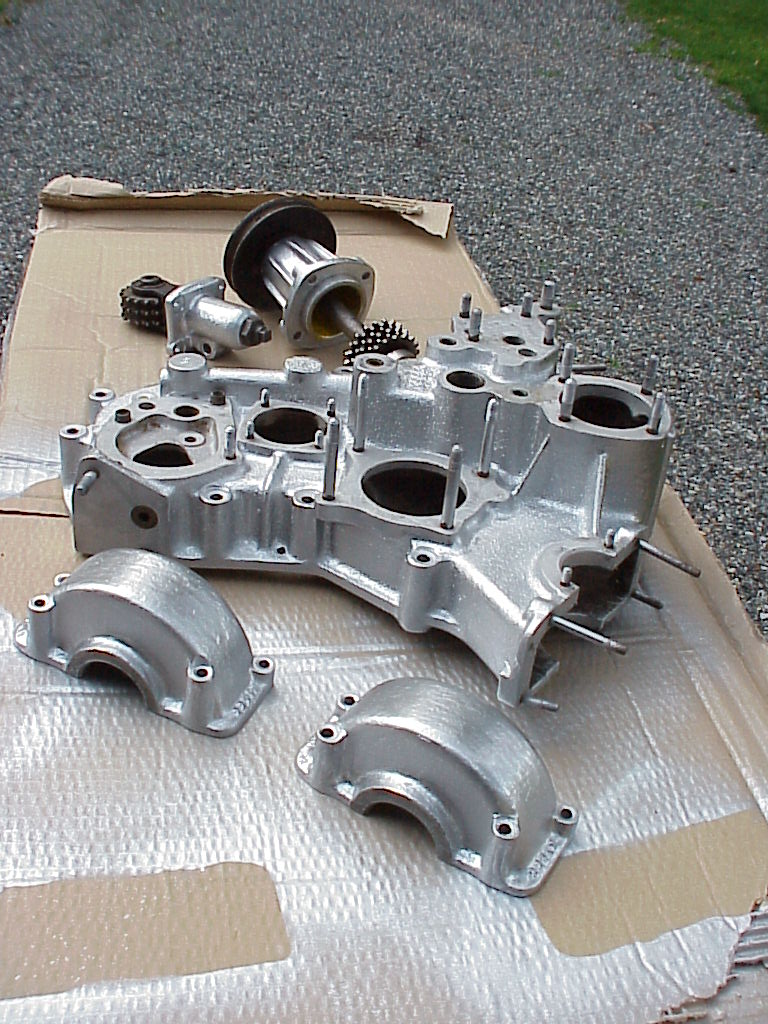 |
| With everything masked off | Now you can see all of the openings |
Keep tuned in as I continue the assembly.
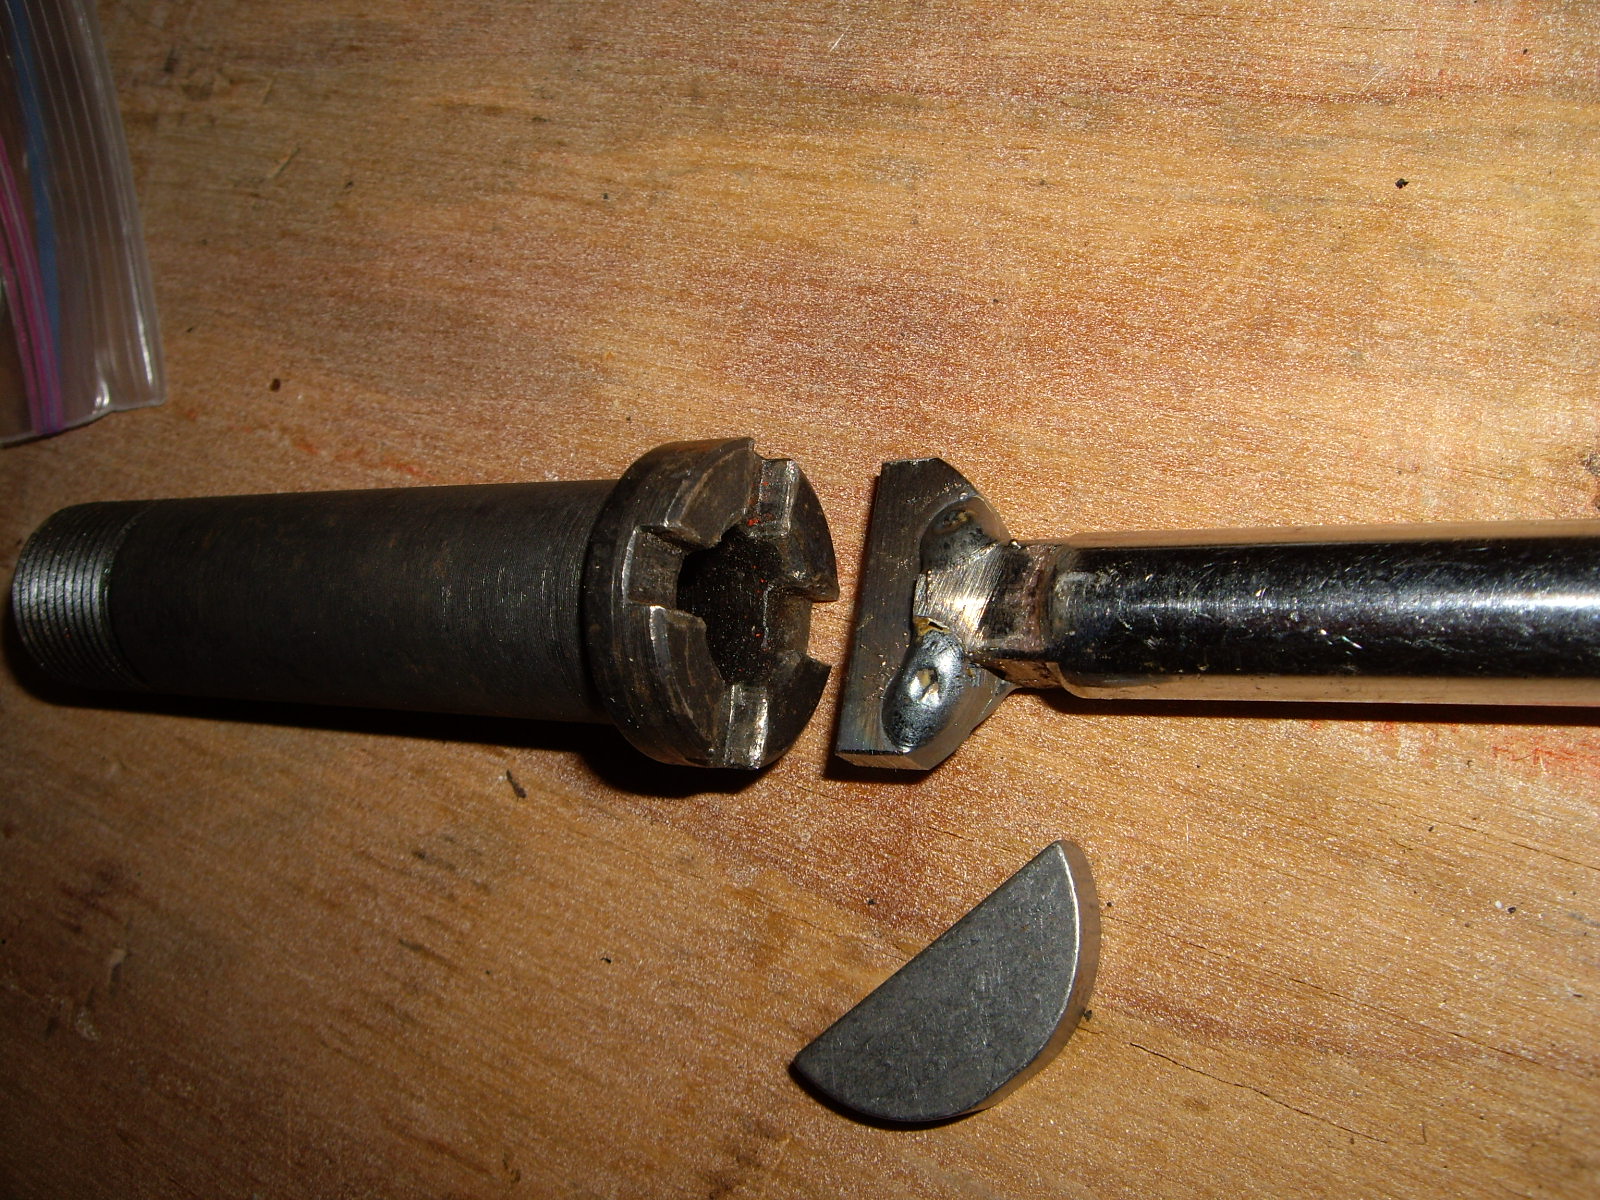
One of the things that I'll need during the assembly is a tool to tighten a special bolt in the oil system. The Ferrari tool is shown in the inside plug owner's manual.
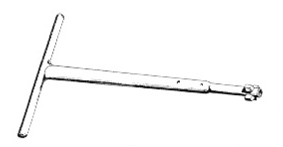
That's overkill. A simpler version is to use a 3/16" woodruff key welded onto a 3/8" socket extension. I just cut a slot in the end of the extension (basically removing the little spring loaded ball), fit the woodruff key into it and had my neighbor use his MIG to weld everything together. Then I trimmed the ends to fit the width of the slot.
It turns out that I did need to get some machining done. I used Autosport in Seattle, the same machinist that did the machining on my 330 GT engine. That engine has been running fine for the last 30 years or so.
The #2 main cap had been broken and the PO had another one machined. In a discussion with my machinist, it turns out that a broken cap can be welded, cleaned up and line bored to make it like new.
At the same time, I had the rear of the engine machined to accept a rear main seal. The road engines of this era just had a slinger along with a series of grooves in the crank to prevent the oil from coming out the rear. That works fine when the engine is running, but it will weep if the car is parked on a uphill slant. The race engines were made with a rear main seal, so this is the standard solution to the problem.
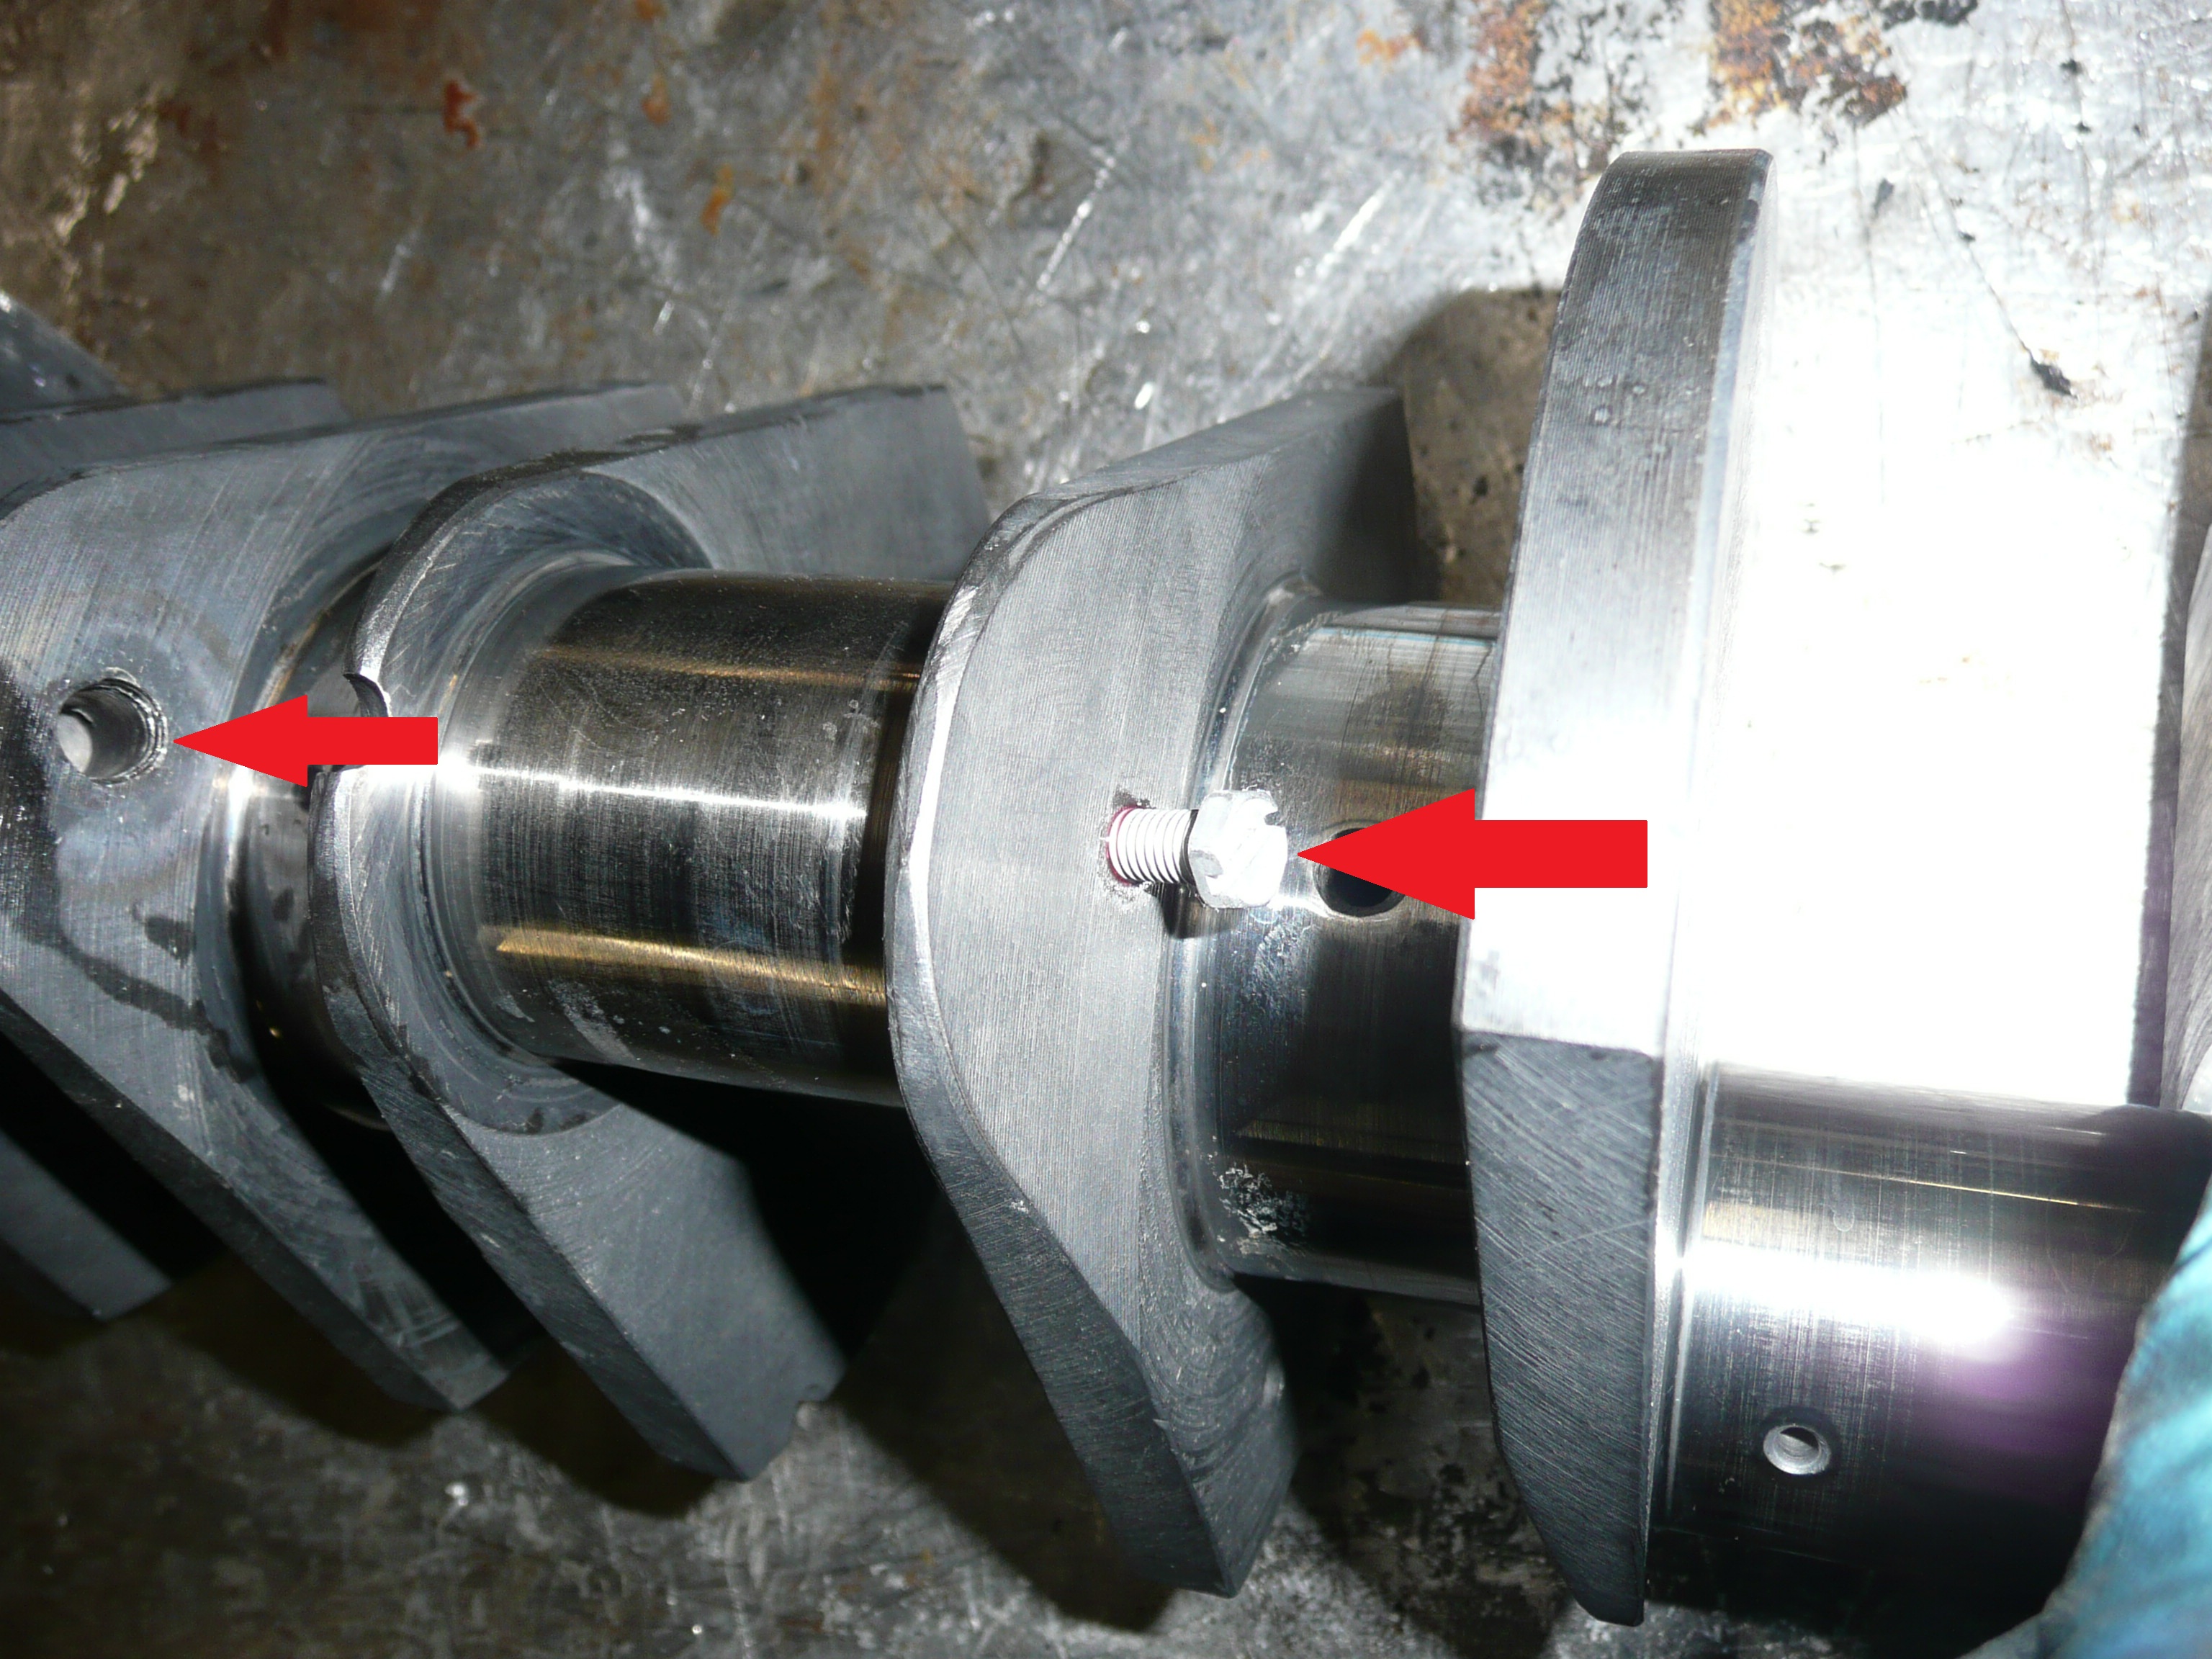
I also had all of the oil plugs in the crank removed and the oil galleys cleaned out. The red arrows point to where an oil plug has been removed and one replaced. The screw heads get cut off flush.
There were a lot of studs missing on the block. Some of these I could order, but others I had to have made.
I assembled the crank, pistons, etc. to get the lower end of the engine together.
Next was to put the oil sump in place.
Then I installed the flywheel.