Fuel Tank
I had to take out the fuel tank in order to get at the wiring to the fuel sender so I could refurbish the rear wiring harness. Once the tank was out, I noticed that the vent tube was missing. Furthermore the sending unit had never been re-installed.
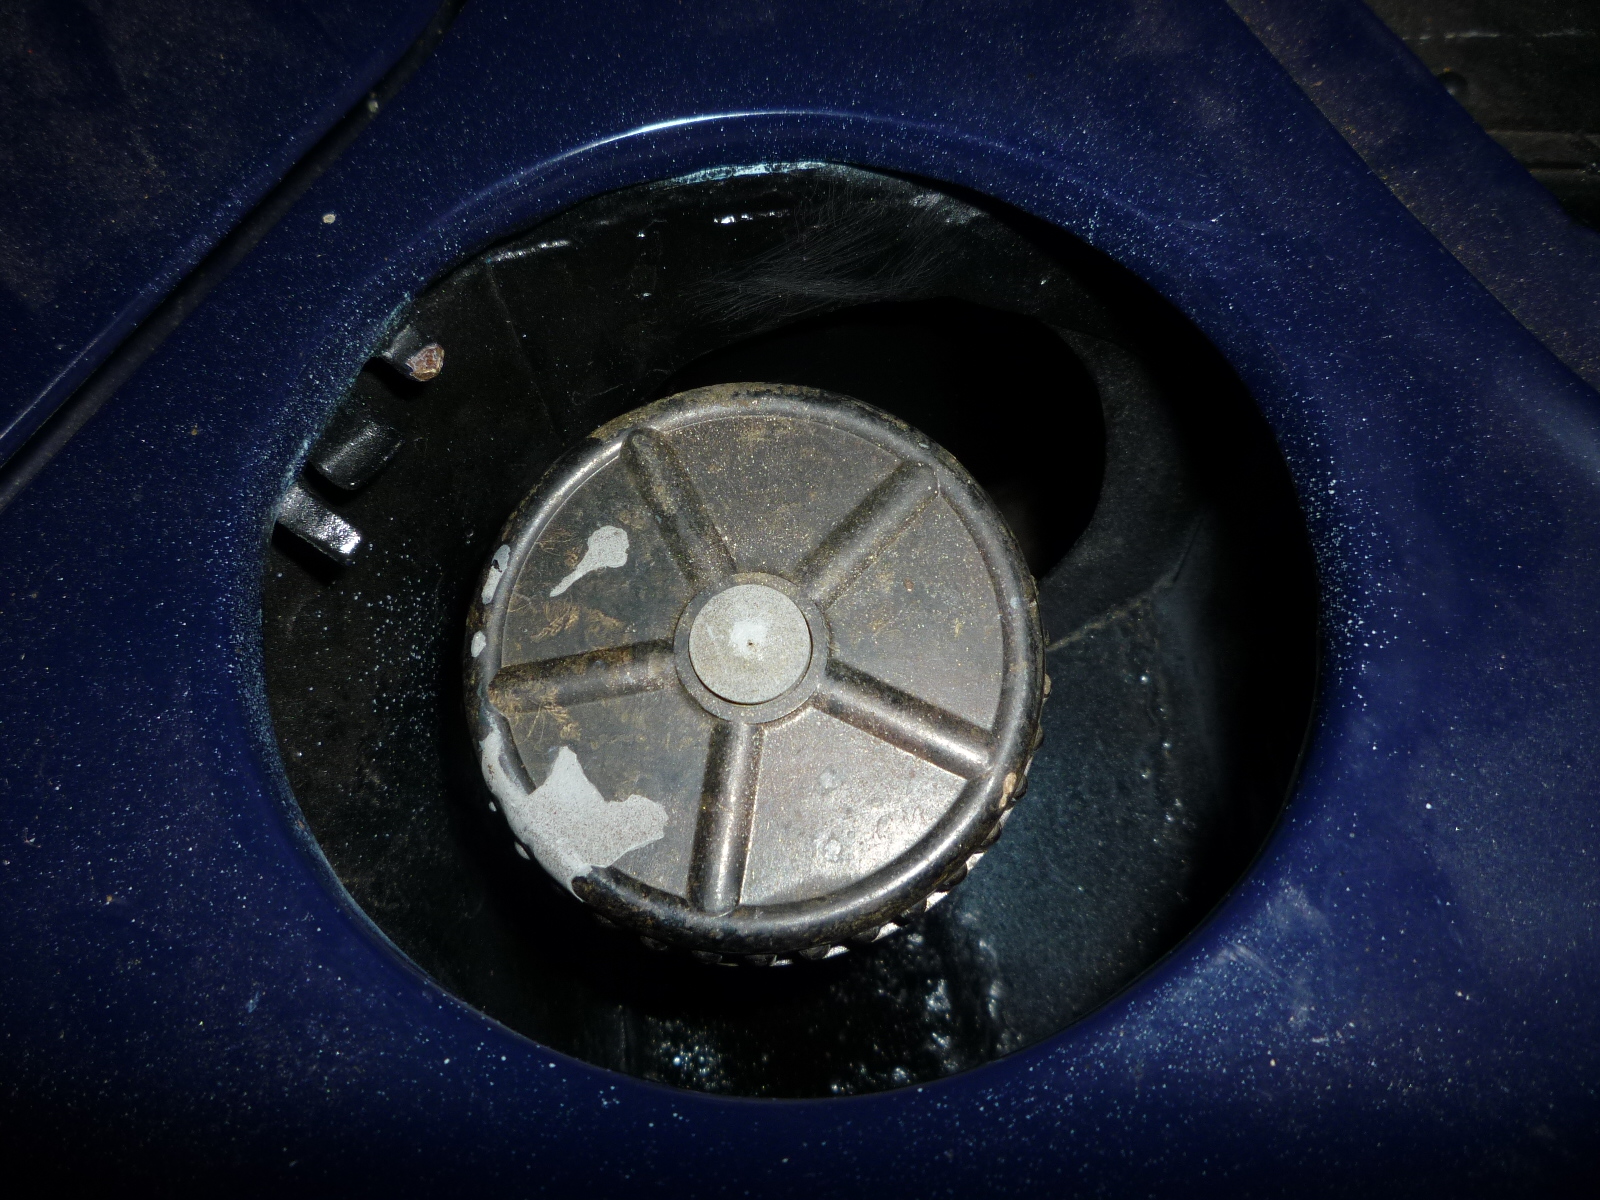
The hole for the sending unit and the filler tube had been covered with wide masking tape. That's a great idea if one is going to remove it in a short time. But after years, it gets very difficult to remove. It took quite a bit of time and rubber cement thinner to get it off. I use rubber cement thinner to remove about any sticky substance. I've never had it affect paint, plastic or anything else.
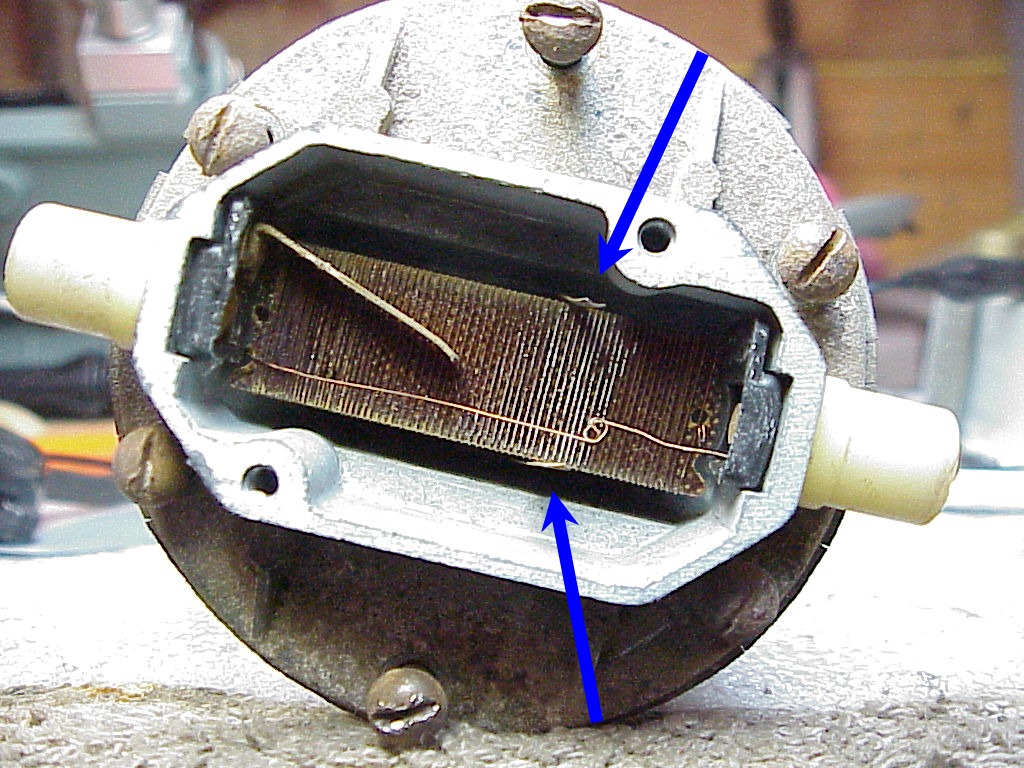
First I wanted to check the sending unit before installing it. The wires to it had been cut right at the unit. I couldn't understand why they weren't unplugged, but probably someone was taking out the tank and didn't realize that they needed to open the access port under the rear window to unplug them. Then as the tank was lowered, it was hung up with the wires and someone just reached up and cut them. So I unsoldered the plugs and soldered them onto the wires from the harness. At least they were cut close enough that I didn't have to add any new wire. Next was testing the sending unit. First I used an ohm meter to check conductivity and see if the resistance changed as I moved the float up and down. The readings were pretty intermittent so I opened the top. You can see the wires wound around the center core. The arrows point to the slides that measure the resistance. When the top slide moves all the way to the left it contacts the copper bar that you see running diagonally on top of the core. This turns on the low fuel light.
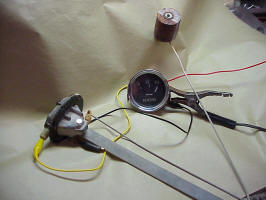
After some cleaning of all the contacts everything looked fine on the ohm meter. Then I got out the fuel gauge to double check everything. Here's a brief movie of that operation. Just click on the picture below.
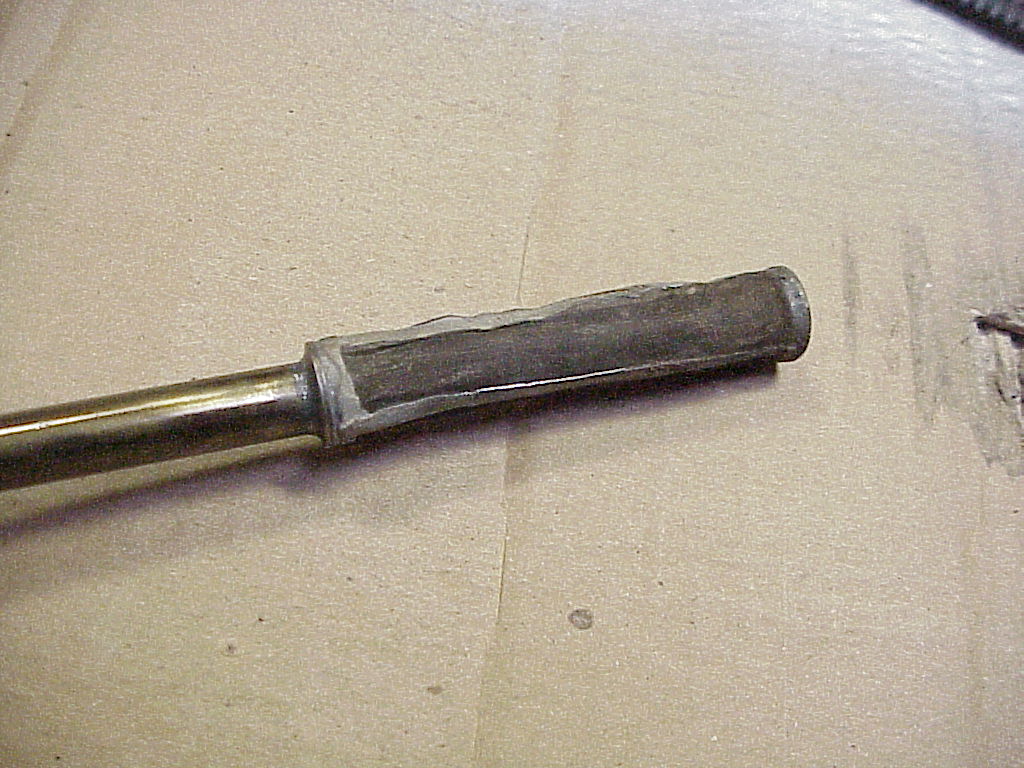
The other interesting thing I noticed was the fuel pickup and filter screen. On the 330, the filter screen is a nylon mesh one piece unit. This filter is a soldered together one using brass screening and wire. It must have taken quite a while to make this.
As I was trying to screw the sending unit down, the screws were binding. Upon closer inspection, the threads in the tank were rusty and needed to be cleaned out. I ran a tap down through each one. As I was doing this, I put a magnet right under the screw hole so any metal flakes that the tap dislodged would be attracted rather than ending up in the bottom of the tank. Once that was done, the screws worked fine.
Now I just need to do some touch up painting on the tank, install the vent tube and re-install it after I get the rear wiring harness back in place.
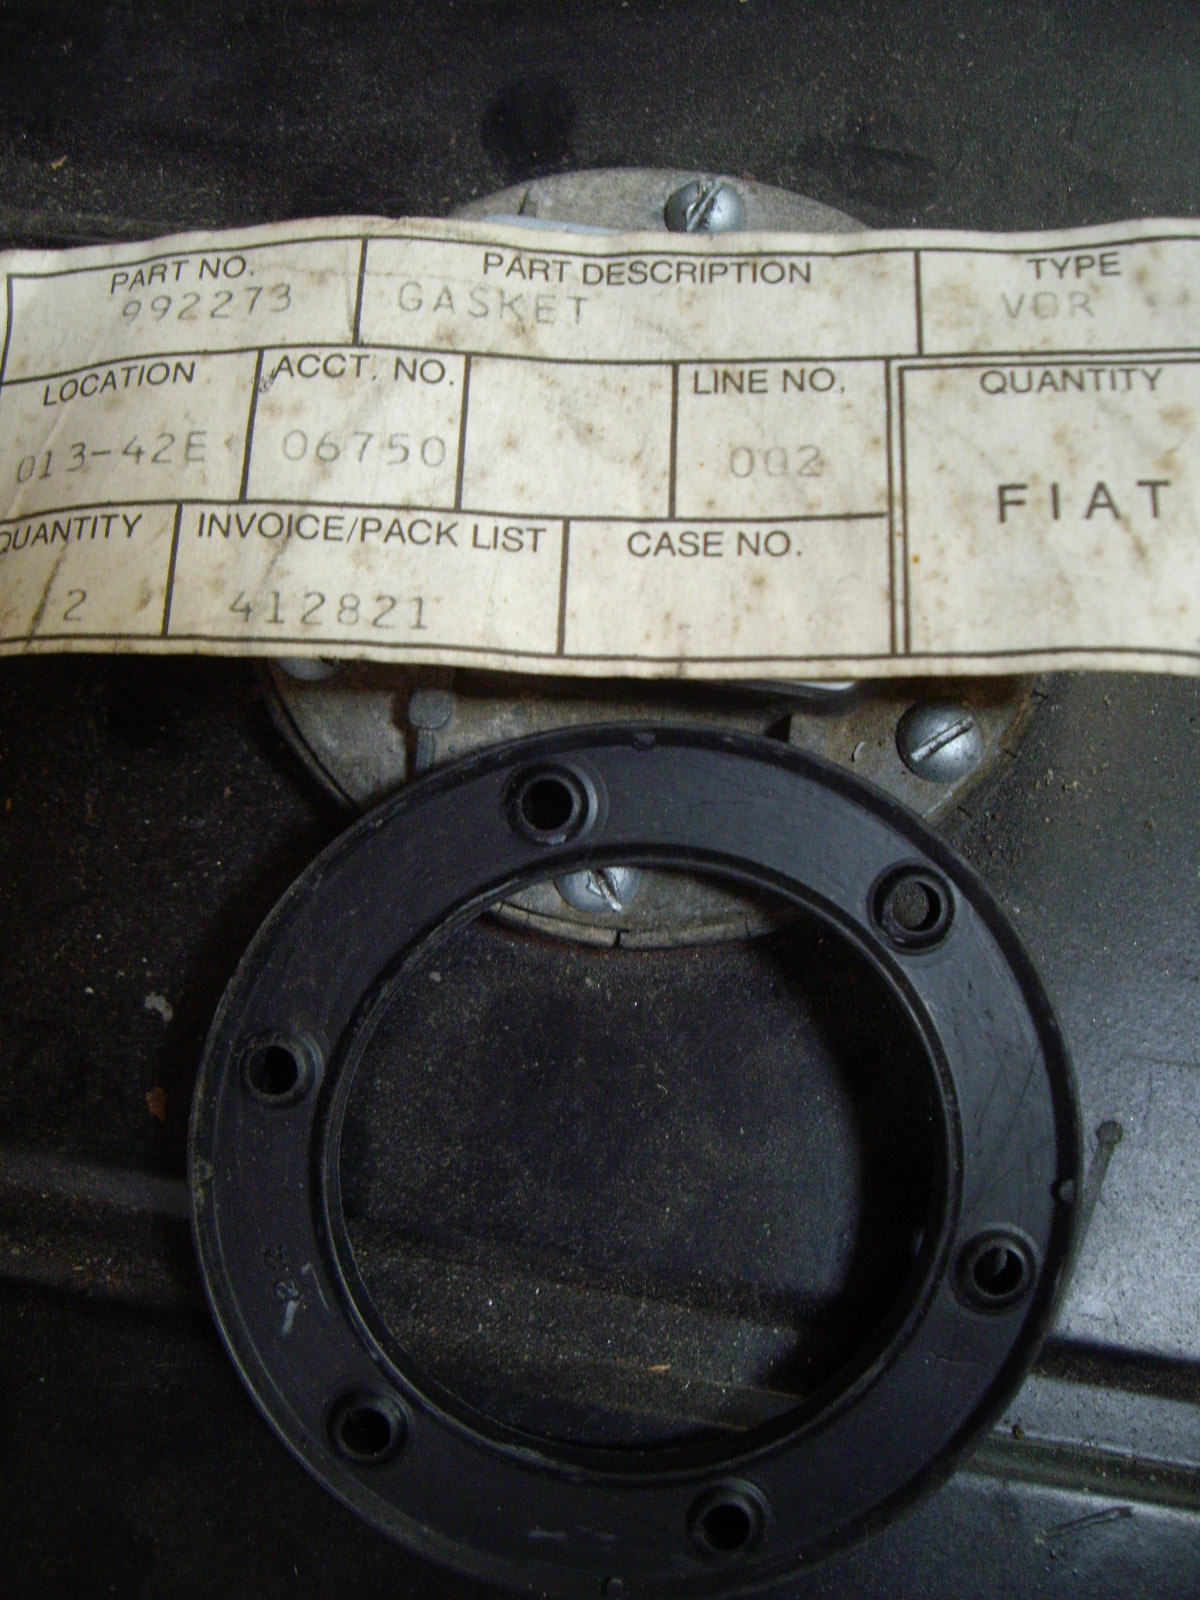
A friend of mine is also working on his PF coupe. He had the gas tank out and was looking at the gasket with a Fiat friend of his. The friend said that the gasket was identical to a Fiat part (992273), so George got one for me too. I hadn't changed my gasket since I didn't think that a new one would be available. Now I was able to put a new one in. The other thing I needed for the fuel tank was the rubber isolating washers that fit above and below the flange. I bought a piece of 1/4" rubber from McMaster-Carr and my brother-in-law who works in a shop with a large press punched out the 1" diameter pieces that I need.
|
|
|
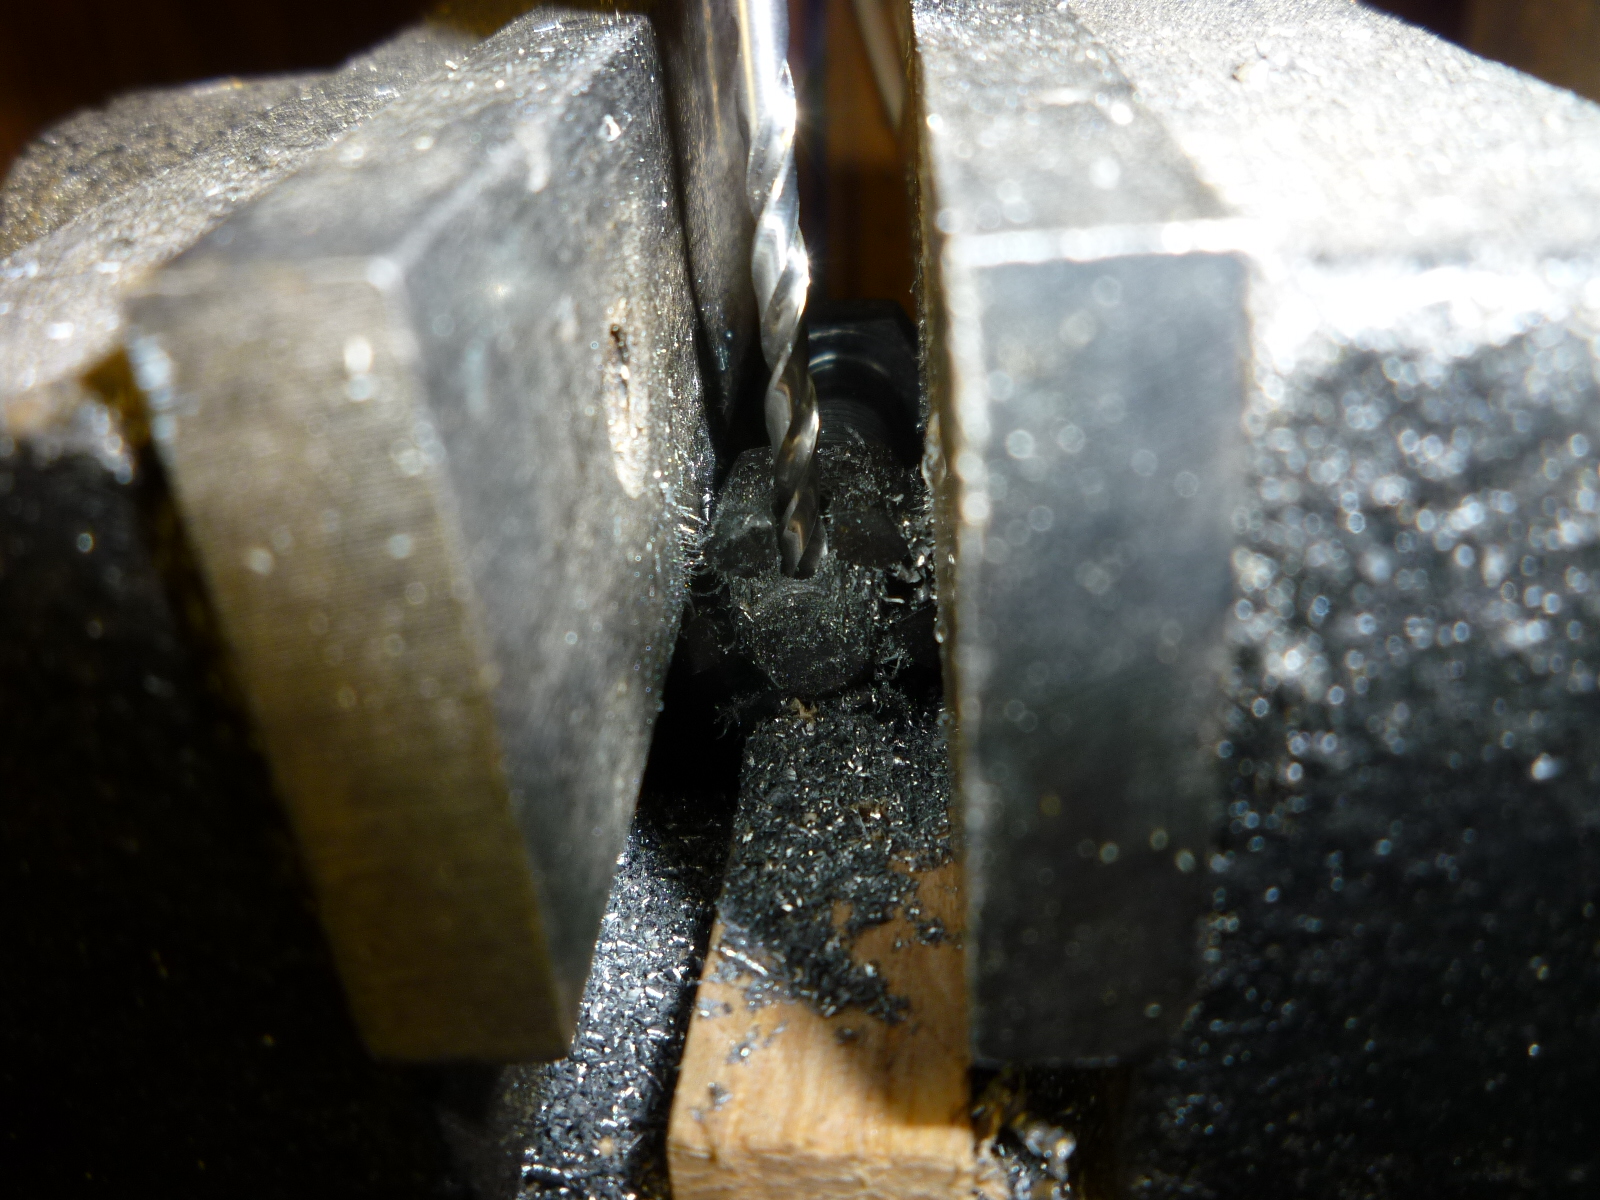
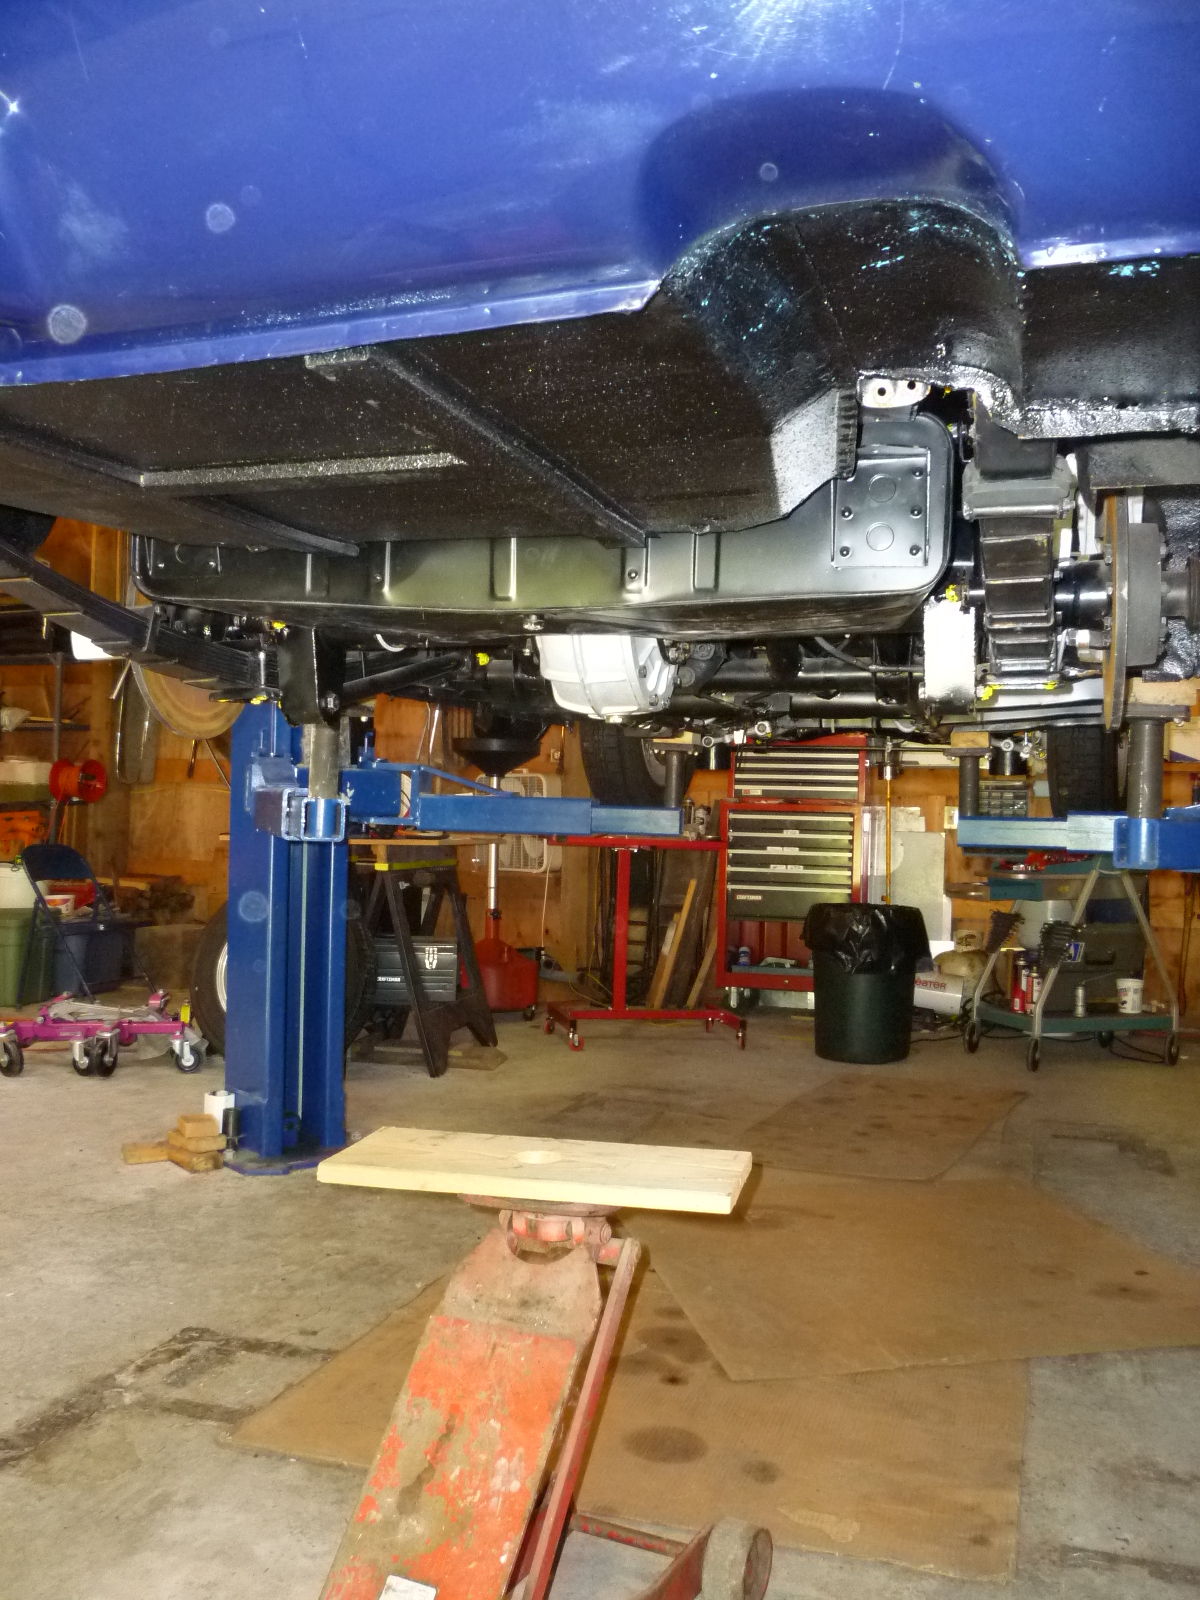
I installed the fuel tank today. One of the things I had to do was to drill the holes for the cotter pins in the bolts that hold the tank on. I was able to hold them in the machinist vise on my drill press. By putting the castellated nut on the bolt and threading it to where I wanted the hole, the bolt and nut set on a thin piece of wood and the vise gripped the corners of the bolt and nut to hold it in place. Then it was just a matter of adjusting the vise so the drill bit was in the proper place.
I put the tank on a floor jack and a combination of lowering the car on the lift and raising the jack got the tank in the proper place. Once there, I added the lower rubber washer, steel washer, castellated nut and cotter pin to each corner. It is much easier to bolt down each corner on this car compared to the 330.
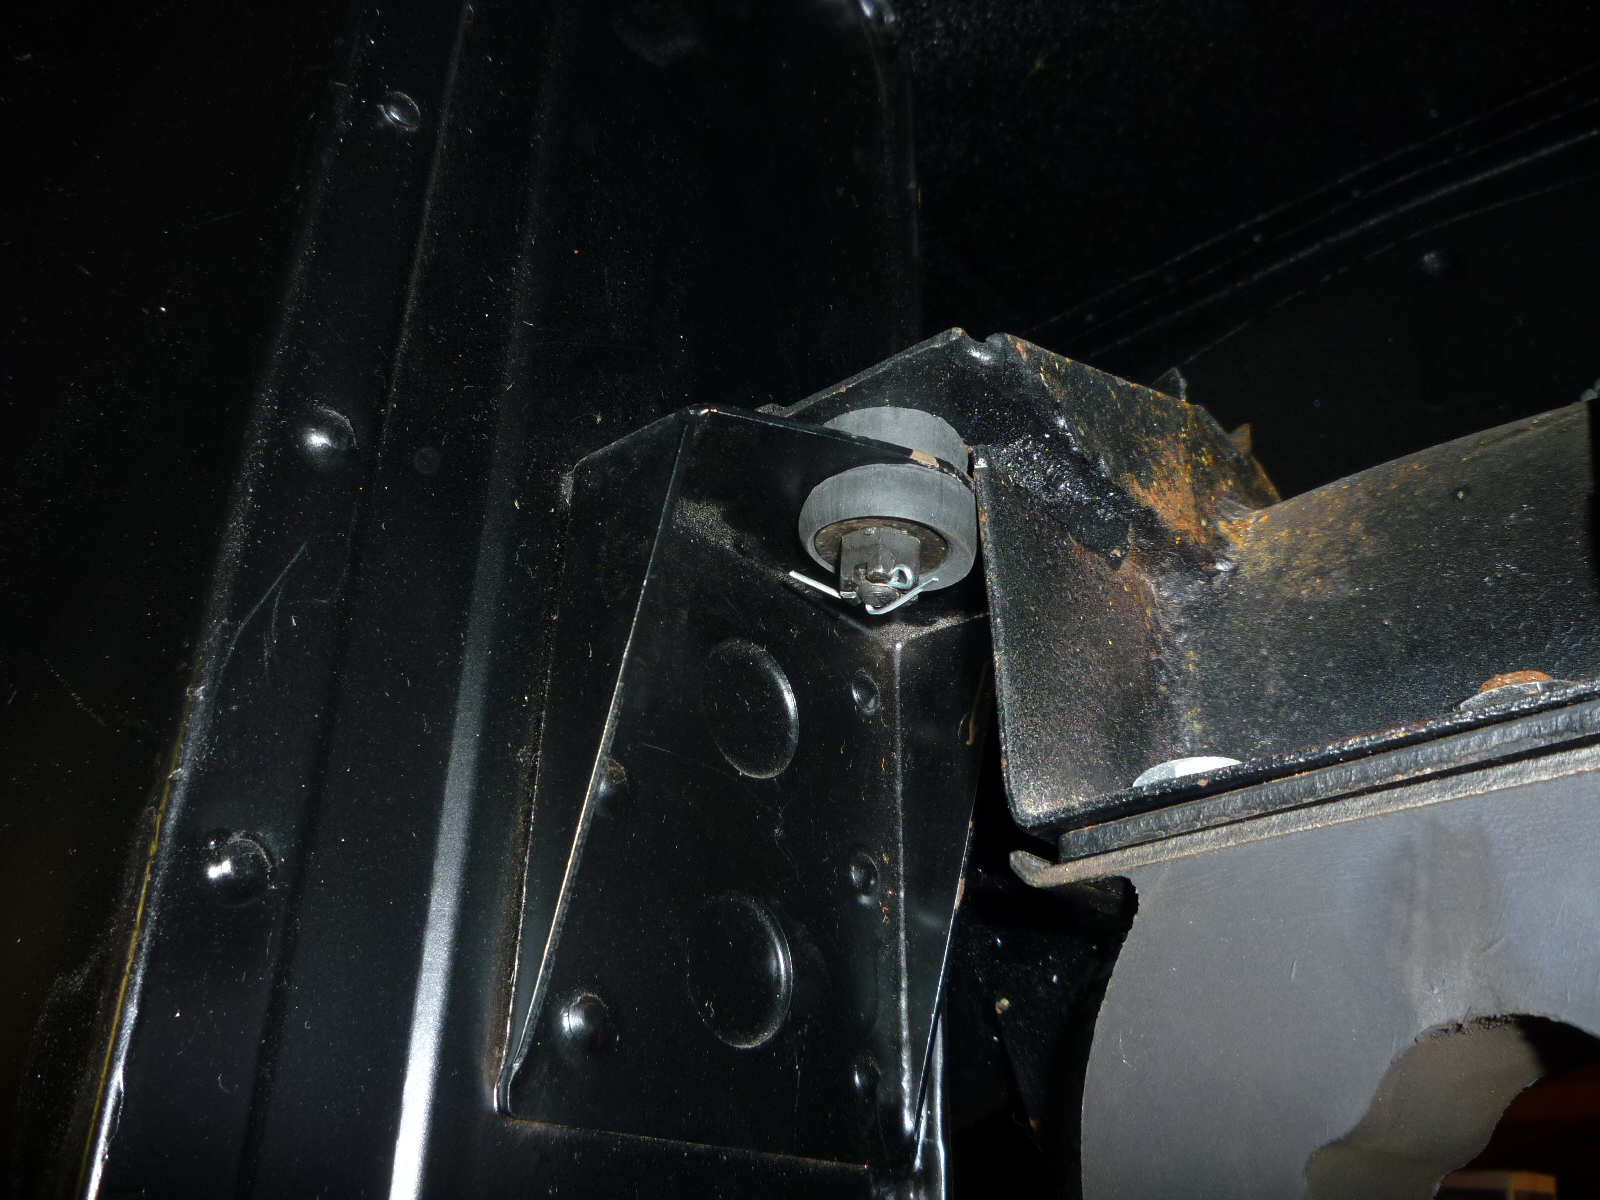
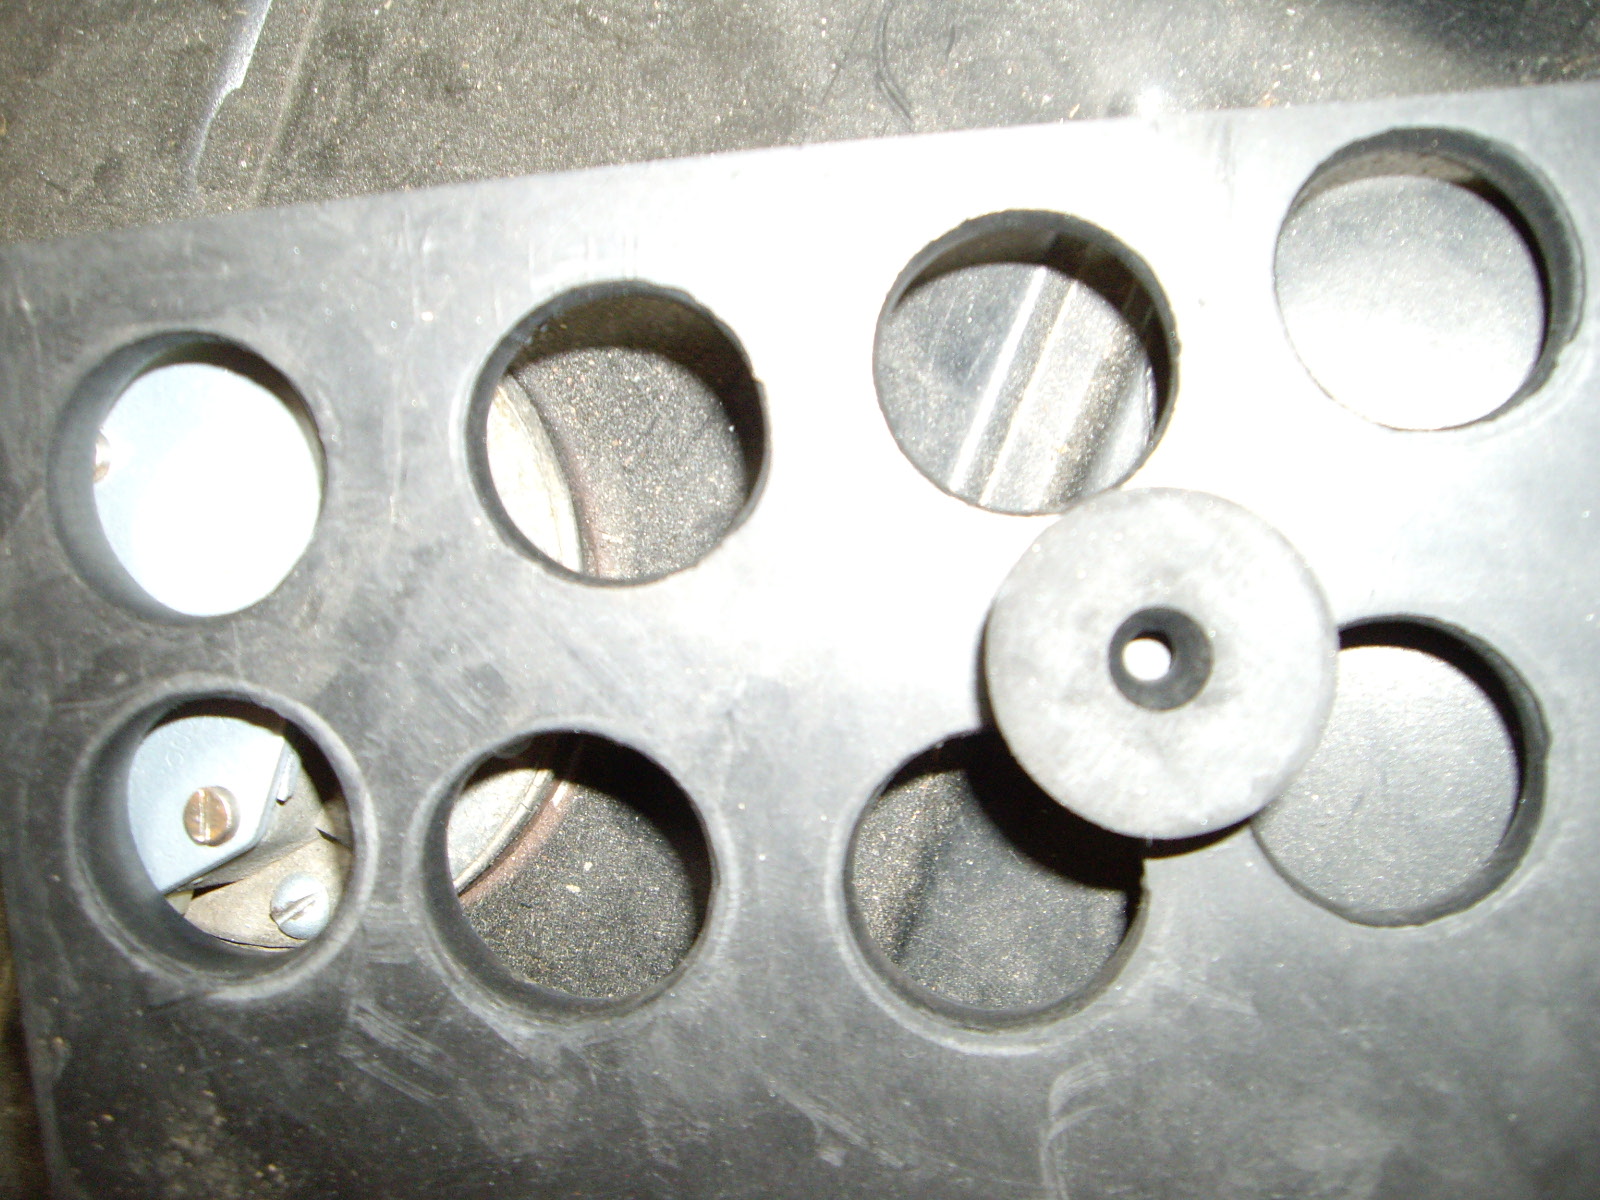
With everything in place, the fuel tank sits just a little lower than the spare tire well. Notice the hole in the wood material. This sits around the drain plug to prevent denting the tank (although this one was already dented there).
Now I need to get some 55mm ID fuel hose to attach the filler pipe to the tank pipe. Unlike on the 330 where the fuel hose connects the two pipes, the filler pipe fits into the fuel tank pipe and the hose will just seal up that connection. I also need to make a plate that surrounds the filler pipe where it exits the body cavity. I'll have to look at my friend's PF coupe to see what it is supposed to look like. I can't remember seeing anything that might fit, but there might be a part that I don't remember.
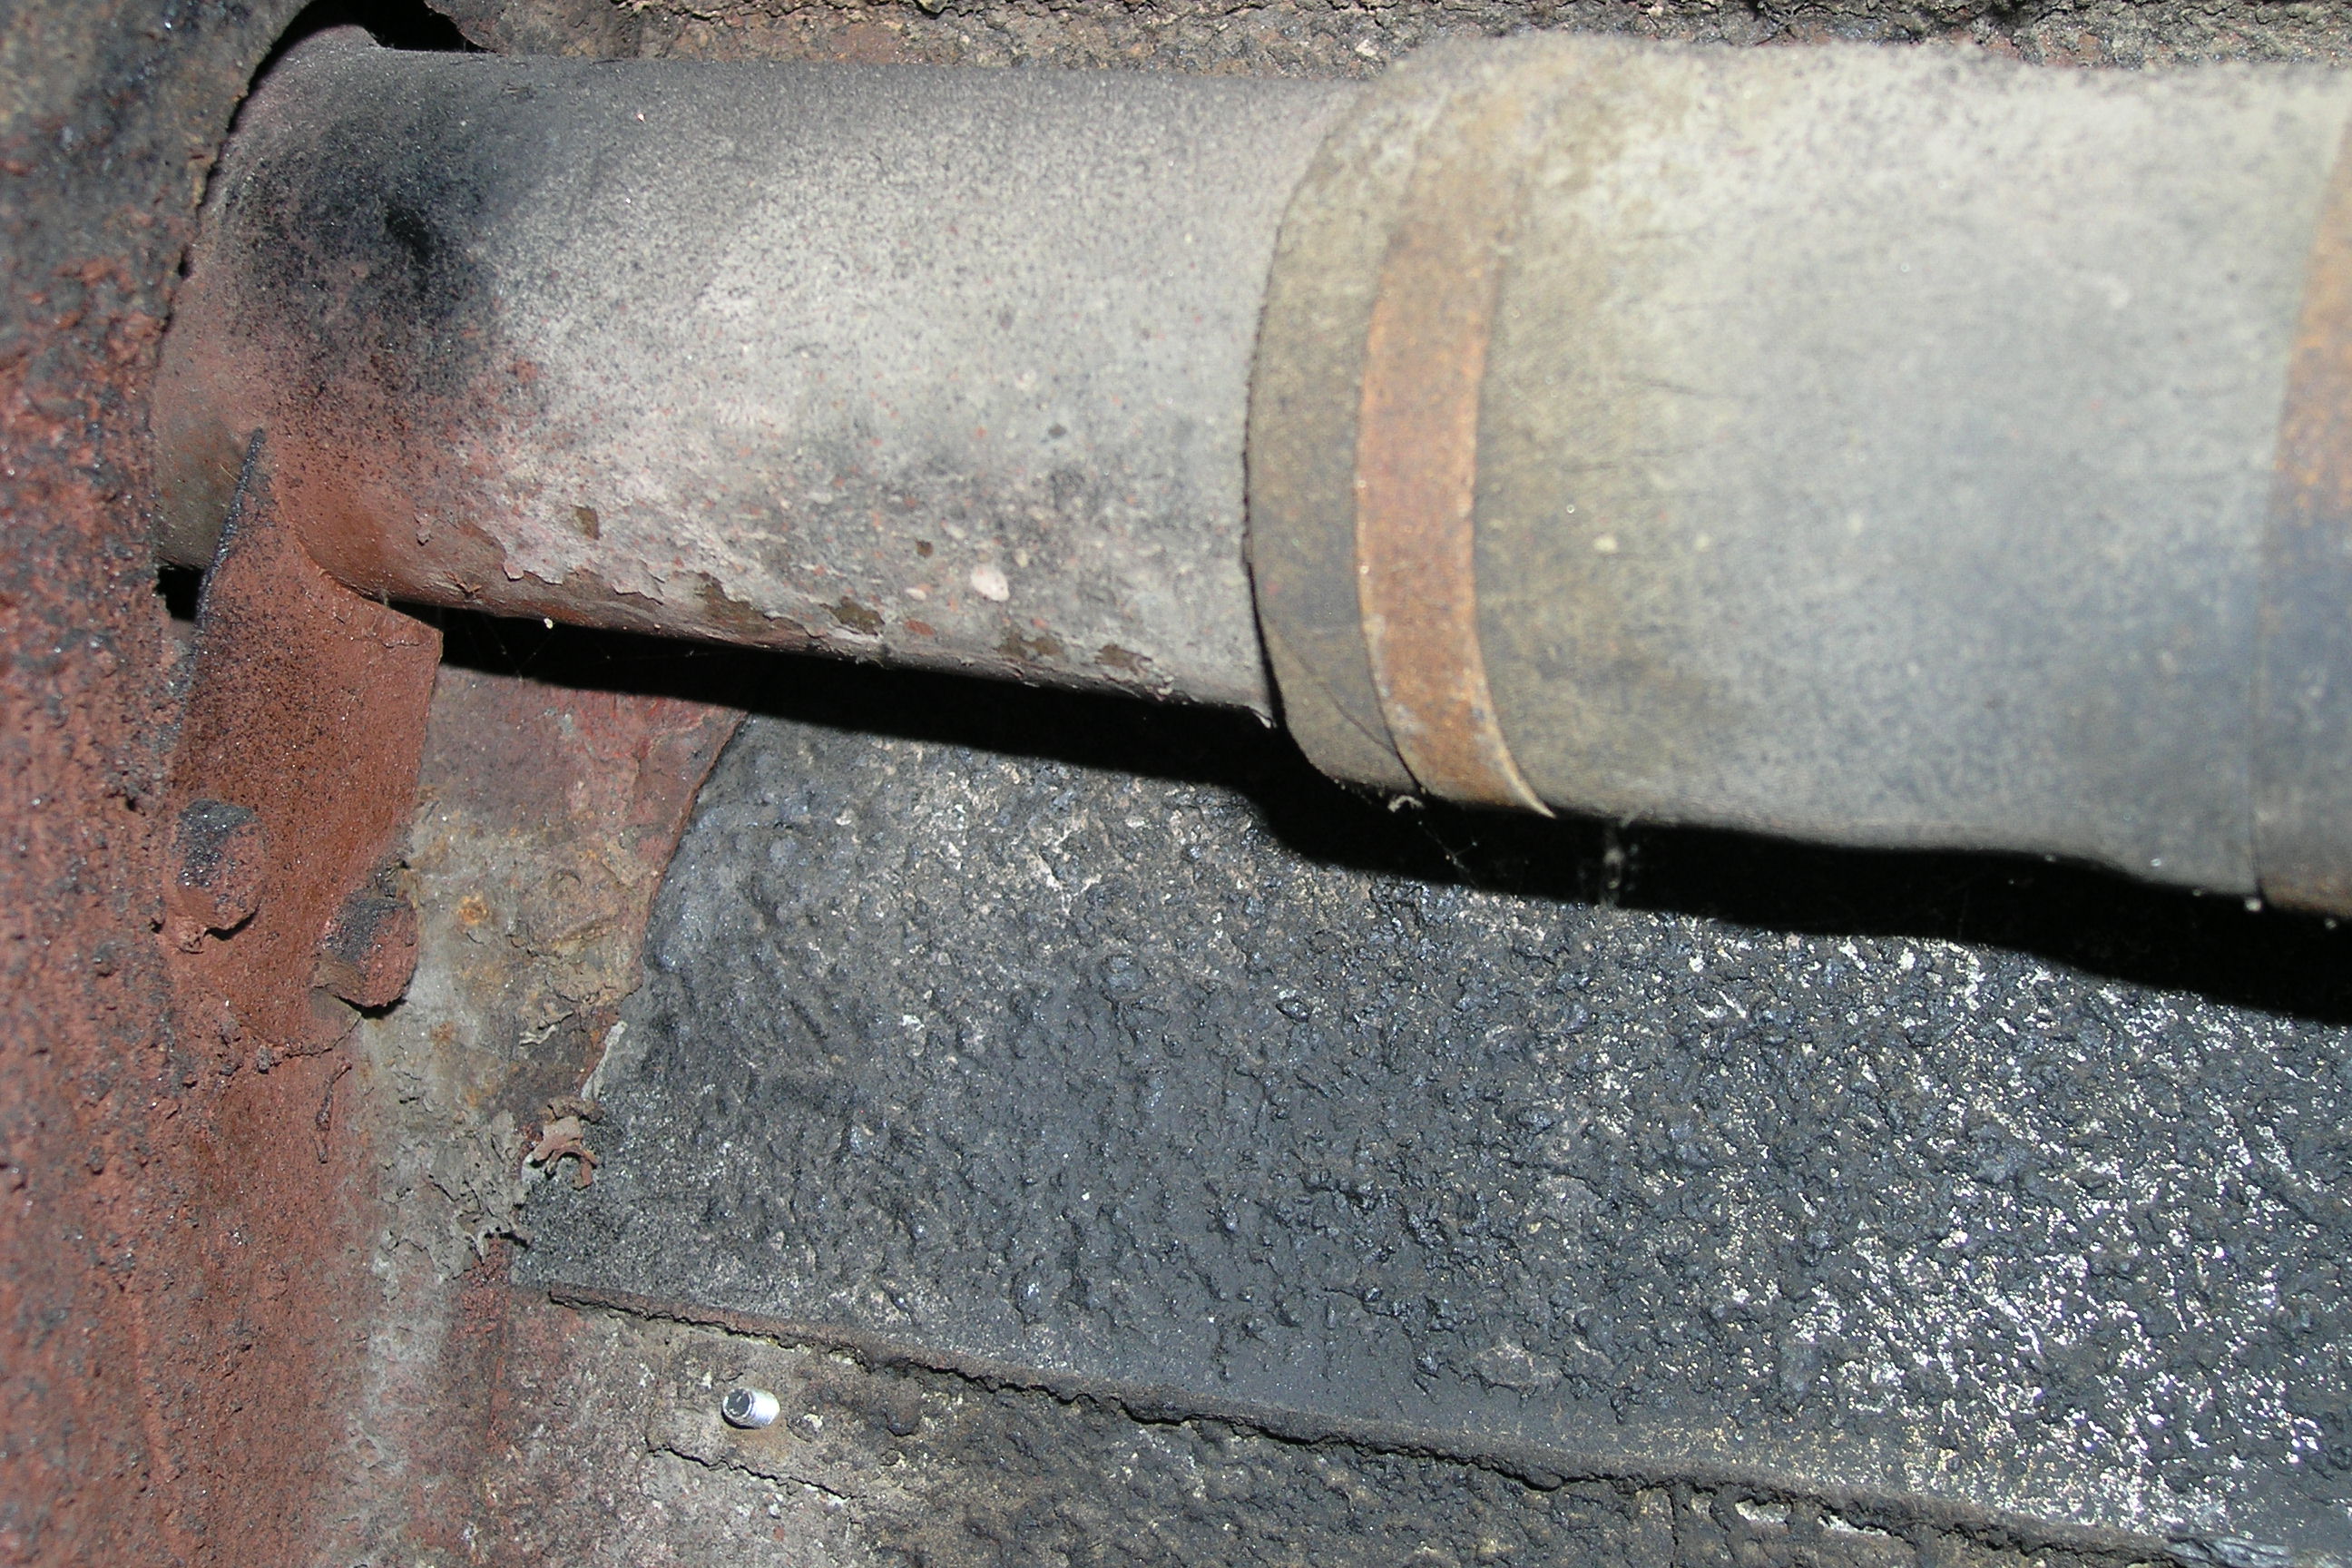
It turns out that that opening did not have a plate. There were two welded nuts along with a drain hole at the bottom. The nuts are for bolts that hold a support for the filler neck. Chris Coios sent me this picture that shows what I need to make.
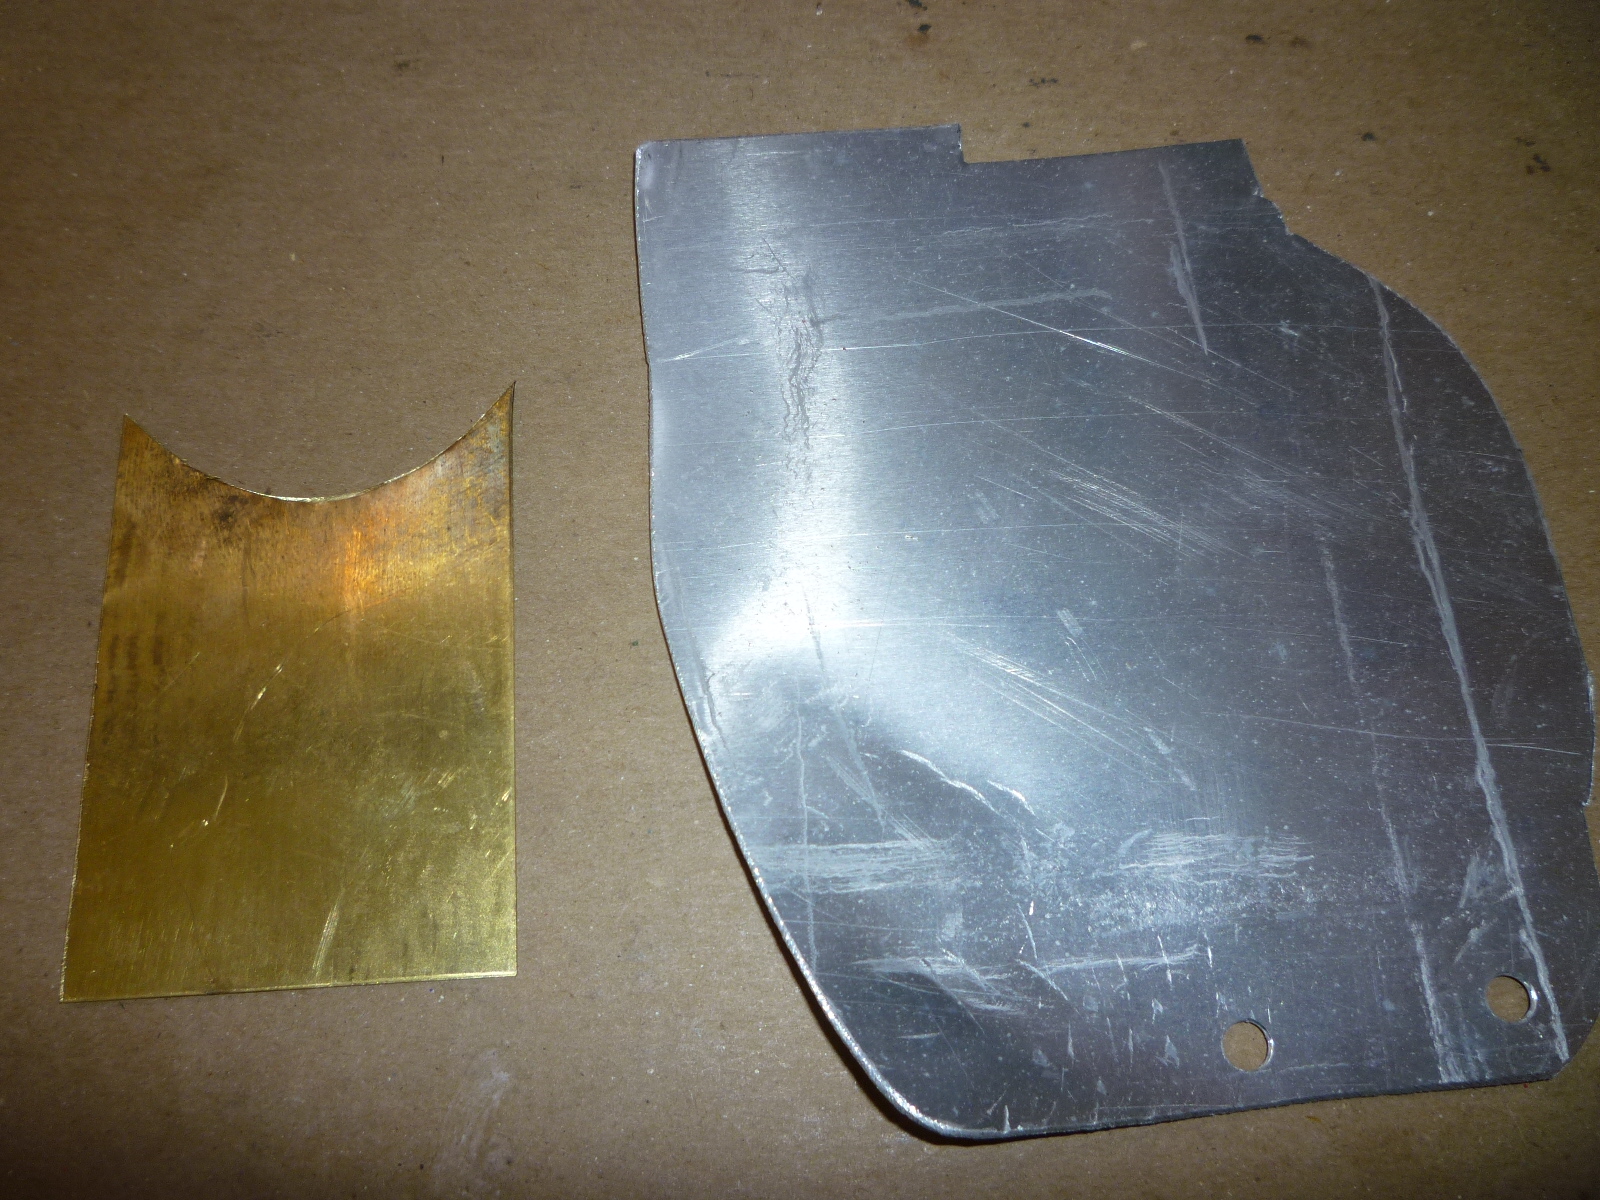
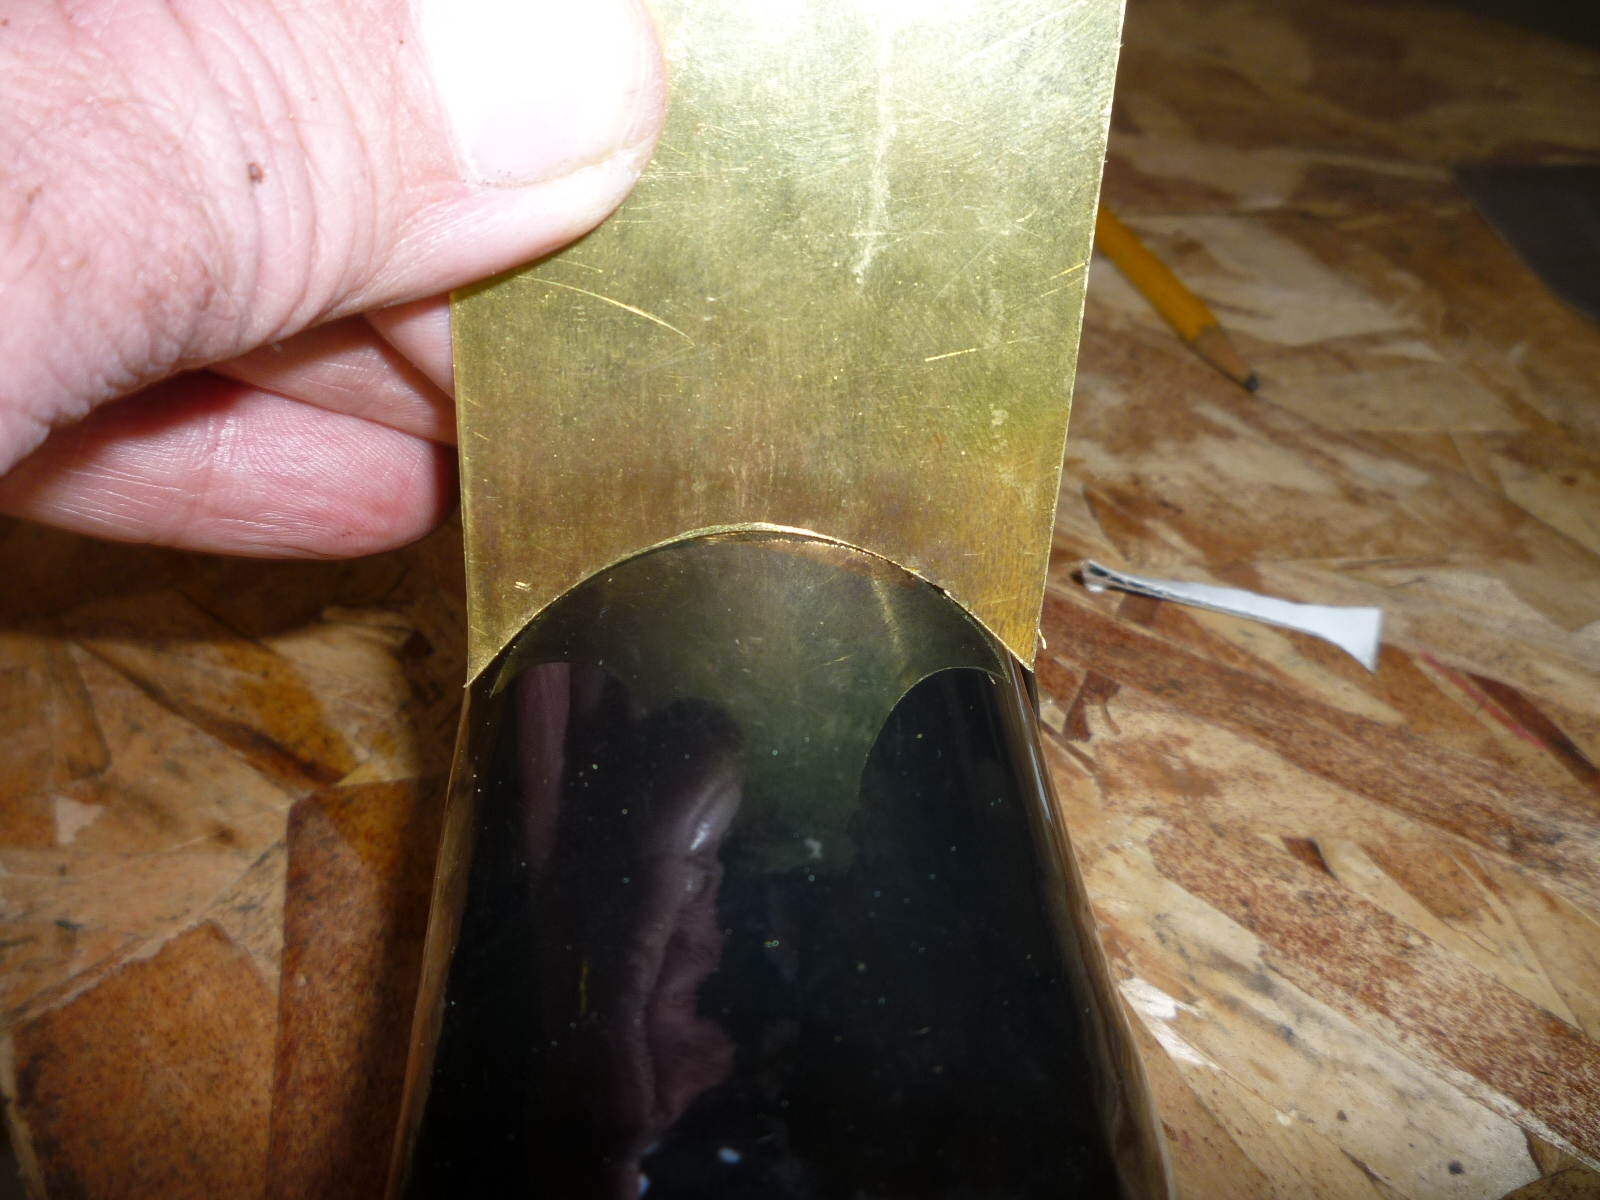
I originally thought that the support would be attached to the pipe, but then I realized that you wouldn't be able to install the pipe if it was attached as the pipe has to move into the filler area in order to clear the end of the pipe into the tank. Before I figured this out, I started making the support out a a piece of brass as it would have been easy to solder it onto the brass pipe. I cut a cardboard template to fit the area and then cut the brass to the approximate dimensions. Before I got the picture, I had already made an aluminum plate to cover the whole hole, another waste of time.
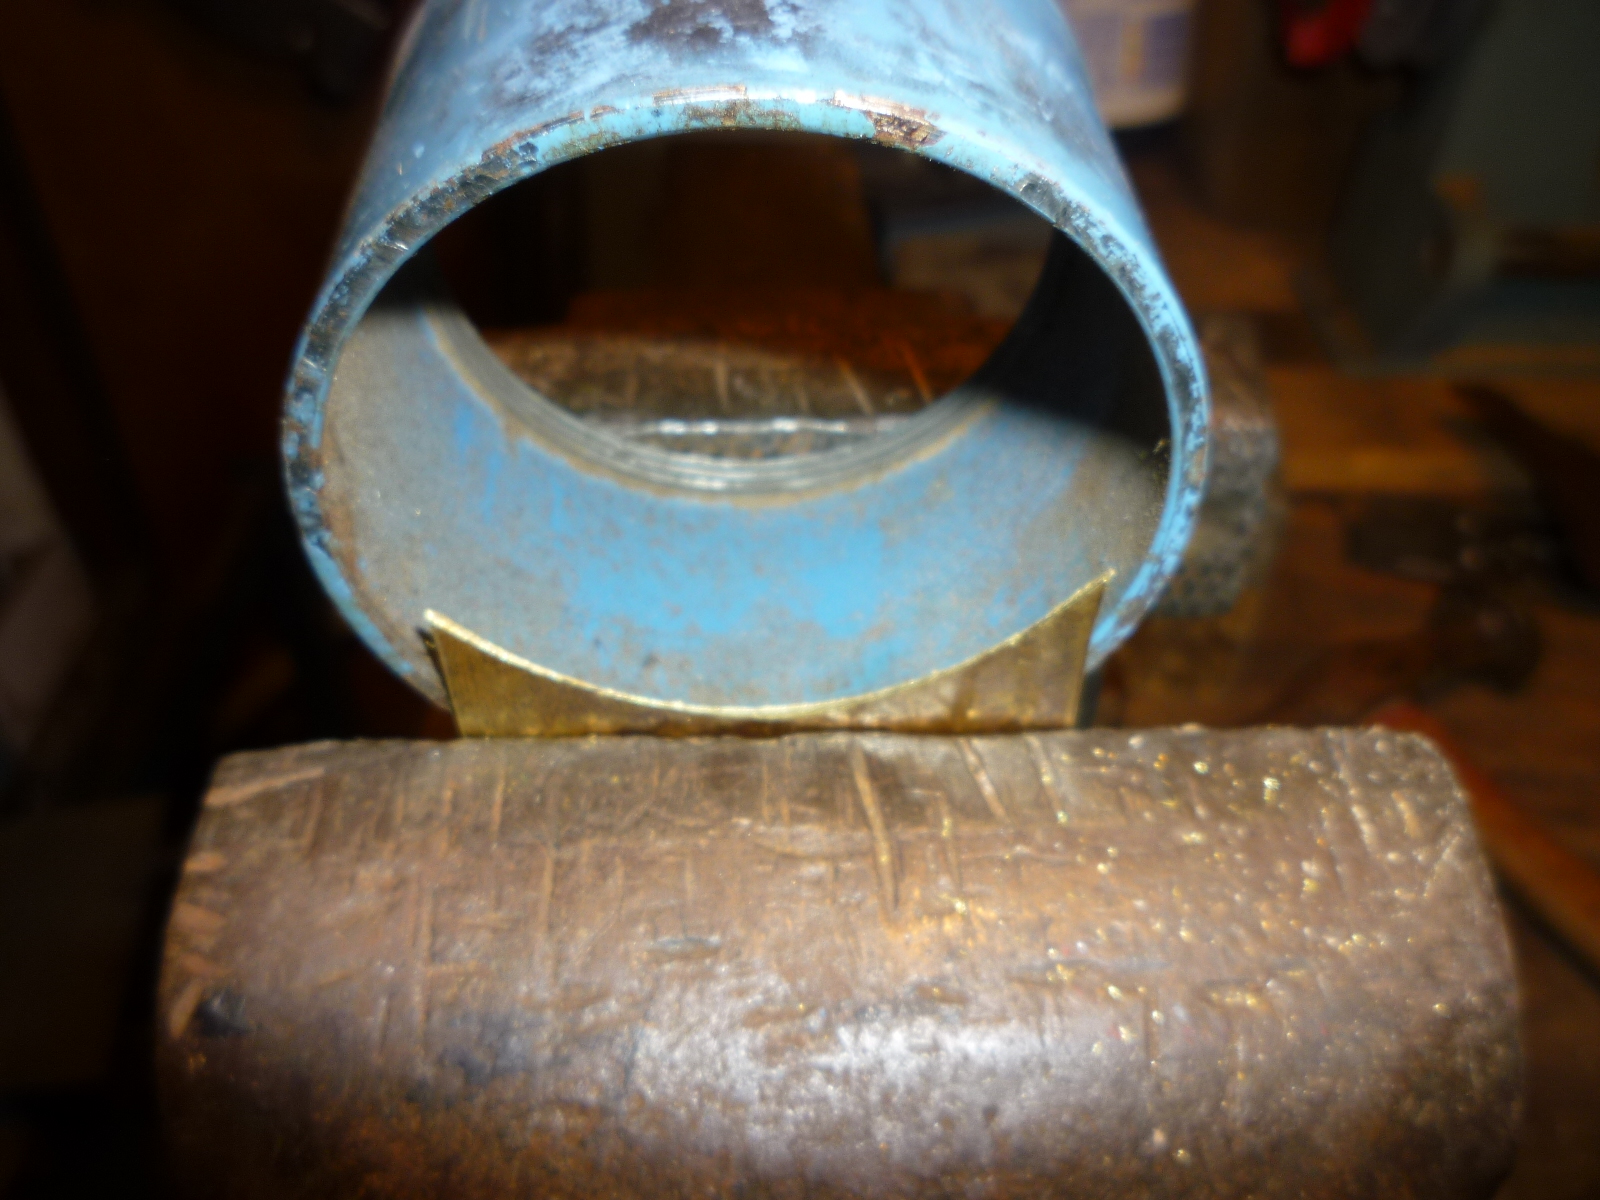
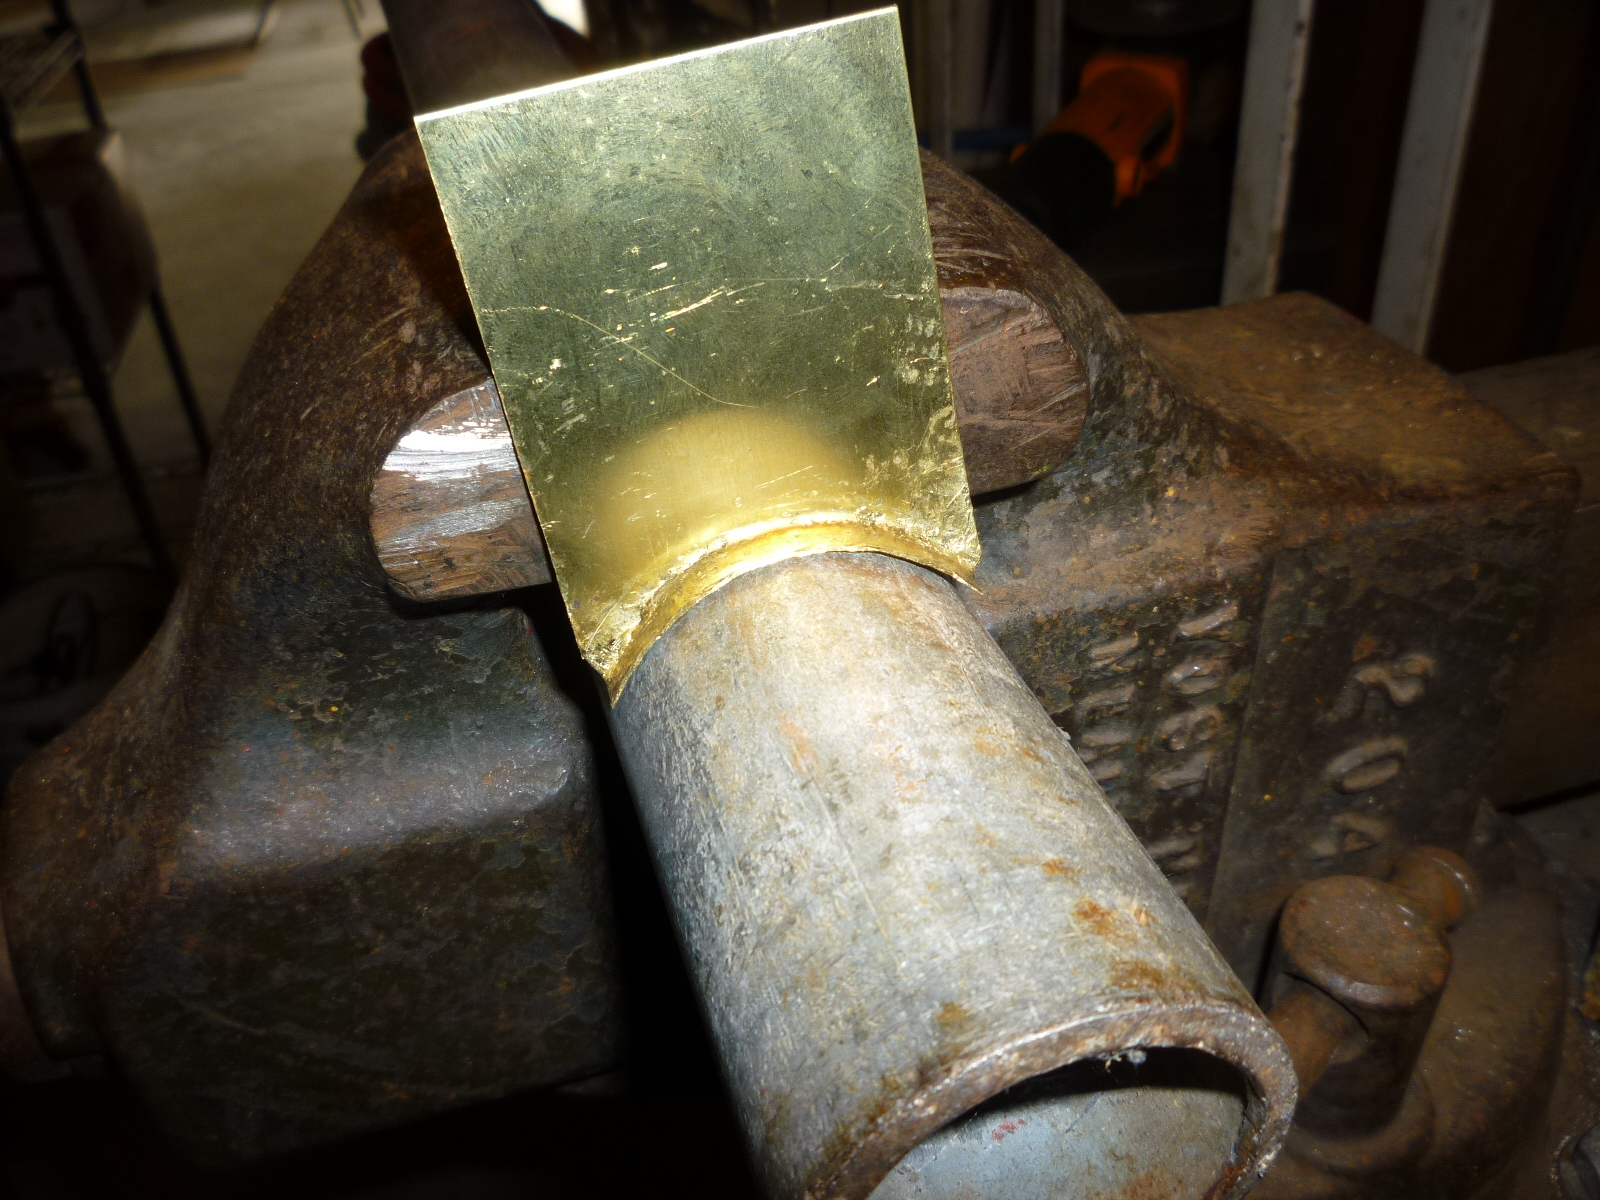
Once the sizing was close, I needed to make the support for the filler pipe to rest on. I looked around and found an attachment for the hydraulic press that I could use as a form. After the initial forming, I used a pipe that was about the right diameter to finish the forming.
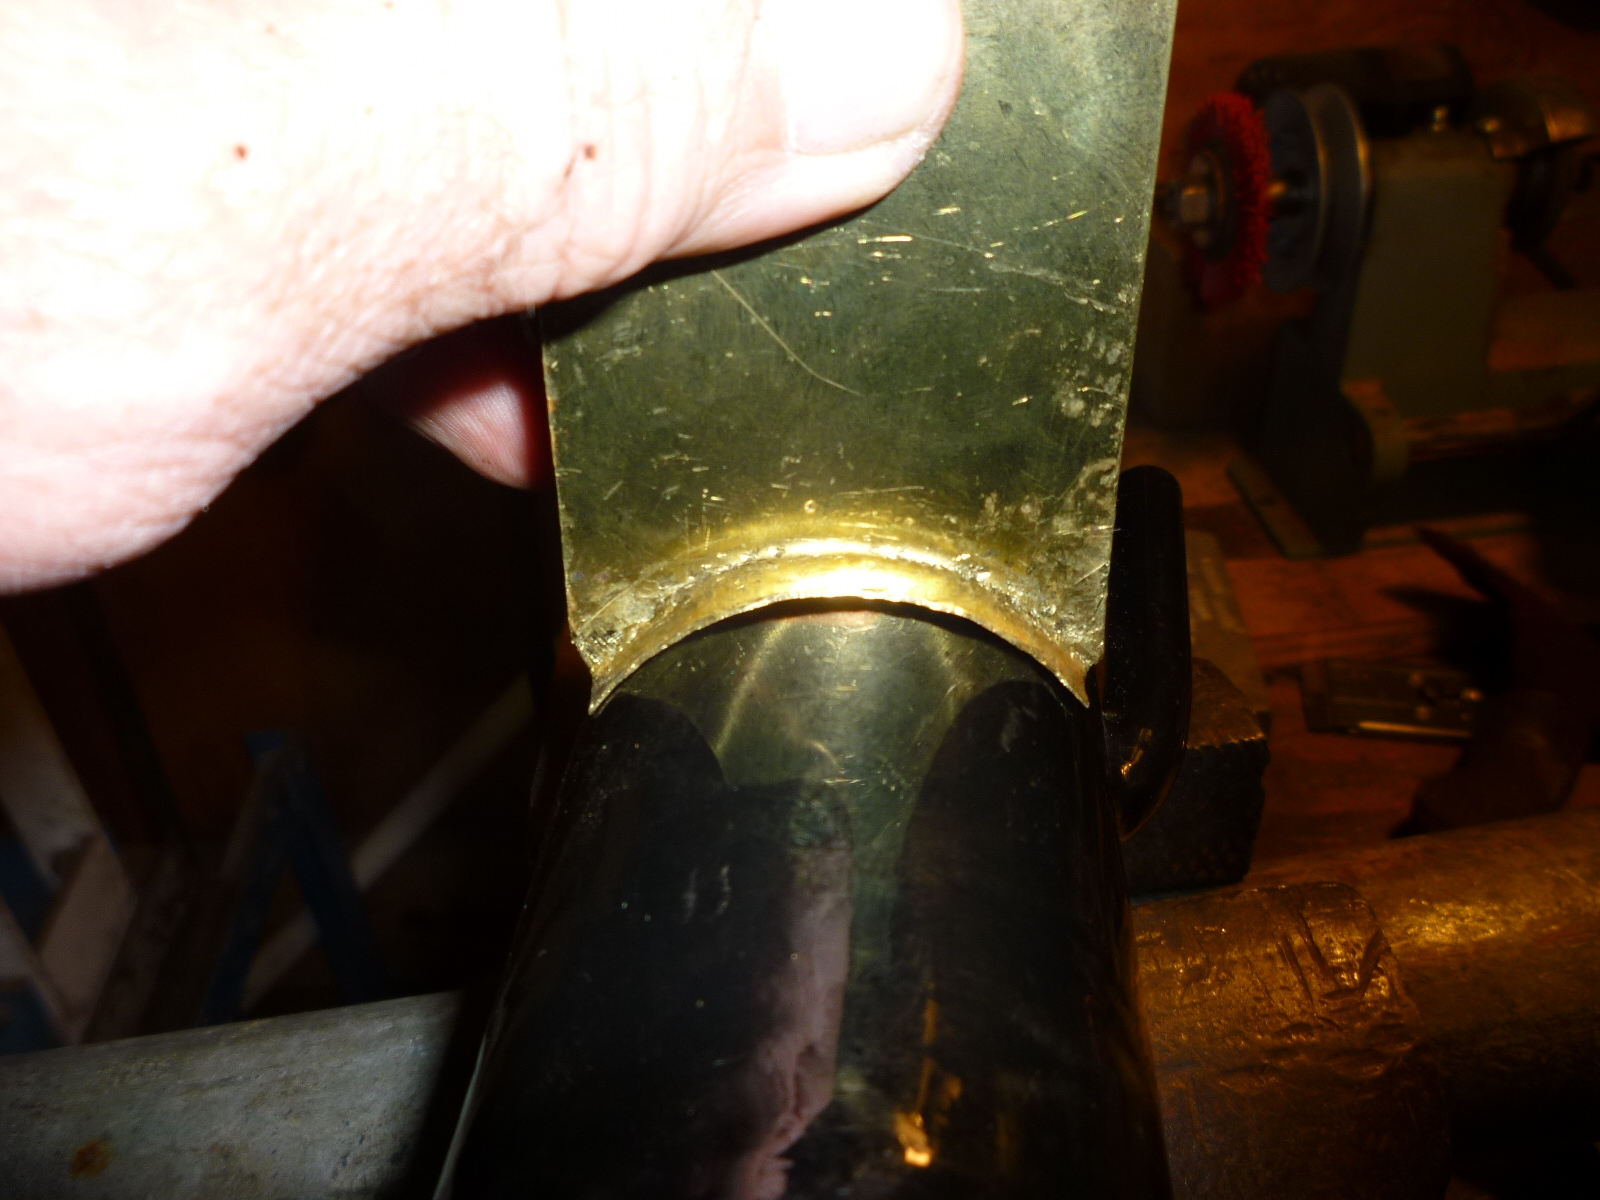
Once that was done, the support fit the filler pipe well.
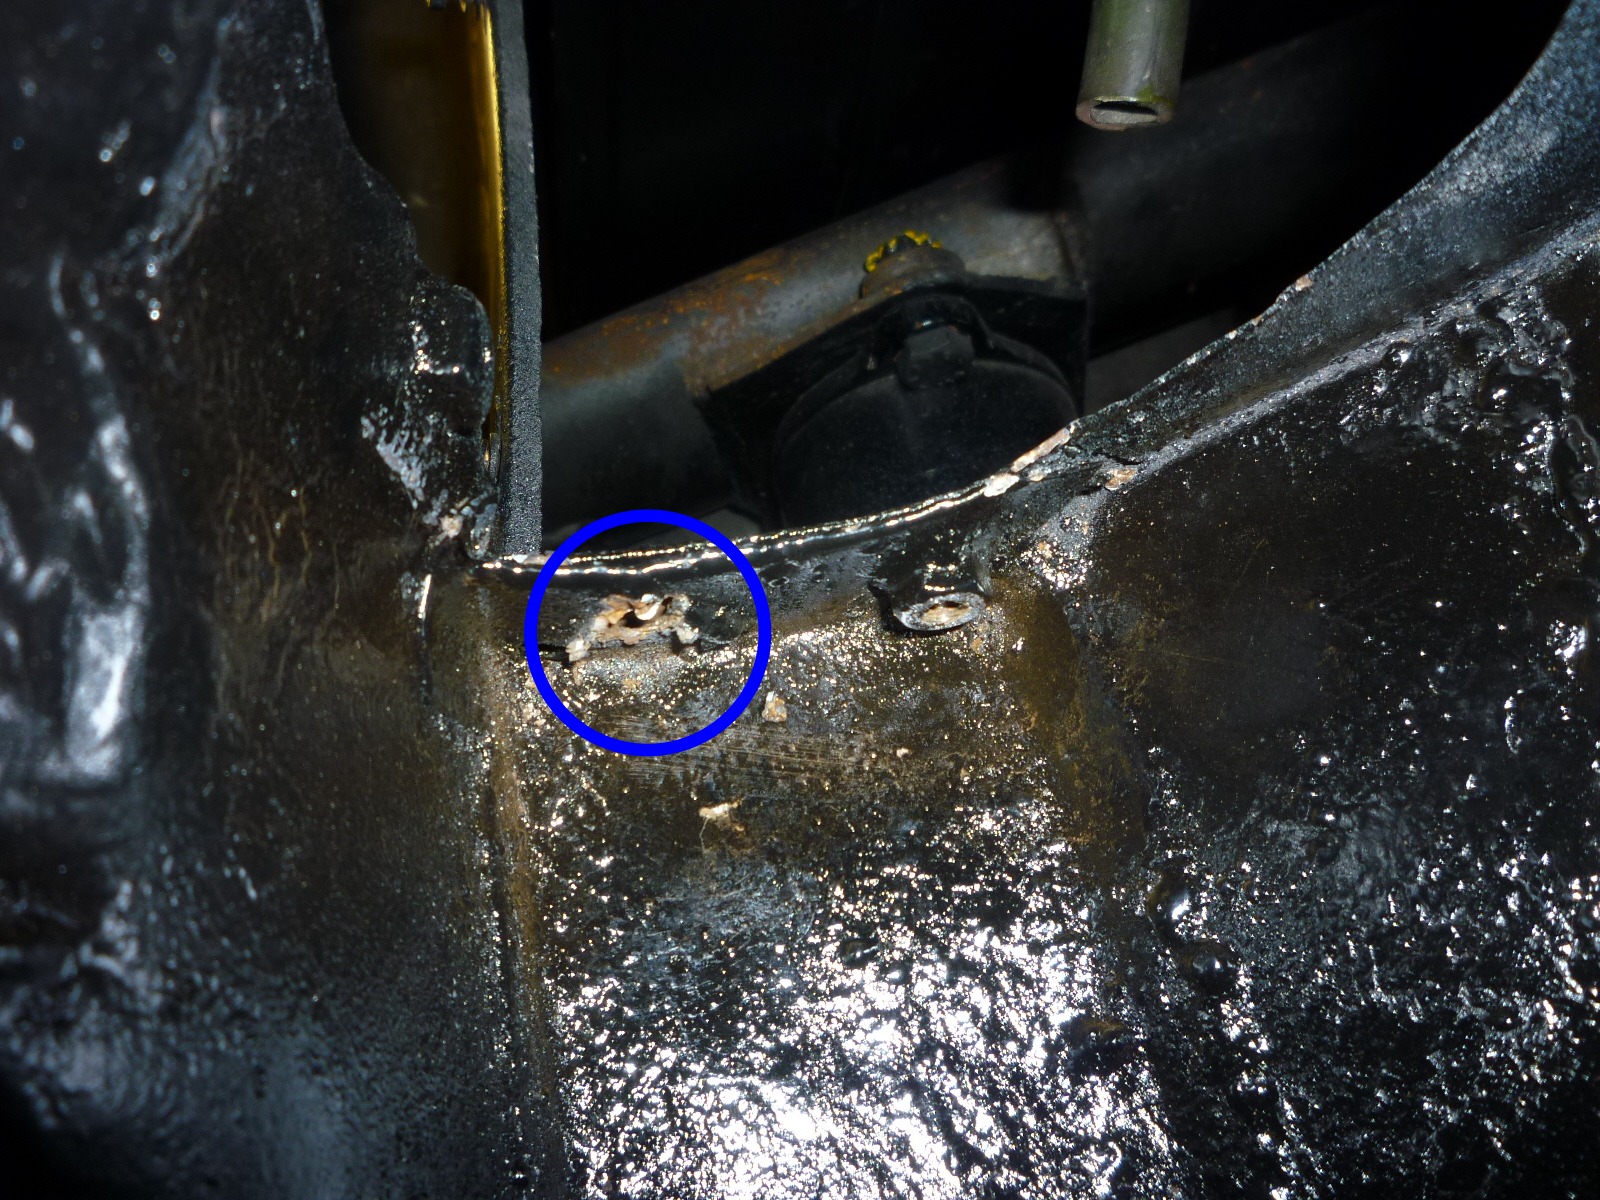
The last thing to do was to fit the support to the car and drill the holes for the bolts. To start, I got out a 5mm tap and ran it through the welded on nuts to clean out the threads. Then I put a couple of bolts though the nuts from the backside so I could tap on the support to see where the screws touched in order to find the hole locations. As I was doing this, I realized that the 5mm bolts weren't tight and that the nuts were actually 6mm. So another tap and start over. As I was running that tap through one of the nuts, that nut tore loose from the sheet metal.
So now I have to replace that nut. I had bought some square nuts quite a while ago to use in captured boxes. These are actually made to be spot welded on as each corner has raised tabs. I'll try to clean up the area enough and I think that I'll be able to get the arms of the spot welder on both sides with one arm going through the access panel in the trunk and the other through the fuel flap opening. Keep tuned to see if this works. Otherwise, I'll have to use the MIG and it will be nasty trying to weld down in that hole with poor light and access.
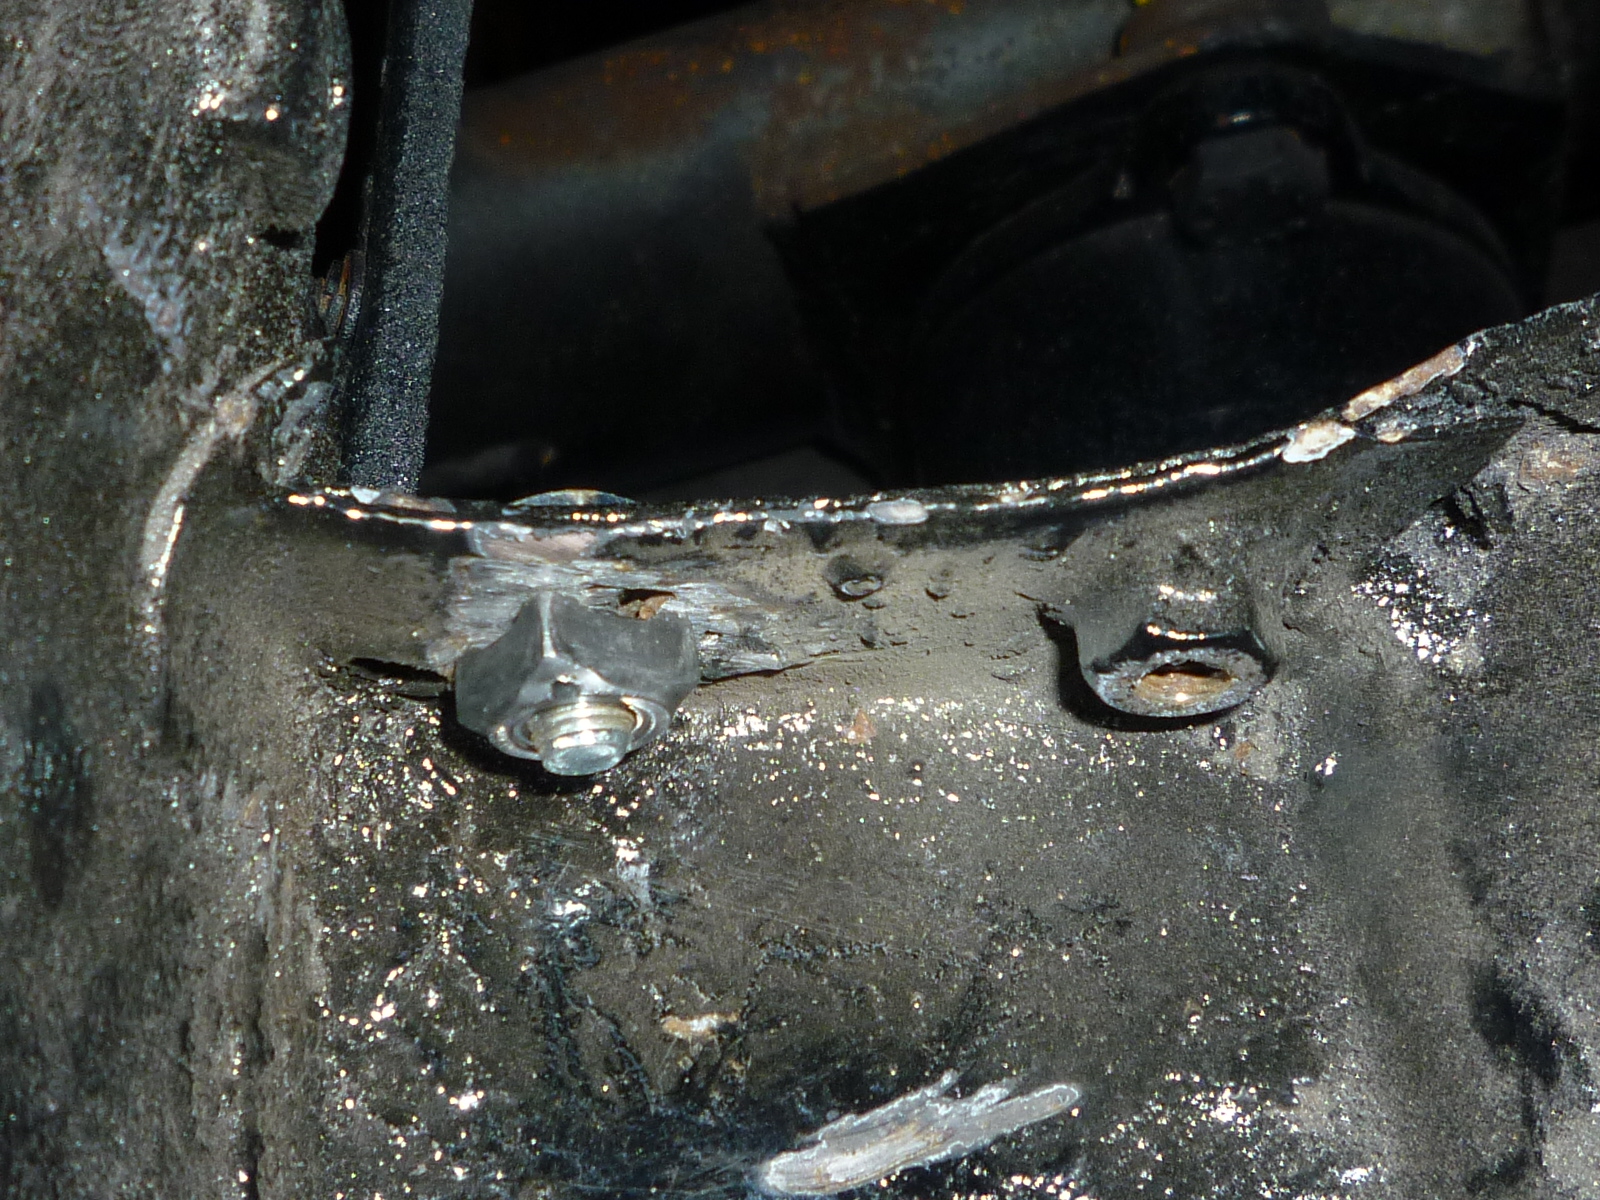
Well it wasn't as bad as I thought to weld in the nut with the MIG. I cleaned the area with a cut-off blade in the Dremel. That got rid of the old weld and paint in that area. Then I used a bolt to hold the nut in place while I welded it on. Finally, a primer and a new coat of paint.
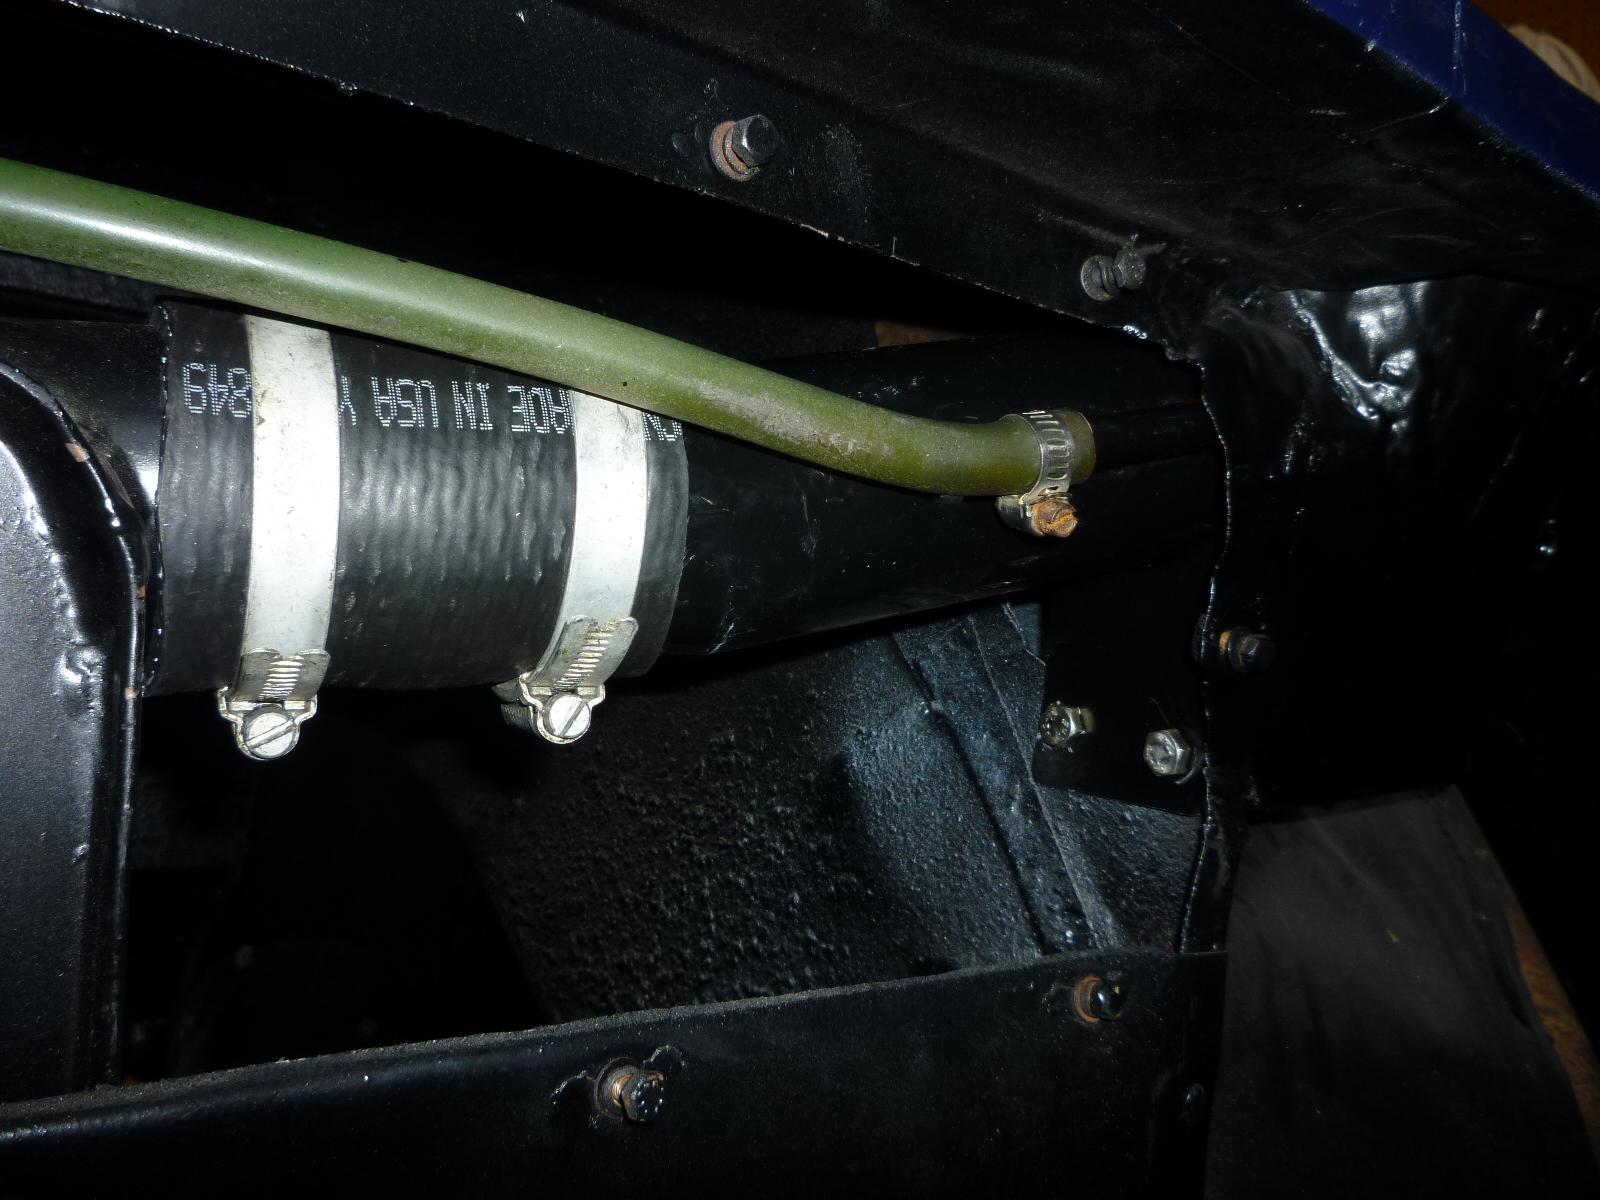
I had gotten a foot of 2 ¼" fuel hose the other day. That was the closest size to the 55mm needed. Since the two pipes slip together, only a 4" section is actually needed. I used Cheney clamps on the ends to make sure that the connection was tight. The vent line looked to be original and was very stiff. However, a minute or so with a hot air gun softened it enough to slip onto the vent on the filler pipe. Even though there was no sign of clamp marks on either end, I put a small screw clamp on each just to make sure that there would not be a leak if the tank was filled up into the filler neck. Once that was all done, I put in the support piece.
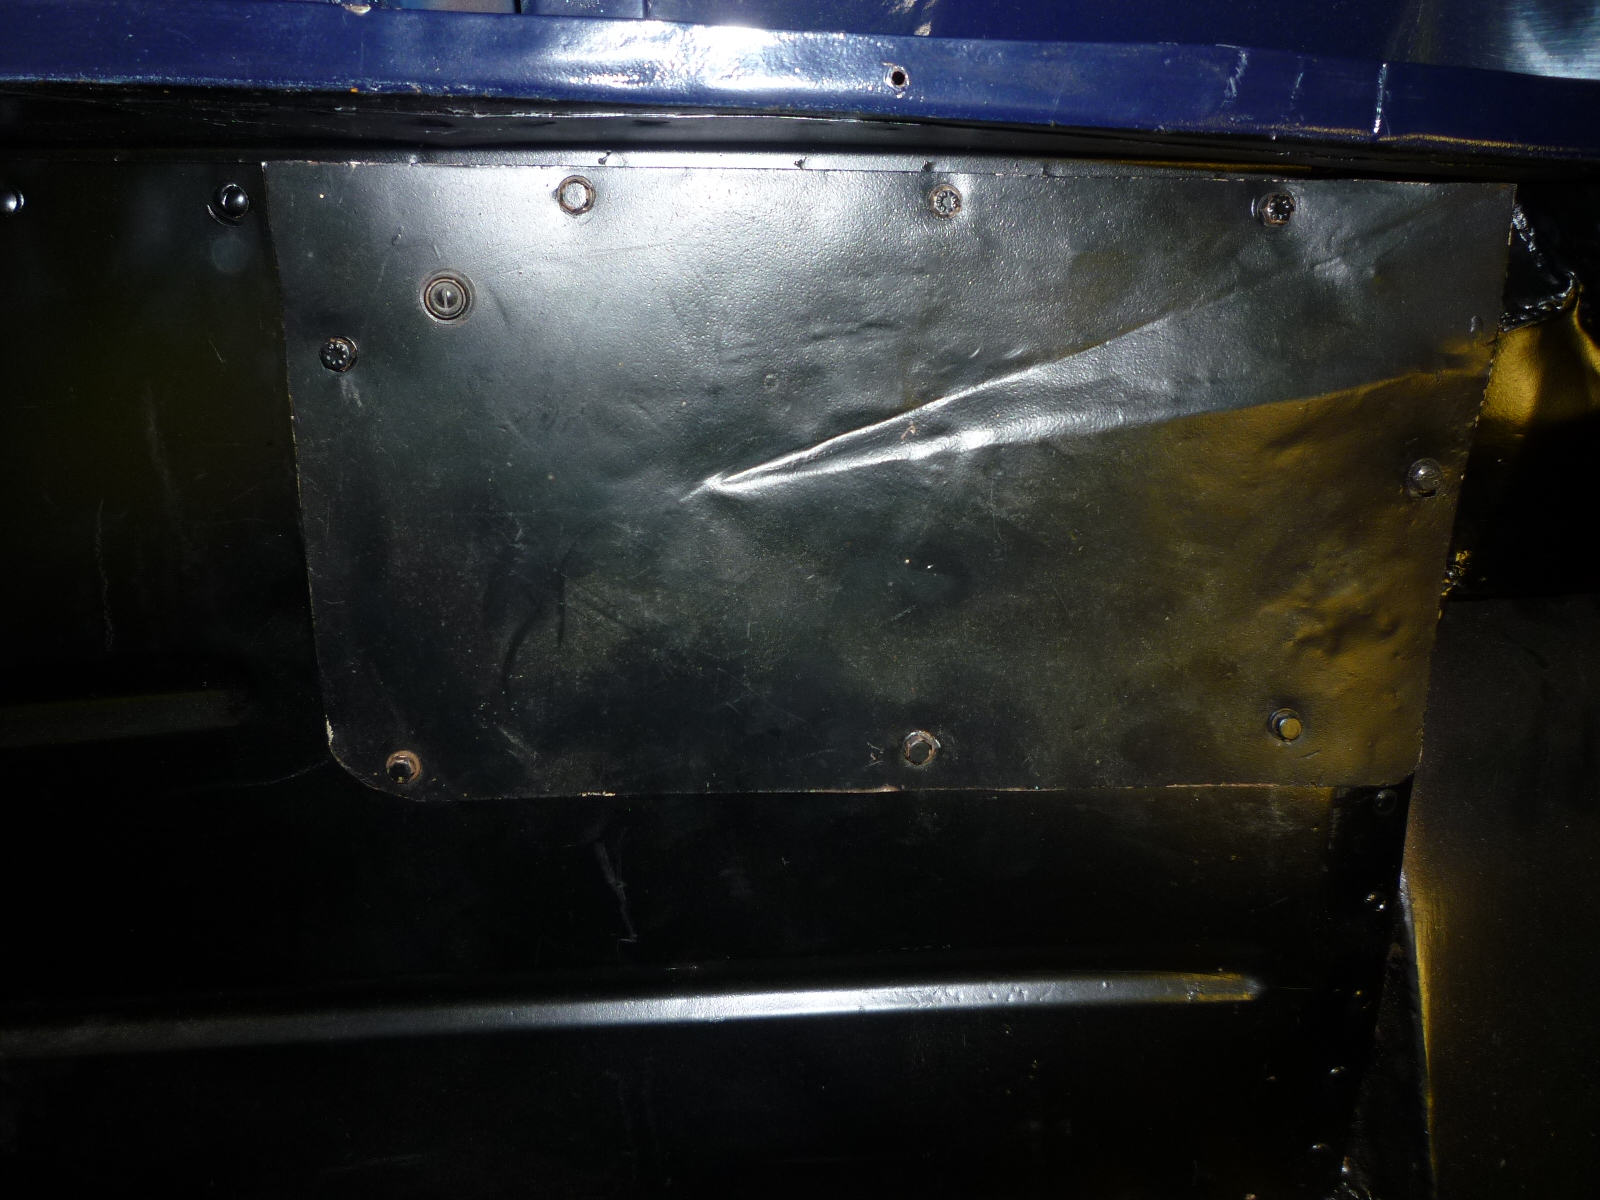
The last thing to be done was installing the access panel in the trunk. This panel is only about 6" by 8", but had 9 bolts to hold it on. As is good practice, I ran a tap through each of the welded on nuts to clean out the threads. Since the bolts are 4mm, it would be quite easy to shear one off if there was some rust in the threads of the nut.