Pinch Weld Trim
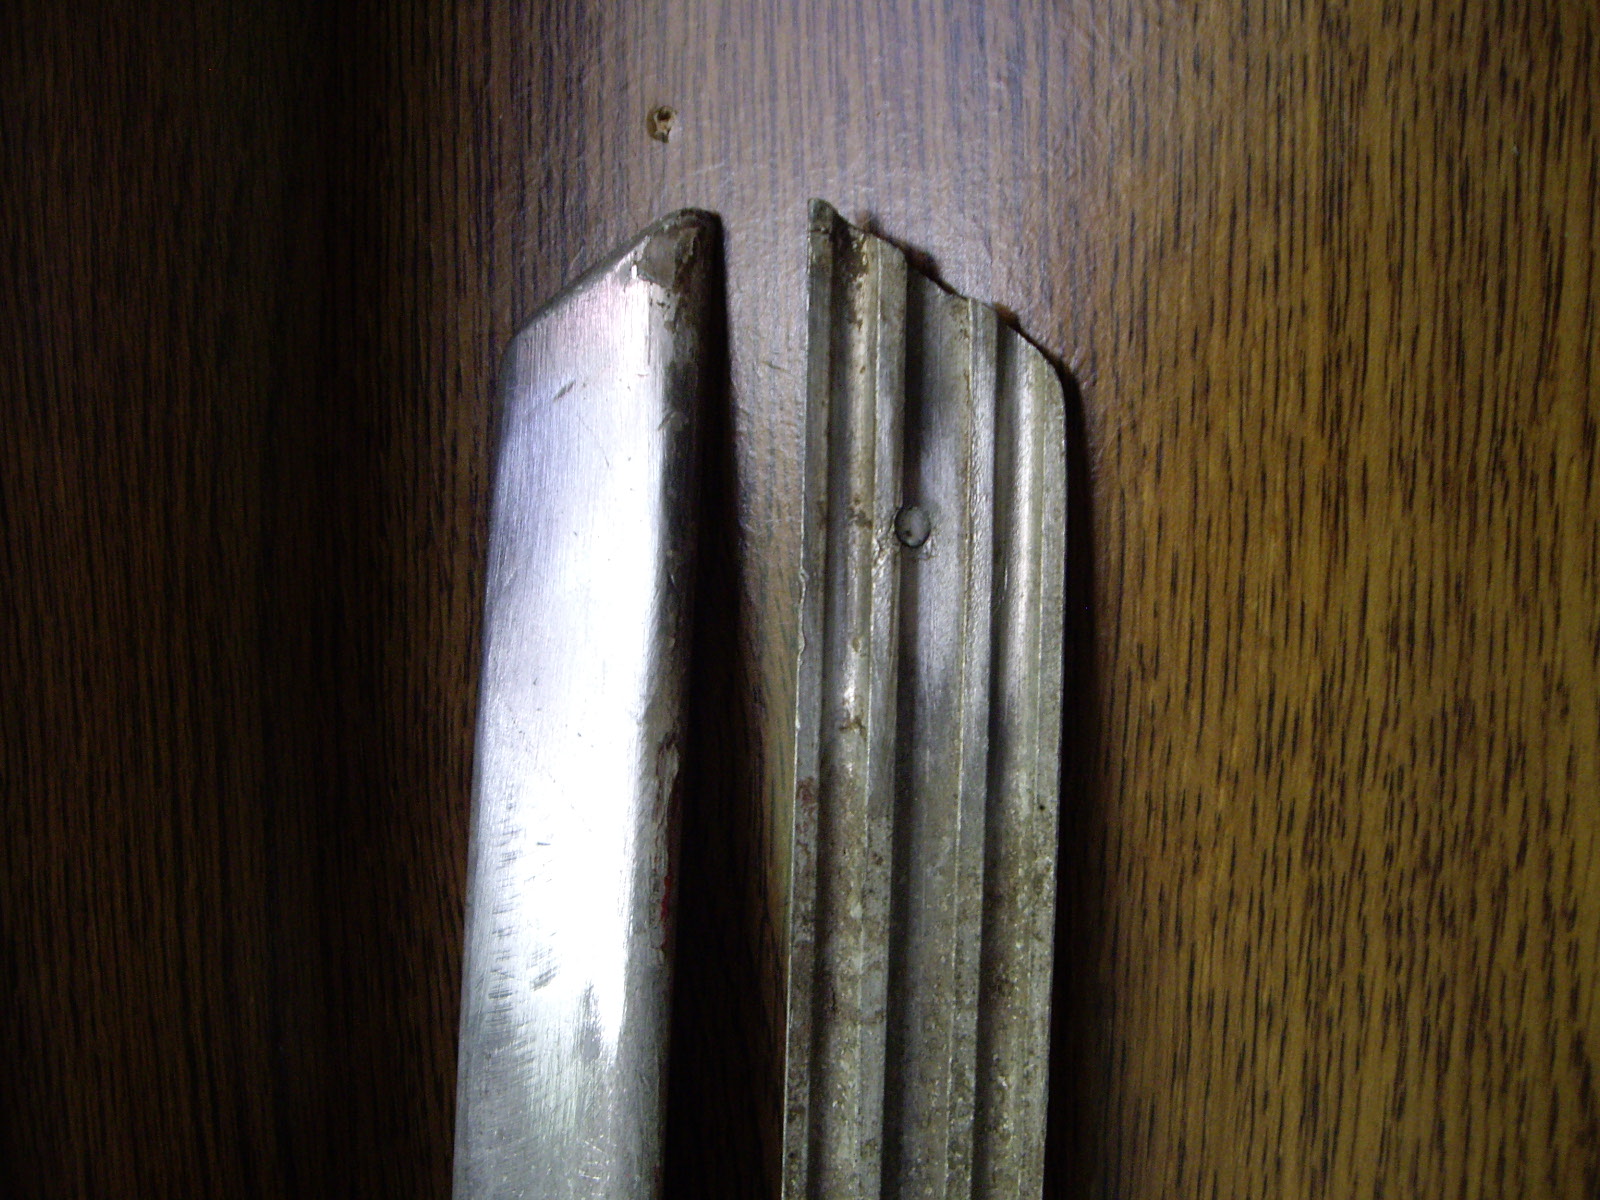
The pinch weld trim on the PF coupe is an aluminum strip with a tapered slot on the back side.
Pininfarina used a special screw to fit into the slot. That screw then fit through holes in tabs near the pinch weld to hold the trim on the car.
|
|
 |
On my car, someone had lost or tossed all of these screws and just drilled holes through the trim piece to bolt it on. Of course, these special screws are no longer available. I first thought of making some square heads with tapered sides, then tapping for a brass stud and finally brazing the two together. But that would have been quite a bit of work.
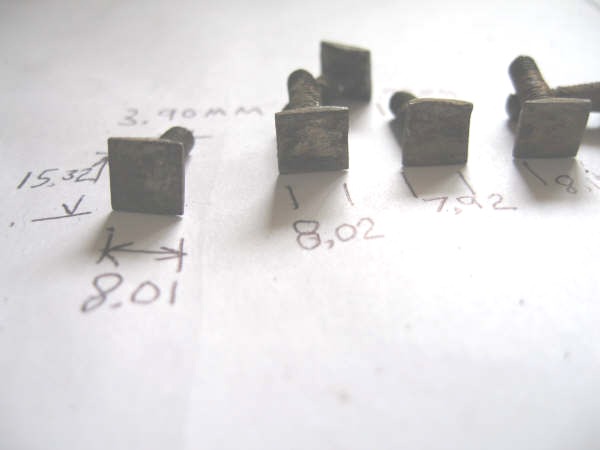
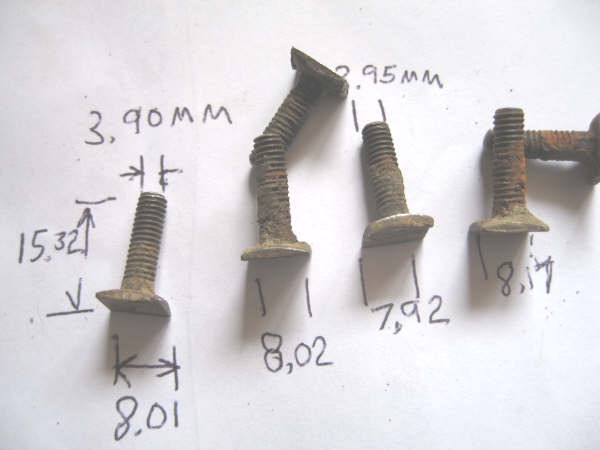
I looked long and hard through the Metric and Multistandard website looking for a possible replacement screw. I came up with large slotted pan head screws. The 4mm size had a head a little larger than the width of the slot. These are supposed to be available in both zinc plated and brass, in addition to multi-thread sizes and lengths. However, when it came time to fill the order, the only combination of 4mm screws was zinc in 12mm length. No brass and no other lengths. Further, they only had a single bag of 25 left. So I guess the next PF coupe owner will have to solve this problem in another way.
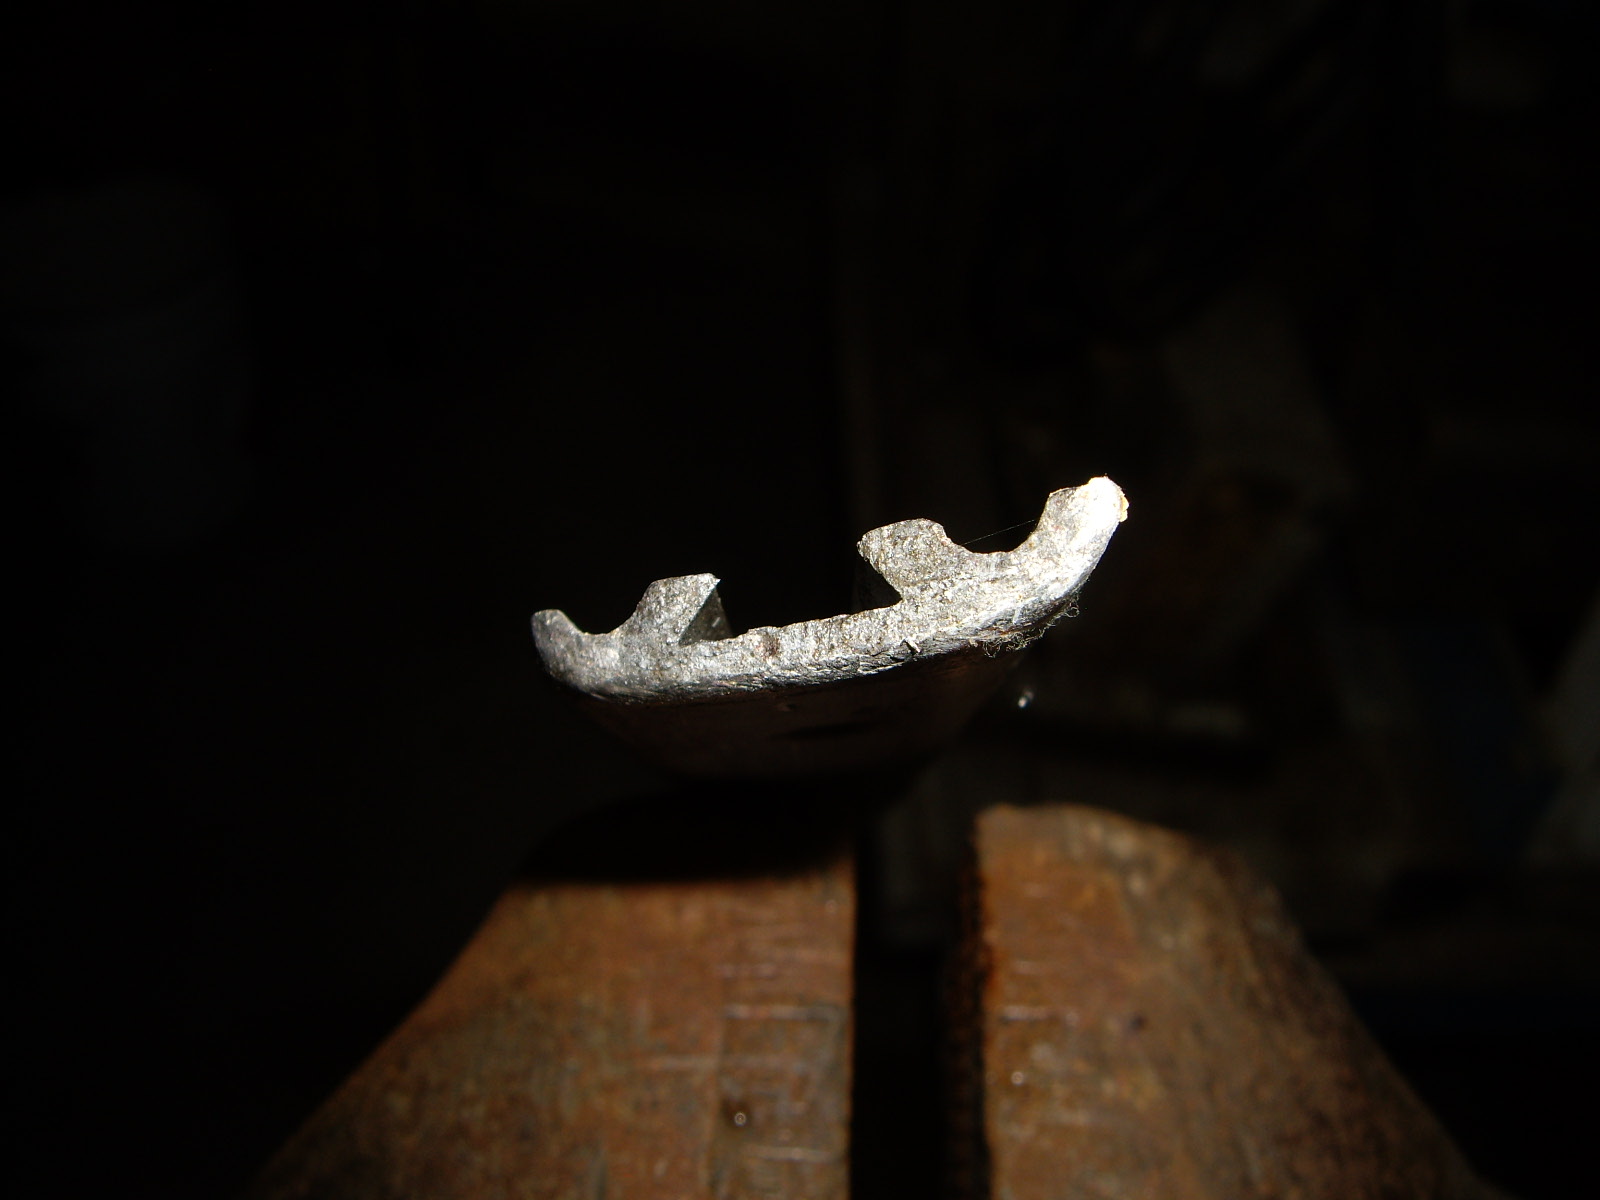
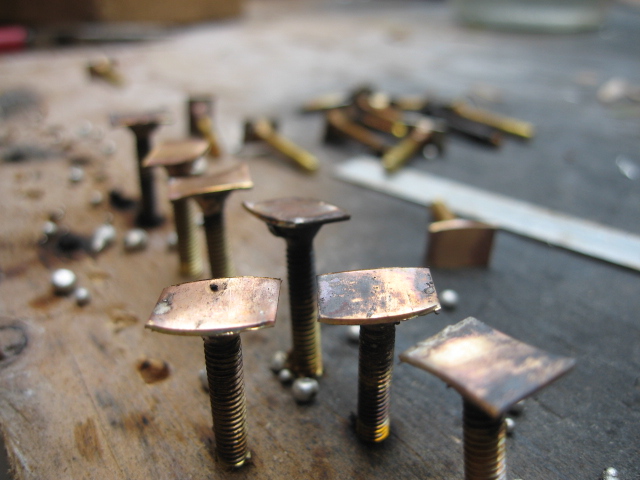
The idea was to grind off parallel sides at a 45° angle, narrowing the head to the width of the slot. This worked well and only took 5-10 minutes per bolt. There were only 16 to do, so a couple of hours finished this part of the project.
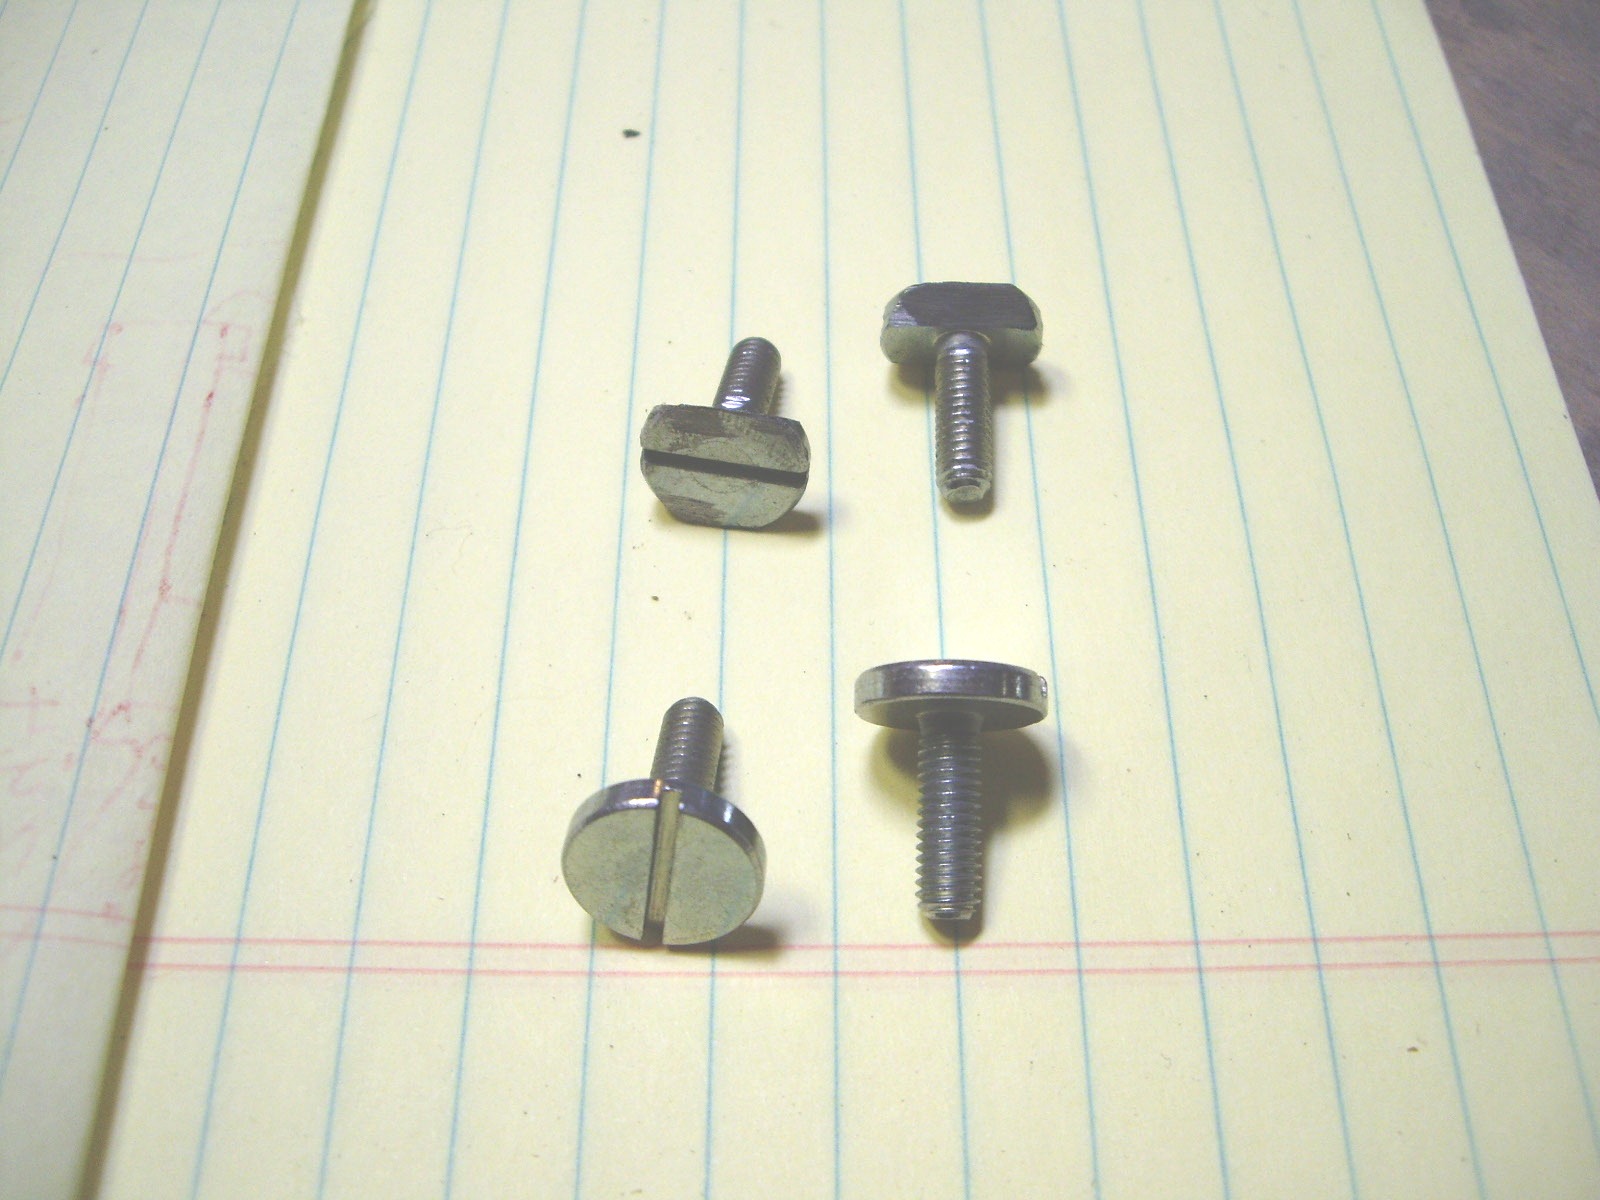
The finished screw heads just slide into the slot and the flat sides will keep them from turning as they are tightened.
 |
 |
George used another solution which was to use brass flat head machine screws and solder them to a little rectangle that will slide into the slot.
 |
 |
The next thing I need to do is fill in the holes that were drilled in the trim. At least they didn't use all eight tabs on each side, so I only have 10 instead of 16 holes to fill. But that's a project for another day.
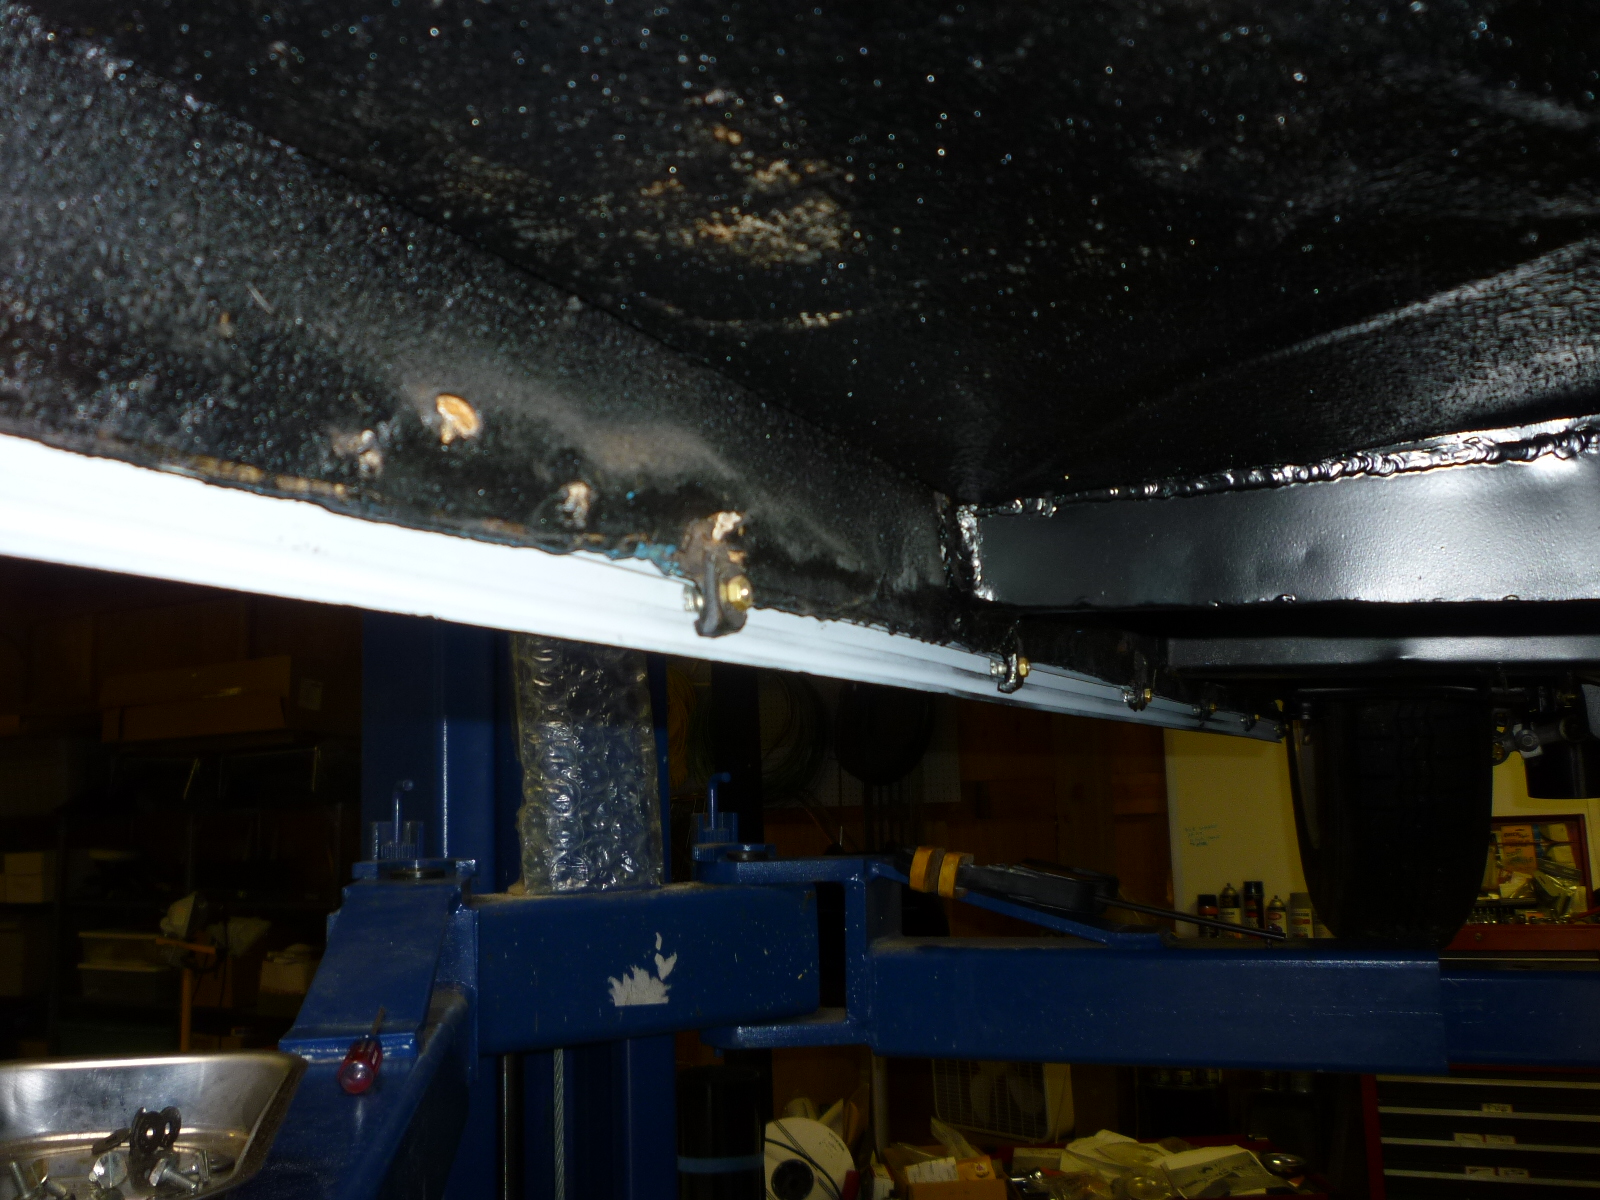
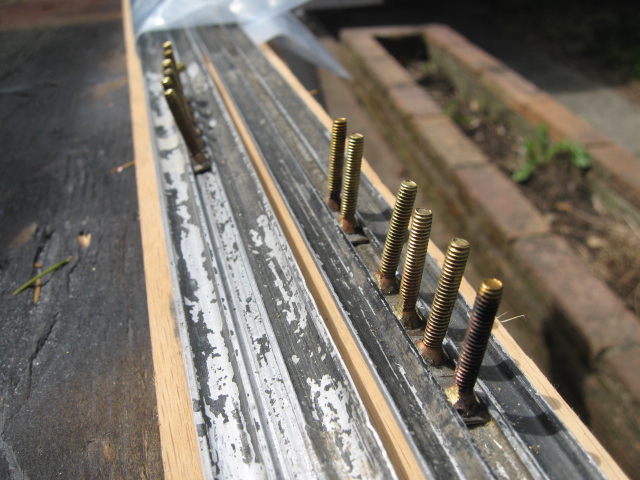
My brother-in-law is a welder by trade. He was over the other day and I mentioned needing to get the holes filled in. He took the strips with him and I got them back yesterday with all of the holes filled in.
Since these just get a matte black finish, I just need to straighten, lightly sand the outer surface and paint them before installing.
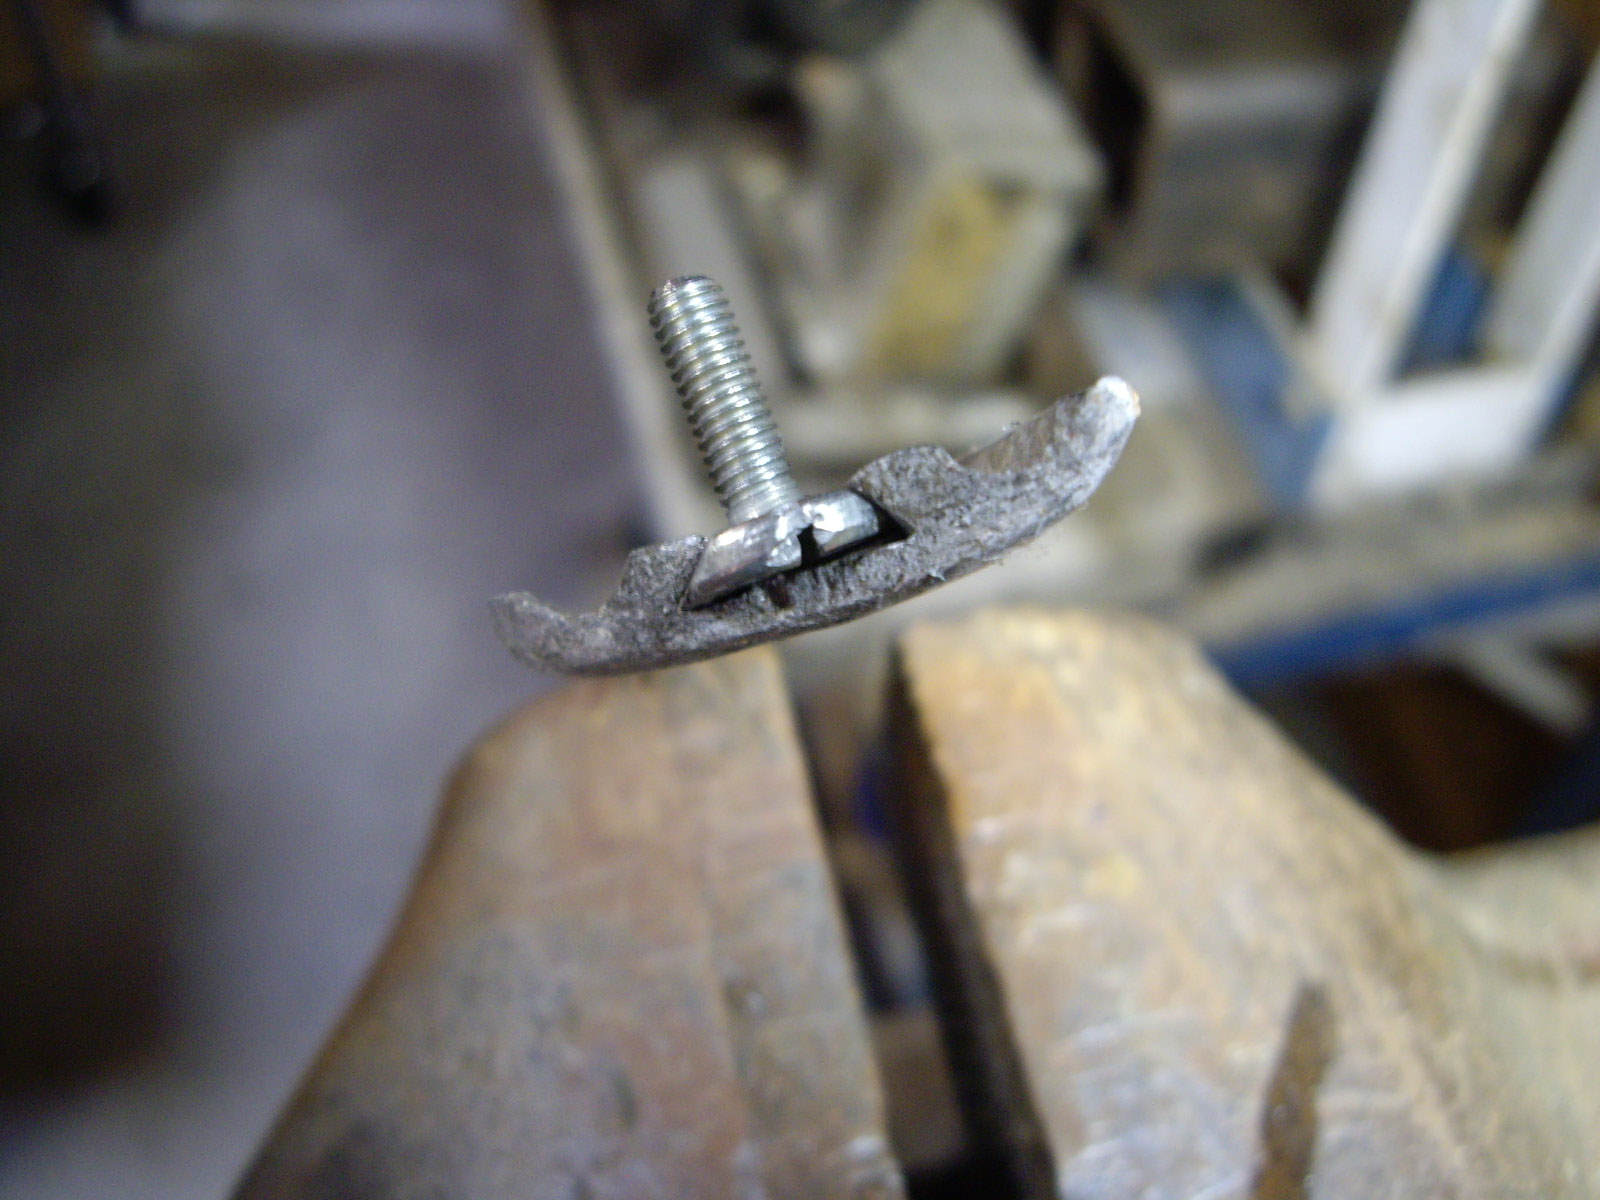
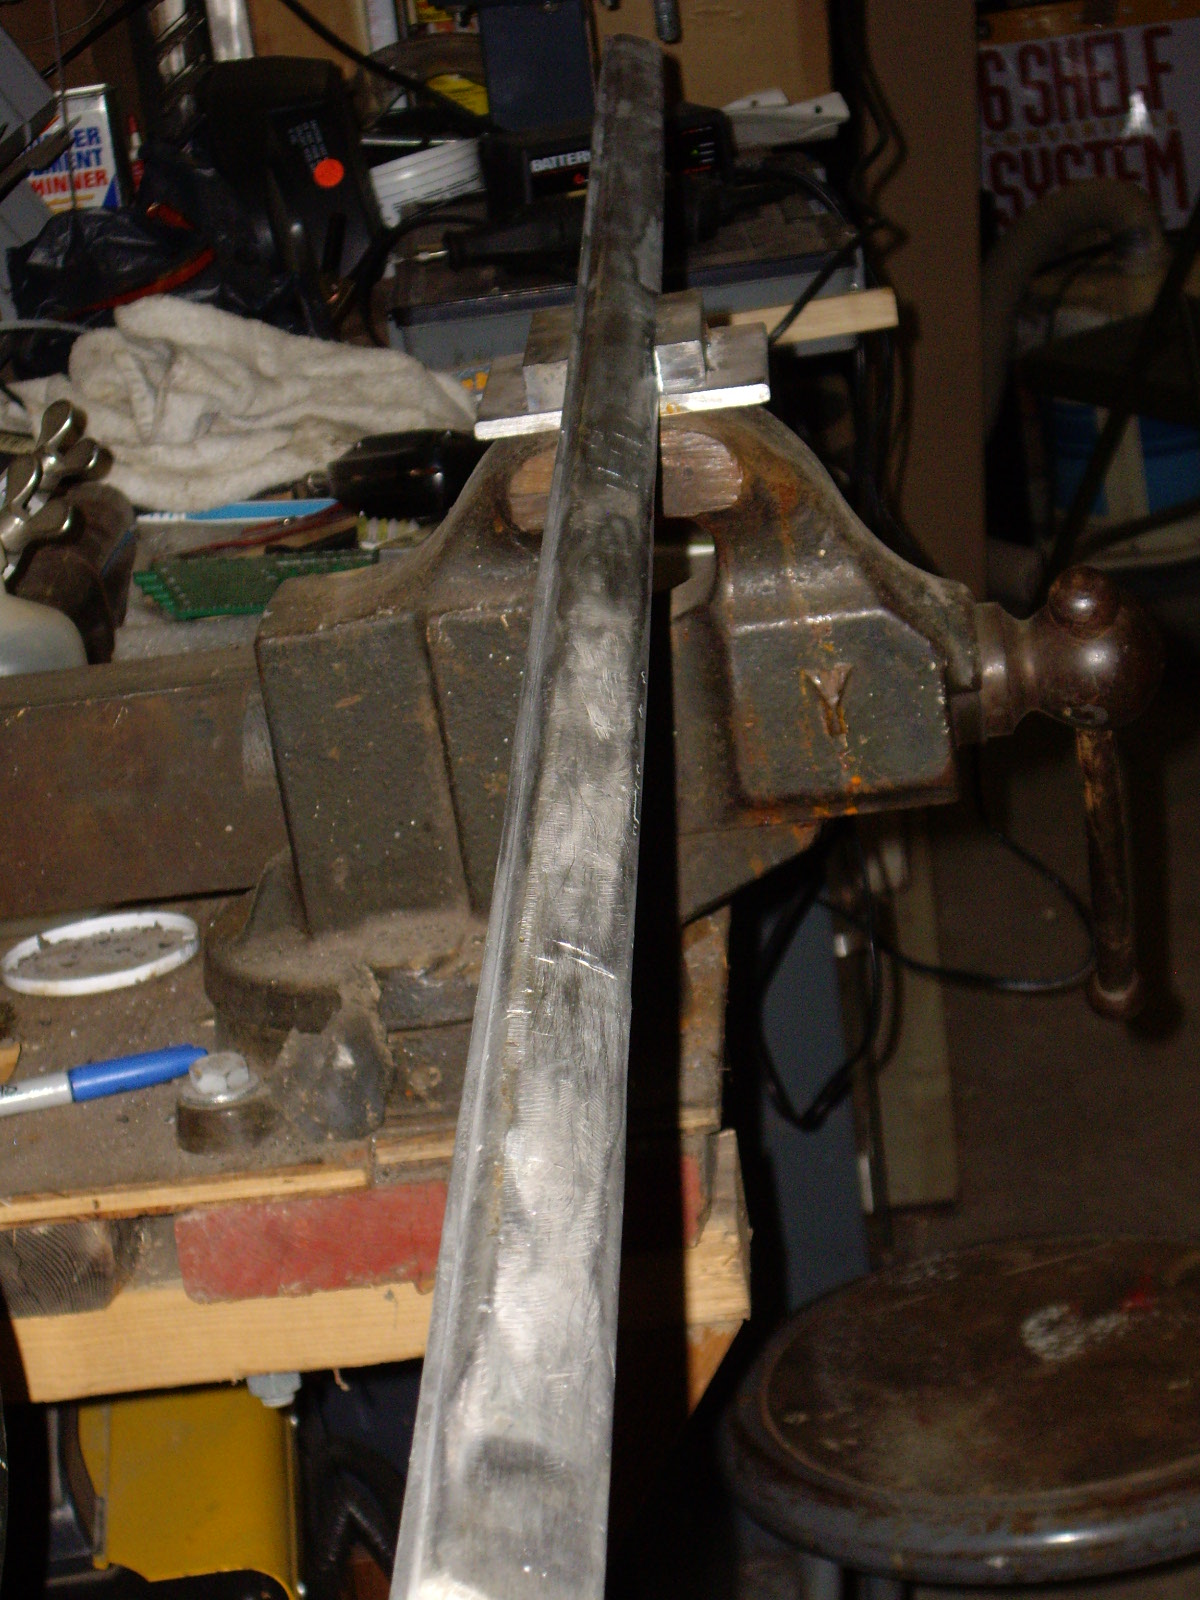
My friend George has his trim professionally straightened. The autobody guy made a jig just the width of the trim strip that clamps into a vise.
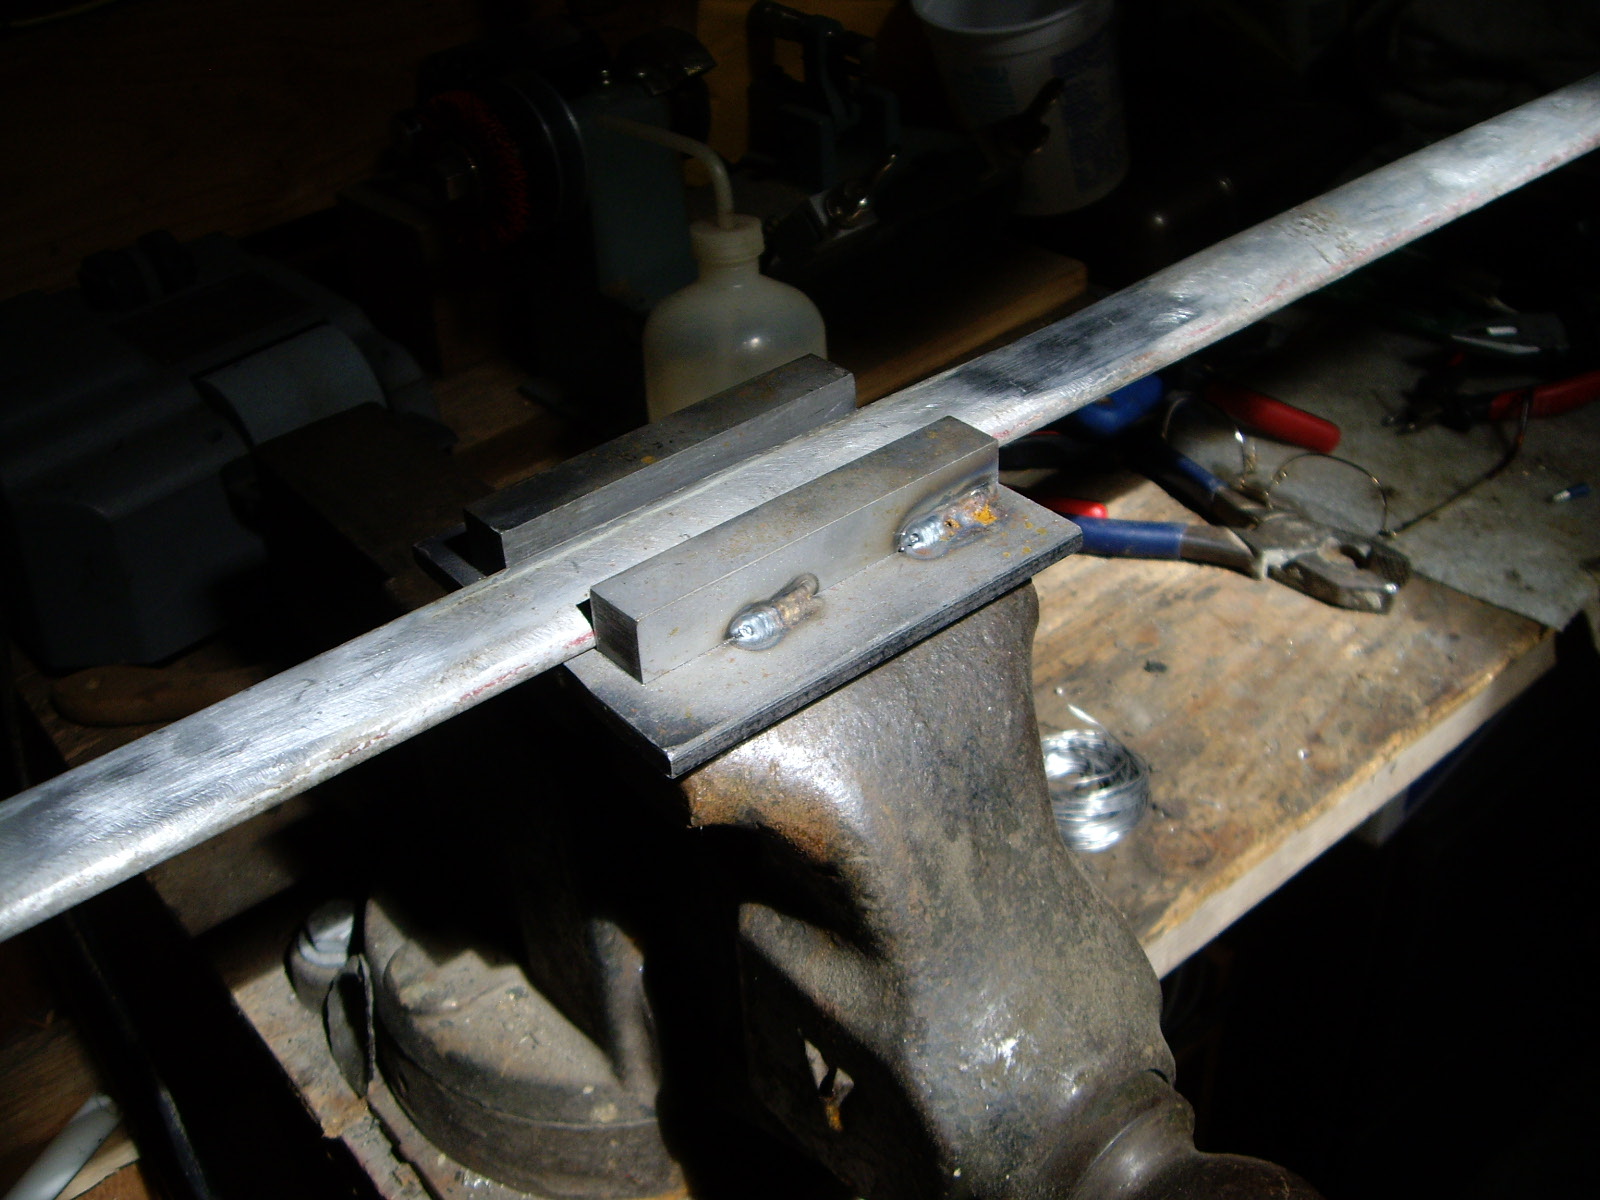
This allows one to bend and twist the trim and clamp it to the jig if needed. Here are my strips after about 30 minutes of work.
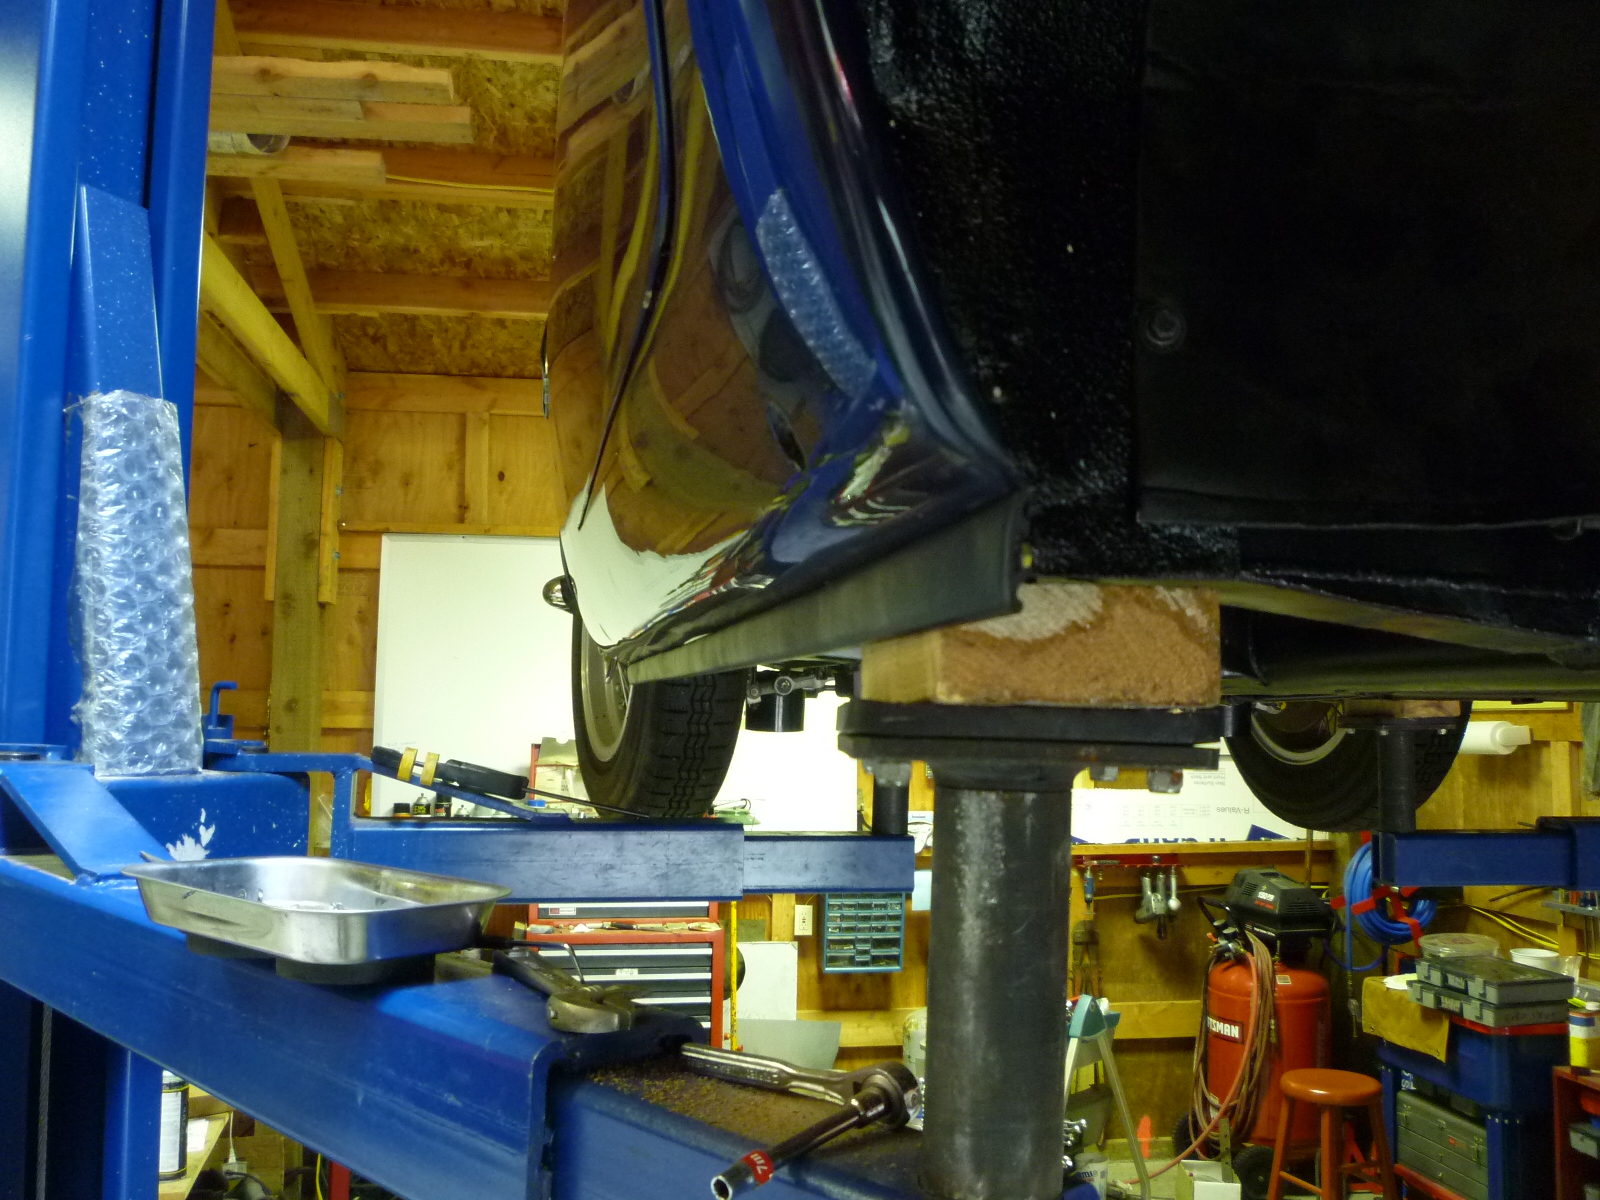
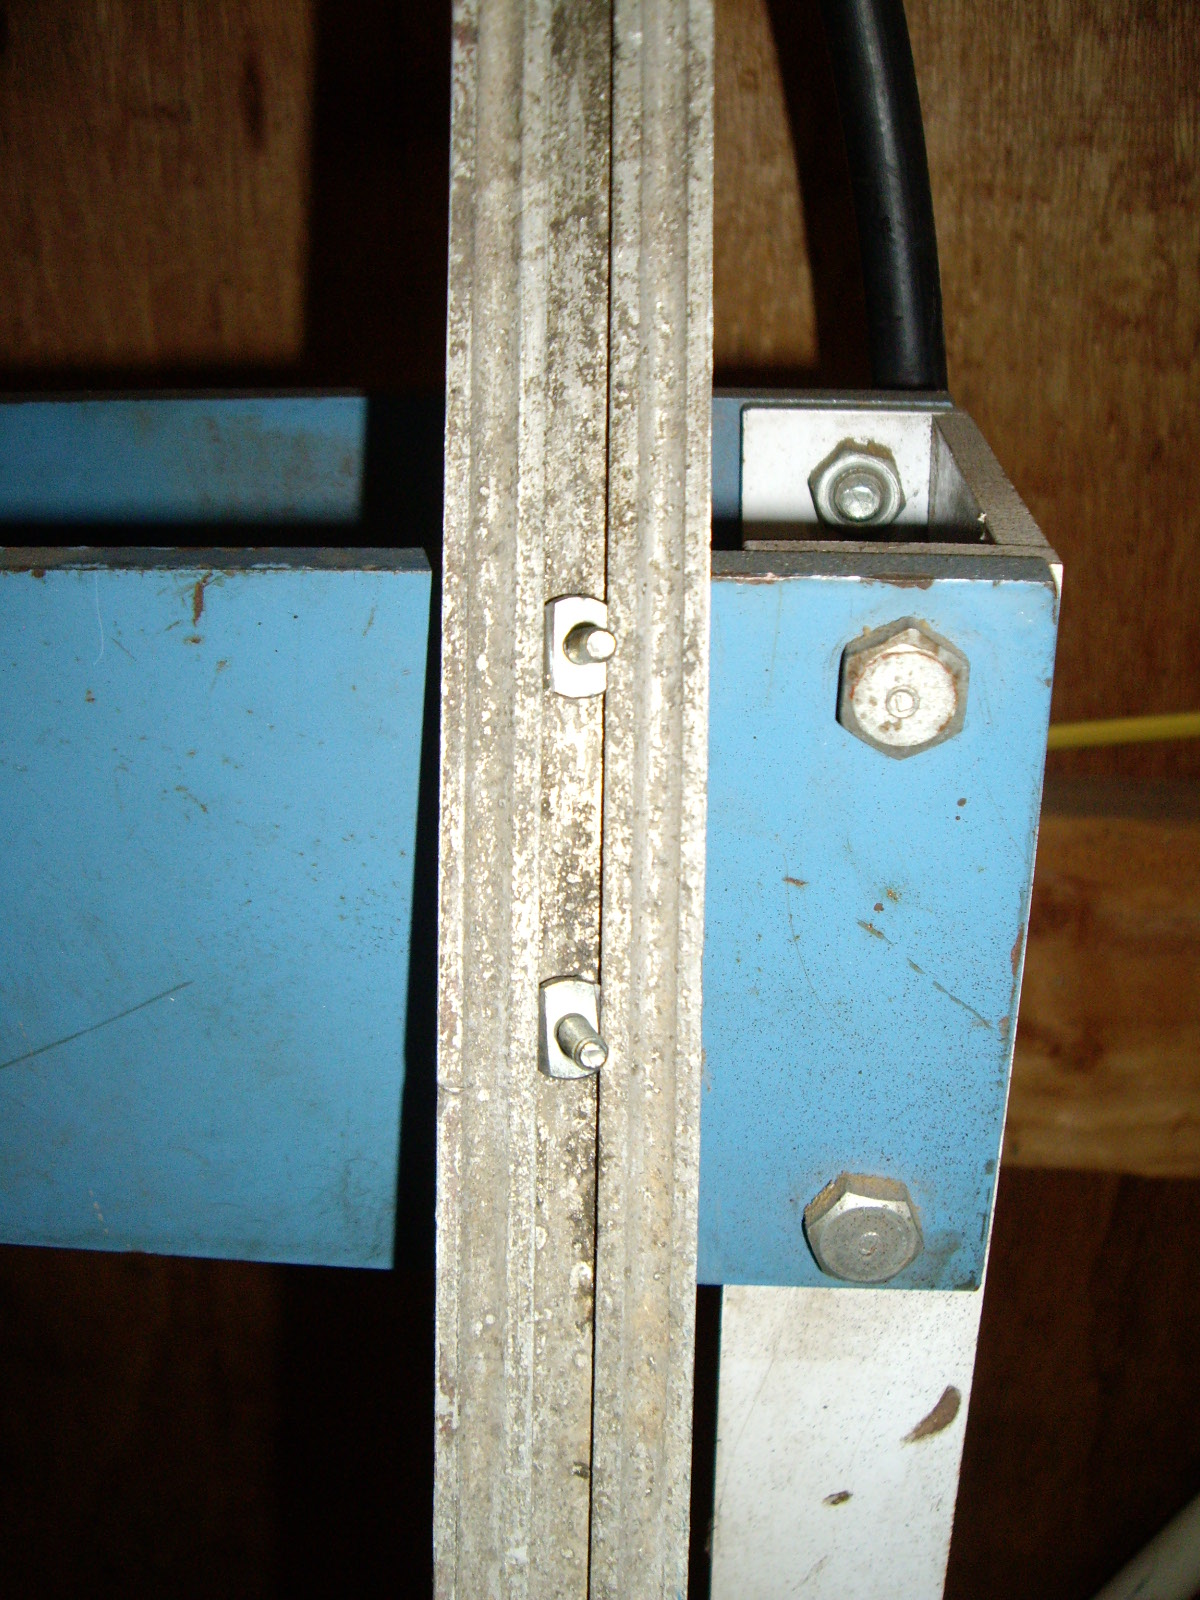
I finally installed these strips on the car. It would have been easier if the bolts I made had been longer than 12mm. Because of that, I had to fiddle around with the attachment points to get the bolts to fit through far enough to get a washer and nut on the back side. Here are pictures from one side.