Splash Shields
A while ago, I went through the body panels and picked out the front forward splash shields. These came from my other coupe, but fit into place on this car. With Pininfarina, one never knows if a part will fit correctly on another car, that's why PF stamped each panel with the body number. There were another two panels for behind the wheel, but these didn't fit. There are clearly for that part on some Ferrari model, but I don't know which one. If anybody recognizes these, please let me know.
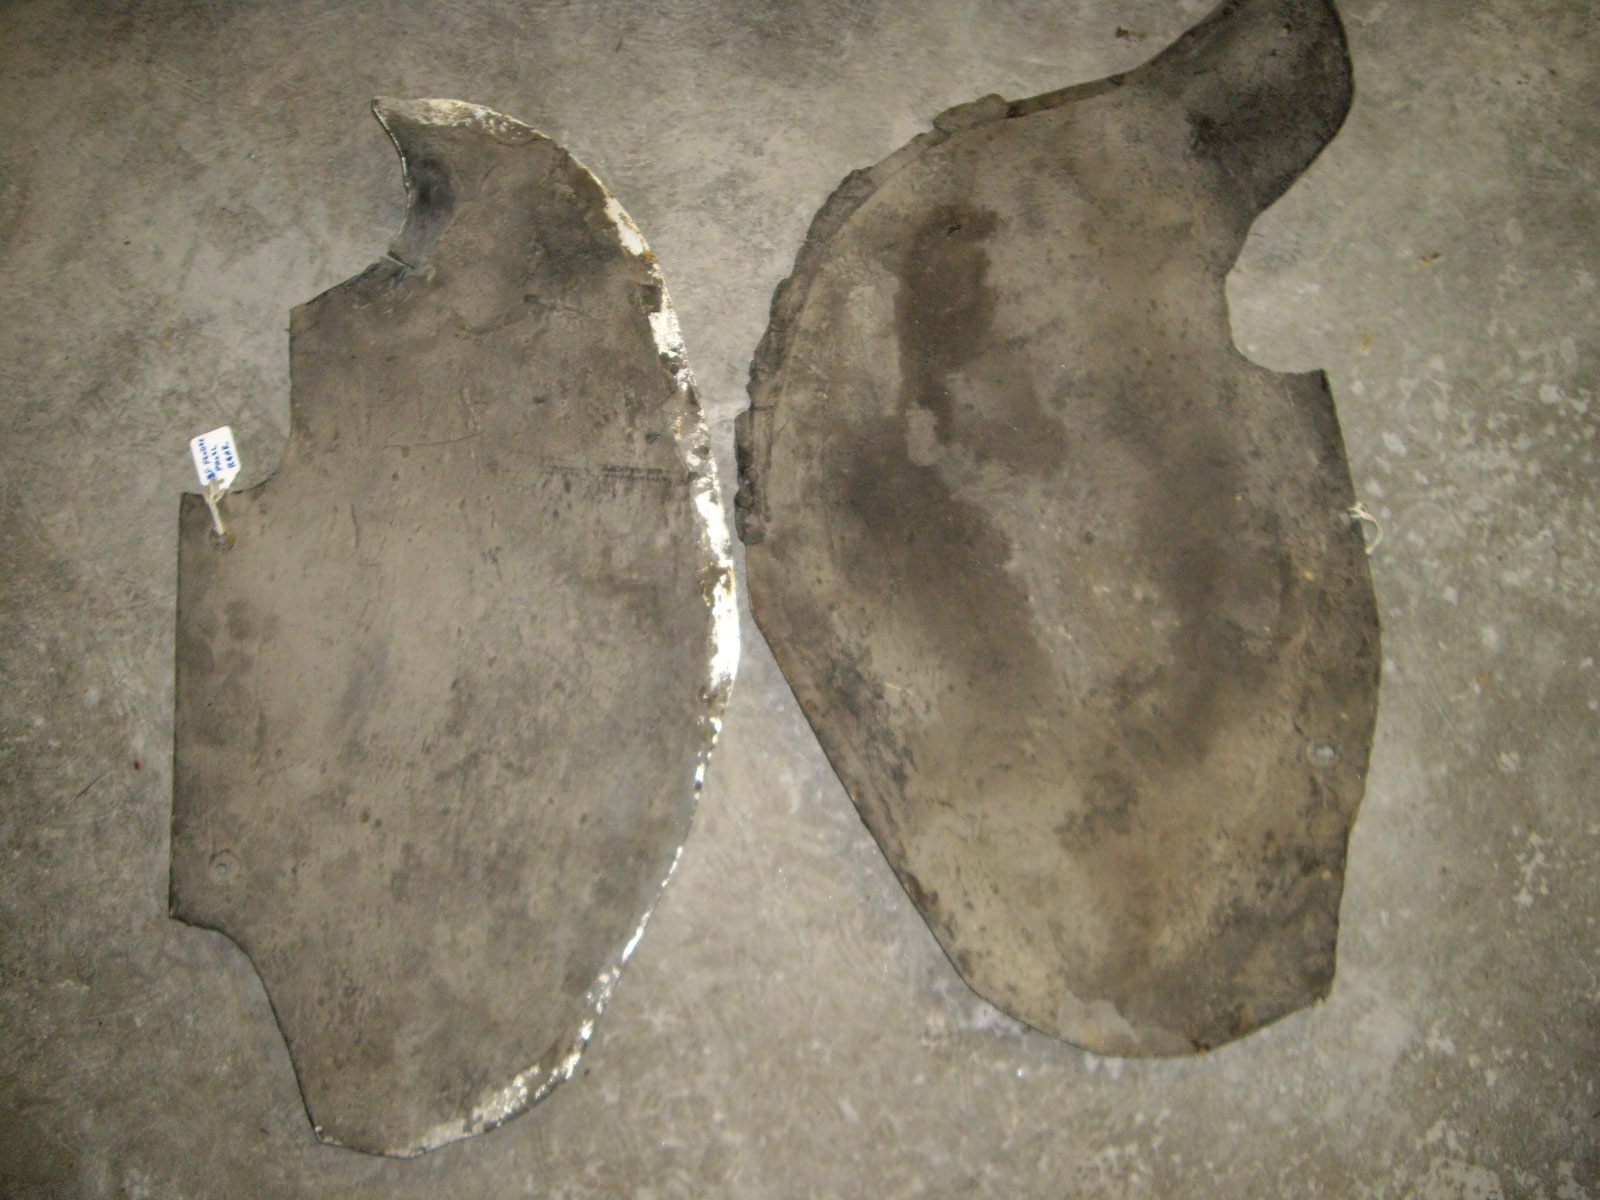
So I was preparing to make a couple of panels as I was putting the rubber trim on the headlight bezels. I pulled out the body parts book to see which rubber profile to use and came across the page showing the front fenders. There was a drawing of the rear panels and I remembered seeing something like that in the pile of parts. So I dug them out and they fit. So now I don't have to make any splash shields.

A friend who also owns a PF coupe is missing all of these panels. He's going to use mine for a mold to lay up some in fiberglass. By covering mine with plastic, he will be able to just cover them with the resin and glass cloth in a couple of layers. Then he'll have fiberglass versions, which isn't a bad idea since the rear ones on mine are missing a couple of areas due to electrolysis. I'll post some pictures when the fiberglass work gets done. The advantage to me was the George was willing to strip the undercoating off so there would be a flat surface for the fiberglass. The bulk came off using a hot air gun with a couple of passes of paint stripper removed the remains.
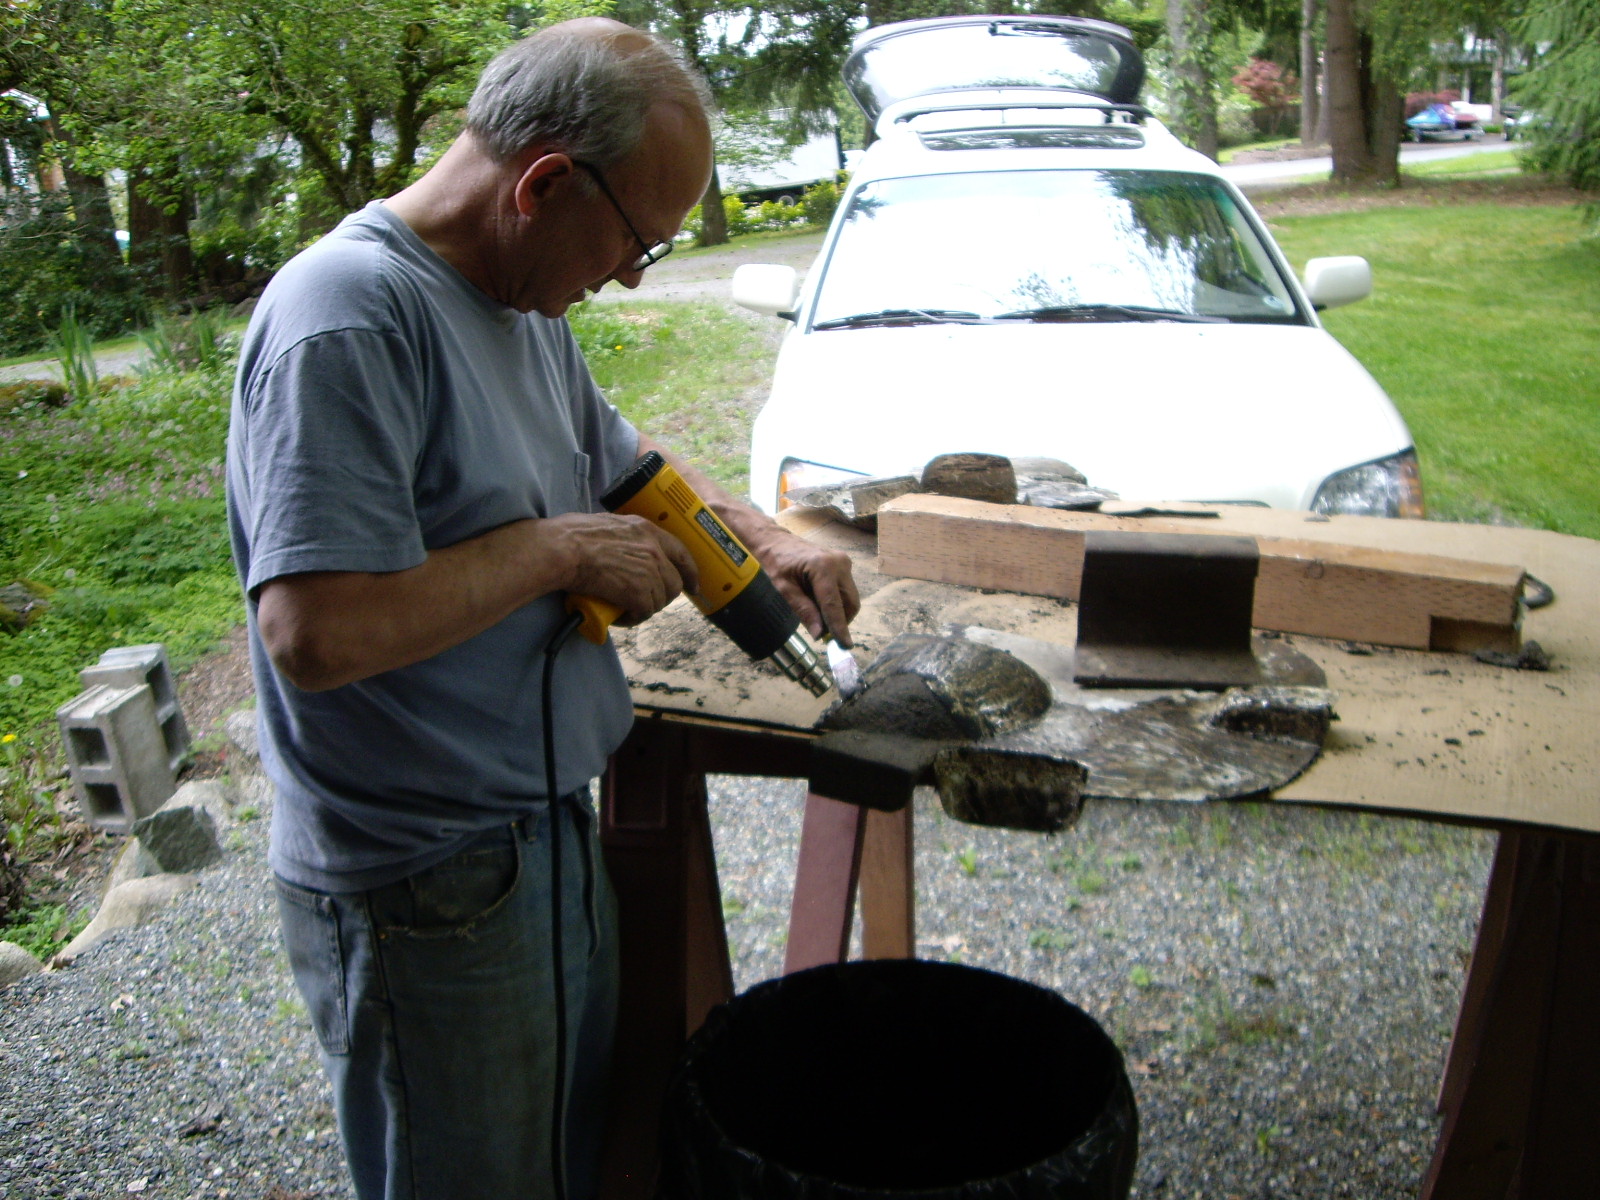 George stripping the undercoating off |
 After stripping |
After George got done, I used a 2 stage converter by Dupont (http://www.performancecoatings.dupont.com/dpc/en/us/html/prodinfo/chromasystem/H-19291_226S.pdf) in preparation for the new undercoating.
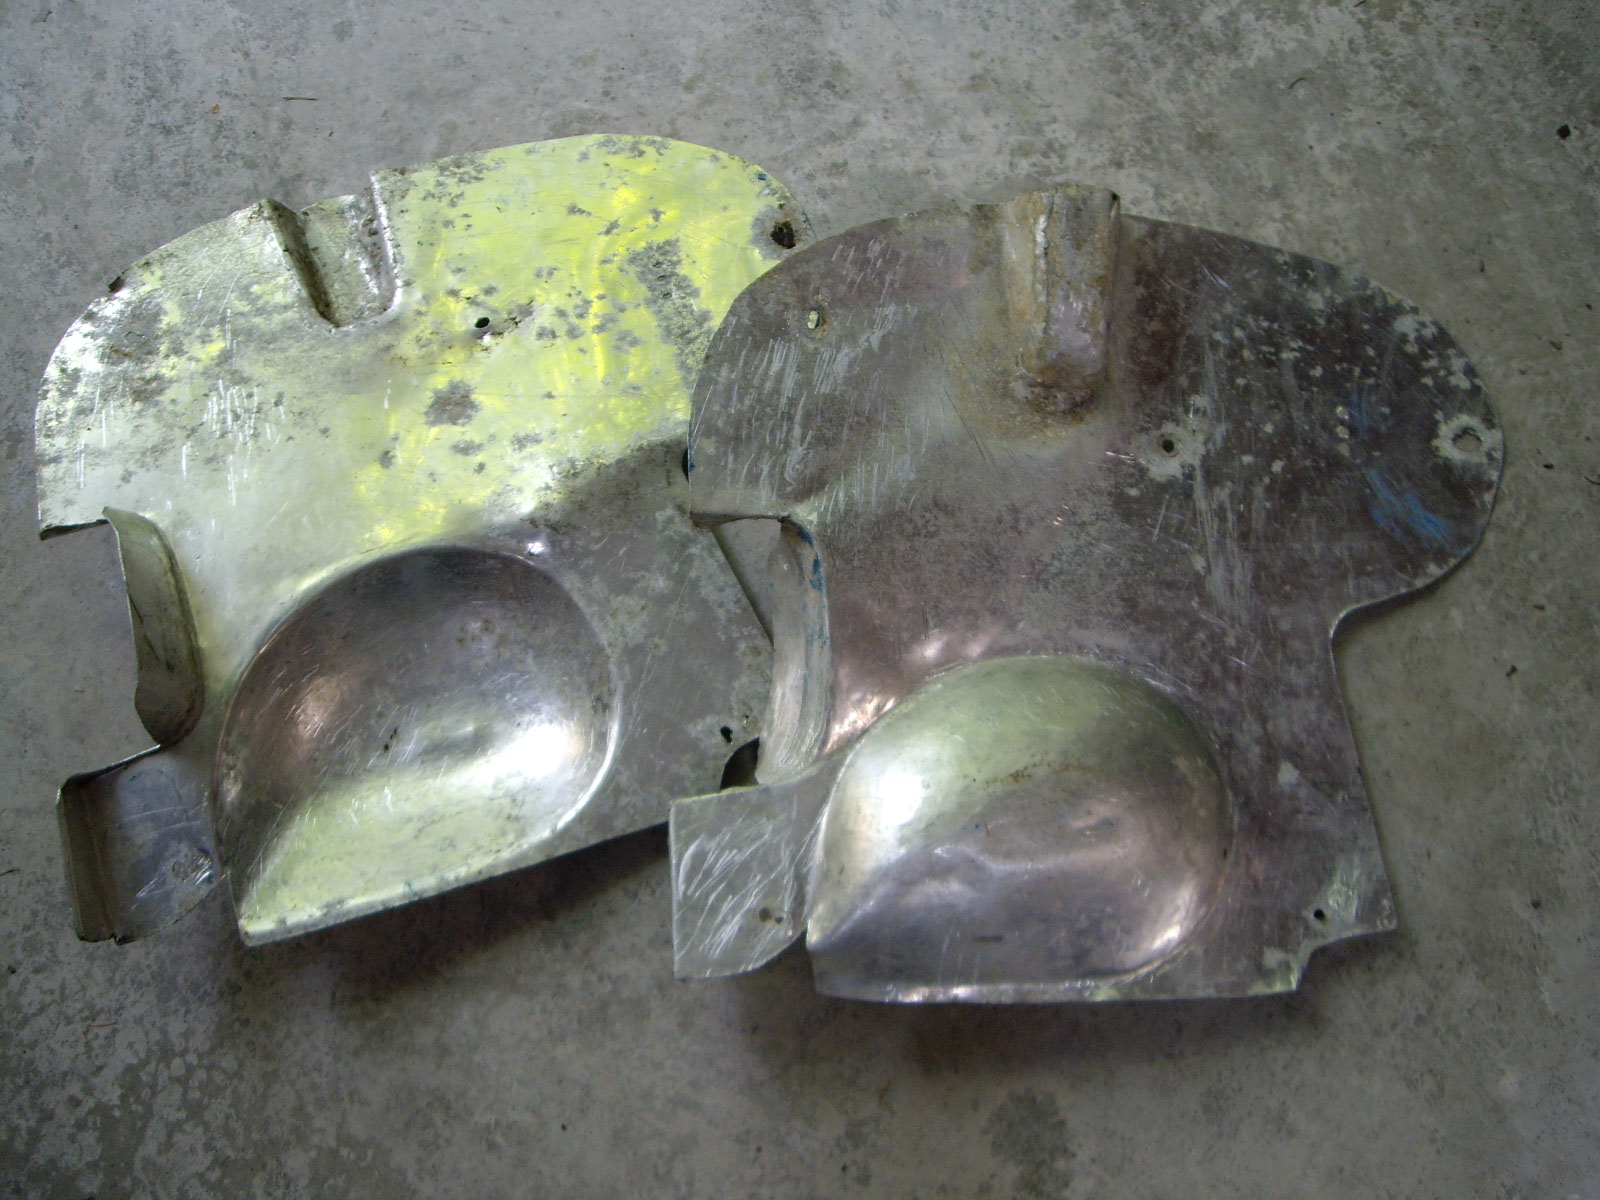
George's friend Ray came over to make fiberglass splash shield from my metal ones. First, Ray taped the edges with double stick tape. Then he spread wax (from a toilet bowl ring) over both sides and finally covered the surfaces with plastic wrap. This was done to prevent the fiberglass from having any possibility of sticking to the aluminum.
Once the preparation was done, a layer of resin was brushed on one surface and fiberglass mat (chopped fibers) was laid on. More resin was brushed on to soak through the mat.
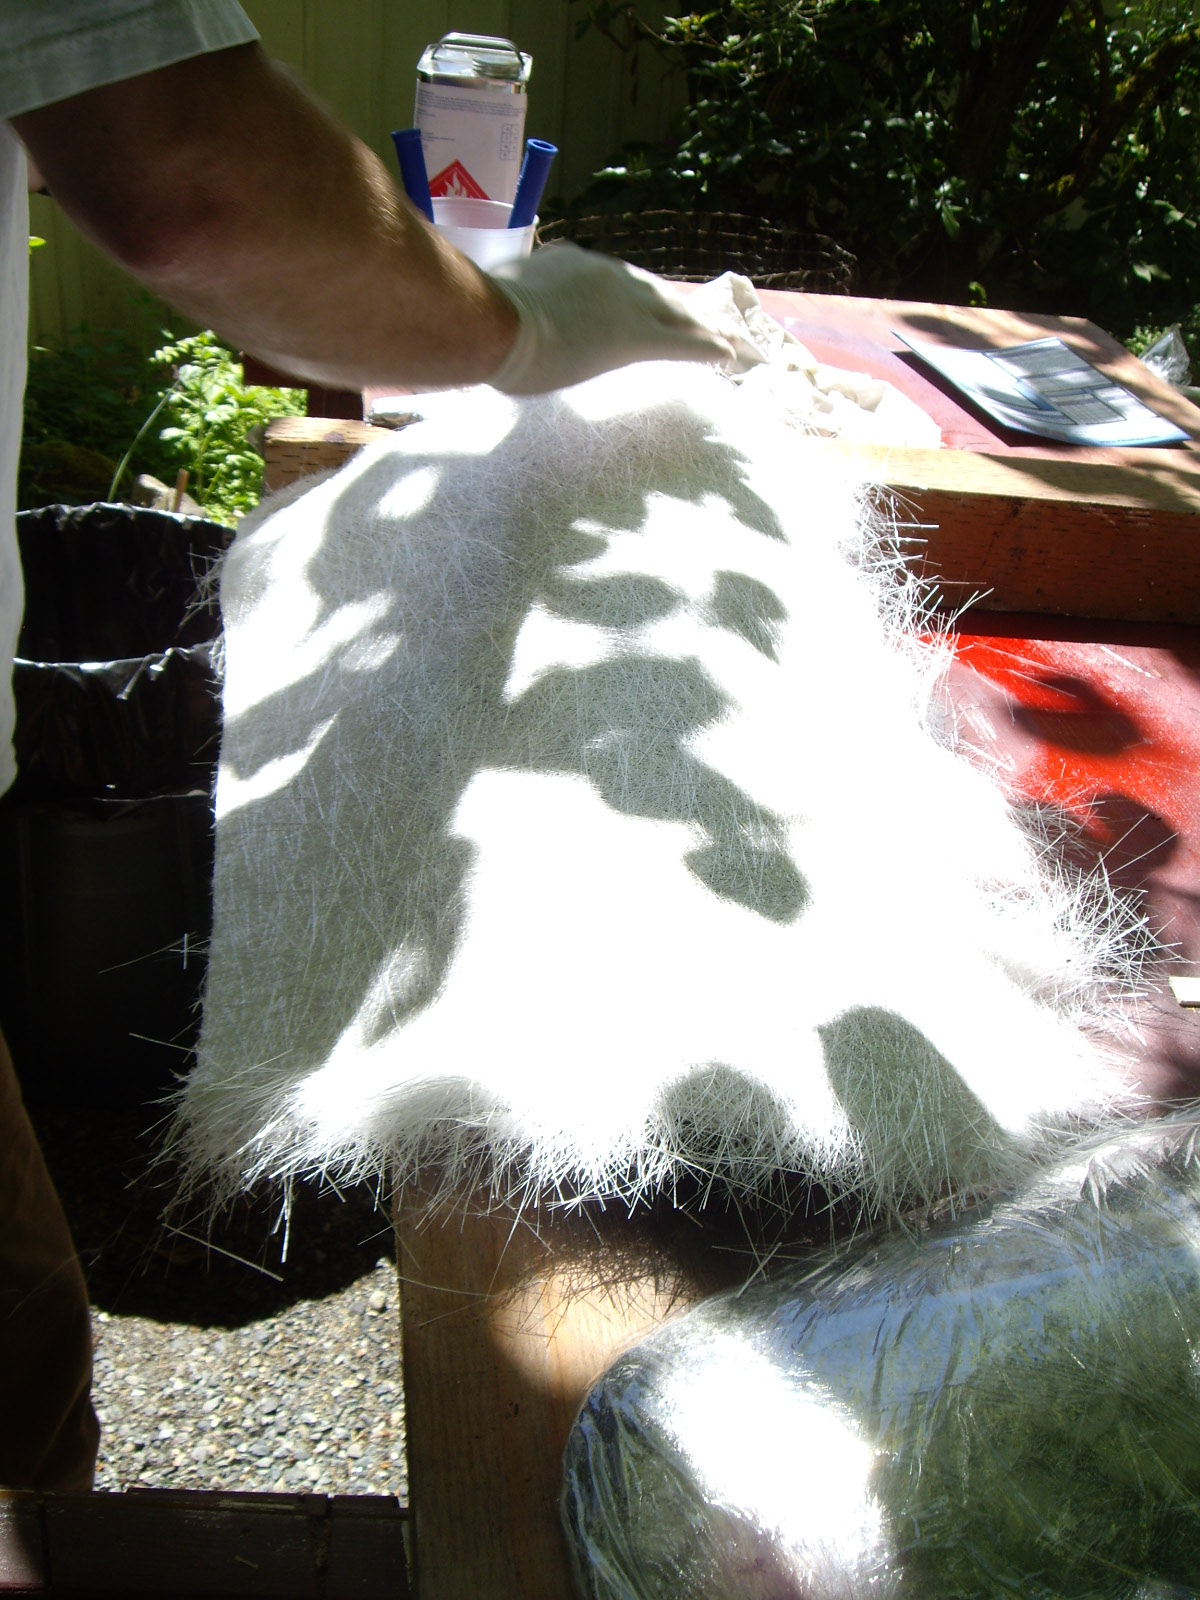
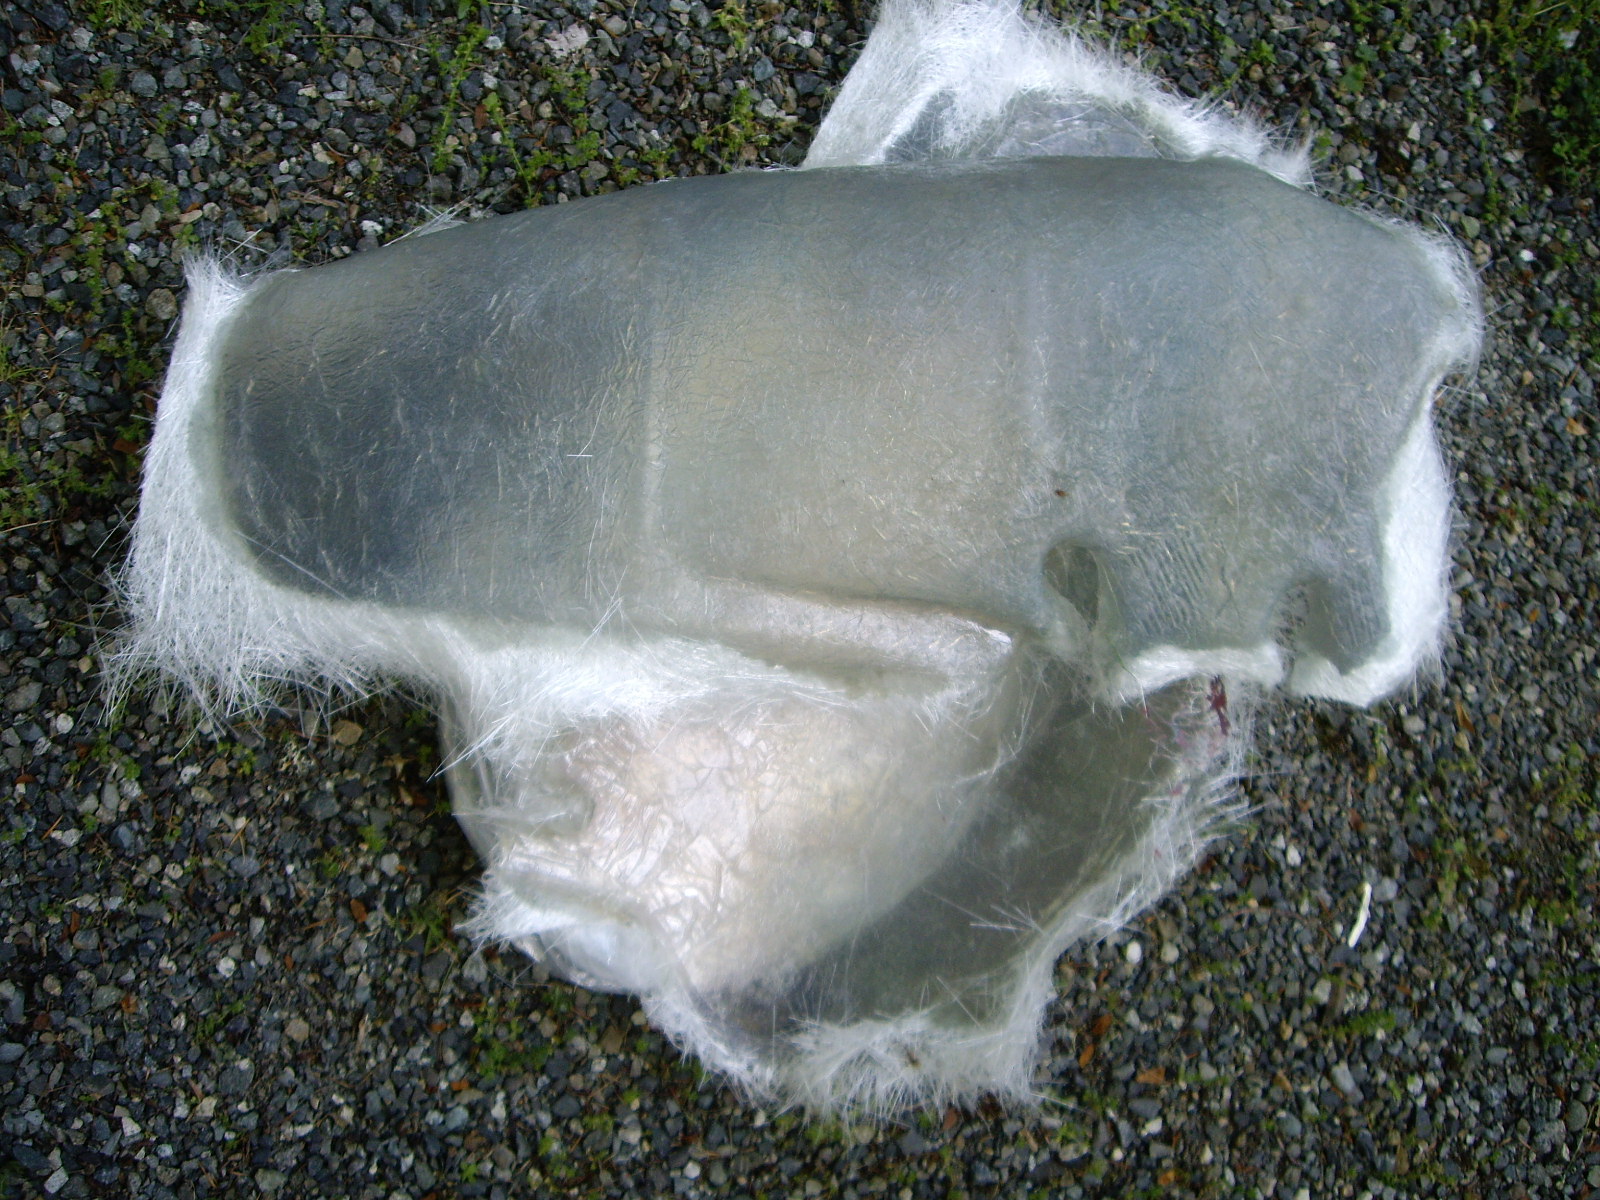
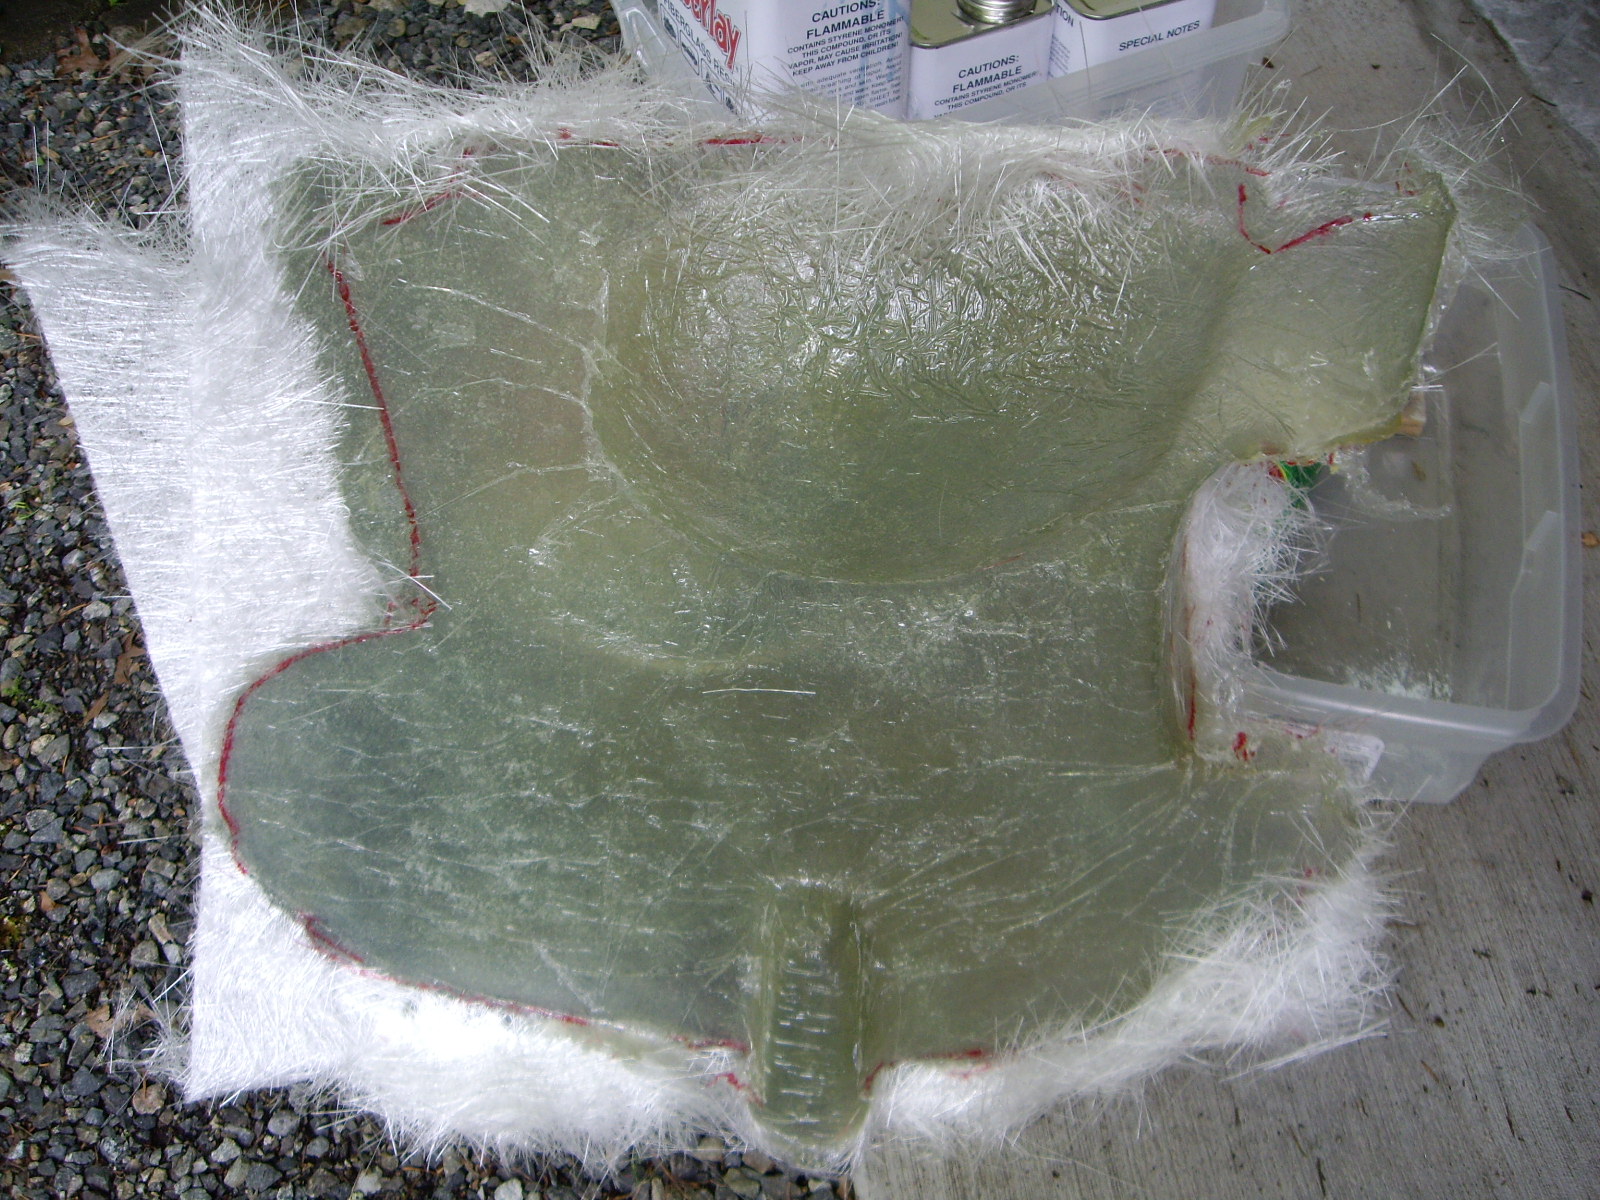
Next a layer of woven fiberglass (roving) was added, followed by another layer of mat.
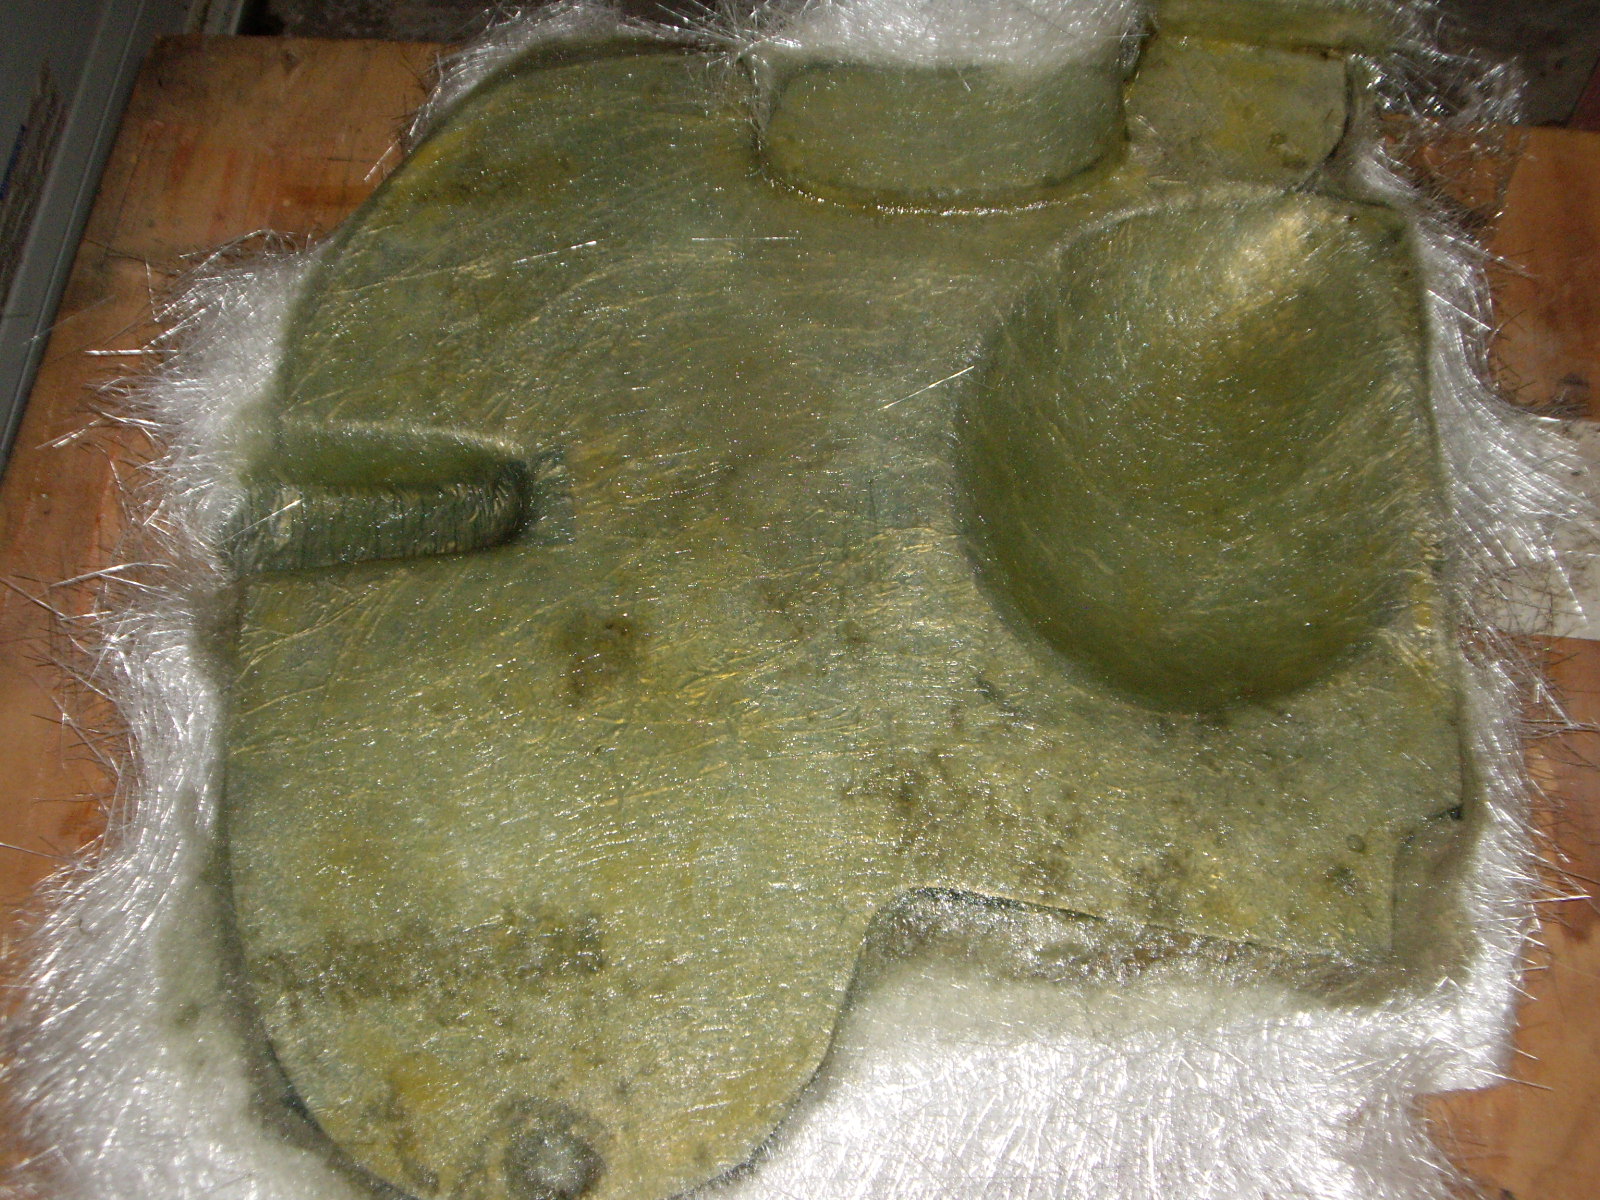
Once everything was cured, the fiberglass was separated from the aluminum shields. These will need trimming, cleaning up and painting, but should work well as replacements. Perhaps even better than the originals since they will be lighter and not subject to any corrosion.
 |
 |
Now that the rear suspension is finished sufficiently, I installed the rear splash shields. One thing that I have found useful is #6 screw fender washers that I found at Lowe's. These are fairly small (9/16" diameter) and have a hole size that's just right for the 4mm screws.
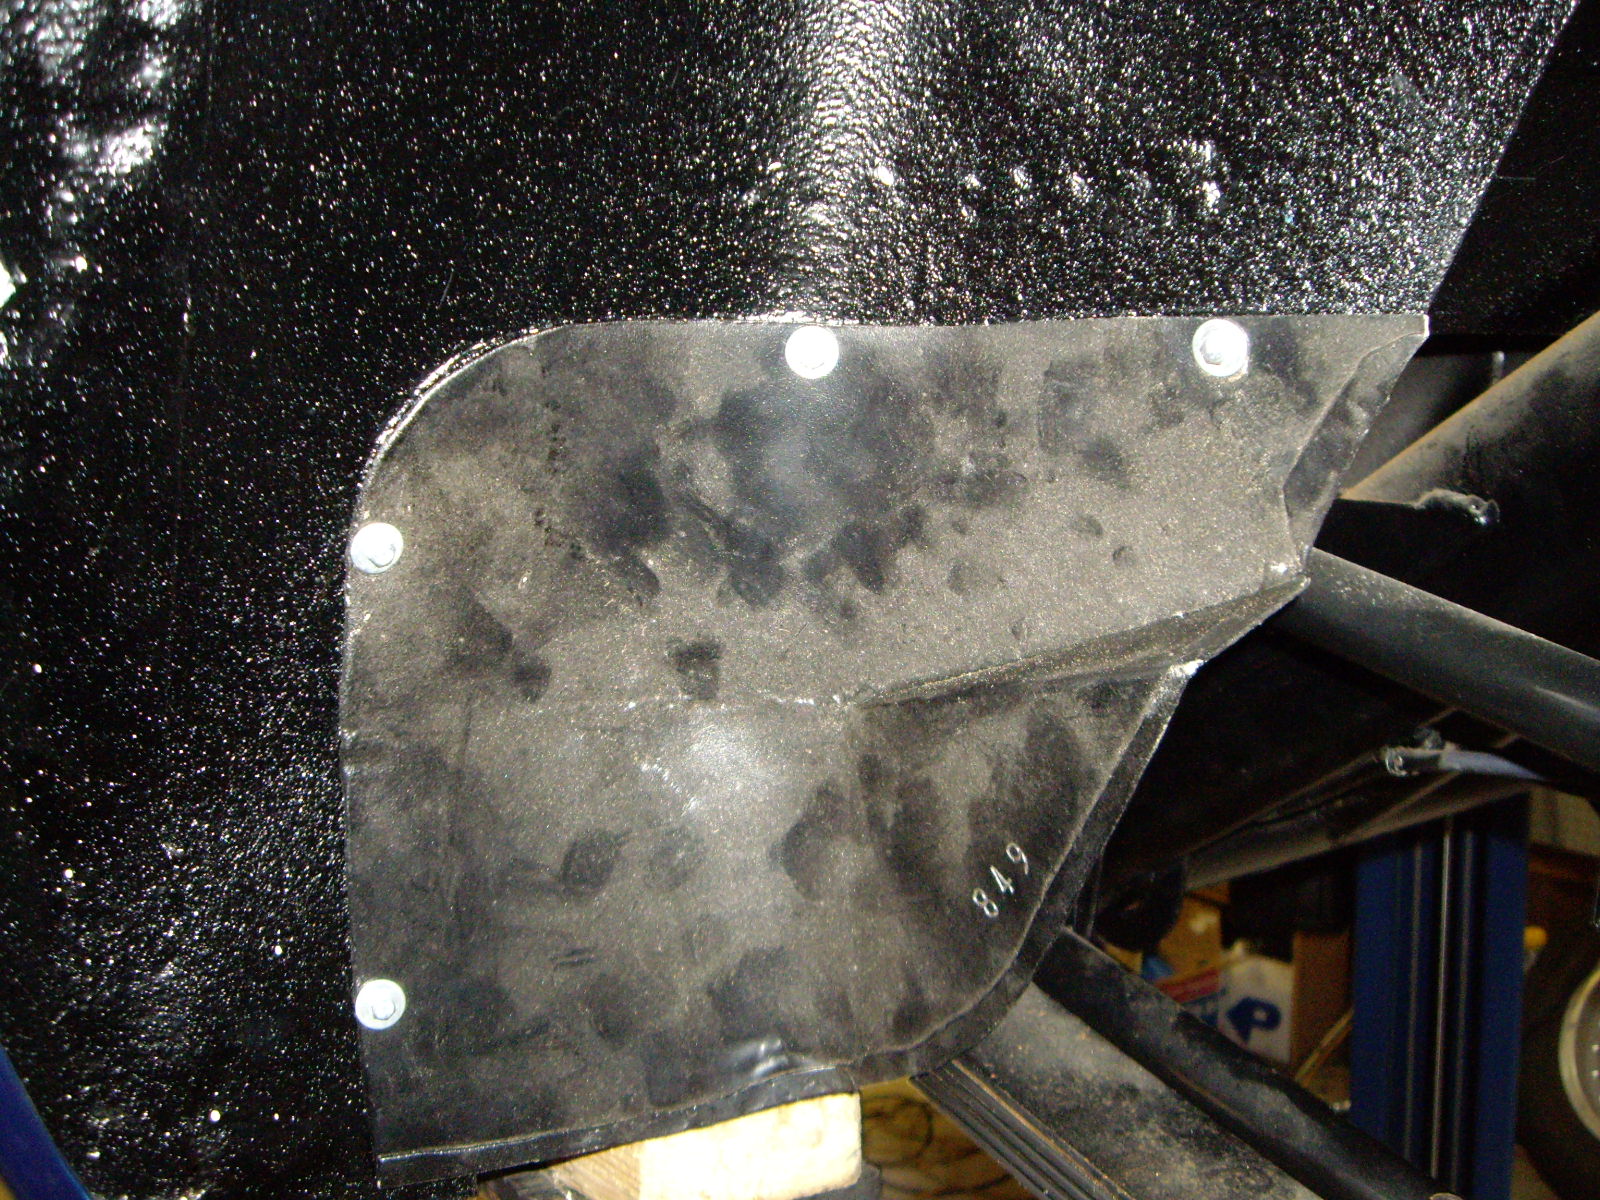
In looking at the front area, I found that three of the old 4mm bolts had sheared off. So I got out the Dremel with a cutting wheel to smooth off the remnants so I could center punch the bolt and drill it out using a bit just small enough to fit through a 4mm nut. That way, if I did it perfectly, running a tap through the hole afterwards would just clean out the threads. Of course, it's hard to get the drill to stay aligned, but all were close enough to hold the tap well when I ran it through.
One of the mounting points for the front shield is a bracket mounted above the headlight. It's missing on the right side, so I'll have to make one.
 |
 |
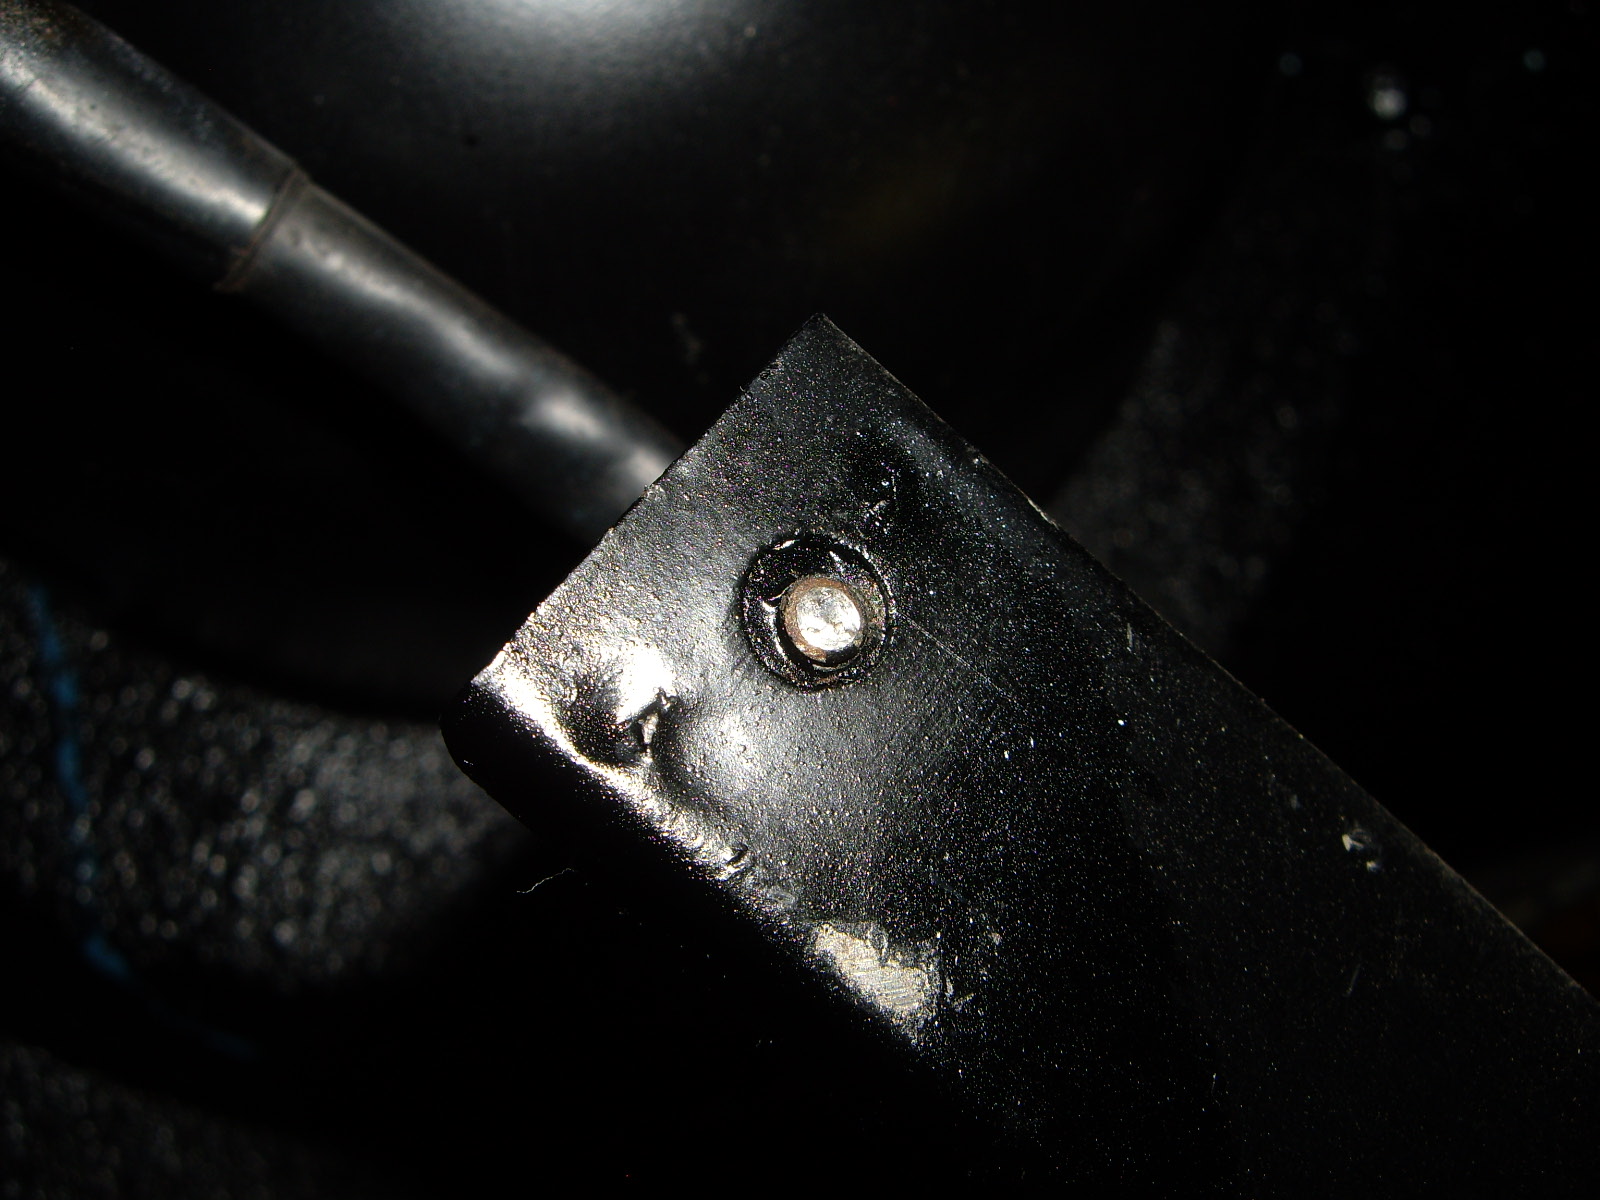
I won't be able to weld this on like the original since that would char the paint. So I'll probably just pop rivet it as the rivet heads will be hidden behind the headlight housing.
There was one other mounting place missing, but it was simply a welded on piece of steel with a tapped hole, so that will be easy to replace. Another has the hole stripped out, so I'll just weld on a square nut on the back side.
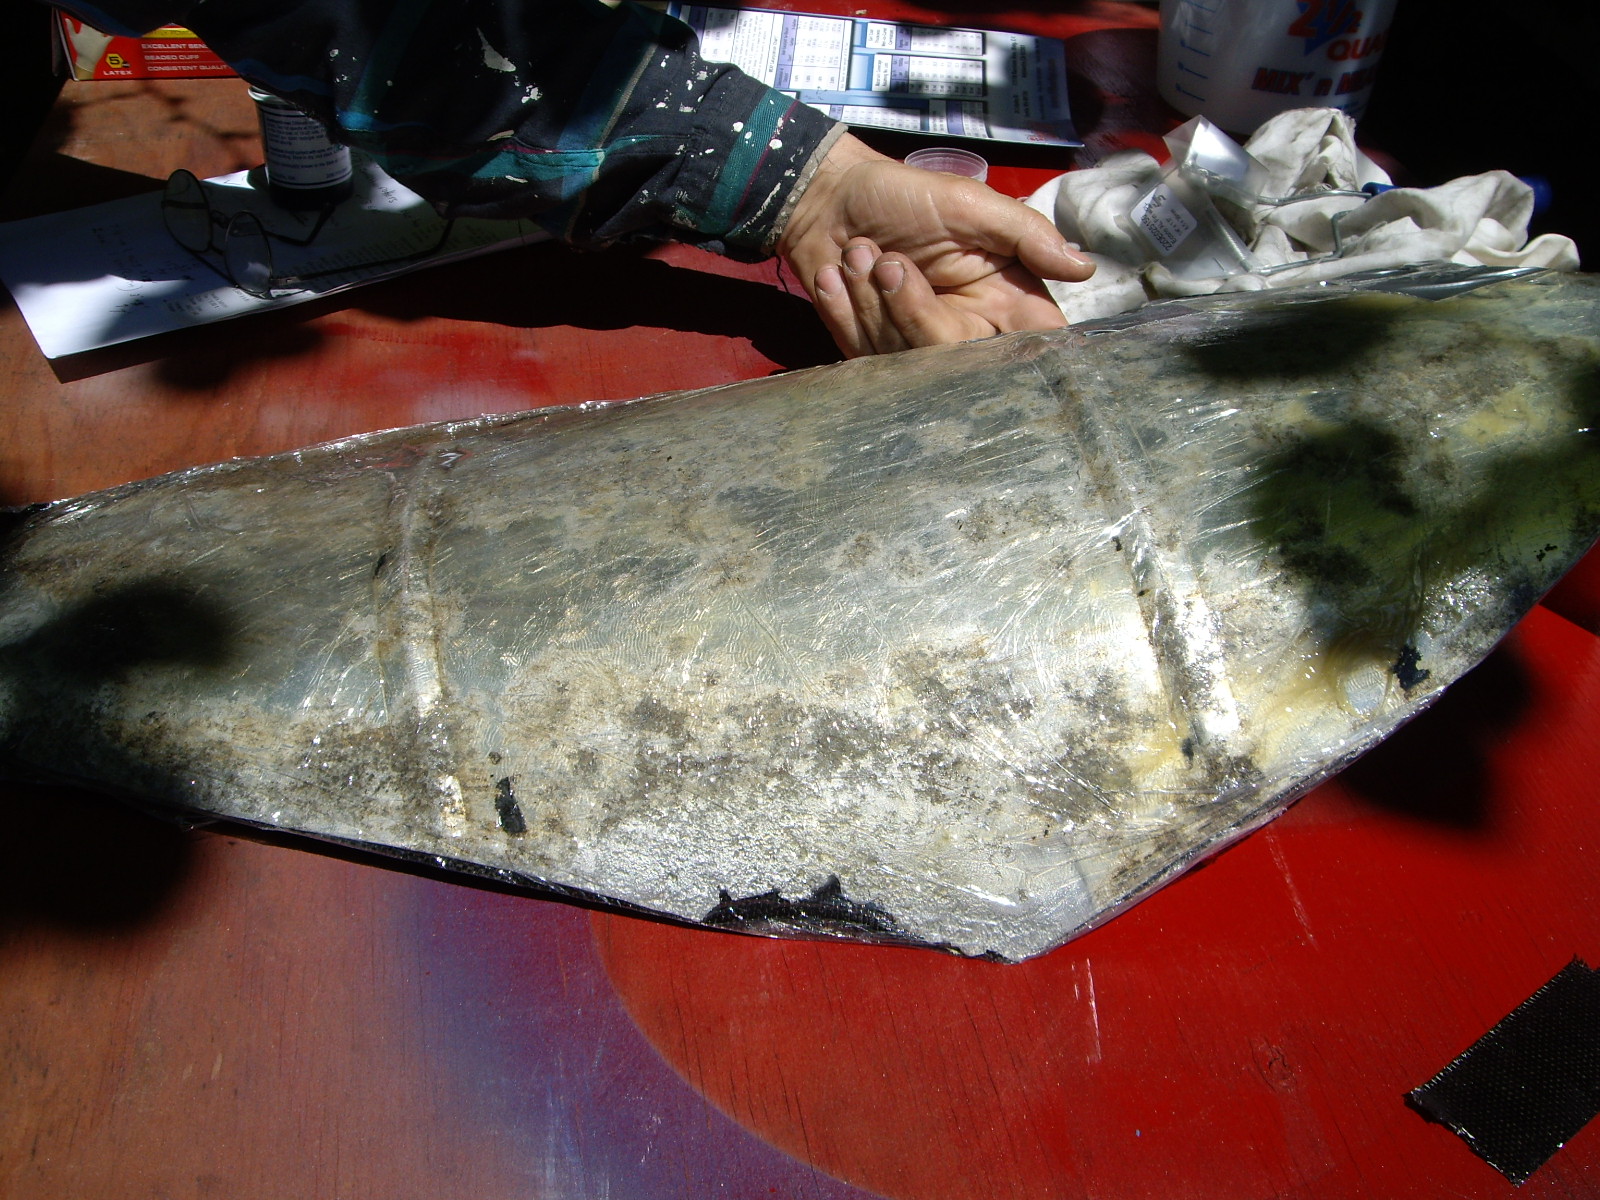
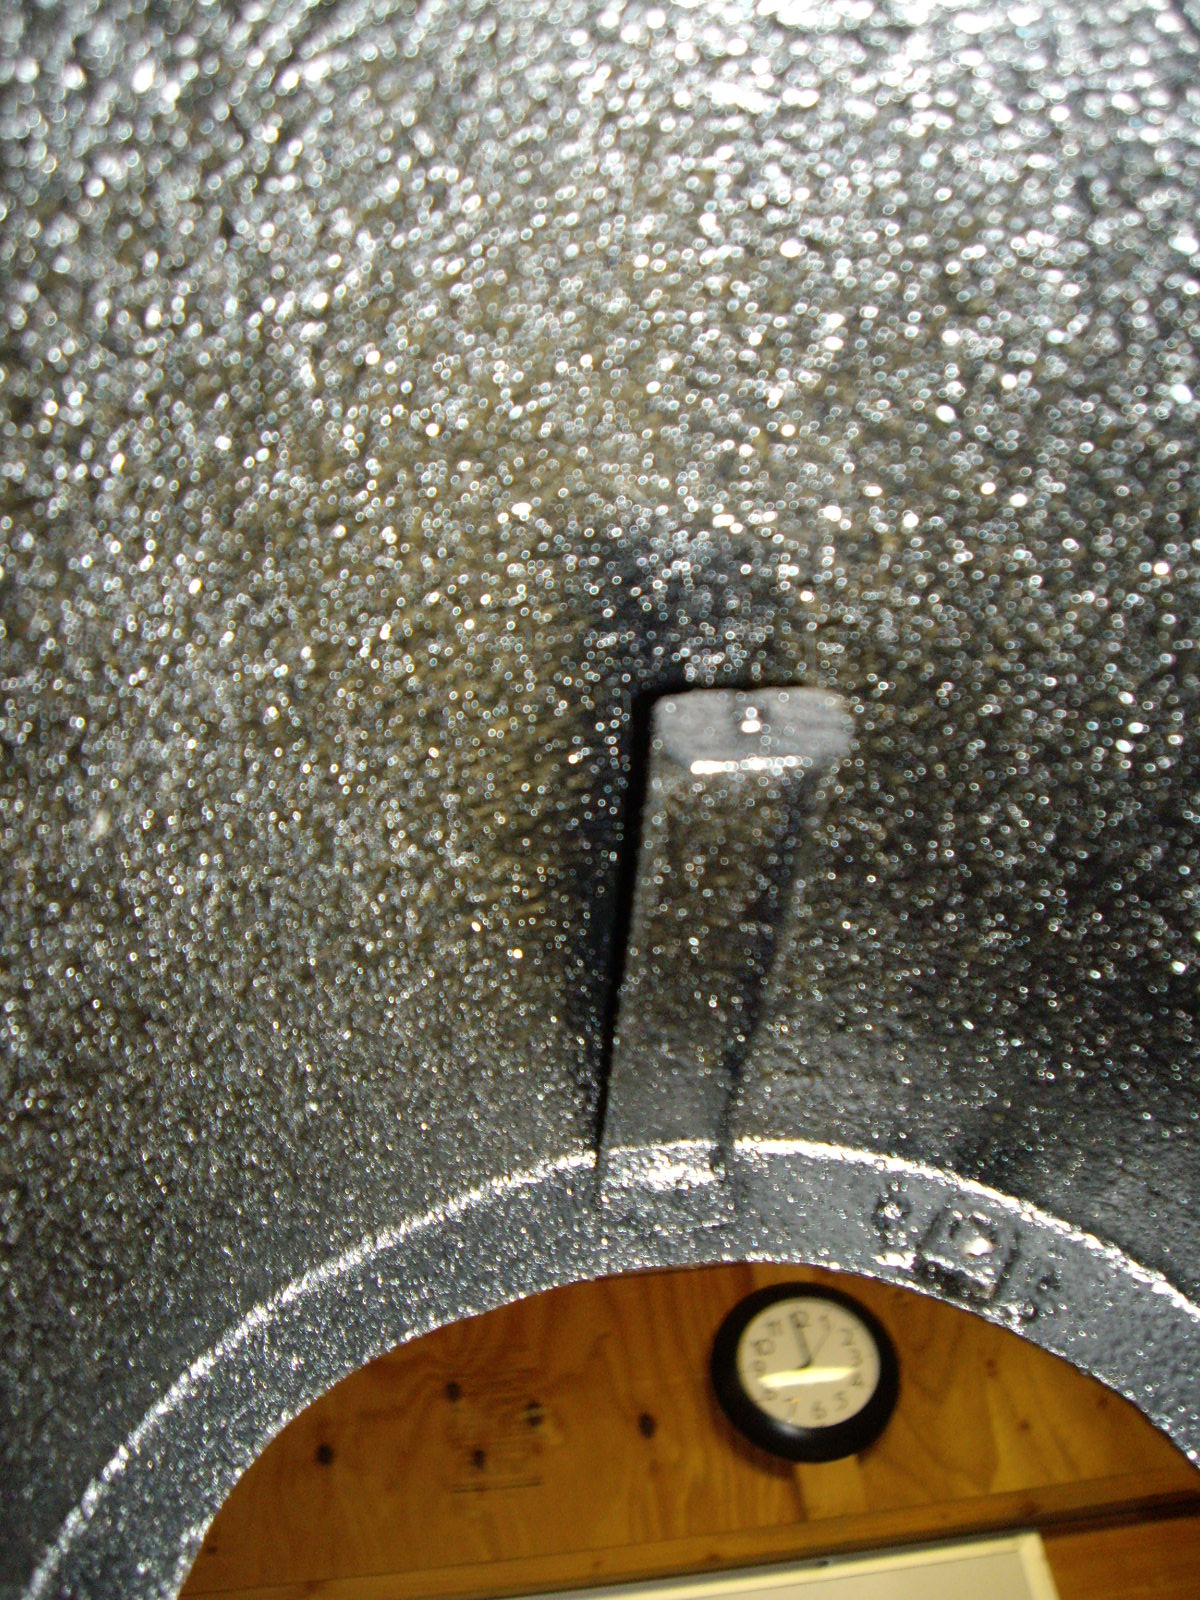
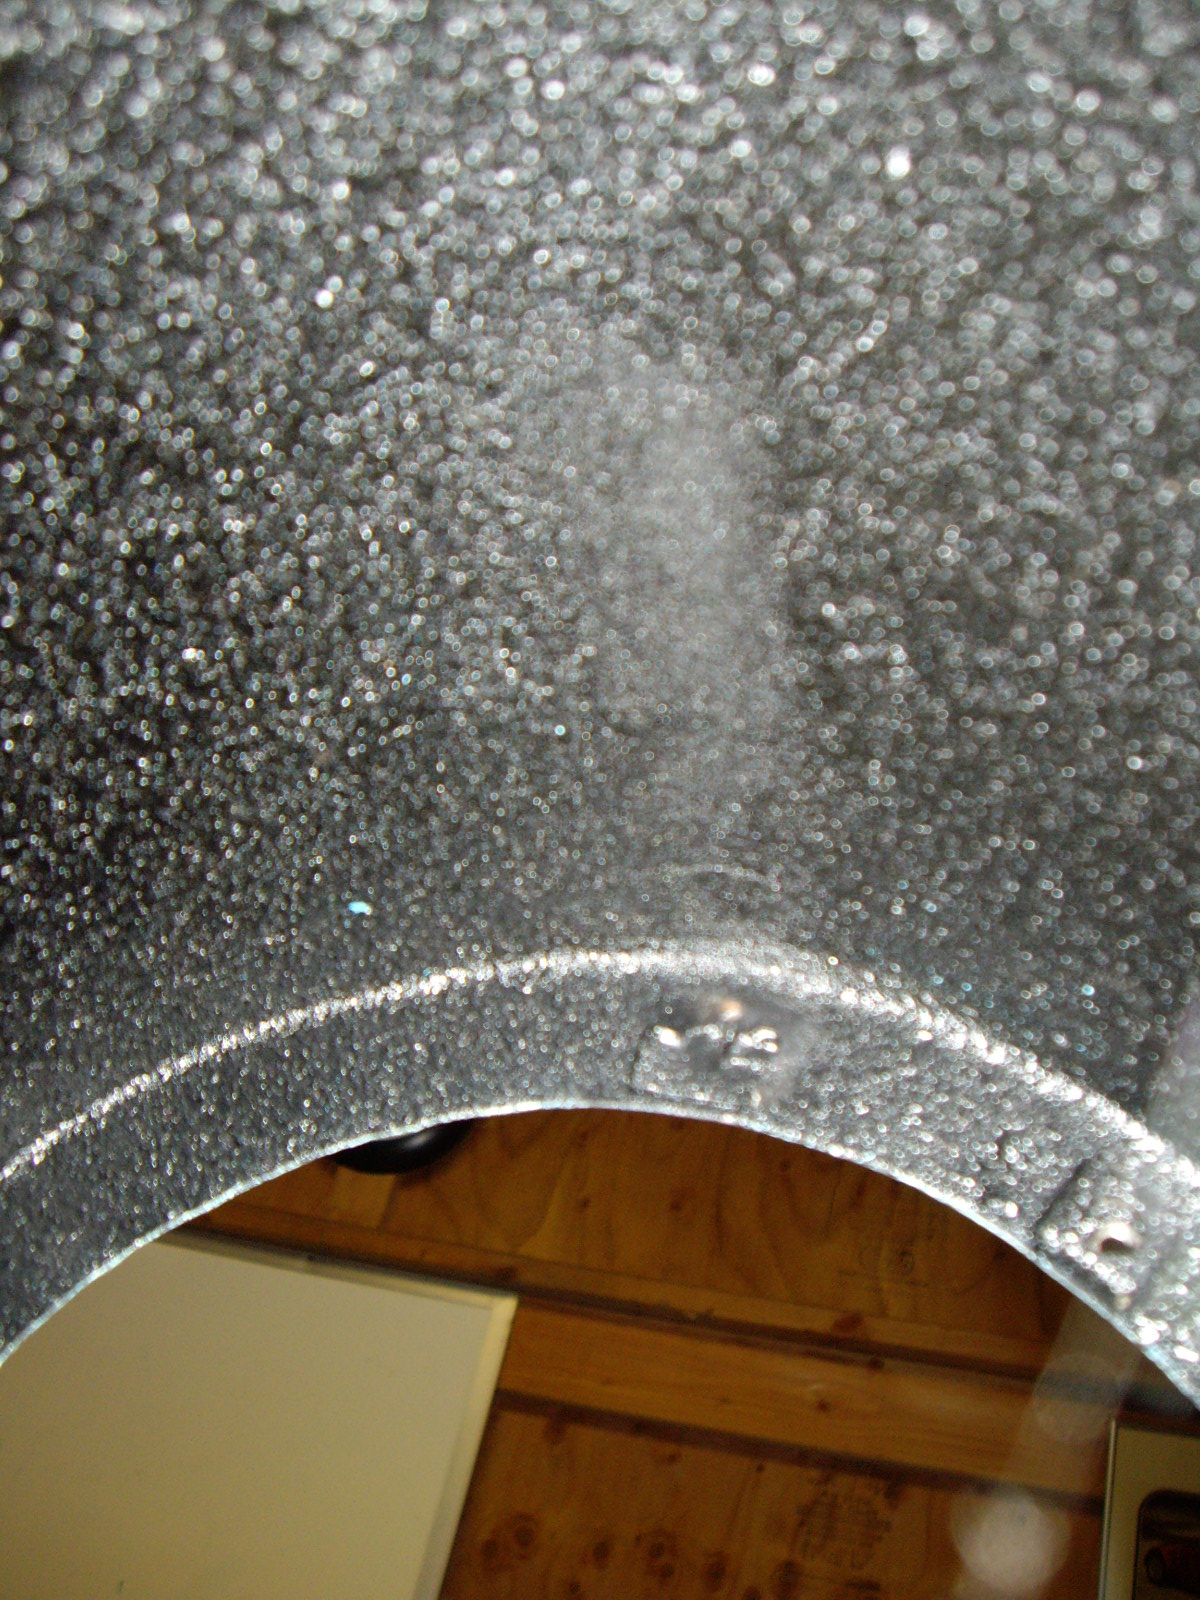
The splash shields behind the front wheels had suffered some electrolysis so some of the aluminum on the outside edges and bottoms was eaten away. A couple of weeks ago, my brother-in-law, who is a welder by trade, was over for a barbecue and I asked if he could fix them. He was hesitant as the condition of those areas was pretty bad, but he said he would try. I got them back last week and found that he did a superb job with the rotten metal cut away and new metal welded in.
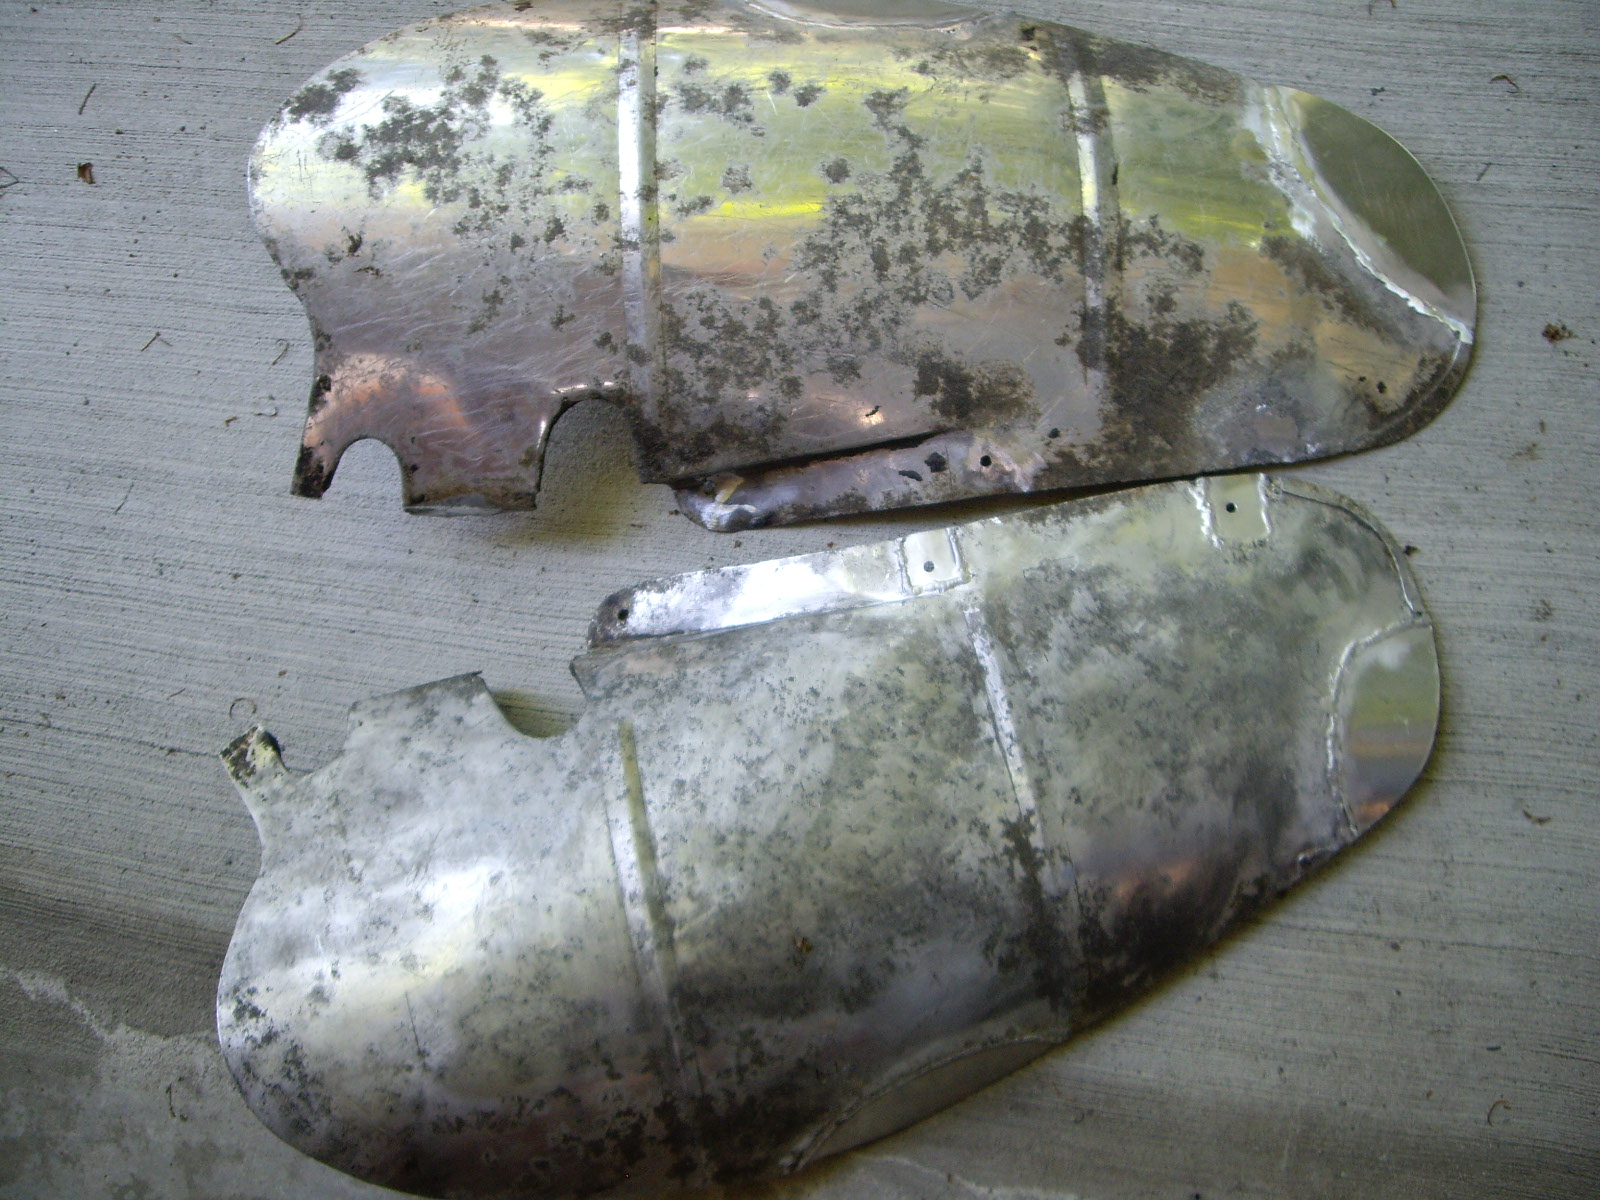
He also welded up several of the mounting holes that had been enlarged or corroded over the years.
Fitting them on the car took a while as I had to figure out how much of the new metal needed to be trimmed away. I had previously run a 4mm tap through all of the attachment points so the bolts would go in easily. After getting everything to fit and bolting the panels in place, I used a scribe to scratch marks from the nut side in the places where the original holes had been welded up. That allowed me to drill new holes in the correct spot.
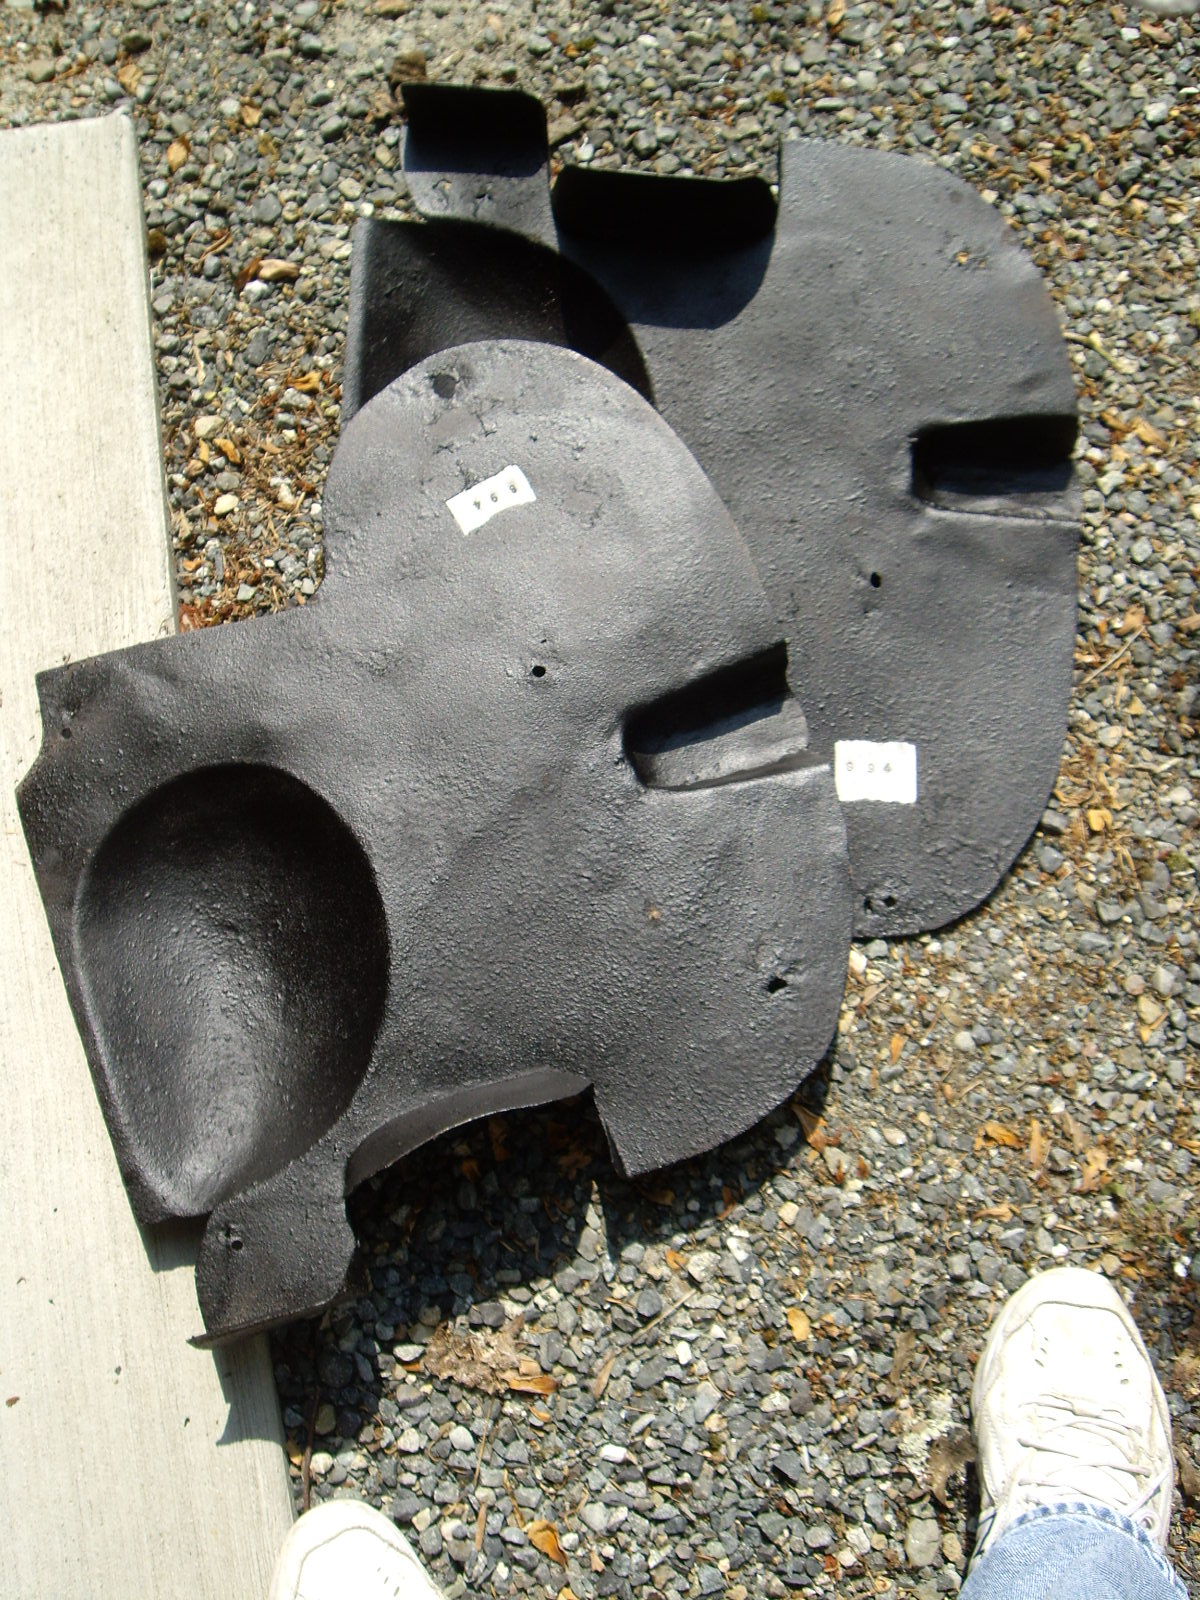
Now that everything fits correctly, I'll sand blast the panels to remove any remaining corrosion and then undercoat them. The last step will be to glue on the rubber edging where the panel fits against the inside of the fender.
I had to do some sand blasting on other items today, so I took the time to do the splash panels too. Once done, I undercoated them to protect against corrosion and rock chips.
 |
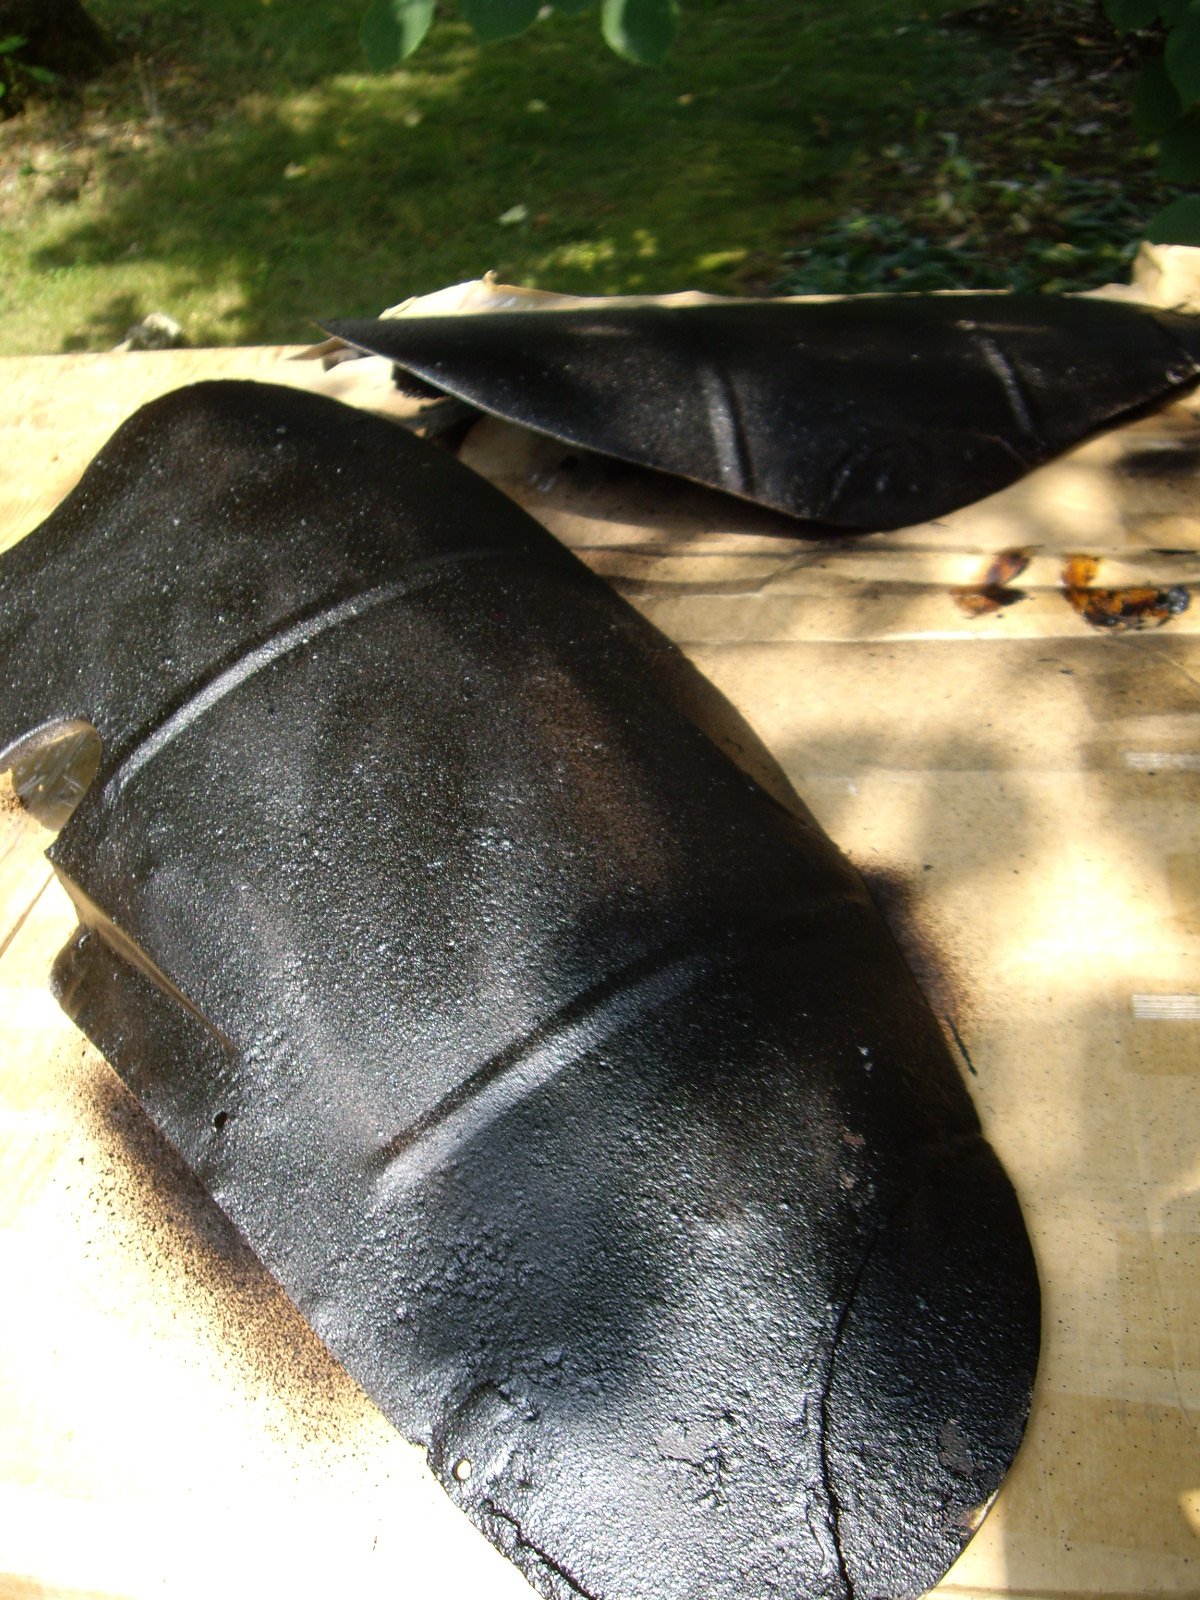 |
Now I just have to glue on the rubber sealing strips where needed and they will be ready to go on the car.