Sunroof
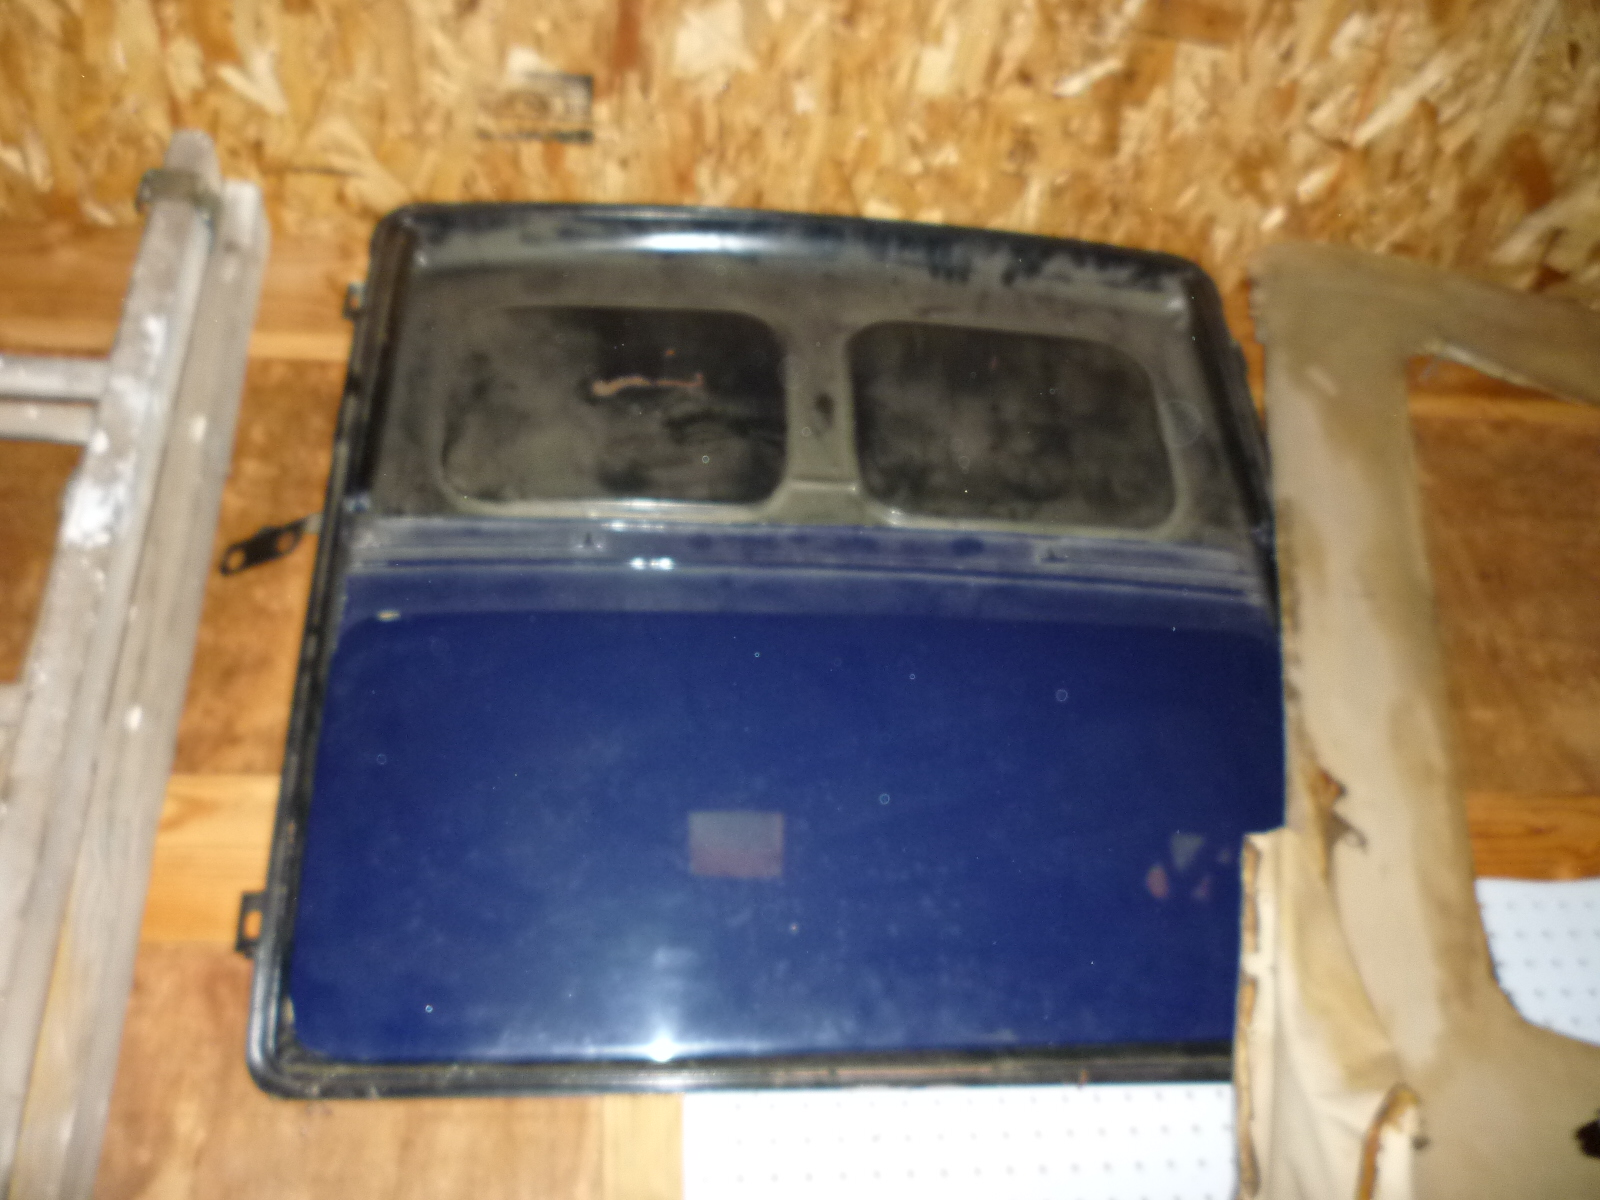
This car is unusual in that it has a sunroof. It is a sliding steel sunroof that can be locked in any position.
Unlike today's sunroofs, where the panel (usually glass) is sealed to the roof when closed, this sunroof has a waterproof tub that fits under it with drains at each of the four corners to carry away any water.
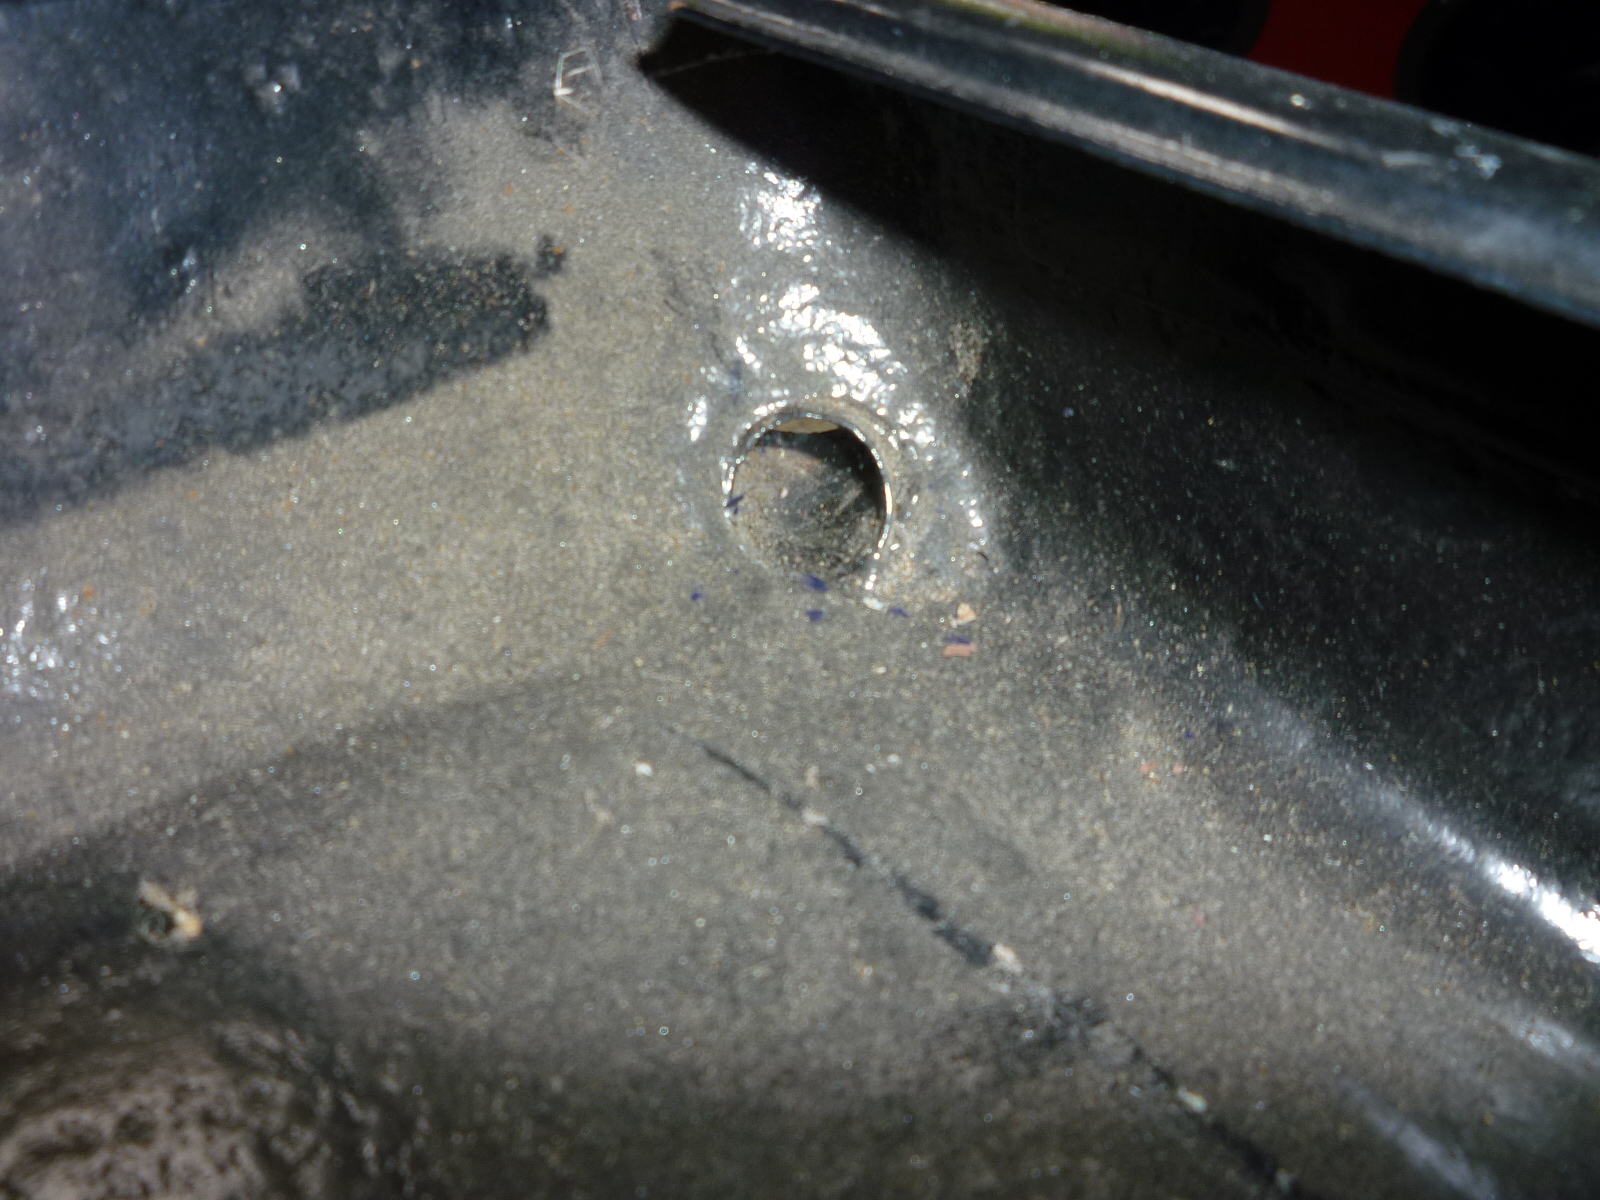
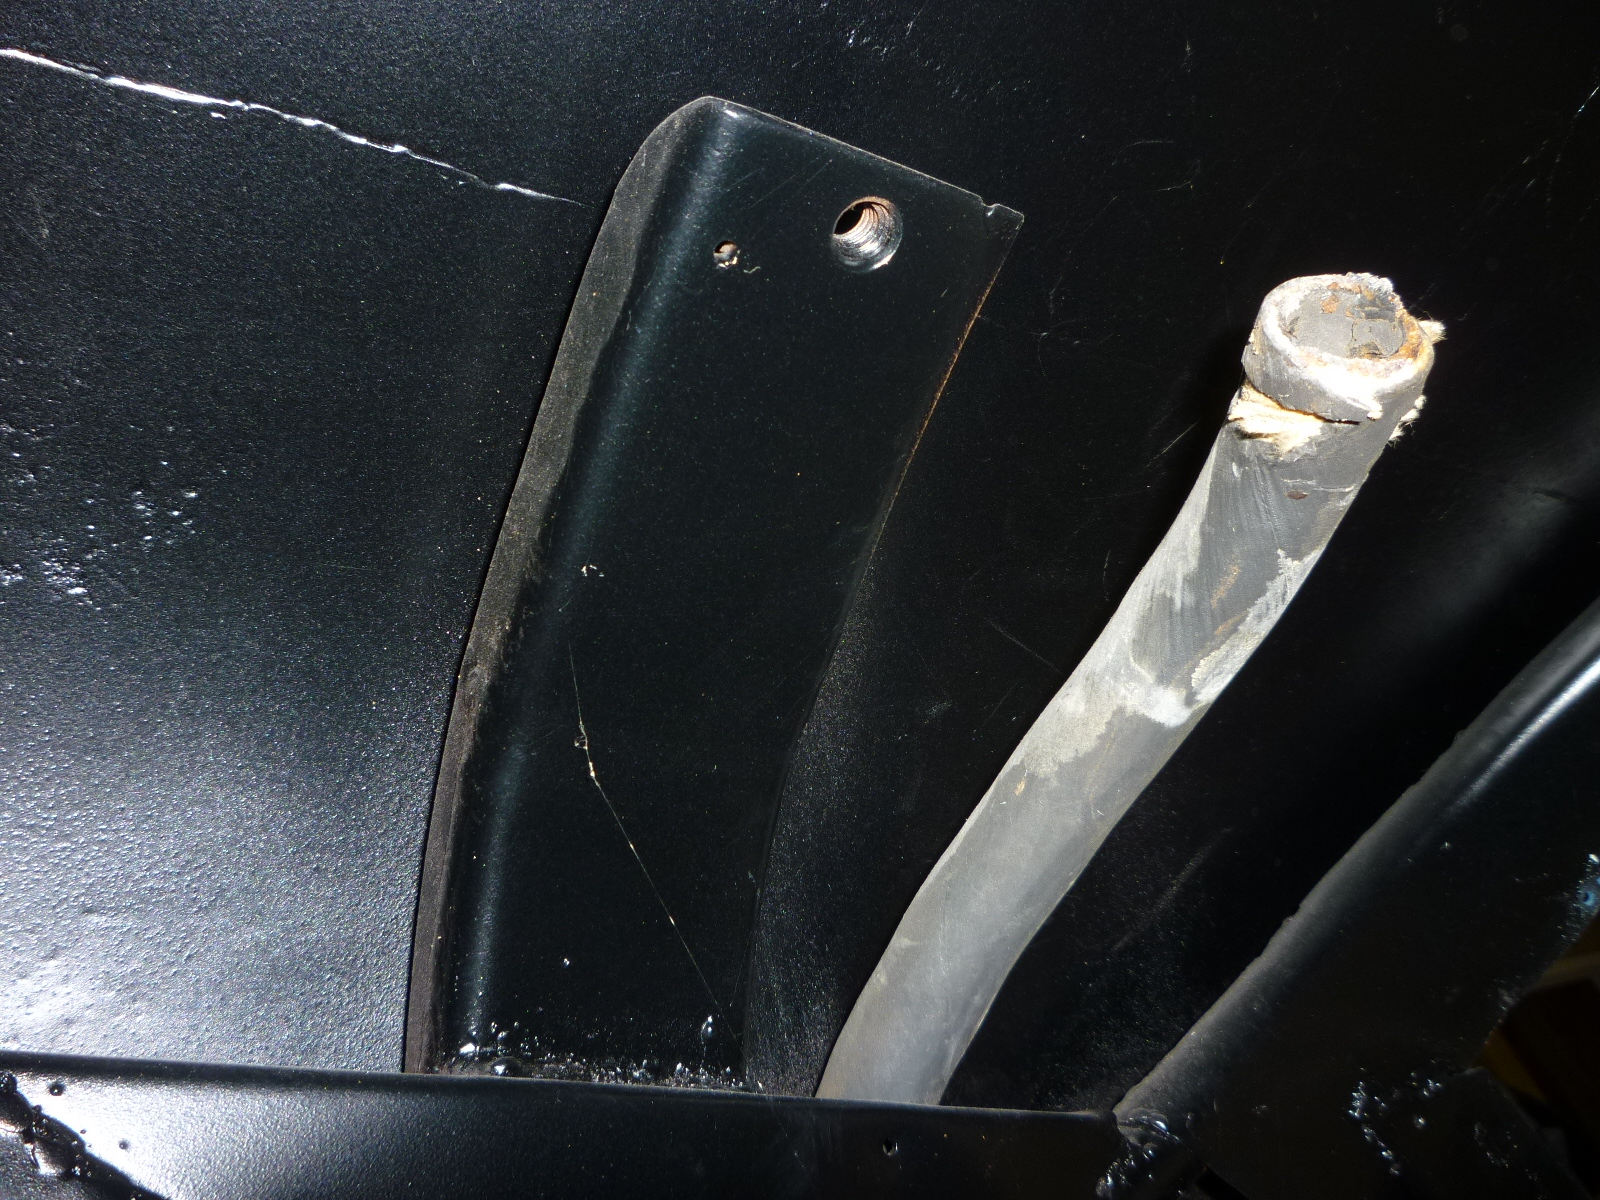
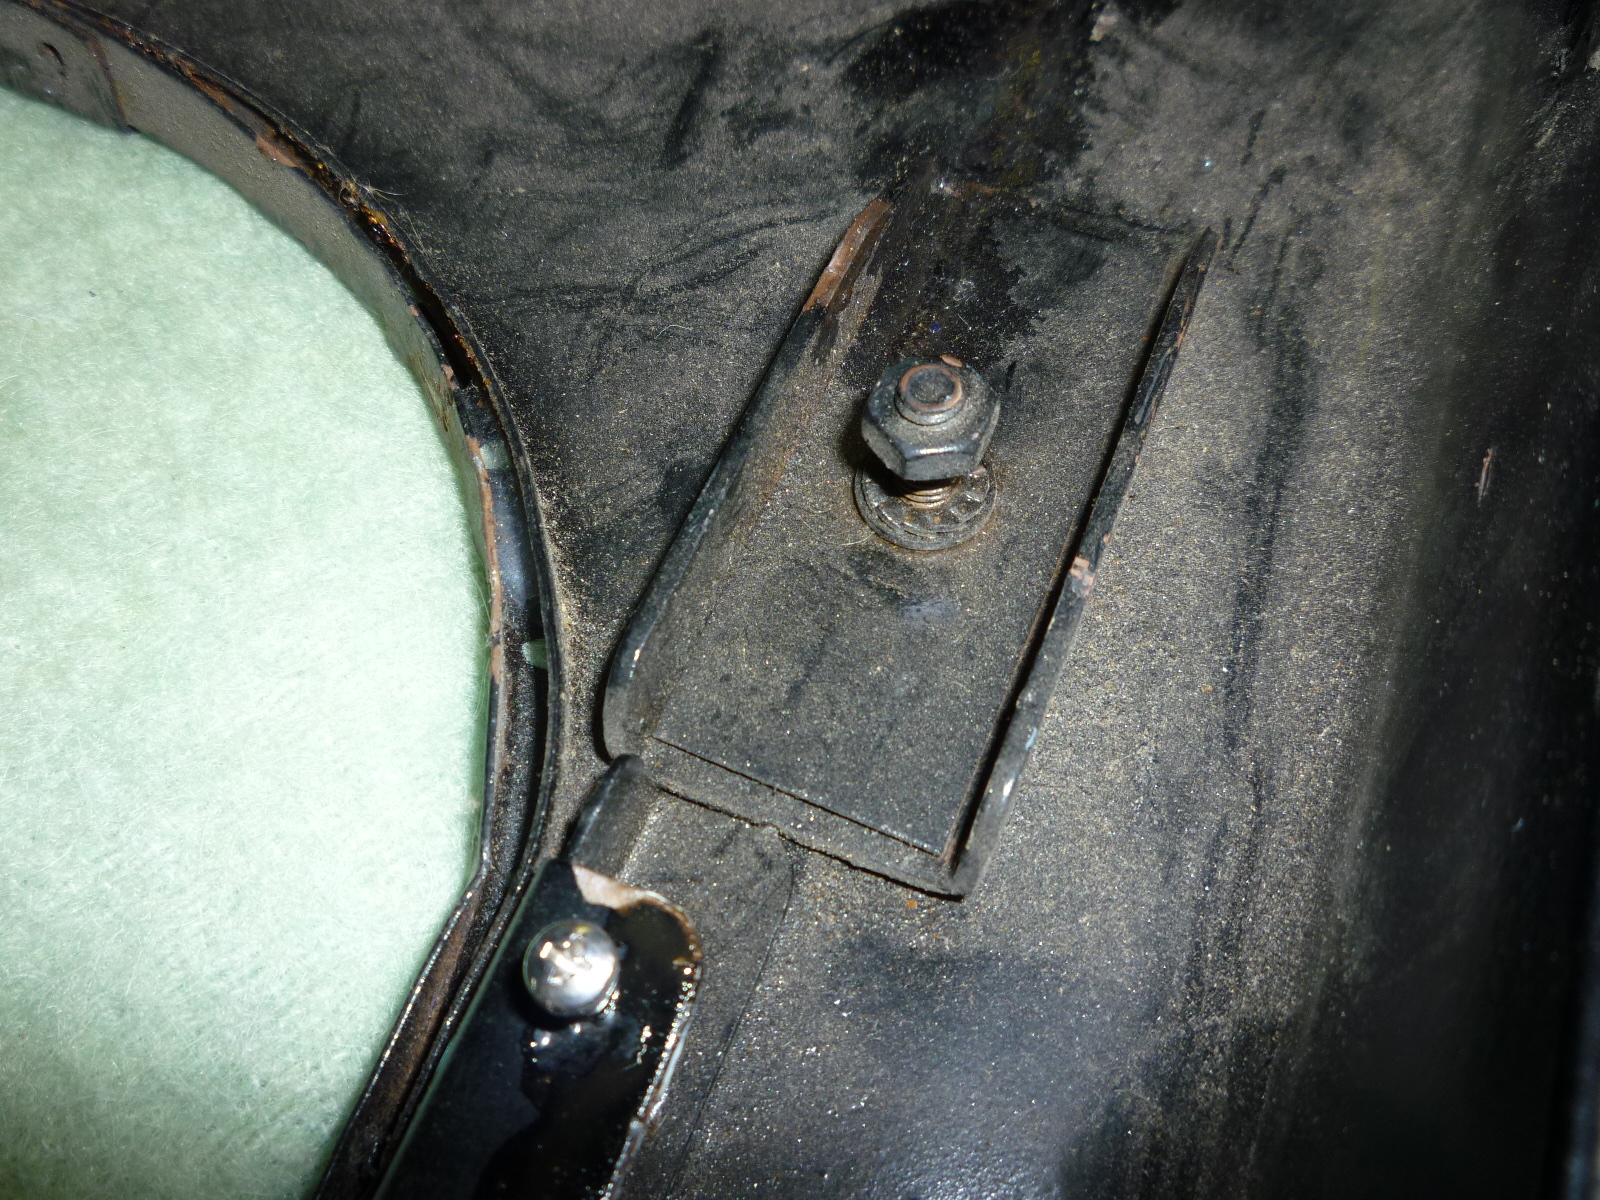
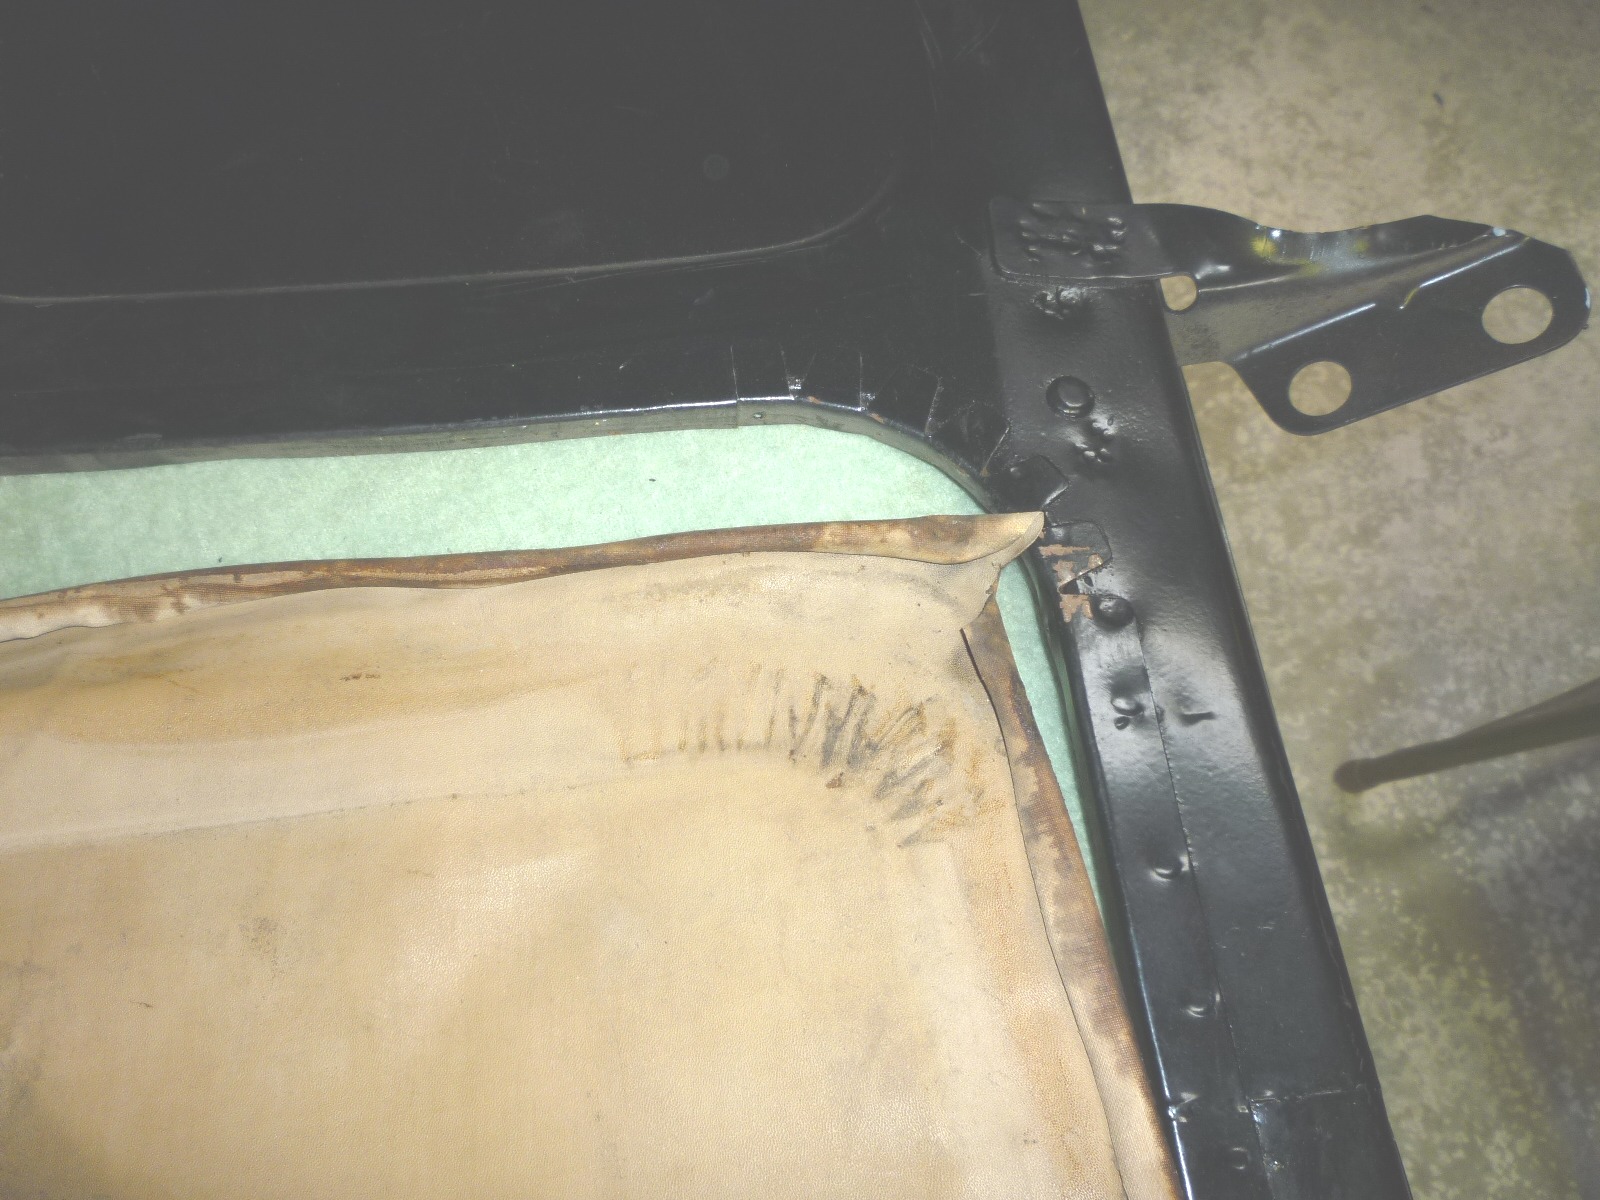
The sunroof itself is mounted in this tub and then the tub is attached to the underside of the roof on six welded in brackets. Here you can see one of the brackets and a drain hose.
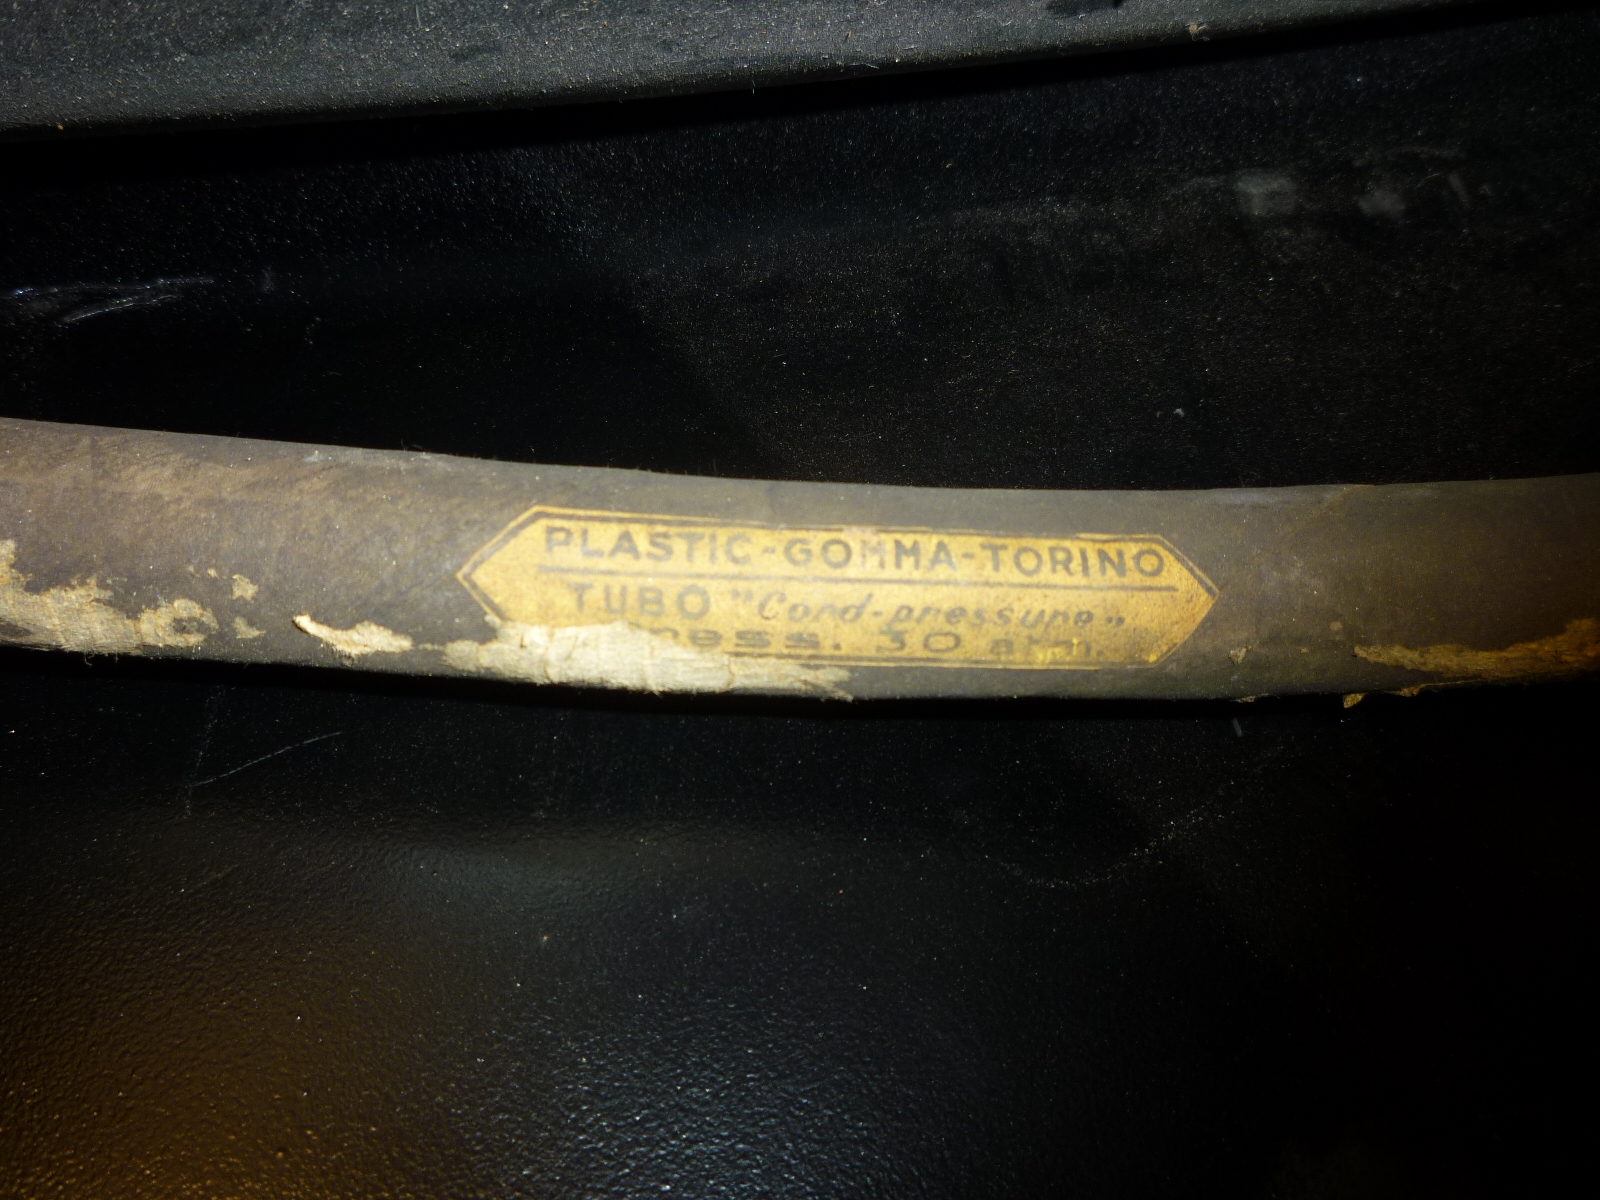
The drains are attached to the pan under the sunroof and two of these go down the C pillar into the trunk. As you can see, these are original and were made in Torino (Turin).
What I think in interesting is that the two front drains go over the wheel wells and into the trunk. The two rear drains go down ahead of the wheel well and end up behind the dogleg panel. None of them drain to the outside of the body now. Probably the holes where the hoses used to stick through got 'fixed' when the rusty areas were taken care of by the previous owner. I don't see any reason to not put a Y junction in and have both hoses from each side go into one and then on into the trunk. It will be much easier to check that the hoses are in place or clean them with them in the trunk.
I had fit the sunroof to the tub quite a while ago for safer storage. This way, I could just hang everything high up on a wall out of the way.
Once I got it down, I started remembering some of the issues. First, it seemed like the roof was going to scrape on the channel in the tub as it was opened. However, once I greased and oiled all of the wheels, locks and channels, there was enough clearance, though only about 1/8". As I was understanding how it worked, the sunroof kept going too far back with the rear springs and rollers going beyond the channel. It was a pain to get things back in place. So temporarily, I put a C-clamp at the rear to temporarily keep that from happening.
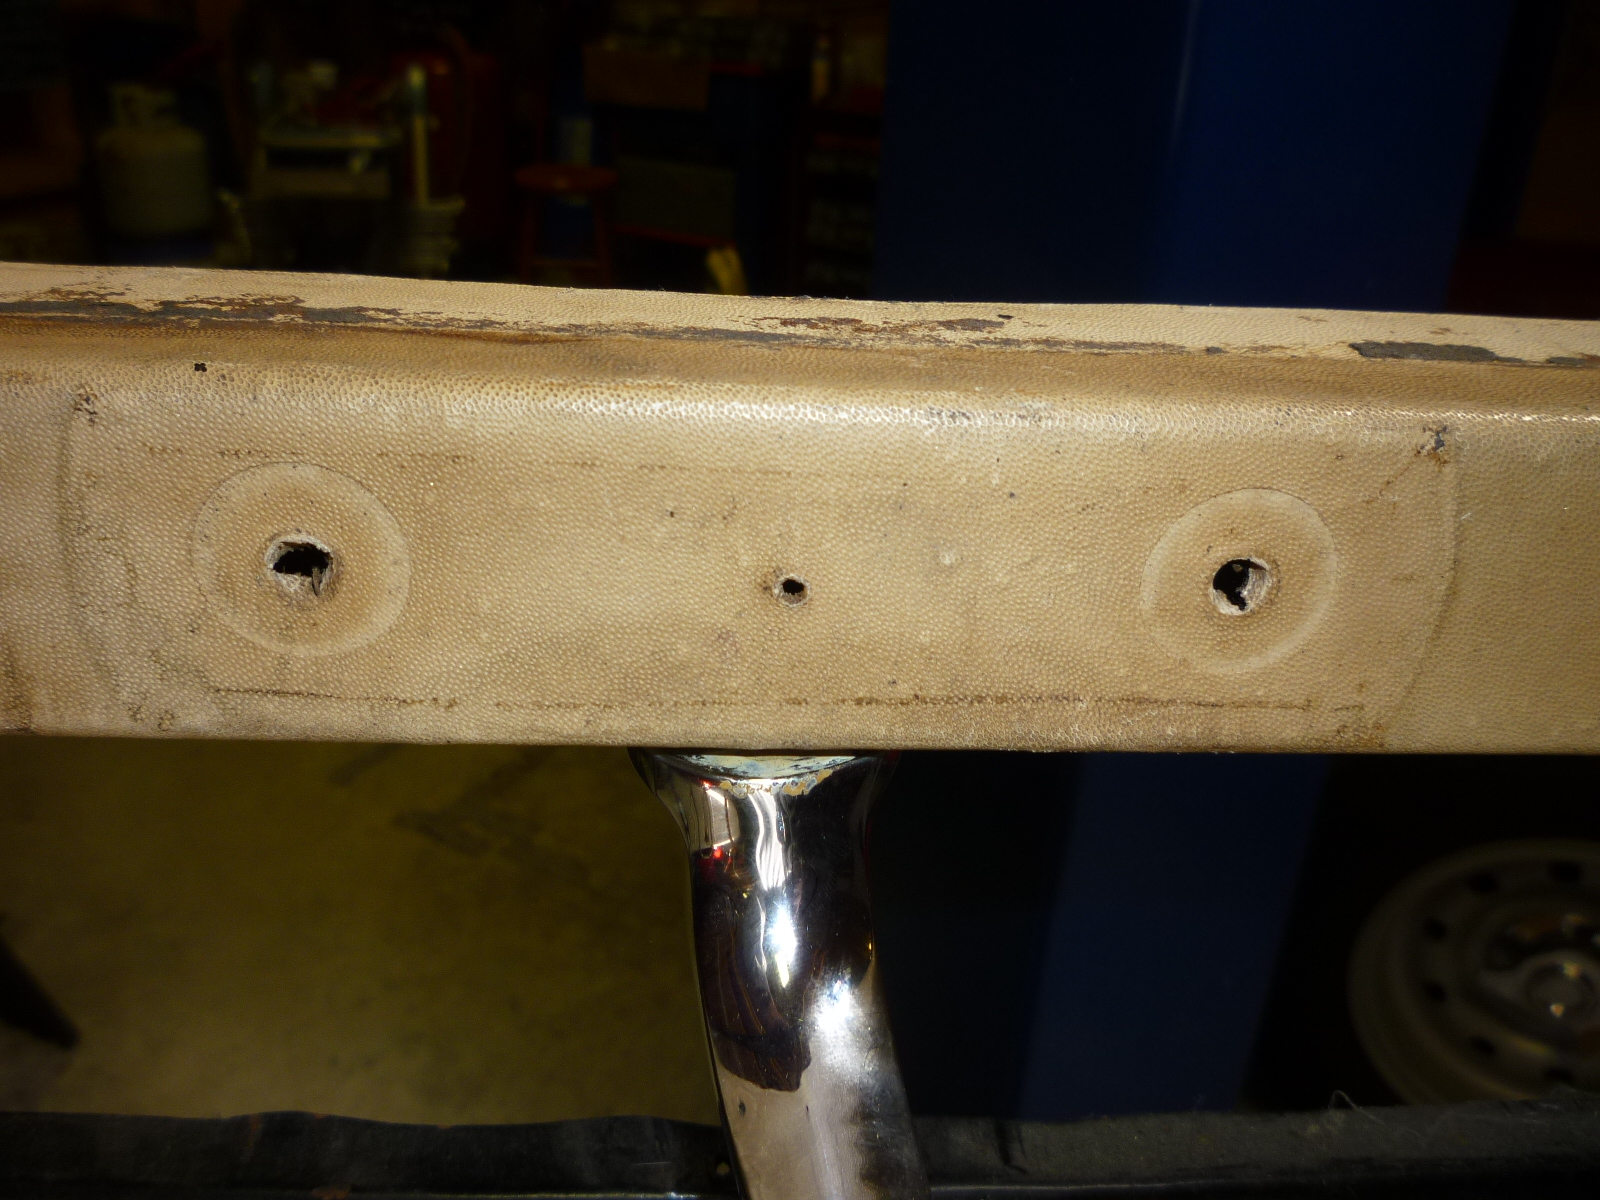
After playing with the mechanism for a while, I notice 4 little holes in the channel, near the front and rear of the sunroof location when it was closed. These were threaded for 3mm screws, so I figured out that these were the stops. The locking mechanism would hit these at the front and rear to prevent further travel.
The next puzzle was that there was a stud with a washer and nut in kind of a bracket that had a thin piece of steel in it. I finally figured out that this area was where the rear rollers end up when the sunroof is closed. The sunroof slides up as it goes to the forward so the front ends up flush with the roof. When at the end of the forward travel, the rear rollers go onto the bracket and force the rear of the sunroof up into the roof opening so it ends up flush too. You adjust the height by changing the number of shims in the bracket. You can also see one of the stop screws at the bottom of the picture.
I am hoping that I won't have to to any height adjusting as you have to install and adjust the tub so the sunroof fits in the roof opening. Next figure out how much the rear of the sunroof needs adjusting. Then take everything off the car, remove the sunroof from the tub and change the number of shims, put everything back together and repeat as necessary.
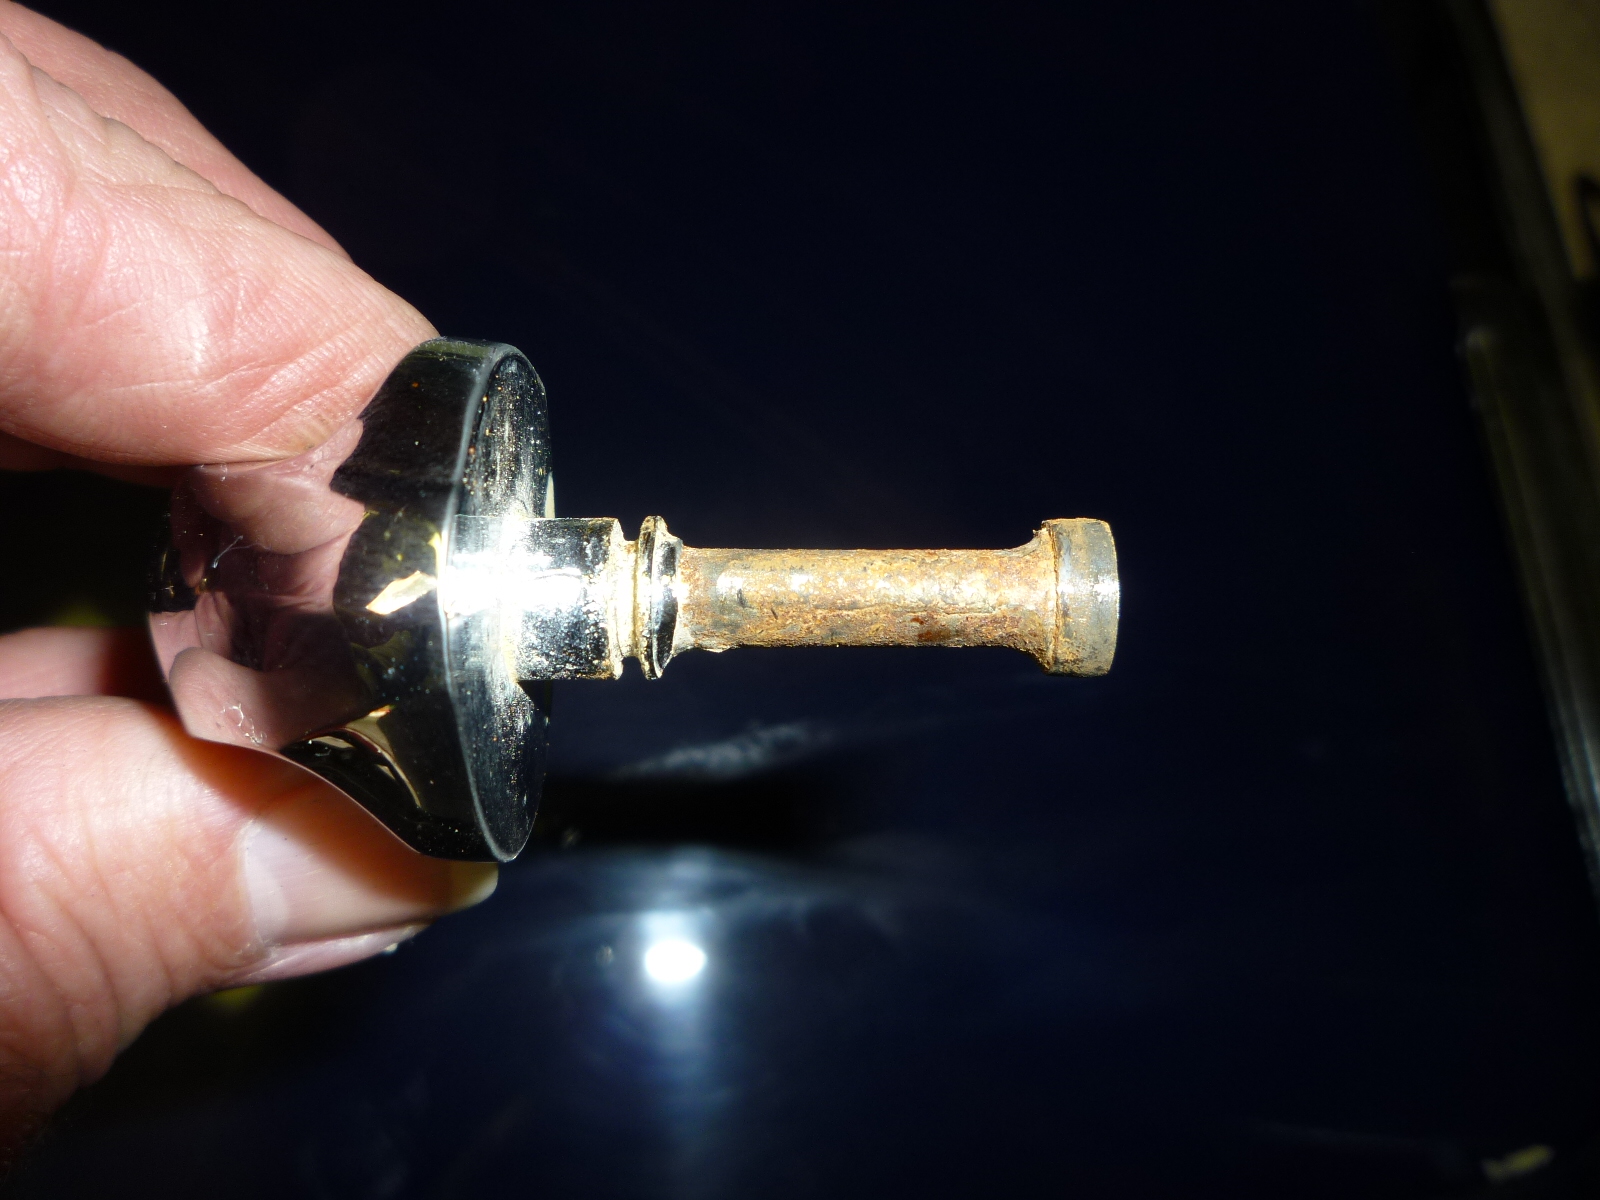
The locking mechanism is interesting. There is a bar that goes from one side of the sunroof to the other. At each end are L shaped pieces that hook under the track. Small rods from each L shaped piece to the the center and fit into a couple of brackets. The rods are threaded on the inner ends for adjustment.
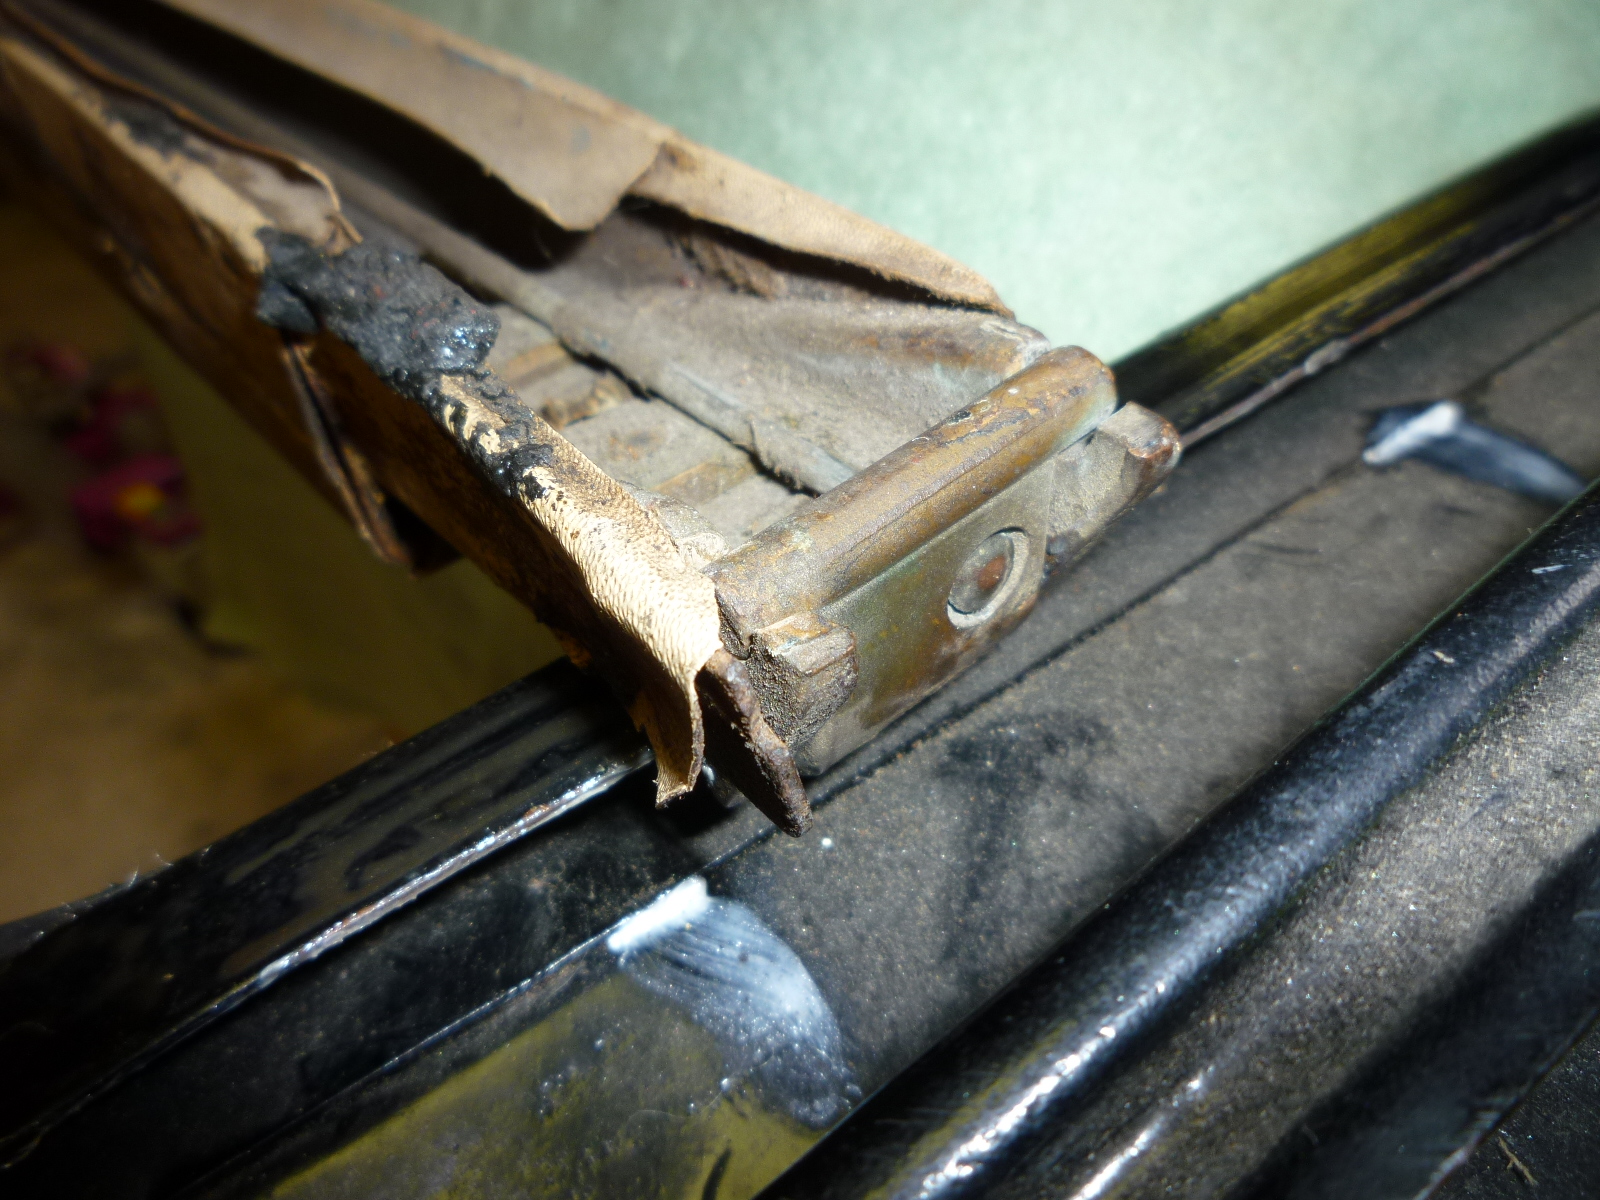
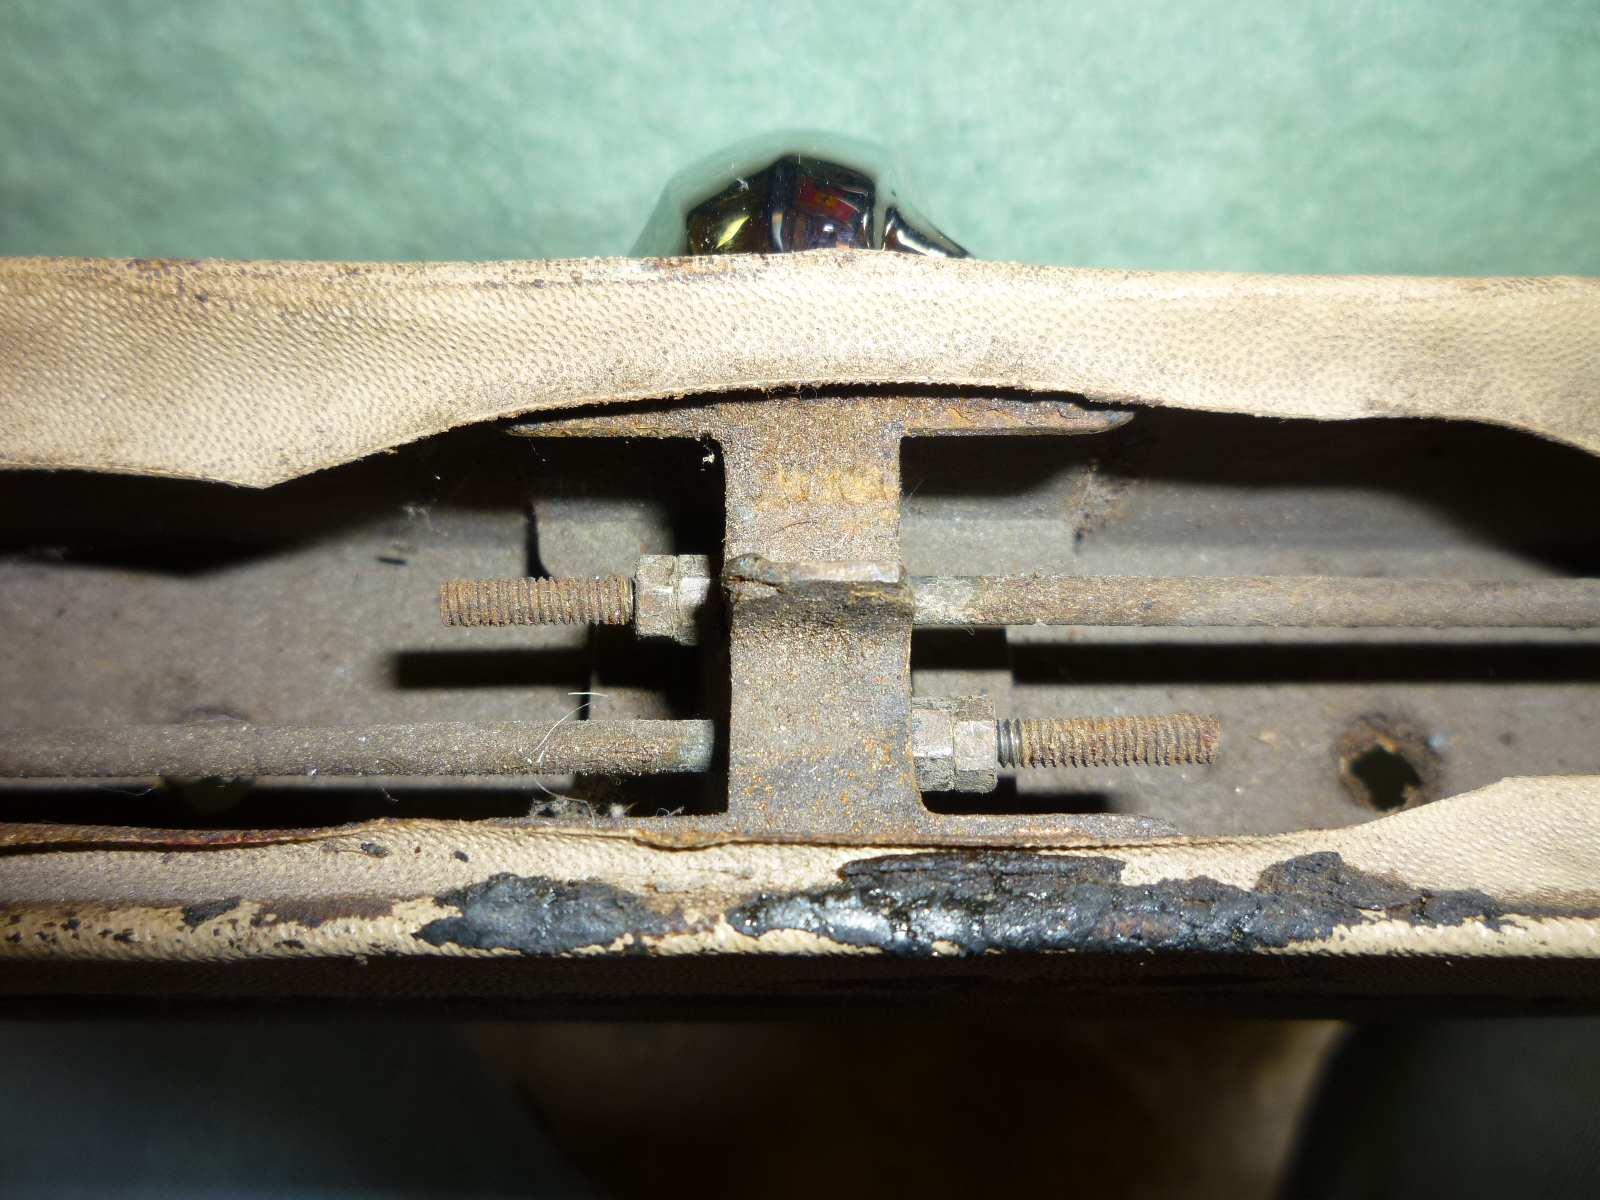
The locking lever has a shaft that has been machined into an oval. When the narrow side of the oval is vertical, the brackets and the end pieces are loose so the bar (and the sunroof bolted to it) can slide back in forth. At a quarter turn, the wide side of the oval tightens the brackets, rods and end pieces to lock the bar and sunroof in place. You can see the gap in the brackets and the narrow portion of the lever that fits in between the brackets.
The inside trim for the sunroof has me puzzled.
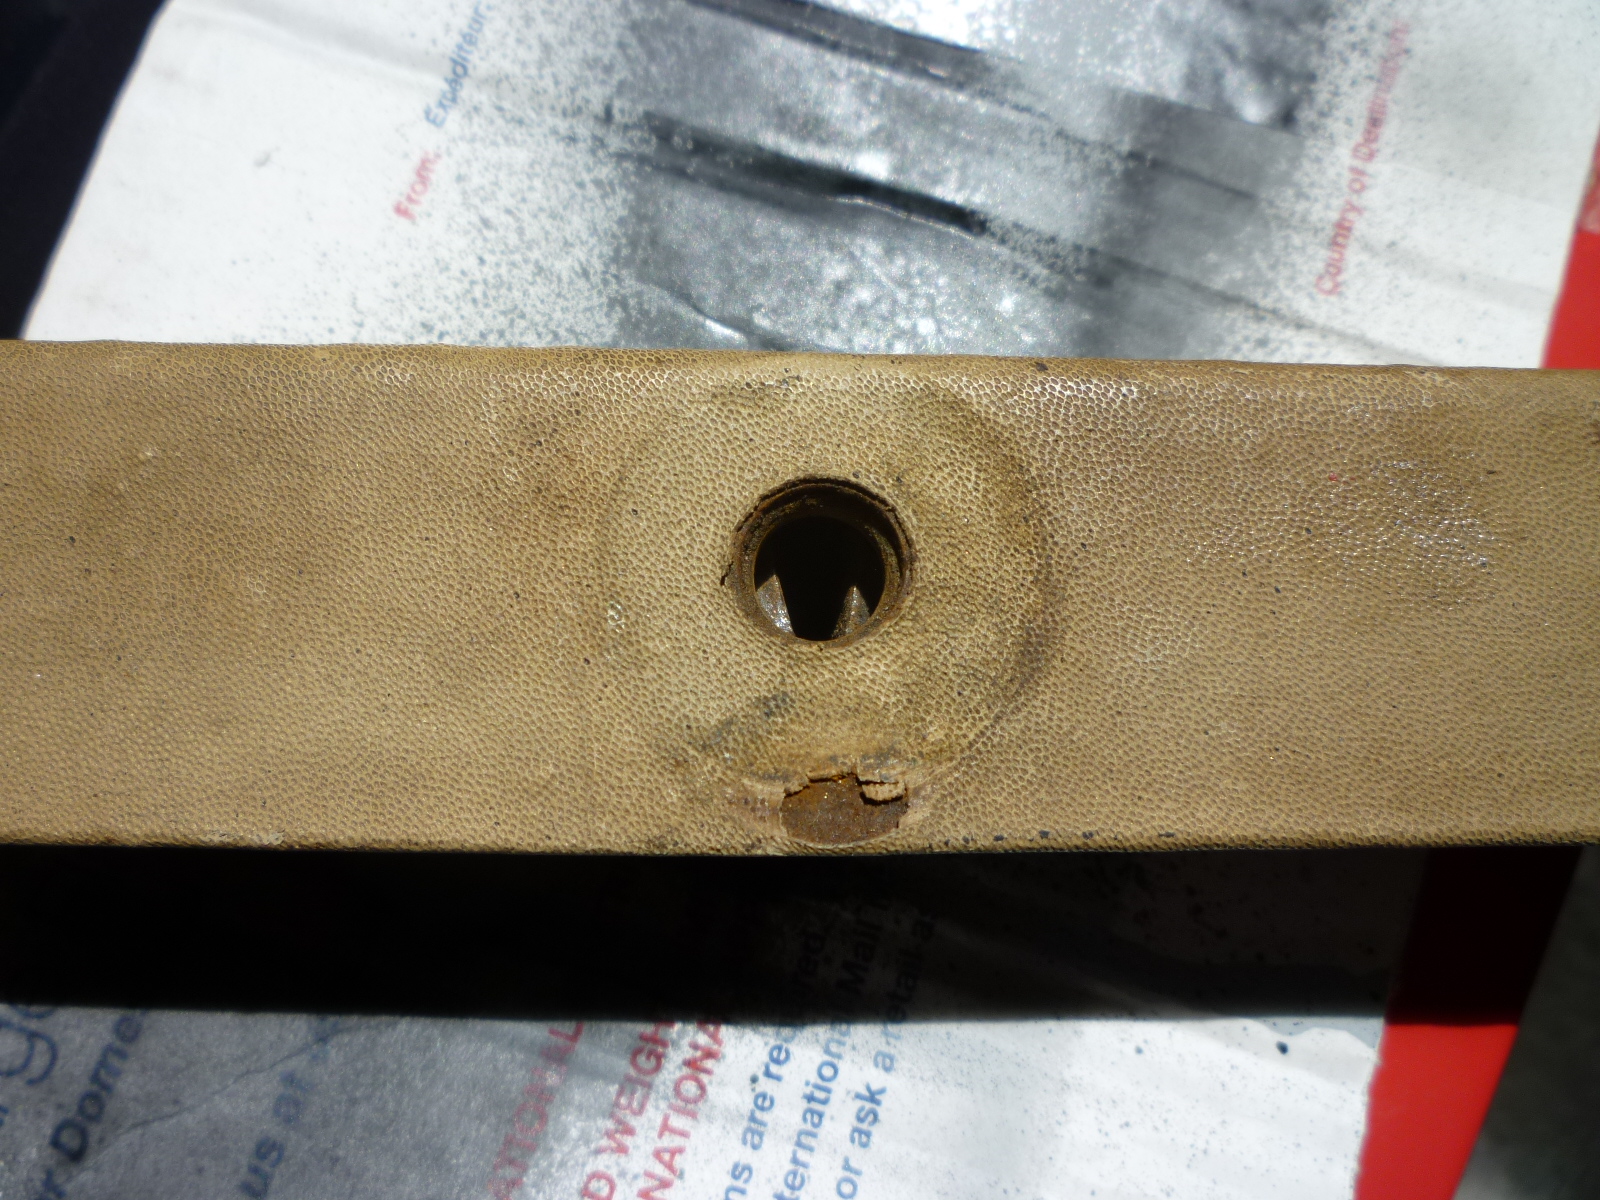
First, the locking bar shows an indentation for a flat piece the width of the bar with rounded ends. I haven't seen any part like that in all of the boxes I have. The big holes are for bolts that hold the bar to the sunroof. Presumably the smaller hole holds whatever is missing to the bar. However, one can see the washer imprint from the bolts, so perhaps the missing piece is just trim that covers the bolts?
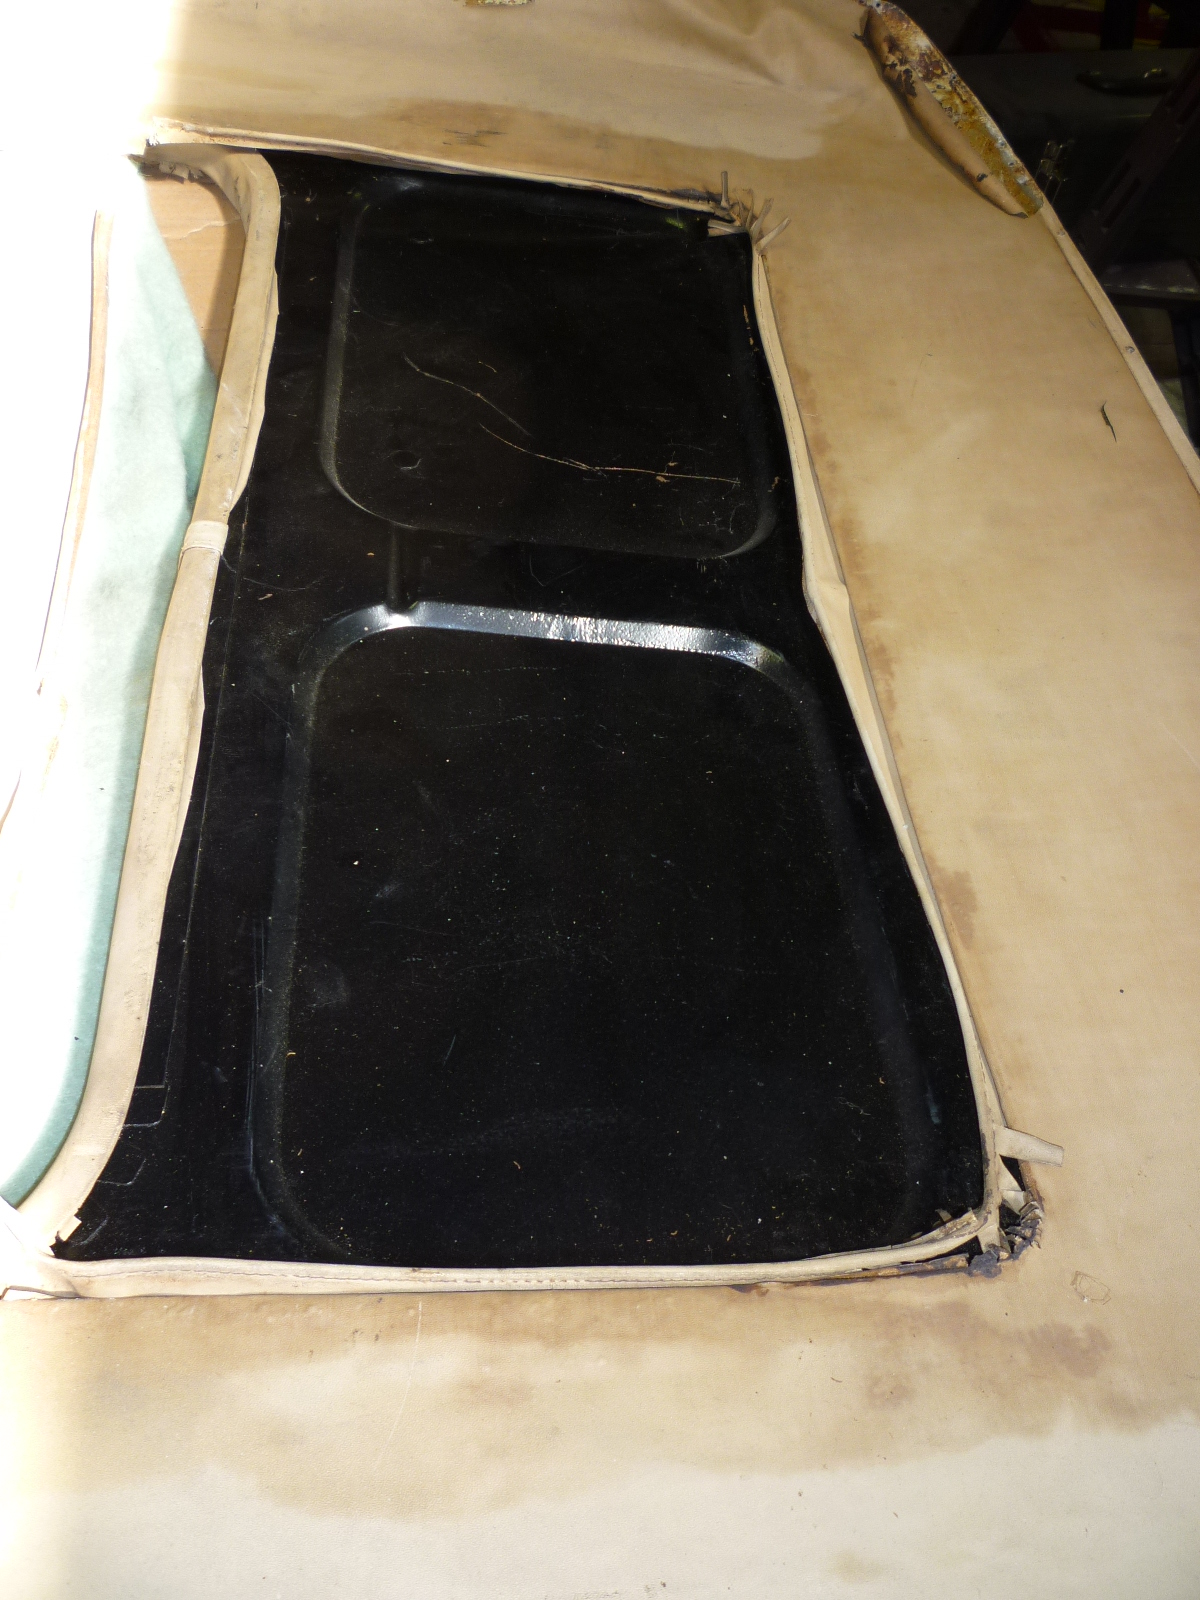
There is a trim piece that fits the opening in the tub, but the the headliner panel has a much bigger opening.
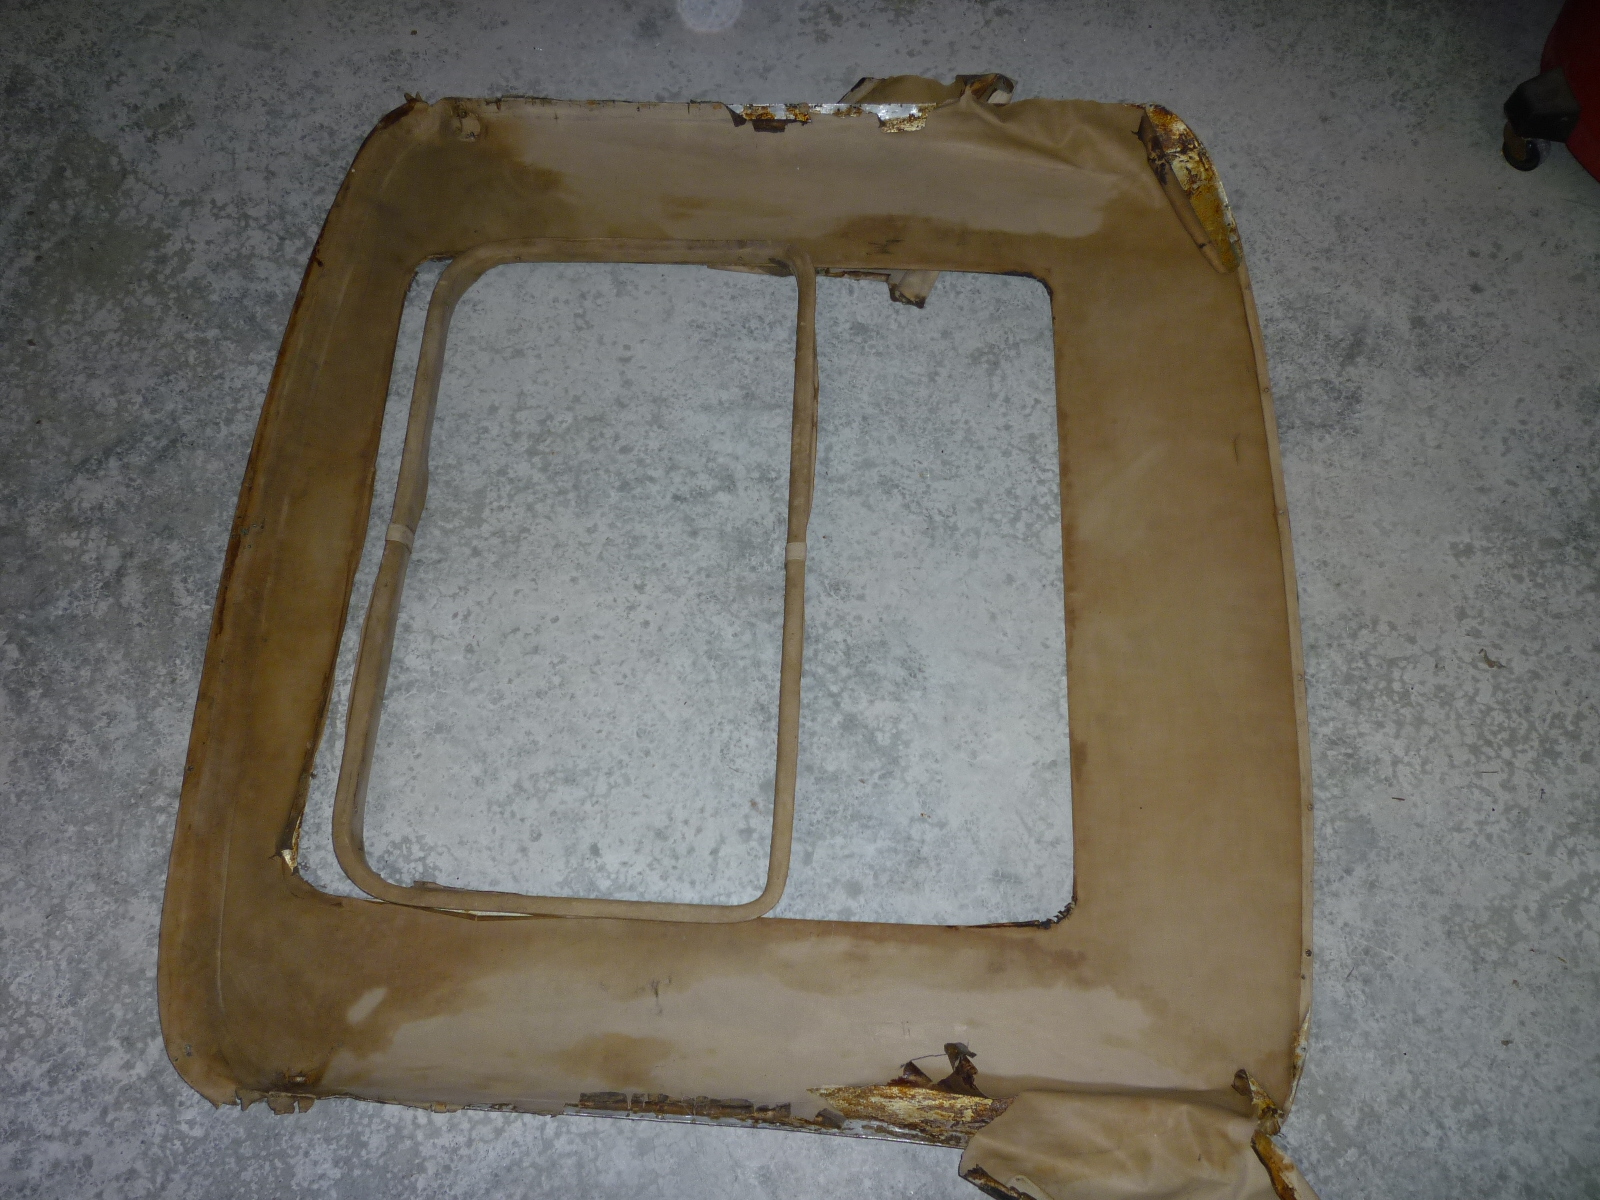
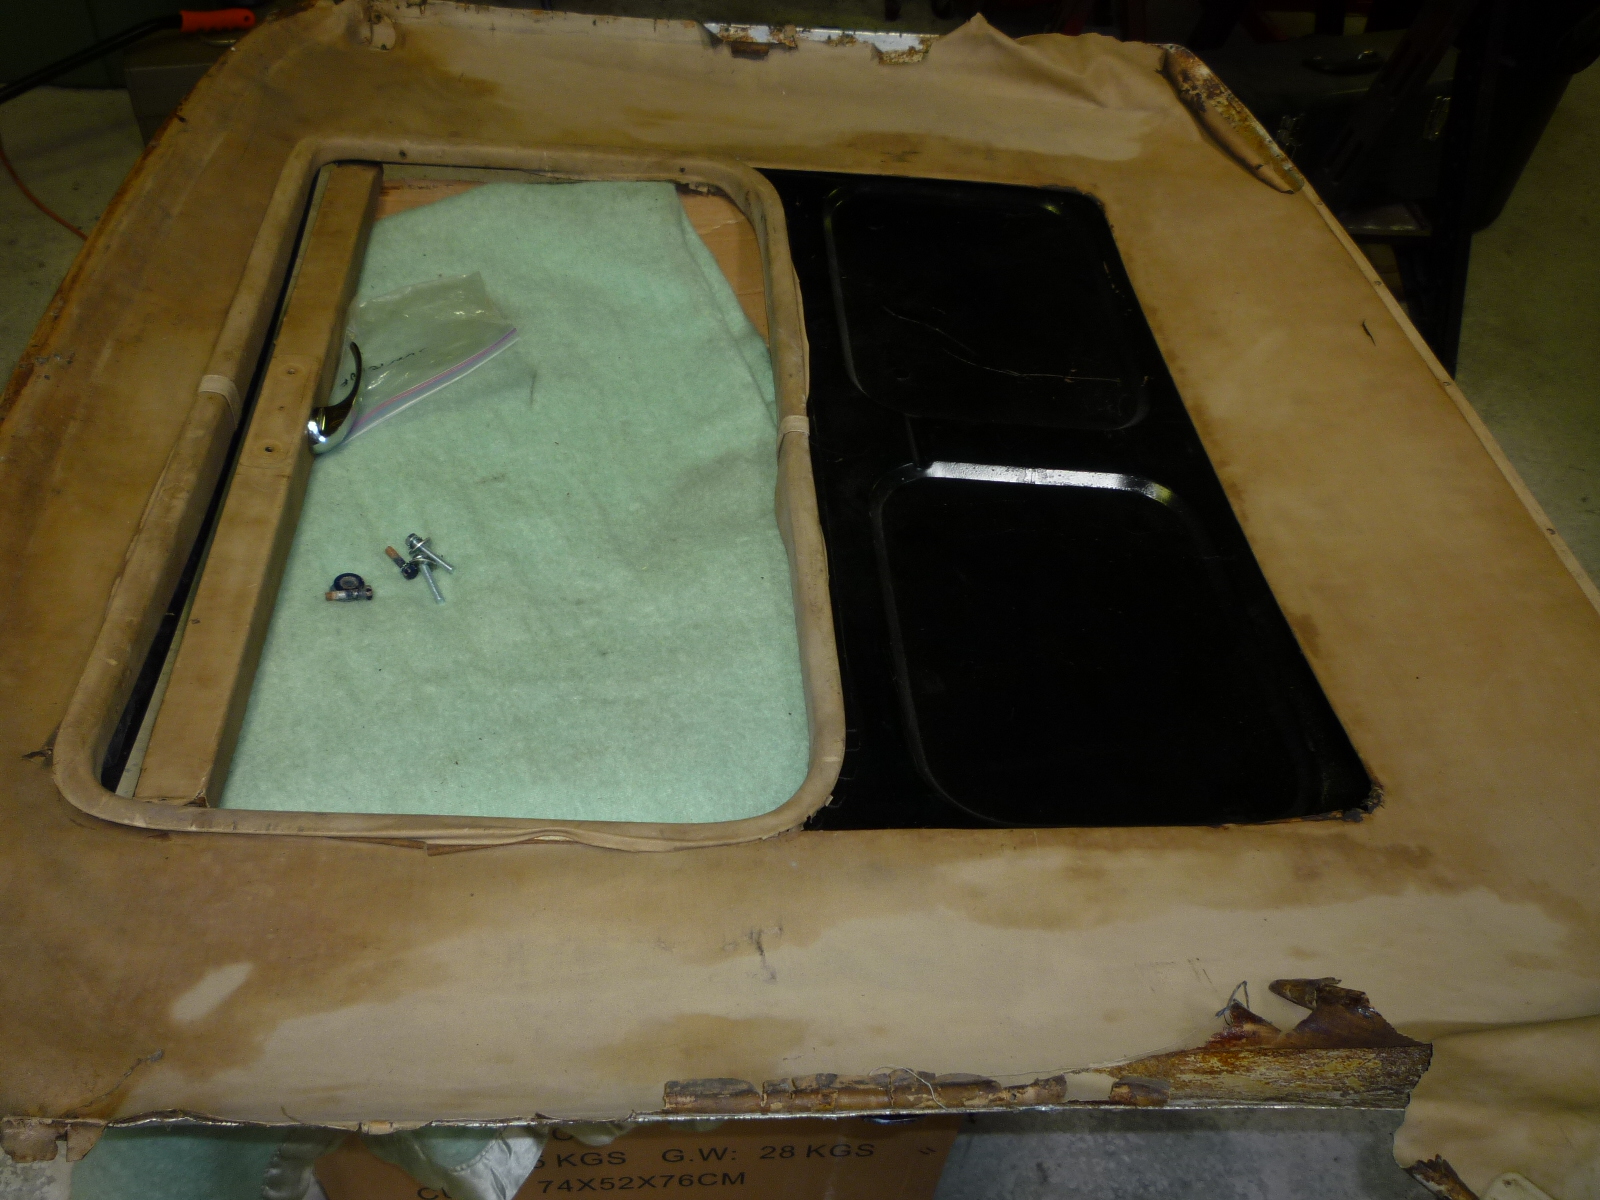
Here you can see the headliner panel placed on the underside of the tub. The right picture shows some welting that fits around the rest of the opening. The dark area is the underside of the tub. Perhaps some headliner was just glued directly to the tub in that area? The only reason might be to keep as much headroom as possible.
 |
 |
The one extra piece of headliner shows marks that it was on the underside of the sunroof. You can see the dark marks at the corners which match the metal pieces on the top side of the tub where they would rest together.
So, some more things to figure out. Since I know of no other PF coupe with a sunroof, I'll have to do it on my own, no cheating by looking at another car!
After looking at the extra piece of headliner, I figured out that it wasn't for the underside of the sliding part, but instead covered the underside of the tub. The marks at the corners were made by the welting corners, not the metal fingers.
I bolted the sunroof assembly into the coupe roof. It fit in fine, but I need to do a lot of adjusting for the height so it fits flush with the roof. In particular, I'll need to bend the mounting brackets so the sunroof sits higher. But here is how it fits now.
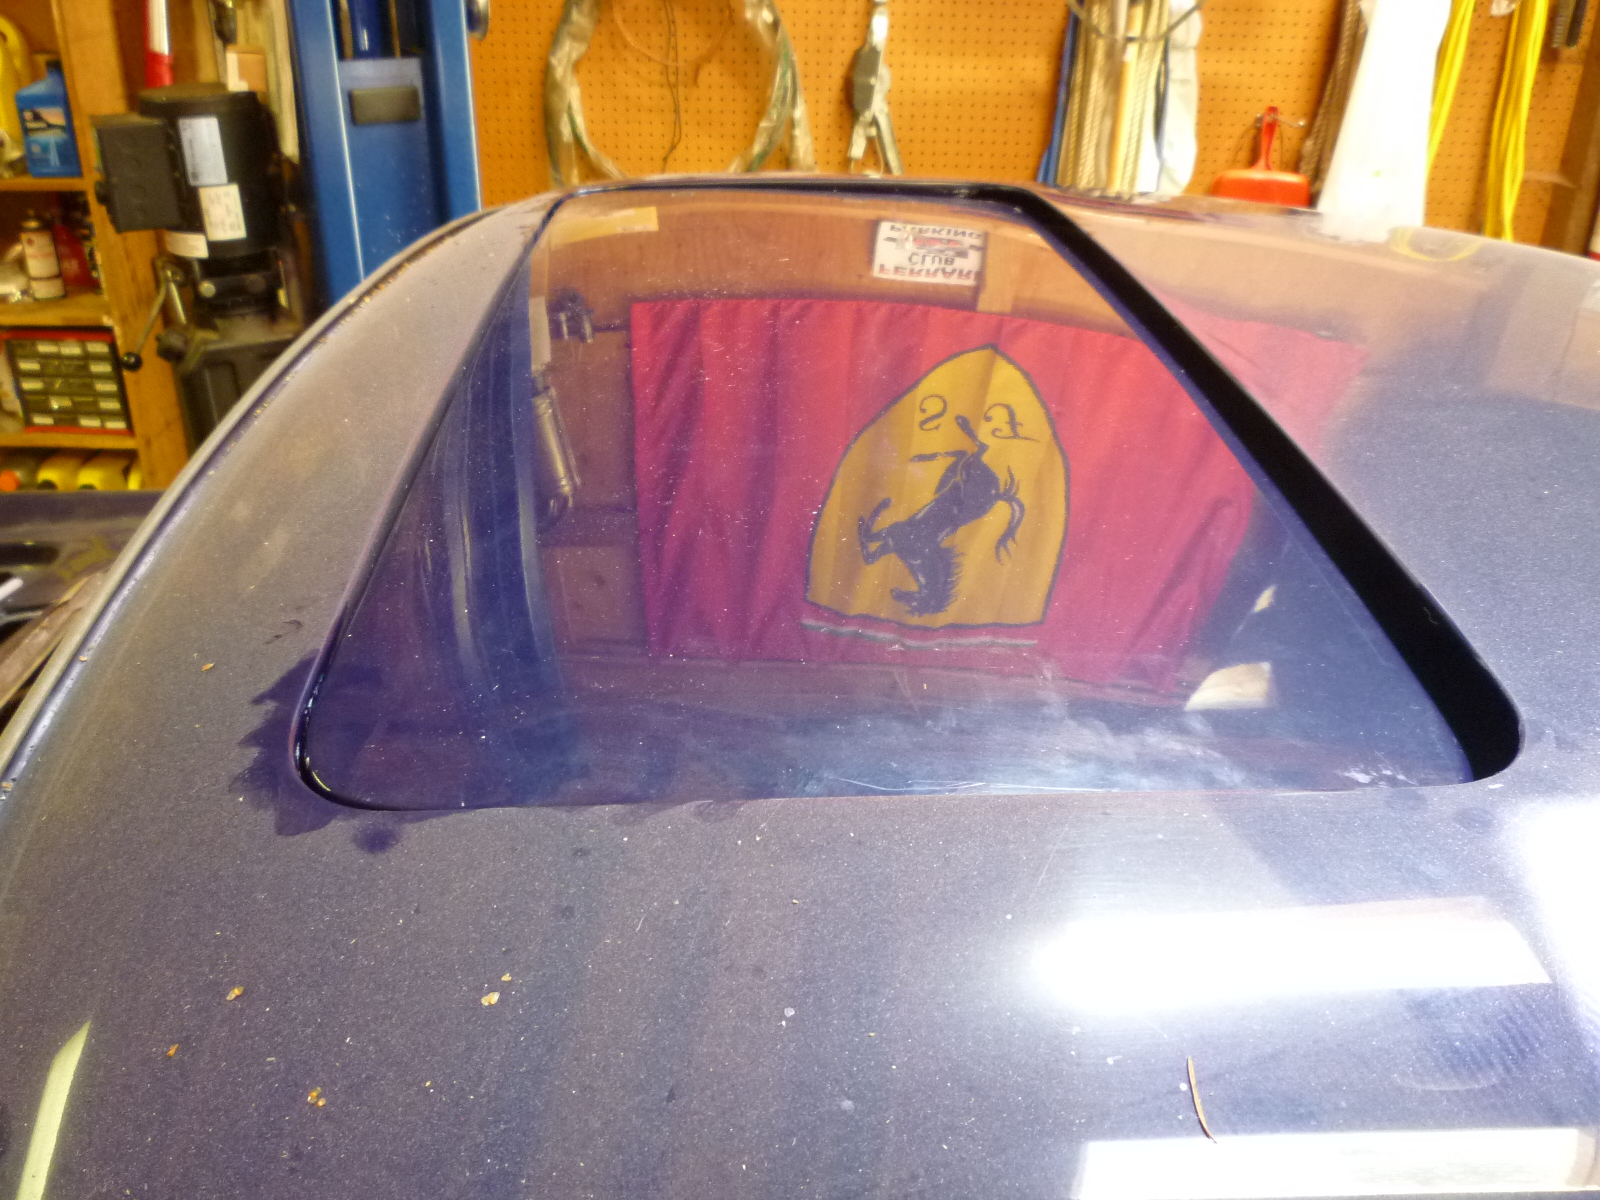
As you can see, the front is close, but the back needs to go up about 1/2 inch.