Heater Controls
The heat/defrost lever on the driver's side wouldn't work properly. When you tried to slide it forward, it just moved halfway and jammed. I could move the passenger side and hear the flaps open and close properly. On the driver's side, there was no sound except for the movement of the wire.
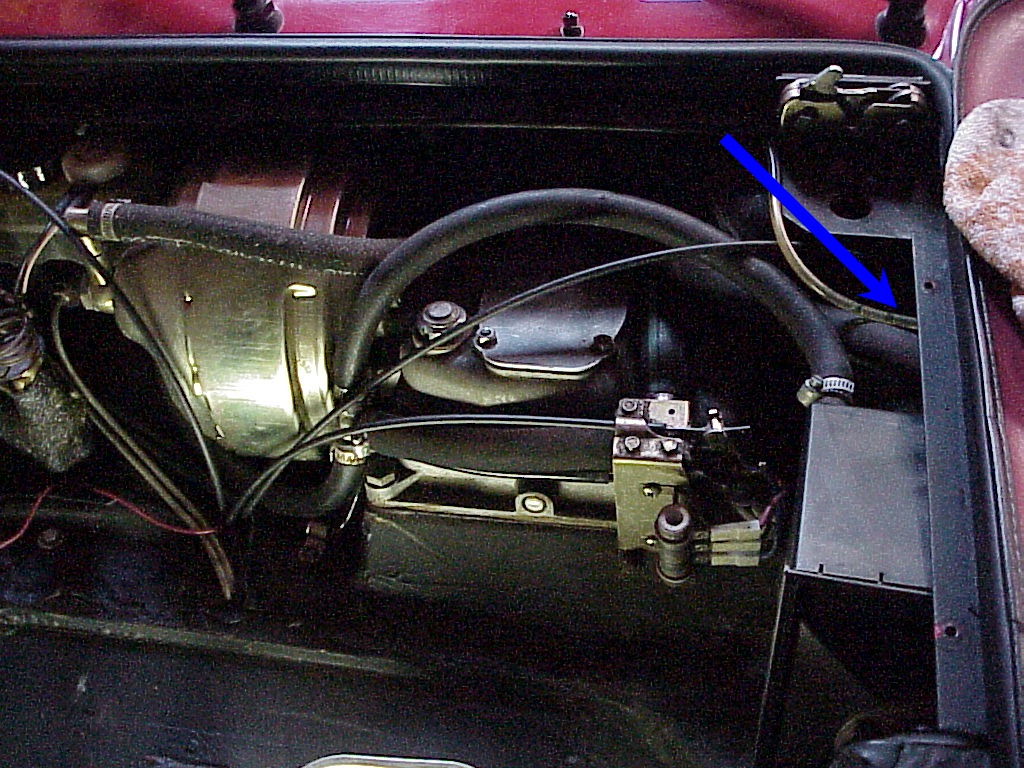
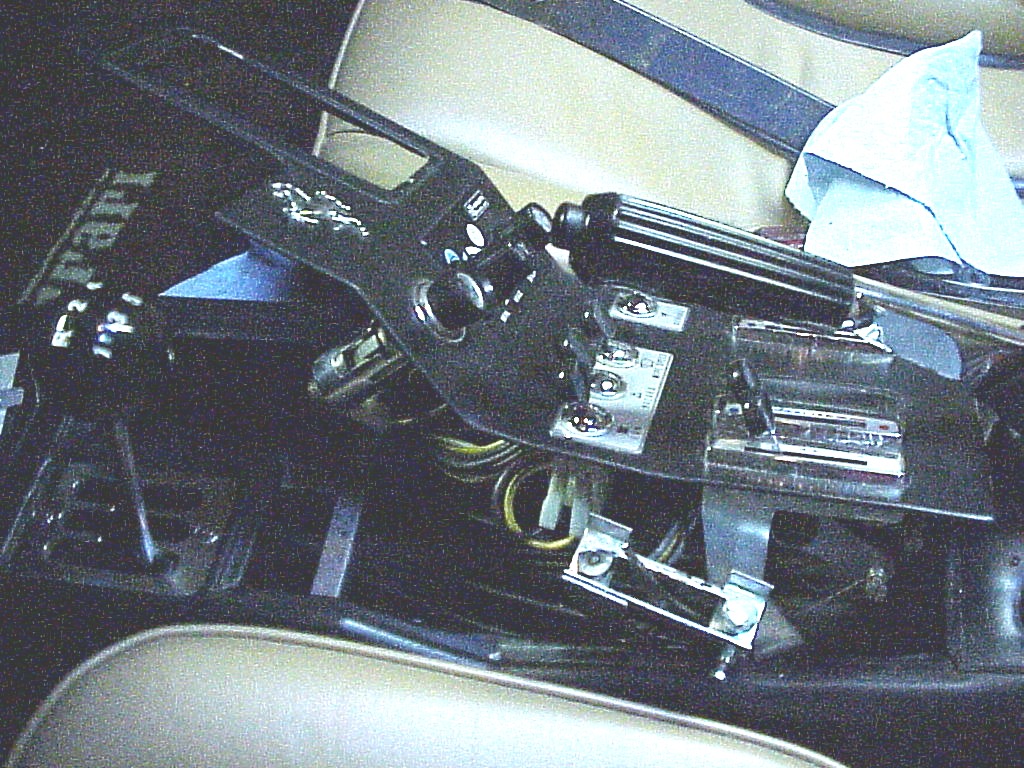
My first problem was to find where the end of the control terminated. I wasn't sure if the control box was under the dash or ahead of the firewall in the front compartment. After looking at the parts book and some diagrams in the owner's manual, I decided that it had to be in the front compartment. To get at the area requires removal of the windshield washer tank, then the spare tire and finally the plastic tub that the spare tire sits in. Once that is removed, then the air duct hoses, heater box and air control box are accessible. Well, accessible is a relative term on the 308. At least I could see the end of the cable and realized that the sheath had slipped loose from its clamp. This would let the lever move a little bit and then jamb. But nothing was actually happening since the whole cable, sheath and all was moving instead of the cable moving inside of the sheath. The arrow points to the general location of the end of the cable.
I had to remove the air hose from the front of the heater box, then the heater box cover and move the heater box a few inches forward to get access to the clamp. Once that was done it was straight forward to loosen the clamp, re-insert the sheath, adjust the cable and tighten the clamp.
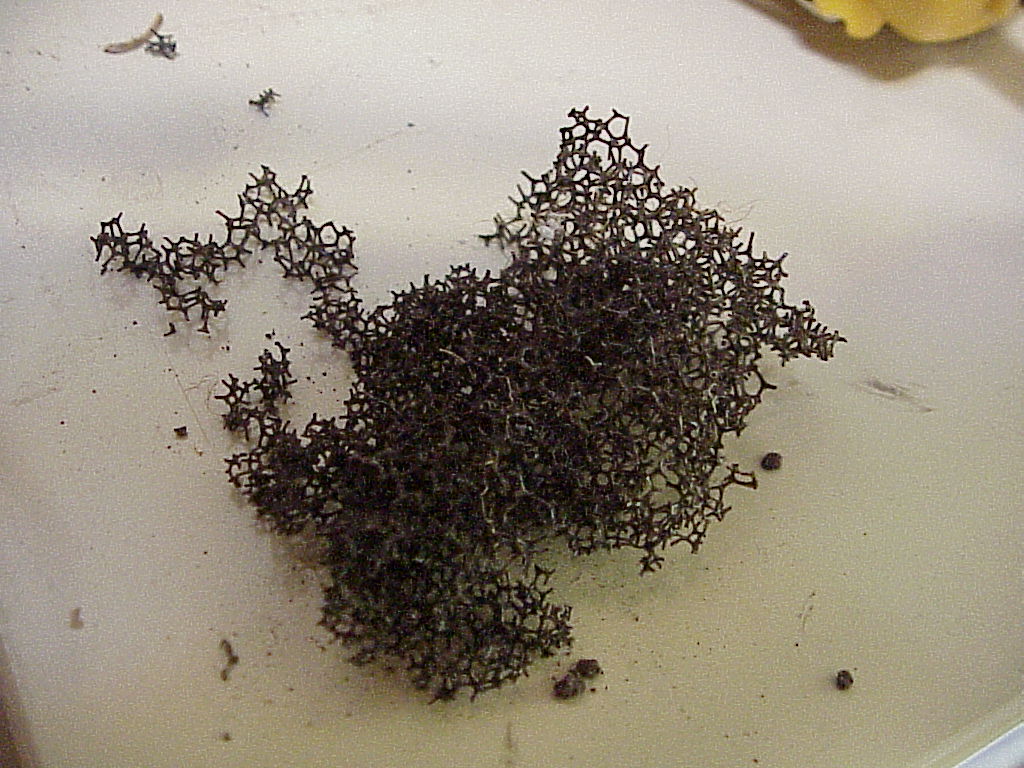
After removing the front of the heater box, I noticed some foam bits and some general crud in the bottom. I vacuumed that all out and then took a look at the parts book. It seems that there is a foam filter in front of the heater core, probably to prevent crud from getting stuck in the fins. What was left of the filter just fell apart as I vacuumed. So I found some 1/4" thick foam that was pretty porous and cut two new filters. The other side heater box was in the same shape so the foam got replaced there too.
The last issue was that most of the screws holding the plastic tub to the body were stripped out. These screws just go through some sheet metal so once they are over-tightened, the hole in the sheet metal gets too large. I dug through my trim parts box and came up with enough U-nuts that are designed to fit over a flange and have a nut built into them. Once those were installed, all of the screws for the tub tightened down and will stay tight.
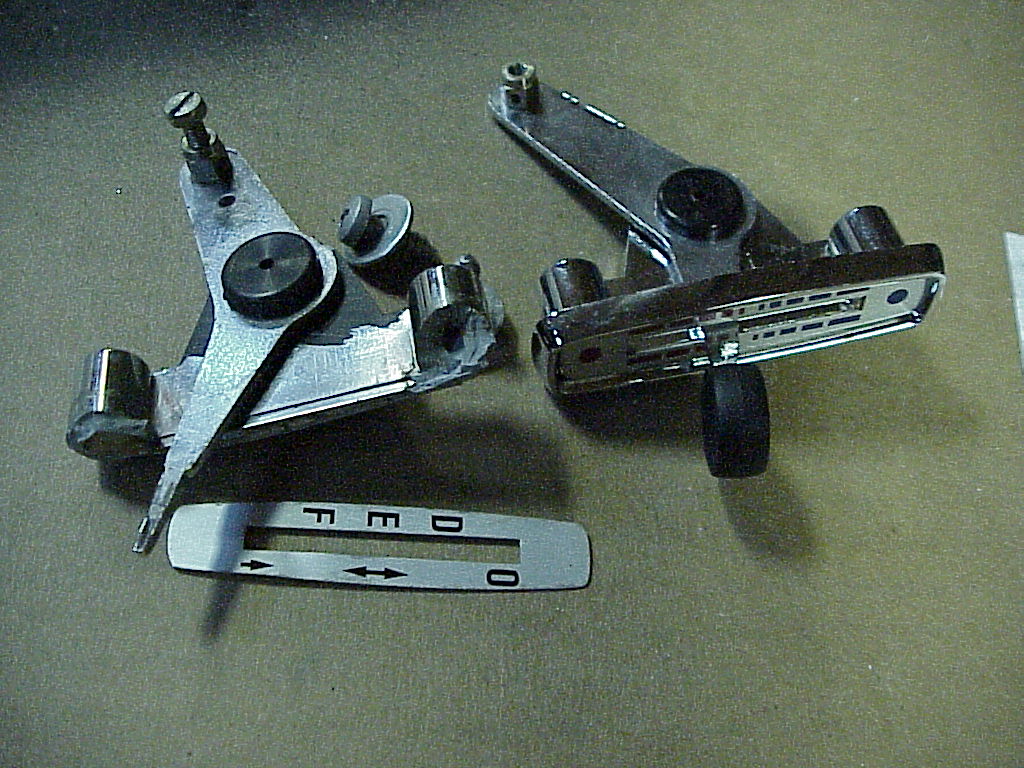
After a year or so of owning, I went to move one of the defroster levers and the plastic bezel broke in two. After reading Ferrari Chat, this seems to be a common problem. In fact so common that one person is working on reproducing the plastic bezels. I looked at the price for a replacement lever and found that the heater control lever was cheaper. The only difference is the label and that the lever is longer on the defroster control. Here you can see my broken one and the heater control.
I had tried to remove the console before to replace the ventilation fan switch (see below) and was quite unsuccessful. To change out the defroster control requires a lot more access. I made a few inquiries and ended up looking at a Ferrari Chat thread that explained how to remove just the switch part of the console. There's two screws under the ash tray and then with some careful prying, that whole panel lifts from the front and then slides forward to free its clip at the back.
 |
 |
I swapped parts and glued on the old plate to the new bezel. Getting the new control installed was a real pain. I was replacing the right defroster control so it was right in the middle, with two controls on the left and the choke control on the right. Without disconnecting the choke cable, the panel could only be raised a few inches. The major problem is that the control attaches to the cable assembly with two screws installed from below. So you have to have everything in place, get the screws started when you can barely reach them and screw them tight with everything in the way. I did use a screw to cut threads into the new bezel before starting this as the screws cut their own threads in a new unit.
During this whole process, I noticed that the ventilation switch had broken into two parts. So I had to work on that too.
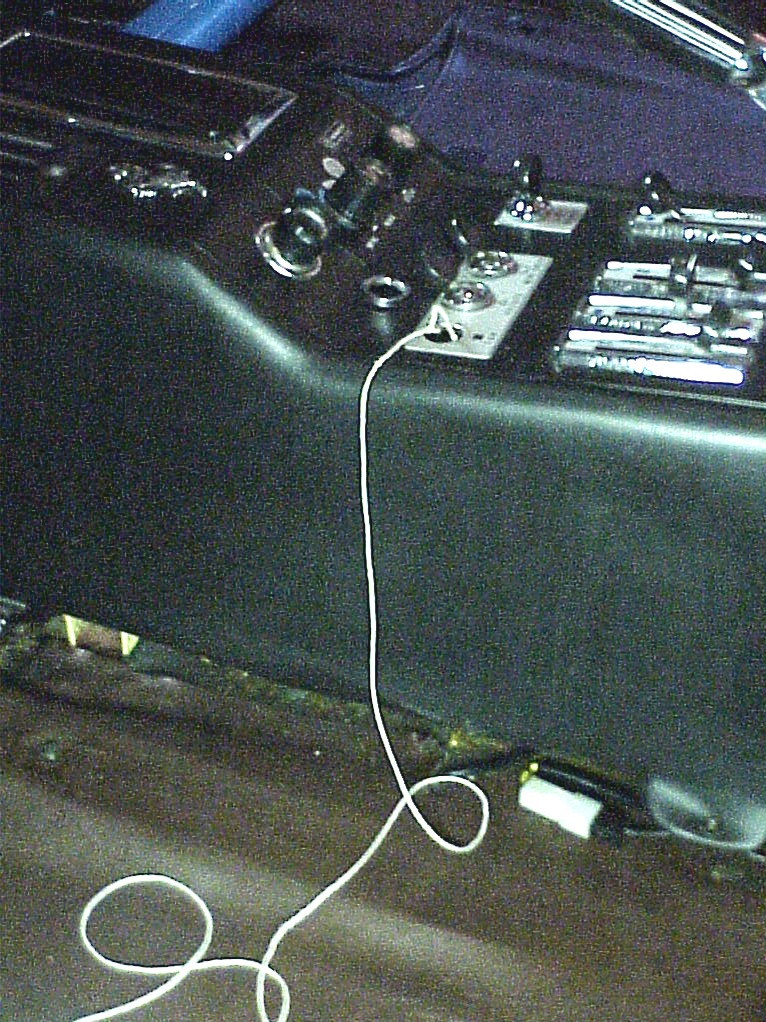
Another problem I found with the heater was that the ventilation fan wouldn't always work. After some sleuthing, I figured out that it was the switch on the console that was flakey. After not being used for several days, it wouldn't make contact. After many flips on and off, eventually it would work and continue working for the rest of the drive. I ordered a new switch from UK Ferrari. When it came, I determined that it wasn't a simple thing to replace. The console had to be removed enough to reach underneath it, grab the wires and pull the switch out so it can be changed. In order to remove the console, both seats have to come out (for access to the screws). Then the console extension (under the dash) has to be removed so the console will lift up. Then, barely, there is enough room to reach under and pull the old switch out. First, I tied a string to the handle of the old switch so I could pull the new one in place. Without that, I probably would have needed to remove or release the emergency brake to allow the console to lift enough.
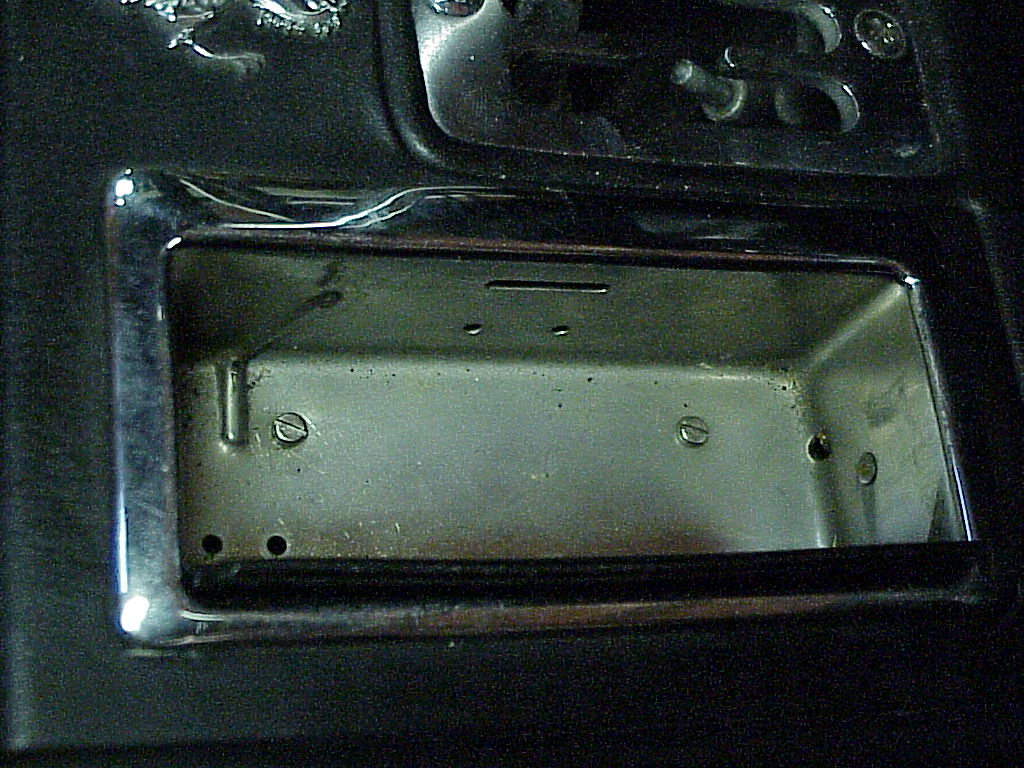
In the process of lifting the console, I found a bunch of coins that had slid under the edge.
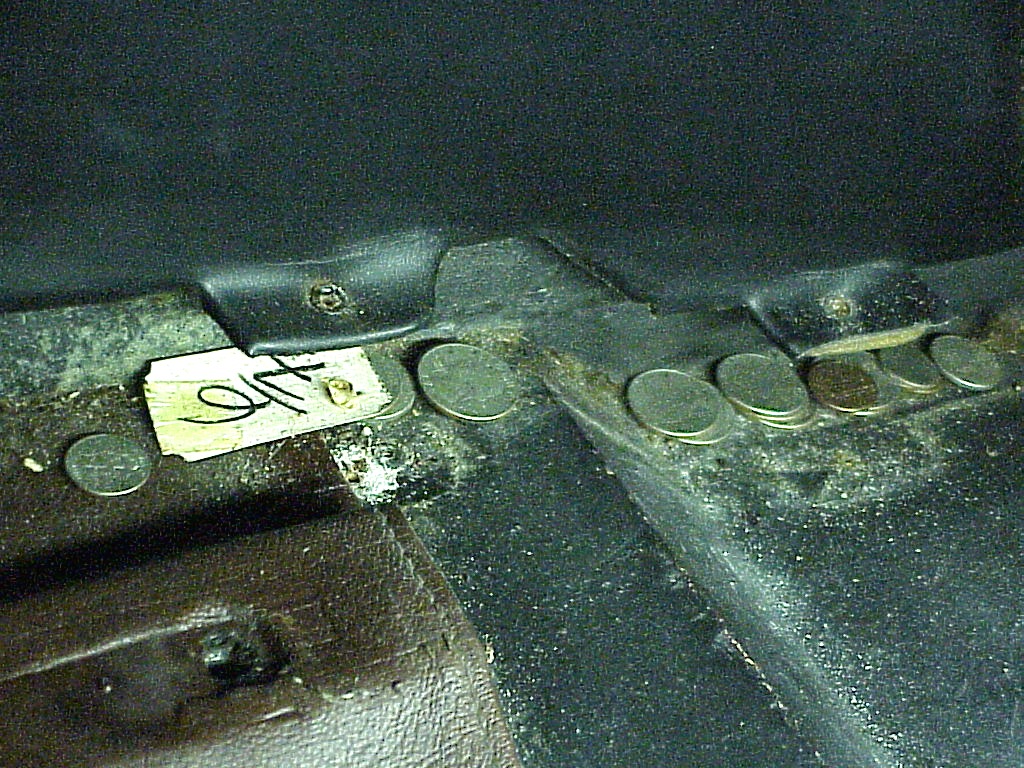
There was a total of $3.69 there with most of the coins dating to the 70s and 80s. The earliest was a 1969, a couple of years after silver coins stopped being made. Given it took over an hour to lift up the console, I wouldn't recommend any prospecting in your own car. Not too good of hourly pay.
At least the ventilation fan works every time I turn on the switch now.
As mentioned above, I broke the new switch when replacing a defroster control. Actually I didn't break it, the base just popped off the top. But that lost a tiny part inside the console somewhere under the shift rod leading back to the transmission. However, I've found out that one should never, never throw away a Ferrari part, so I still had the old one I had replaced. Now that I knew that the switch would come apart with some persuasion (the top and base are peened together), I took apart the old one.
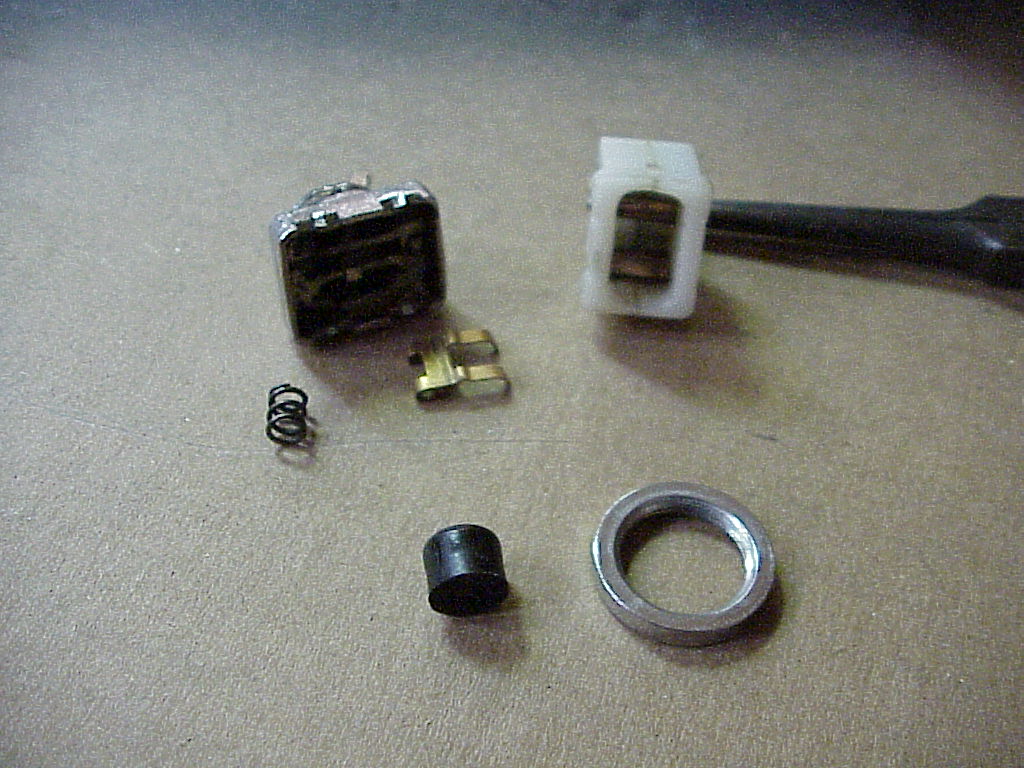
I never liked the new switch since the lever wouldn't line up with the two others in the off position. Evidently Ferrari changed the design just enough so the off position as much of an angle. So I ended up using the new base (with new contacts), and the top from old switch to put one good one back together. Of course since the console top was off, installation was much easier.