Block Sanding
After the metal work and filler is done, it is time for the block sanding. This is time consuming, but it's when the quality of the job starts.
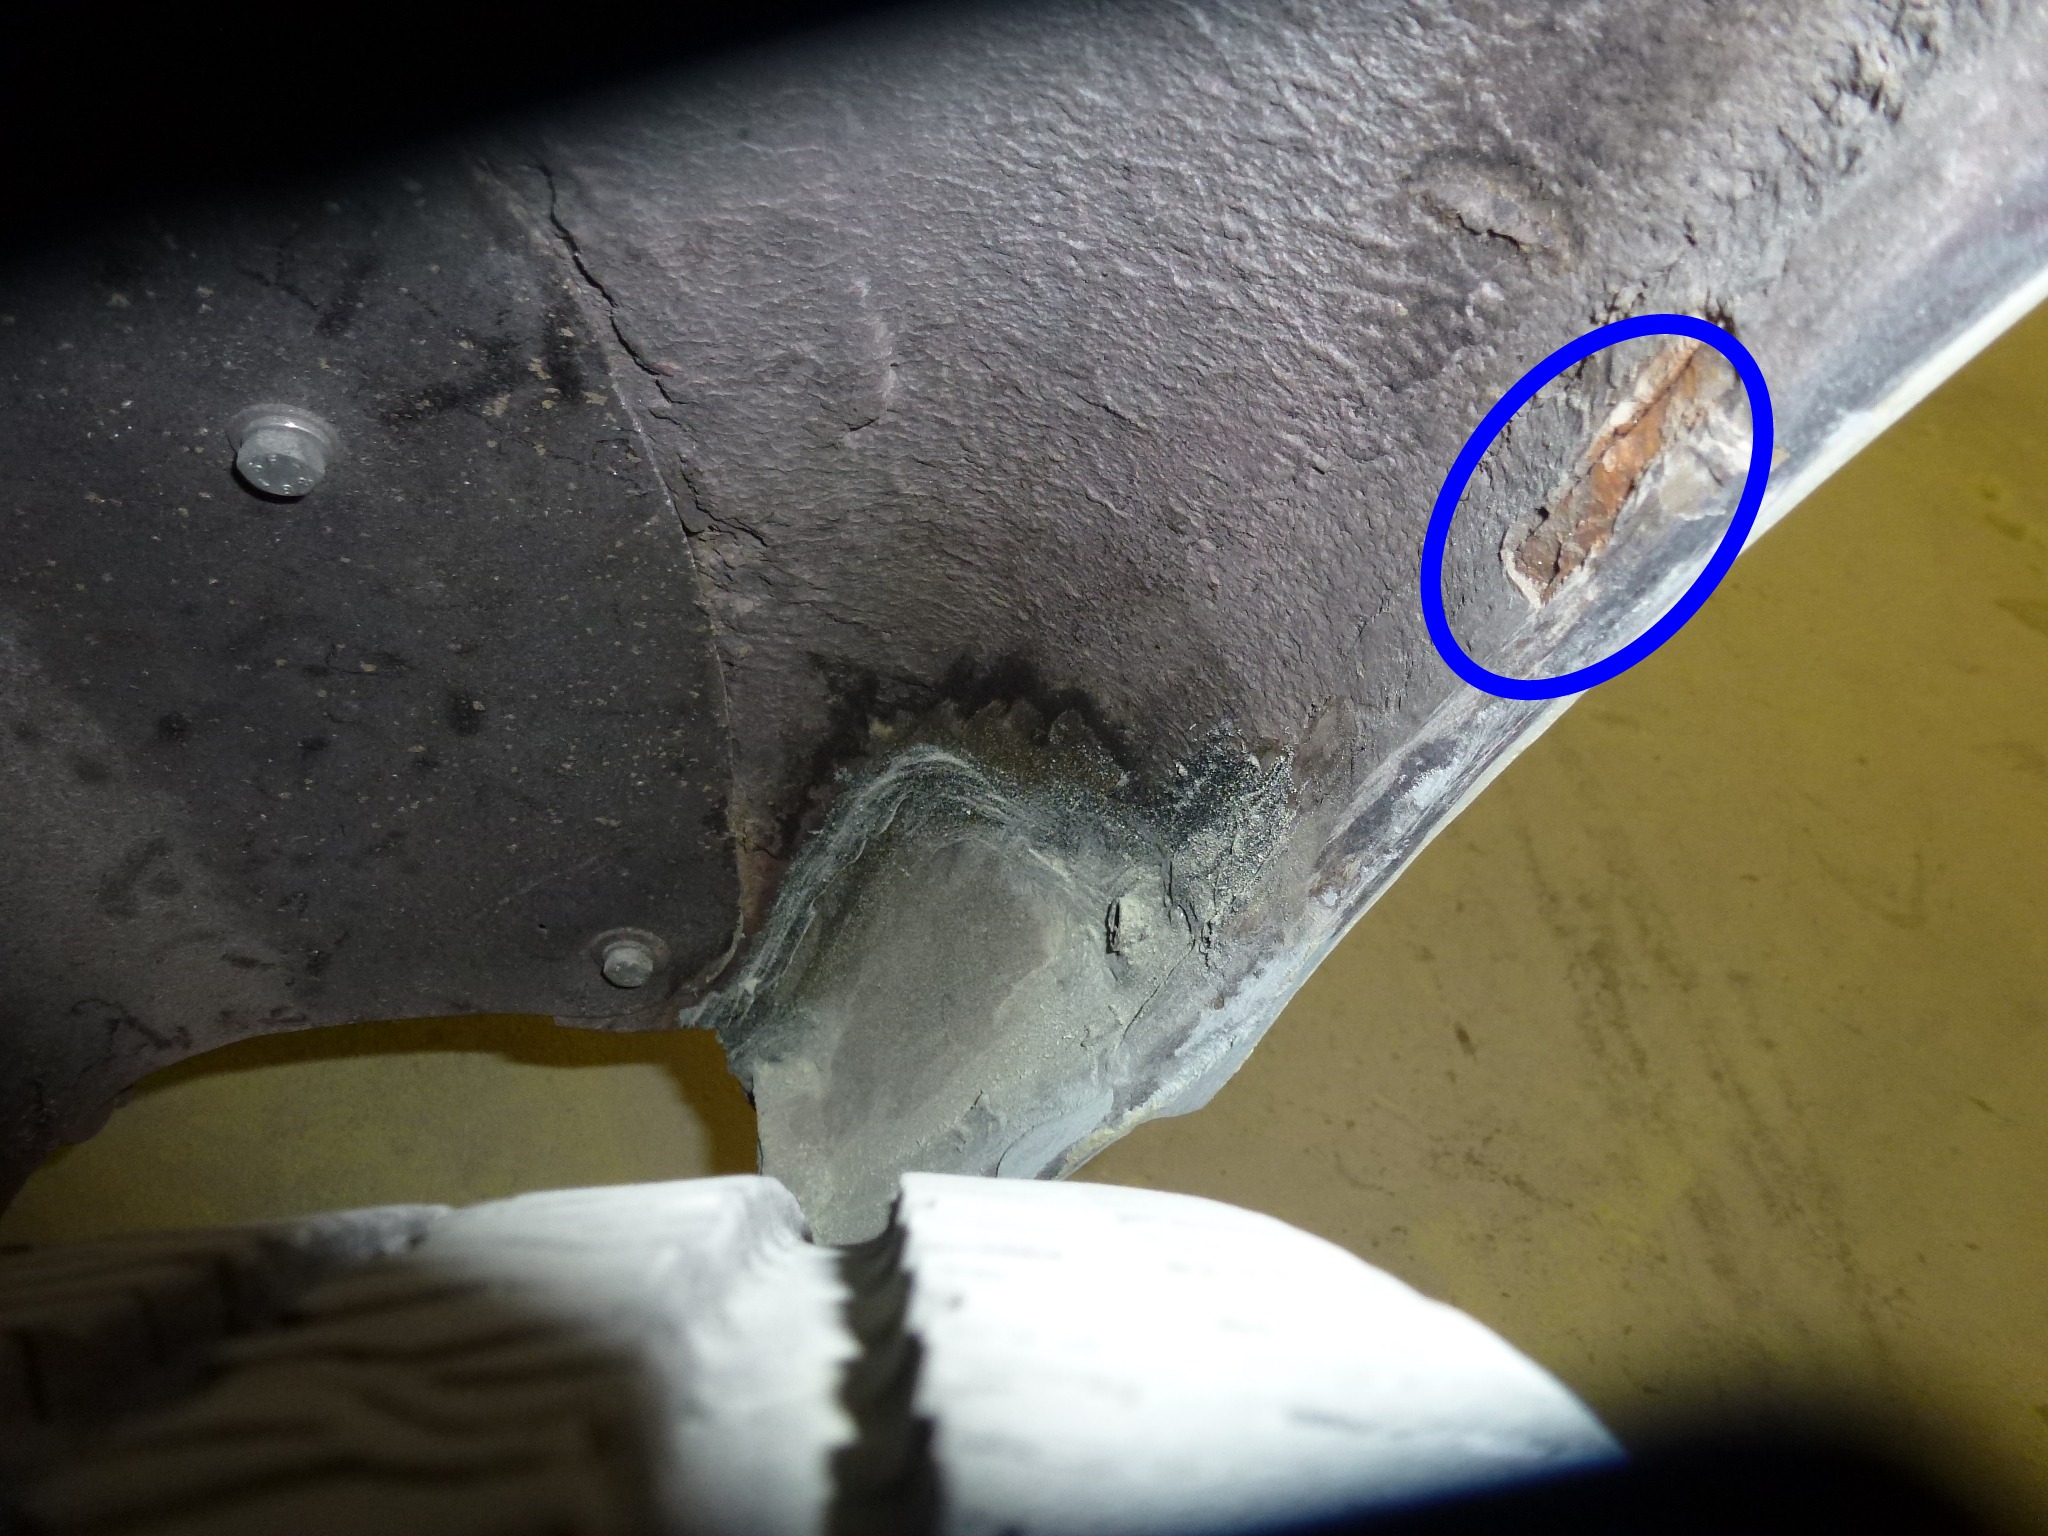
I've been skiing for a couple of weeks, so hadn't seen what progress was occurring. On my last visit, I took some pictures and thought there might be some rust holes inside the fender. They checked it out and it was a false alarm.
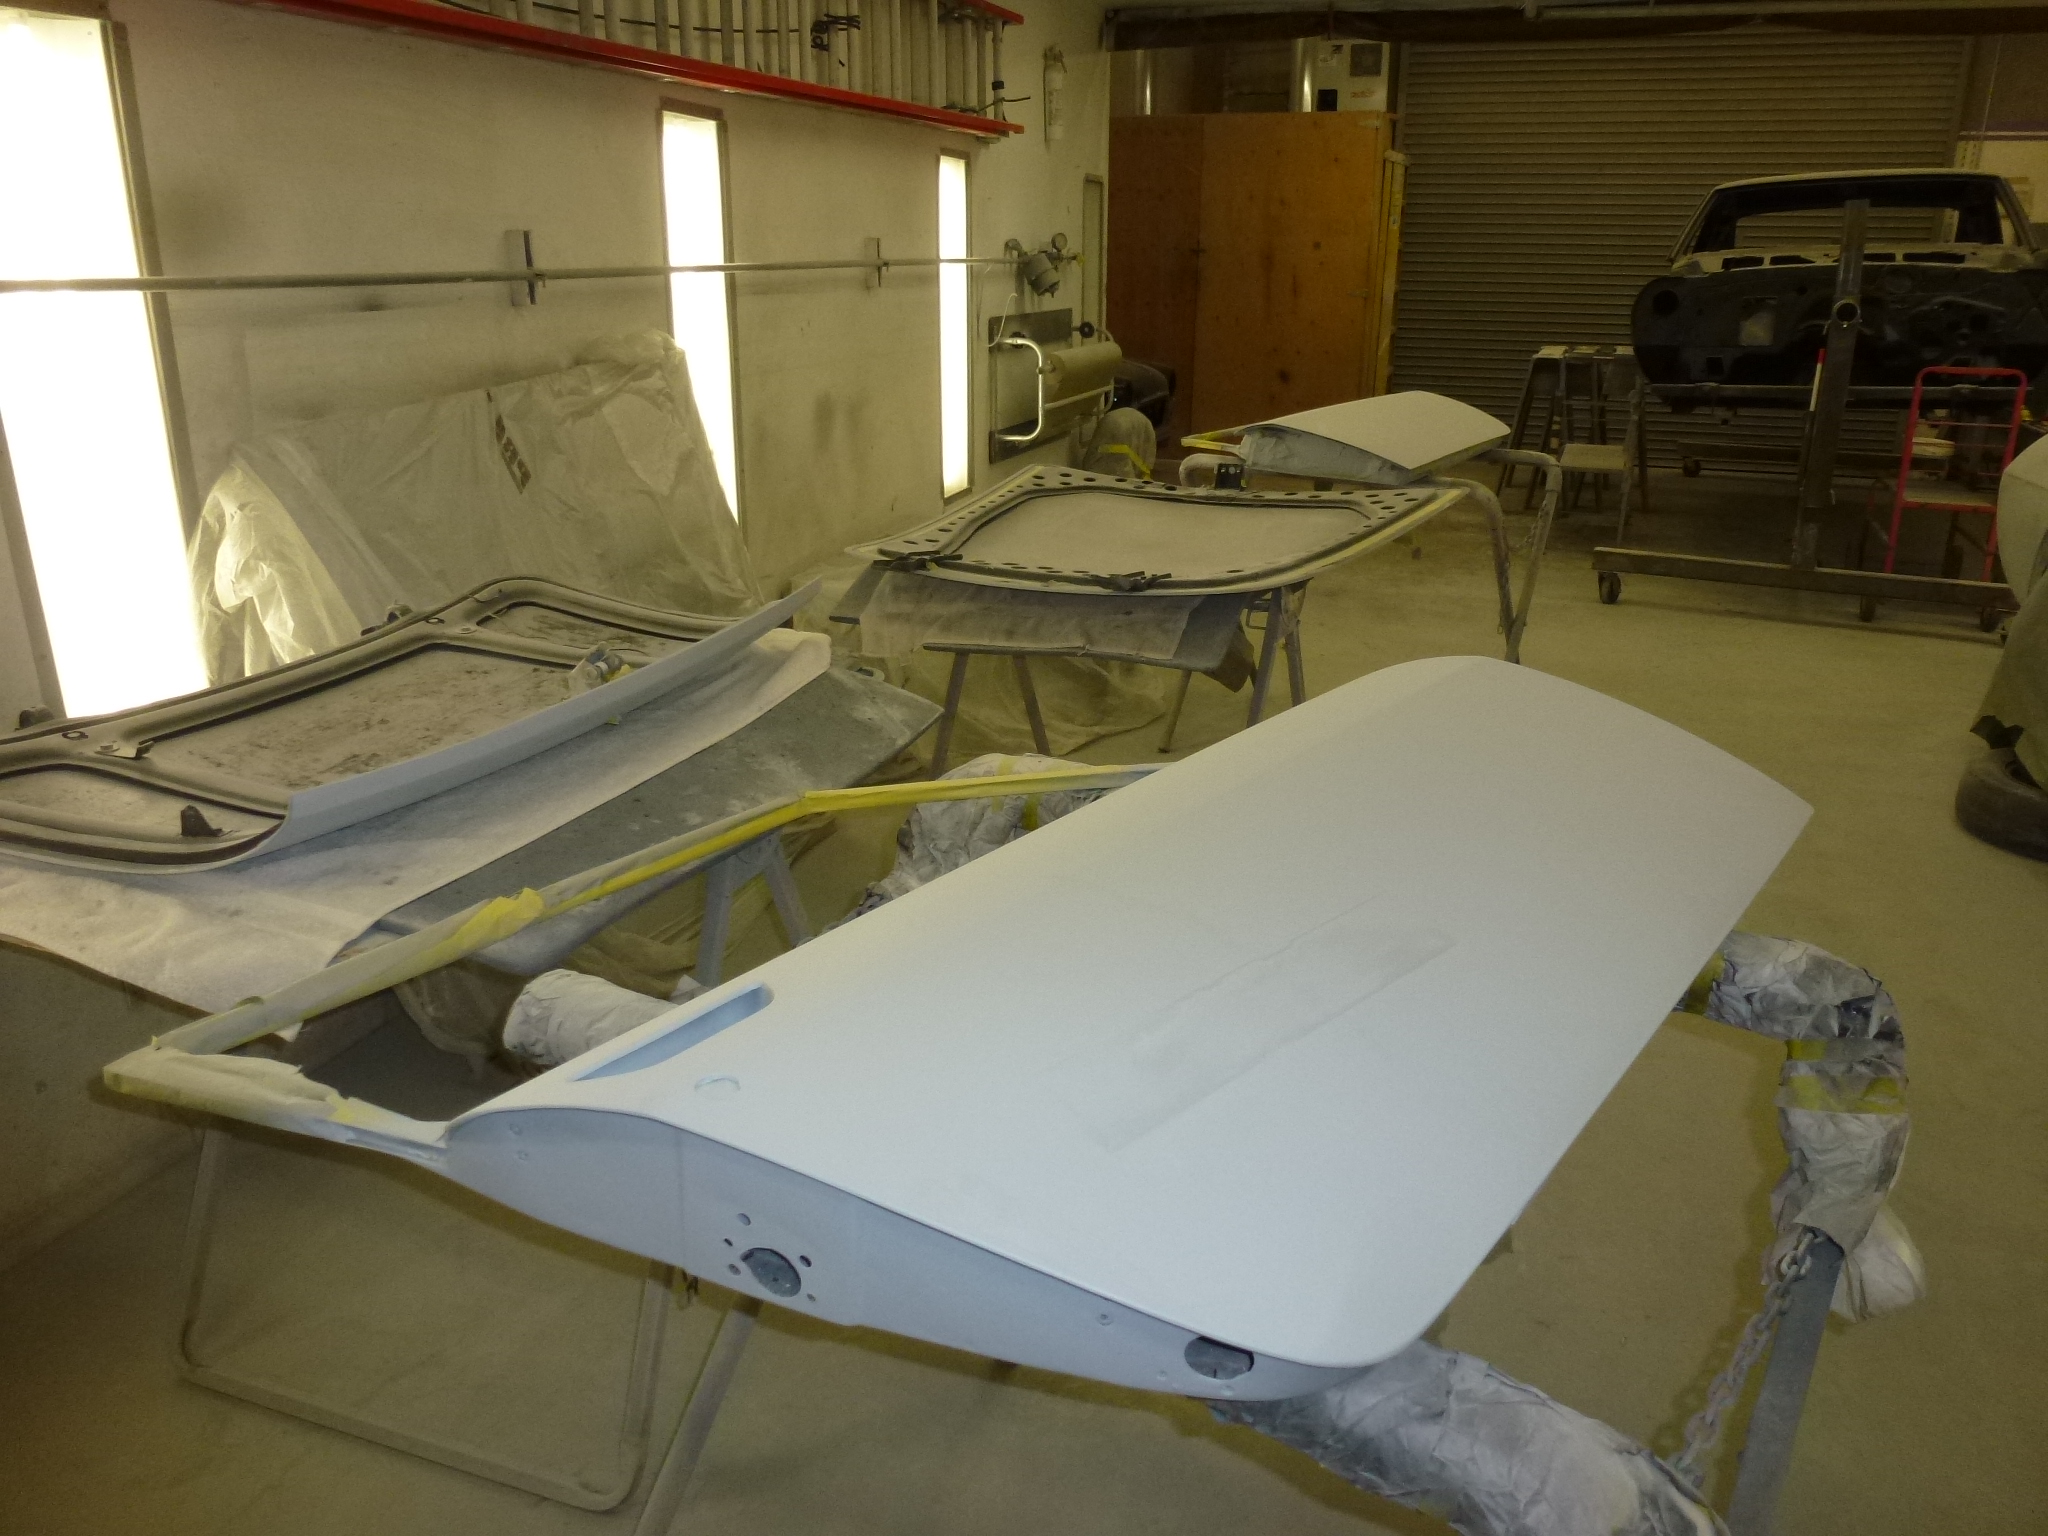
When I stopped by today, the whole car is one color with the primer/surfacer applied. Now it is just blocking sanding and getting everything smooth. The body lines are still crisp. Once they are all straight, then a short pass with sandpaper on a foam pad will round them over nicely.
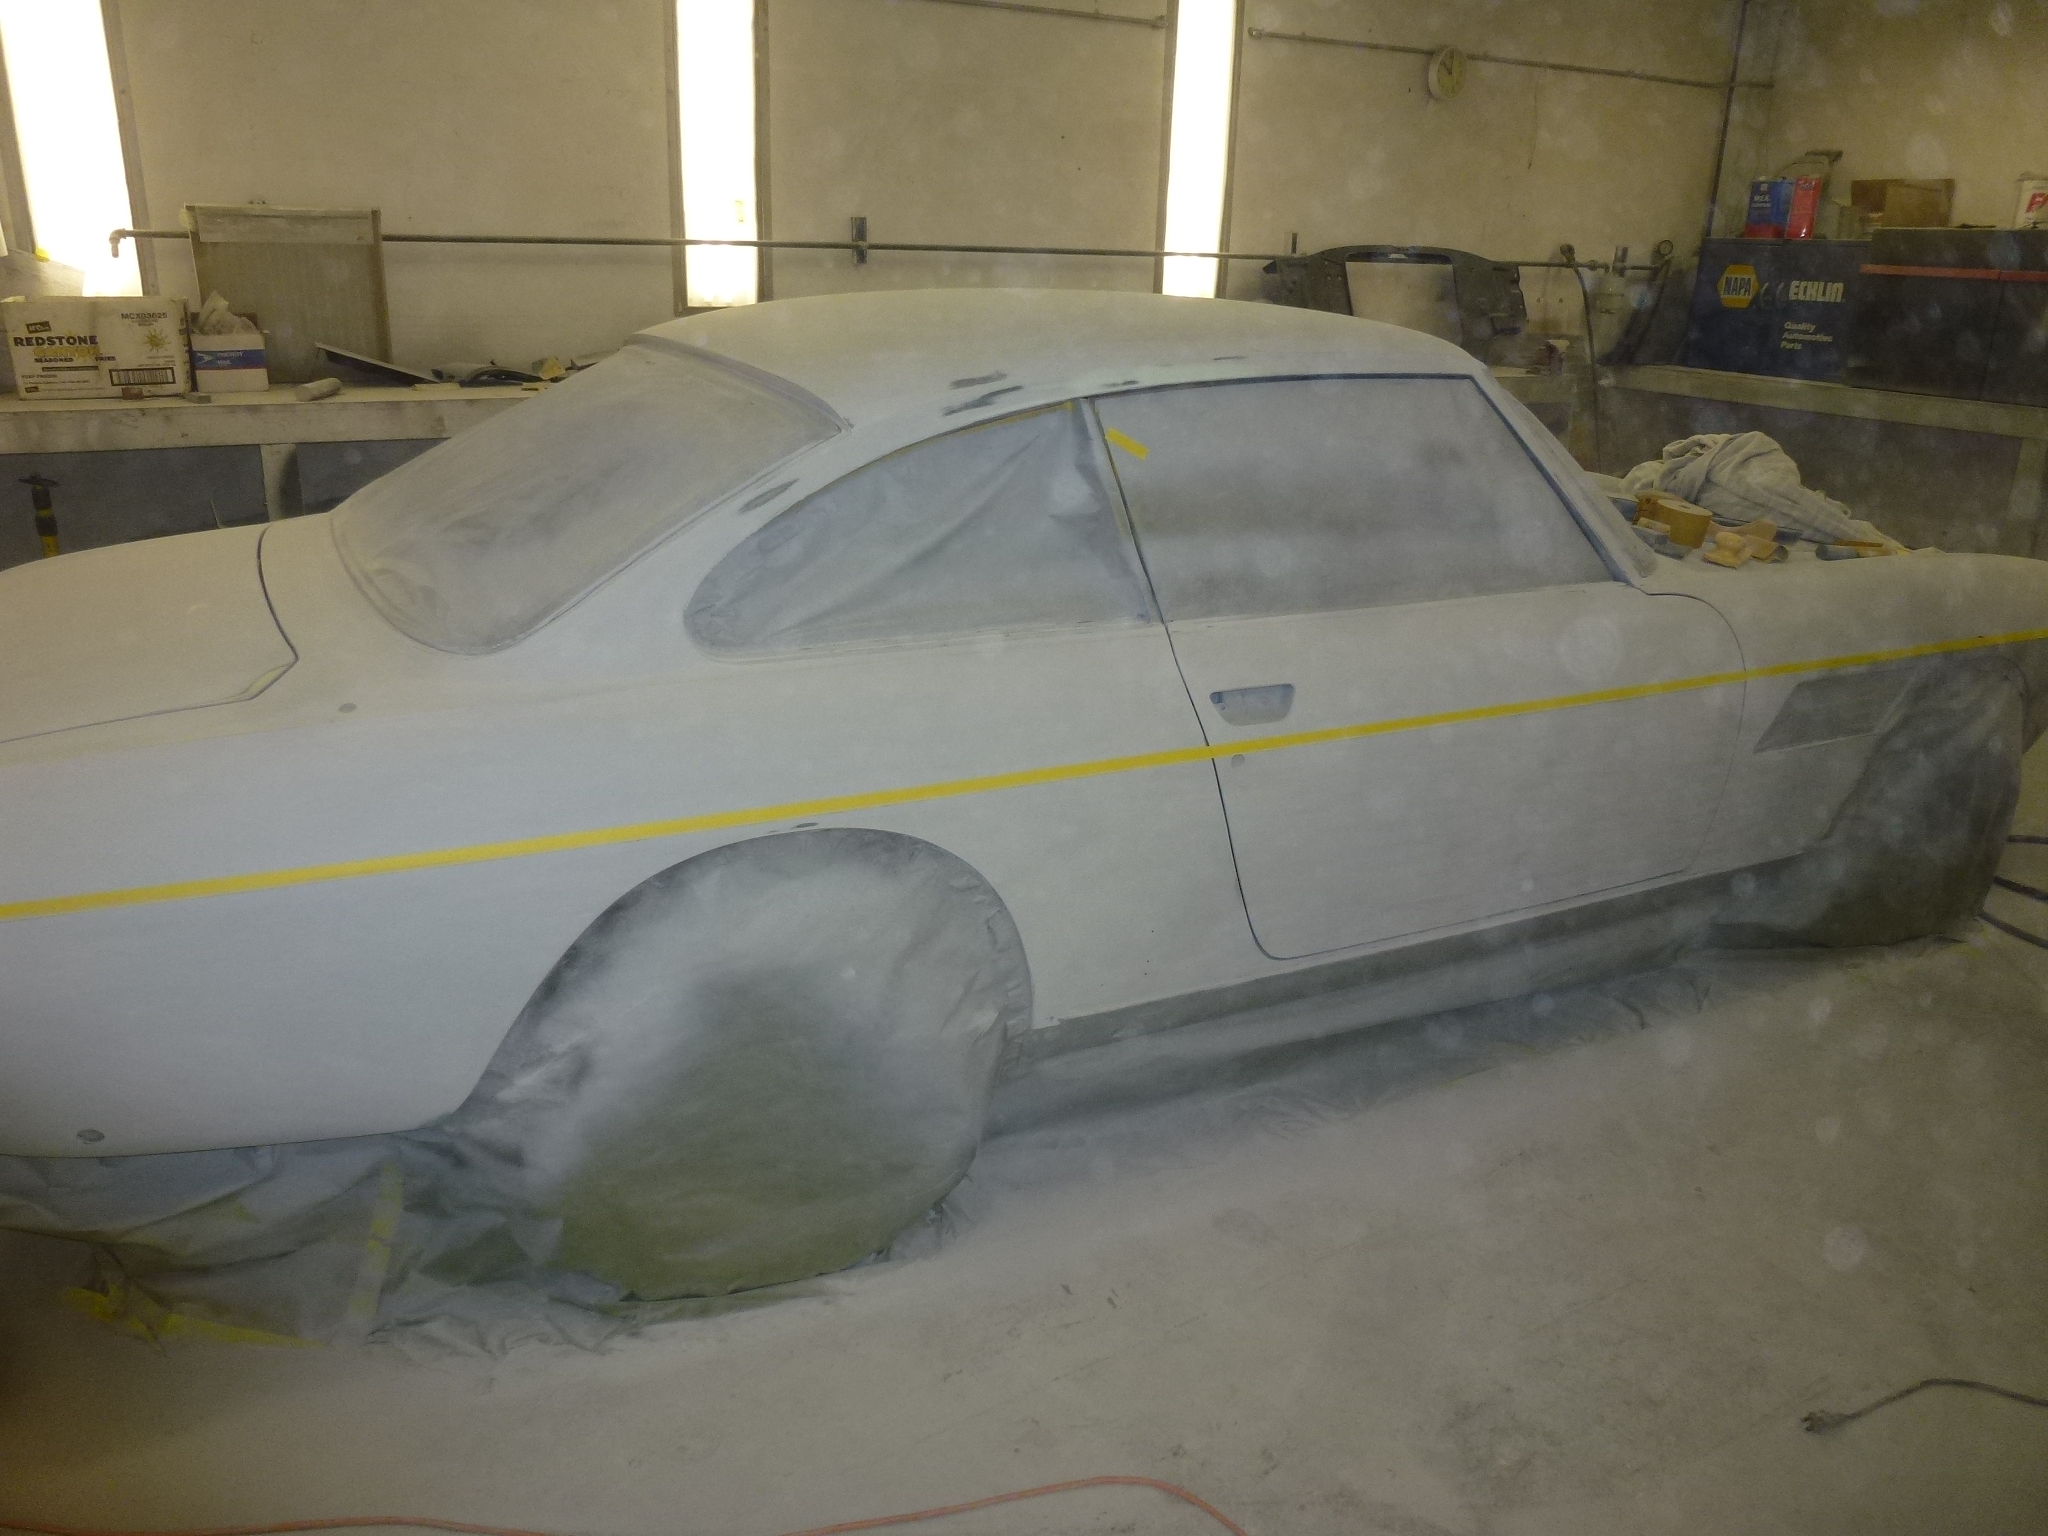
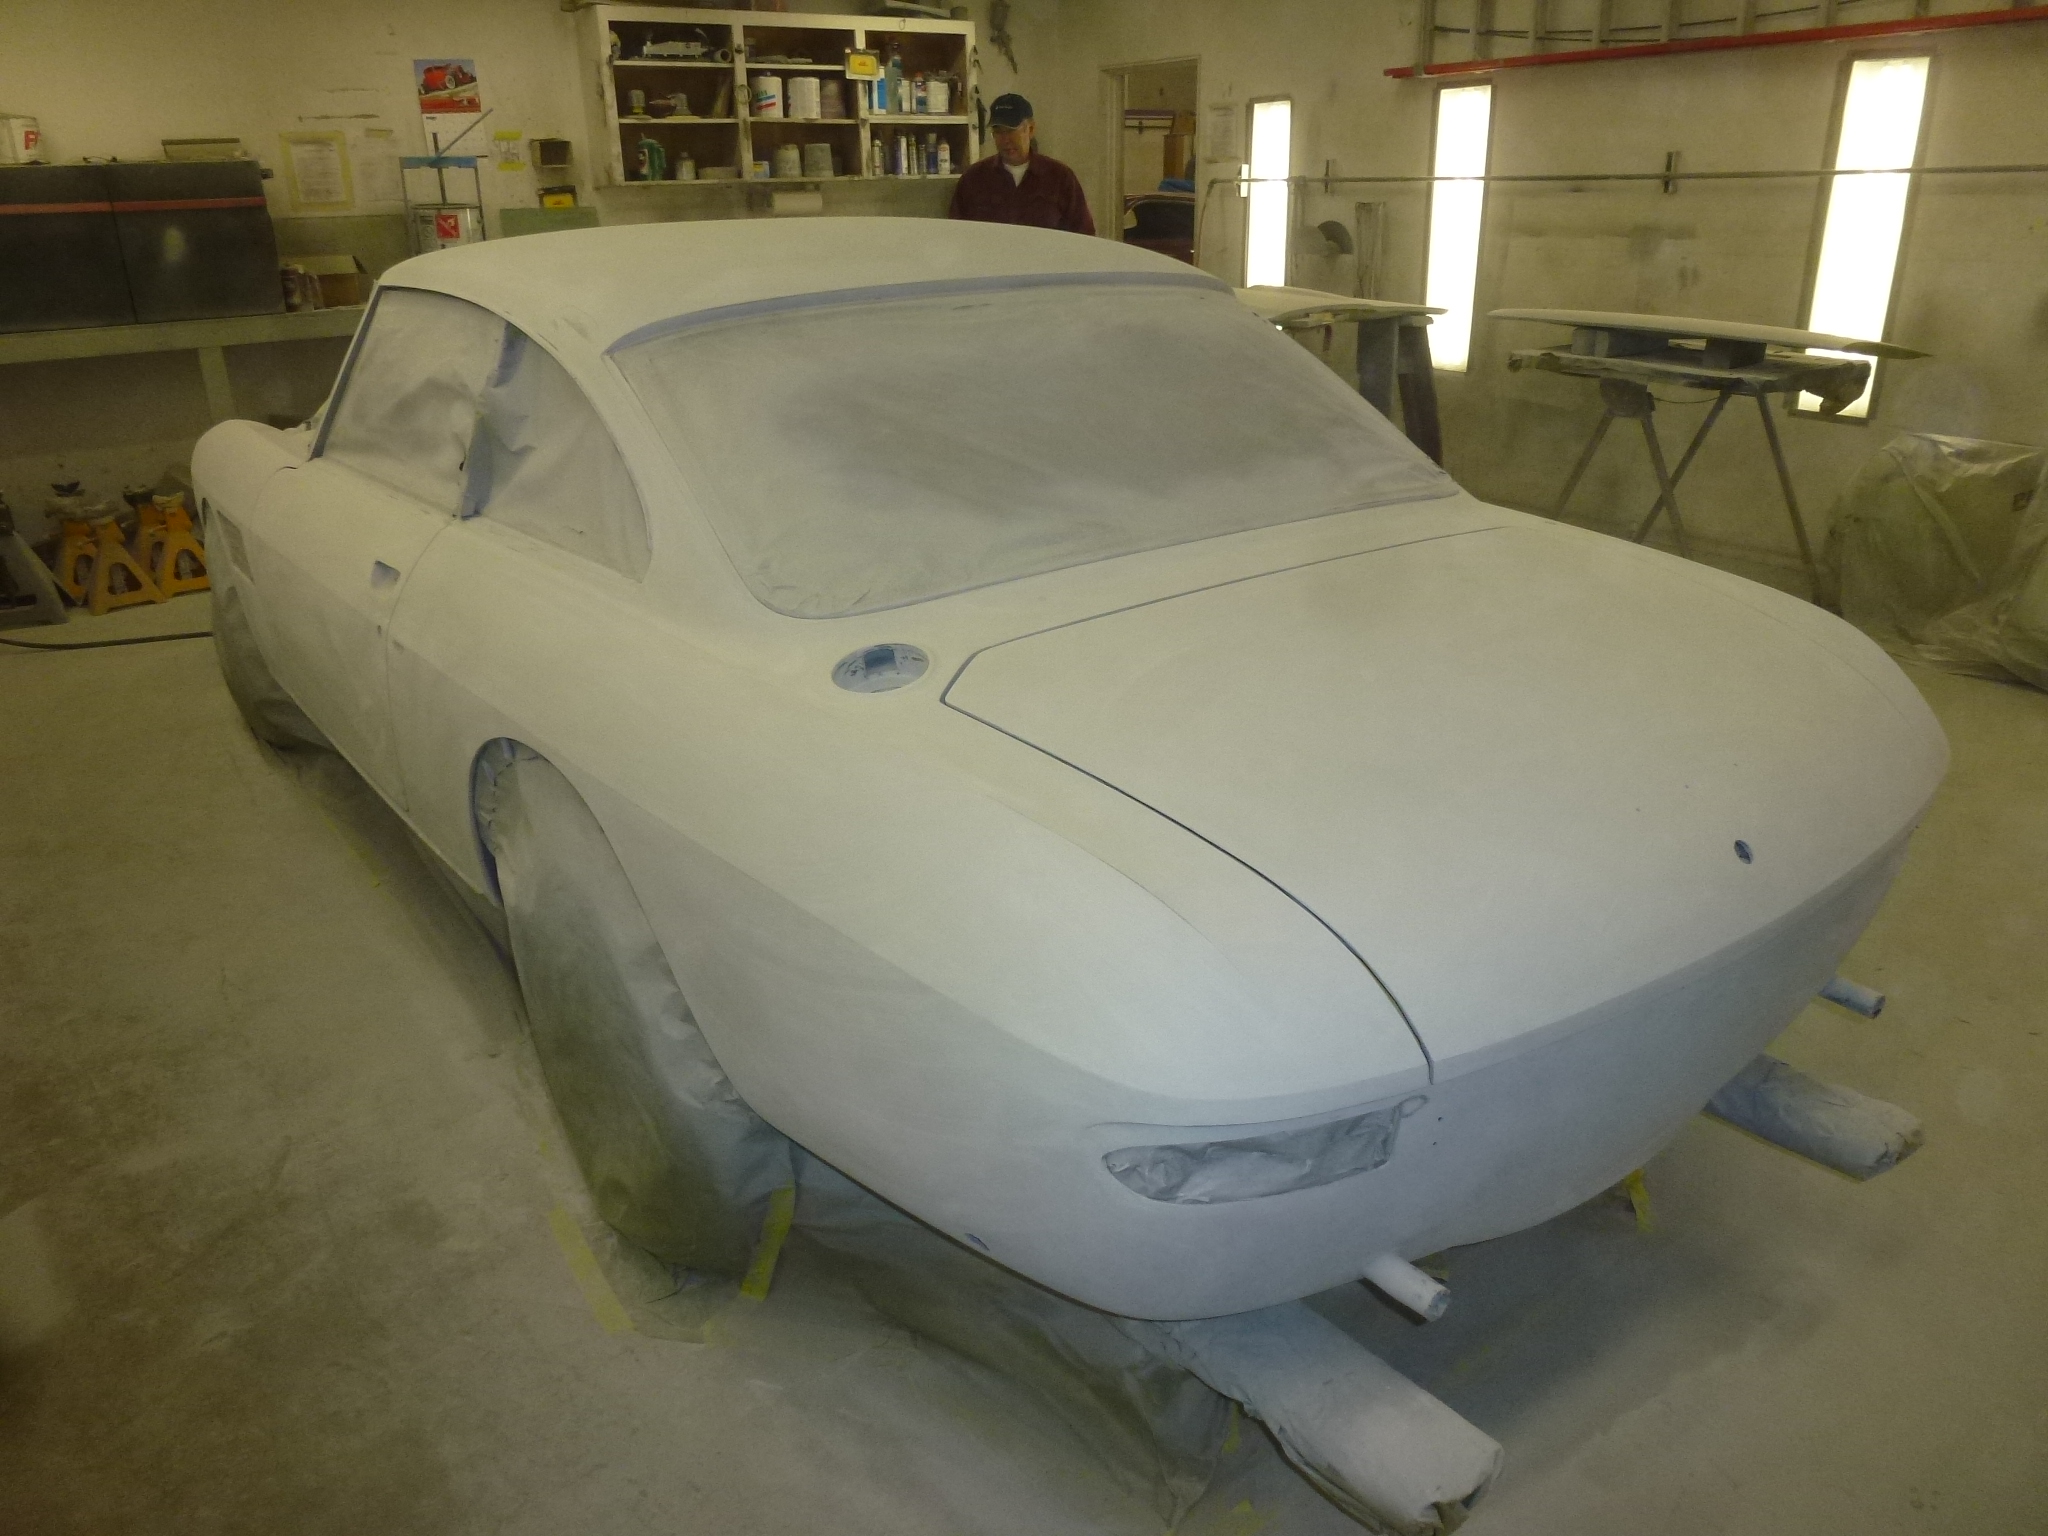
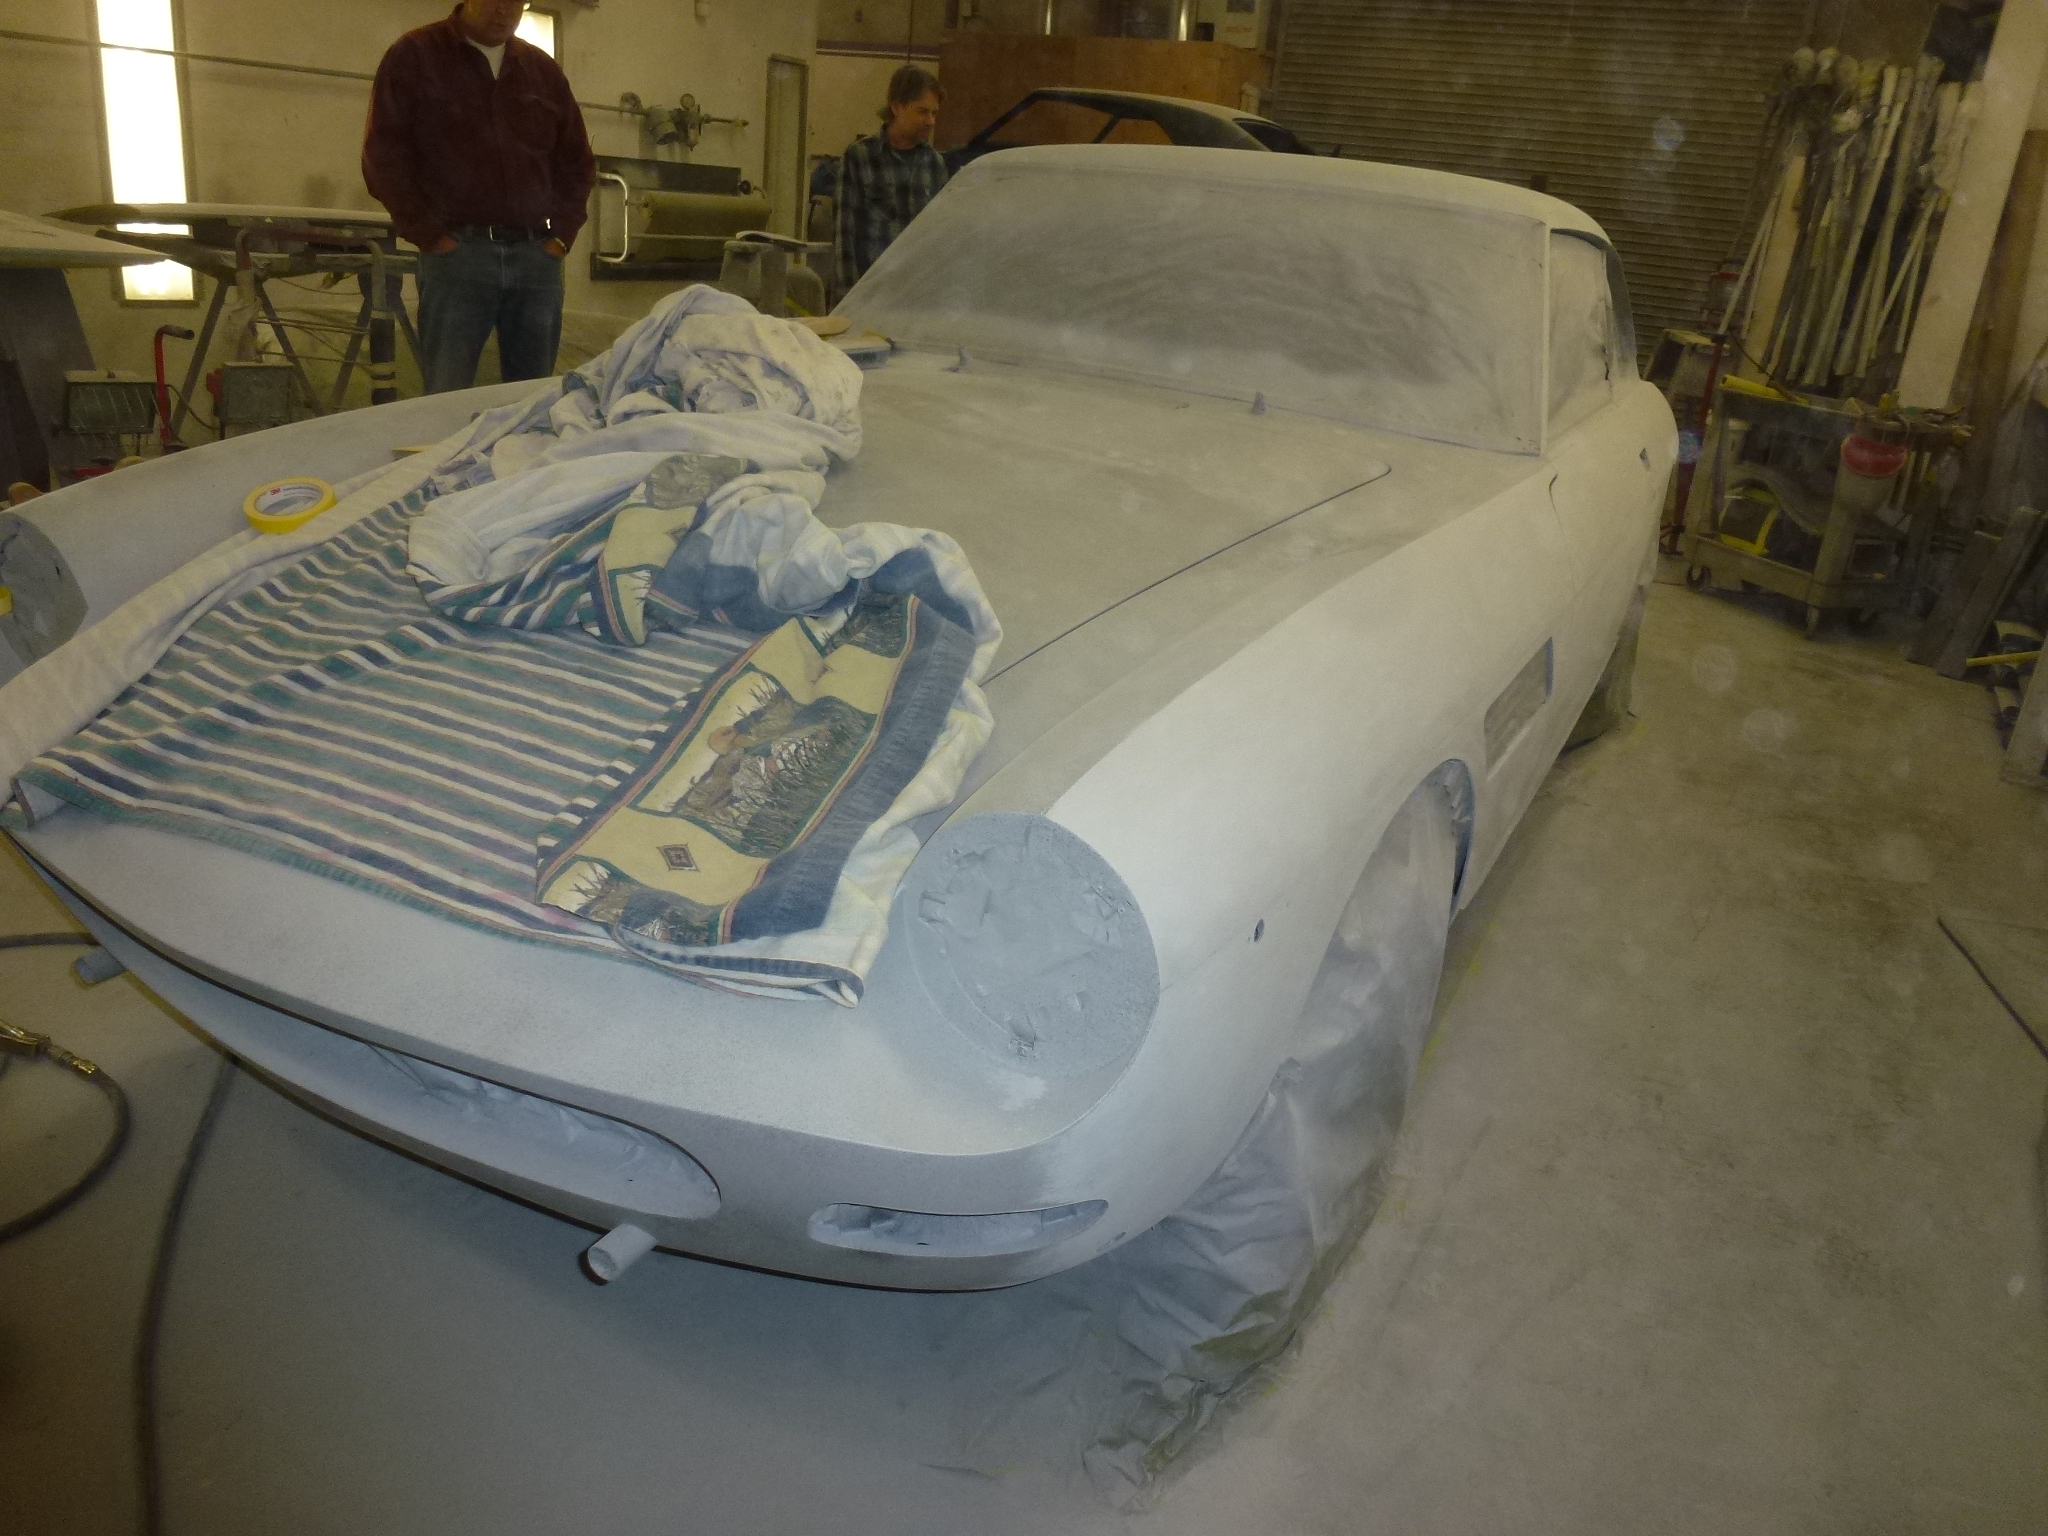
They are now block sanding with 240 grit. I need to select the silver I want next week before going back to Whistler for three weeks of skiing. In the right picture, you can see some black speckles. This is something new in auto body work since I did the car 30+ years ago. It is a guide coat, in a rattle can from 3M. A black lacquer that sprays in little dots. Then as you block sand, any low places won't have the guide coat sanded off, so you know to deal with that area. The 'old' solution was to use different colors of primer and sand the top color down to the underneath color. Any areas with the top color still showing were low. This is lot simpler since there is not a solid coat to sand off.