Collectors
When I first bought the car, the RH exhaust had been damaged as the previous owner that caught the rear muffler on a manhole cover pulled everything out of alignment. I replaced that exhaust then, including the collector. However, that collector didn't fit quite right. One of the header flanges wasn't aligned right, so I had to heat that pipe and rotate the flange to fit. This put a wrinkle in the that collector pipe, plus the flanges never sealed quite right.
I replaced the LH exhaust a number of years ago and found that the collector on that side was rusty with holes in it. I had tried to weld up the holes and made it better, but it still wasn't air tight.
So now I've decided to replace both collectors. Here you can see a whole collection of collectors I've accumulated over the years in anticipation of needing to do this.
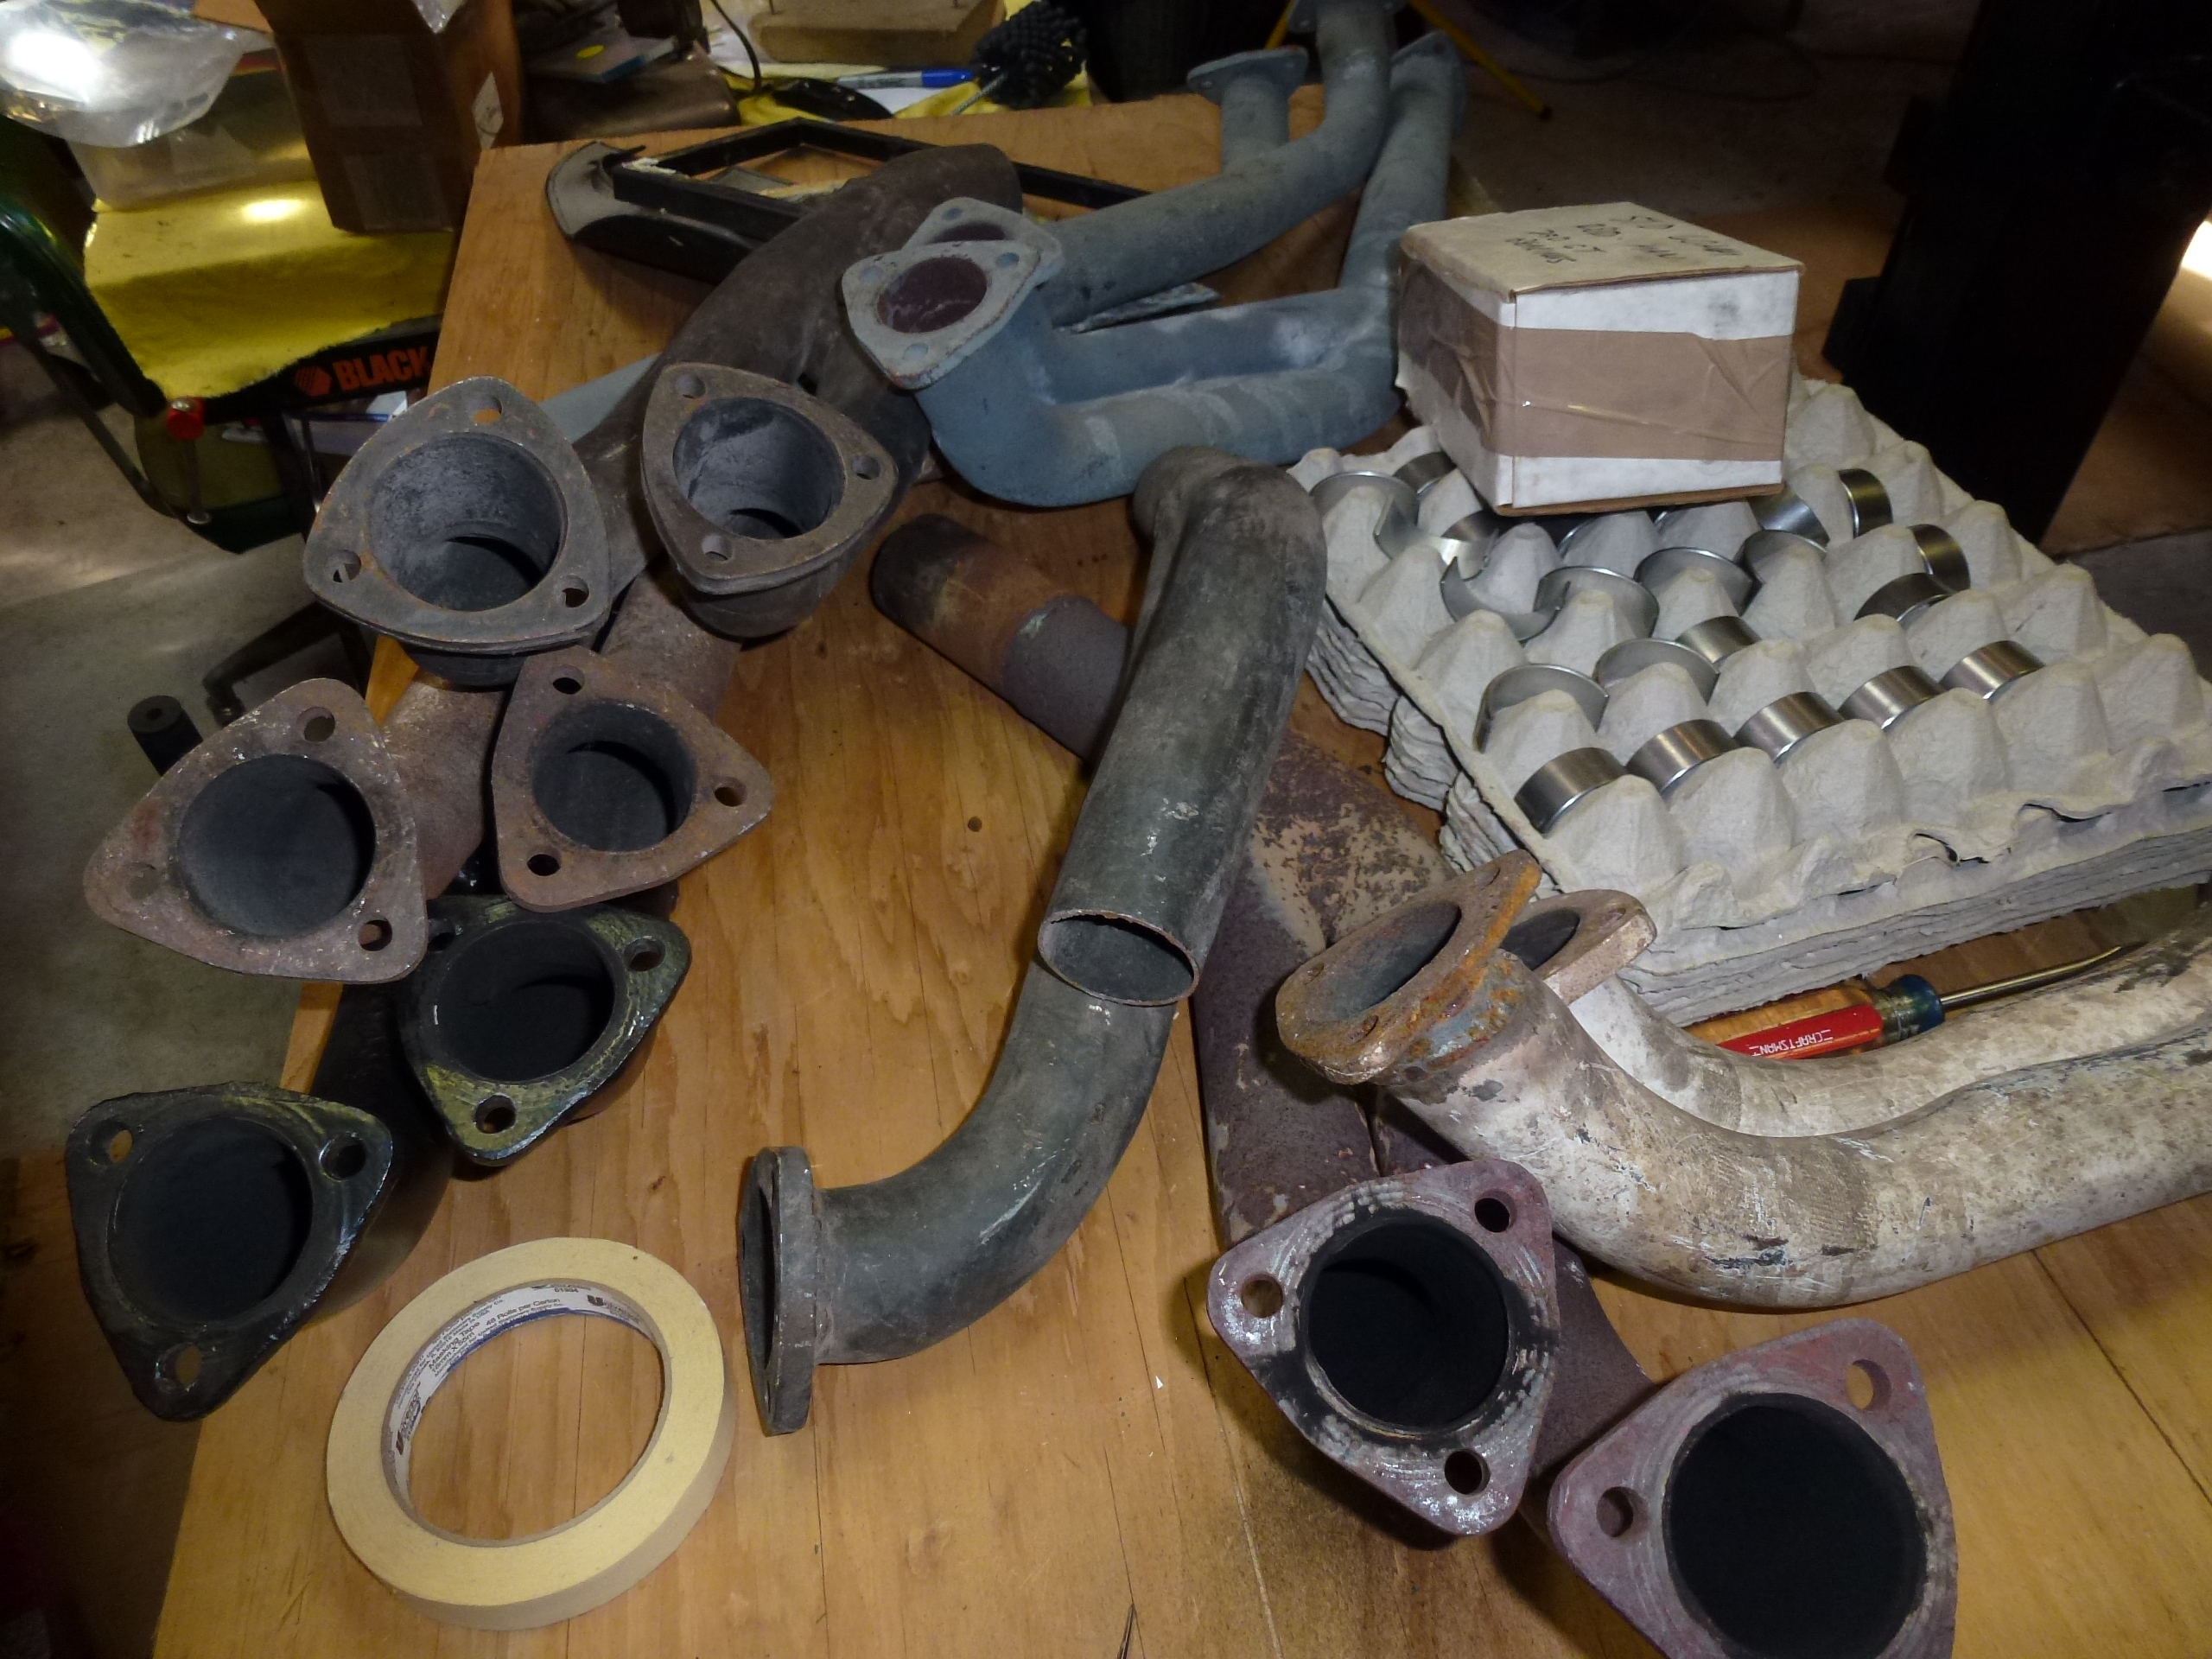
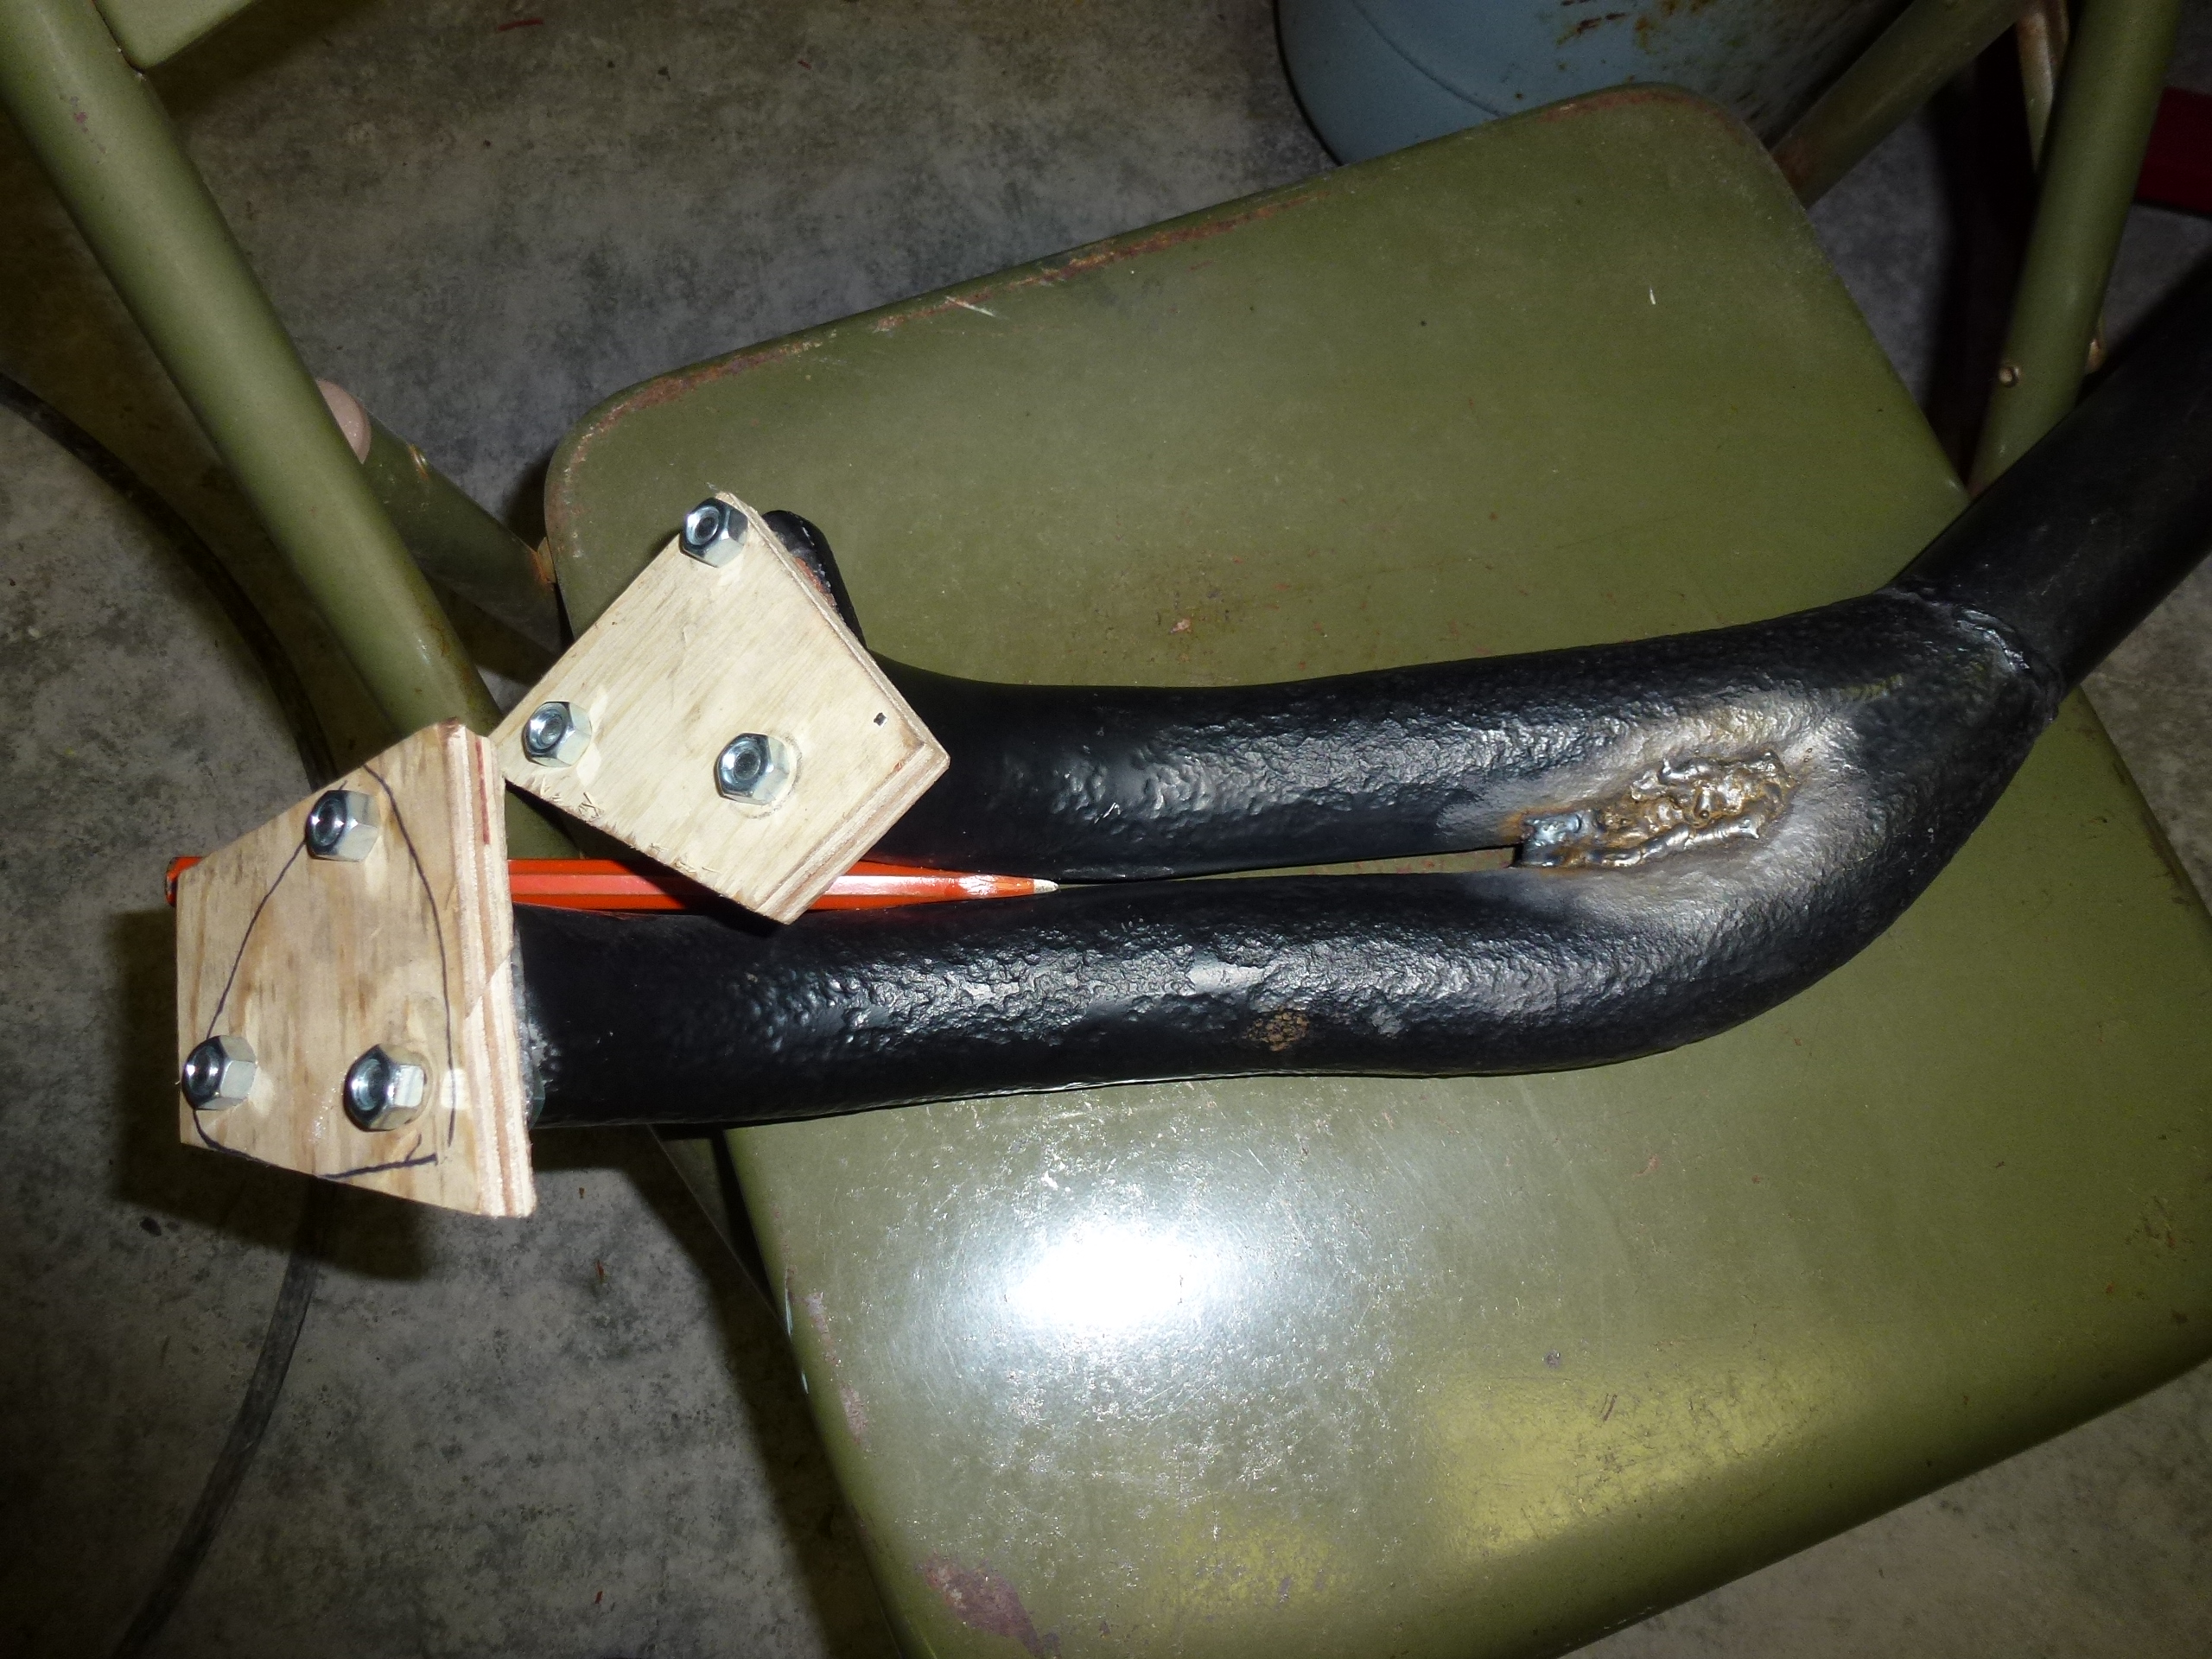
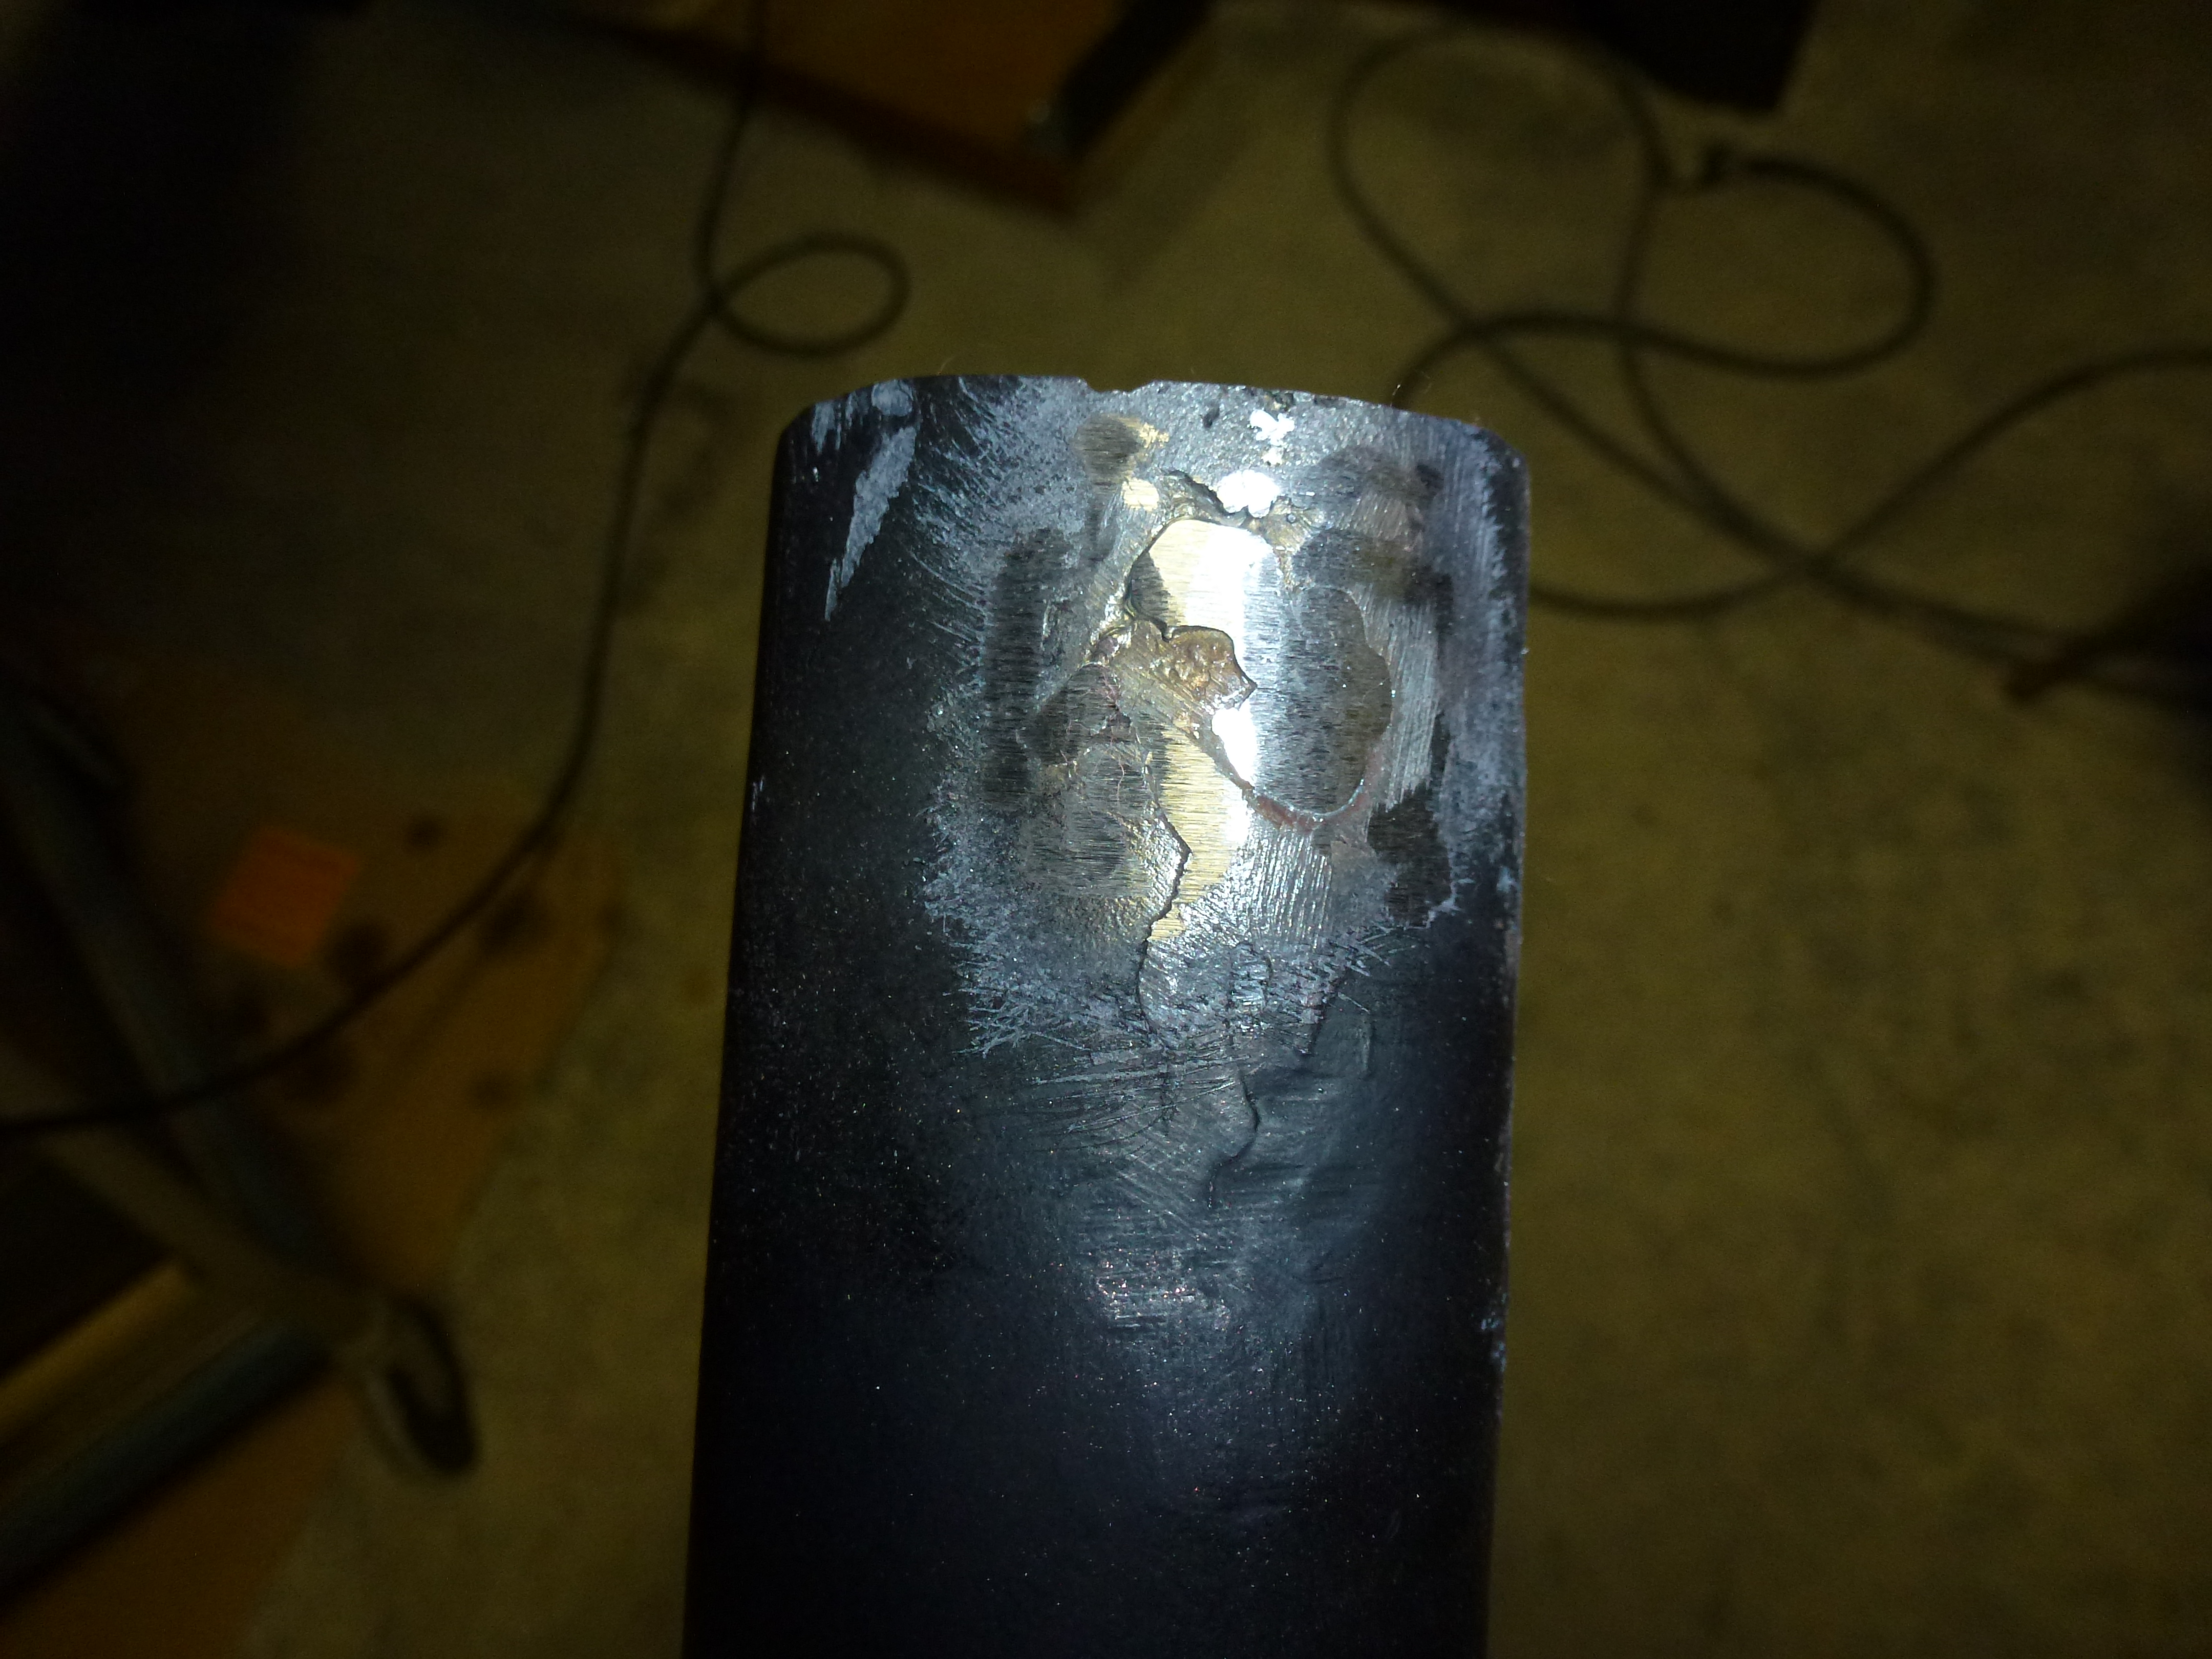
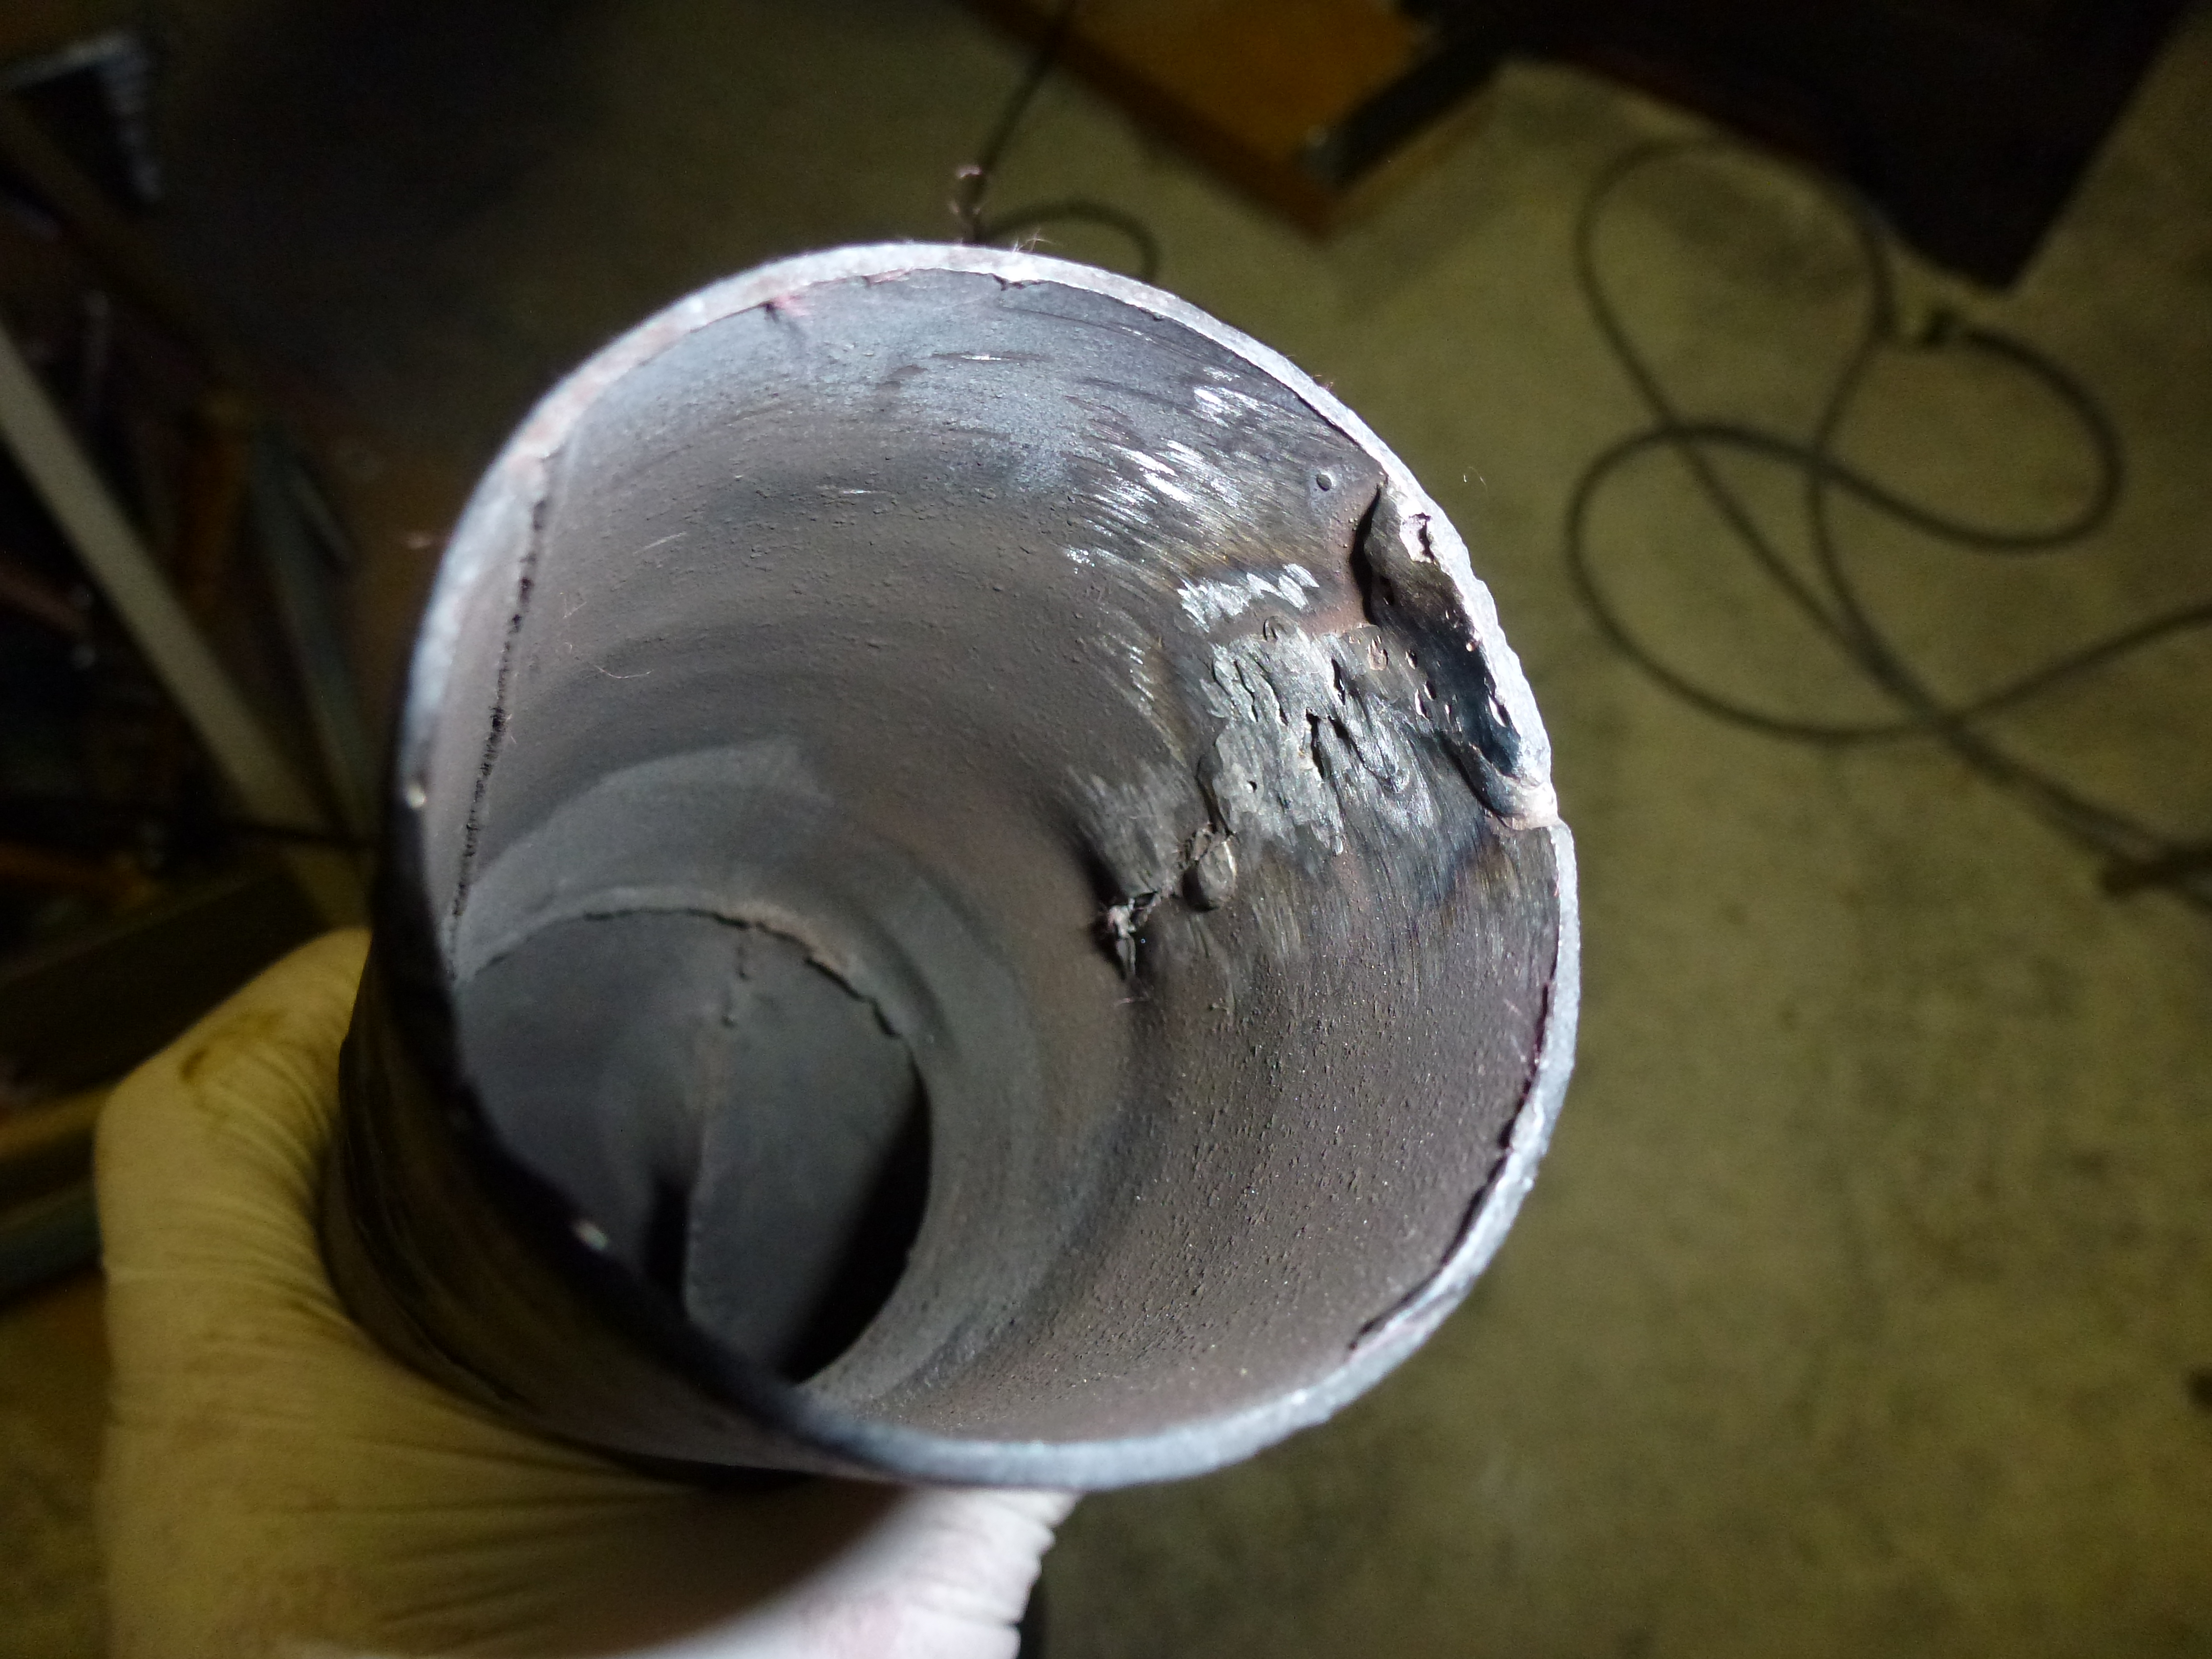
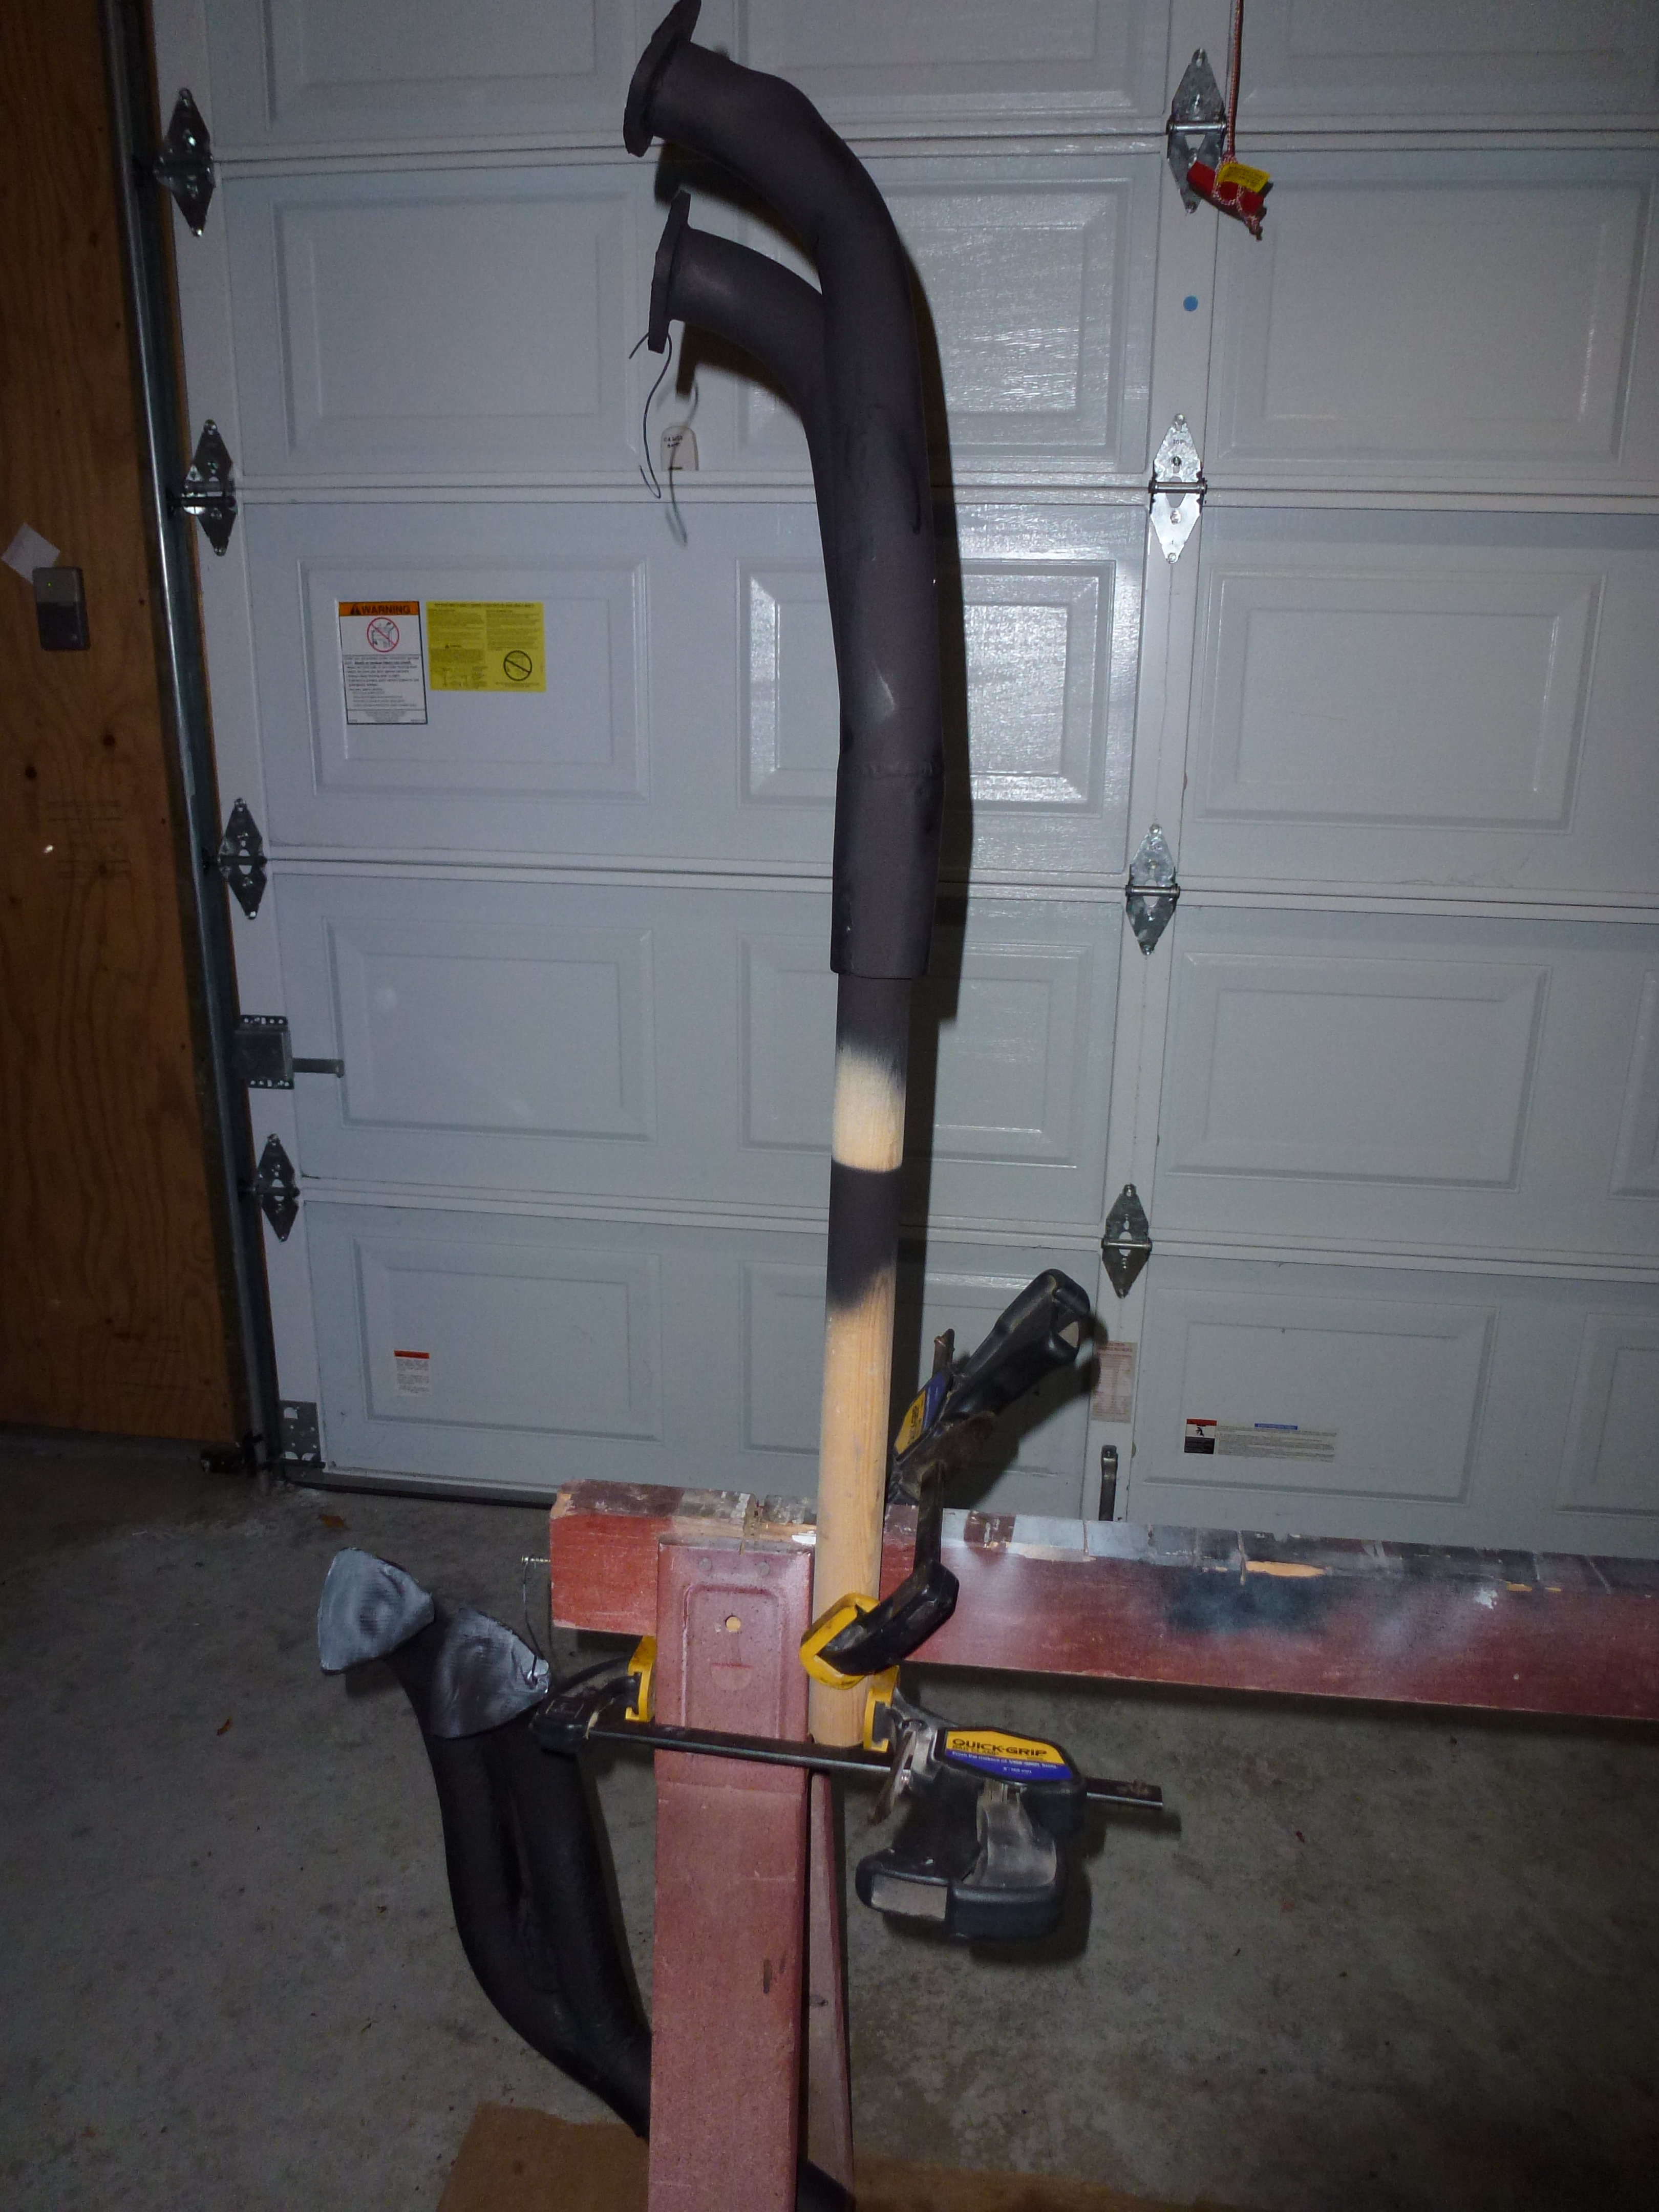
After going over them, I found two sets where one of the flanges wasn't aligned correctly for my headers. Perhaps they came from a GTC and Ferrari changed the angle due to a chassis difference. In any case, I ended up keeping the RH collector and using a used one for the LH side. When I first looked at the used one, I notice a couple of holes near the flanges. These were easily welded up with my little 110V MIG welder. Then I noticed a hole in between the two pipes near where they were welded into the single outlet. Of course, this was on the inside between the pipes. I bead blasted the whole area clean and took it back to my neighbor who has a 'real' MIG and much more experience welding than I have. Since this collector was used, the metal was thin and had a tendency to blow a hole through rather than weld nicely. We chased holes and leaks for quite a while, but finally got it finished. As you can see, I put a couple of pieces of plywood over the flanges so we could use a air gun to find any leaks in the weld with some soap bubbles. Note the orange cold chisel holding the pipes apart so the welding didn't warp the orientation.
After getting the leaks fixed, I tried to fit the collector to the headers and exhaust system. This collector didn't quite line up, so I ended up cutting a V slot almost through the outlet pipe. This let me put a bend in by pushing the two sides of the slot together. I bolted everything in place and tacked the slot together with my MIG. Then I took everything back to my neighbor's again to get the whole slot welded up.

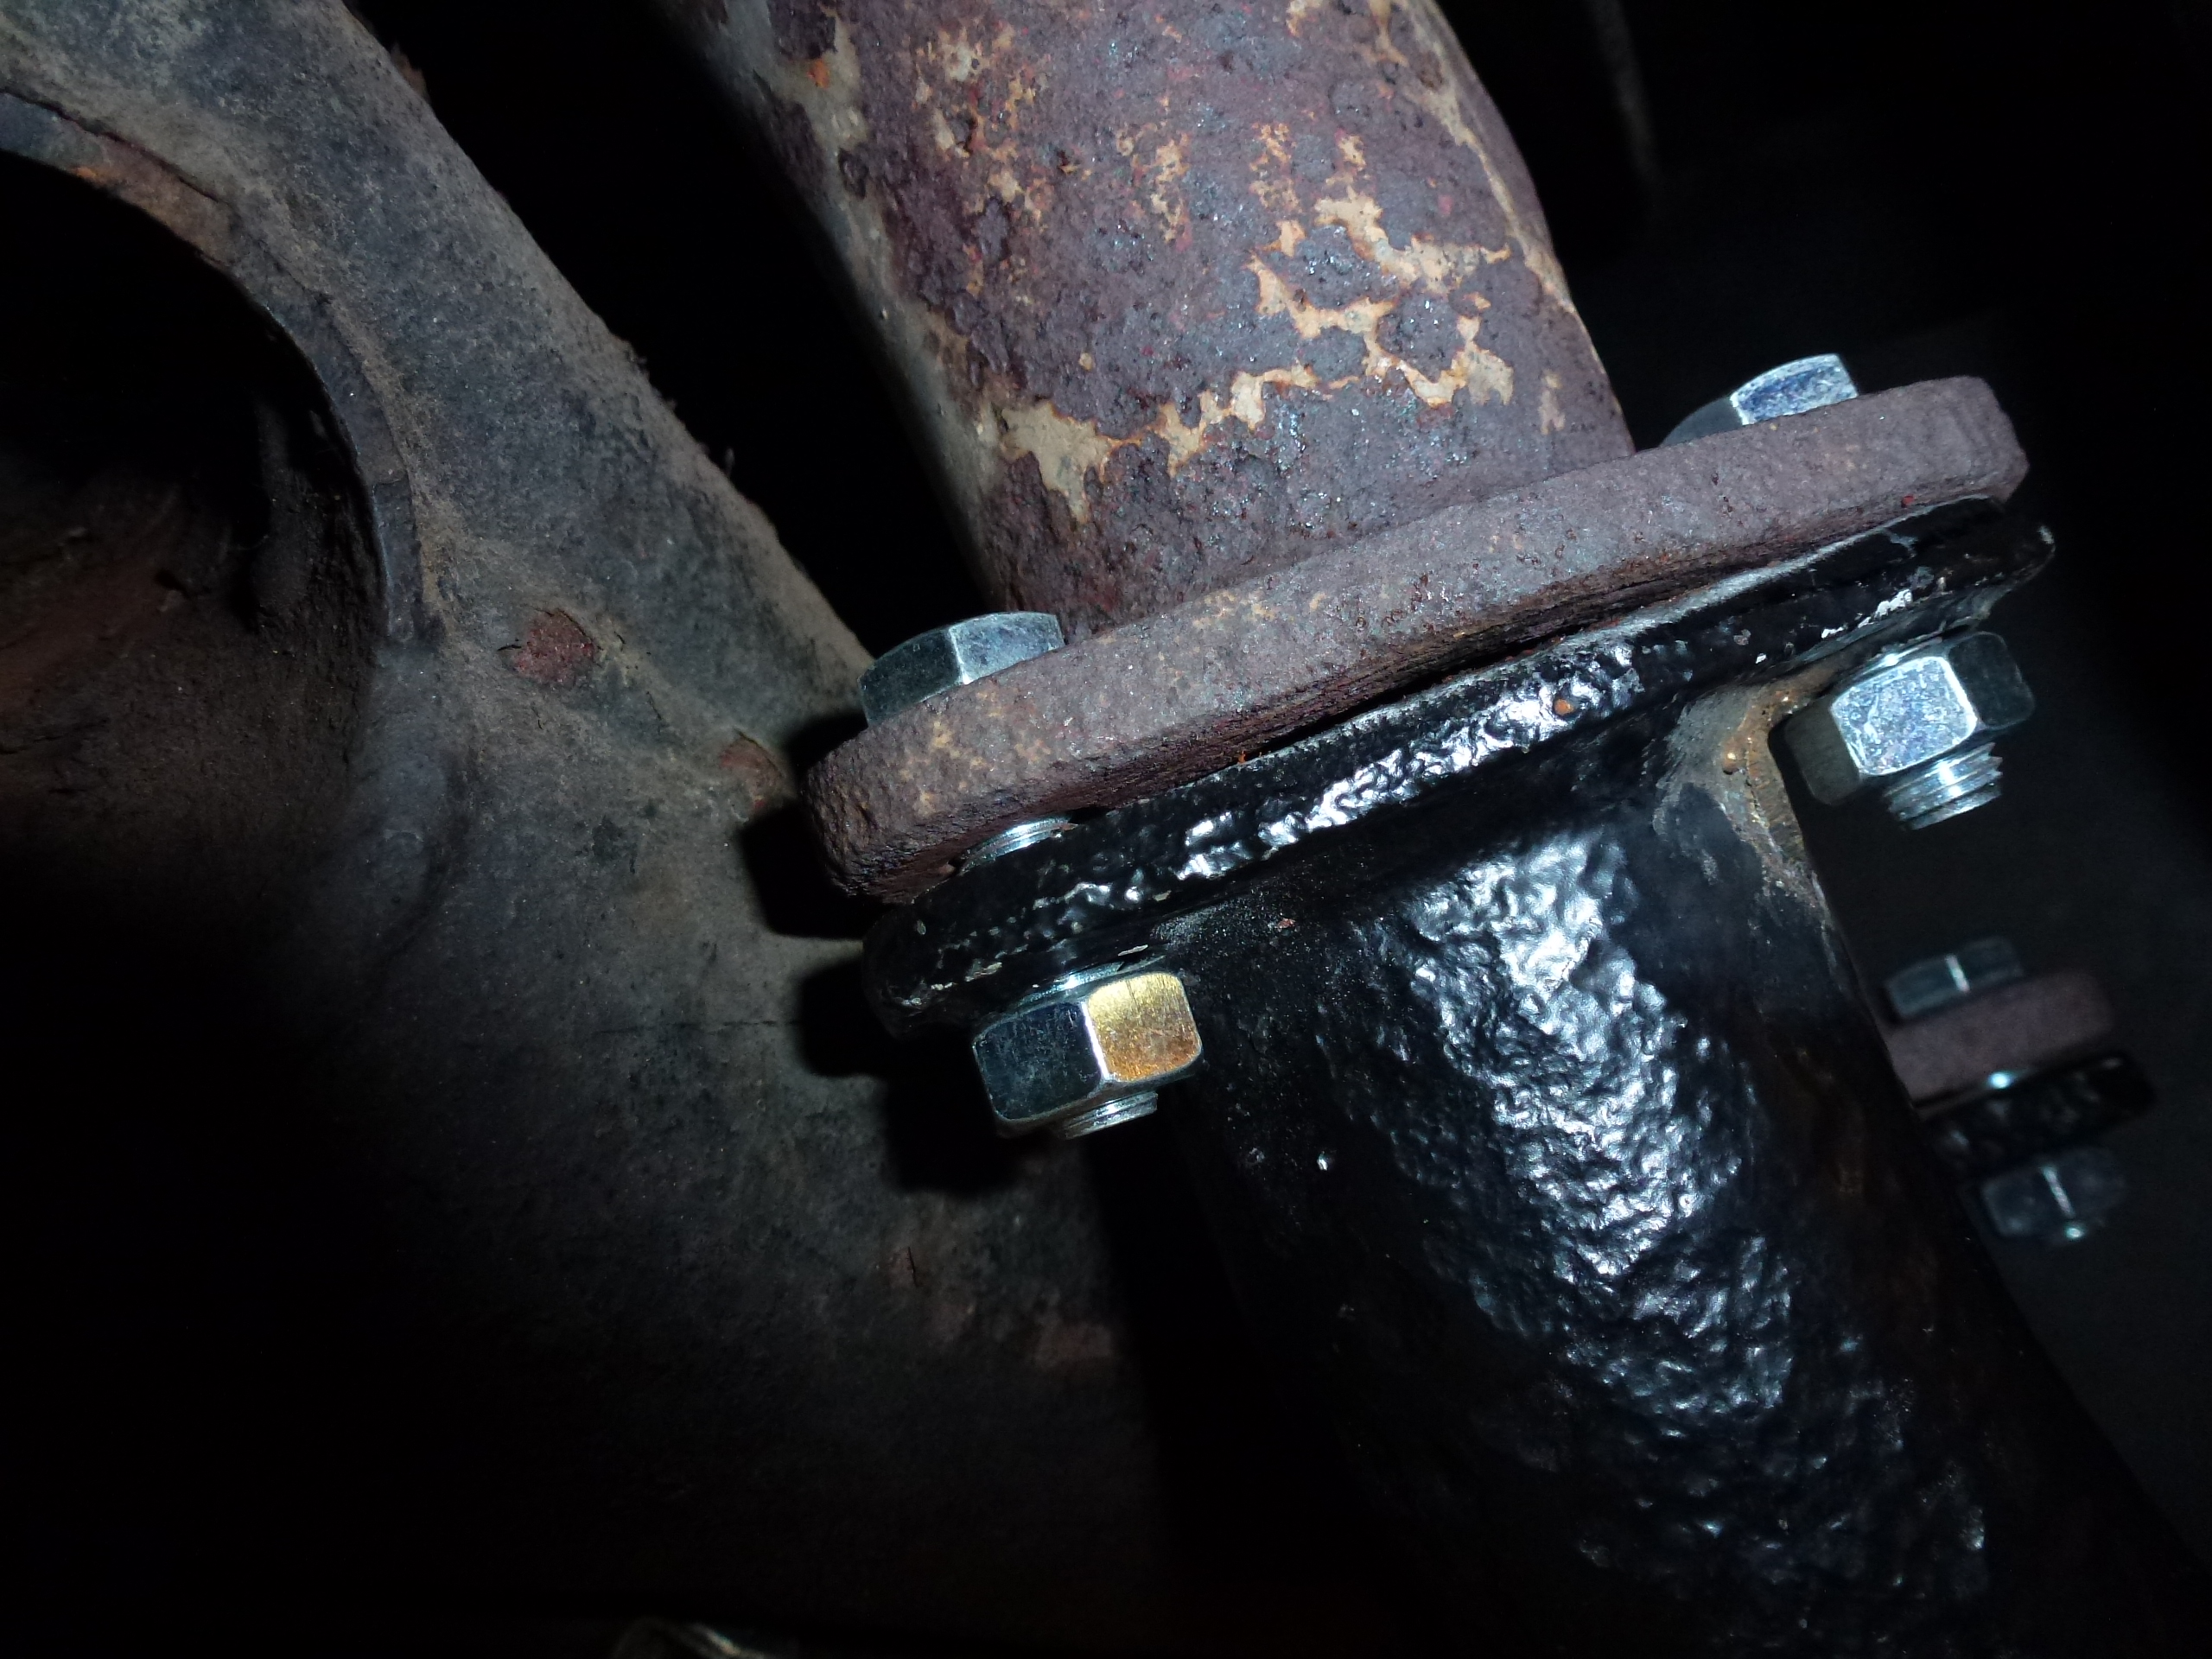
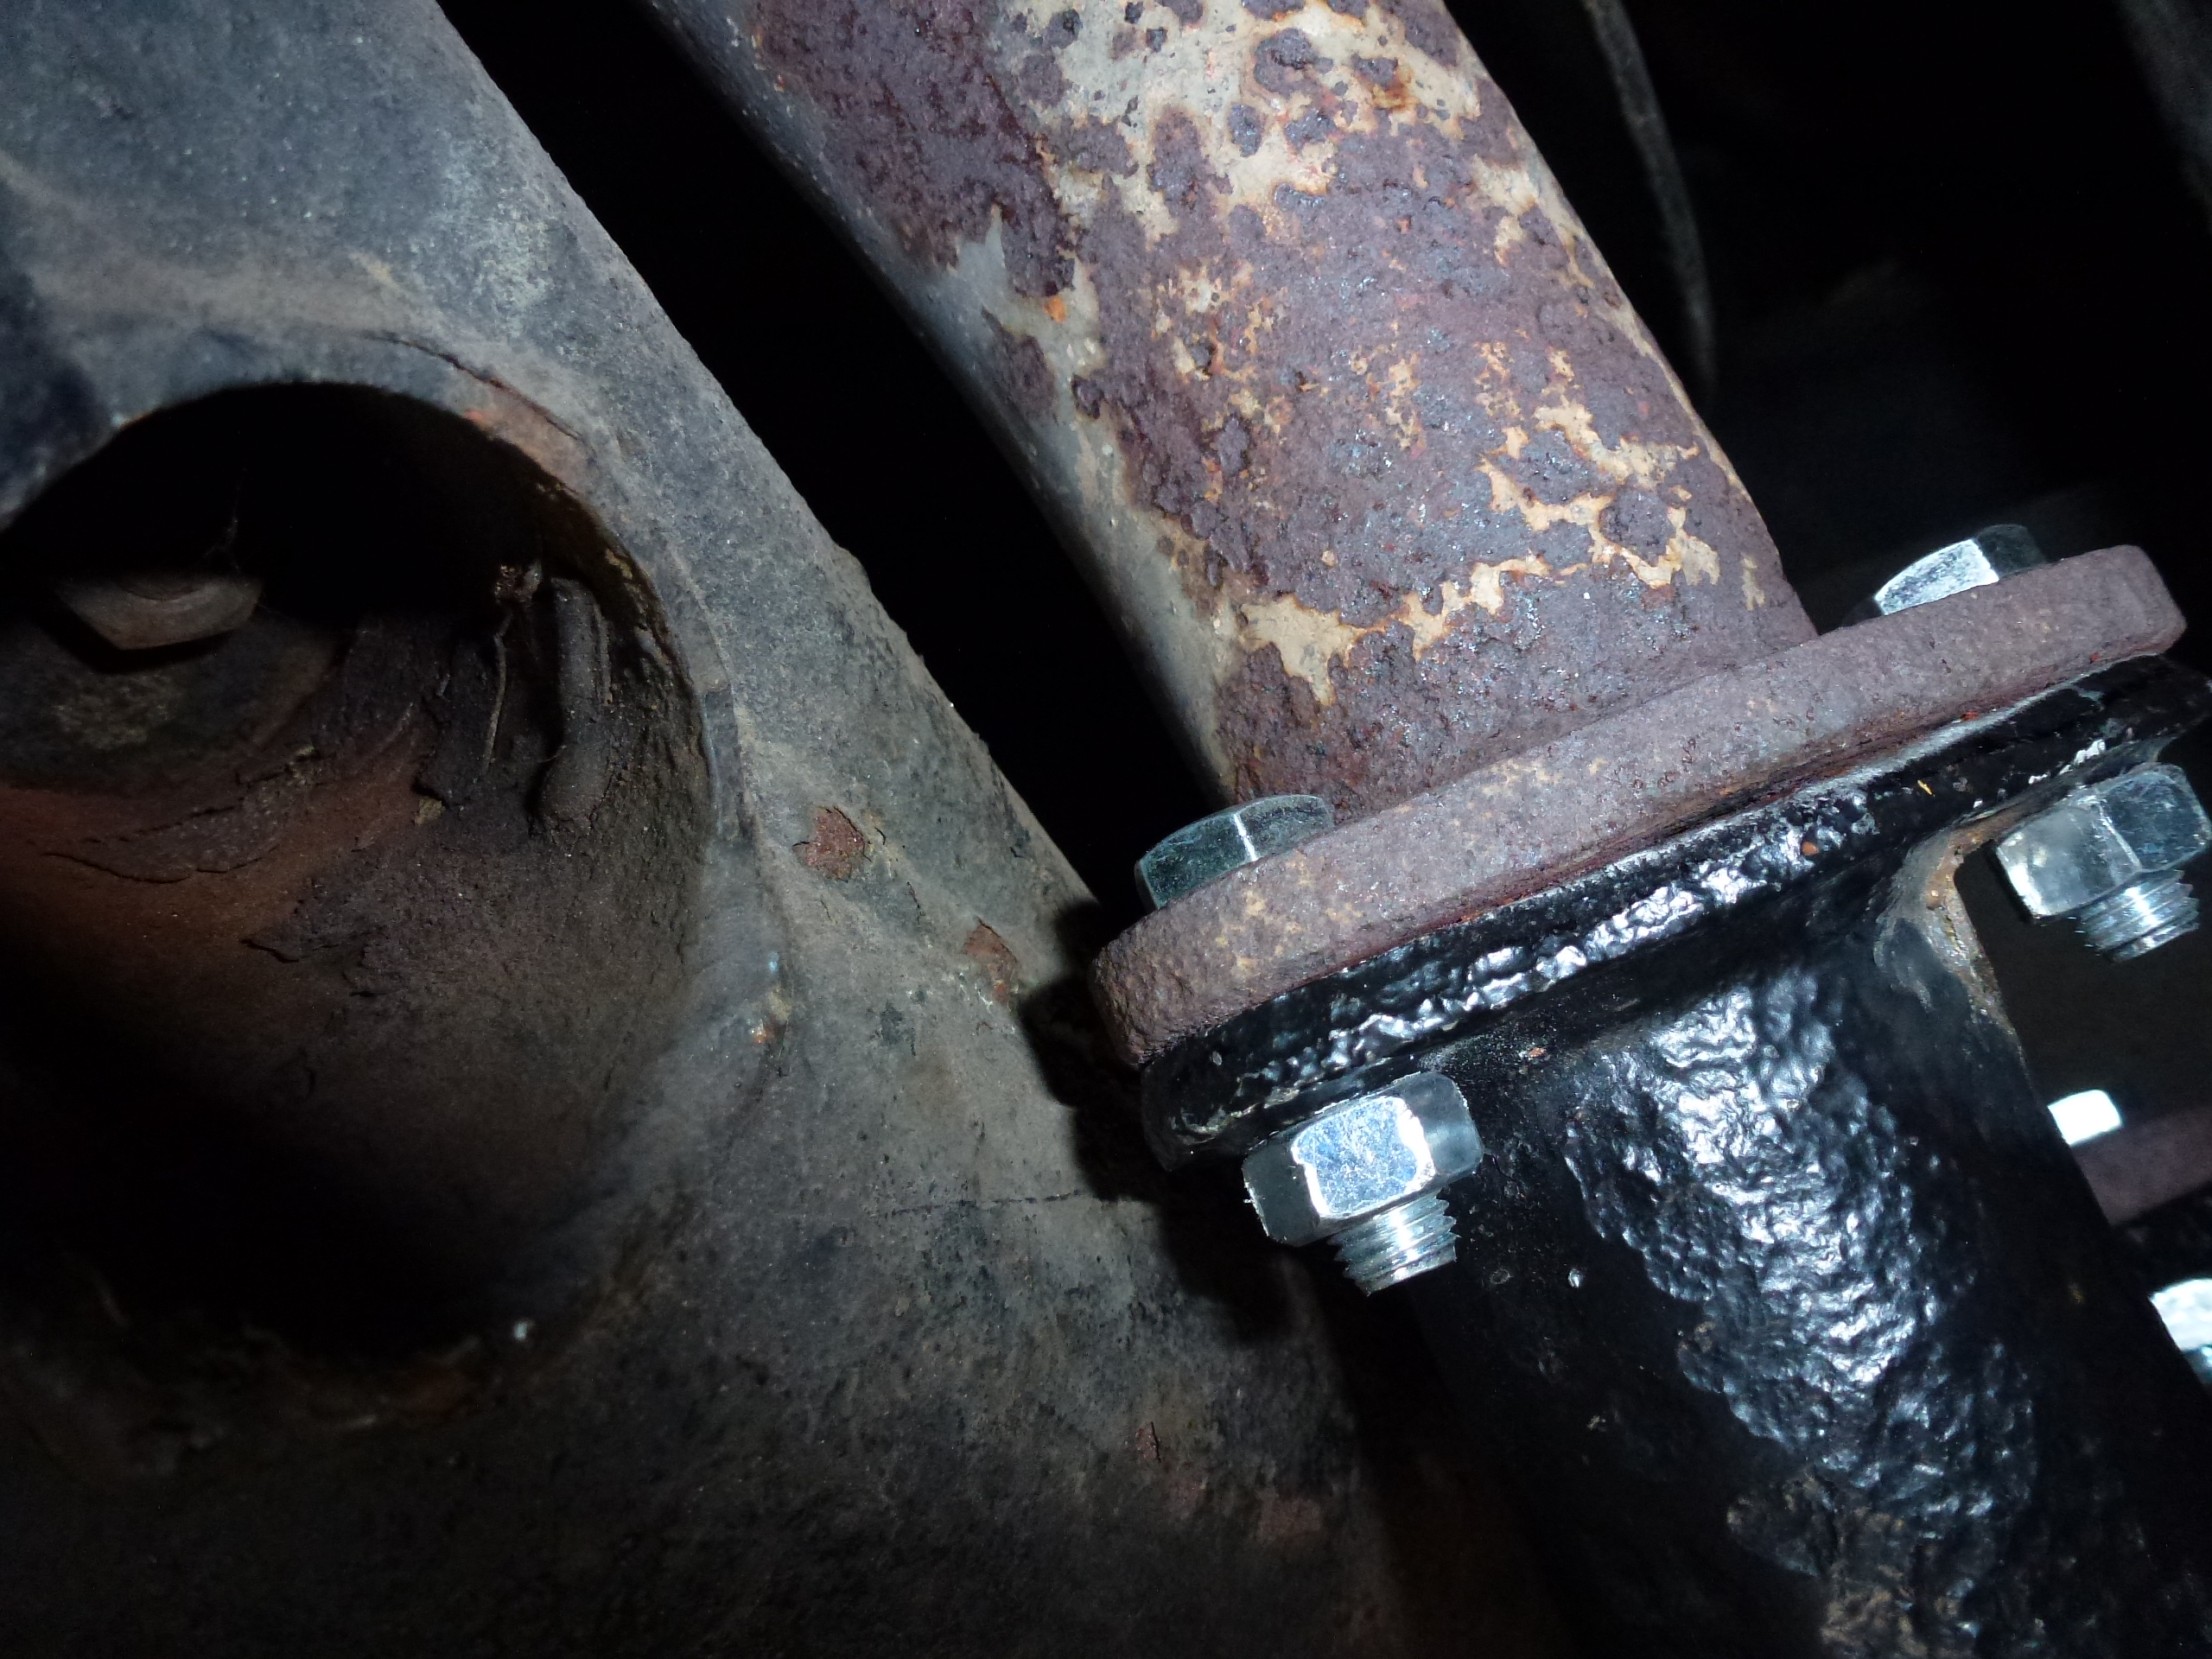
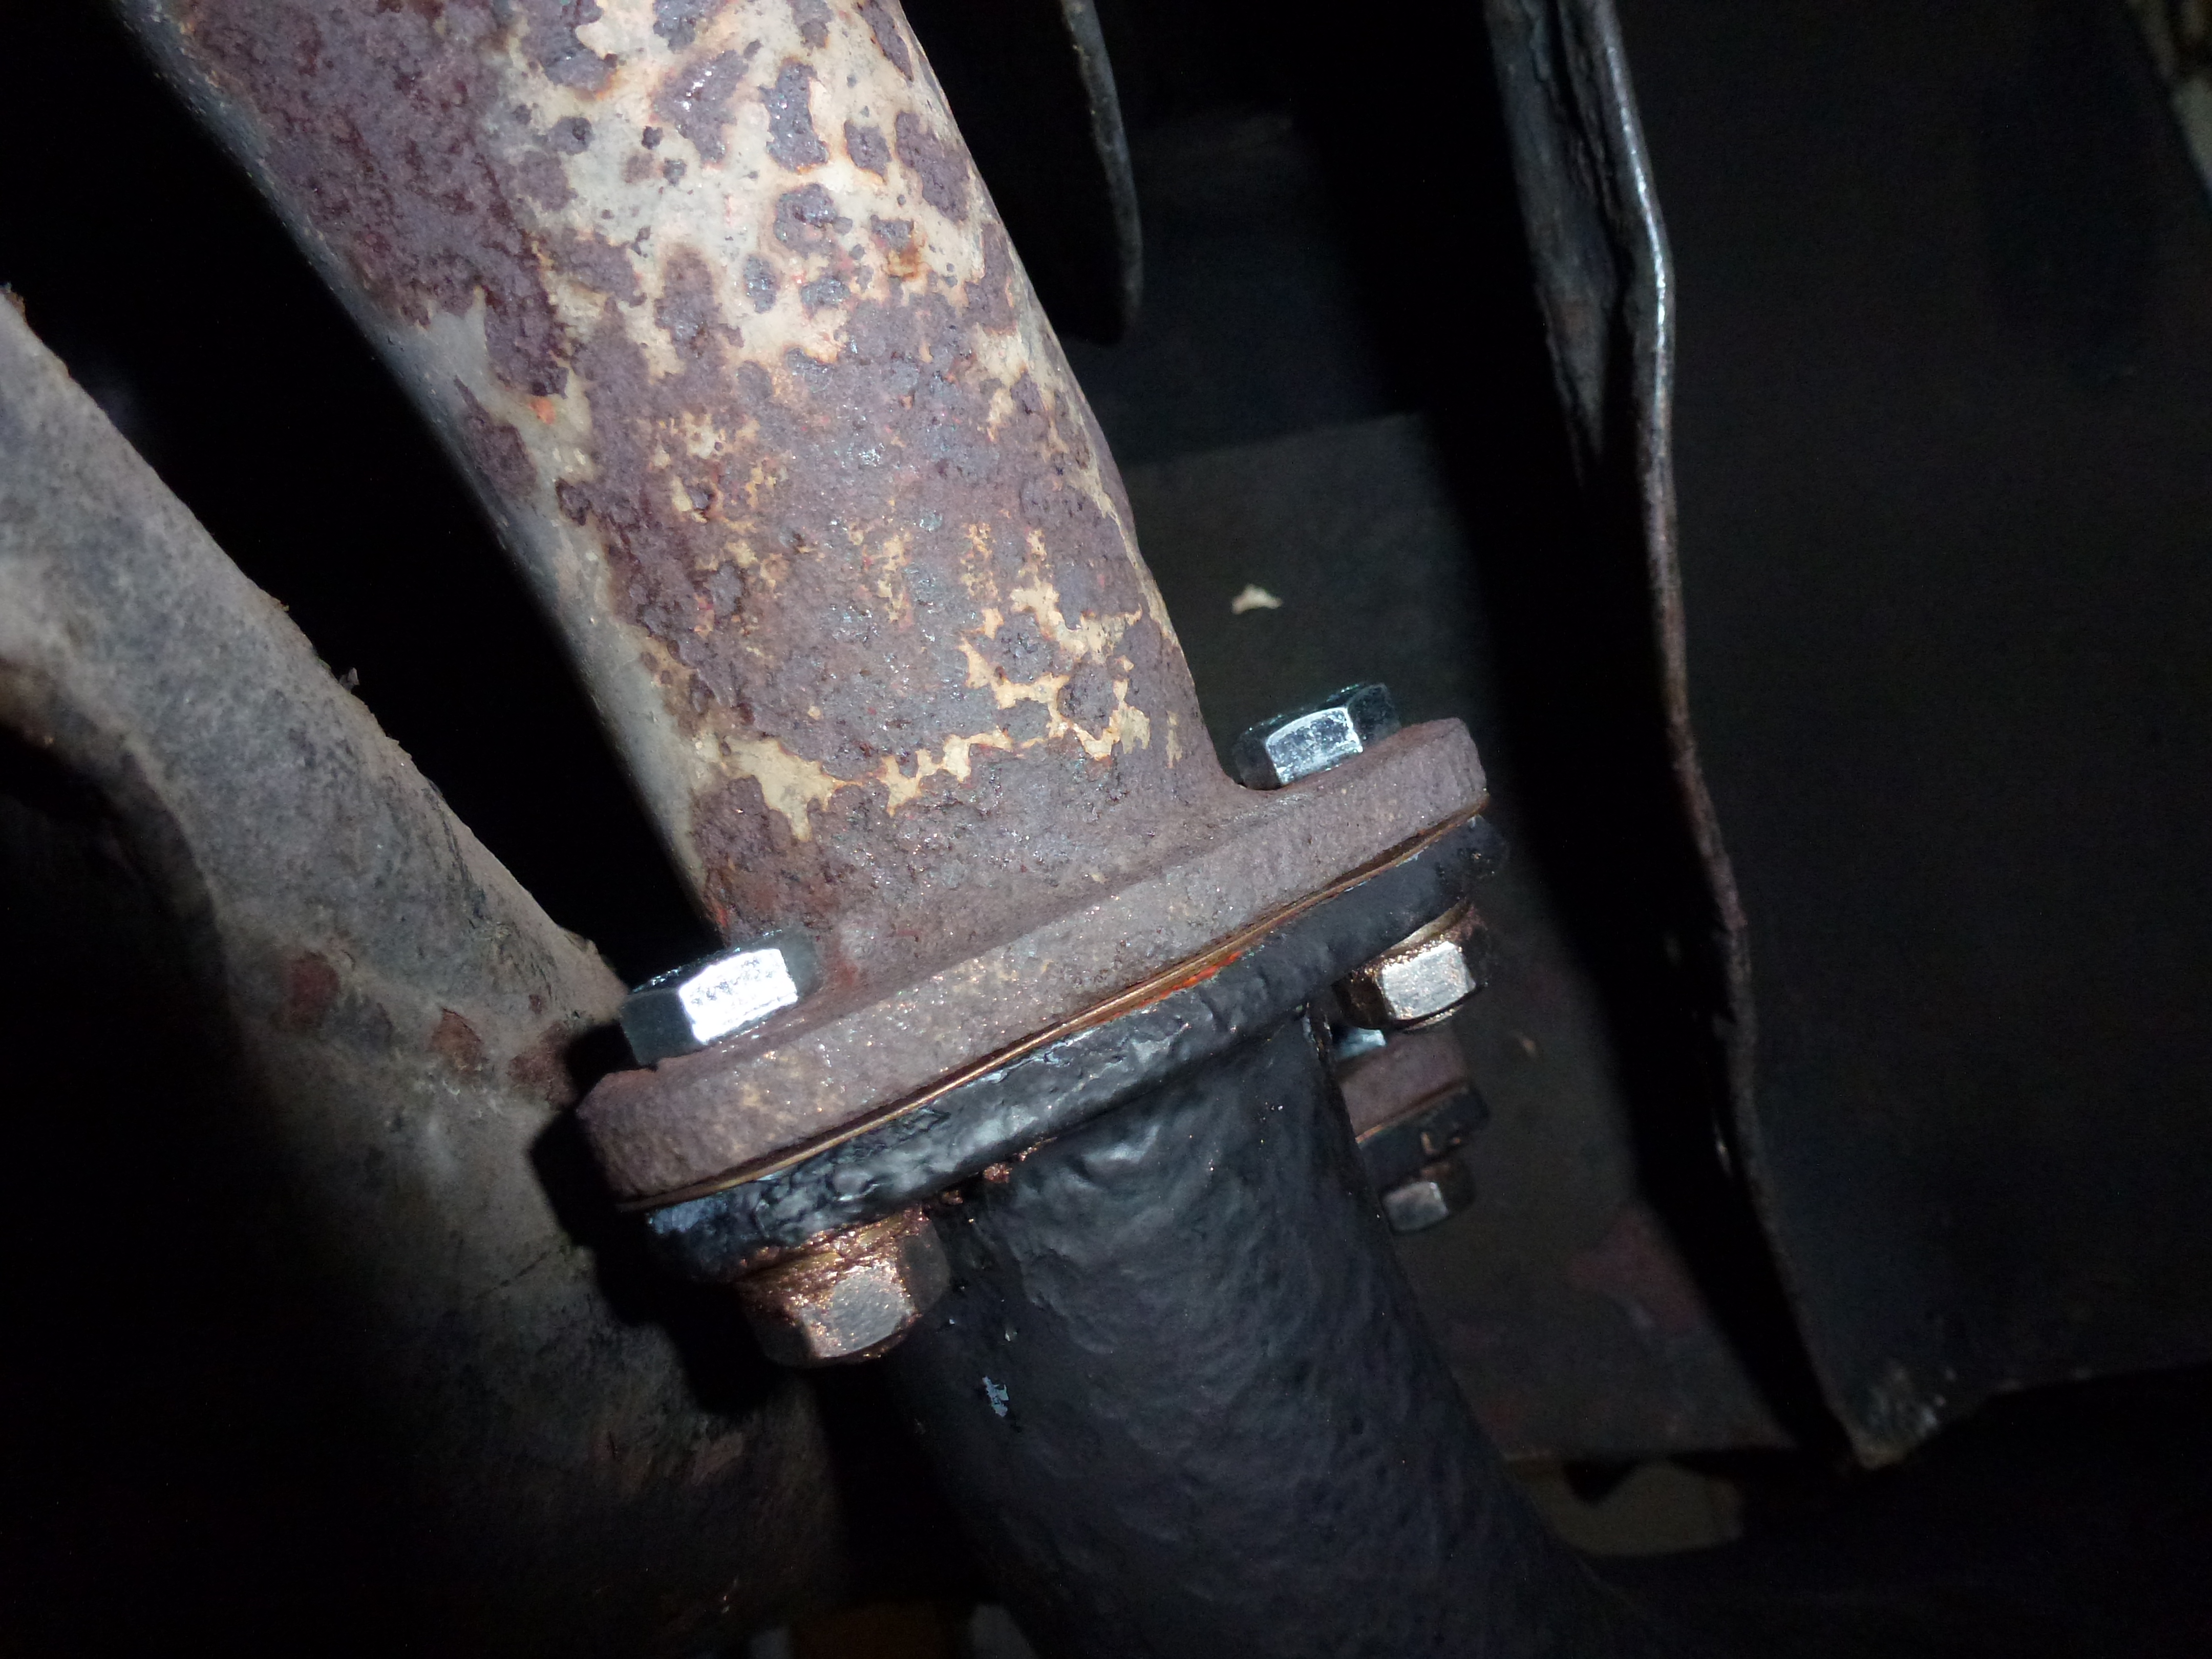
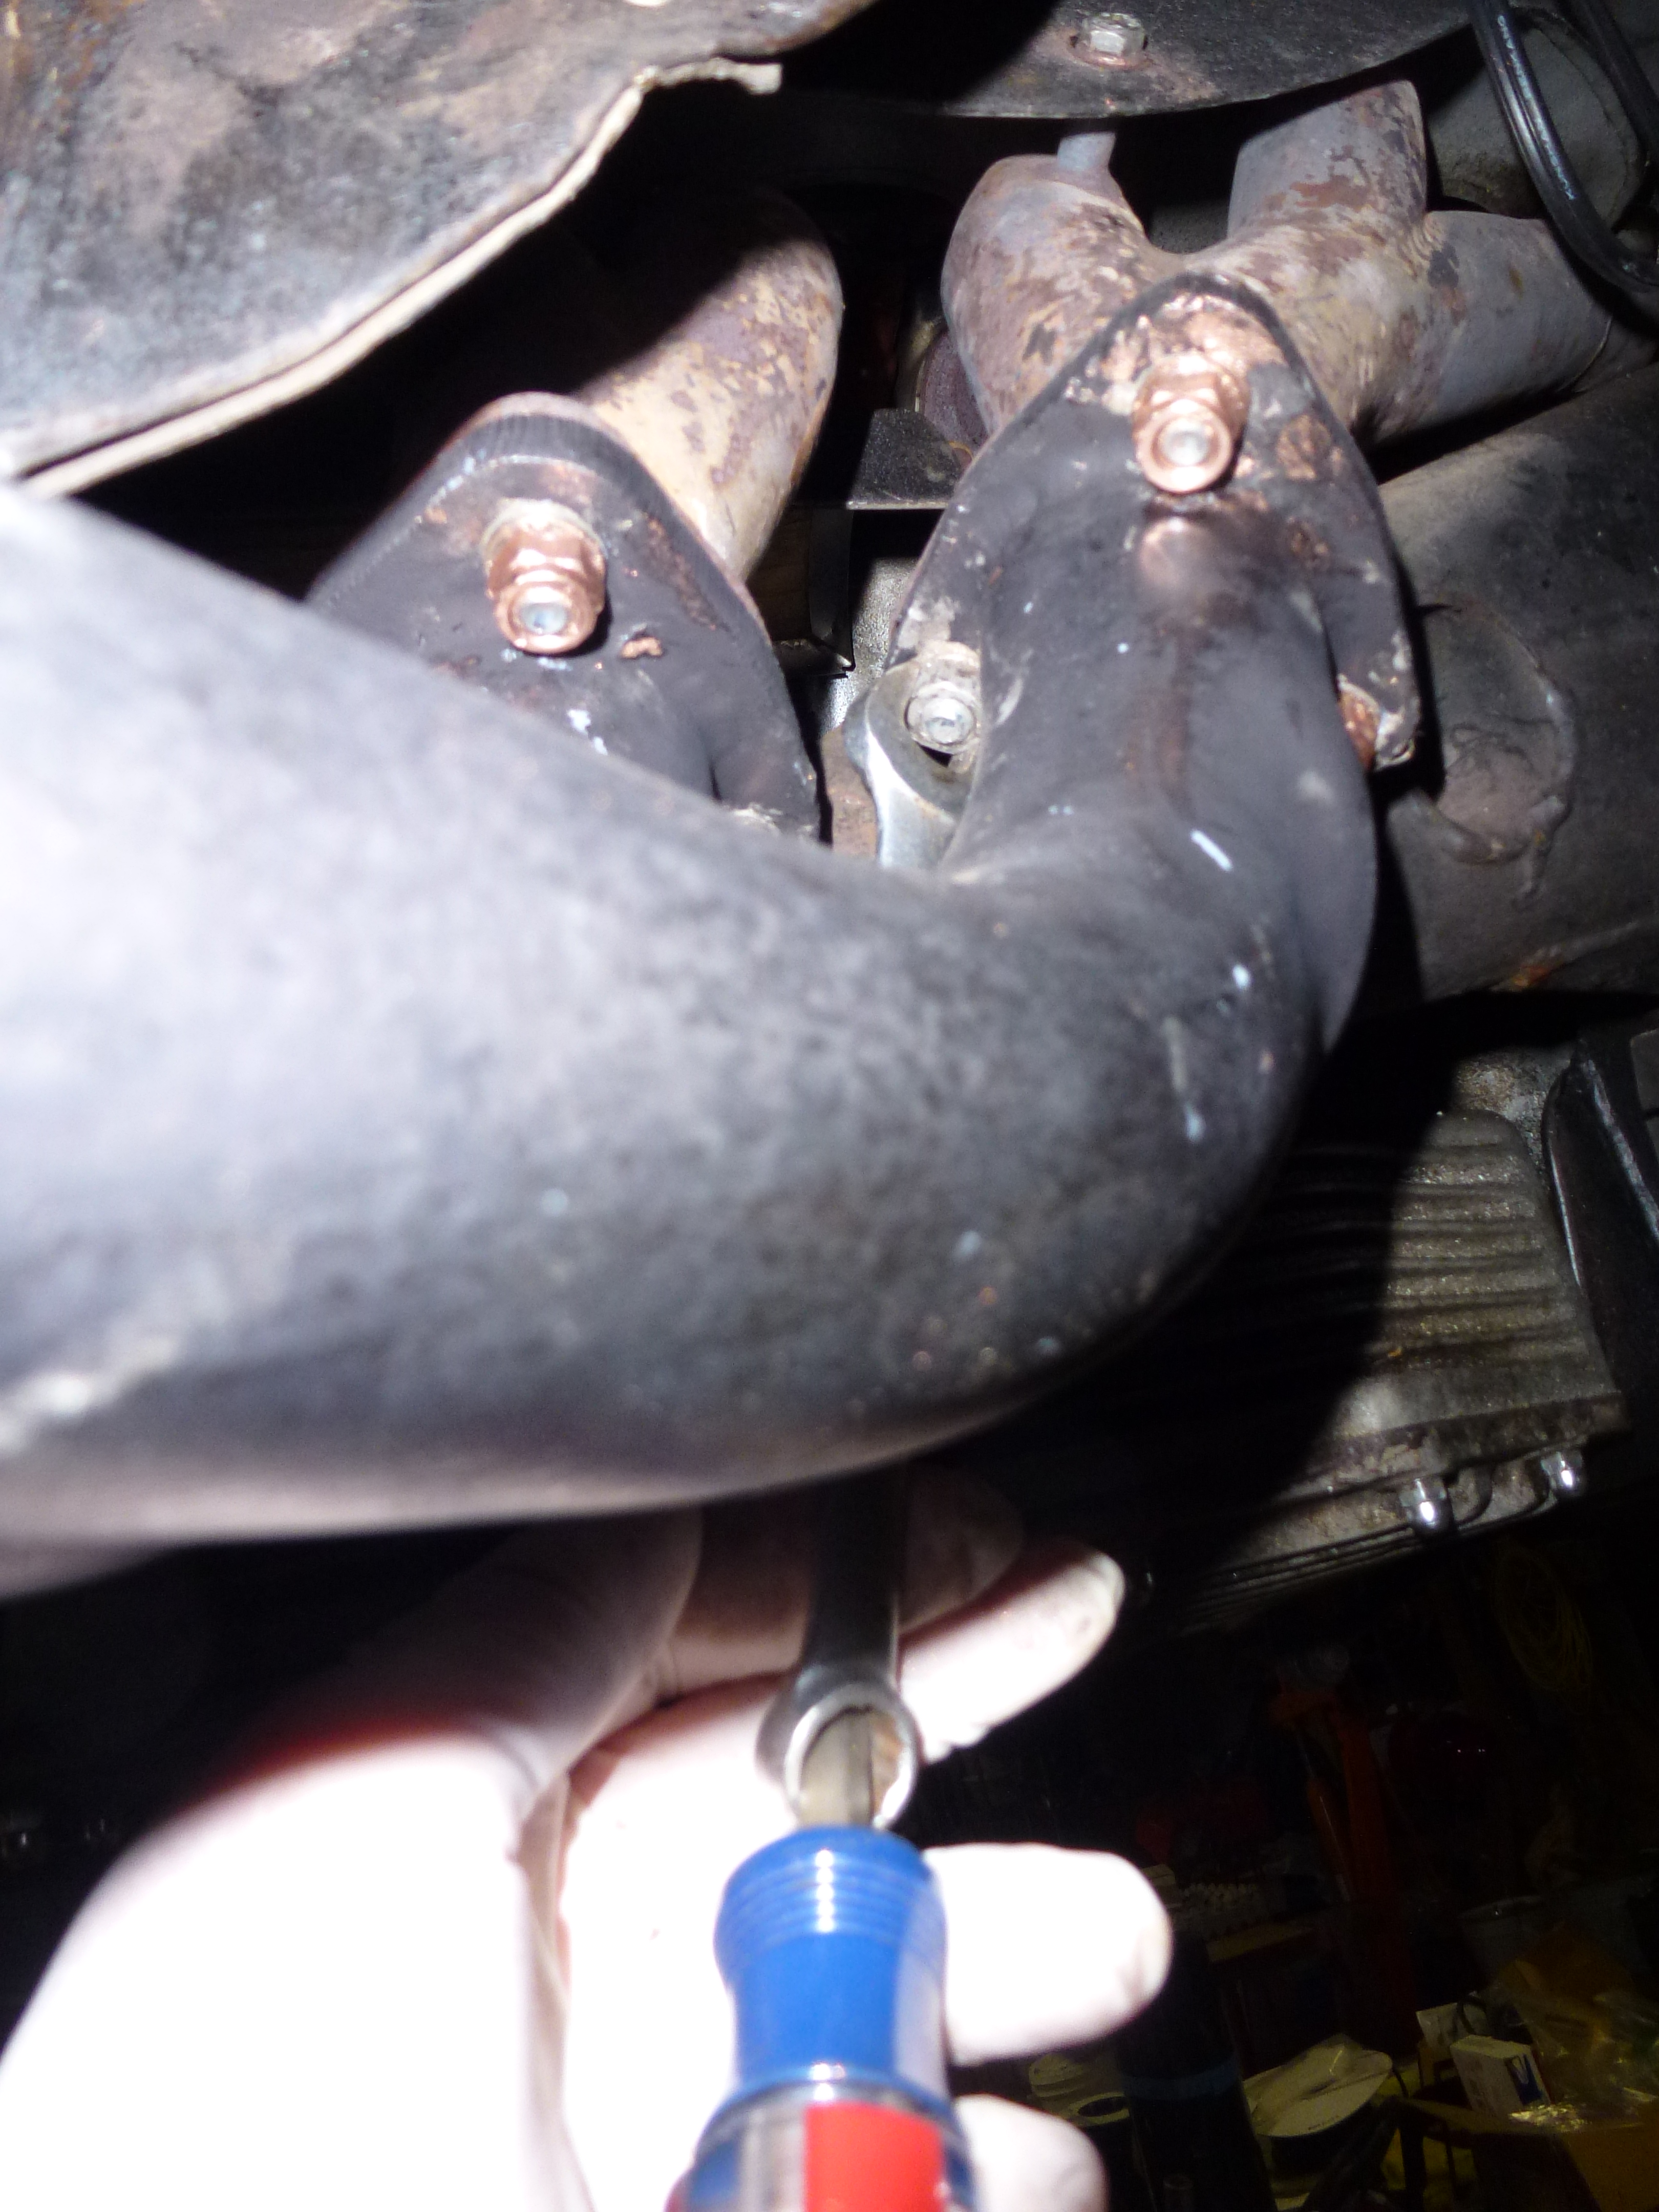
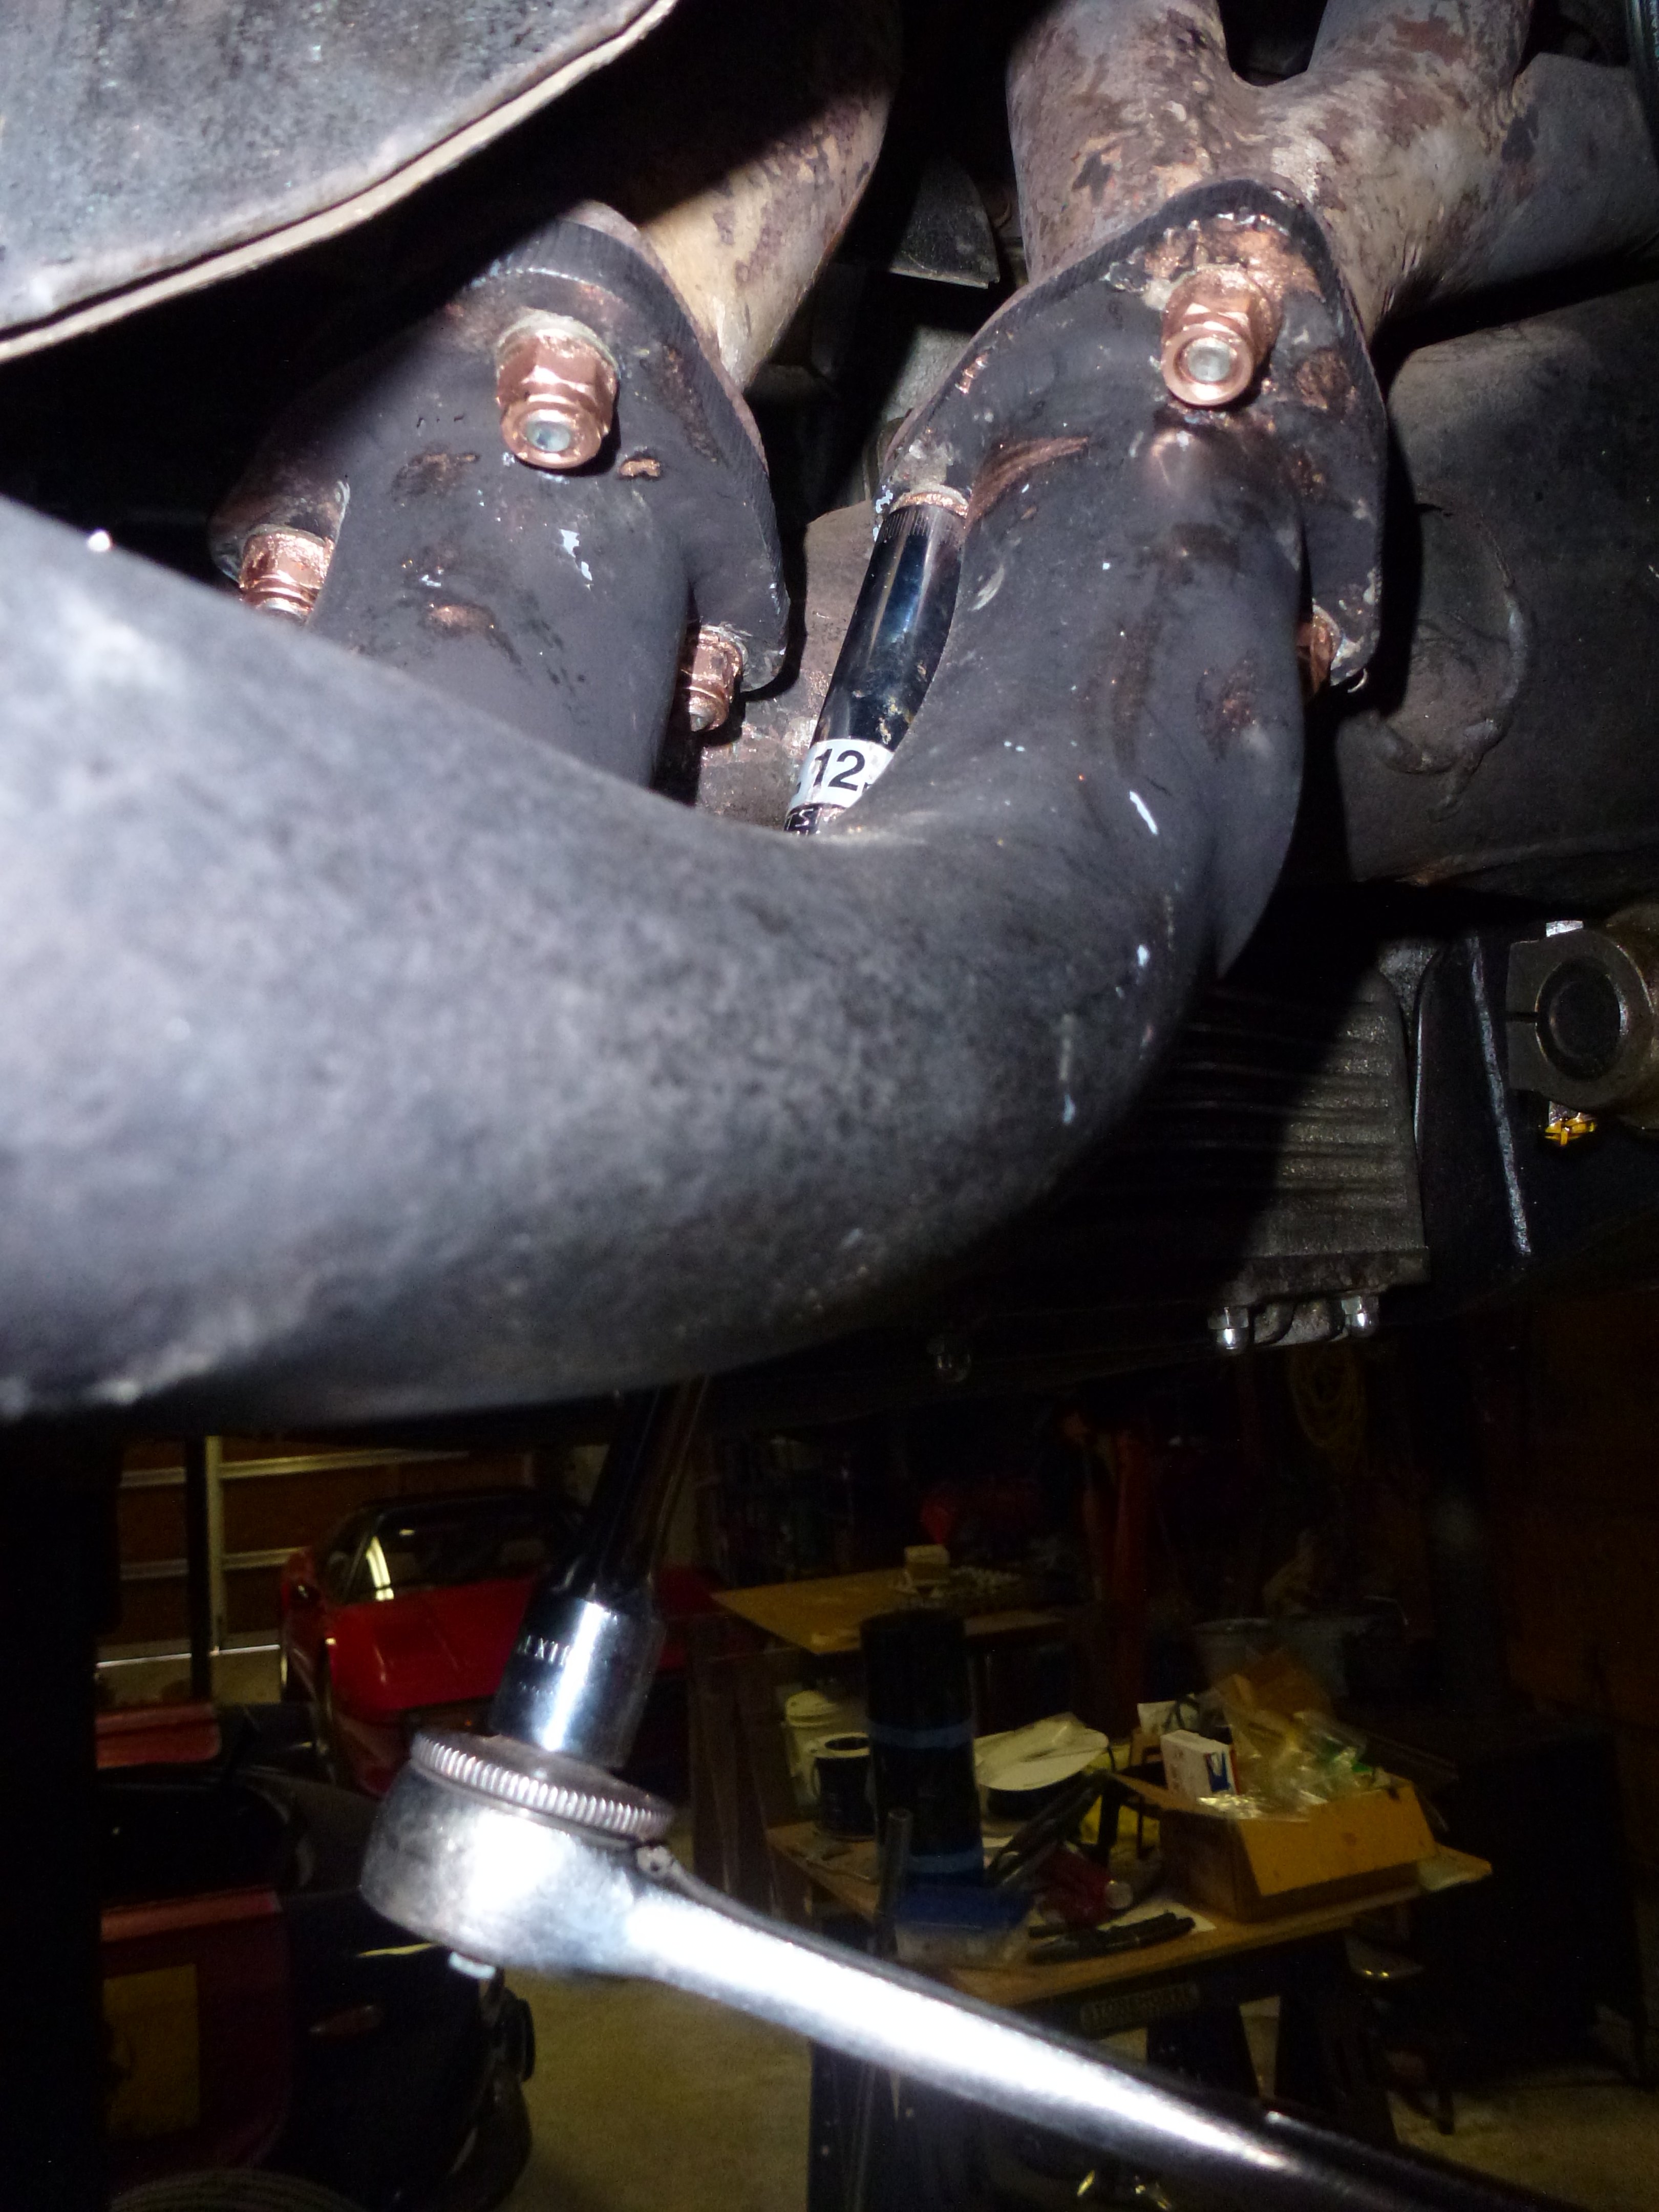
One of the issues with new collectors is getting the header to collector flanges to fit tight. The header flanges are on two different pipes that are welded together to form a single pipe leading to the muffle section. Both sets of flanges are at different angles to each other. So no matter how accurately the collectors are made, it is likely that everything does not line up properly. Several years ago, I asked Carlo Durante (Alfa of Tacoma) how to solve this problem. Carlo said to bolt up the collectors to the headers without gaskets. Then using a torch with a rosebud tip, heat the collector pipes cherry red and tighten the bolts. This will allow the collector pipes to bend so their flanges become tight against the header flanges. Once everything has cooled down, insert the copper flange gaskets and you should be good. Of course, the collector pipes will have had the paint burned off during this process, so new paint or powder coating will be needed. Here you can see the gap at the left side.
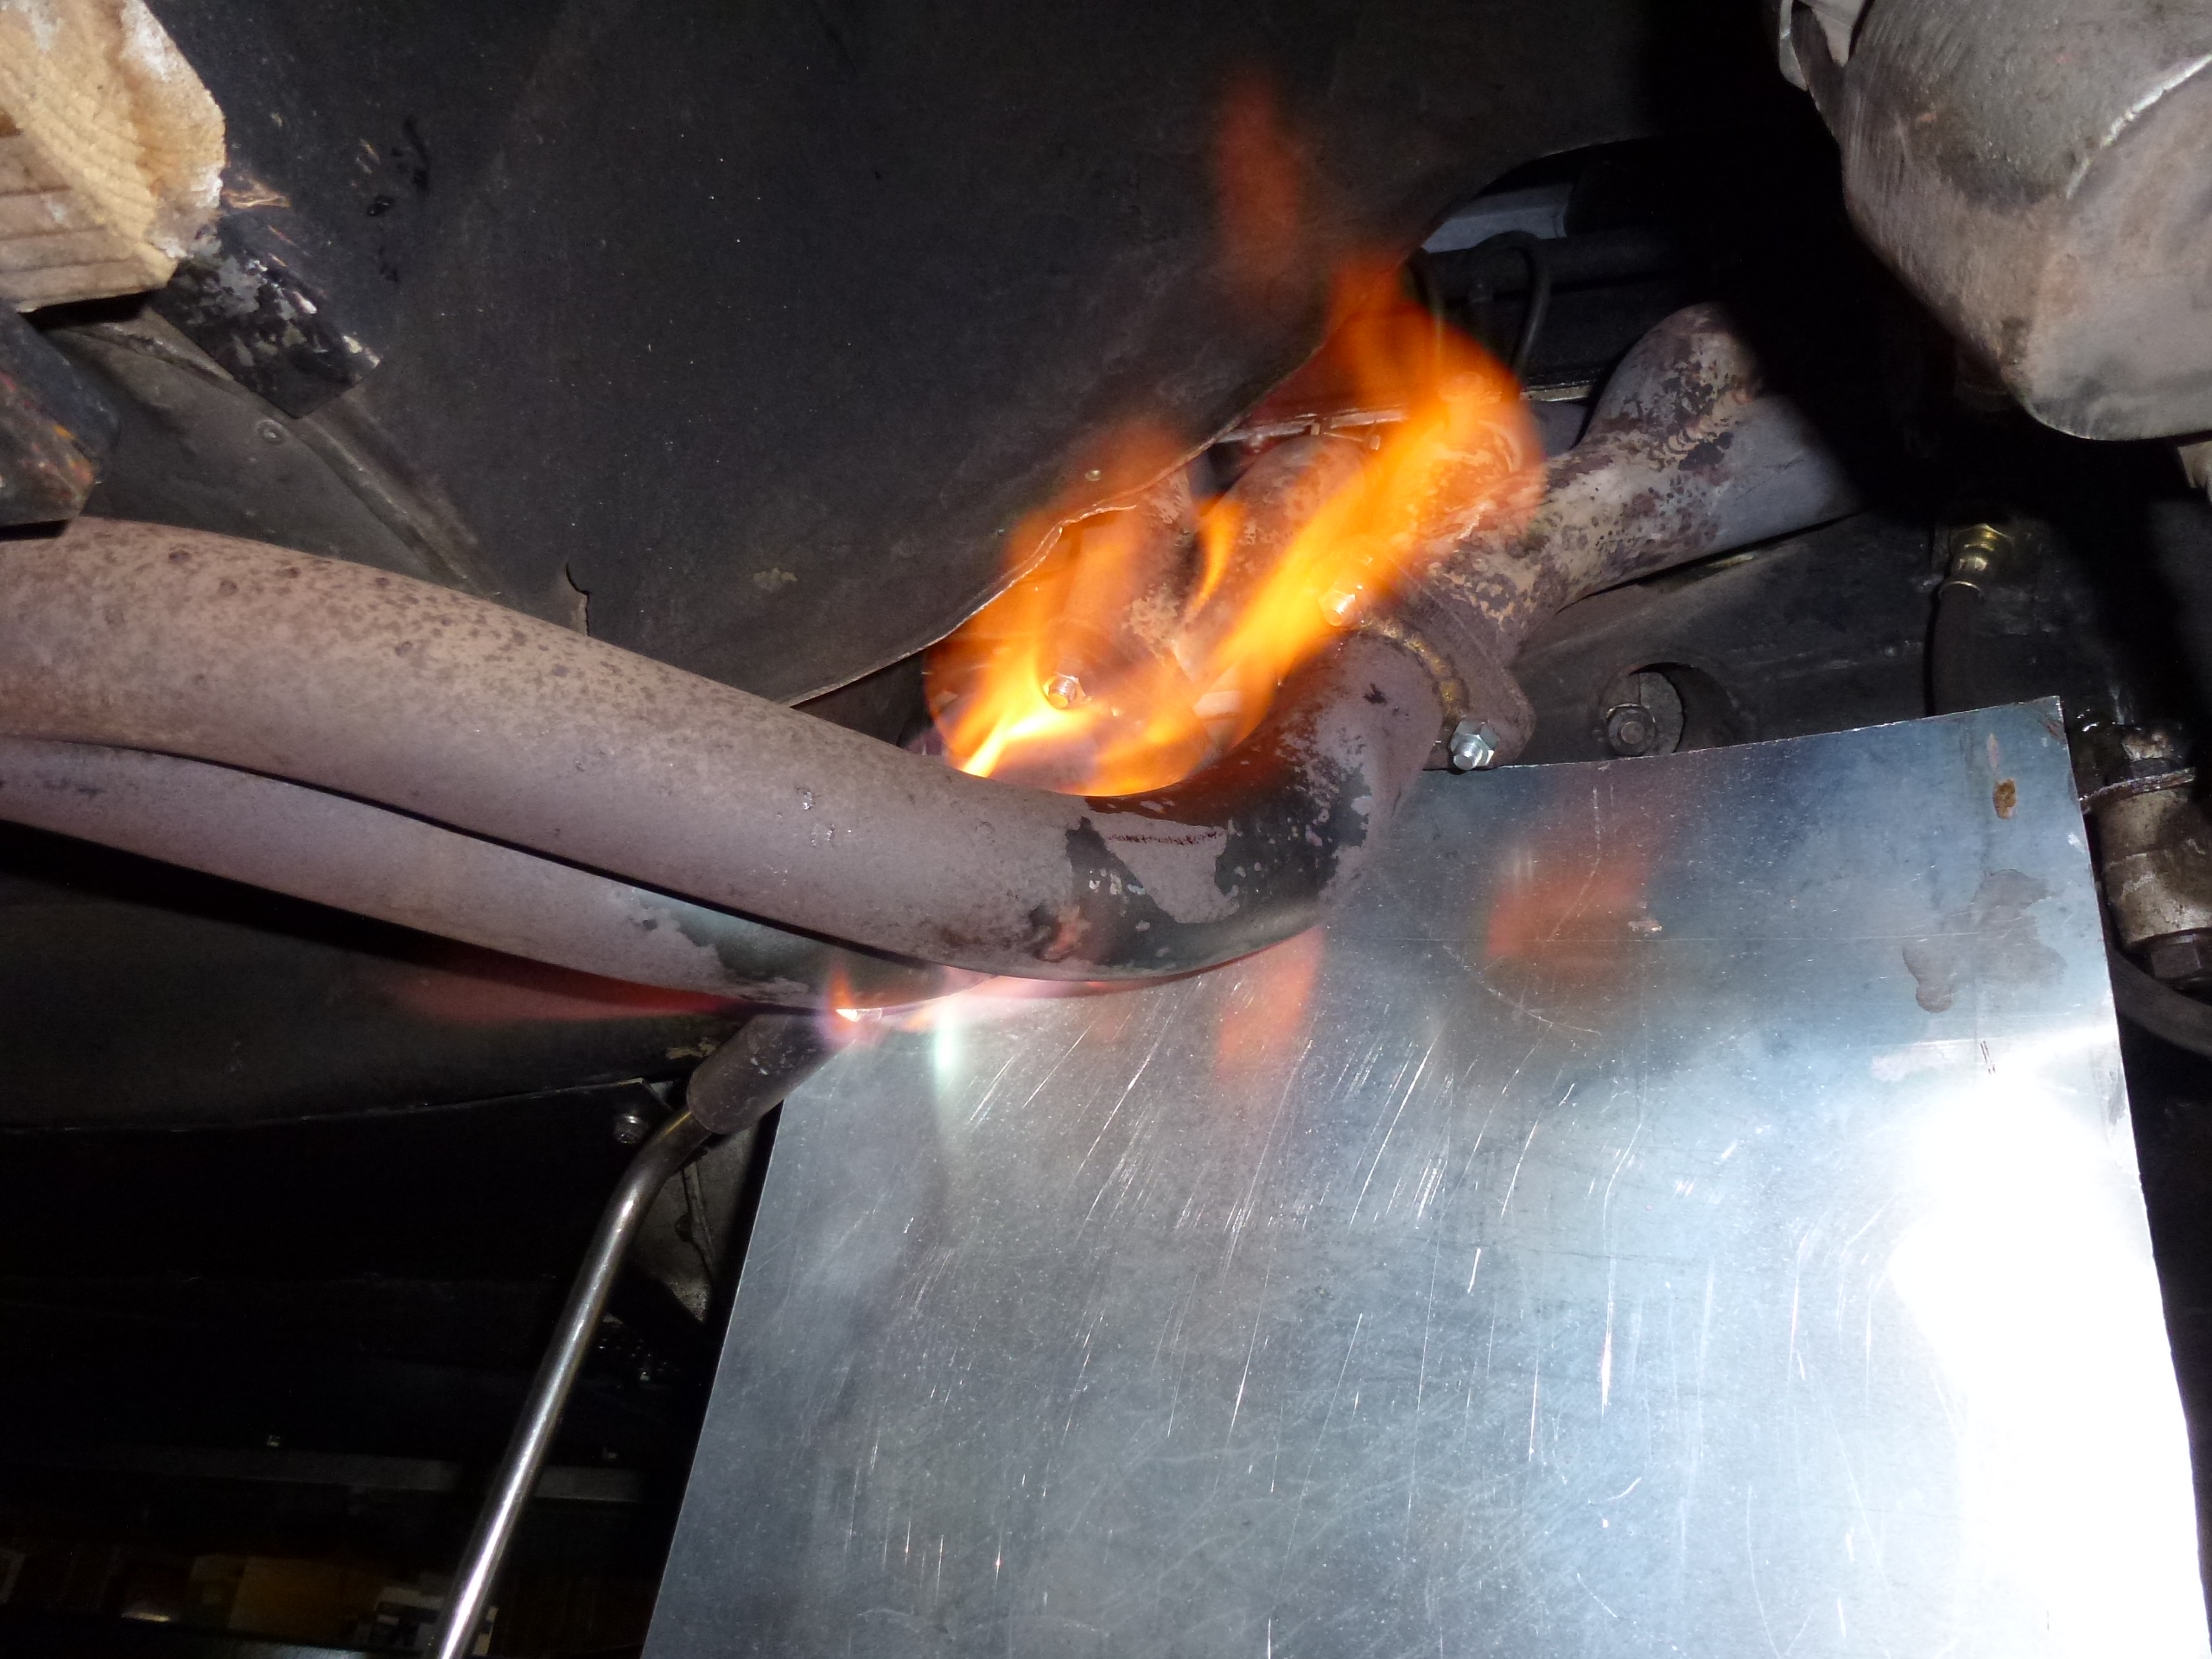
Heating those pipes and not starting a fire is a good trick, particularly on the left side where the fuel line runs nearby. An aluminum plate was used to protect the chassis and sump area with another one held in front of the brake line. We heated up each side twice, tightening all of the bolts between each time before letting it cool down. Very little additional tightening occurred after the second heating, so that was probably not necessary.
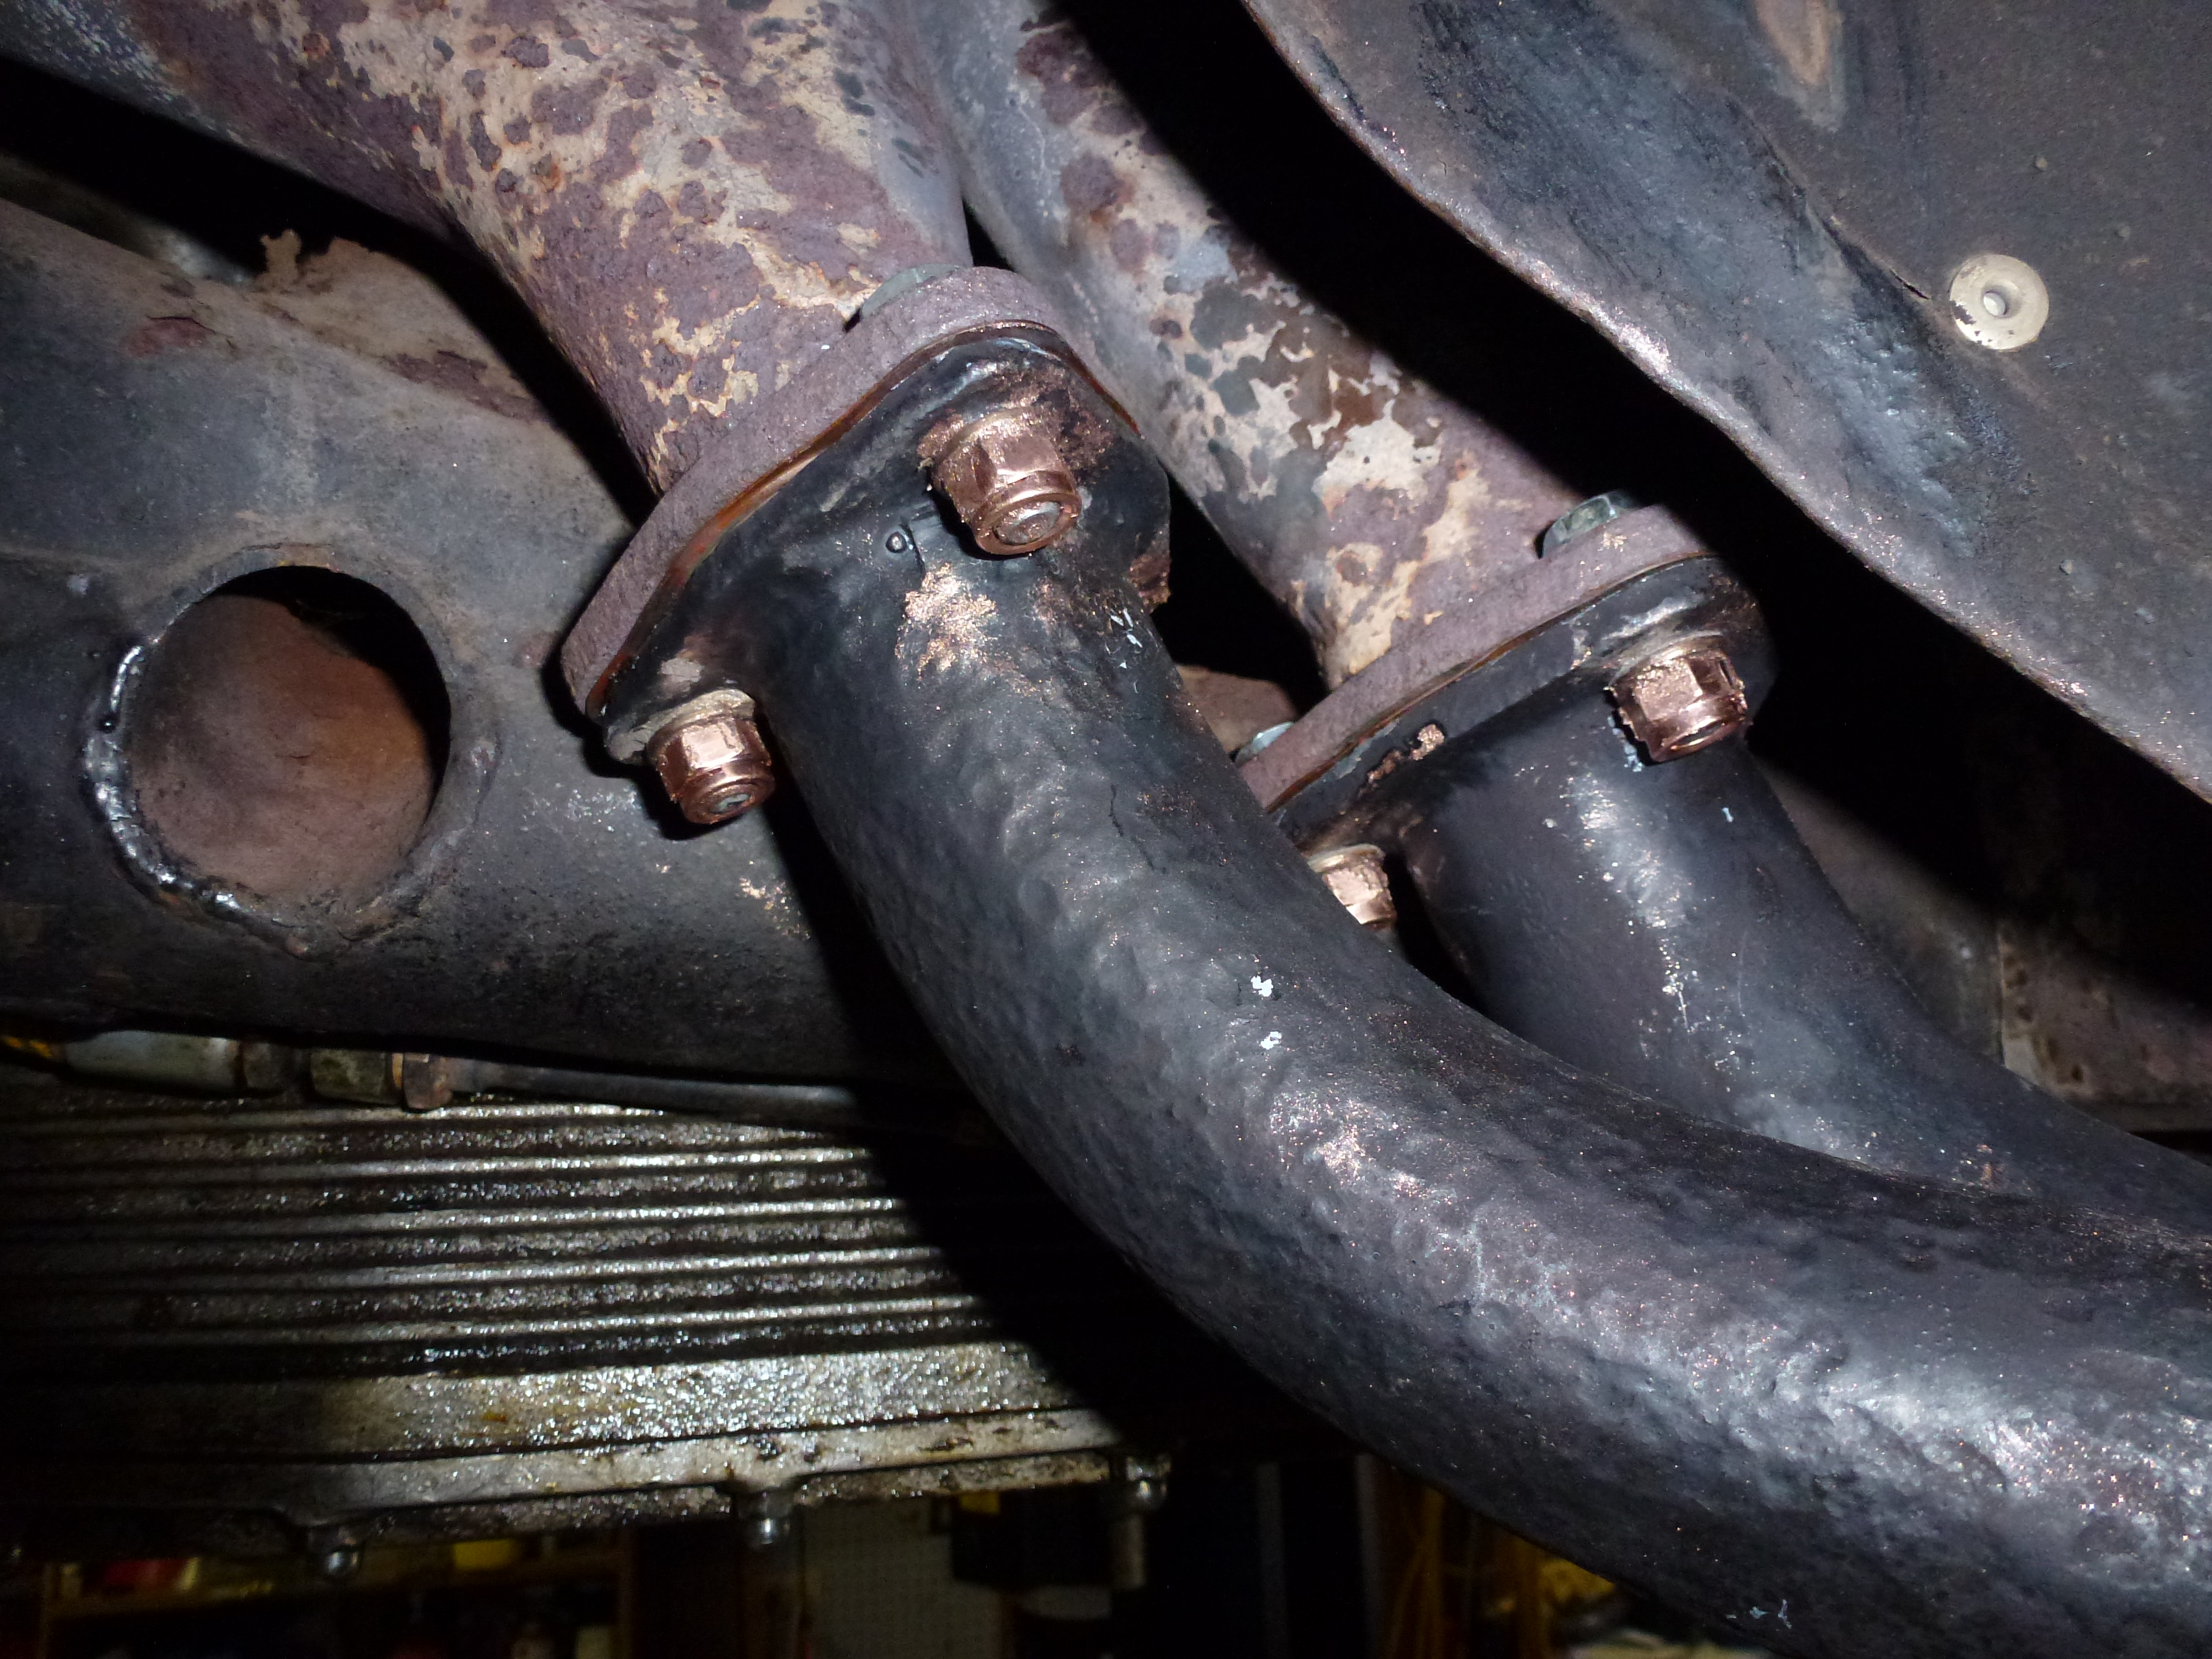
Here you can see the same joint between the flanges with that corner nice and tight now.
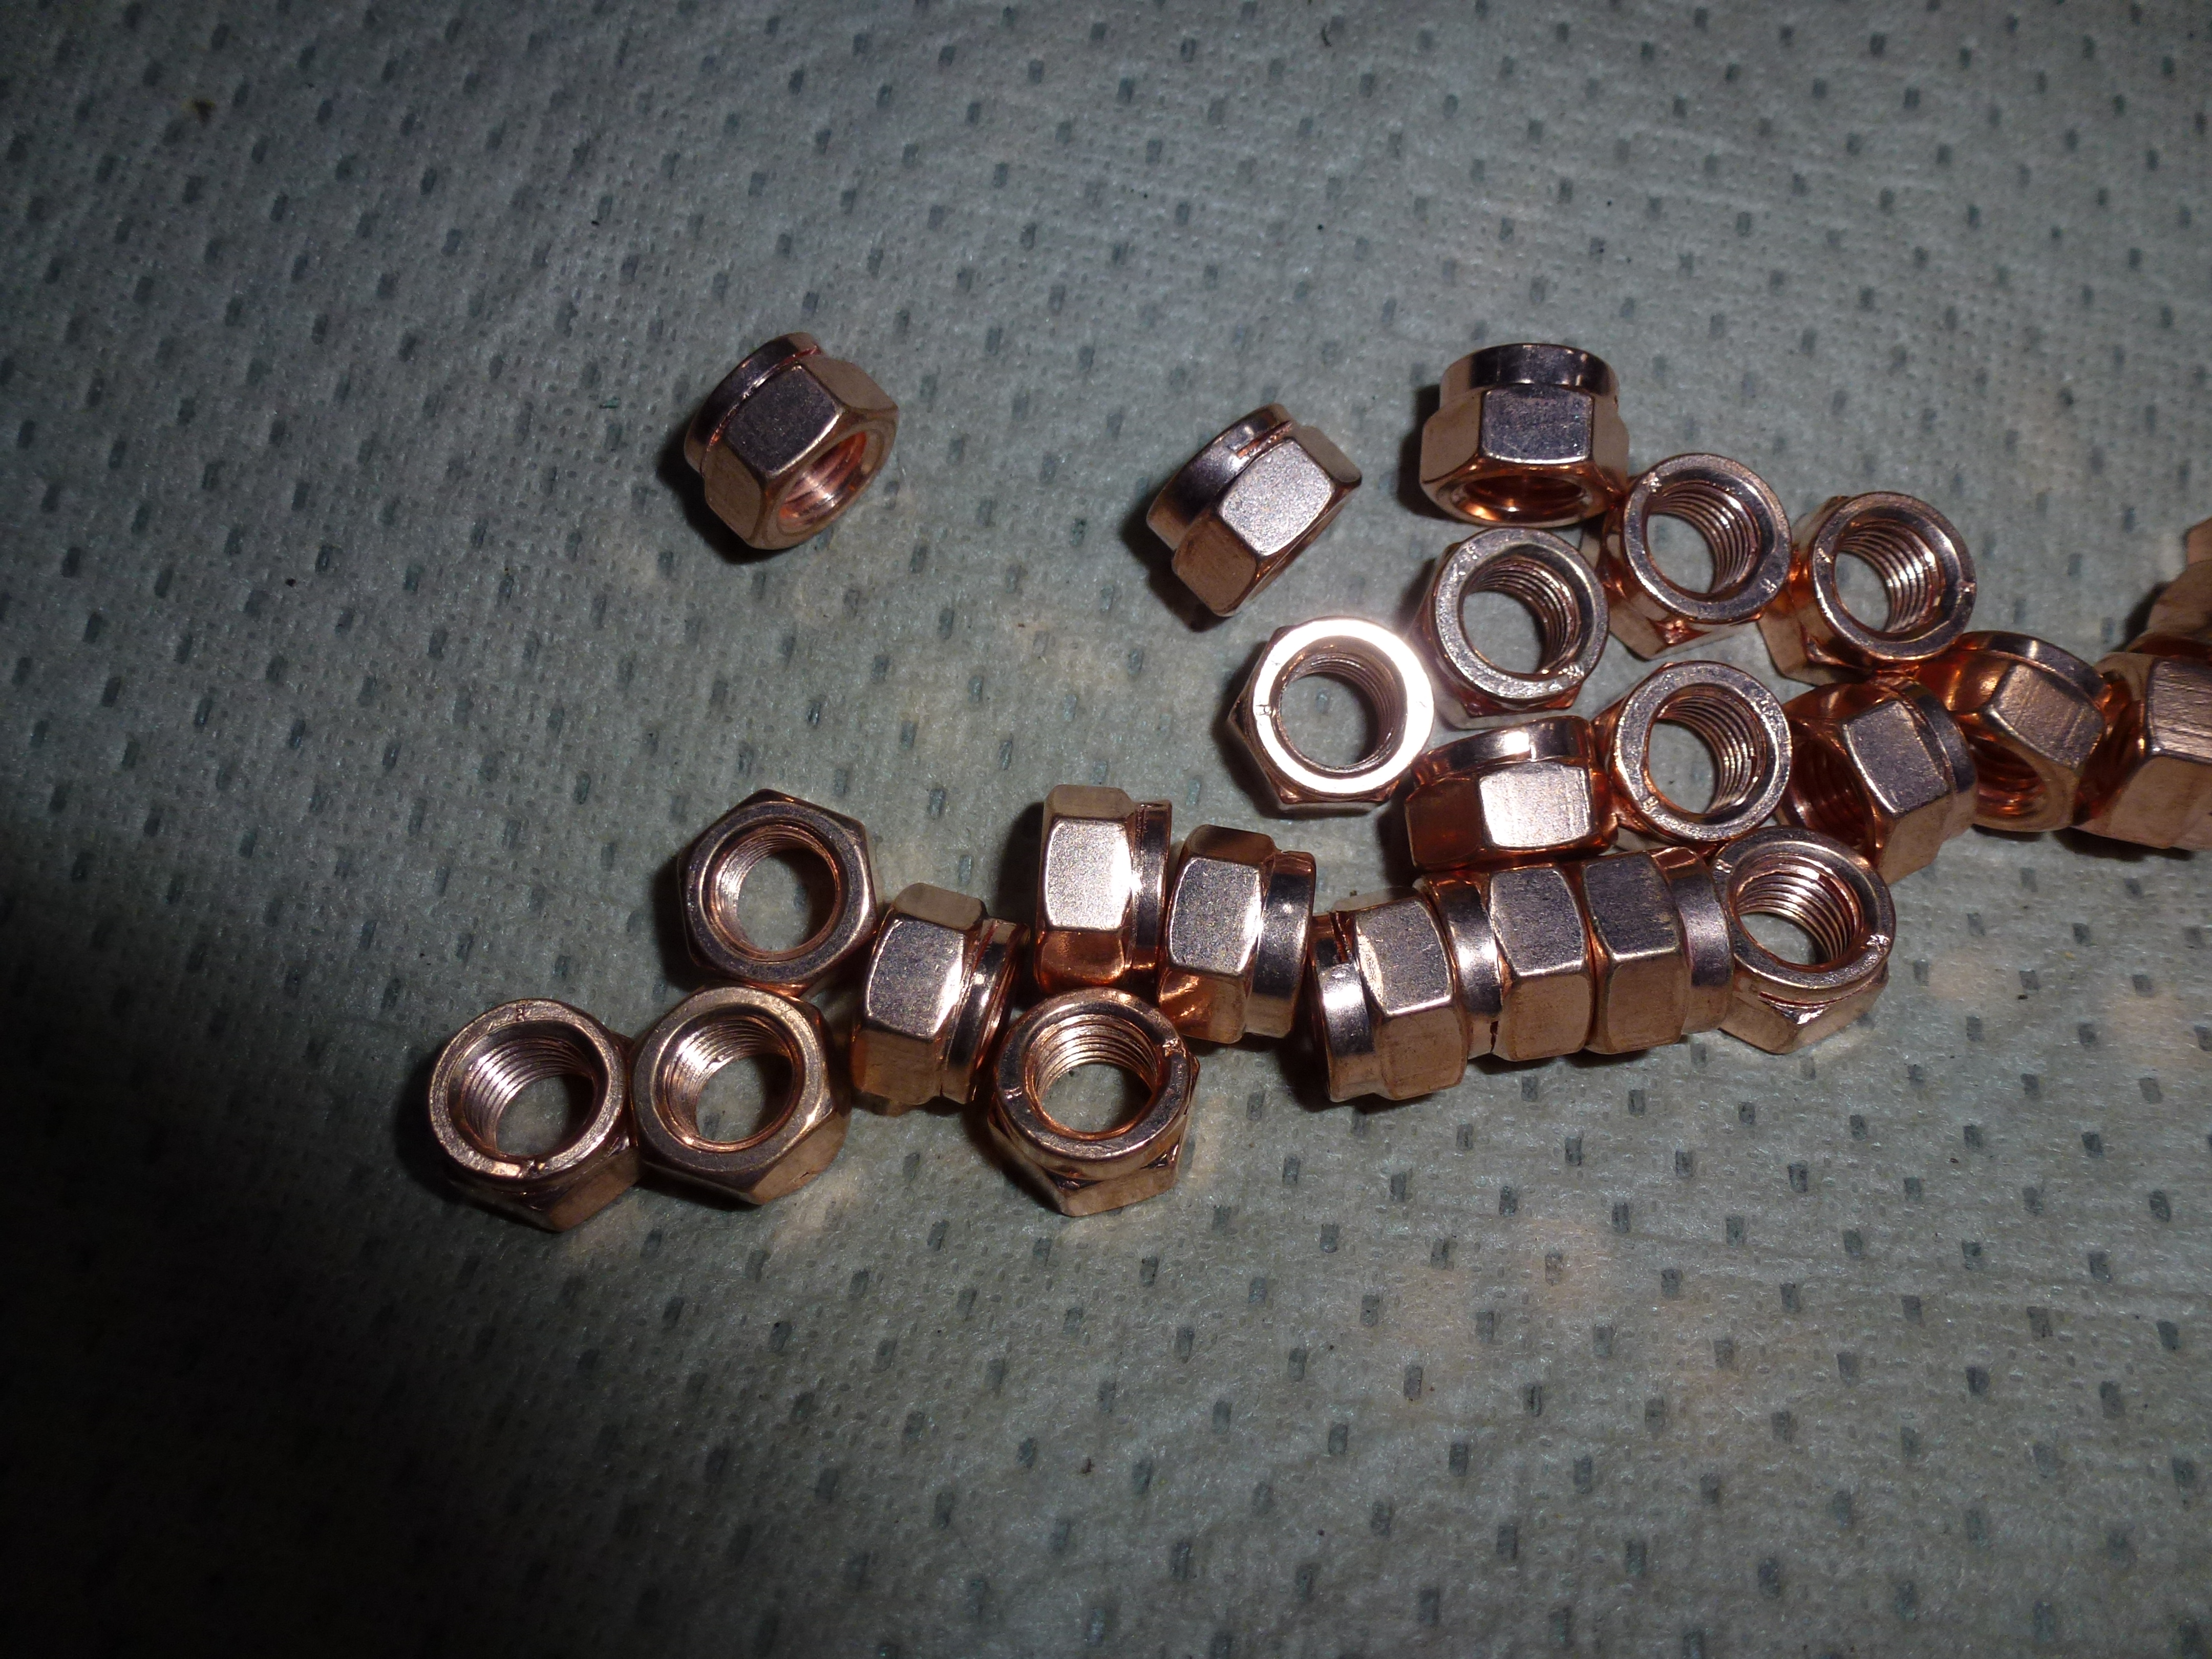
The final thing was to take apart the joints and insert the copper gaskets. For the heating, I used 5/16" fine thread bolts as I didn't want to overheat the final hardware. I replaced those with 8x1.0mm steel bolts with stainless steel nuts. Last time, I used 8x1.25 stainless steel bolts and nuts. They didn't rust, but two of the twelve galled and I had to cut them off. The original bolts were 8x1.0mm steel with brass nuts. Back then, the standard for 8mm bolts and nuts was 12mm wrench size, while now, the DIN and ISO standard ones have a 13mm head. That extra 1mm makes it difficult (or impossible) to get a socket or closed end wrench over the nut due to the limited space between the bolt and pipe. I'm trying to source the smaller size nuts, but so far the only ones I've found are quite expensive, over $7.00 each and I need a dozen. At least these are easily replaceable if I do eventually get the proper ones. Now if I had a milling machine available, it would be easy to start with some 1/2" hex brass rod, mill it down to 12mm and then drill and tap the center to 8x1.0mm. Once that was done, cut off proper lengths for nuts. If I could find 12mm hex brass rod, this could be done by hand, but I haven't found a source for that either.
Through the help of a German friend, I found the proper brass nuts on eBay there for a much more reasonable price, about a Euro each. However, the seller would only ship to Germany, so my friend ended up buying them and forwarding them on to me when they arrived. These are a self-locking nut.
The other thing I decided to try with the collectors was to use the VHT FlameProof coating. This is a spray coating with a silicon ceramic base that is supposed to last, even at exhaust temperatures. The instructions are quite explicit on how to apply it:
- Paint must be completely dry before curing
- Run at idle for 10 minutes
- Cool for 20 minutes
- Run at idle for 20 minutes
- Cool for 20 minutes
- Run under normal operating conditions for 30 minutes
First, I removed all of the old paint and rust by glass bead blasting.
One thing I noticed was that there was some slag left over inside of the old collector where I had to resize it by welding. I used a cut-off wheel on a Dremel to clean that up. Afterwards, I noticed a pin-hole leak in the old weld, so I ended up using my little MIG to fill that in.
Then I used the FlameProof primer and after it dried, three coats of the flat black, 10 minutes apart.
After that had dried for 24 hours, I put the collectors on the car and went through the curing process.

Here's that same connection with the gasket in place.
Of course, the nuts from Germany came the day after I had to put the collectors on the car to take it to an event. So today, it went back on the lift and I replace the stainless steel nuts with the brass nuts. The smaller 12mm wrench size is quite nice as it is possible to use a socket on all but one and a box wrench fits on it. With the 13mm size, a couple required the open end of a combination wrench used in parallel to the bolt with a screw driver through the closed end to tighten or loosen the nut.
I put anti-seize compound on the threads to make them easier to take off in the future. Though hopefully, that will not be in my lifetime. Every time I fix something, I hope to never to have to take that item back apart.
From what I read in several blogs, this does a nice job and holds up well. I'll update this page after a year or so when I have some long term experience. Obviously, the headers need to be done too if the coating lasts.