Bumper Esutcheons
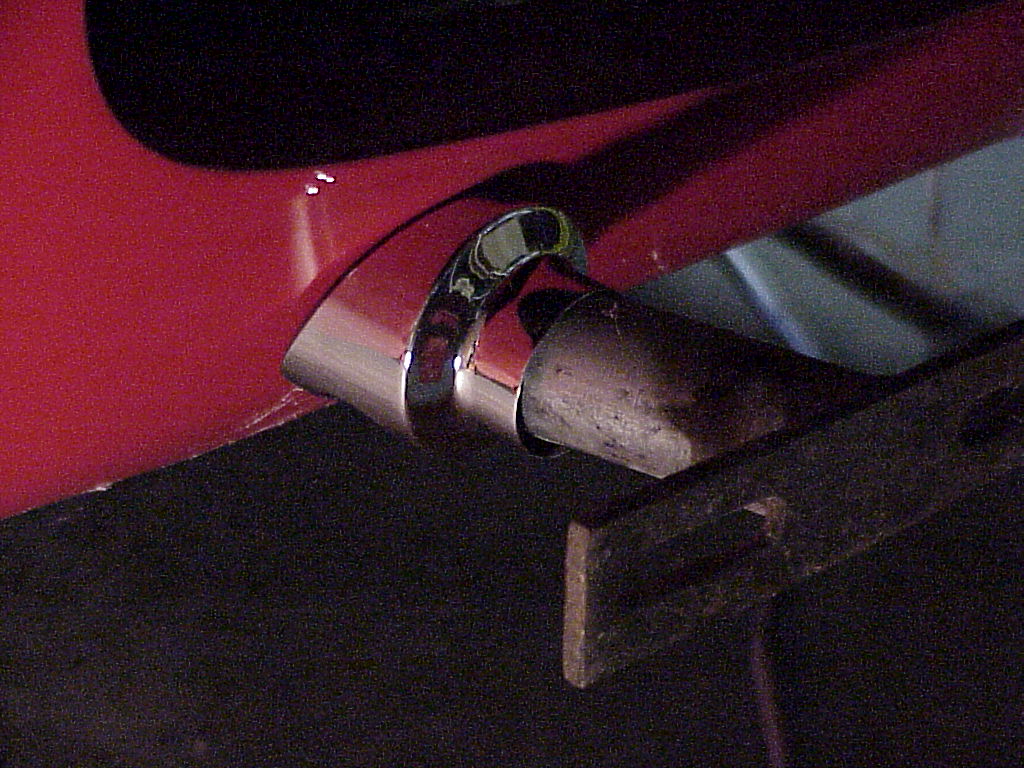
For those with older Ferraris, finding certain parts is nigh on impossible. I have a ’67 330 GT 2+2 that saw a hard life before I bought it 18 years ago. Several small parts were missing and most were unobtainable even back then. One set of missing parts were the four chrome escutcheons that cover the tubes between the body and the bumpers. Each one is unique since it is cut to conform to the body shape at each tube.
I was able to obtain the rear ones from Lyle Tanner Enterprises back when one could still look at a parts catalog and order from it. Of course the escutcheons weren’t listed, but I was in LA on business, so I stopped by. They happened to have a rear clip from a 330, so I got the 2 rear ones then. My search for a pair of front ones was fruitless, so I decided to make them.
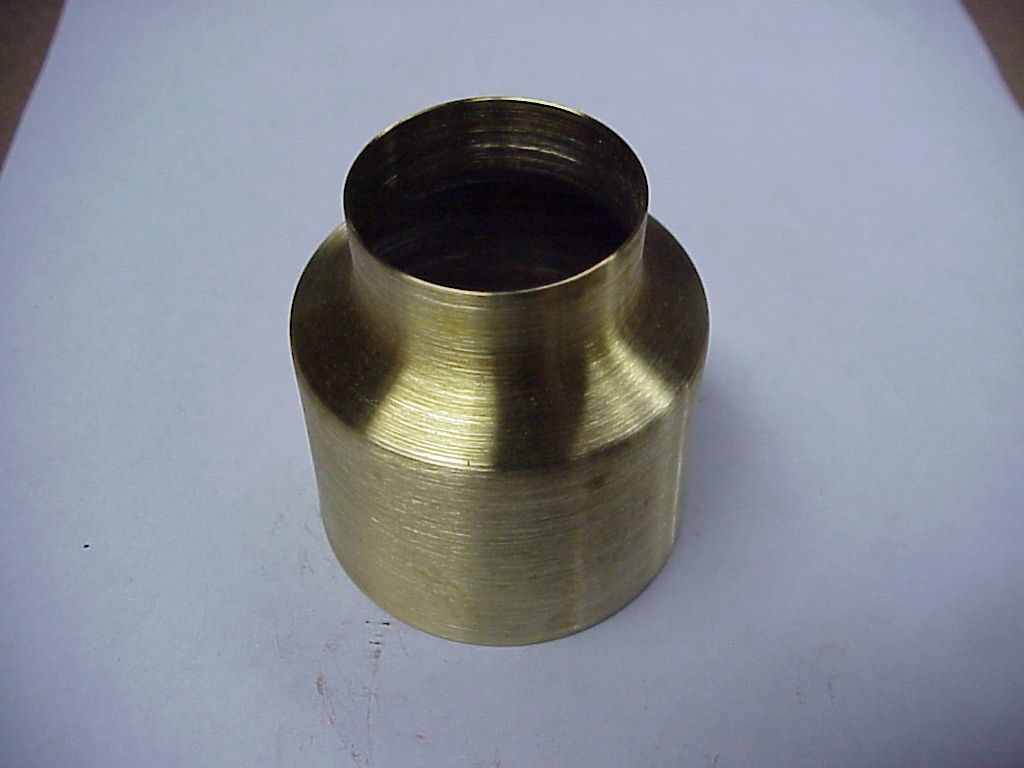
The process was to have a metal spinner make the brass blanks. Then cut each blank to conform to the body for each side, finally finishing by drilling the large access hole and smaller hole used to hold the escutcheon in place. For those not familiar with metal spinning, the process is pretty simple. A metal die is made that conforms to the inside of the desired part. This is done on a metal lathe.
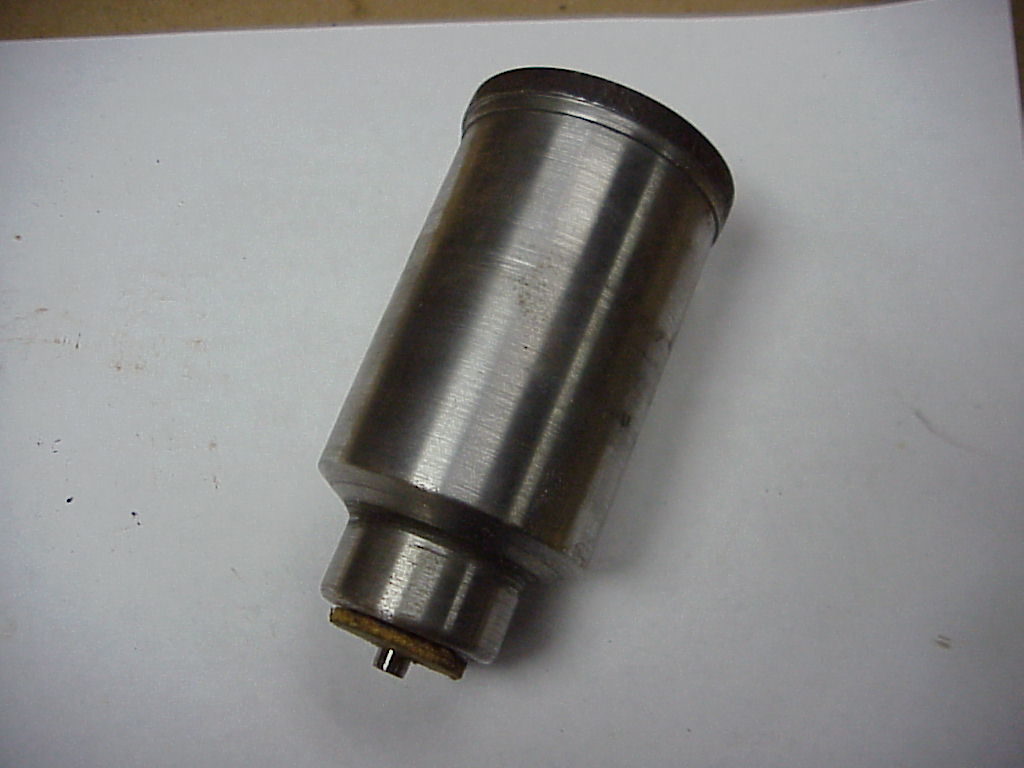
Then a circular brass plate is placed on the end of the die in a lathe and large wood tools are used to slowly form and stretch the brass over the die. Because the brass work hardens, it must be removed periodically and annealed to remove the stress. I provided the spinner one of the rear escutcheons to make the die the proper size. So what I got back was the die and six blanks, four shorter for the front and two longer for the rear. I had him make an extra set because someday I know that someone else will need these parts too.
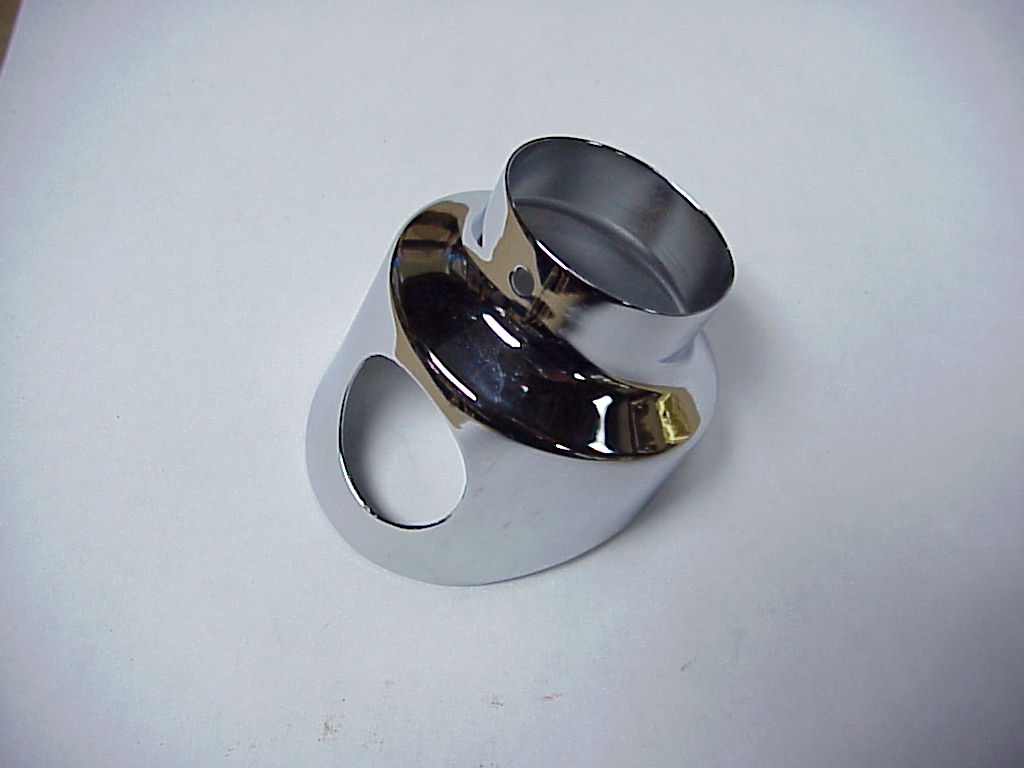
Once I got the blanks back, the next problem was to fit them to the body. After some thought, I determined that I could simply wrap paper around an existing part and scribe a line along the curved surface. Then I simply unwrapped the paper, cut along the line and wrapped it on a blank. Then scribing along the cut edge left the proper curve on the blank. From there, I cut close using tin snips and finished up by using a disc/belt bench sander to grind right to the line. The other side was made simply by wrapping the paper inside out so that the cut line was a mirror image. The alignment of the holes was also done using the paper from the original. Cutting the large hole is difficult since one must use a hole saw and they have a tendency to grab and tear. This is particularly true since it isn’t cutting on a flat surface, but through the rounded blank. I ended up putting a wooden dowel on the inside for support and using a cordless drill. That allowed using a very slow speed, which cut through the blank without any problems. The small hole was easy. From there, a file was used to remove any burrs and it was off to have them chromed. As you can see, the end result looks just like an original.
I want to thank Rob Wakeling for loaning me one of his front escutcheons that was used for the paper pattern.