Fuel Cap Release
When I purchased my car, there was no key to the lever that releases the fuel cap. One of the things I did then was to take apart the lock and make a key that fit. Click for a whole discussion on keys and locks.
Recently I helped Lowell Brown do the same operation on his car. This time I took some pictures to make the operation more understandable.
It's easiest if you remove the driver's seat, but that is not a requirement. To start, there are three screws that hold down the leather covered bracket that the lever mechanism is mounted in. The rear screw in Lowell's was completely loose and felt like it was stripped.
Here you can see the lever mechanism mounted in the bracket. Note the '604' on the bracket. That's the Pininfarina number for Lowell's car (SN 8855). The screw that holds the end of the cable housing has already been removed so the cable housing is free.
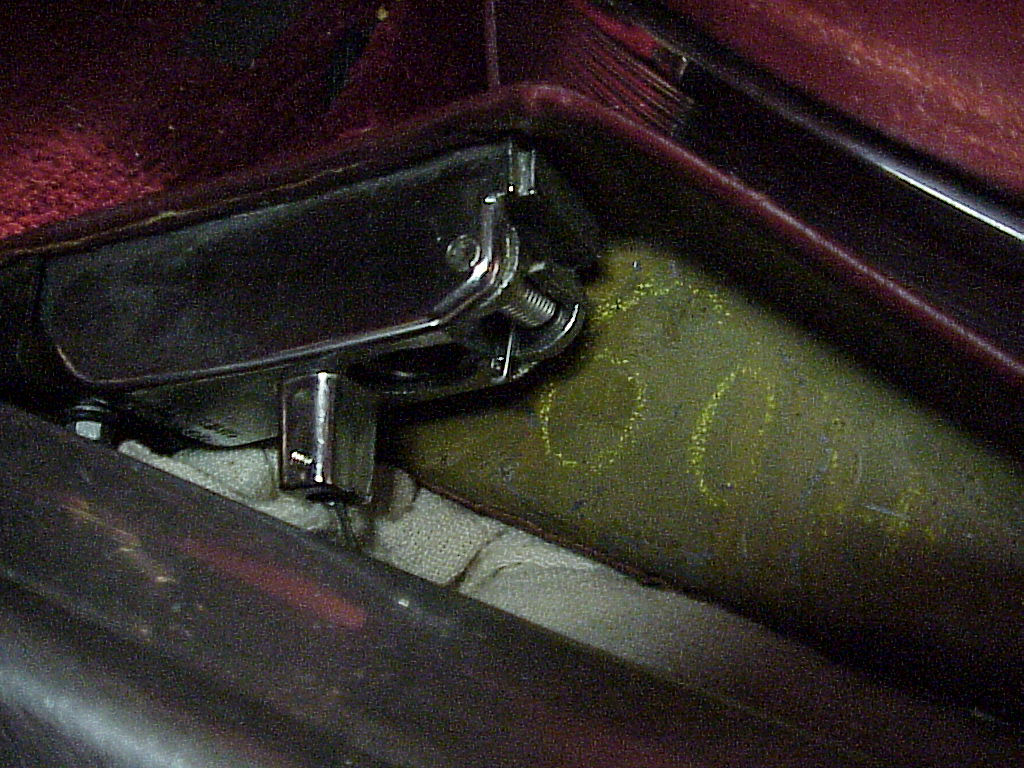
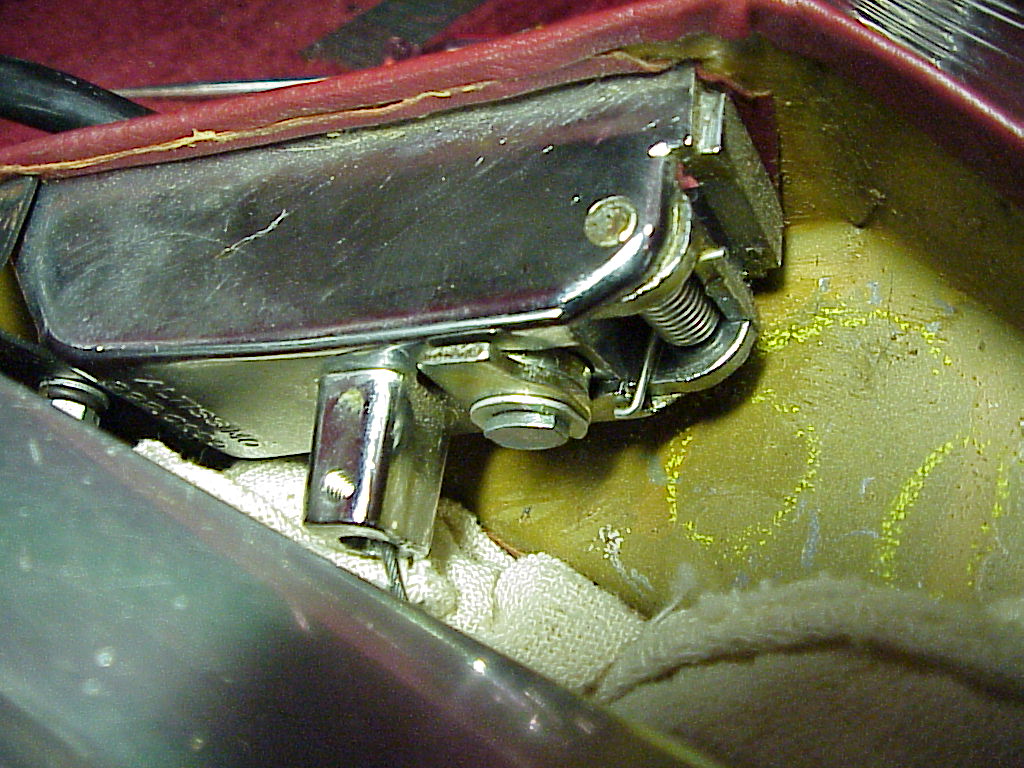
In order to lift the mechanism up like this, you have to remove the latch mechanism at the filler pipe. It's easiest to just remove the whole mechanism by undoing the two 4mm bolts that hold it in place. These are accessed from overflow area that surrounds the filler pipe. Just be sure to plug the overflow drain and put a rag into the filler pipe so a dropped bolt or washer doesn't disappear forever.
Here you can see the end of the actuator cable attached to the underside of the lever. If you just want to re-key the lock, you don't have to release the cable. To remove the lock, simply remove the C-clip that holds it in place. You can see it at the end of the arrow just under the plate that does the actual locking.
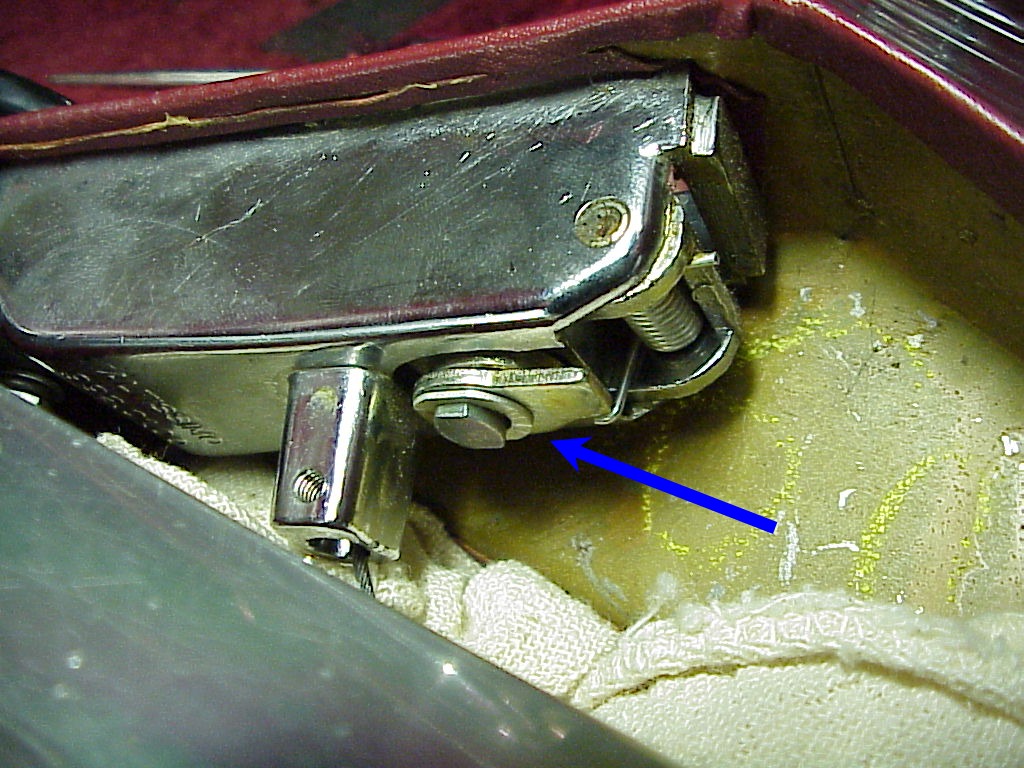
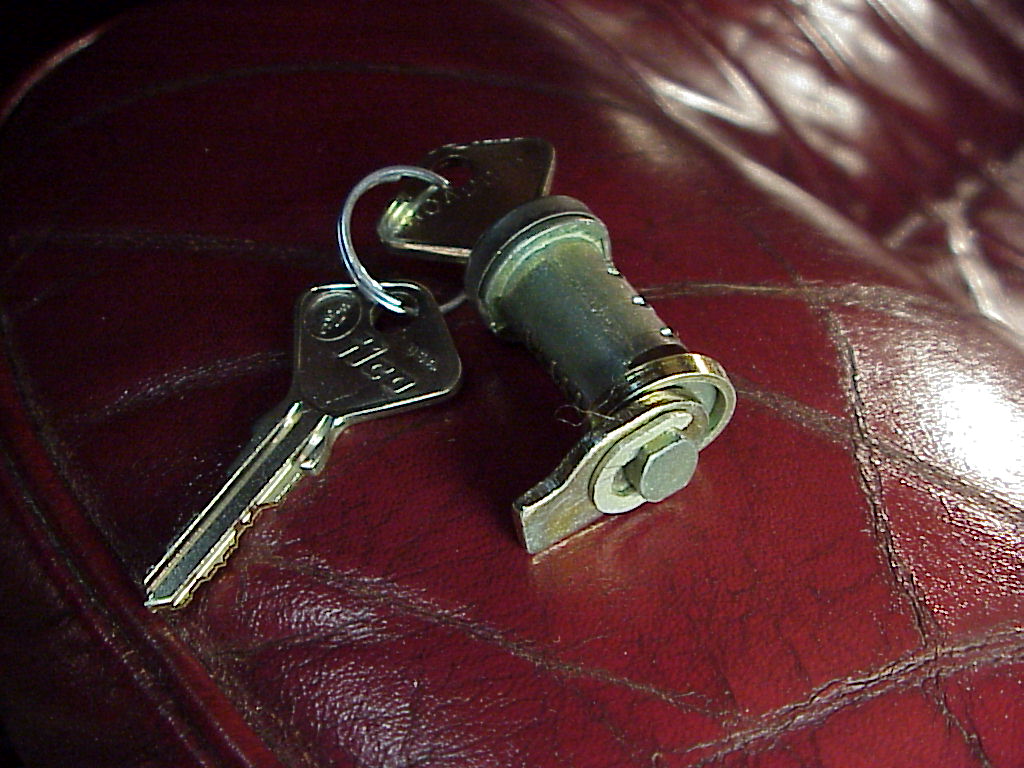
Once the clip is removed, along with the locking plate and a washer, the lock can be removed by pushing it up through the top. You have to be ready to hold onto the wafers that are part of the lock as they are spring loaded and will try to pop out as they come free. Wrap the lock with some masking tape to hold the wafers in place and take it to your local locksmith. The key blank that works is either an ILCO F91C2 (Taylor F72Y) or ILCO F91C. Here's the lock as it came back from the locksmith with the new keys.
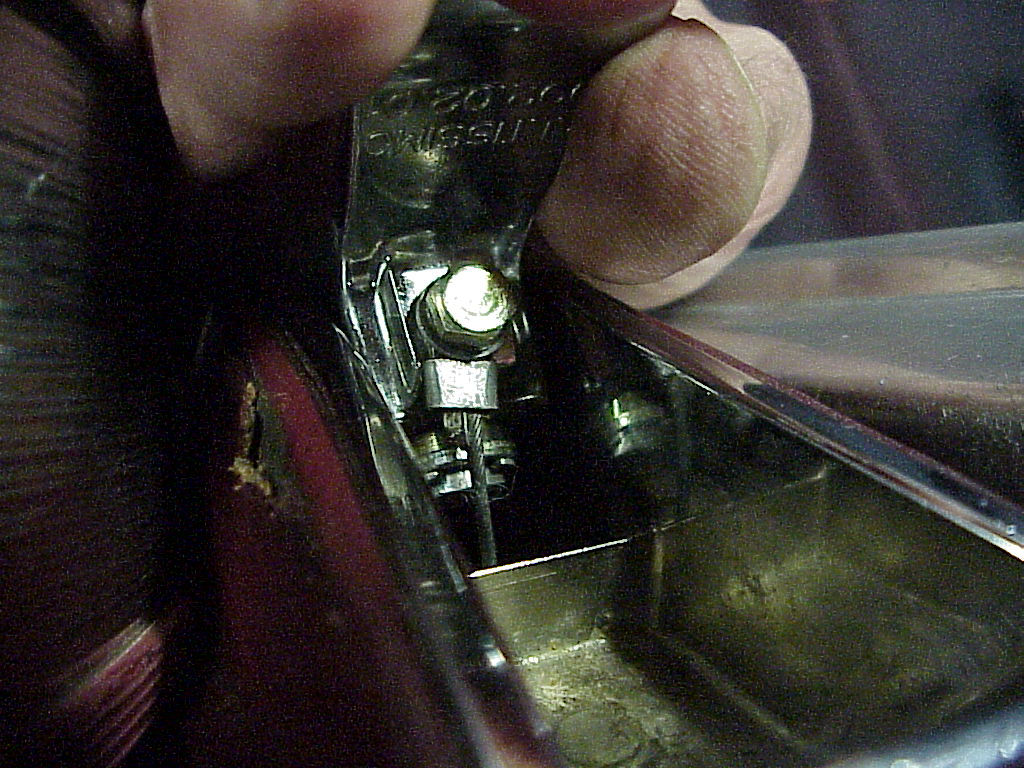
Re-installing the lock is just the reverse, but easier since the key will keep all of the wafers in place. Just don't remove the key until all of the parts and the C-clip are re-installed. The picture above shows the lock in the open position whereas the following one shows it locked. You can see that the locking plate is across the body of the lever and prevents the lever from being lifted.
The final problem on Lowell's car was the stripped screw in the rear of the bracket. A carefully look at the hole revealed that it wasn't stripped, but that the nut and surrounding metal was broken and bent down. There was also a broken off screw end in the nut. Luckily the screw was loose and working at it with a sharp pointed tool removed it. So now the nut was clear, but still bent down as a 45 angle. We screwed in a long bolt and then used a claw hammer to pull the nut back up. It also required hammering with a pin punch on the side of the bolt to get the final alignment correct. This enabled us to re-install the bracket using the proper 4mm screw with a cup washer.
The final gotcha was getting the release mechanism re-attached back at the filler pipe. The Pininfarina body man who put this together must have much smaller fingers than I have. There is very little clearance between the filler pipe and the head of the bolts. It took about 15 minutes of fiddling with Lowell holding and moving the bracket in the trunk while I kept playing with the bolts until I finally got both threaded in.