Rebuilding the Heater Fan Motors
Recently I removed the front wheels to grease the suspension and check for wear in the steering. The steering has more wear than I like, but that's another project for another day.
When I removed the left wheel, I found the 4" heater hose that runs from the heater fan in the front of the fender to the heater box had come loose, caught on the wheel (in reverse) and been stuffed up by the fan motor. In the process, the fan motor case was broken.
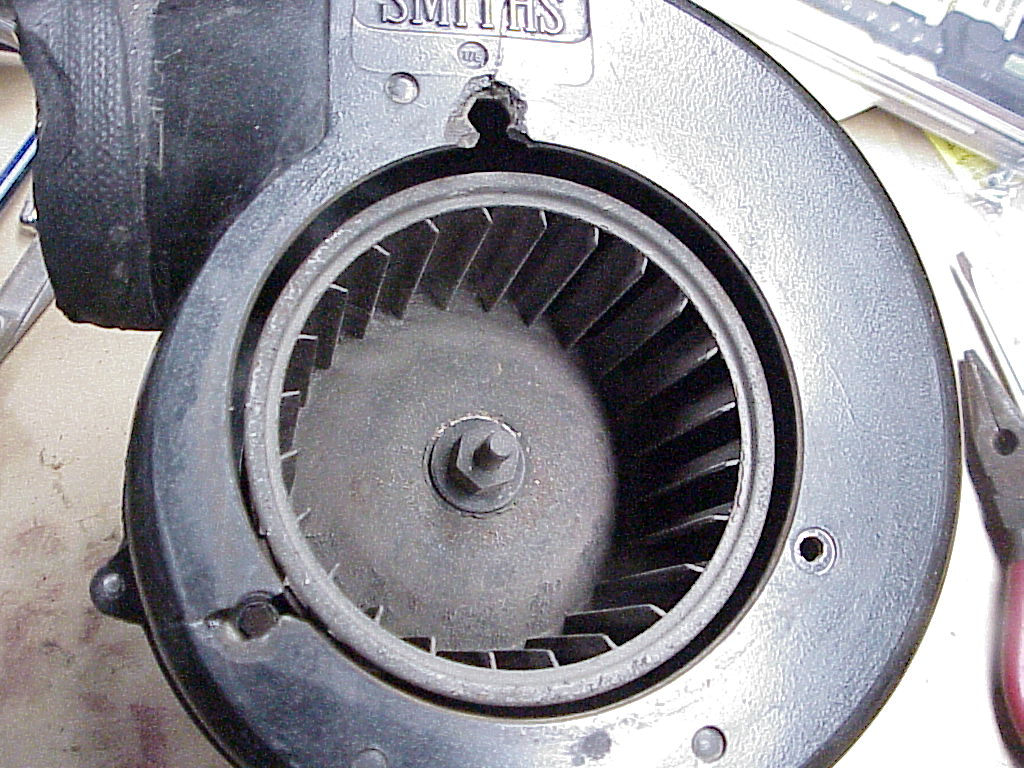
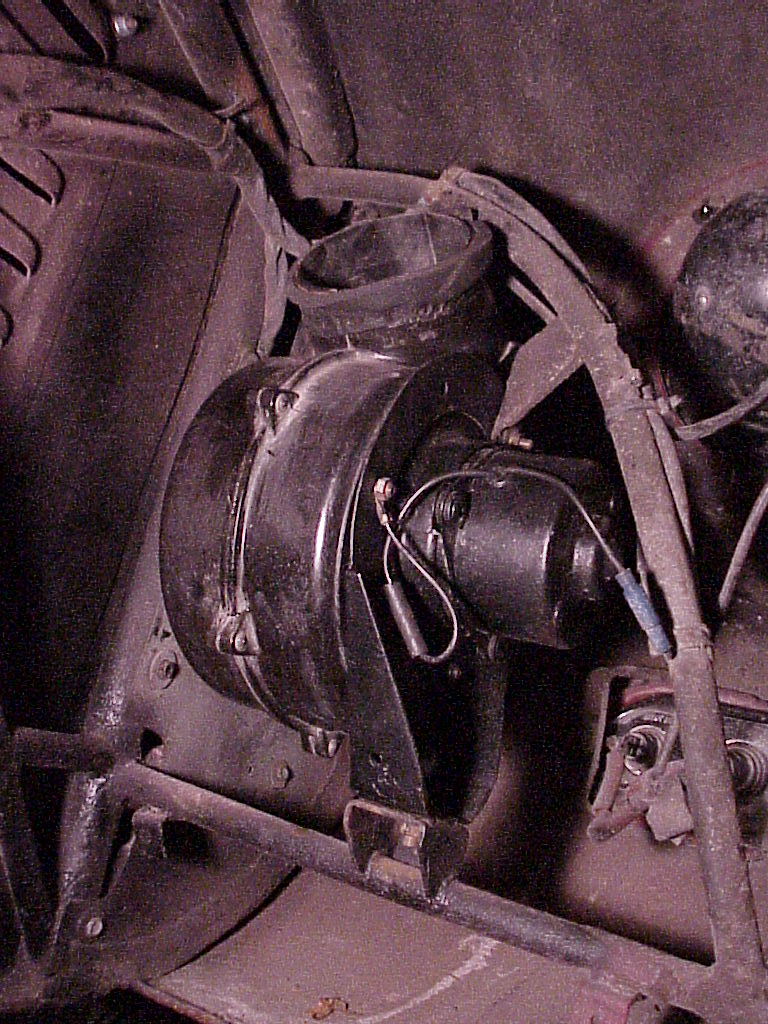
| You can see the broken out places where the studs went that held the motor and bracket to the plastic housing. In addition, the housing had broken into a couple of pieces. I wasn't worried about the breaks in the housing because I could just epoxy that back together and since there isn't any stress, the epoxy would hold fine. However, the broken out pieces where the studs go was going to be a problem. Then I realized that the left and right housings were interchangeable and by doing so, I would be using the unused stud holes, leaving the broken ones where they weren't needed. |
|
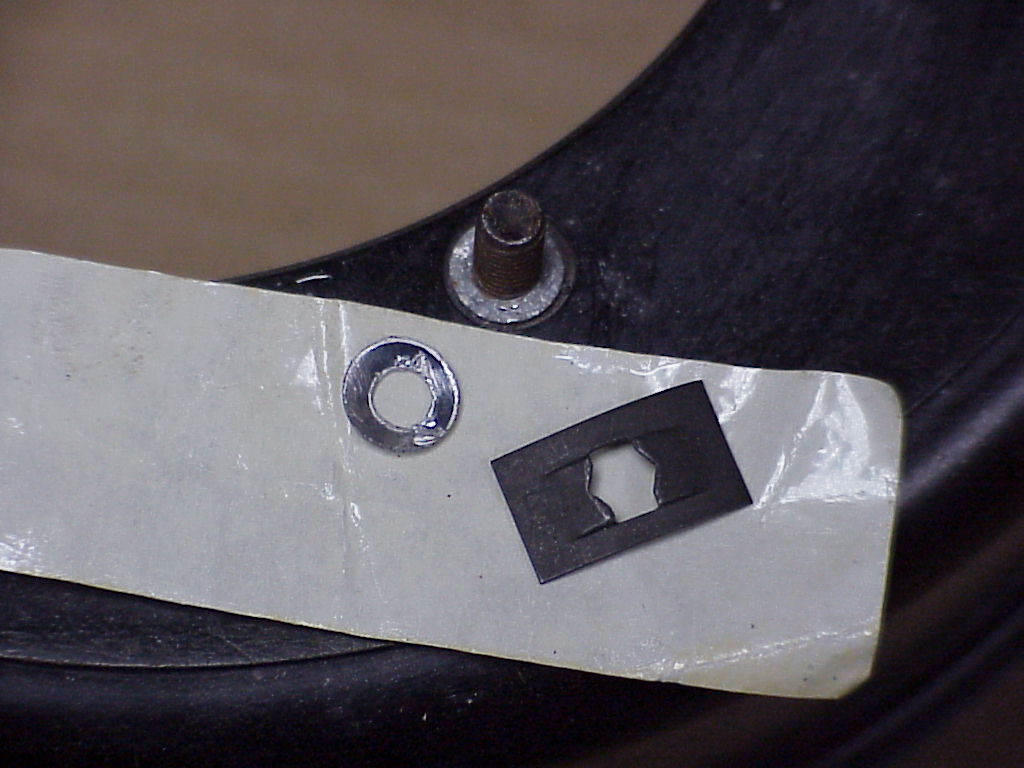
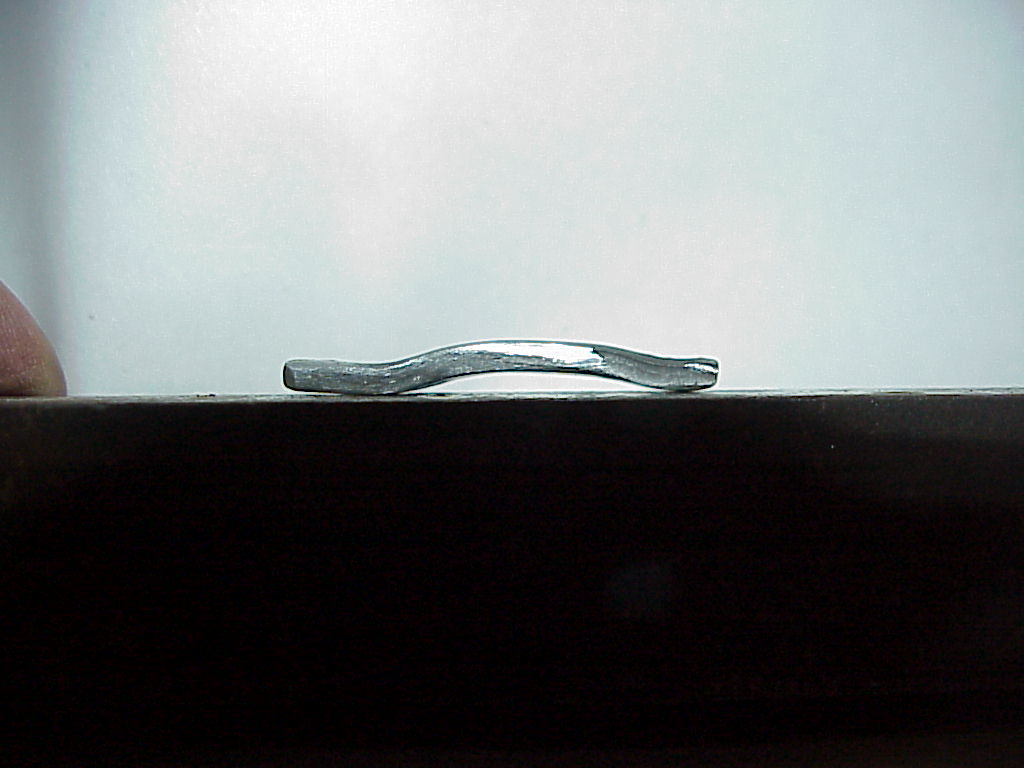
| The next problem was that the studs were actually 5mm bolts. The head of the bolt fit into a hex indentation on the inside of the housing and were held in place by thin washers of some soft metal (lead?) that fit into an indentation on the outside of the housing. See the washer around the stud on the right. Most of these broke when I removed the bolts. At first I thought that I would use a tinneman nut which is a slightly curved spring with the center section cut and bent to fit onto a threaded bolt. The rectangular metal piece on the right is that type of nut. |
|
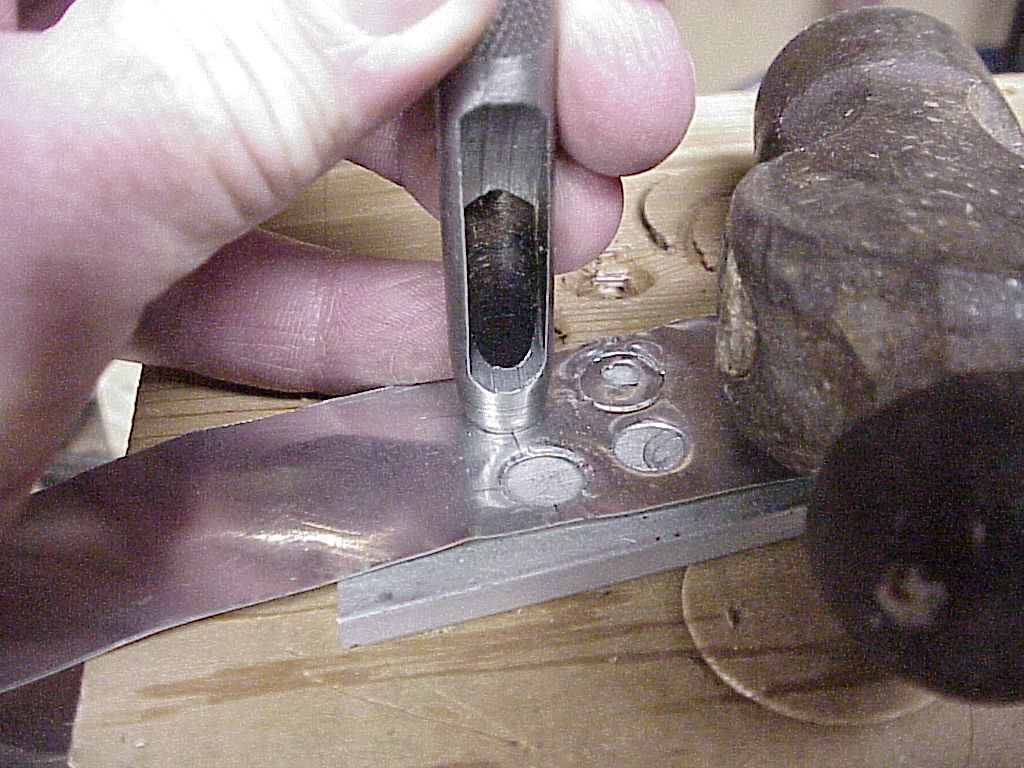
| Then, as I was replacing the dryer vent today, I realized that the aluminum from the vent would be about right to make these thin washers. So I measured the 5mm bolts and drilled several holes slightly smaller in the aluminum cut off from the dryer vent. Then I selected a hollow punch the right diameter for the outside and punched out enough washers. After pushing them on the bolts and using a small screwdriver to flatten them down into the indentation, they worked just like the originals. |
|
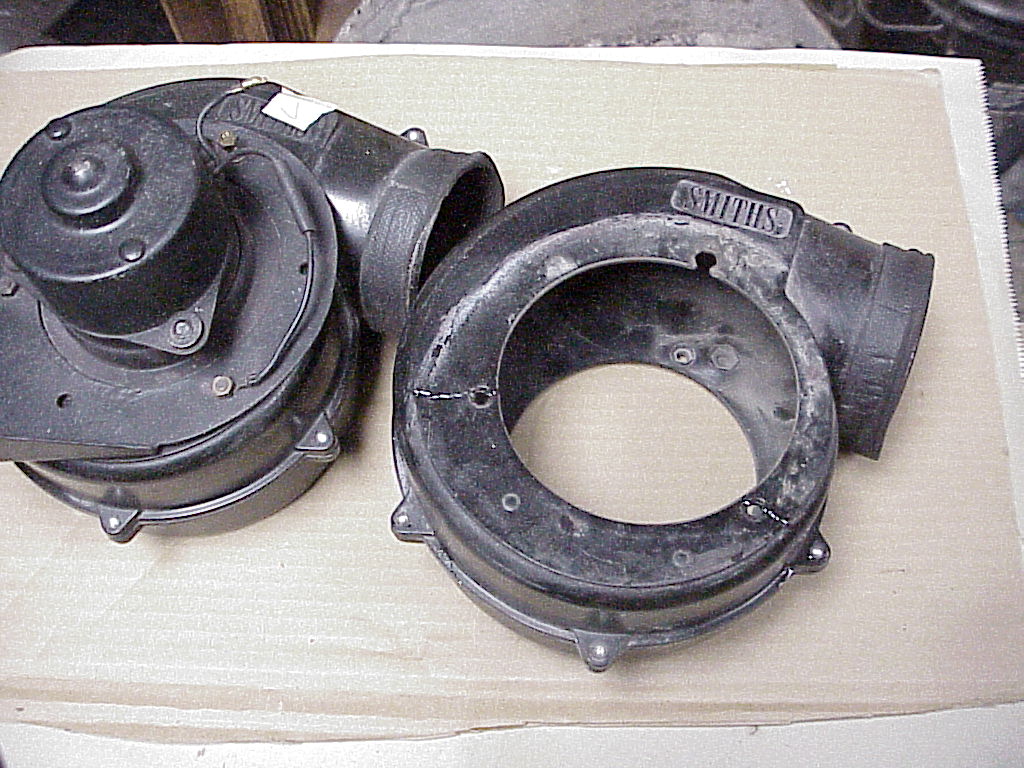
| Here you can see the motor on the left is all back together while I still have to do the one on the right. |
|
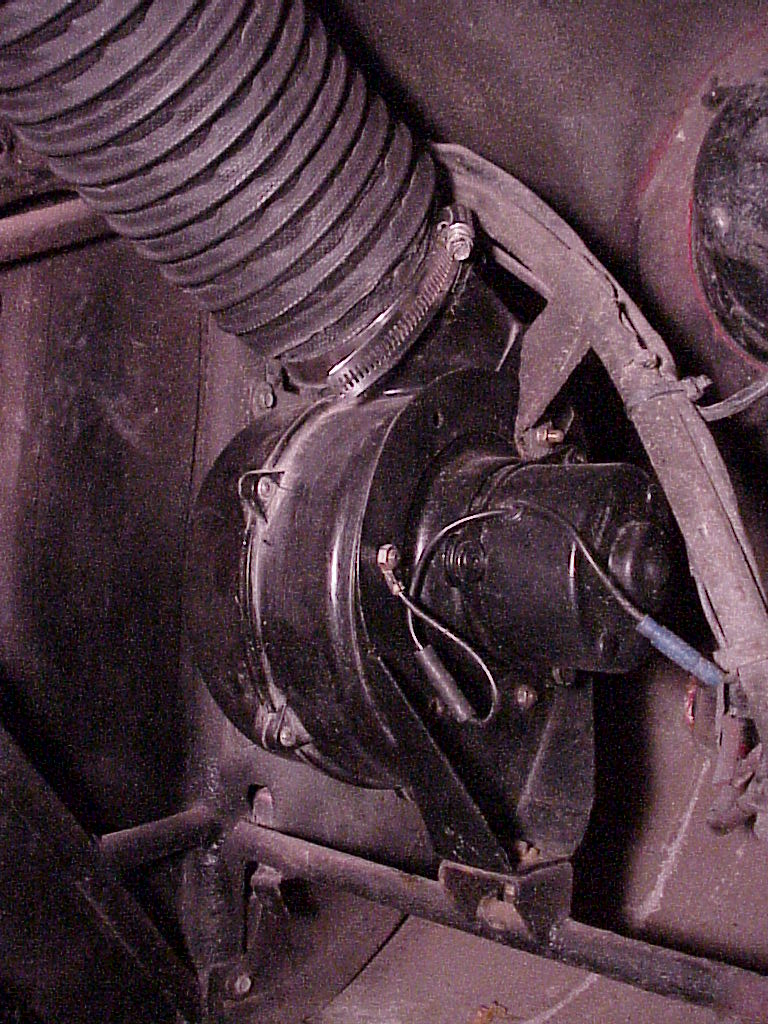
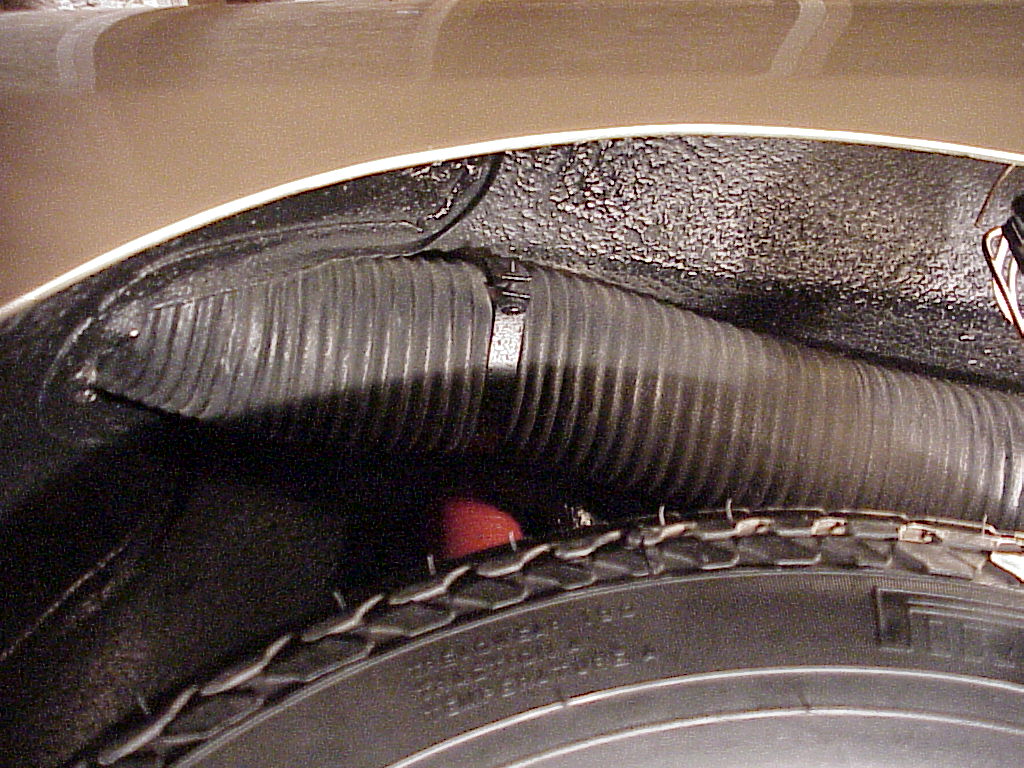
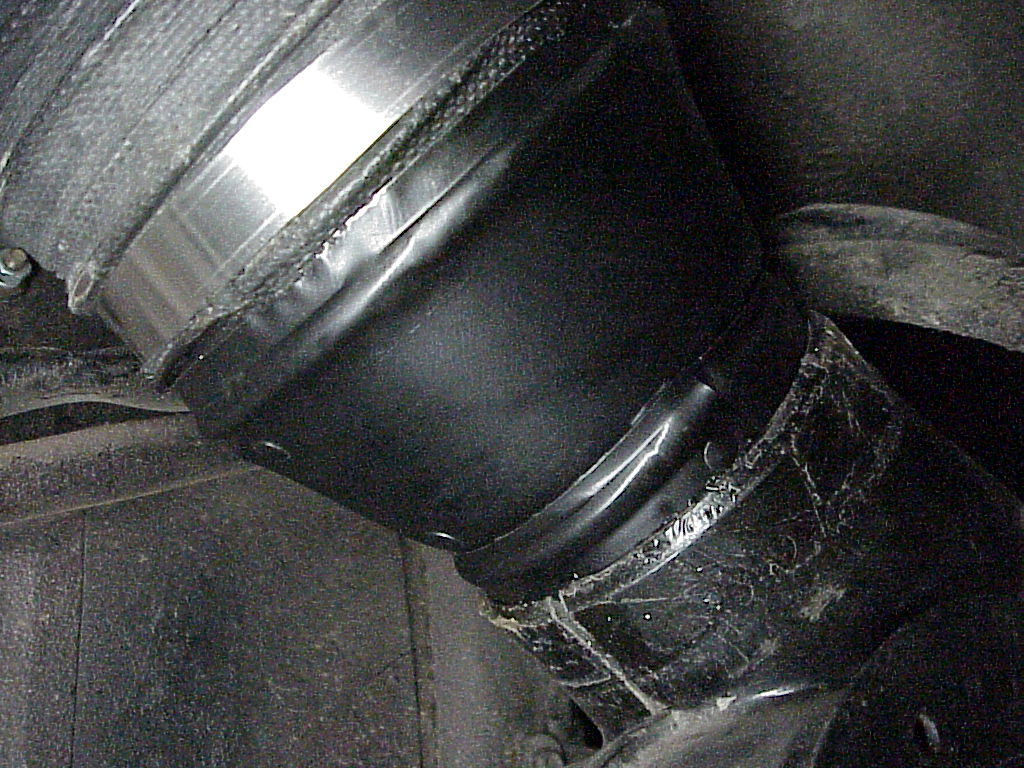
Finally, everything is together and back on the car. The picture on the left is the motor while the one on the right has the hose in place. The size of the hose is a problem. The diameter of the opening at the heater box is 60mm (~4"), but the fan housing is British and only measures 3¼". So one has to tighten at the motor housing quite a bit to get it to hold properly. Now maybe there was supposed to be some type of adaptor, but if so, it's long gone.
|
|
|
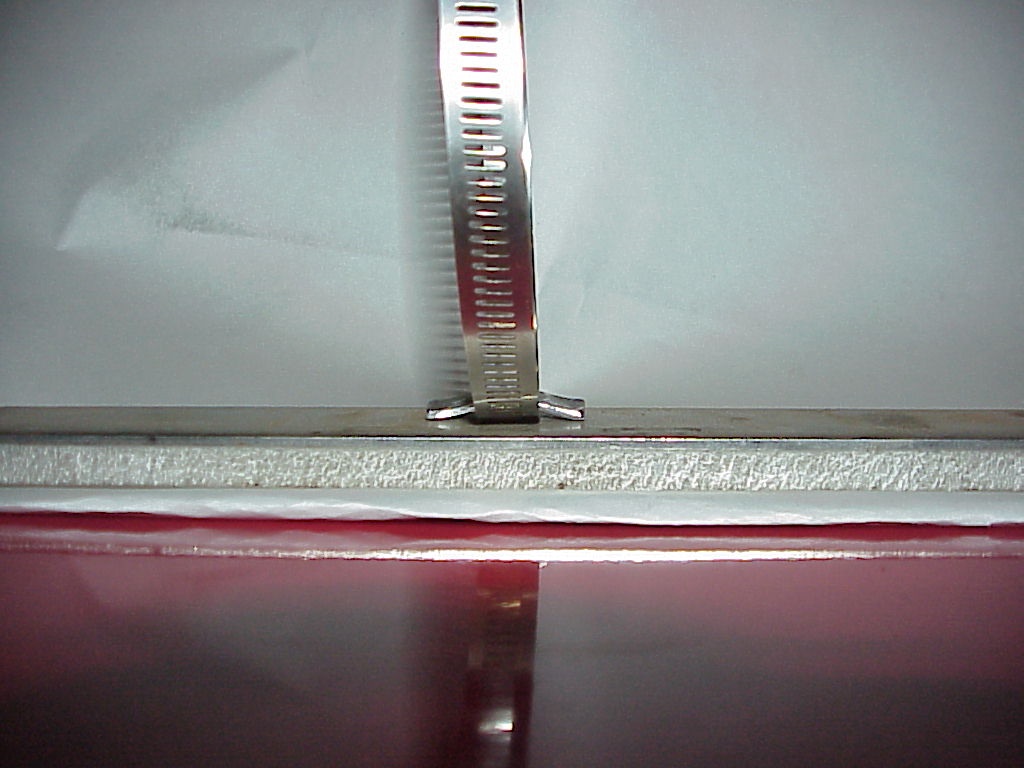
One interesting item is the original Copiglia Clamp that was on one end of one hose. These clamps were used in most places and work by winding the end of the strap around a cotter key, much like opening a tin of sardines.
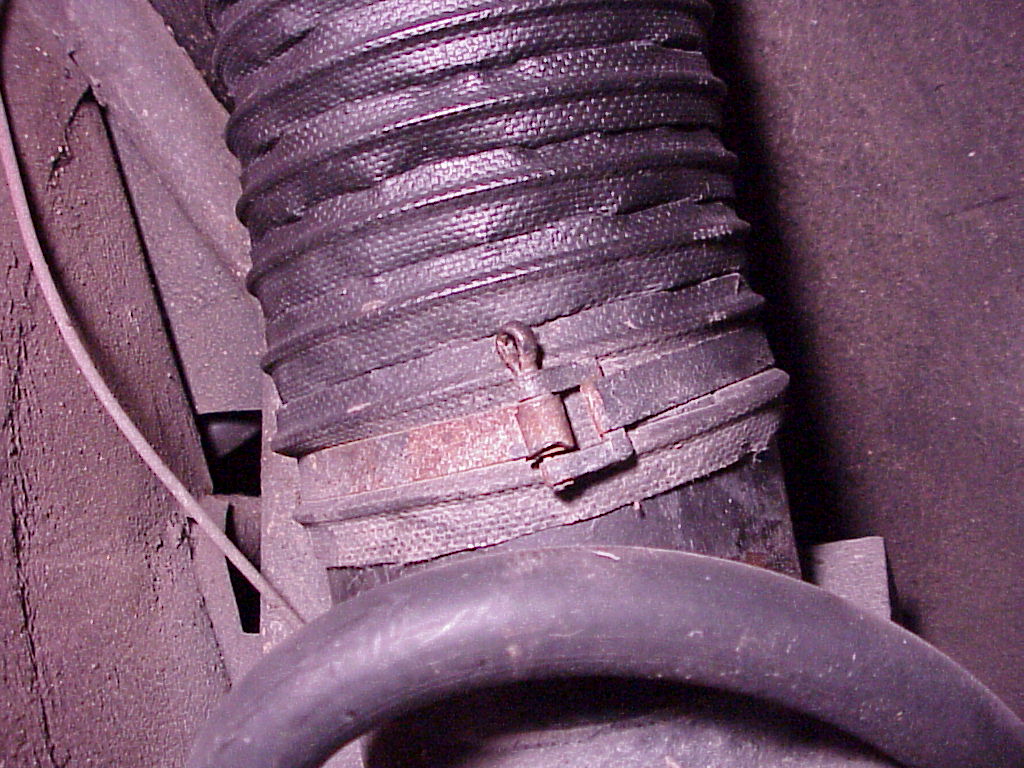
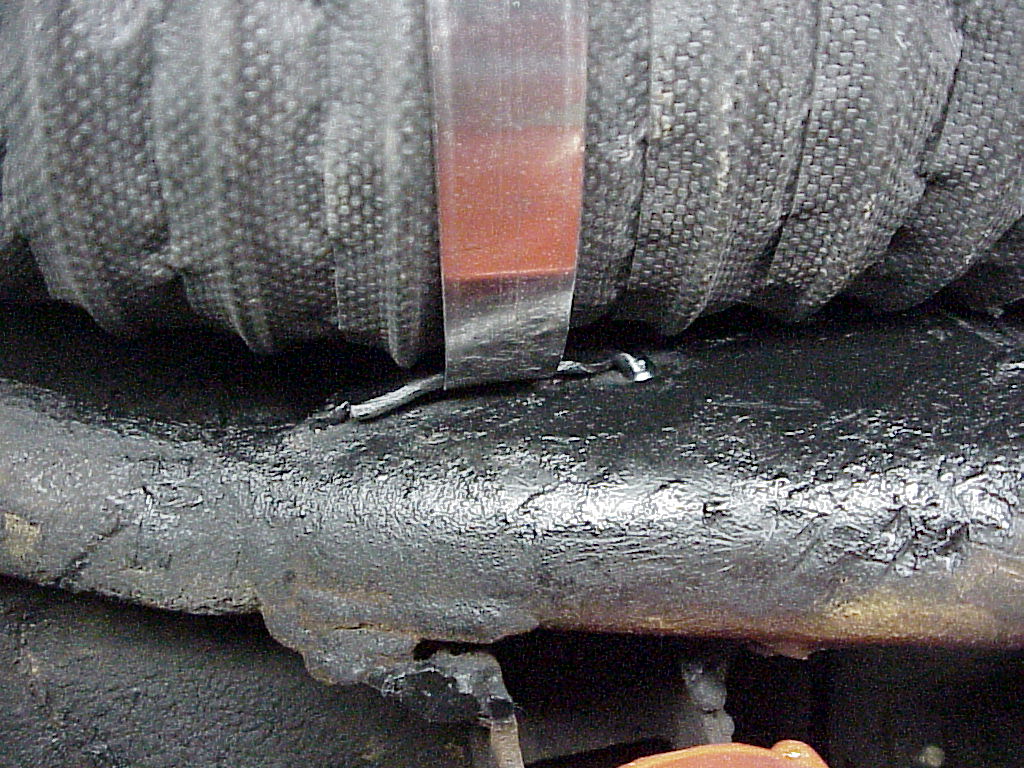
I also put a couple of safety wires around the hose in the center and wired them to the frame pieces at the top of the fender. This will help keep them out of the way of the tire.
After looking at Lowell's car, I noticed a couple of things that explain why I was having so much trouble making the heater vent hose fit correctly.
Lowell's car also had a clamp welded to the frame that holds up the heater vent hose out of the way of the tire. I really didn't want to make the clamp and weld it in place as it would eventually just break at the welds where all of the stress is. So I decided to weld a strap onto the frame where I could just slide an ordinary clamp through. If the clamp ever broke, it would be easy to just replace it. You can see the strap and how I mounted it along with the original clamp on Lowell's car.
 |
 |
 |
 |
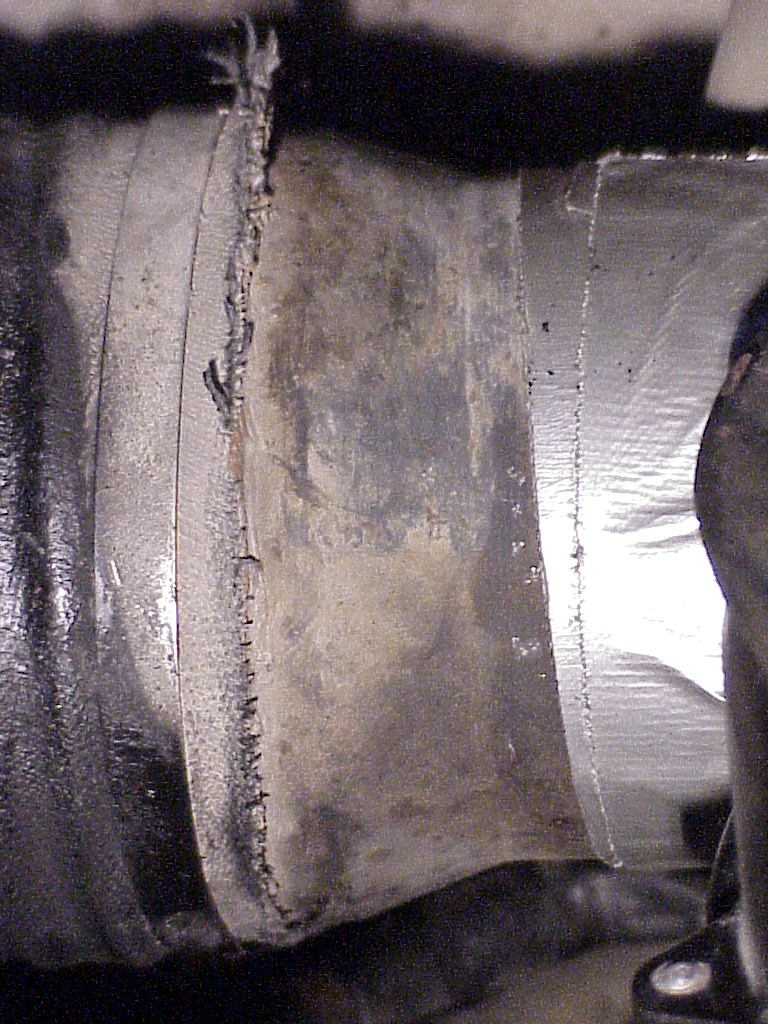
The last item to make was the tapered metal adaptor that fits between the 3" outlet of the fan blower and the 4" vent hose that runs to each heater box.
 |
 |
| Original on Lowell's car | Home Depot Special |
The original is a two cylinders of the appropriate sizes with a nicely tapered cone between them. As this part is strictly functional and can't be seen, I ended up using a 3" to 4" heat duct adaptor. I did have to remove a rivet on each end to make the diameters slightly smaller. The small end ended up fitting inside of the heater blower instead of outside, but the blowers are so ineffective I'm sure that I won't notice the difference.