Muffler Shields
One set of missing parts were the two heat shields that bolt onto the front mufflers and keep the interior of the car cool (well, relatively).
I had been looking to find a set but could never locate any for sale. I did get a single very used one from somebody that had new ones made up. So given that shield for a model, I decided to make a pair myself.
The design is pretty simple with 2 rolled edges, a couple of strengthening beads and some special curves at the end where the collector fits to the muffler. I had a sheet metal shop make up the basic blank with the folded and rolled edges from .065" aluminum.
The first thing I did was to add the strengthening beads. If the shop had had a beading machine, they could have done this too. I used a brick chisel (used to break bricks), clamping the shield on both sides of the line with long bars. Then I just worked my way down between the bars, using the chisel to indent the shield forming the strengthening bead.
The next part was to make the special bends required for the end by the engine.
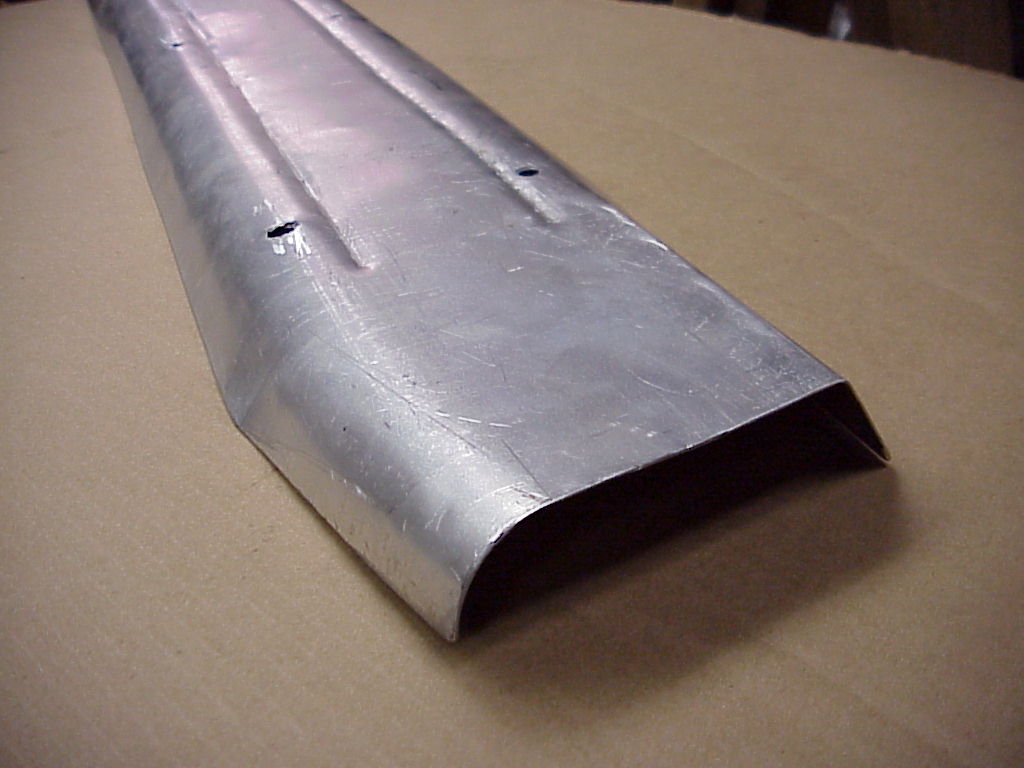
The sharp bend on the right was simply formed in the vise using a rubber mallet. The rolled end was formed over to piece of 2" pipe, pulling the corner down and using the rubber mallet to make the curved shape. Then the corner had to be trimmed to make it even with the rest of the shield.
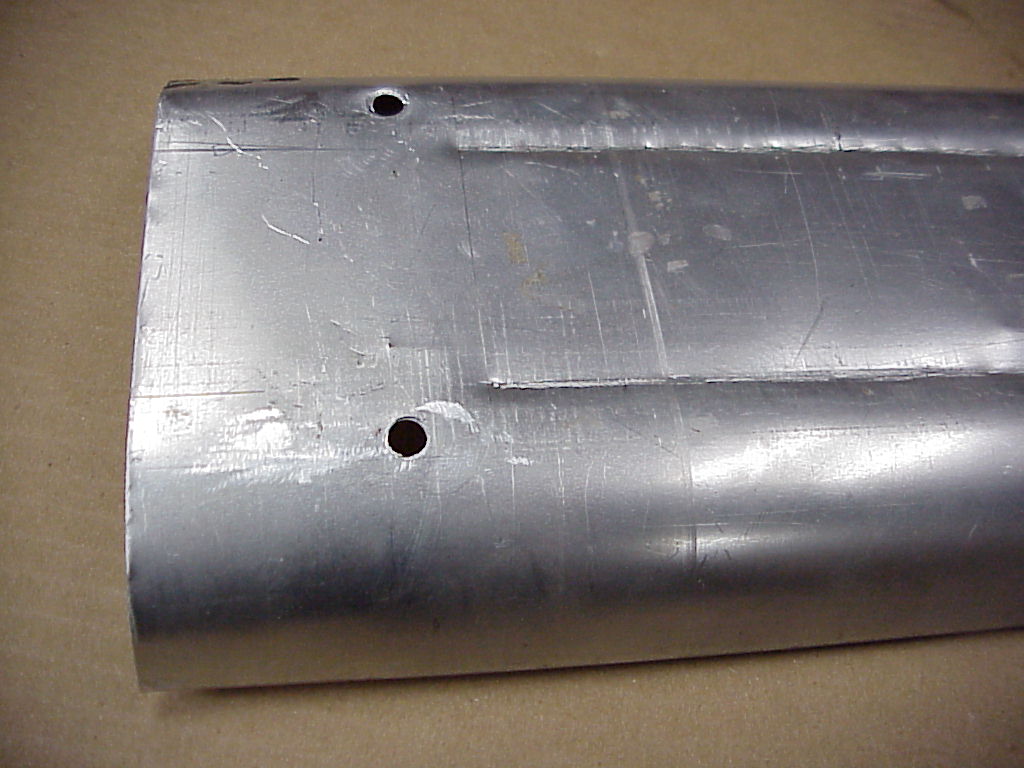
The last item was locating and drilling the screw holes. I marked them in the approximate positions by using the original. Then I put studs ground to a point in the muffler nuts. Placing the shield over the muffler, positioning it according to the marks and then tapping the shield to have the stud end make an indent left good starting points to drill.
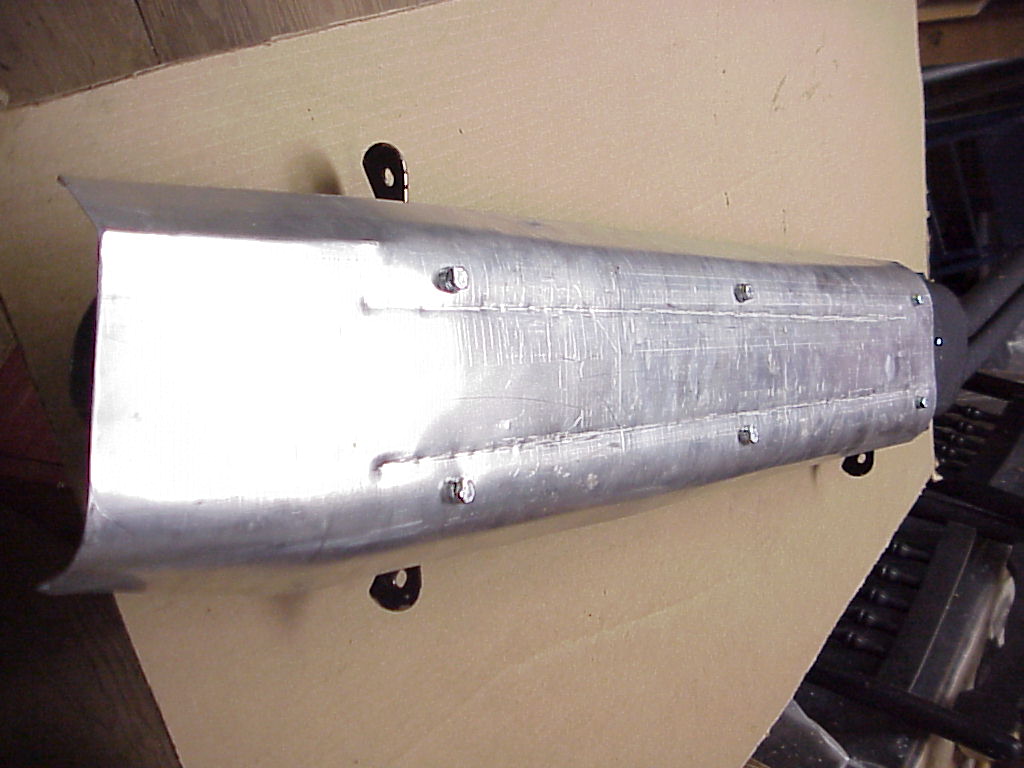
Here's the final product mounted on the muffler
I want to thank George Reed who many years ago sent me the original part I used for the model.
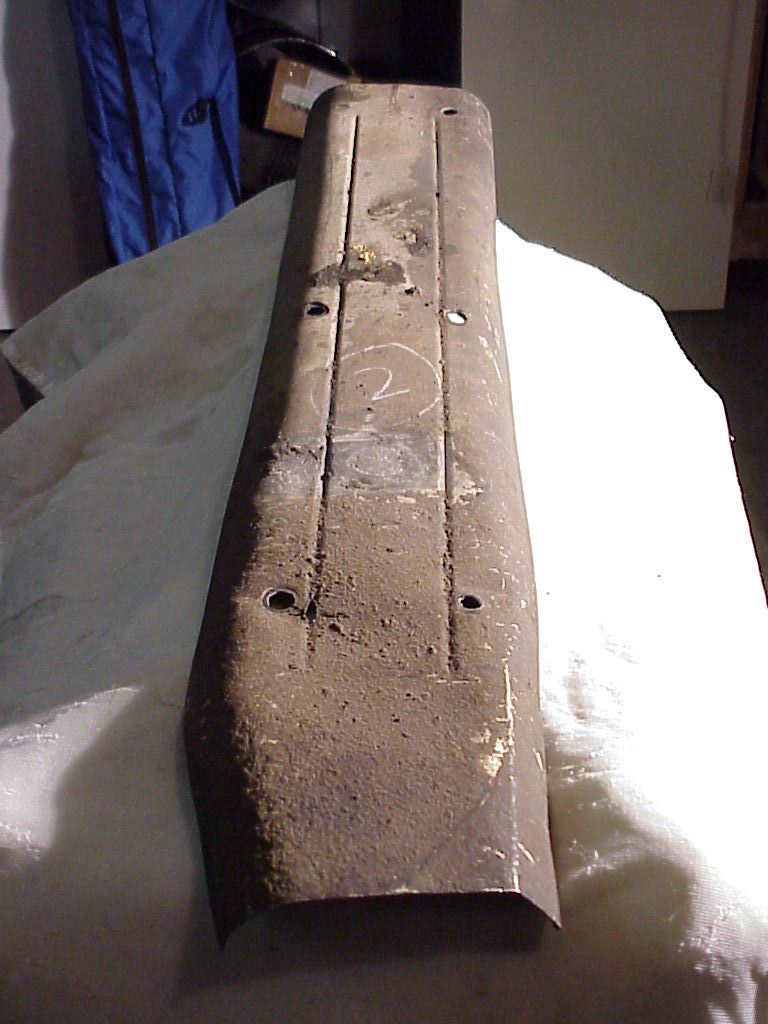
Over the years, I have supplied tracings, etc. of the original shield. So finally, I took some pictures and measured it up so anyone needing the dimensions can have it. This is the RH shield. The other side is a mirror image.
.JPG)
.JPG)
.JPG)
This picture is of a tracing of the underside that has been flattened out. The end profiles are also traced. You can click on the picture for an enlargement.
.JPG)
Briefly, the steps are:
-
Cut a piece of .065" mild aluminum 8" wide by 33.75" long.
- Using a 1/8" bead roller, run the two beads lengthwise as shown.
- Bend ¼" of each long edge over 180° and flatten onto what is now the bottom side. This leaves the piece 7.5" wide.
- Cut the one end at an angle so the edges are 32.75" and 33.75" long. This now the front end.
- Make a mark 6.5" from the short edge along that angled end. This mark will be used in step 6.
- Cut the front 4.5" on the long edge at an angle to the mark made in step 5. This removes the rolled edge in this area.
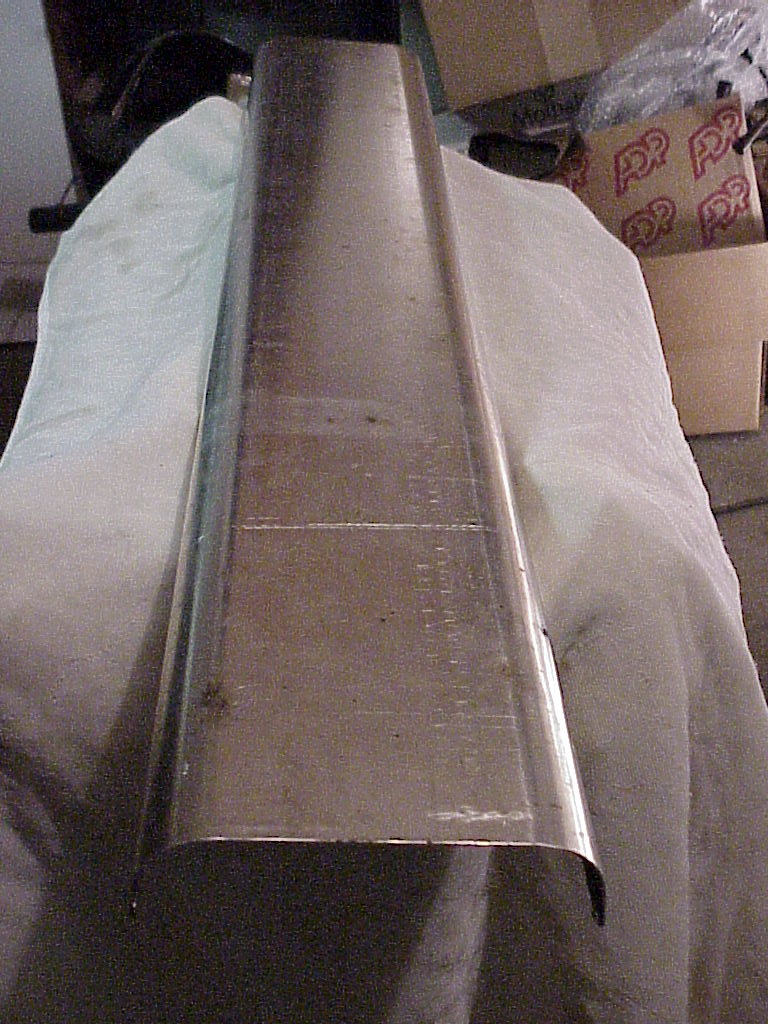
- Bend each long edge 90° on a 1.25" radius. See the end tracing and middle picture above.
- Bend the front 4.5" 90° on a 1.25" radius. See the end tracing and right picture above.
- On the short edge, flatten the 1.25" curve into a flat section for the front 7".
- Drill the six holes to match the locations of the nuts welded on the exhaust.
- The shield is left bare aluminum, not wrinkle painted.