Hood
There isn't a lot to take apart on the hood for paint preparation. The hood will be off the car when it is painted with the engine compartment masked off.
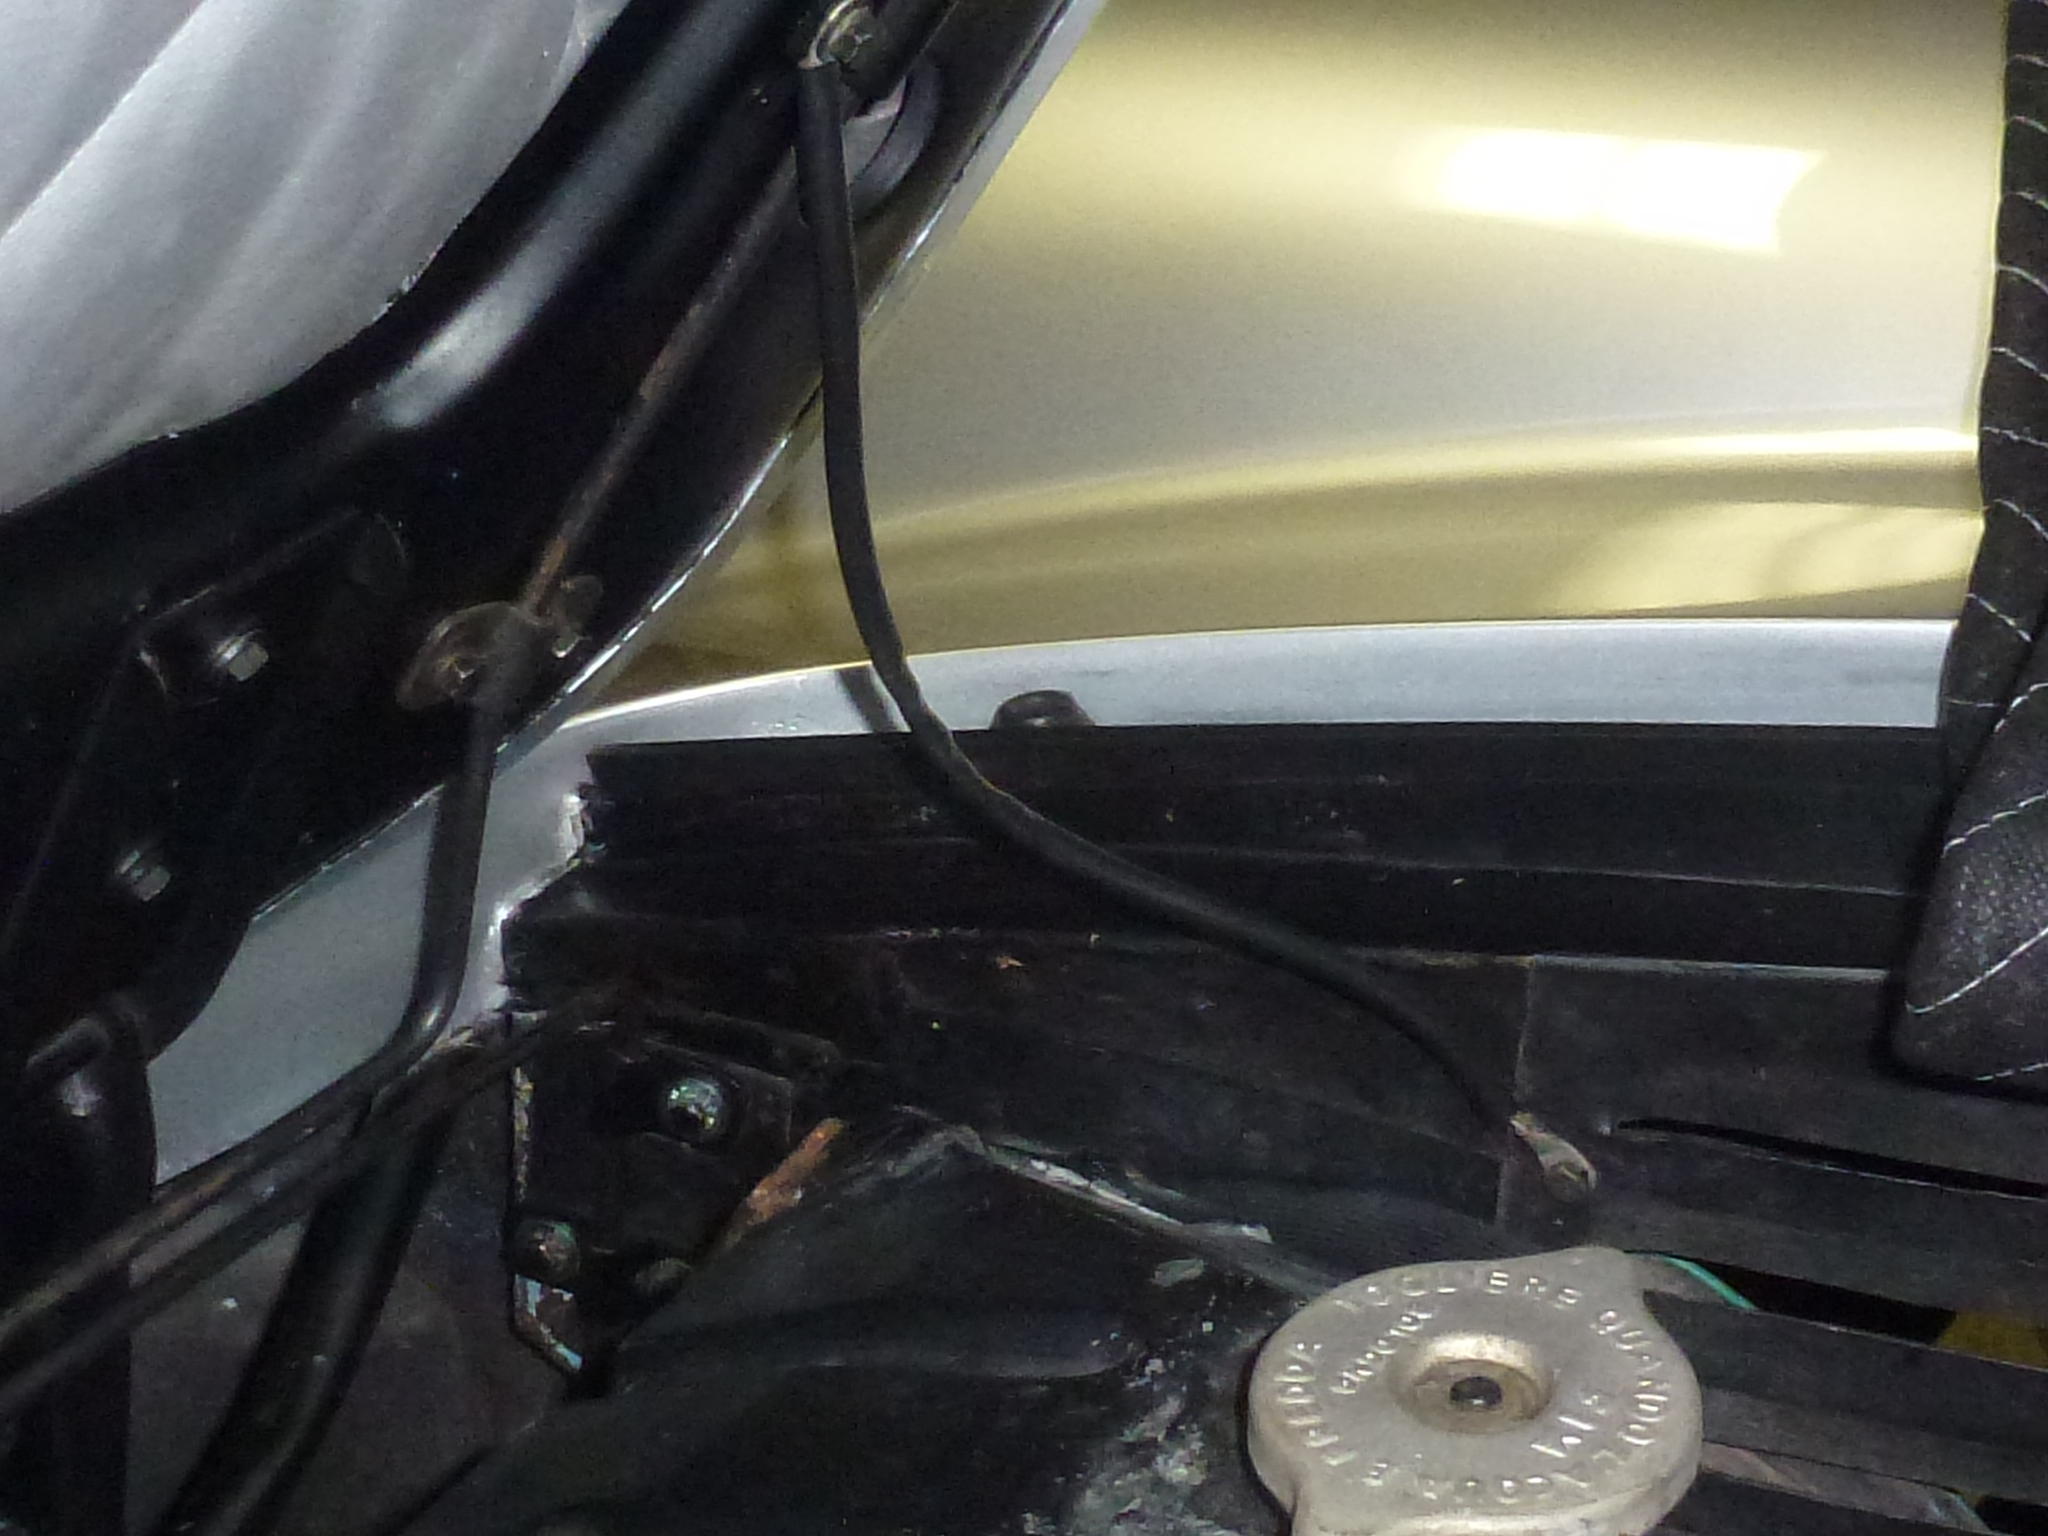
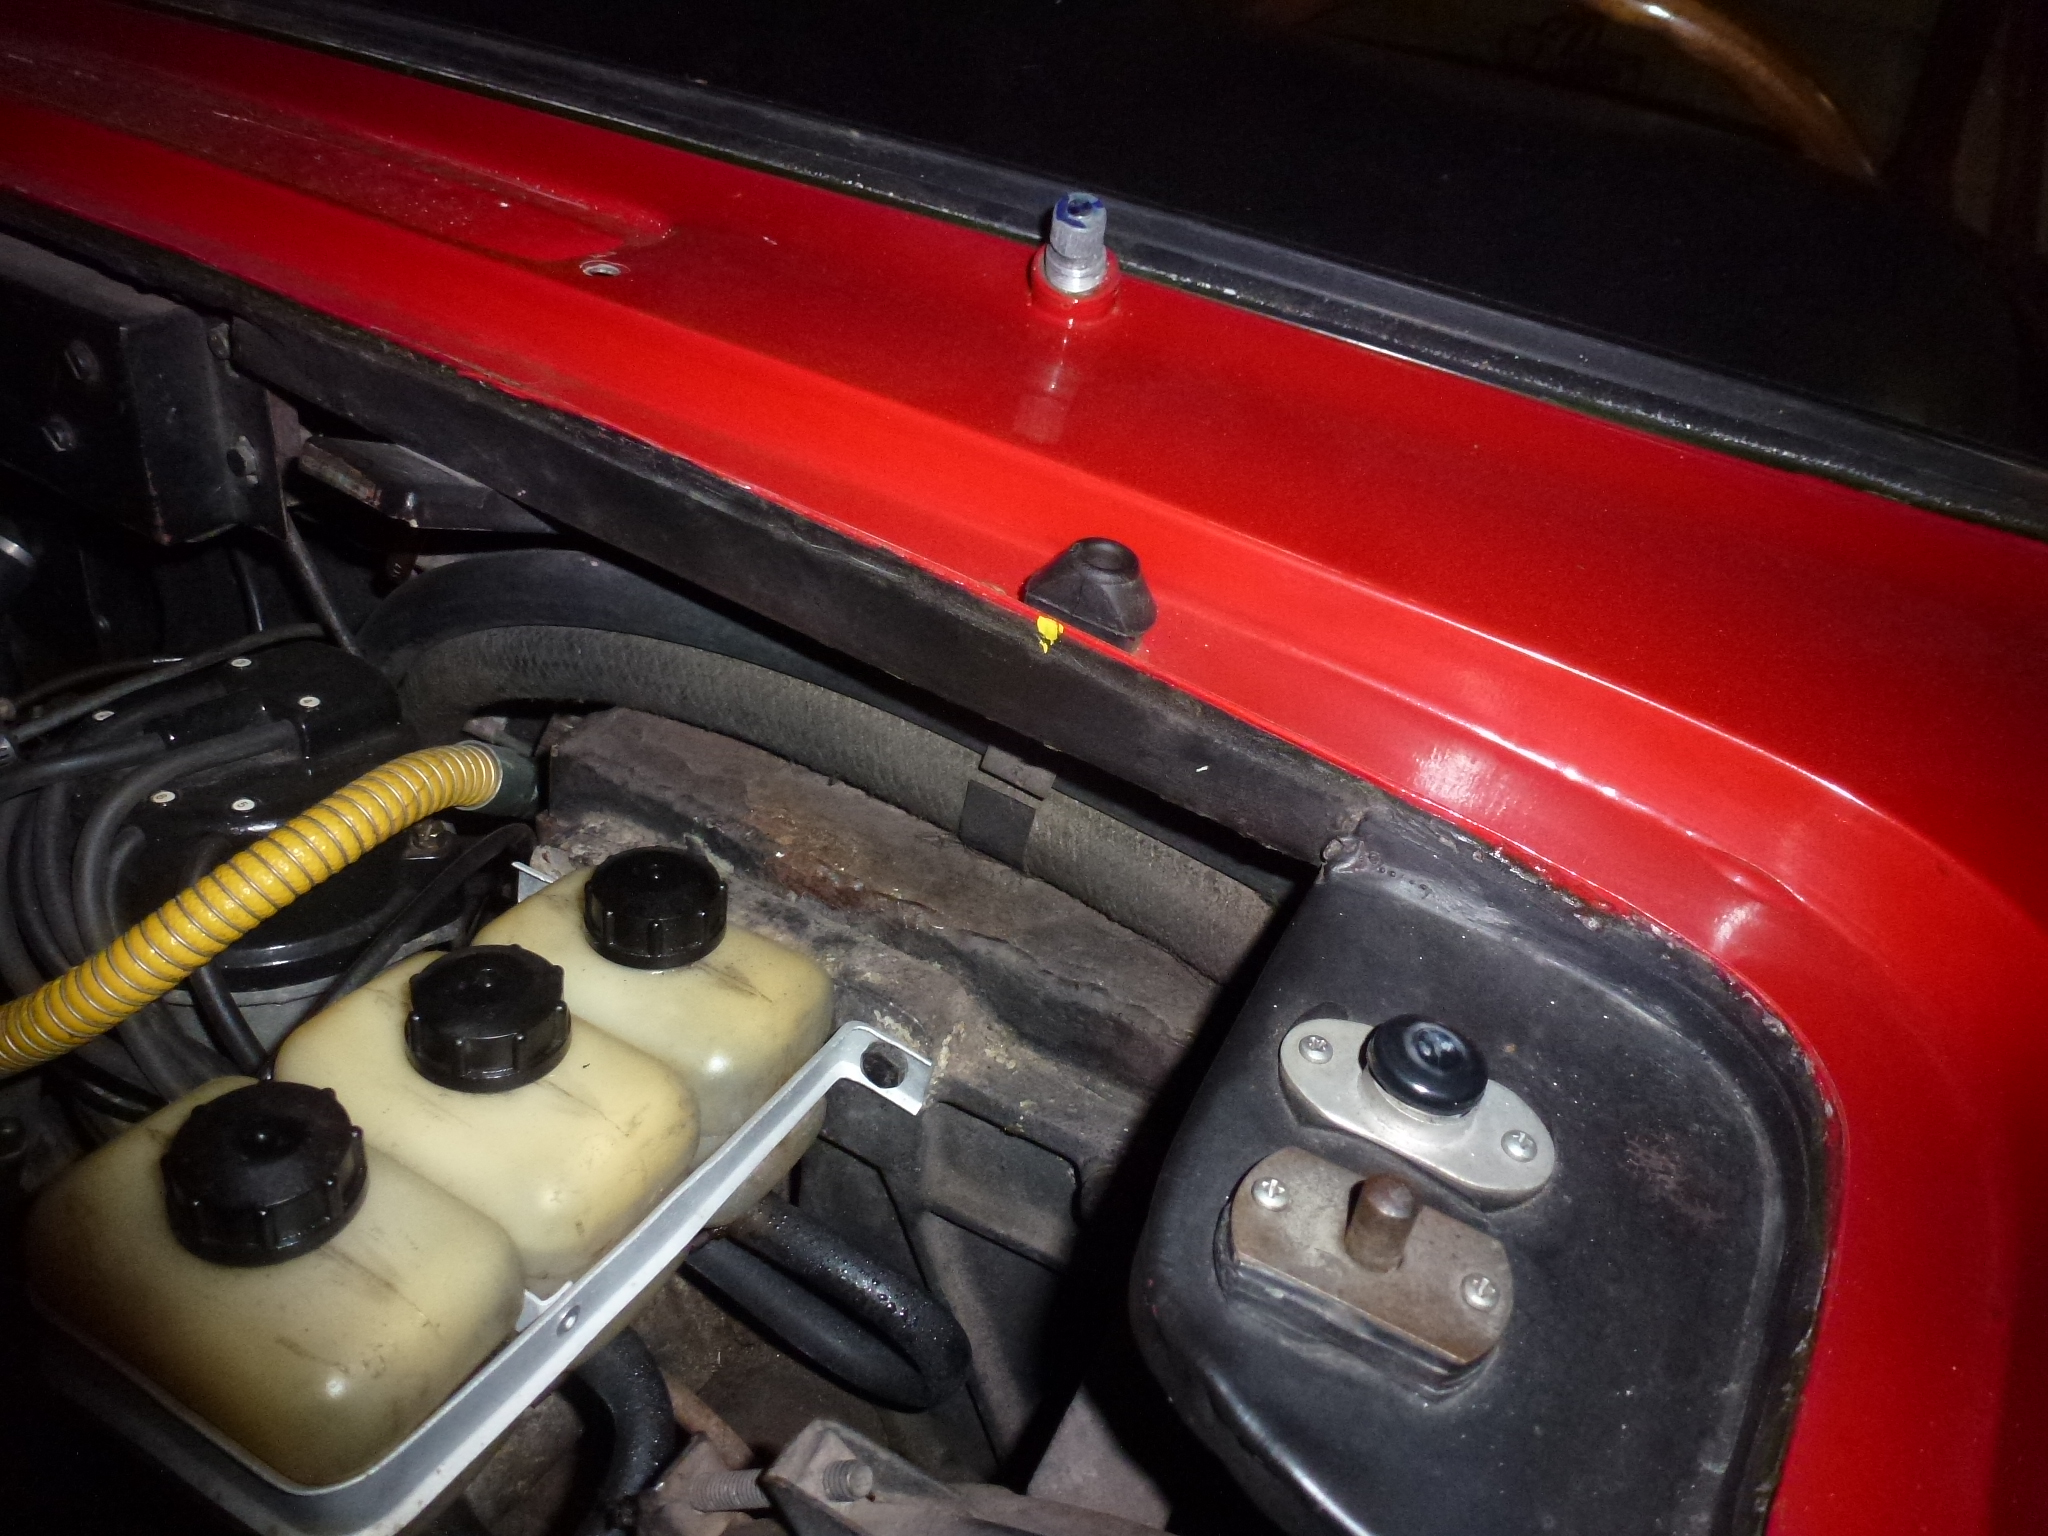
The PVC edging around the engine compartment just lifted off. This is the correct edging, so it sits nicely on the metal without needing any glue.
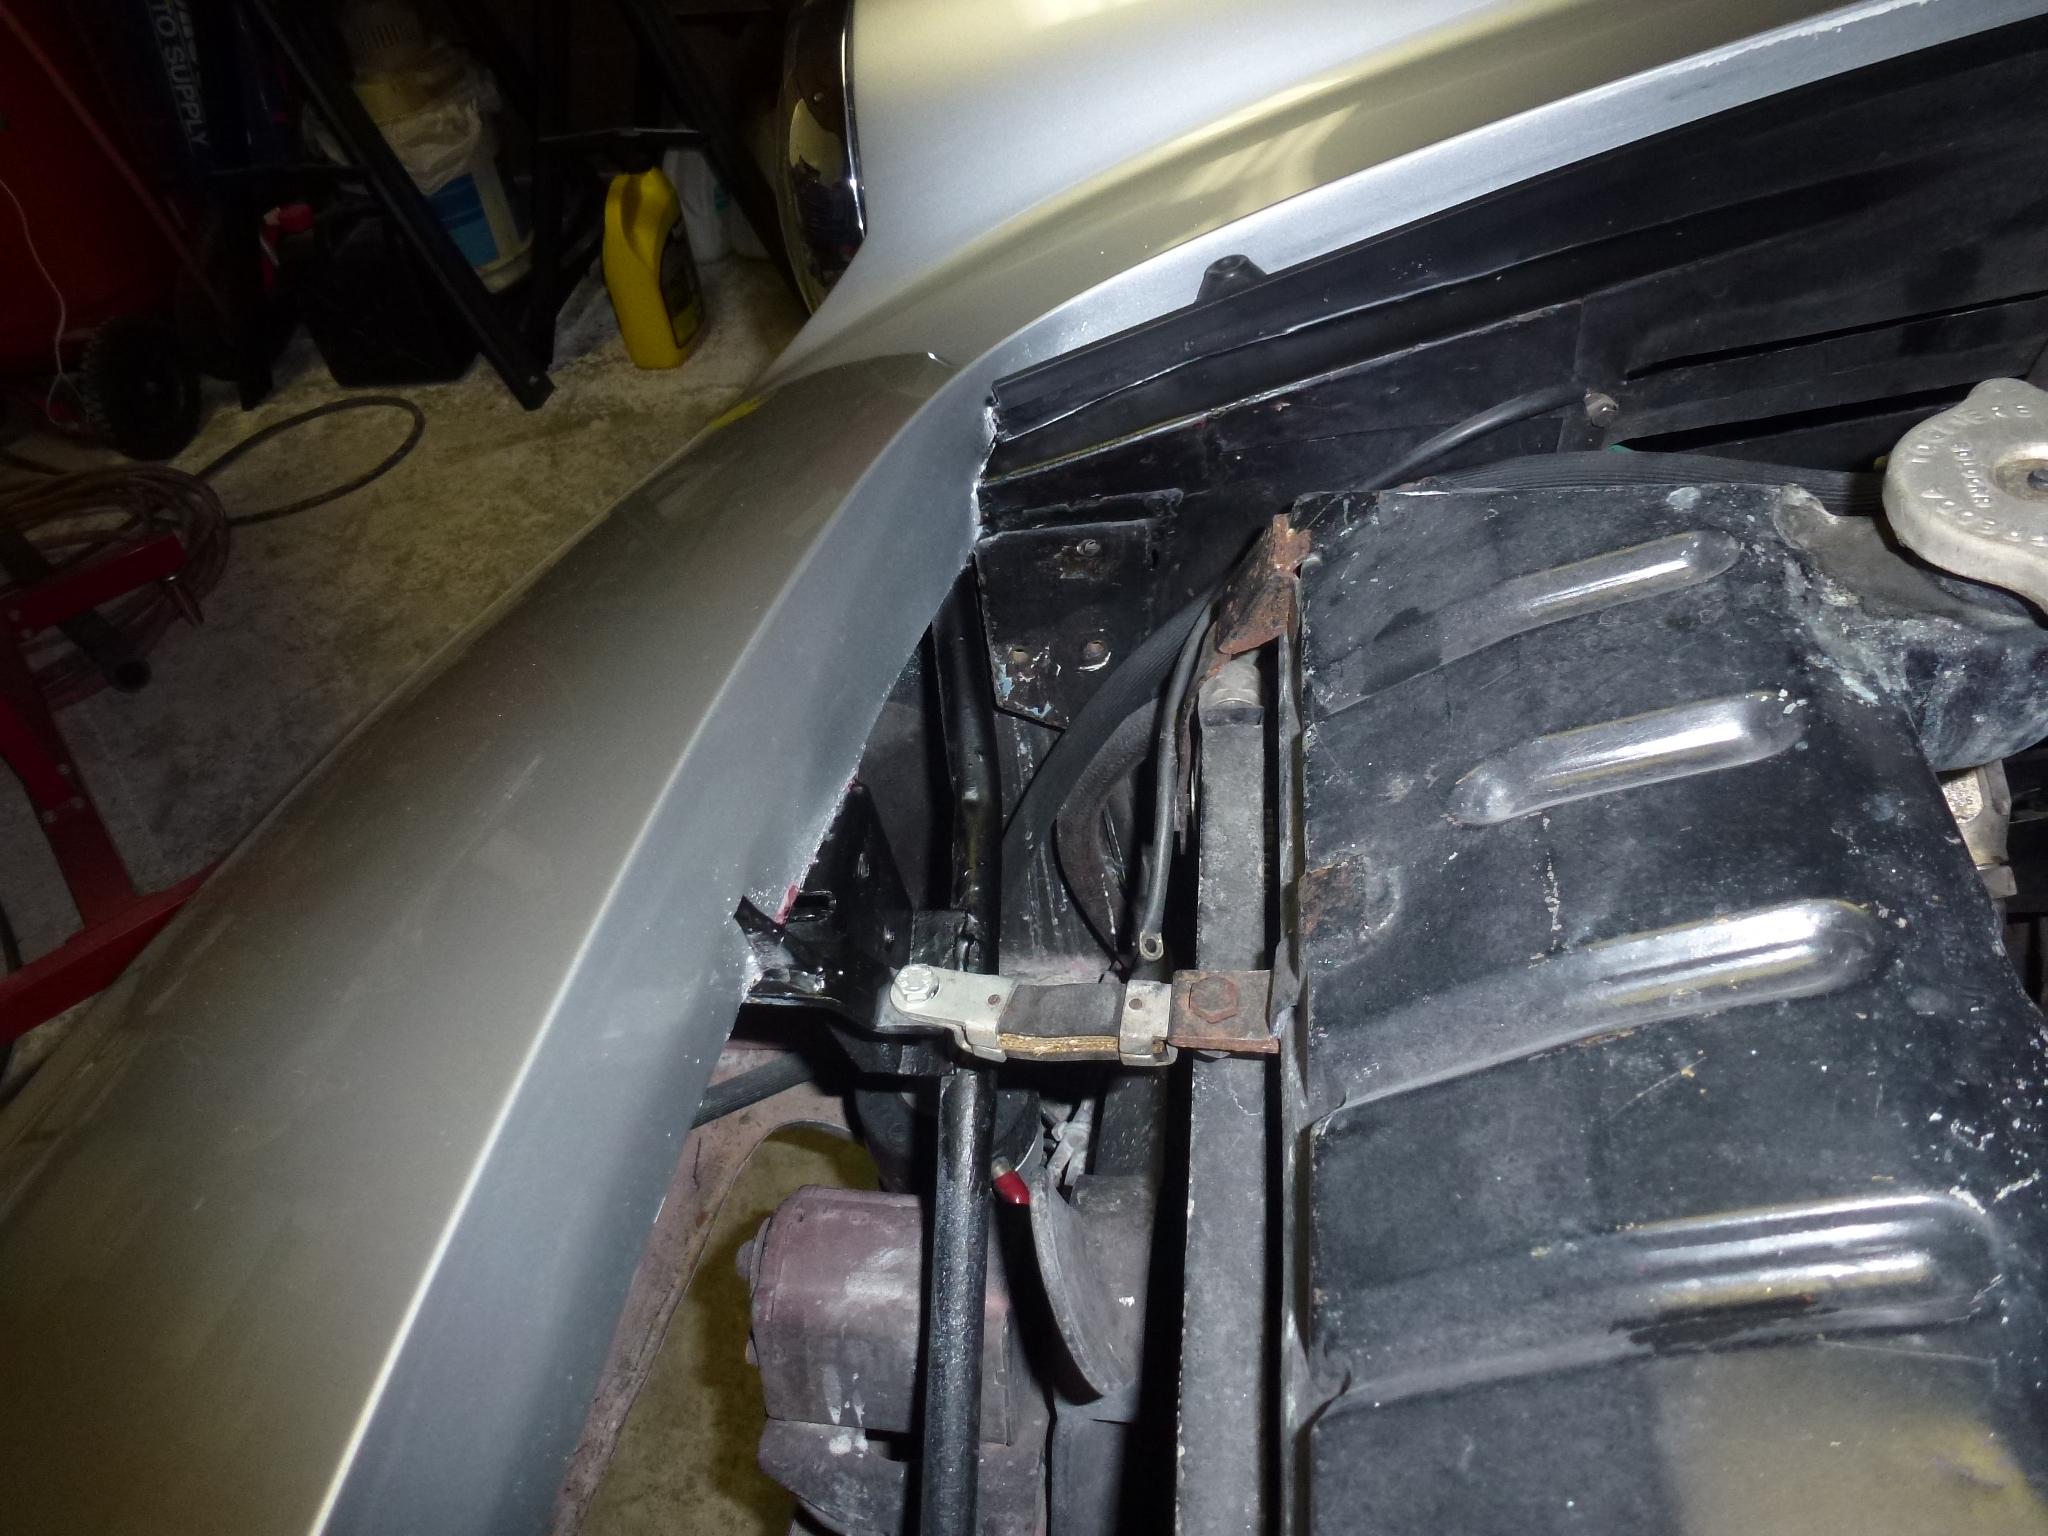
The hood springs were removed to make it easier for the auto body shop to remove the hood when needed. I'll tweak these springs to give a little more lift as they don't raise the hood enough to clear the second catch. The lower brackets are easier to remove by reaching through the grille opening.
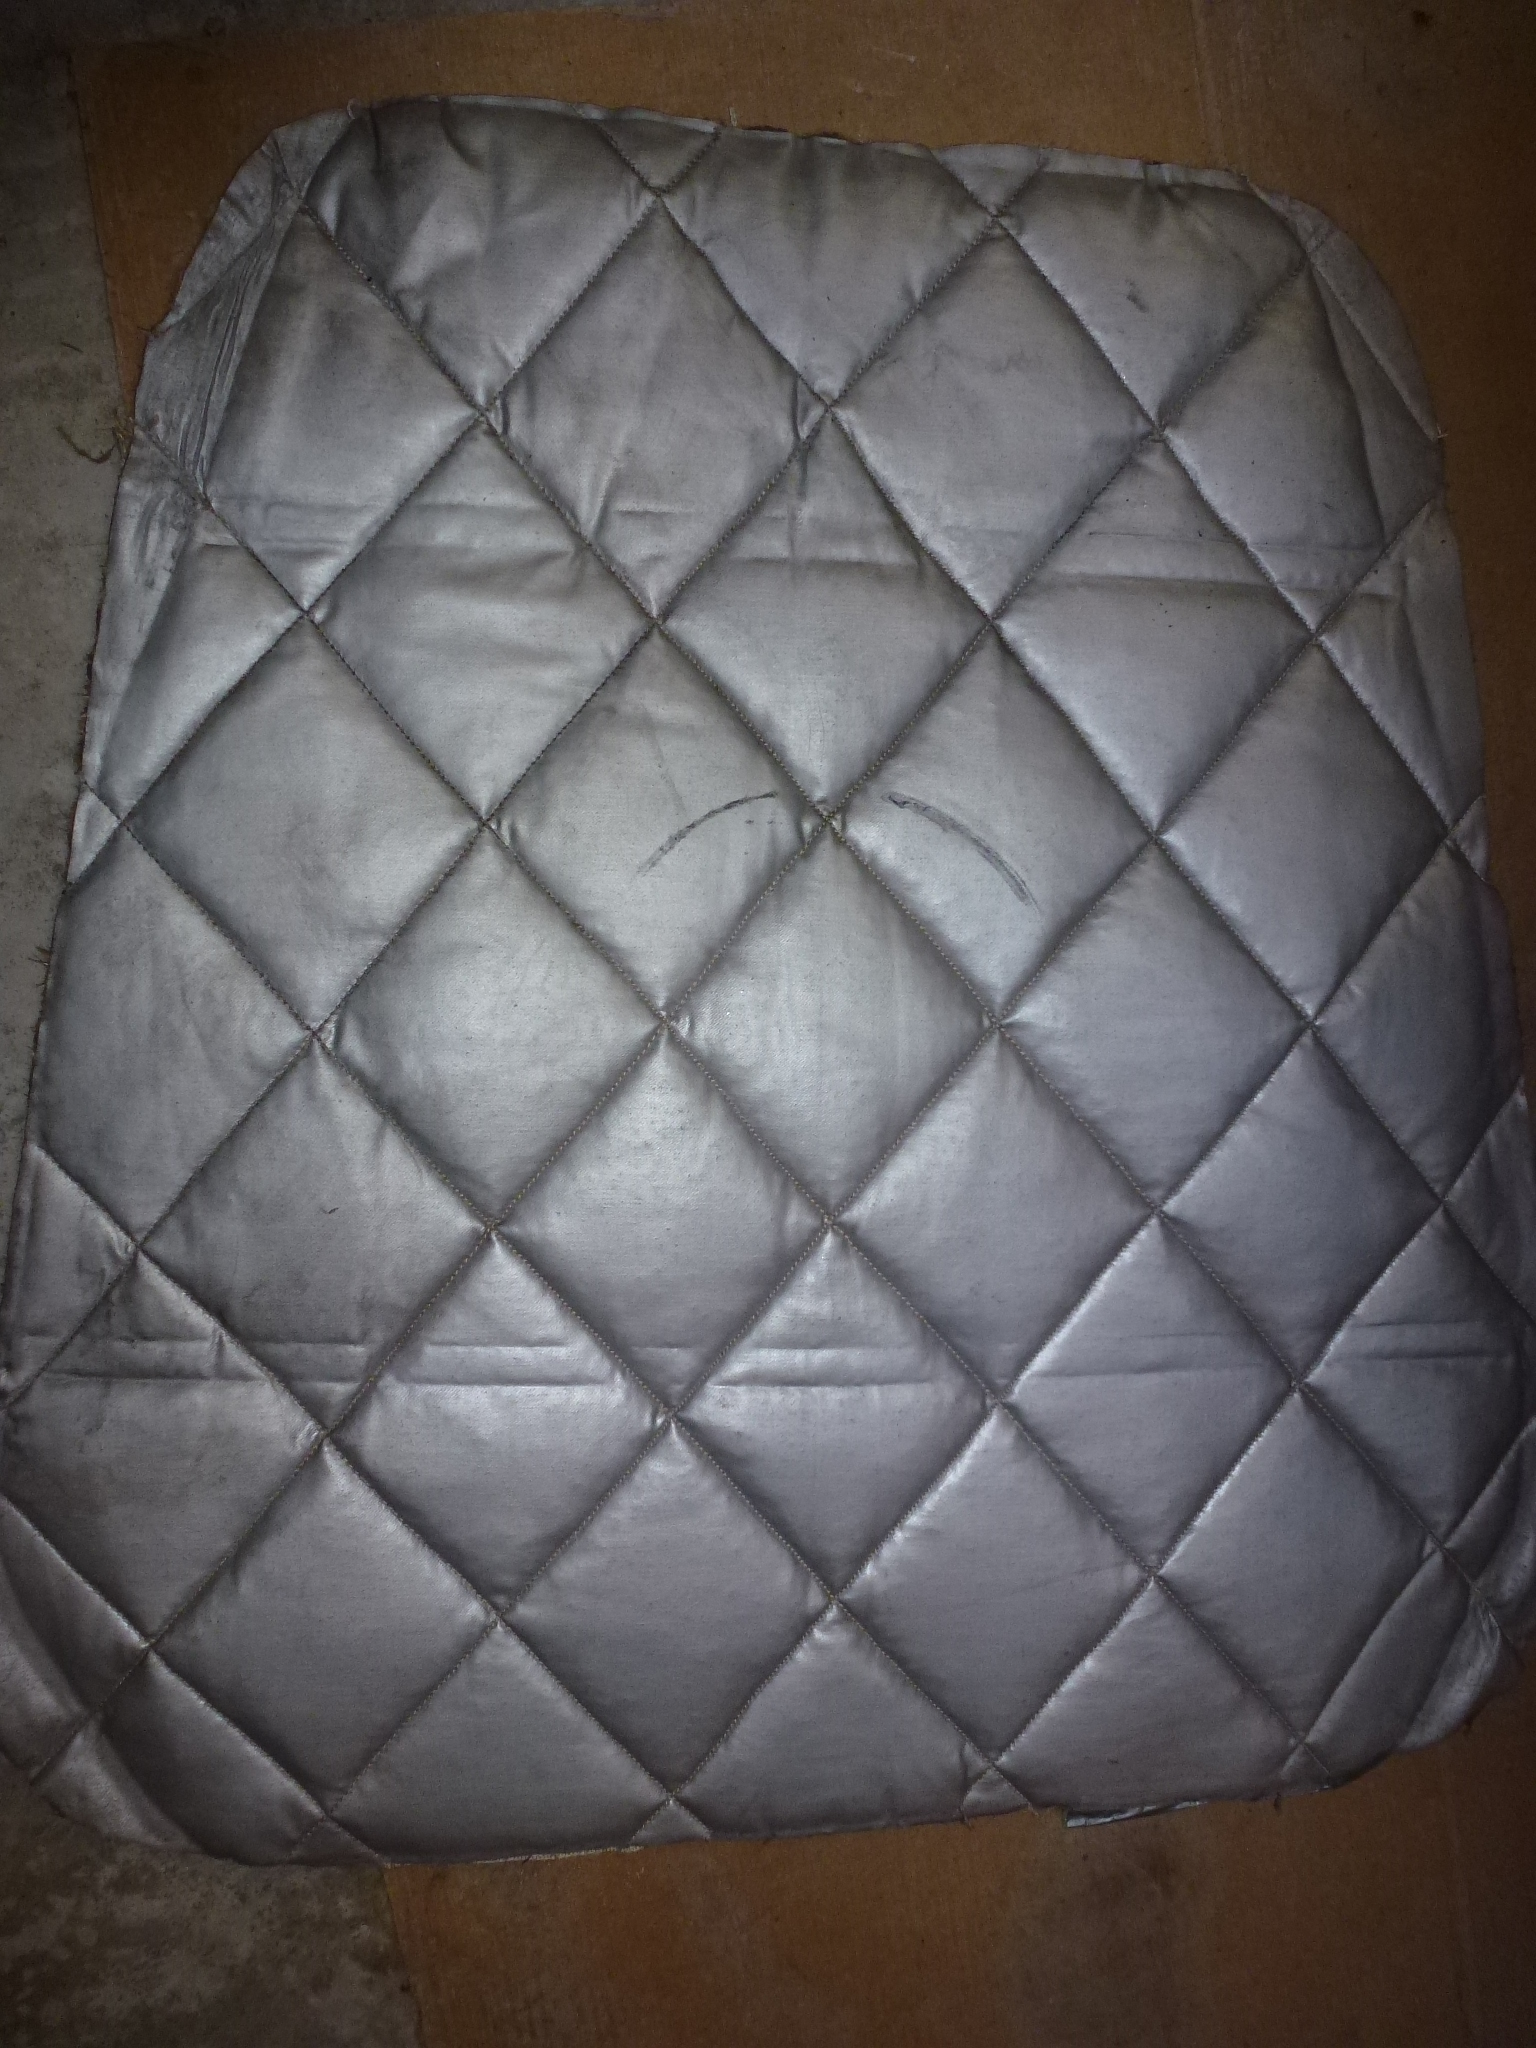
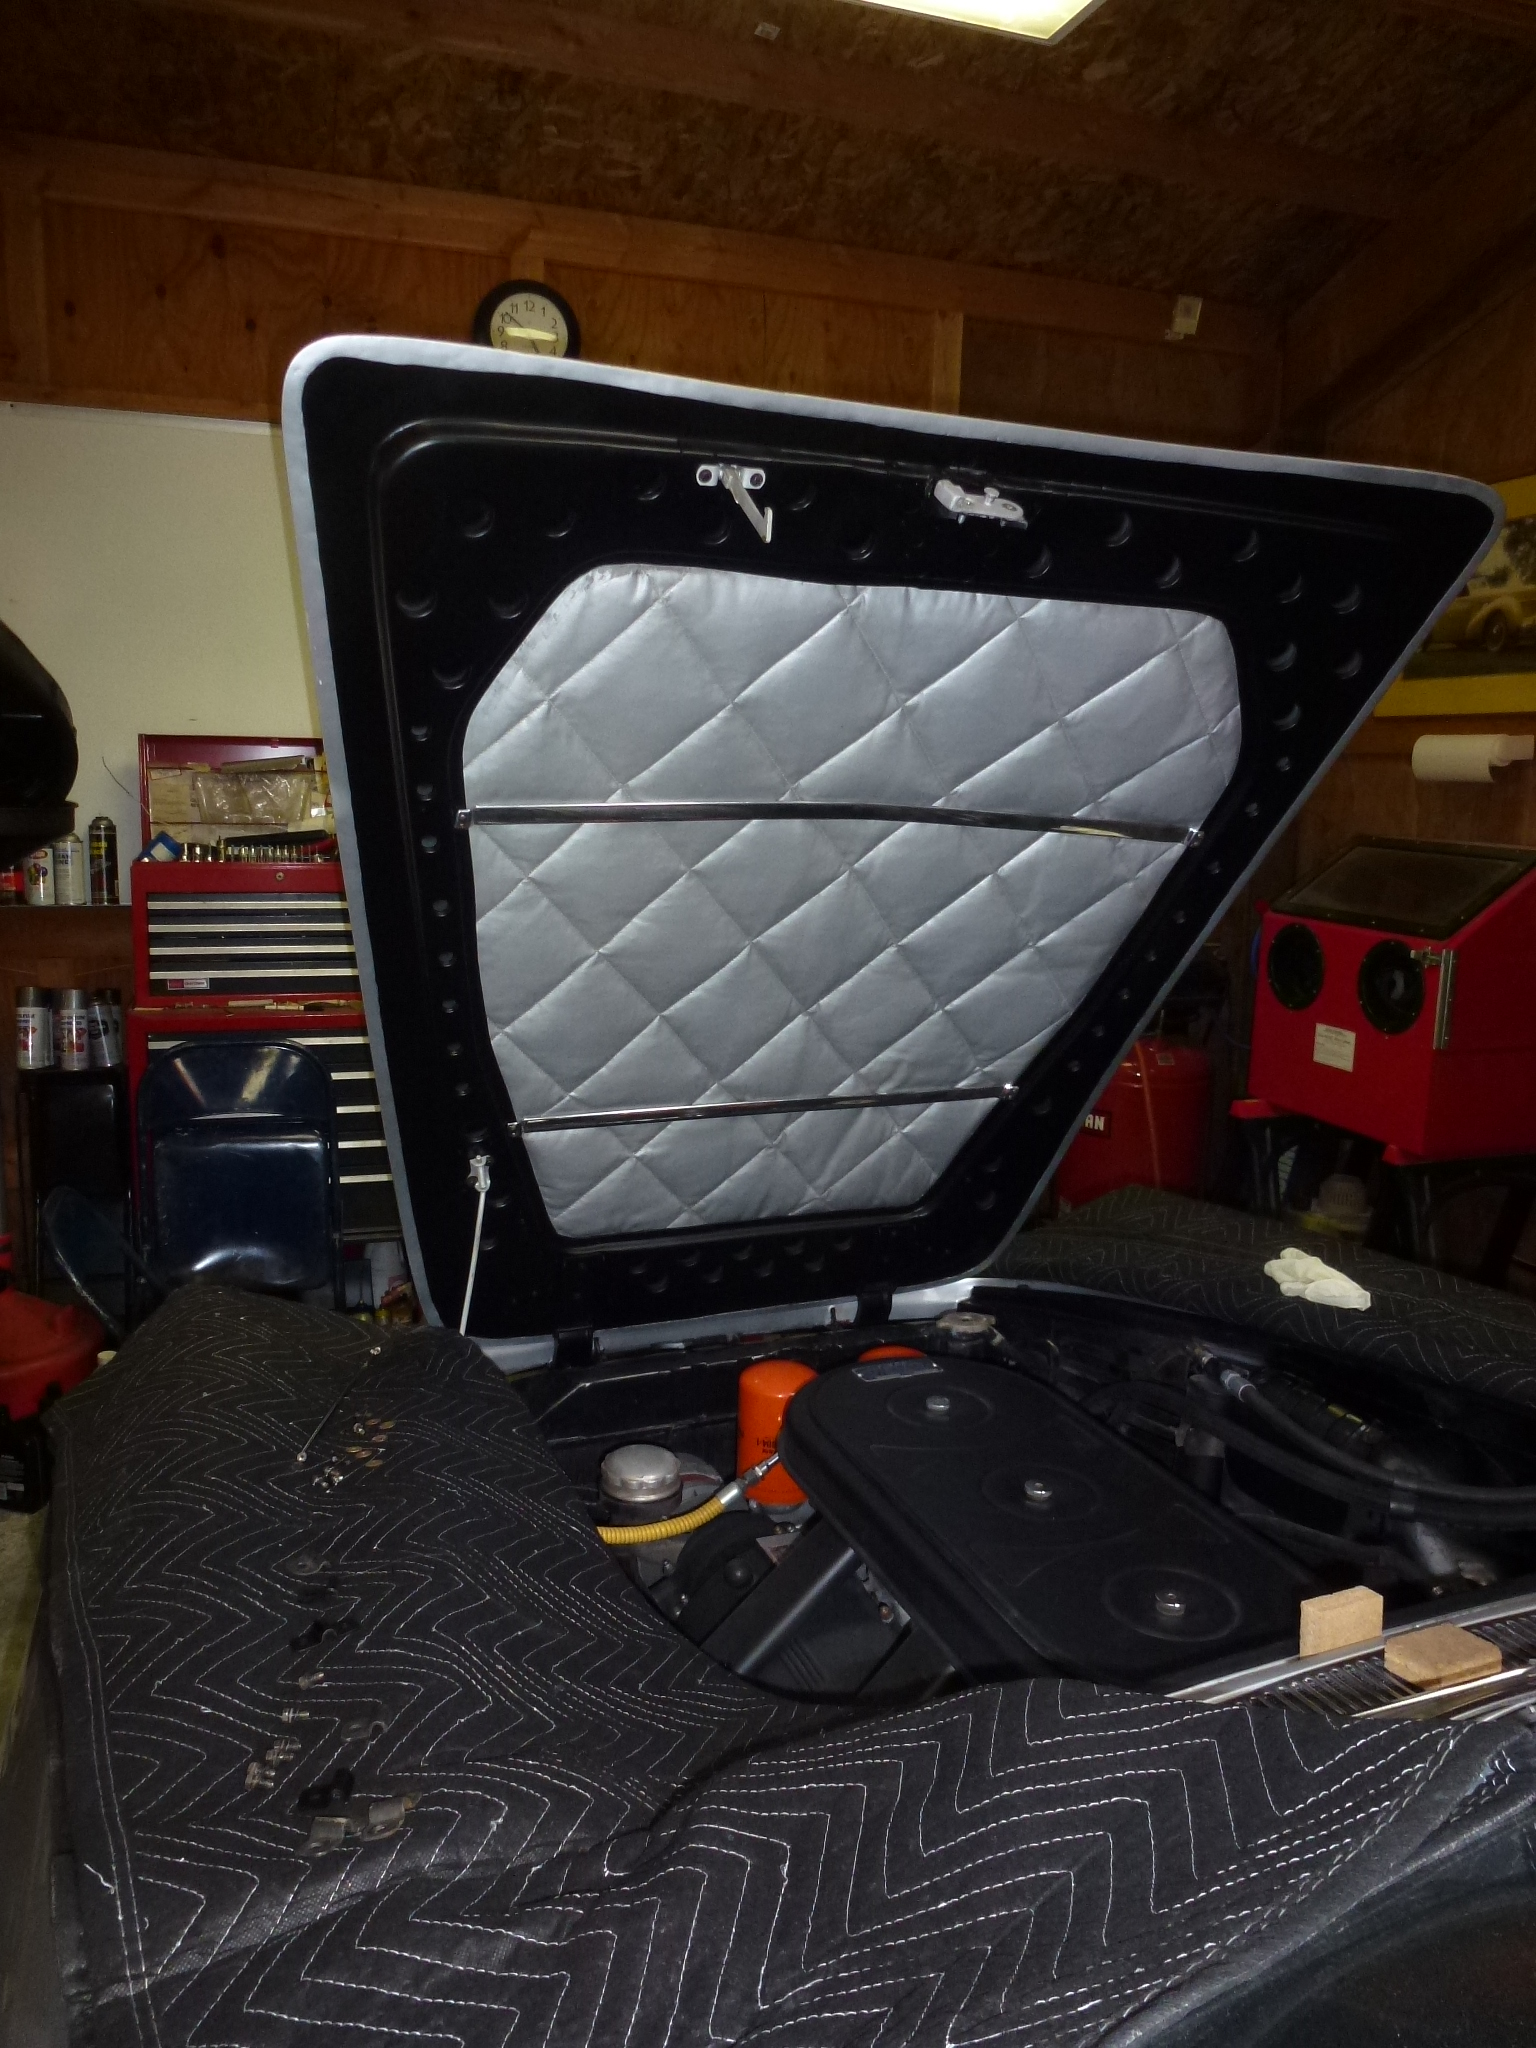
The last things to come off were the hood pad bows and the hood pad itself. The hood pad had pulled loose in one corner over time. With all of the markings around the outside, I don't know if I can put in in the correct place without the old location showing. I might have to get a new pad when I put the car back together.
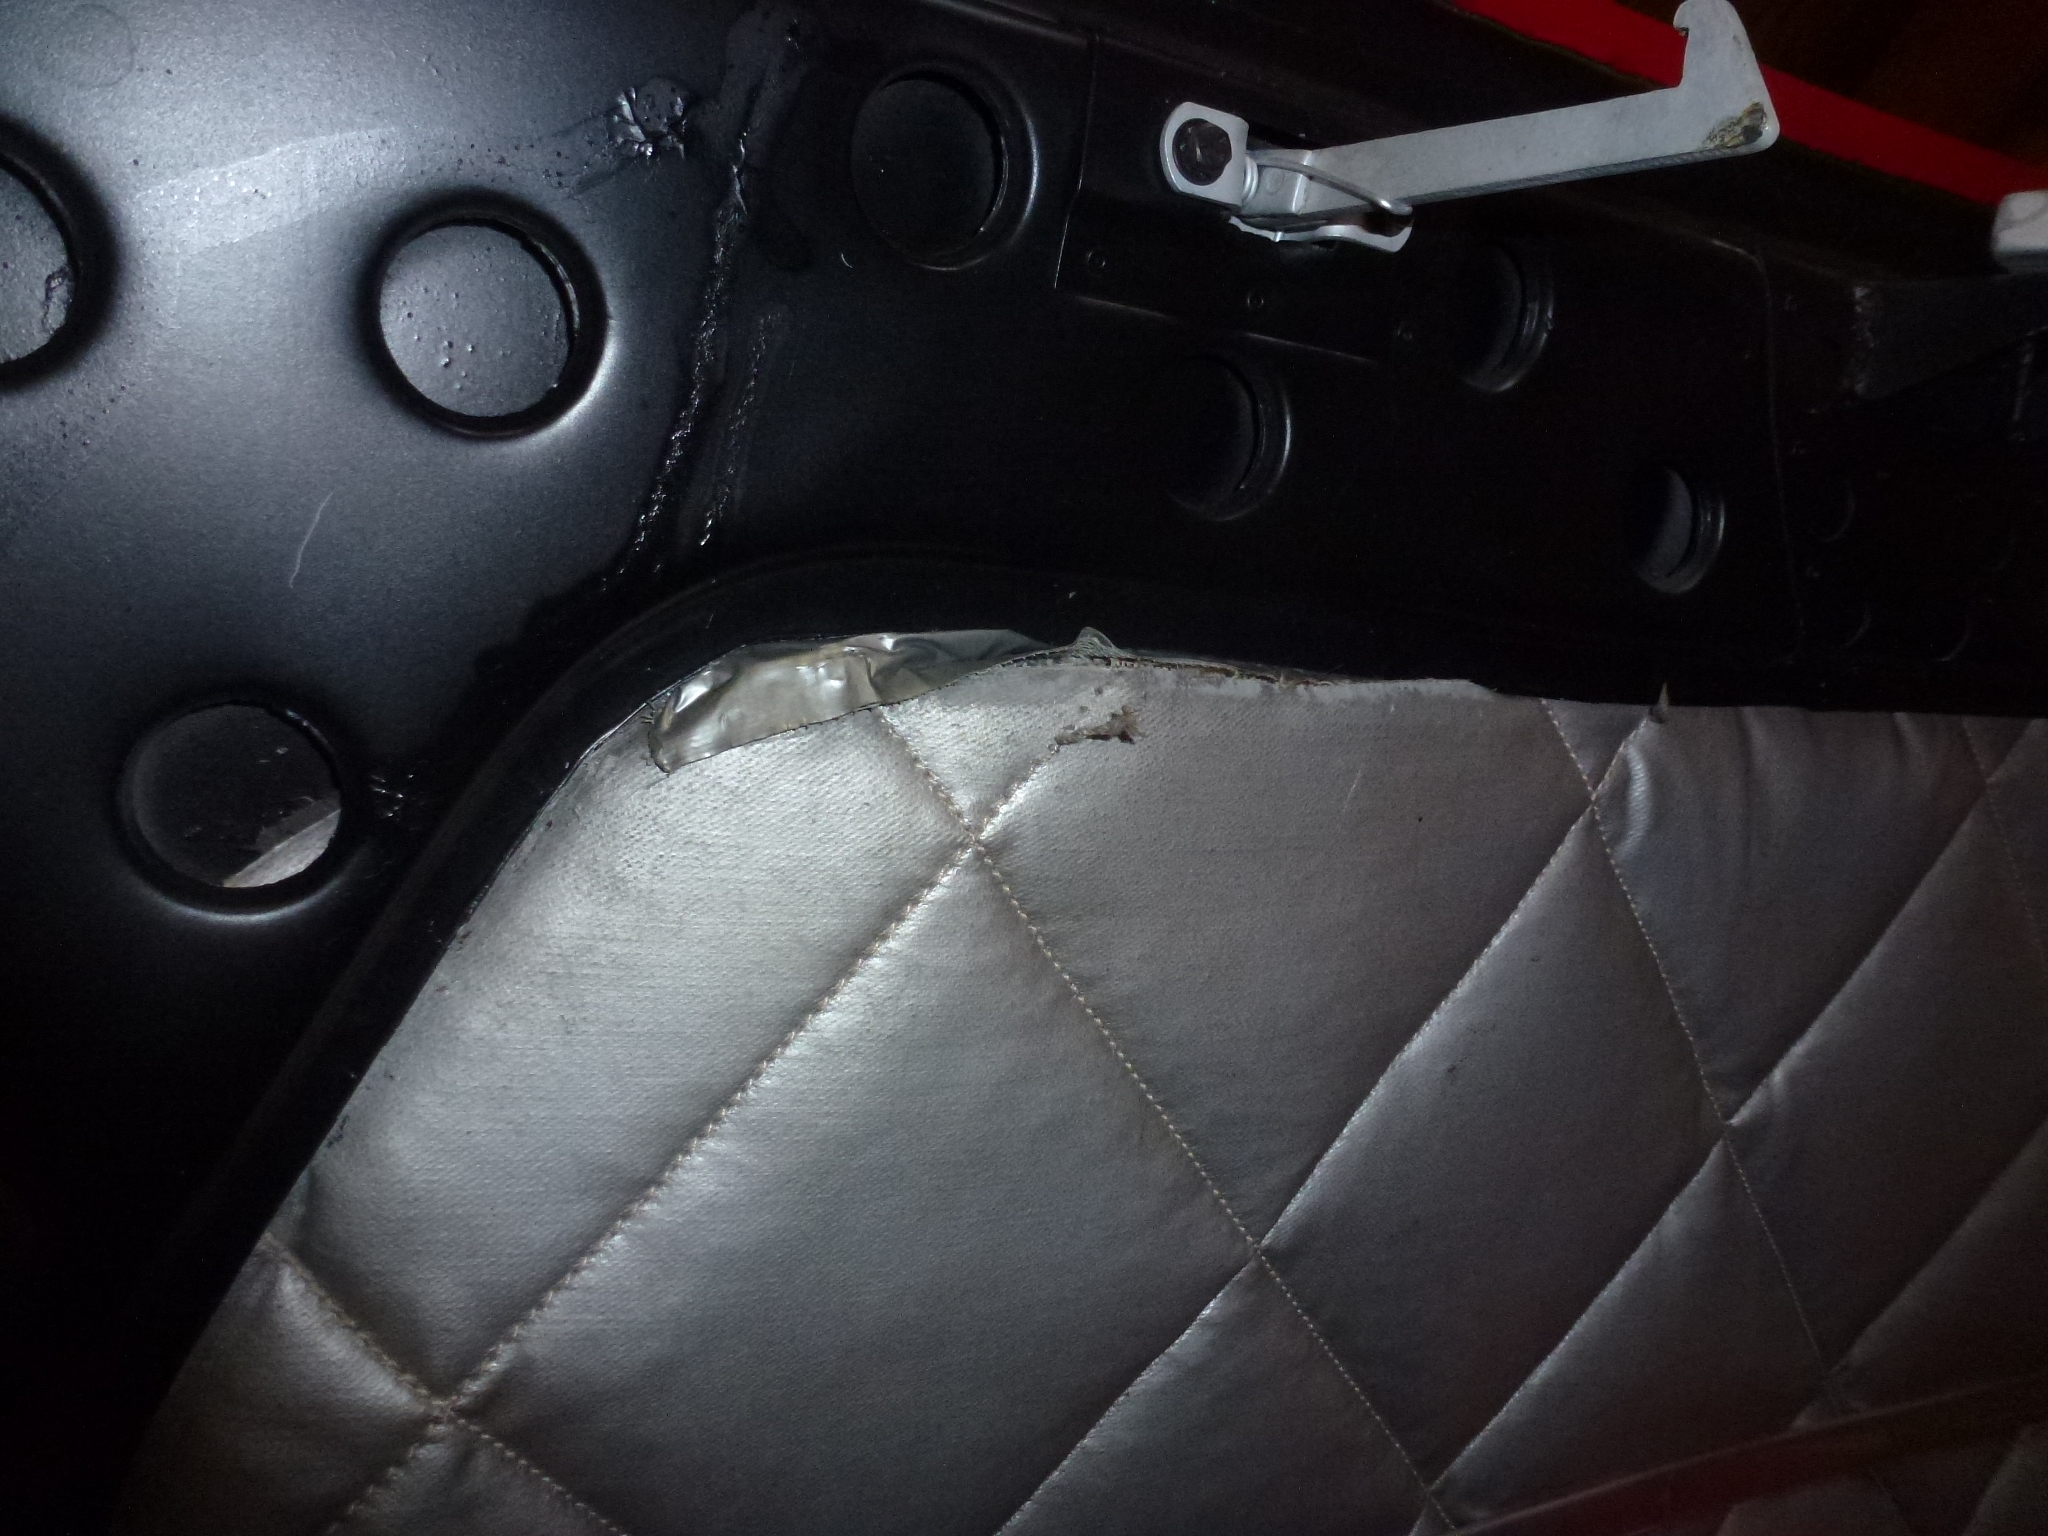
One last thing. I was talking to Lowell Brown tonight and he mentioned the hood bumpers. I had totally forgotten about them. Easy to take off, but perhaps not so easy to put back on. It's easy for little screw holes to get painted over, so I put a dab of yellow paint on the inside of the hood flange near each bumper. The paint will get covered by the PVC trim, but it gets me close to where a hole might be.
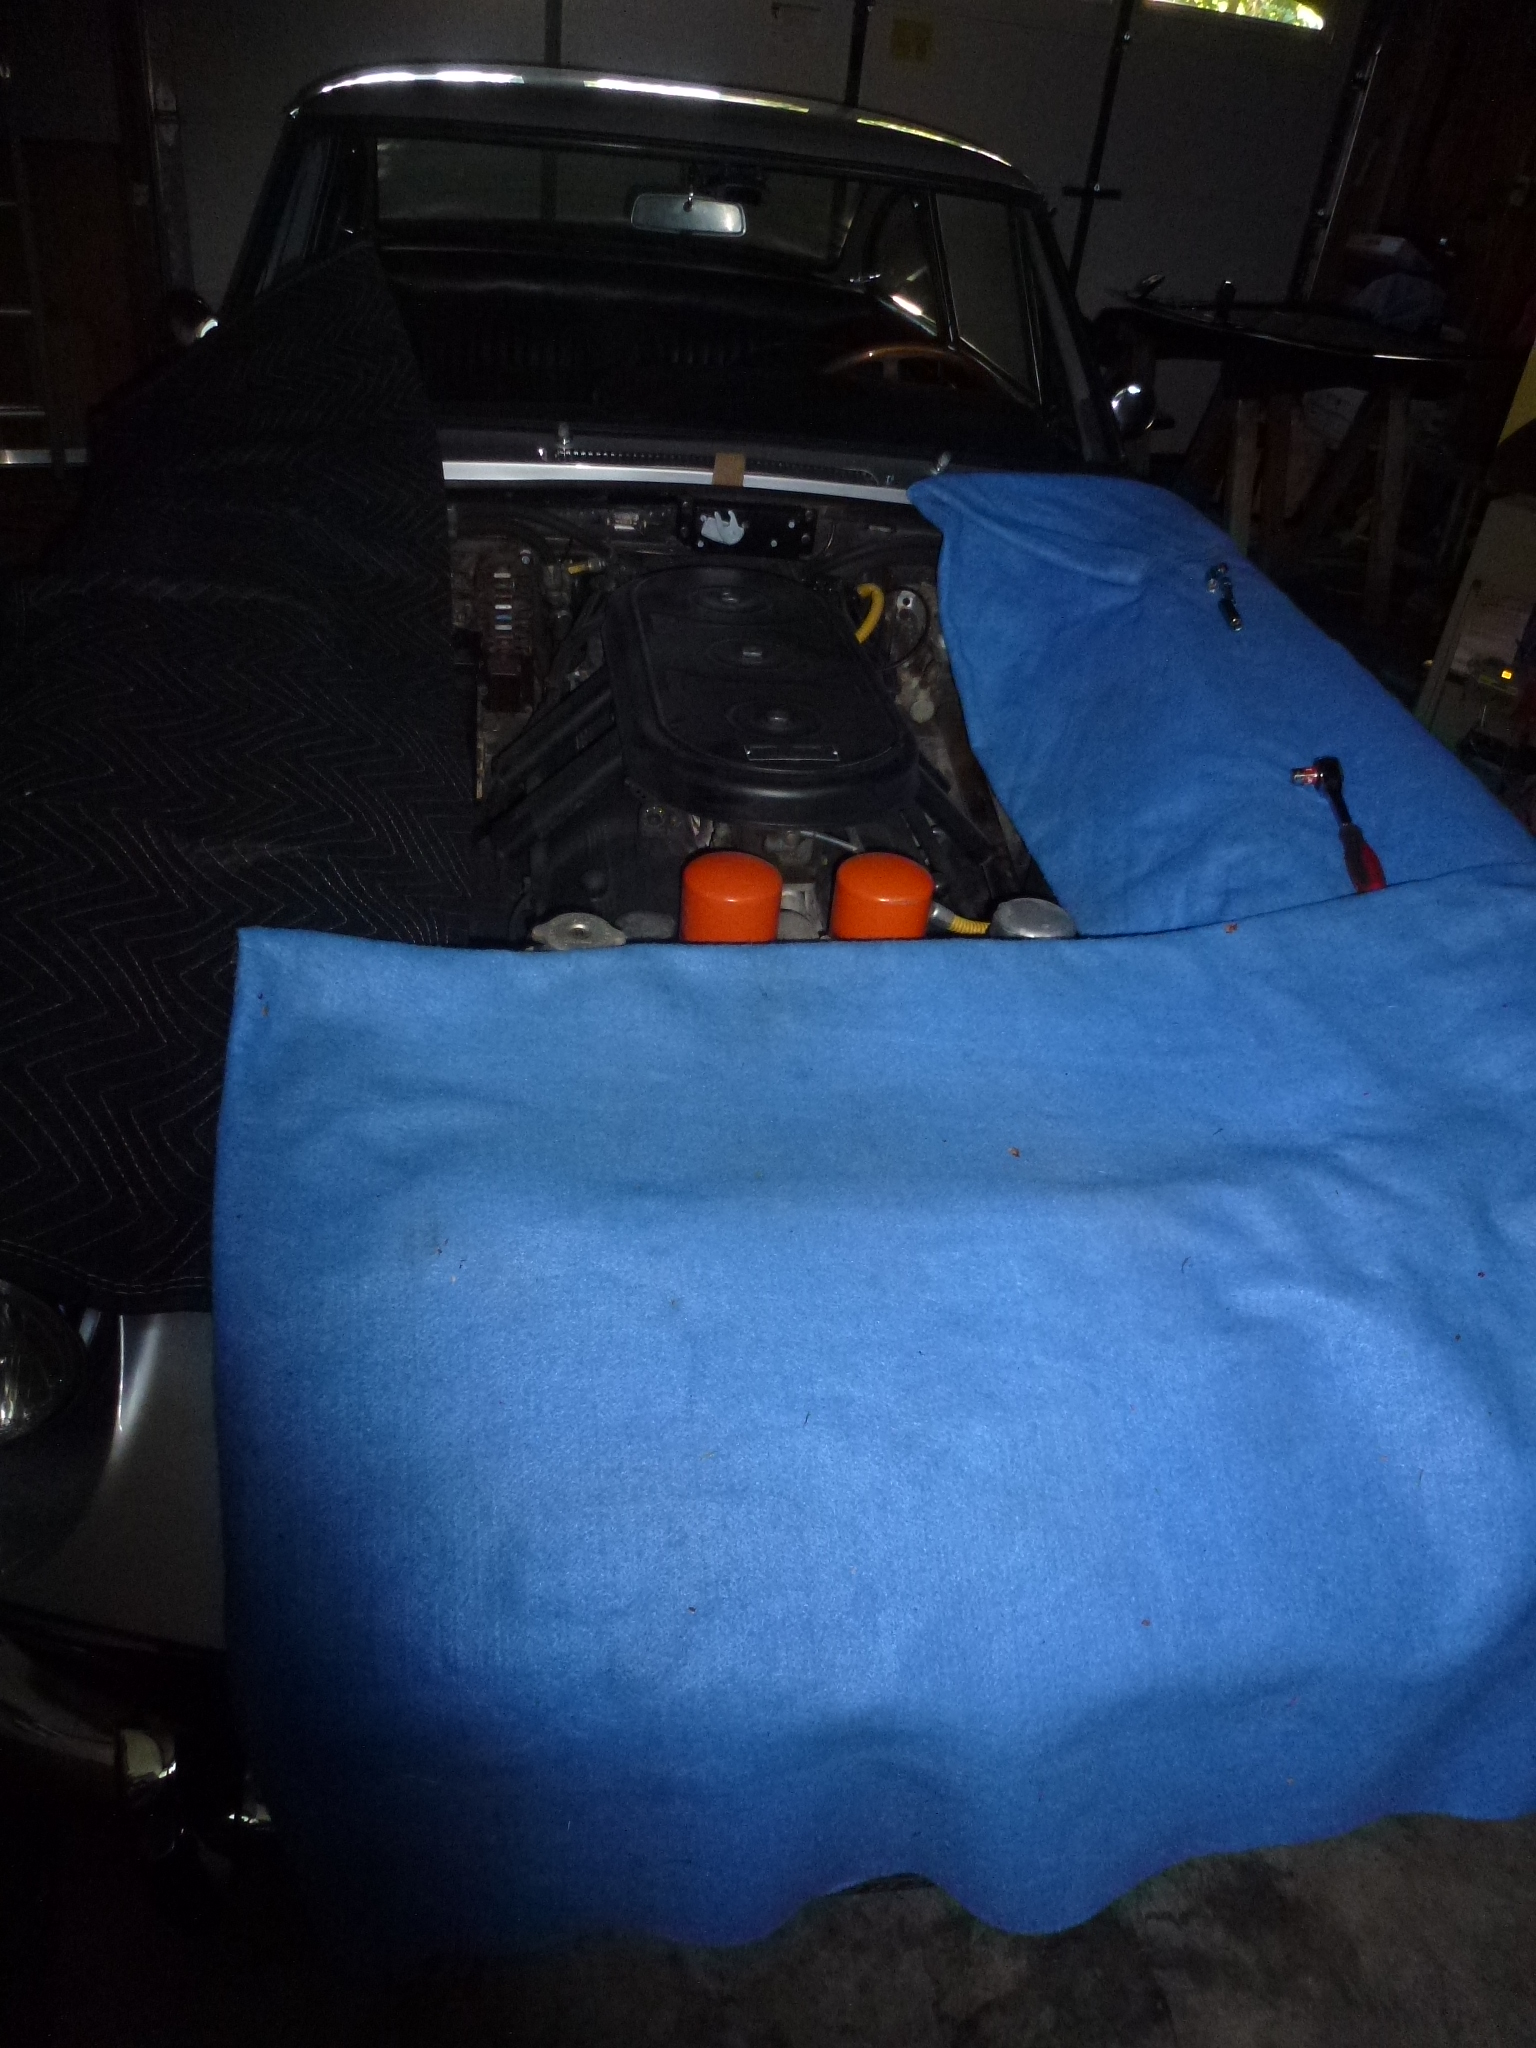
I had my neighbor help me take off the hood. I decided to unbolt the hinges from the body rather than from the hood. The body bolts don't have as much play, so the alignment should stay in place better. We had plenty of padding around the hood to prevent it from accidentally touching the body.
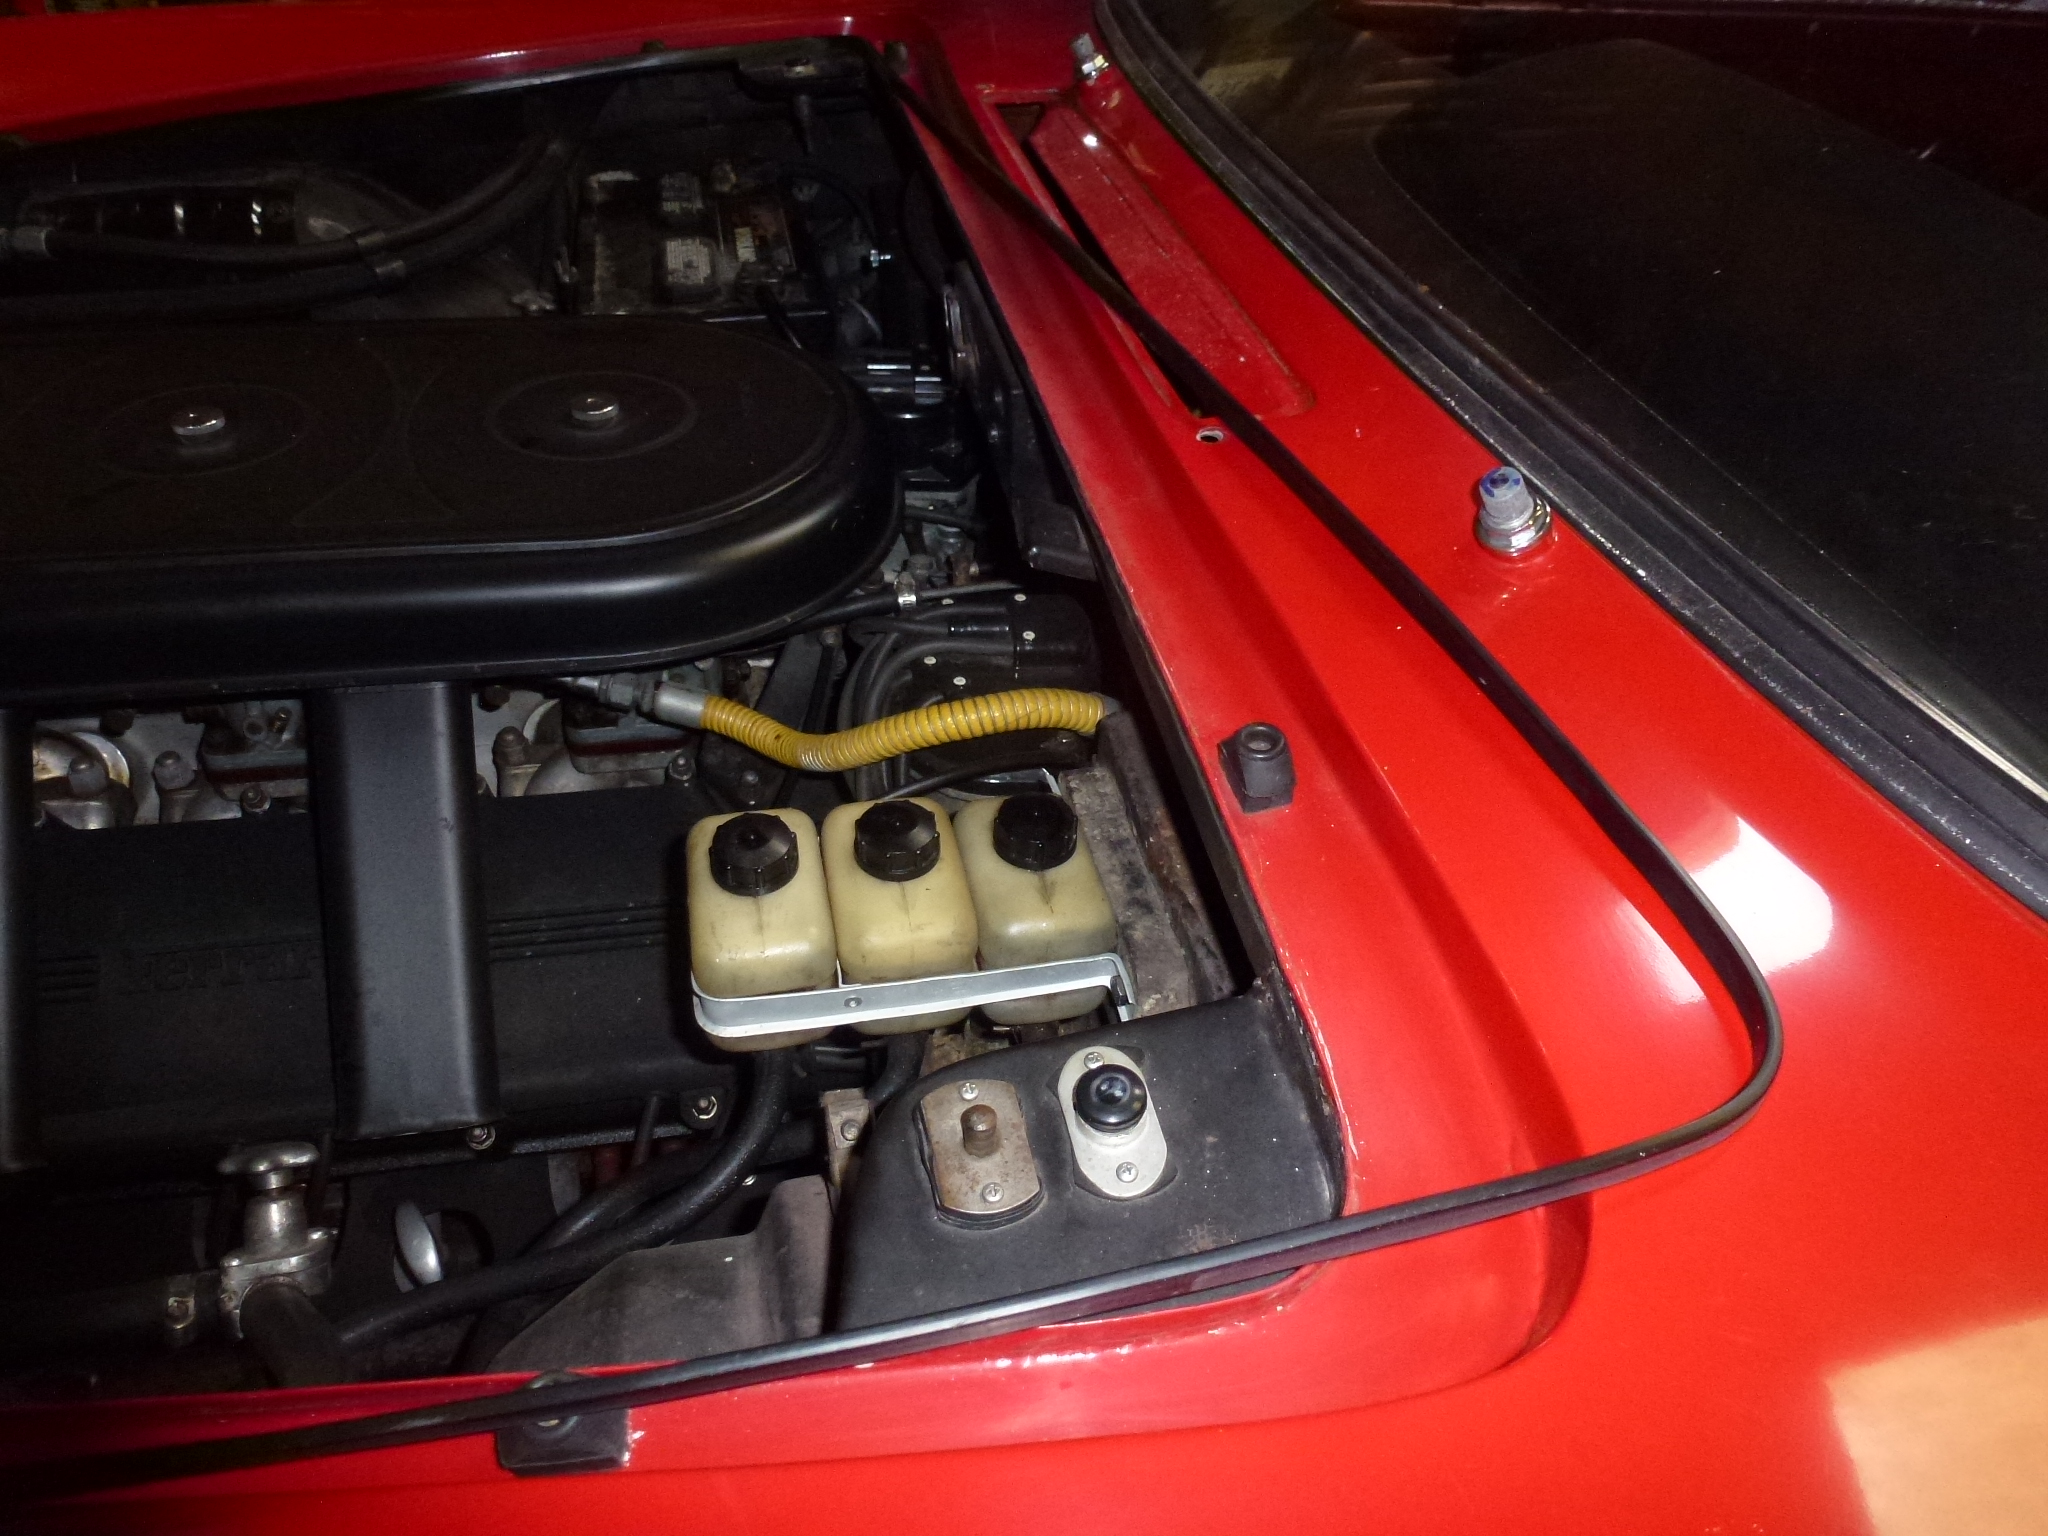
Once the hood was off, I cleaned the hood pad and re-installed it. If you look at the picture of it above, you can see where the forward part of the air cleaner left a mark. I wasn't able to completely remove it, but if anybody asks, I just say that it's patina and the pad is probably older than their Ferrari as it was bought in the late 70s. You can see the fiberglass tools that I used to push the sides and corners under the flange of the inner hood liner. I also used some contact cement under where the air cleaner left its mark, so hopefully the pad won't touch it now.
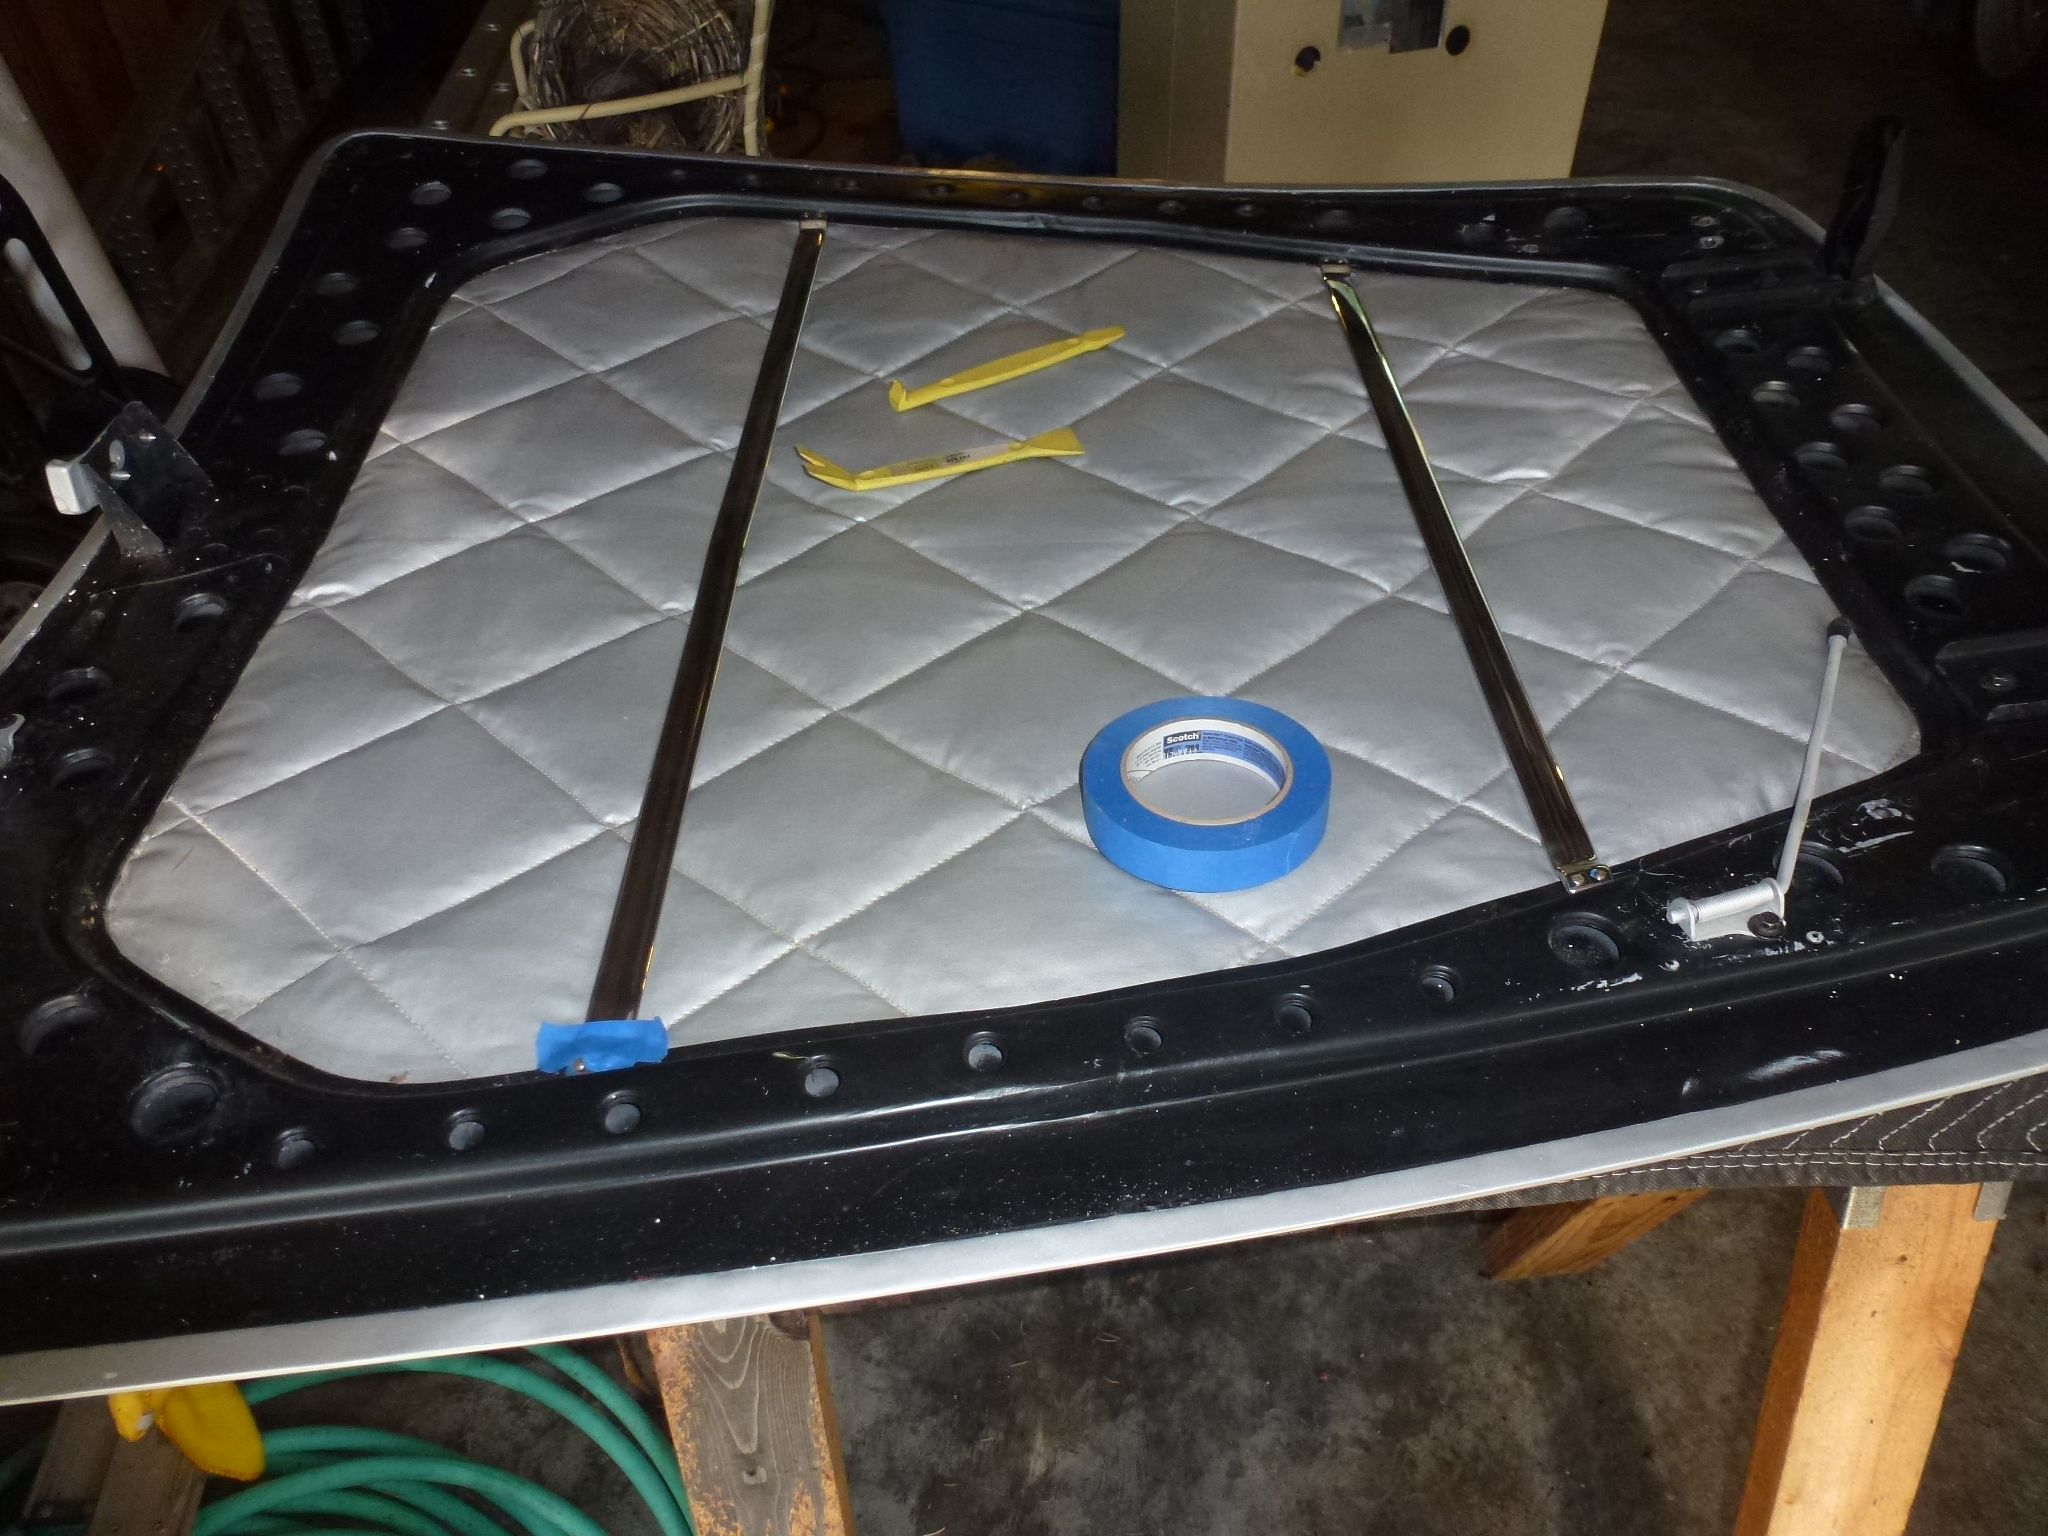
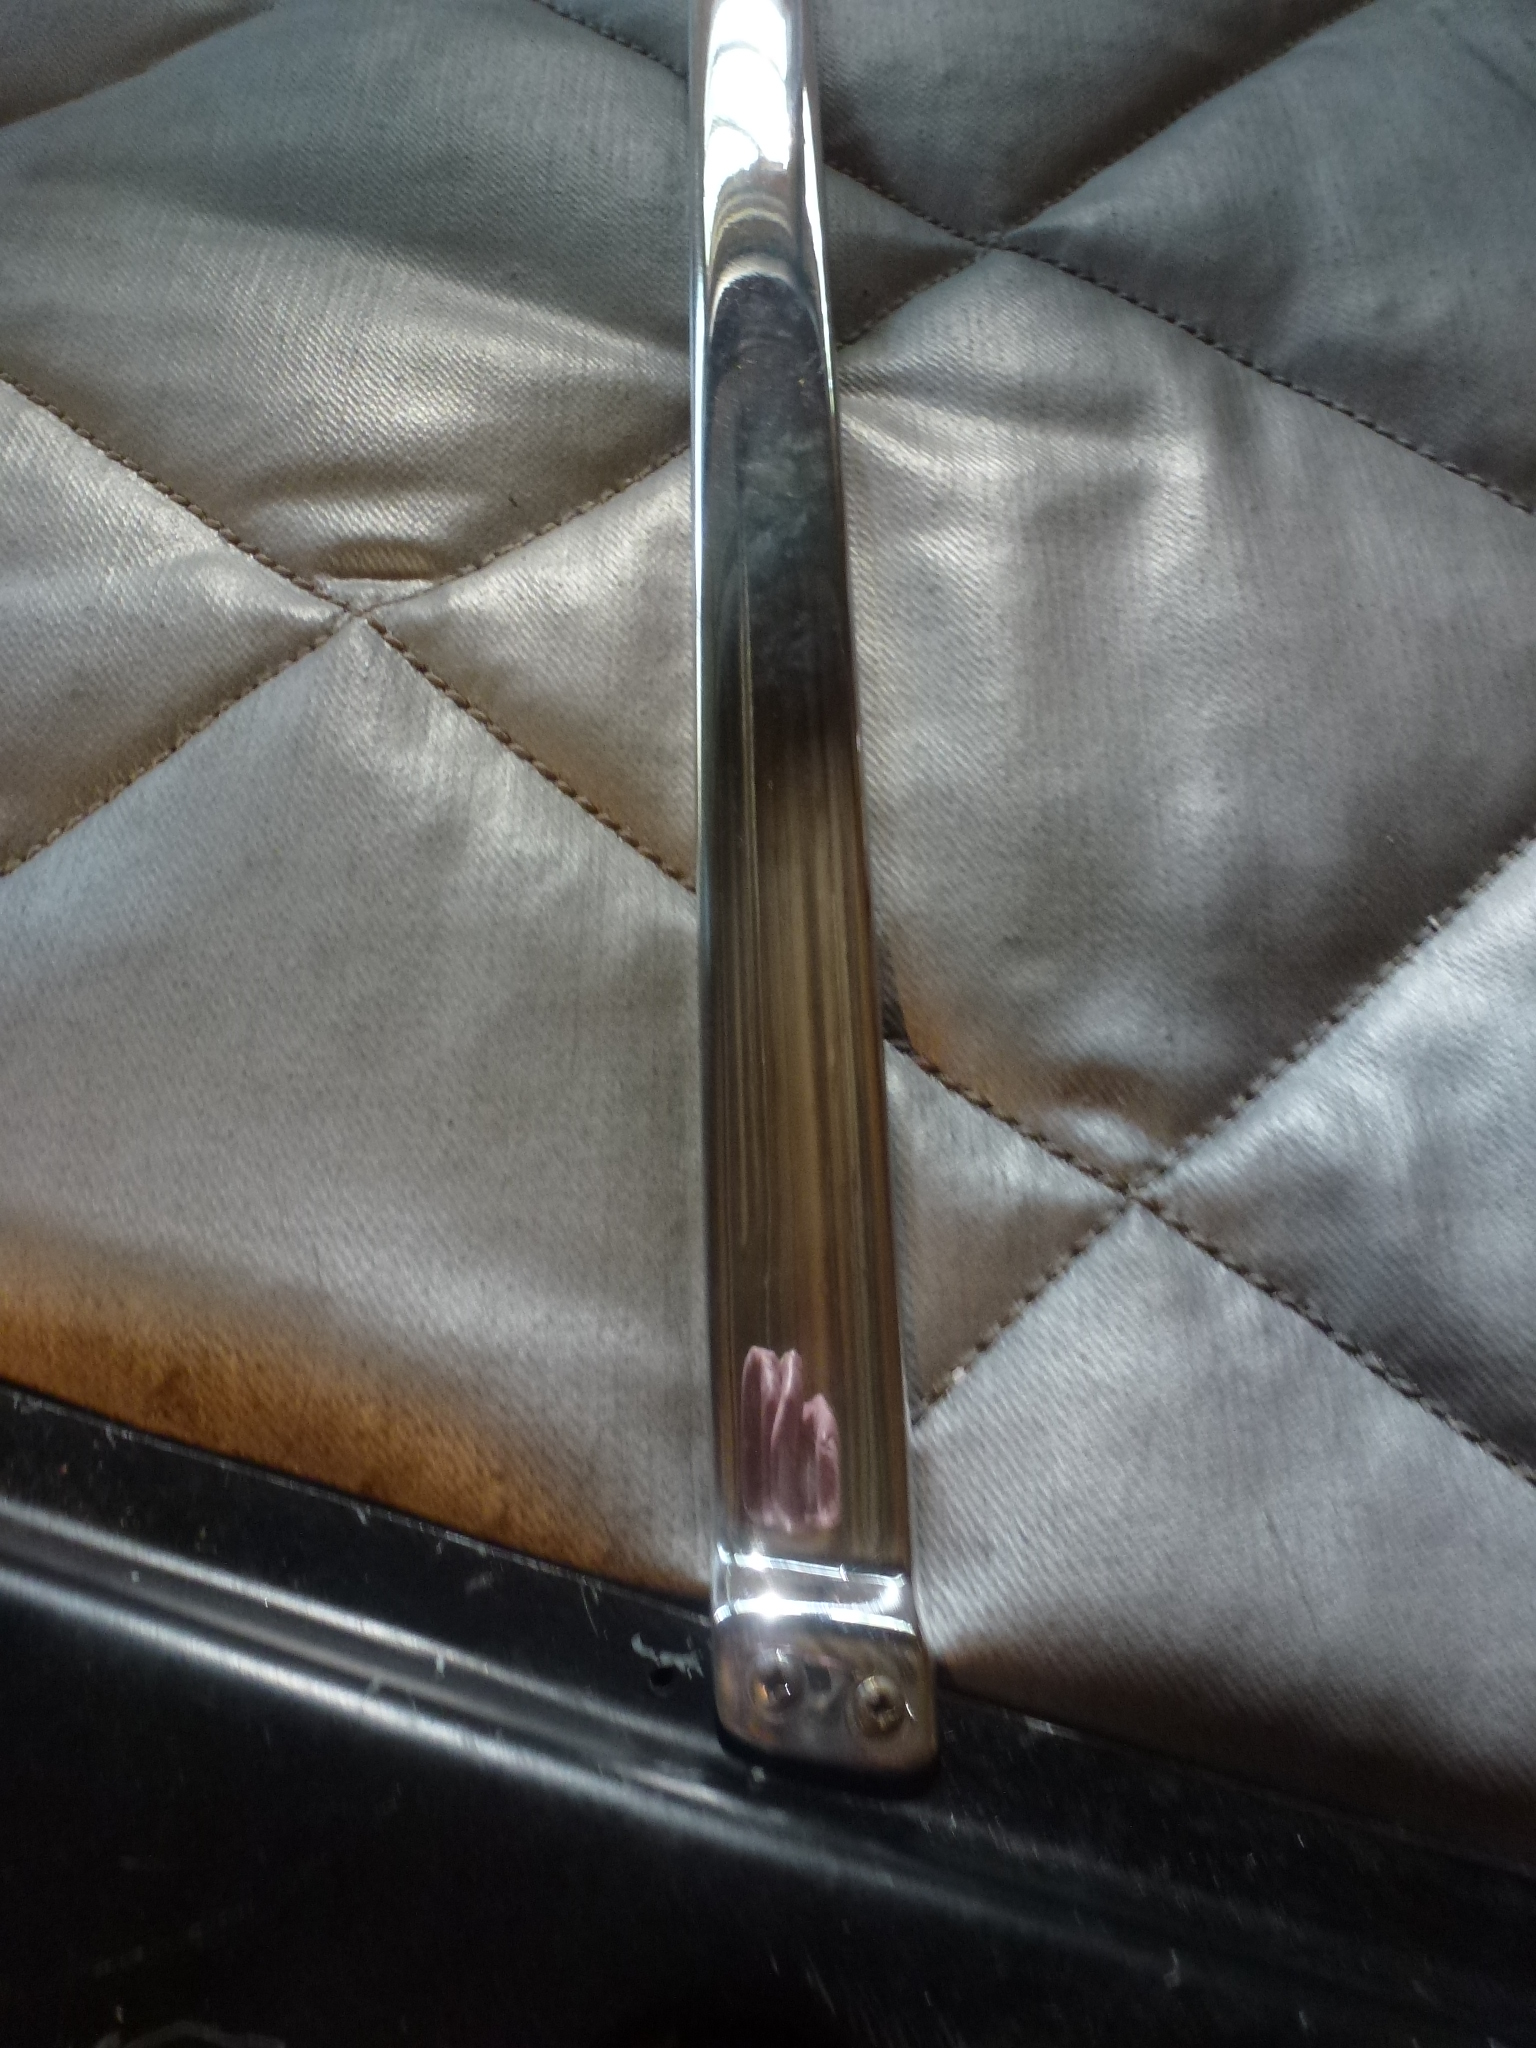
I spent a couple of hours sanding the scratches out of the hood bows. After finishing with 320 wet, I buffed them to a mirror finish and then put on a coat of wax. I used some blue painters tape to protect the bows when I screwed them down. That way hopefully a slip of the screwdriver wouldn't make me get the sandpaper out and another pass through the buffing compounds.
I masked off the hood pad and exterior paint on the hood and gave it a fresh coat of paint.
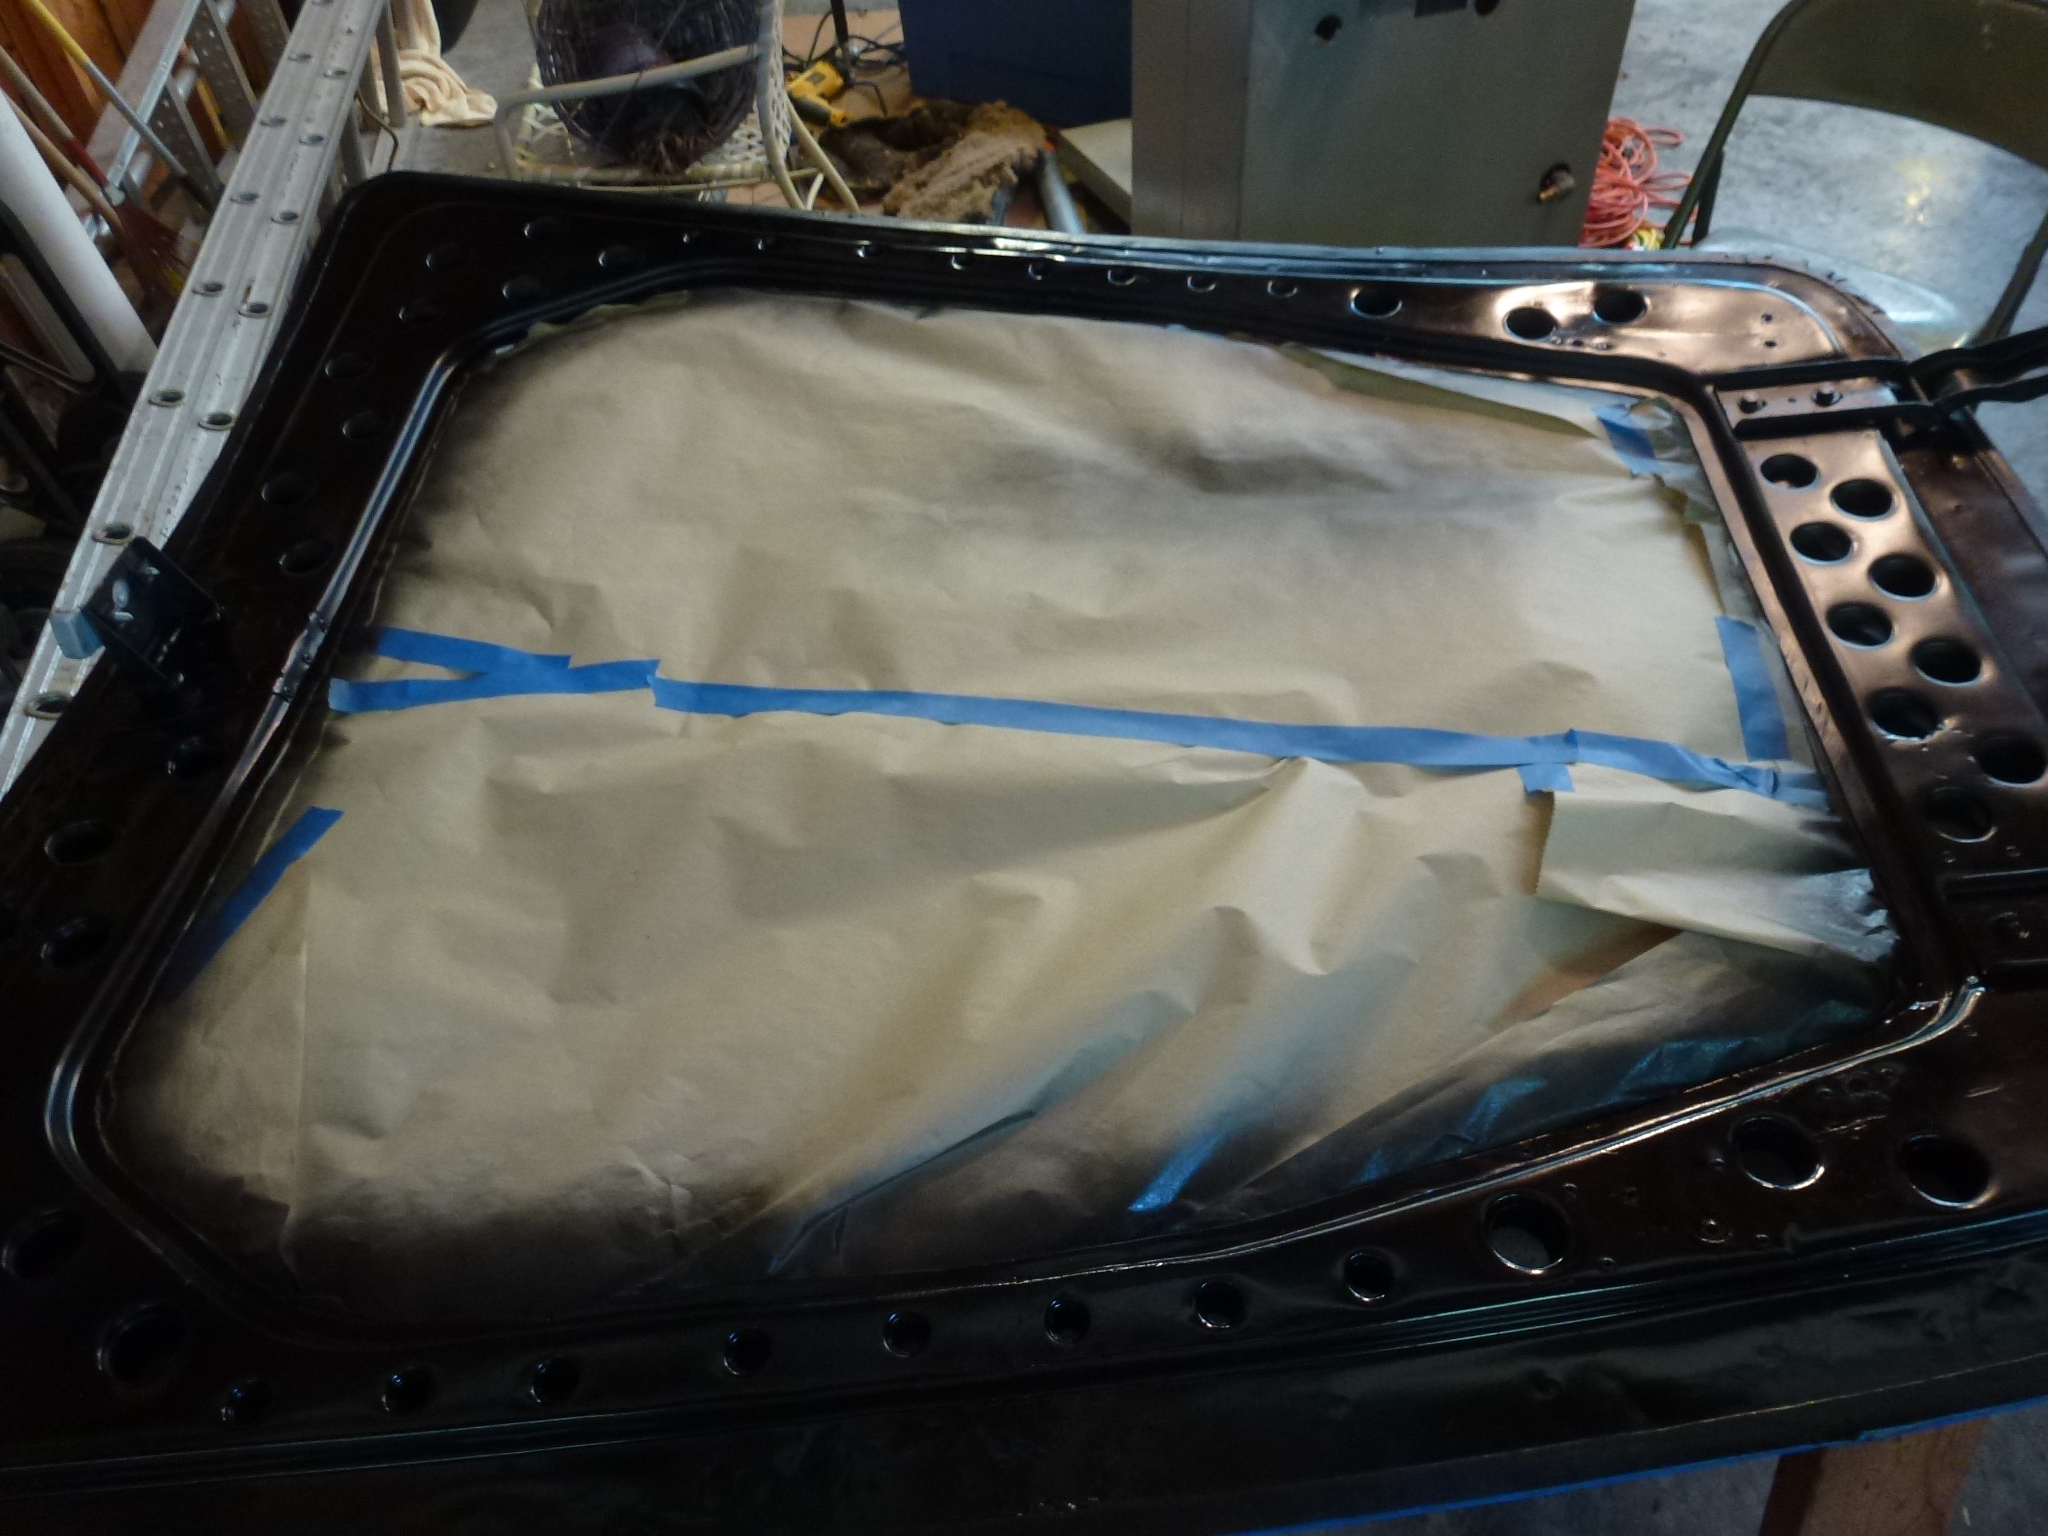
I also painted a few areas that will be difficult to deal with once the hood is back on the car.
My neighbor came over and we put the hood back on the car. We used lots of pads around the area, but the only alignment needed was to adjust the height.
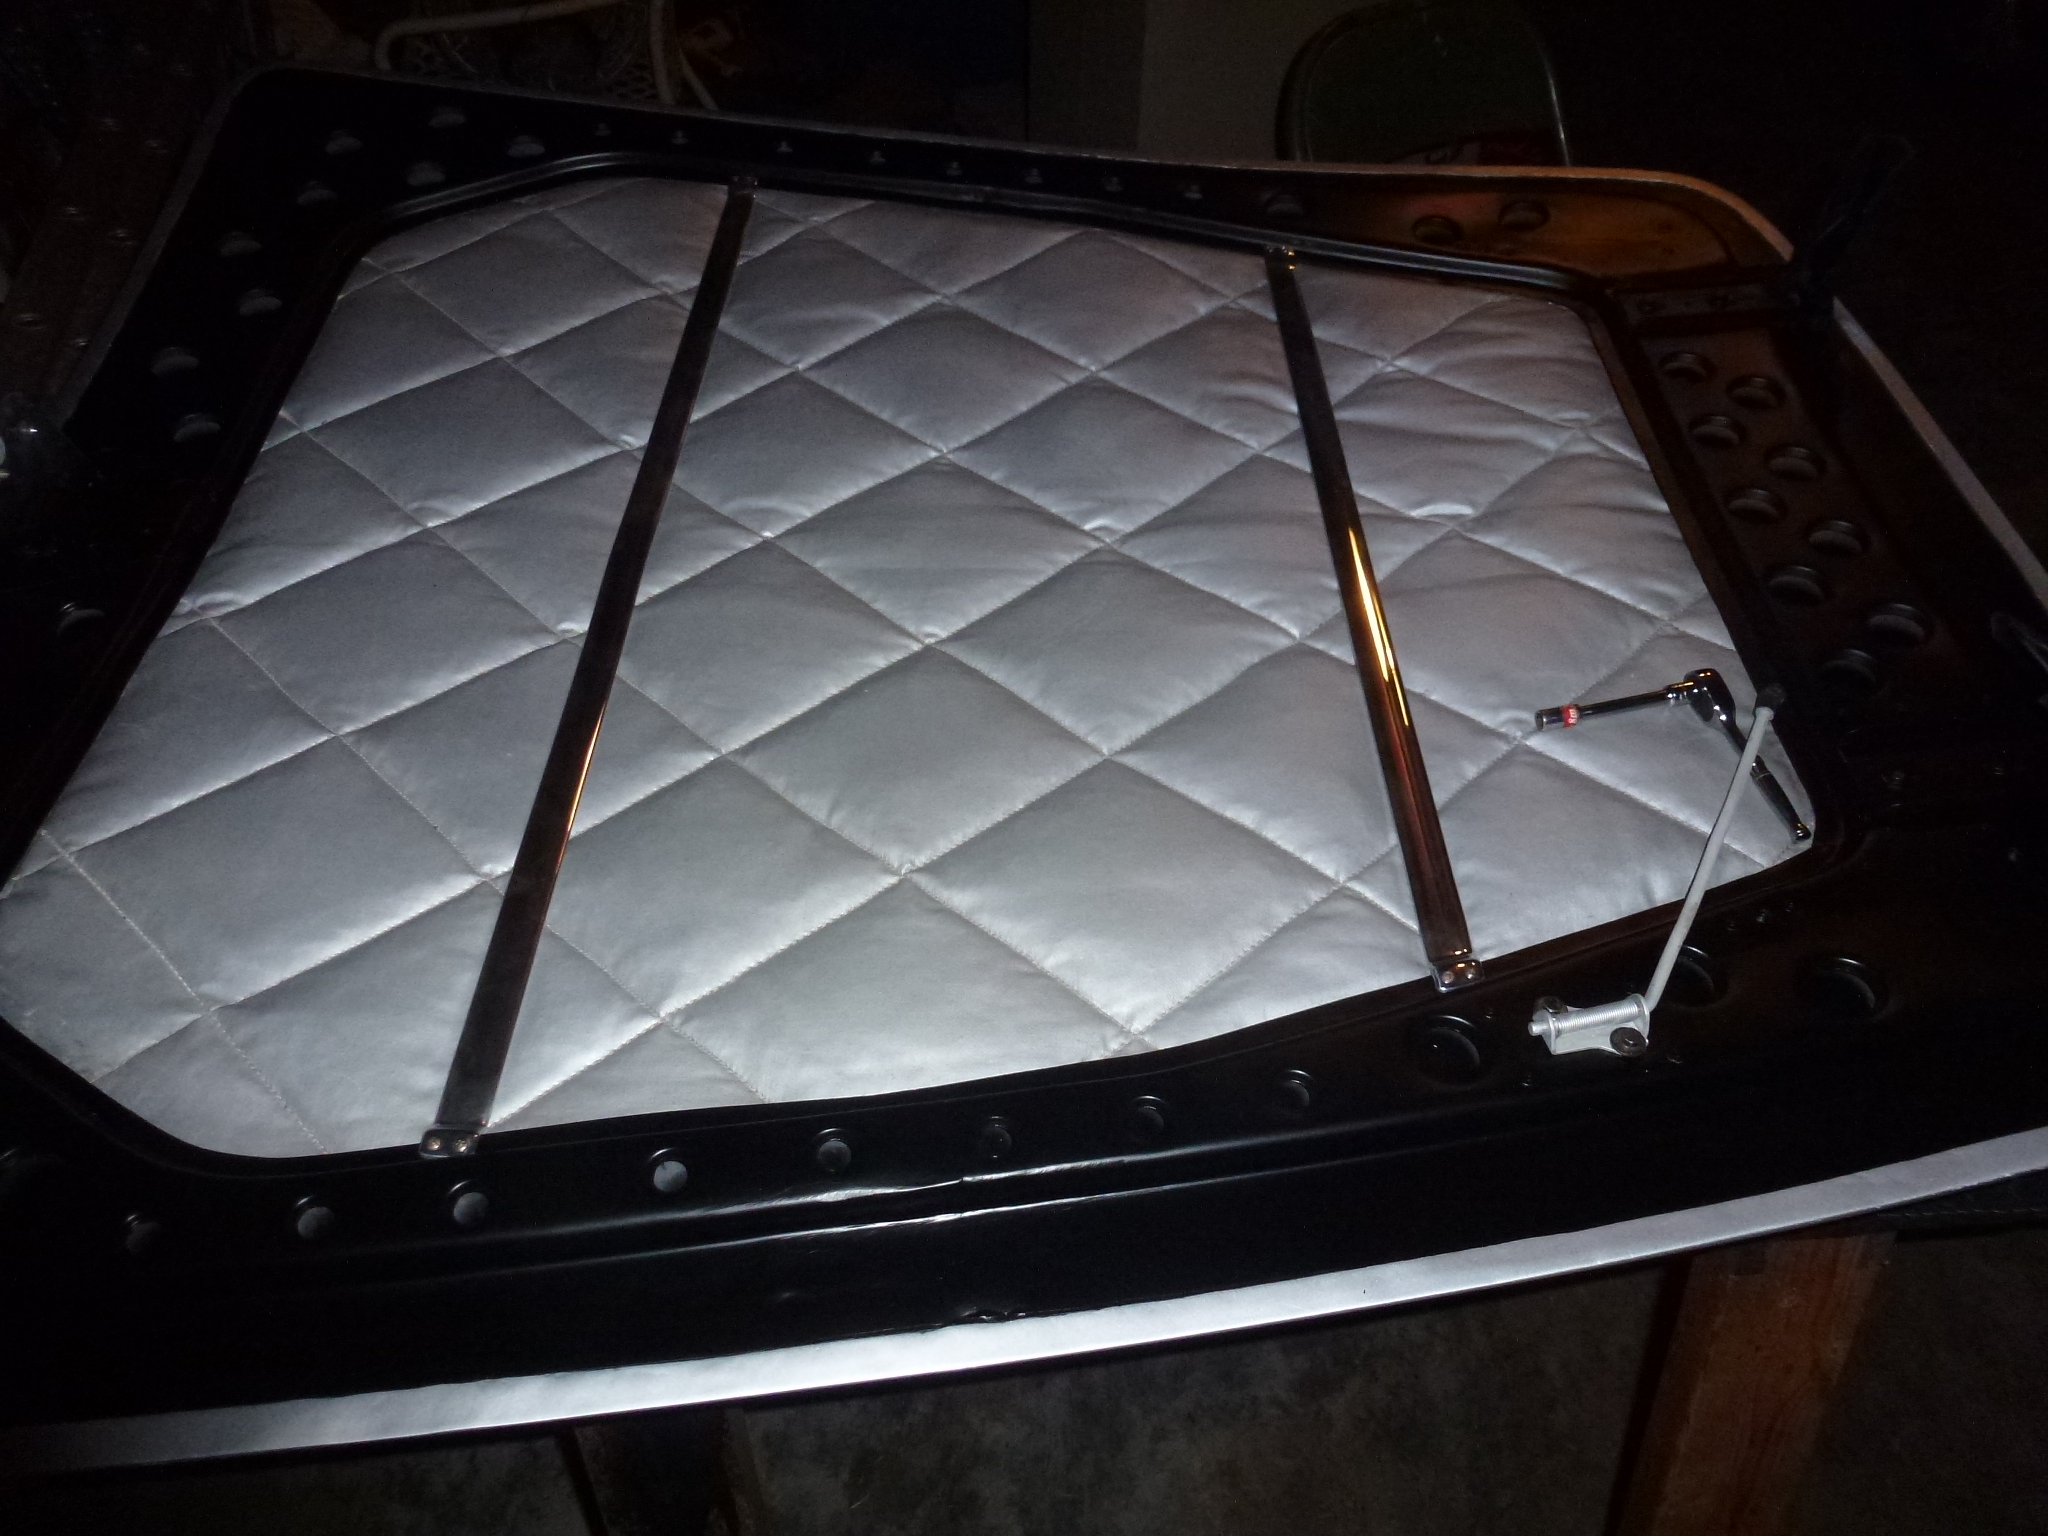
I gave up on trying to re-torque the hood torsion bars and just re-installed them. In the process, I had all of the parts laid out on a blanket laying on the fender and it slid off, with the clips, nuts, bolts and washers going every which way. The one part I couldn't find was a clip, so I had to improvise. A couple of spacer and fender washers with longer bolts made the end of the bar secure. I'm sure that it will turn up as it is about 2" long by ¾" wide; too large to totally get lost, but with the show the next day, I didn't have enough time to really search for it.
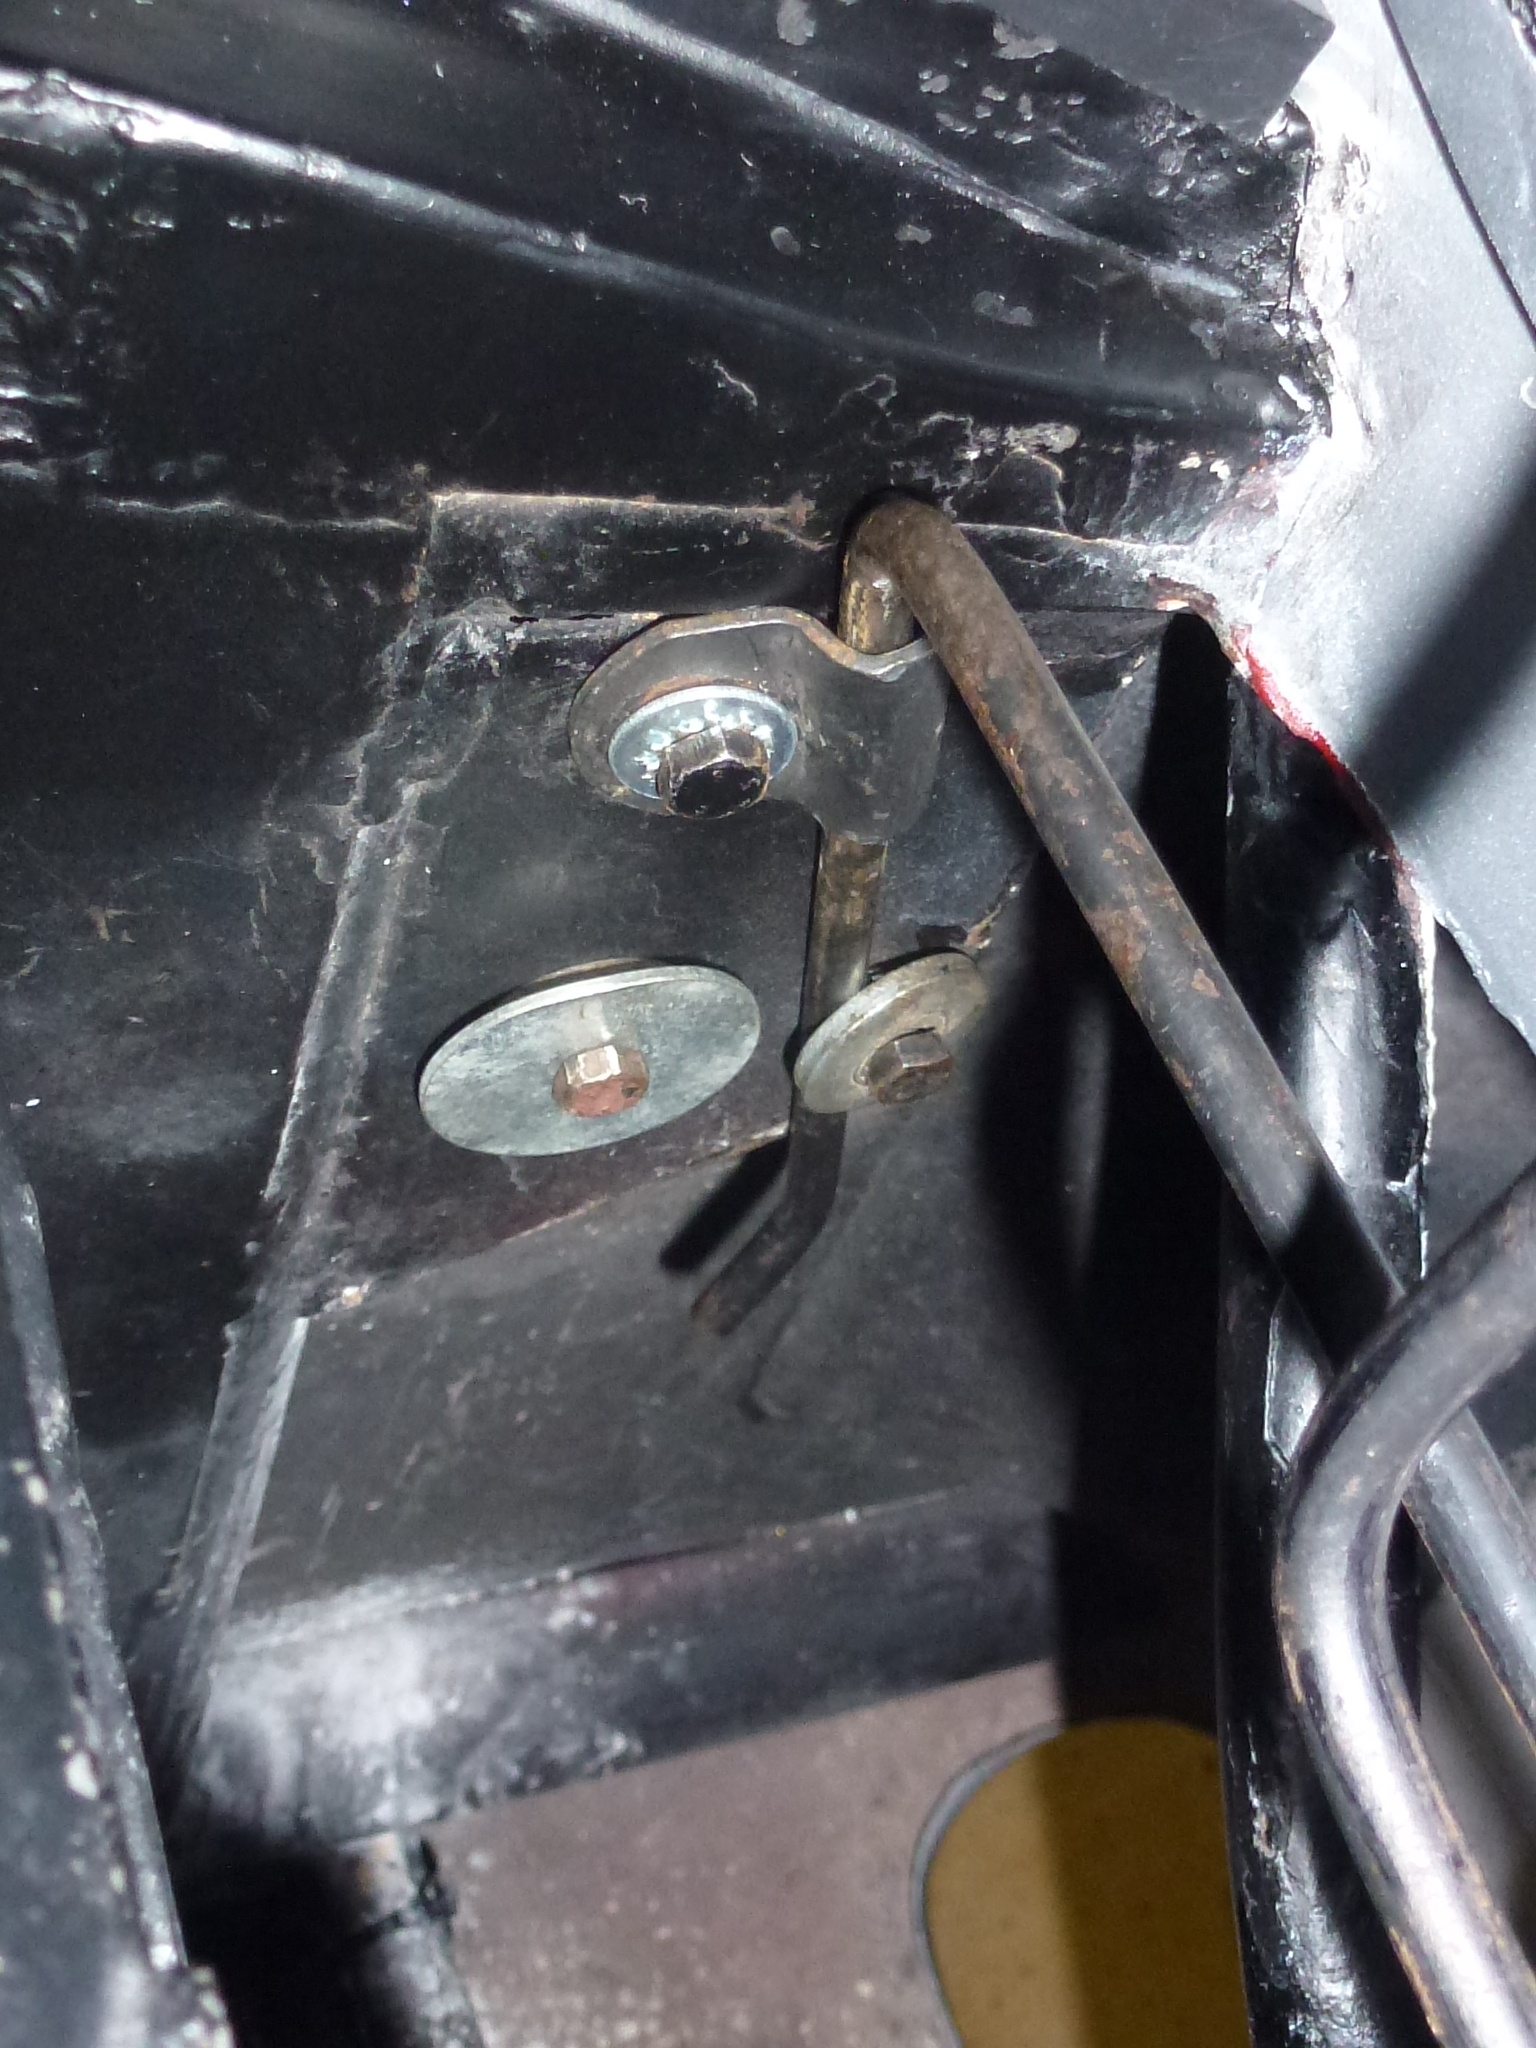
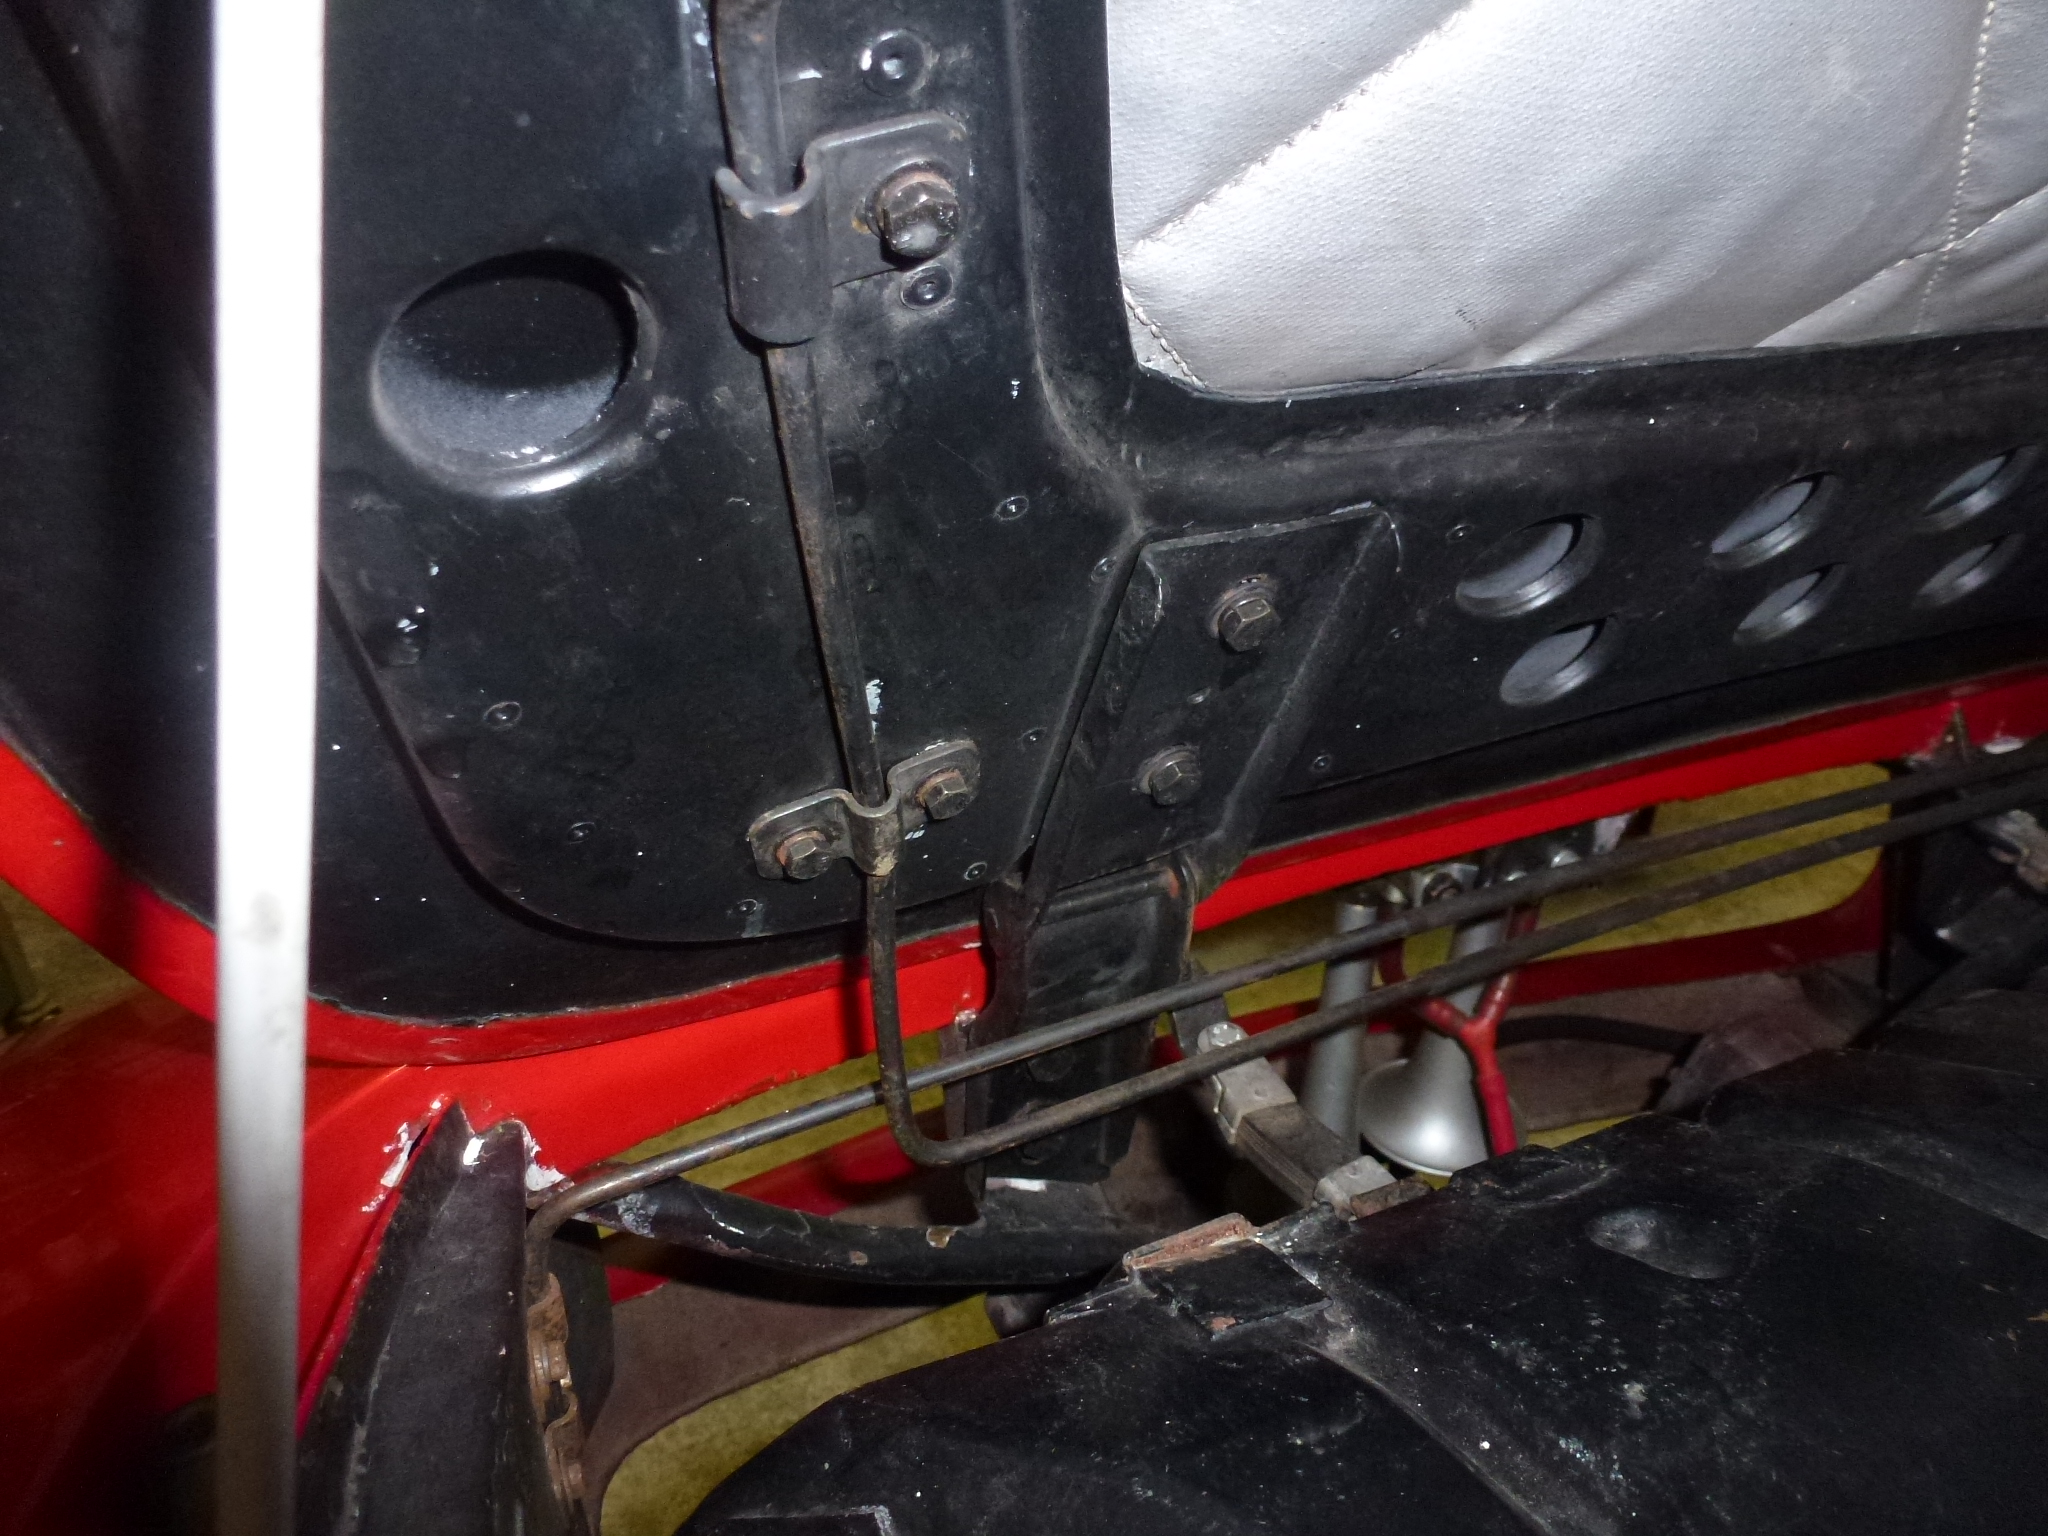
I also re-attached the wind safety wire. These seem to be missing on some cars and without one, a gust of wind can bend the hood hinges and damage the hood.