Radio Antenna
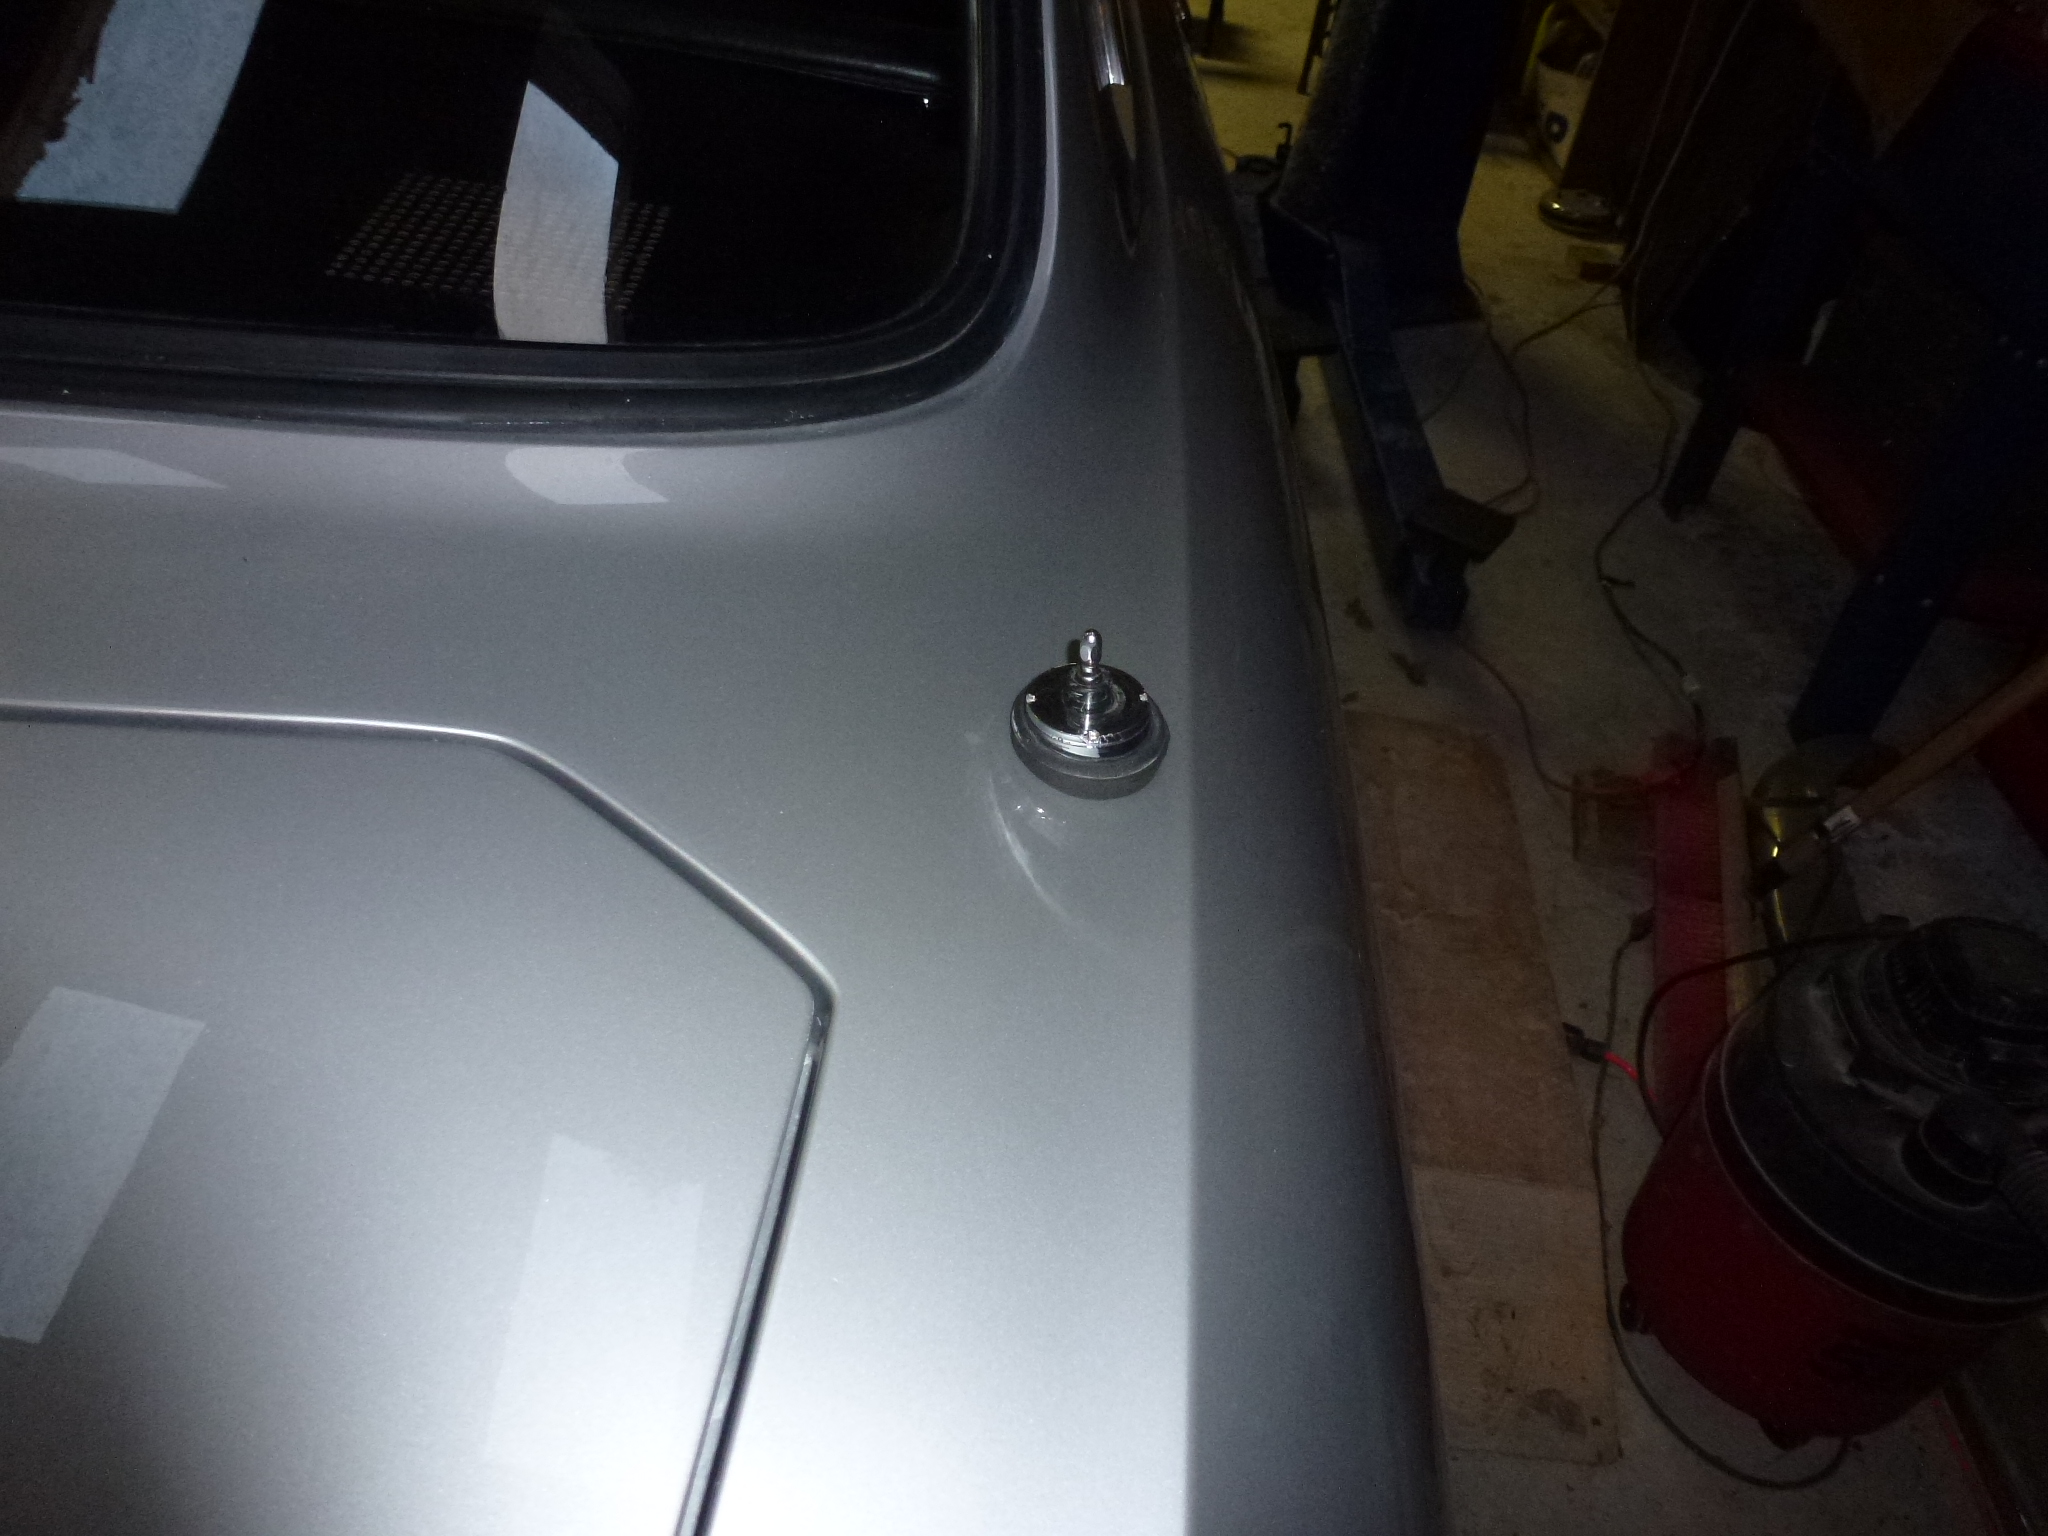
One of the things I did when I repainted the car was to move the radio antenna from the left rear side (in the middle) to the right rear side as far forward as I could. This meant that the left wheel well is now useable space. Before the antenna was in the middle of it, making the space useless.
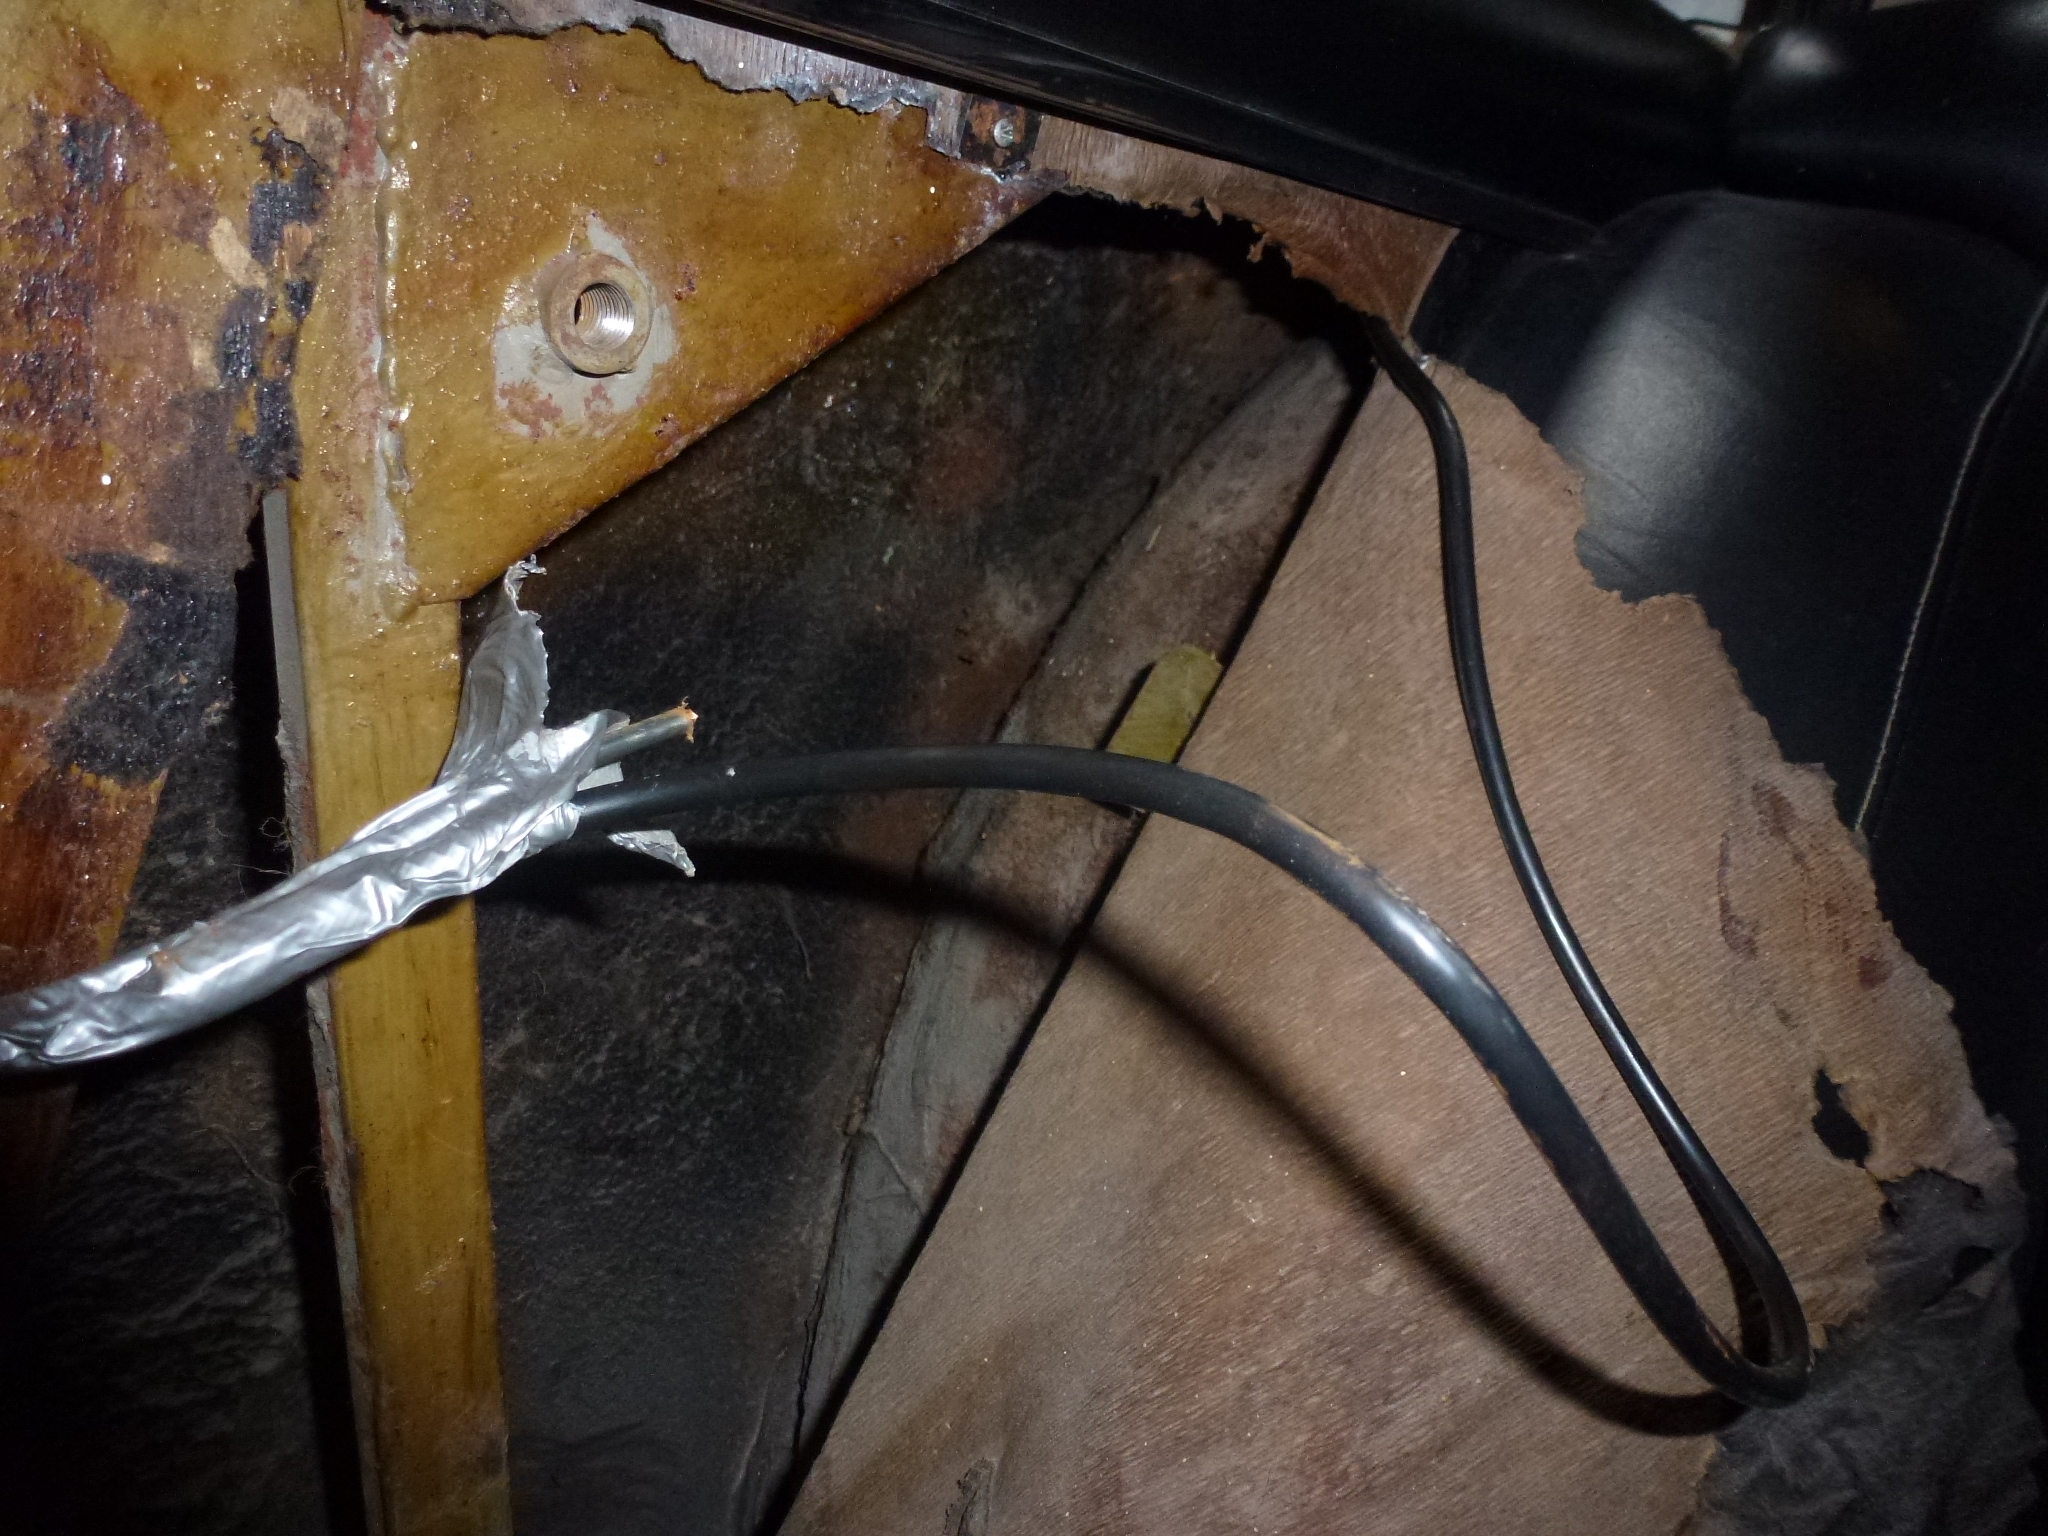
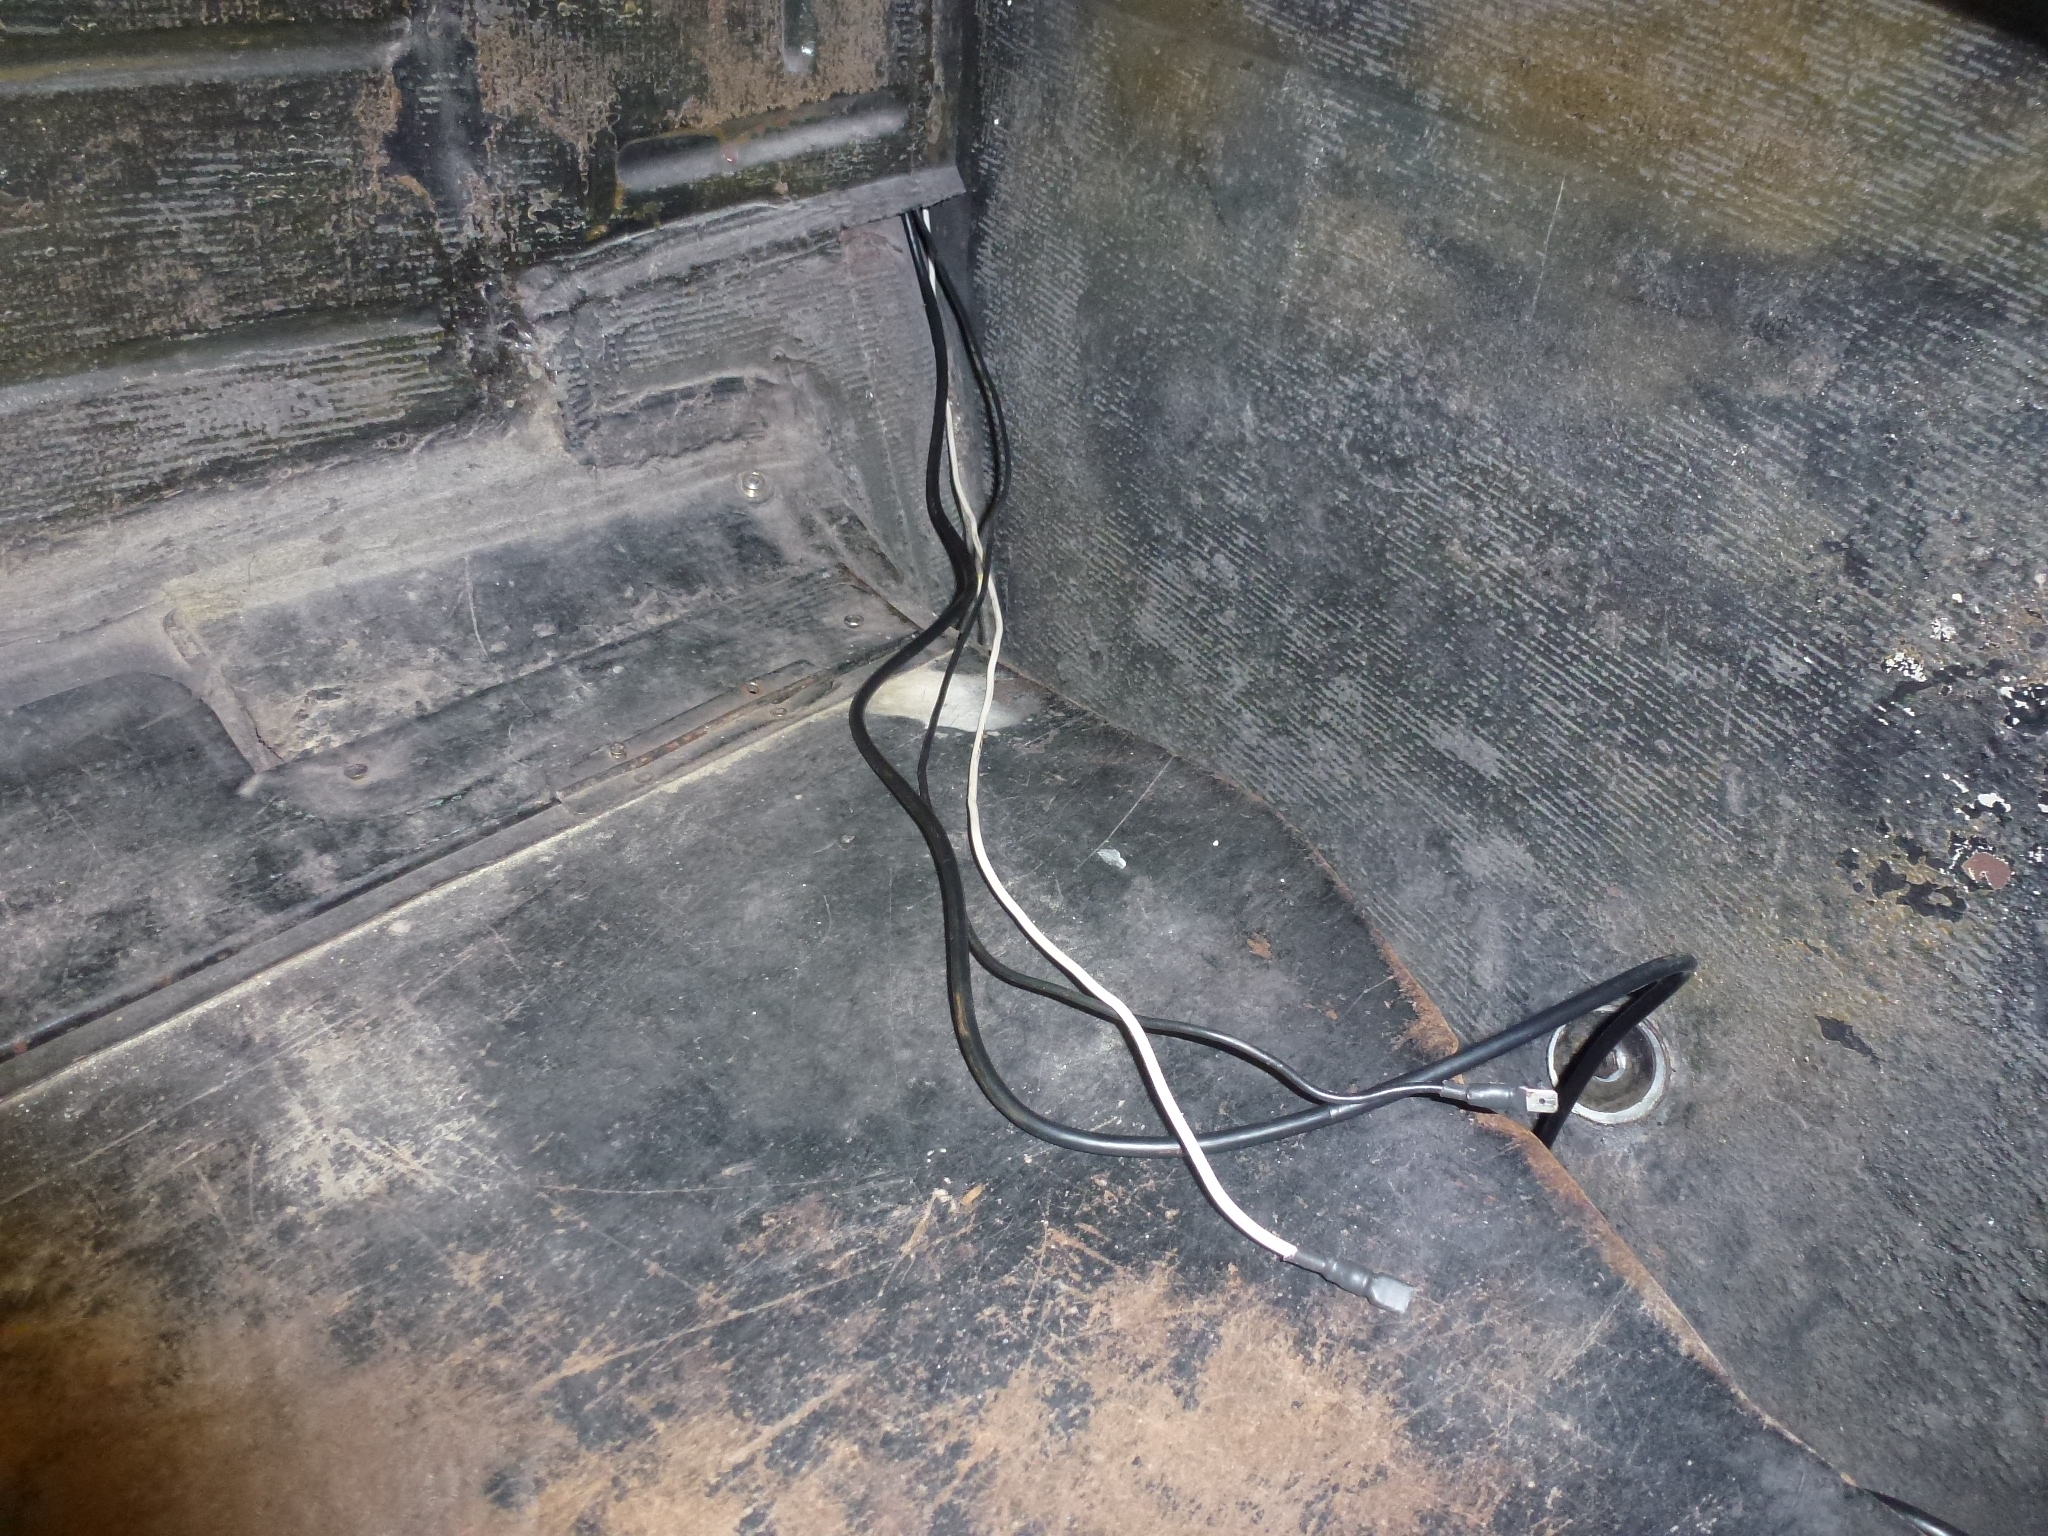
This meant moving the wiring (antenna and power wires) to the right side. When I went to pull the wiring on the left side, the antenna jack caught and pulled off the antenna wire. So I ended up buying a new antenna wire. I tried to fish a wire from the trunk over the wheel, but couldn't get it through. But by starting inside, the wire came out in the trunk. Then it was a matter of taping the antenna wire to the fish wire and pulling it back inside the car. I had enough antenna wire to attach the power leads go it and pull it back enough to get the leads into the trunk.

Then I had to mount the antenna. It has a bolt at the bottom that I used to attach a brace to the body.
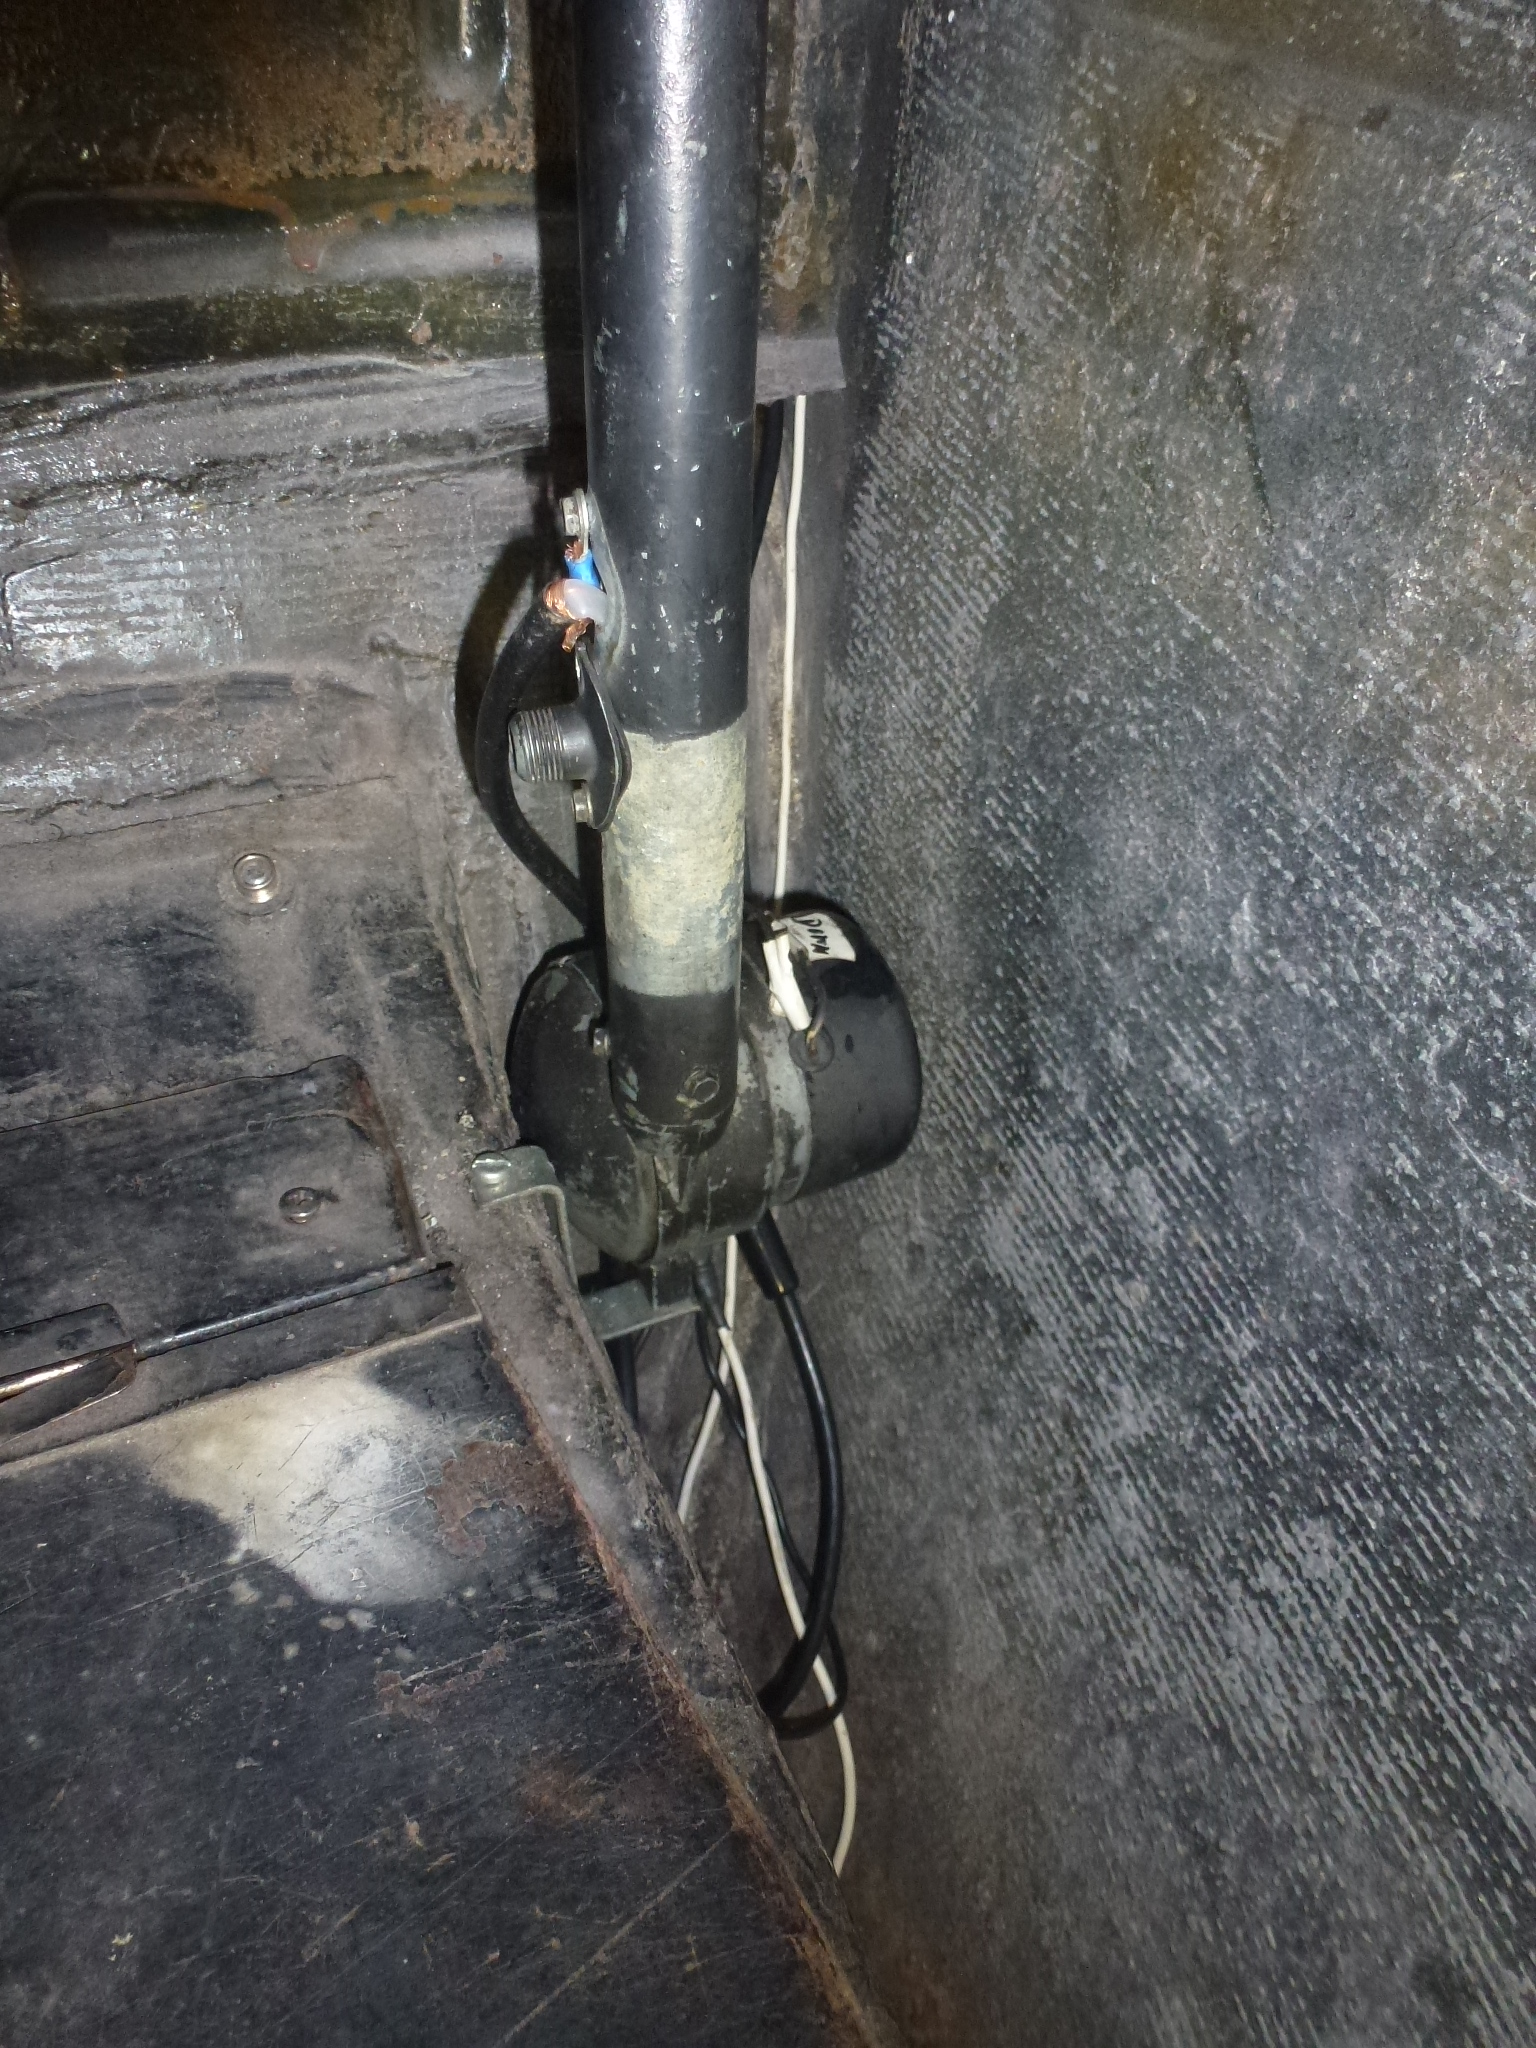
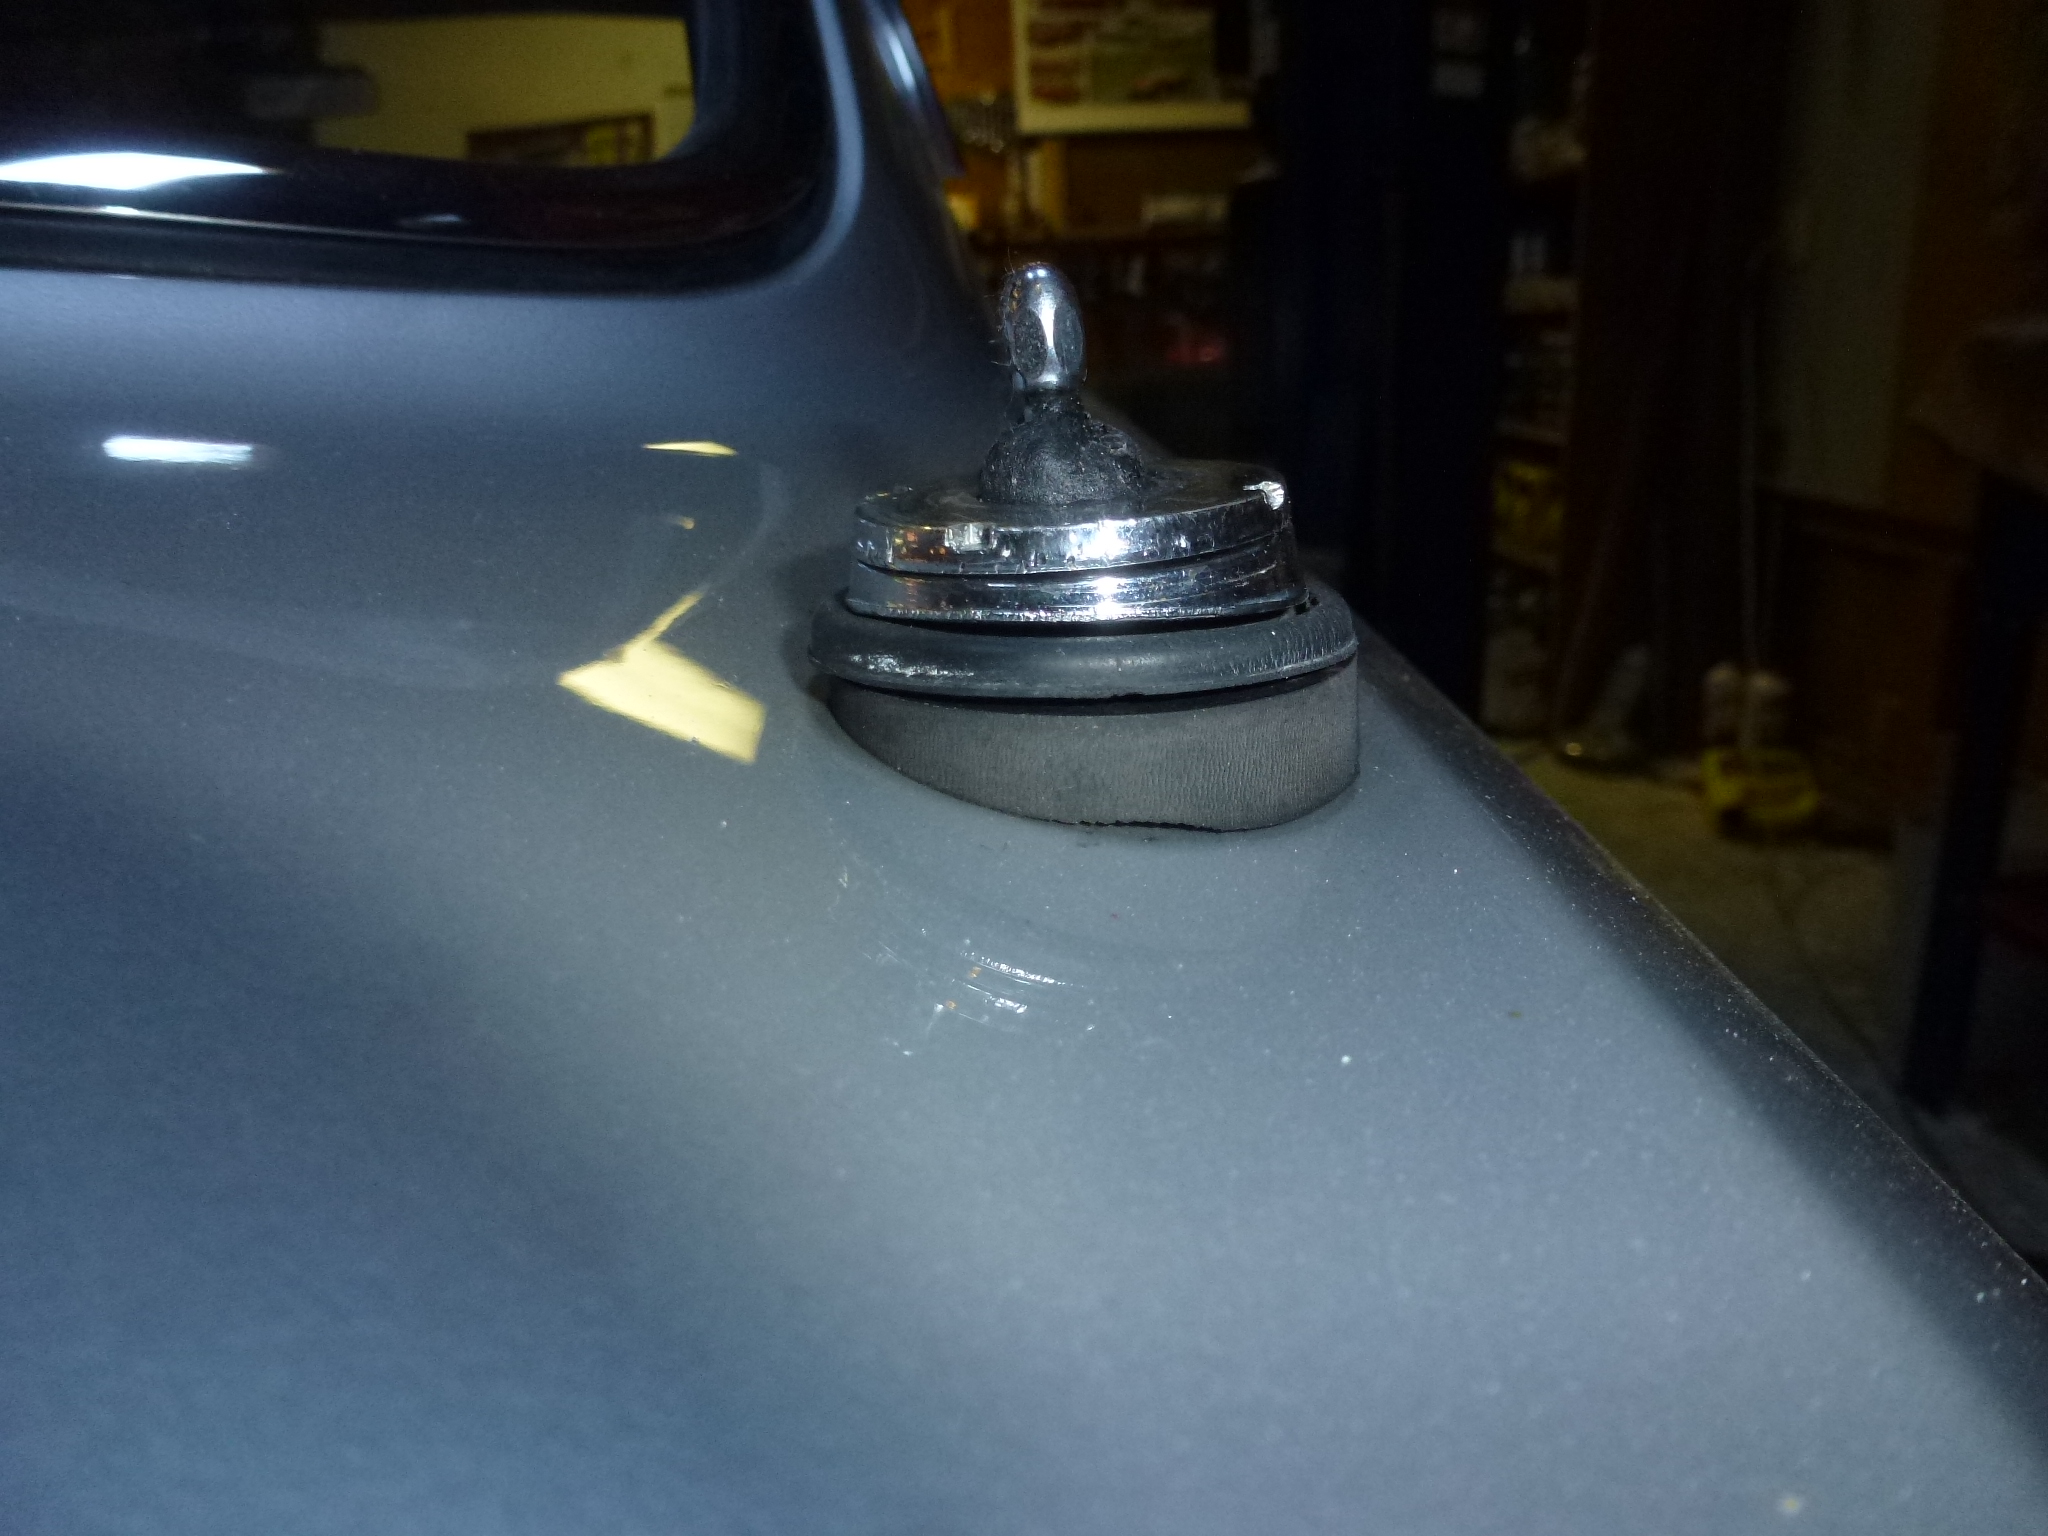
The other issue is that the mount at the top of the antenna where it goes through the body was design for a fairly flat surface and the new hole was at a place where the mount wouldn't work. Notice the gap at the arrow.

So I had to make a tapered rubber pad to sit under the regular pad. This involved several steps. First I used a 2" hole saw to cut the new pad from a piece of thick rubber.
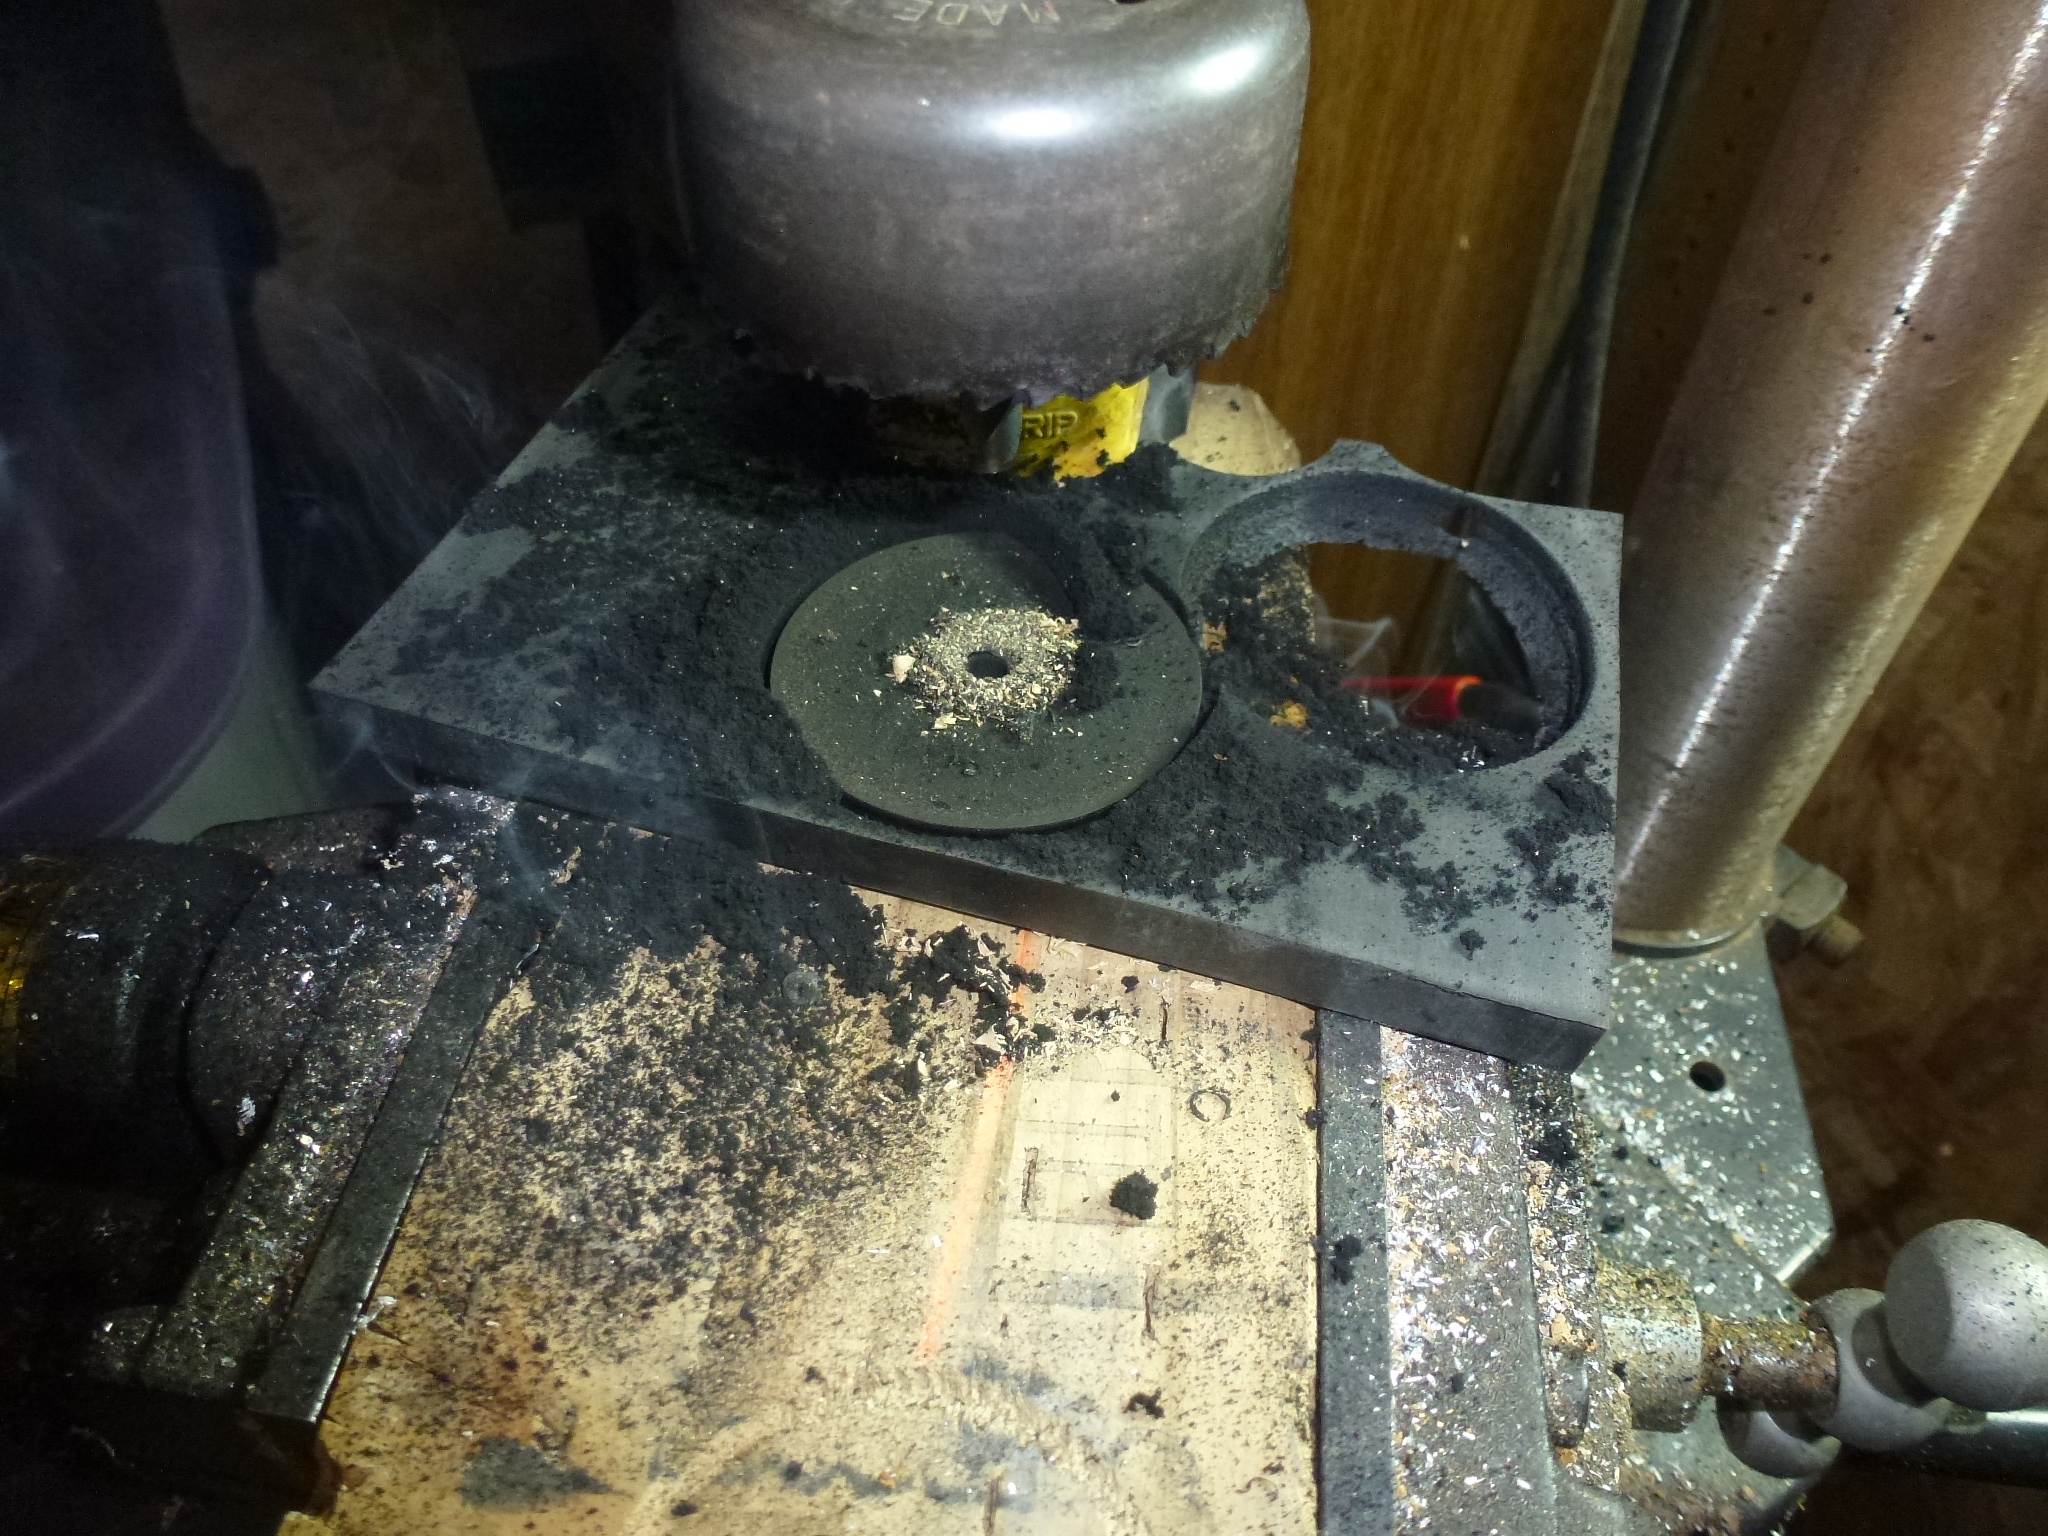
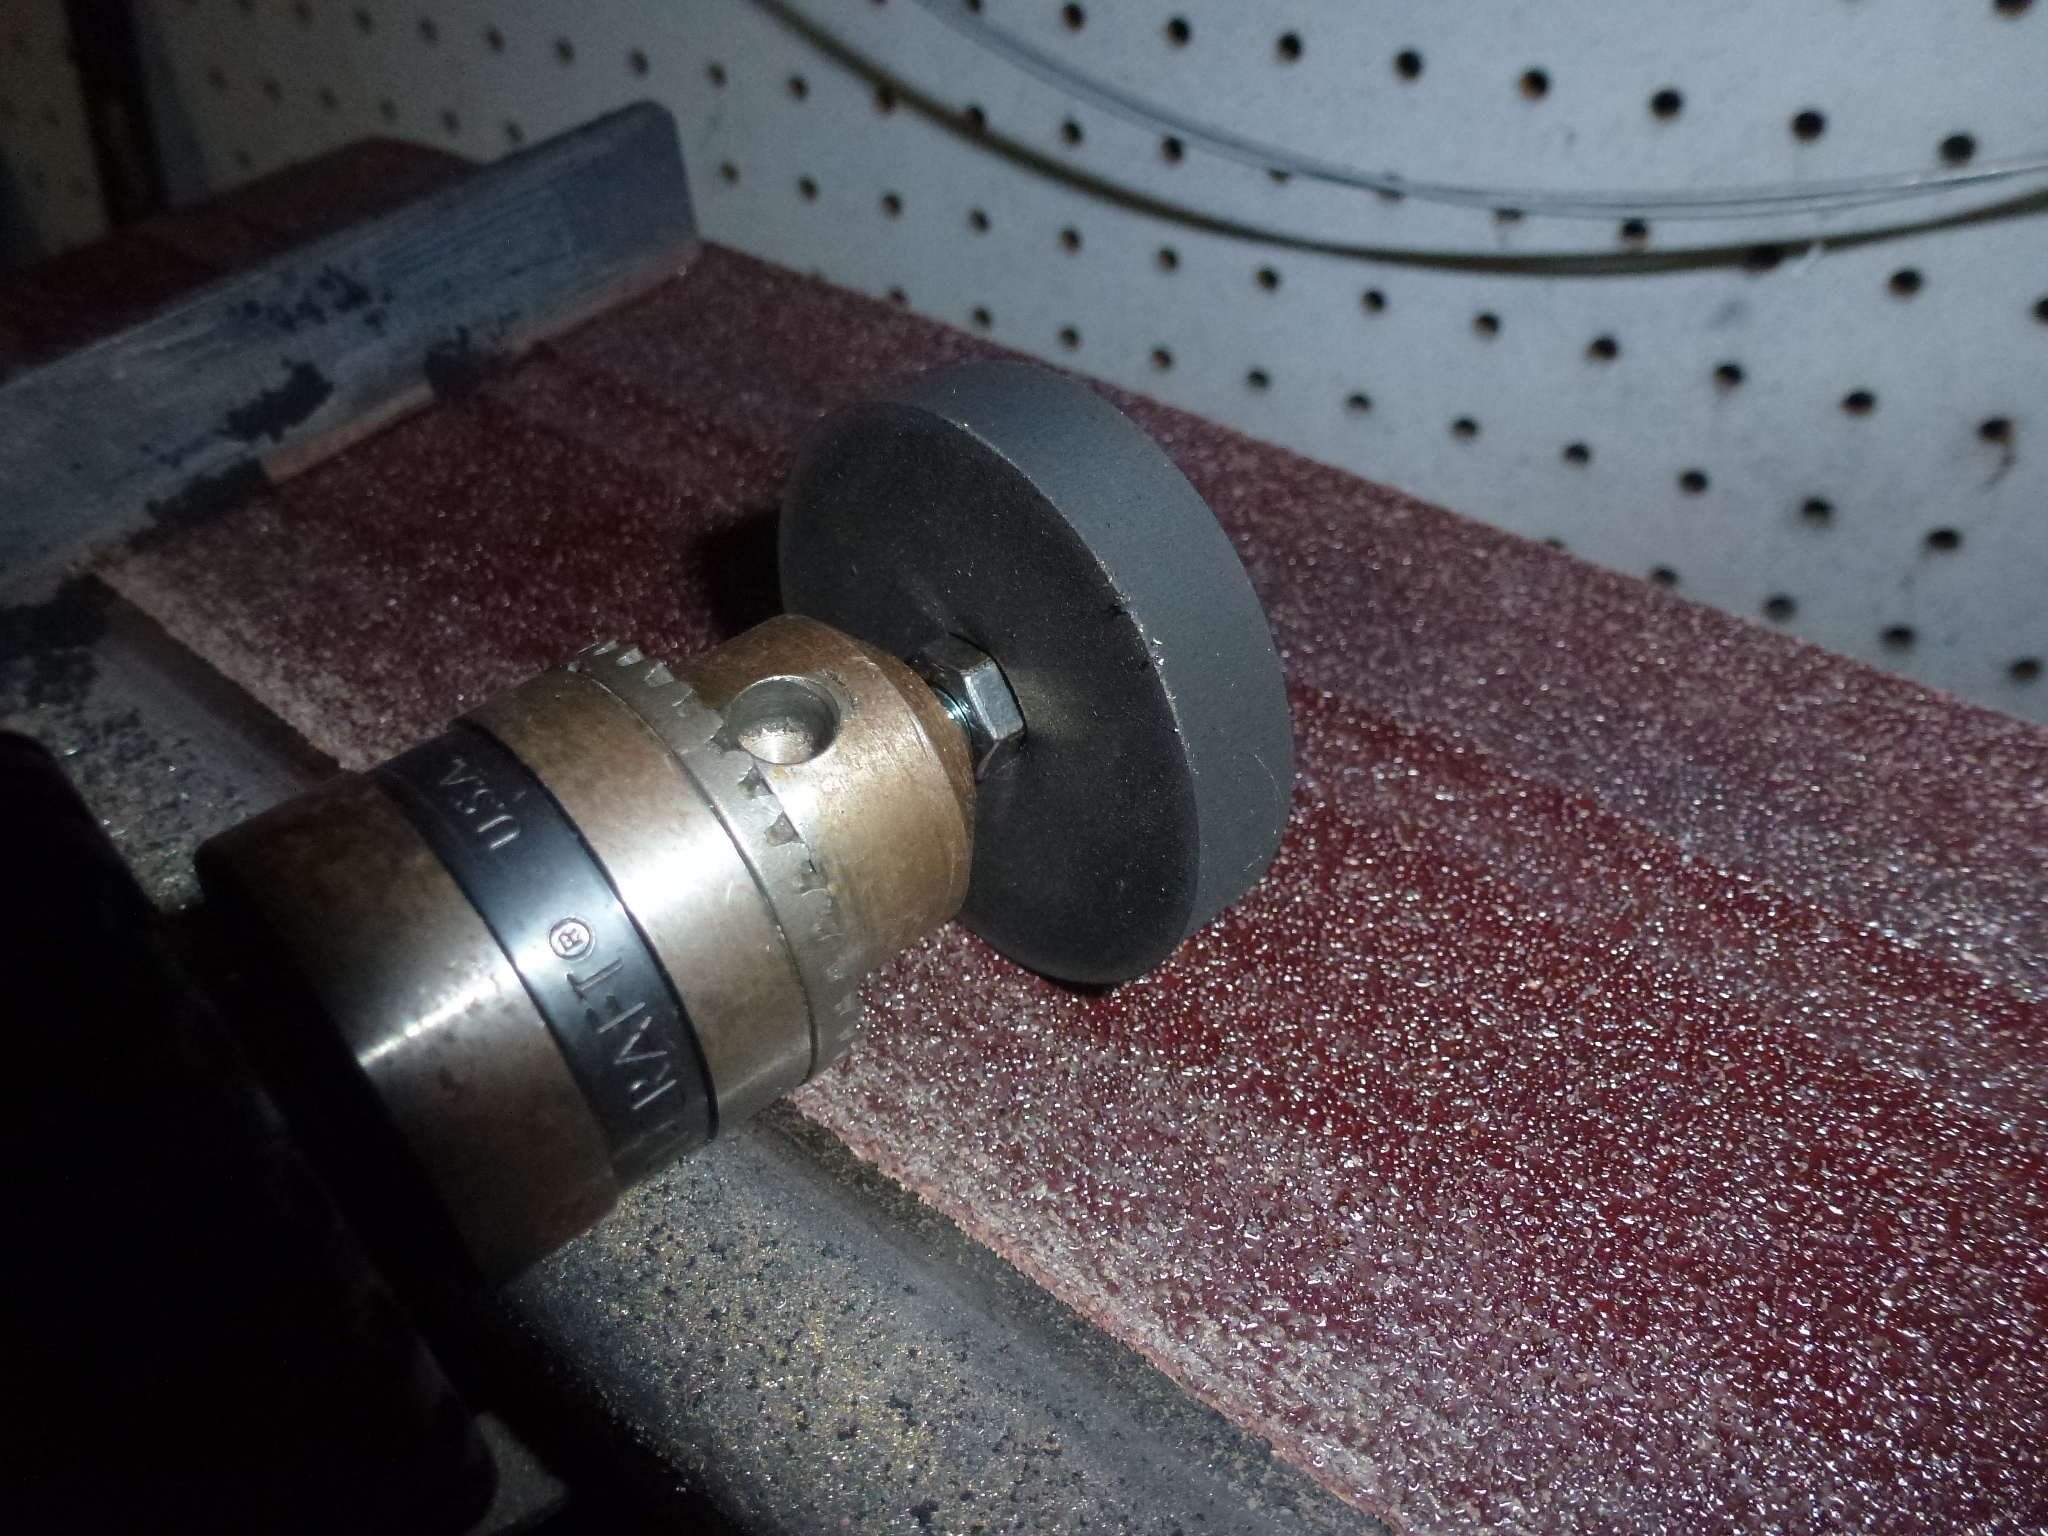
Next I had to sand down the outside to fit the diameter of the existing pad. Do to this, I put a bolt through the pad, chucked it in a portable drill and spun the pad against a belt sander until it was the same diameter.
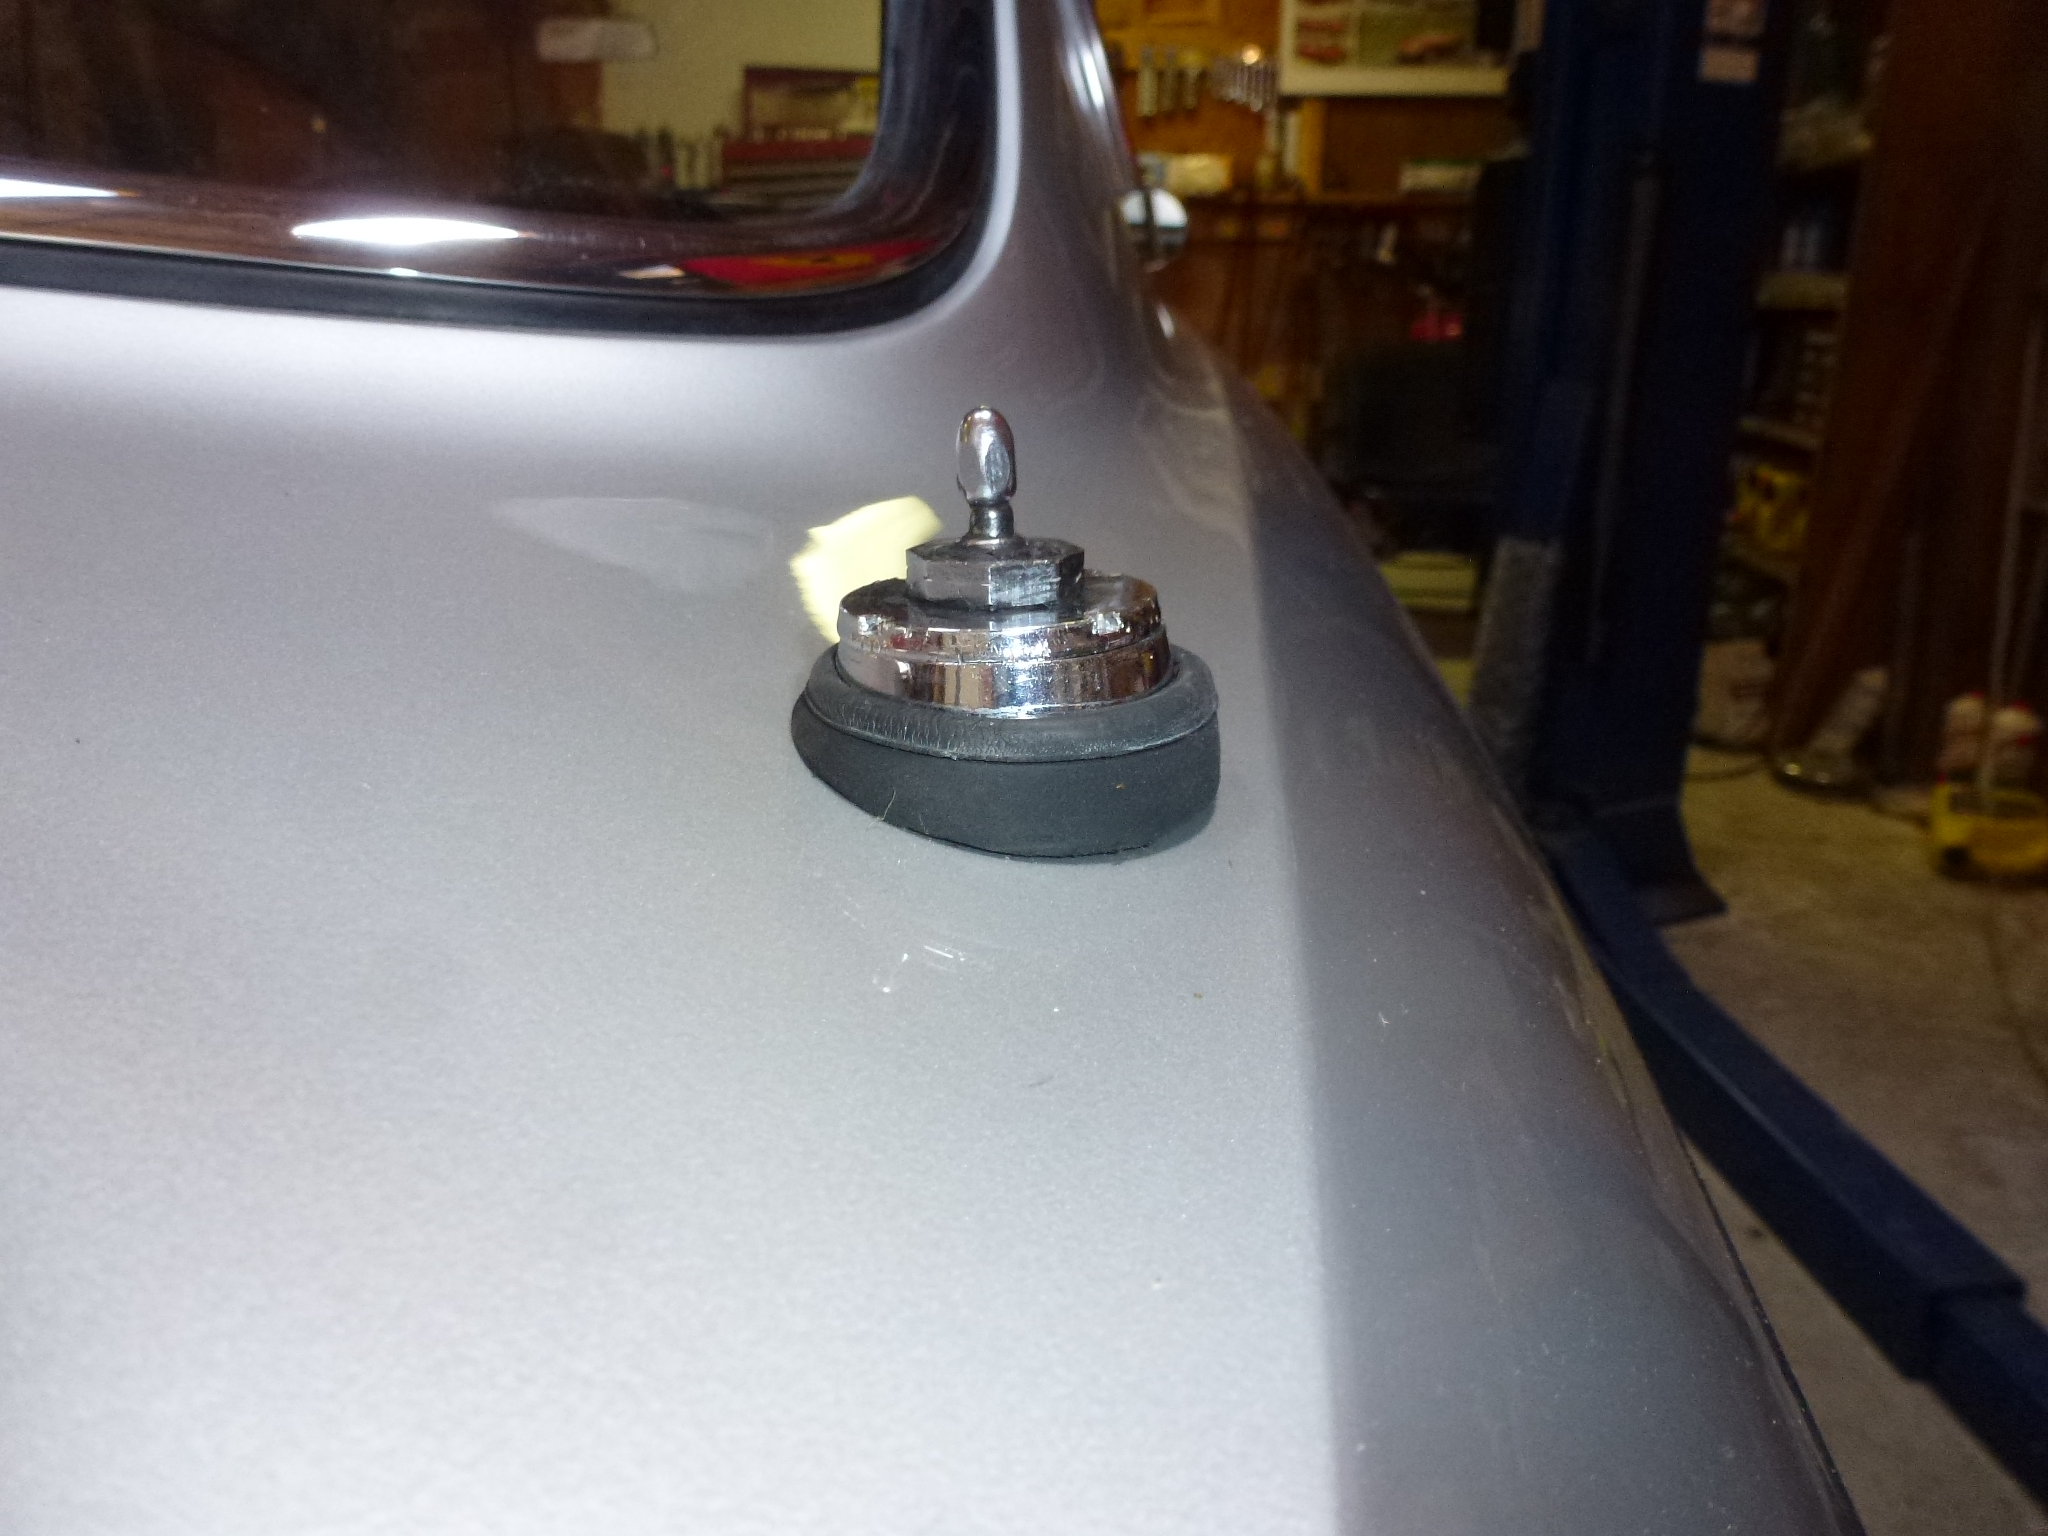
Lastly, I used a band saw to cut the pad on a diagonal for the taper. I also sanded it smooth using the belt sander. Once everything was done, the antenna is securely mounted and even worked.
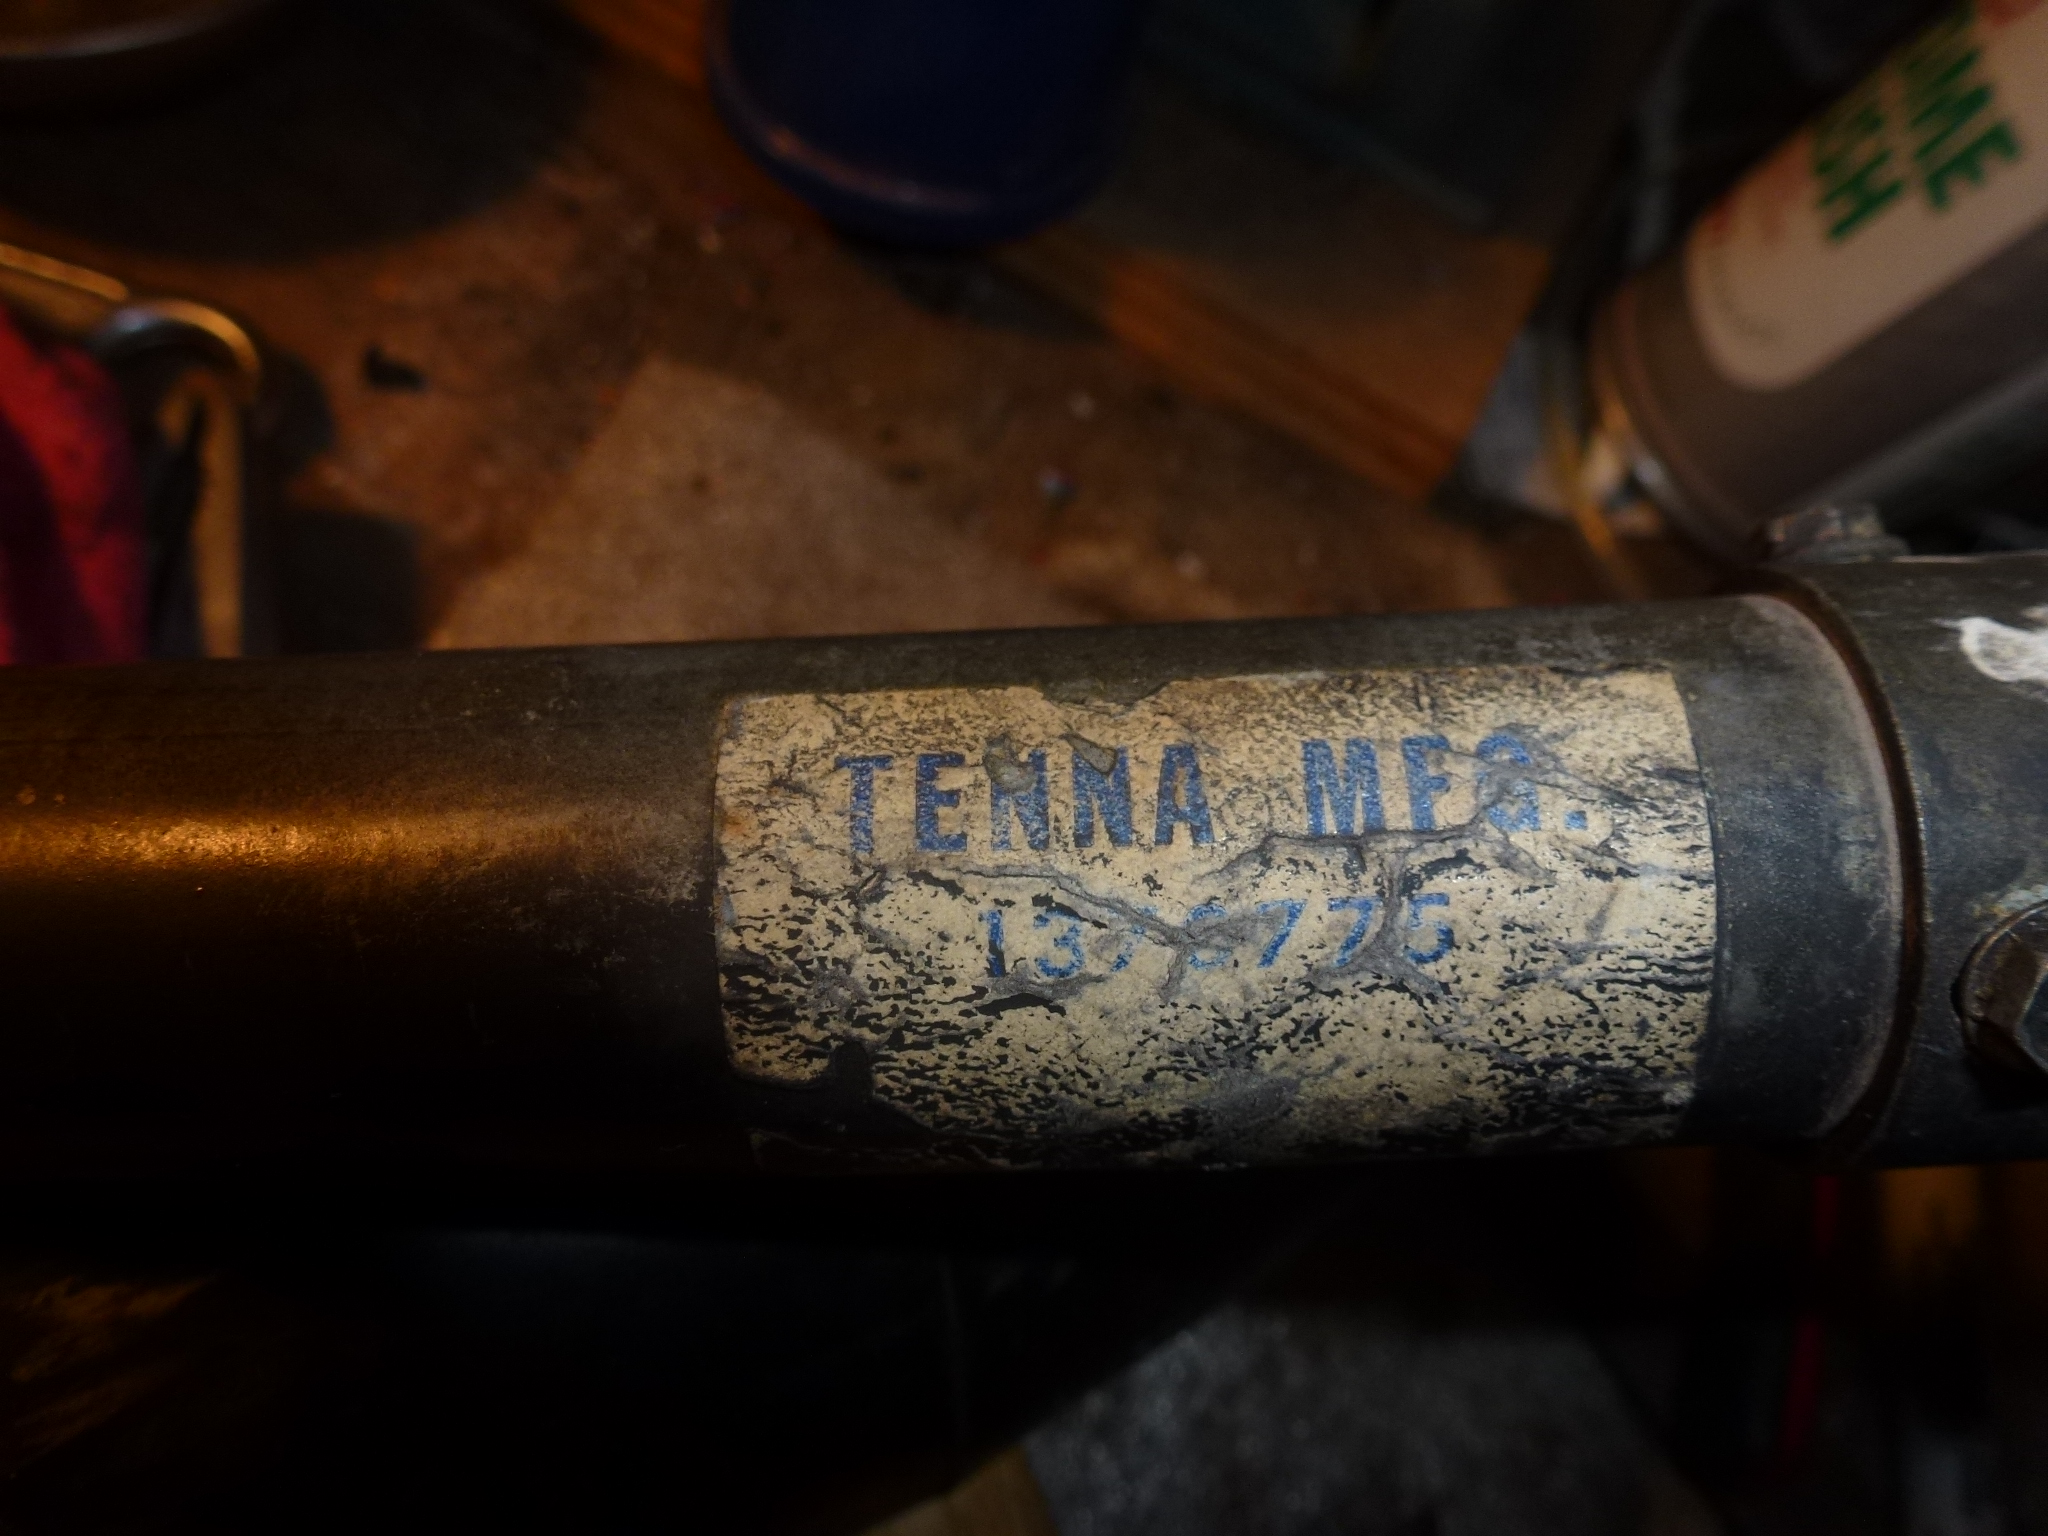
One of the things I noticed on the antenna was the label after I cleaned the paint off of it. It was made by Tenna Mfg. They made car radios and antennas in the 50s and 60s. So obviously this antenna was installed after my car came to the US in 1970.
I wasn't satisfied with the pad I had made previously. As I had the antenna out to fit and install the new trunk carpet, it was a good opportunity make a better fitting pad. This time I used the next size larger hole saw. This let me taper the sides, so the top of the pad was the same size as the antenna rubber pad. The left picture was the first one I made while the right picture is the one I'm satisfied with.