Seat Repair
If I had been asked to name the items on a 330 GT that were made by Pirelli, I would have come up with tires and fan belts.
However, when I took apart the driver's seat to repair the rubber elastic in the pocket on the seat back, I found one more:
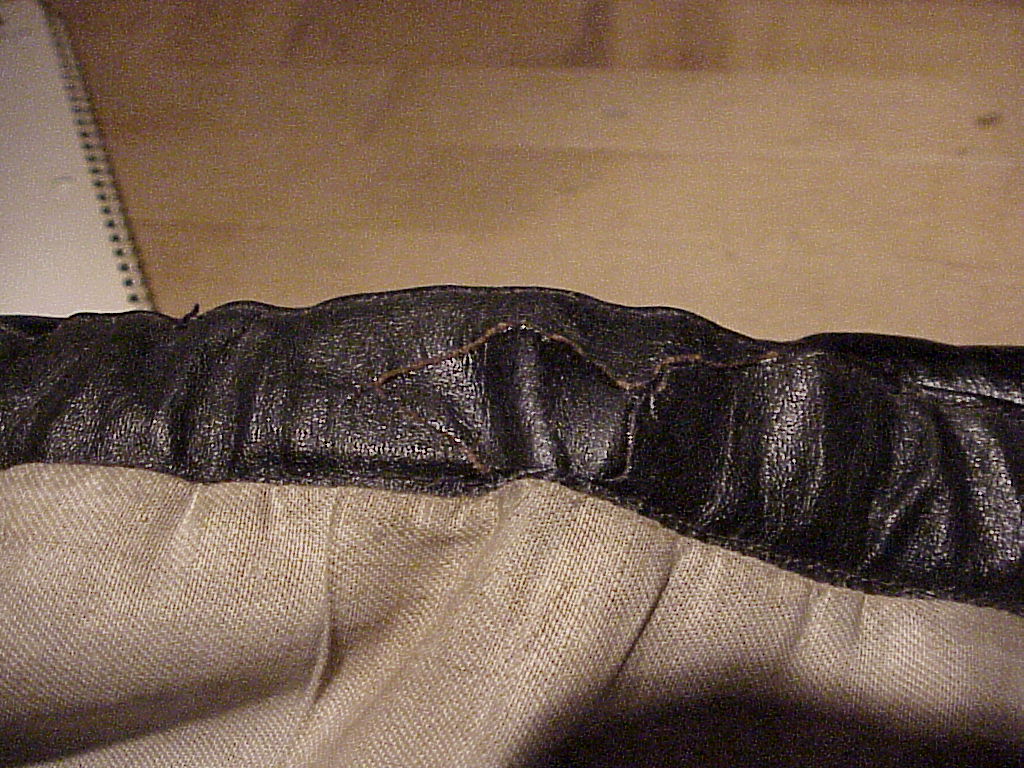
The rubber had broken at some time before I owned the car. The repair then was to cut the leather, tie a string to the broken end and then tie a knot in the other end of the string which had been poked through another hole in the leather. The rubber then broke at another place and the pocket was been loose ever since.
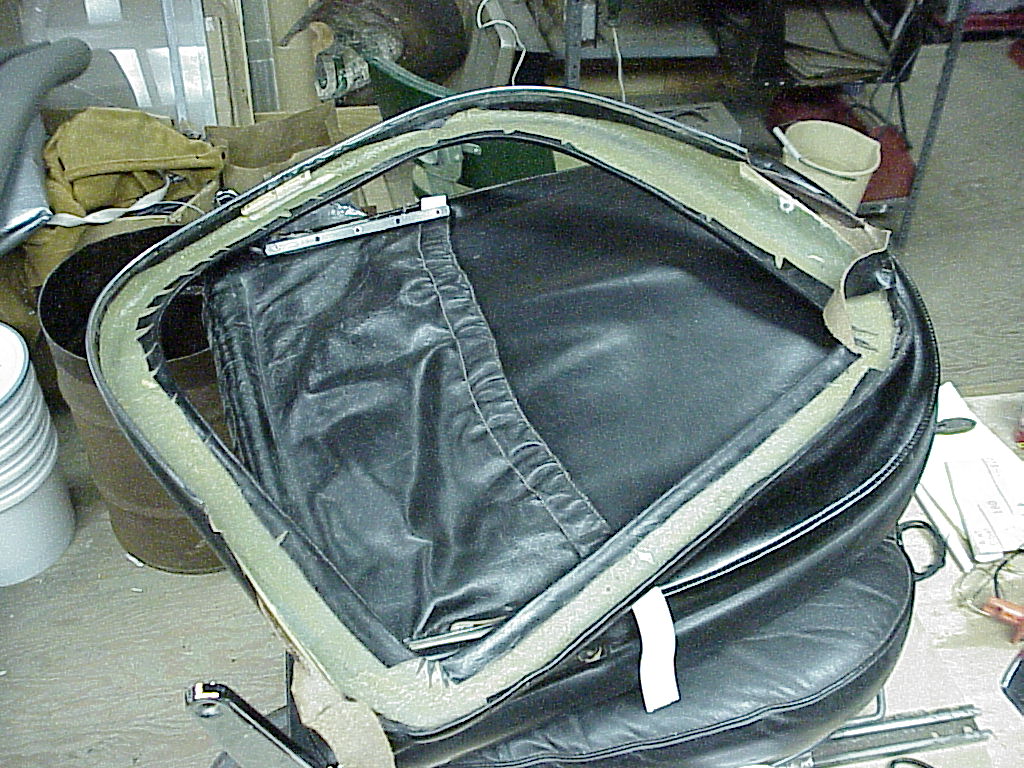
I had the driver's seat out of the car while gluing in carpet, so I decided to see how easy it would be to repair the elastic. First item of business was removal of the seat back. That was easy as it's held onto the hinge mechanism by 4 Allen head bolts. Then there's a leather covered fiberglass frame that covers the edges all around the back. That has 2 screws at the bottom plus 2 pop-rivets at the lower sides (you have to remove two clips and pull back the leather near the hinge area to see them) and a clip at the top. Then you find that the pocket is held at each side by a strip of metal held to the frame by three pop-rivets.
 |
 |
| Fiberglass Frame | Pocket Area |
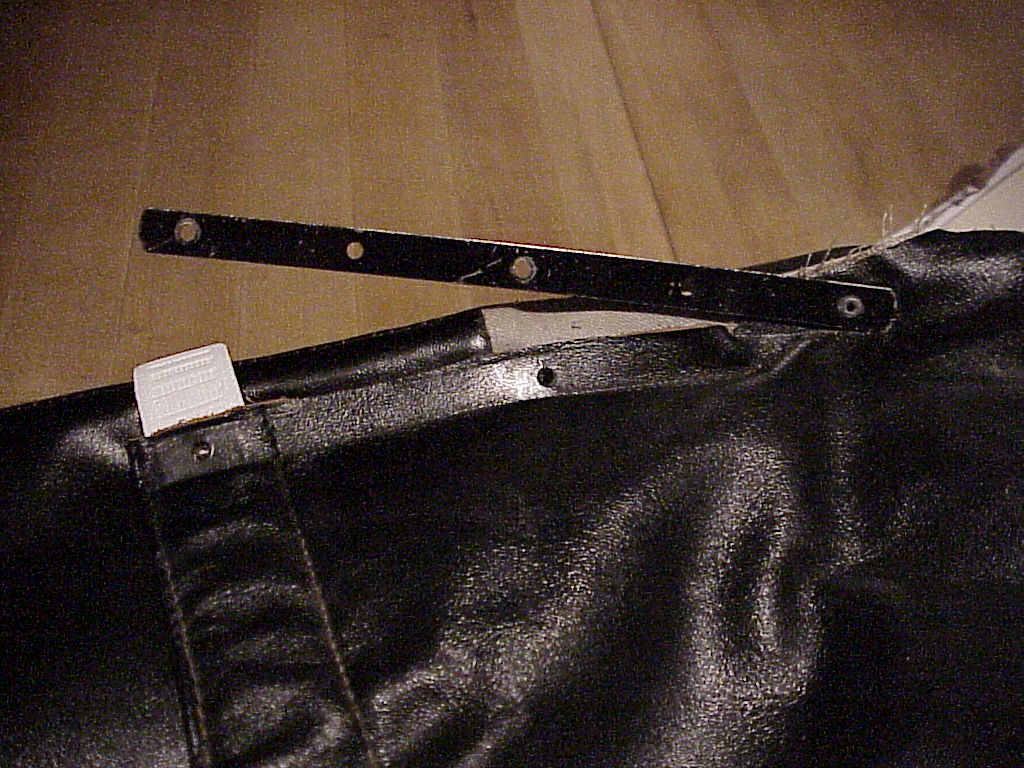
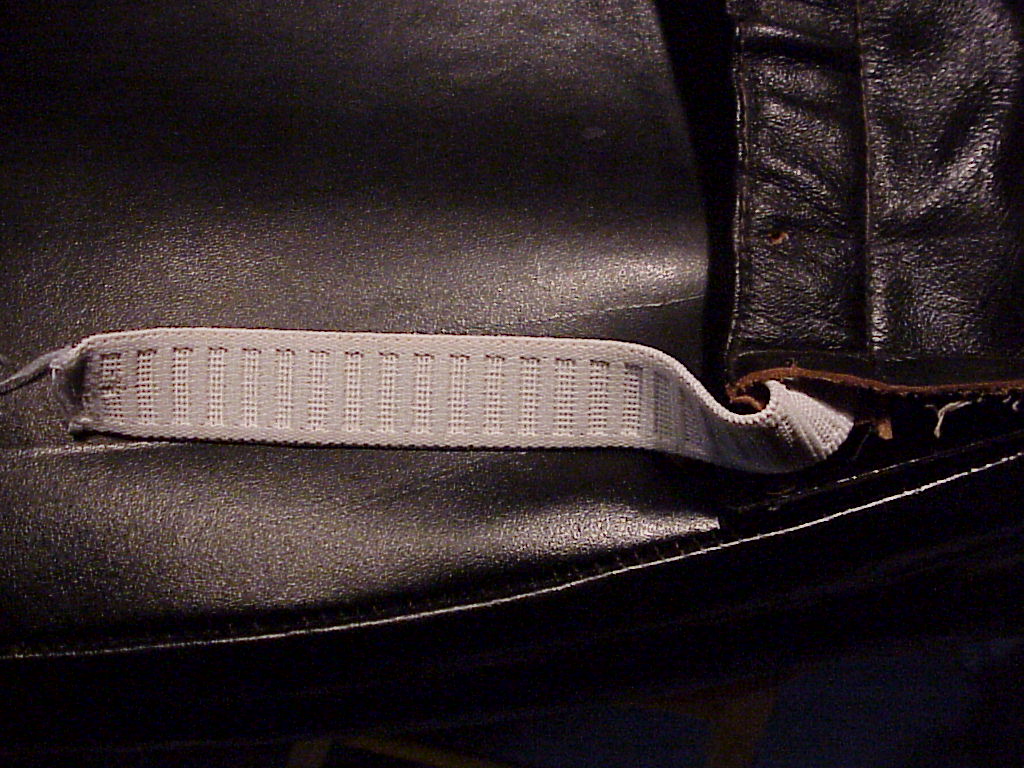
Once the upper two rivets were drilled out, the pocket could be folded down to expose the leather flap that contained the elastic strap. Not only had the leather been cut, but the fabric part of the pocket was tearing loose from the leather. My wife stitched up the fabric while I fit and glued two pieces of leather inside the flap. She also had some strong elastic that was the proper width to replace the rubber strap from Pirelli. The elastic strap itself isn't sewn in at the ends. It simply is stretched and pop-riveted down as part of the metal strip holding the whole pocket.
 |
 |
| Leather Repair | Replacement Elastic |
Once the repairs were complete, a few pop-rivets, a couple of screws and some bolts later, everything was back together.
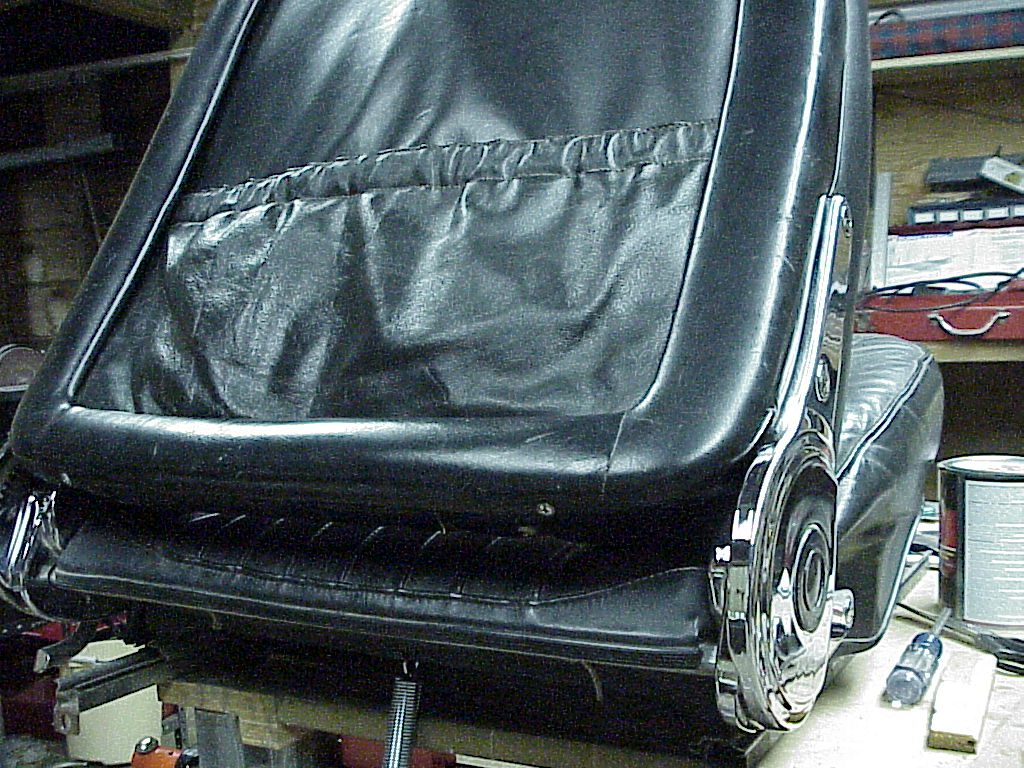
In the picture of the finished seat, you can see the two screws at the bottom of the back in addition to the Allen head bolts in the hinge at the side.
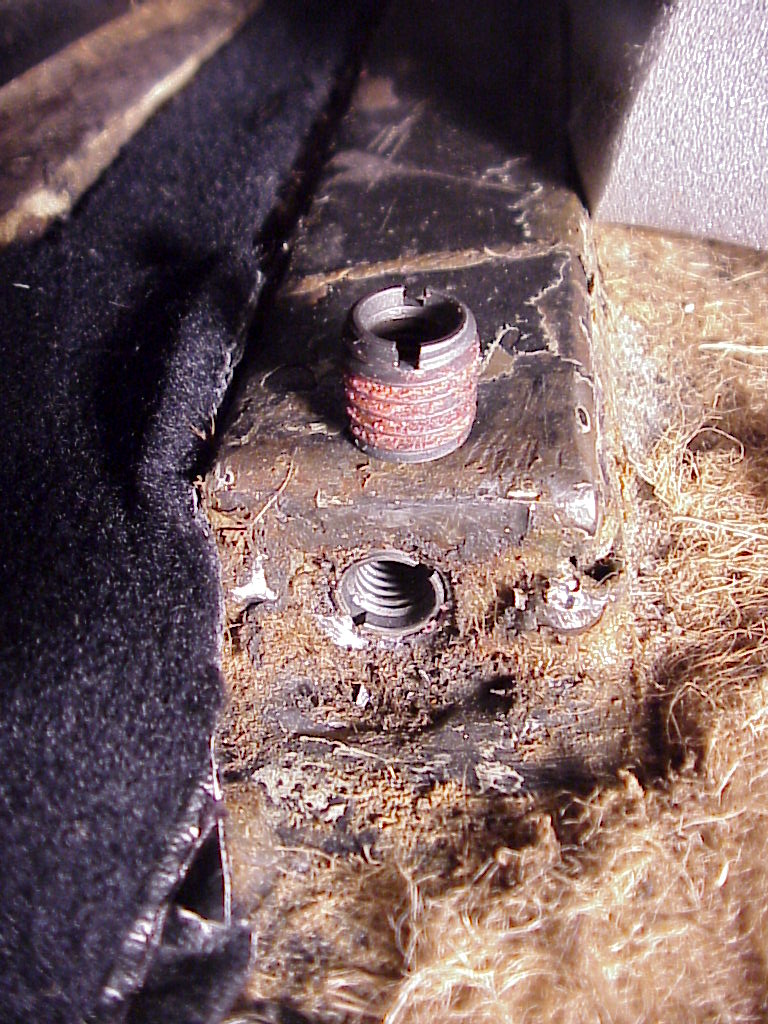
One of the hold down bolt locations on the passenger side seat was stripped. From the looks, there isn't really a welded on nut, but the metal is thick and just tapped for the 8x1.25mm bolt. As it's part of the floor area with the fiberglass pan right next to it, doing any cutting and welding to replace or add to the metal was out of the question. So I decided to go with an insert. I've used HeliCoils in the past but they require a special drill and a special tap plus the insertion tool. Altogether, a kit for a single size runs about $65. In researching other choices, I came across another type of insert made by E-Z LOK. This is an insert with the proper inner thread (8x1.25mm), but uses a standard outside thread (12x1.75mm). So you simple drill out the bad threads and re-tap using the outside thread size. The insert has micro-encapsulated adhesive which locks it in place. Installation is done with a regular bolt with a nut threaded on first so the insert doesn't bind on the threads right near the head. The major advantage is price. I bought a kit of 50 inserts (10 each for 3, 4, 5, 6 and 8mm) for about the price of one HeliCoil size. The major disadvantage is that they require a larger tapped hole than a HeliCoil so if space is tight they may not work. You can see the new insert threaded into the seat bracket and a second unused one on top. The red on the outside threads is the adhesive. It wasn't easy to drill and tap the 12mm hole since the location is so near the floor. Luckily the bracket leans forward and the floor pan for the rear seats goes lower. Just enough clearance to get the drill in place, but I had to use an adjustable wrench to turn the tap as I don't have a ratcheting tap handle. Hey, that sounds like a good Father's Day present.
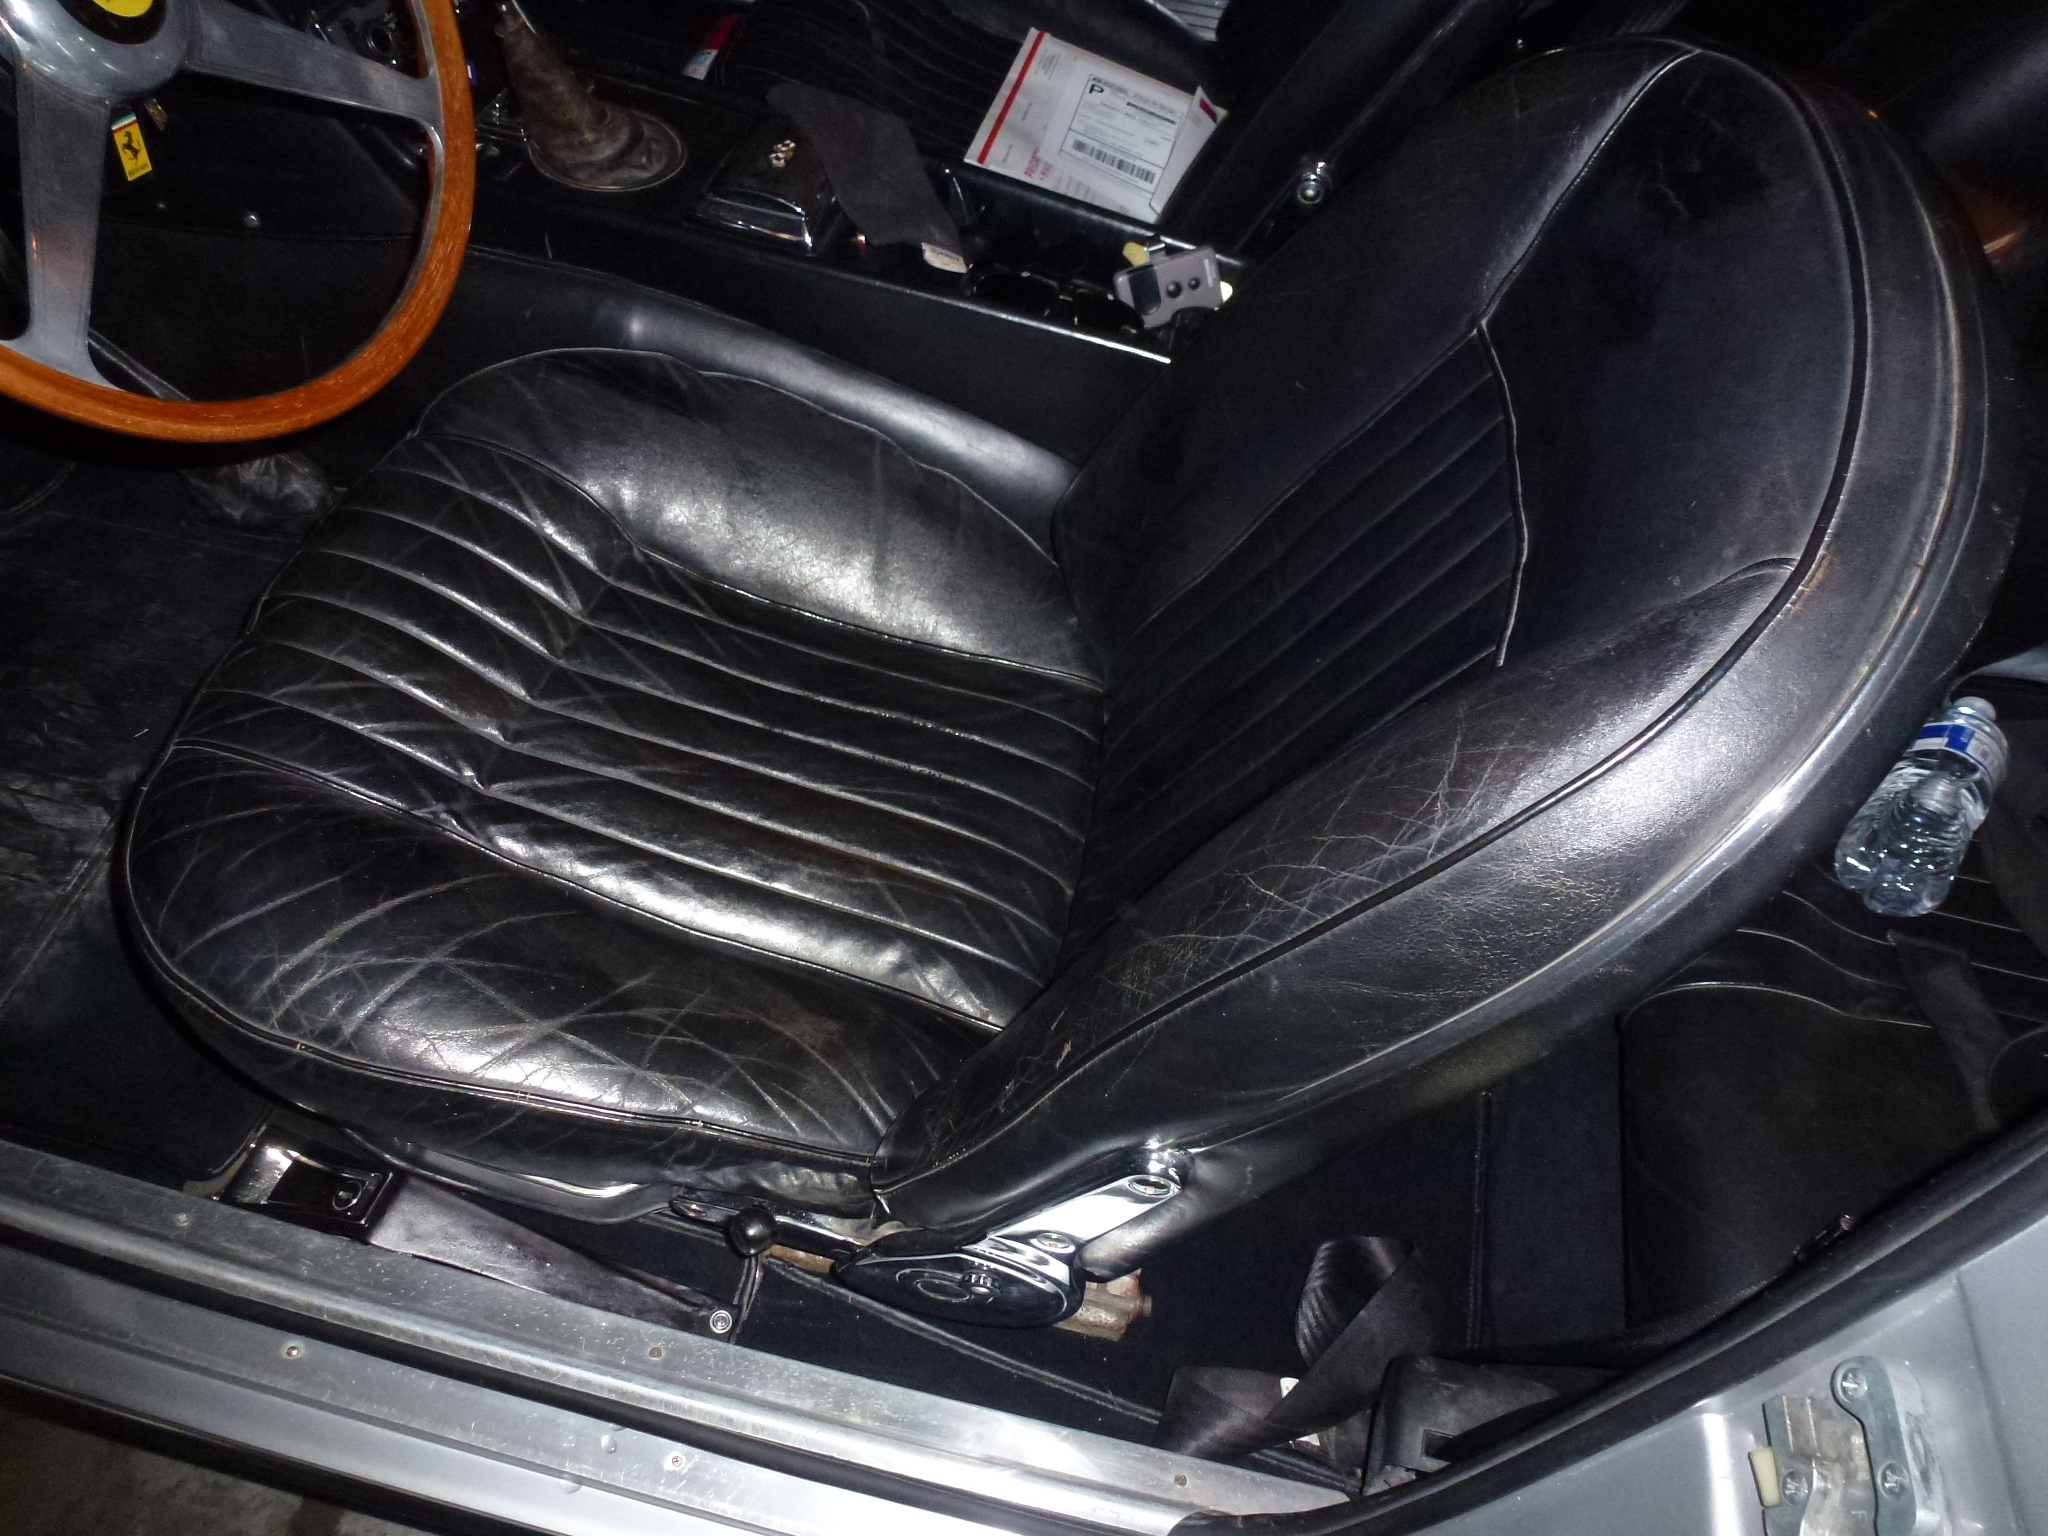
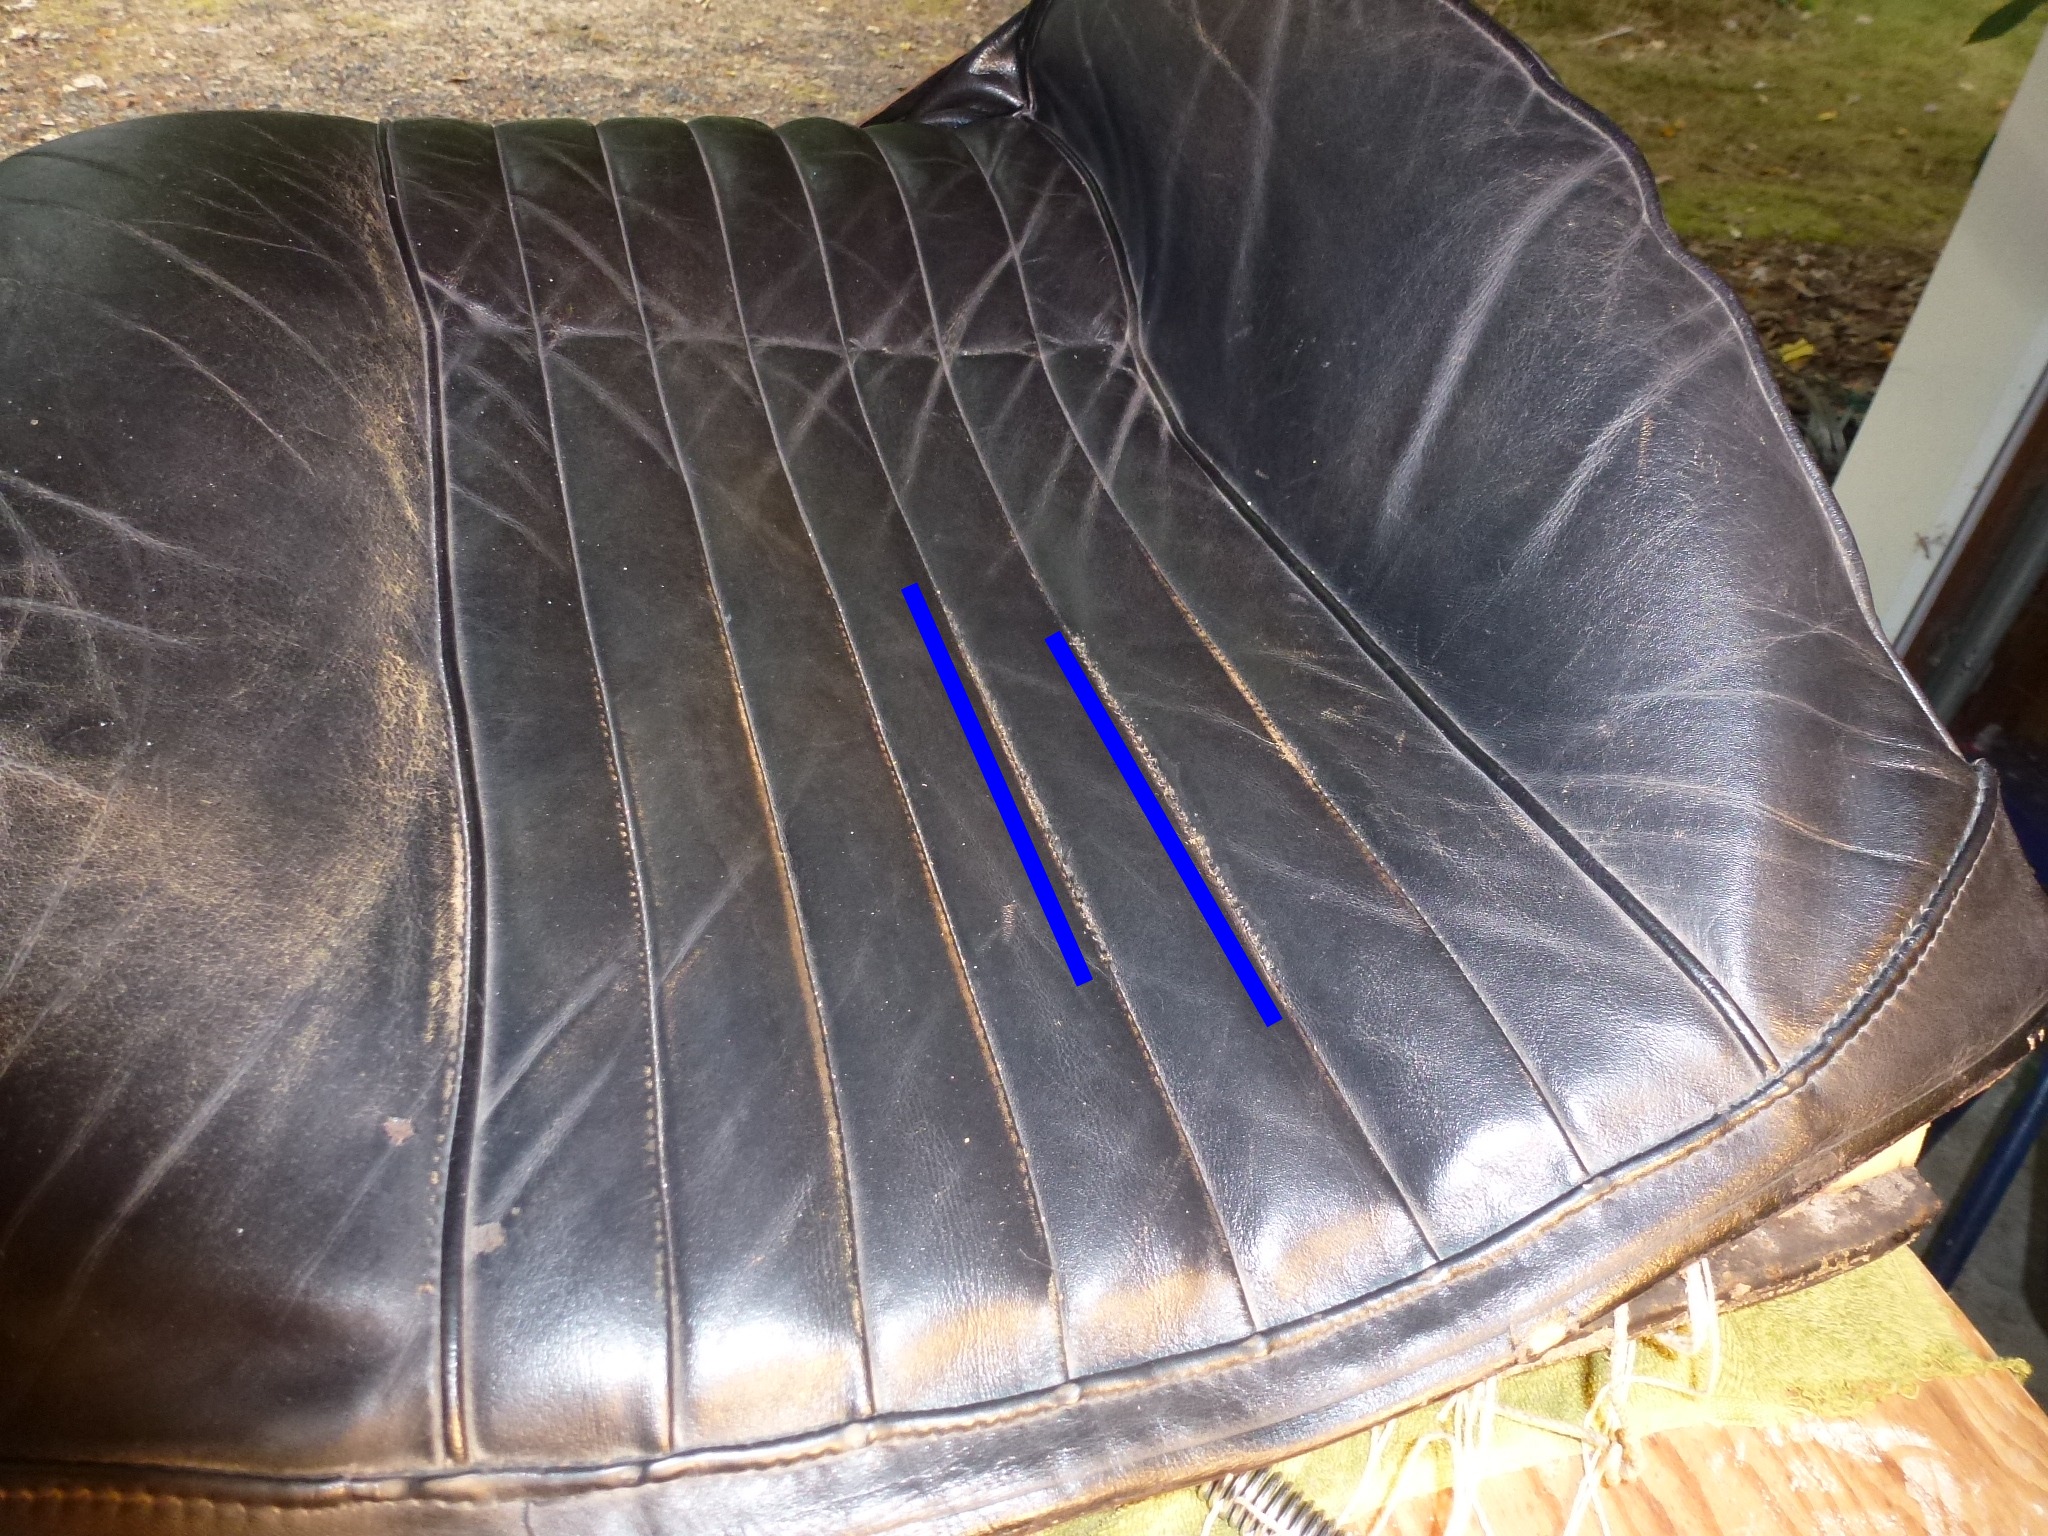
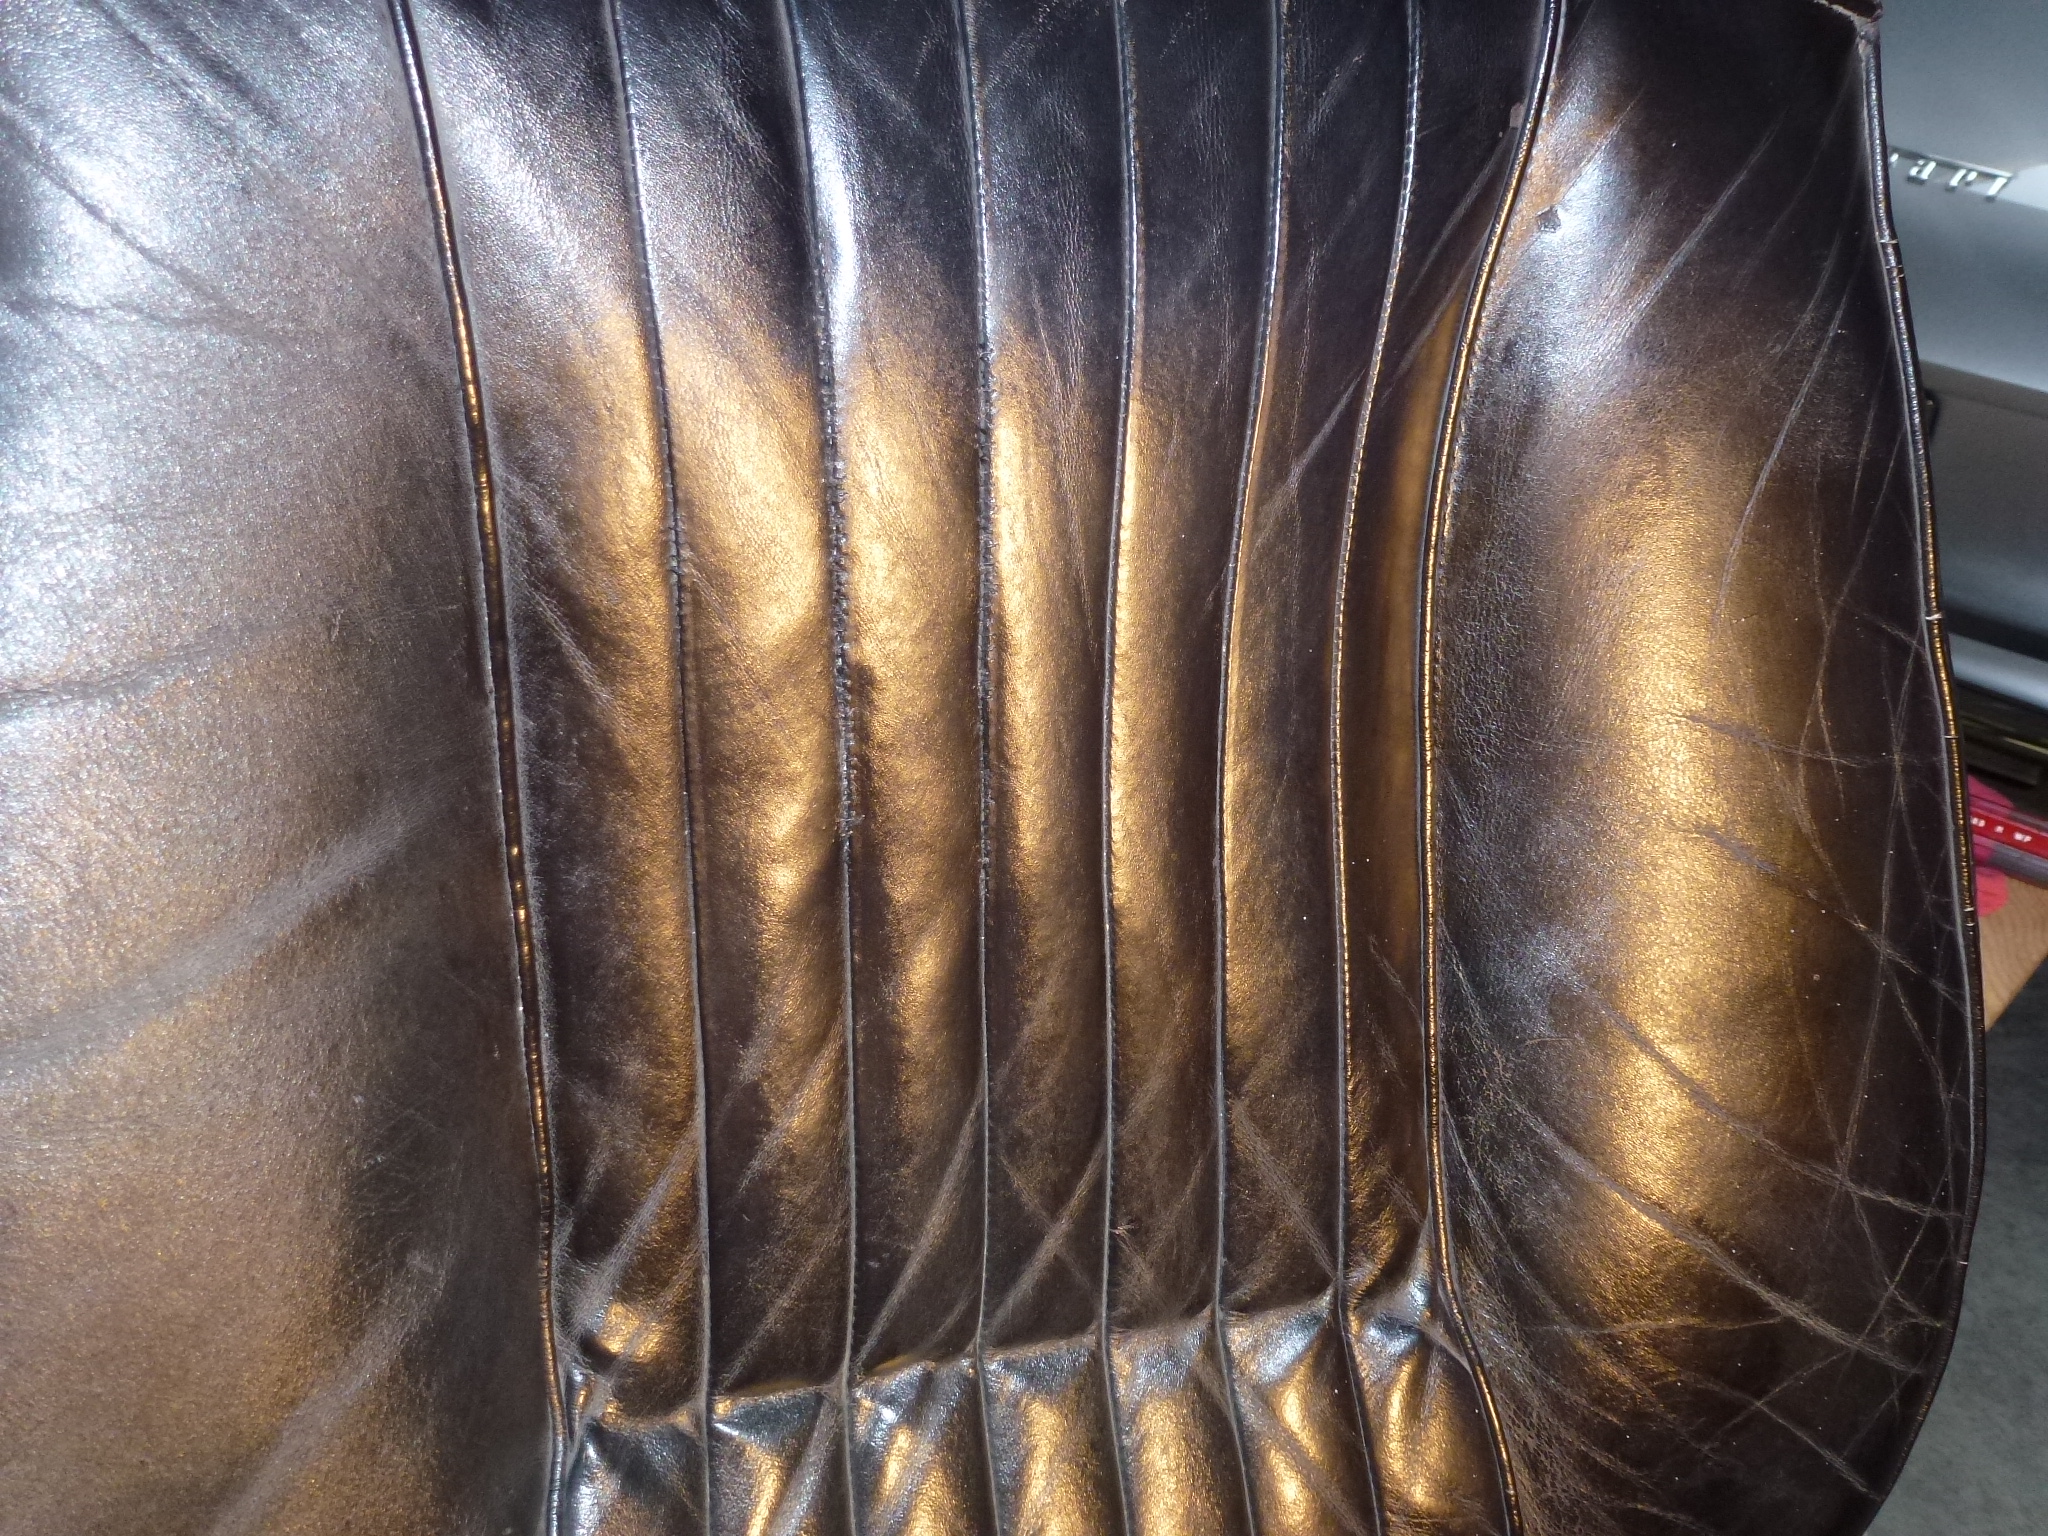
After 40+ years of butts (mainly mine) squishing the driver's seat, some of the pleated seams started opening up. There is a saying that a stitch in time saves nine, but actually would have saved hundreds.
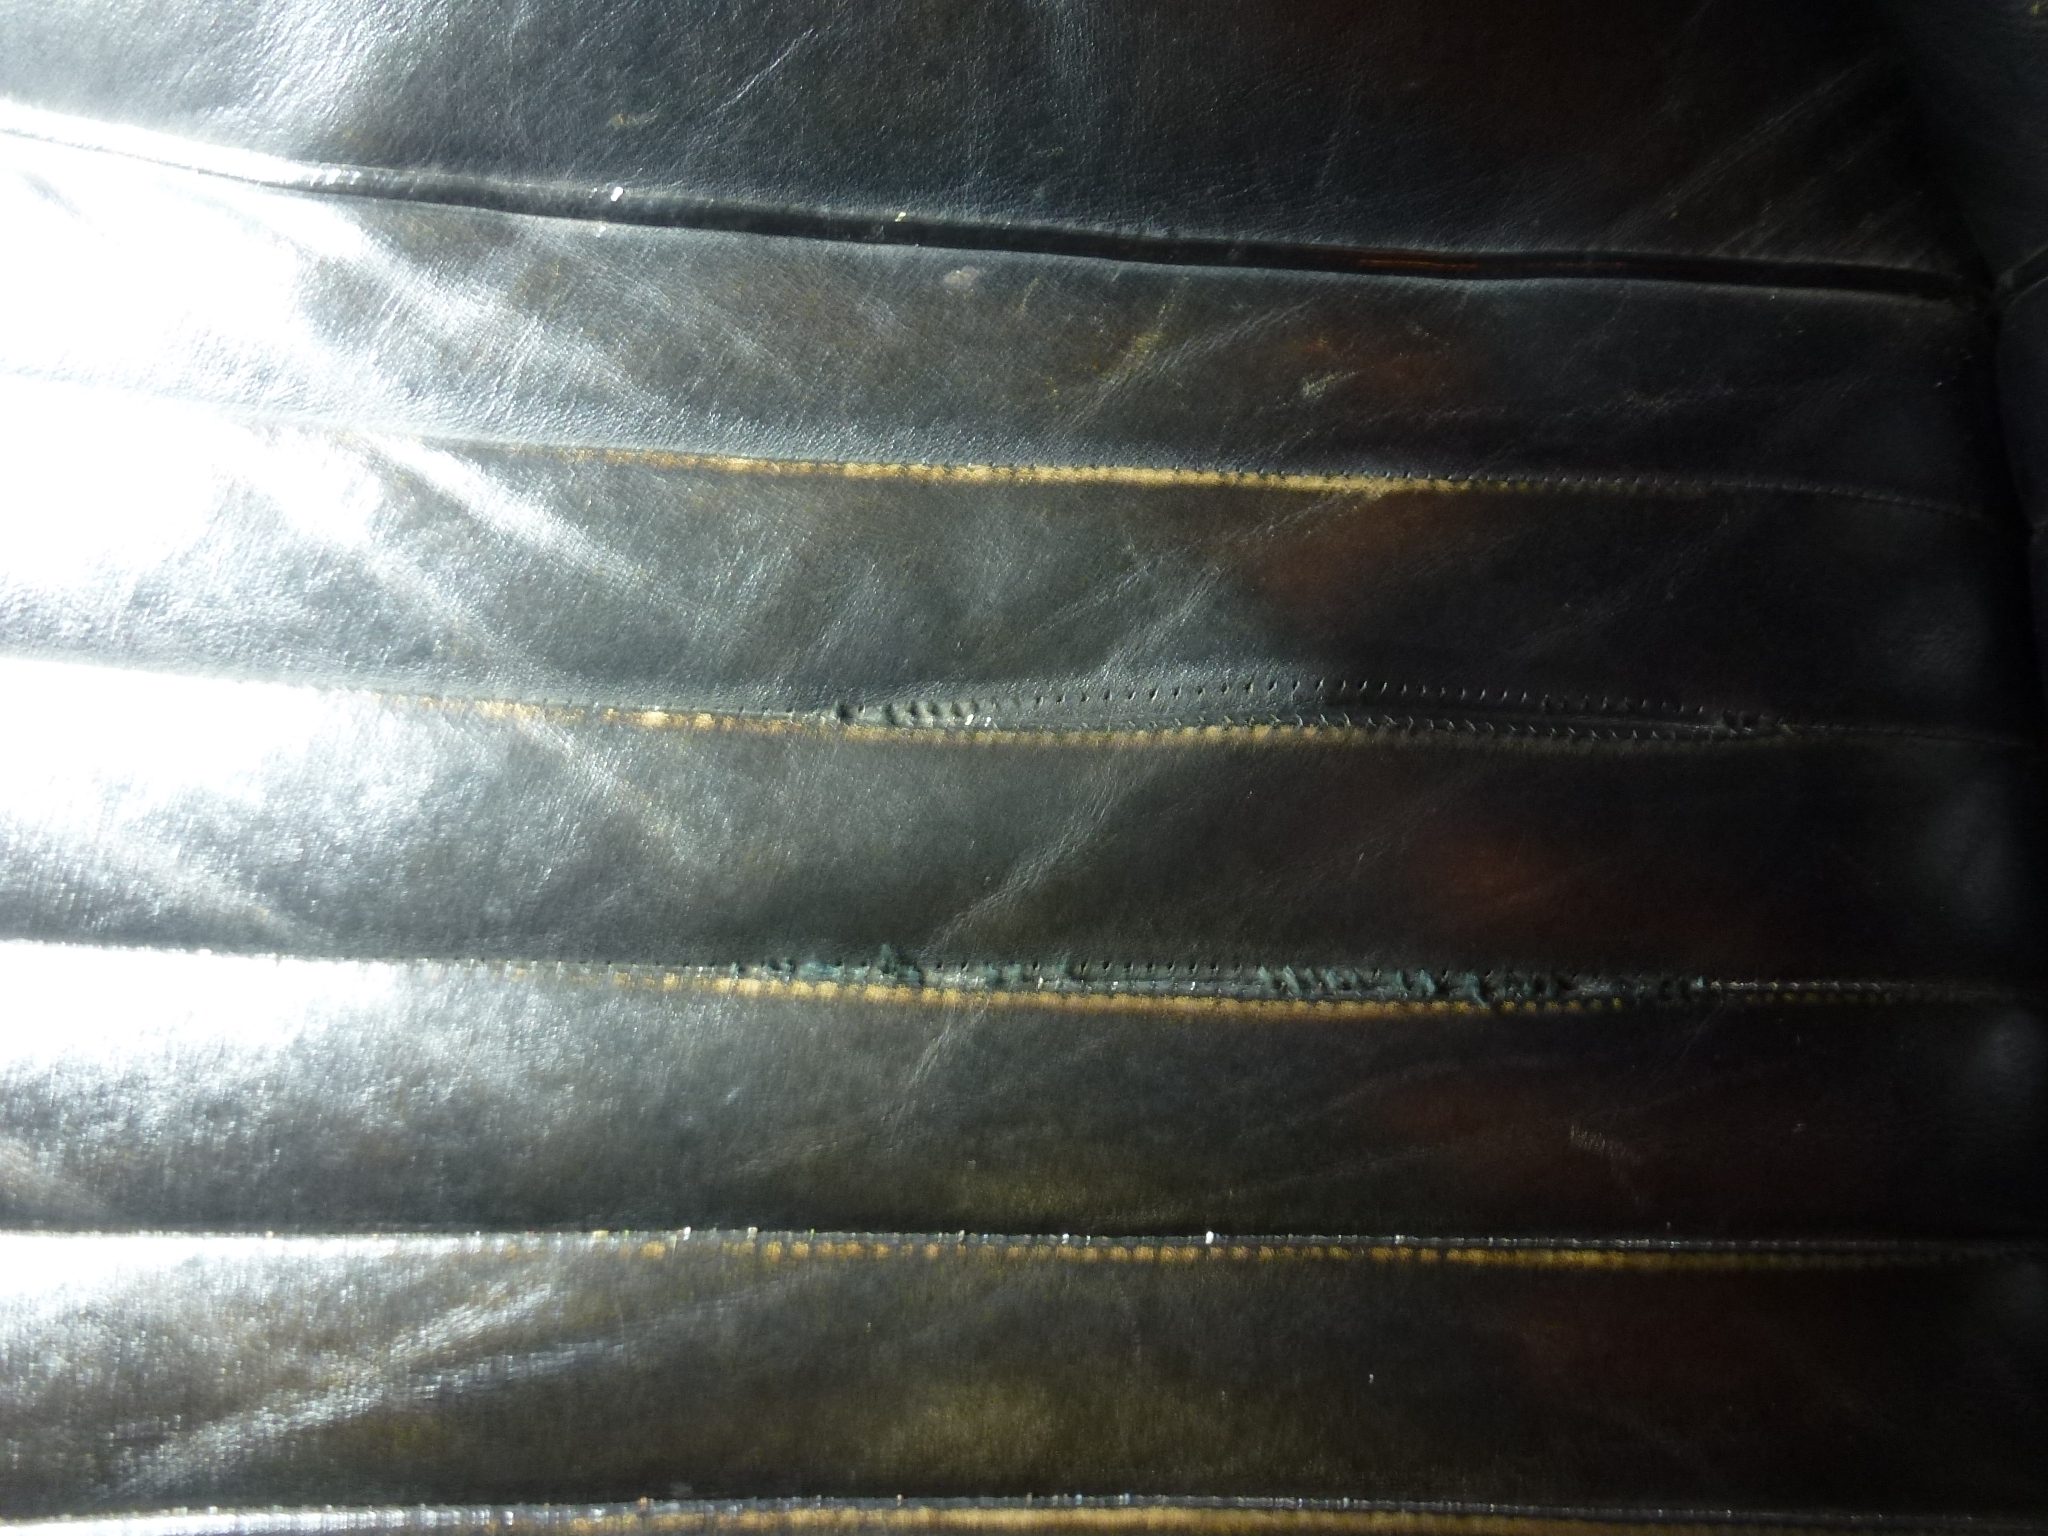
I thought that this would be pretty simple. Hopefully loosen the seat cushion at the rear and be able to reach inside to simply sew through the existing holes to pull the pleat back together. Of course, with a Ferrari, nothing is simple. First I had to remove the seat from the hinge mechanism. By removing the four Allen head screws in the side and fiddling with the hinge ends, the bottom was free. One needs to be careful of the foil on the door side of each seat as it is fragile. Tom Yang has reproduced the foil, but I didn't want to have to replace it.

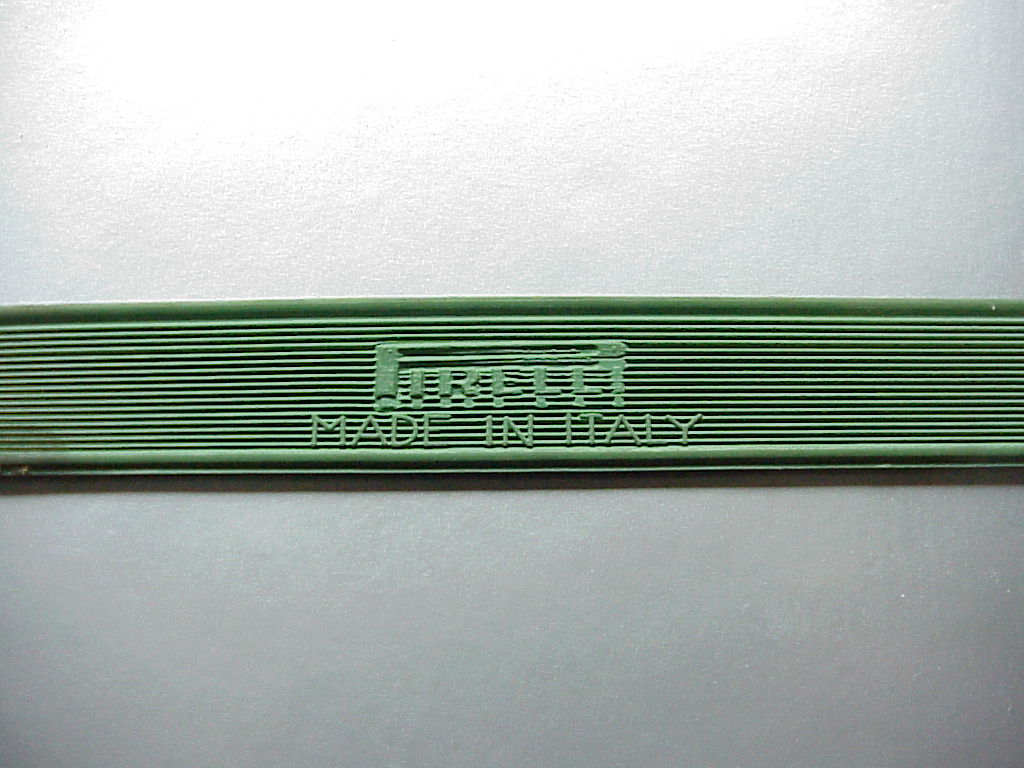
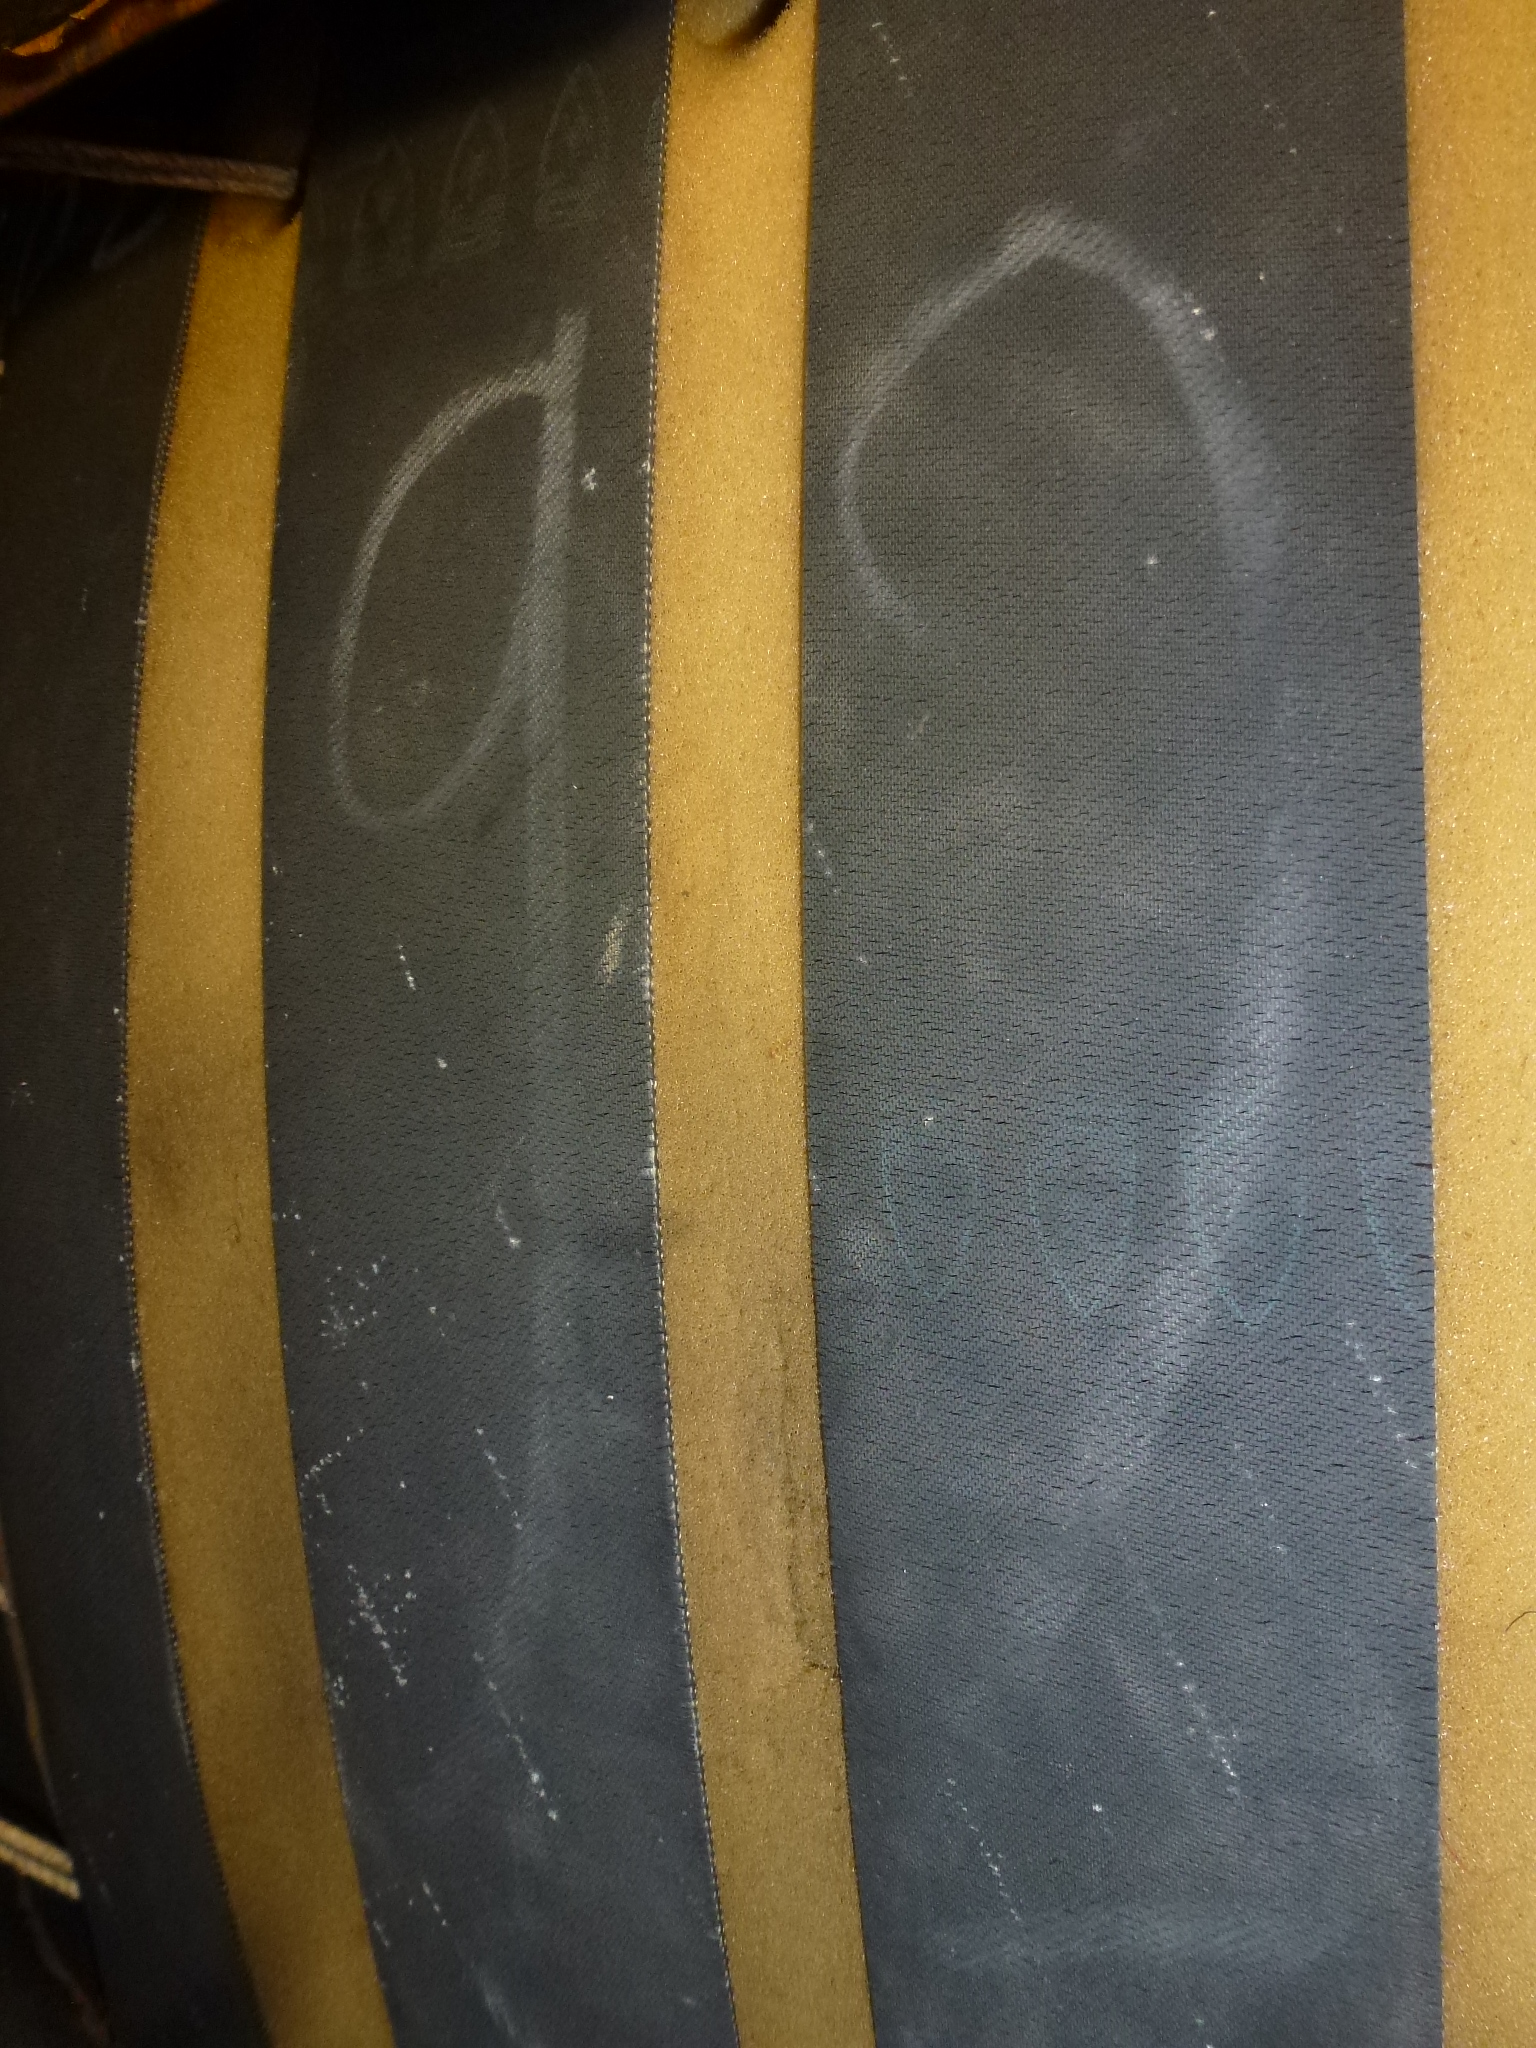
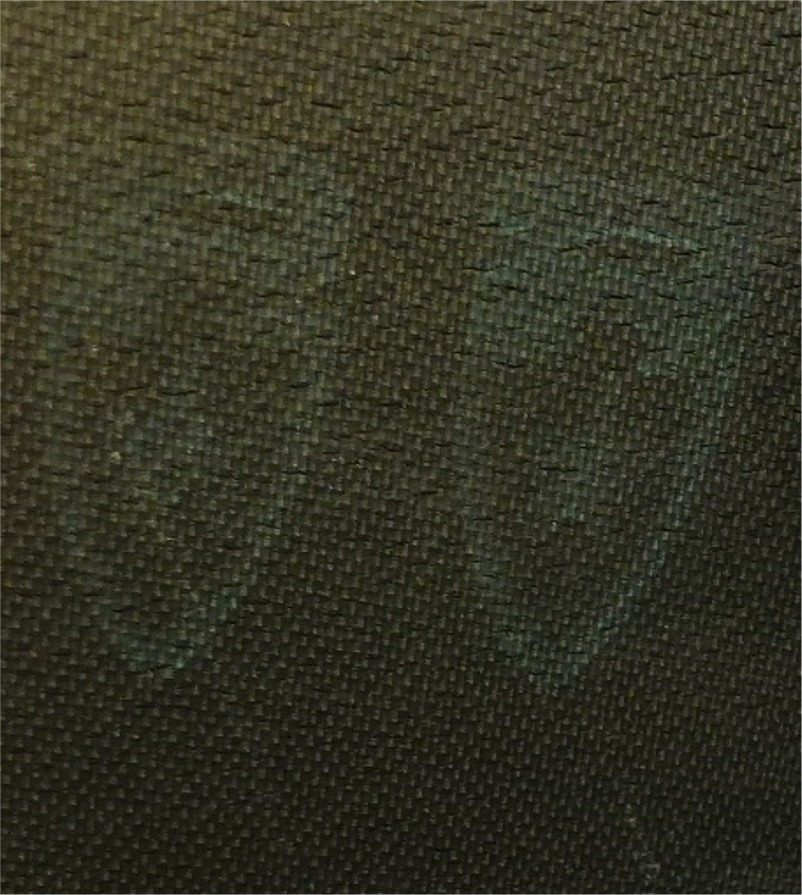
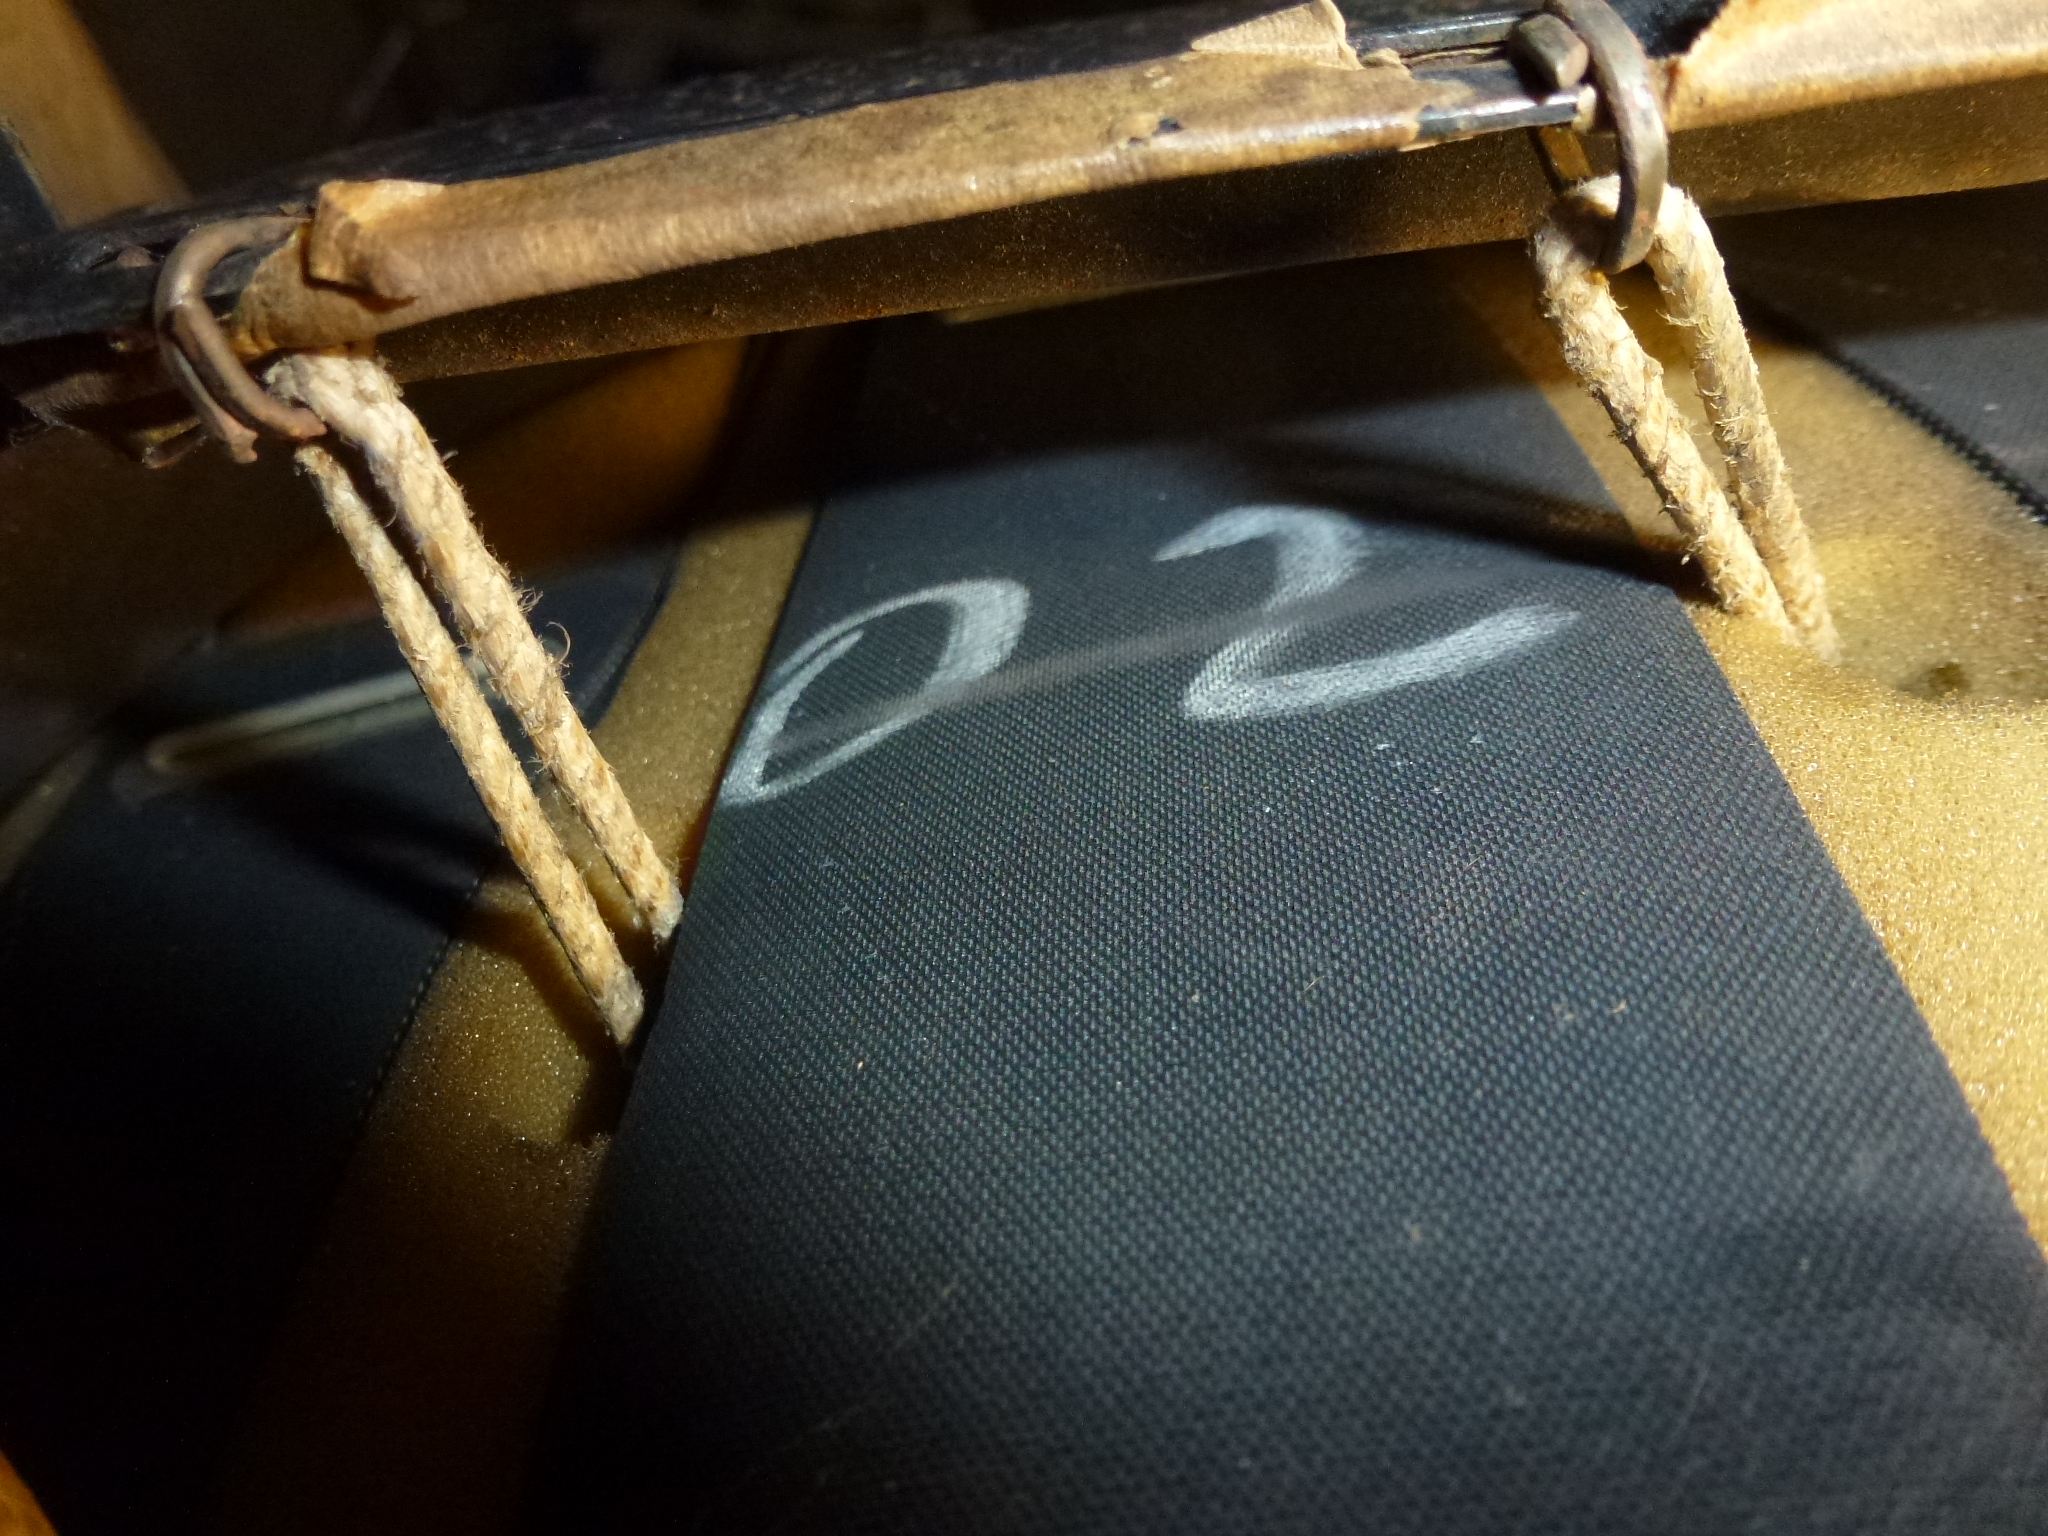
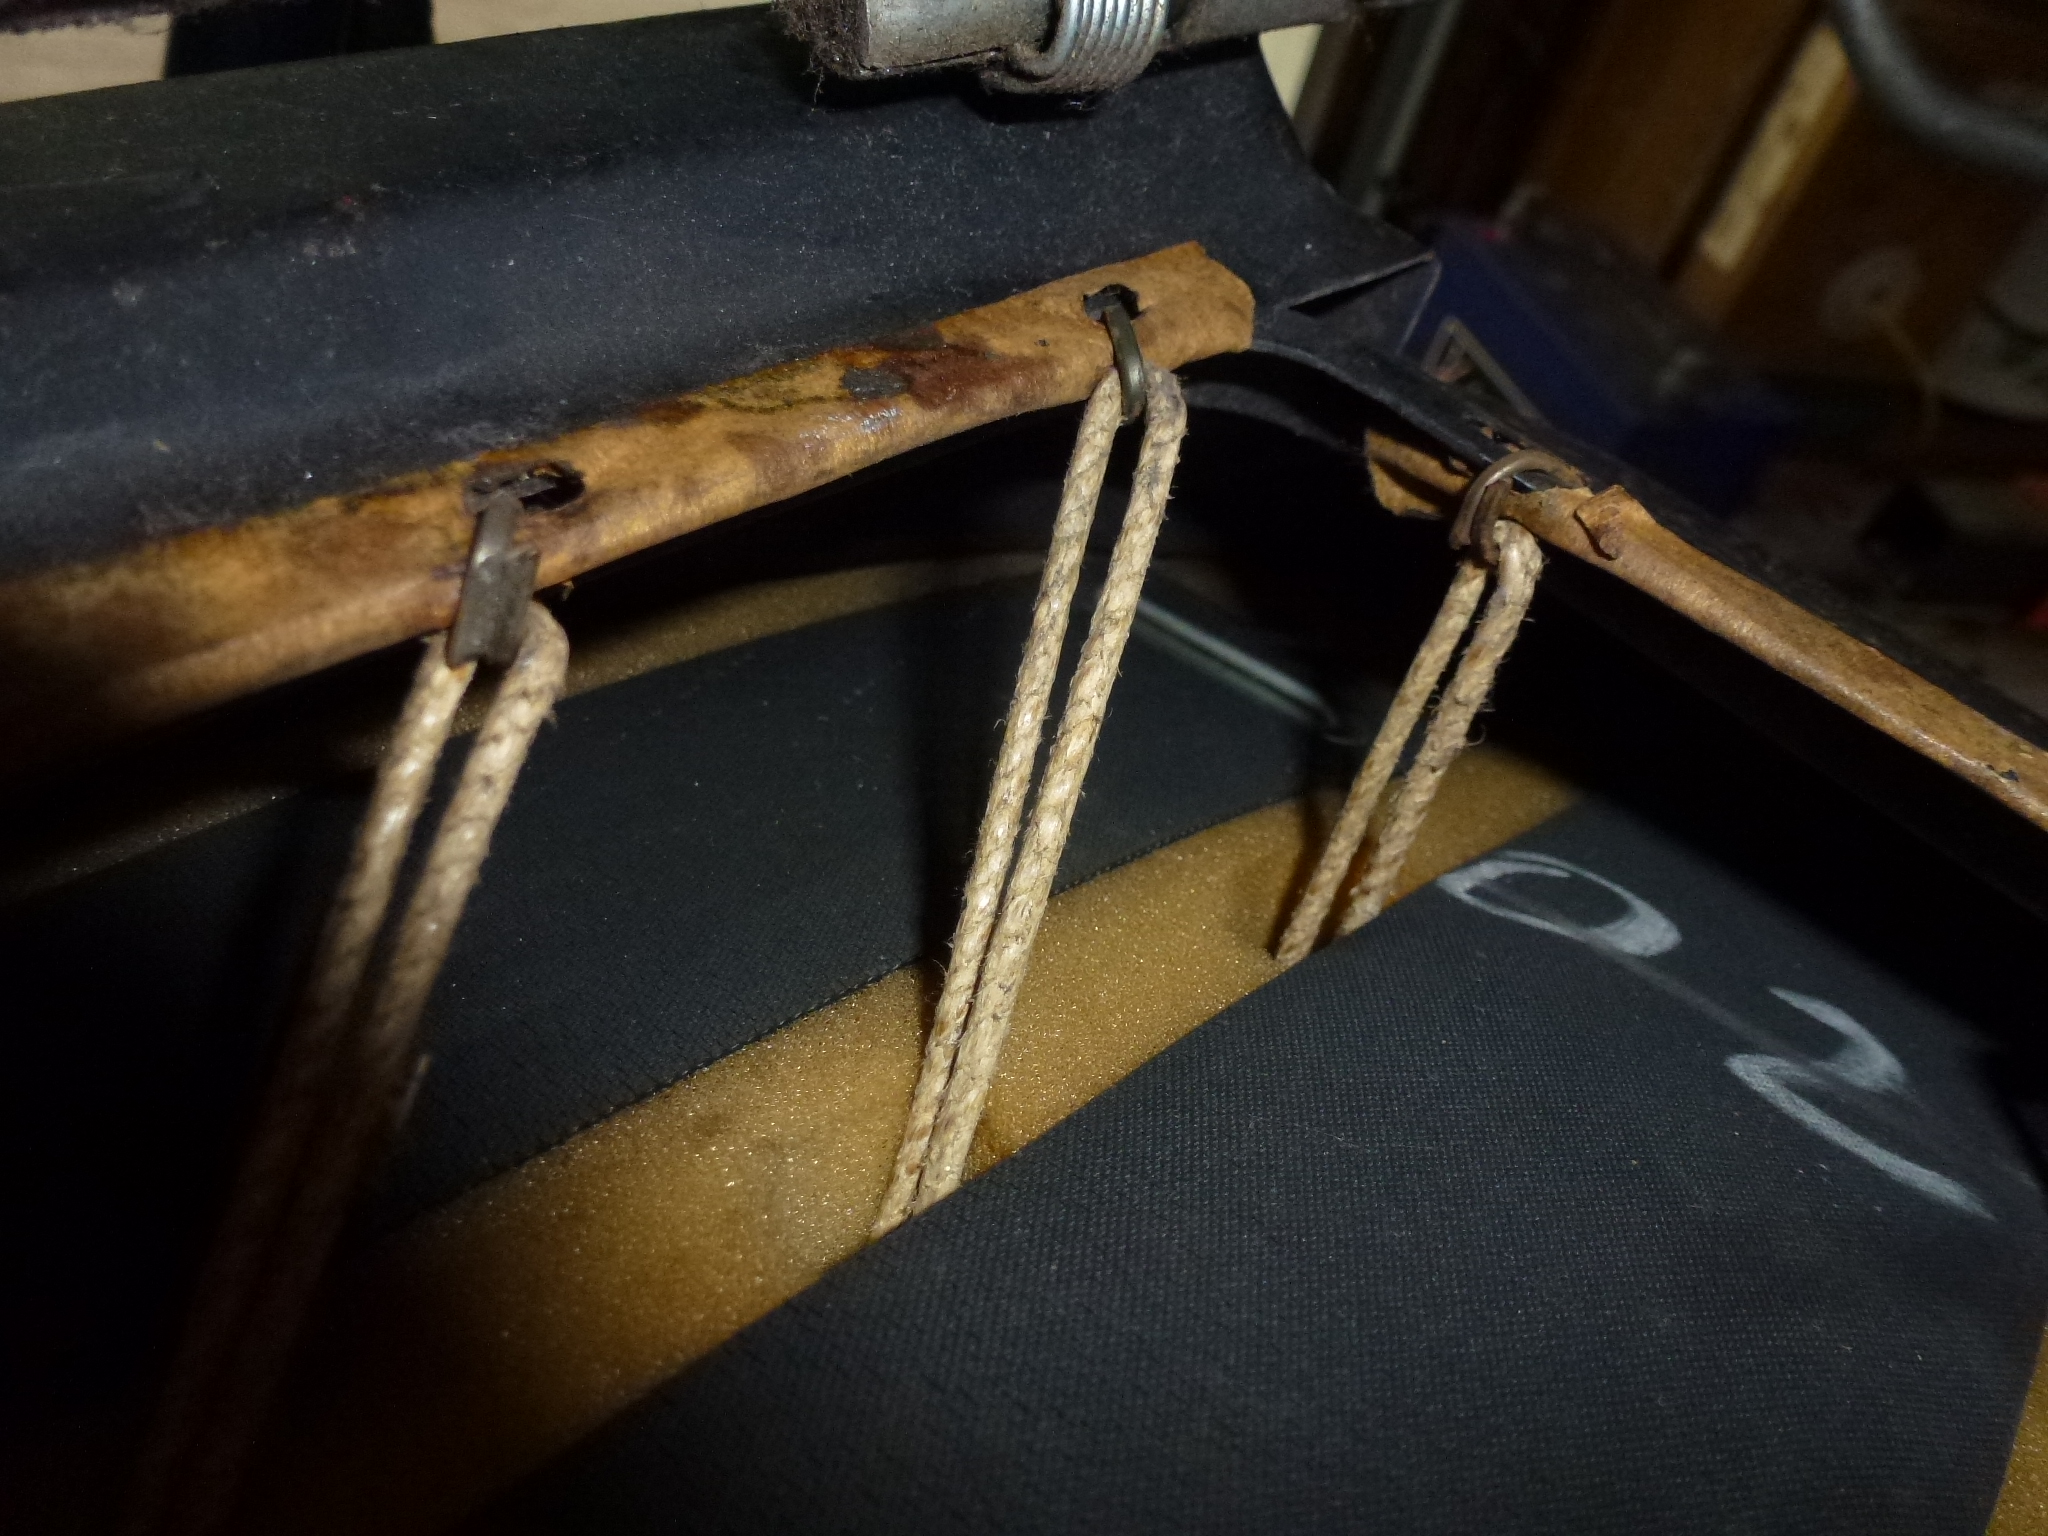
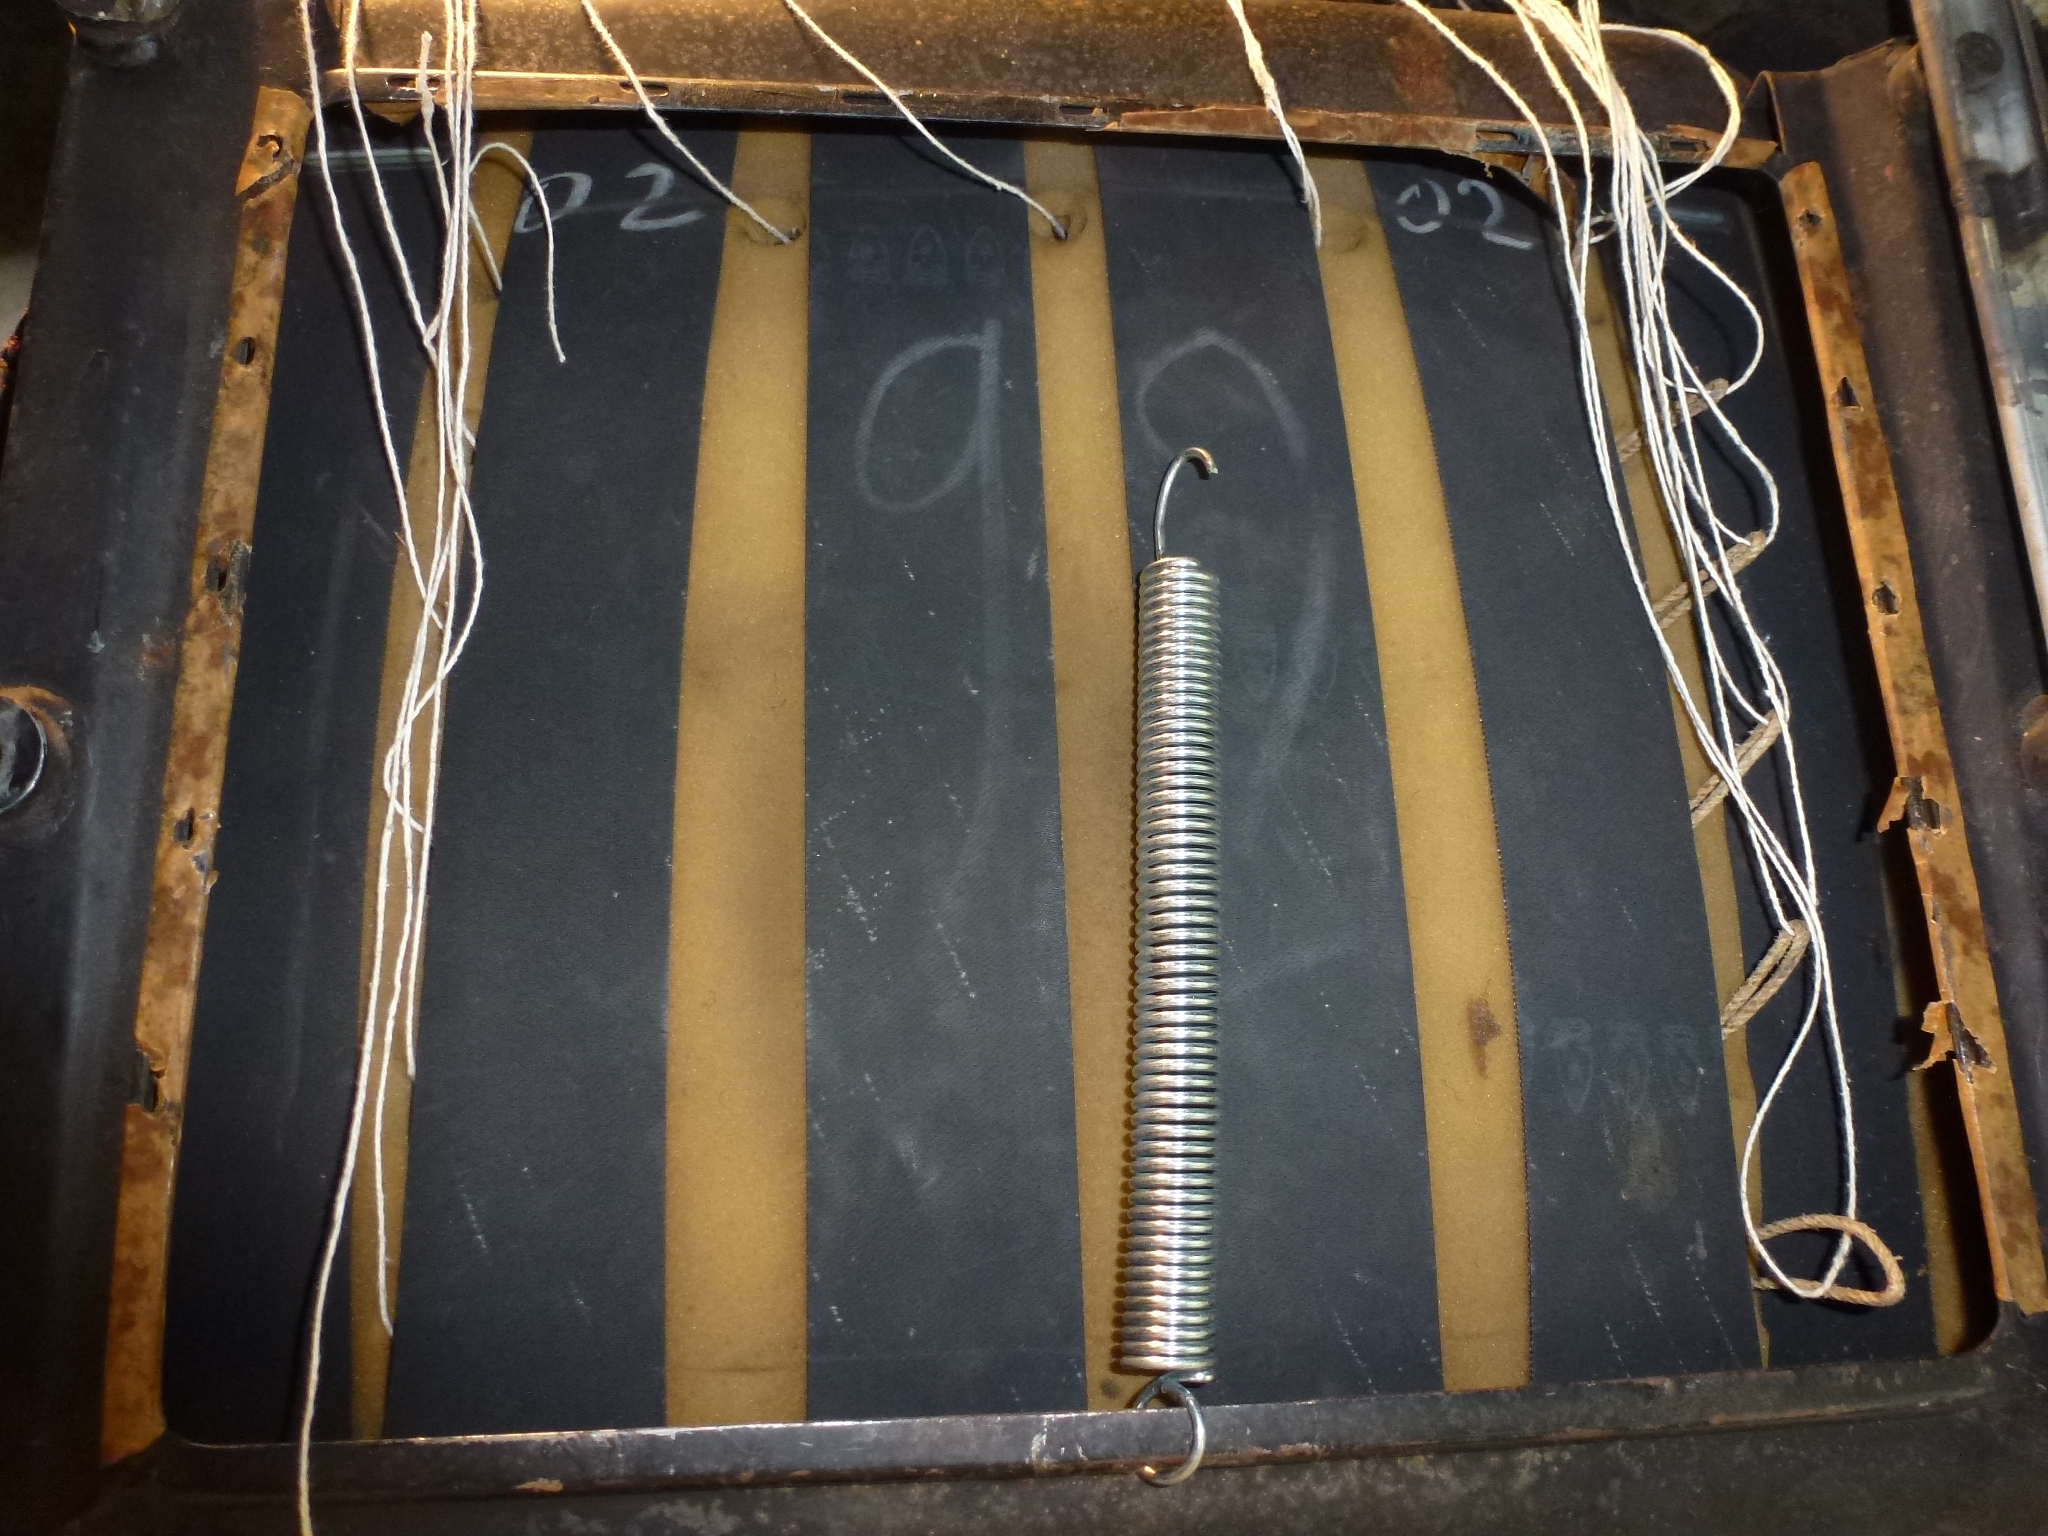
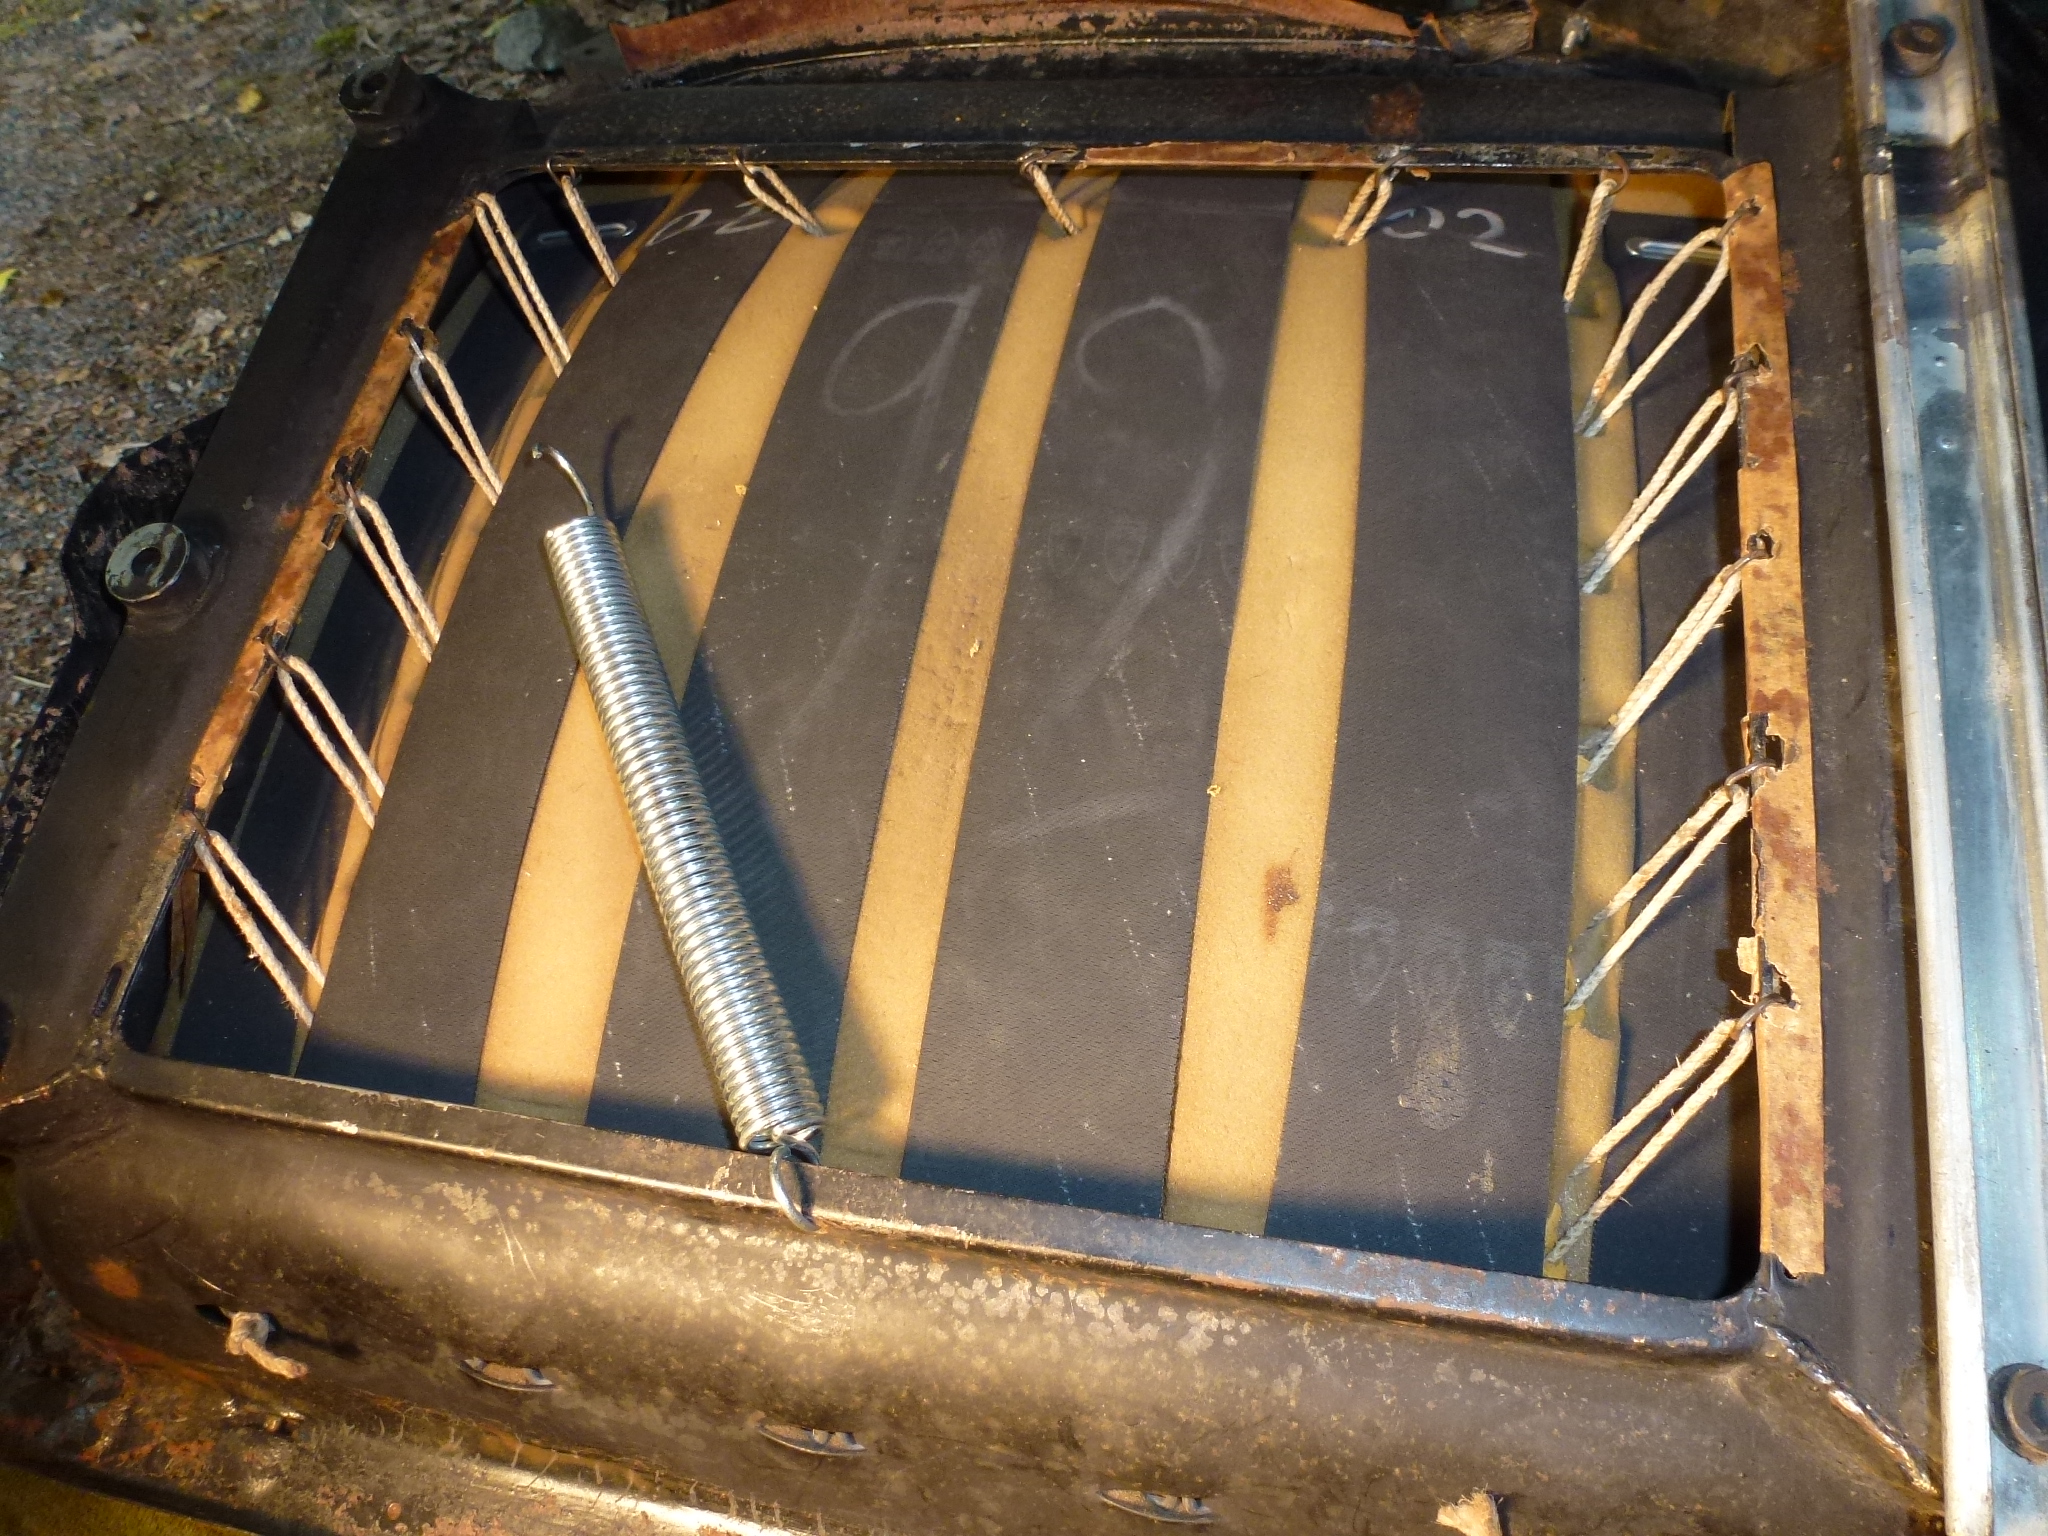
In addition to the PF body number being chalked on the elastic support bands, I noticed a stamp on each. I'm not quite sure what it is, but probably the logo of the manufacturer the PF bought the rubber from. There was also a 02 chalked hidden under the frame that I don't understand.
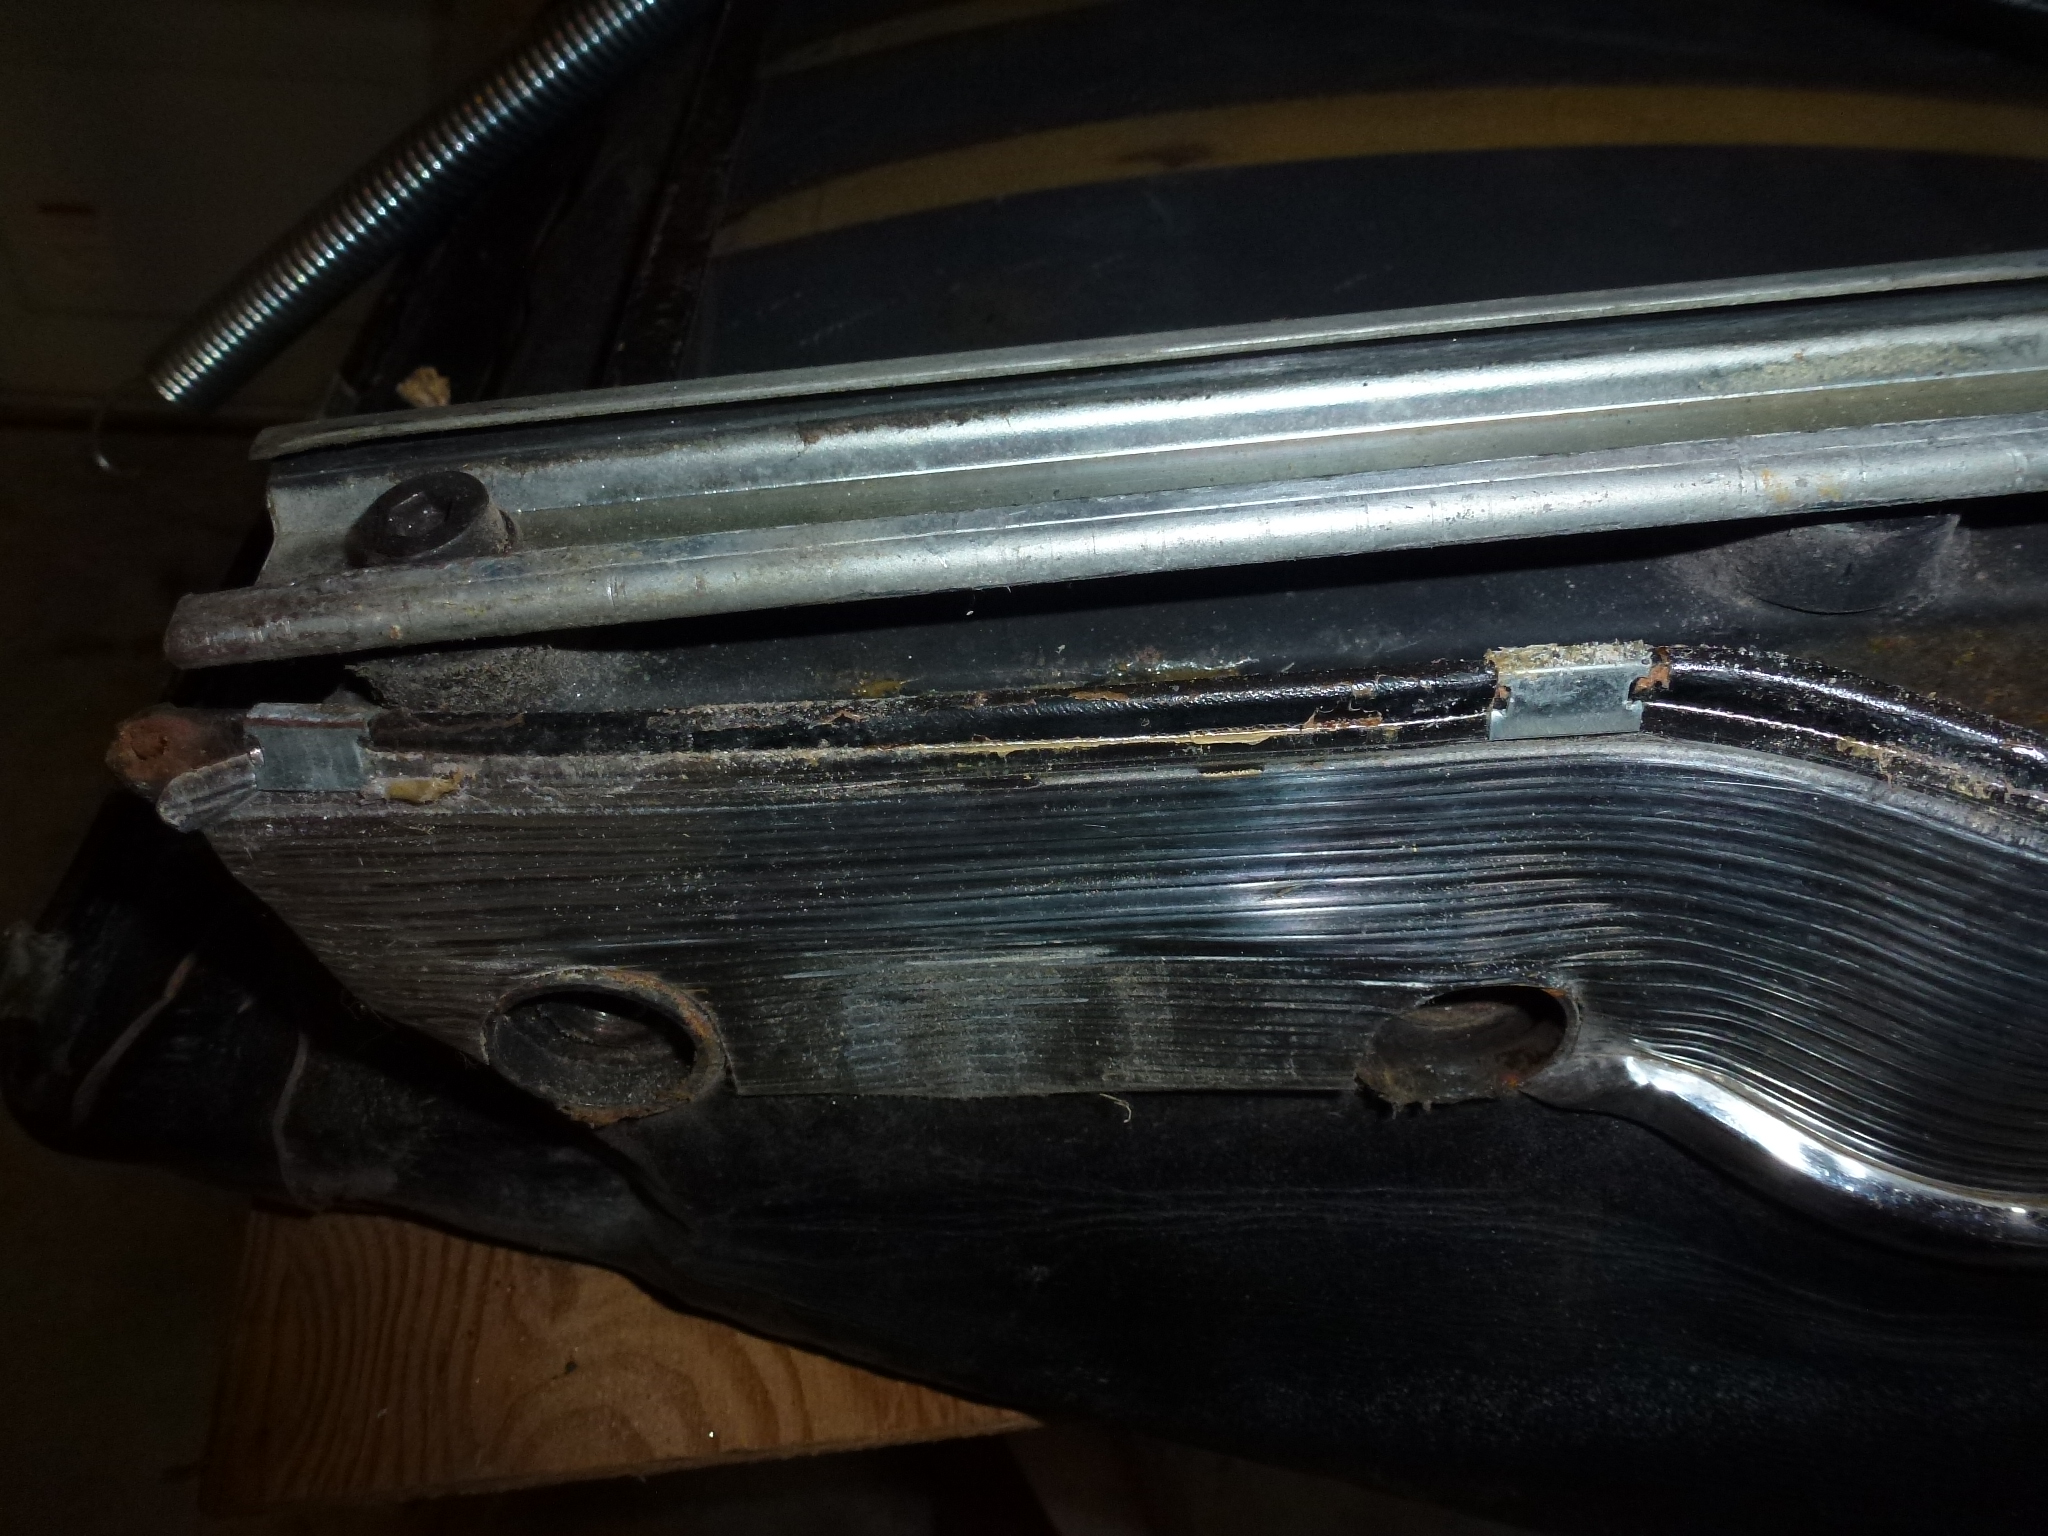
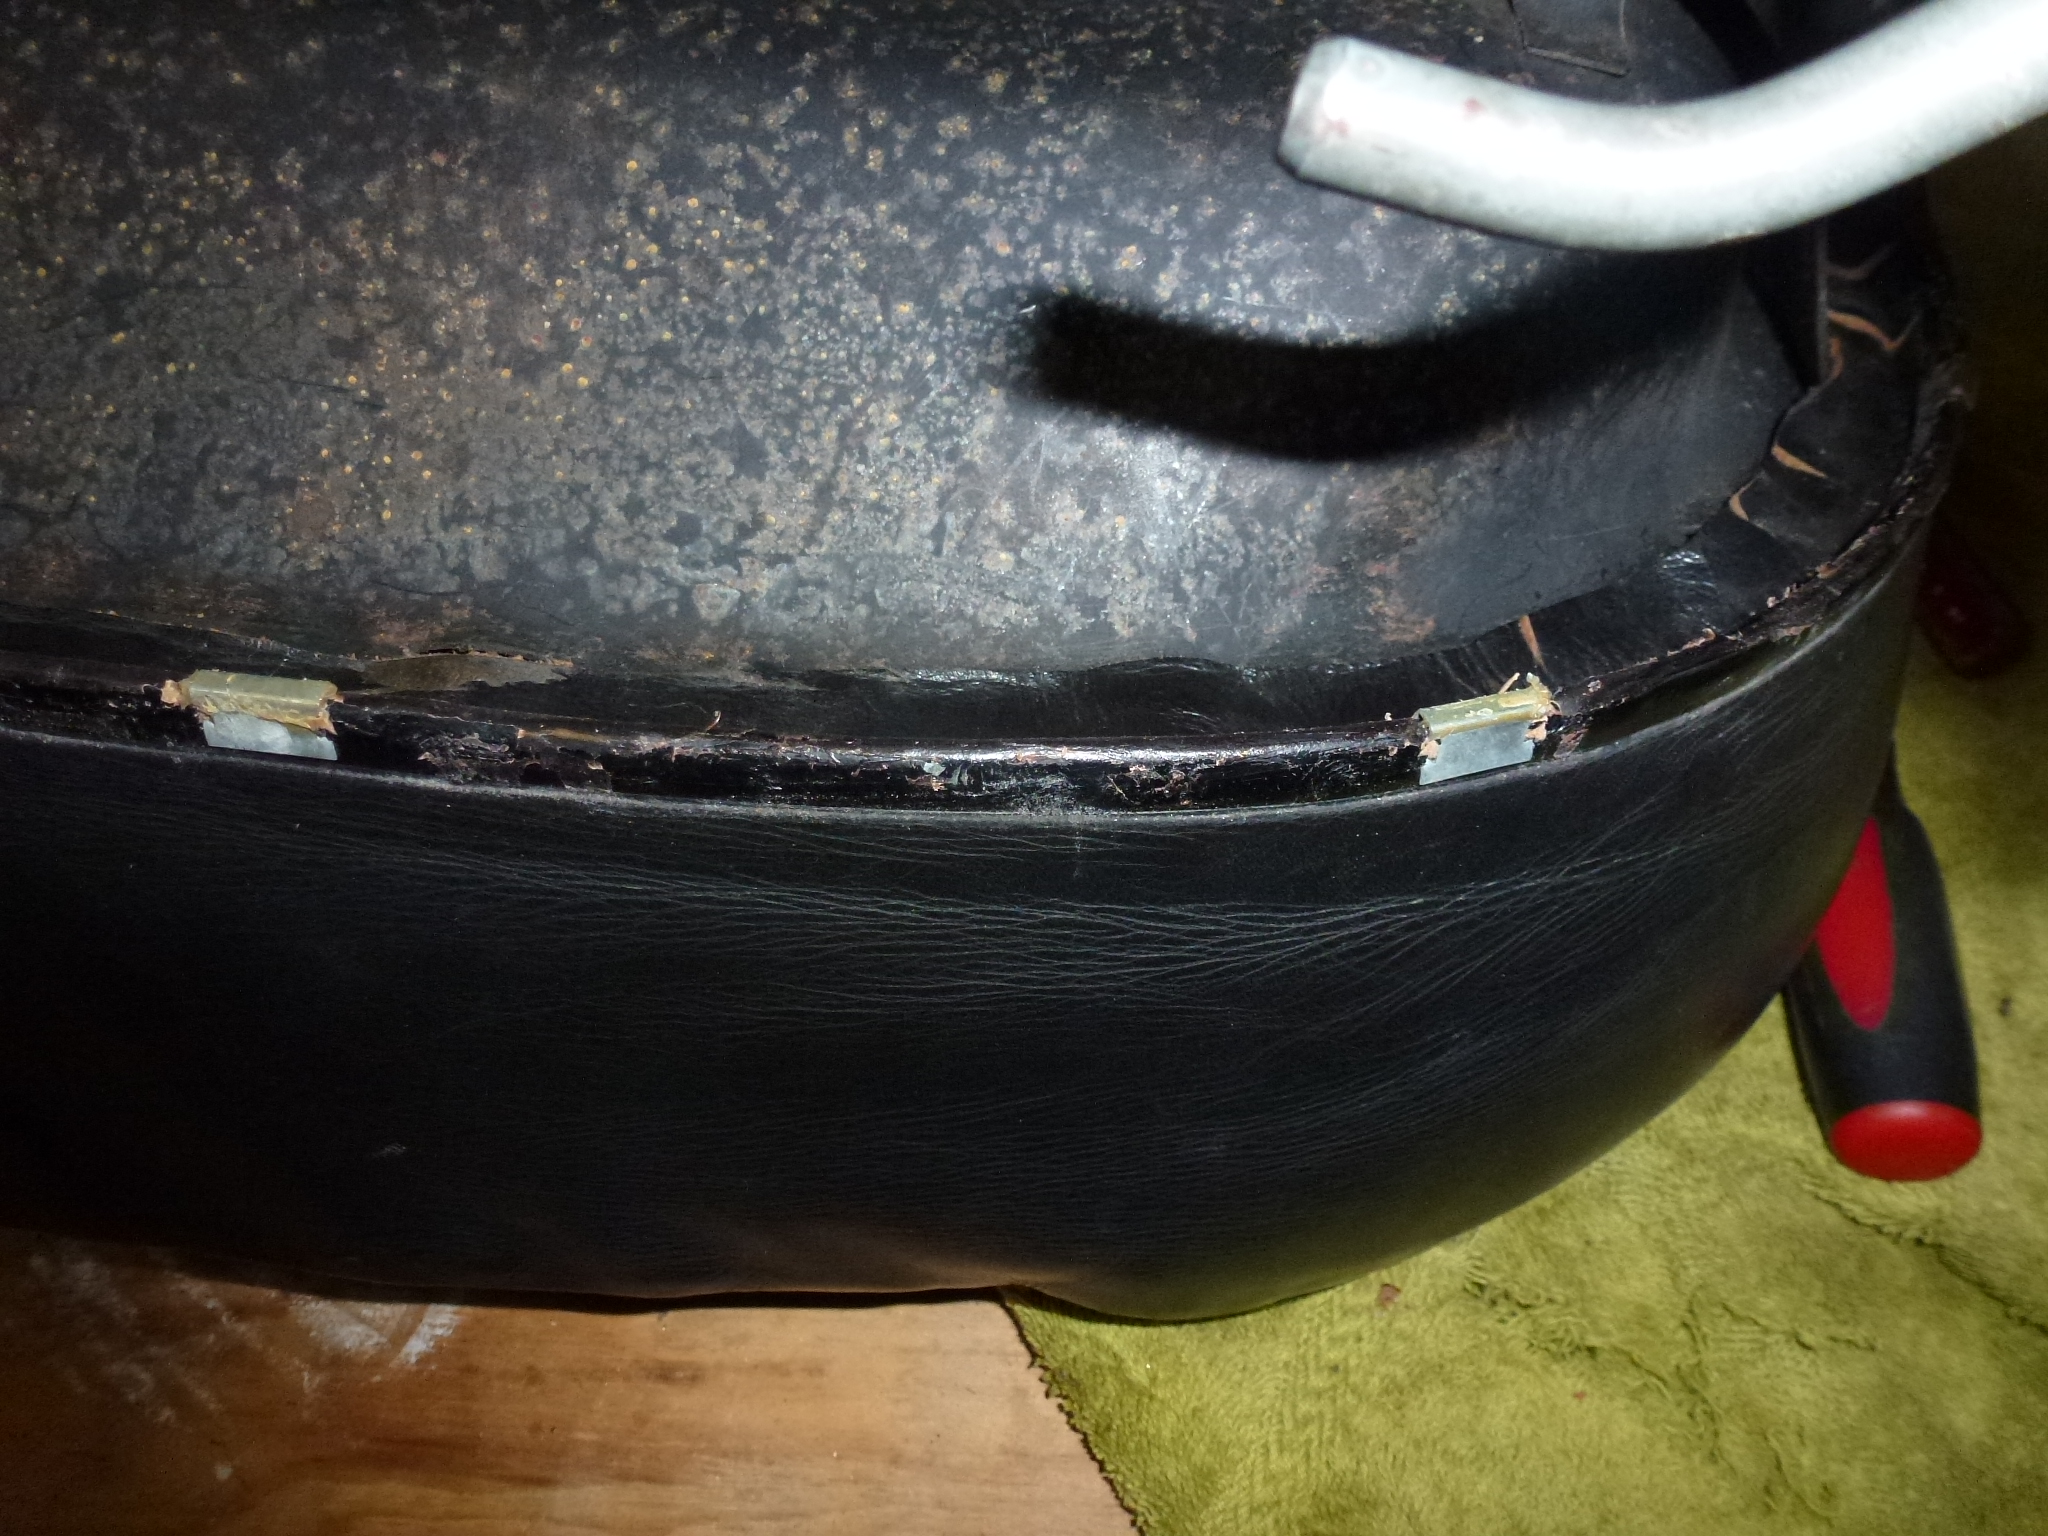
Across the back, there is a PVC trim piece that clips onto some clips where the leather is wrapped around the frame. This just pries off and the clips come off with an awl poked in from each end.
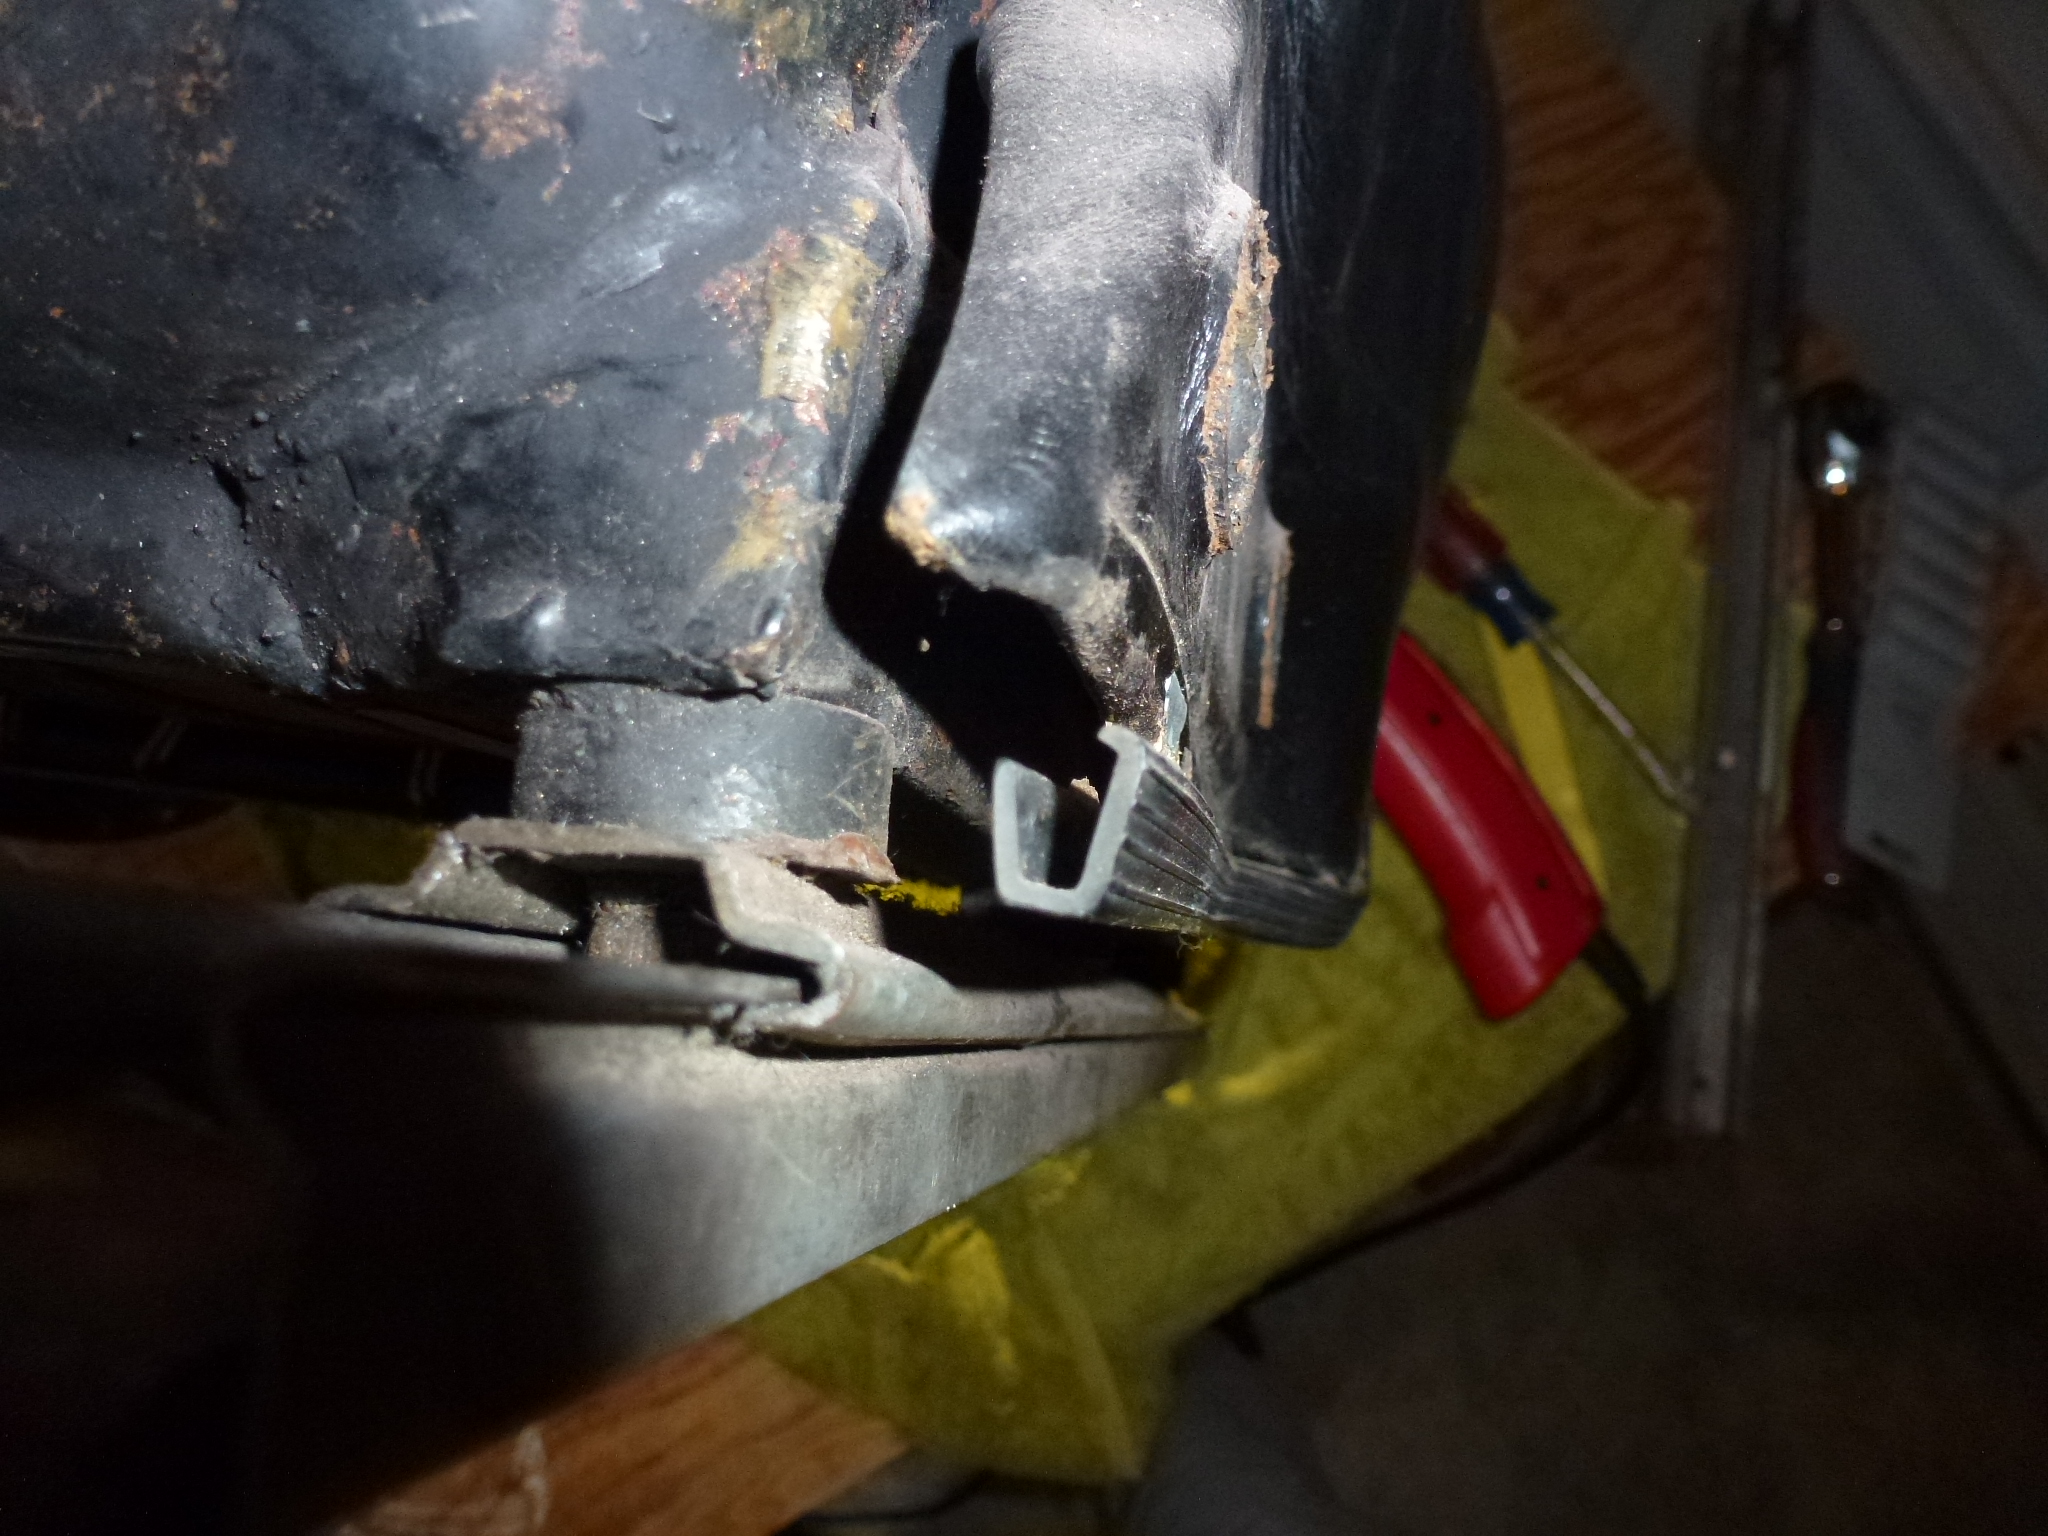
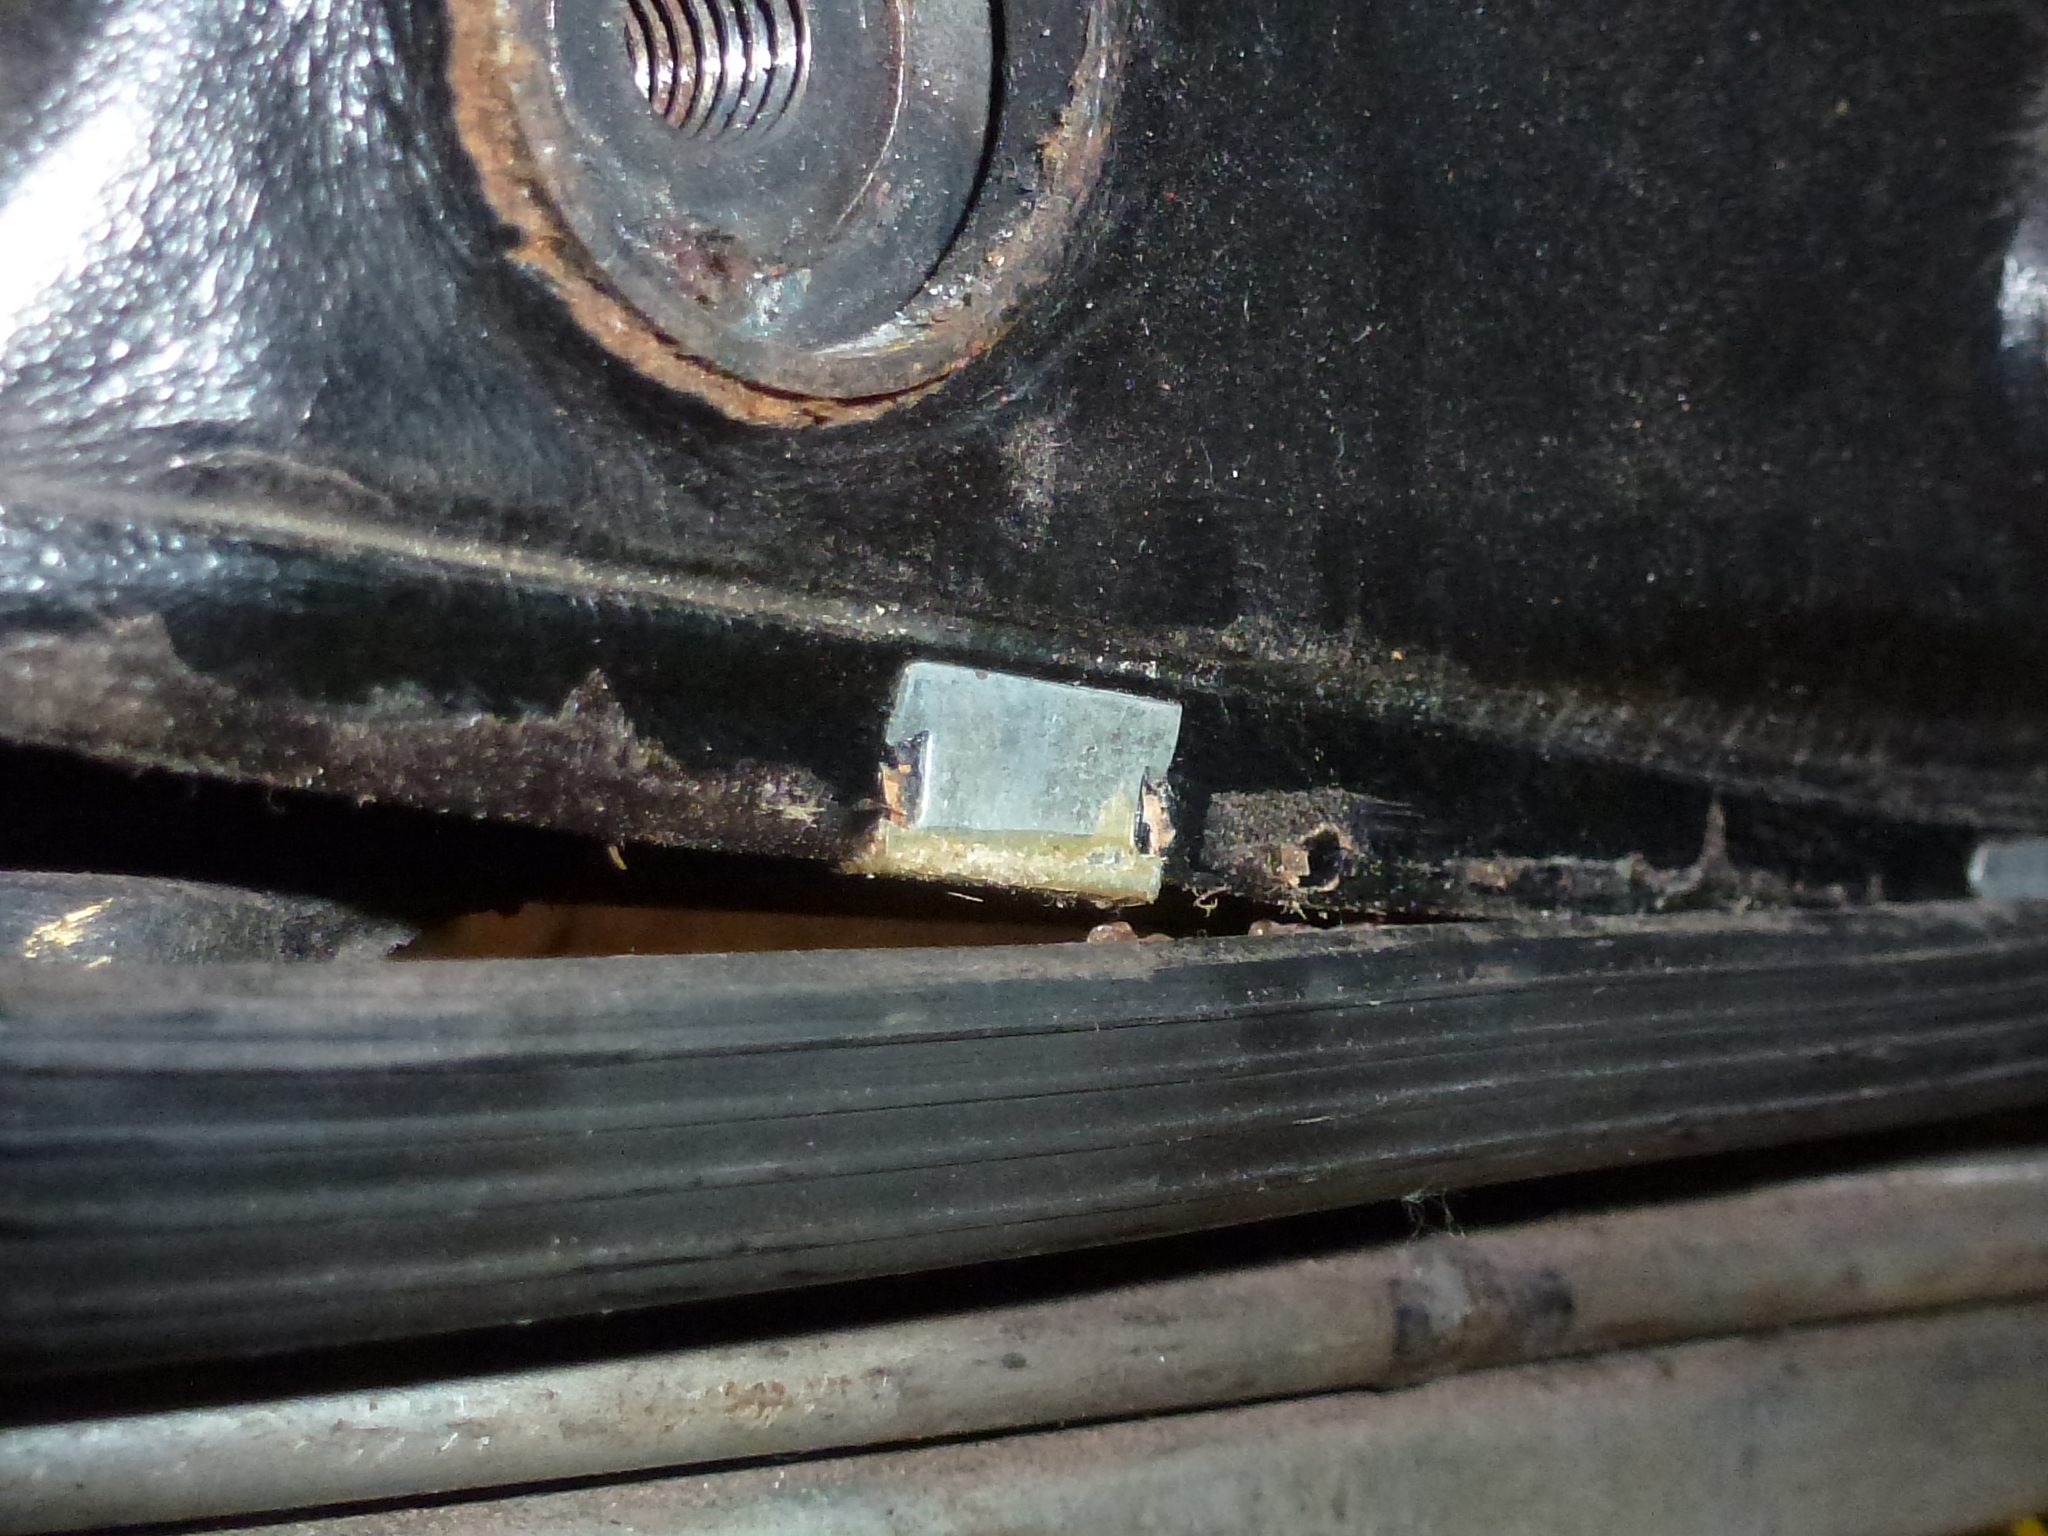
There is also a long section of the same trim that goes completely around each side and the front of the seat with several clips to hold it on.
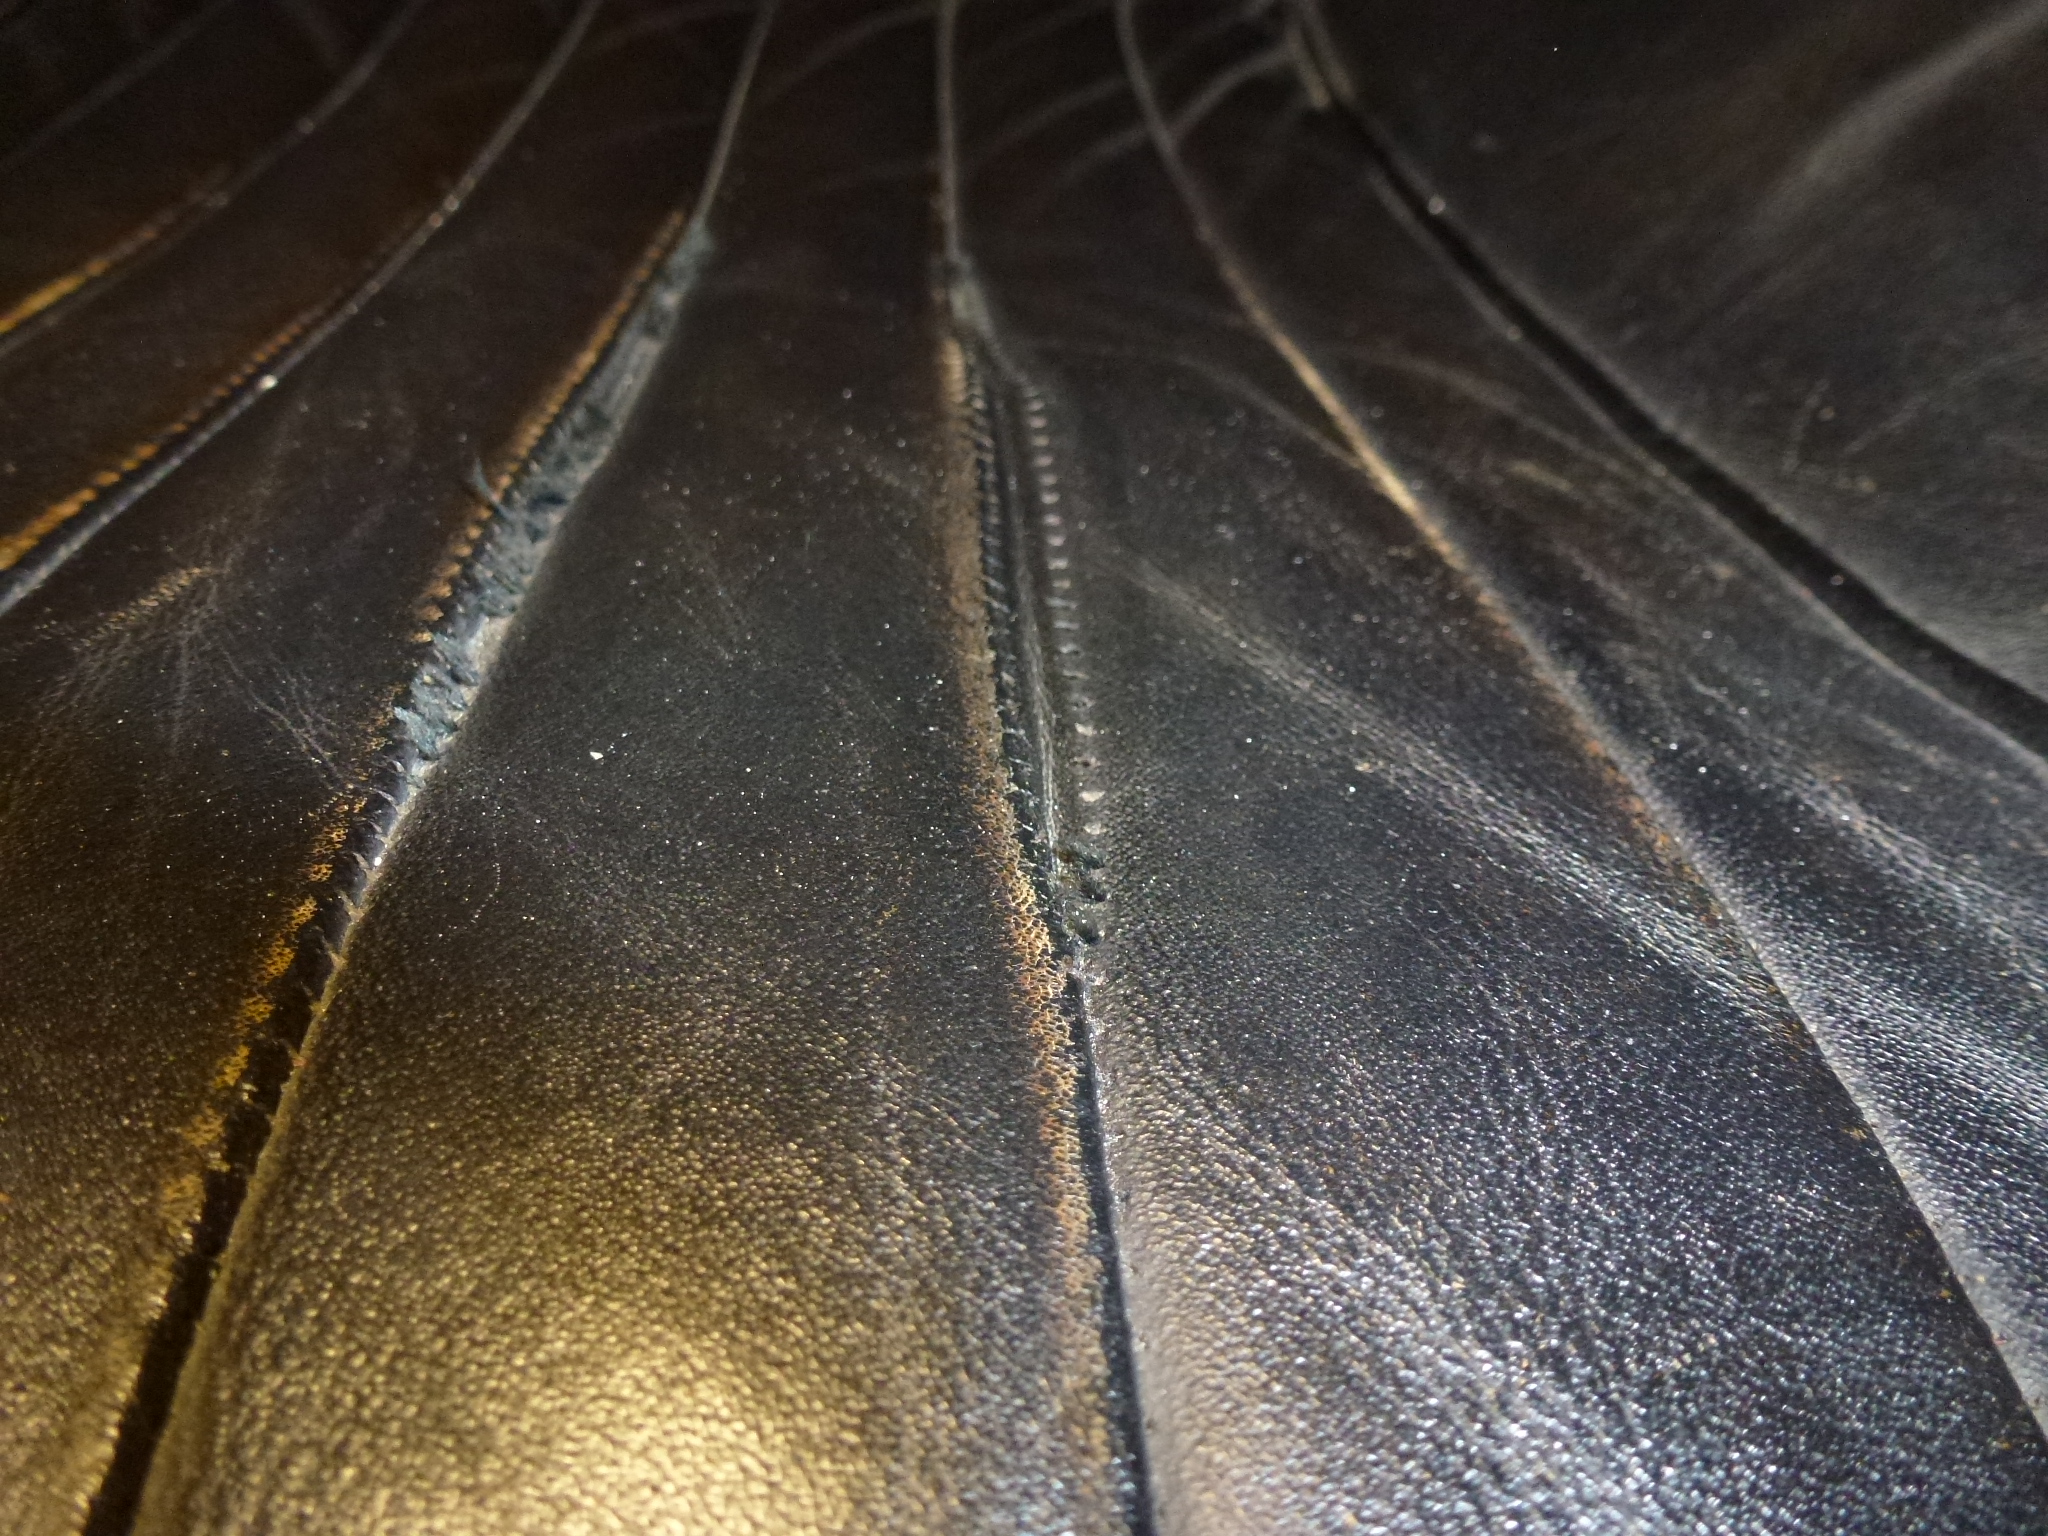
Then I looked at how the seat was constructed. To hold the indentations of the seat down, there are cloth sections sewn into the seat that have twine running down between the foam sections and hooked to the seat frame. The twine is one long piece that is tied off at each end through the frame.
Next I peeled the leather off the frame at the rear. It is not only held on by the clips, but also glued on. At this point I realized that my simple reach in and sew wasn't going to happen. In addition to the pleats, at the same time, a cloth covered foam piece was sewn in.
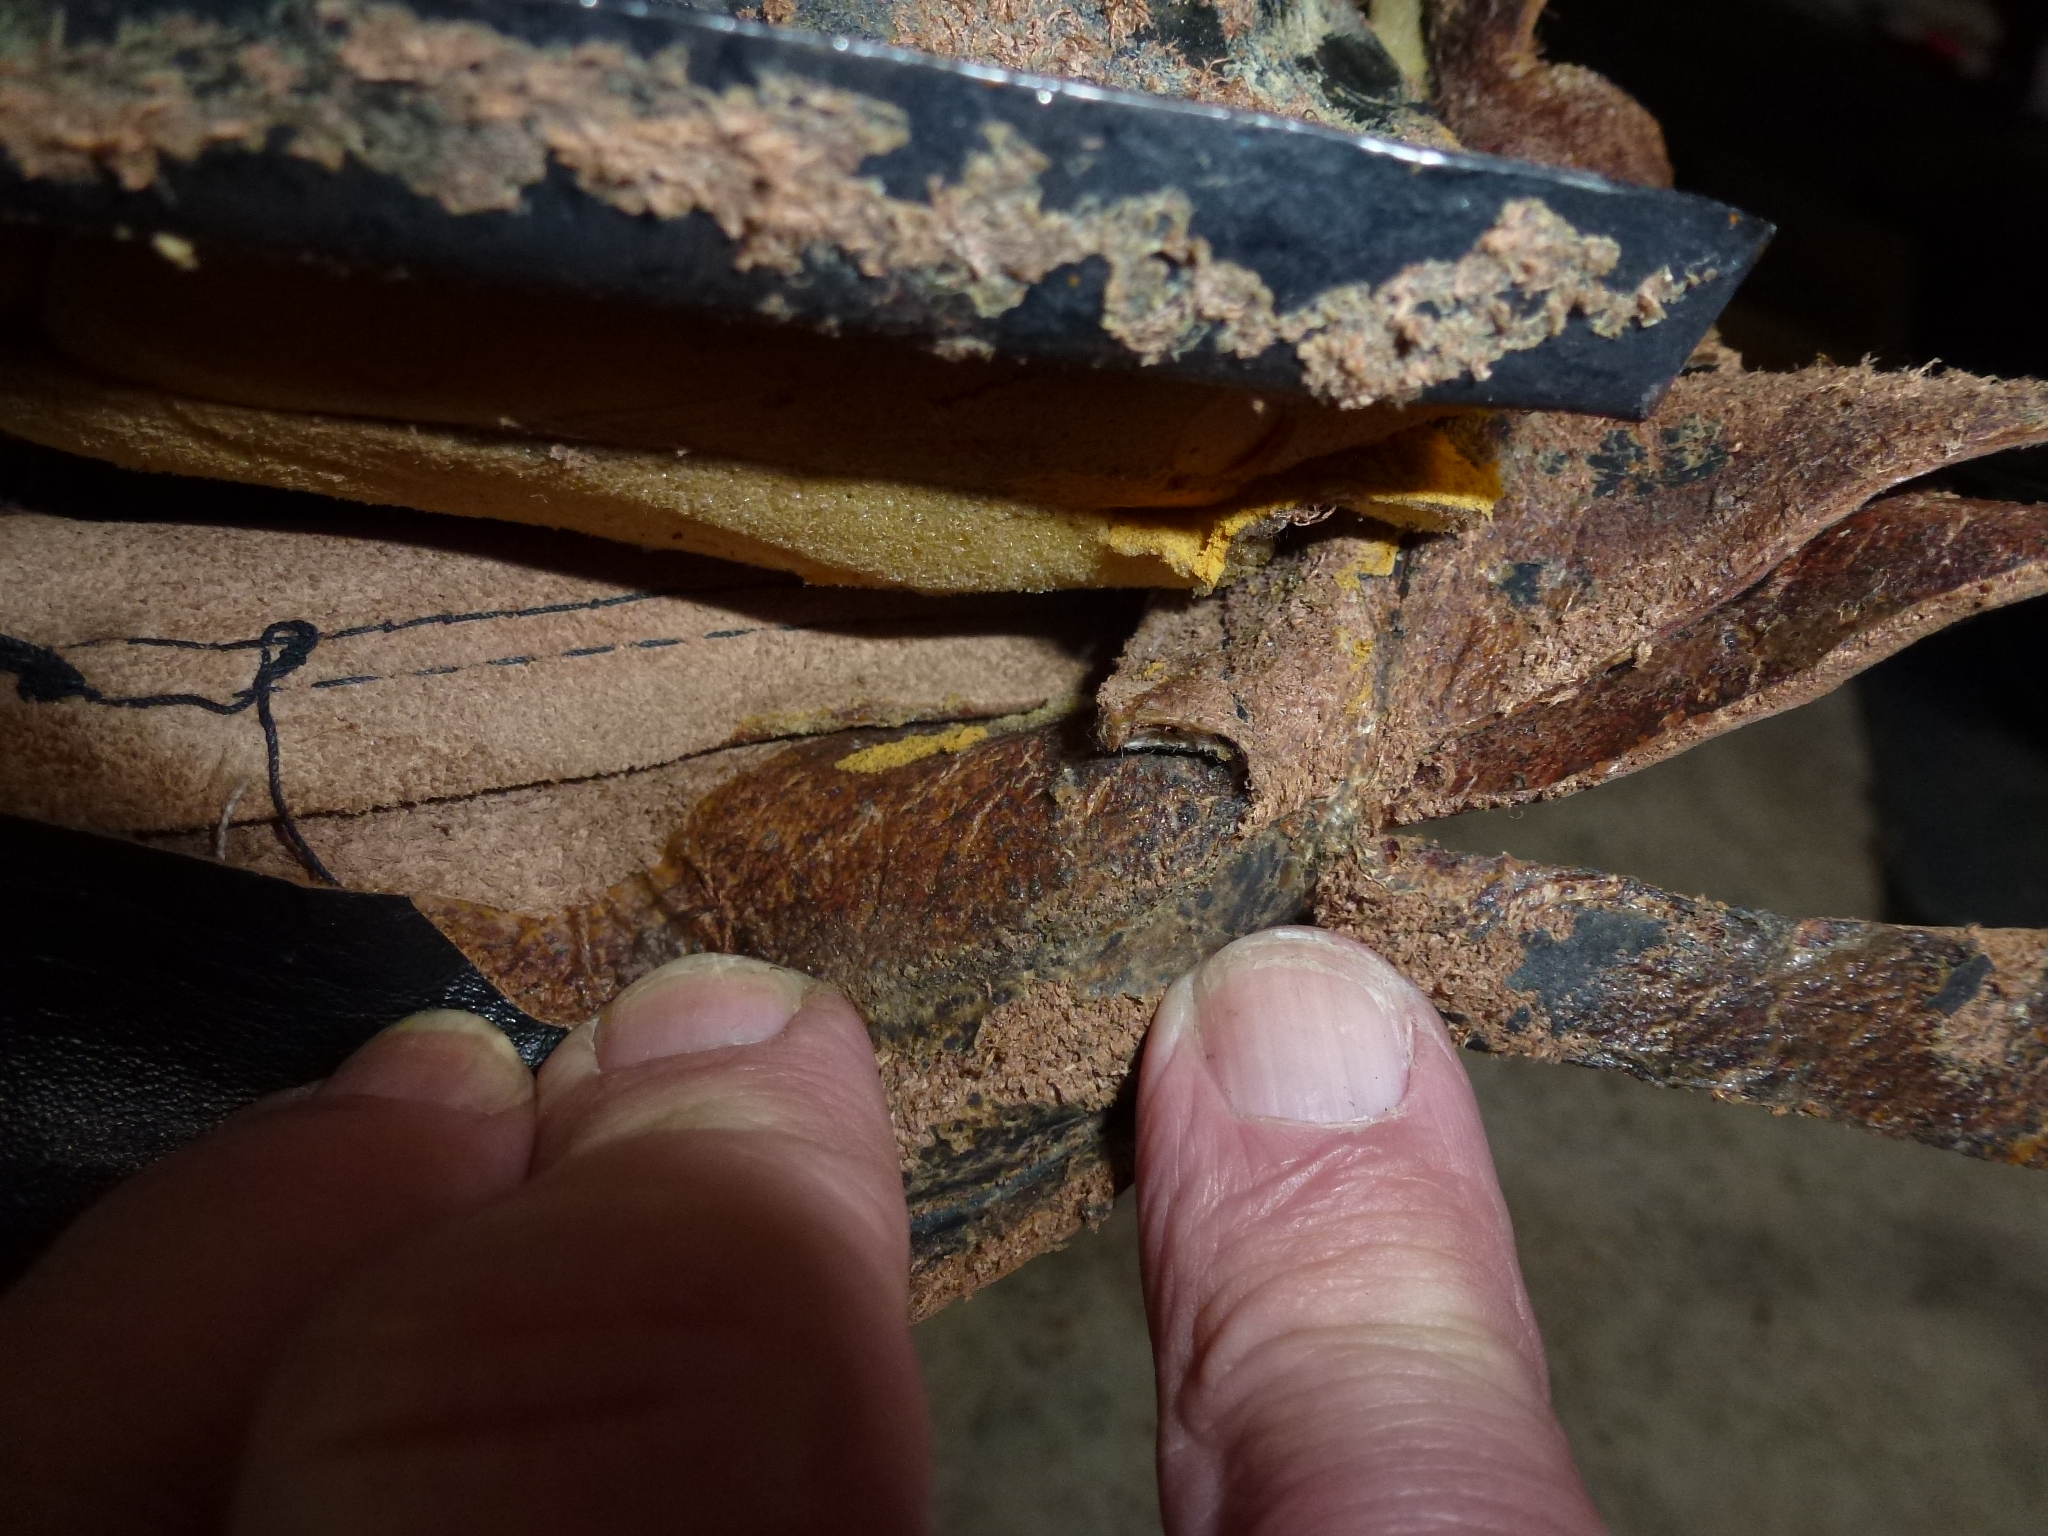
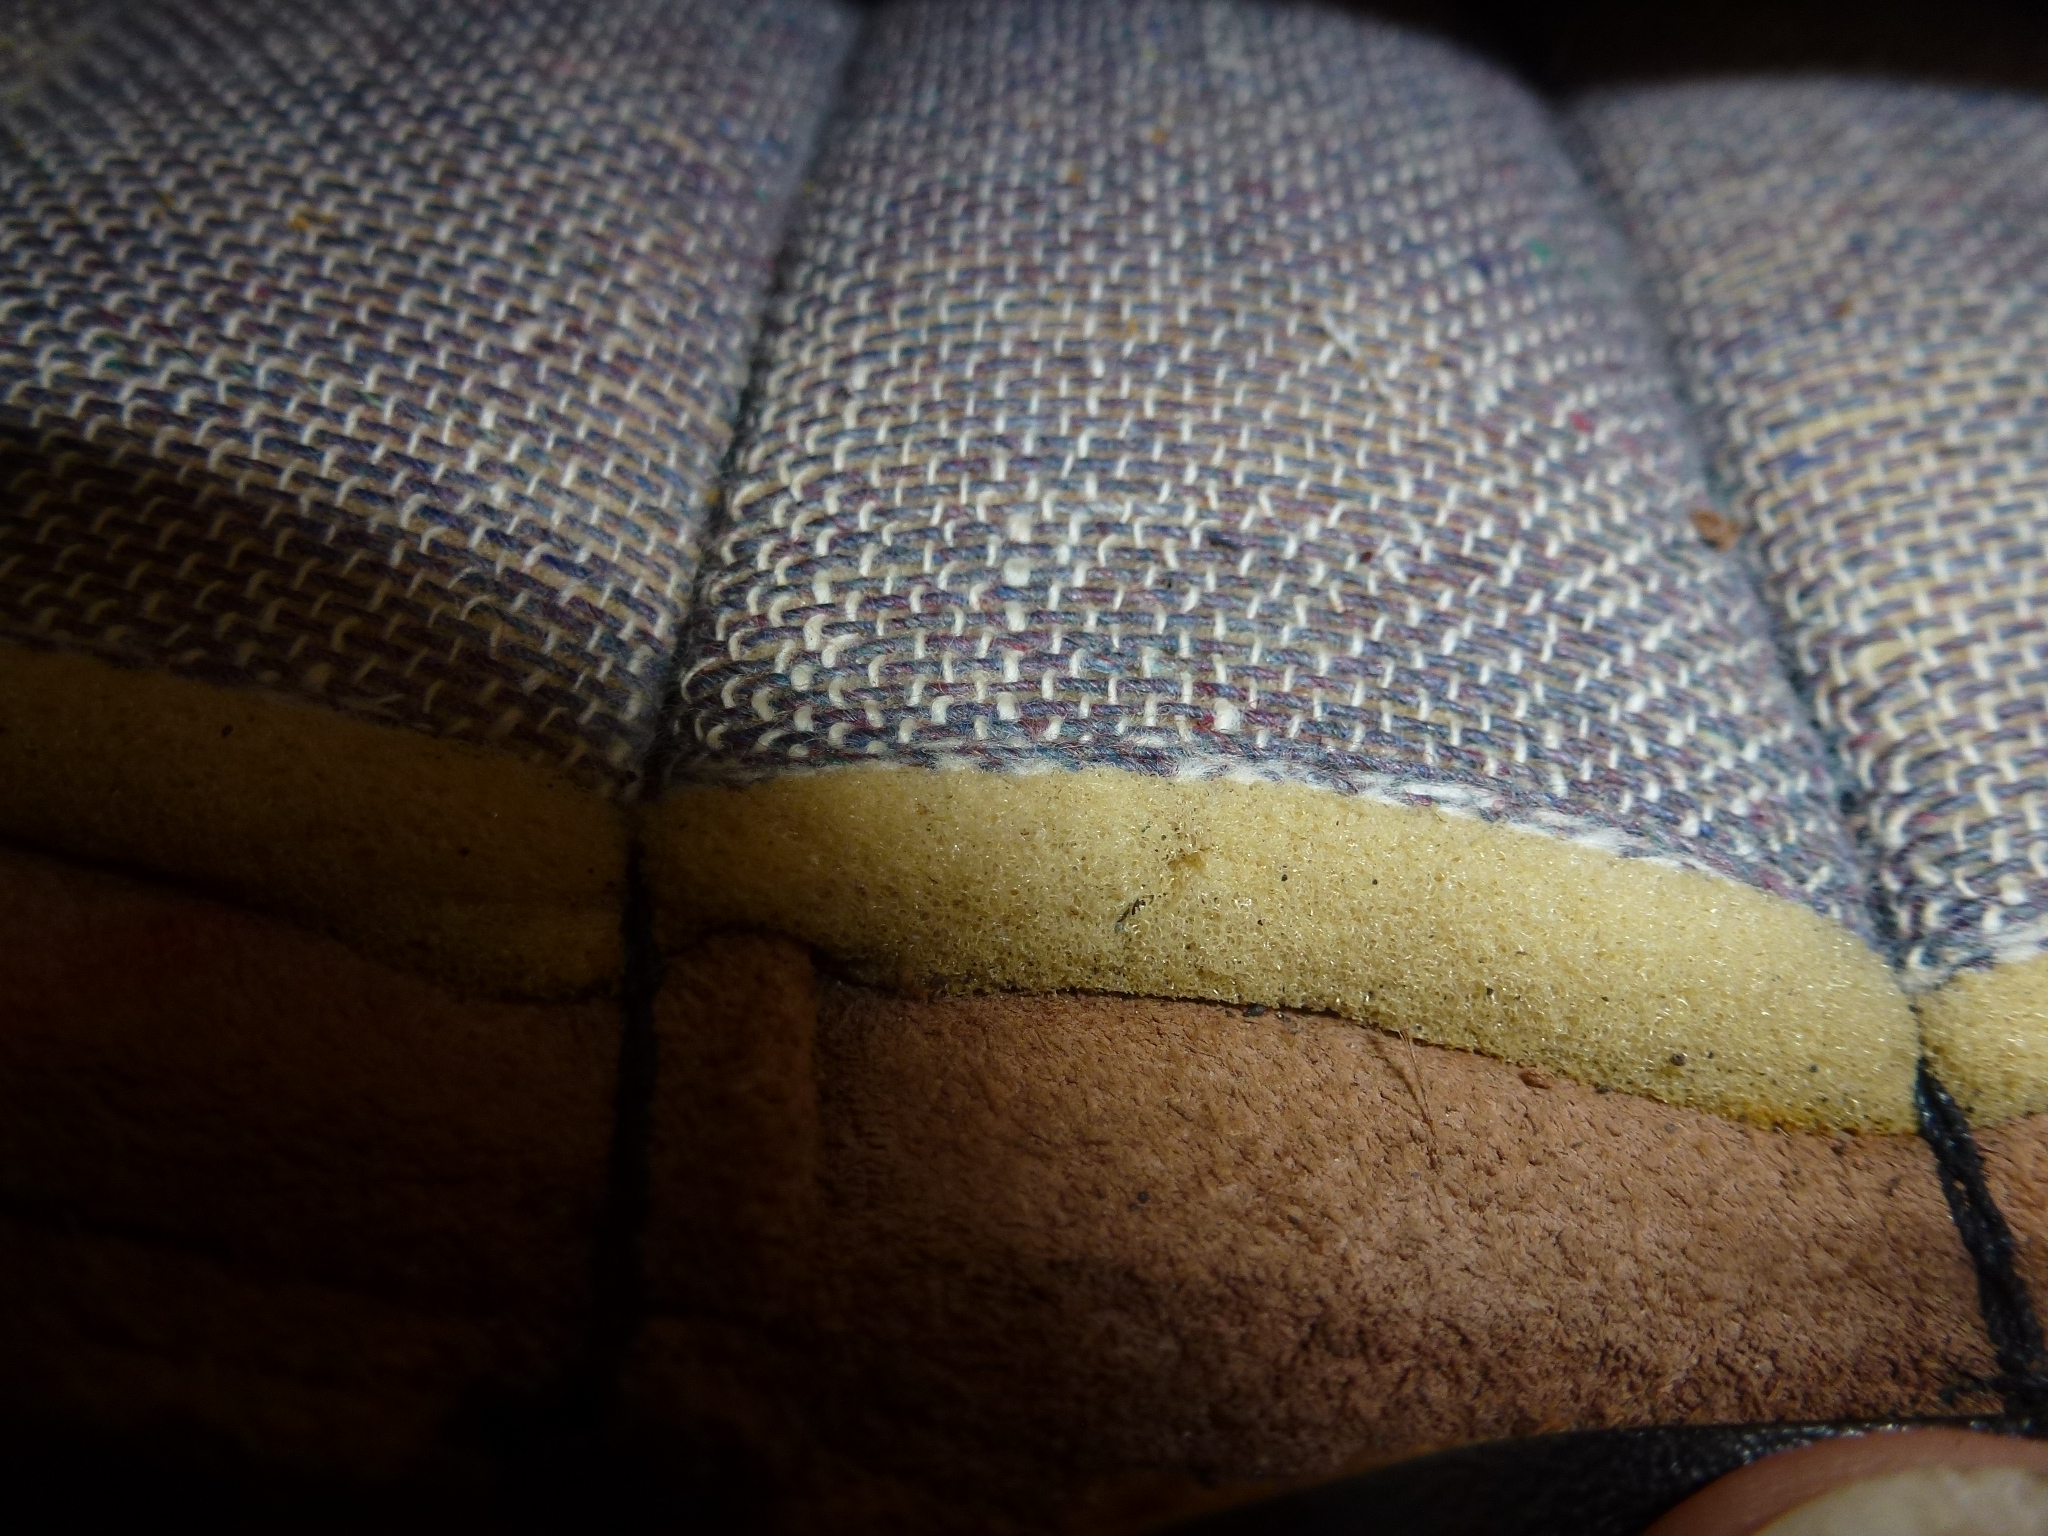
So, I needed to take a lot more of the seat apart. This involved peeling back the rubber from the one side and across most of the front. I decided that I didn't need to undo the side with the foil as I hoped to be able to stitch the bad seams since they were on the far side from the foil. I also looped strings through the twine loops to pull them the foam. I hoped to be able to pull the loops back through the foam during re-assembly using the strings.
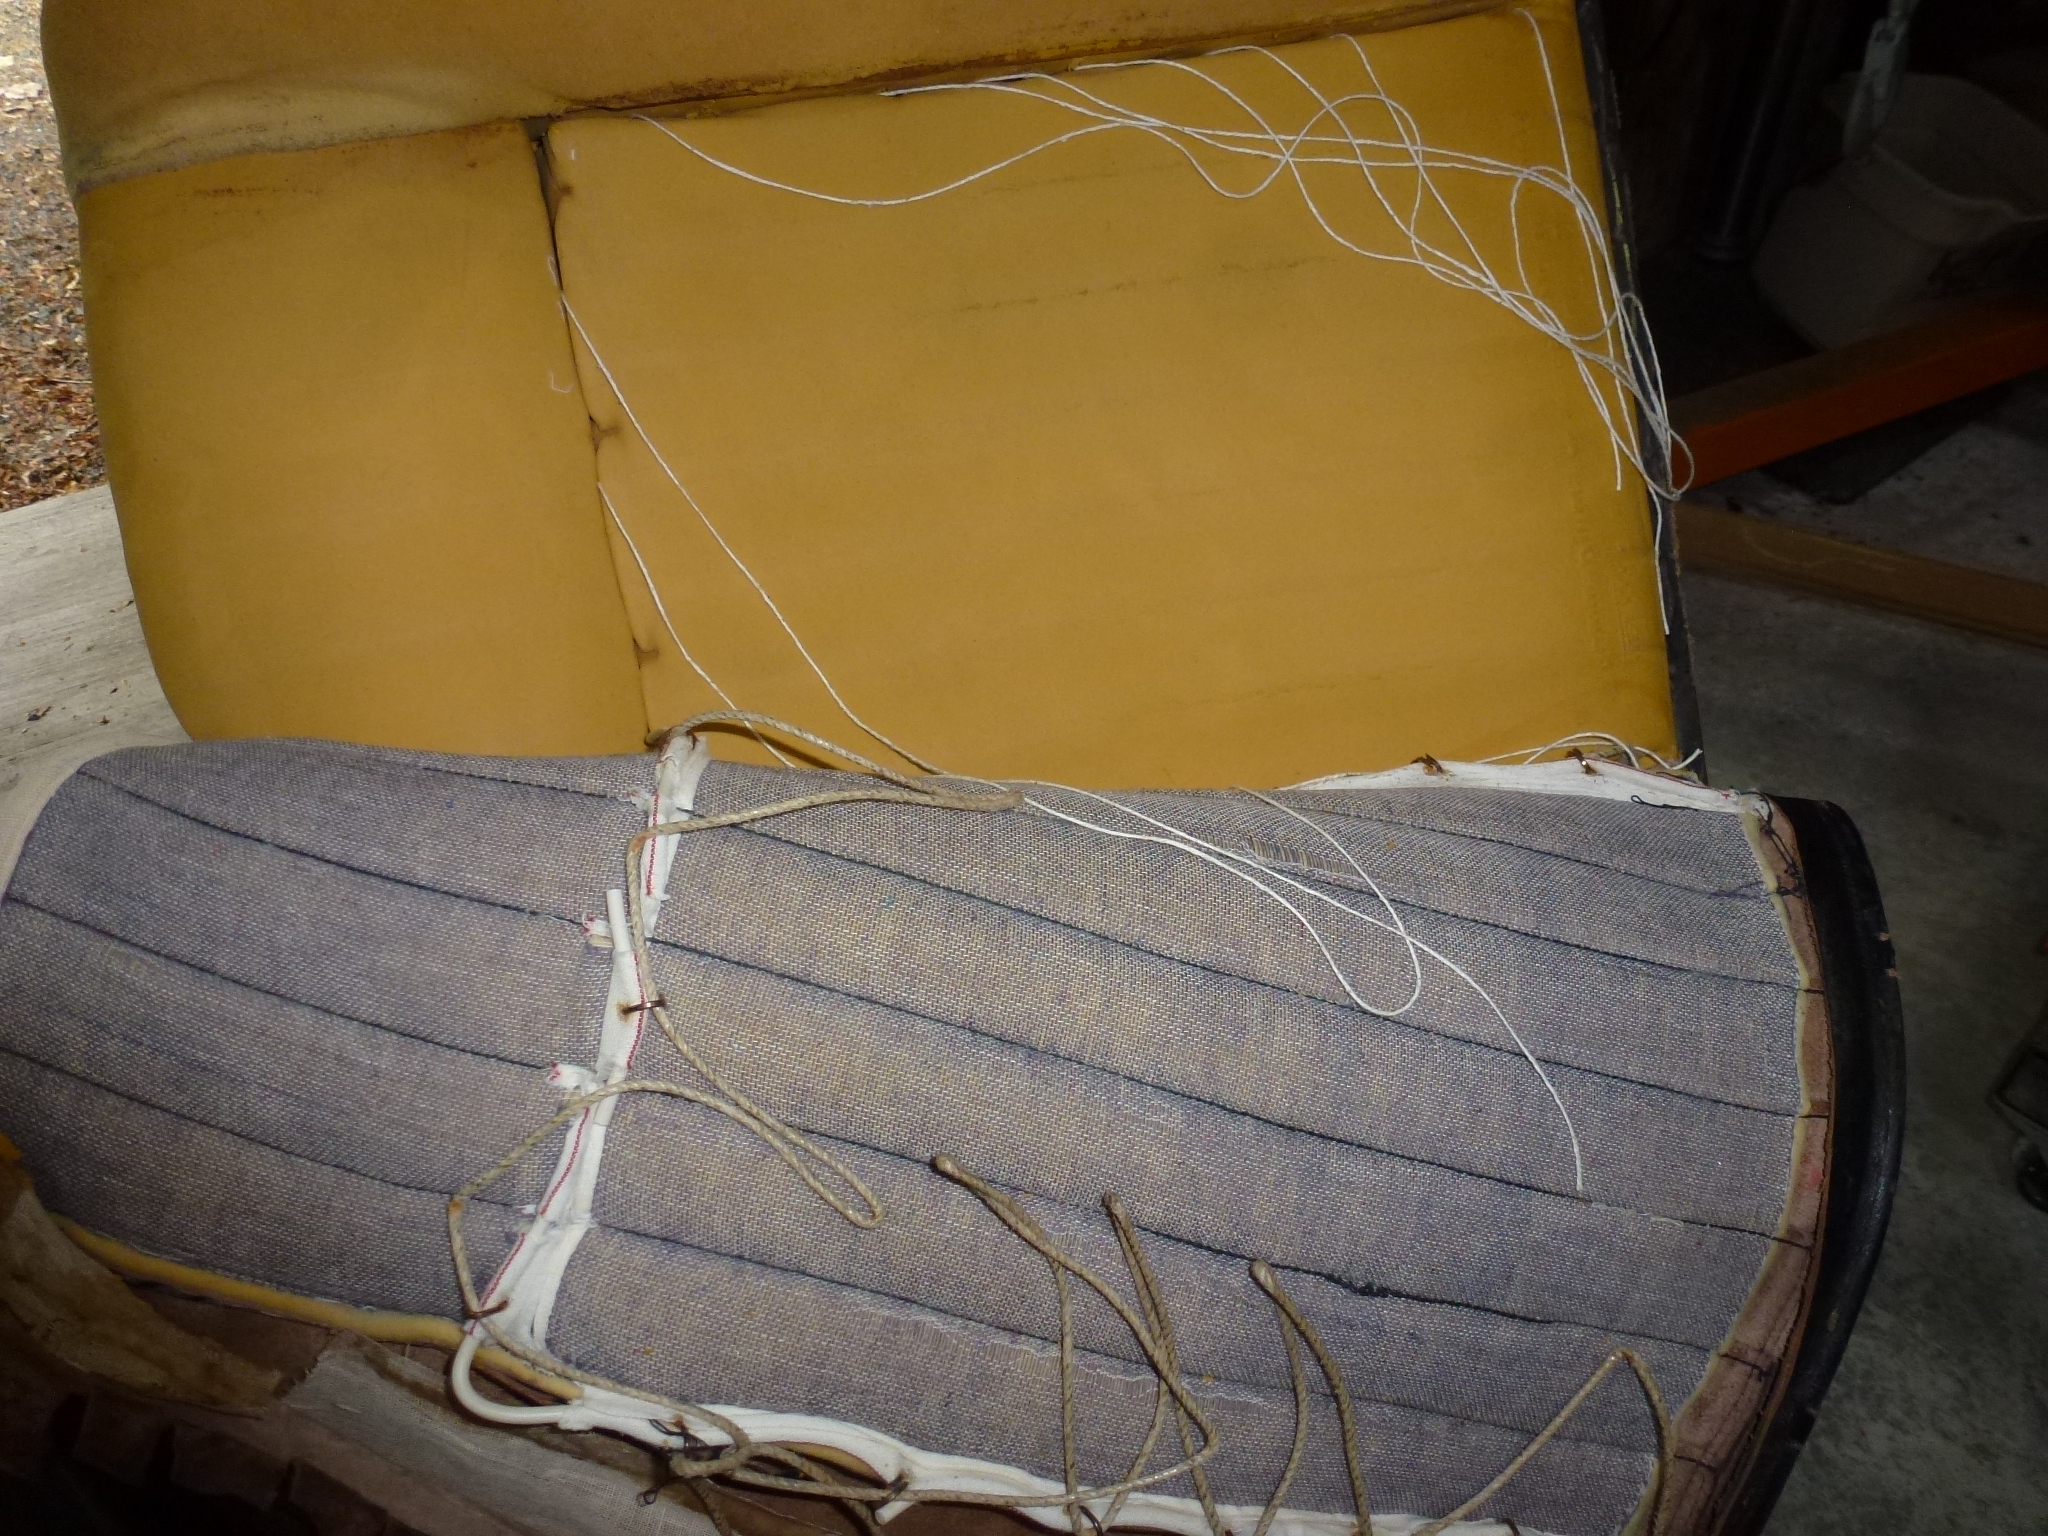
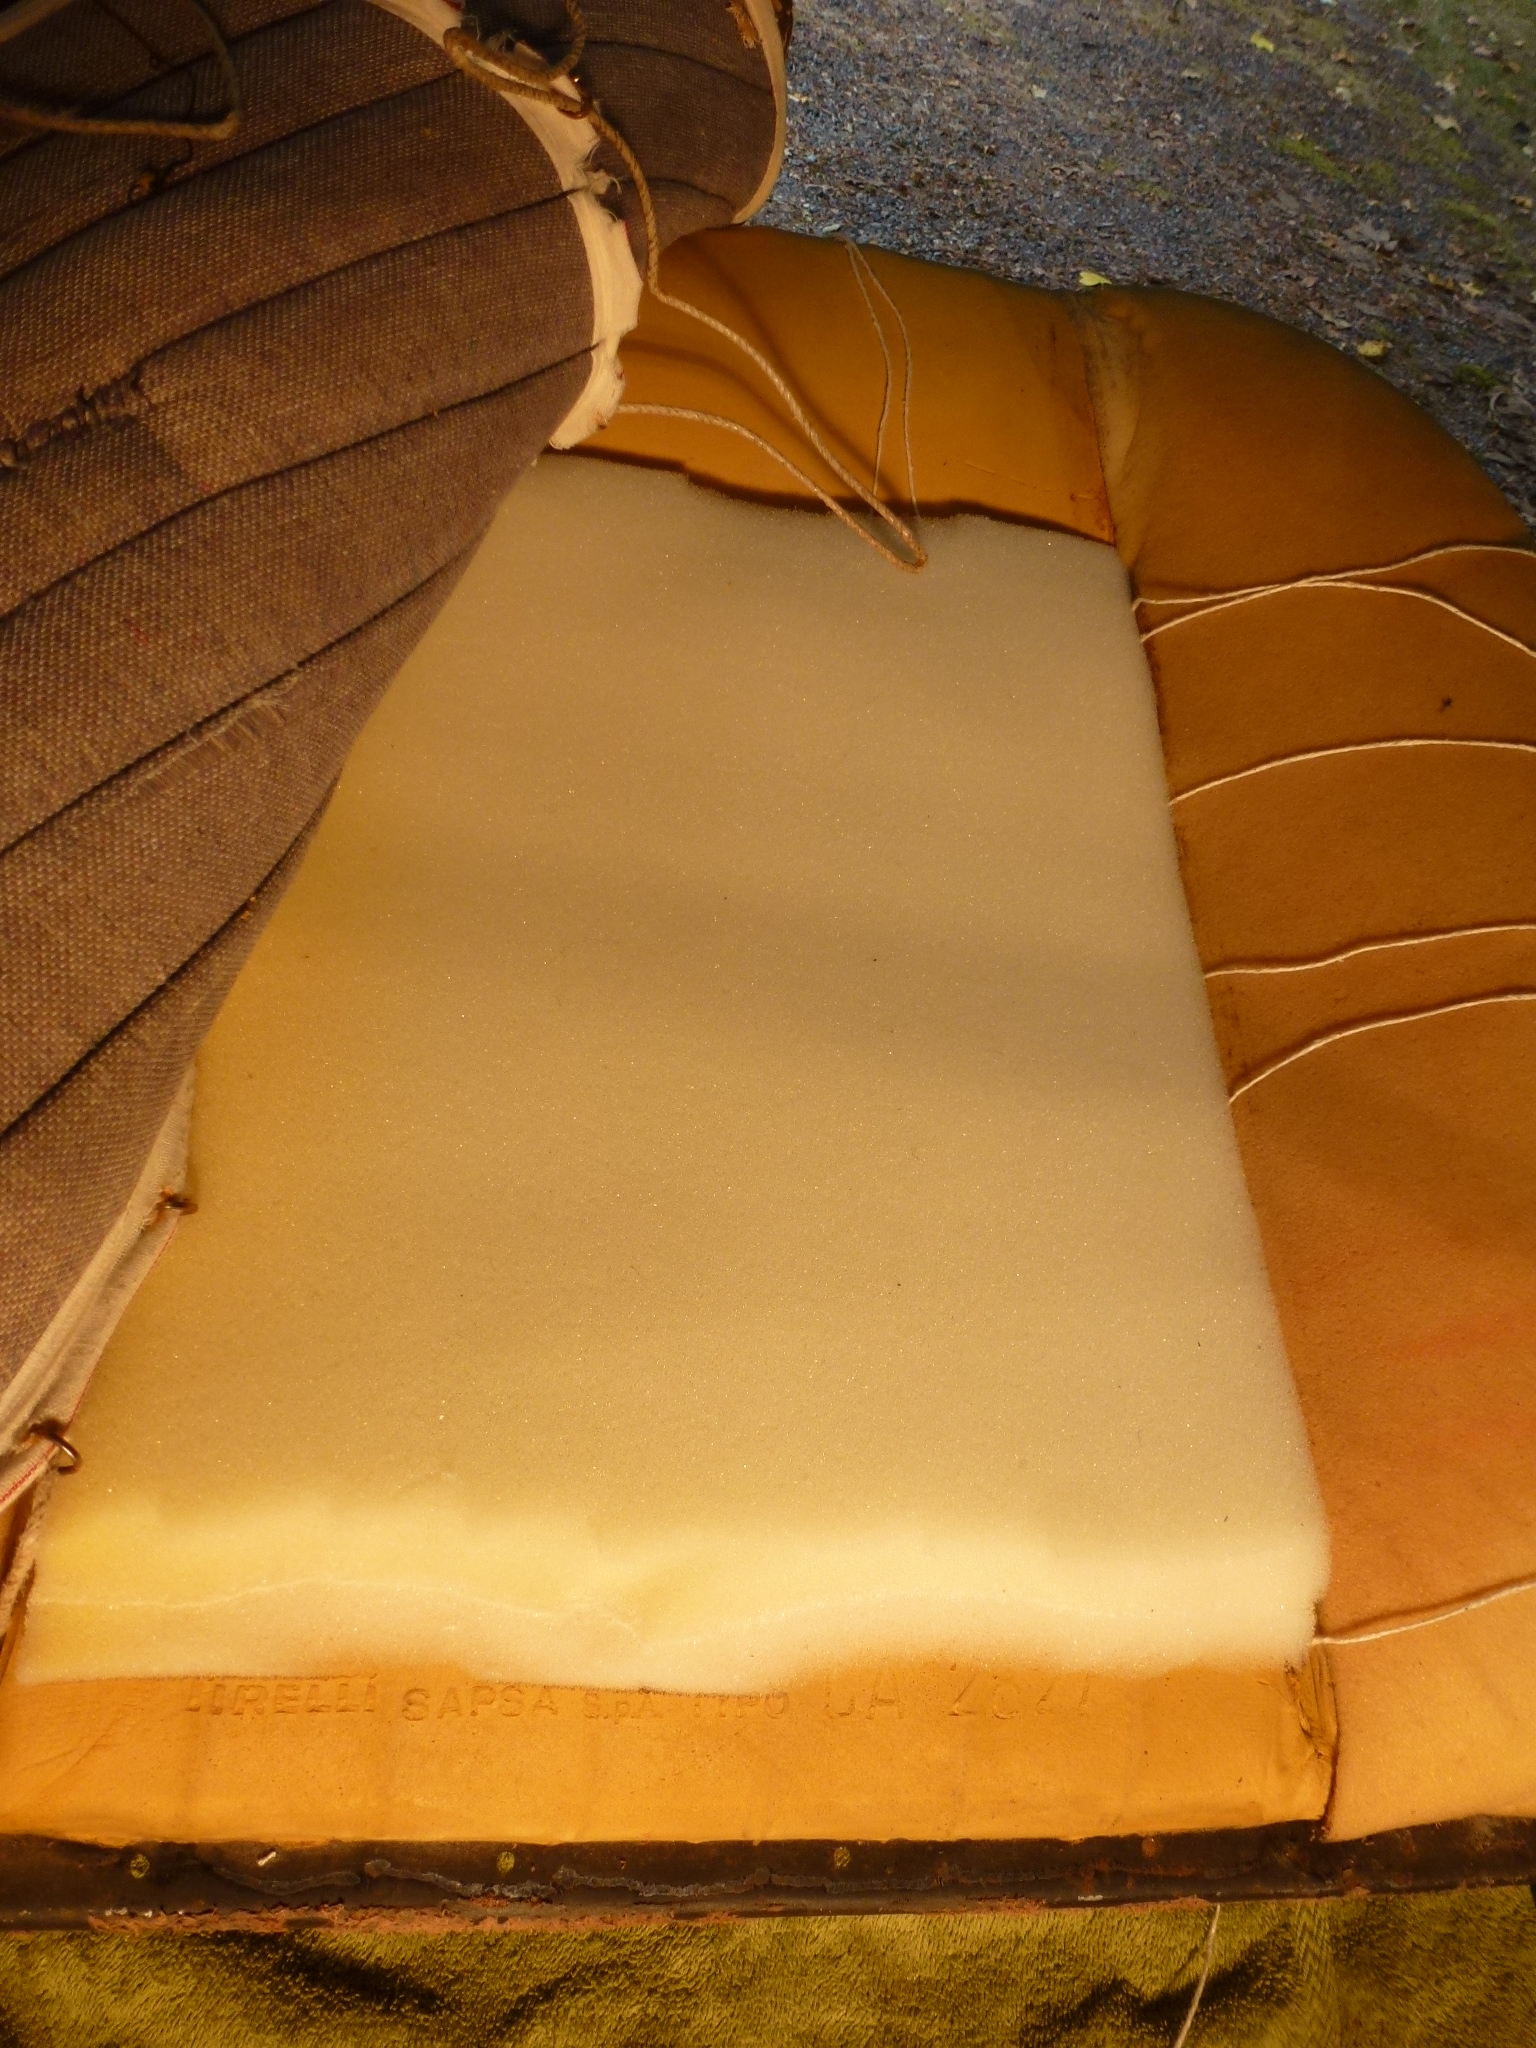
Among other things, the foam was made by Pirelli. Too bad one can't just order new foam using the Tipo number. Actually, I'm pleasantly surprised at how good of shape the foam is in.
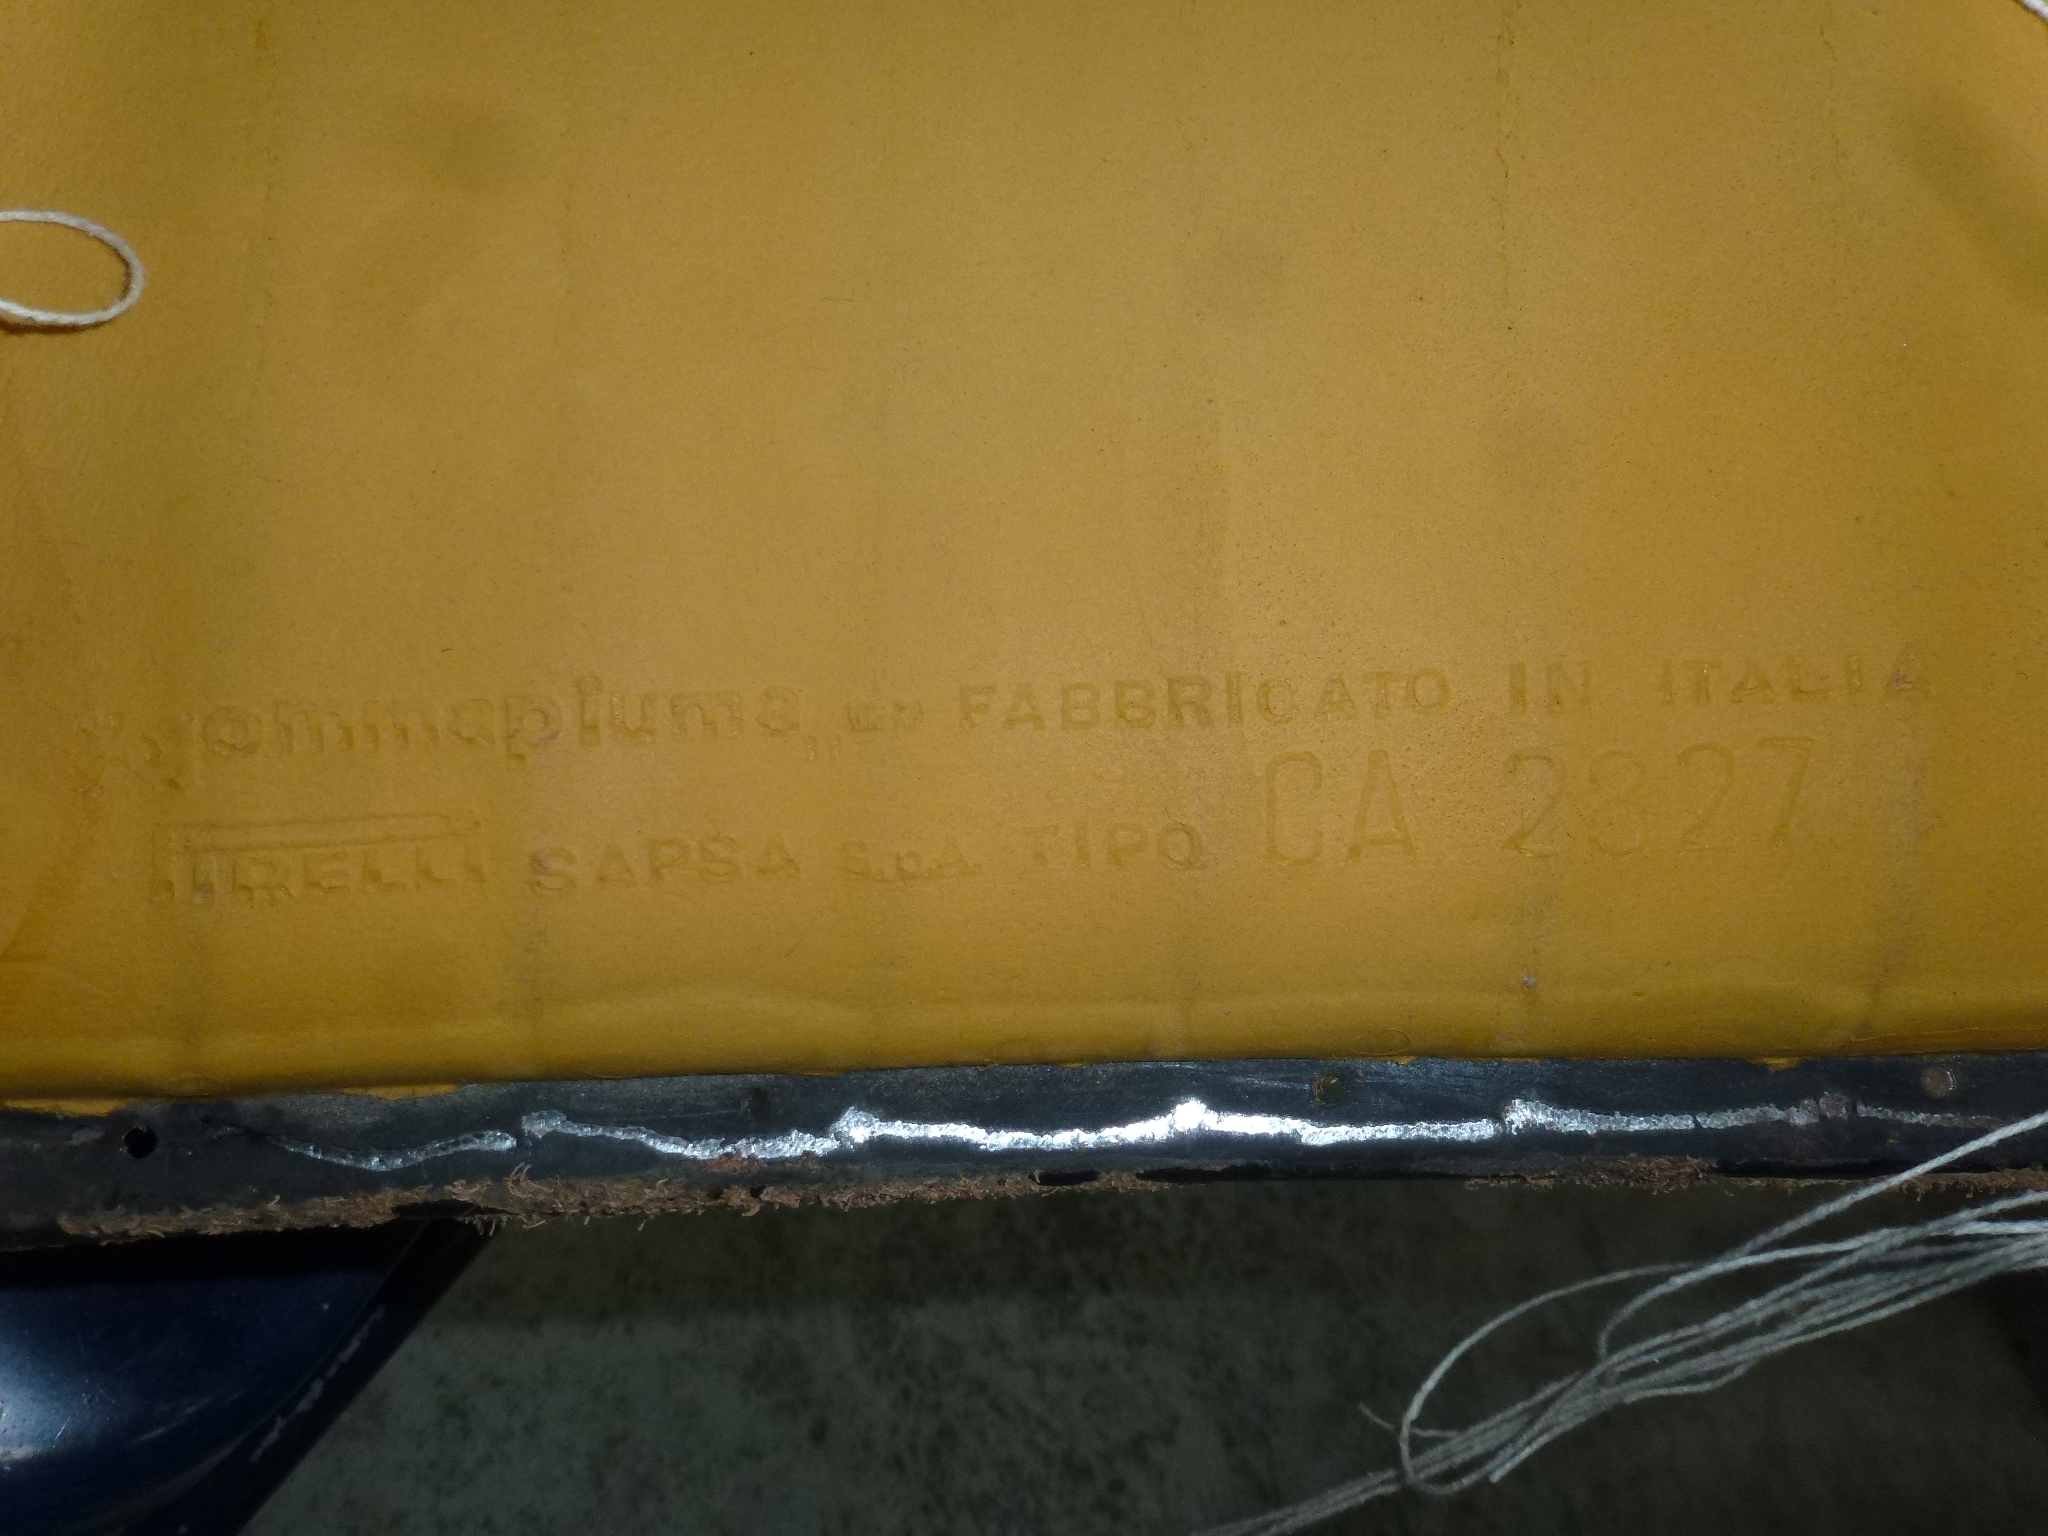
Gommapluma en Fabbricato in Italia
PIRELLI SASPSA S.p.A. Tipo CA 2827
The proper way to fix the seams would have been to undo all of the stitching, separating the cloth foam portion and restitch each seam sewing the foam back a seam at a time. However, I didn't have the time nor patience to do that. Instead, I hand sewed the separated seam portions, starting a few stitches before and after each opening to prevent the original stitching from continuing to open up. It was time consuming and took several hours, but I got it done. The blue lines are next to the seams I repaired.
One of the reasons the seams came apart was the foam and support bands had sagged over the years. So I added a layer of new foam to fit just in the seat portion.
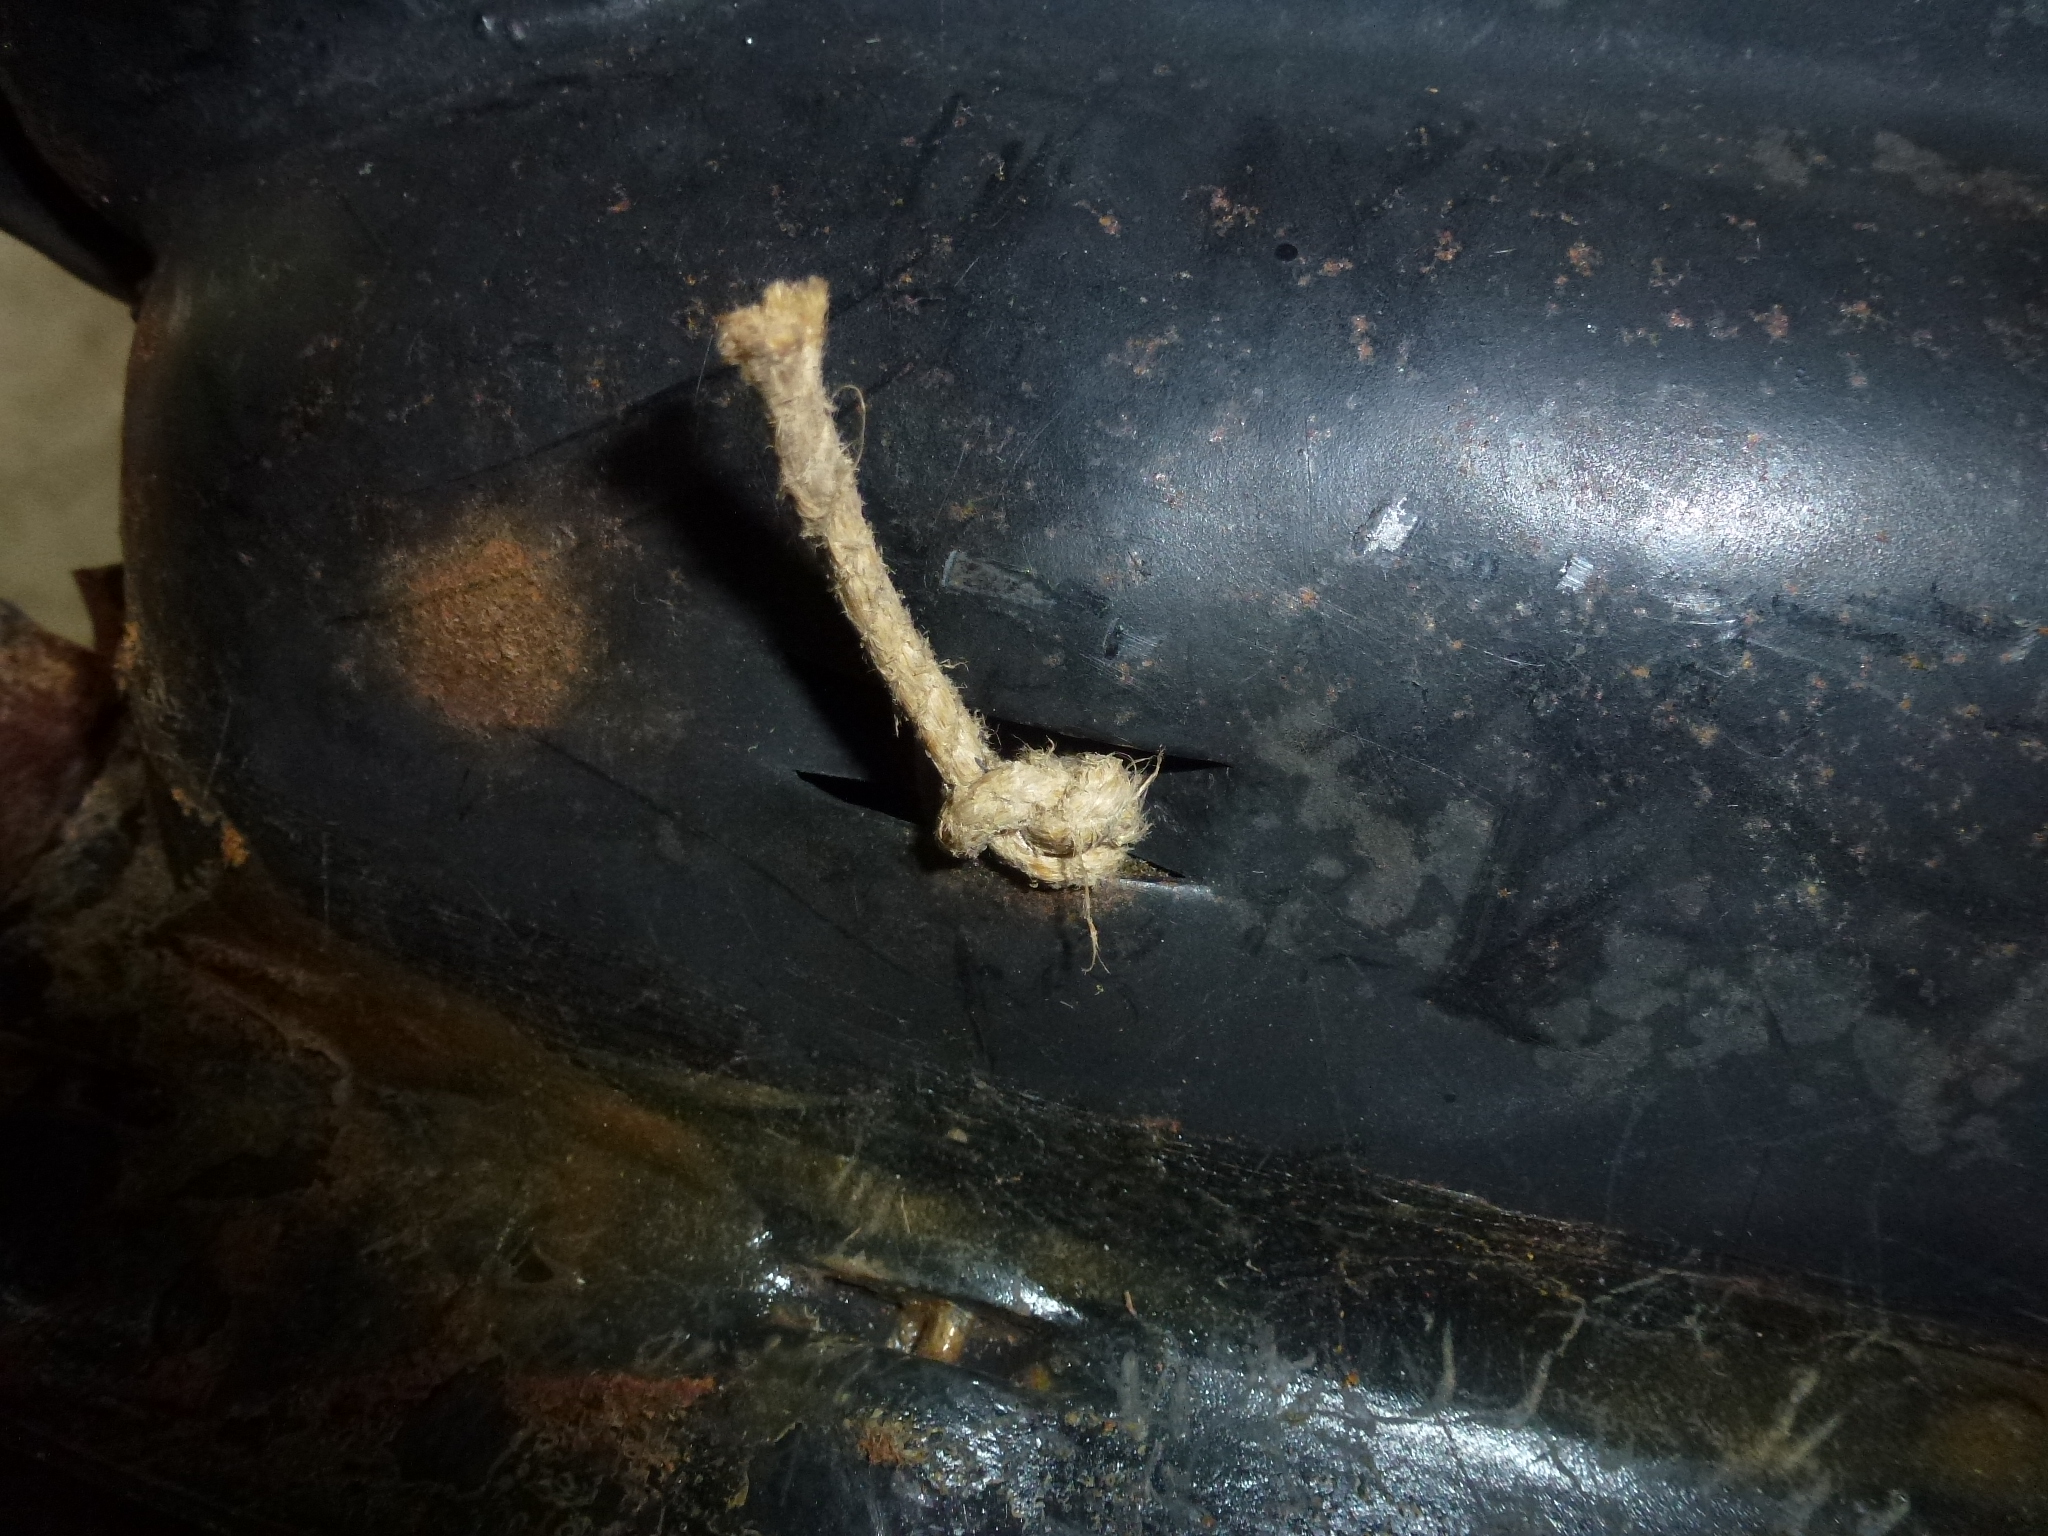
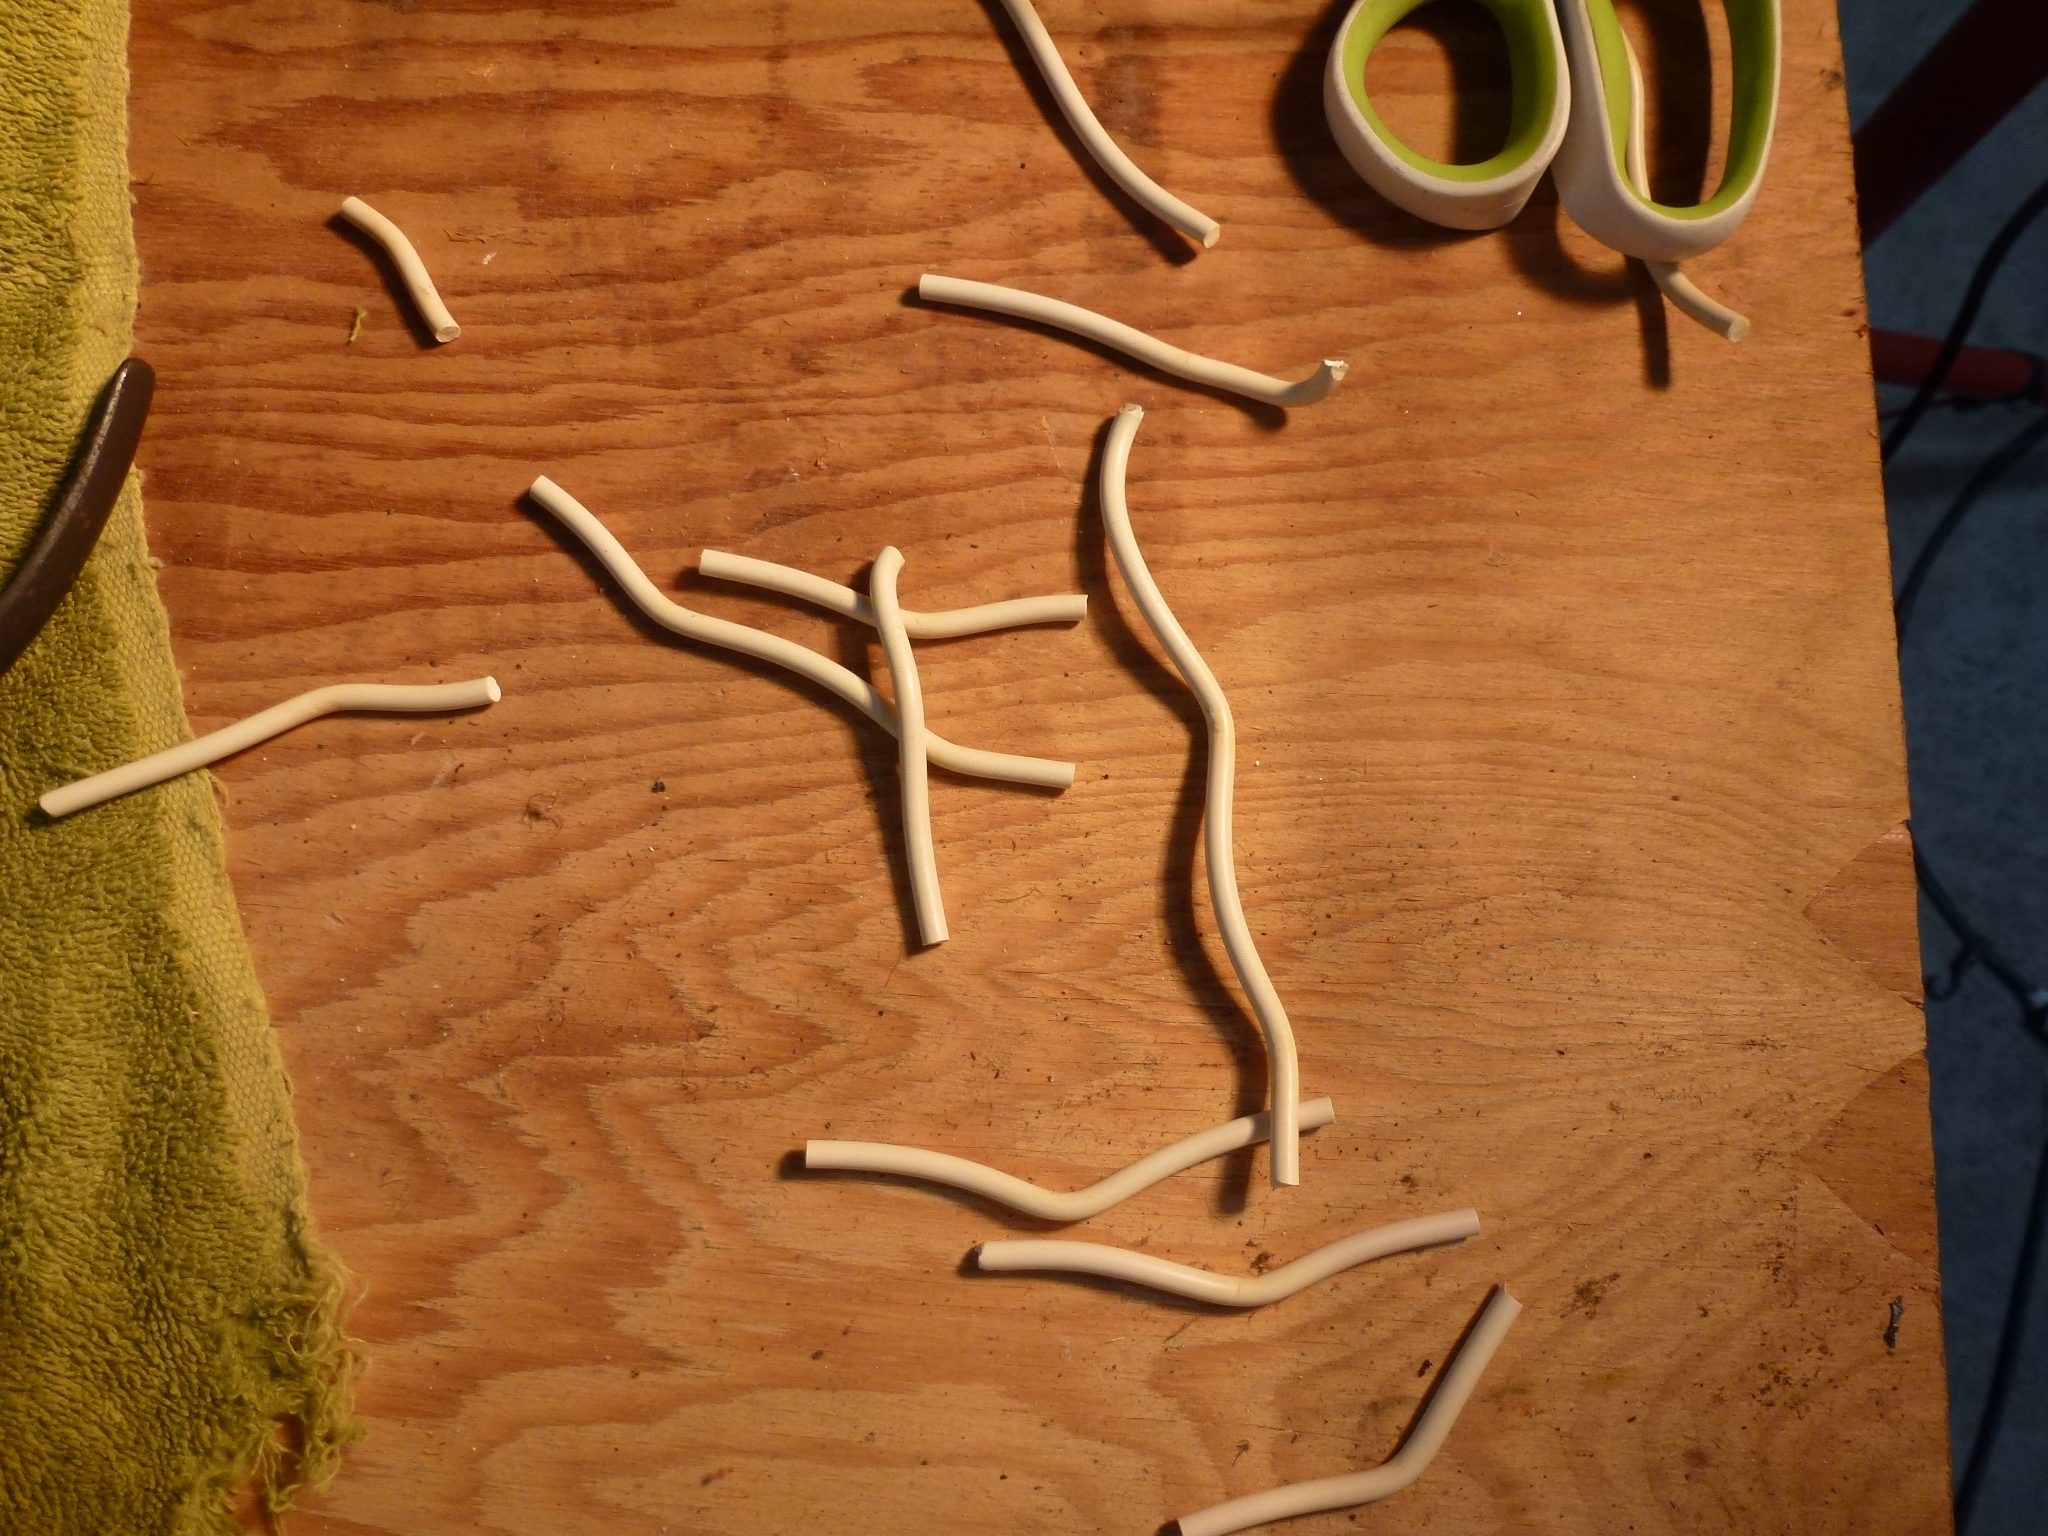
The sewn loop in the cloth in the seat leather originally had some plastic piping in it. This is what rings holding the twine loops were hooked to. Over the years, the piping had broken between almost each hook. Not knowing about this construction, I didn't have any piping for a replacement, but I did have some #10 house wire handy. So I threaded it through the cloth and rings to replace the piping.
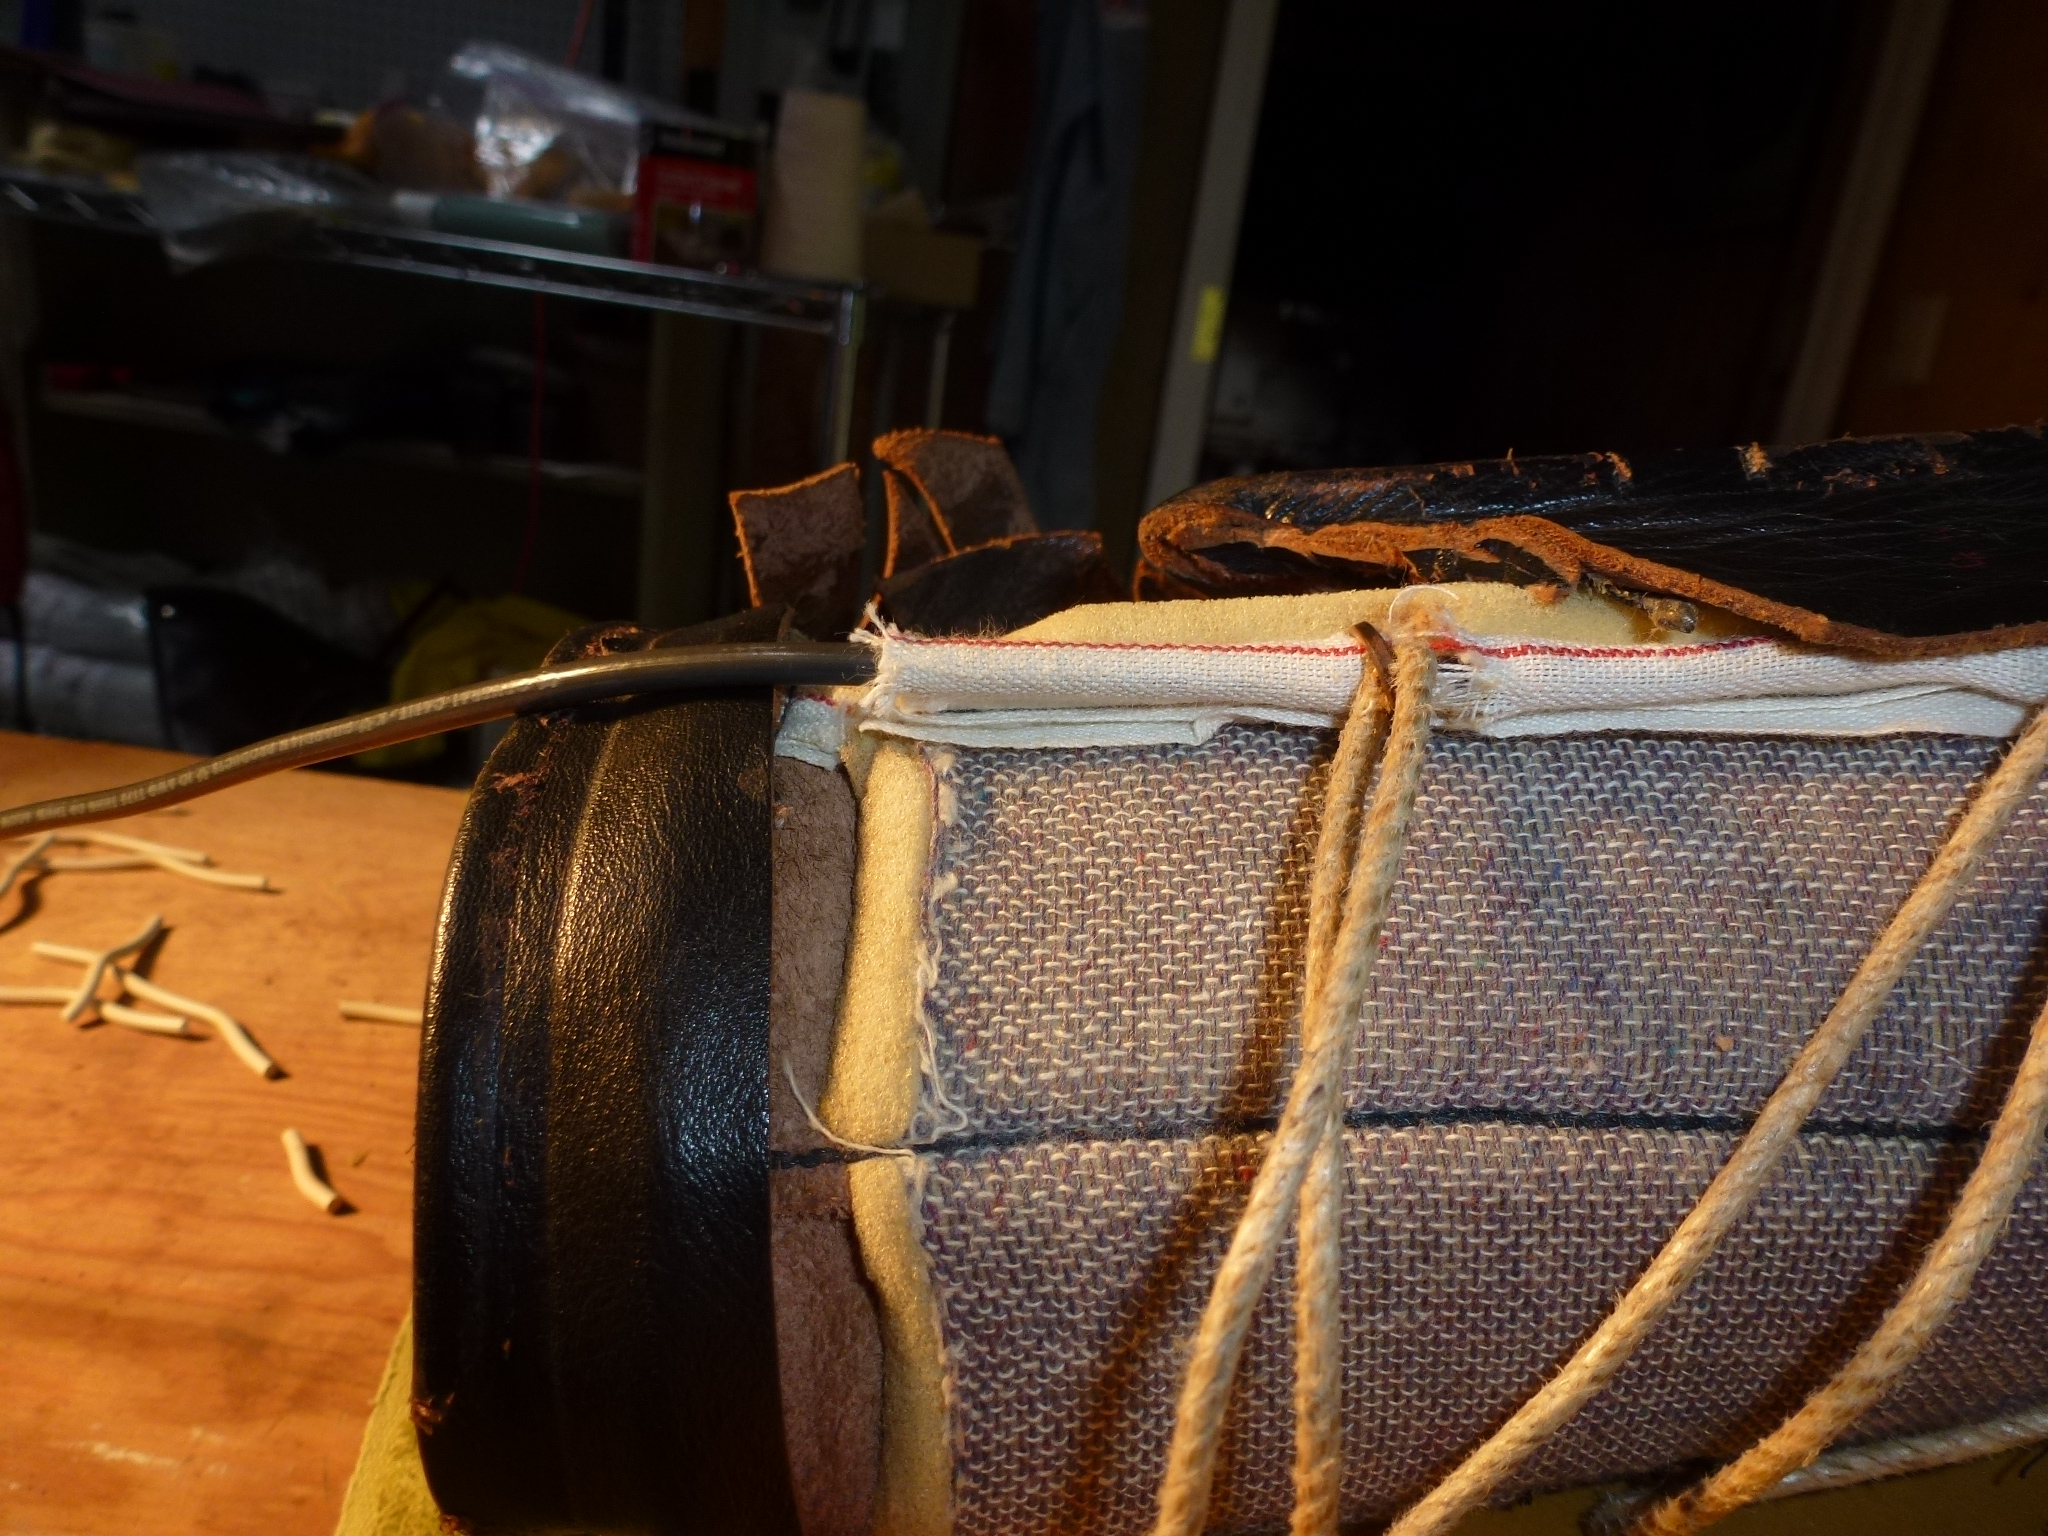
Now I was ready to fit the leather with the twine loops back through the foam and onto the frame. The concept of using string worked for the first couple of loops well, but later, either the knot came loose, the string broke or it got pulled through one of the rings meant that I ended up reaching inside to locate a loop and push it through the hole in the foam. Then I could use a hook tool to pull it the rest of the way through. Eventually, I got everything back through, hooked up and re-attached.
After that, I had to re-glue the leather to the frame, put the clips and the PVC trim back on. Finally the seat bottom was finished. You can see my seams, but it looks better that having them opened. In addition, I put a little too much foam in the seat area, but that will settle down with time.
Then it was re-attaching the bottom to the hinge, polishing the whole seat with black shoe polish and re-installing it in the car.