Starter Motor Shield
When I first got the car, I noticed that the parts book showed a heat shield protecting the starter motor. The clamps were still on the header, but the shield was long gone. I made a simple one by just looking at the drawing and guessing on the sizes and curvature.
Recently, Paul Leonard (SN 8657) was kind enough to send me his original to use for an example.
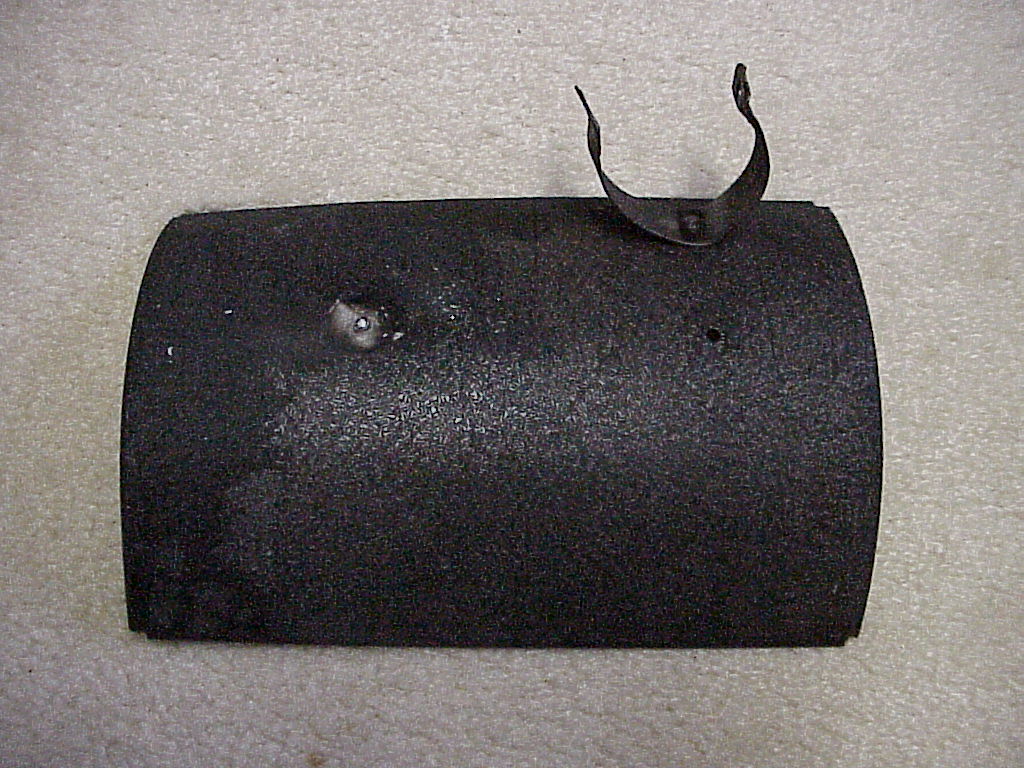
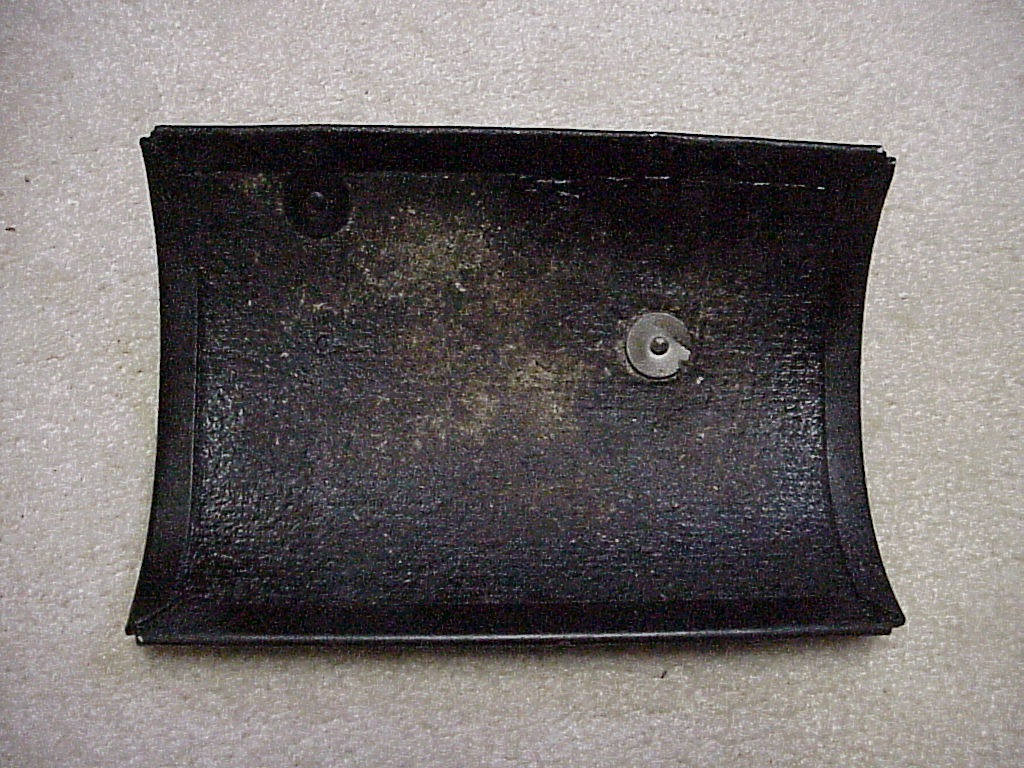
As these are pretty inaccessible when installed (under both the header and header heat shield), I had never realized that there was a layer of insulation built in to the shield.
So I set about measuring and making tracings. The finished size is 17cm by 22cm with about 1/2" of aluminum overlapped on the underside trapping the insulation. The aluminum is .040" thick with the insulation about .160" thick. The steel clamps are held on with 1/8" solid aluminum rivets peened over a washer on the underside.
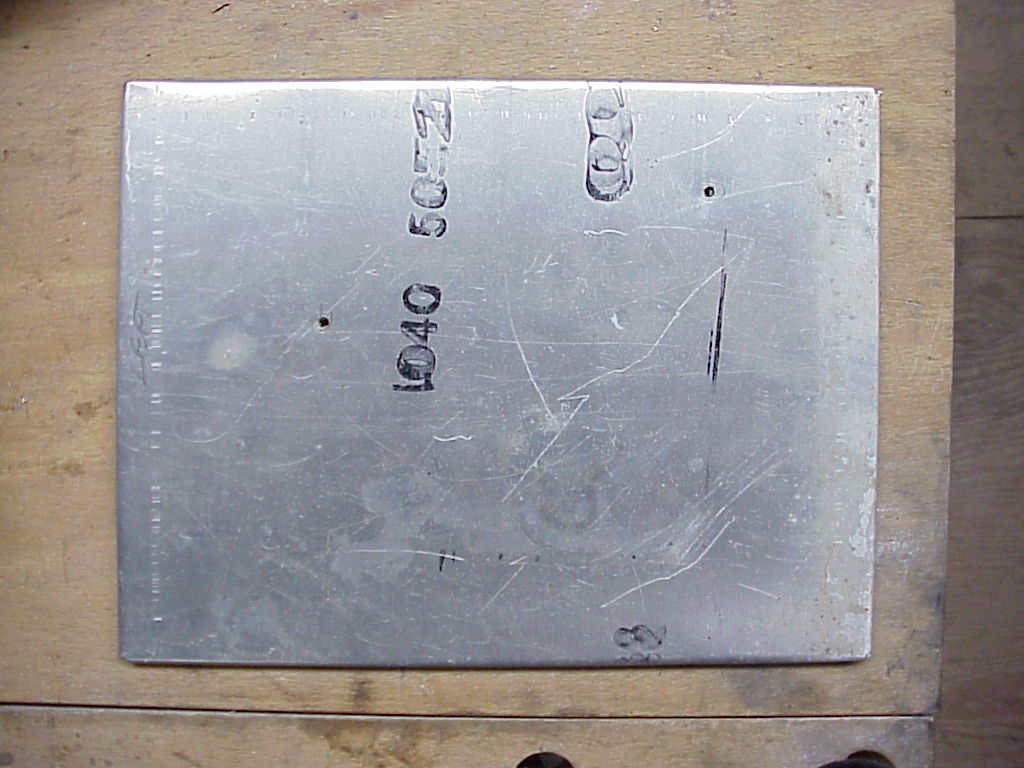
The first piece of aluminum I got was a high strength alloy. When I tried to make the side bends, it simply snapped. So I made sure that the next piece was just pure aluminum. As I'm currently in an evening welding class, I have access to a sheet metal brake and roller that I ordinarily don't have. It makes the job easier, faster and a little neater.
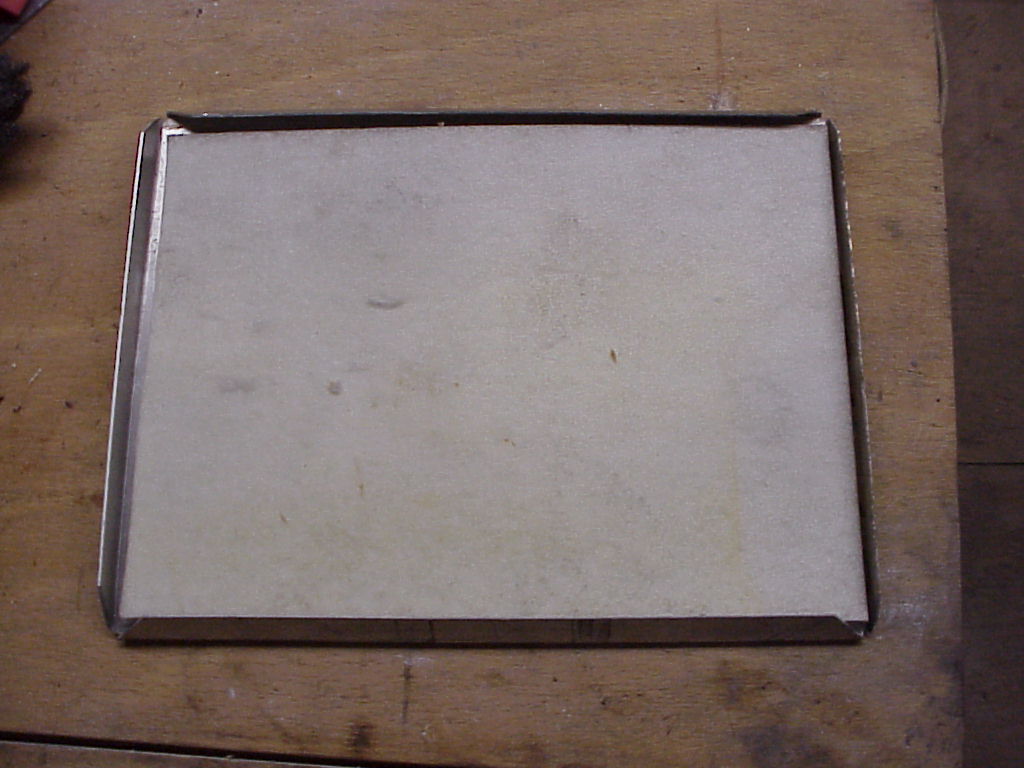
| The first step was to cut the piece to size and trim each corner at 45º so that there would not be an overlap of the side when bent completely over. Normally, a small hole would be drilled where the new corner would be formed to prevent cracking. However, when I looked at the original, just a small V had been snipped to prevent bunching at the corner. So I did the same thing. Then it was off to the sheet metal brake to make the initial bends. One set of sides is bent about 135º, which is the limit of the brake. The other sides could only be bent about 90º before hitting. This could also be done by clamping the piece between two long heavy metal bars and using the rubber hammer to bend over the sides. |
 |
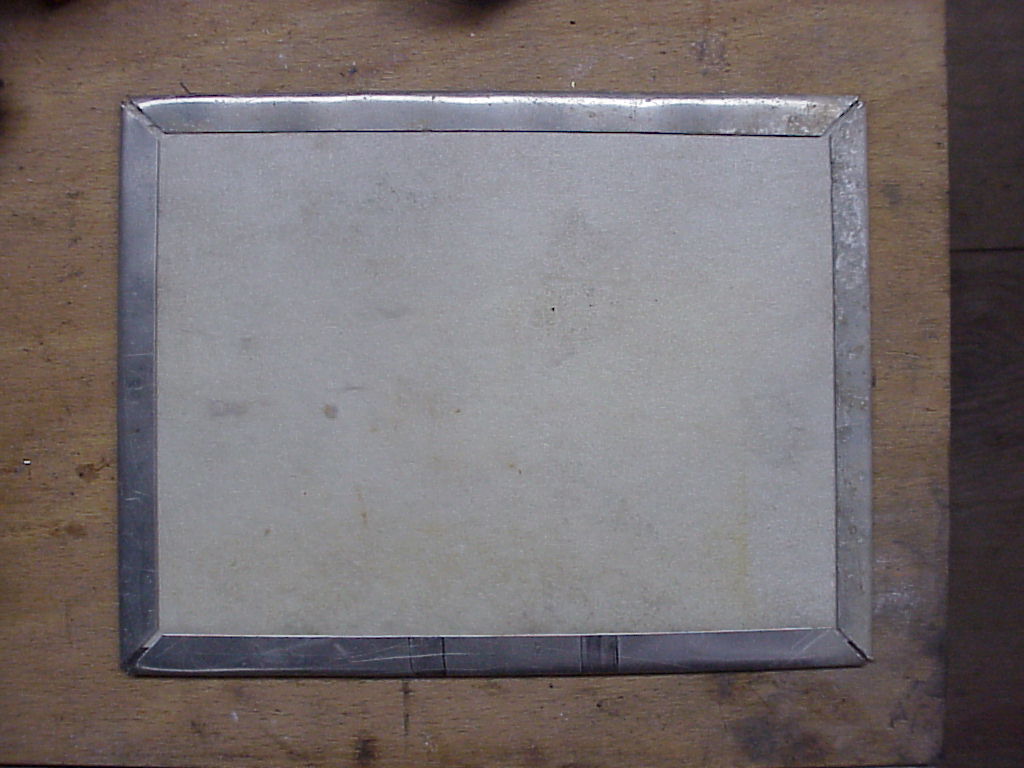
| Then I cut the insulating material to size and used a rubber hammer to trap the material with the folded over sides. The insulating material was obtained from a store that sells pottery supplies. They use it to line kilns. It comes in various thicknesses. I used 1/4" but then tore off a layer to make it about the right thickness. Given the age of the car, I suspect that the original material would have had a high asbestos content. Just don't breathe when you are working on your starter. |
 |
| The next step was to drill the 1/8" holes where the brackets will rivet on. |
 |
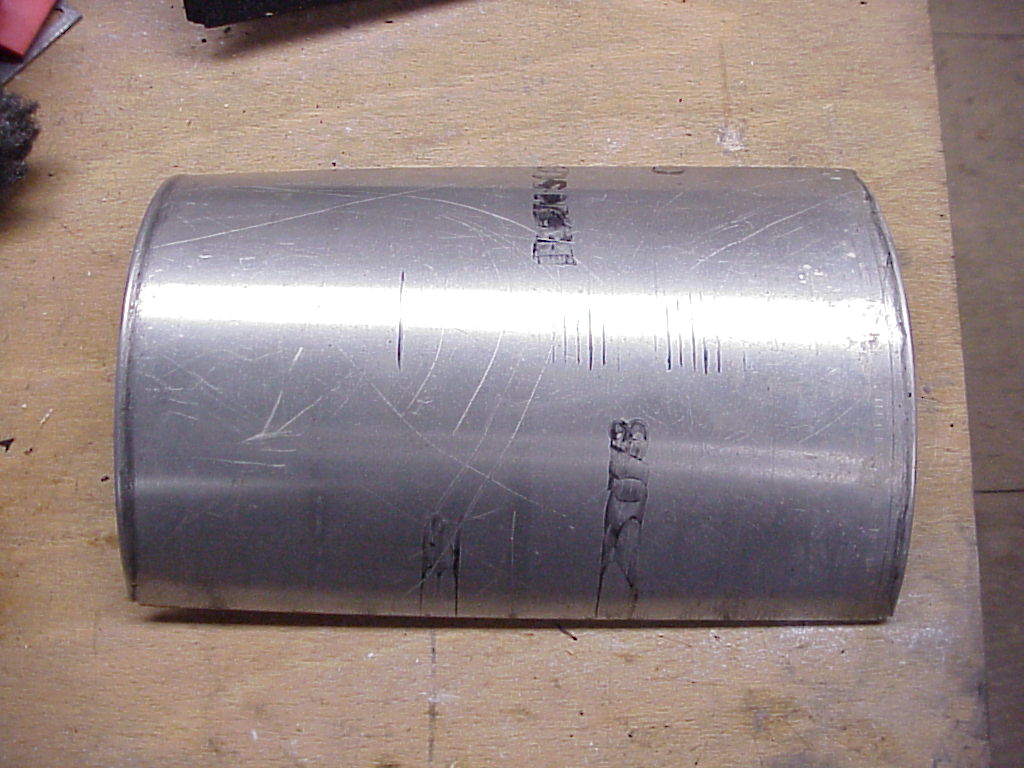
| Now I was ready to roll it to the correct diameter. Well, actually two diameters since the original was a partial cone. I don't know if that was by design or one end had accidentally gotten somewhat flattened when it was off the car. In any case, I was replicating Paul's part, so I made mine the same. Using the rolling machine, I rolled the shield several times, continuing to get a tighter diameter until it matched the tight end on the original. Then a few rubber hammer taps on the other end flattened it out appropriately. Doing this by hand would be more difficult, but you would hammer the piece over a large cylinder that had about the right diameter. |
 |
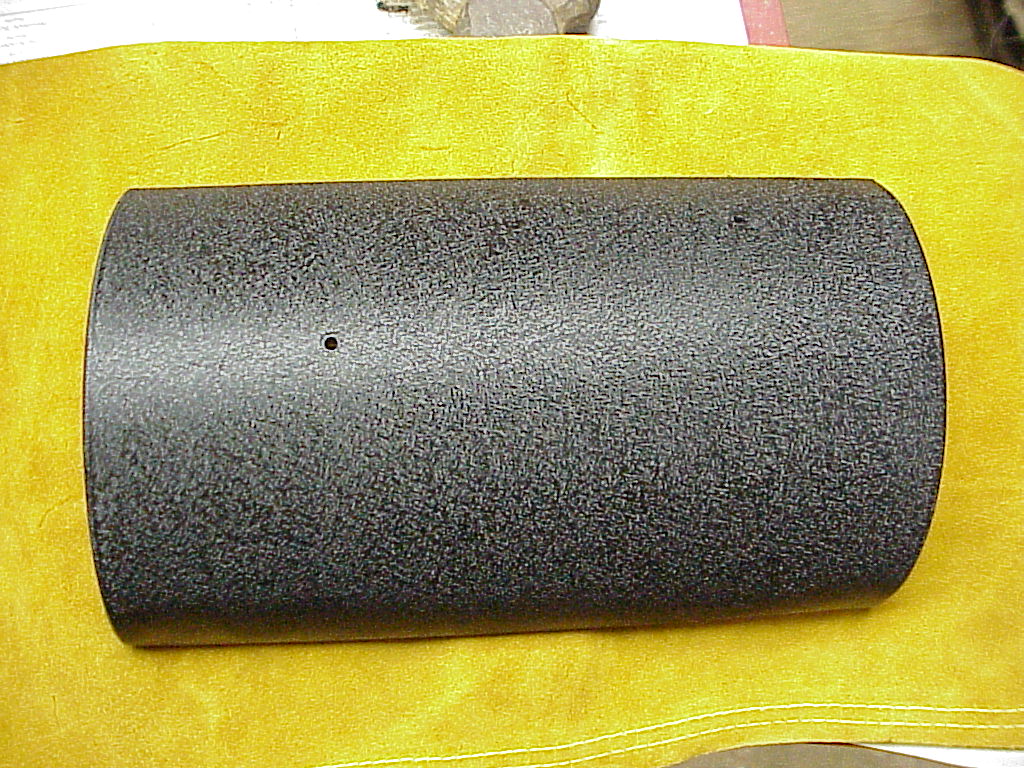
| Lowell Brown has been wrinkle painting his cam covers and other parts, so I just slipped the starter shield into the pile. It turned out pretty nice. I think I'll have him do the header heat shields when I remove them to install this shield. |
 |
|
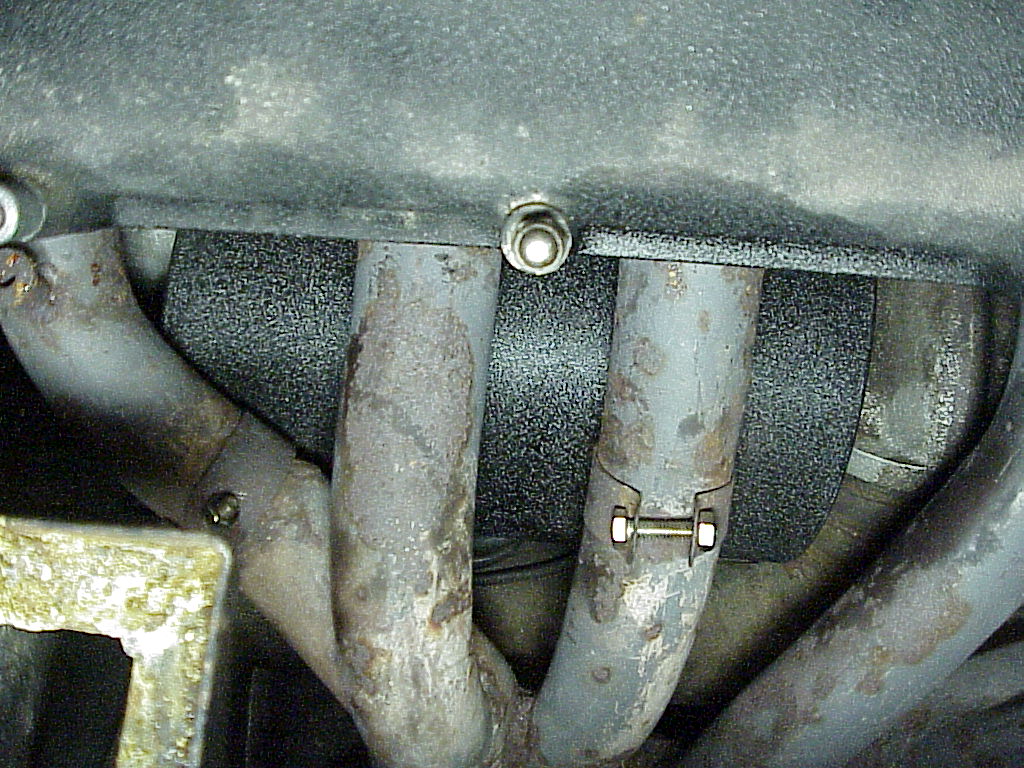
I finally had the heat shields off for wrinkle painting, so I was able to install the starter shield. I also had the distributors off, so I had better access to the rear of the starter. This allowed me to remove the old mis-sized shield and put in the correct one. |
 |