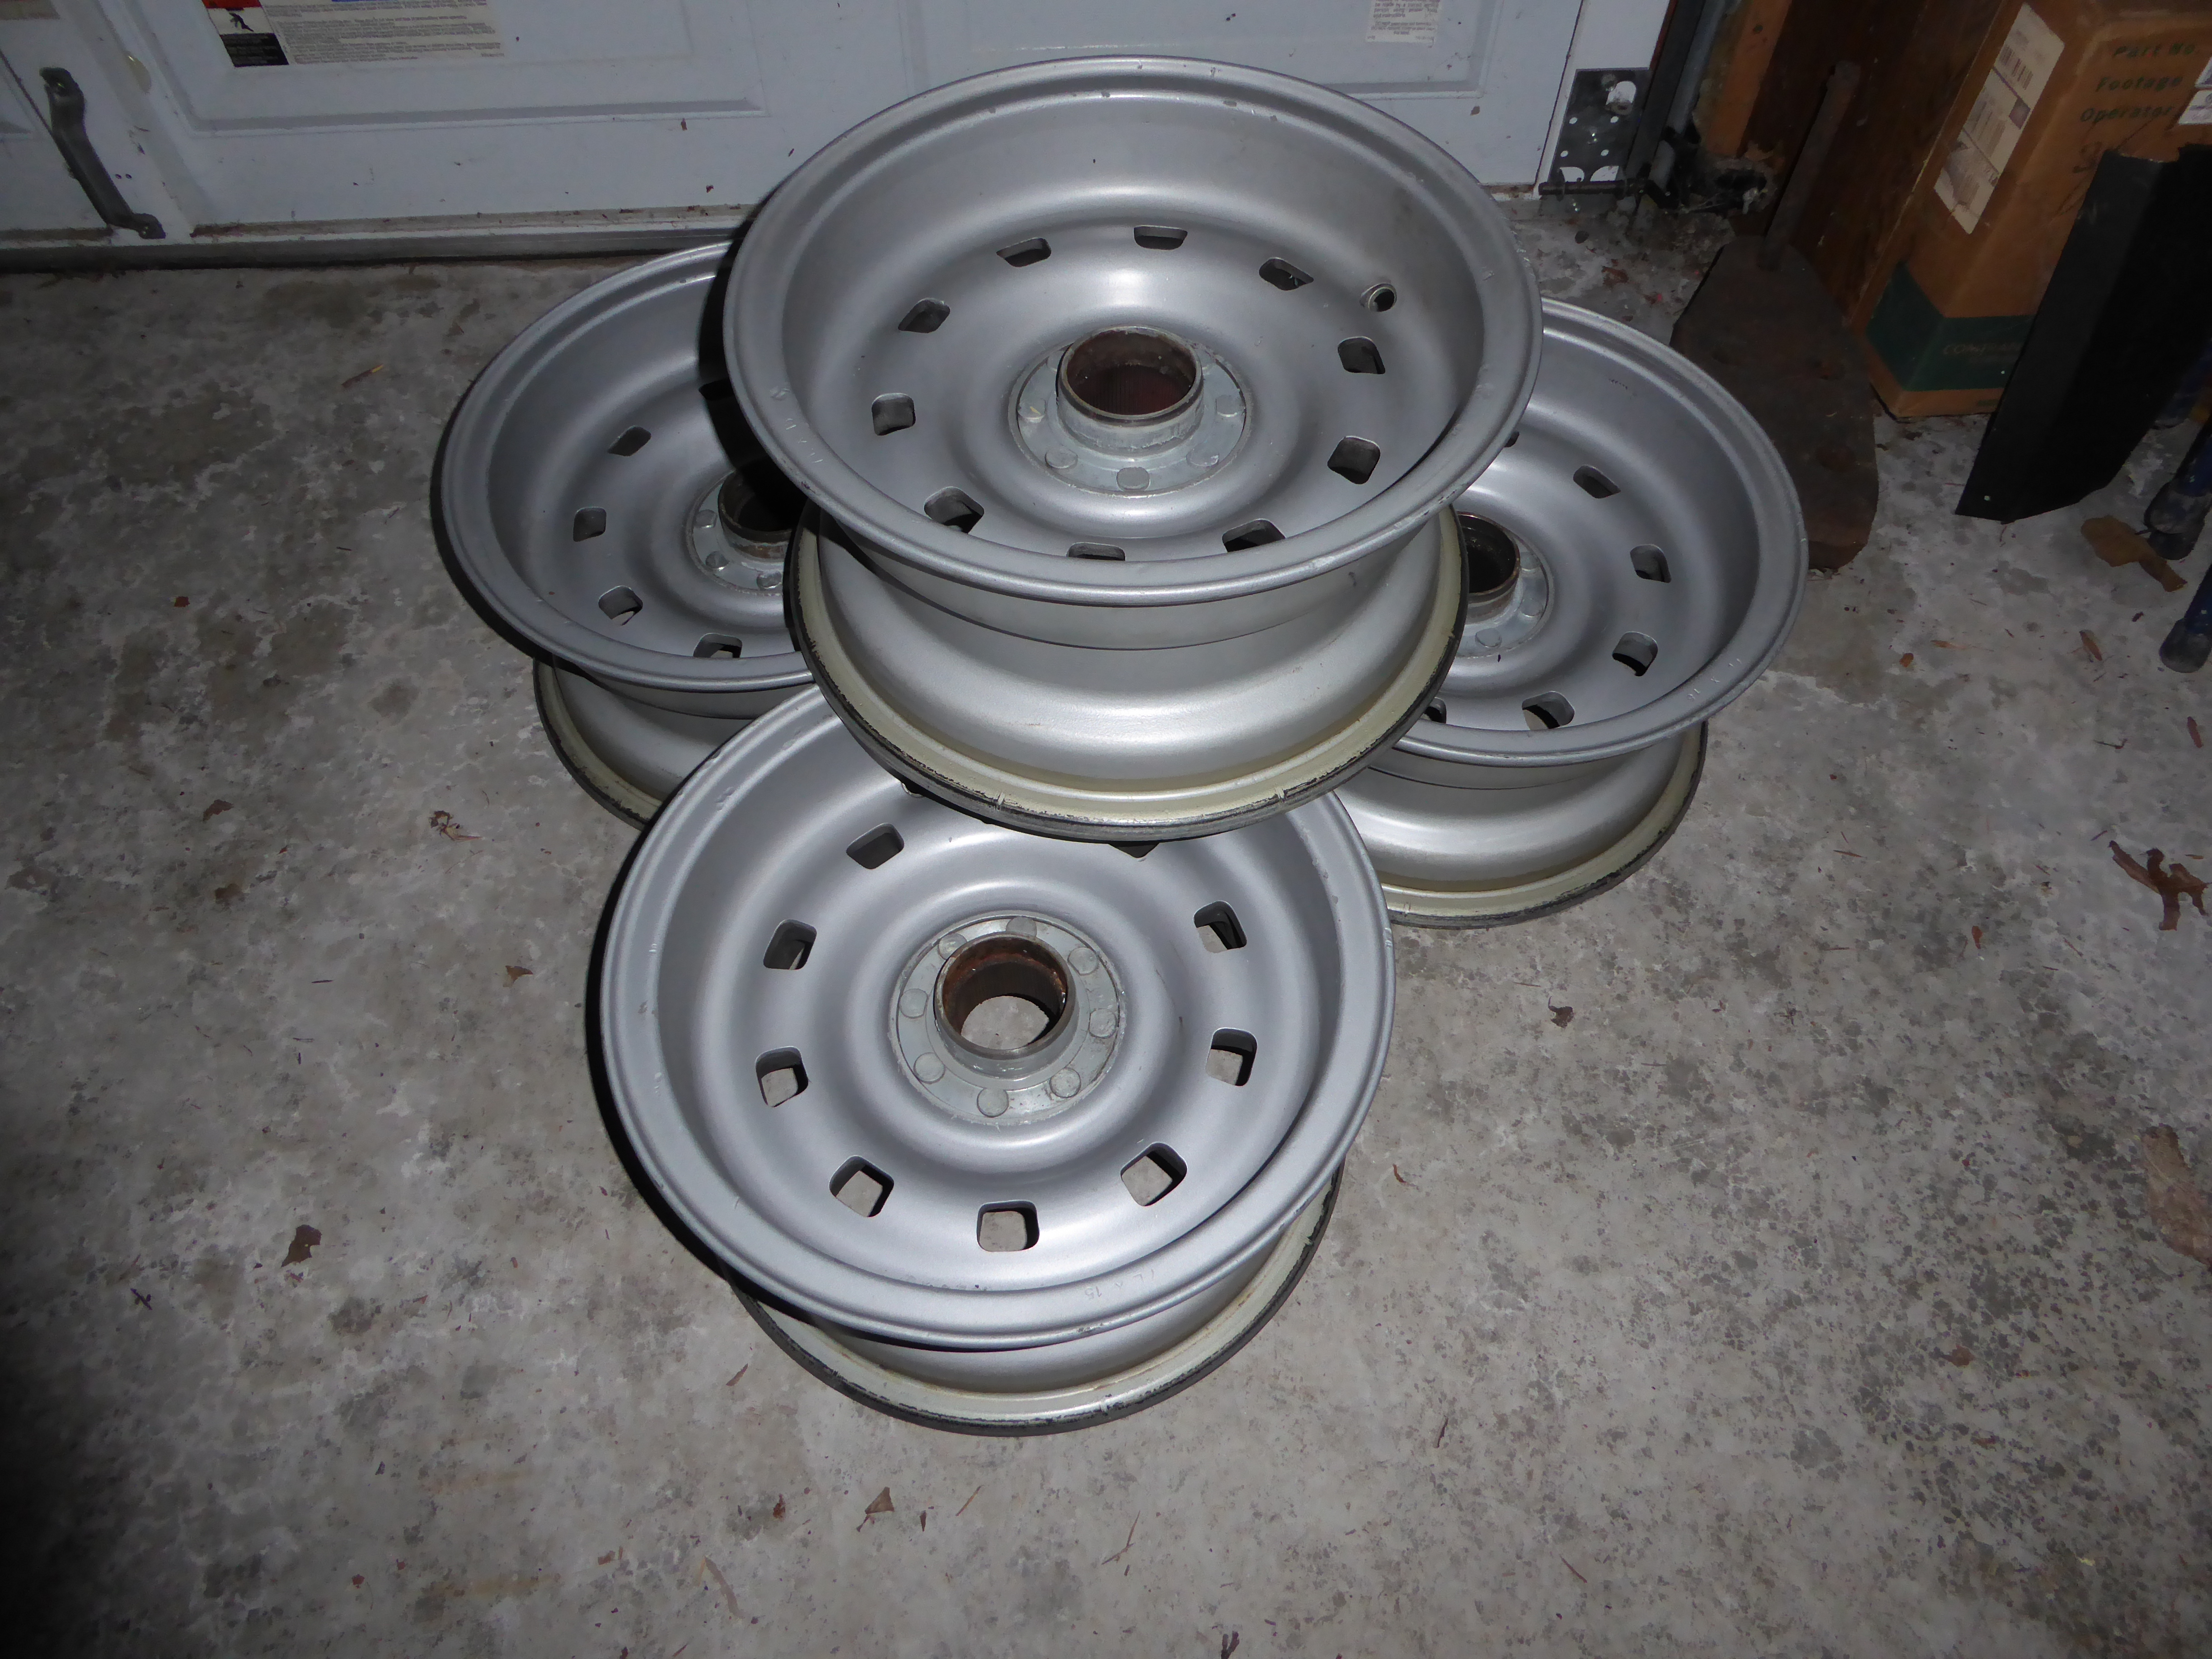
Wheel Trim Rings
The trim rings on the wheels were somewhat pitted and also got a little sand blasted when I removed the paint from the wheels. So I decided to remove them so I could get them re-chromed.
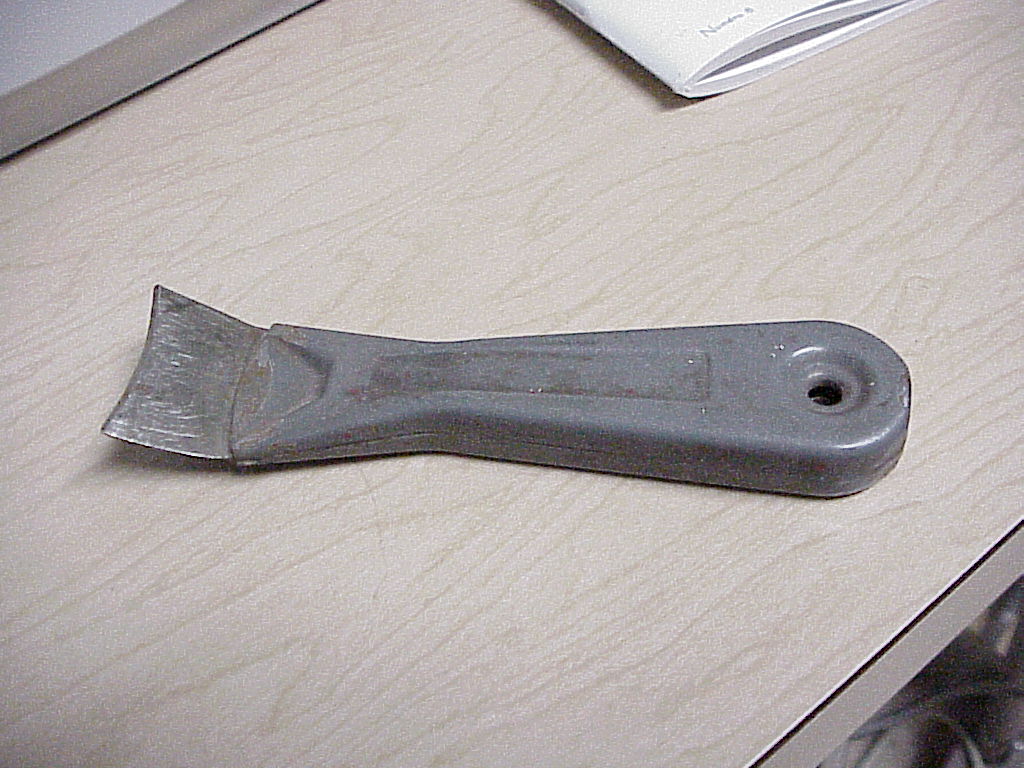
After looking at them for a while, I decided to make a tool to help in the removal. I ended up making it from a stiff putty knife (1½" or 2" wide) by cutting it off and then grinding an arc matching the inside diameter of the trim ring. I made the blade a little longer than the distance from the outside to the inside of the trim ring. Then I bent it enough to allow the handle to clear the bump in the wheel. Be sure to get one where the metal is embedded in the handle or it will break. Also grind a knife edge on the arc.
Using one of the tips of the tool, work it under the trim ring as far as you can. You may have to tap it with a hammer to get it started. Be sure you start in between the hub bolts (look on the inside of the wheel to locate them). Then you carefully pry up. Work around the center and keep doing this. Once the ring comes up slightly, you can get the tool over one of the hub bolts and get more leverage. Go slowly (it takes ~½ hour per ring) as these are easily bent. As I had already removed the paint from the center hub, I didn't have to worry about that being in the way.
Remember to go slowly. This is clearly a case where haste makes waste.
For installation, I just used a piece of oak wood that I cut to match the inner diameter. Then I simply tapped the ring in place using the oak like a punch, going round and round the center several times. The oak is solid enough but won't mar the newly chromed surface. It's surprising how much the ring deforms as you tap on one side and then the other. Just try to keep it even all around.
After 18 years of using dead blow hammers to remove and install my knock-offs, I ended up with a bunch of nicks in the paint. I got a half point off at the last concours for them and I needed new tires, so I decided to get the wheels redone. Now that I made a knock-off removal tool, the wheels should stay in good shape.
On the first wheel, I removed the trim ring just as I did years ago. I even used the same bent putty knife. I didn't strip the paint from the hub, so I fought that all the way off. I tried to make a lever long enough to fit under the ring to the center once the ring was lifted a bit. This was just a piece of thin bar stock that I bent at 90°. That worked well for about six pulls until it just bent back flat. It took an hour and half to remove that trim ring.
I didn't really want to take another four and half hours for the other three wheels, so I took everything back to my neighbor who has a nice shop including TIG and MIG welding equipment. My thought was to make a stronger lever that could be driven under the trim ring and then pulled so the force was prying against the center of the ring where it holds onto the hub. But first, I stripped the paint off the hubs.
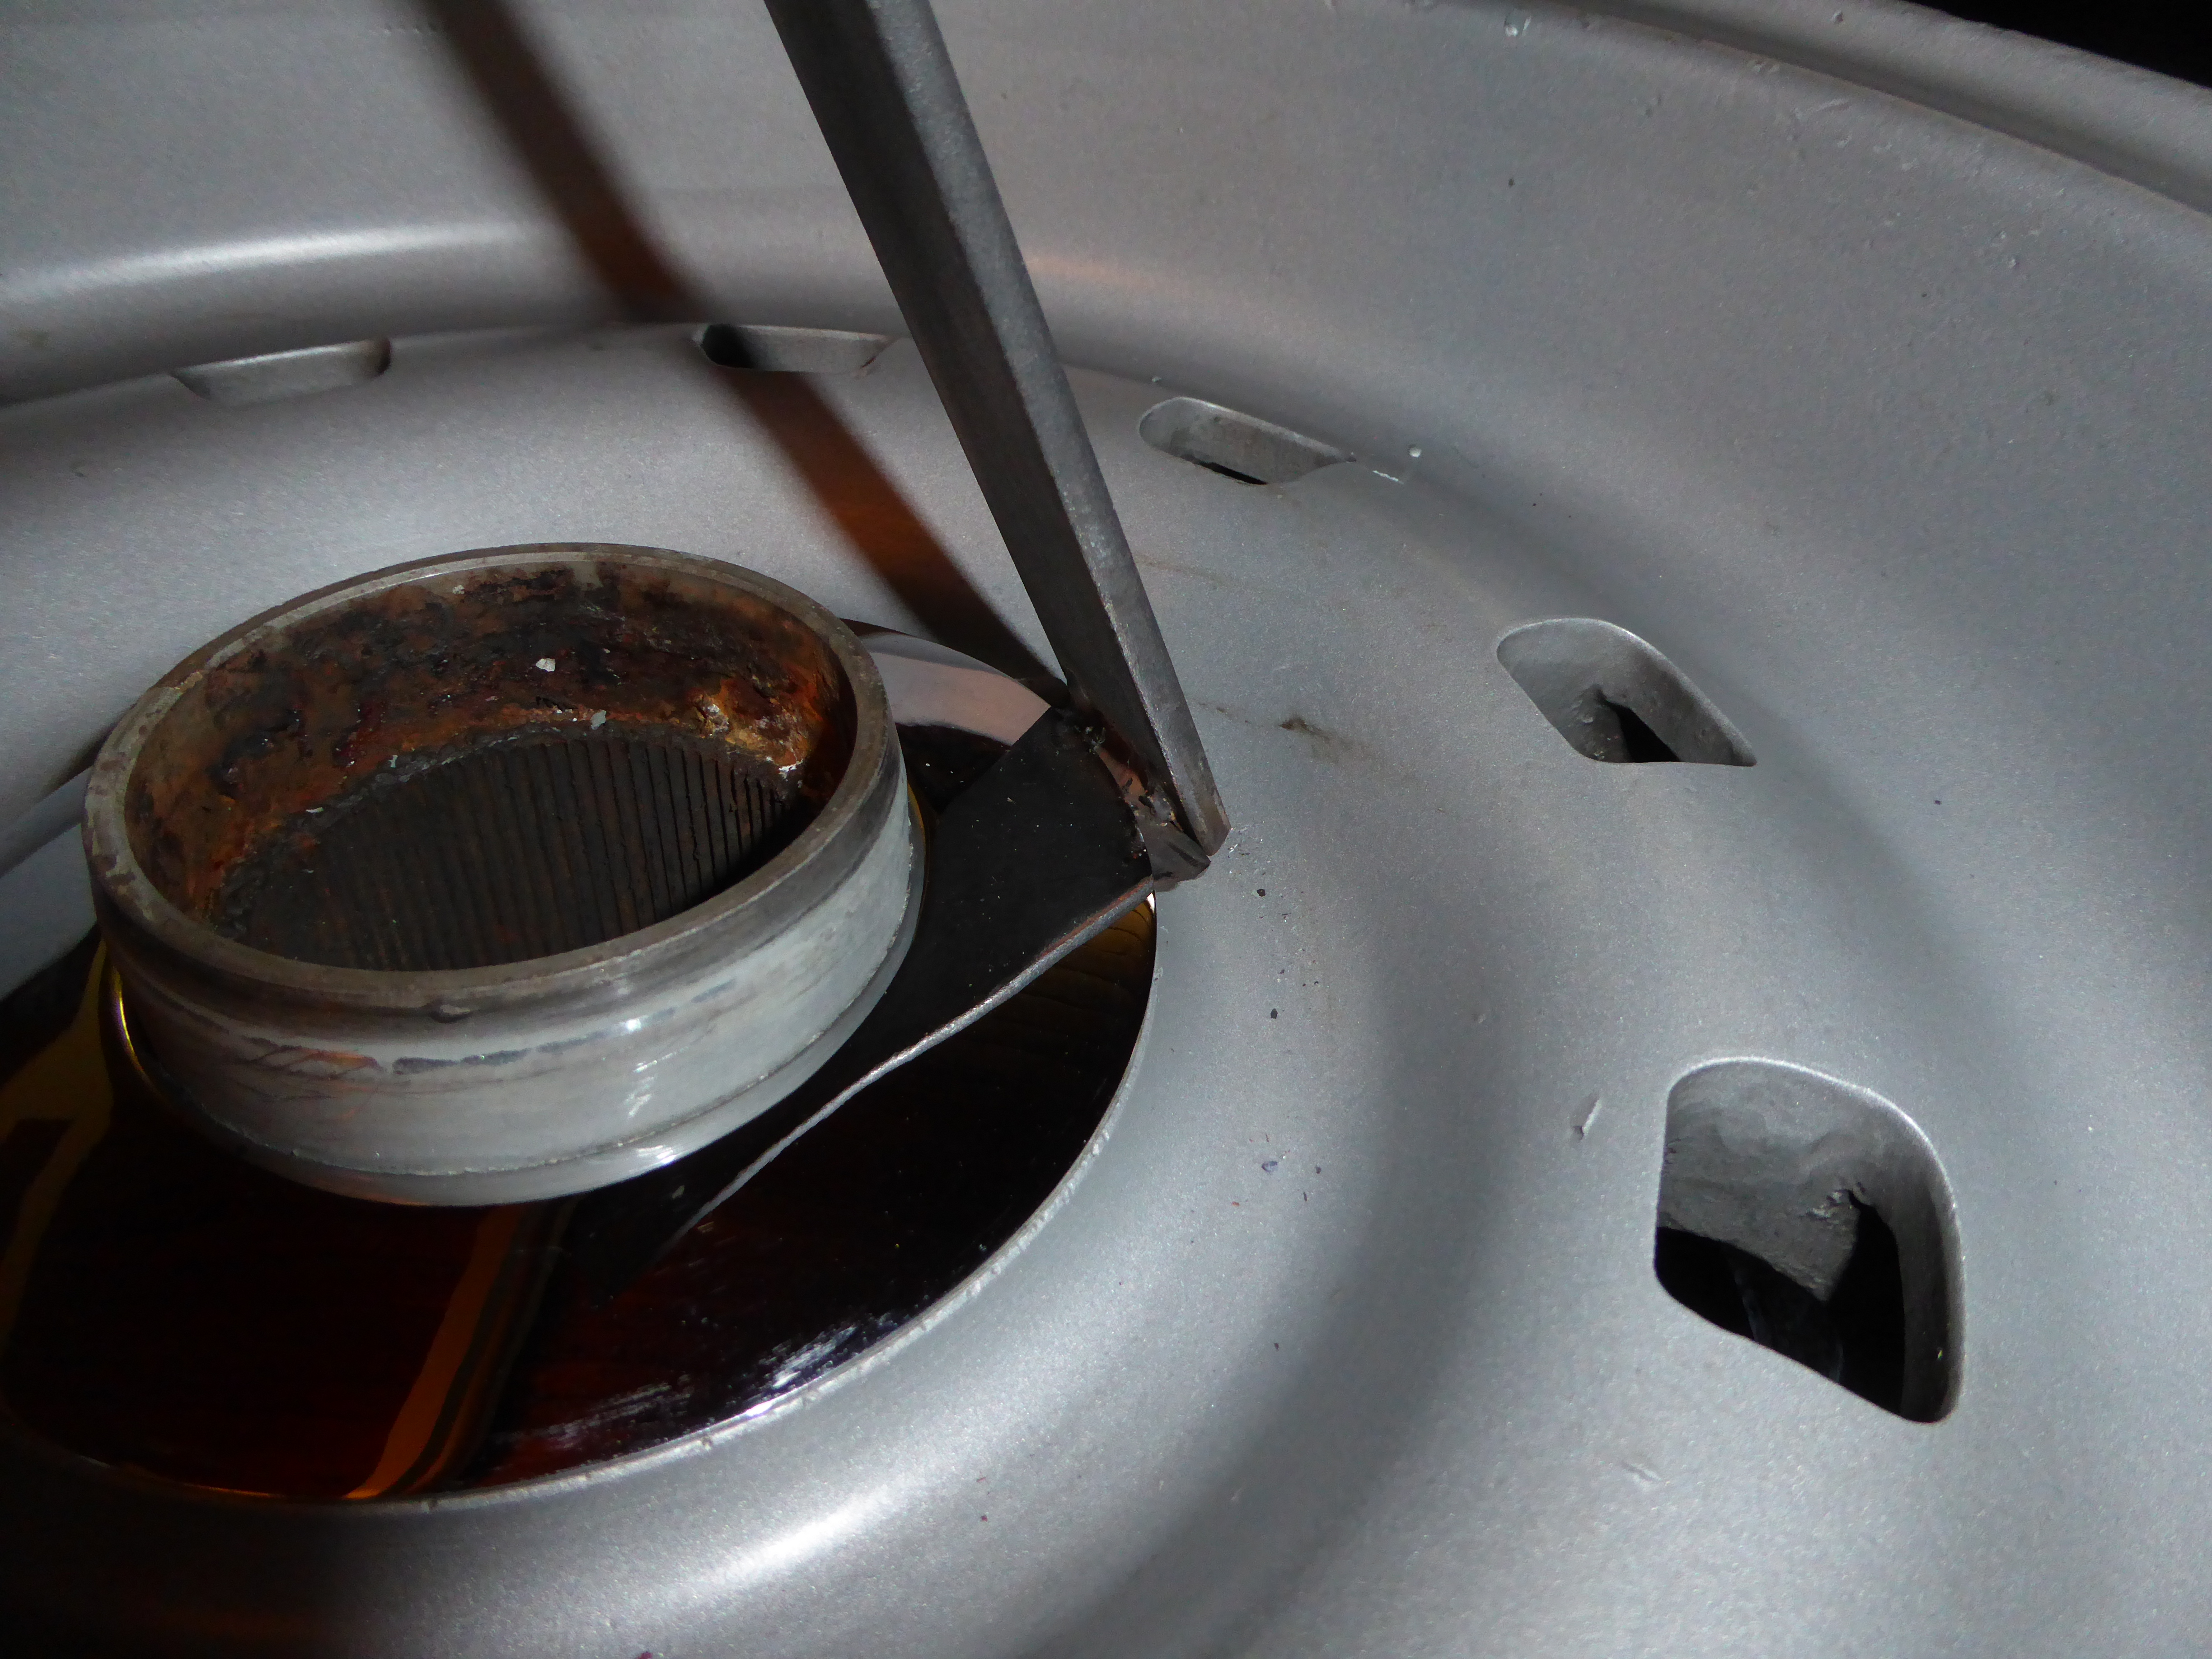
In the process of showing Mike how I removed the first ring, my old putty knife blade broke. We ended up making a new one, but not as wide so it could fit between the bolt heads. The bolt heads are higher than the edge where the trim ring sets, so being able to fit the blade between them allows it to be inserted and driven in to start lifting the ring edge.
.JPG)
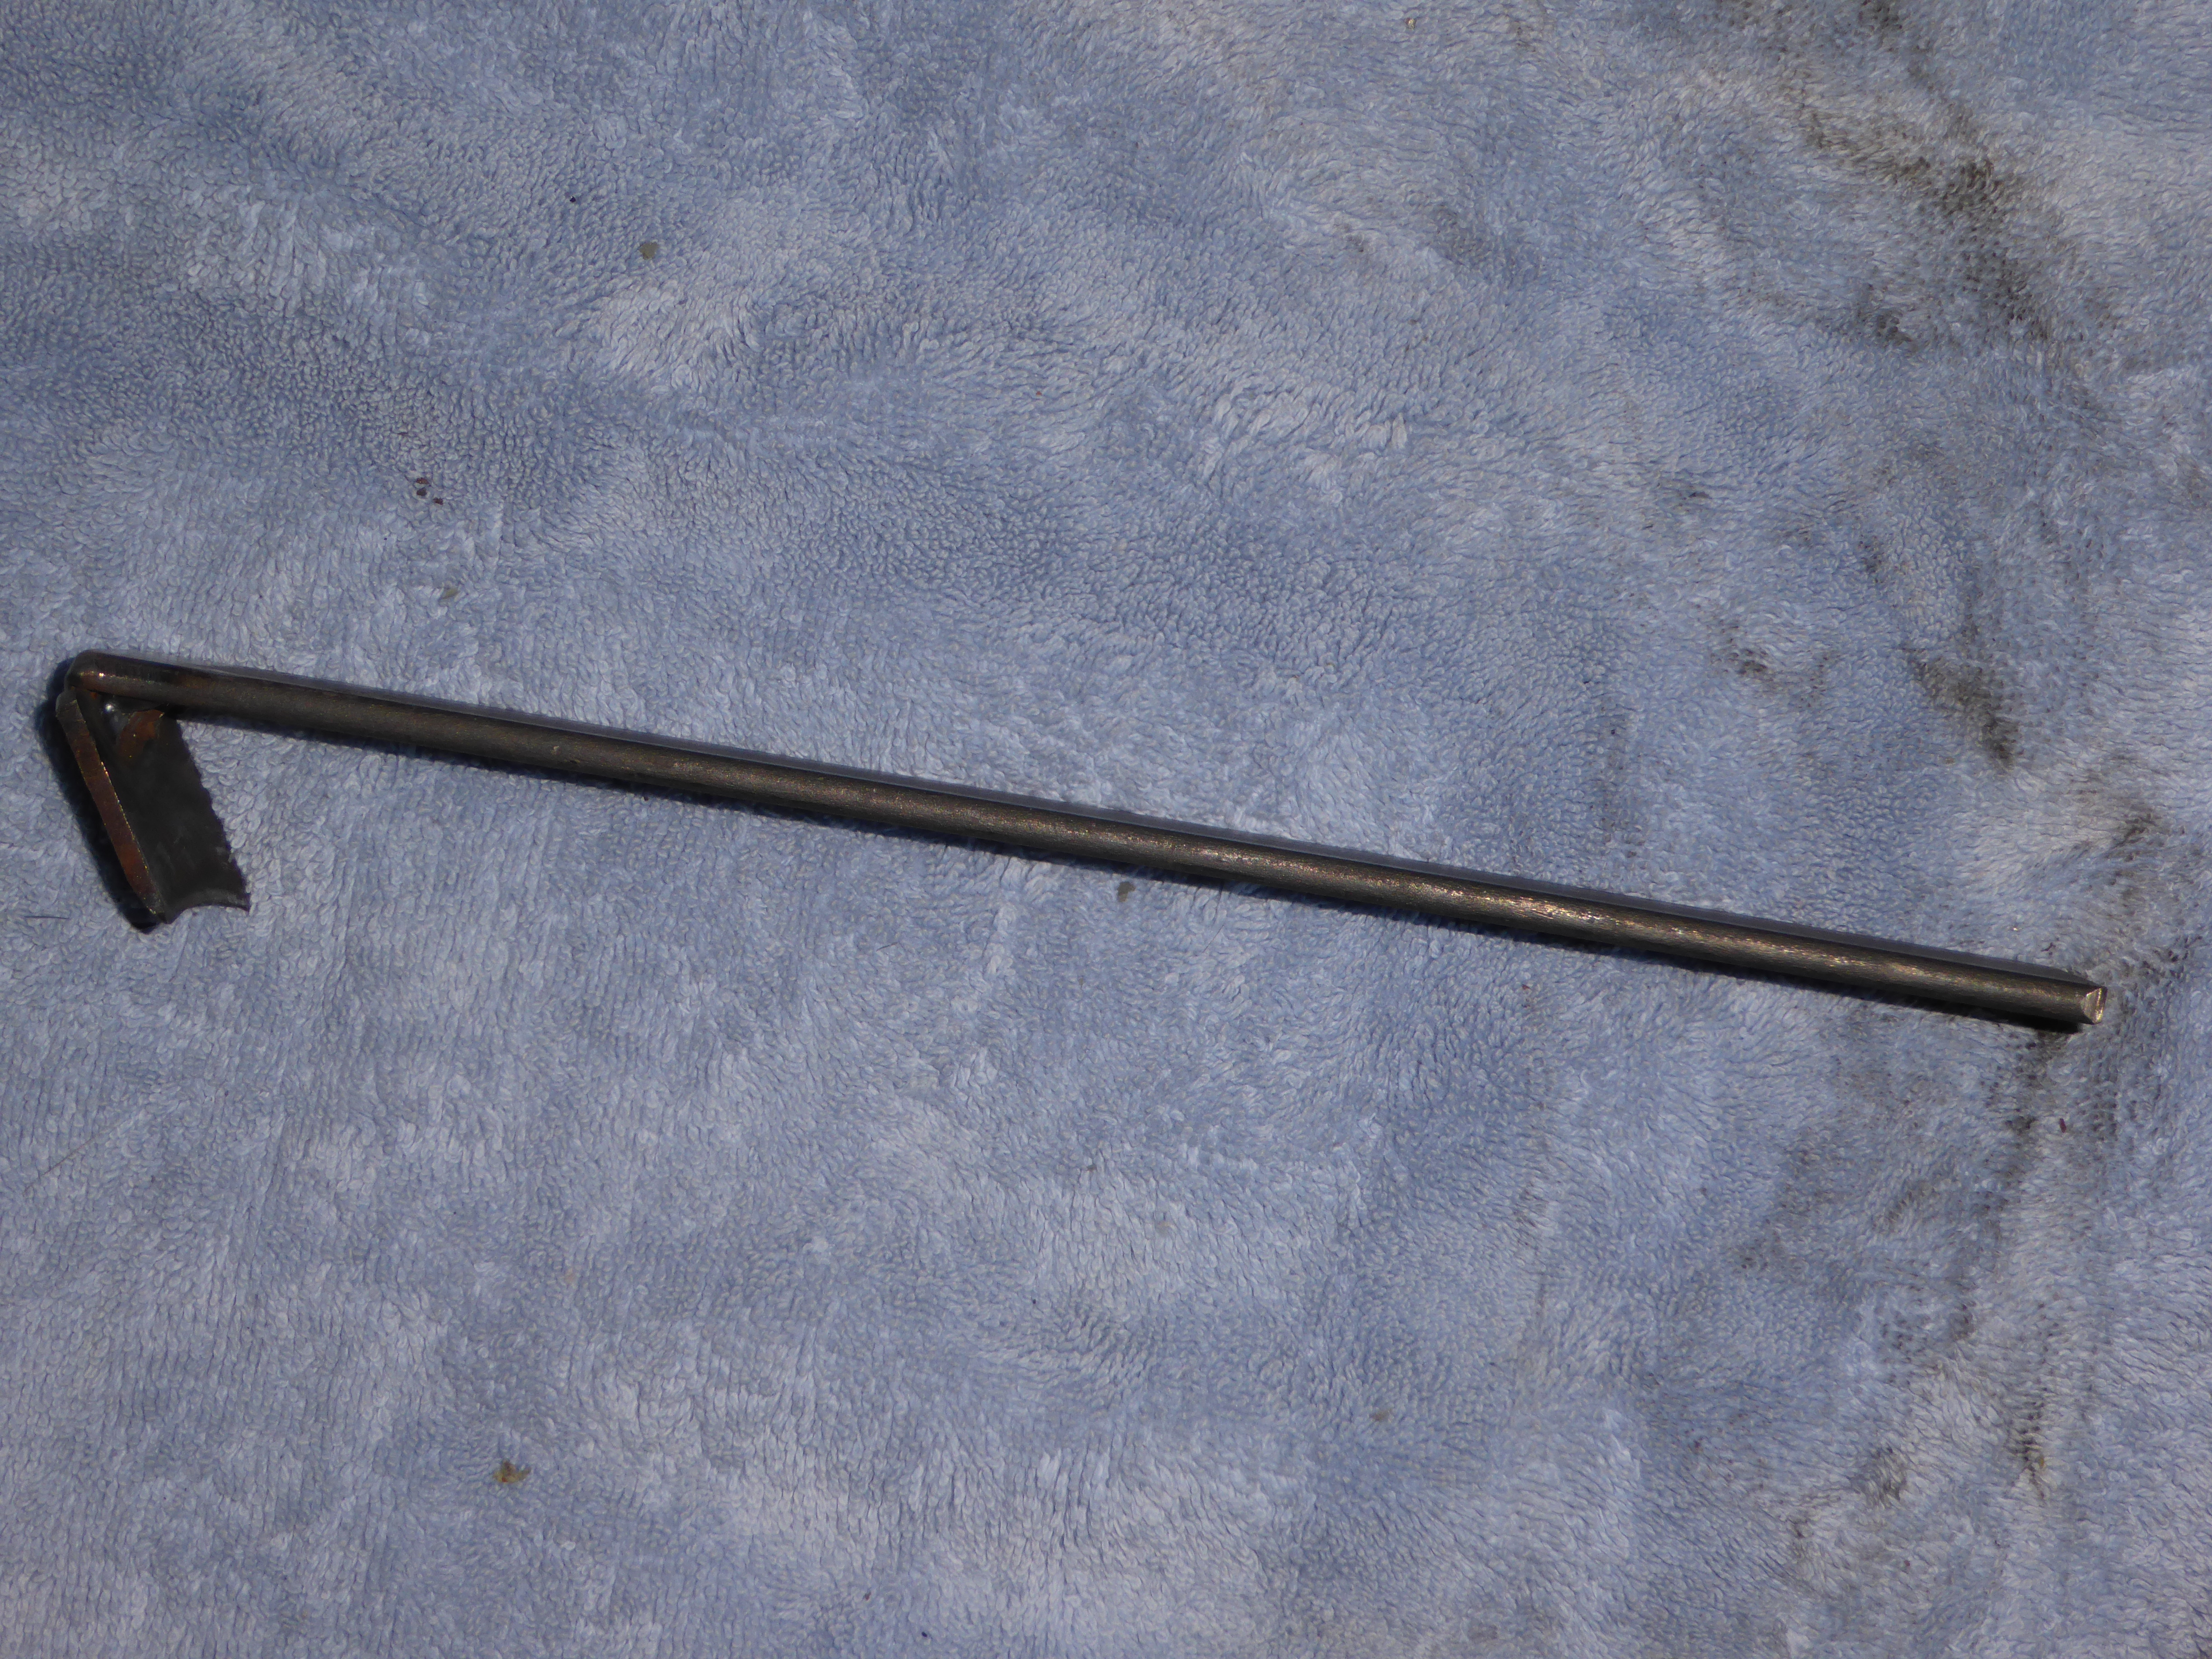
Mike and I made a lever tool from some 1/8" stock, an inch and half wide. We tapered the pry edge so it could fit into the narrow gap when the trim ring edge was lifted by a putty knife. The pry portion was just long enough to go from the edge of the trim ring to the center. The welded on handle is over a 90° angle so that it wouldn't hit the wheel even once the trim ring was almost off.
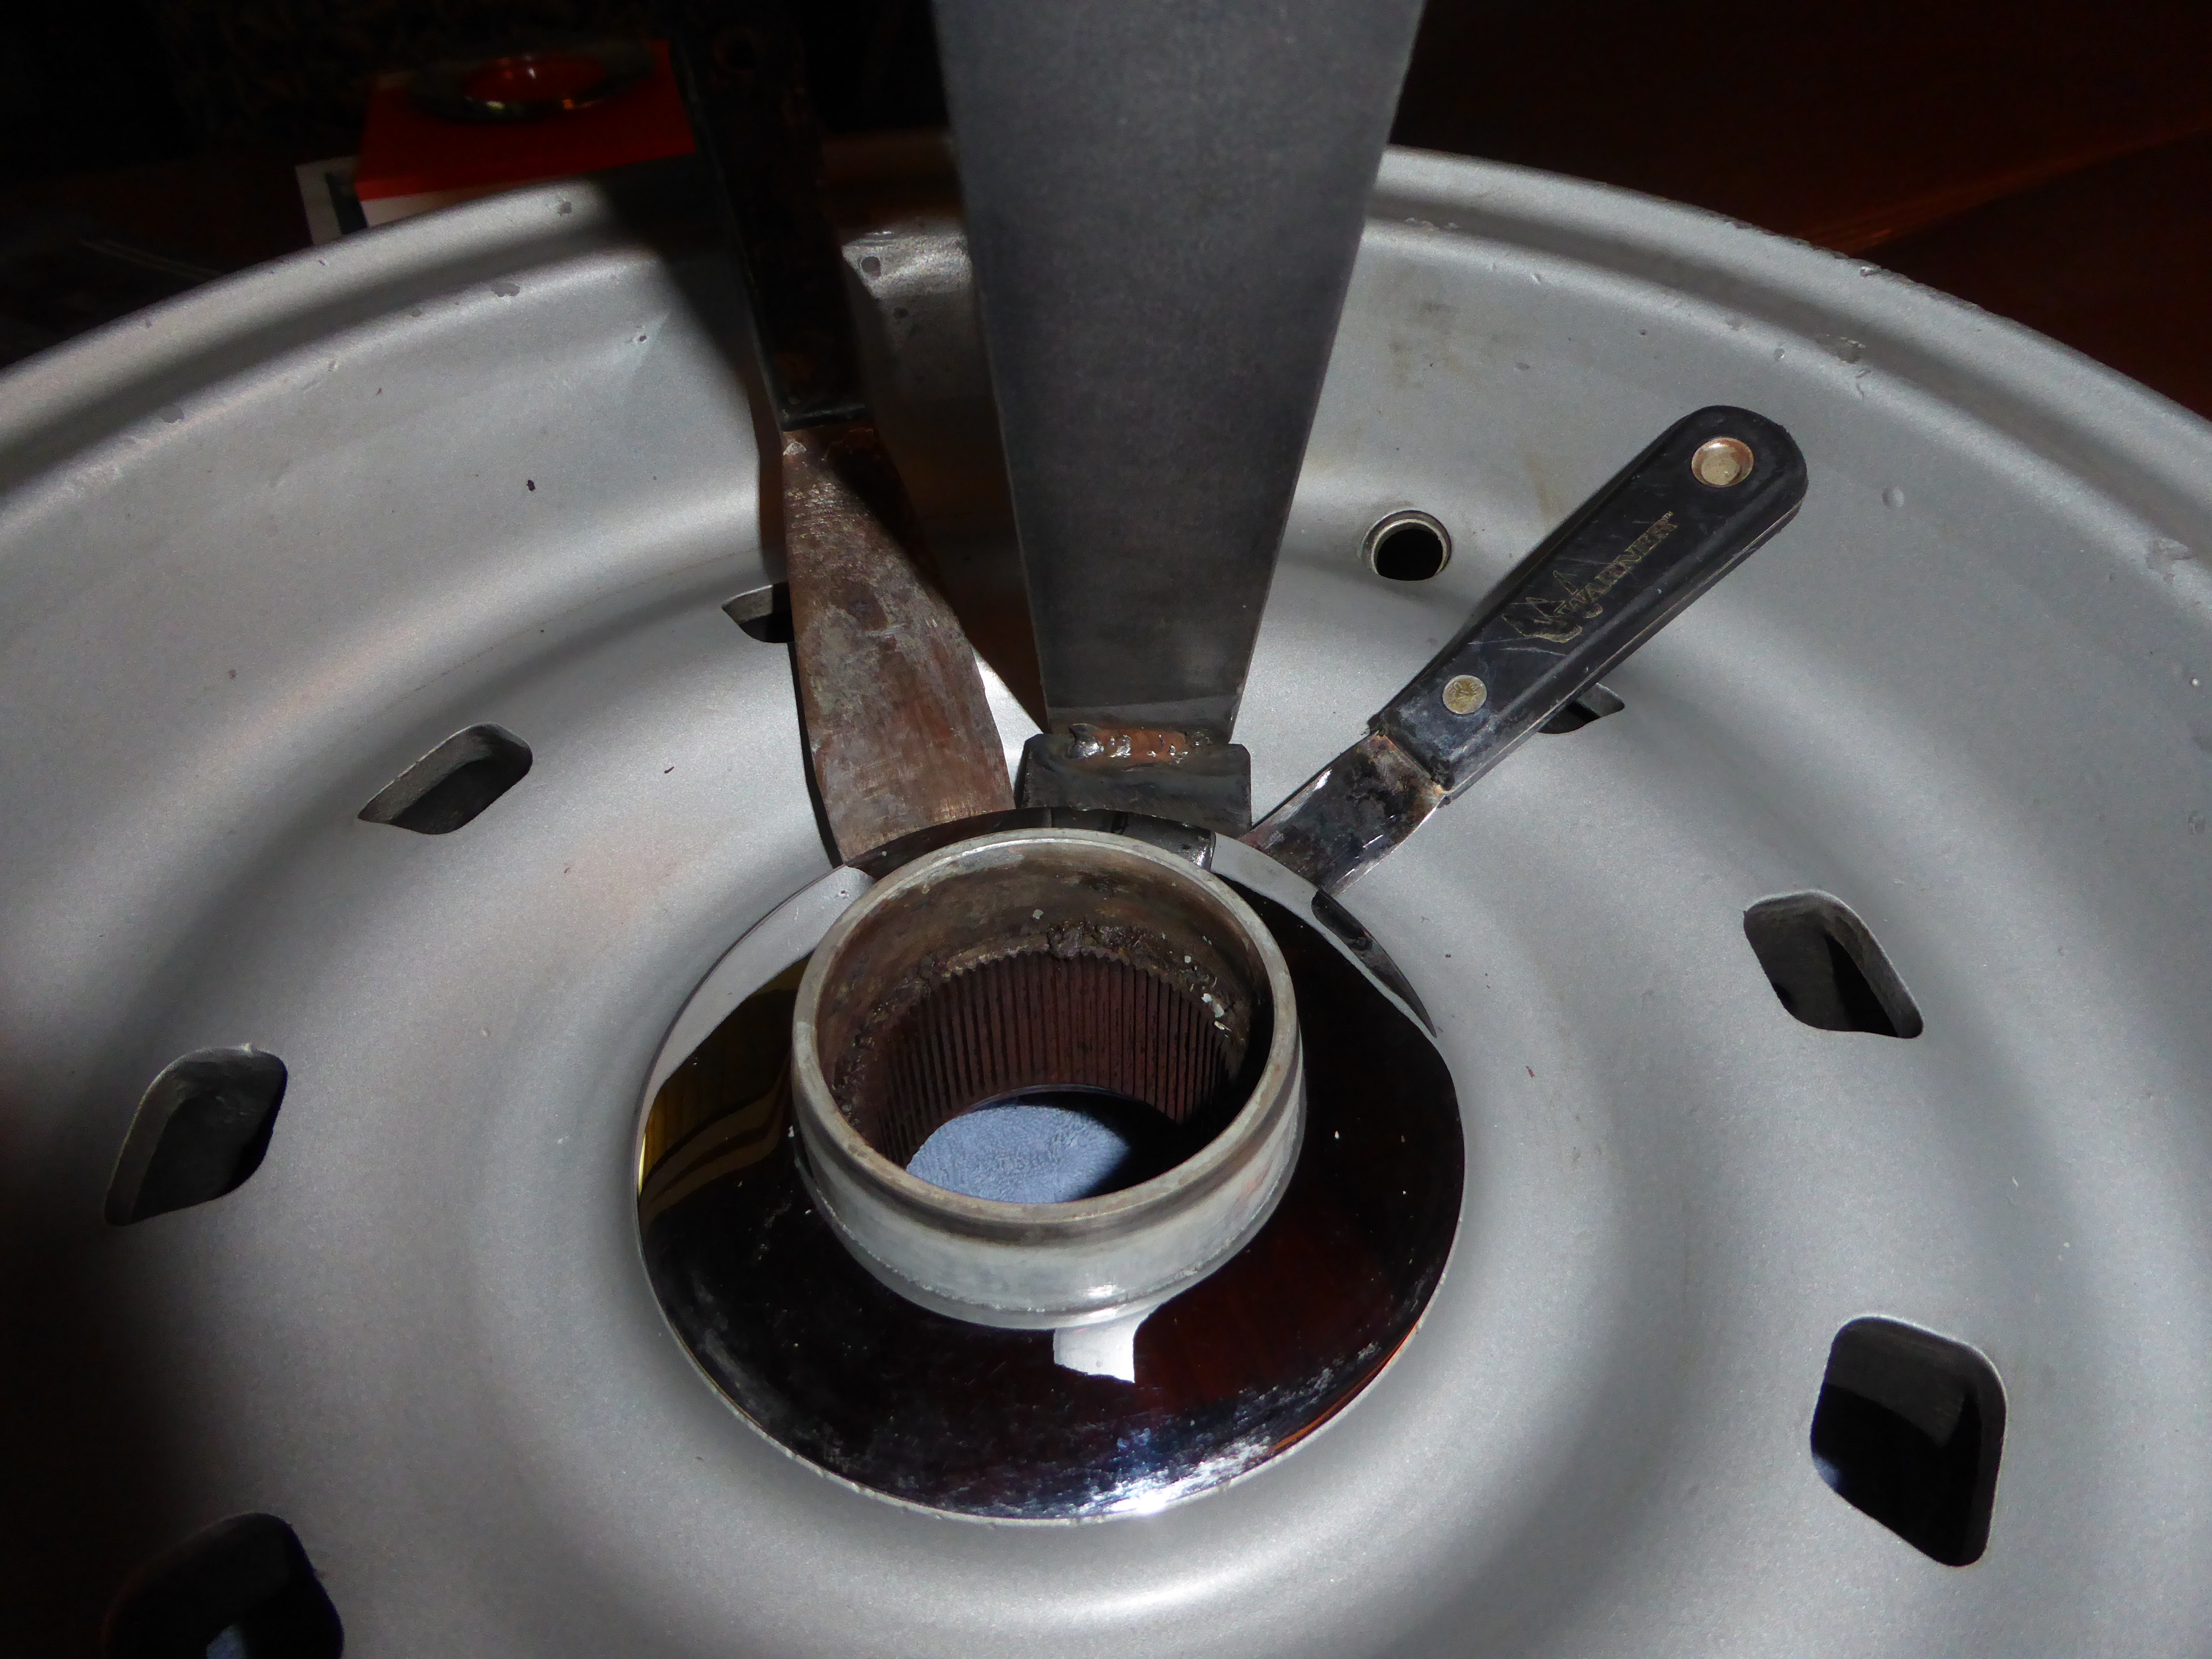
With the new narrow putty knife lifting the ring edge, another putty knife can be started and moved far enough around to allow the pry tool to fit between them. Then the pry tool could be inserted under the ring. Once the ring was lifted a bit, the tool could be driven over the bolt head clear into the center. Now, the force was directed where it needed to be at the center of the ring. A couple of pulls and the two putty knives were loose. Then it was just a matter of prying, sliding the tool around the ring and prying again. It took about 30 seconds to remove the ring. From start to finish it only took about 90 seconds to remove a ring. A far cry from the 90 minutes for the first one.
Now the wheels are ready to be stripped, nicks and dings filled and painted. When I first painted these, I never thought of filling the pits, dings and nicks with body filler. The people who painted my car said that they treat the alloy wheels just like a fender to make it smooth before painting. So these should end up looking better than ever. I didn't need to redo the spare as it was never on the car since I first painted the wheels.