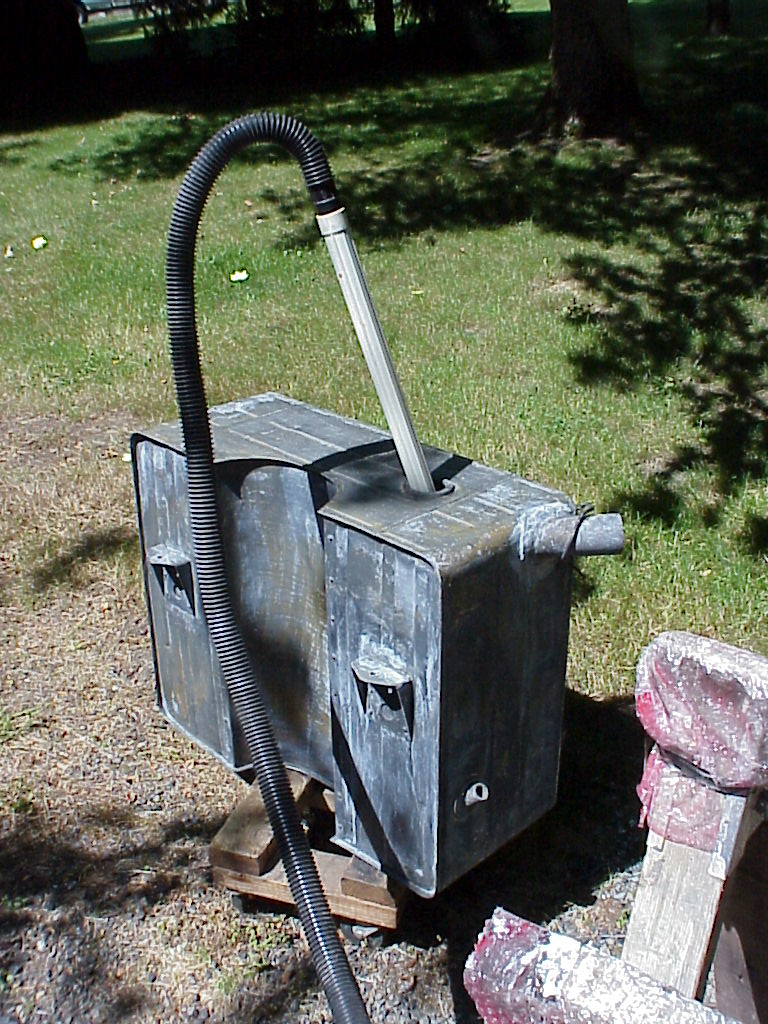
Fuel Tank
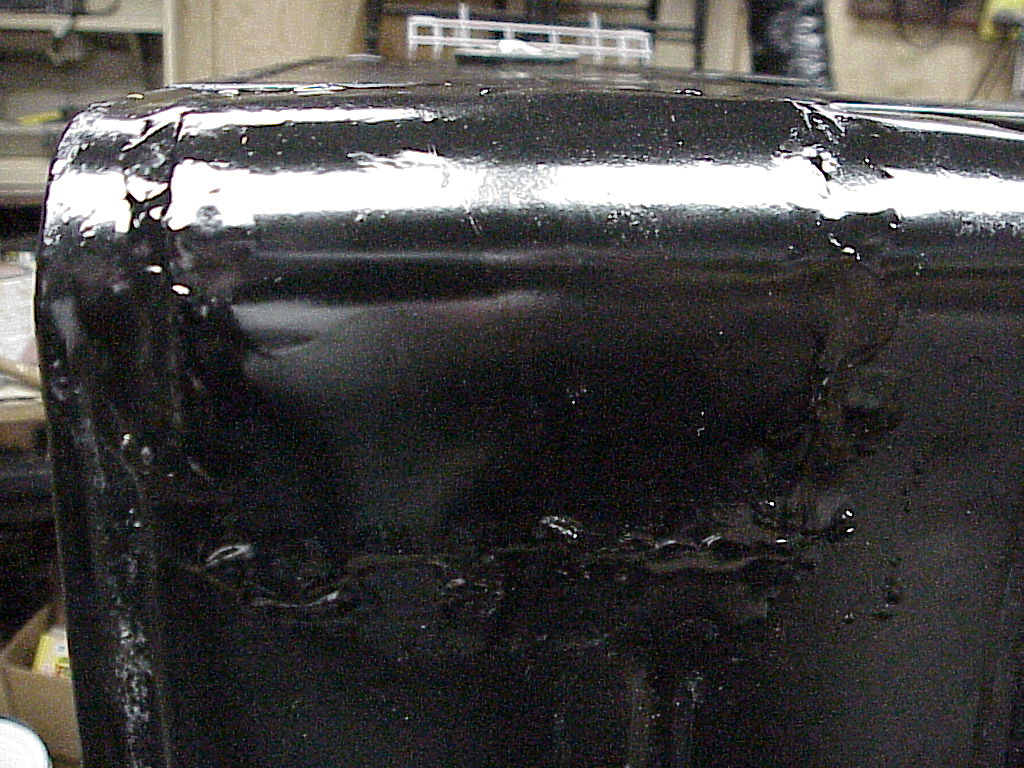
I had the radiator shop put the fuel tank into their dip tank to clean off all of the old undercoating and paint. When it came back, there were some surface rust areas to address, but overall it was just about ready for painting. A little scraping, some wire brush work and an application of Rust Mort (professional version of naval jelly) to convert any leftover rust and I was ready. I also vacuumed out any loose pieces inside of the tank by using the hole for the fuel sender and a lot of shaking.
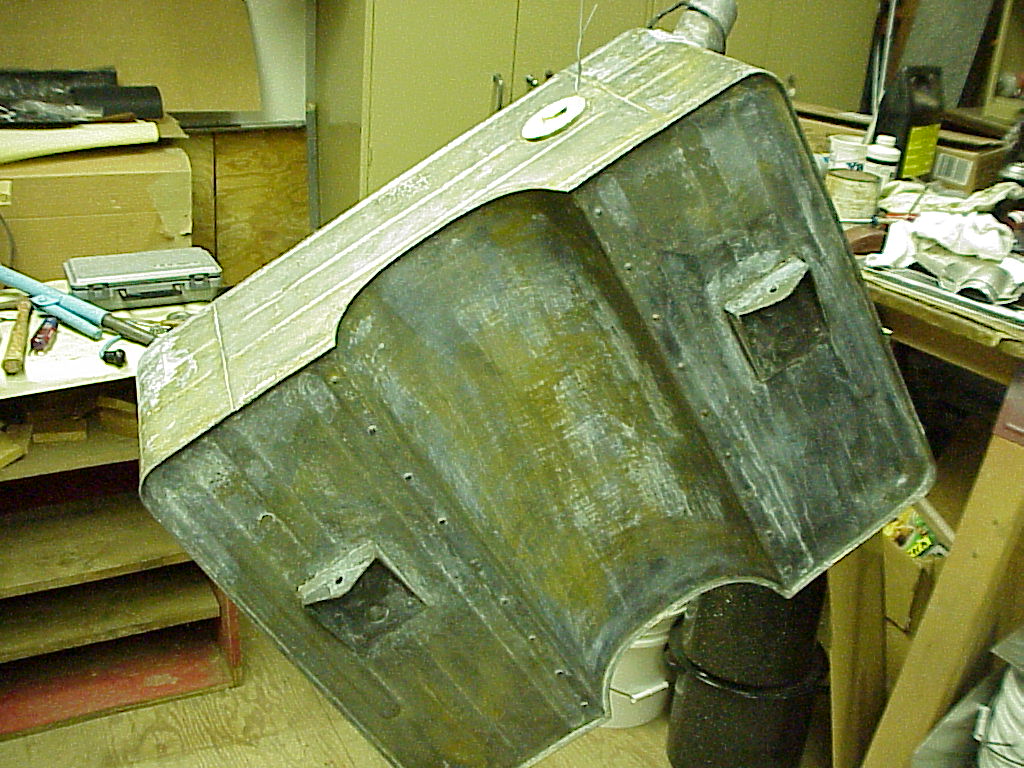
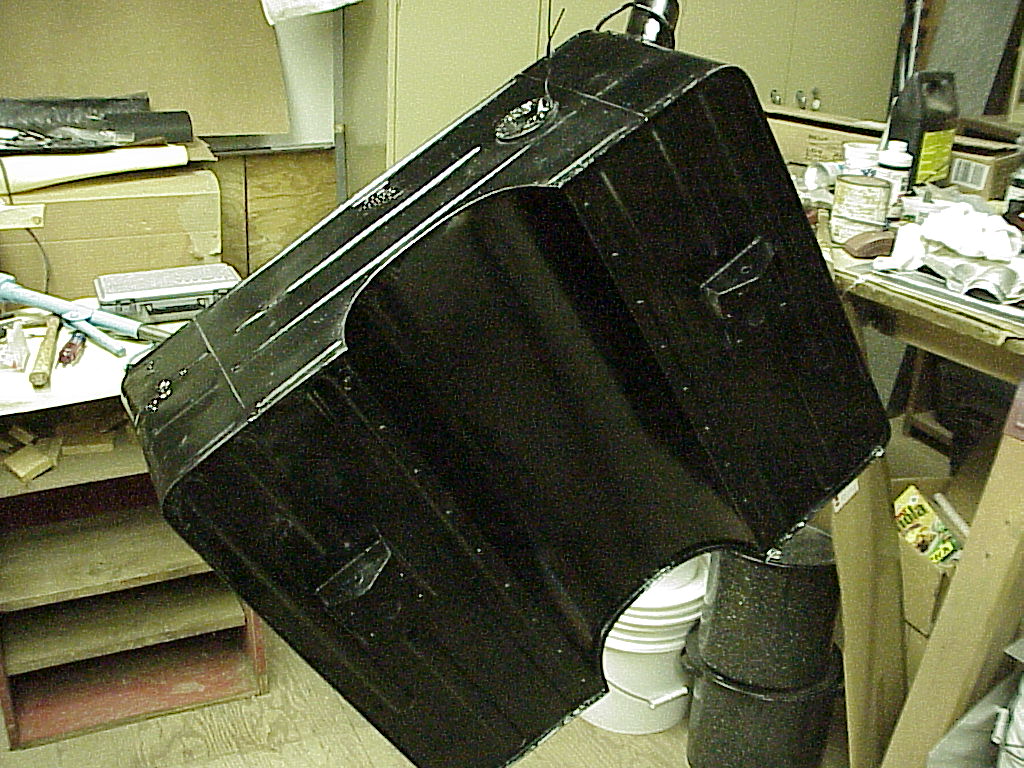
Here everything is masked and it's hanging from a wire so I can paint it all at once without having to worry about any marks left from the supports.
After the tank was painted, I let it hang for a day to make sure that the paint was quite hard. Installing the tank involves quite a bit of pushing and prodding so I wanted to minimize the damage to the paint.
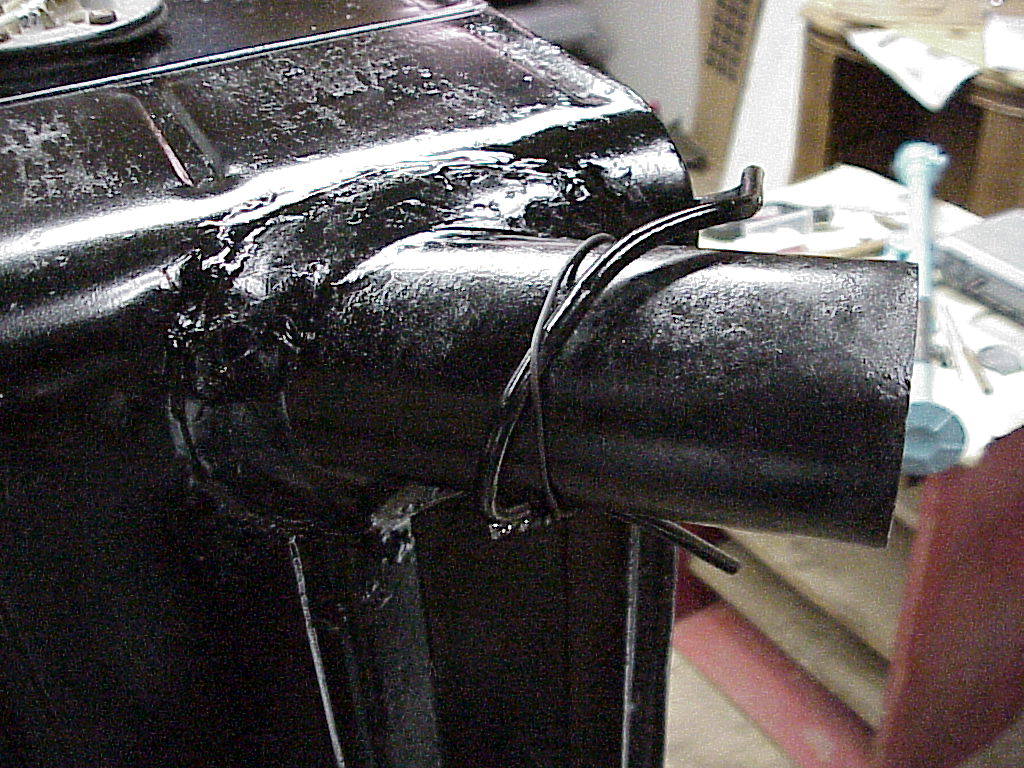
The radiator shop removed the filler and fuel return tube from my old tank and put them in the correct place on the new tank. Then they removed the old Series 1 filler and patched the hole with a piece of sheet brass.
 |
 |
| Filler and Fuel Return Tubing (safety wired together) |
Patch over old filler location |
Installing the tank is convoluted. The back of the car body has to be quite a ways in the air. I usually support the car by putting jack stands under the axle hubs with a piece of wood to protect the splines. This keeps the stress identical to having the wheels on. However that pushes up the differential and body together and my jack stands won't hold the body up high enough for the gas tank to clear. So I lift the body separately with the garage jack on the left side near the rear jack hole. Because of the fuel filler tube, the left side of the tank has to go up first until the filler clears the frame. Having the left side of the body up higher is sufficient to allow this. This would be the opposite for a Series 1 car with the filler on the right side. After the tank is aligned correctly and above the frame, then I use the garage jack to lift the tank up to where the flanges are near the bolts. I put a piece of wood with a large hole for the drain plug to protect the bottom of the tank and to even out the stress on the tank.
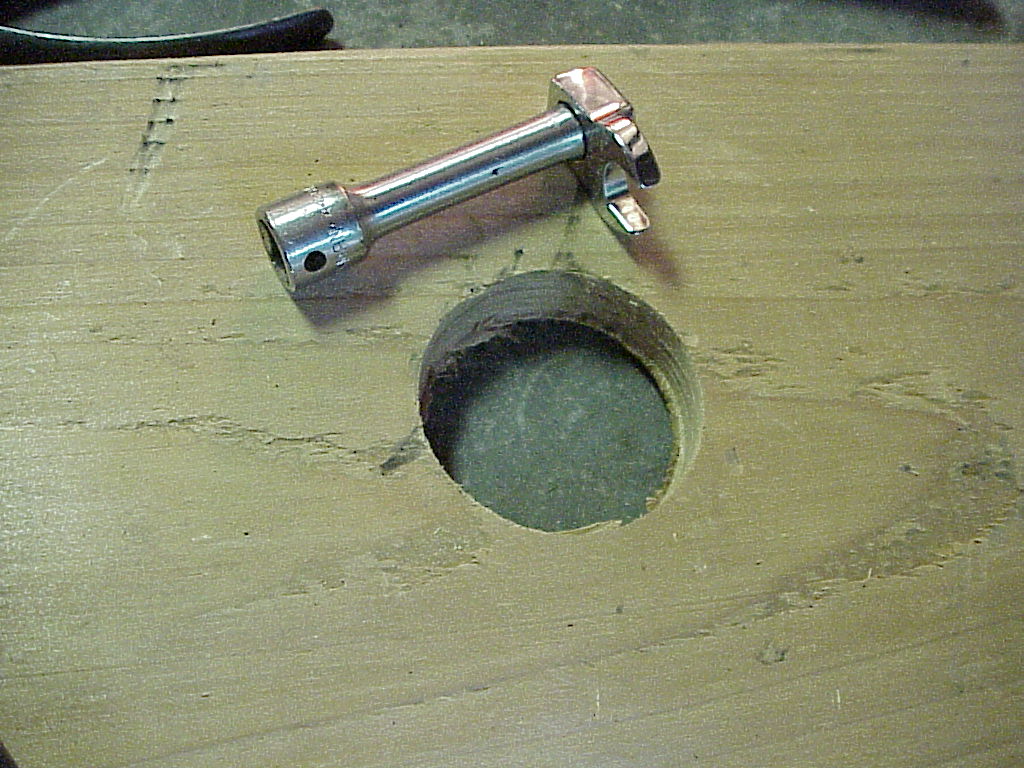
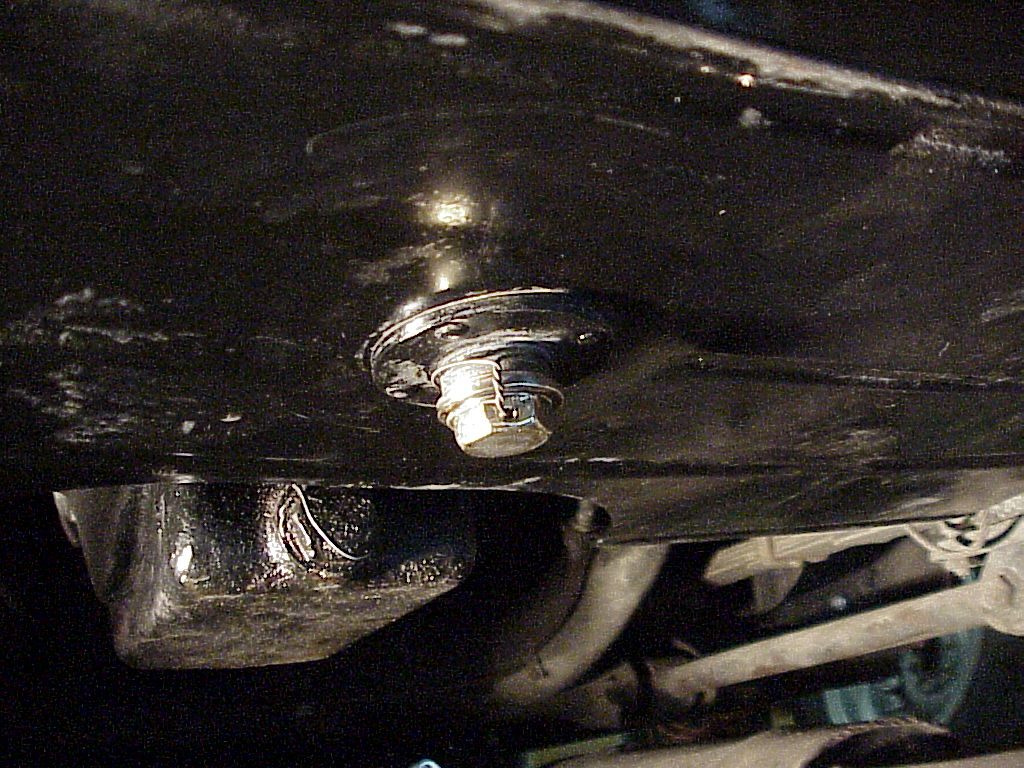
Once in place, the tank is held by four bolts, 8 rubber spacers (3/8" thick each), large washers, castellated nuts and cotter pins. The rubber spaces are on both sides of the flange on the fuel tank. The bolts are hard to hold onto as the heads have little access to them. I found that using a crowfoot wrench and a short extension would let me hold the bolt tight while I tightened or loosened the nut from the bottom. The bolts are put in place in the frame and the upper set of rubber spacers are put on them before installing the tank. It's good if the rubber spacers fit tight on the bolts as that will help prevent the bolts from being pushed up when the tank is raised into place.
 |
 |
The final steps are to connect the wiring (actually this is done while the tank is being raised since the connections are on the top of the tank), hoses, fuel pickup and drain plug.
 |
 |
|
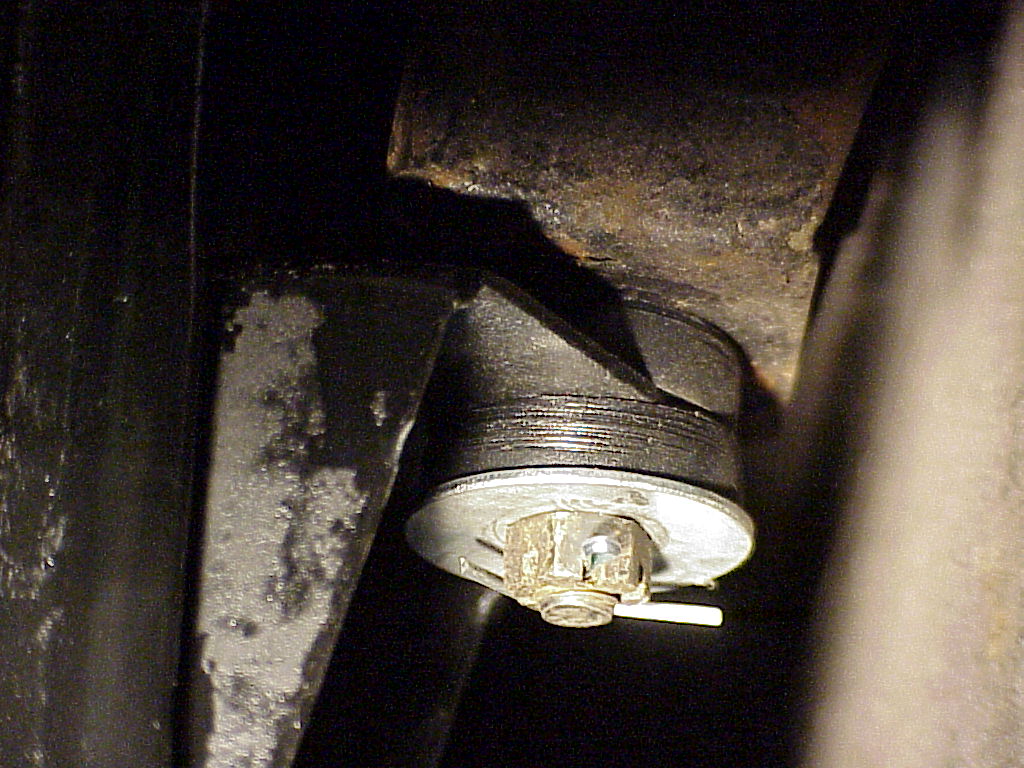
Fuel pickup tube and hose |
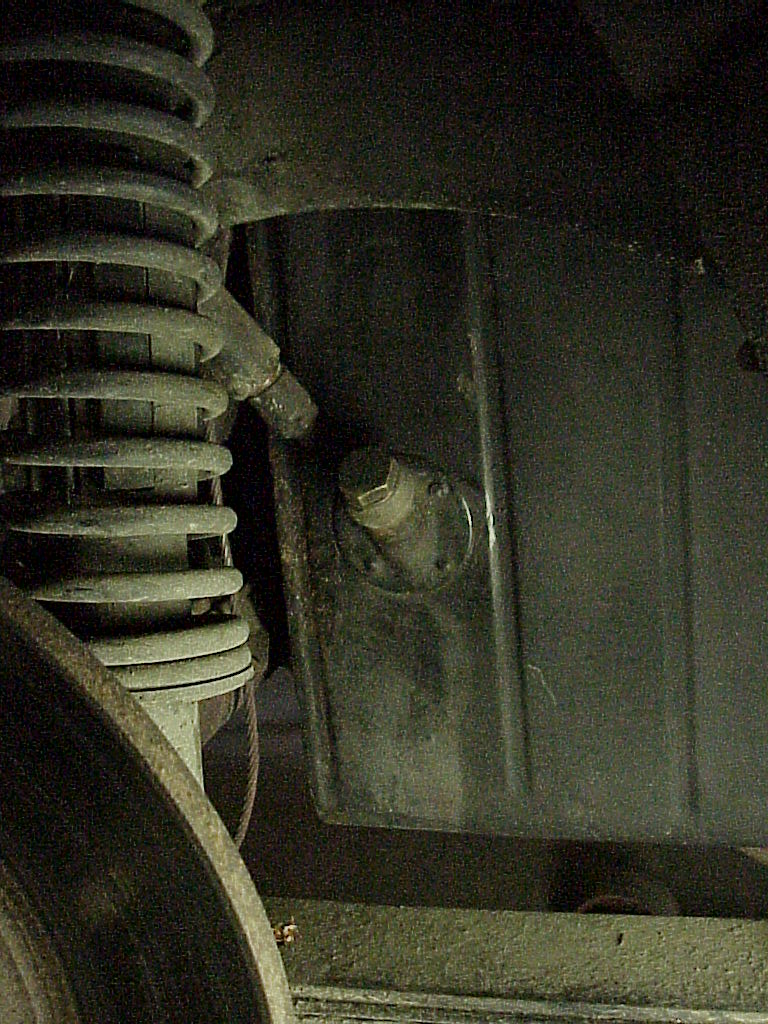
Drain plug with safety wire |
Now that everything is back together, I put the fuel that I drained out back into the tank. So far, no leaks. The acid test will be when I fill it full the first time. Right now, with only 3 or 4 gallons in it, everything looks fine. So I'll put the exhaust pipes back in place, head down to the Costco gas station and keep my fingers crossed. I know I'm paranoid about the tank leaking, but after all of the problems with the last one, I have a right to be.
A quick update, with 10 gallons of fuel, no leaks!
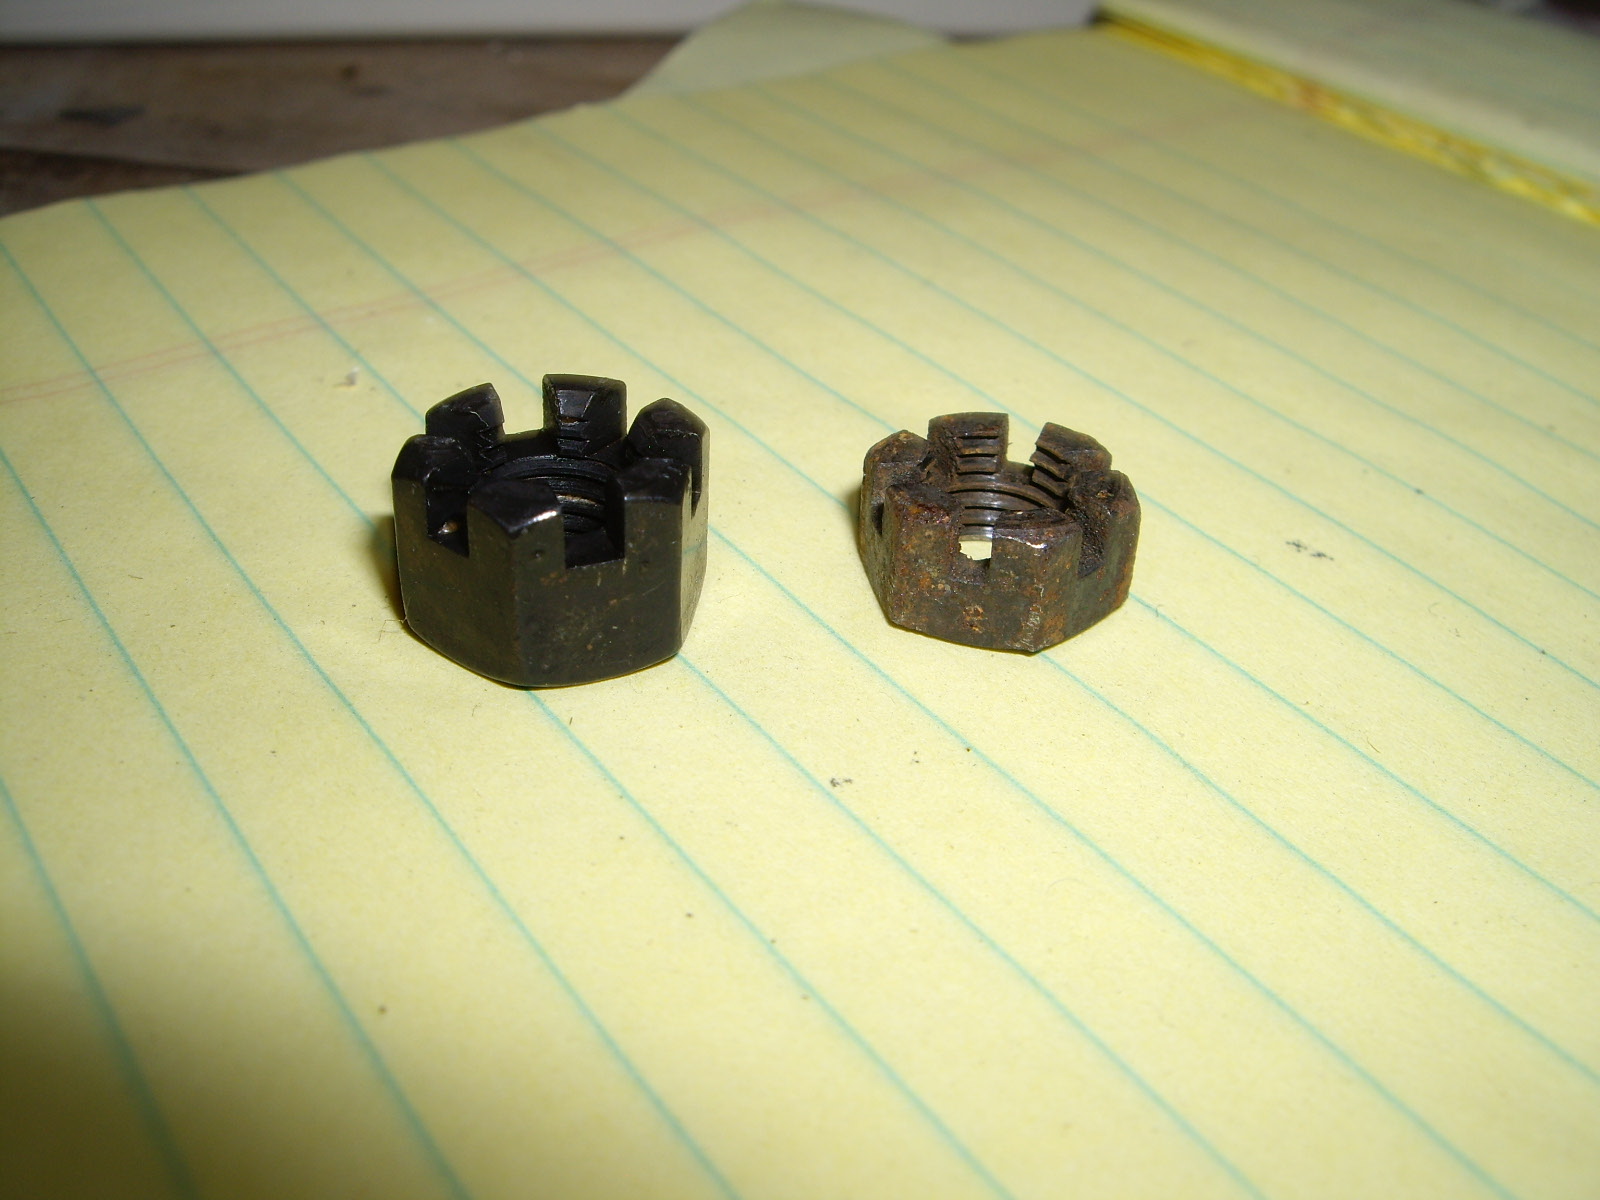
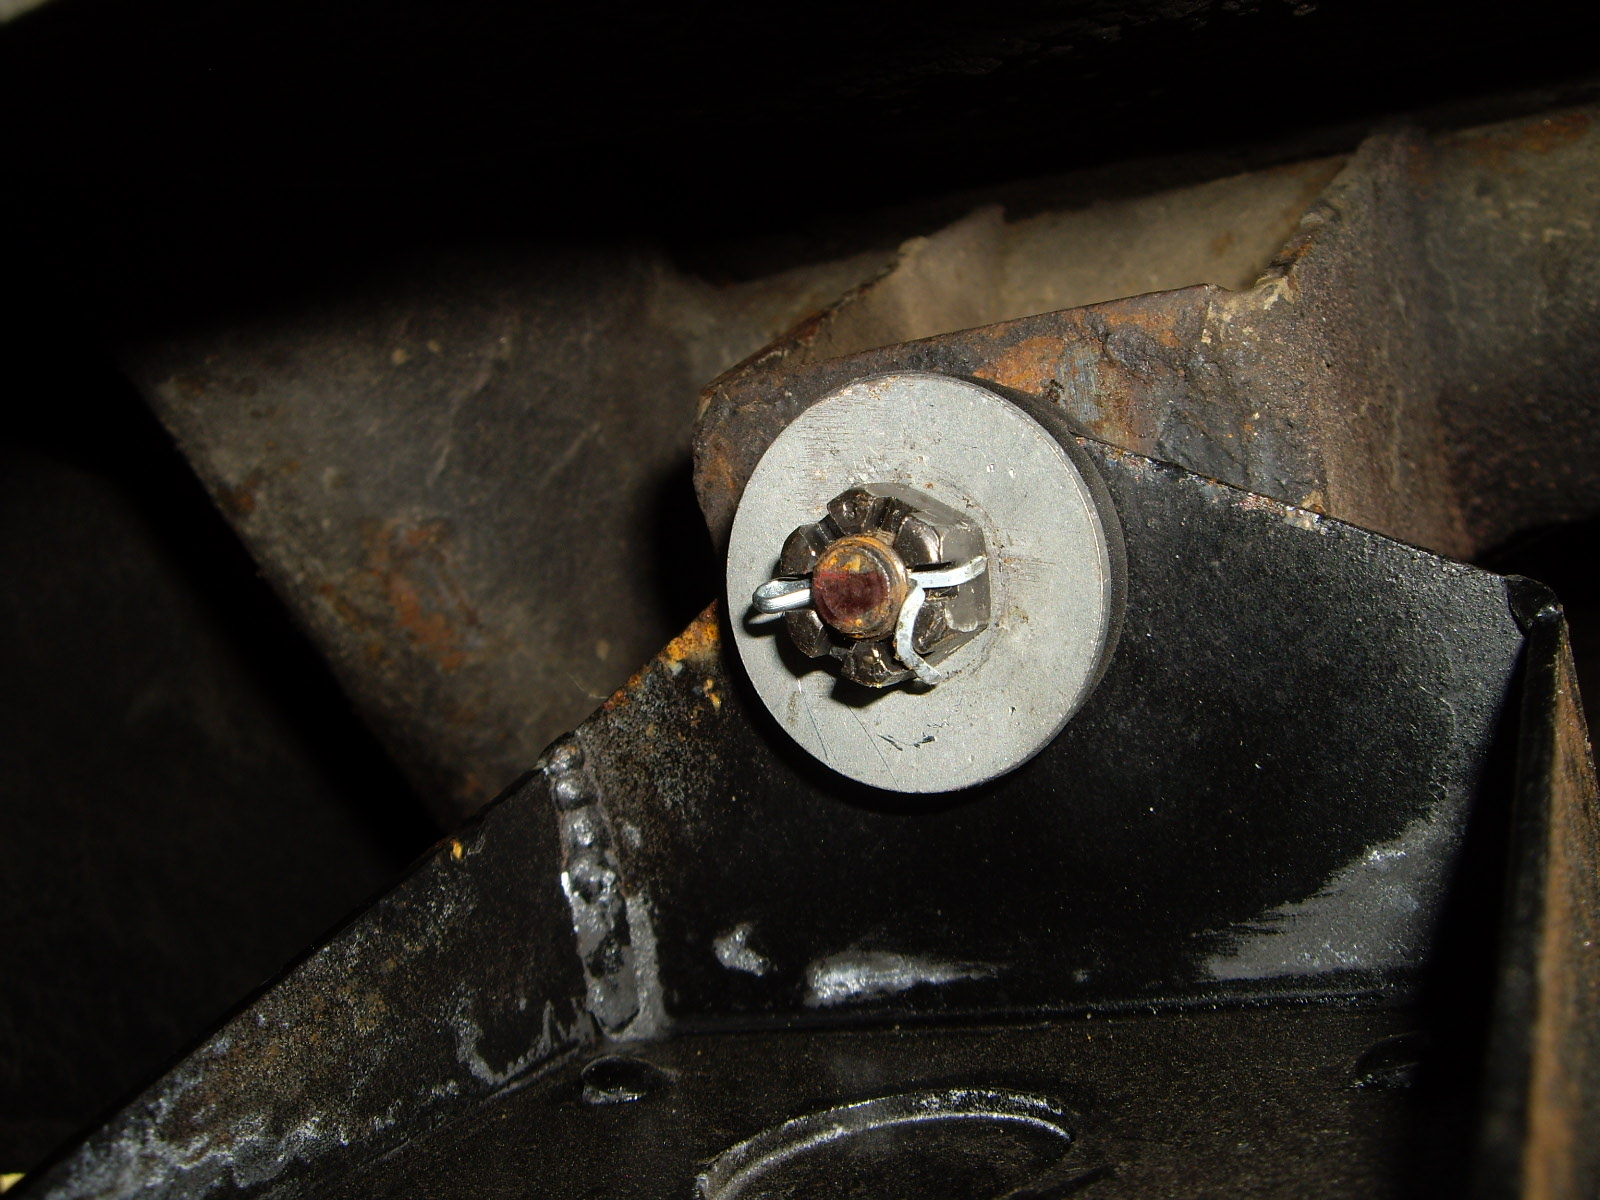
When I did all of this work on the fuel tank, I wasn't able to find the right castellated nuts (8x1.0mm fine thread). So I had used some regular nuts that I cut slots in to act as a castellated nut. This worked, but regular nuts aren't as thick as castellated ones are. With my work on the PF coupe, I needed a number of fine thread castellated nuts for the suspension, so I ended up with some extra that are right for the fuel tank. I had the 330 on the lift to change bumper end pads, so used this opportunity to swap the nuts too. Here you can see the differences between real ones and what I made along with the final installation.
 |
 |