December 2018
Well another month and another CR-V. Hopefully that means that the car will be done sooner than the original time estimate as they are going through the budget much faster than the dollar estimate.
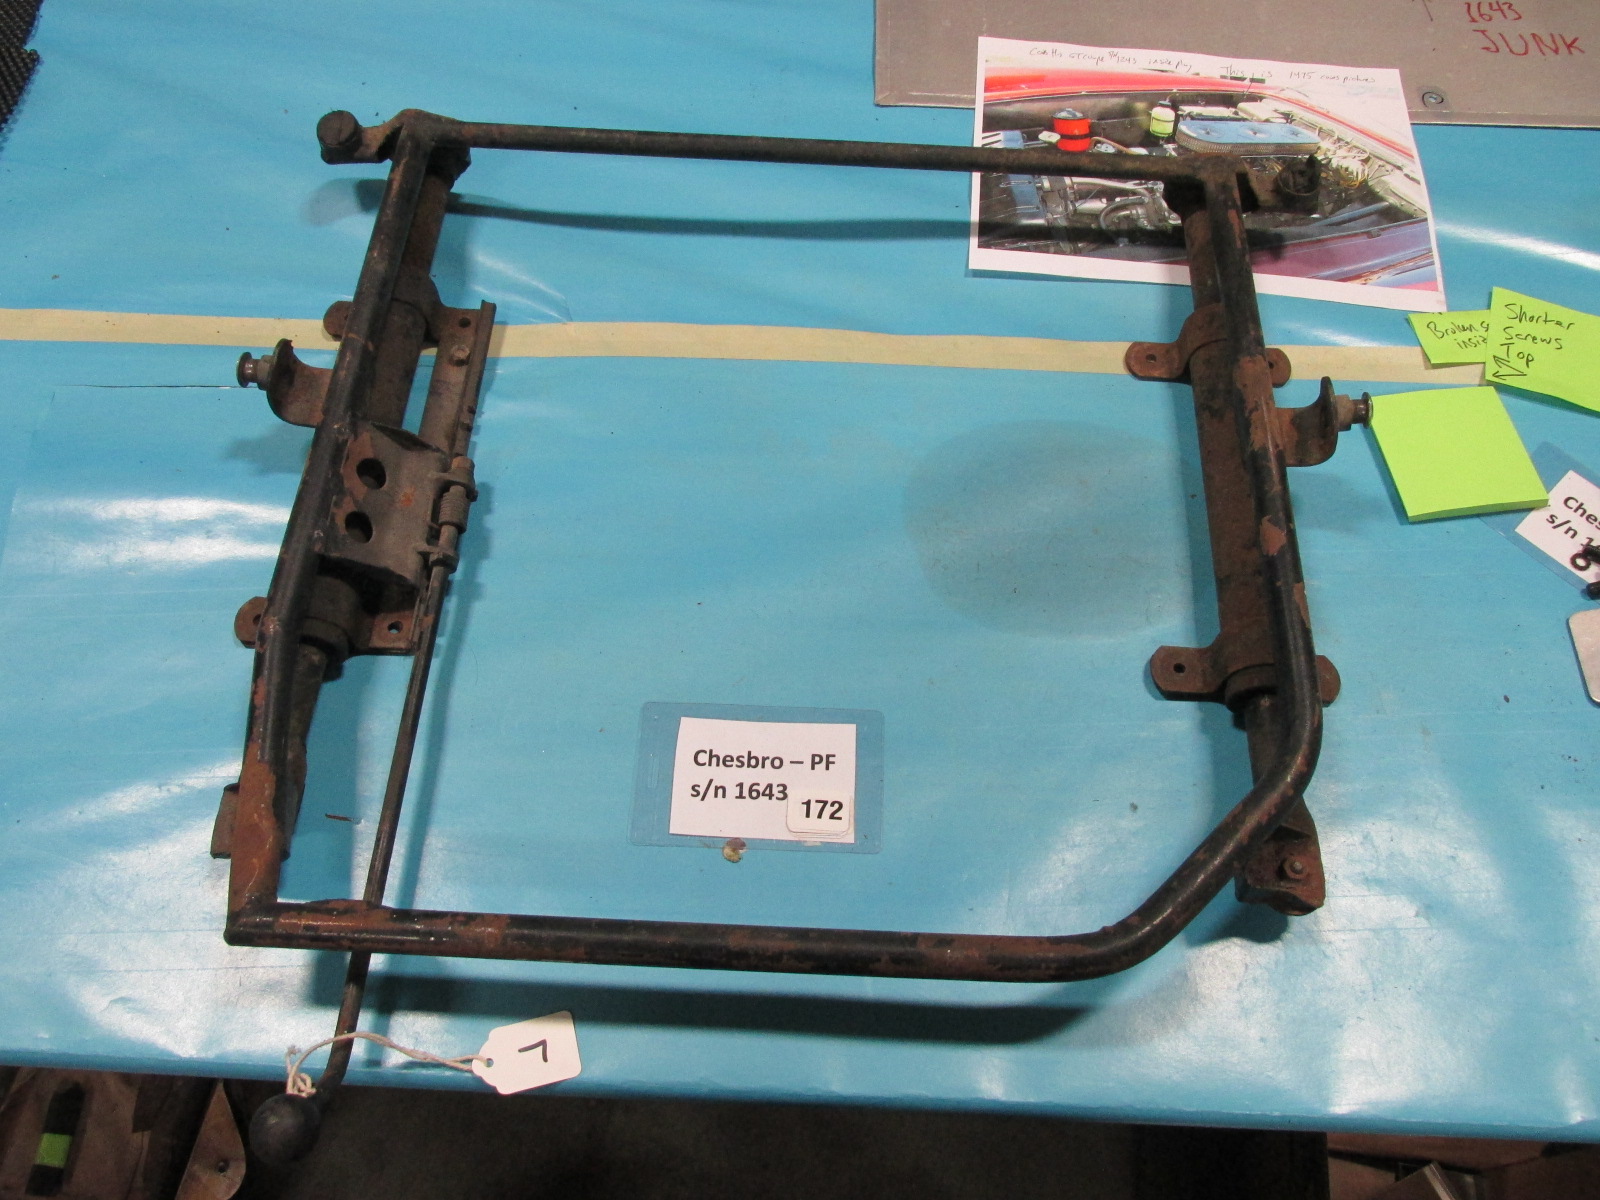
A lot of disassembly, cleaning and painting. Among other items are the seat frames, hood frame and the pedal box.

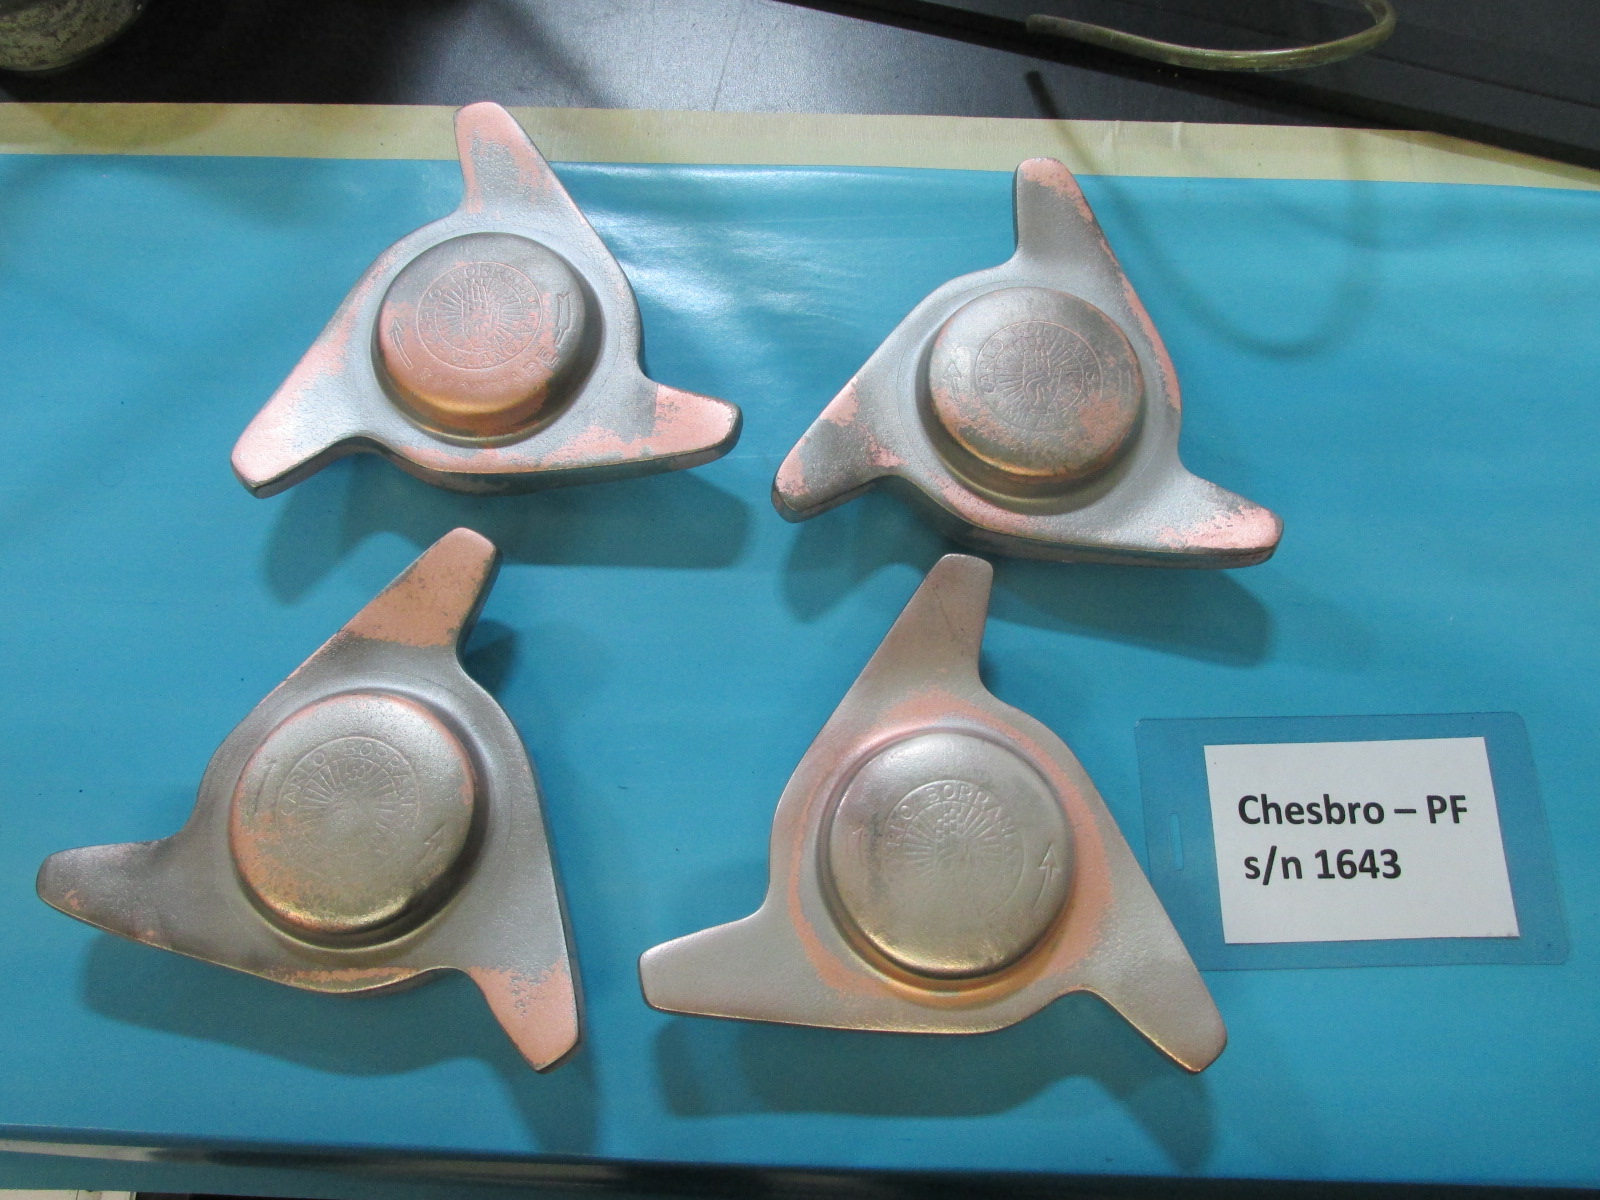
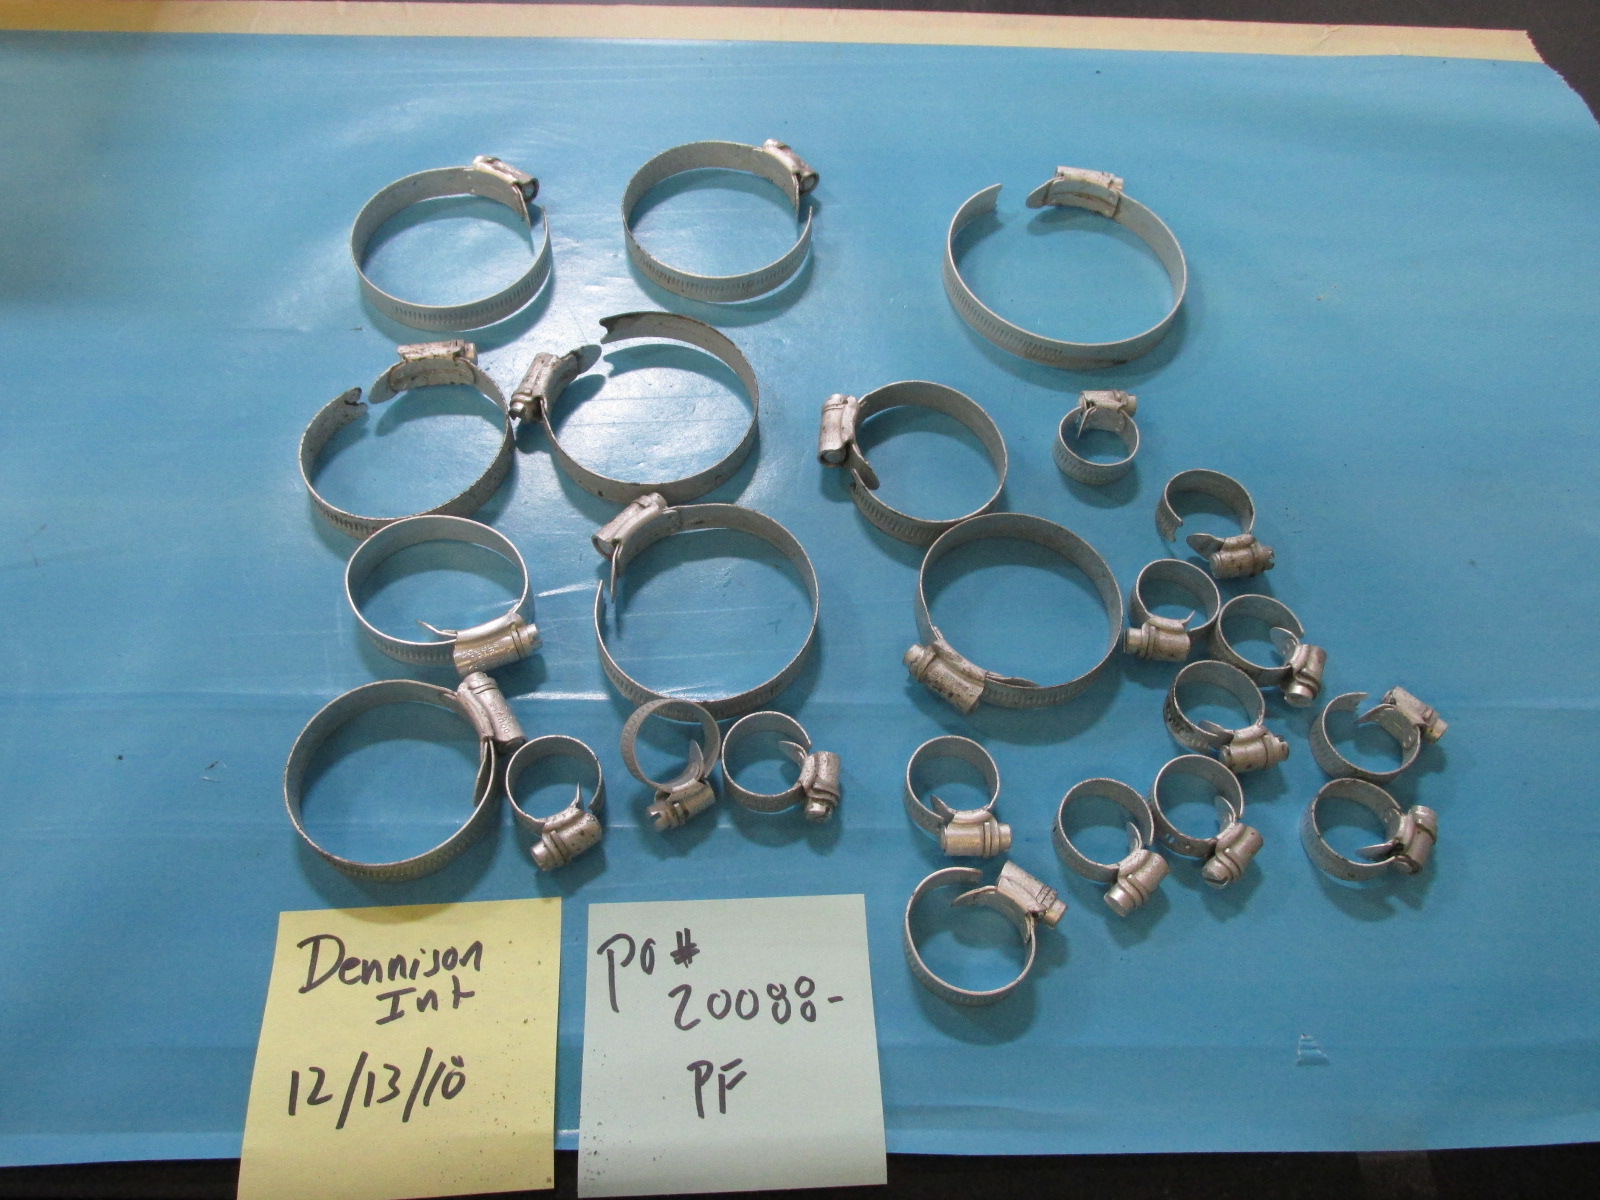
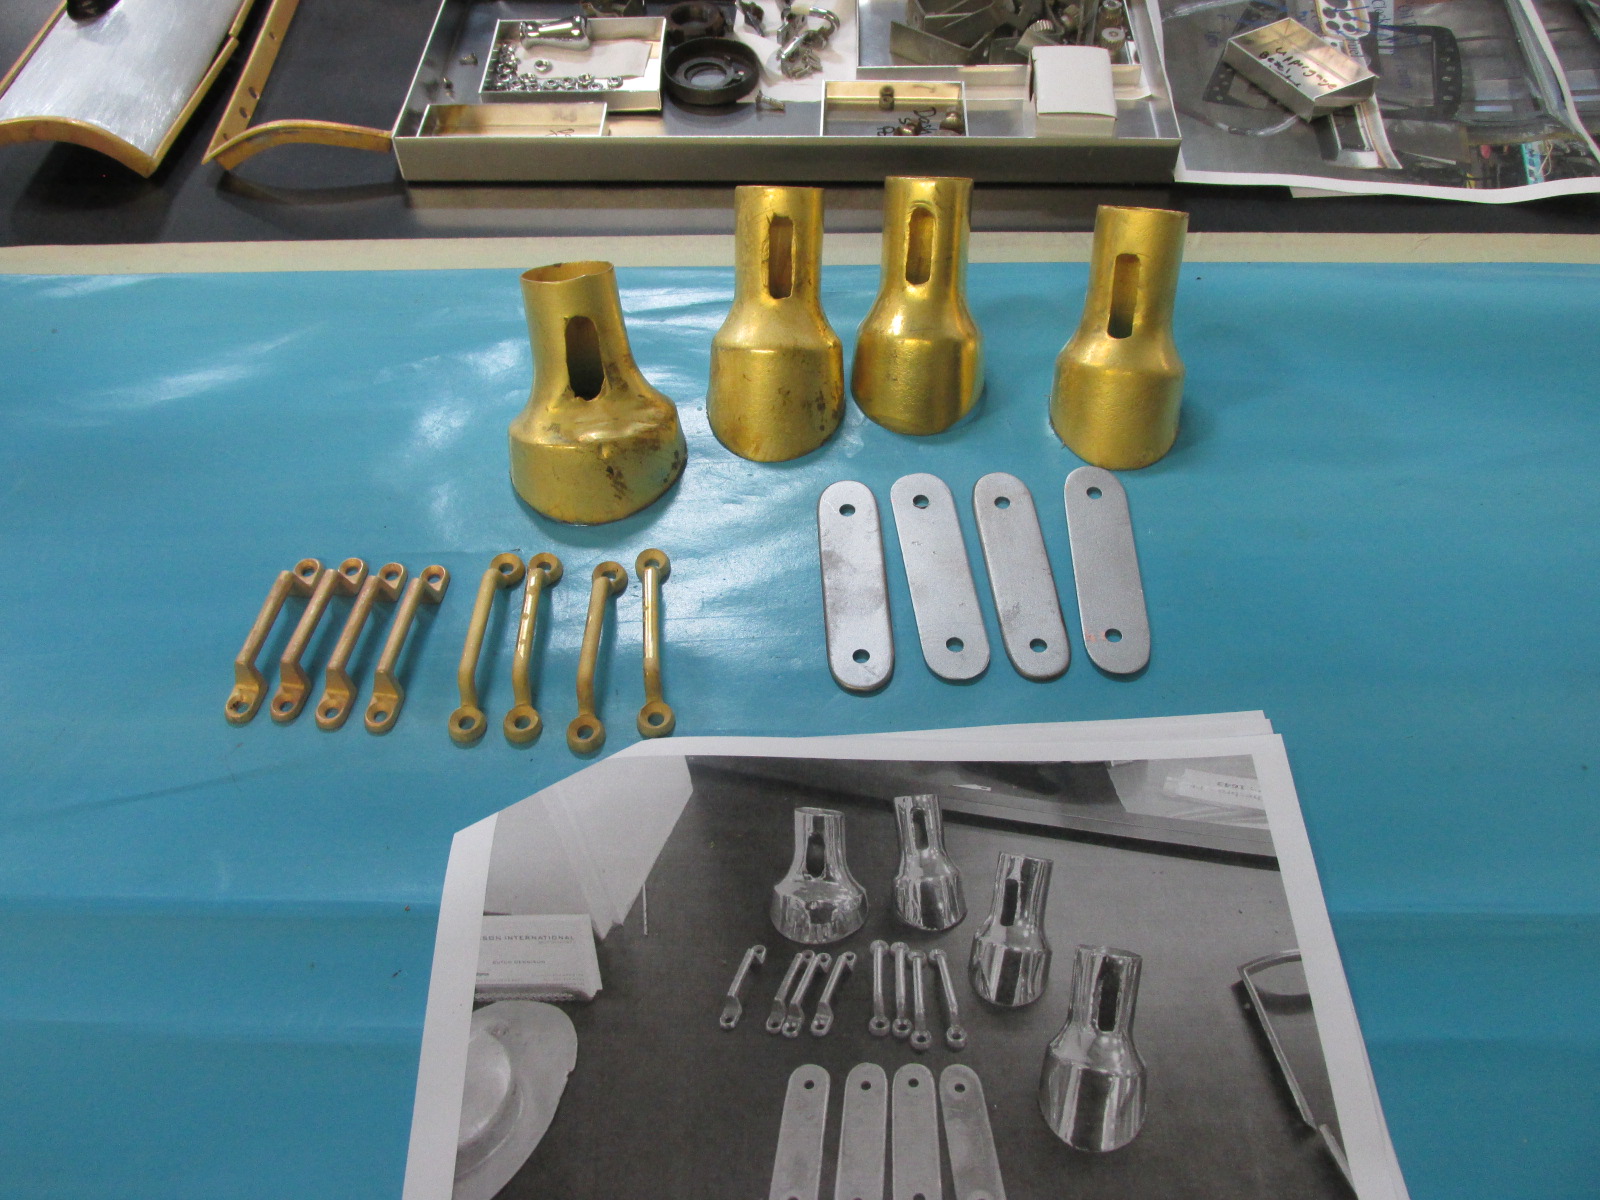
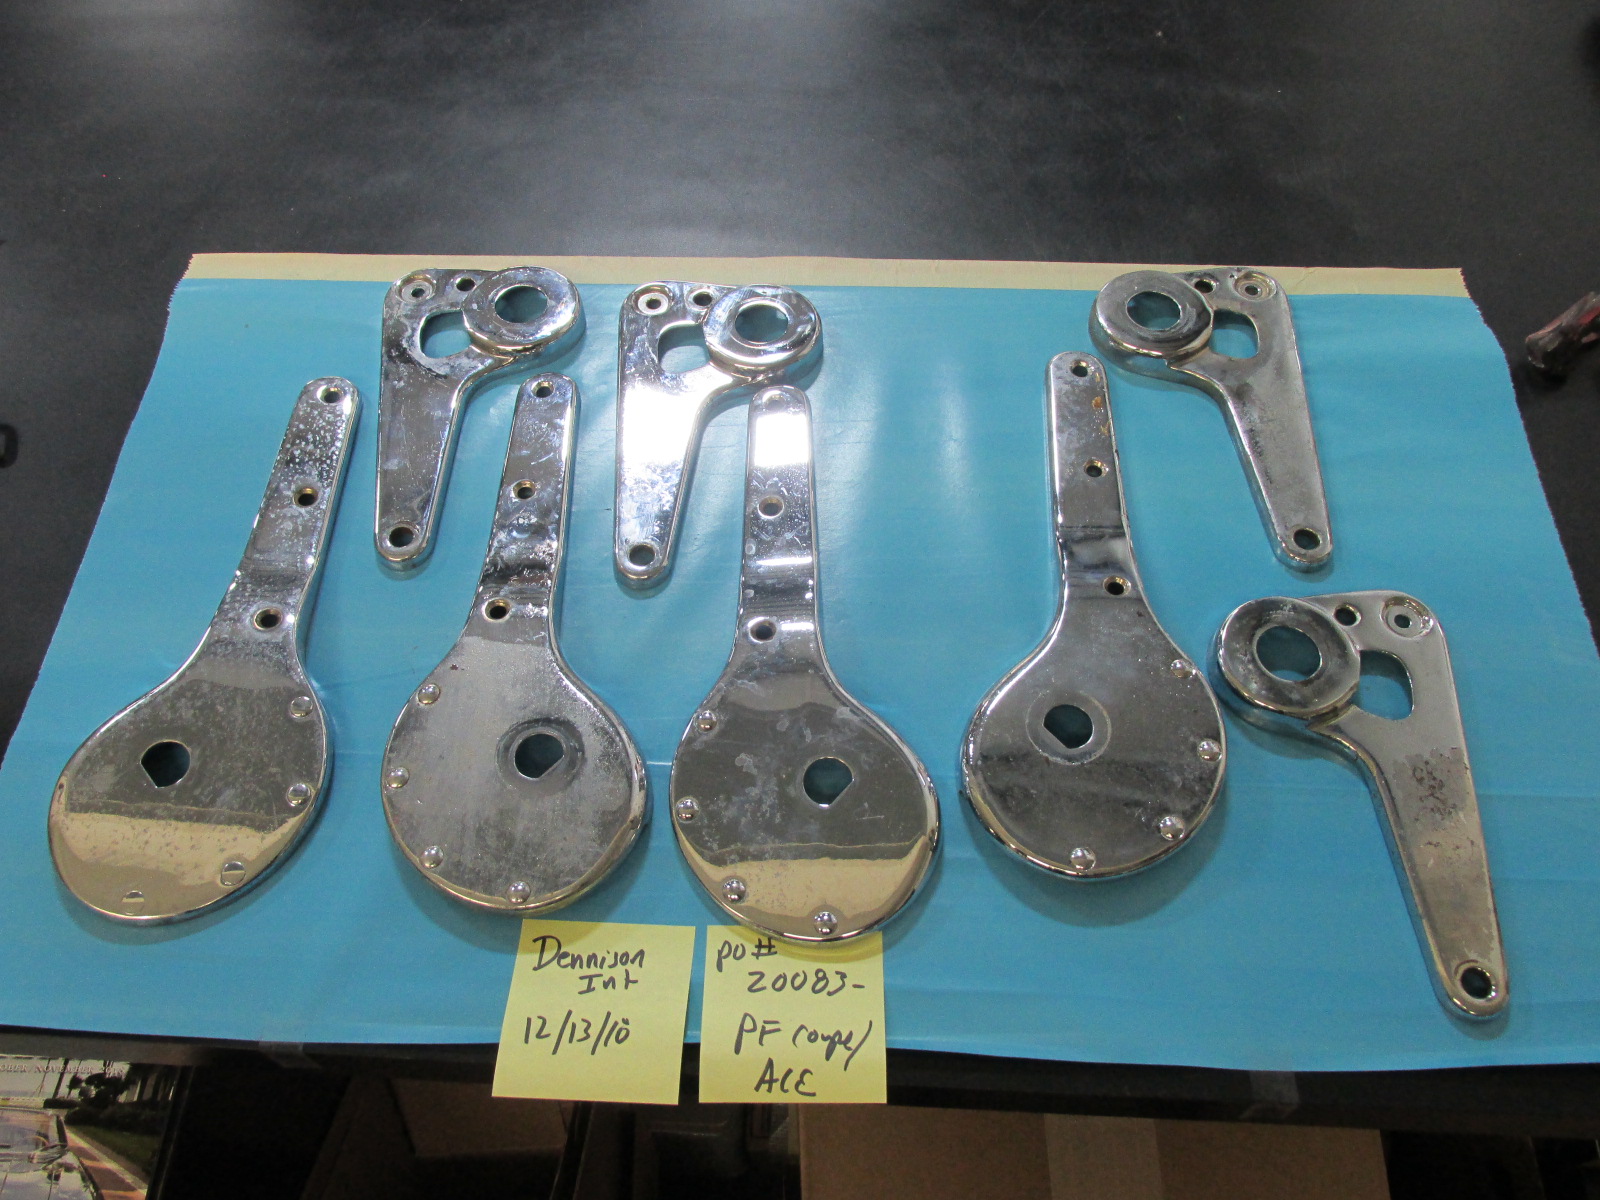
Among other things going on is the inventorying. Every part is laid out, photographed with a number, then stored away. That way, there are no questions about what parts were supplied, or where they went to. The original condition is documented at the same time. These included all of the Cheney clamps I'd accumulated over the years that I already had restored.
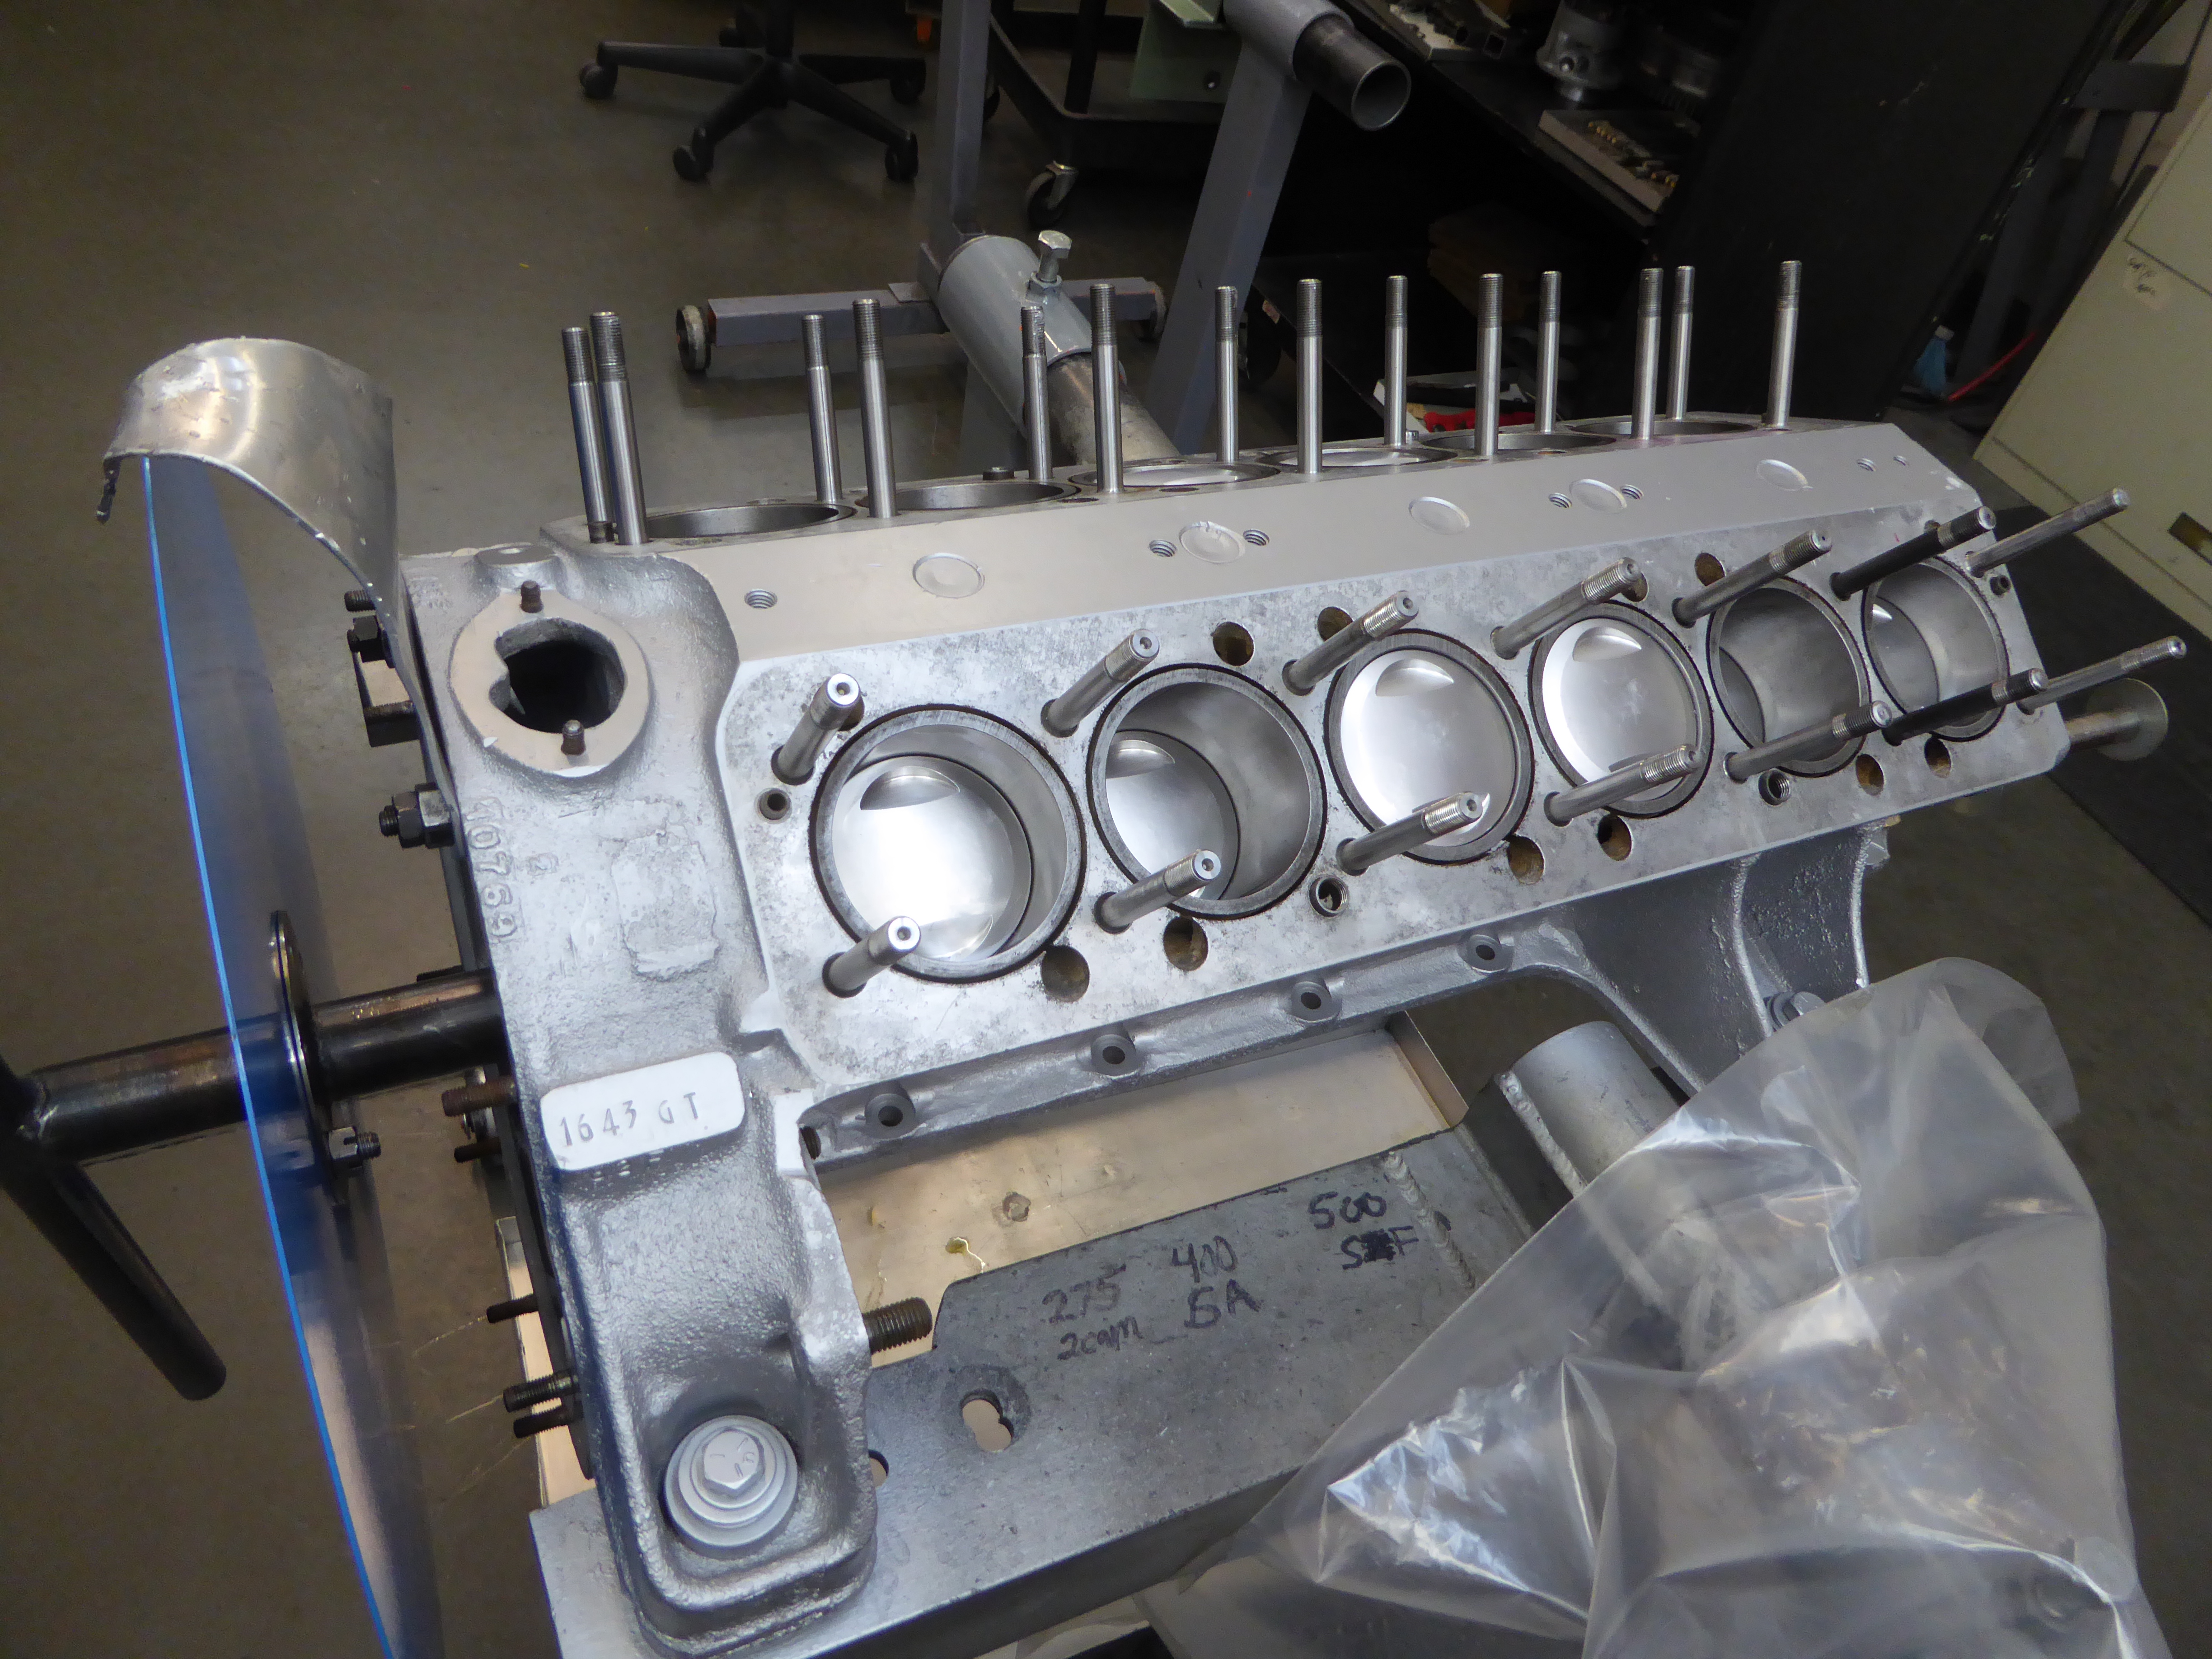
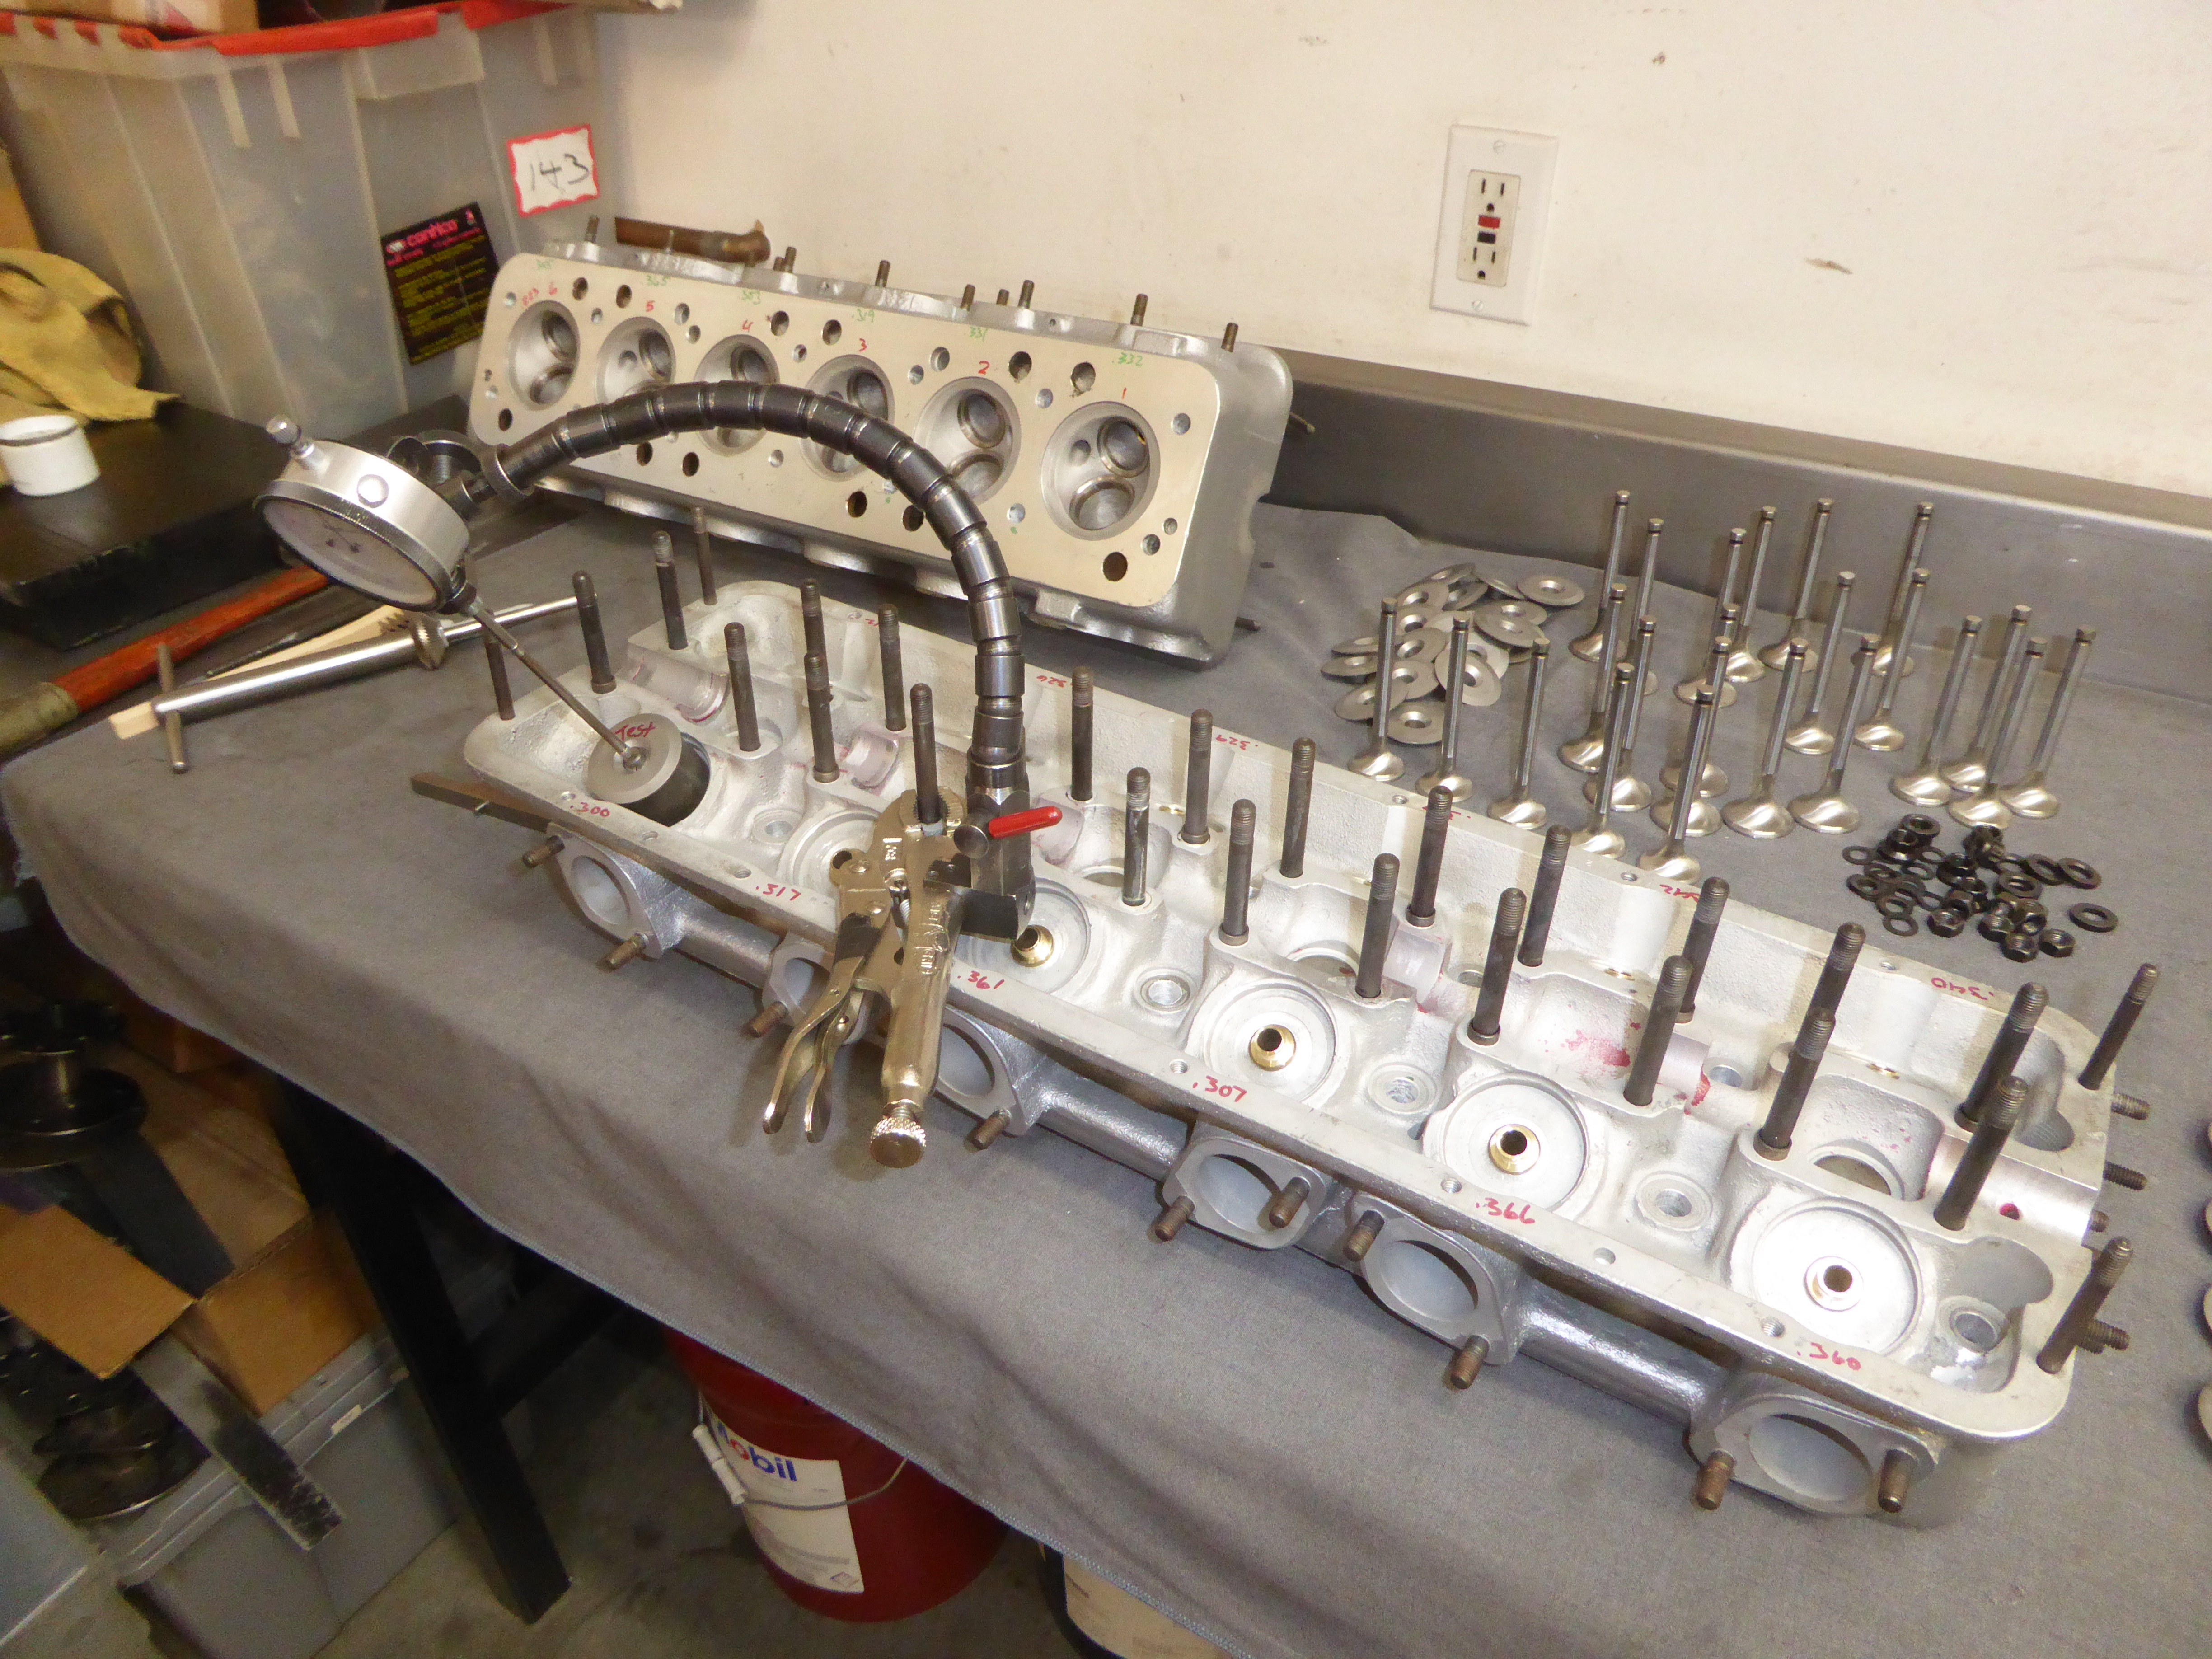
The engine mechanic continued assembling the engine. The valve train needed a new rocker arm and the cams were sent out to be re-ground. They even managed to remove the two head studs that I never got out. I asked how and they said with heat and bees wax. Evidently the bees wax will flow down through the heated stud's threads better than something like WD-40. Plus it doesn't evaporate with the heat and ends up acting like a lubricant once the threads break free.
The hood and trunk lid were manually stripped since they are aluminum.

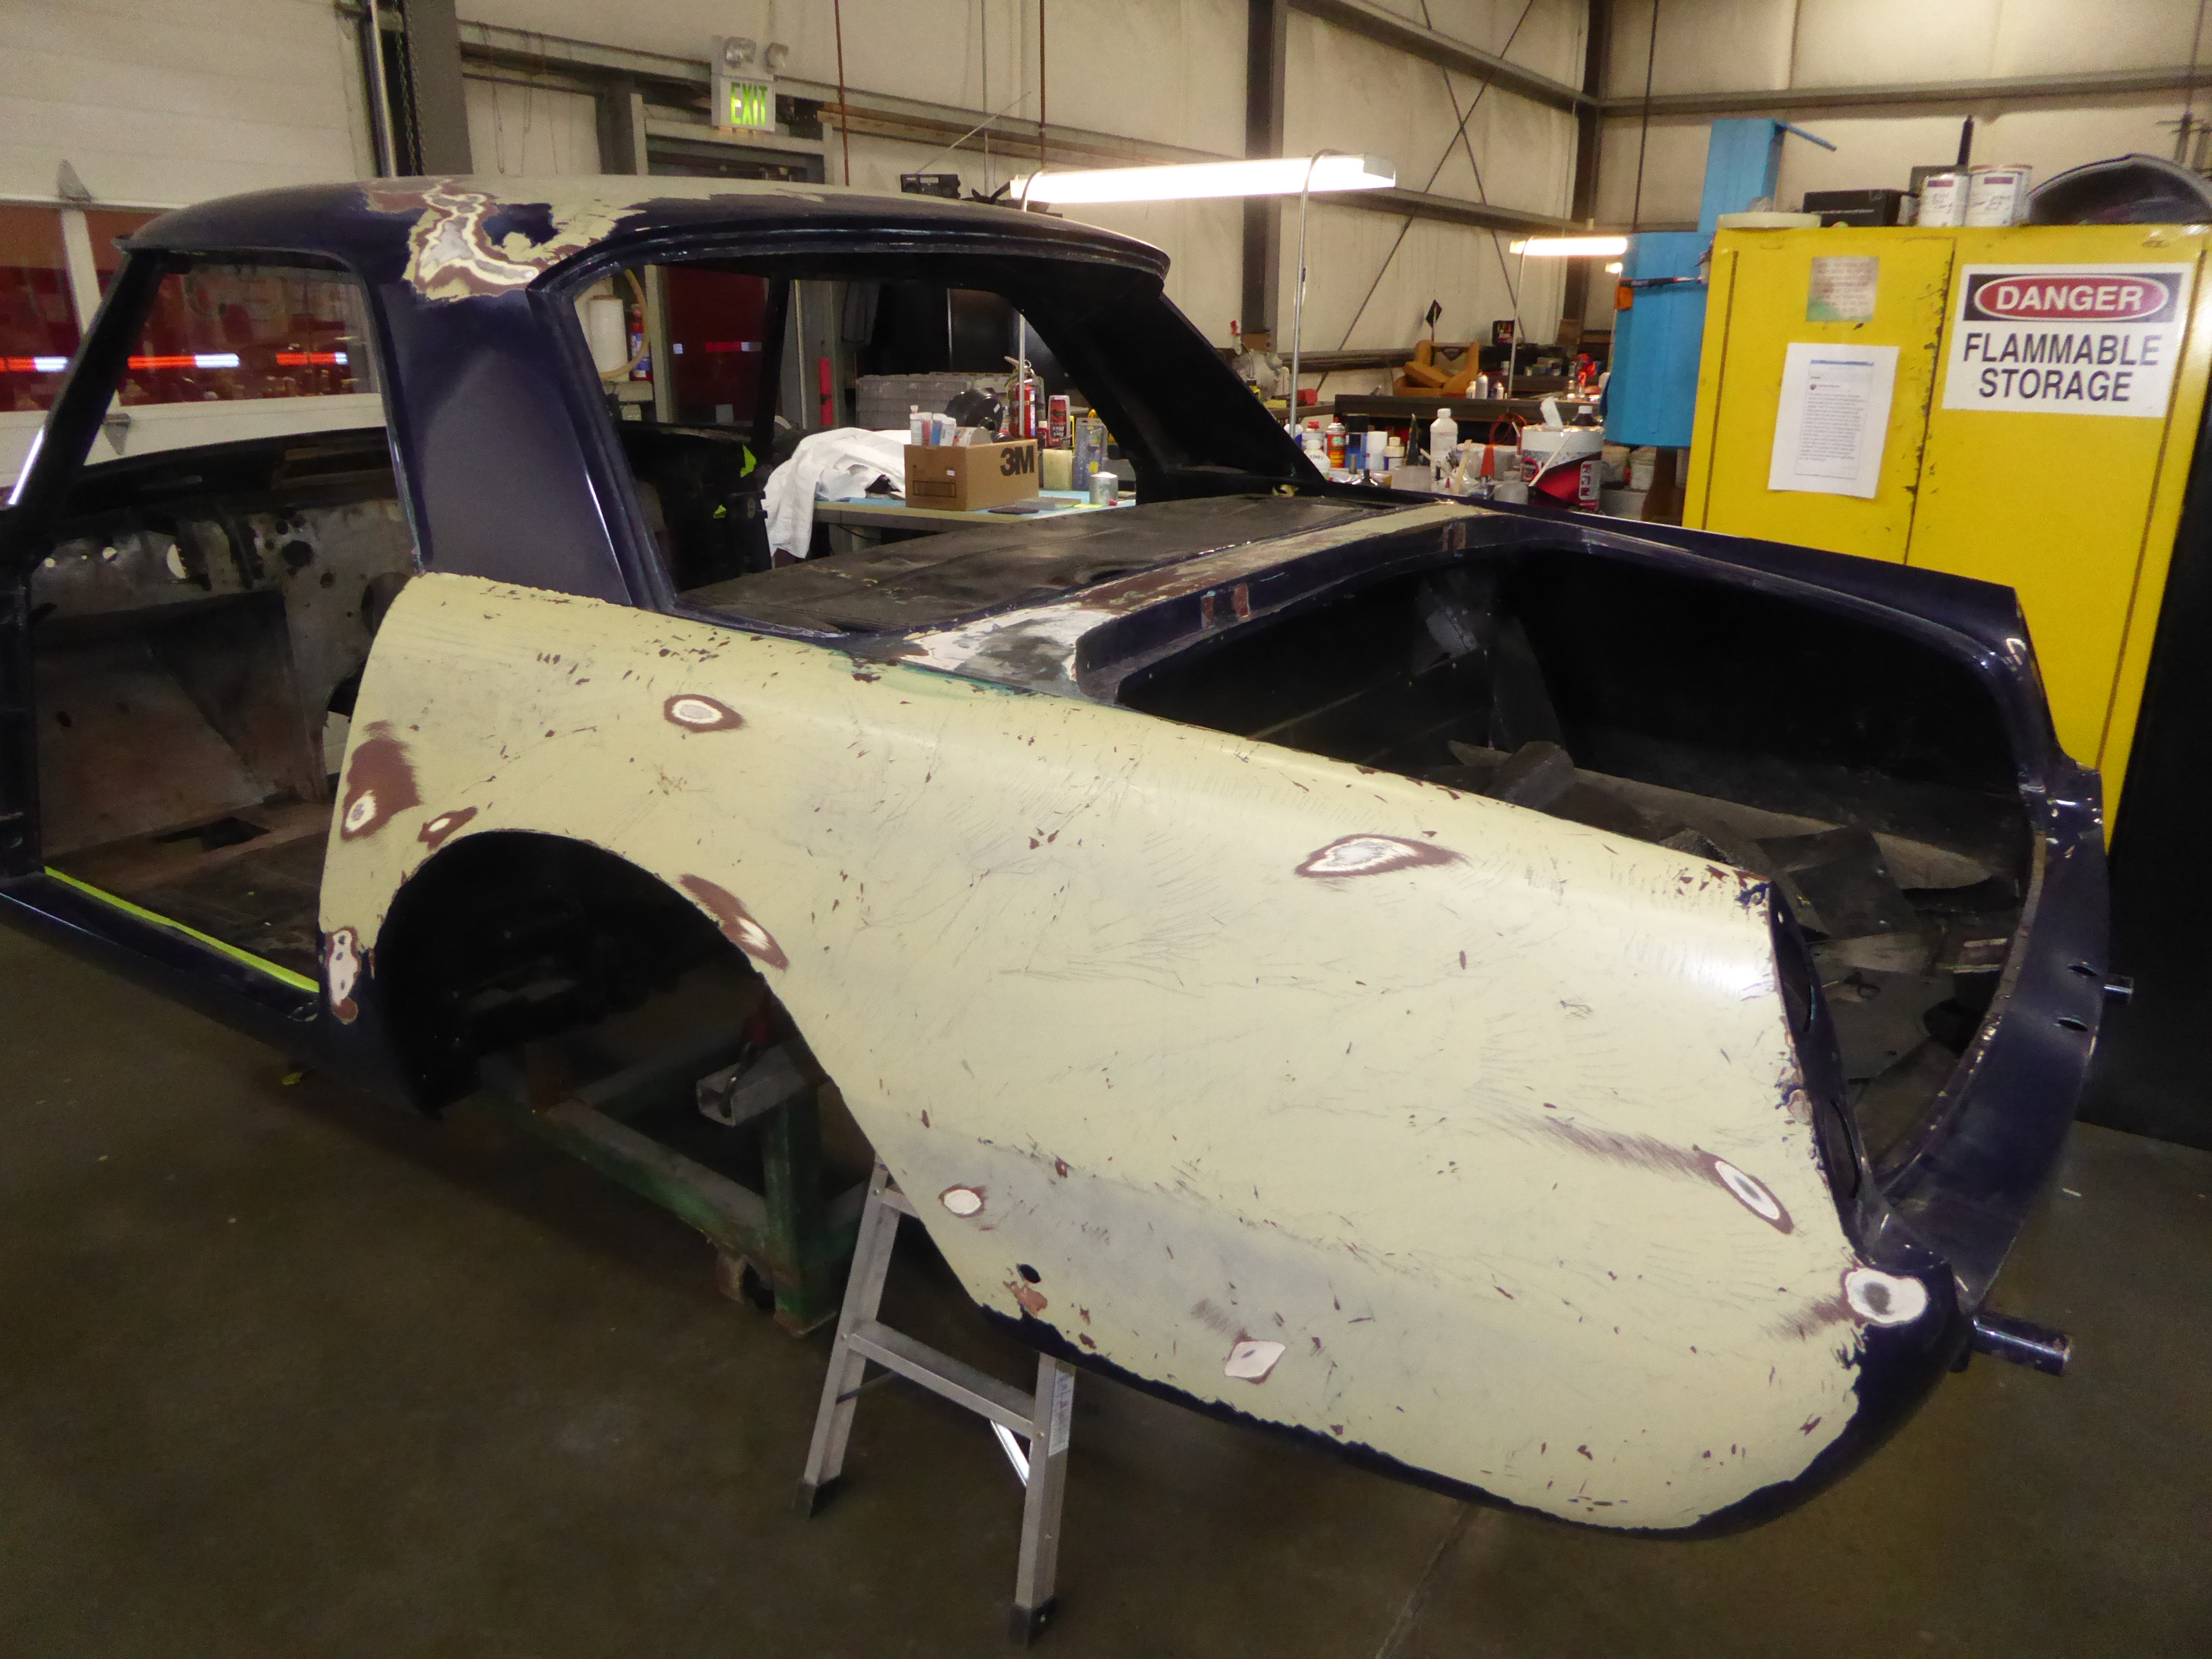
The rest of the car was readied to be sent out for mechanical stripping of the paint and filler. A few places were spot checked to see about the amount of filler used. The overall lines looked pretty good, but there are areas where an 1/8" of filler is present. It will be interesting to see how much sheet metal work will be needed to have a minimal thickness of filler used to give the correct lines.
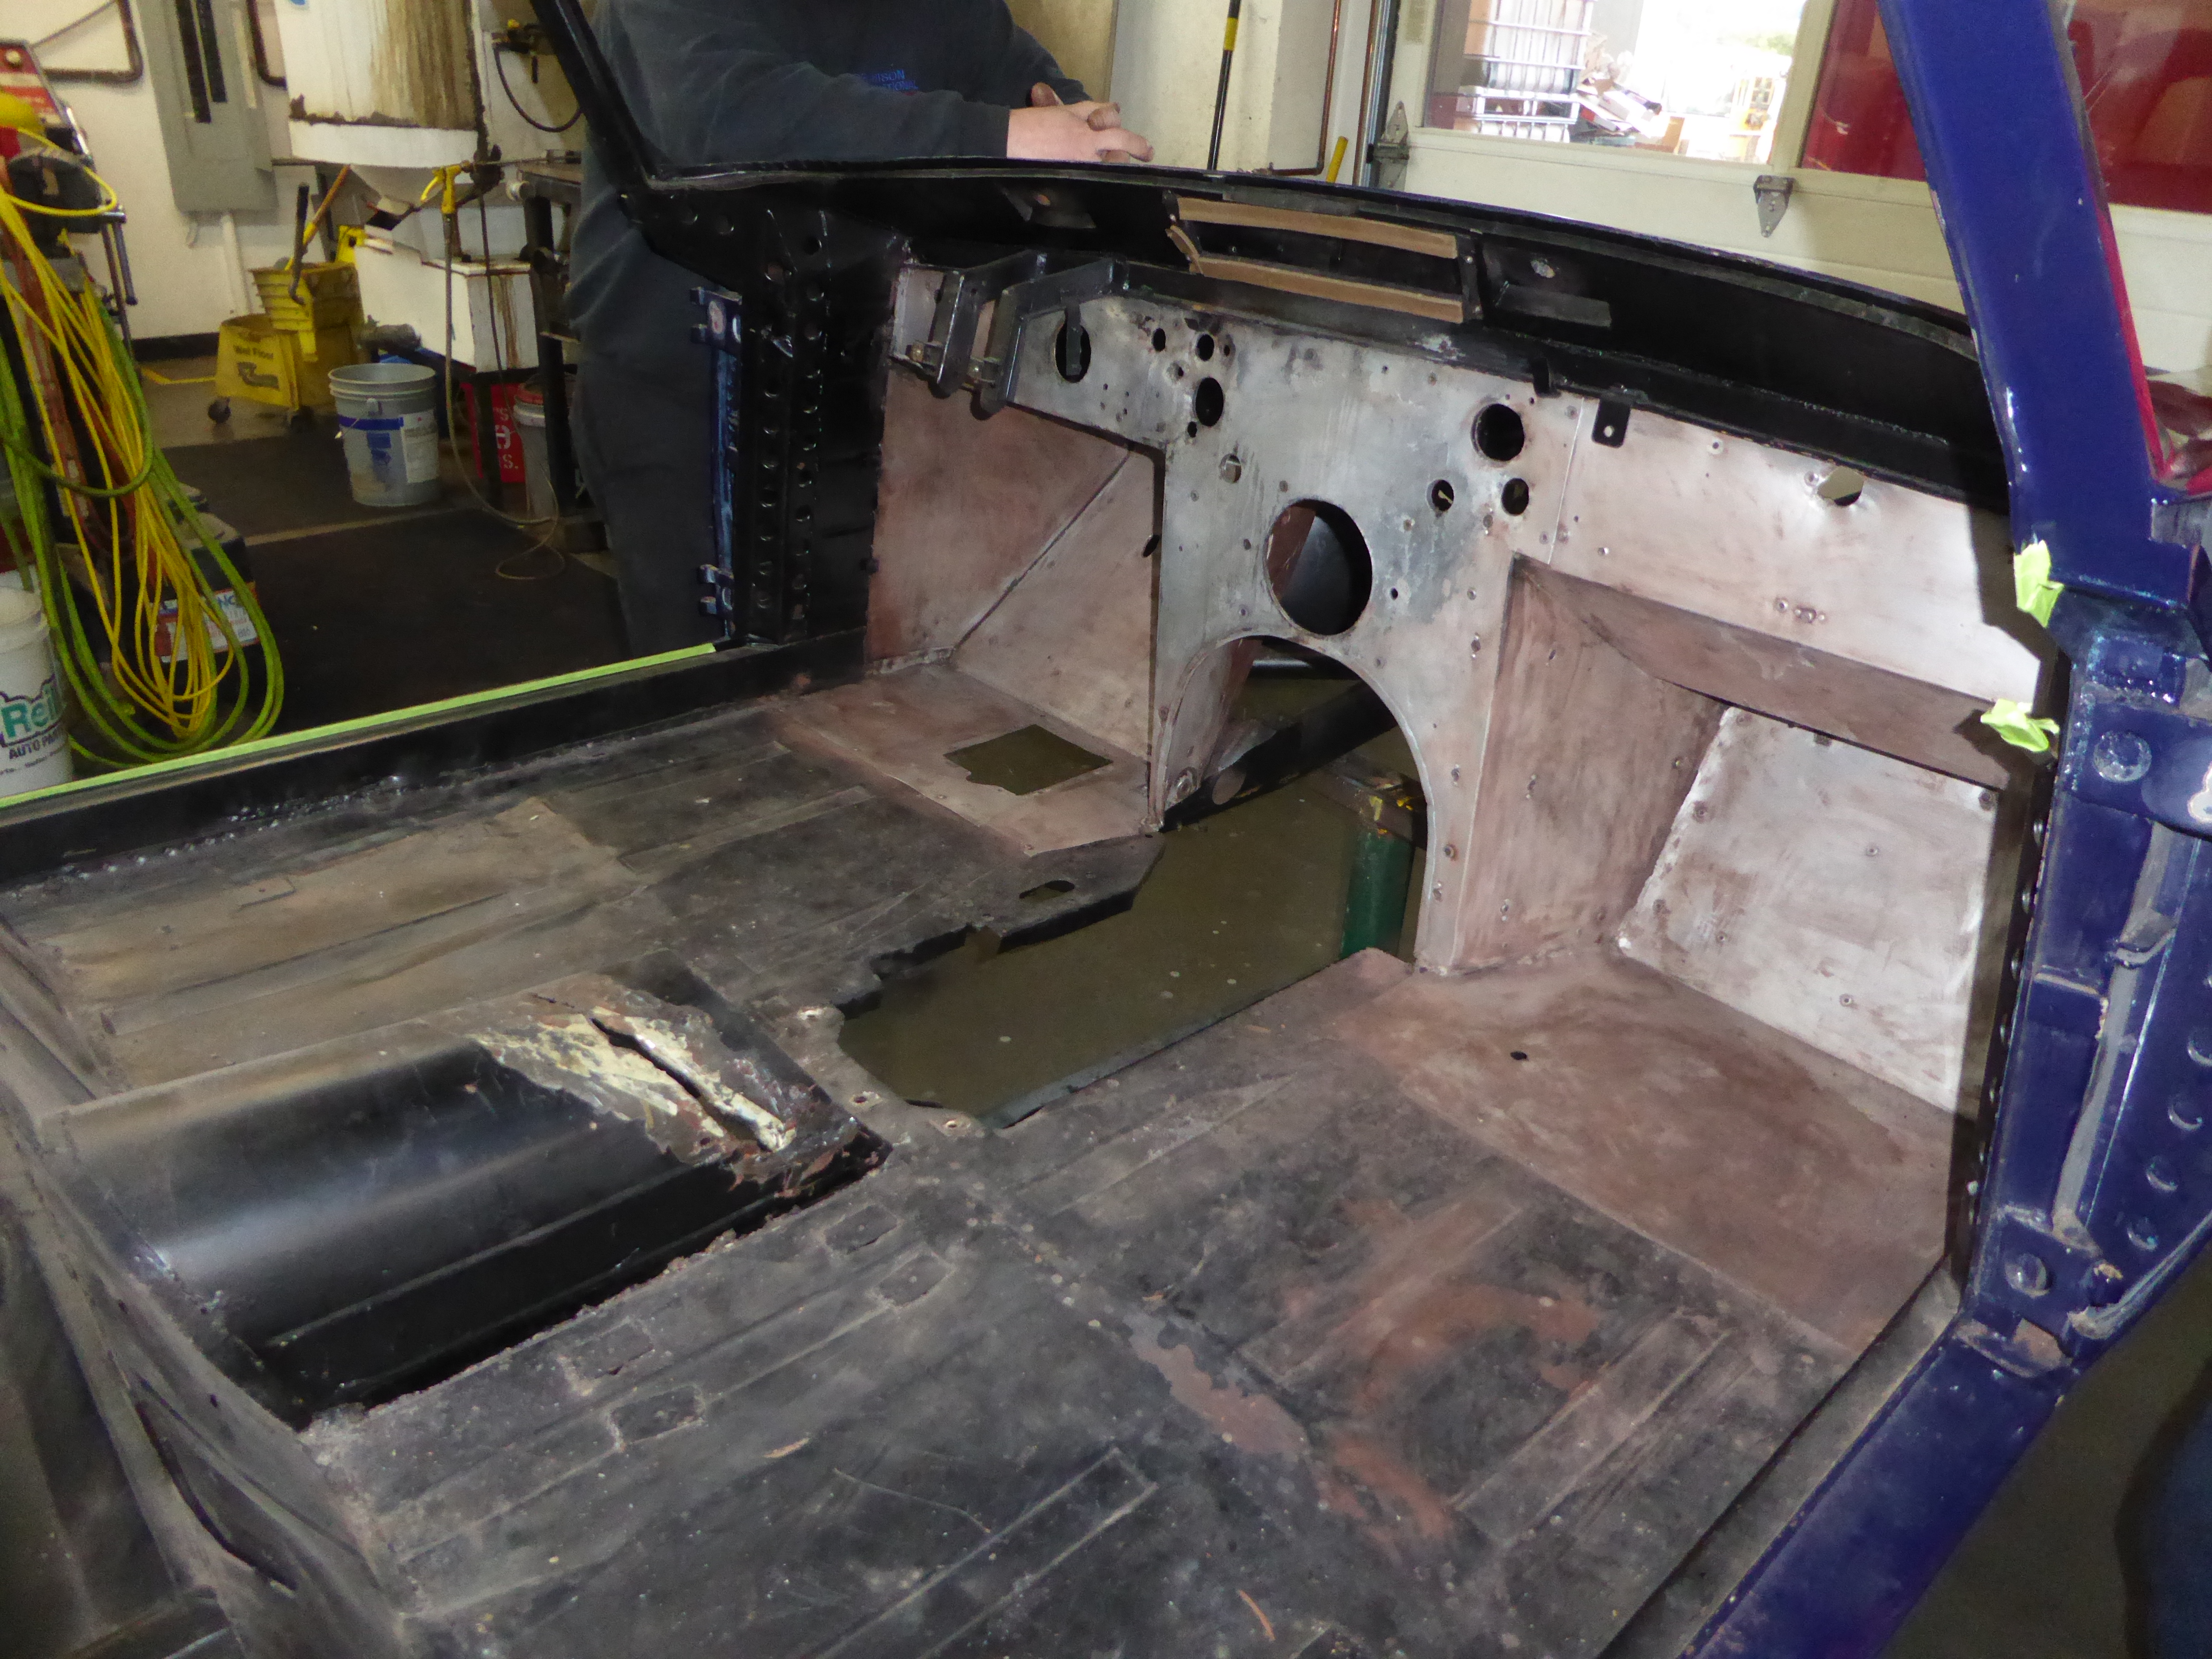
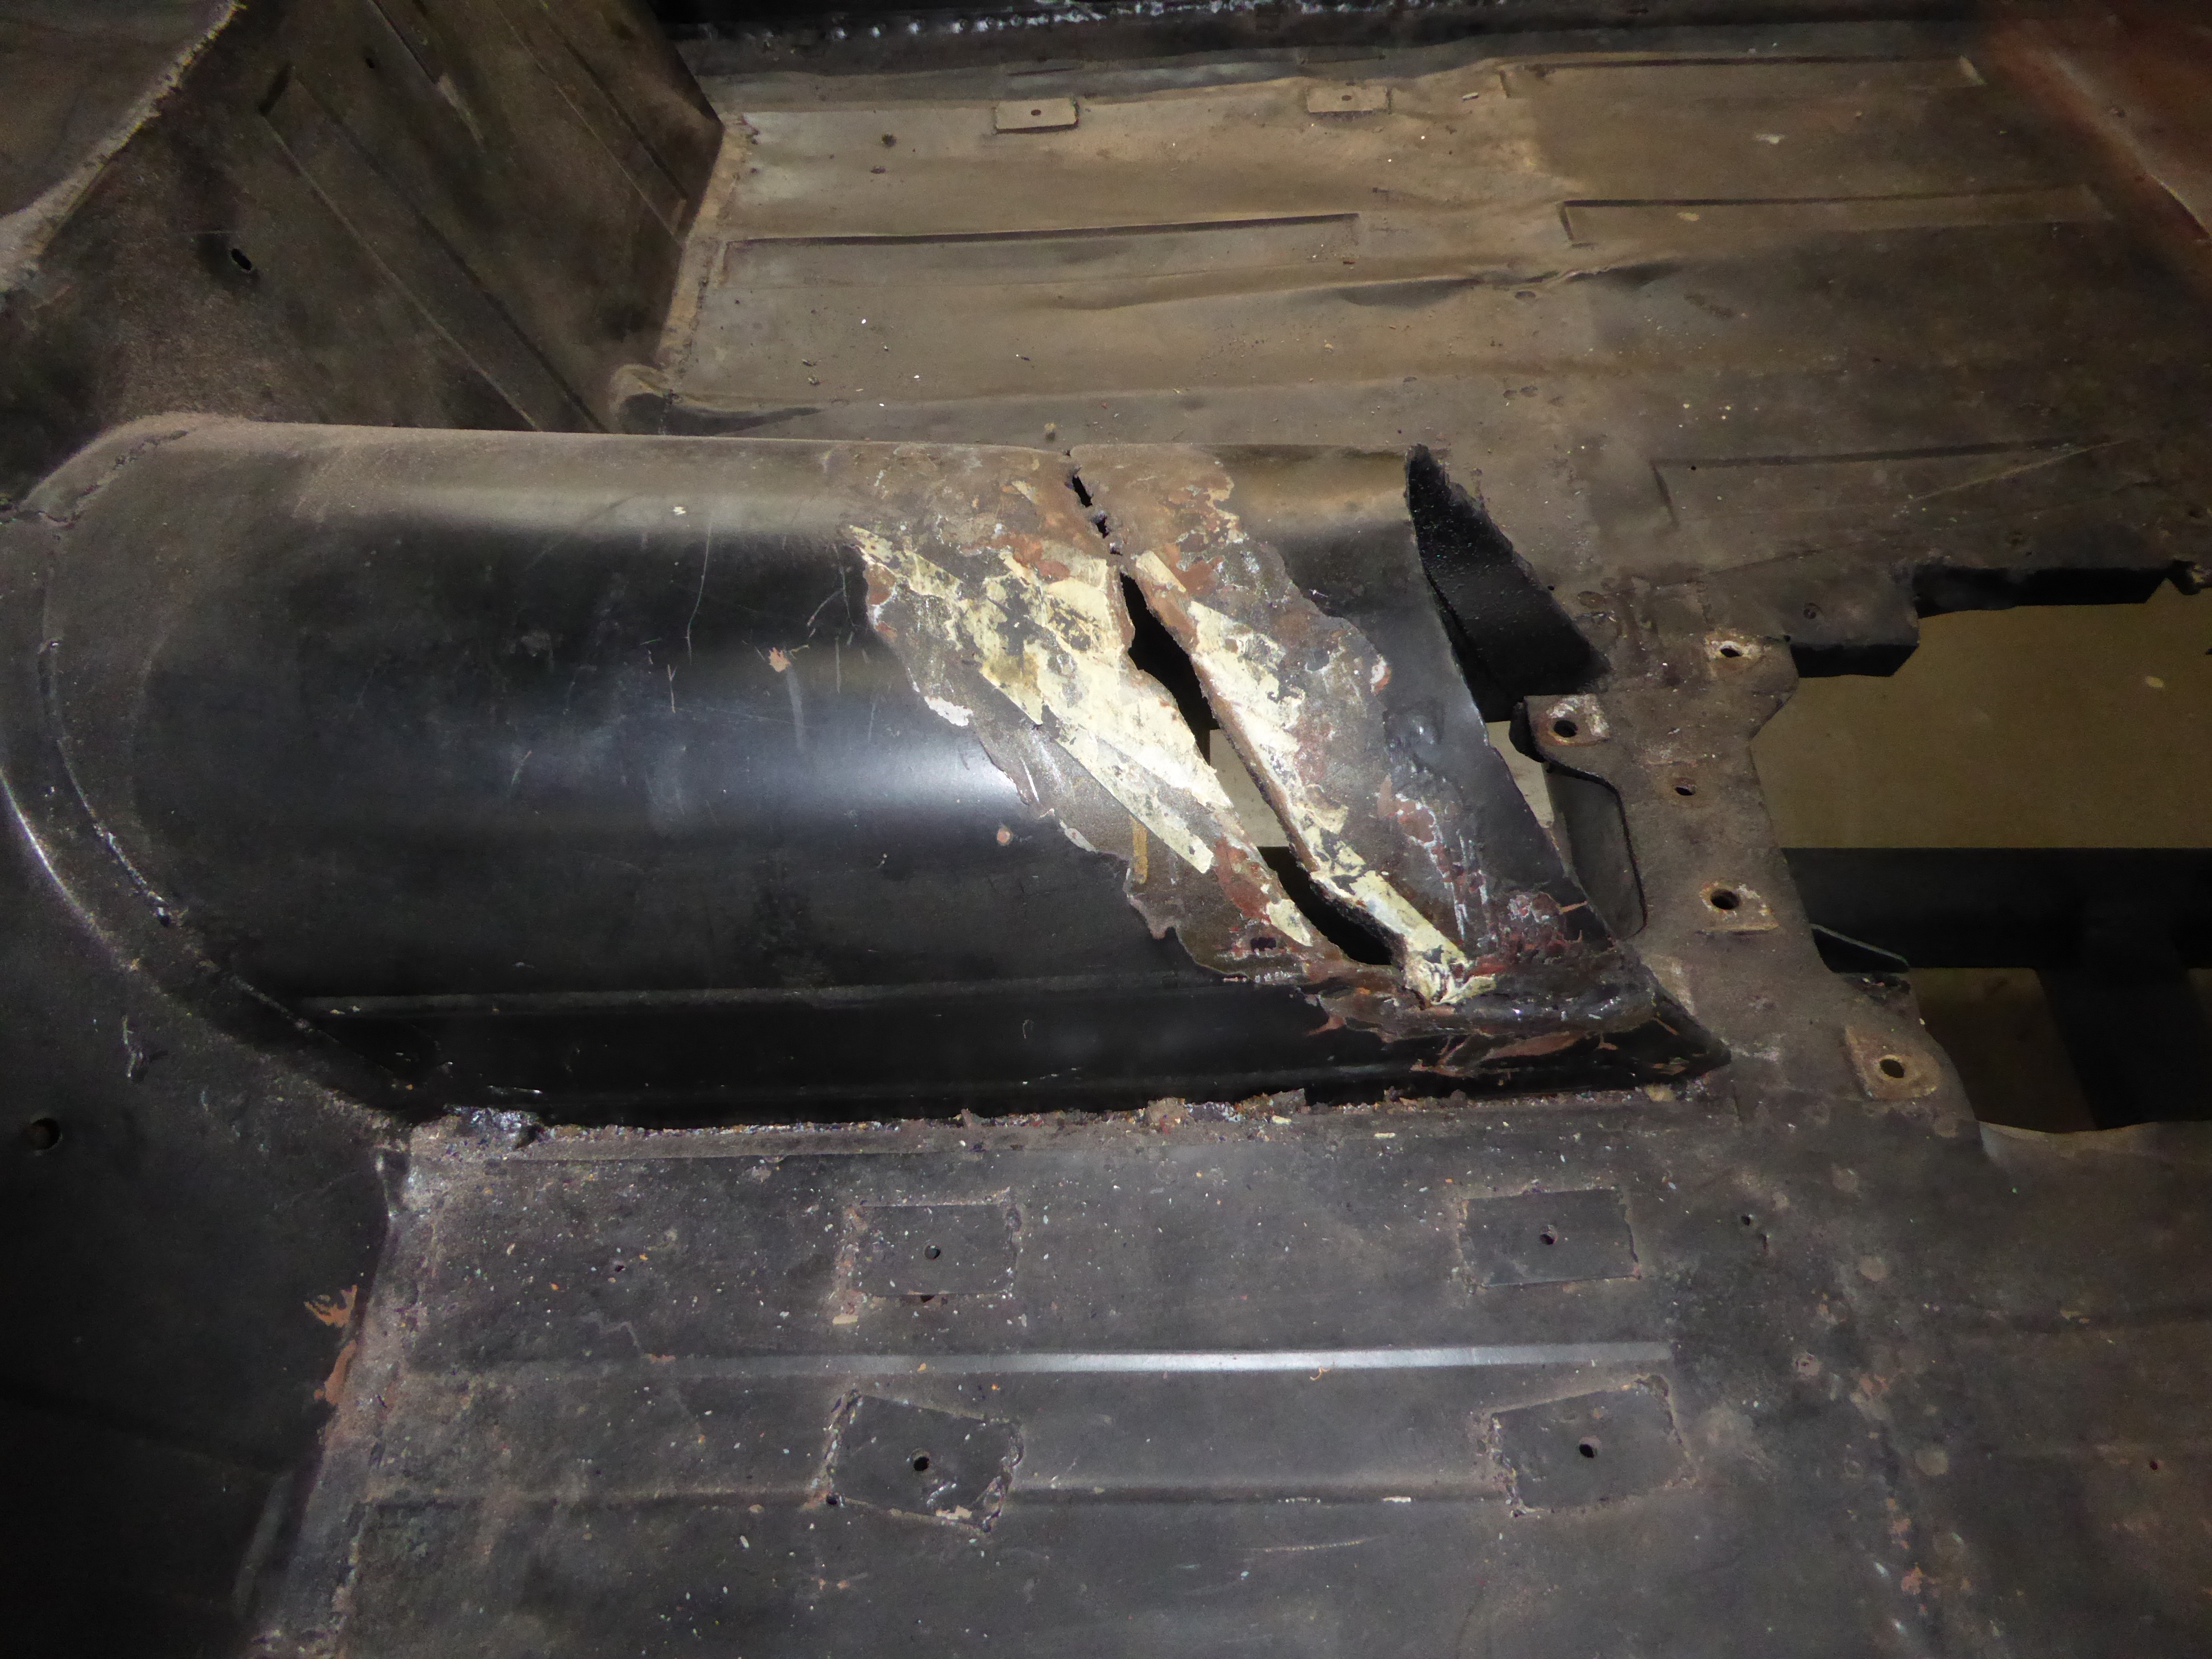
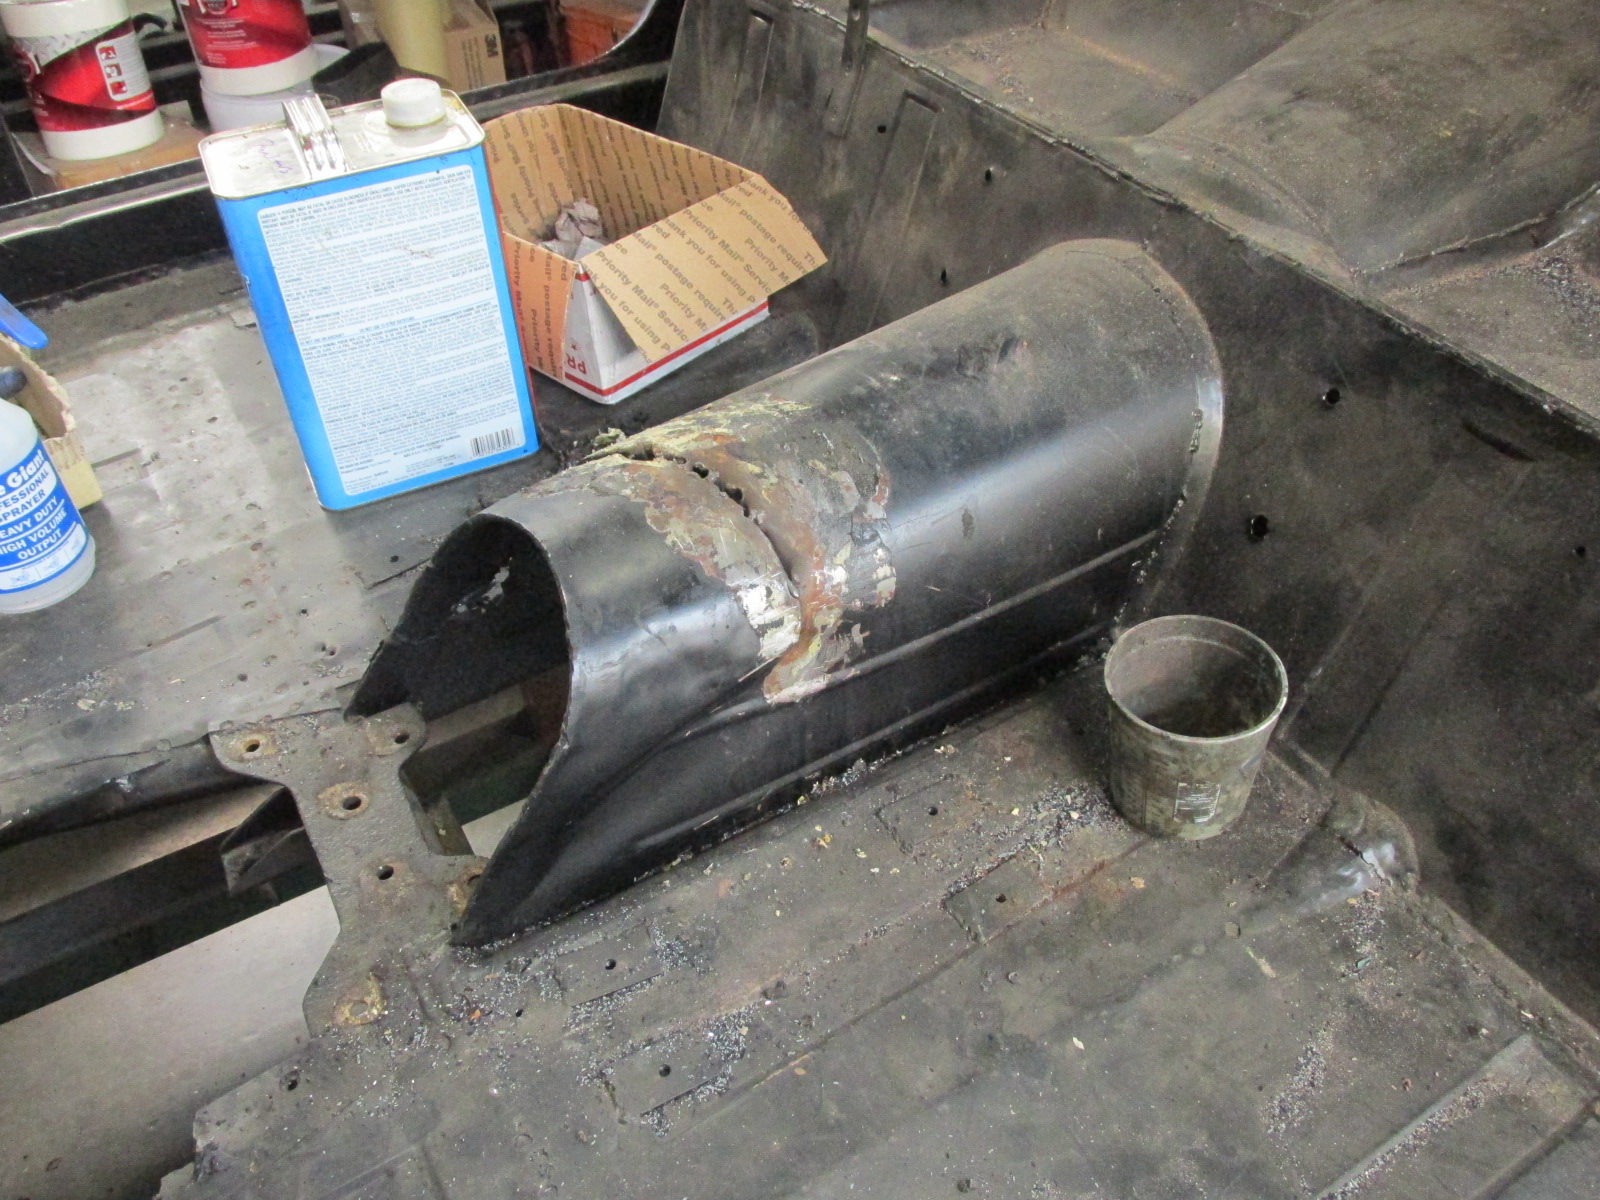
As the interior was stripped, a cut was found in the sheet metal behind where the tunnel ends. It looks like someone needed to replace a seal in the rear of the over drive and rather than pulling it, simply used a torch to cut and fold it back to allow working from the top. Afterward, they just unfolded it and welded the cut end down. I'll have Dennison straighten the fold and weld the slot up. It would have been a lot nicer if they had used a Sawzall to have made a much neater cut.
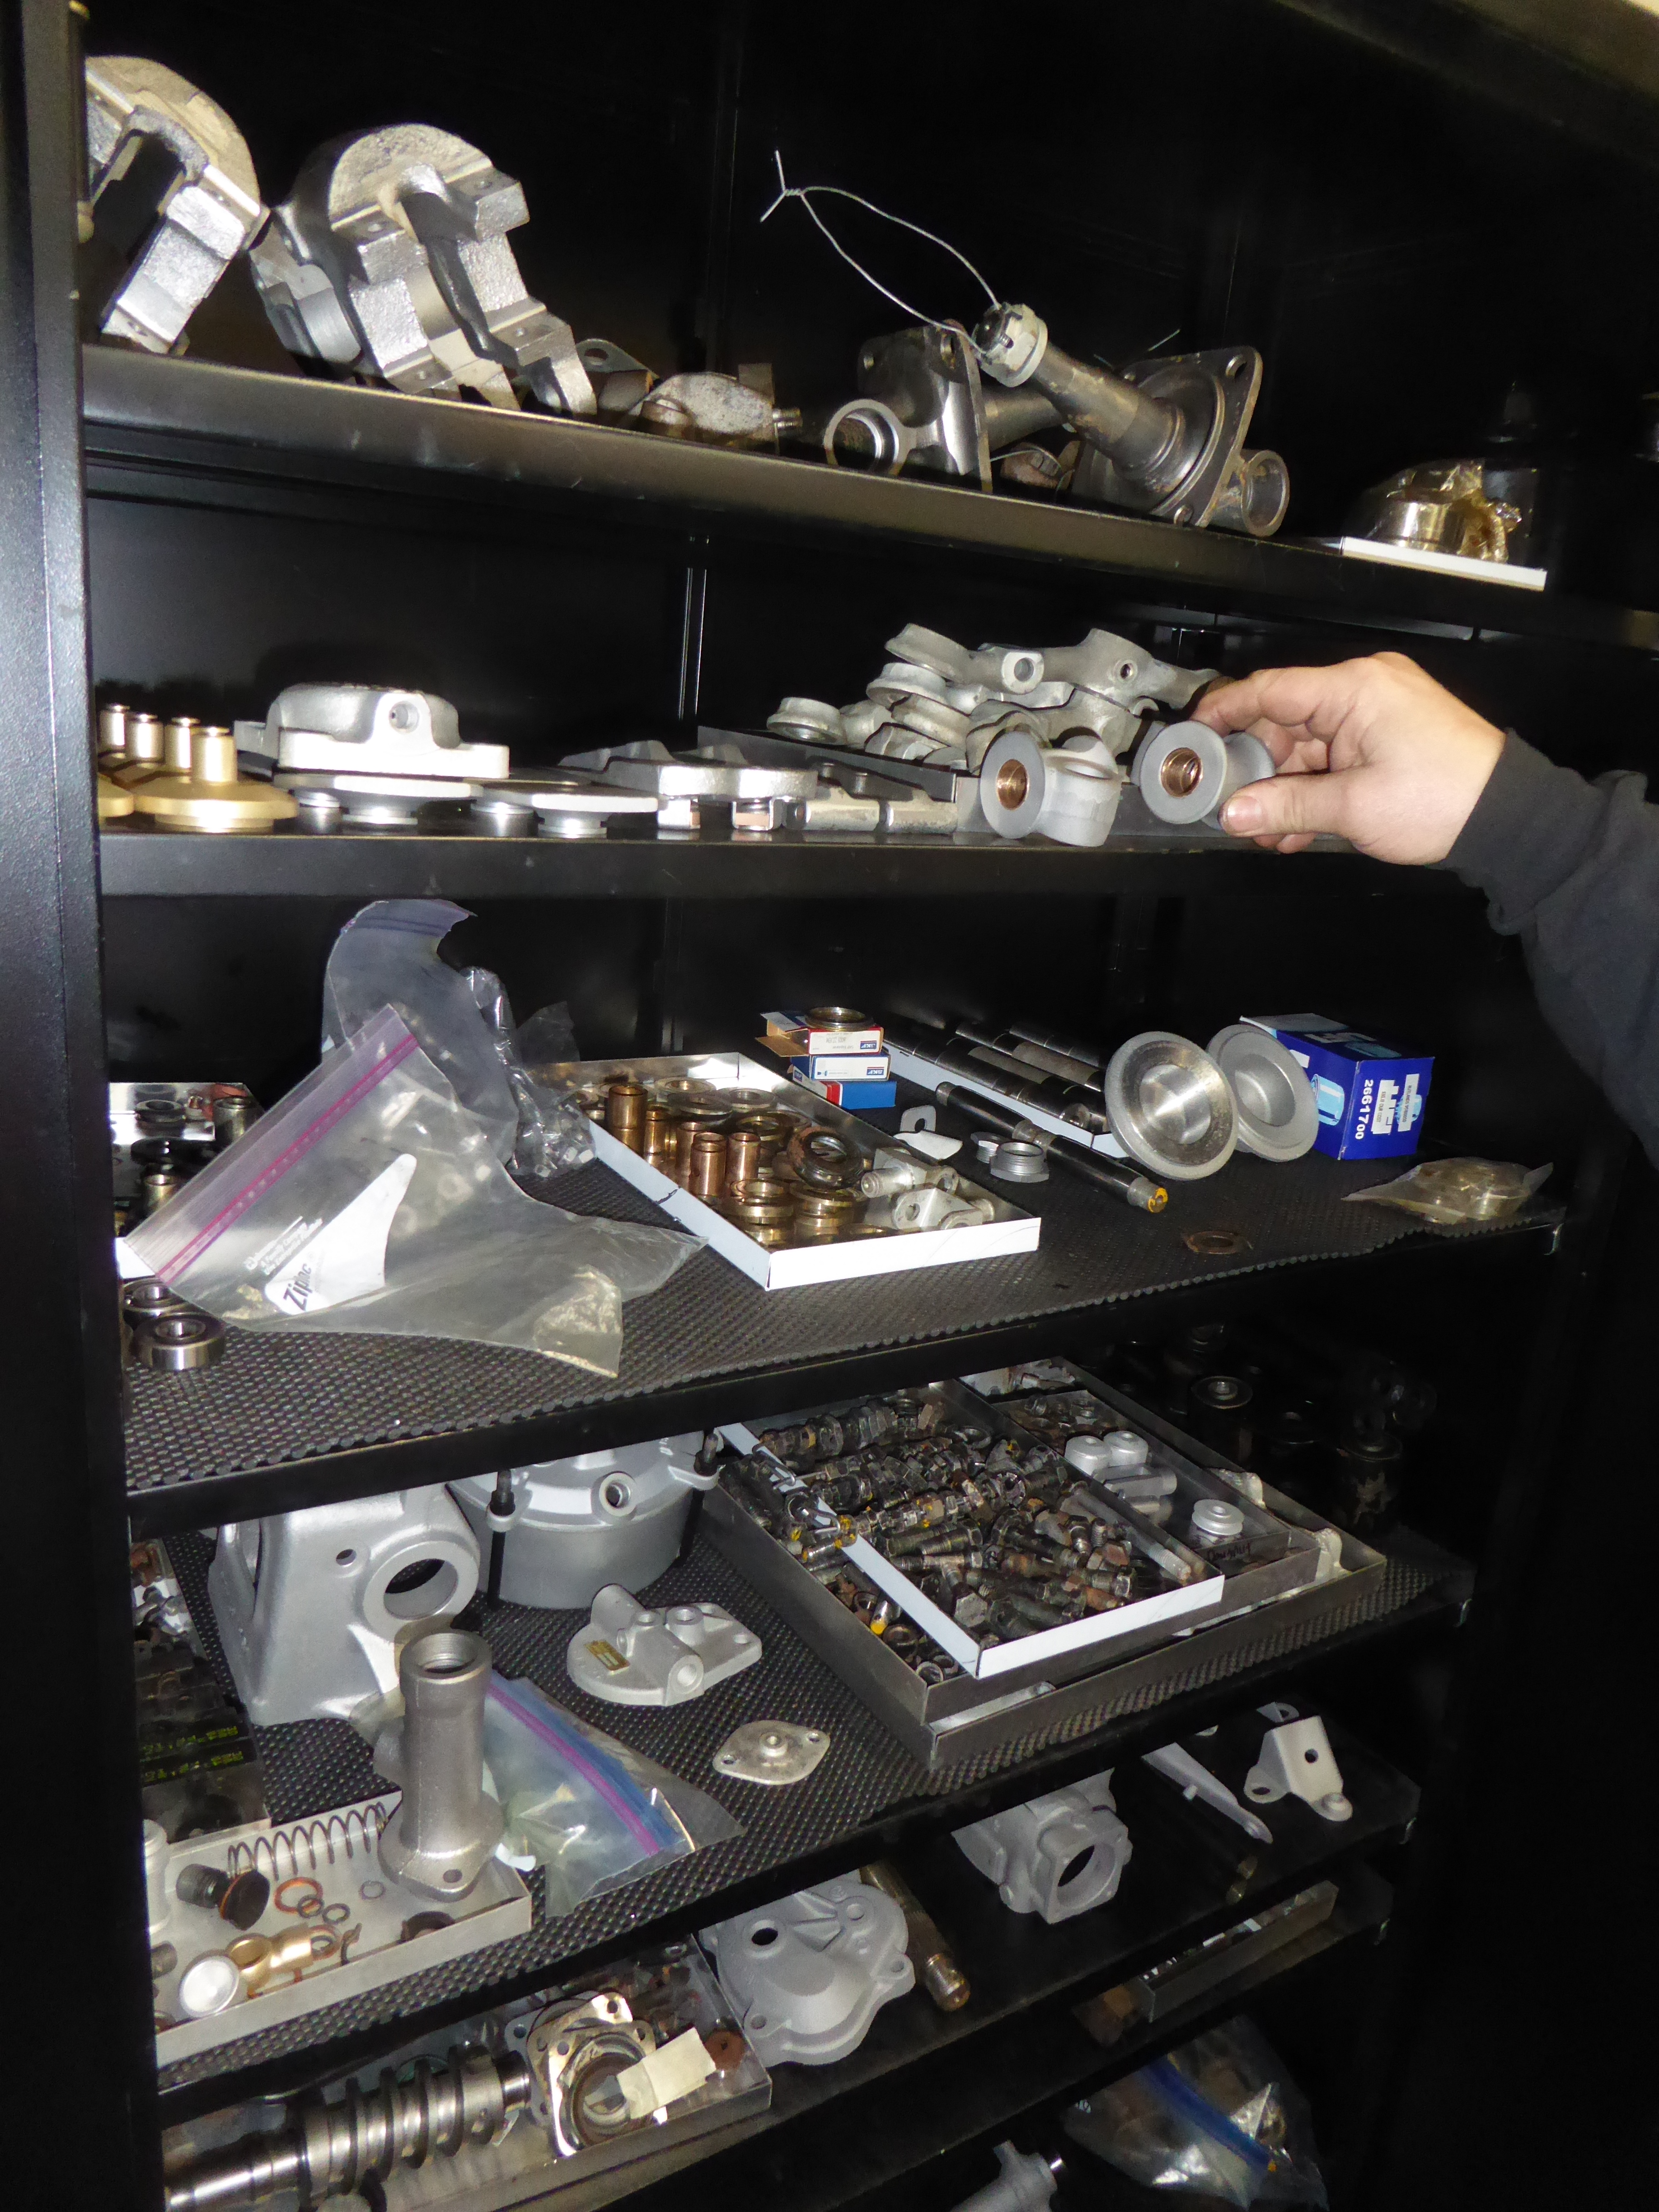
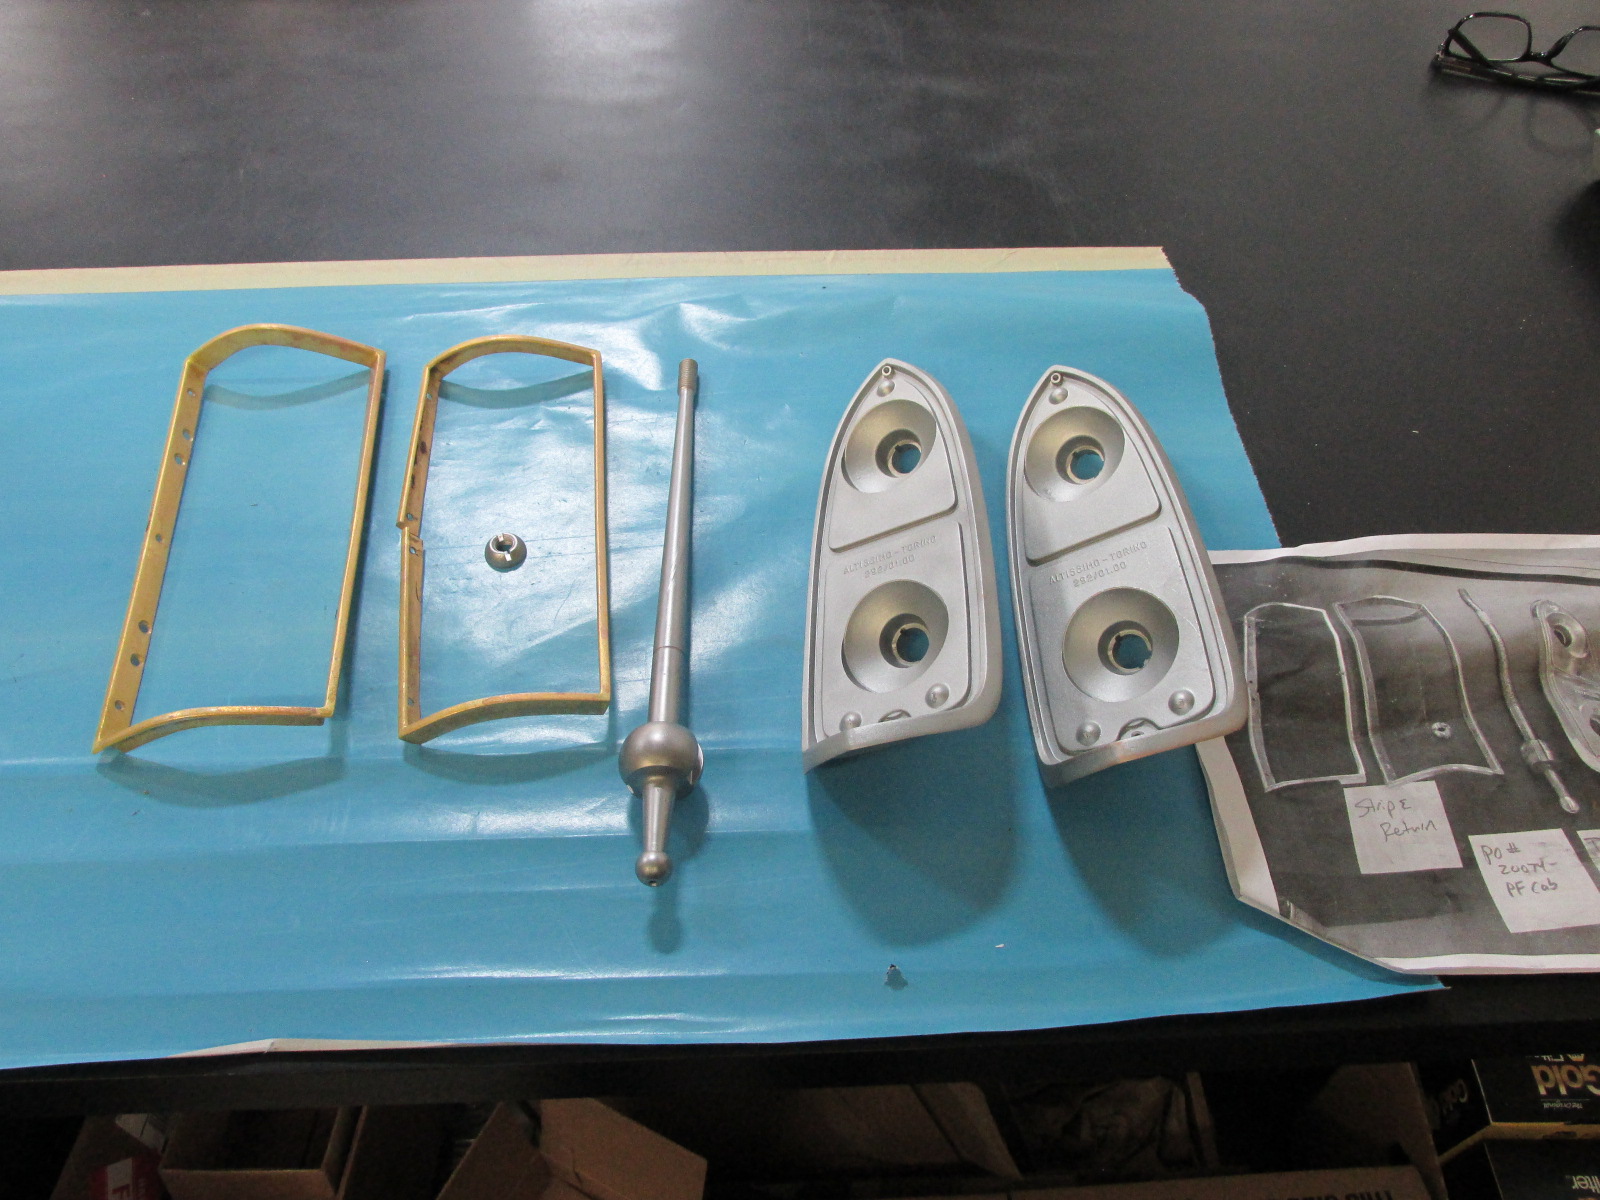
I had a lot of the parts already chromed, but not all were done. So the others were readied to be sent out.
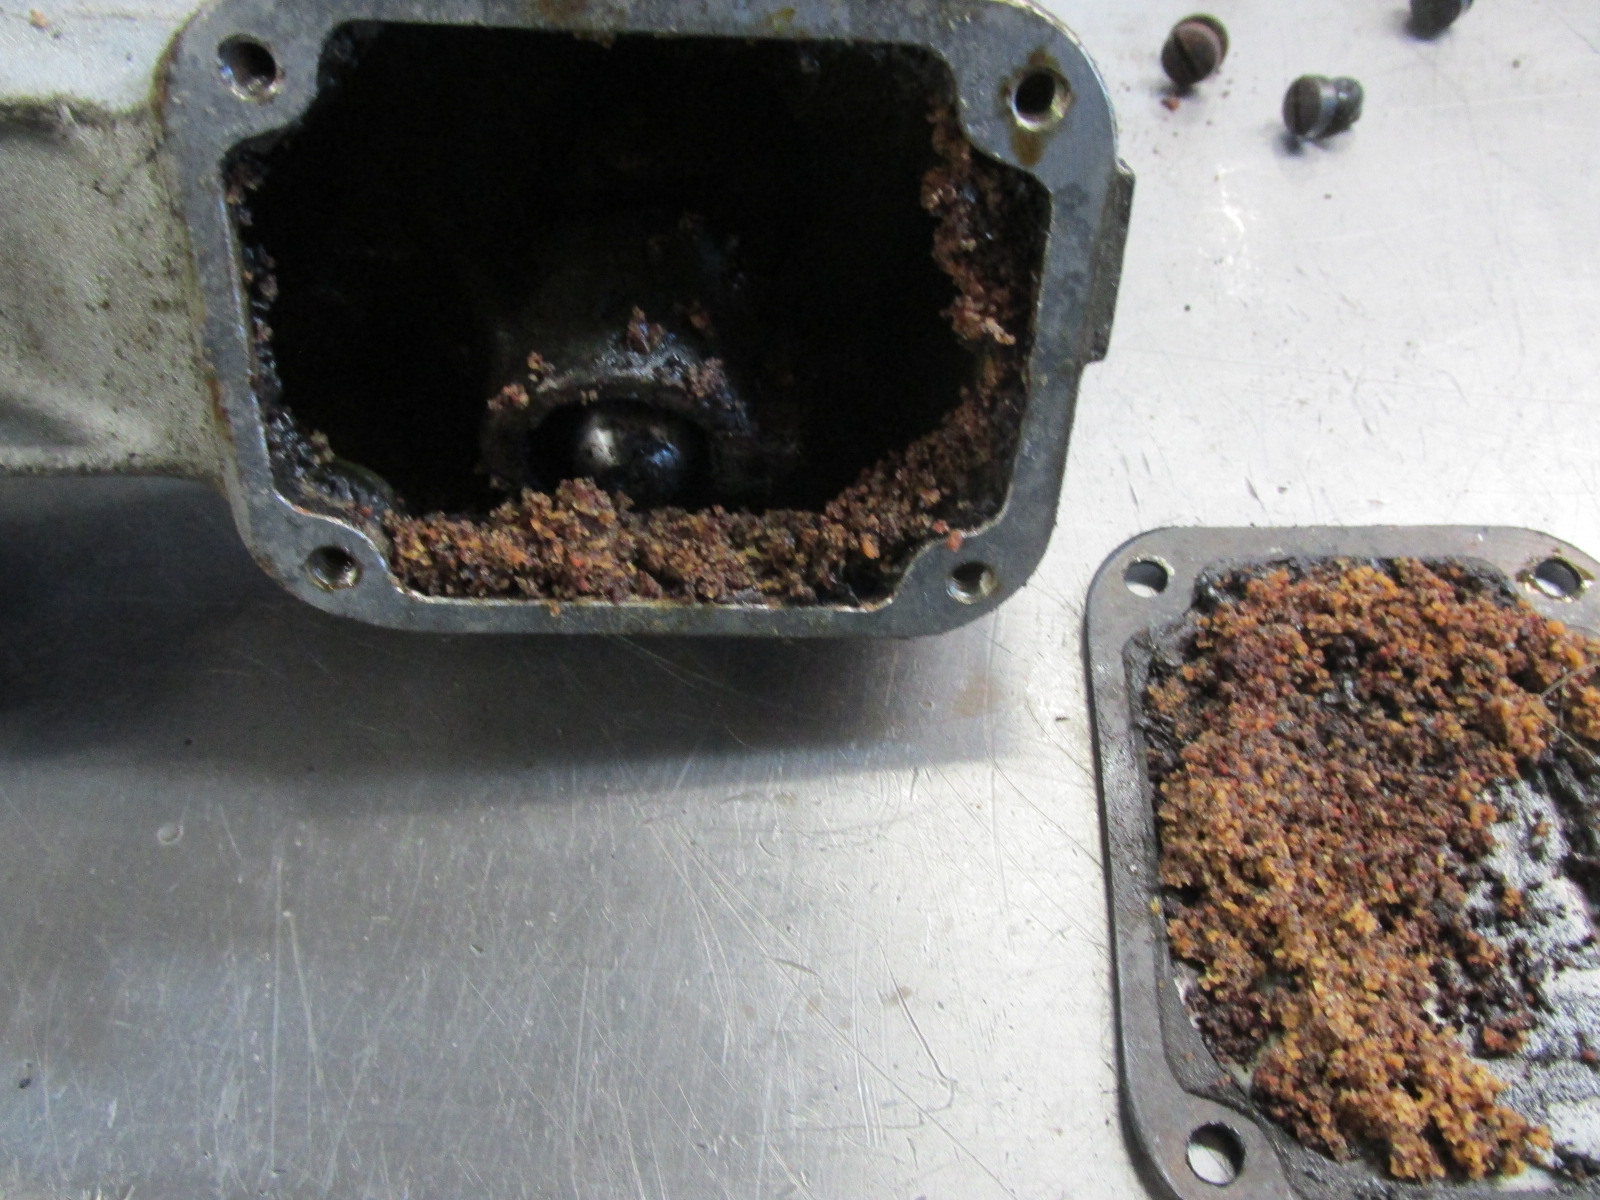
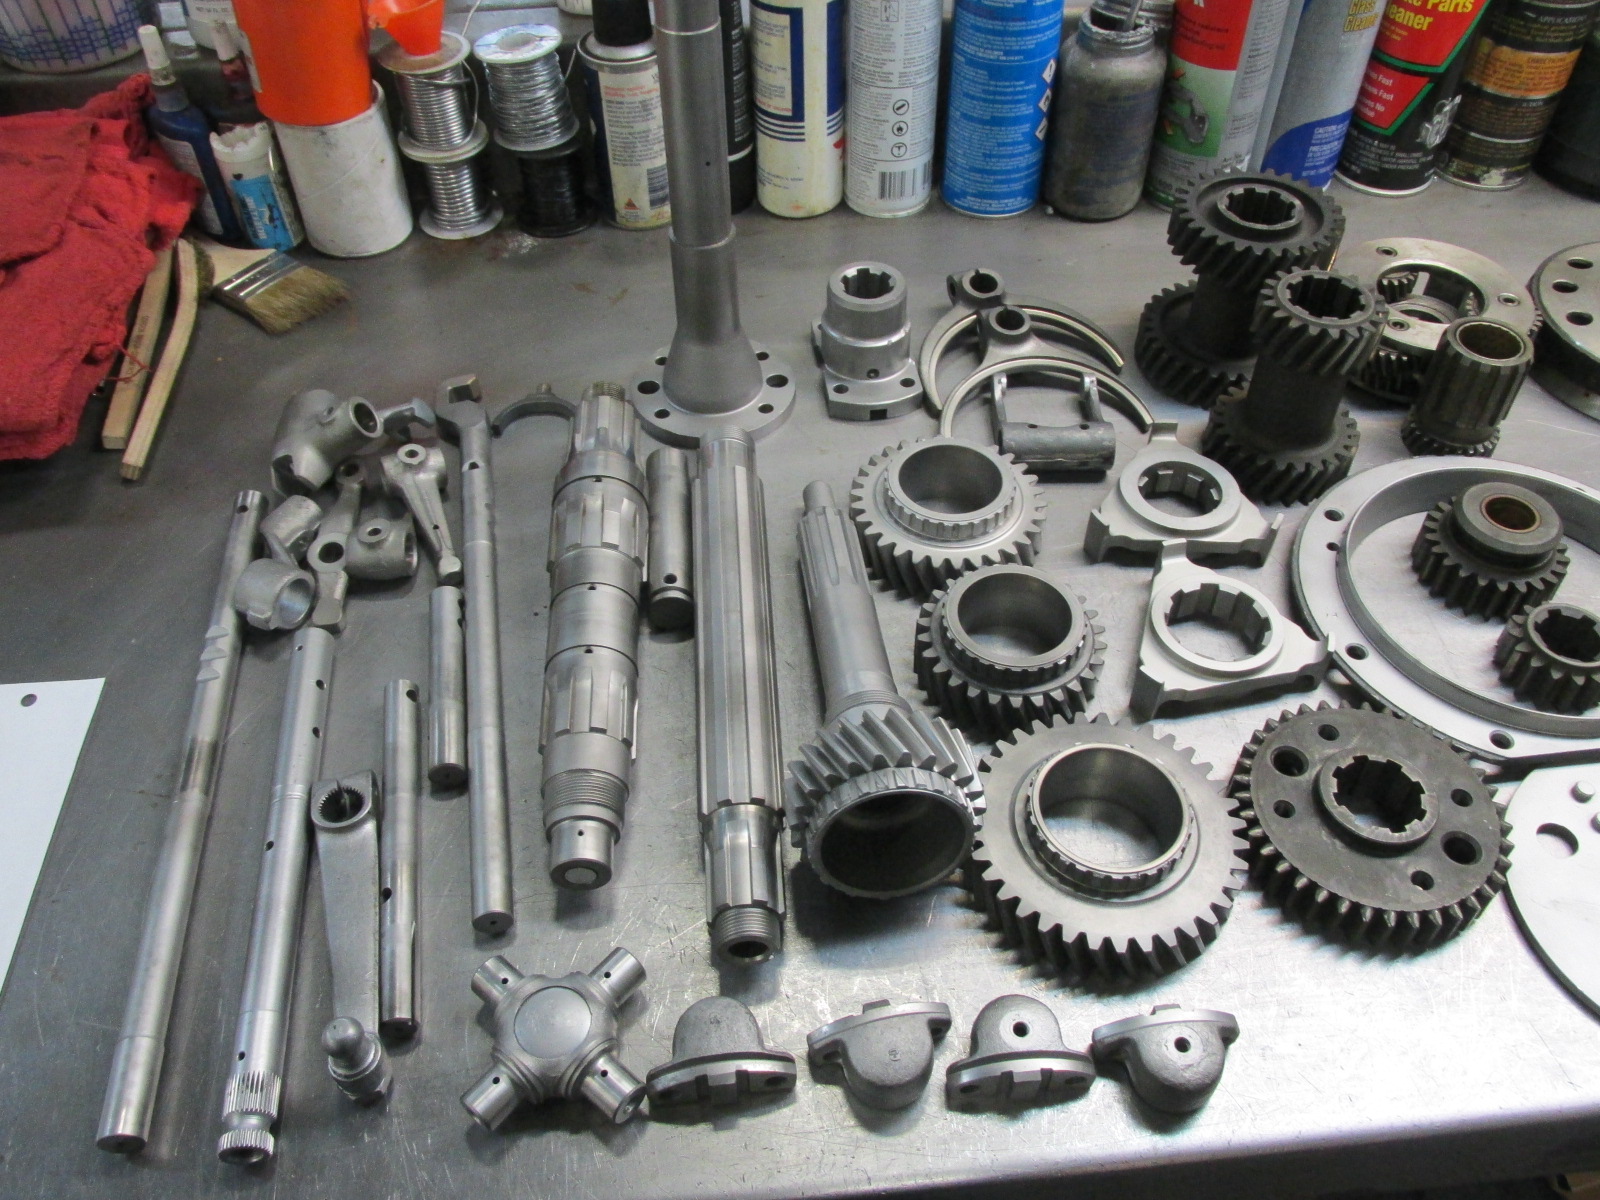
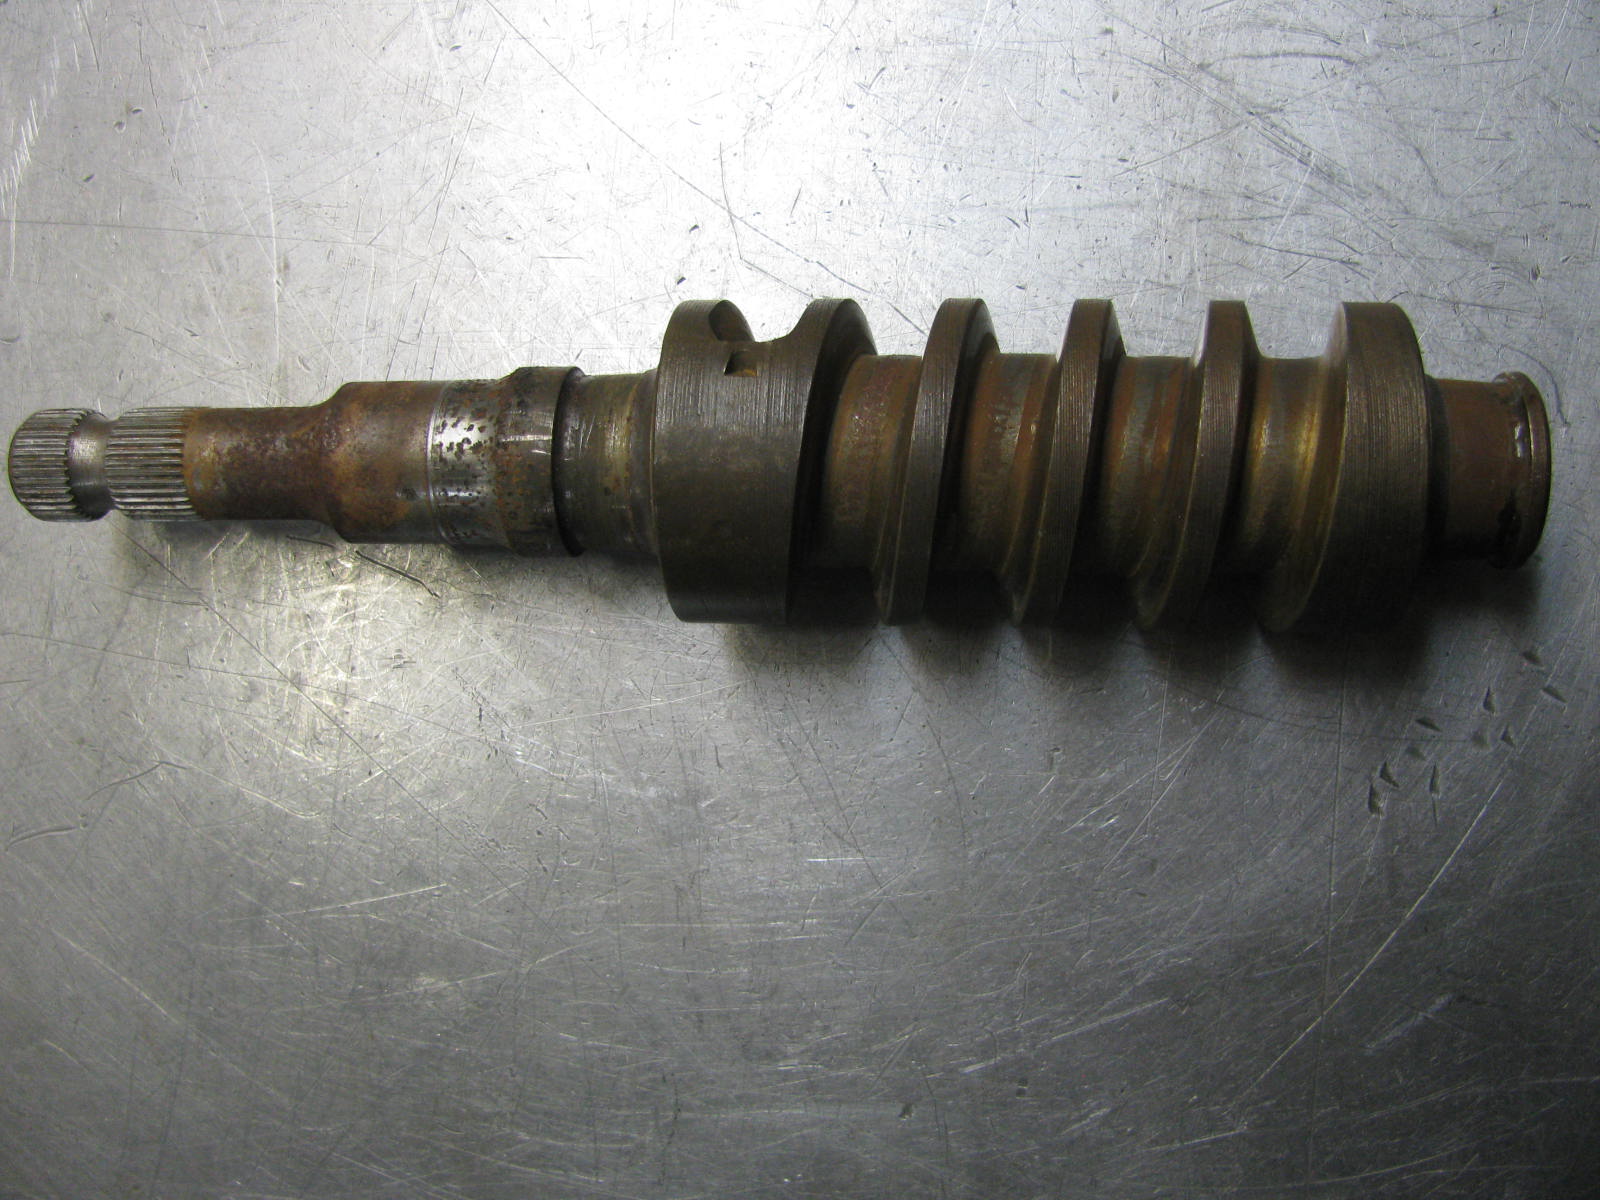
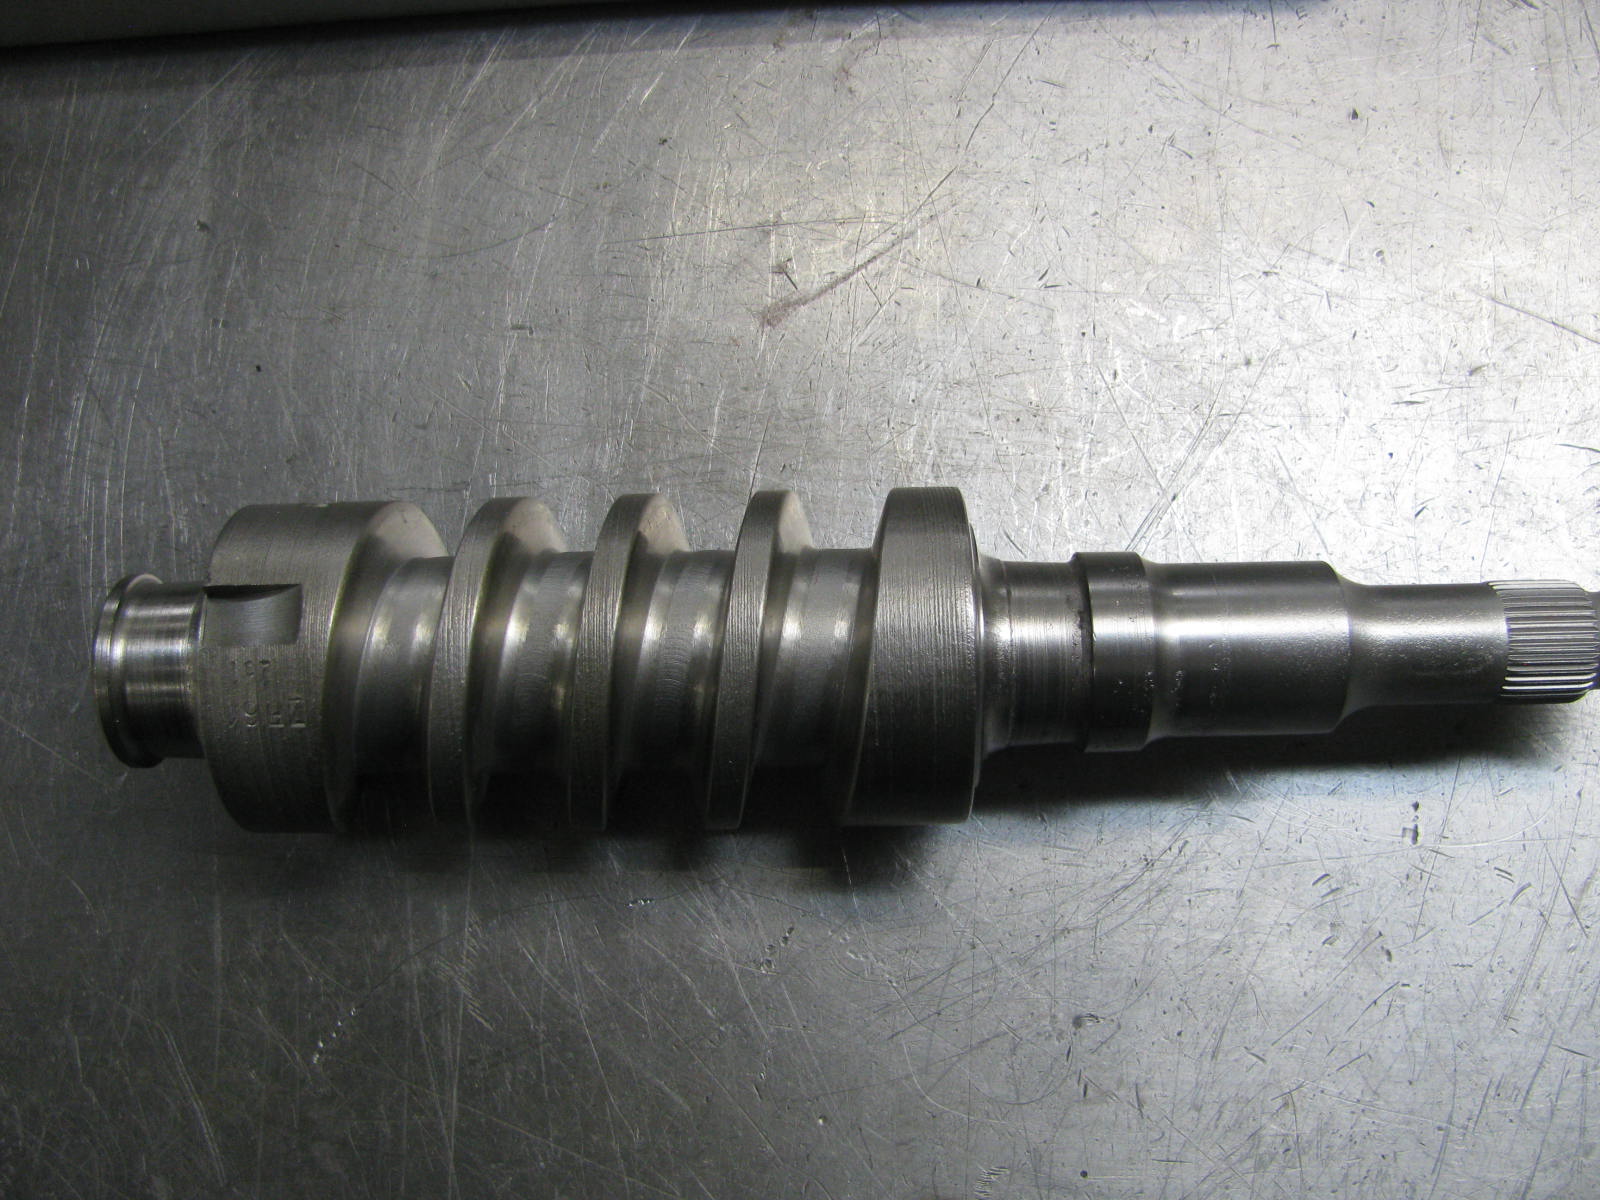
They pulled the tops off the transmission case to look at the condition. It had been sitting for so long (~30 years), that everything above the oil level was rusted. So it is going through a complete rebuild, including bearings and new synchros.
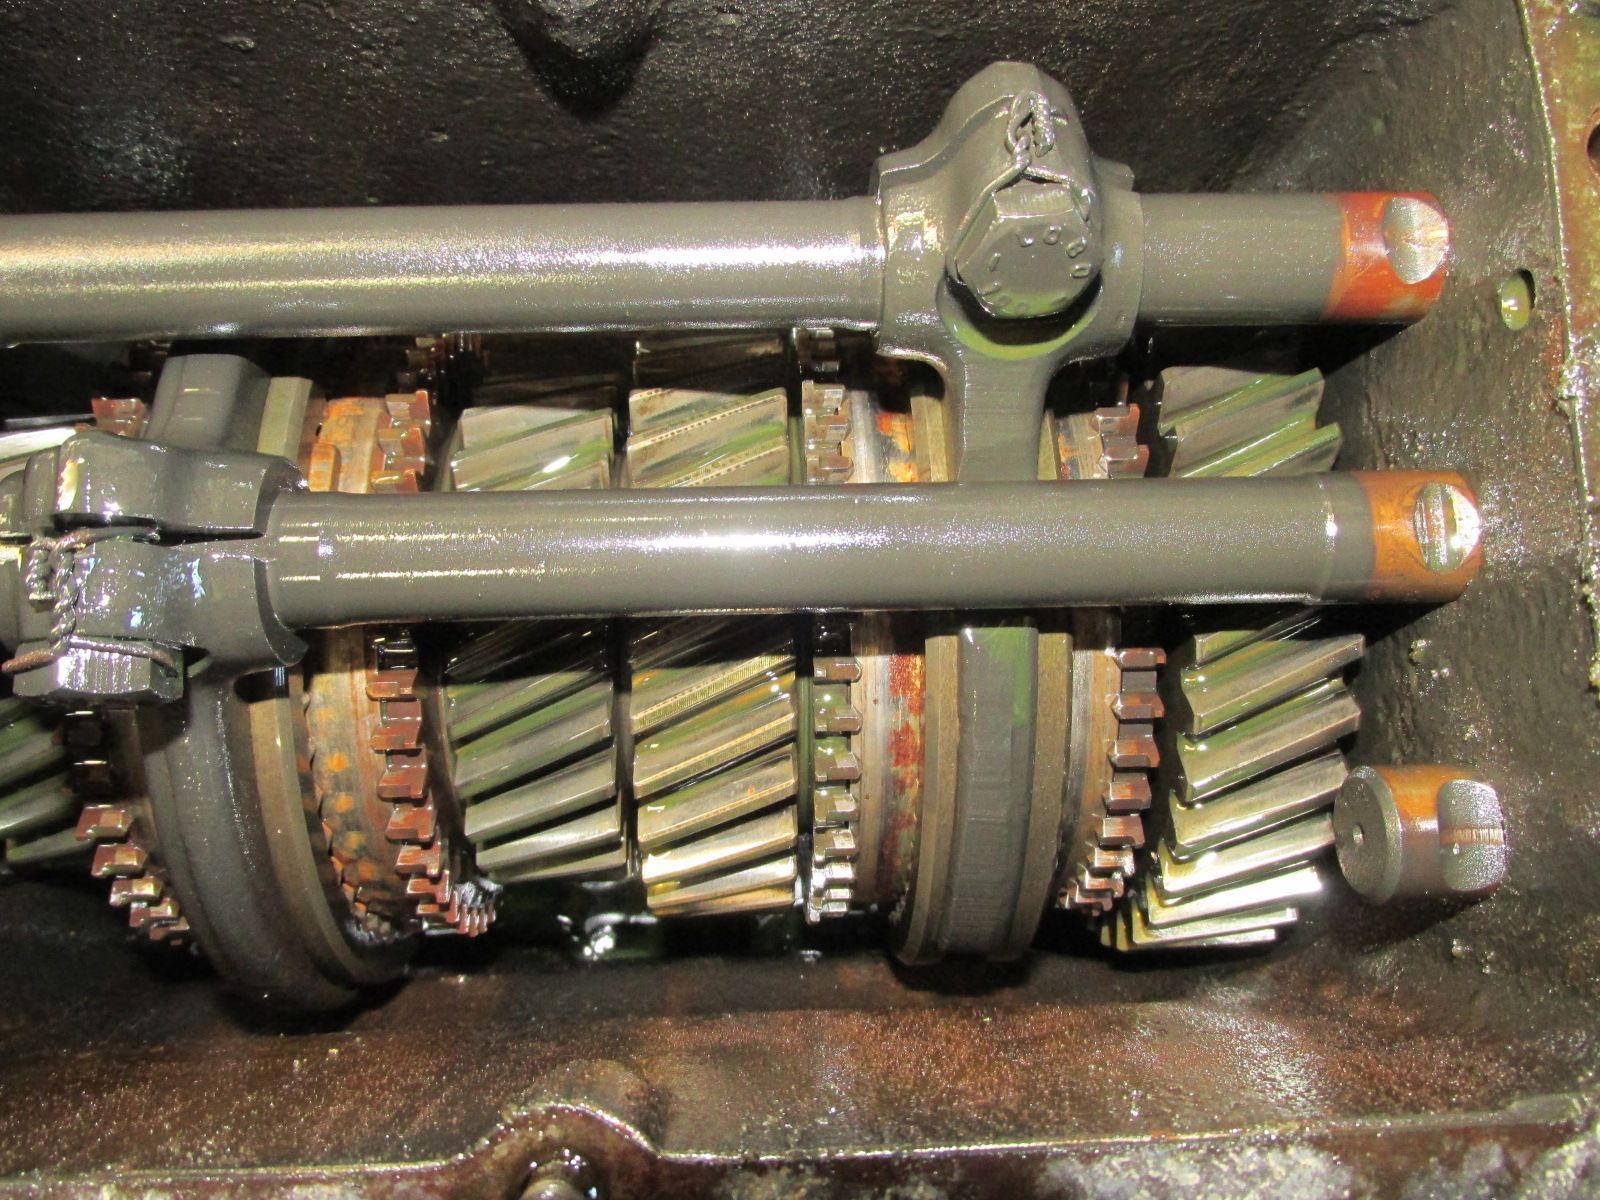
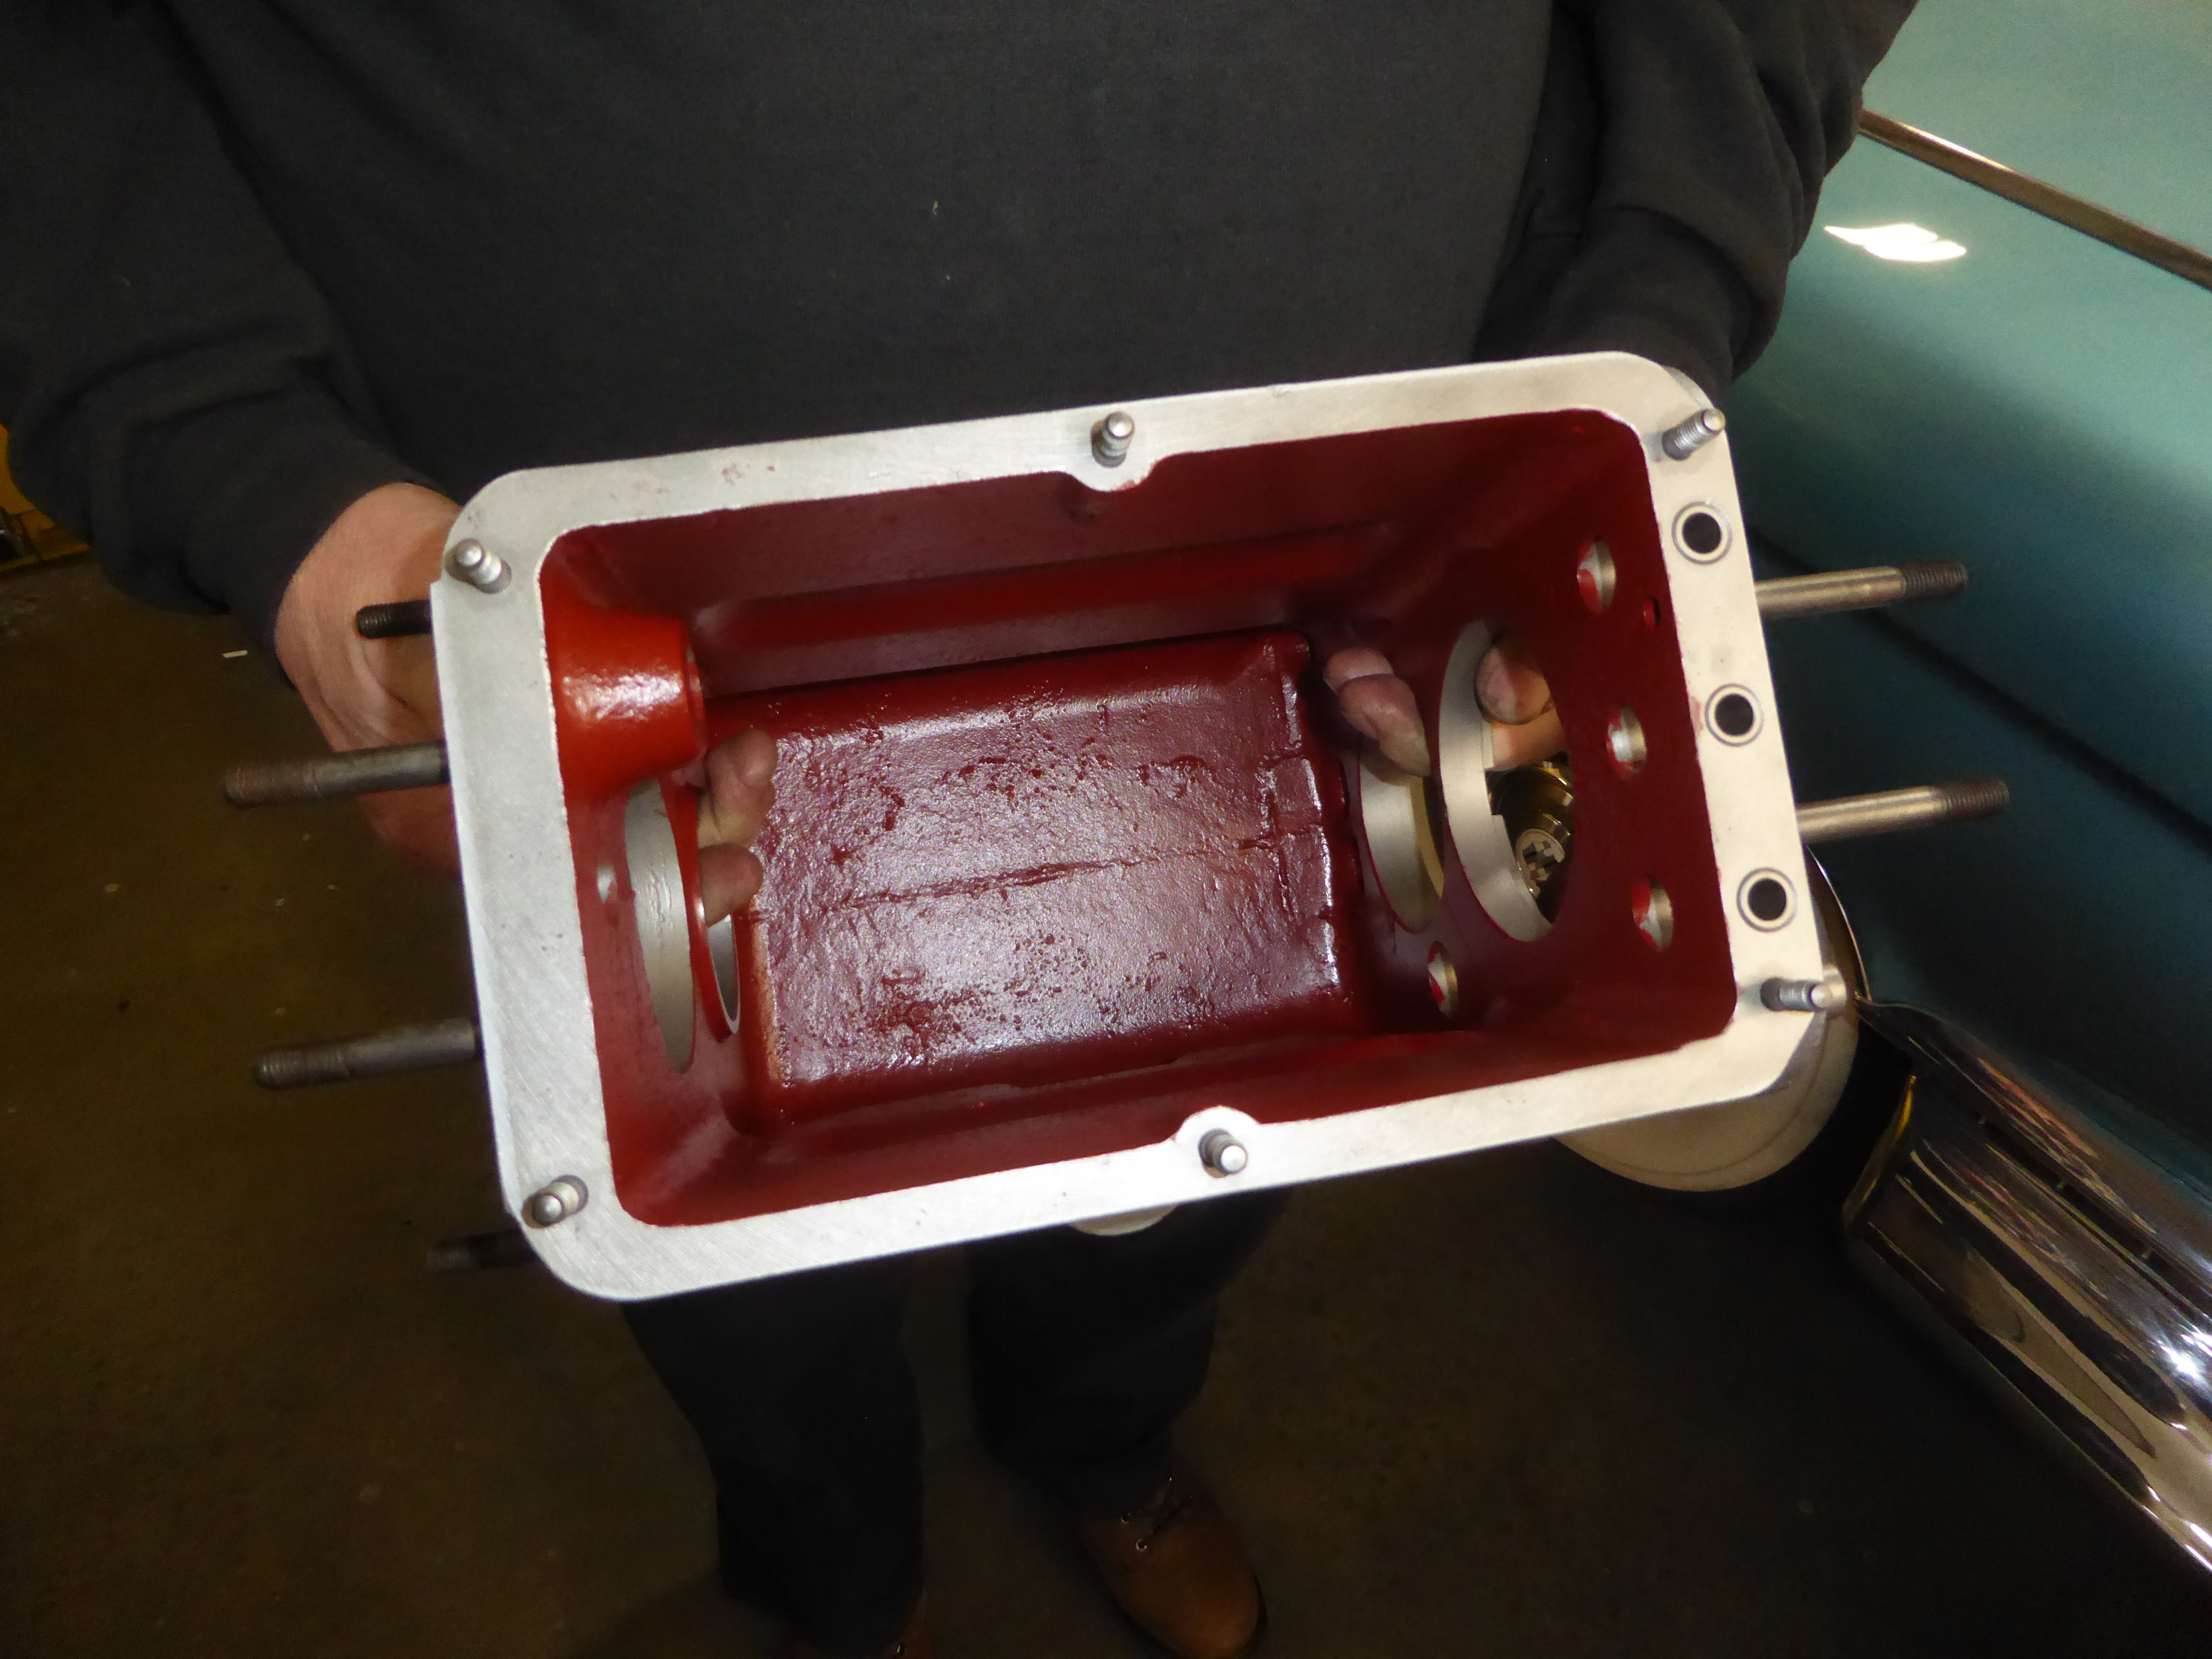
They also coat the inside with Glypto to prevent oozing of the transmission oil through the porous casting.
In the list of items purchased was a length of rod that is needed for new hinge pins. The driver's door could be moved up and down about a ¼" at the rear from the wear on the pins. The hinges will need to be drilled and reamed to fit the slightly larger pins in place.

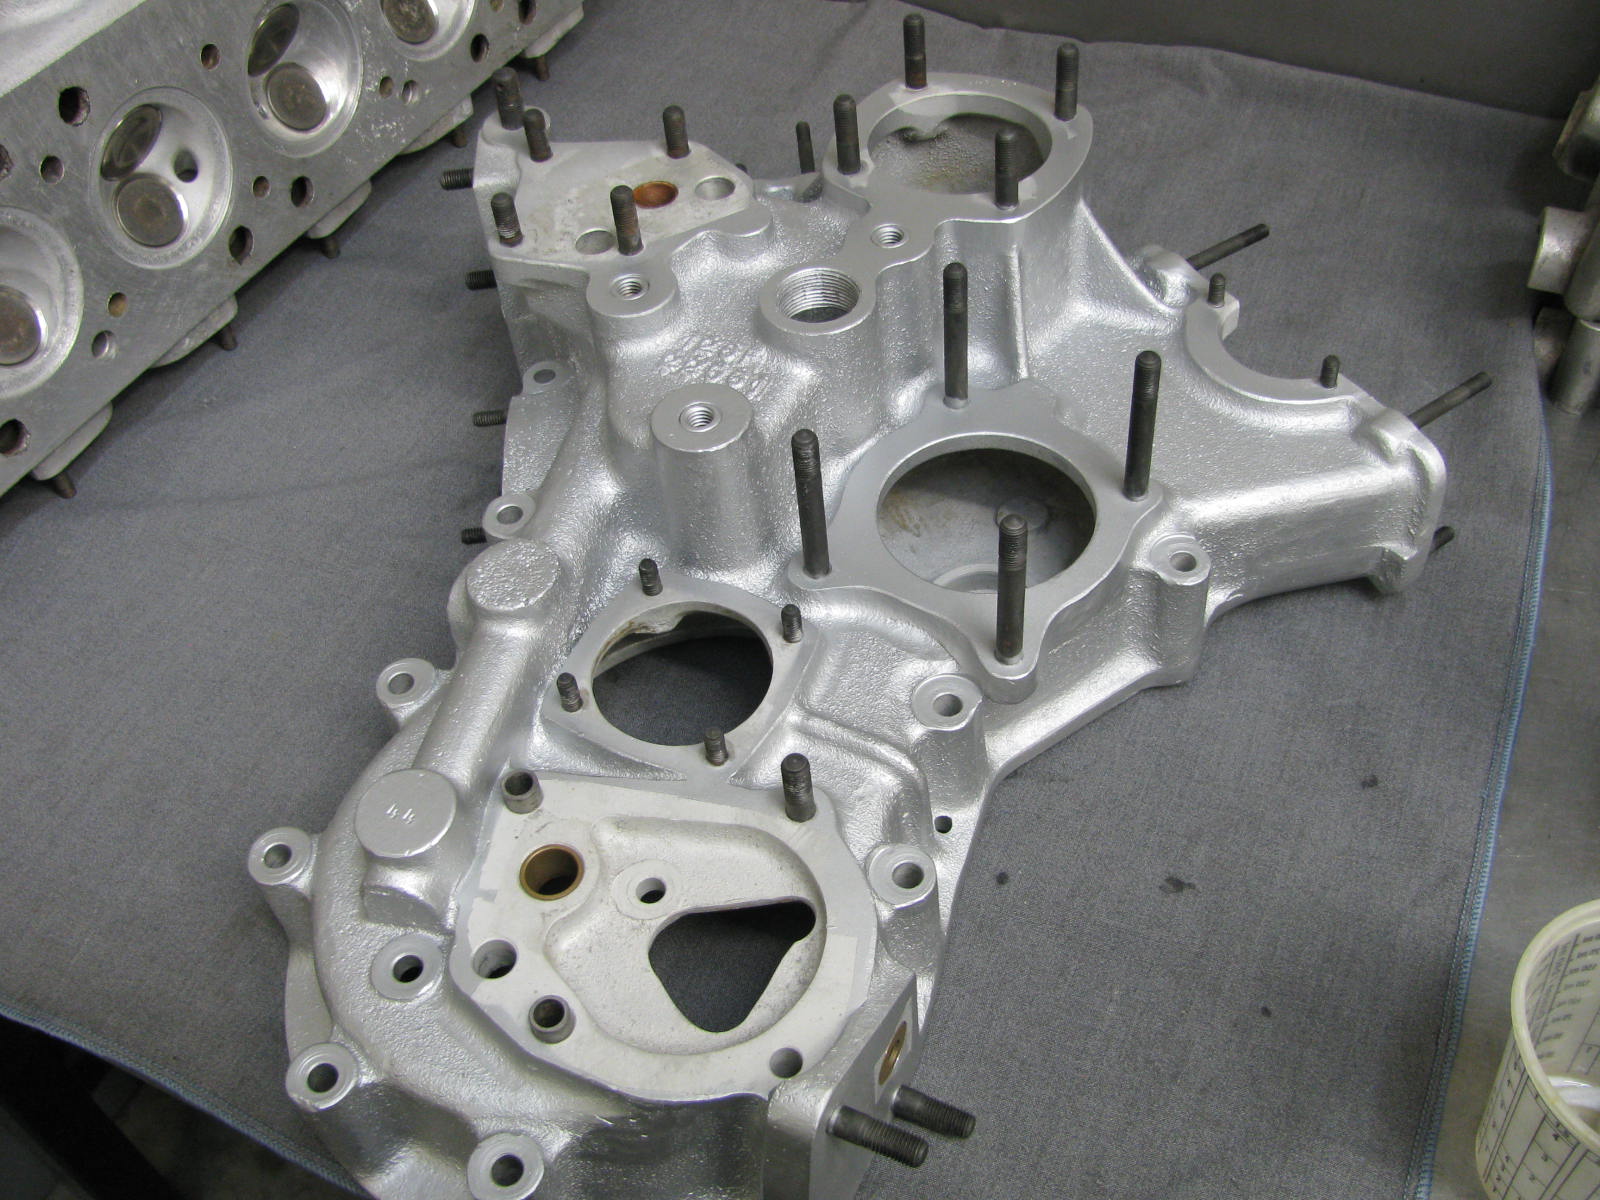
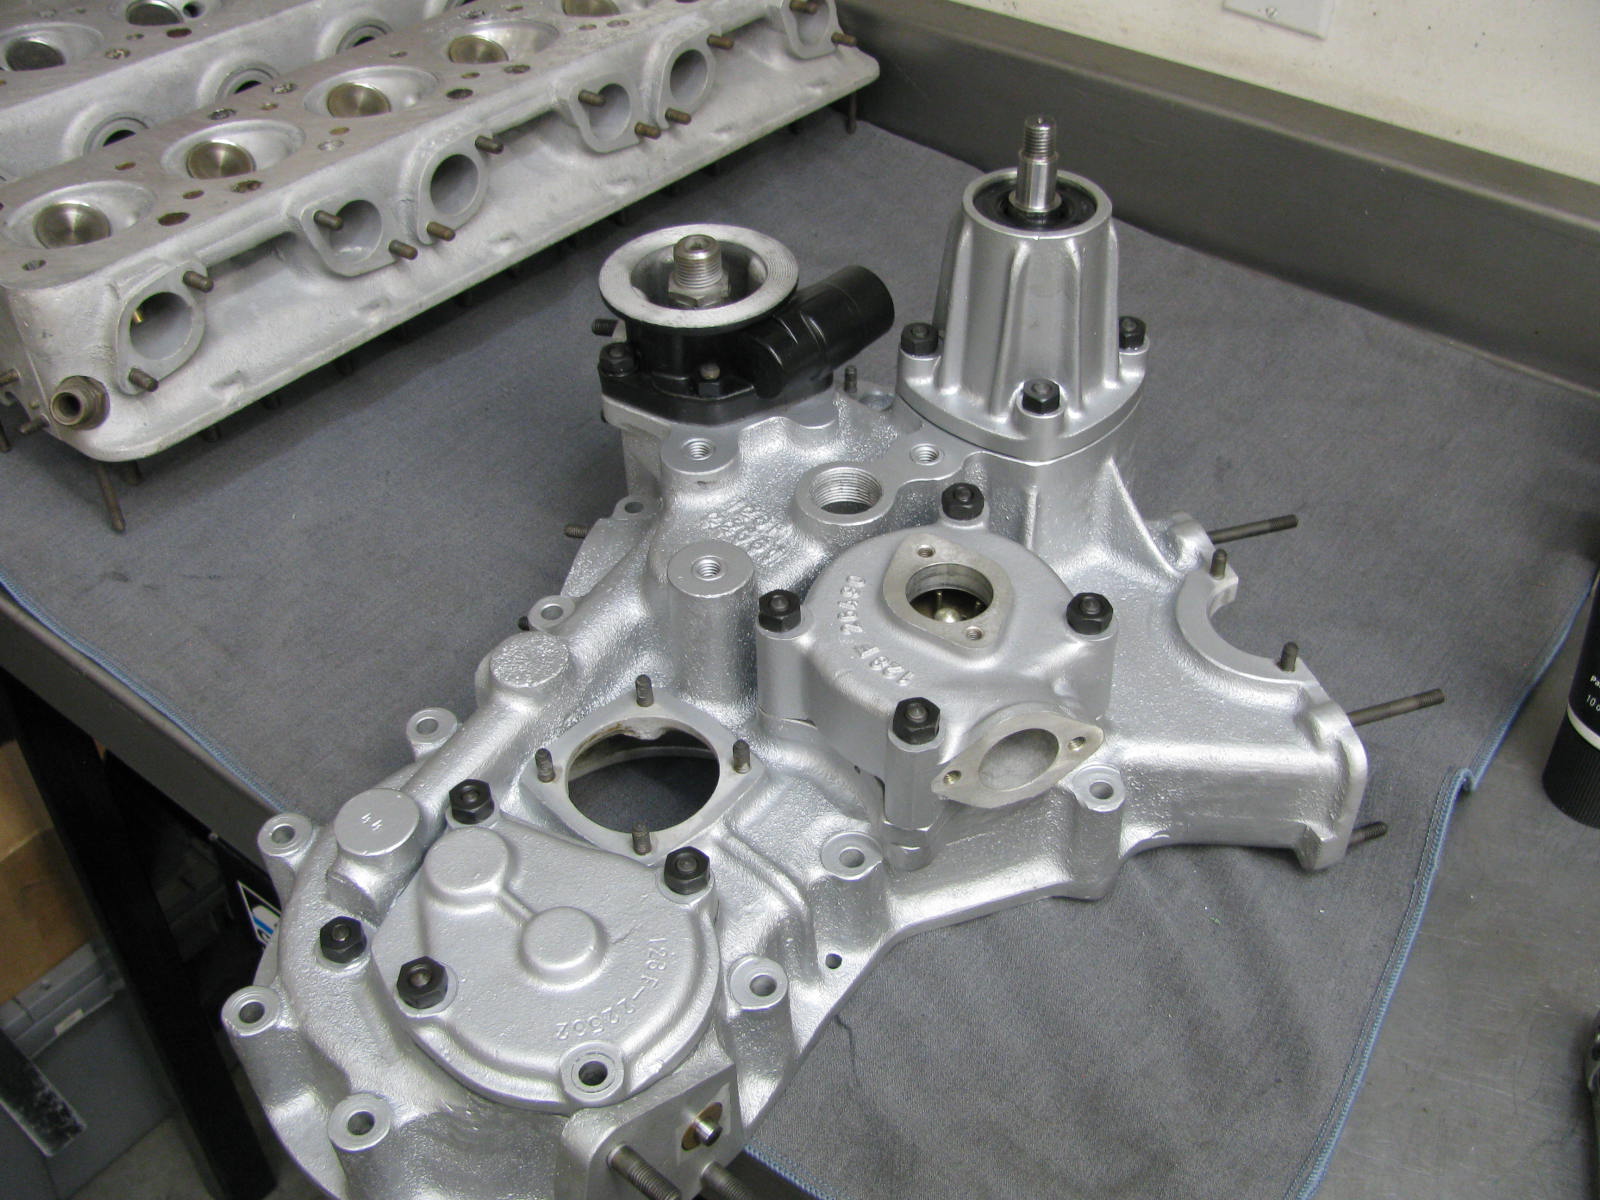
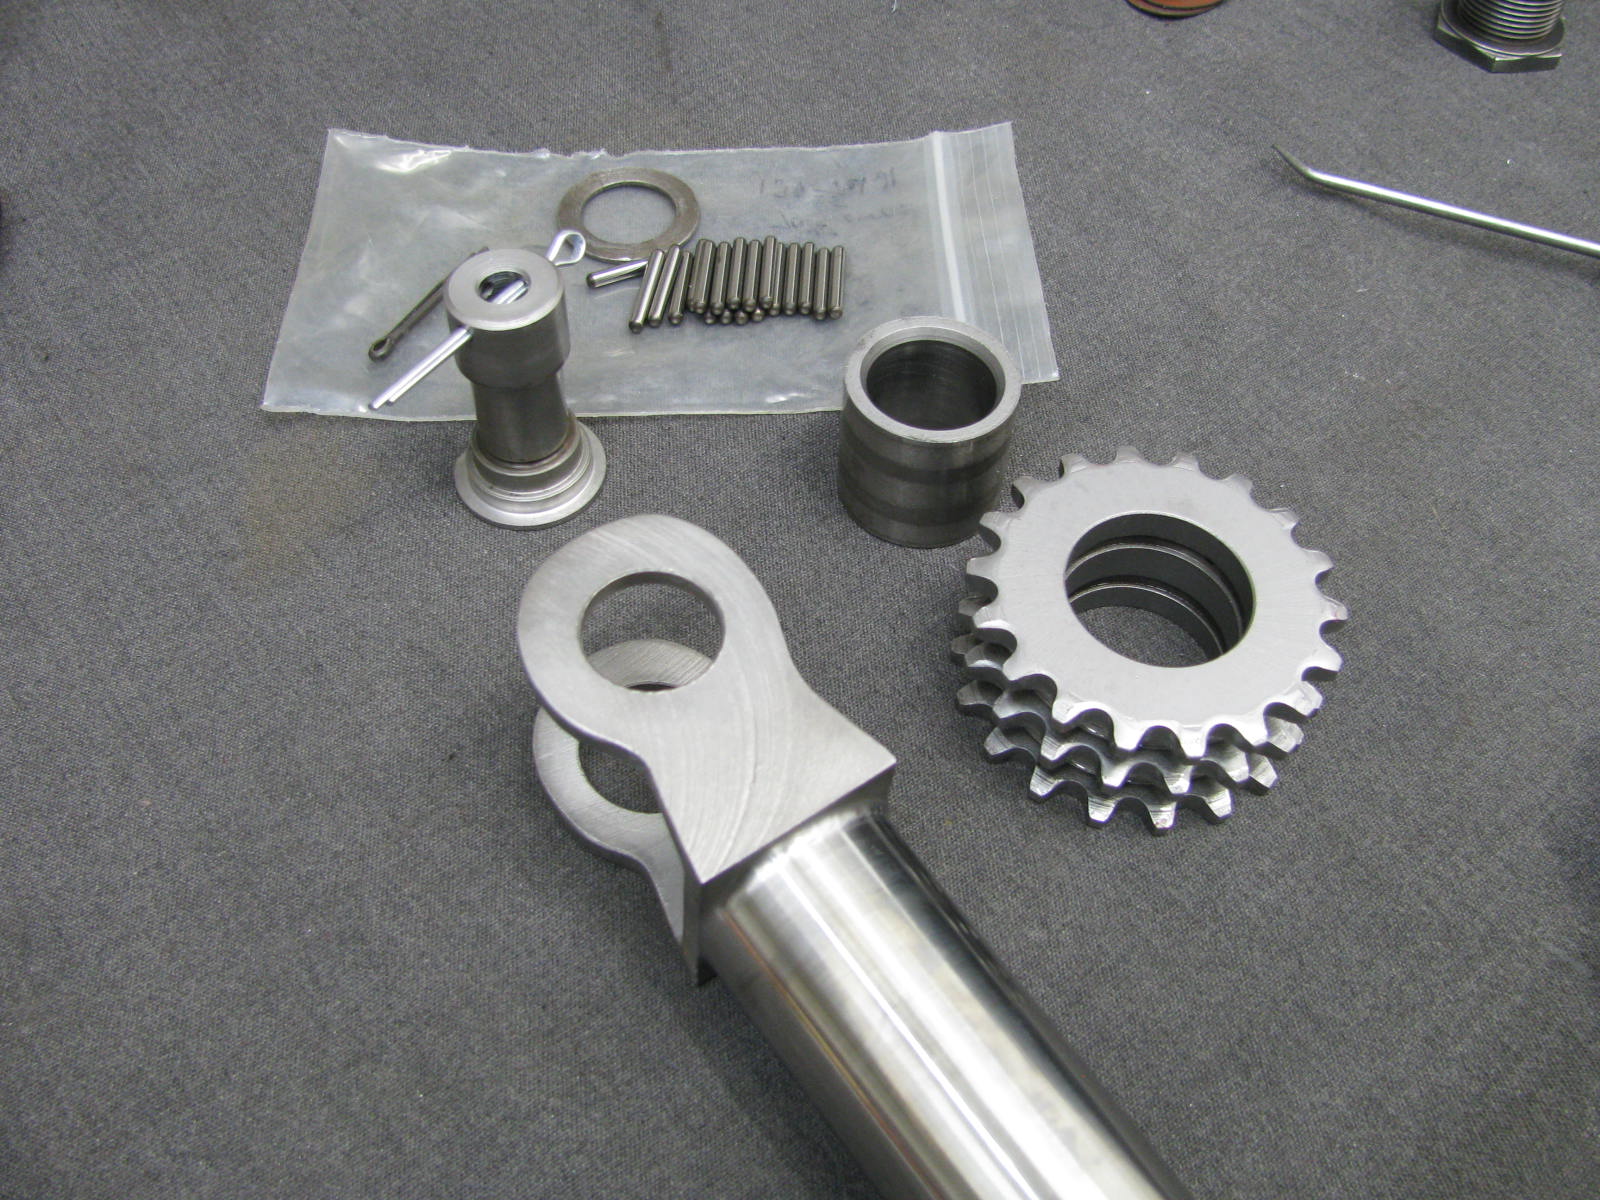
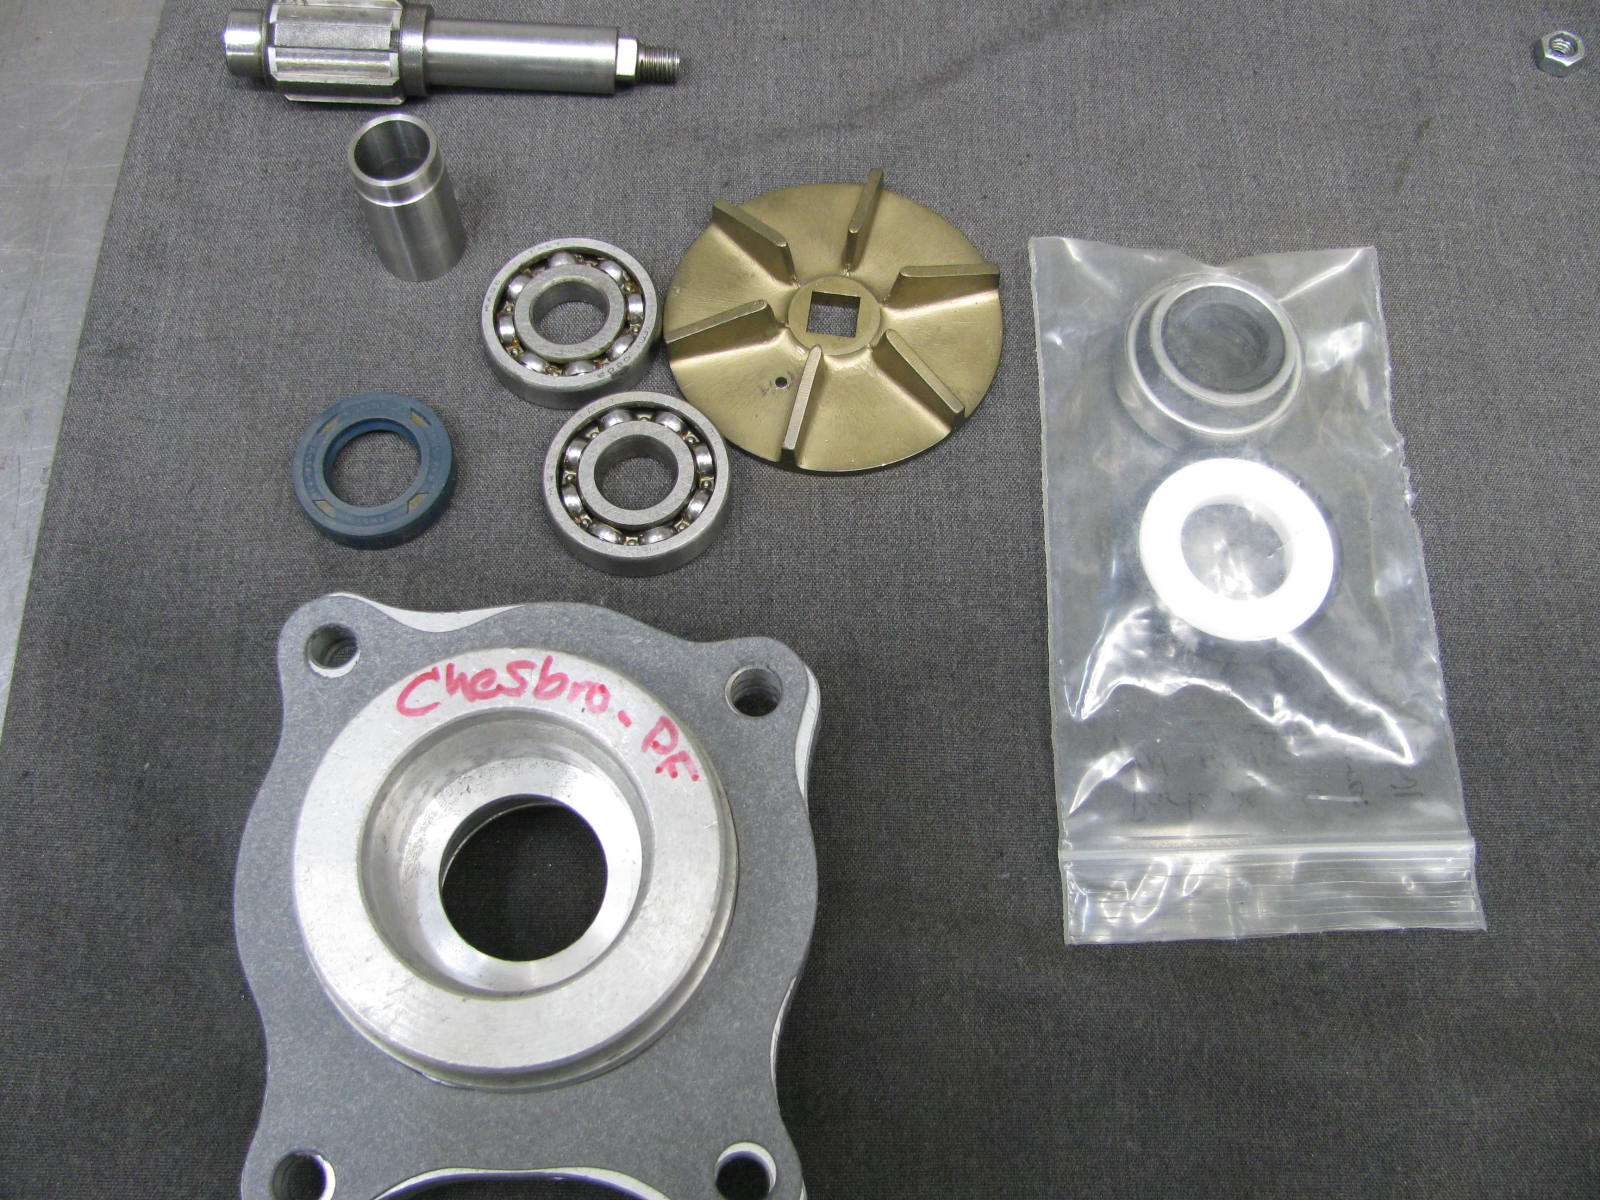
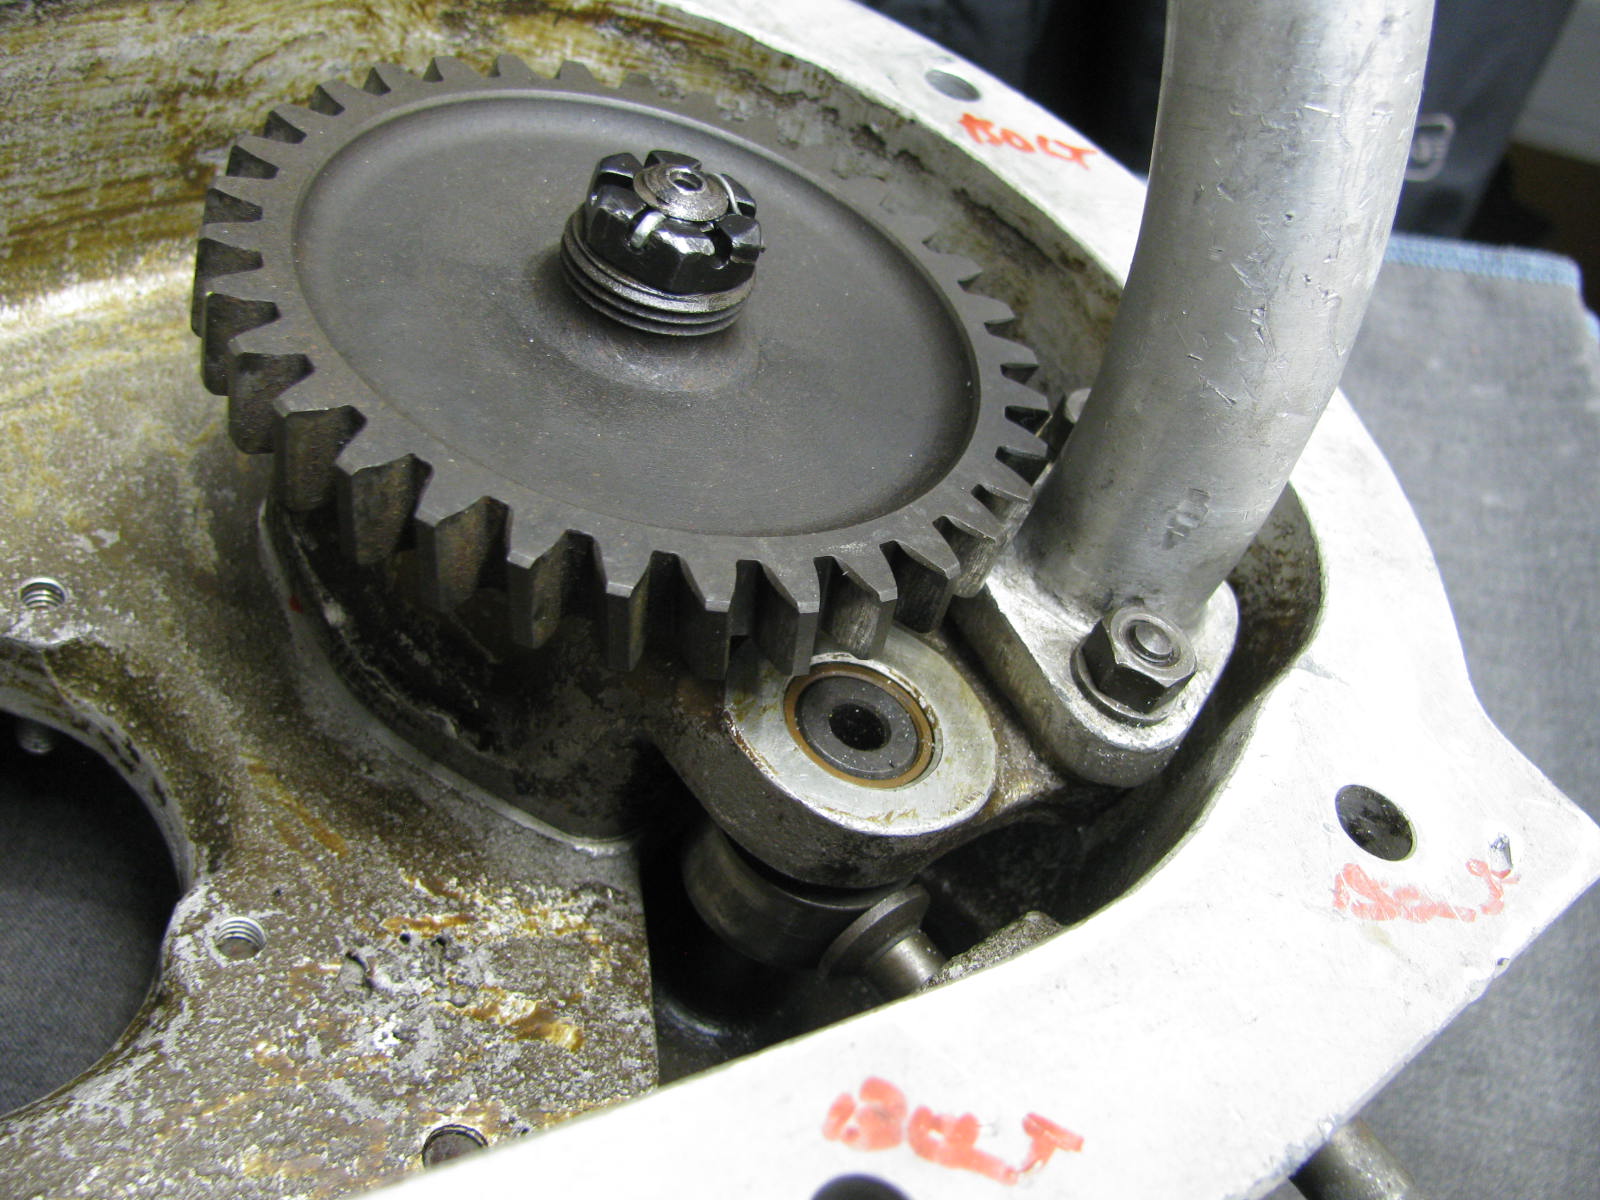
The front cover, chain tensioner oil and water pumps were disassembled, cleaned, painted and re-assembled.
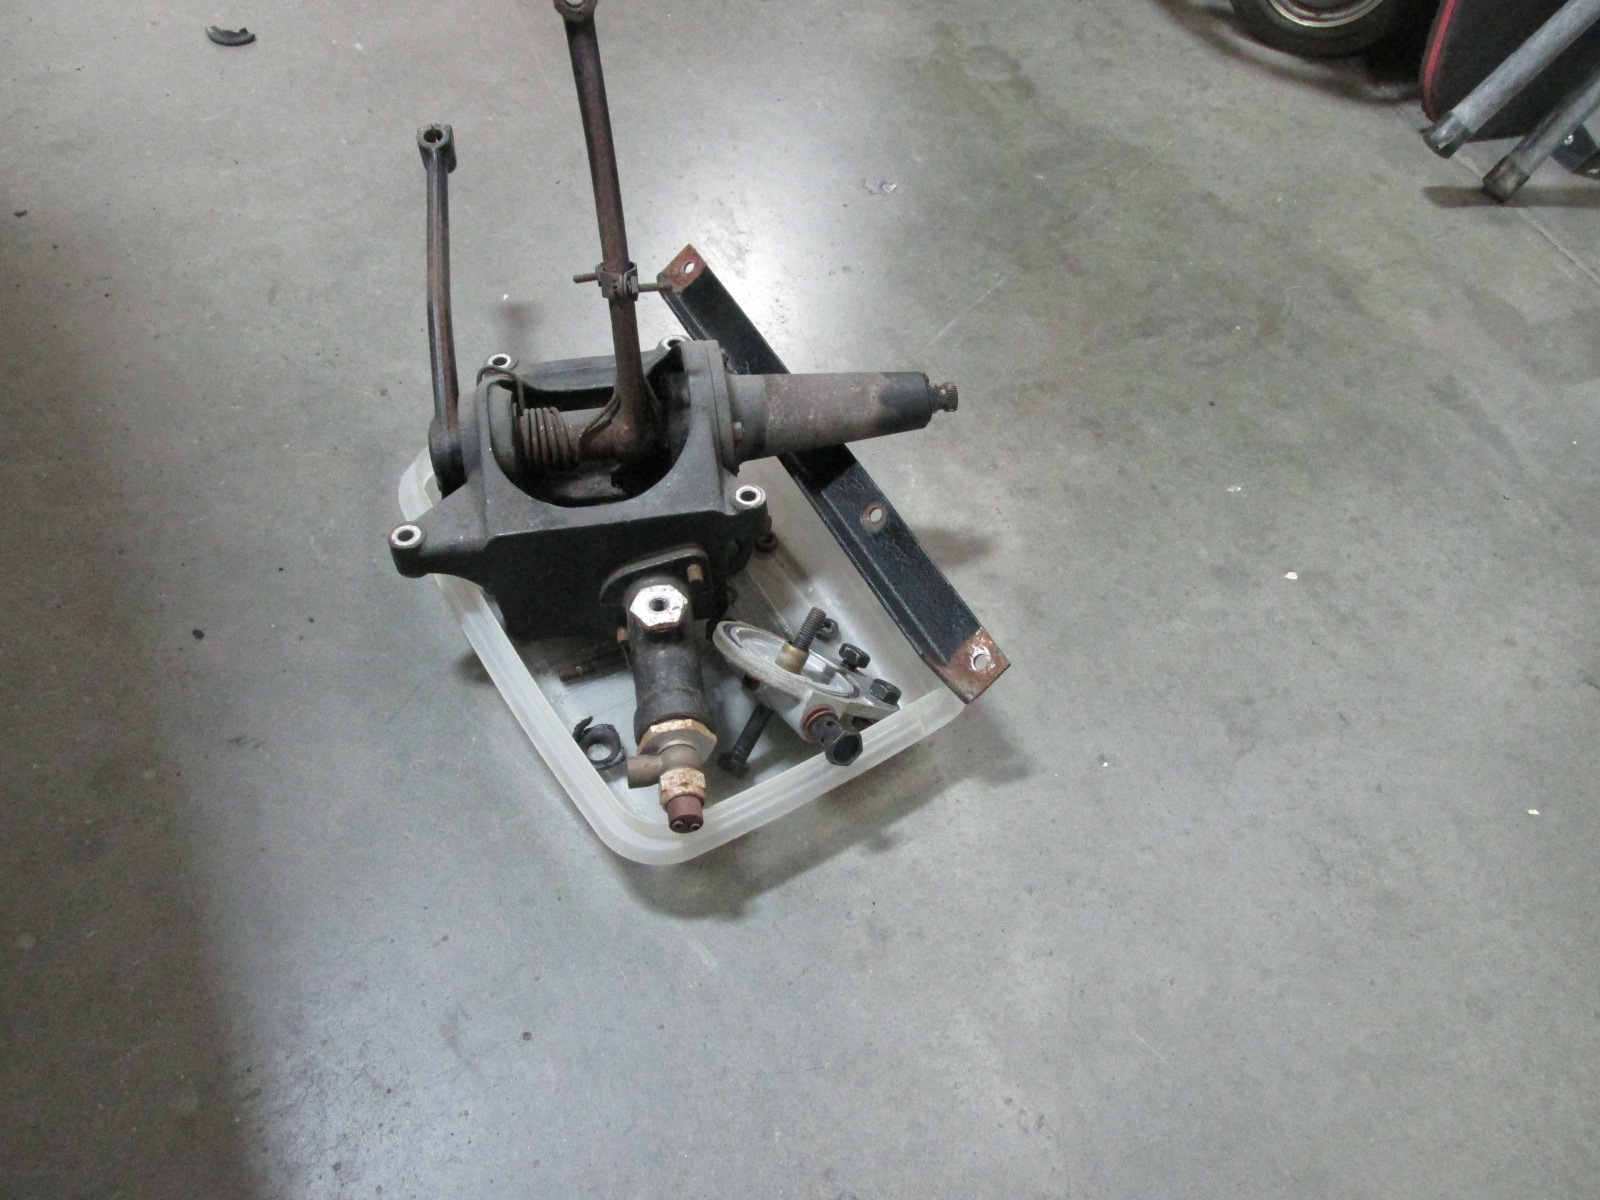
The steering box was disassembled and will be put back together with new seals. The adjustment screw cone had frozen in place, so the sides were worn. That will have to be machined smooth again and lubed so it rotates properly. Here you can see the before and after pictures.
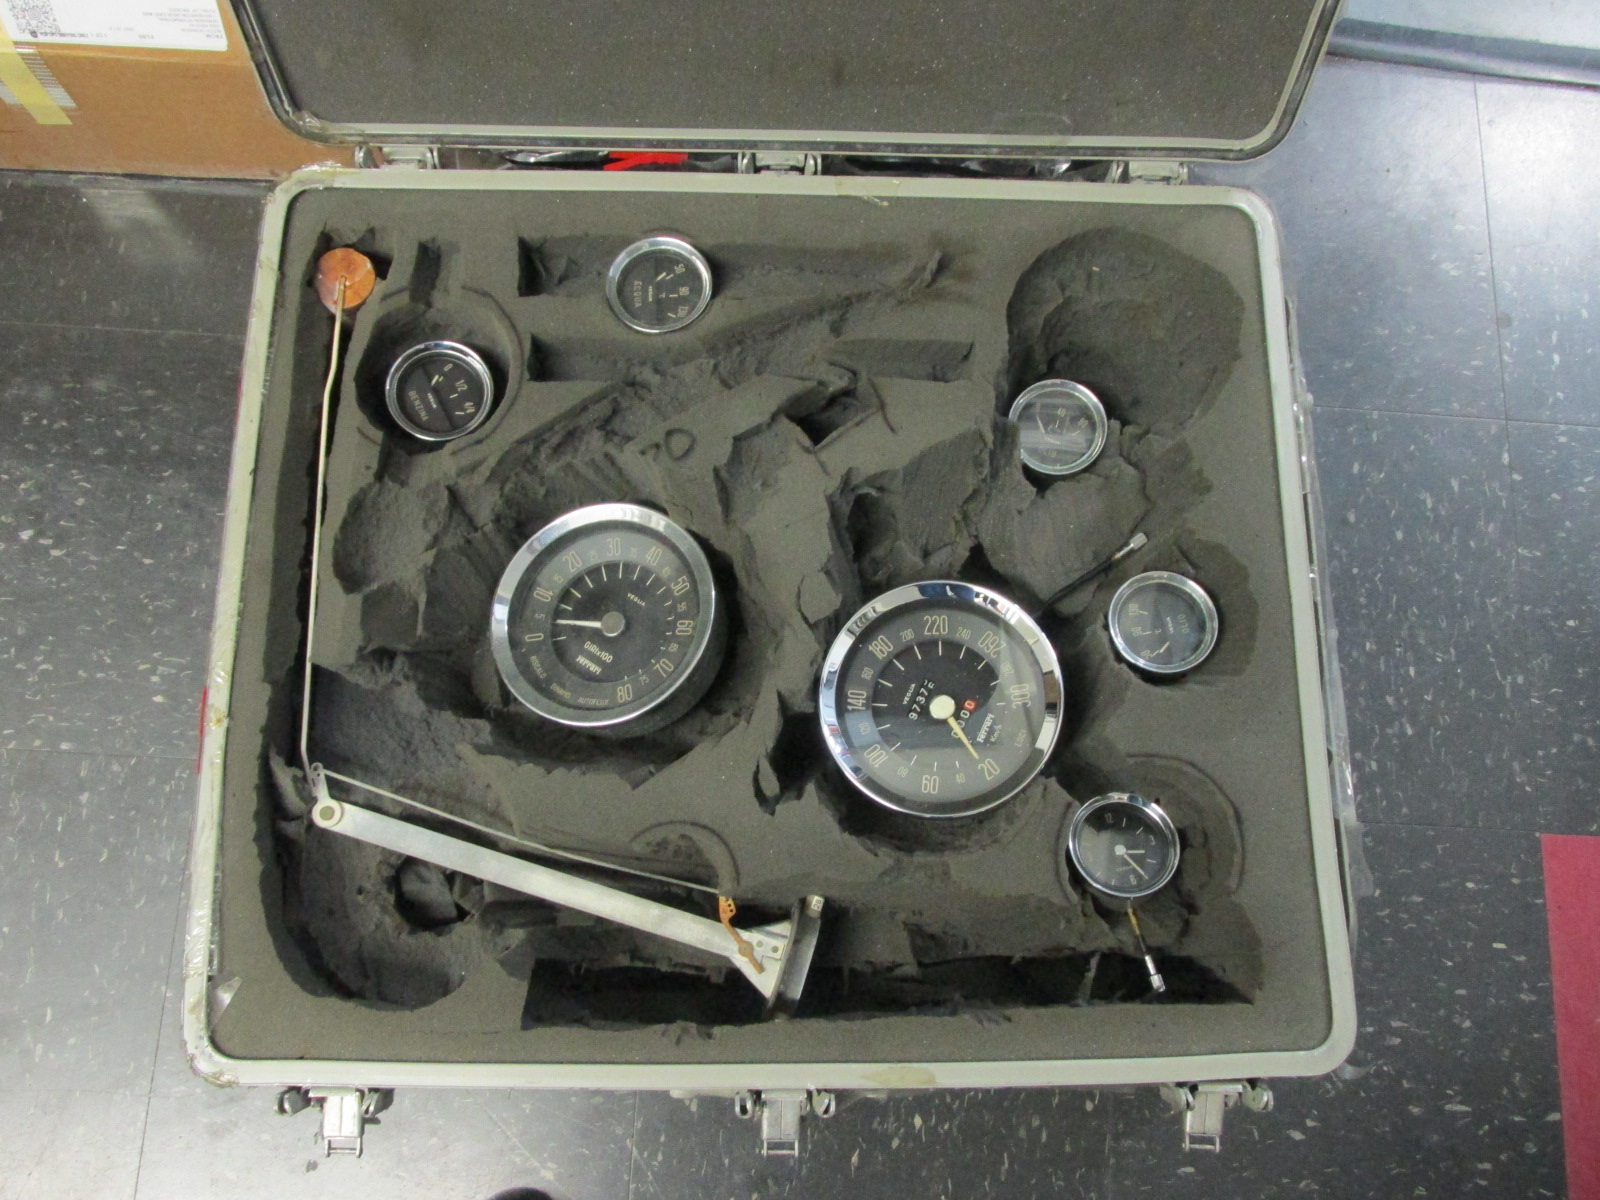
All of the instruments were sent off to be rebuilt, including the fuel sender all nicely in a foam padded case.