Radiator Fan Assembly
The fan assembly was a sad sight with lots of cleaning and painting needed.
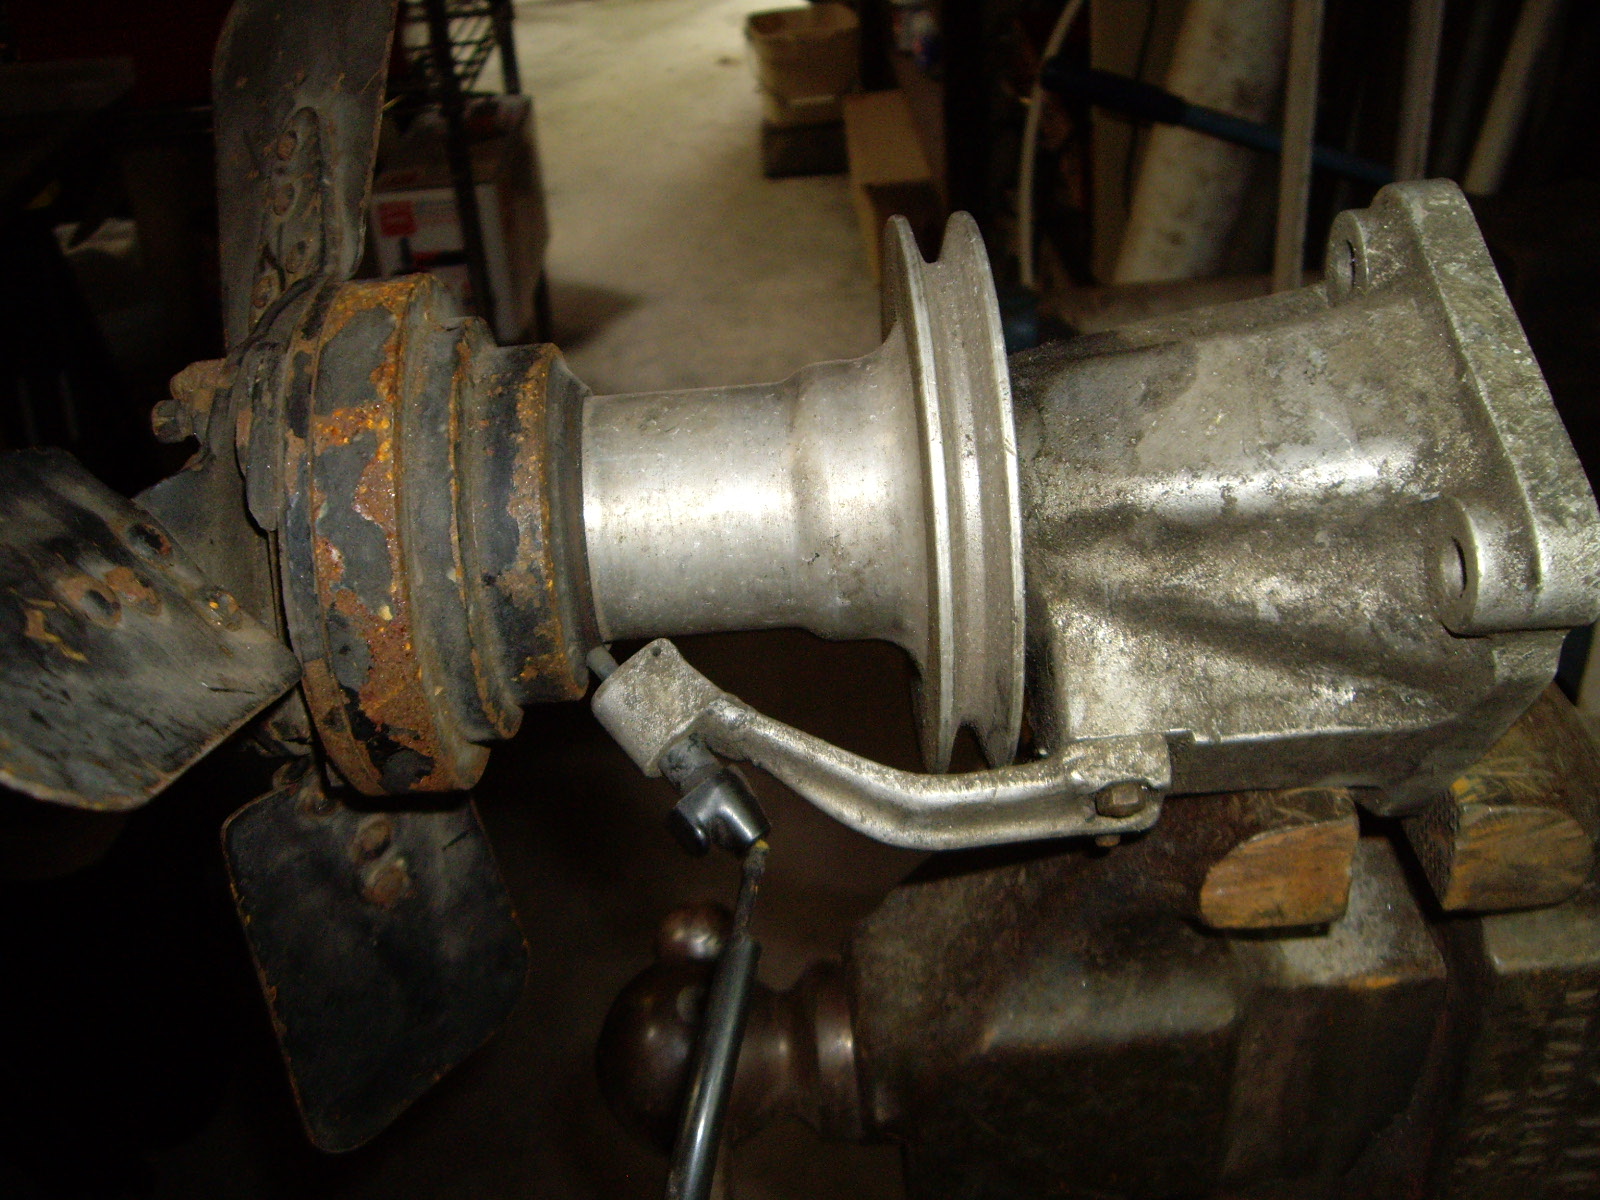
The first issue was to figure how to take it apart. The nut inside the fan blade housing has a locking dimple to prevent it from coming loose. So I took a skinny center punch and pried out the dimple. The nut at the other end came off pretty easily and then the housing was removed with a puller. The nut with the dimple didn't want to come loose and there was nothing to grab onto the shaft. In the end, I put the shaft in the vise and used a air impact wrench to remove the nut without damaging the shaft. Then the blade assembly came off with a 3 jaw puller after removing a C-clip. The pulley and clutch came off with a 2 jaw puller which pushed the shaft out the back along with the bearing and a spacer. Here's all of the pieces after cleaning and painting.
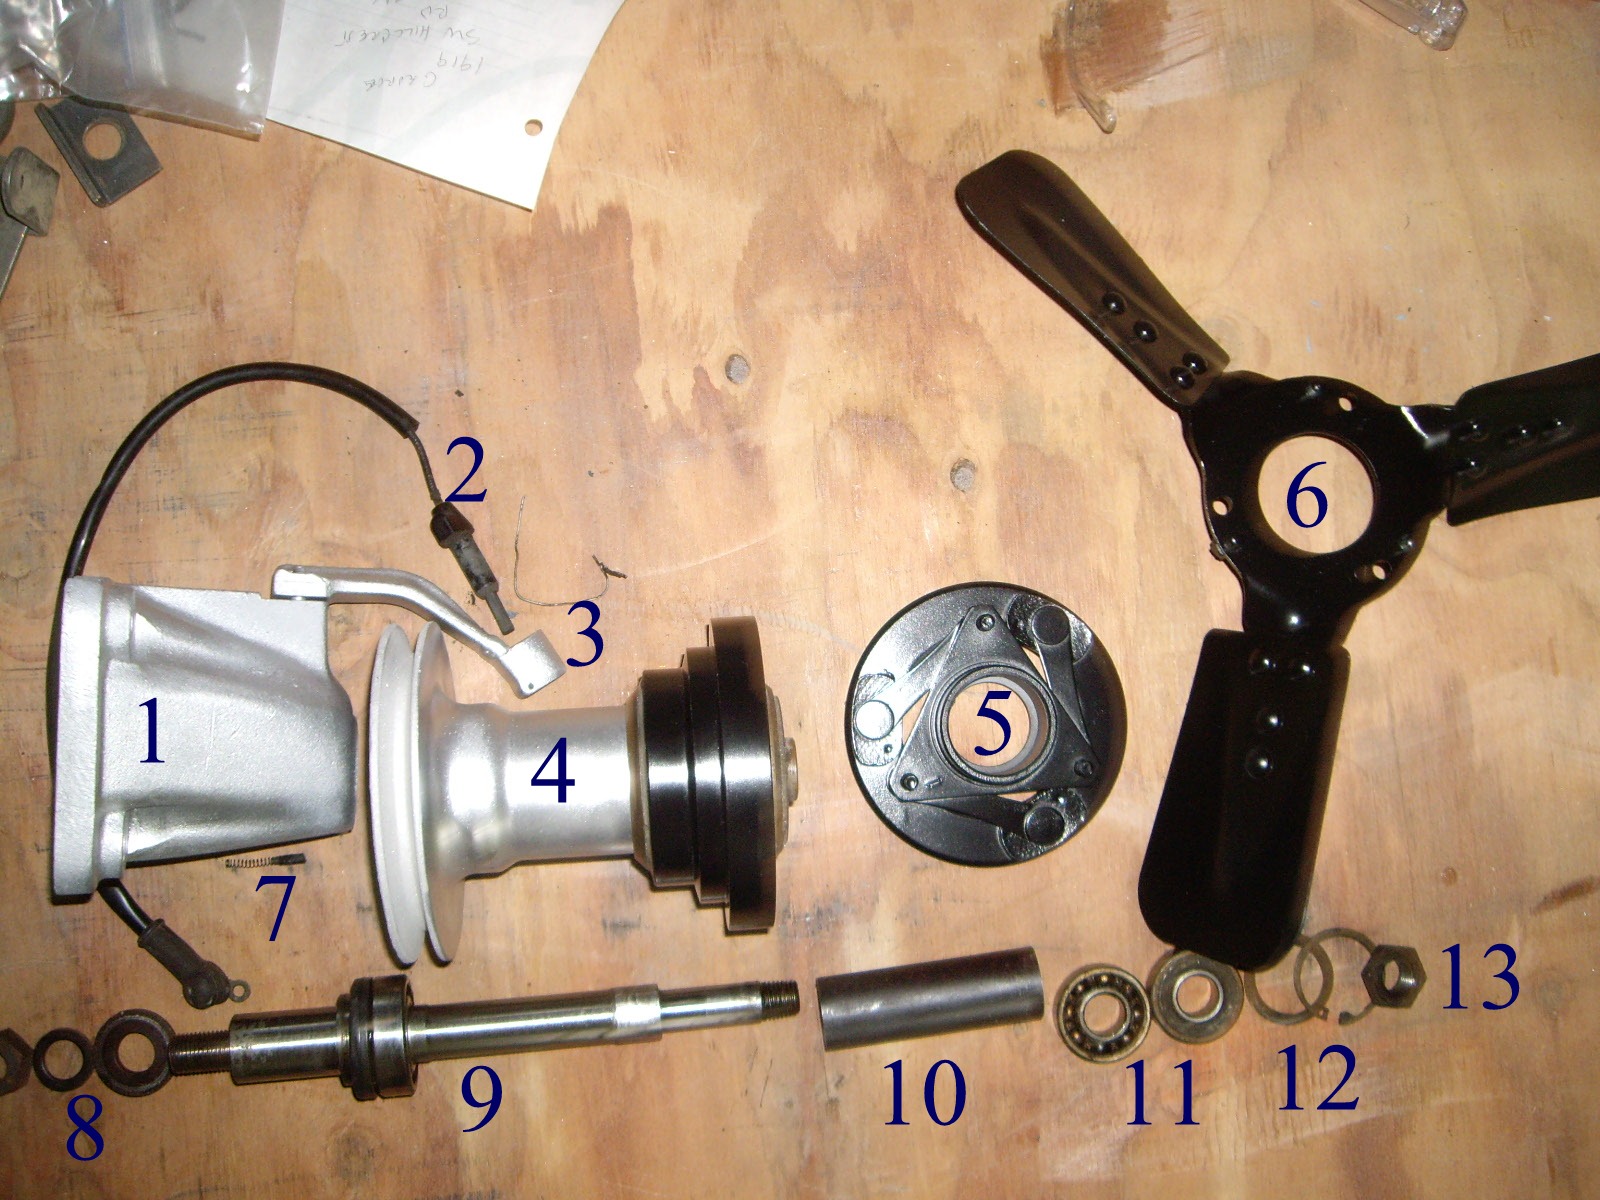
- Housing.
- Carbon brush.
- Brush holder.
- Pulley and electromagnetic clutch.
- Blade holder.
- Fan blades.
- Grounding carbon brush.
- Nut and washers.
- Shaft with bearing.
- Spacer.
- Bearings.
- Washer and C-clip.
- Locking nut.
- Spring clip (not shown, see below)
It's interesting that the two bearings (#11) are open on one side and were installed side-by-side with the open sides together. I don't know if this was originally one longer bearing or the design was the pair of them. In any case, they are both rough feeling so they will be replaced. In all, 37 parts including nuts and washers.
The power to run the electromagnetic clutch runs through the brush mounted on the holder to a electrically isolated brass ring at the base of the clutch and then to the coil. The coil is grounded through another brush (#7) which rubs on another ring at the base of the pulley. The whole system is switched by a thermostat in the cooling system so the fan is only used when the air flow through the radiator is insufficient to cool the water. After looking at this, it's no wonder that Ferrari went to electric fans with the late model 330 GTs a few years later.
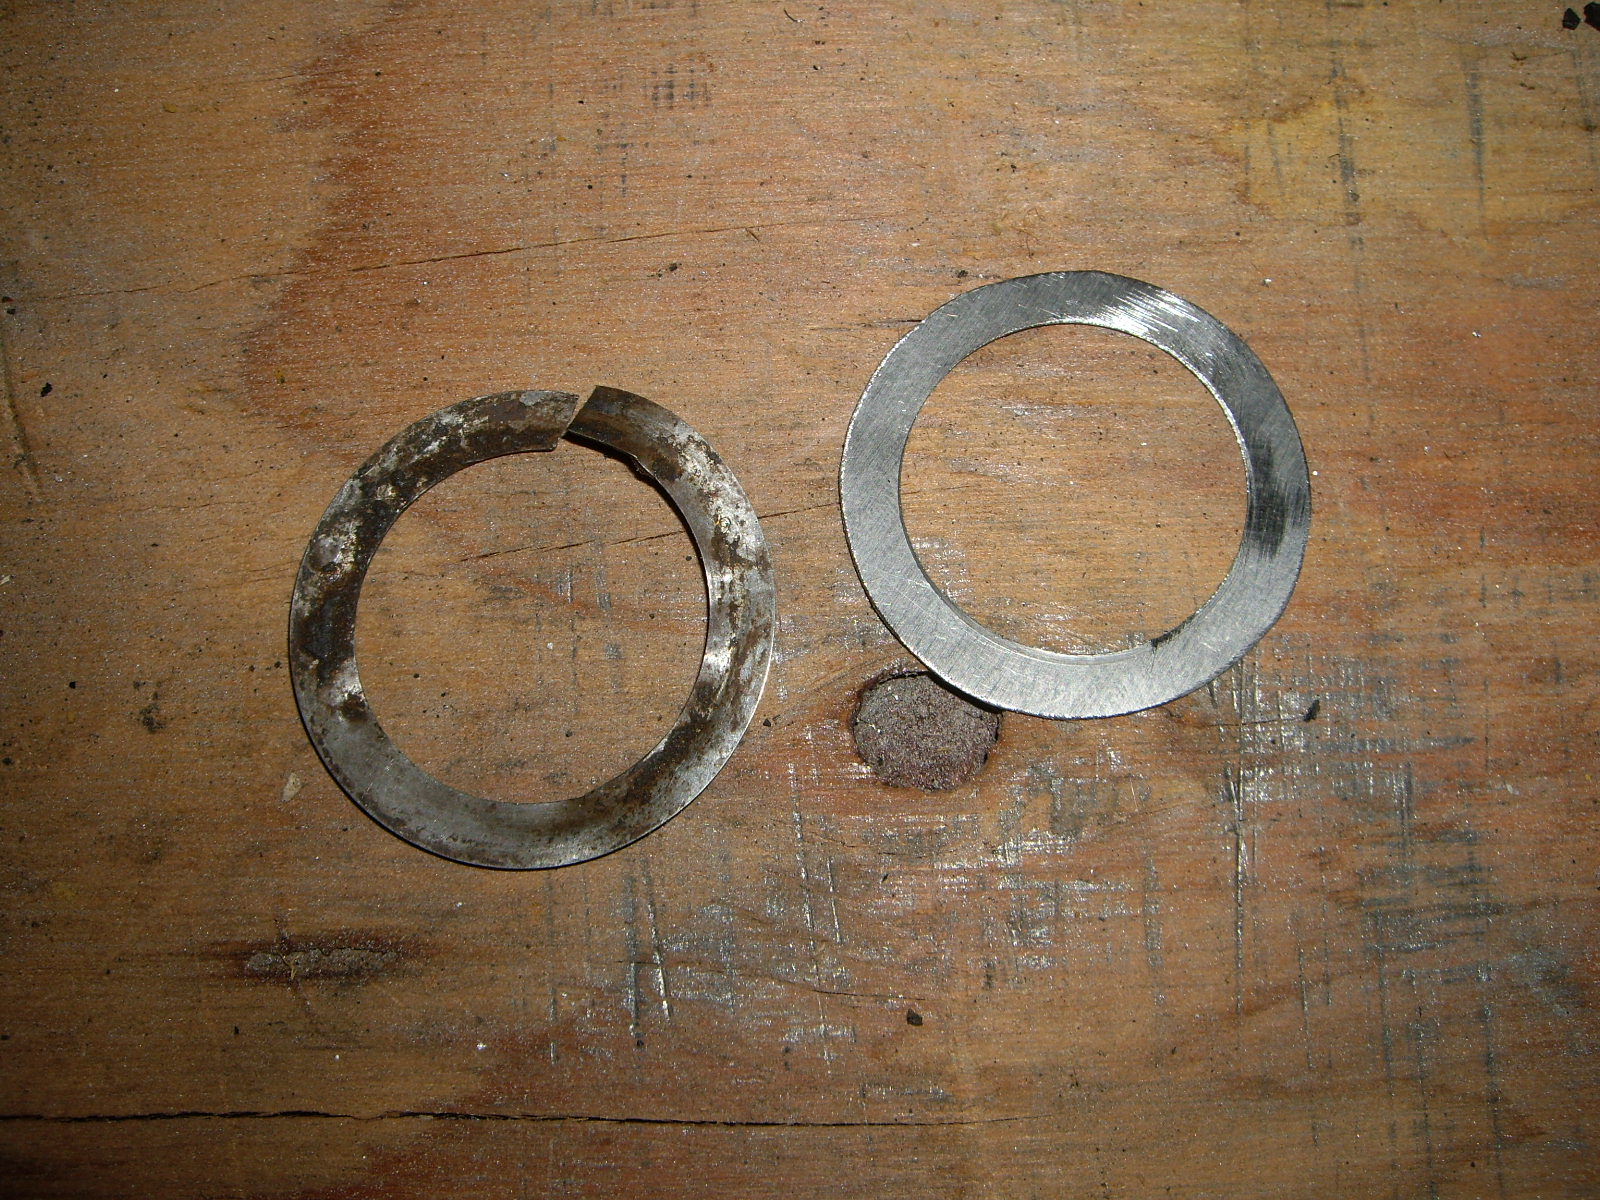
Along with needing new bearings, a spacer washer was banged up and cracked. It turns out that this is just .100" thick, so I made a new one from shim stock. I cut the inner section out with a hole saw, and then just used some snips to trim around the outside, finally cleaning it up on the belt sander.
The new bearings came and fit perfectly. They are 6202Z. I ended up buying a pack of 10, so have a few left over if anybody needs them. Here it is ready to be installed.
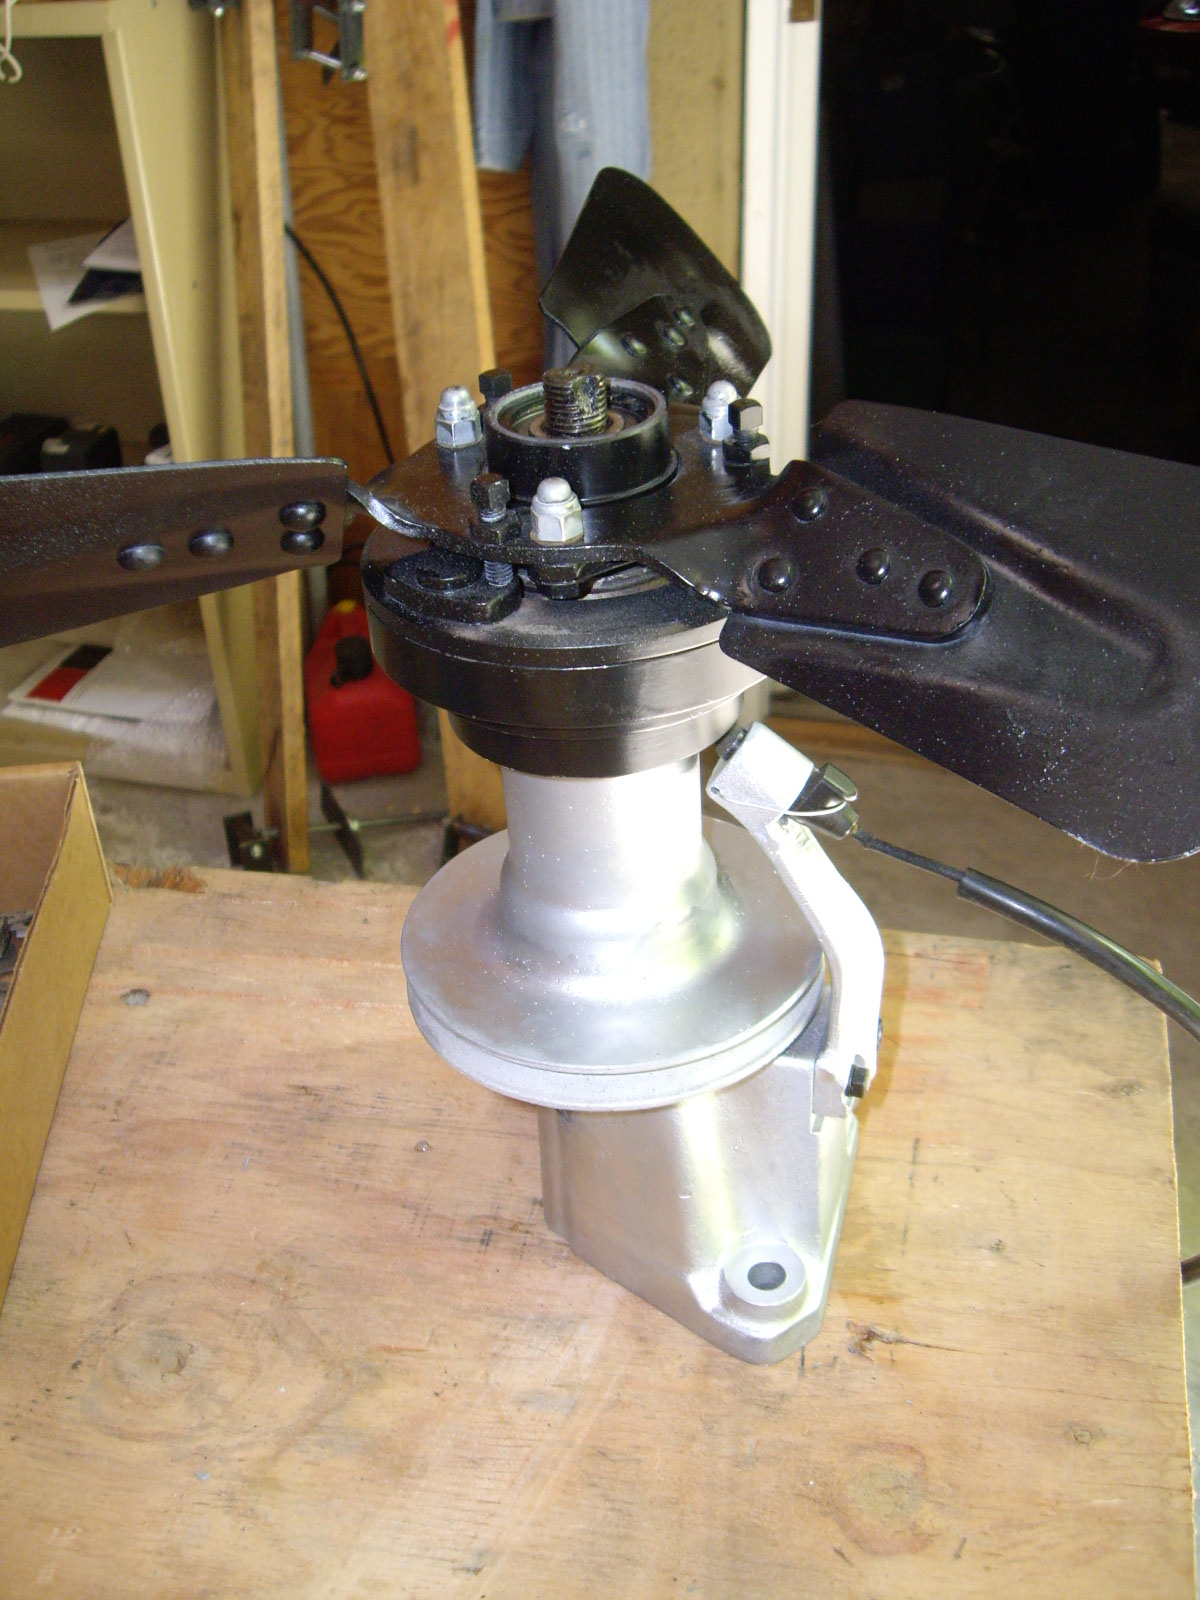
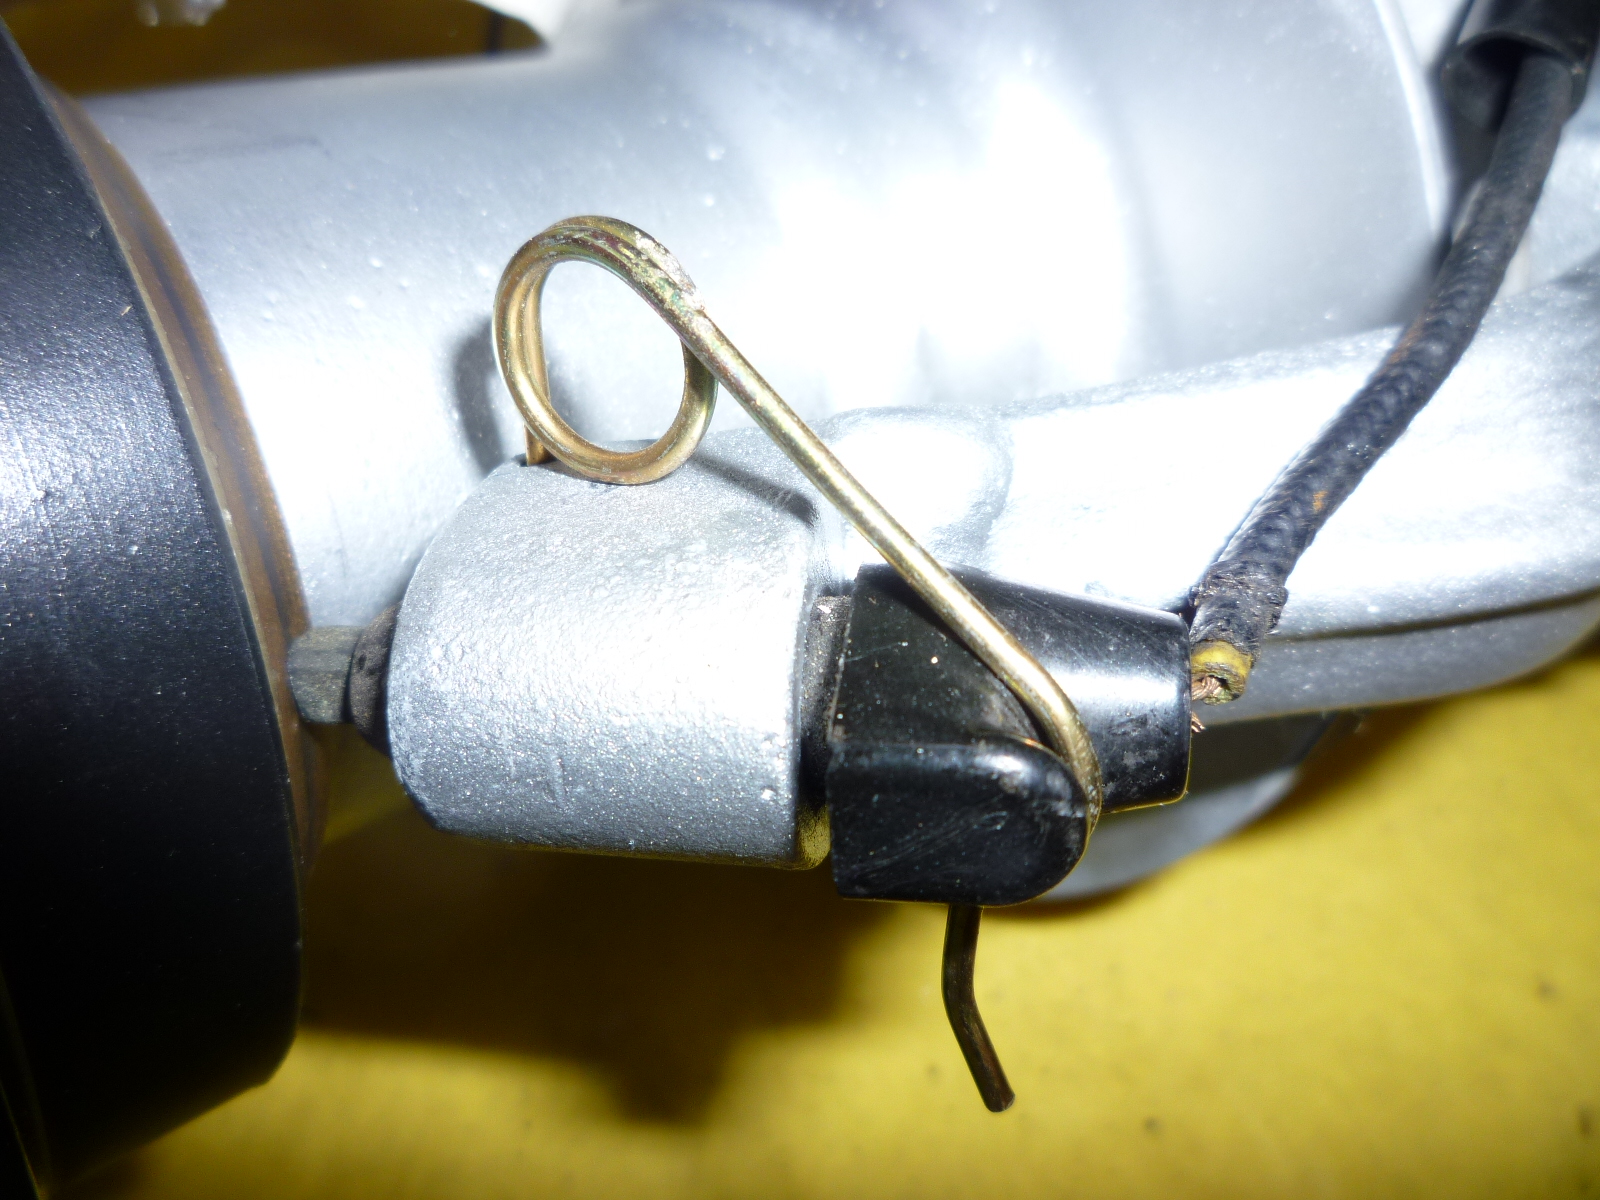
There was one part that I didn't even realize I was missing. In the picture above, you can see that I have safety wire through hole in the brush holder and around the brush to keep it in place. A friend from Europe noticed this and sent the proper spring clip. He said that he got several at the factory when he stopped by a number of years ago with his PF coupe. The part number is 4078578. Here you can see the clip all installed.
The early 330 GT parts book shows the fan assembly with all of the parts on Tav. 12.