Lower End of the Engine Assembly
It's been 30 years since I assembled my 330 GT engine, so I took the PF coupe engine assembly slowly as I checked a number of items to make sure I was doing it correctly.
To start, one inserts the crank bearing halves and put the crank in. I used 50 weight oil liberally. This is heavy enough to coat the surfaces and stay in place until the engine is started and normal oil circulation occurs.
.JPG)
Then you put the other bearing halves into the main bearing caps, place them over the crank and torque everything down. At this point, the crank should be able to be turned smoothly by hand.
.JPG)
I had a problem installing the new rear main seal. With the rear main in the bell housing tightened down, I could not get the seal to tap in. Rather than damage the seal, I loosened the bell housing half and separated it slightly from the block half. Then the seal fit in on the block side and the rear main half tightened down fine, torqued to 45 ft. lbs. for the large nuts and 25 ft. lbs. for the four smaller ones.
.JPG)
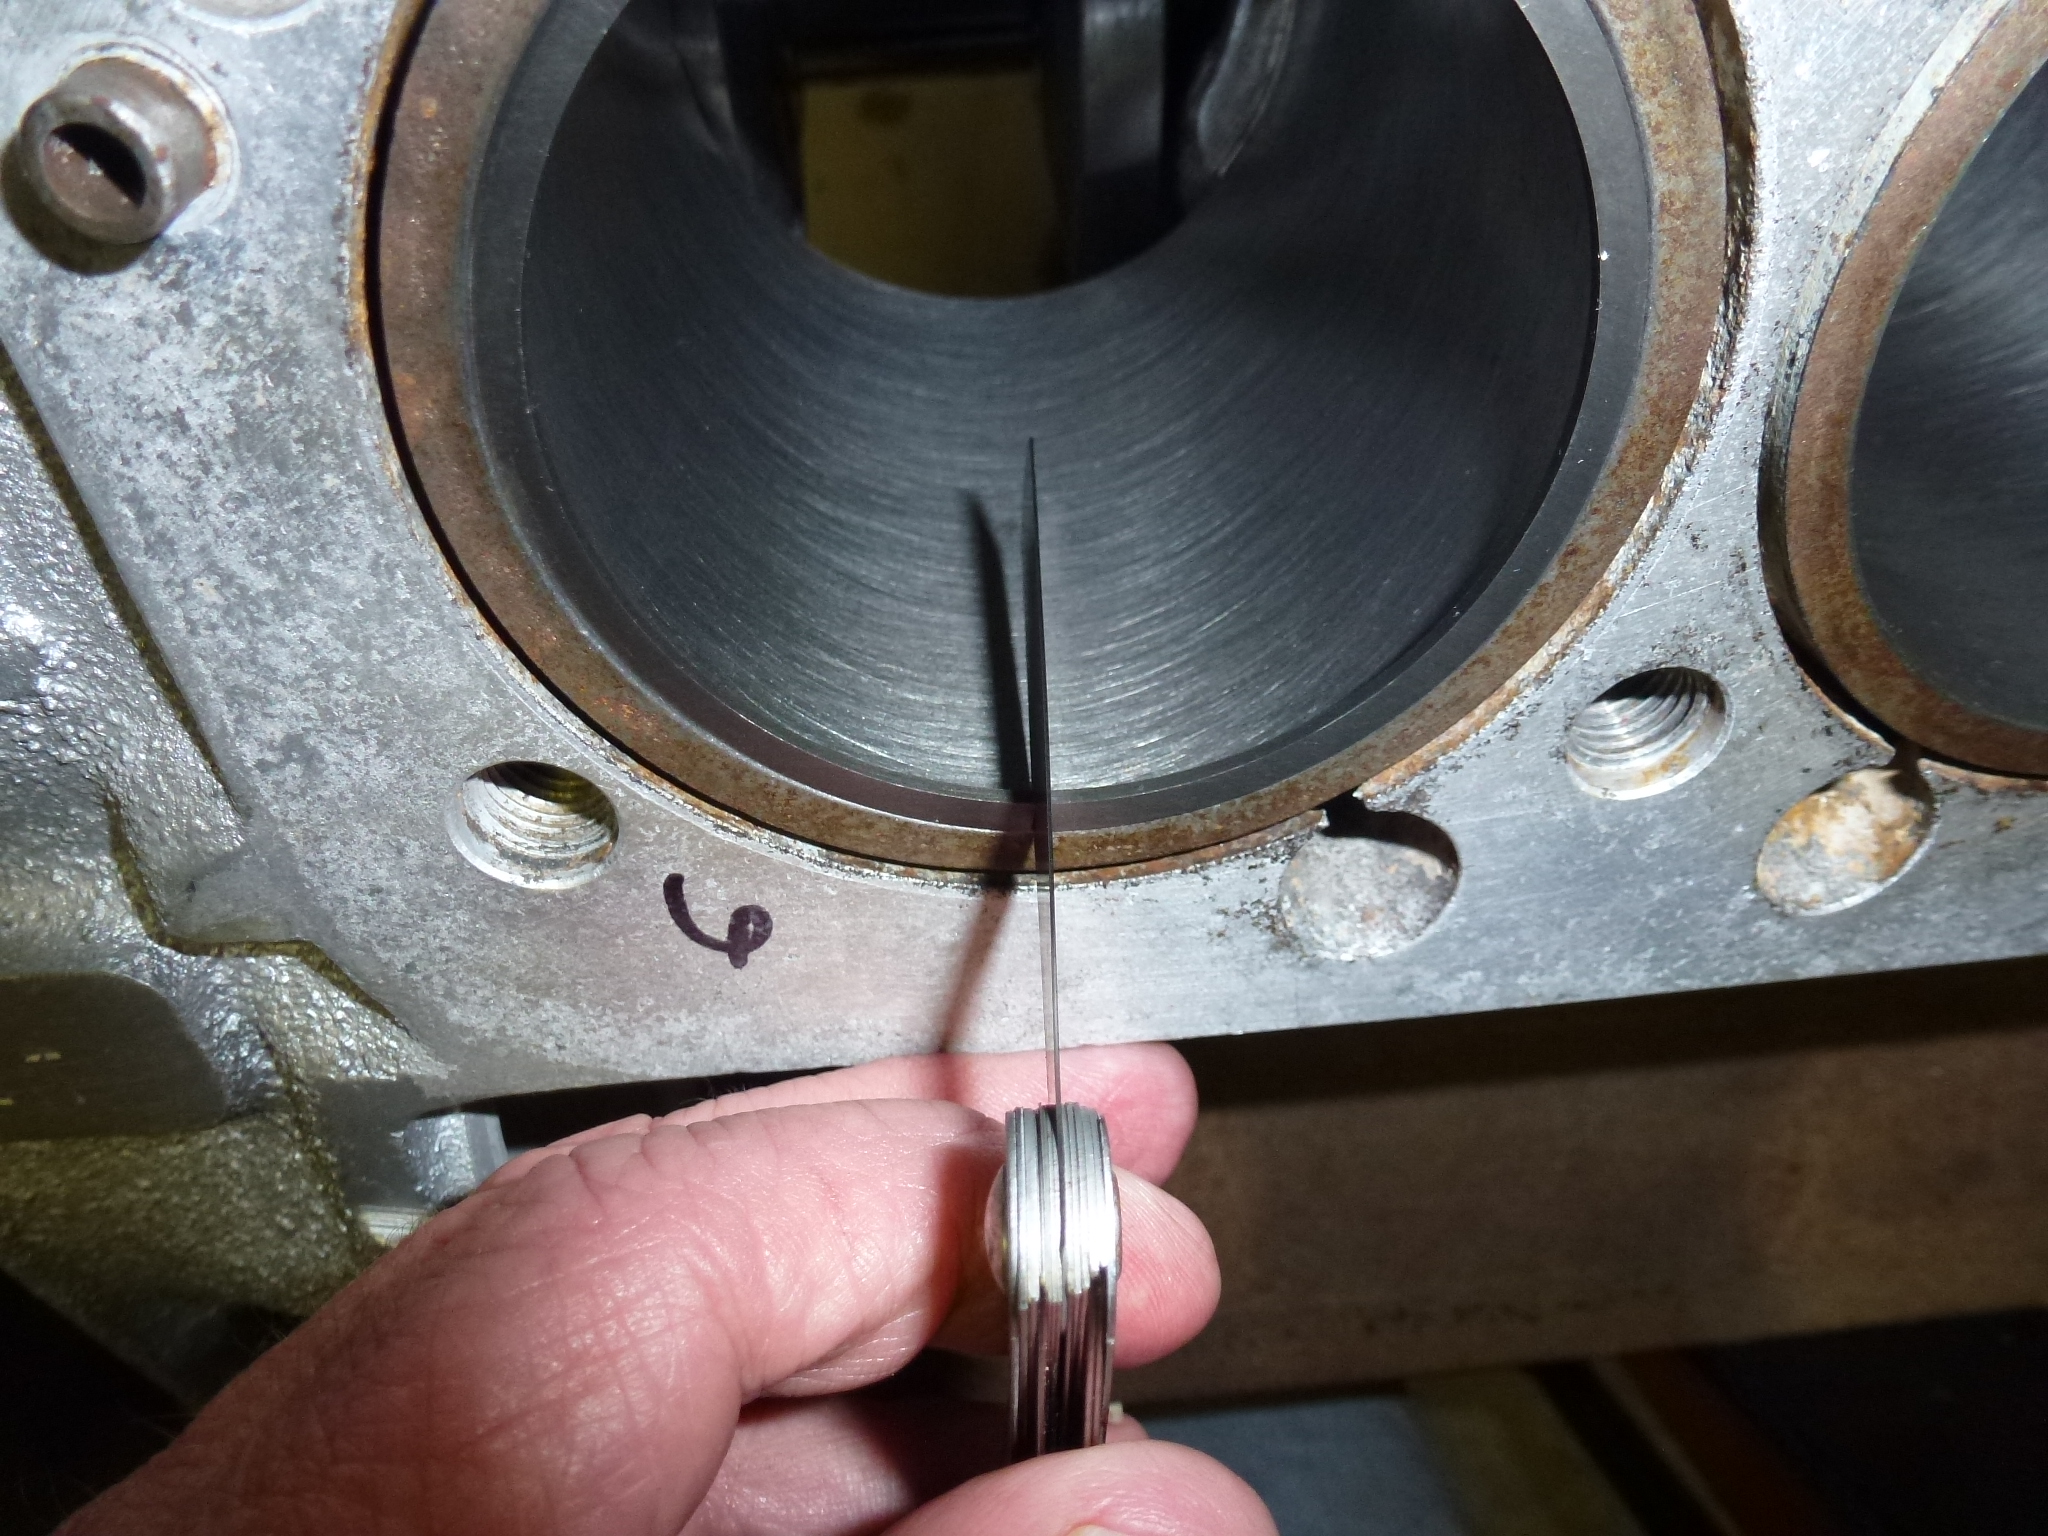
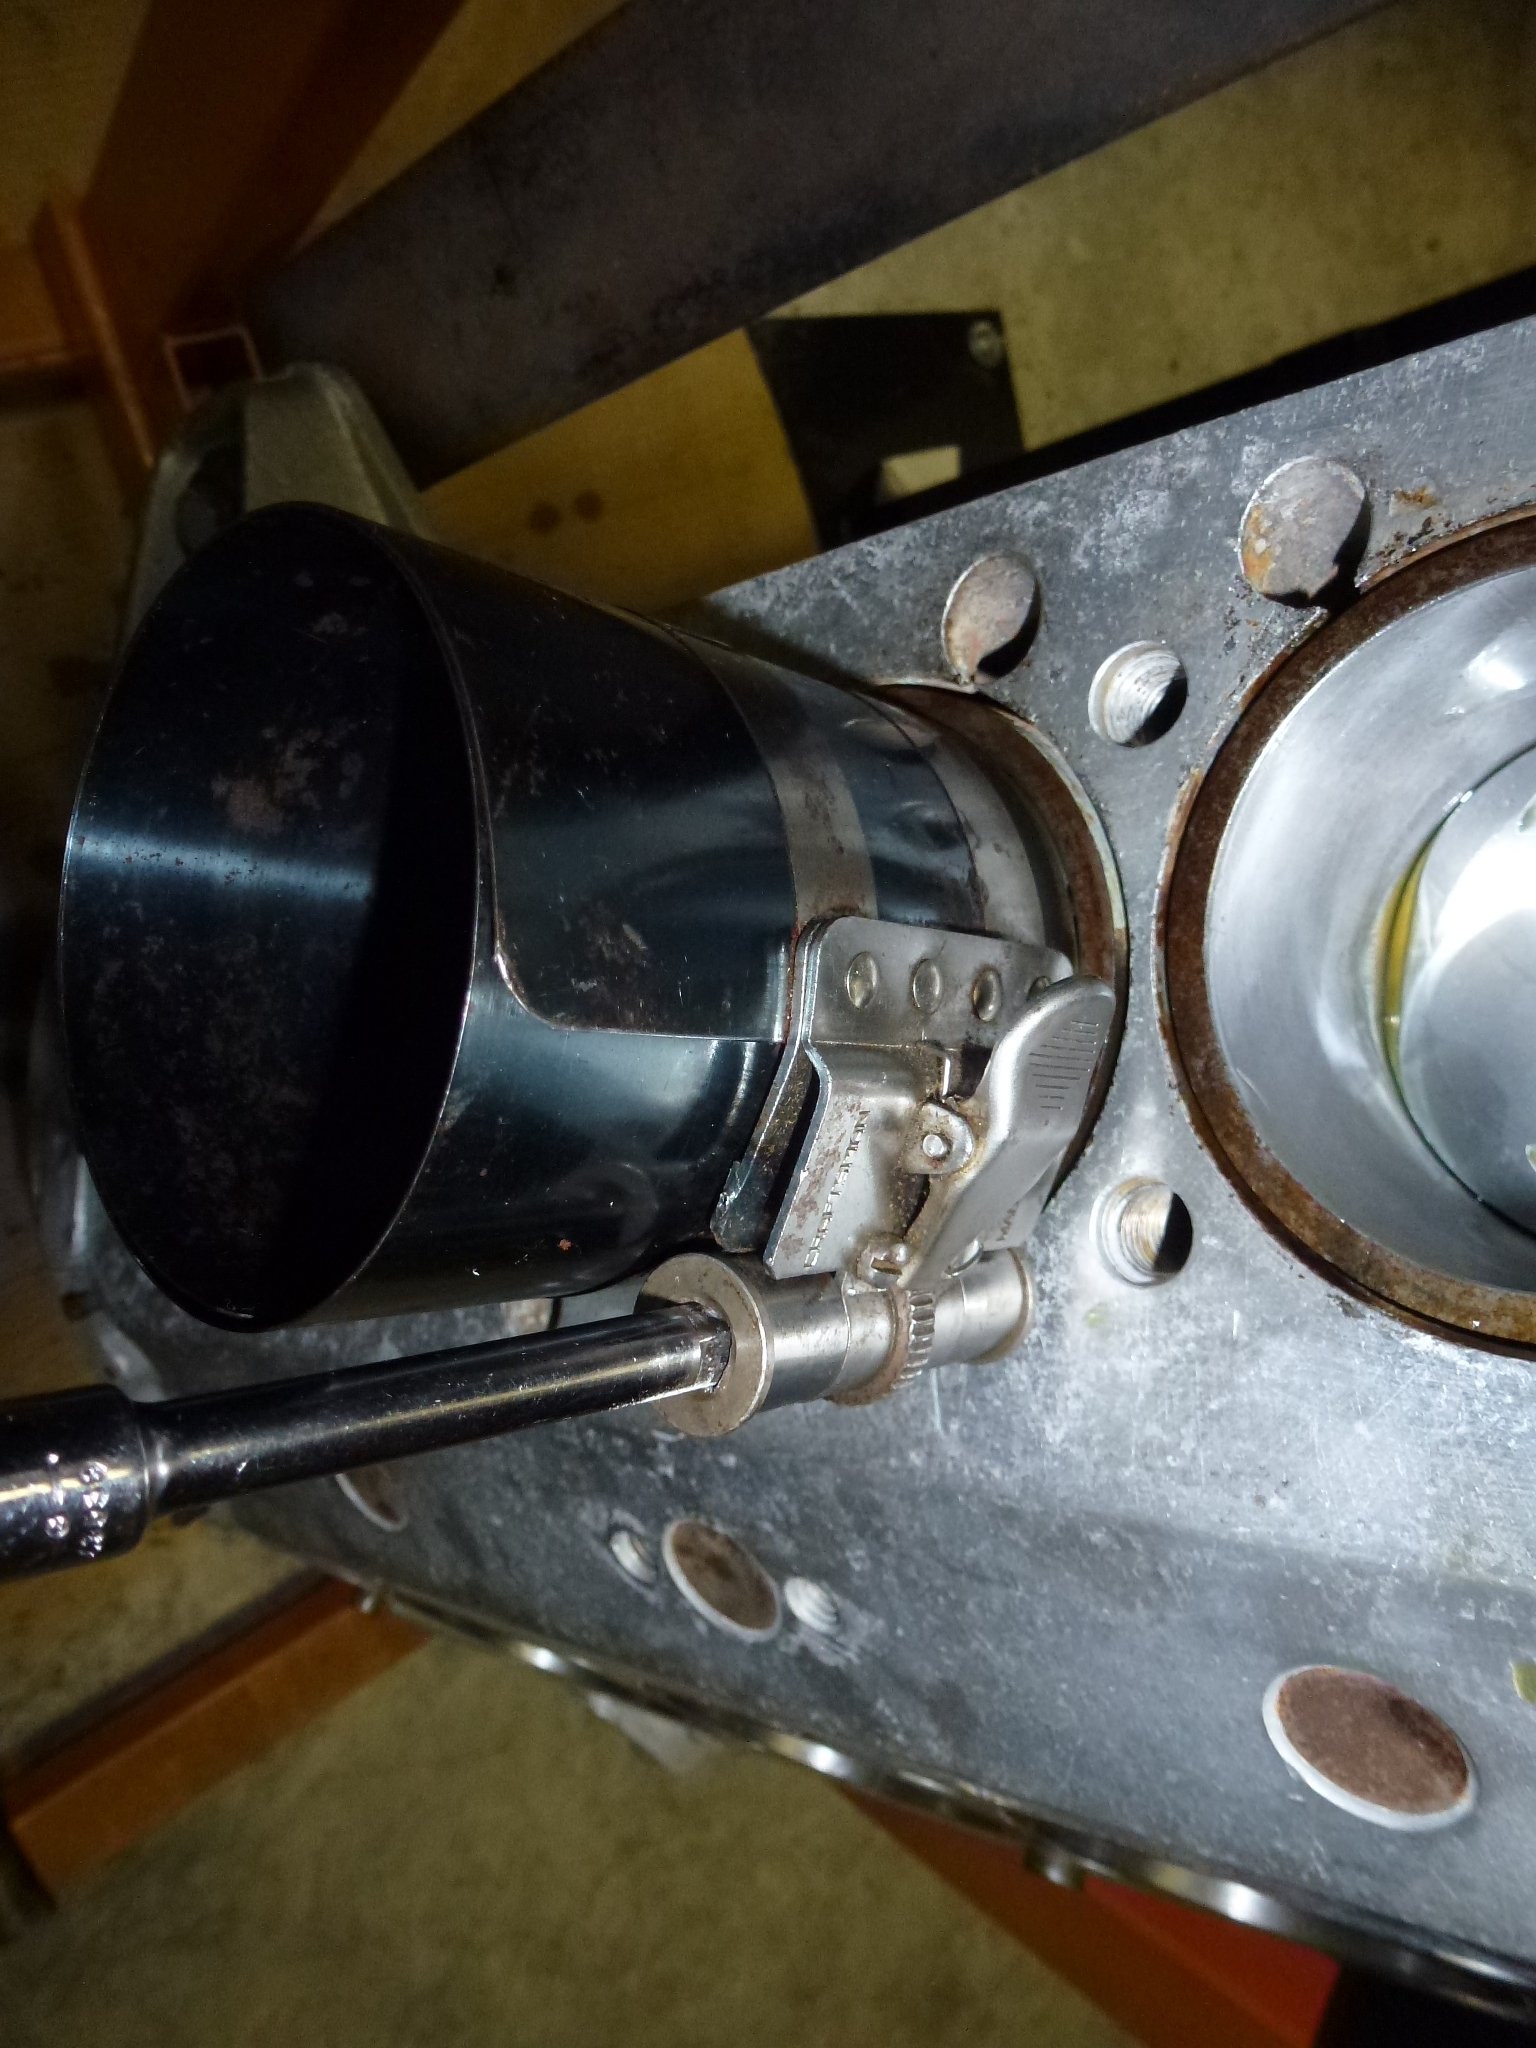
The pistons, rings and rods are next. The previous owner had the new pistons already mounted on the rods, along with the rings. Since I didn't know exactly what had been checked, I removed the rings and checked them against each bore for the end gap. Ferrari specifies the end gap to be .012-.018". There were some rings that were too tight, but a few passes with a file held between the ring ends brought the gaps within spec.
Then I weighed each assembled piston and rod to make sure that they were within the ±2 grams as specified. My scale is only accurate to 2 grams, while my wife's cooking one is to 1 gram. However, I was required to put hers in a clean area of the shop and have the top covered with plastic to keep it clean. I weighed some small nuts until I found the right size to weight ½ gram each. Then, when I weighed an assembly, I could add a nut. If the weight went up by a gram, then I marked that the weight was ½ gram heavier than the original number. The lightest was 806.5 gm with the heaviest being 811 gm. By removing metal (drilling holes) in the pistons, I got the range down to 806.5 to 809 grams, within the ±2 gm spec. Ideally, one starts with the pistons and rods separately, matching the lightest piston with the heaviest rod, etc., but the rod pin retainers were circular rings that proved impossible to take out easily.
.JPG)
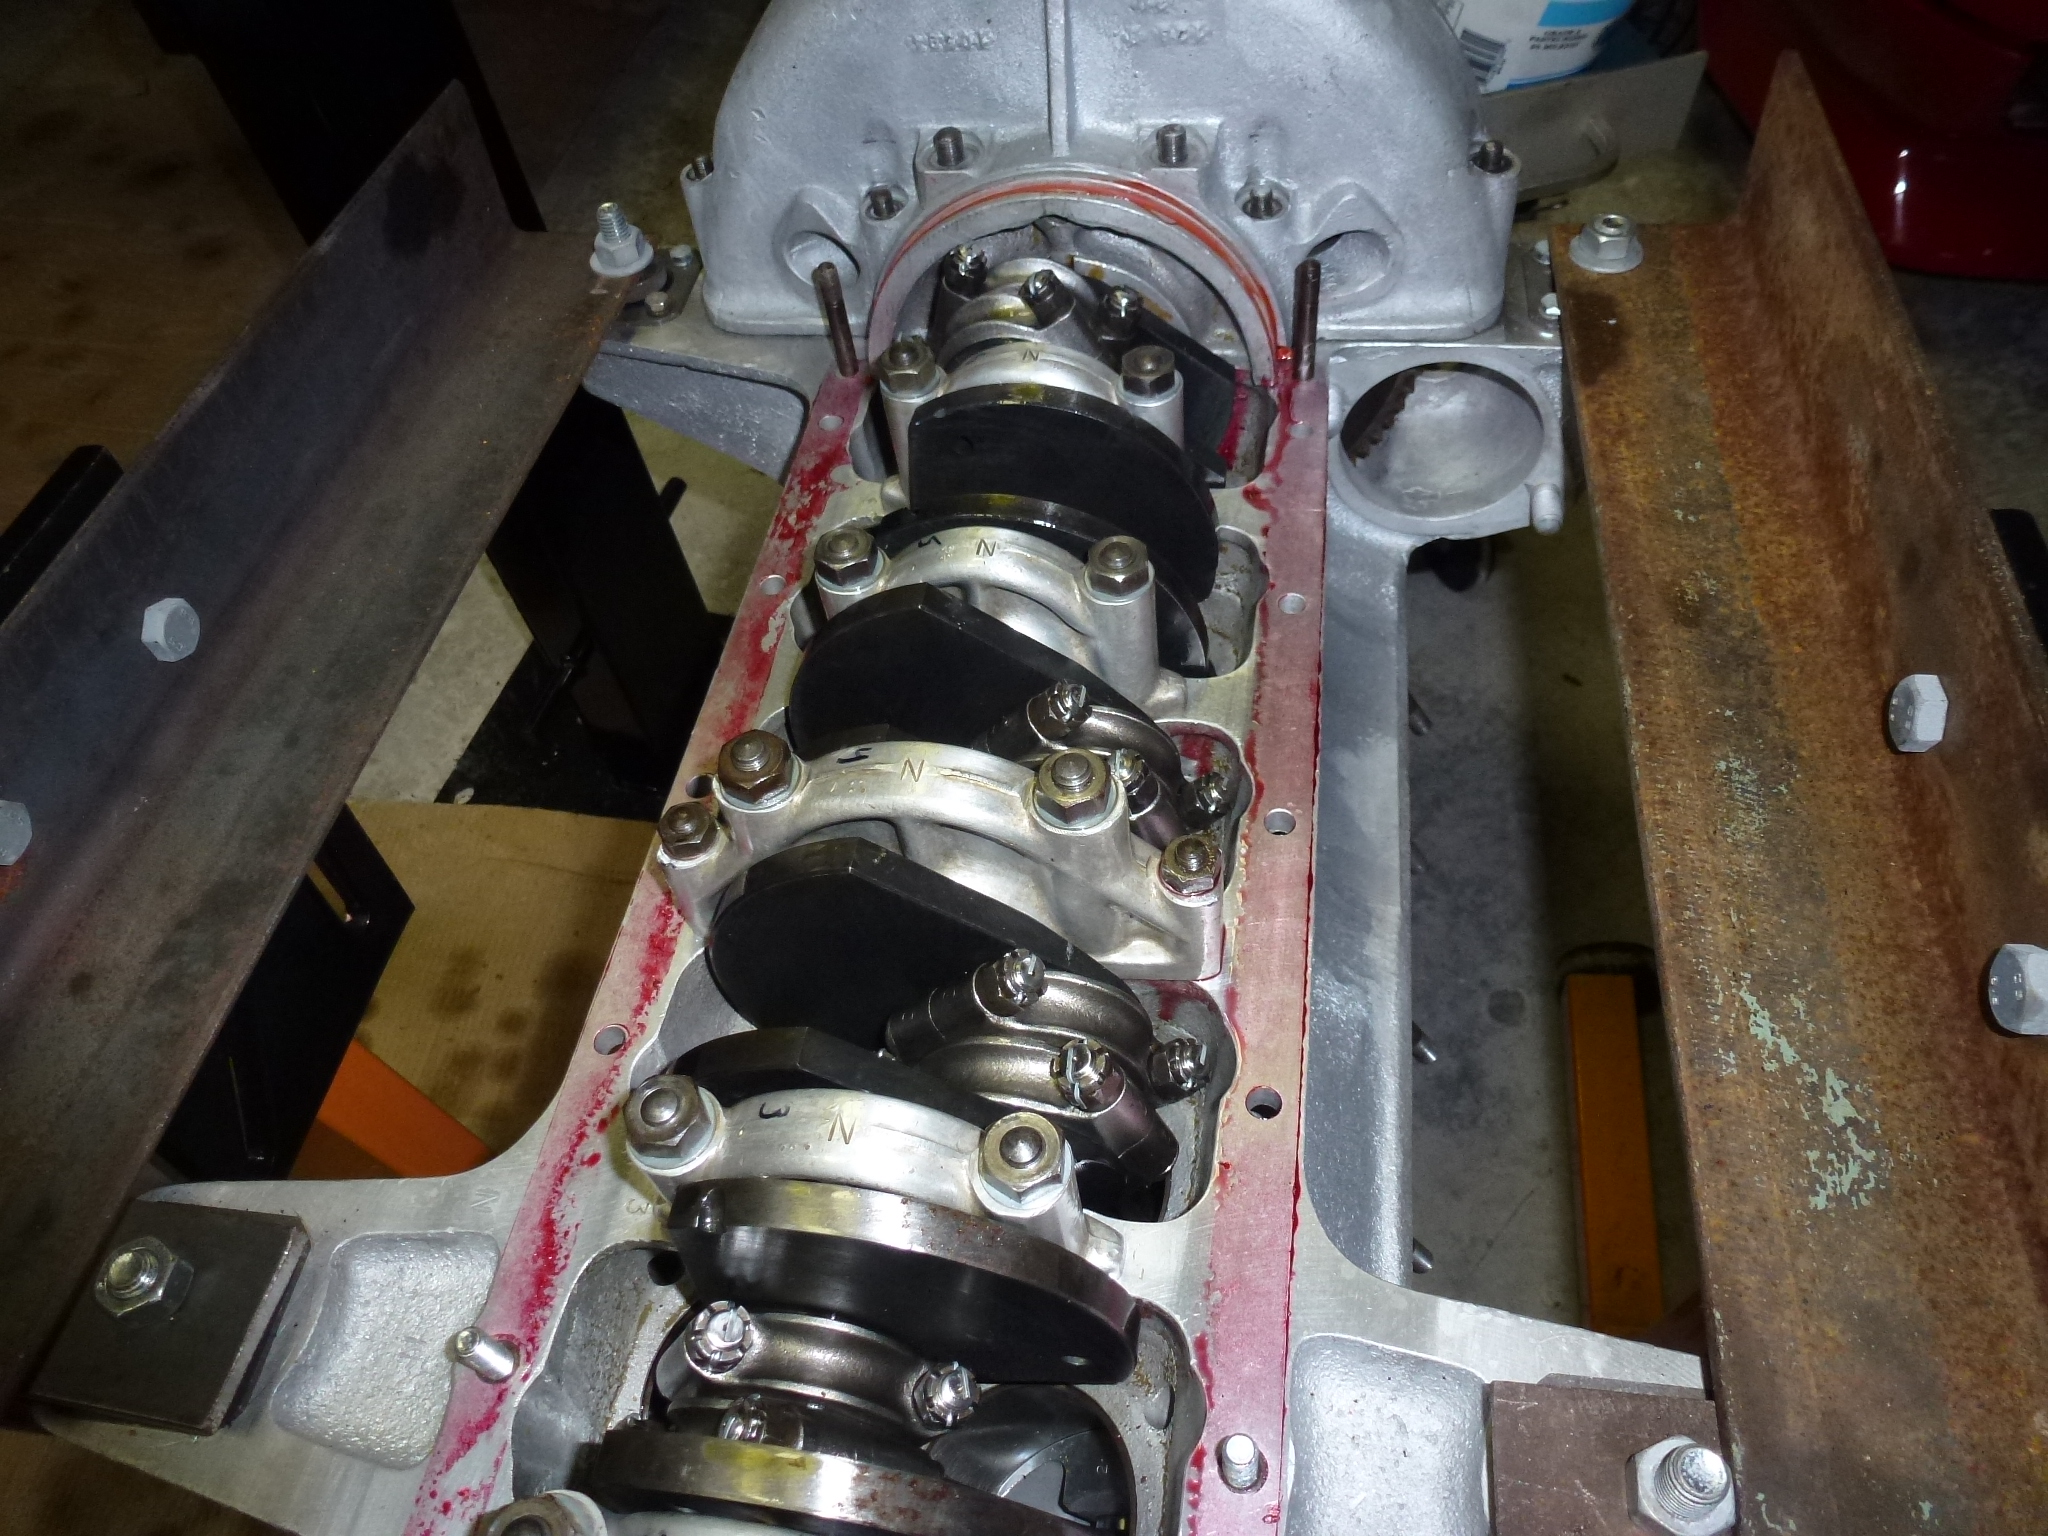
Once that was done, putting the pistons and rods into each cylinder is straight forward, just being sure that the stamped numbers on the rod and cap are on the same side and they are on the outside of the engine.

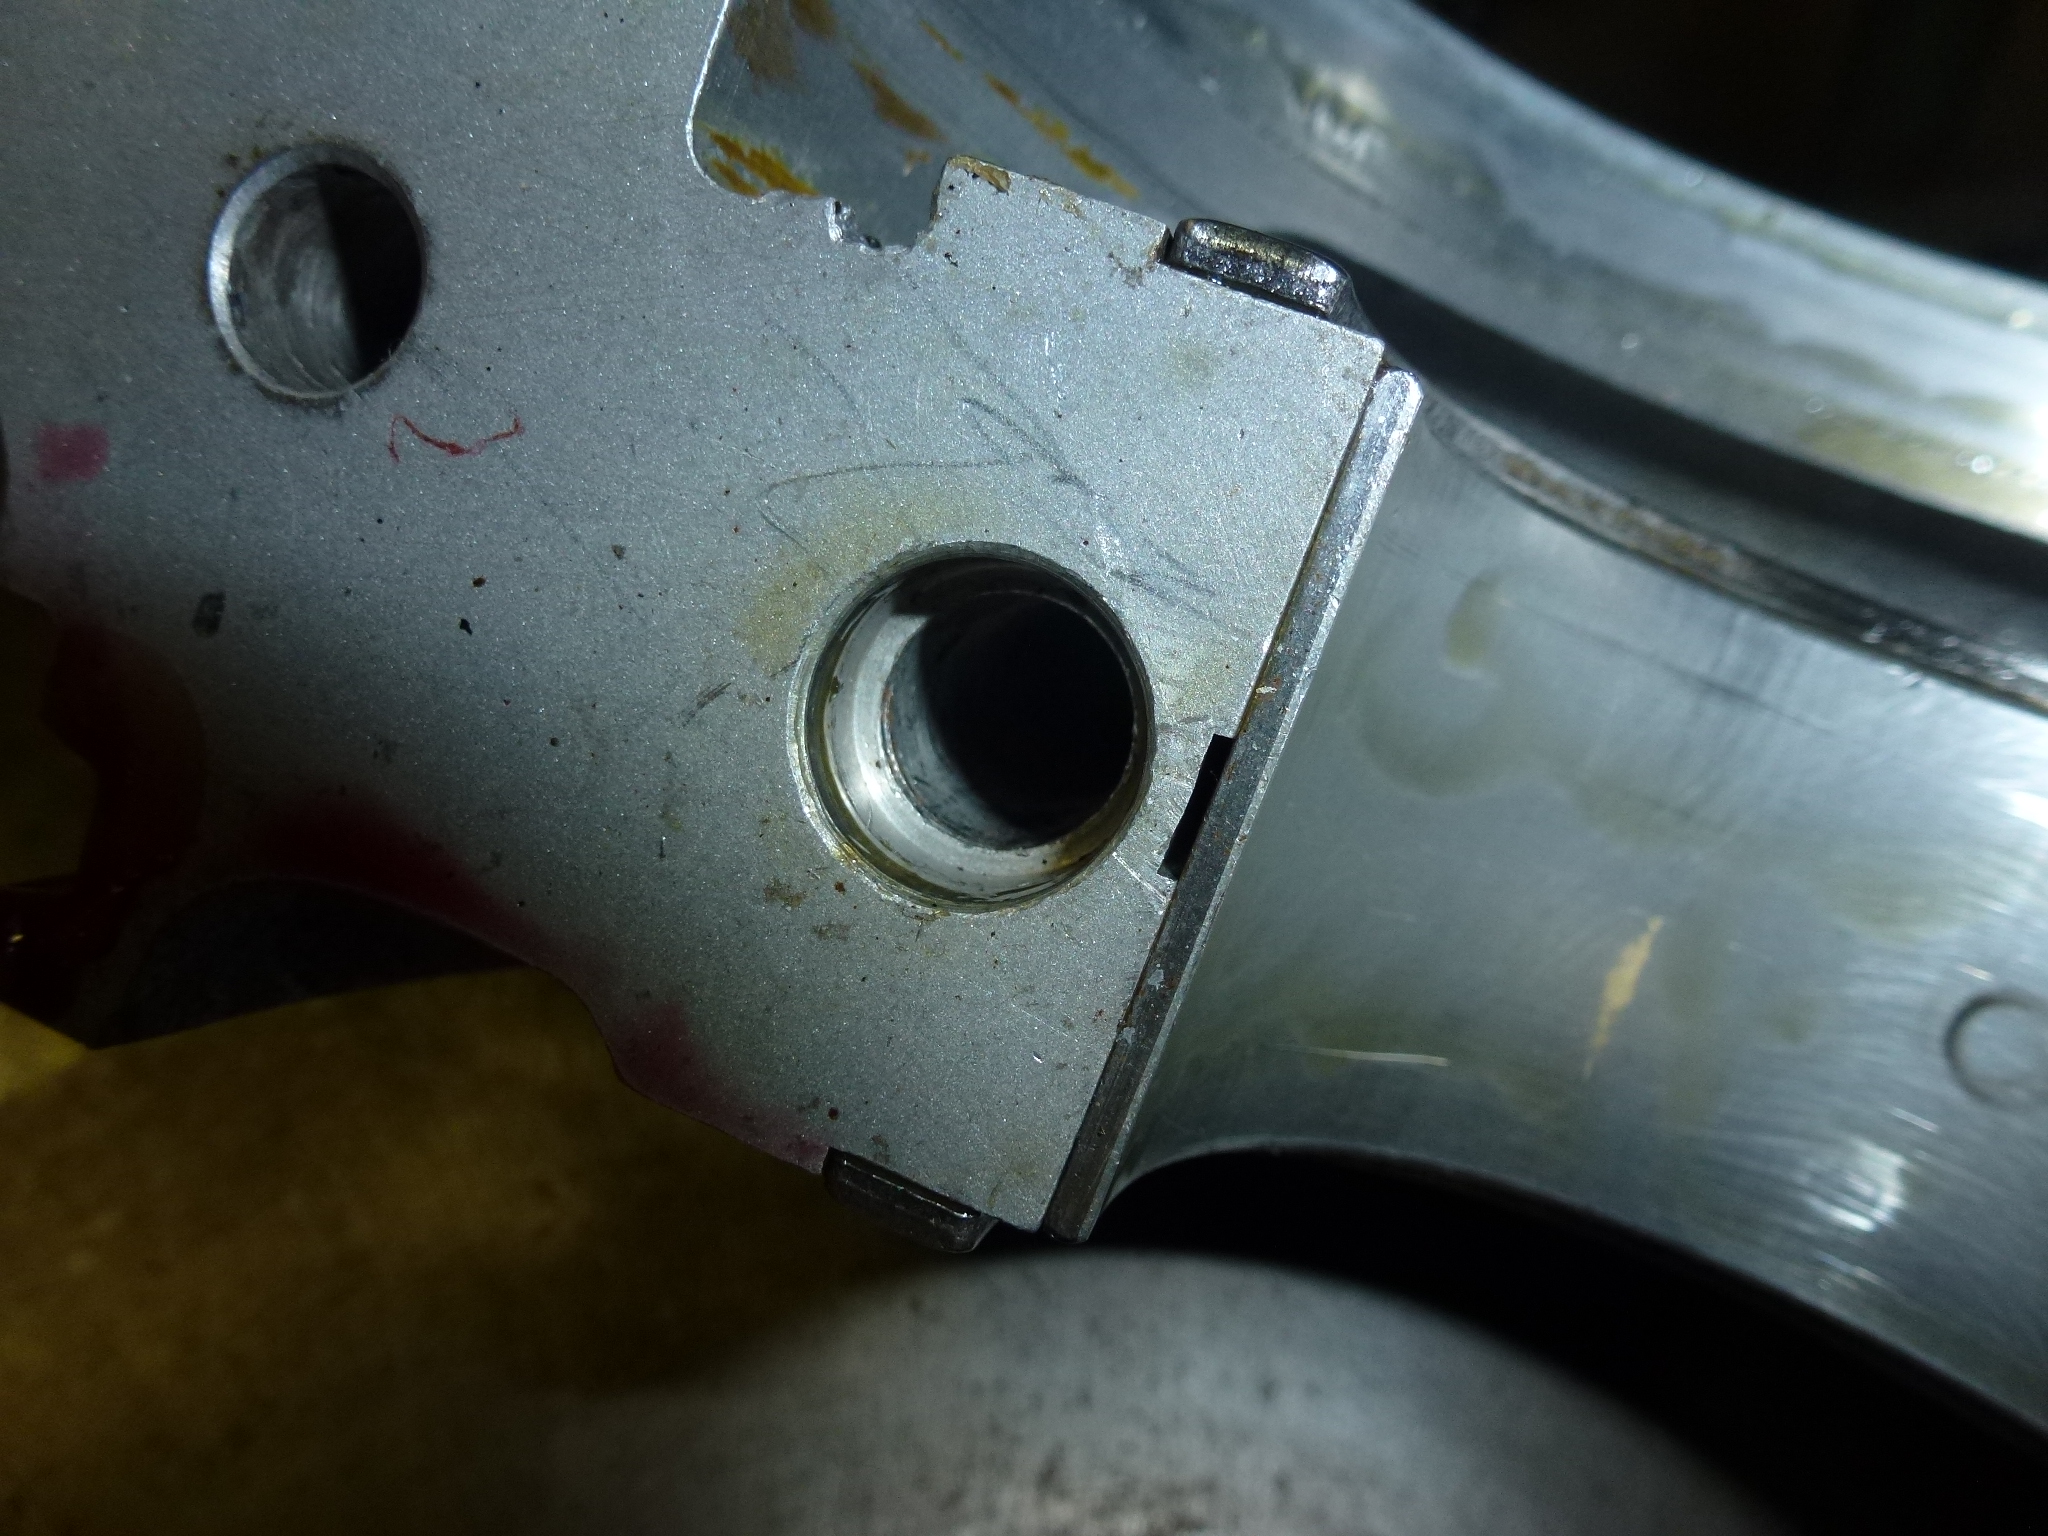
As I was torqueing the rod bolts, I noticed that one bolt was different, no cotter pin hole and it was shorter. After careful inspection, I decided that it was not the correct rod bolt, perhaps coming from a 330 engine as it was cut off where the cotter pin hole would have been. The threads didn't go down as far and I was worried that the nut would bottom on the threads before getting tight on the rod. So I ordered a new bolt and will have to finish this in a few days.
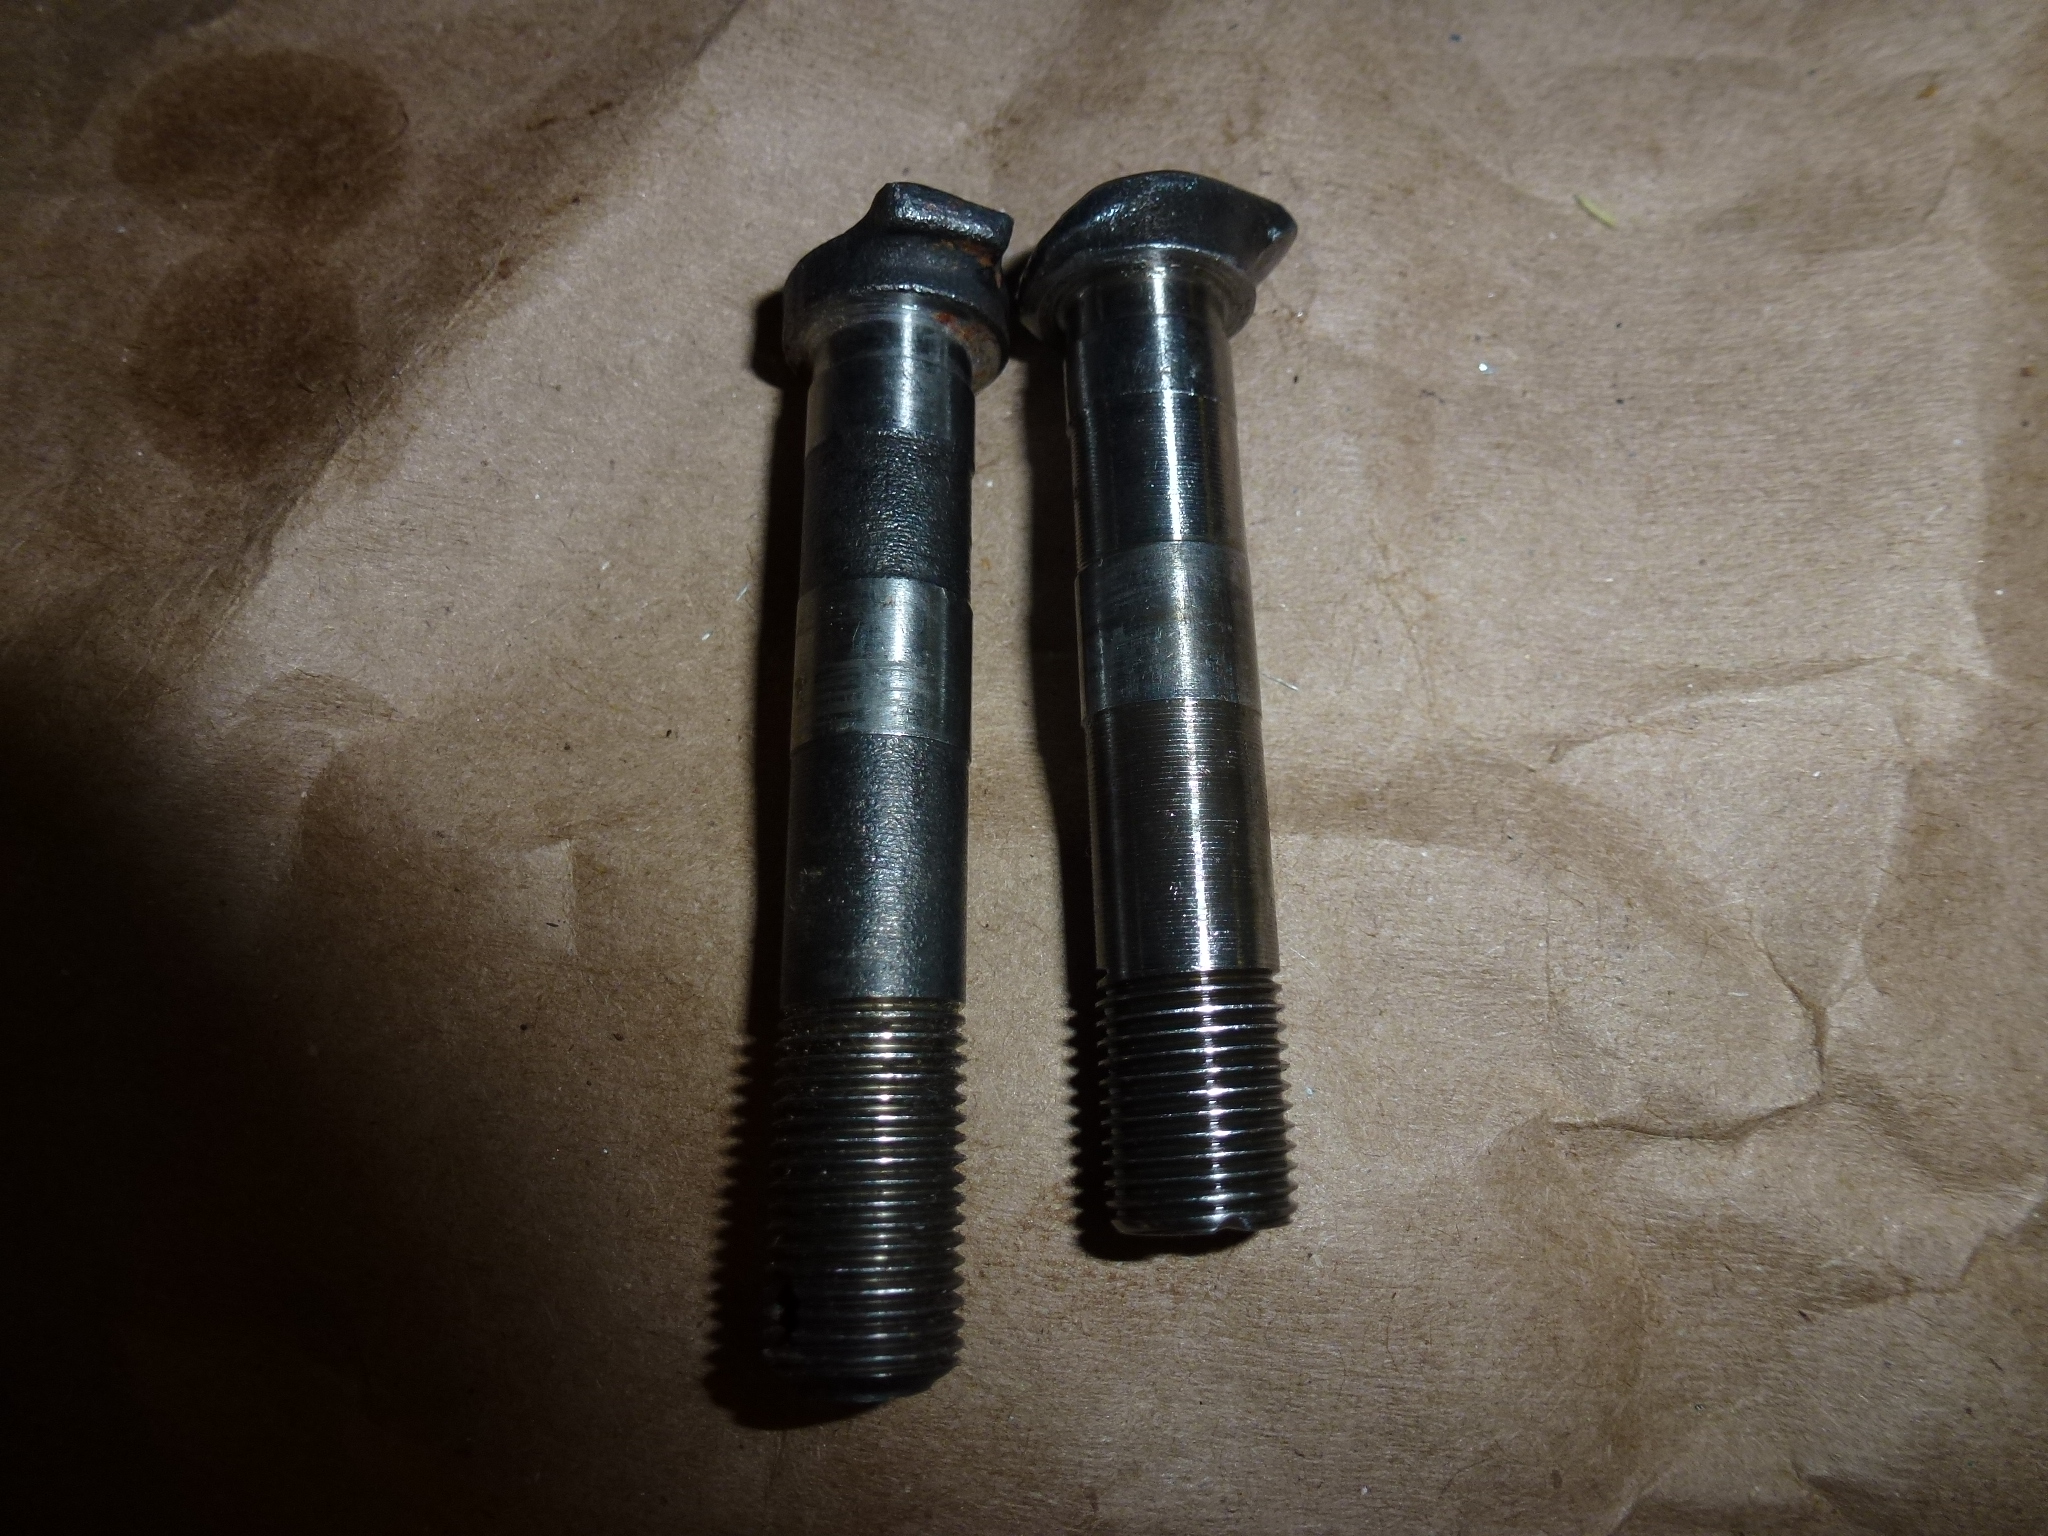
The replacement bolt wasn't quite right either, but I ended up shortening it and drilling a new hole for the cotter pin. So the crank and pistons are installed.
.JPG)
.JPG)
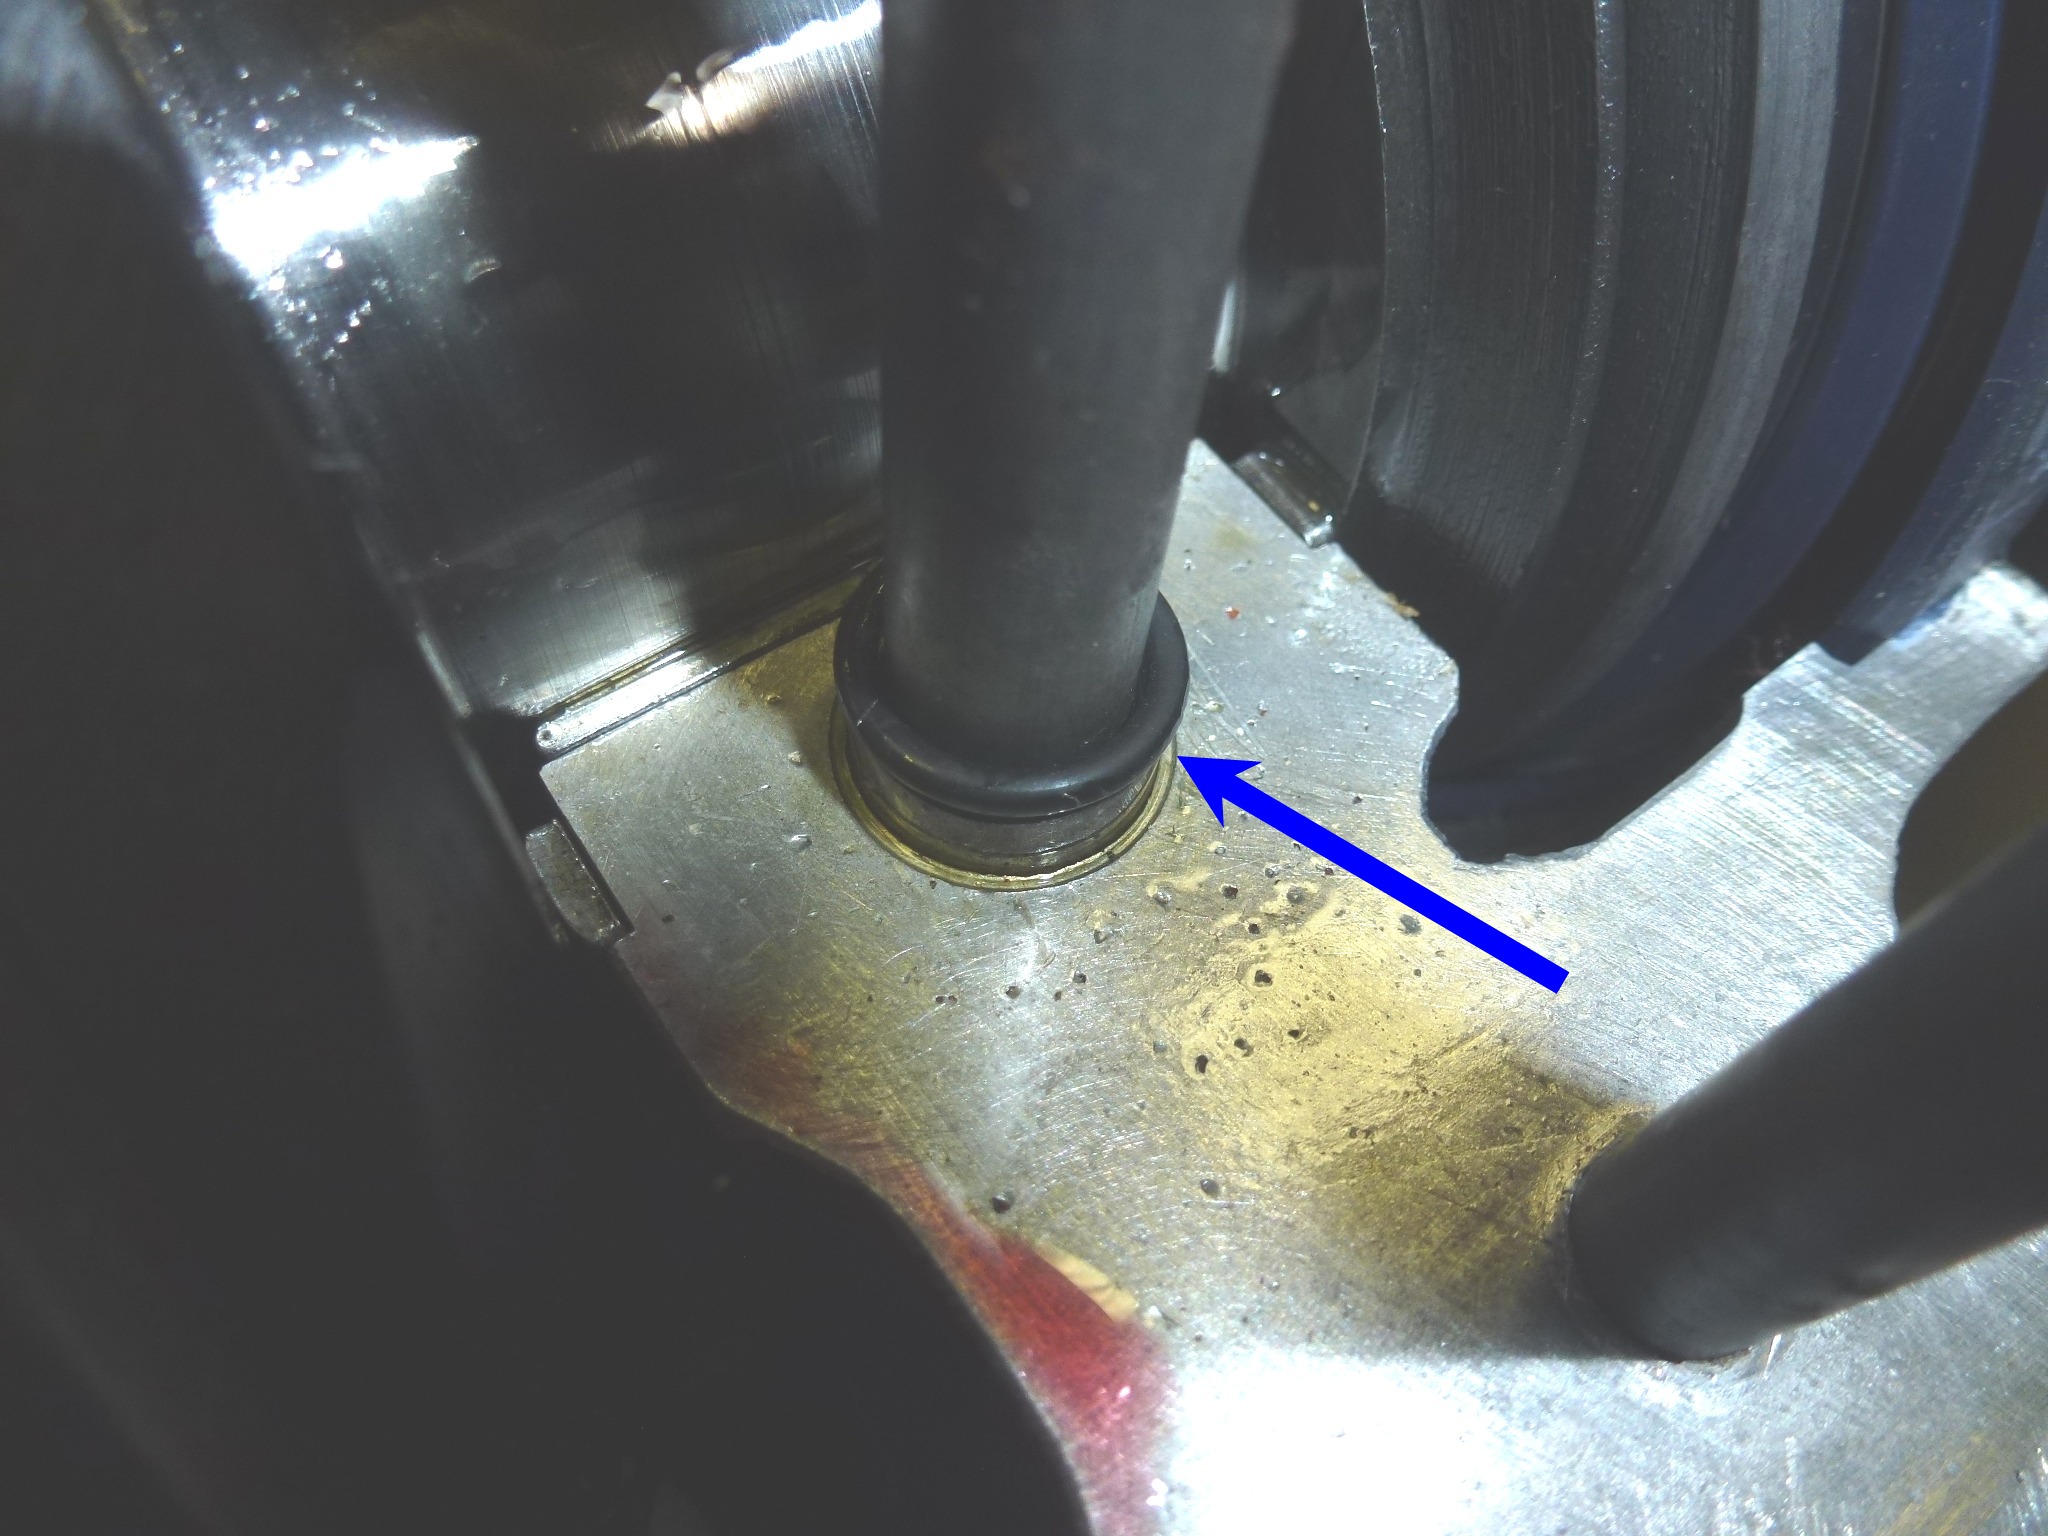
Not long after I put the bottom end together along with the sump and flywheel, Tom Yang mentioned that he was rebuilding a 330 engine and not to forget the O-rings that are on the large studs holding the rear main bearing. It has been so long since I rebuilt my 330 engine, so I had forgotten completely about them. I wasn't sure that these are needed on a 250 engine, so I asked Tom. He wasn't sure either, so asked Francoise. He said that all Columbo engines needed those O-rings. If you don't have them, oil leaks around those studs and the engine has to be removed to install them. The O-rings sit into recessed grooves and the collars squish them tight around the studs.

Well, I'm glad that I asked as I only had to remove the flywheel, sump and rear main bearing to install them.
Once the O-rings were in place, everything went back together quickly.