Wiper
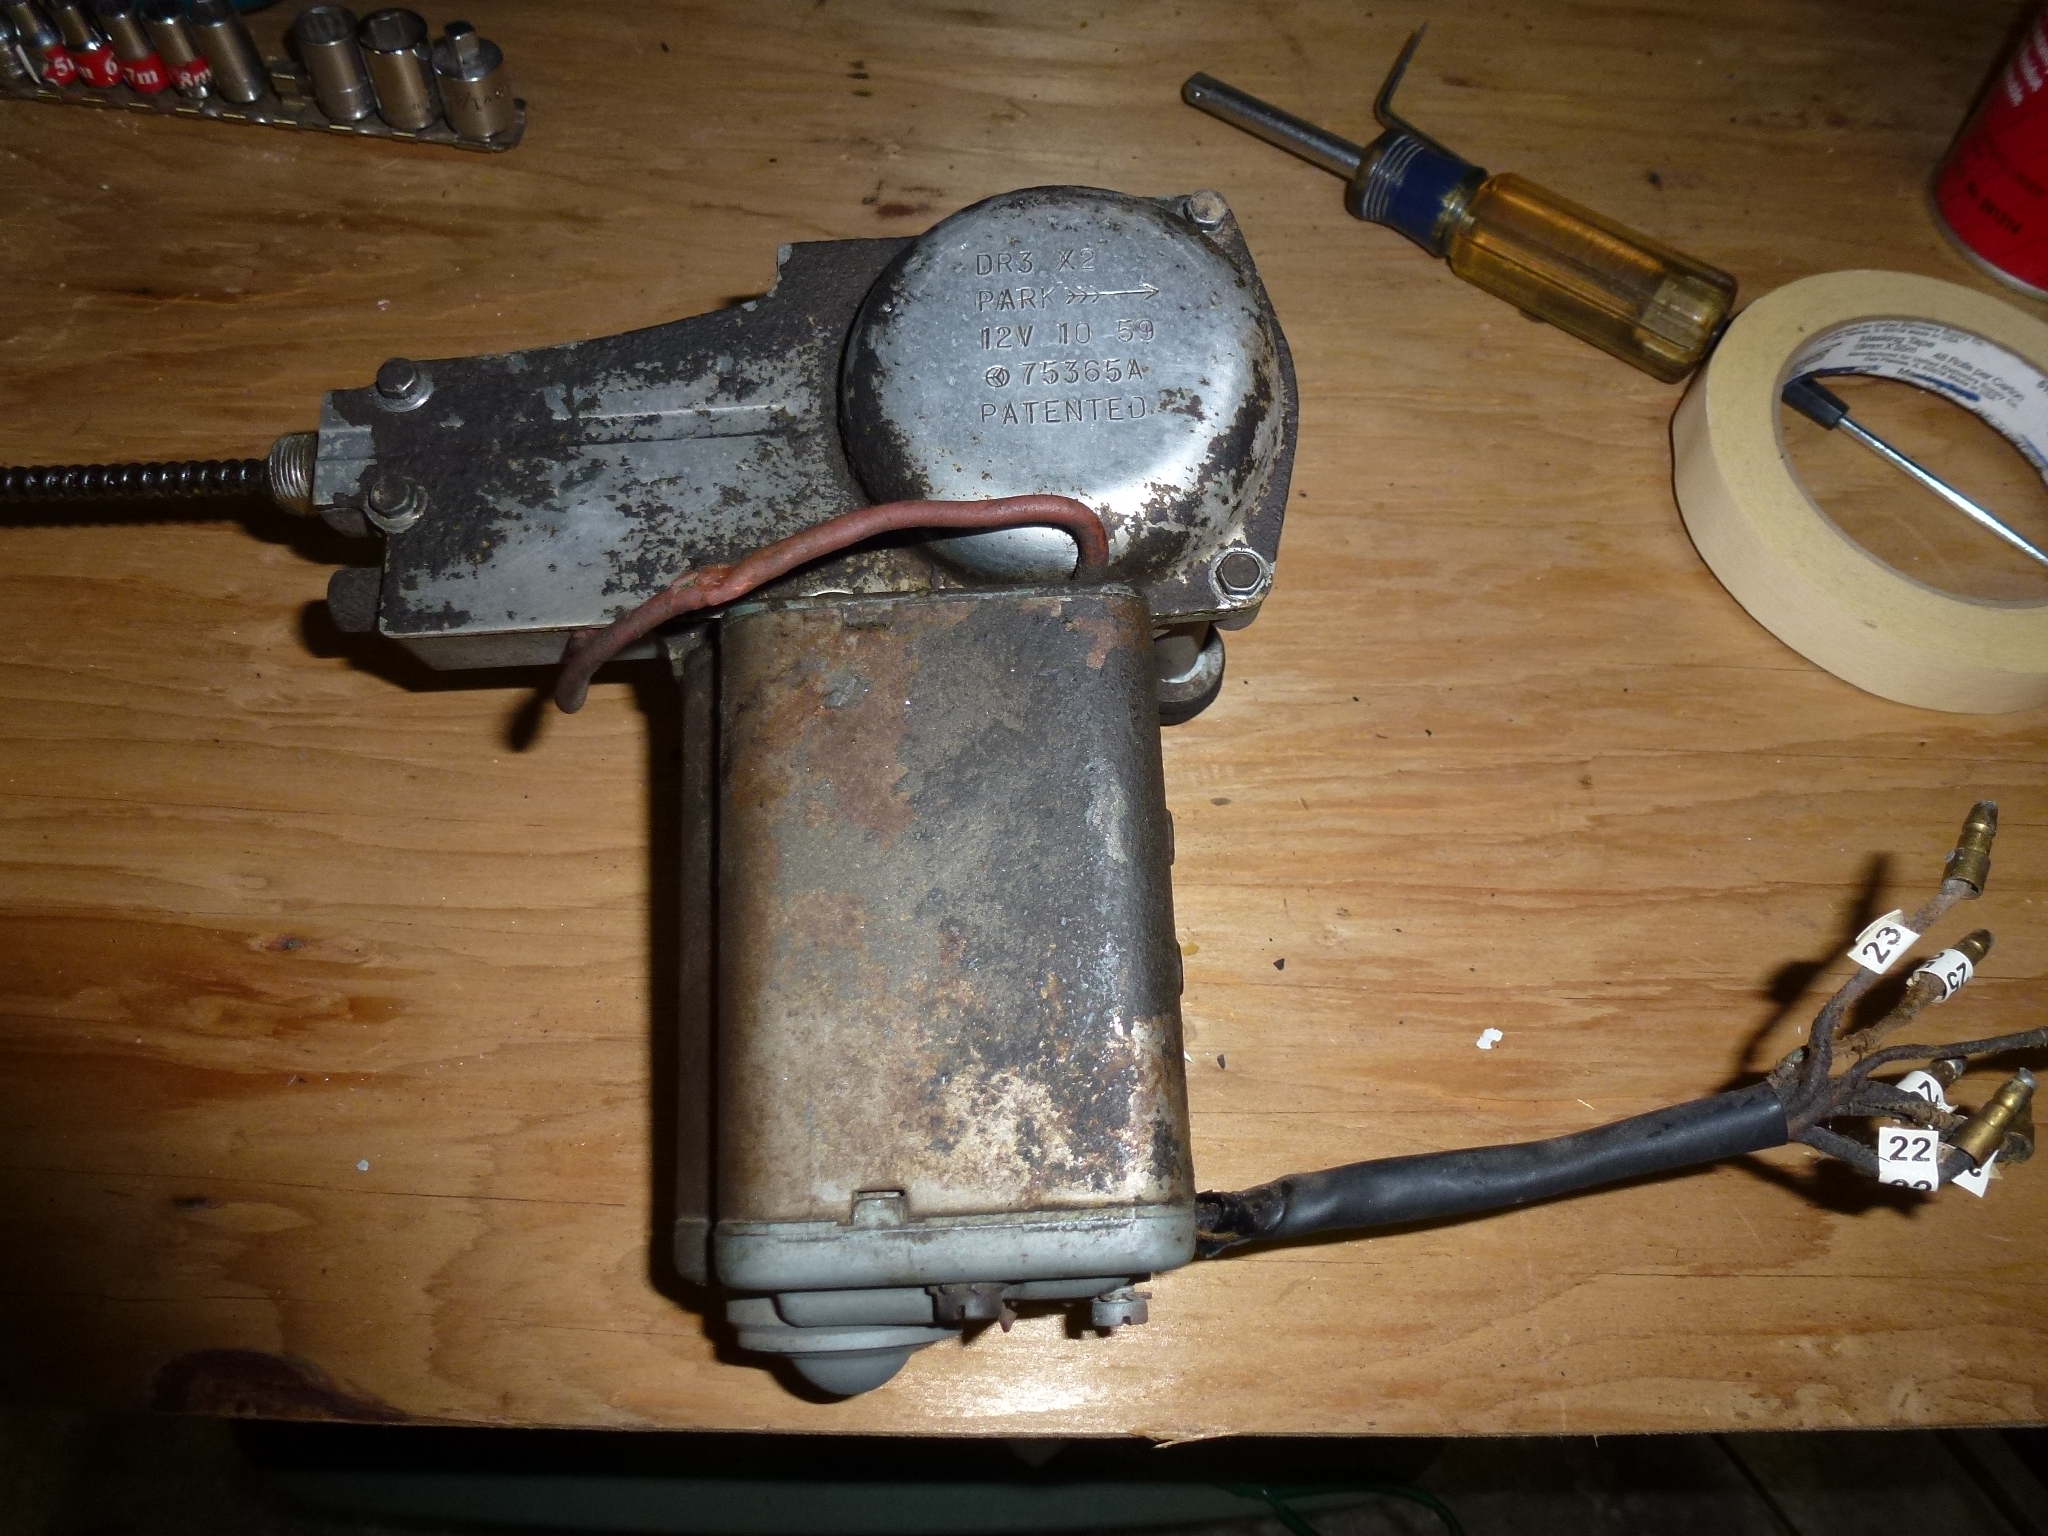
The wiper motor evidently wasn't removed when the engine compartment was sand blasted by the previous owner. So the motor body had rusted where the paint had come off.
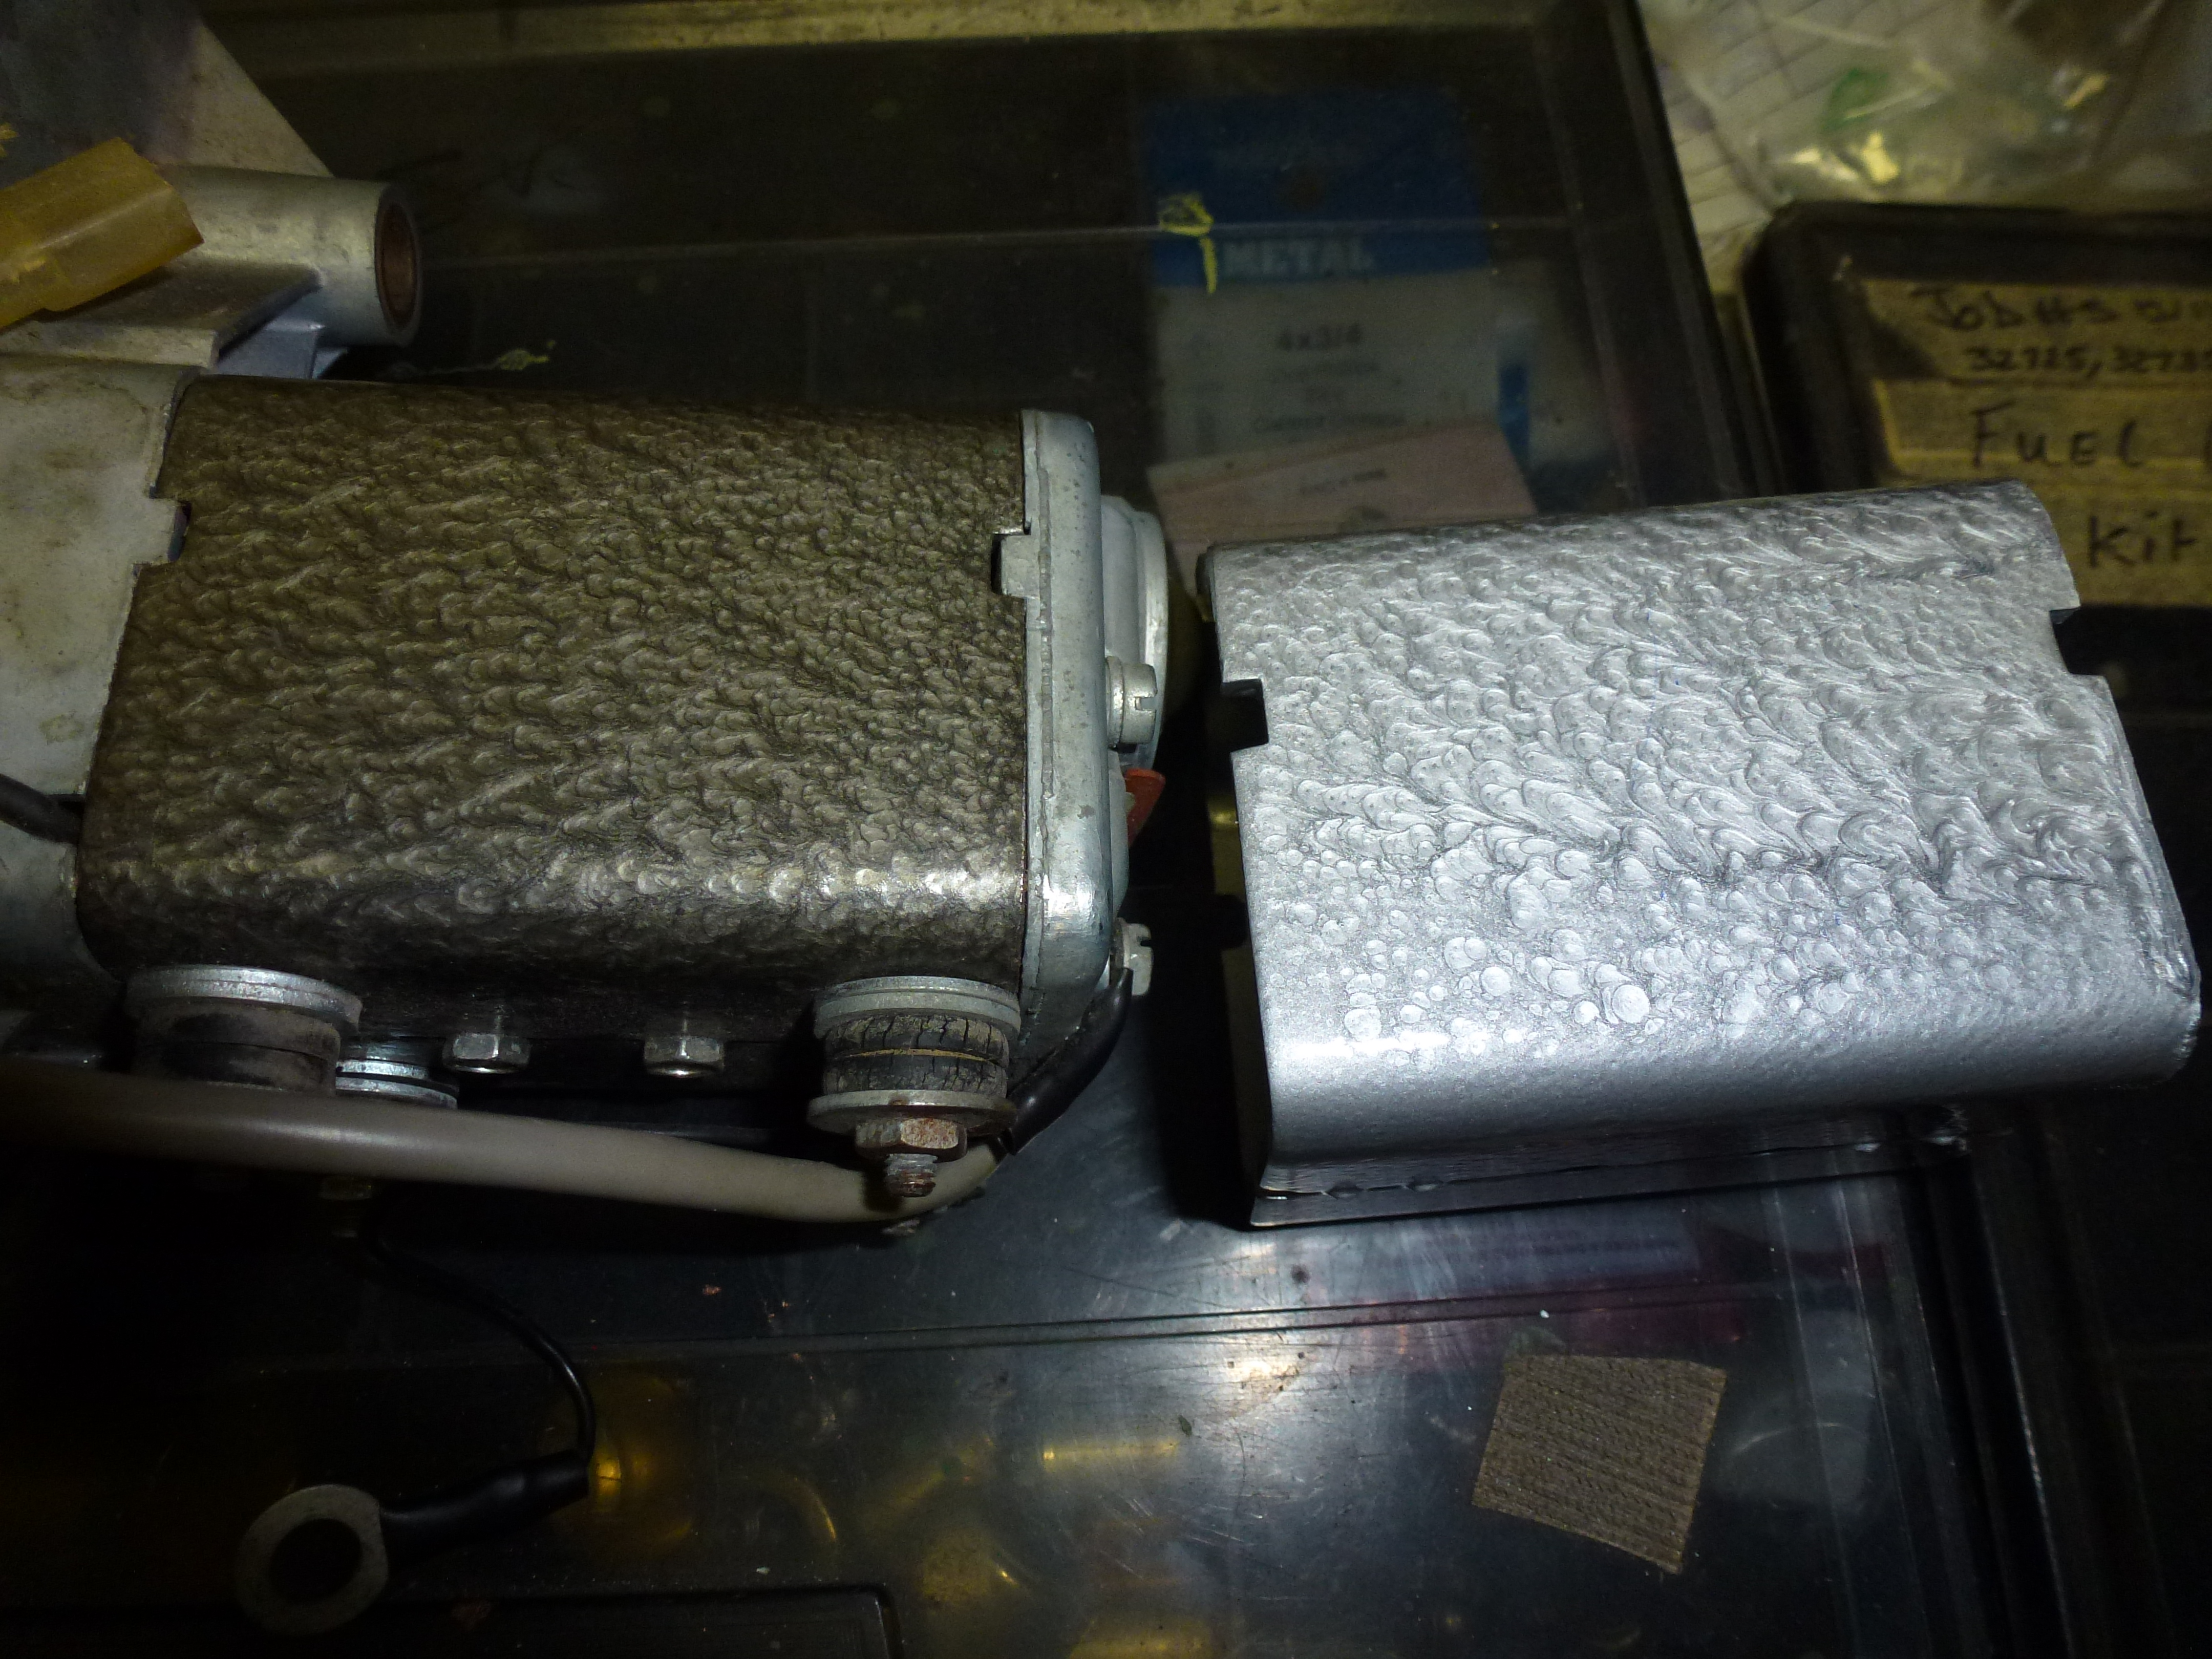
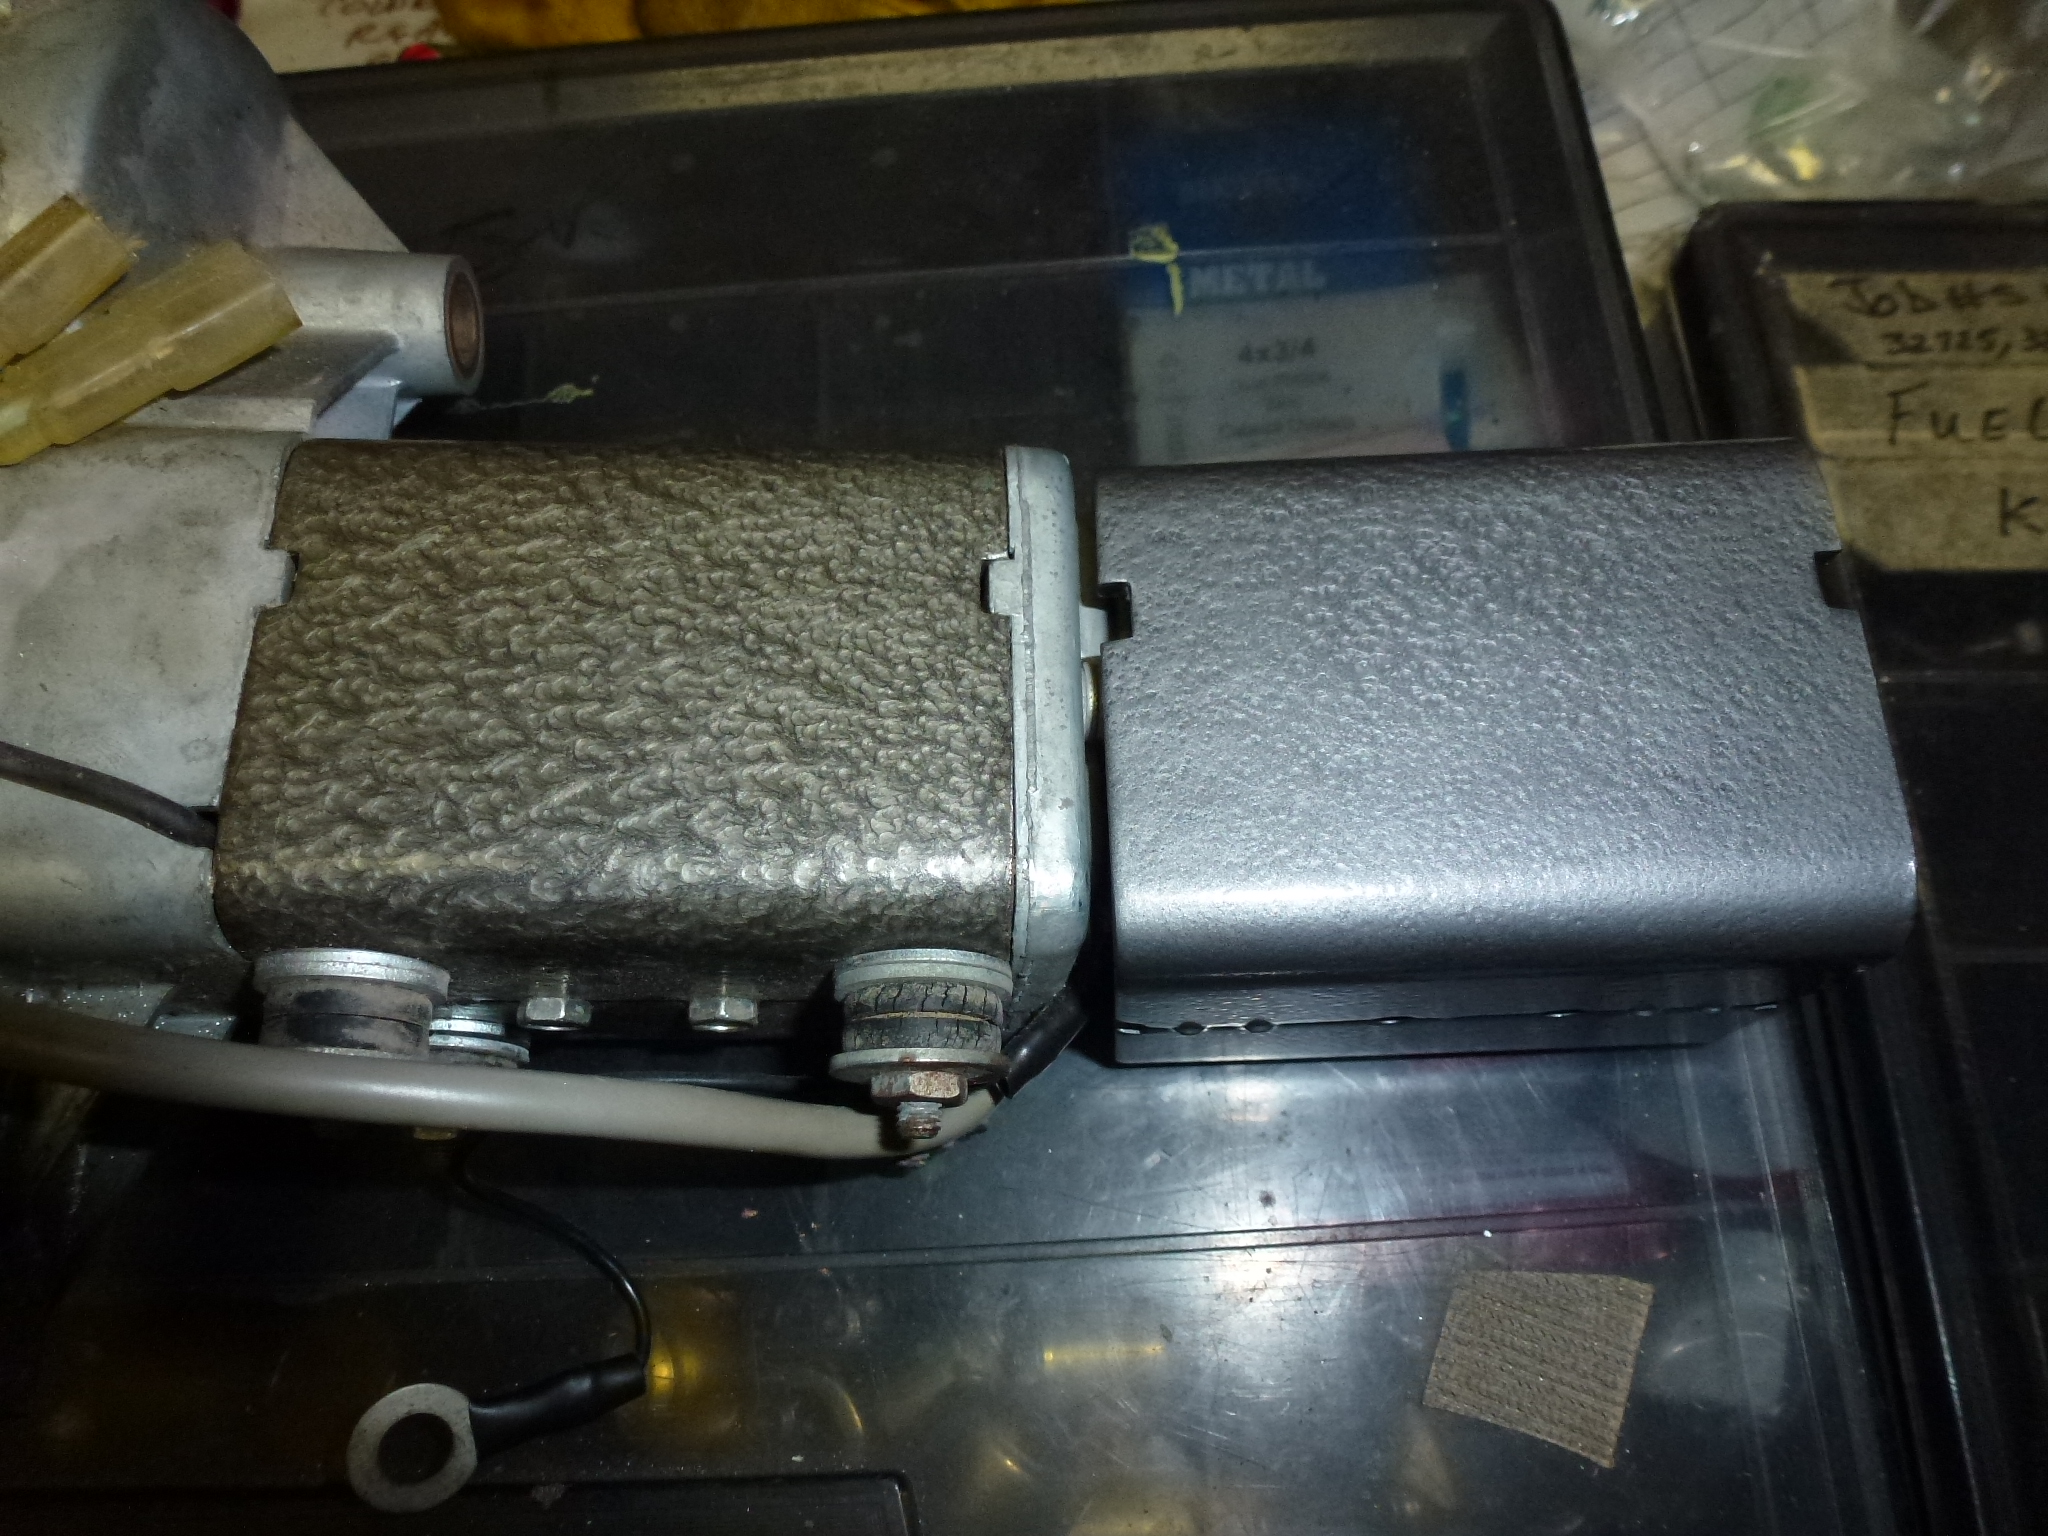
I took everything apart and bead blasted the body and aluminum parts. The body gets painted a hammered silver gray. I recently purchased a NOS wiper motor assembly for the 330, so used that for a model. I first bought a can of Rustoleum silver hammered paint. That ended up too silver as you can see in the left picture. The right picture is using Rustoleum gray hammered paint. Still not quite right, but close enough for me.
The switch and circuit is very complex compared to the later 6WA wiper motor used on my 330.
It does include the bi-metal thermal switch that will keep the motor from burning out if it stalls.
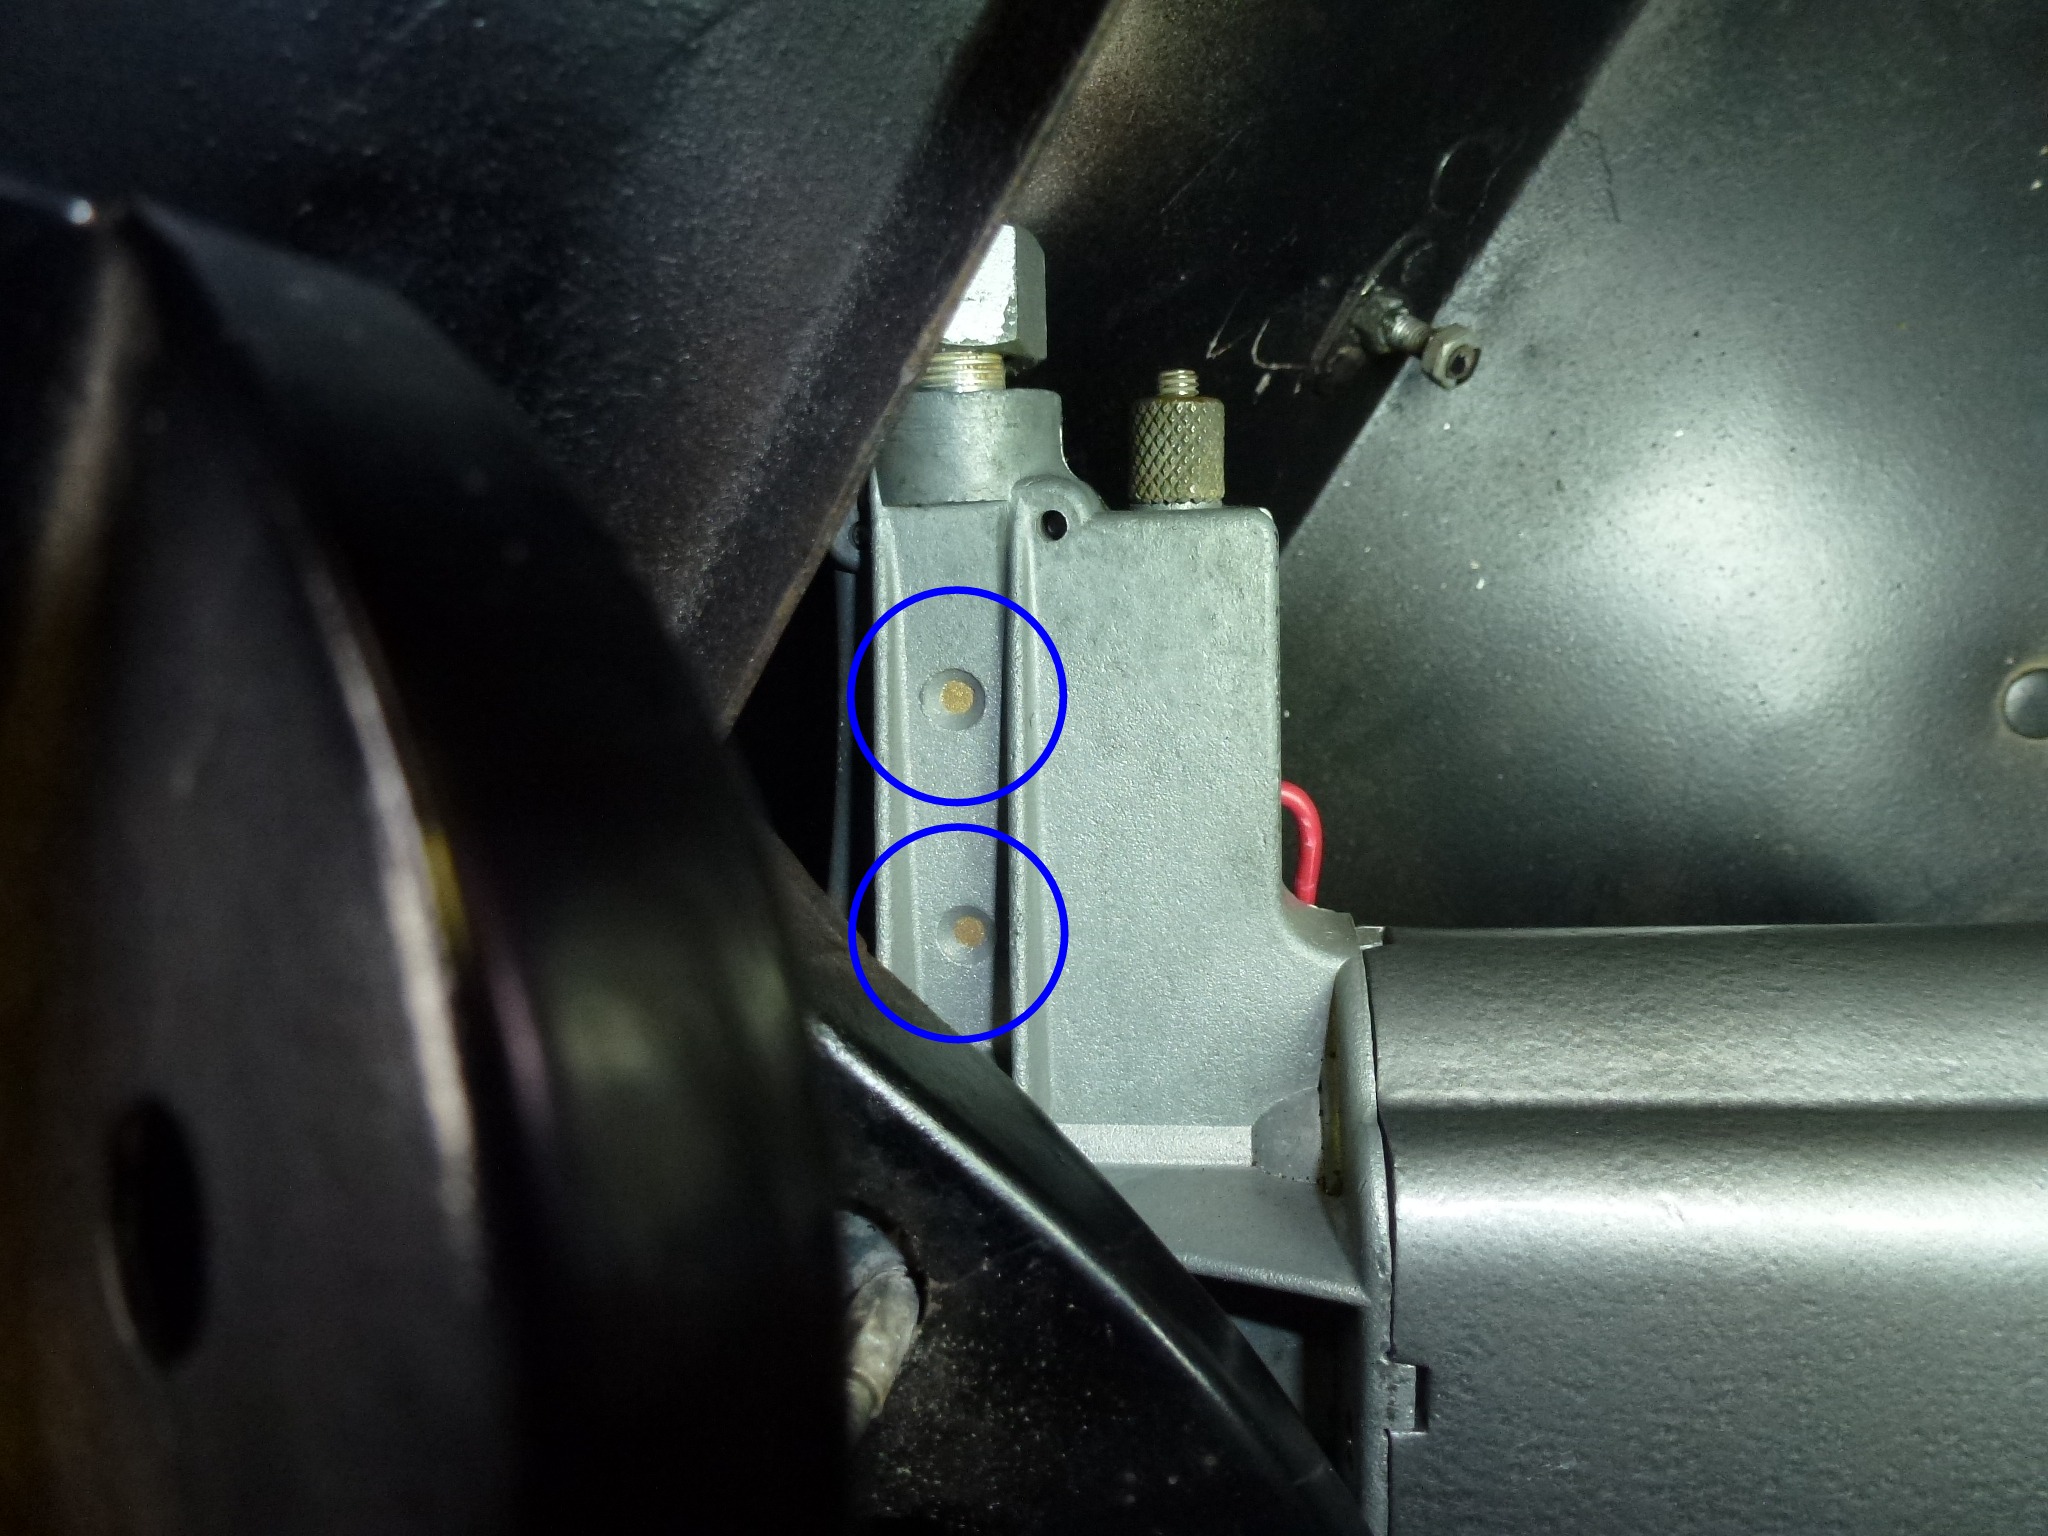
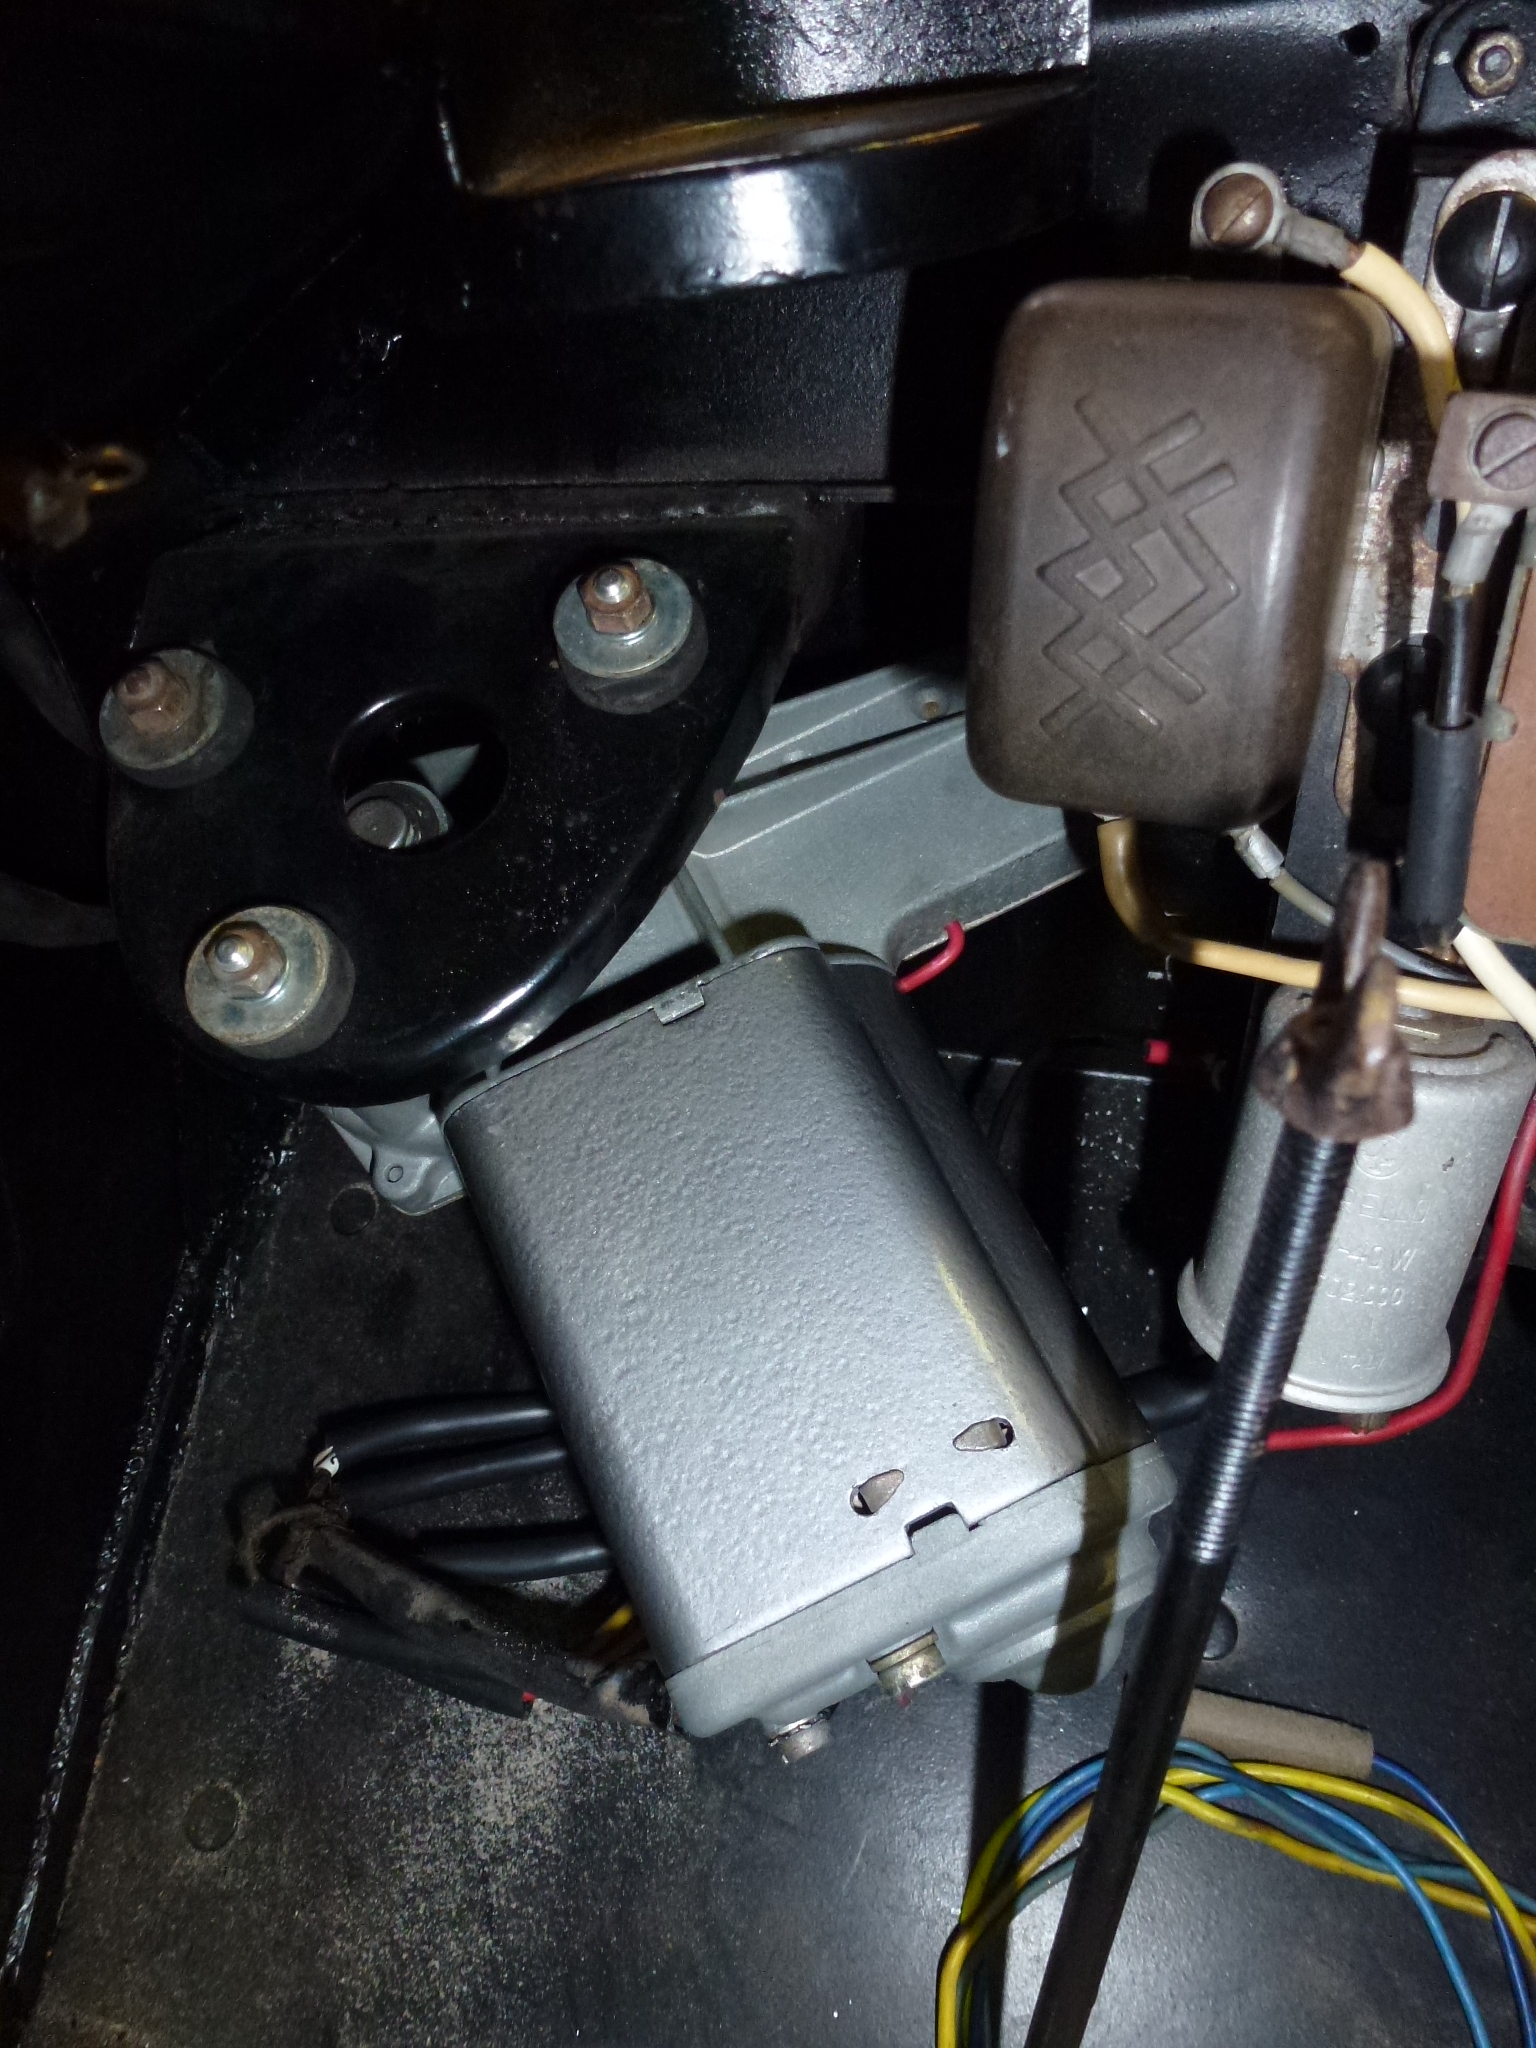
Here's everything cleaned up as I was putting it back together. The blue arrow points out the park switch, which is adjustable by the knurled knob (red arrow) on the outside. However, I've always found it easier to just remove and put the wiper arms where I want them once the motor is in the park location.
When I first plugged it into the wiring into the car and tried the switch in the car, nothing worked. Then I used a few jumper wires and tested it directly. Then it worked on slow speed. I tested the various contacts in the switch and they were flaky. After some contact cleaner and exercise, the switch was working better. Then when I plugged motor back into the car wiring, everything worked. Click on the picture below for a short movie of the mechanism working. You'll notice that the park circuit reverses the motor to park the blades. That's a good idea as it can park even if it is jammed due to snow or some other reason.
When I went to install it in the car, I first put the foam grommets in the bracket and fed the spring wire into the tubing, adding grease as I did so. Once the wire was fully inserted, I was able to screw on the flare nut holding the mechanism to the tubing. However, the mounting standoffs didn't line up. Further, it was impossible to fit the lower washers under the grommets and then get the hex studs screwed into the standoffs. Instead, I removed the grommets, installed the lower washers and hex studs. Then I tried fit the grommets back into the bracket around the hex studs sticking up through the holes. That didn't work either. I ended up loosening the flare nut holding the mechanism to the tubing. Then things were flexible enough to stick the hex studs through the grommets already in place. Once that was done, adding the upper washers and nuts completed the installation.
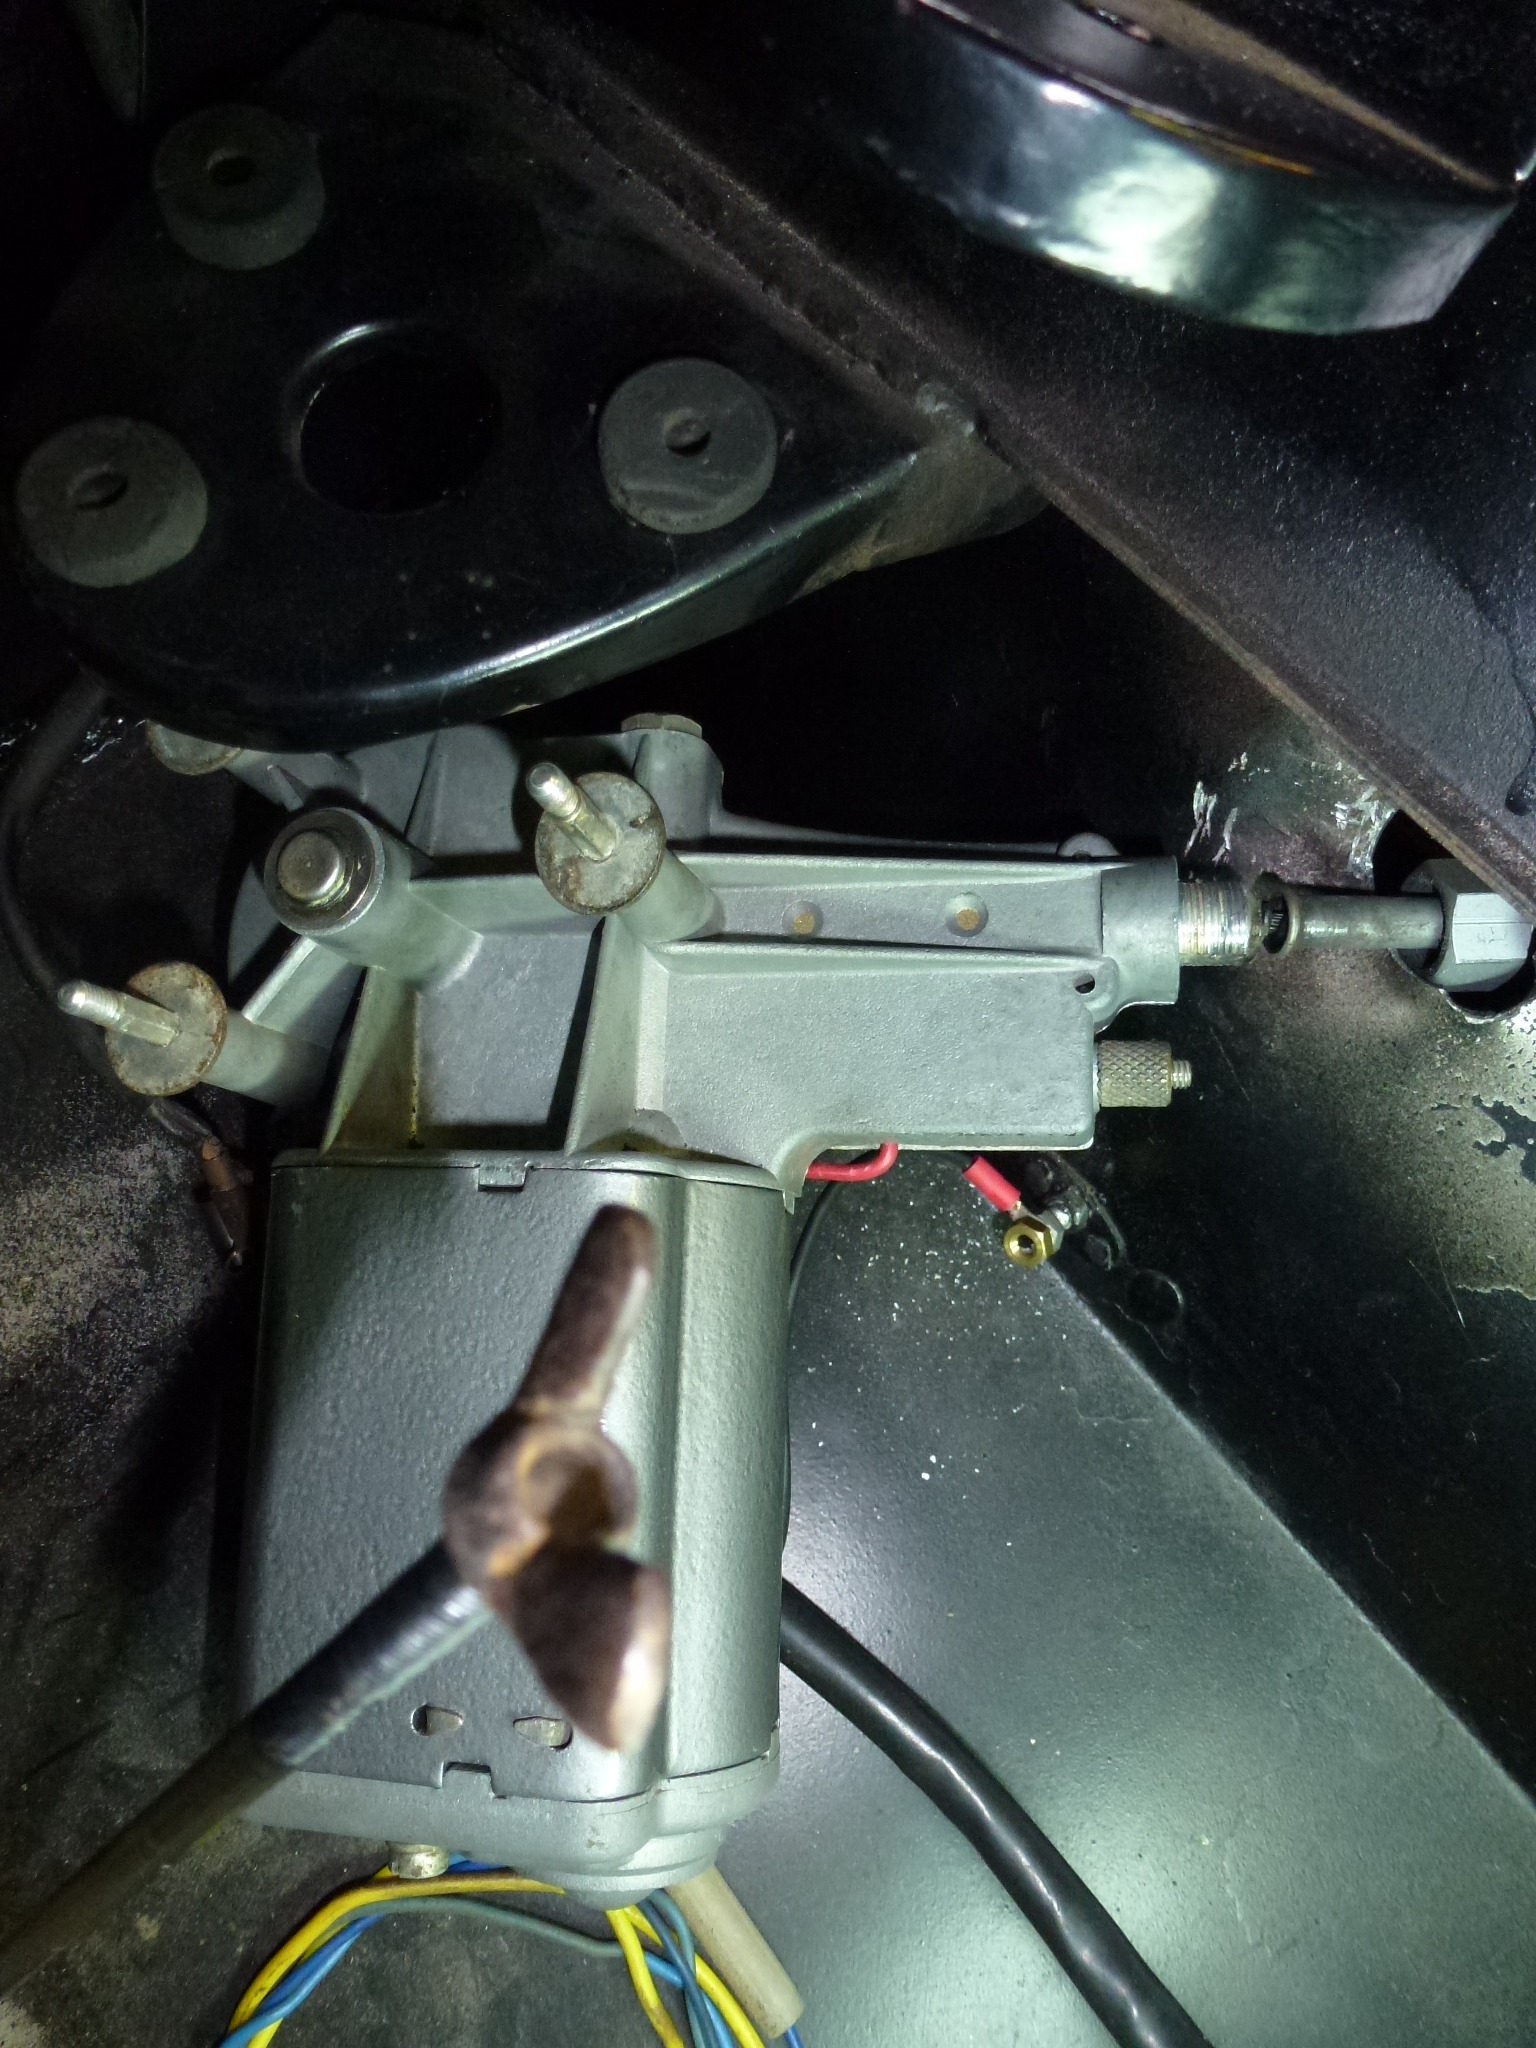
One thing I noticed were two oil holes that are on the upper surface. These will oil the slide that the spring cable is attached to.