Exterior Lighting
As mentioned in the Wiring page, a lot of the wire ends were cut off. Continuing on with the wiring brought me to the exterior lighting.
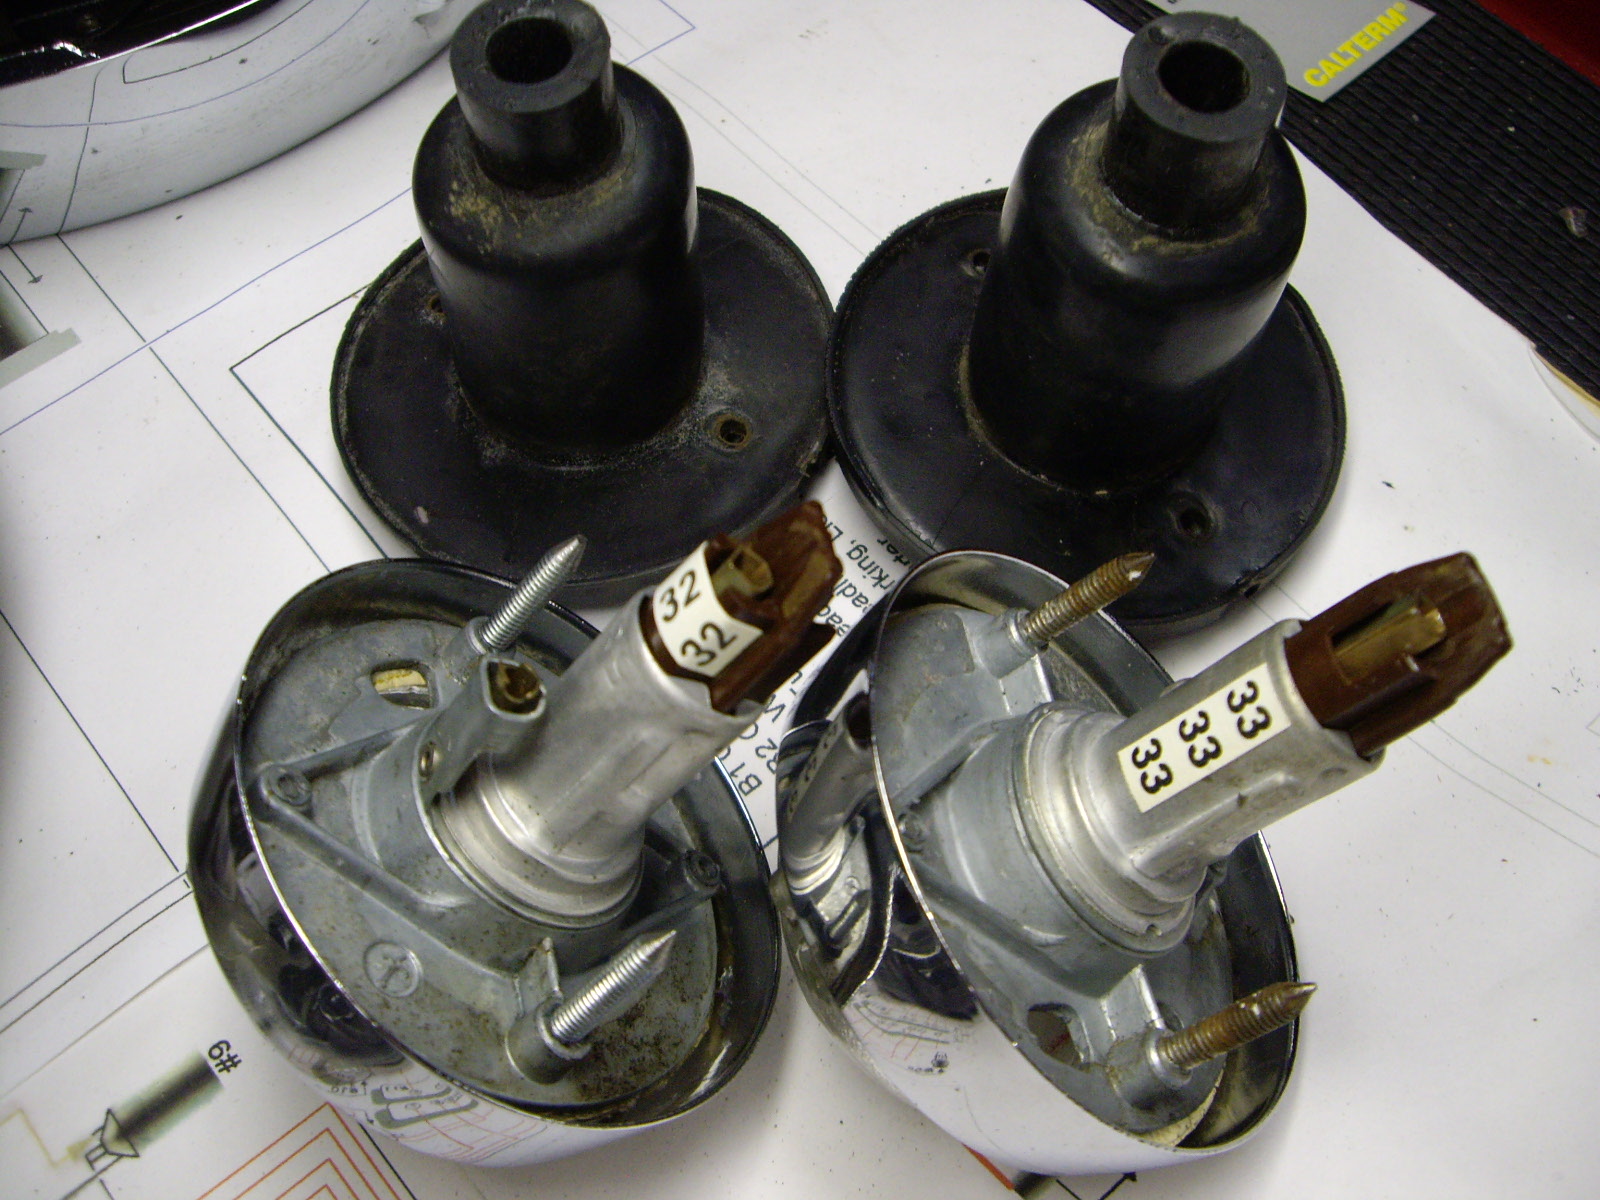
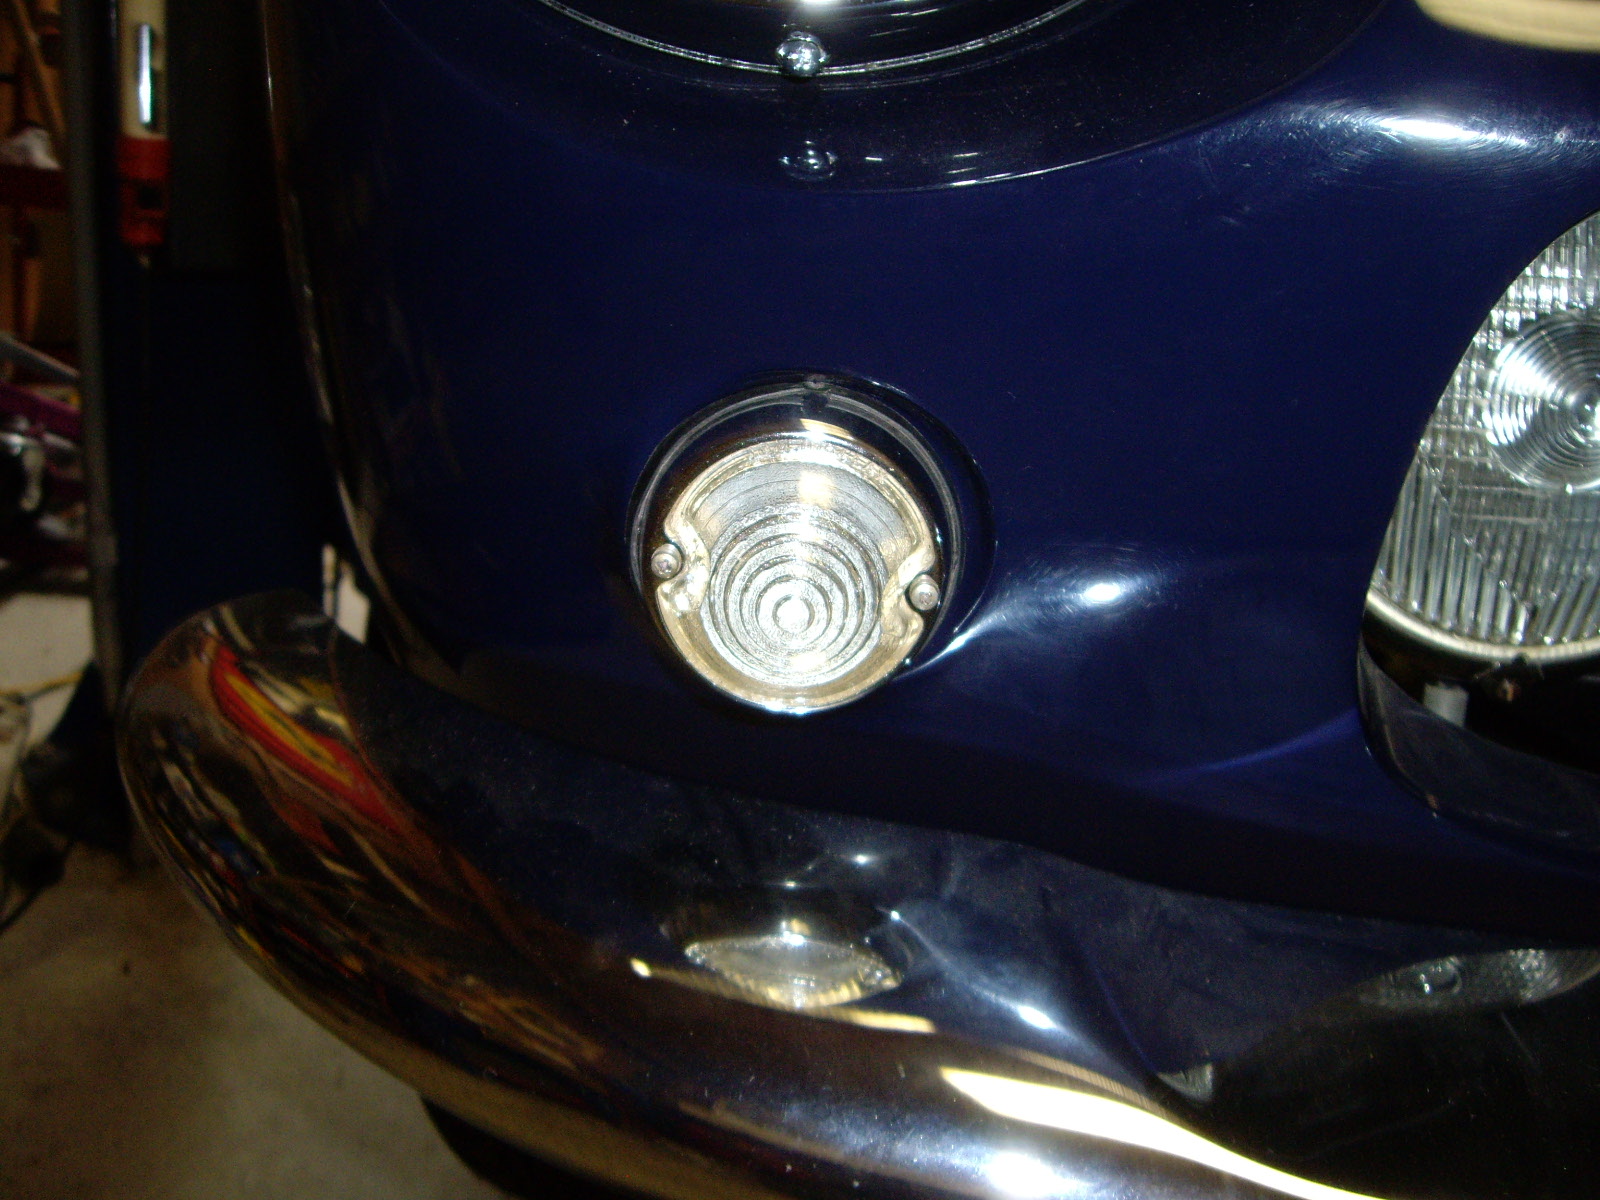
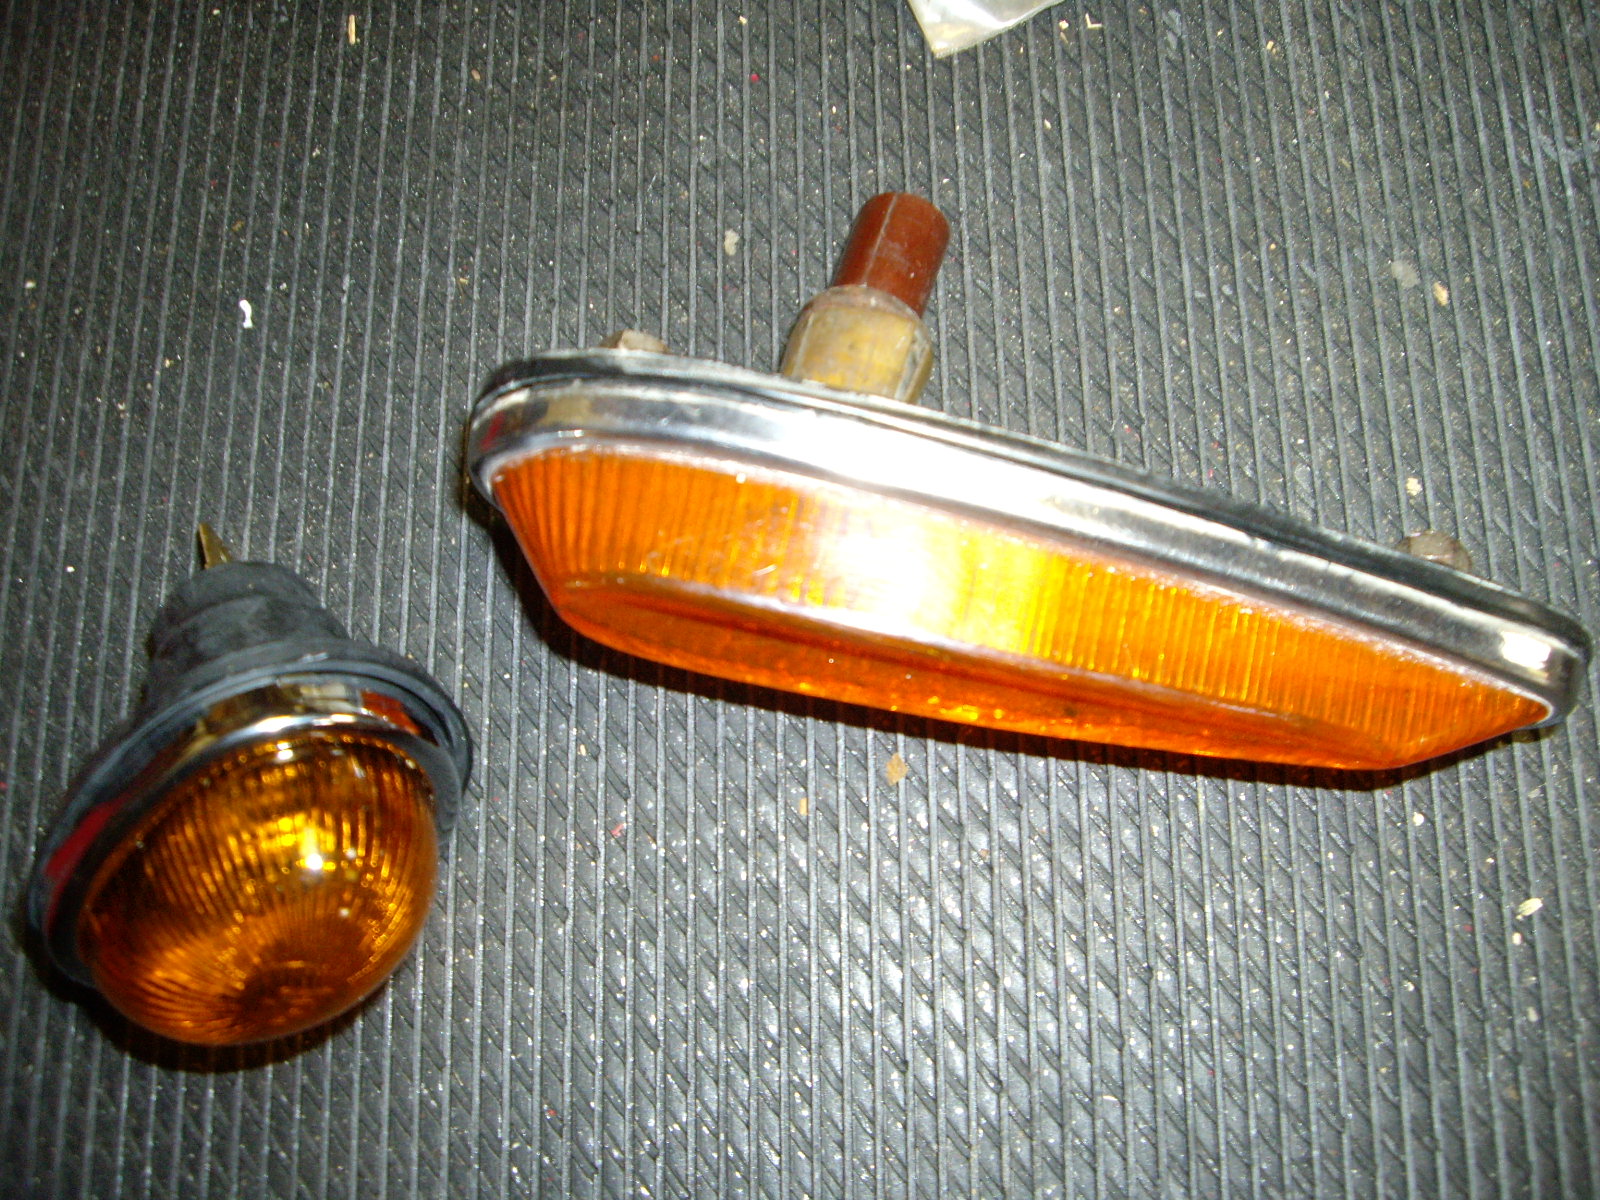
The front turn signals needed a complete cleaning. At the same time, I checked that the bulbs worked properly on the bench. On one of the units, both of the studs that fasten the housing to the body were snapped. Probably because only one of the four nuts was the original brass. One of the studs backed out easily. I had to use the propane torch to heat up the housing and stud to remove the other one And this was after soaking it in penetrating oil for 2 weeks. I took a long 4mm machine screw to make the two missing studs and then used Lock-Tite to help prevent it from backing out if the housing needs to be removed at some future time.
|
|
|
The headlight bulbs need a socket that can be wired to the harness. It looks like the bulb will fit into a standard hi-lo sealed beam socket. The website of a local auto parts store lists these, so will pick up a pair tomorrow.
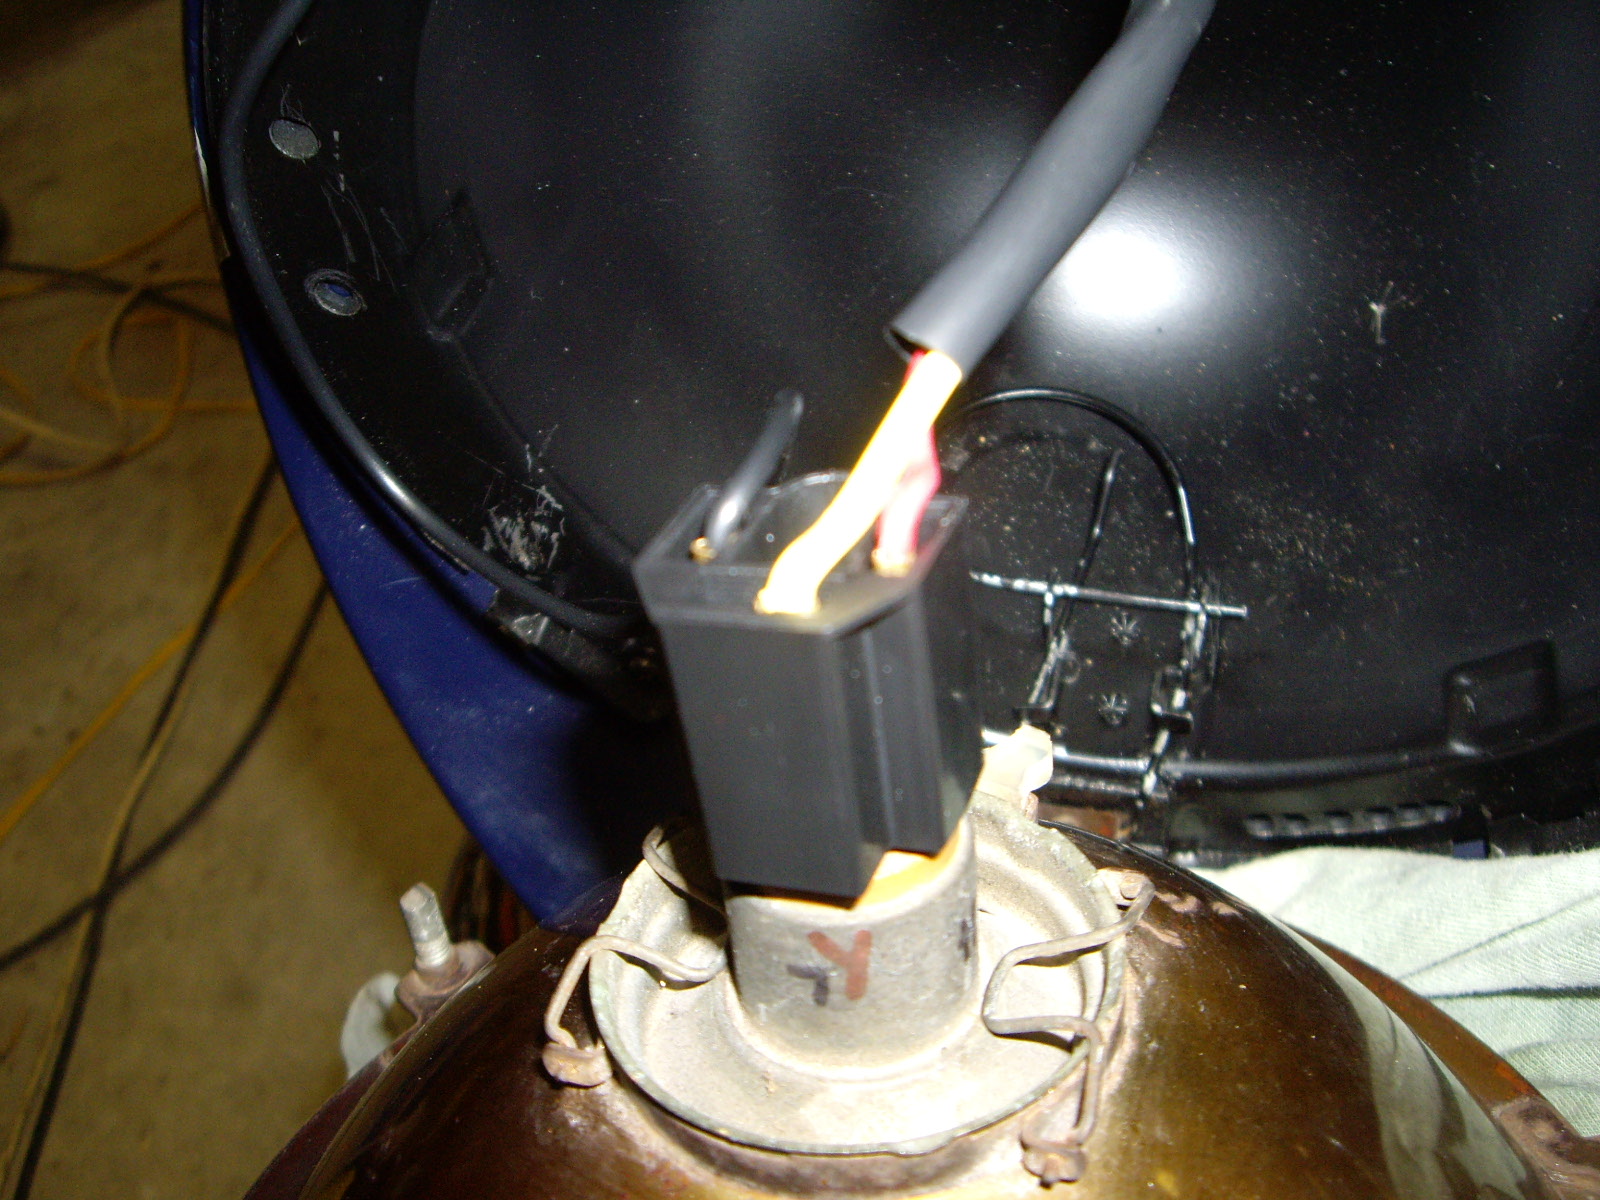
After getting the sockets, I started back on the headlights. The project came to a halt almost immediately when I realized that I didn't know which lead (red or yellow) was for the high or low beam. So I had to investigate the stalk switches. Once I figured that out (BTW, red is high), I finished the headlight installation, including changing the wiring on the generic socket to red and yellow ones so it's quite clear what wires go where.
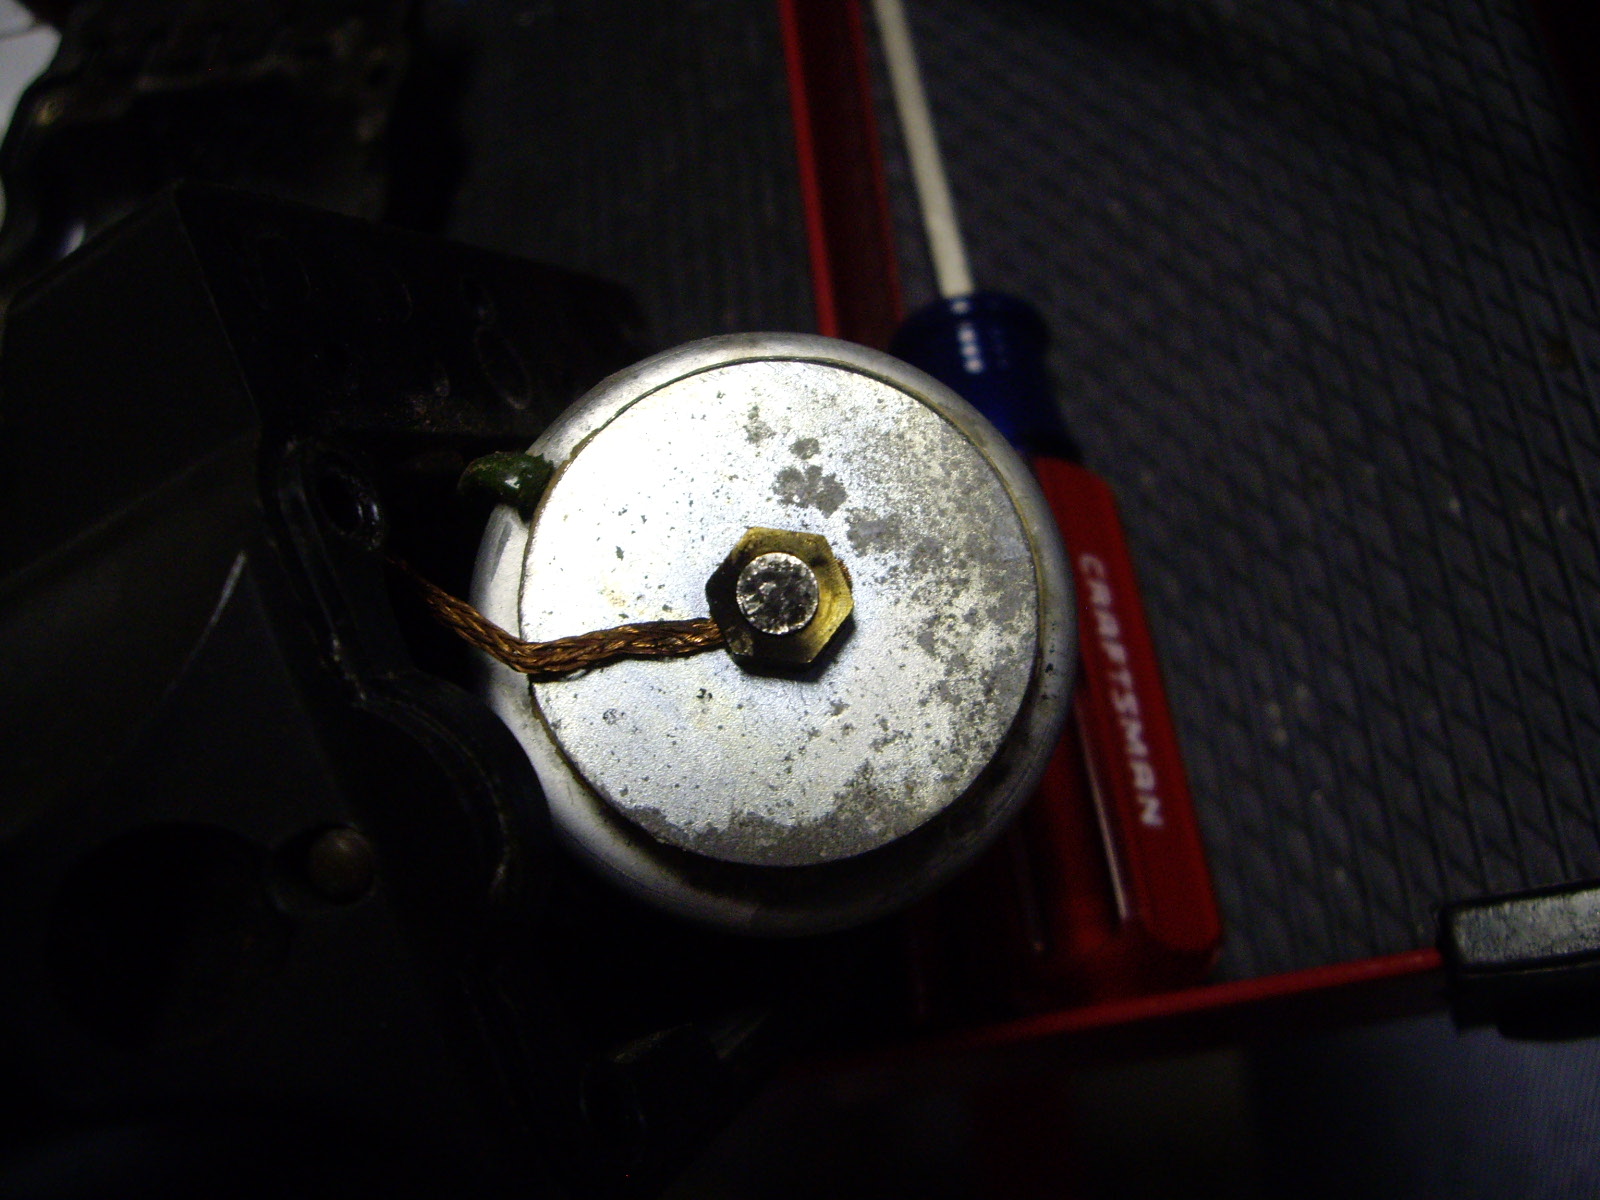
When I tested the installation, the headlights wouldn't always go on correctly. I think that the relay terminals in the Deviolux box need cleaning, so I'll take it apart and see.
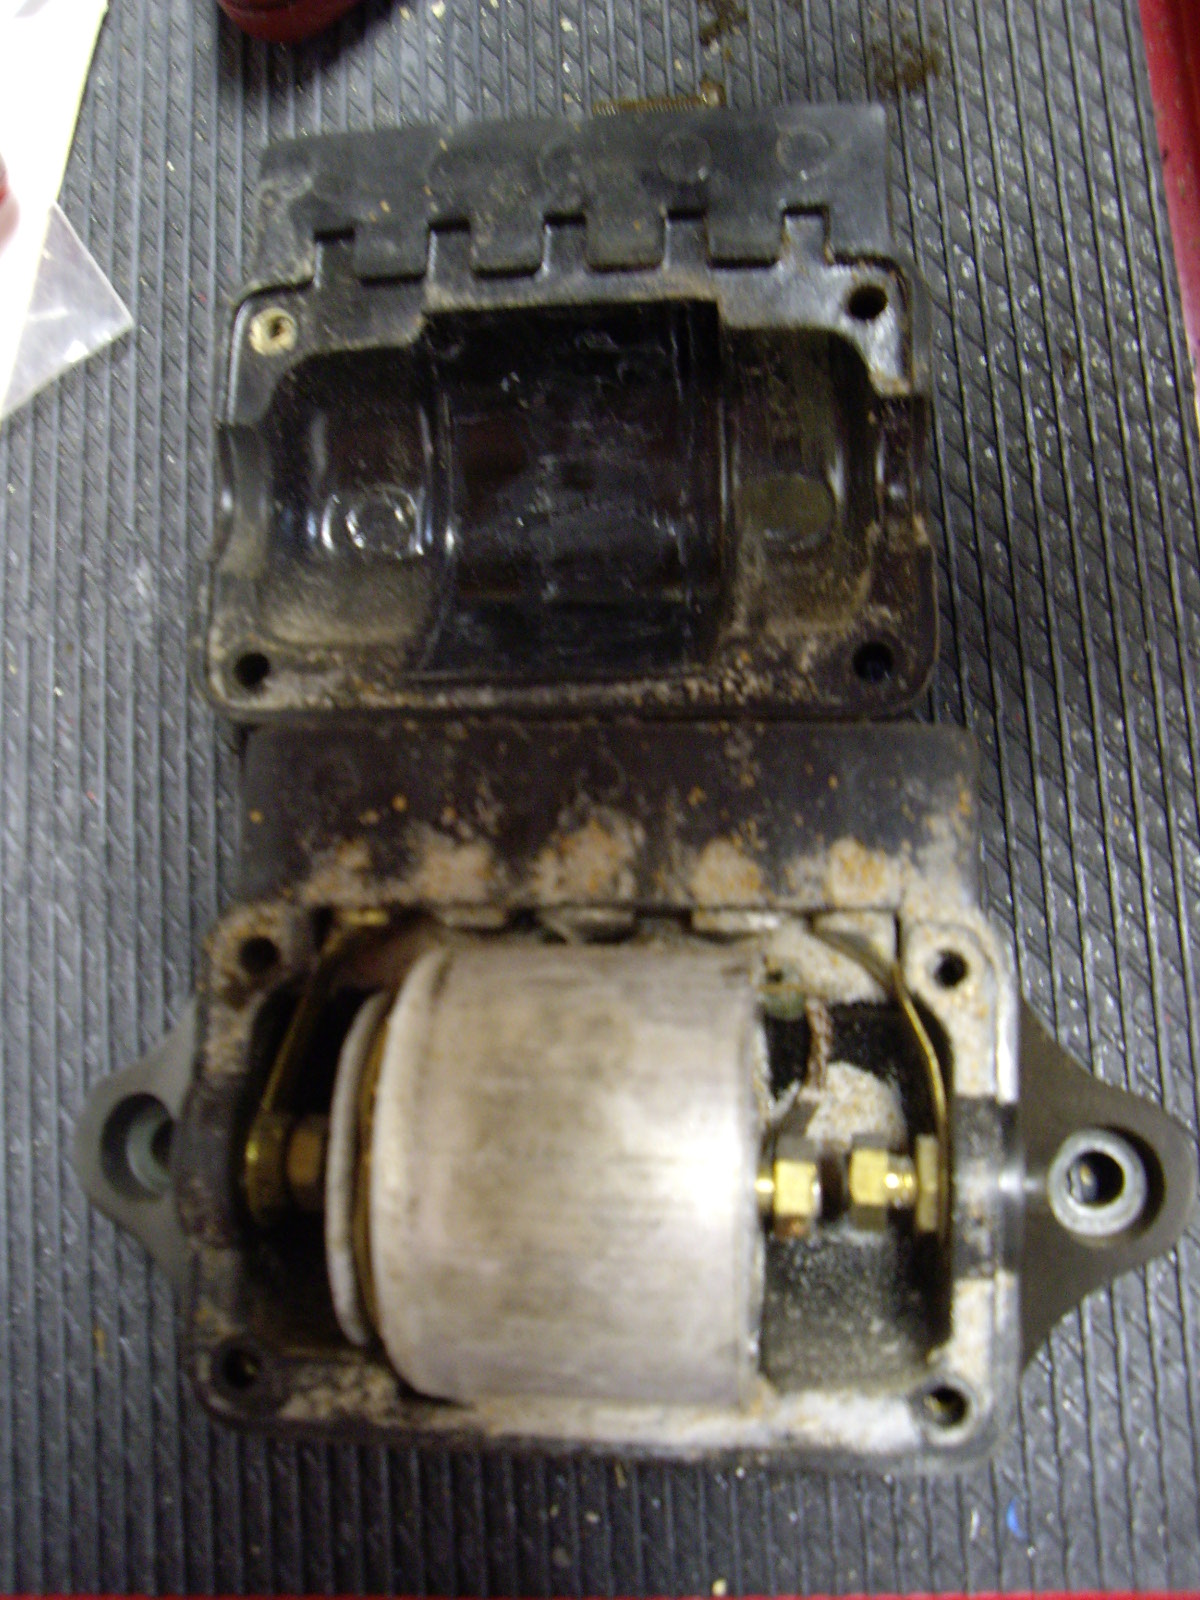
As you can see on the left, the sand blasting by the PO left a lot of sand in the relay body. This is pretty tightly sealed, so that show you how pervasive sand blasting can be. The contacts in the right were pretty pitted, so I filed them smooth. After re-assembling everything, I re-checked the relay and headlight operation. I found that the right low beam still wasn't working, but that turned out to be a bad bulb. One more thing to locate and buy. An exact replacement is a Lucas LLB410 bulb. One can also replace these with a quartz-iodide H4 base bulb, but watch the current draw as the wiring and generator weren't very robust back then.
 |
 |
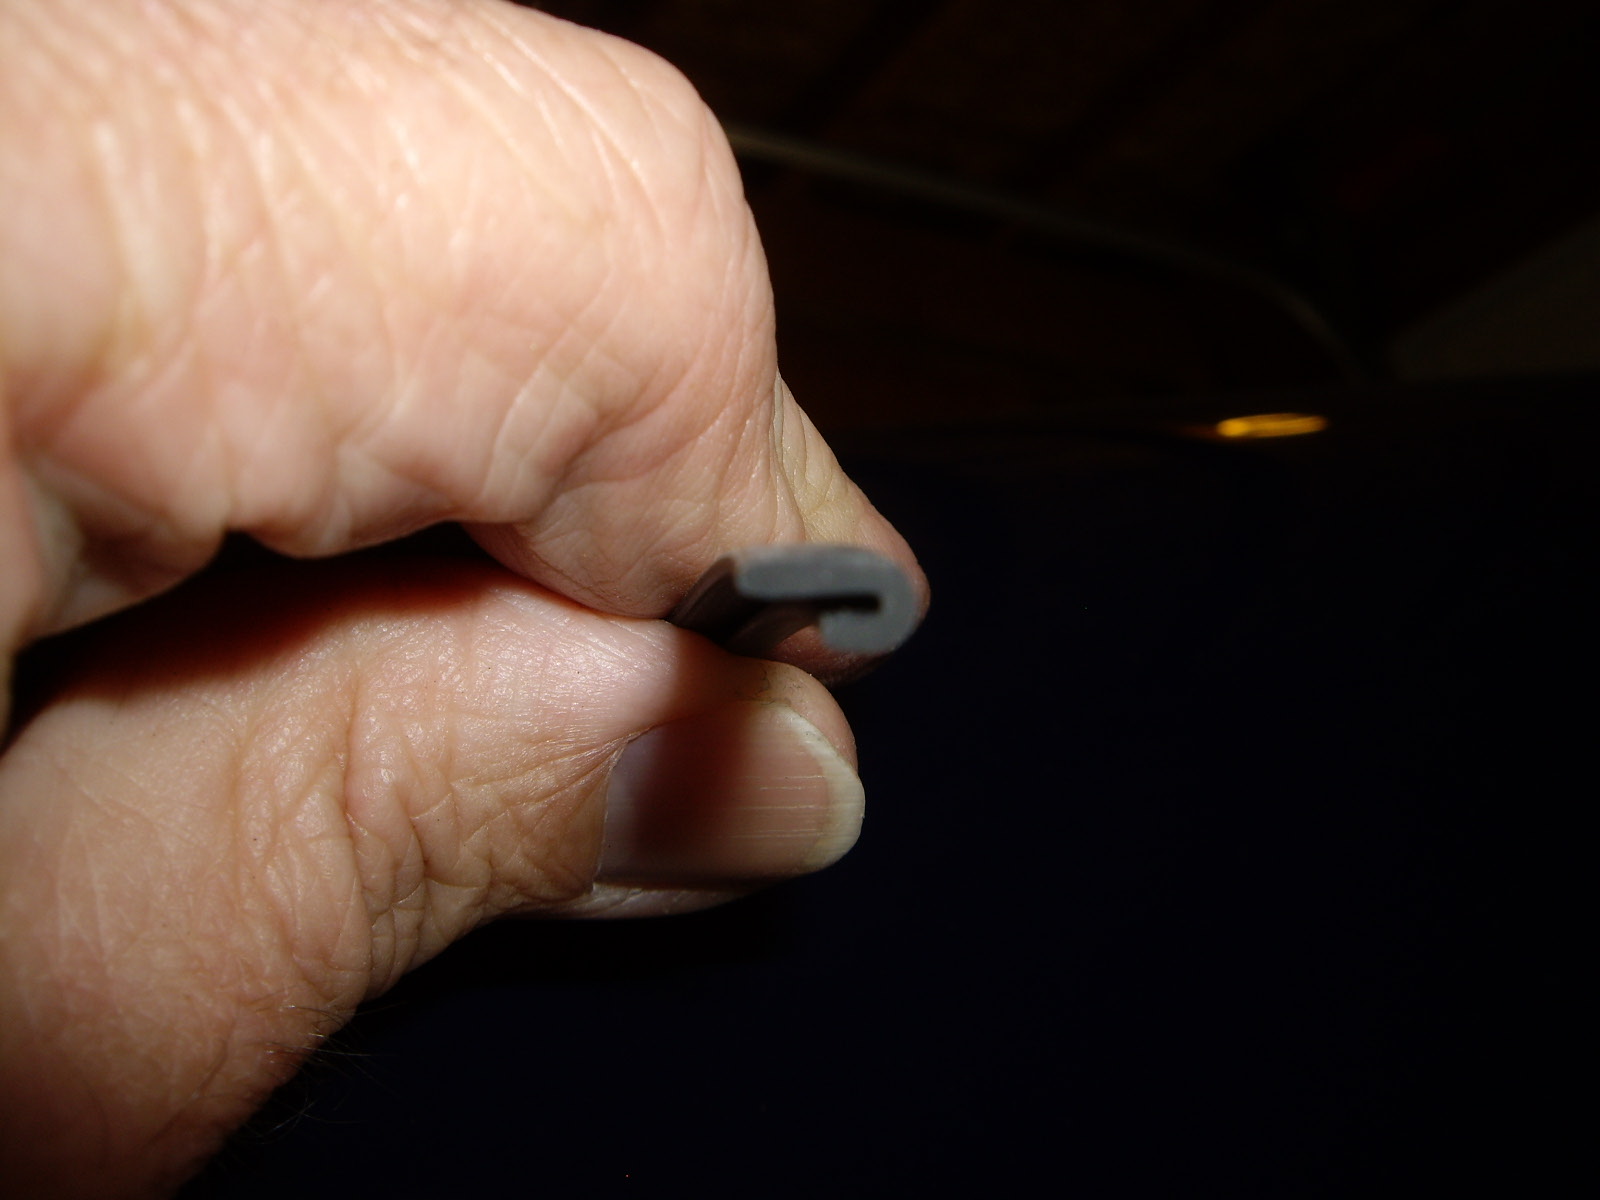
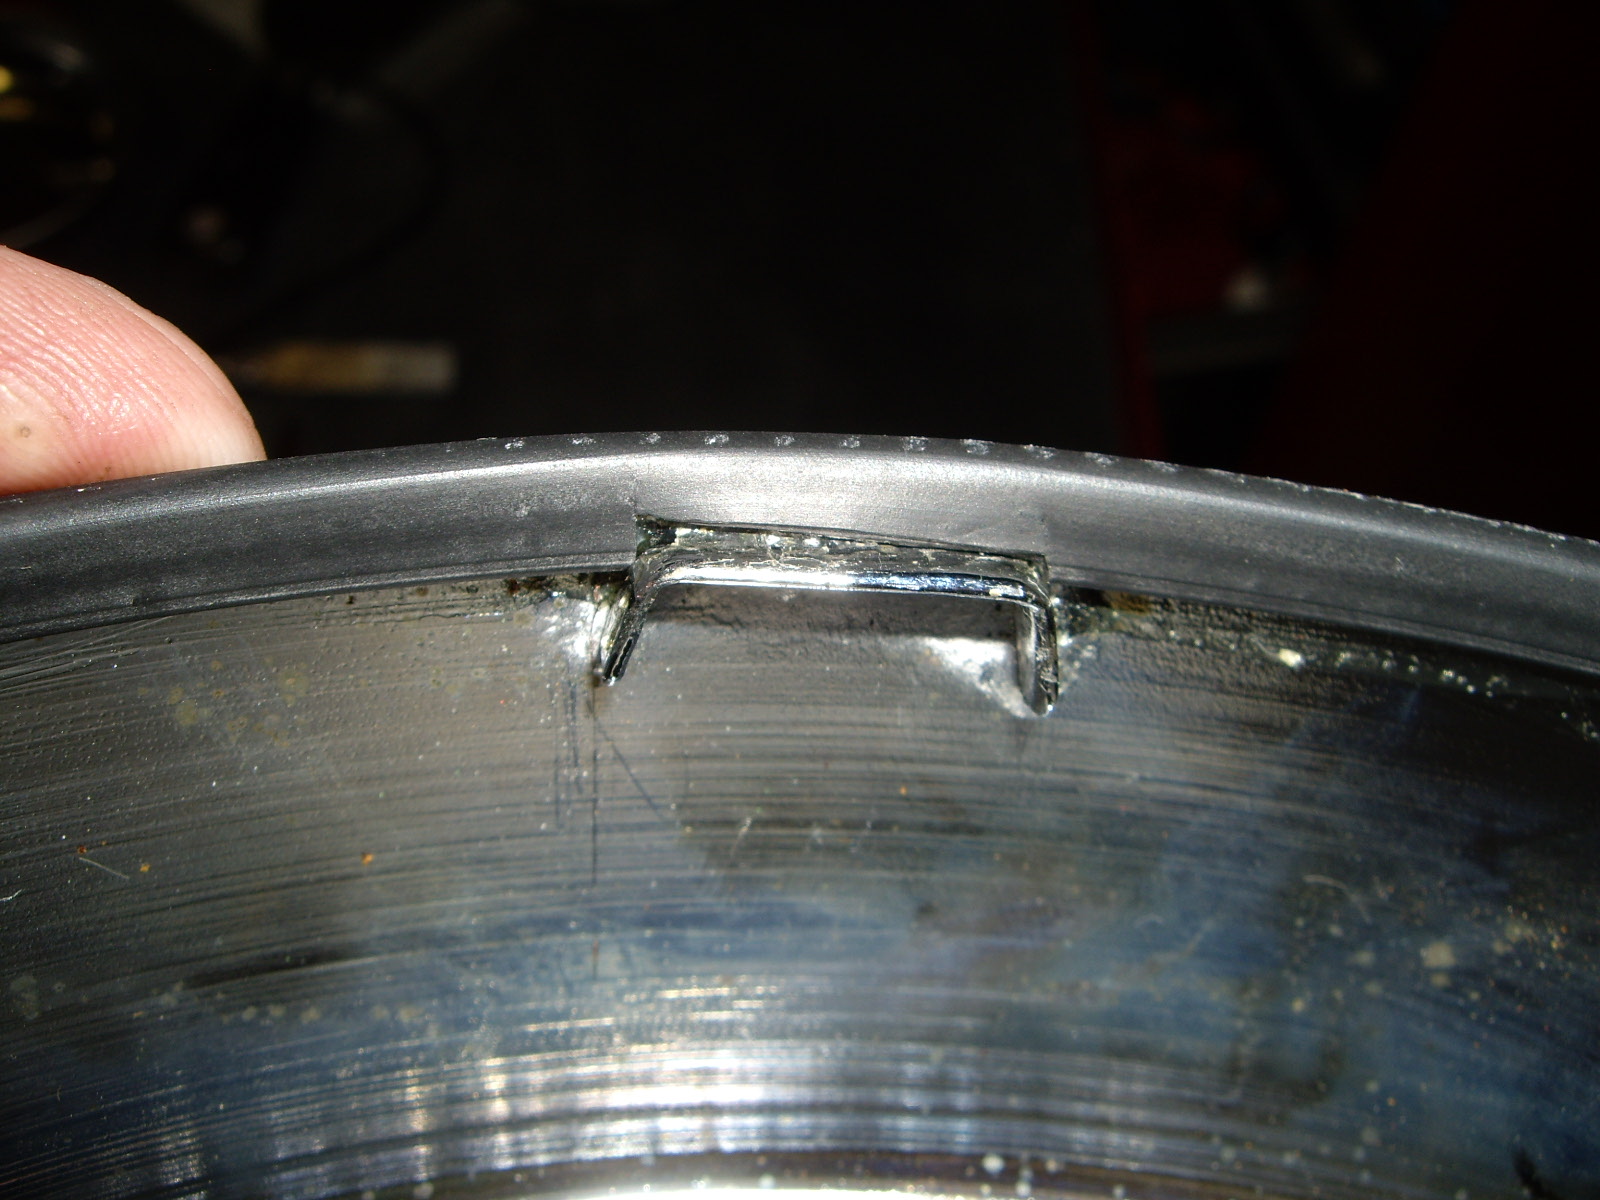
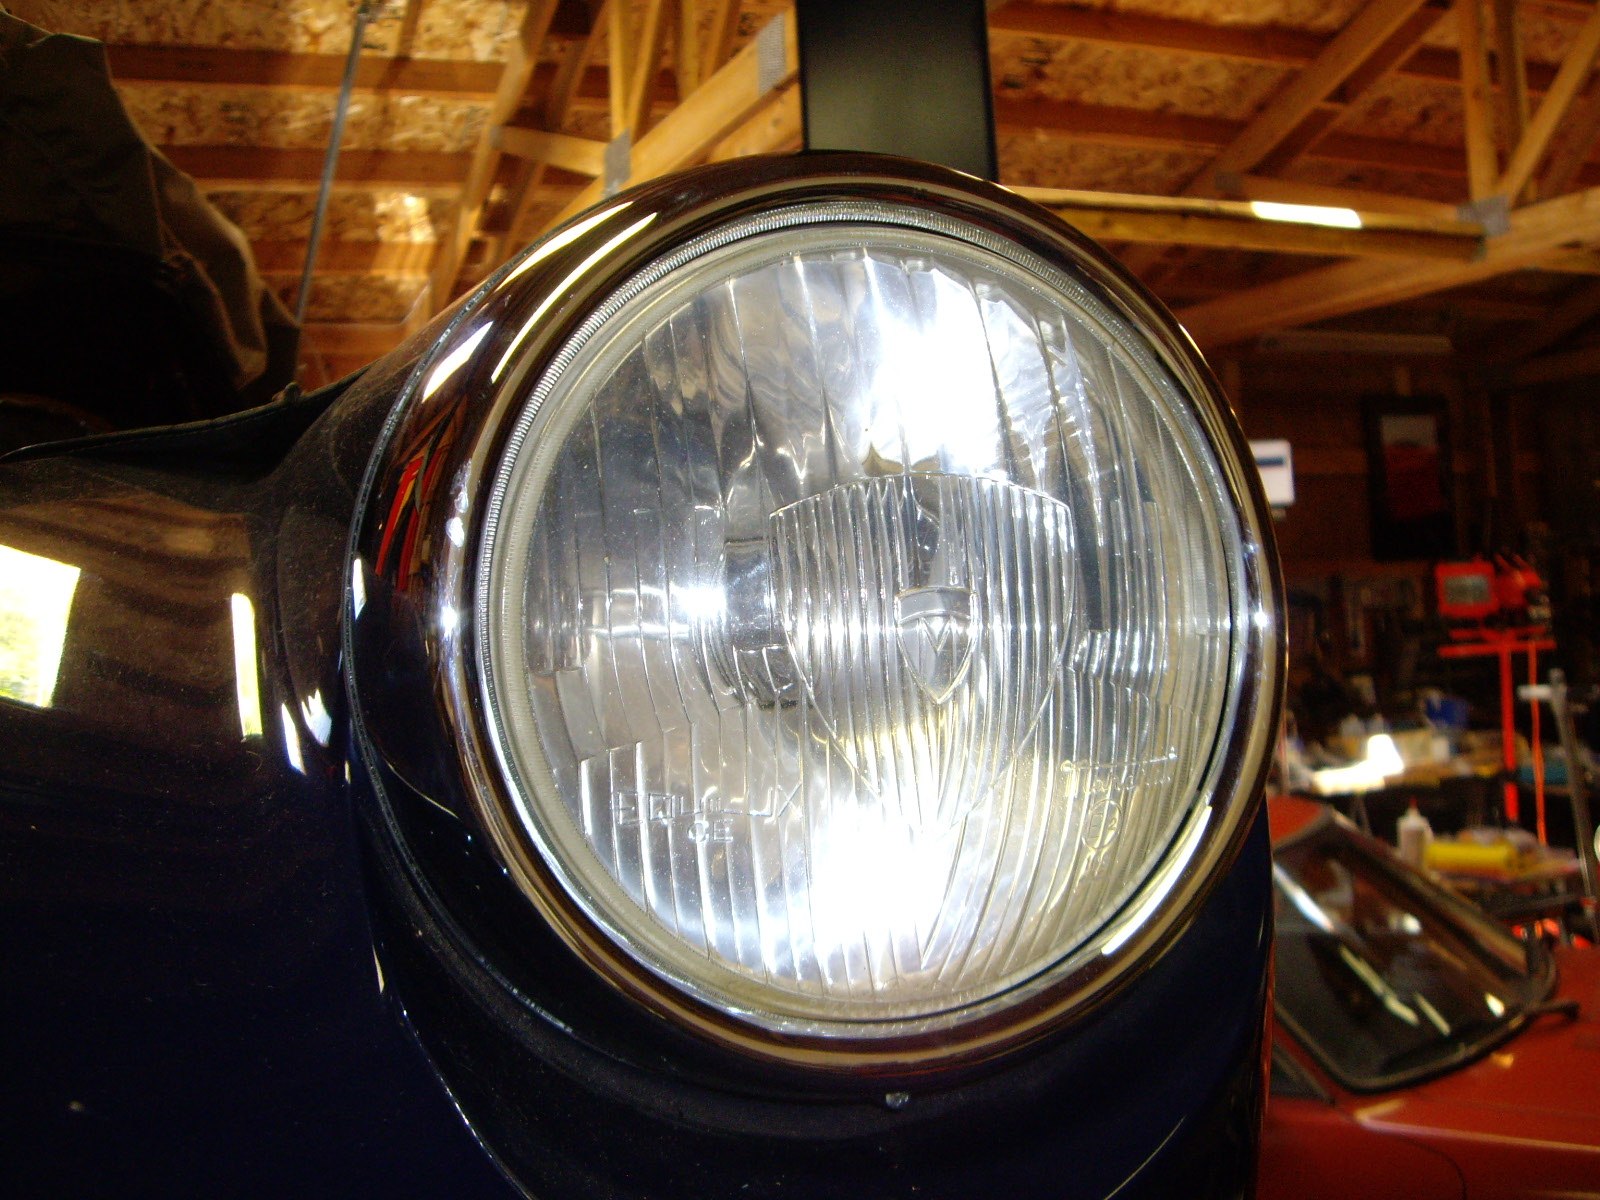
Then I glued the rubber trim onto the headlight bezels. The trim protects the paint from the edge of the bezel. One thing I found out about circular rubber trim, you need to use some instant glue to bond the two ends together. Otherwise, they separate and then both ends start coming loose from the trim they are attached to.
|
|
|
|
At some point, the original side marker lights got lost and the later teardrop ones were put on this car. Inside the fender, I can see where the original hole was filled in before the body work and painting was done. I've found the correct lights, but now I need to determine if I want to fill in the ones where the teardrop ones were mounted. Since I have several other body 'rash' places to get fixed, I'm leaning to correcting this error.
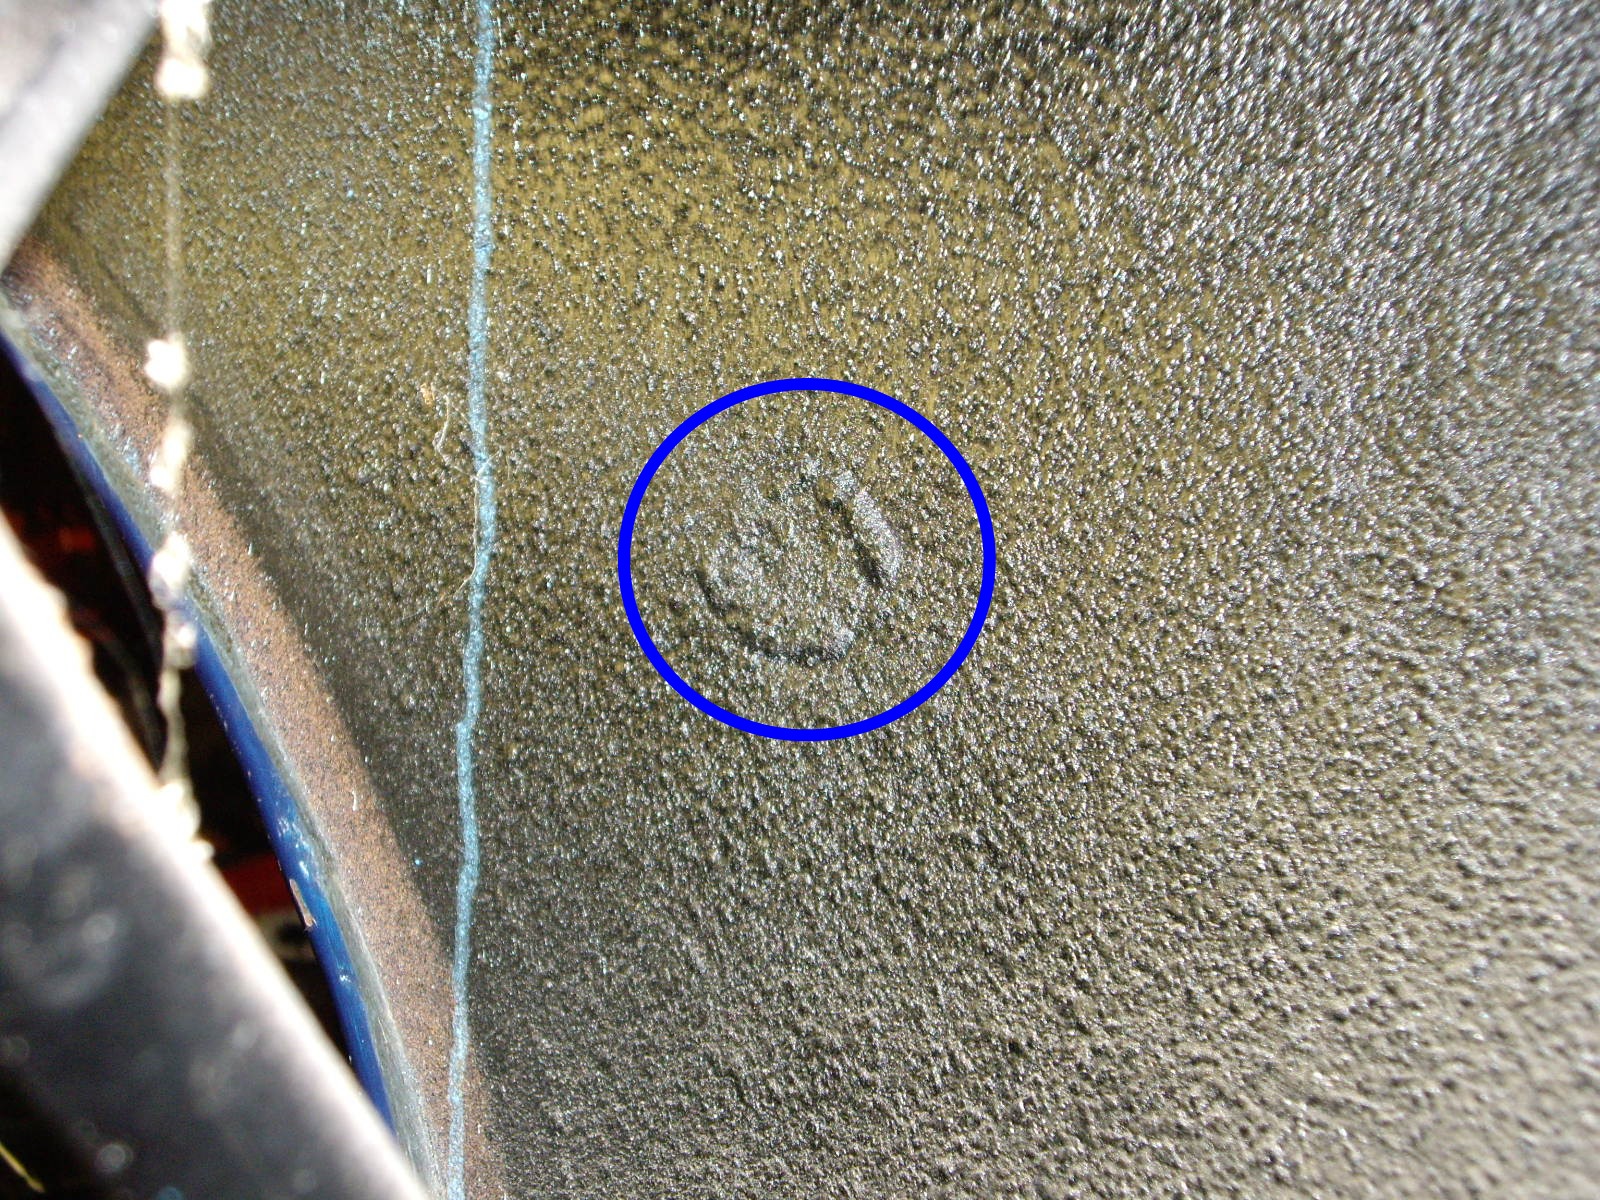 Filled in hole |
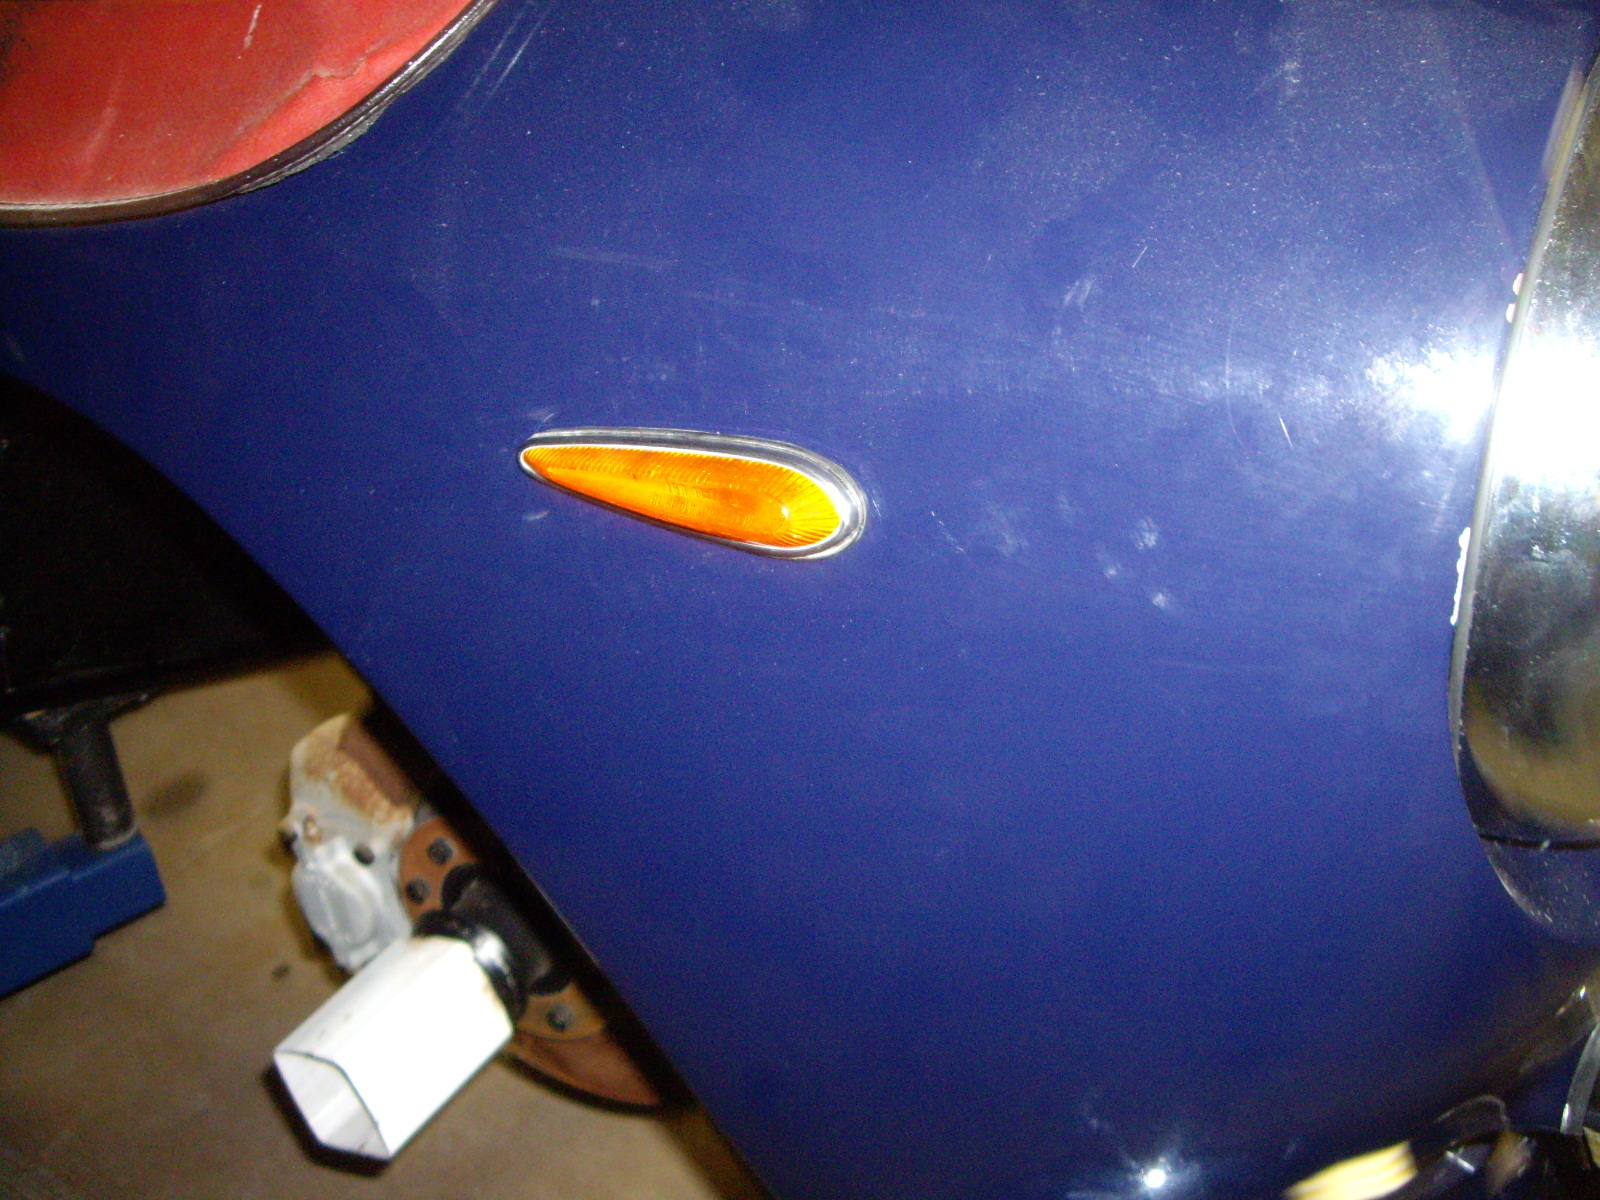
 Correct and later style repeater lights |
At this point, I installed the teardrop lights as those holes are already there. If I decide to paint the whole car, I can go back the the correct originals.
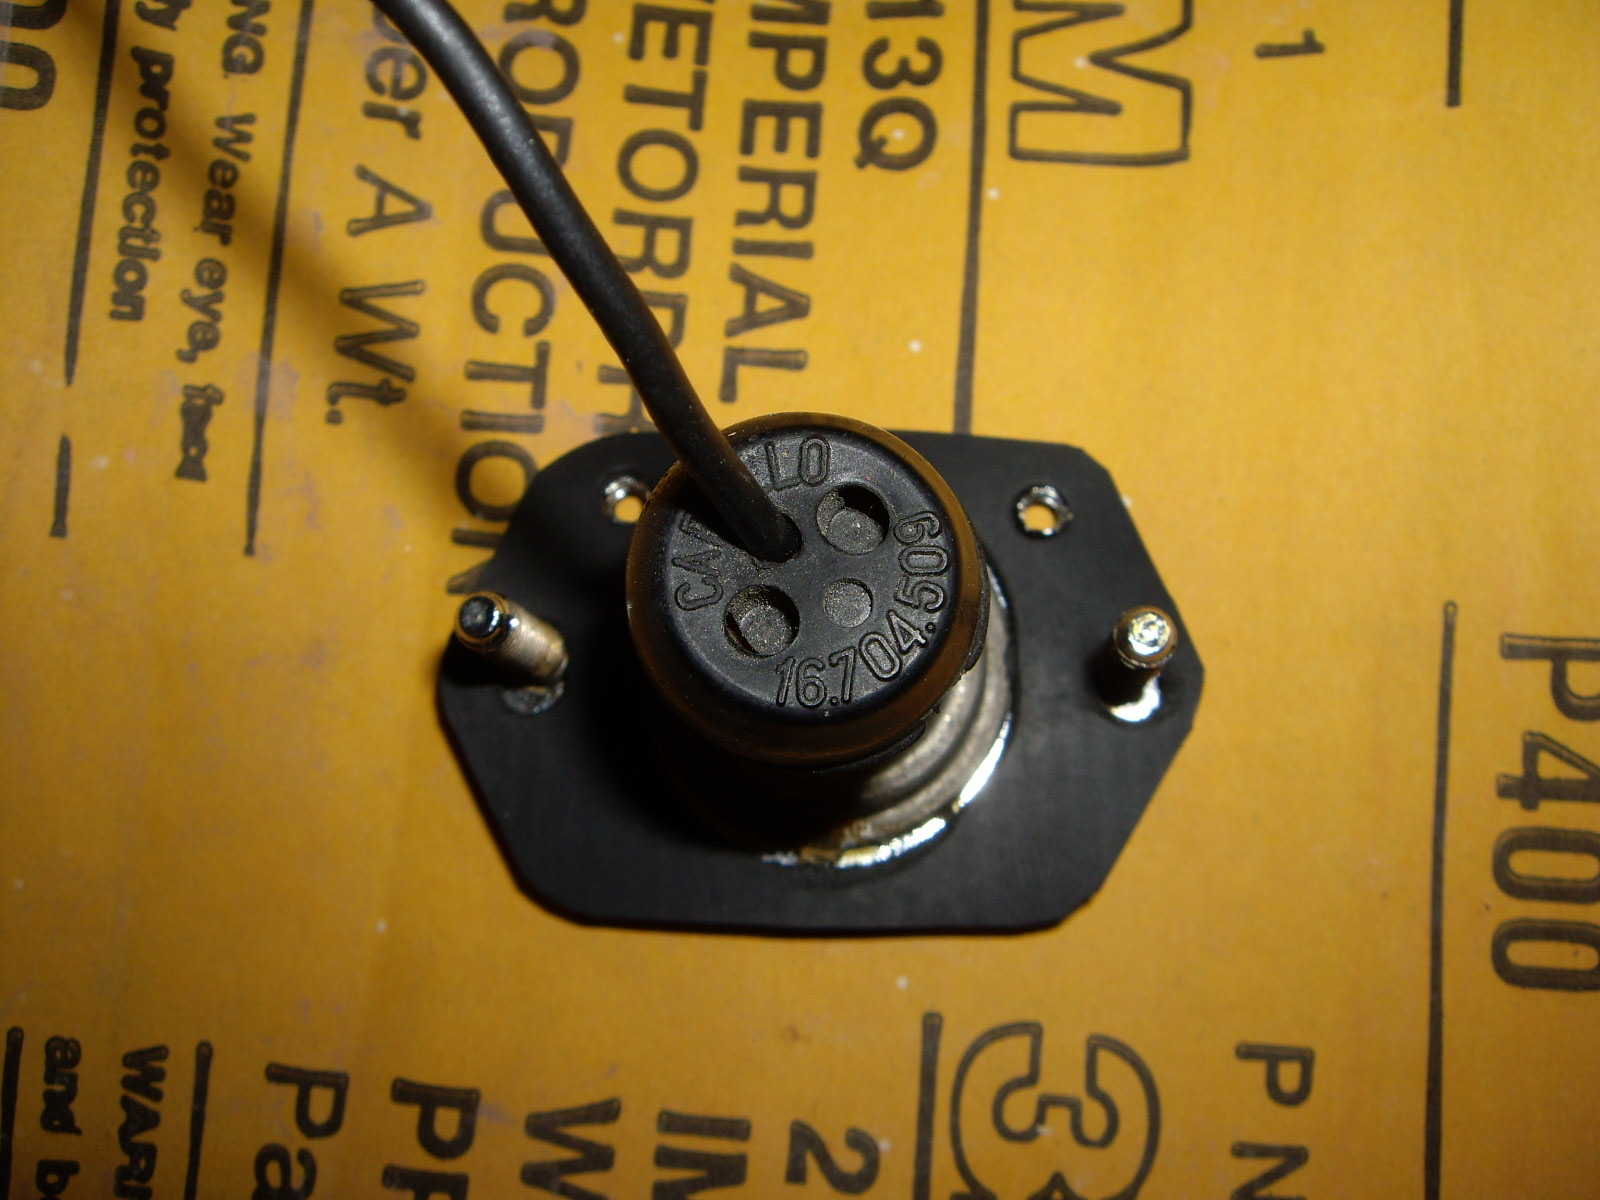
The backup light is interesting on PF coupes. It is housed in a can like structure welded below the rear bumper. Since this area is completely painted, I decided to run an explicit ground to a screw inside the trunk instead of sanding off some of the paint to get good electrical contact. The light is a Marchal 520, pretty rare, but also used on a Renault 4CV.
 |
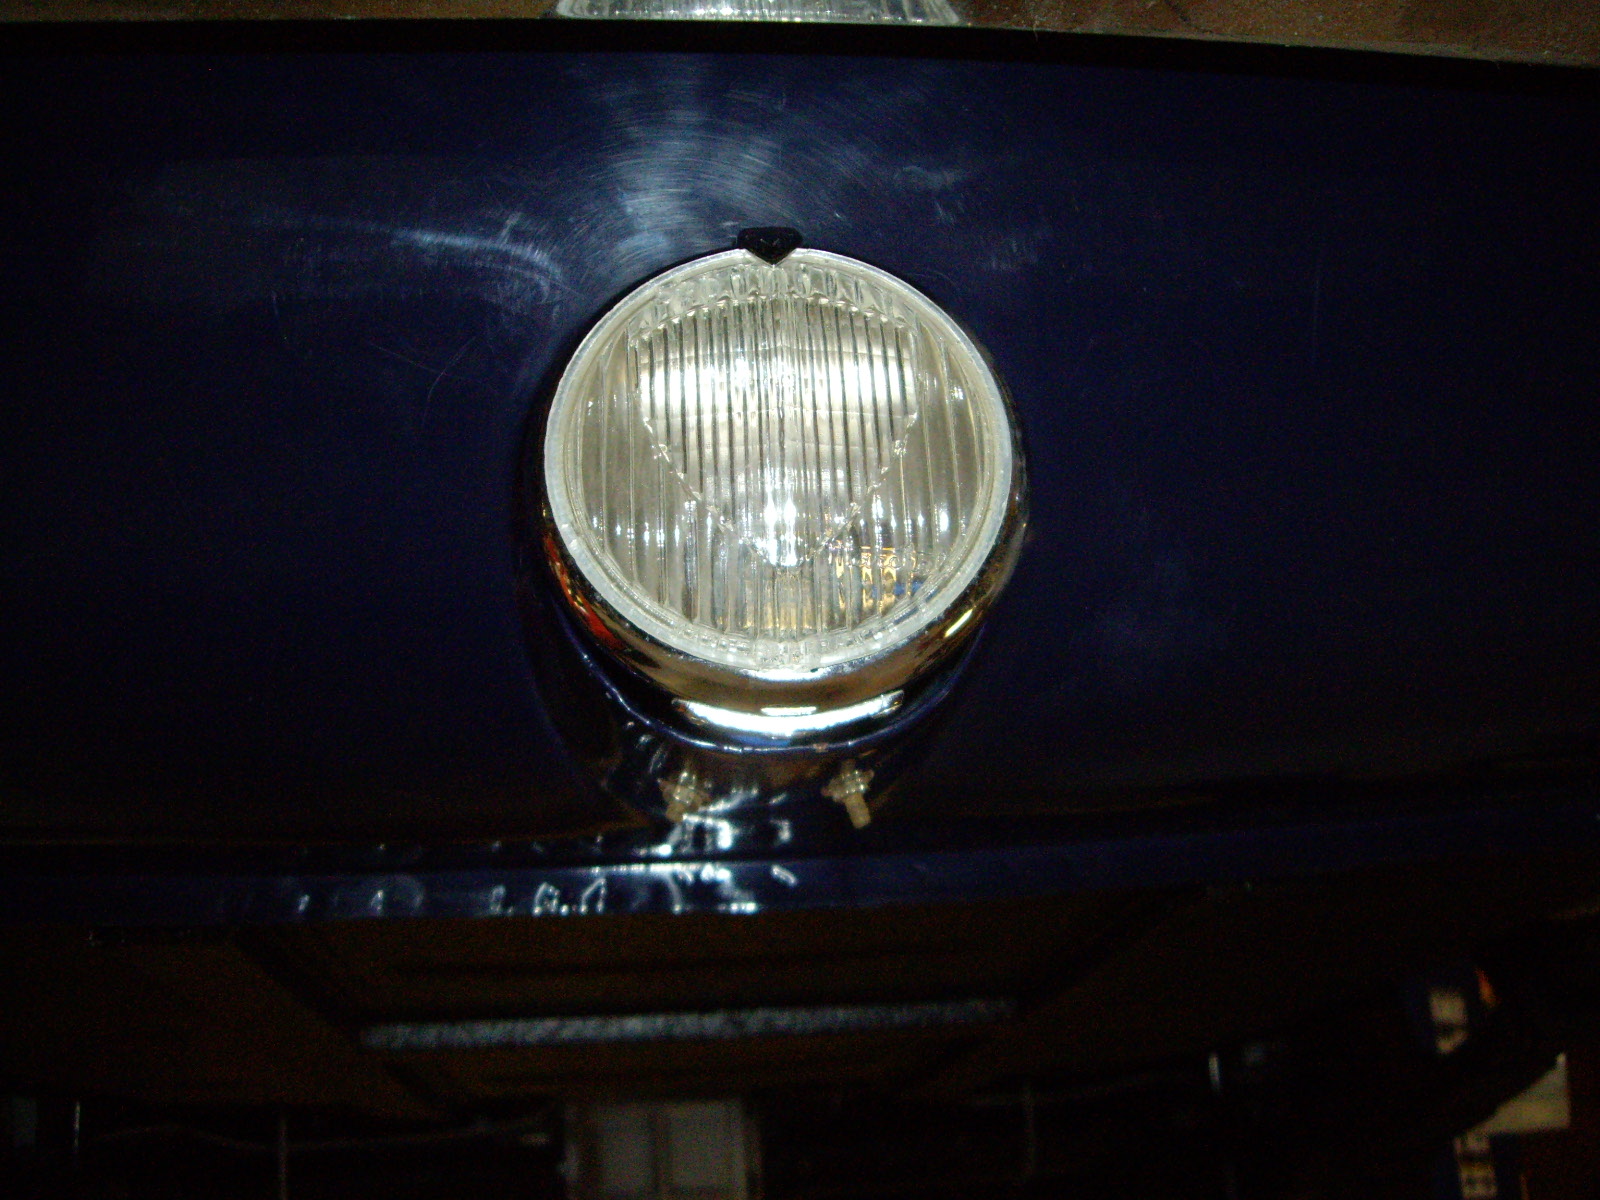 |
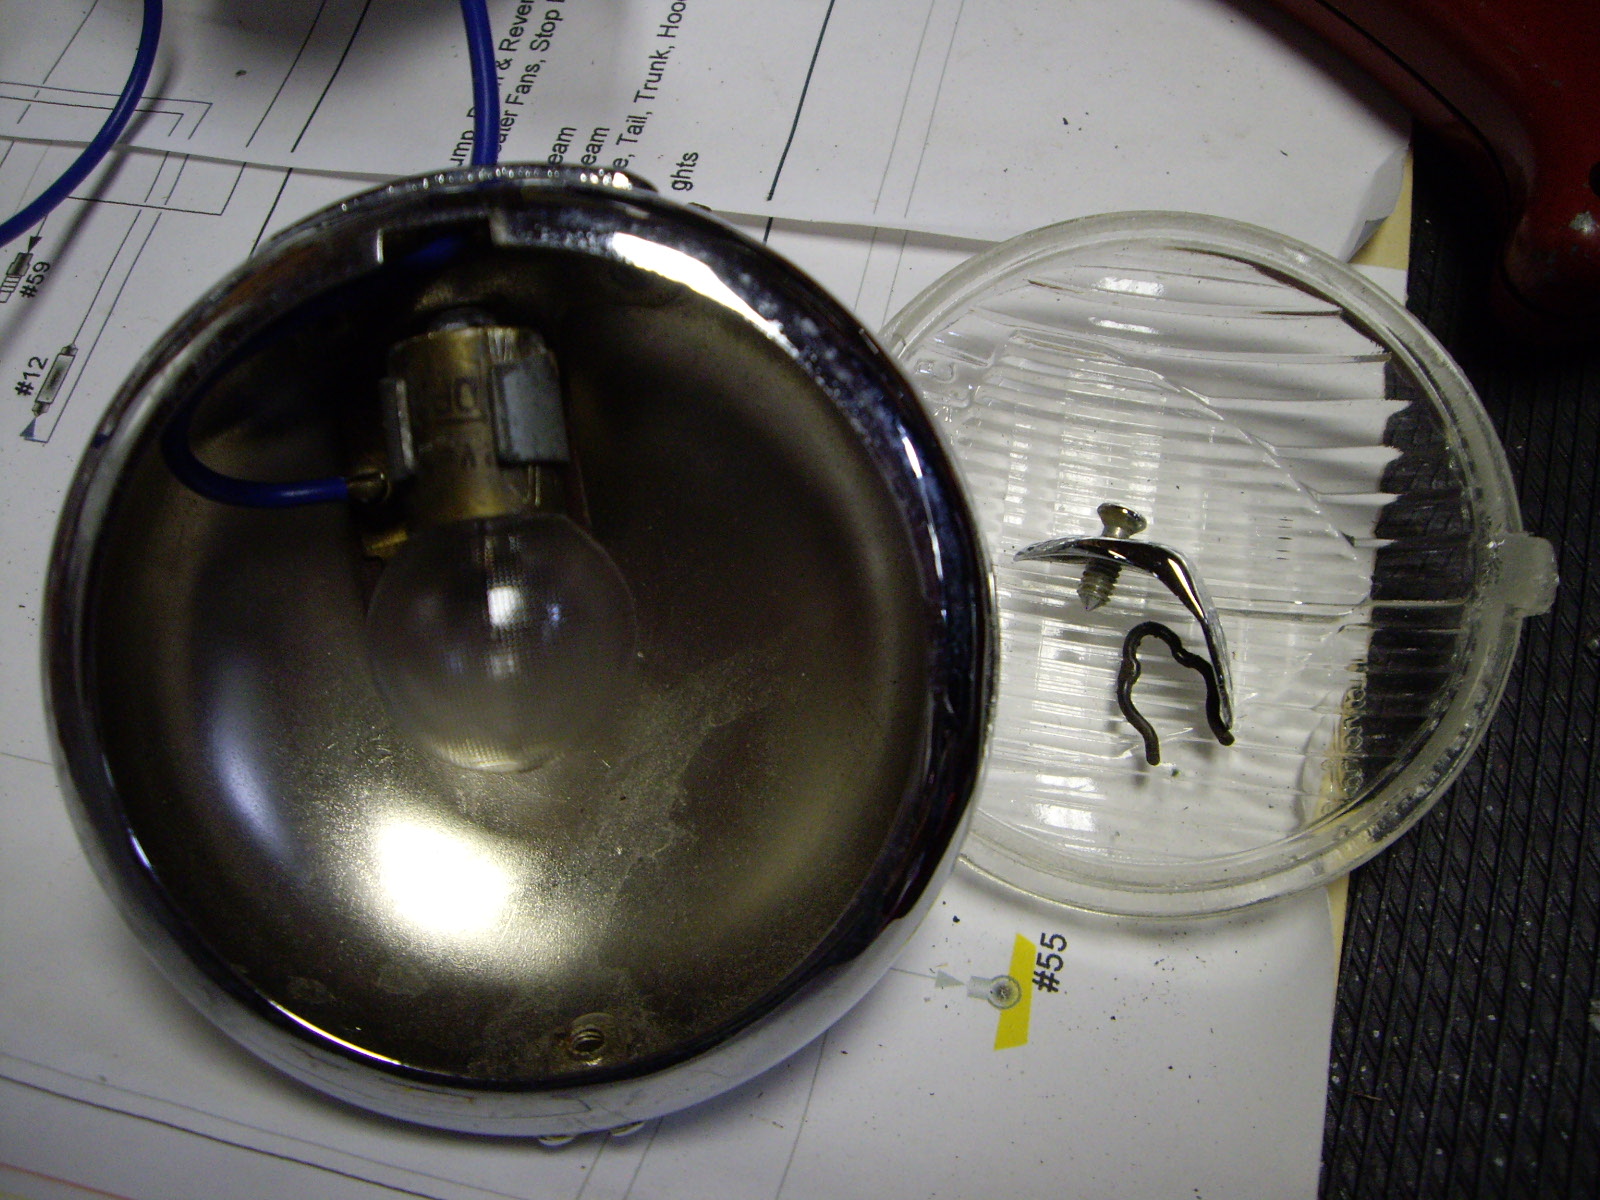
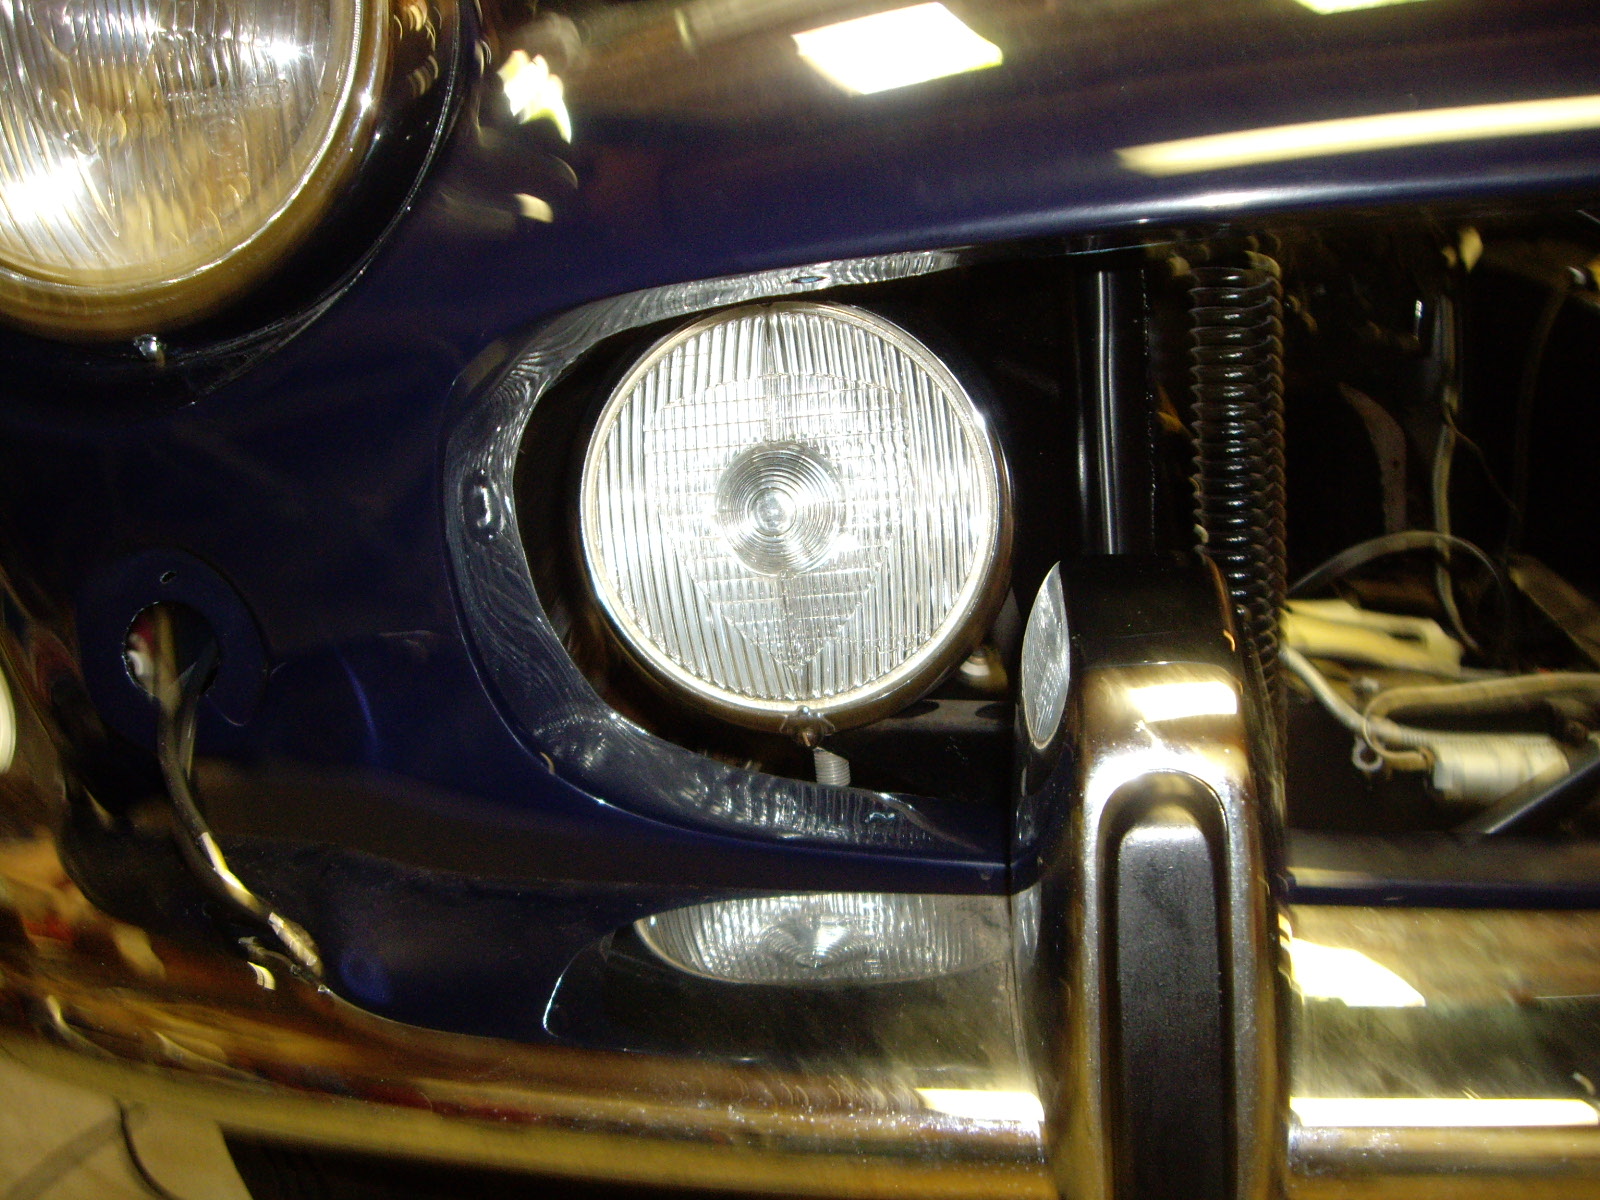
There were a pair of Carrello 660 driving lights with the car. When I went to install them, one was missing the backing plate that holds the bulb. Luckily I had a pair of smaller Carrello lights and I was able to adapt the plate from one of them. The main problem was that the plate along with the wiring screws was thicker and wouldn't allow the unit to be assembled. I ended up having to bend the lugs and even so, the clearances were tight, so I put a couple of layers of electrical tape on the shell behind those connections as a safety precaution.
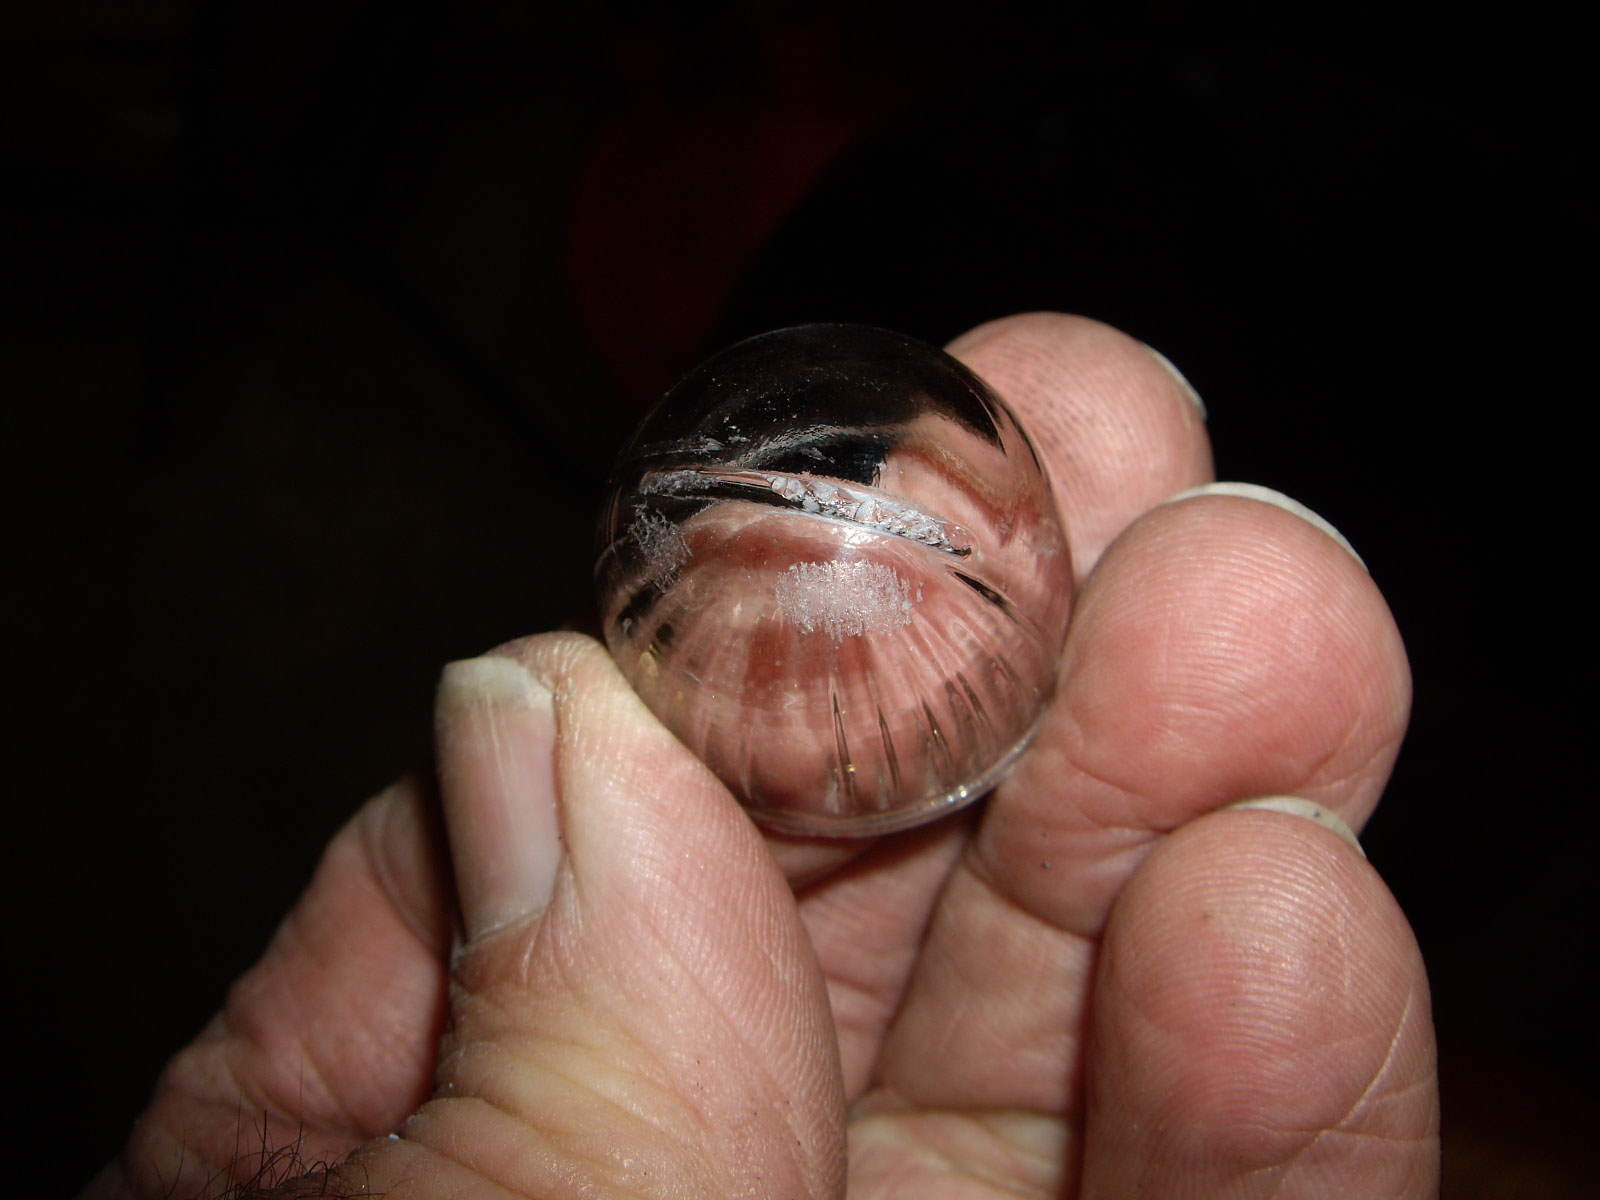
I dug out the license plate lights that mount under the trunk lid. The exposed surface looks pretty crude and I'm wondering if there's a rubber boot or something missing. The ends of the studs that hold it down are exposed along with the clips that the top fits under.
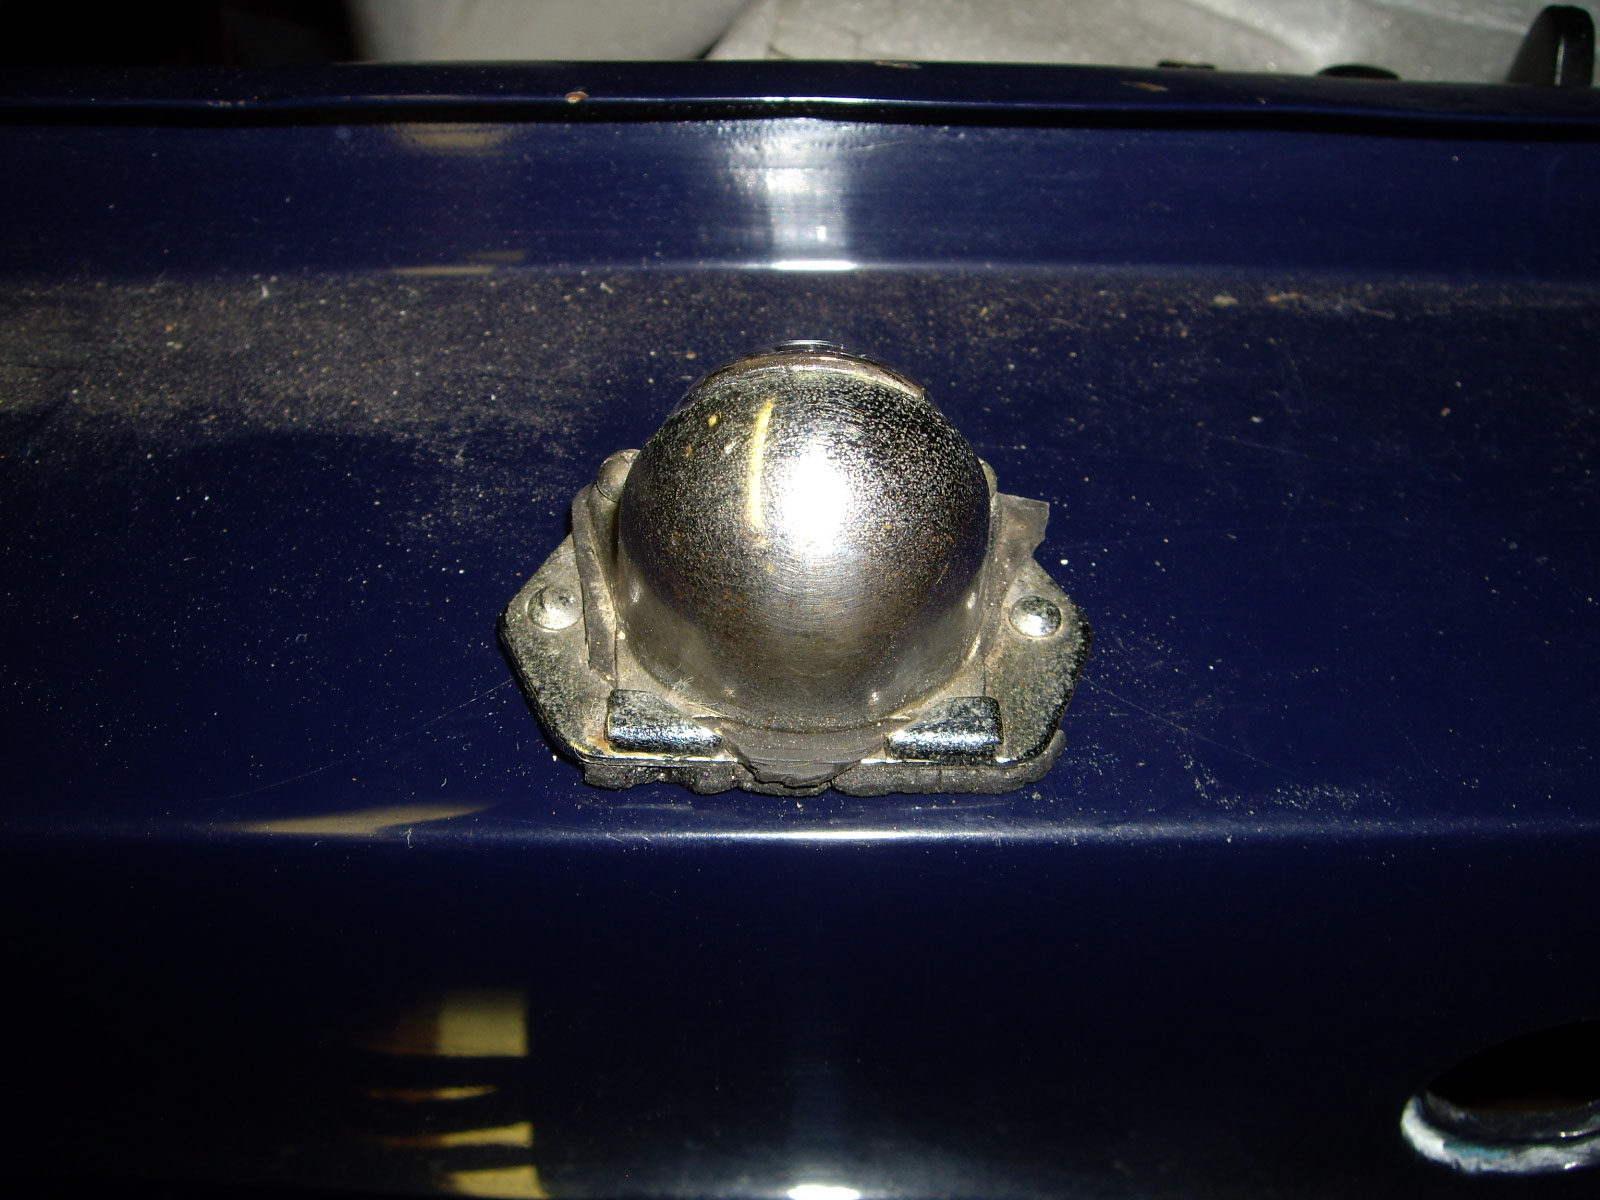
After looking at a picture from a platinum award winning coupe, mine just needs a good polish and a new rubber base.
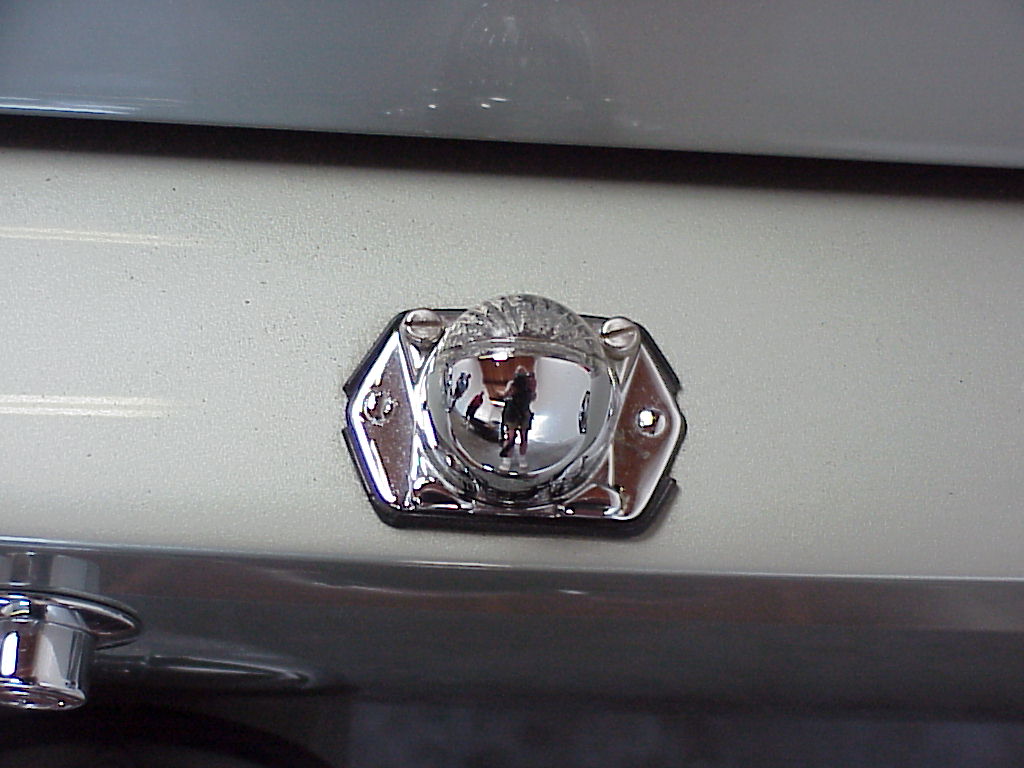
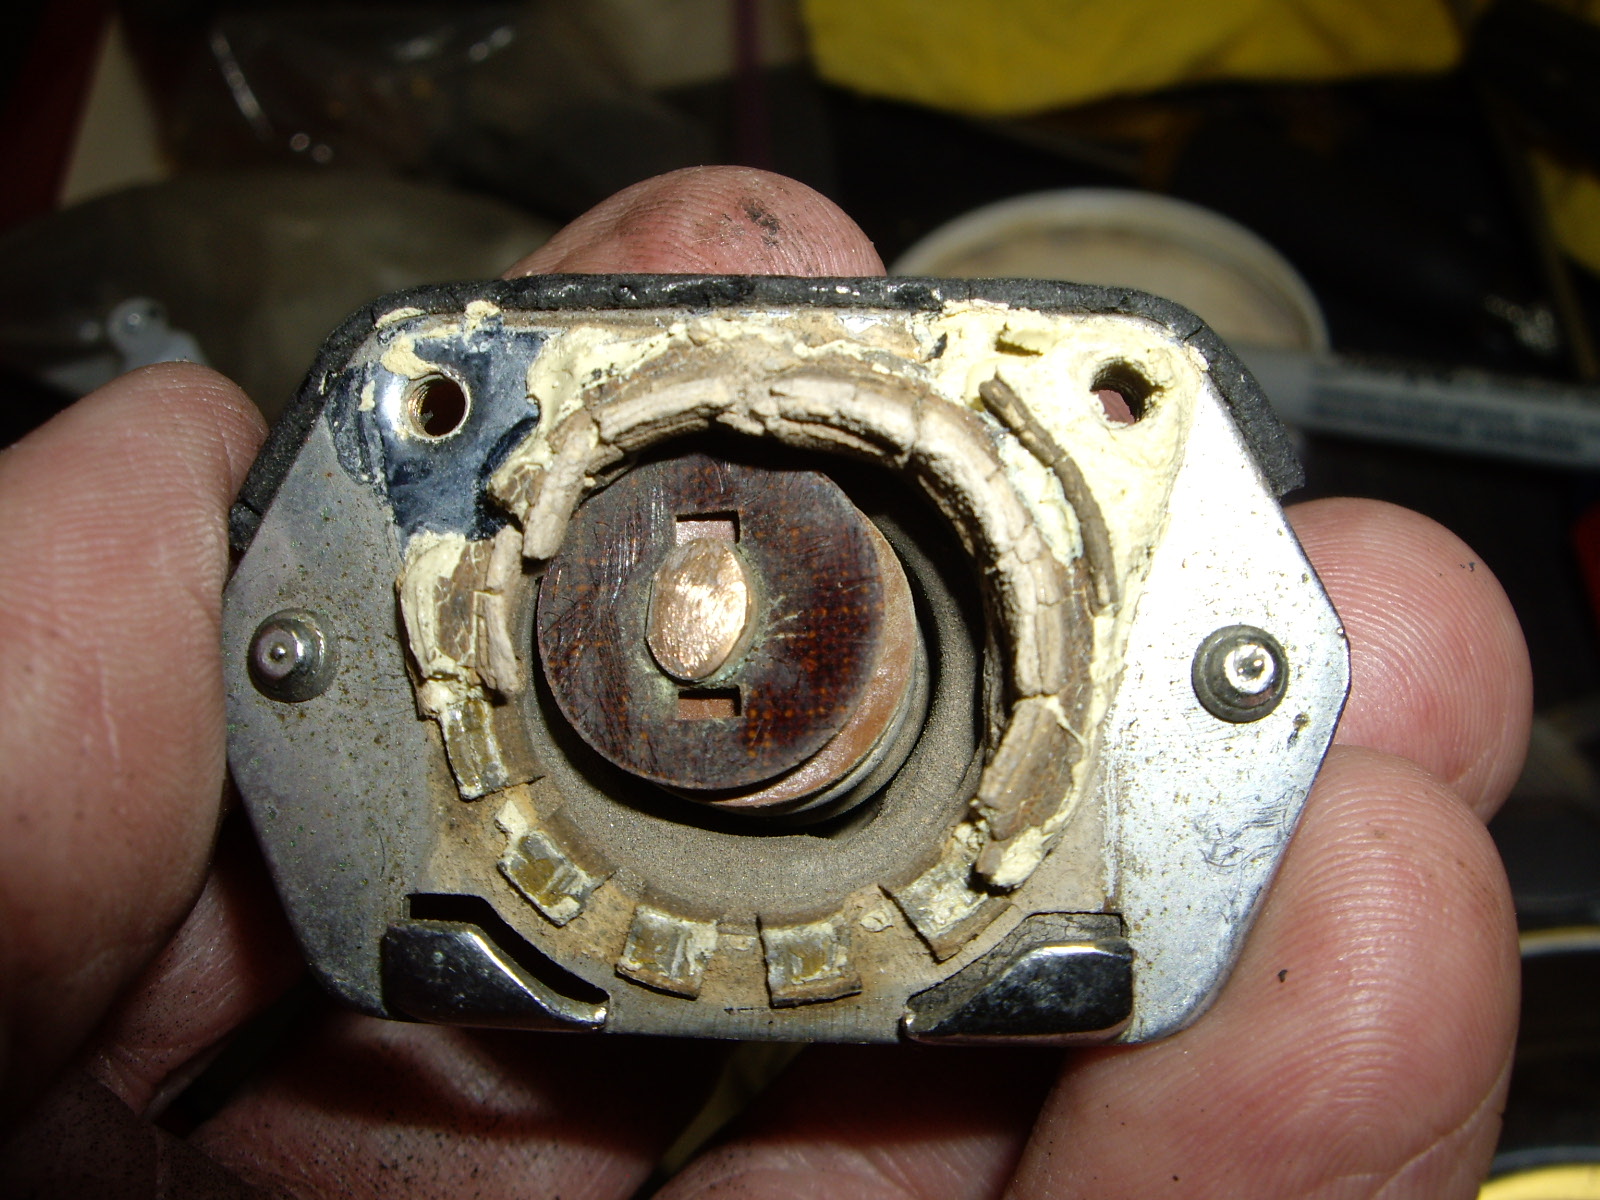
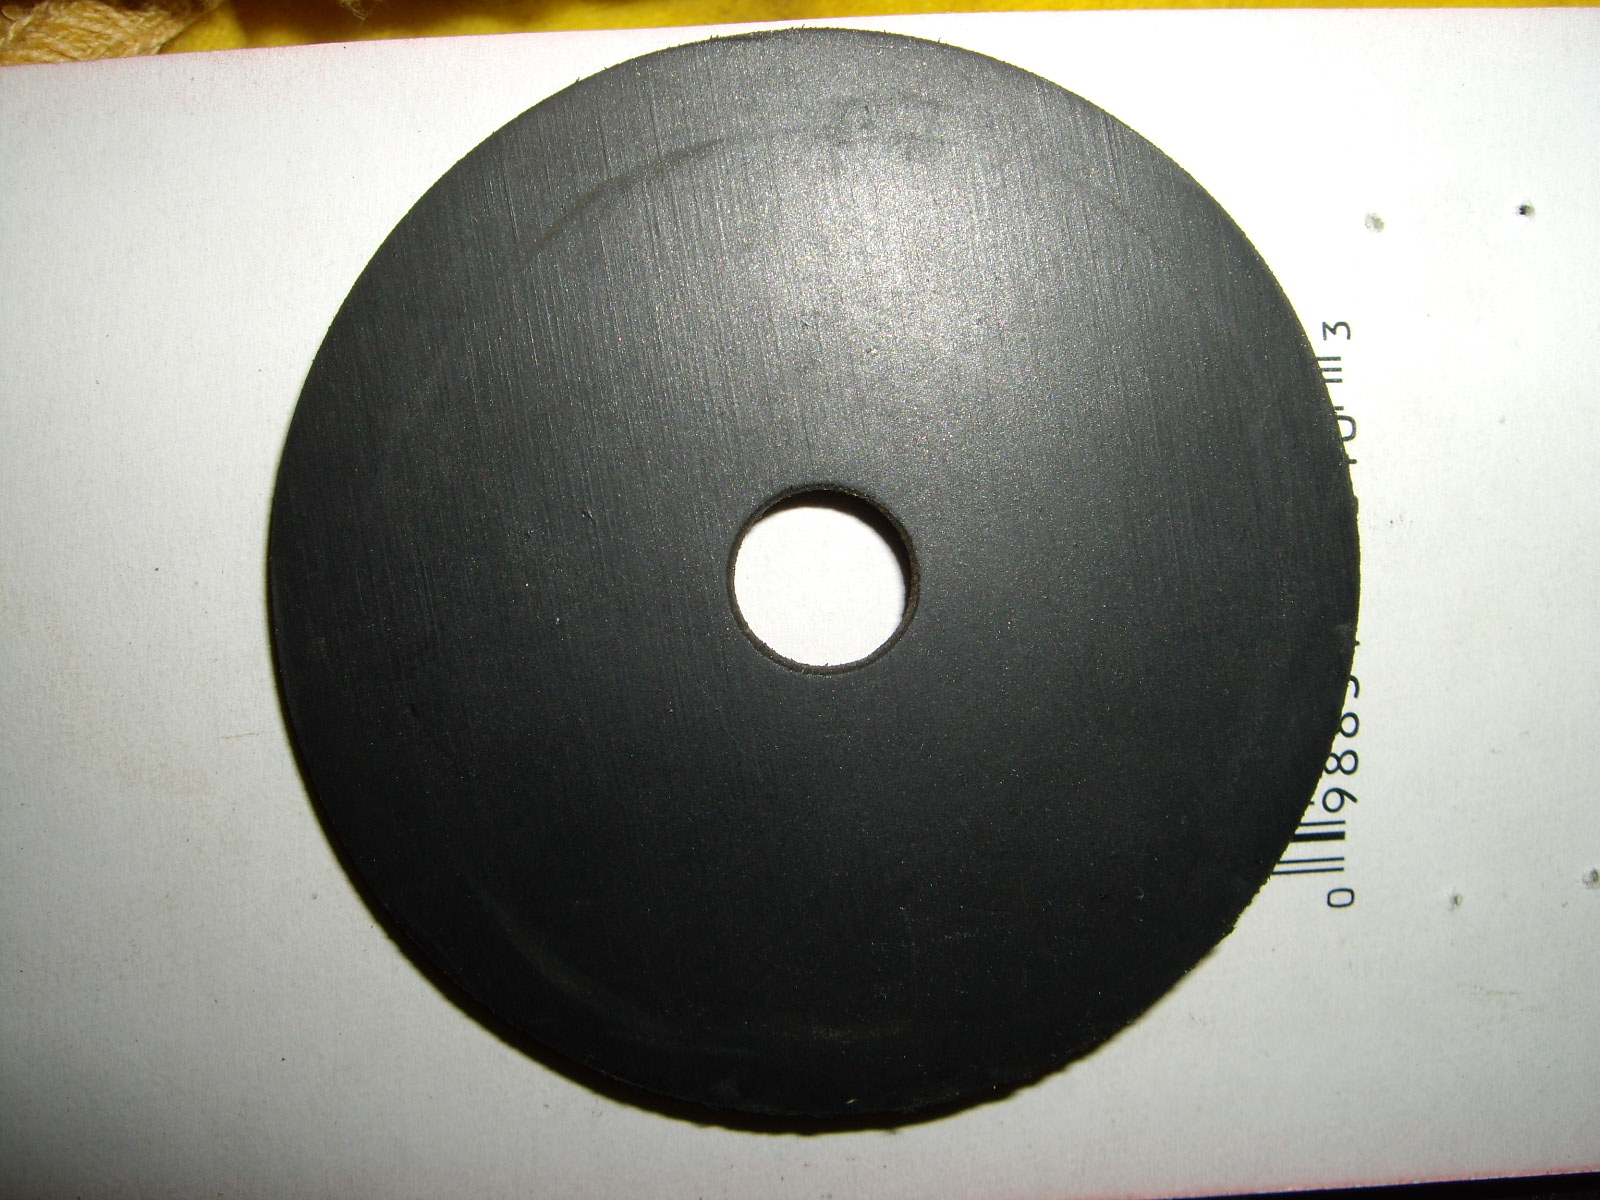
I spent most of a day working on the license plate lights. At first, I thought a good cleaning would set them right. However, as I disassembled them, I found other issues. First, the seal under the housing was old, sticky and falling apart. So the first order of business was to clean the old out and make a new one. Then starting with a couple of thick rubber washers (from the plumbing section of a home store), I made a pair of new ones.
 |
 |
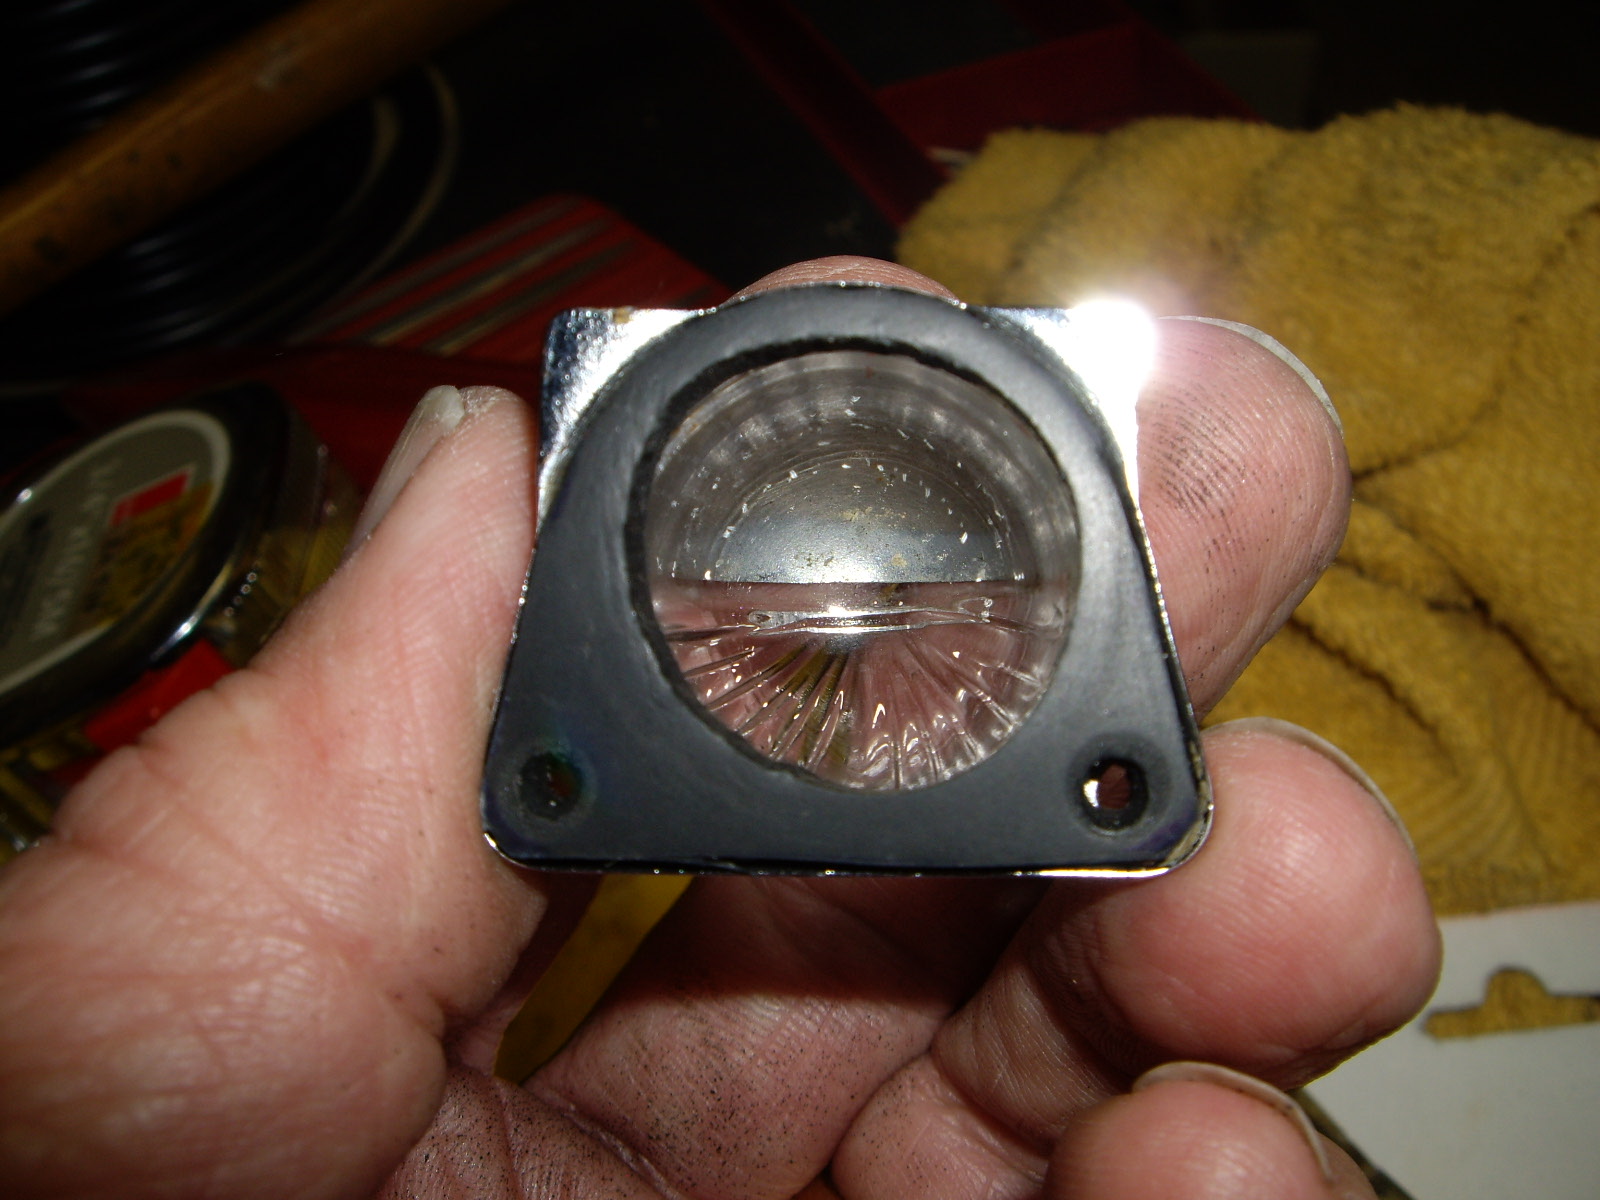 |
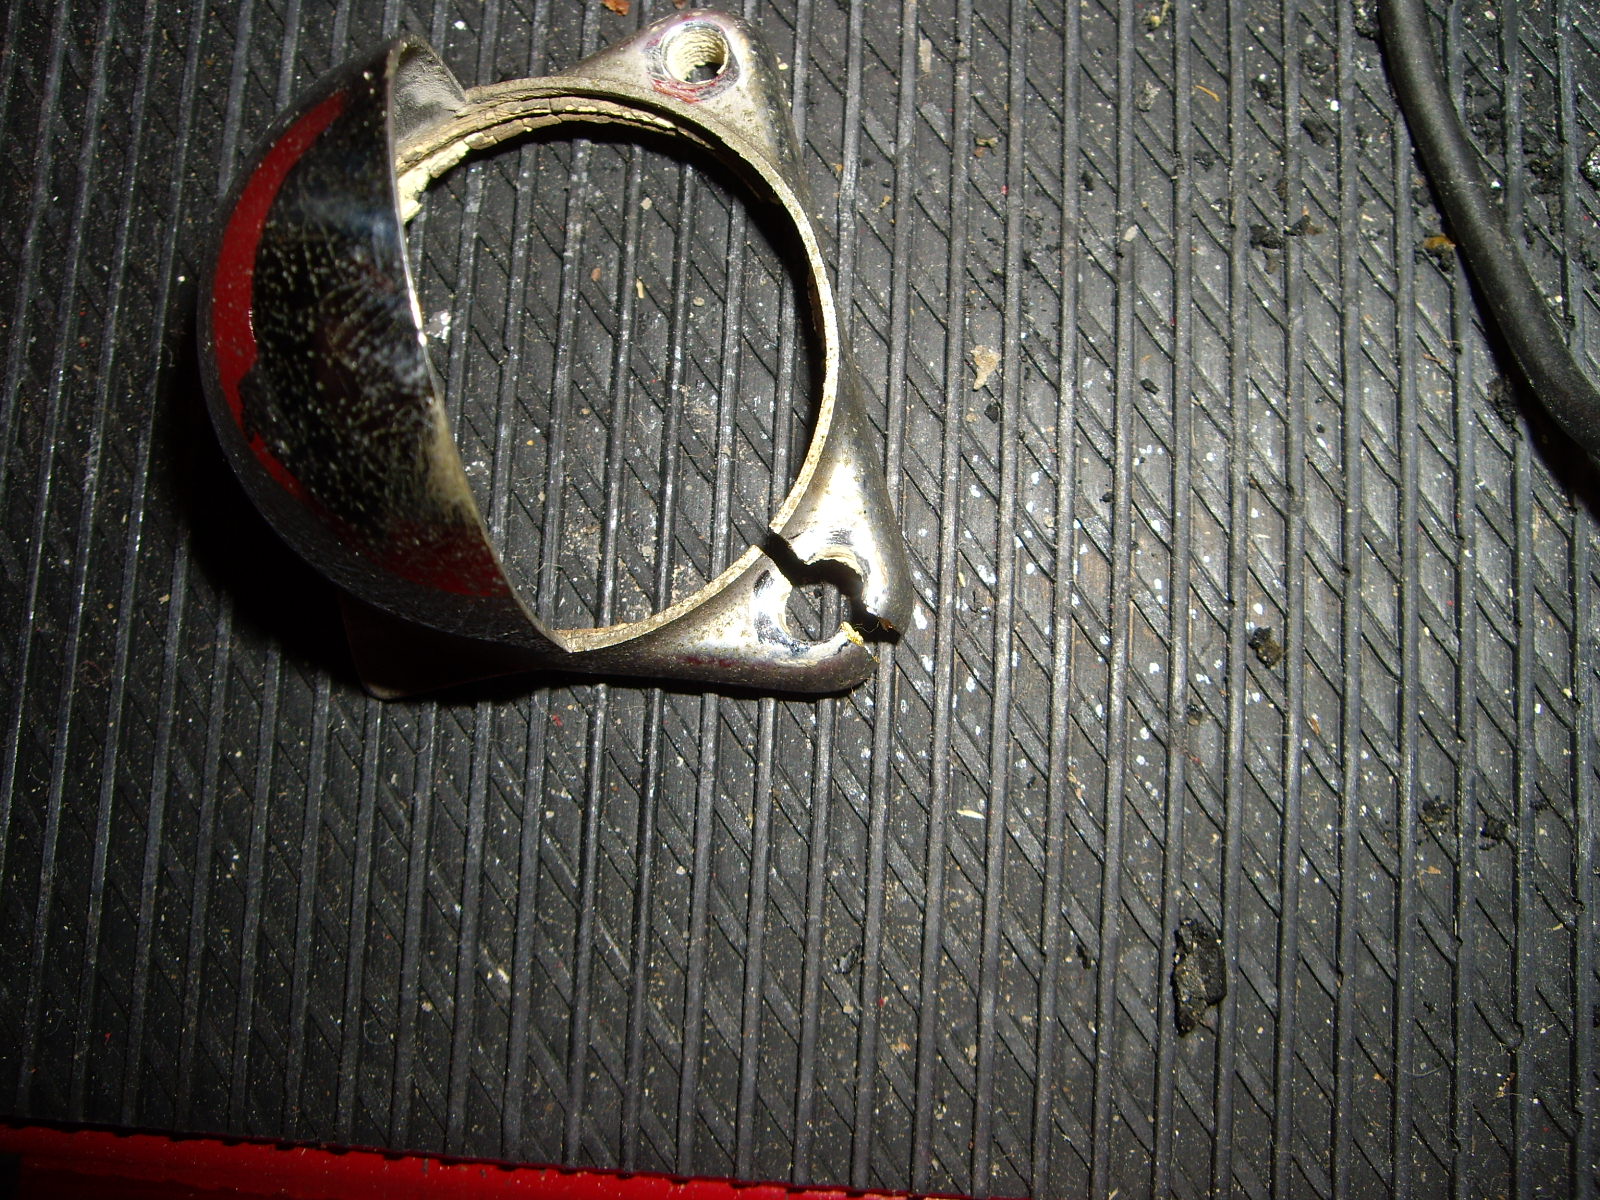
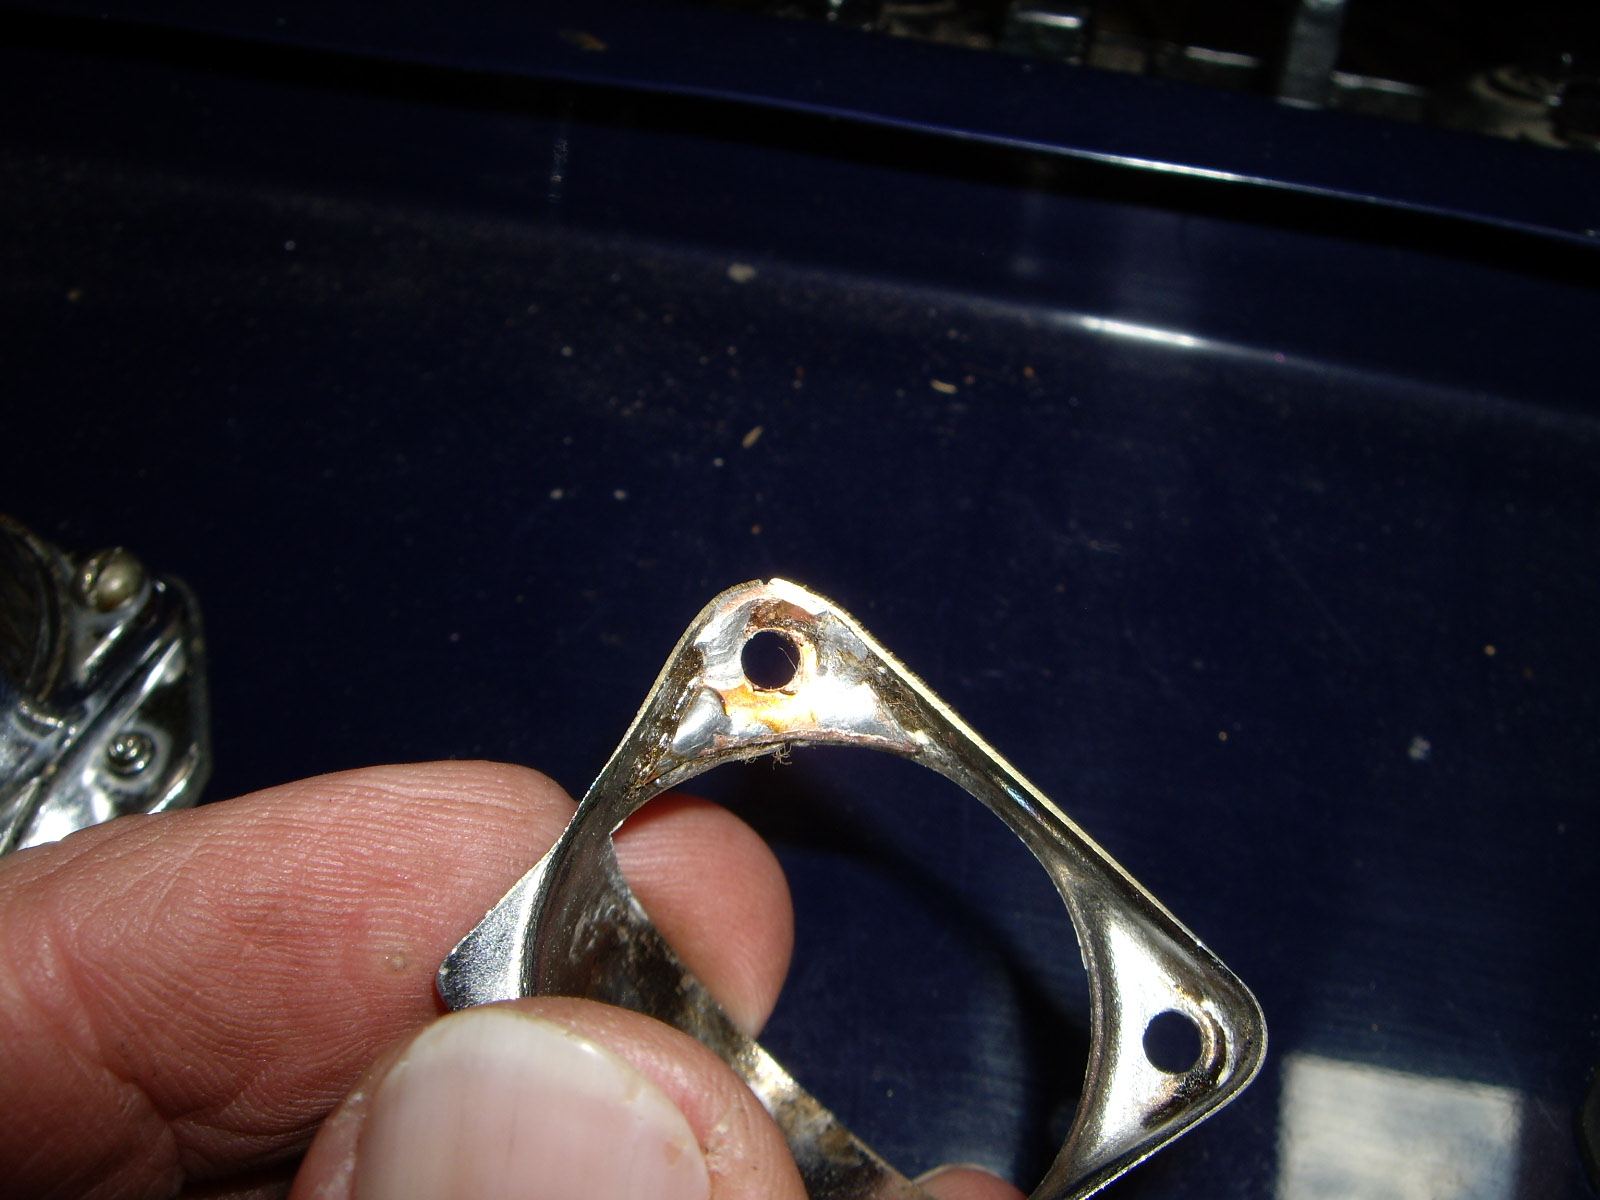
One of the housings is cracked in the corner where it screws down. For a quick fix, I just tinned and soldered the two edges together. I know that won't hold, but my Dremel is dead and I need one to grind away the chrome on the inside so I can solder in a copper piece in that corner. One of the plastic lenses was scratched in a couple of places, so I wet sanded the scratches out and then buffed it shiny again.
 |
 |
The last thing to fix was to make two rubber pads that go between the lights and the bumper. It took a couple of tries, but the results ended up all right.
 |
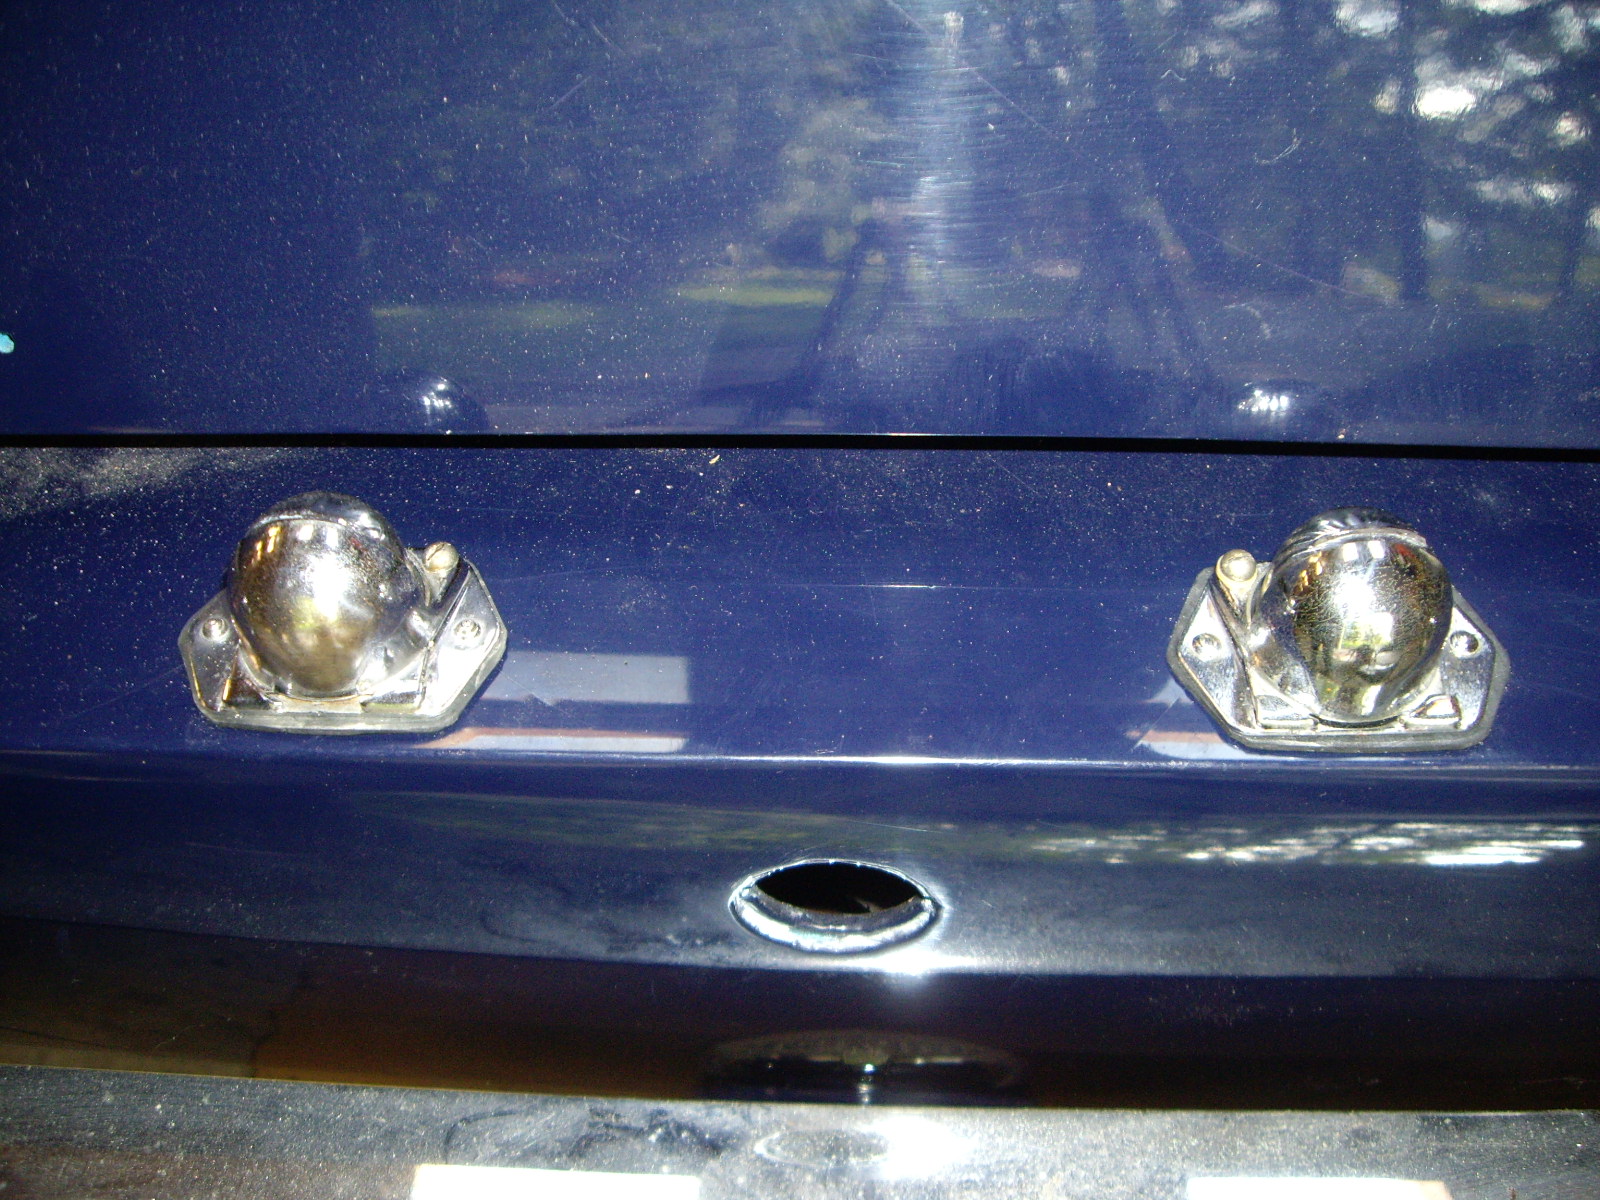 |
Installing the right side is very difficult as the trunk latch isn't centered on the inside, so the inner stud is hard to reach. I'm glad that the trunk lock isn't installed. That let me reach one finger from my left hand to steady and turn the nut while the right hand got it positioned. I may regret installing these as they do need re-chroming to look good, so eventually they will have to come off the car again.
As expected, the soldered crack didn't hold when I screwed down that corner. So I cut a triangle of copper and bent it to fit into the underside of the corner. Then I used a newly purchased Dremel to remove the chrome on the underside to get down to the brass. Some solder and a soldering iron was all it took to sweat solder the tinned patch onto the shell. I had to drill a hole for the screw through the patch and trim the rubber for the thickness of the patch. It'll take new chrome to make it look perfect, but at least there's no longer a split under the screw head.
One thing I had noticed was that the two screws holding the shell on one light had small nylon washers under the heads while the other one didn't. In addition, the washers had cracks. Since I was ordering some parts (for the radiator blind), I added a package of #3 nylon washers. These had the right OD, but I had to drill out the center a little for the screw to fit. The drilling was fun, ever try to drill something about 1/2 the size of a pencil eraser? By using pliers on each side and just free-handing the washer up against the drill bit, I got the holes enlarged.
