Radiator Shield
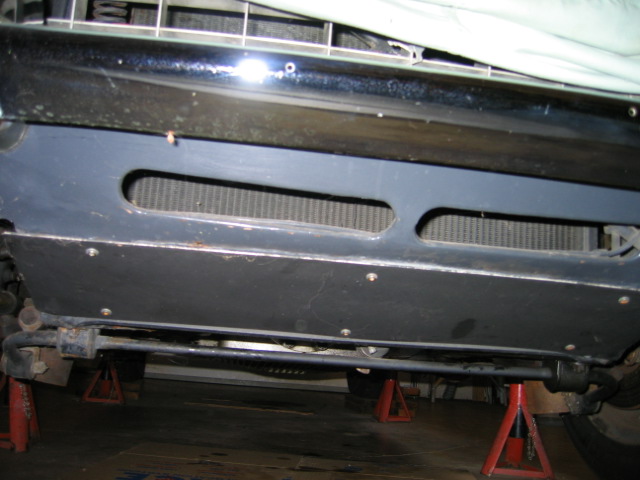
One of the parts missing on the coupe was a flat shield that fits under the radiator. Note that the series 1 shield (left picture) has a couple of bumps at the rear that aren't needed on the series 2 cars.
 |
 |
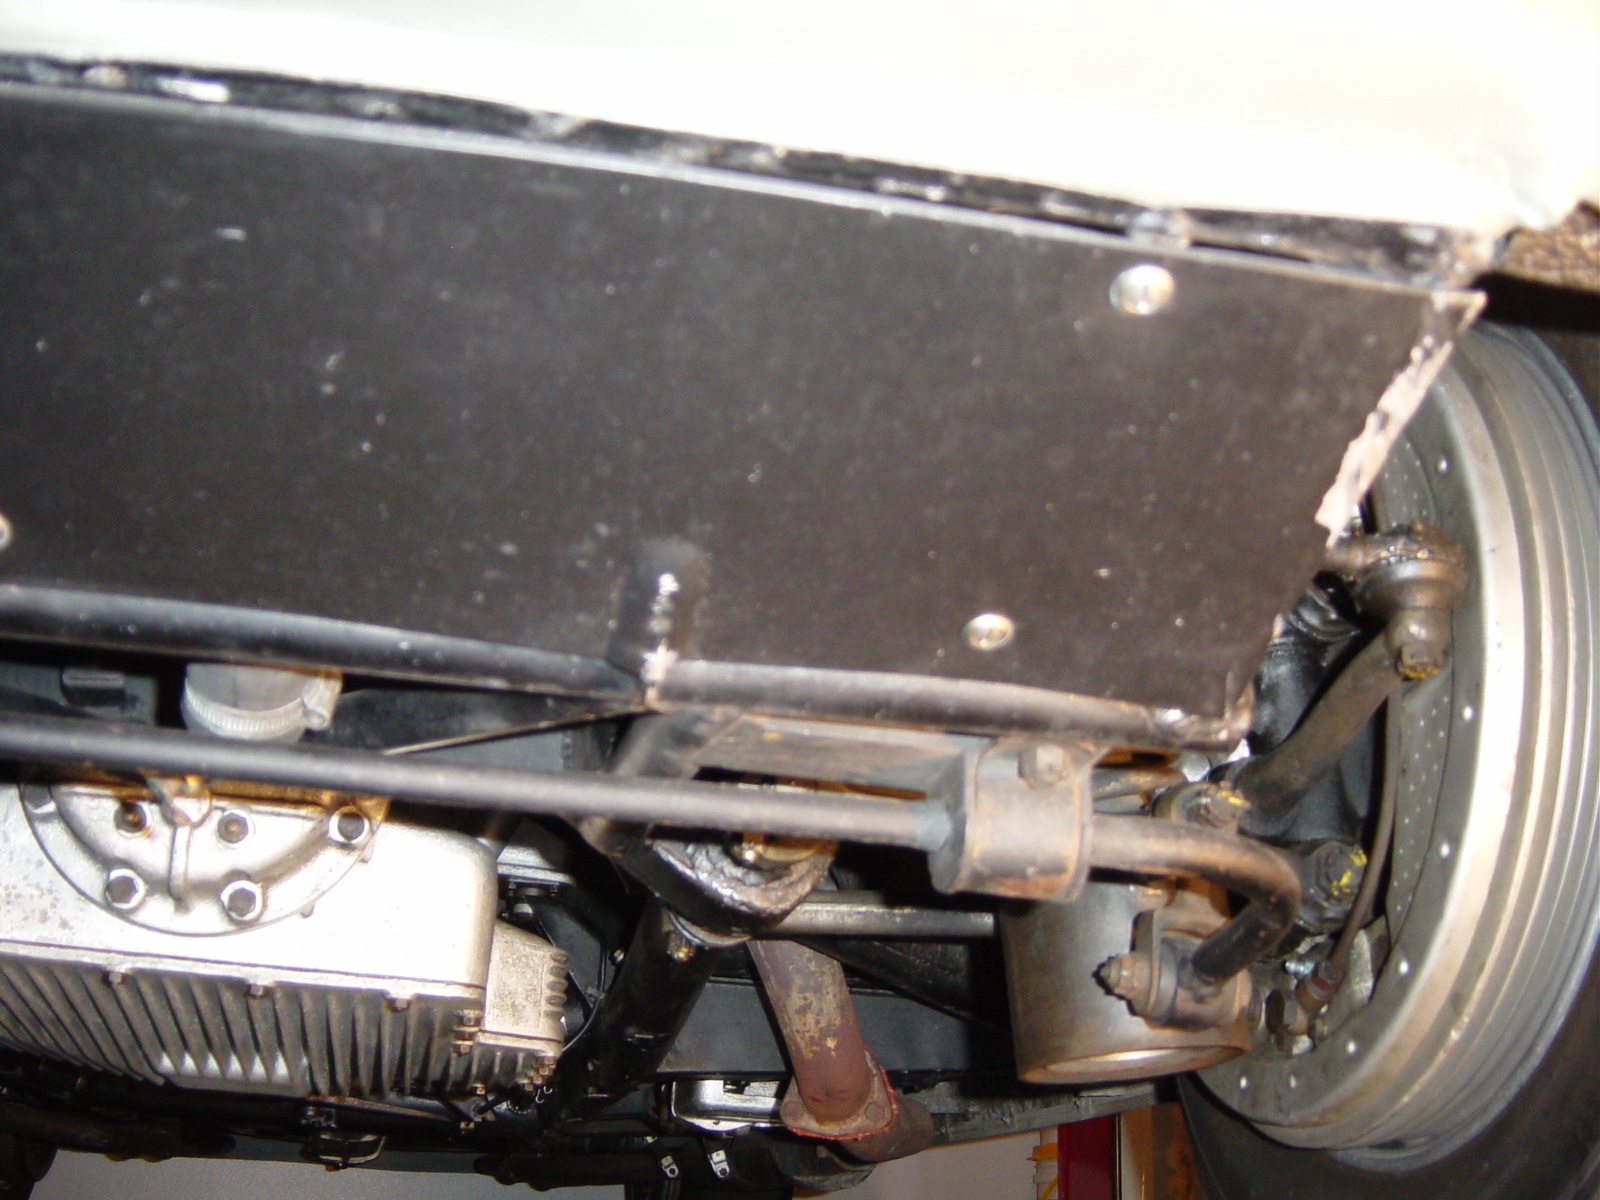
As you can see, it's a pretty simple piece, 28 9/16" by 6 5/8" with a folded over edge on all sides. It is attached to flanges that are welded to the front body and to a bar with similar flanges at the back. In my case, the rear bar and 2 of the 3 flanges in the front were missing. I got the rear bar from my old coupe before it left, but a flange was broken off.
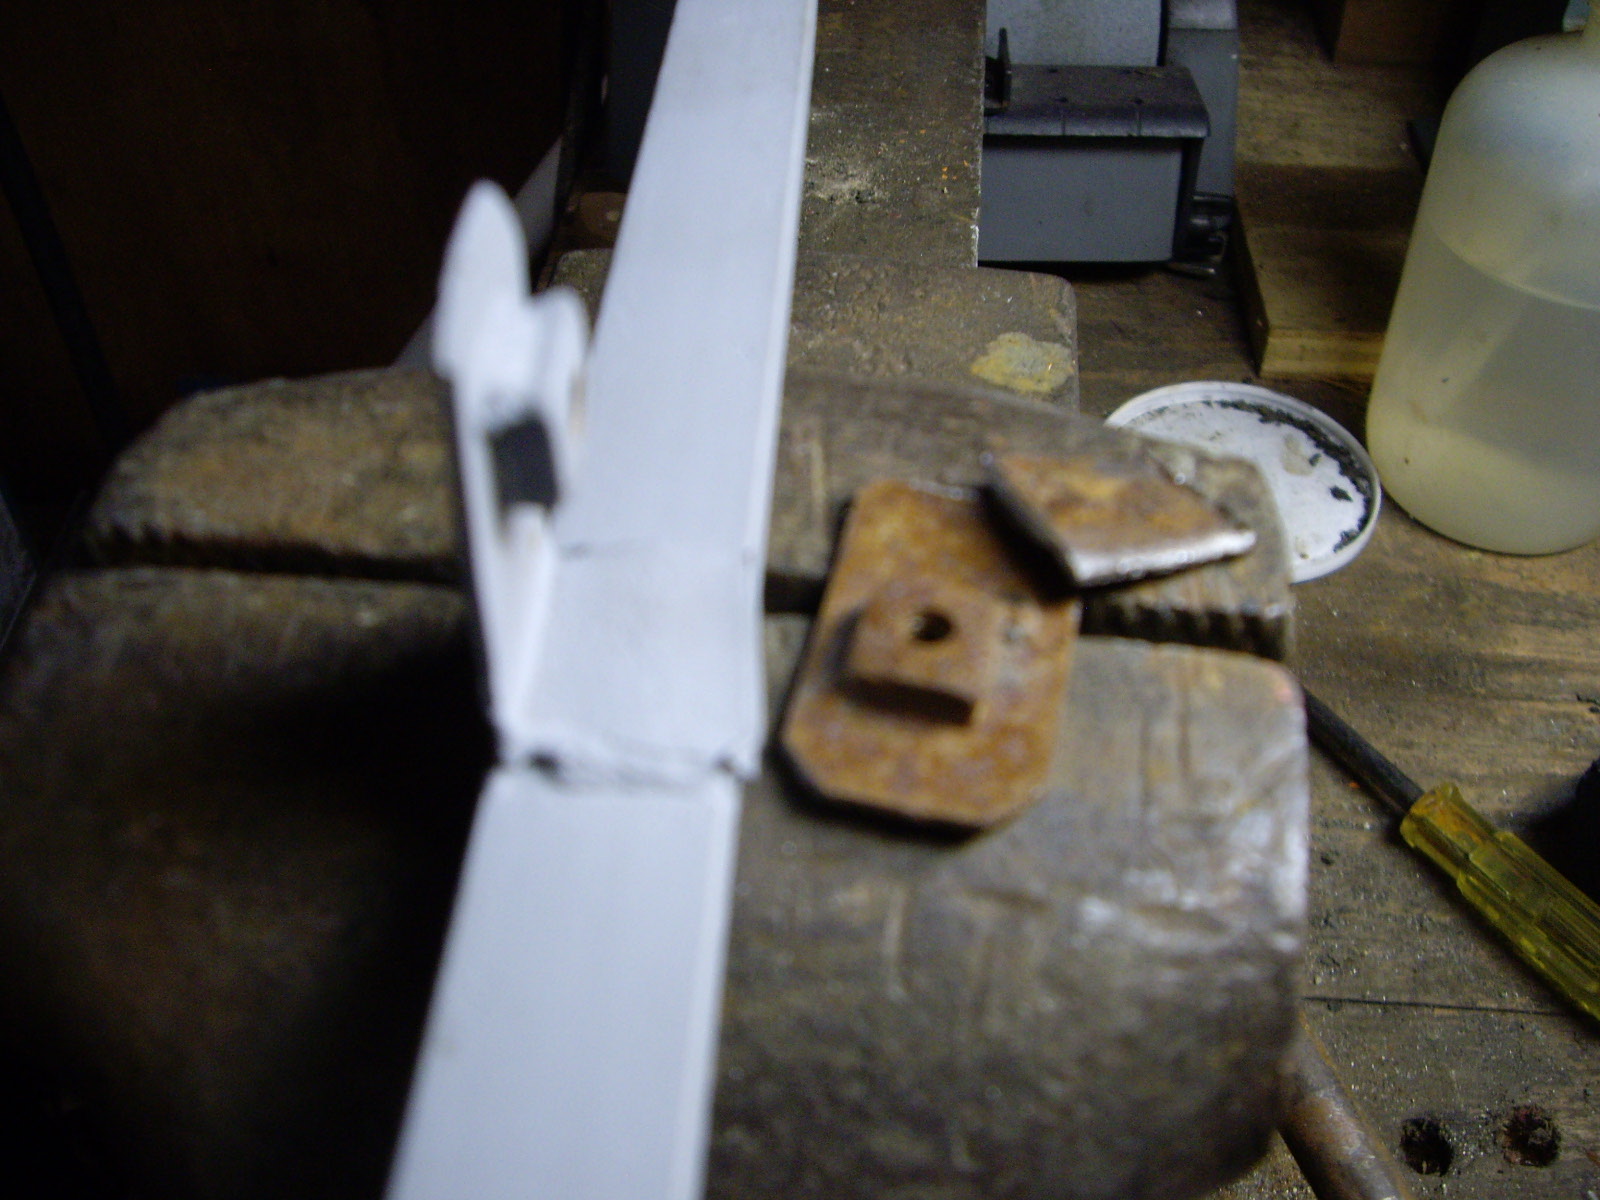
So I cut off the remains and made a new flange. I had bought several sizes of square nuts in metric sizes, so I was able to weld on a 4mm square nut to match the originals.
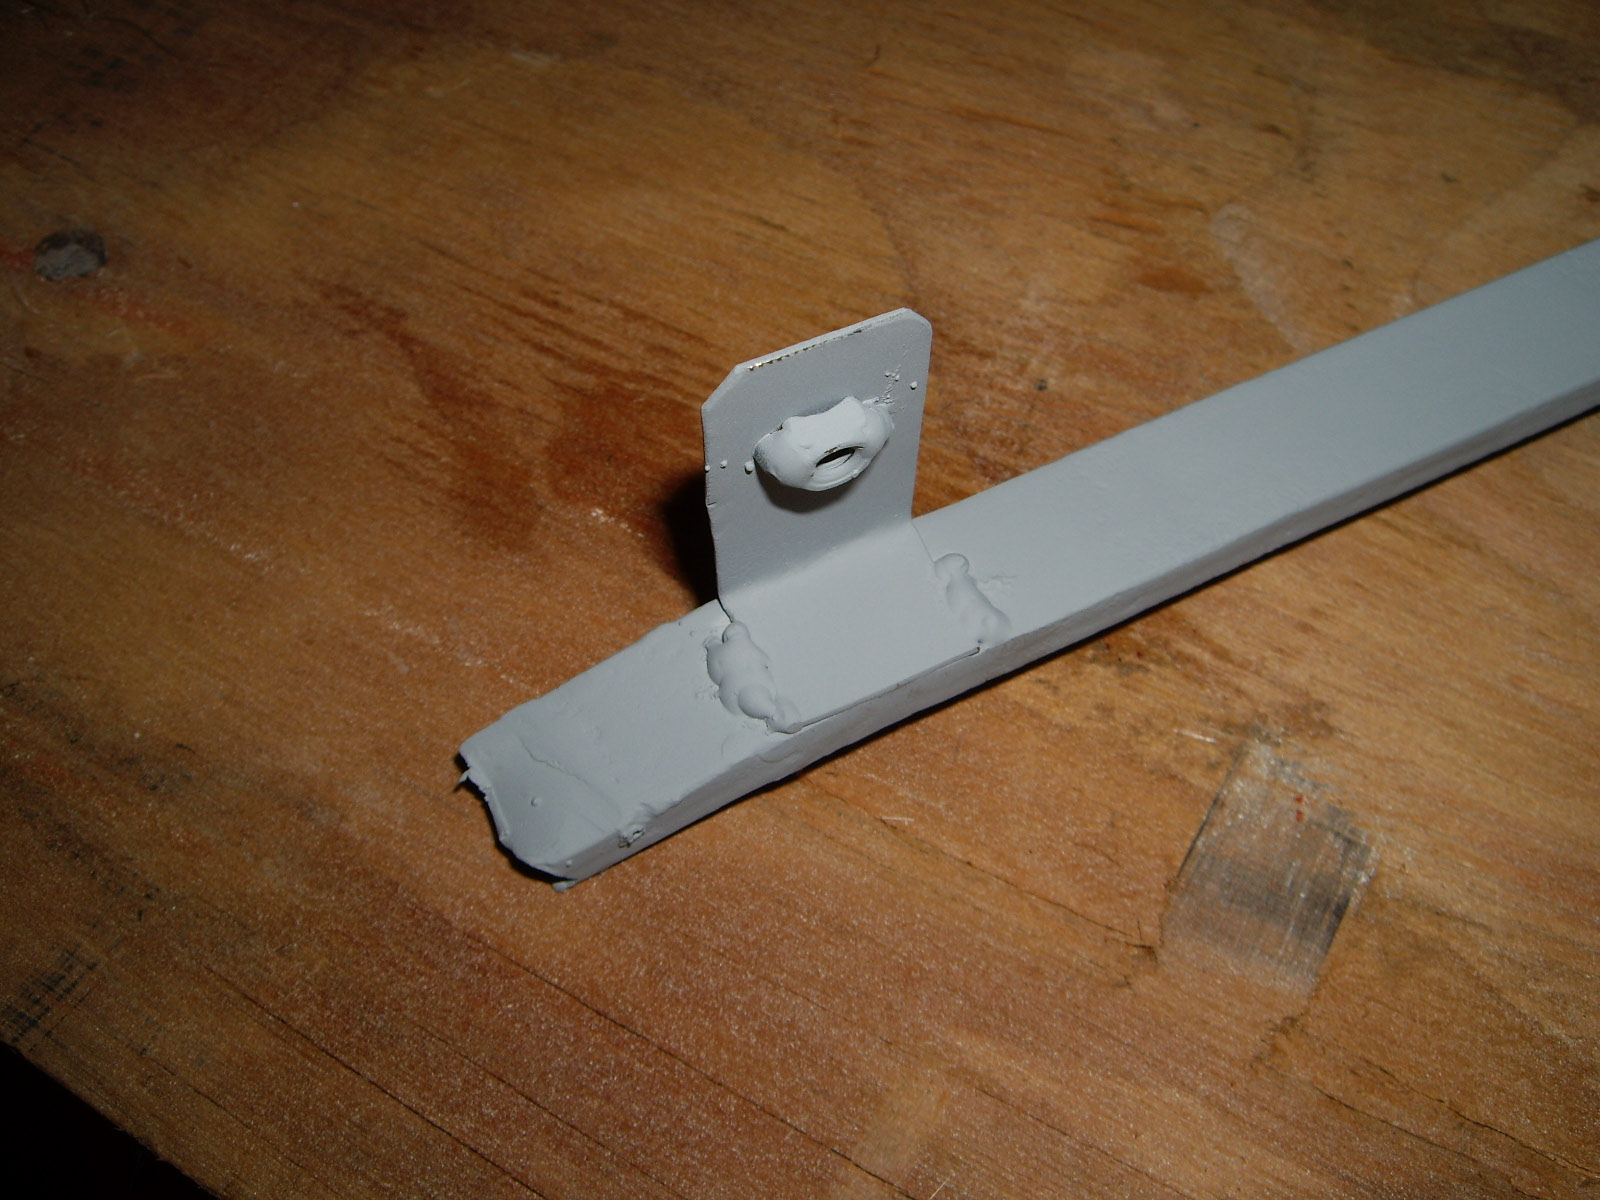
I'm not sure what I will do for the flanges that are welded to the body. I don't think I can weld them on without damaging the paint. I also need to make the plate, so keep tuned for the completion of this project.
After looking at the area where the flanges mount, I made longer ones that bend upward so they can be welded to a tube frame running just above the bodywork.

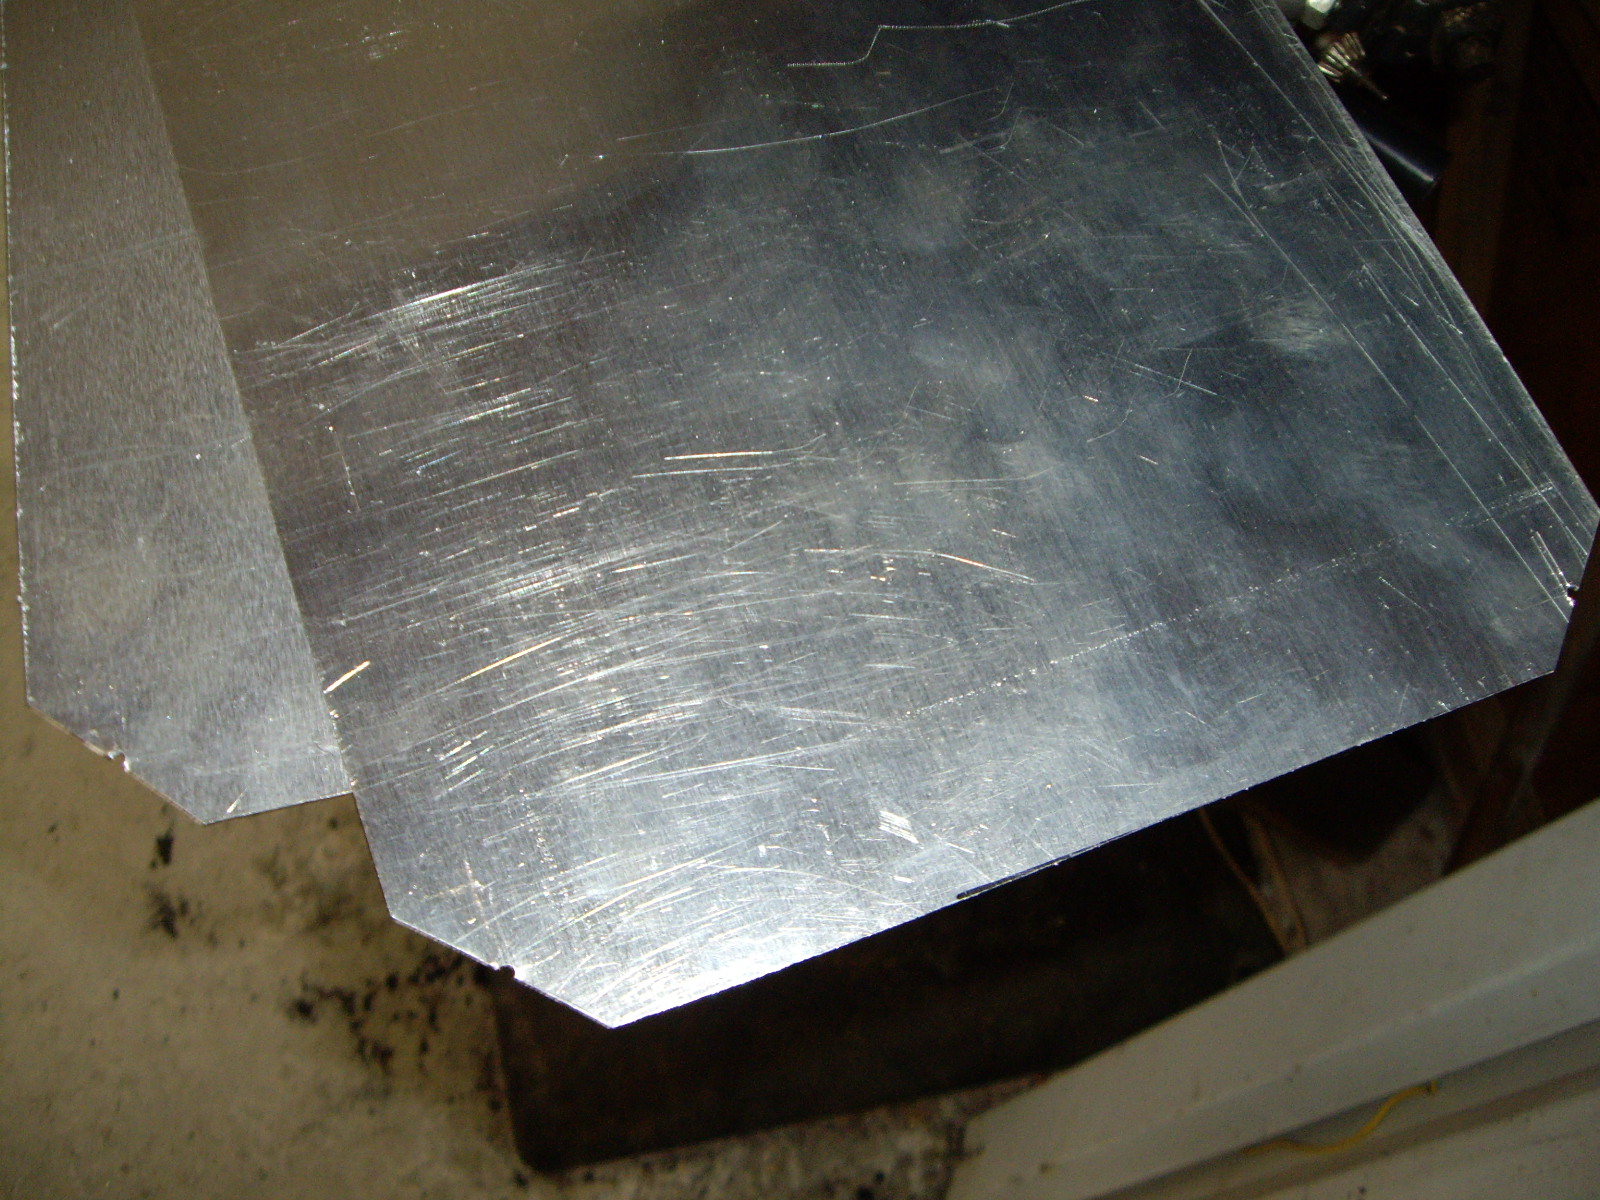
George also need this shield for his coupe. He lined up someone to do the bending and bought some material, but it was too hard. Instead of bending, it just cracked. So I was over at Lowe's this morning and they still carry sheet aluminum. There was a large piece that had been dropped and some of the corners bent up. But it was large enough even after cutting off the bad places. I went over to customer service and ended up buying it for 1/2 price. Then I took it back to my neighbor's and used his large band saw to cut out two sheets of the right size. Normally, this would just have 1/4" folded over flanges, but since the material I got was only .025" thick, I went with 1/2" flanges for some additional strength. Here you can see the cut pieces with the relief holes in the corner, ready to have the flanges bent.
They are putting metal roofs on our condo in Whistler and I noticed that they have a 10' brake (machine for bending metal). So I'll take these pieces when we go up in a couple of weeks and get the flanges bent there.
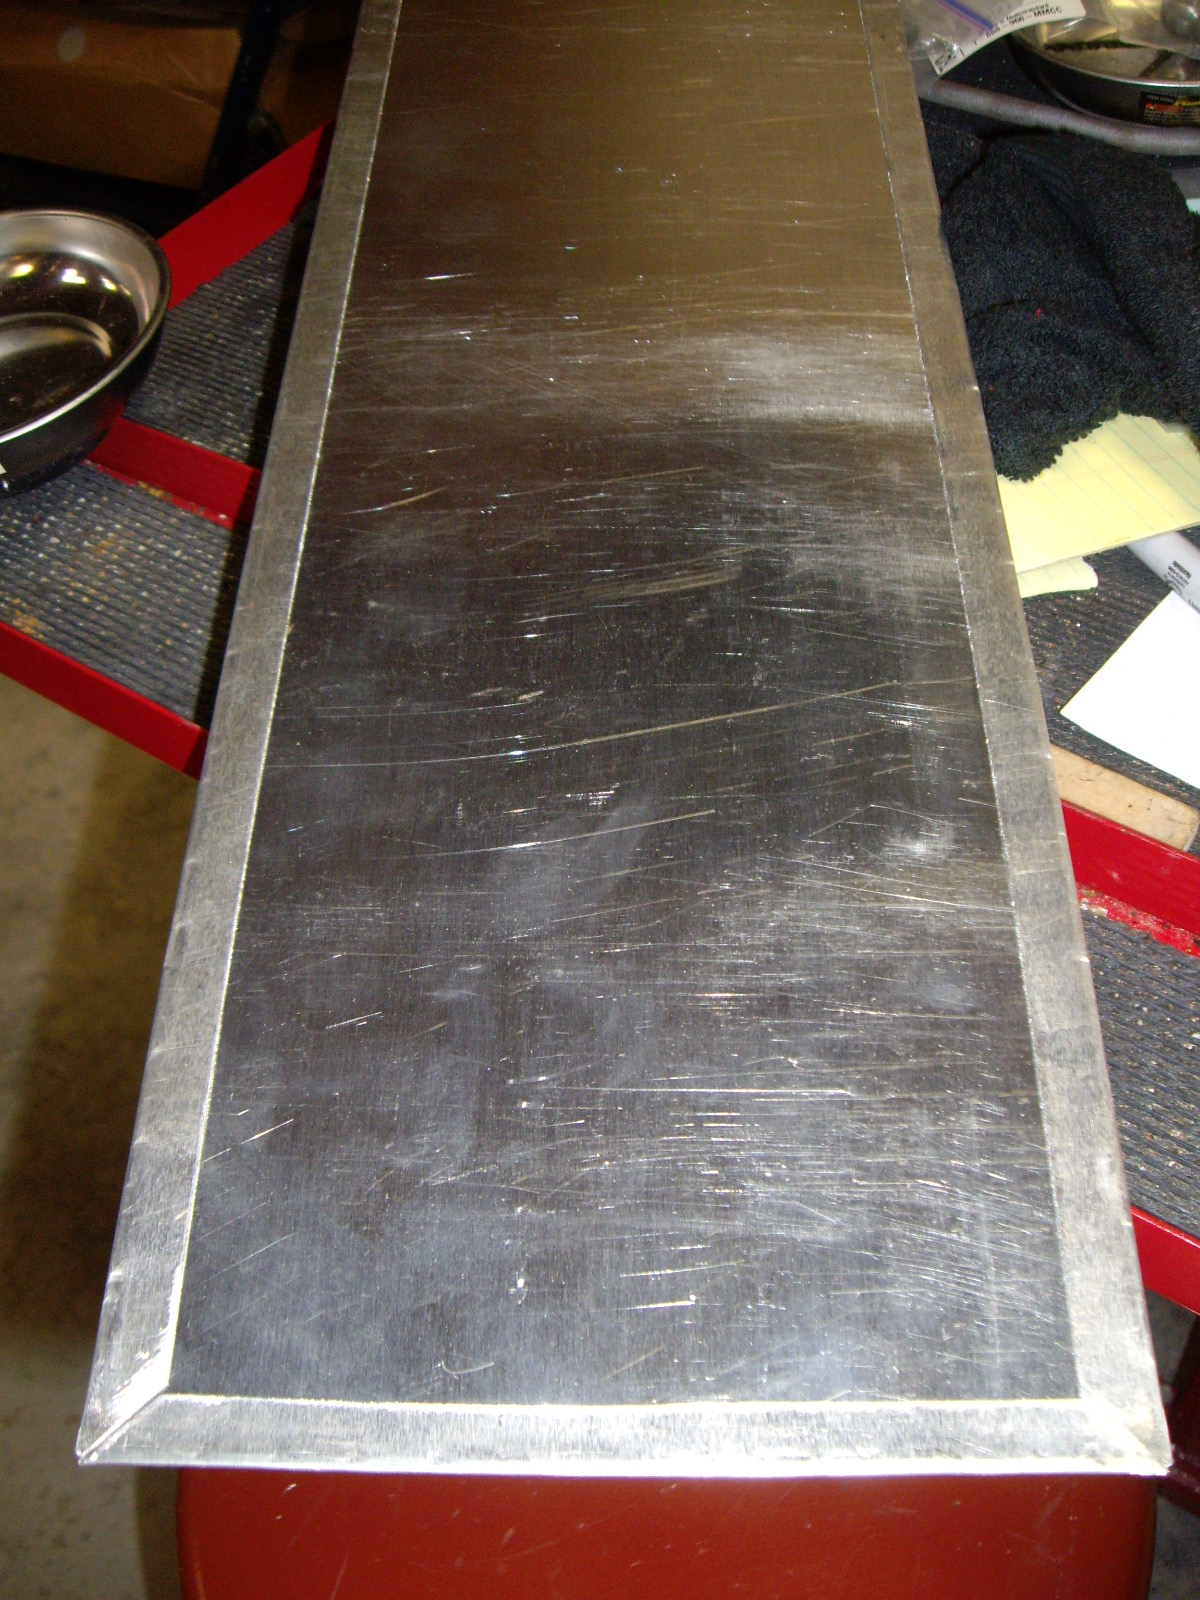
Boy, having the right tool is nice. That brake made quick work of folding over the edges nice and neatly. A brake can only fold about 135°, so I took up a heavy piece of steel to use as an anvil along with a rubber mallet and an auto body hammer to finish flattening the edge over. I did the two long edges, flattened them (so the plate could fit back into the brake) and then did the two short edges.
Now I just need to get the supports welded on the car and this will be ready to drill and mount. Along that line, I just added a 240v outlet with the right receptacle for my neighbor's MIG. I've made a list of the various welding that I need to do on the coupe so we can get everything done at one time. Much easier to move the MIG to my shop and have the car on the lift than to tow/roll the car back to his place and try to weld everything with the car on the ground.
I had to use my little 110V MIG to weld a nut in the fuel filler area so I decided to try and see if it had enough oomph to do the brackets and bar. First I had to clean the paint off the areas where the welds needed to go.
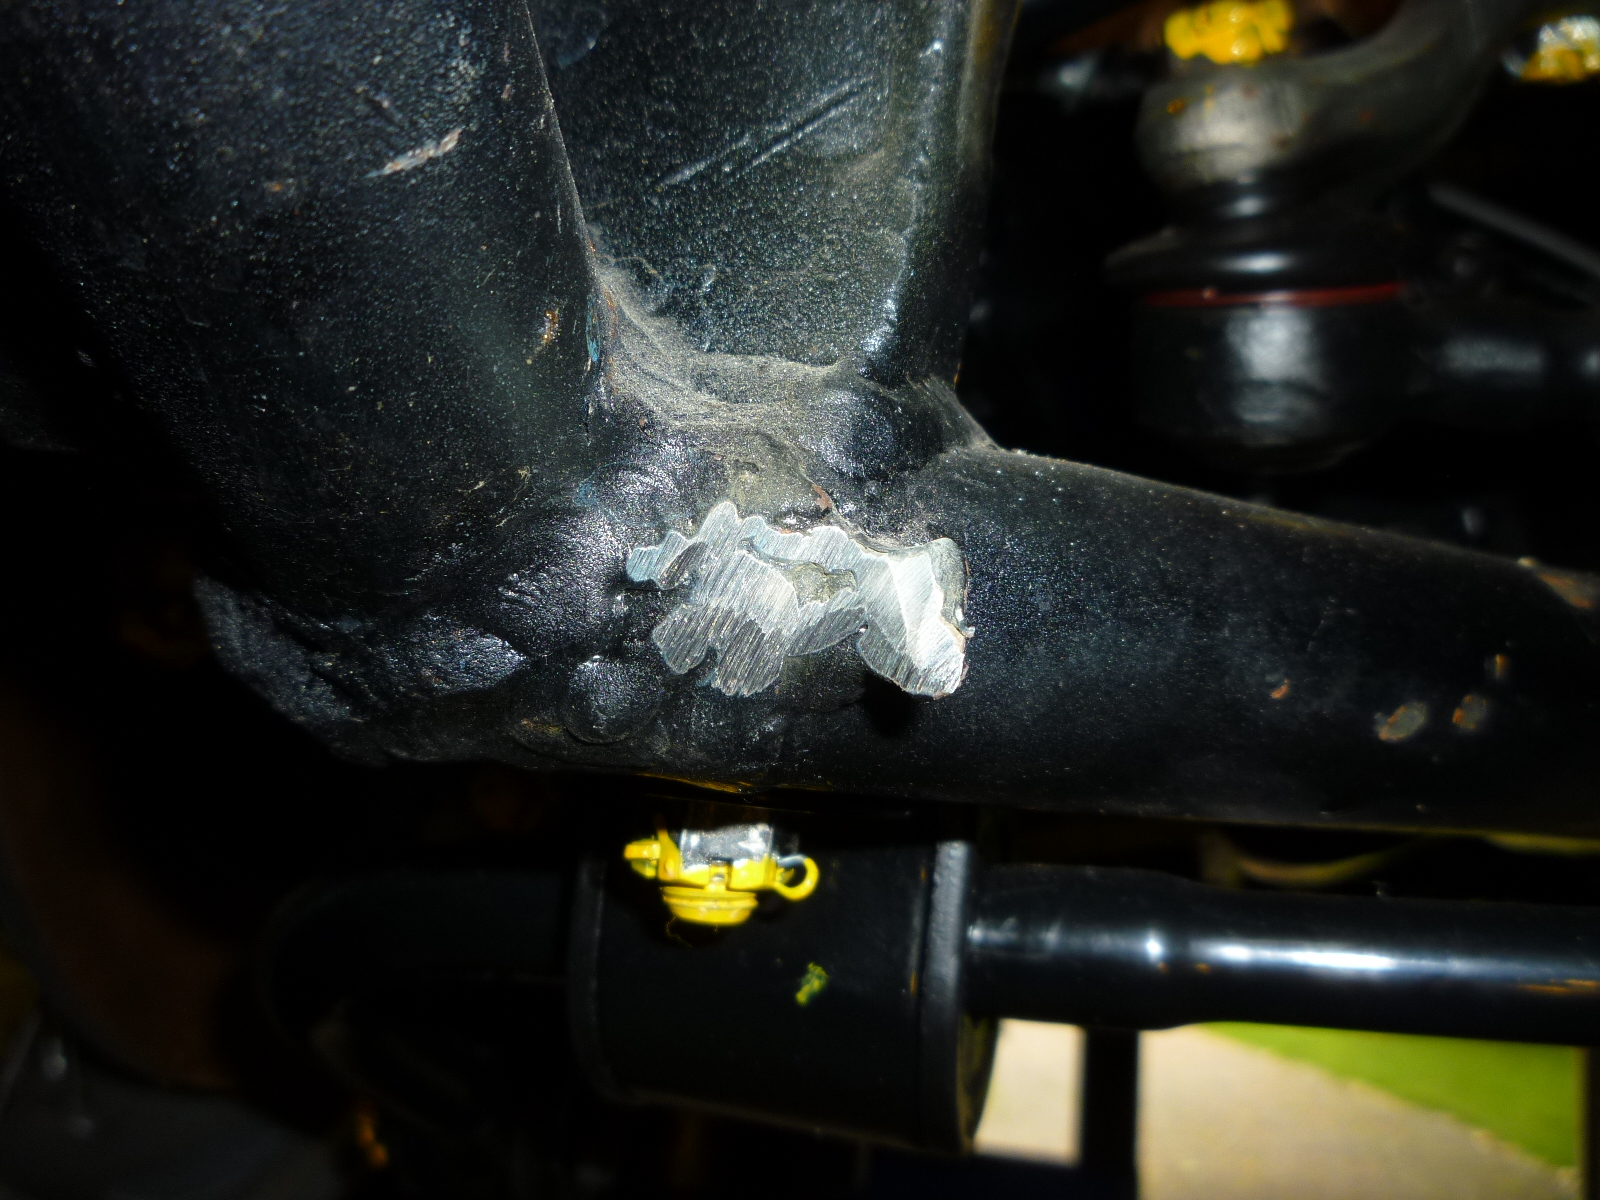
Then I added a little extension to the bar to have it fit correctly and welded it in place.
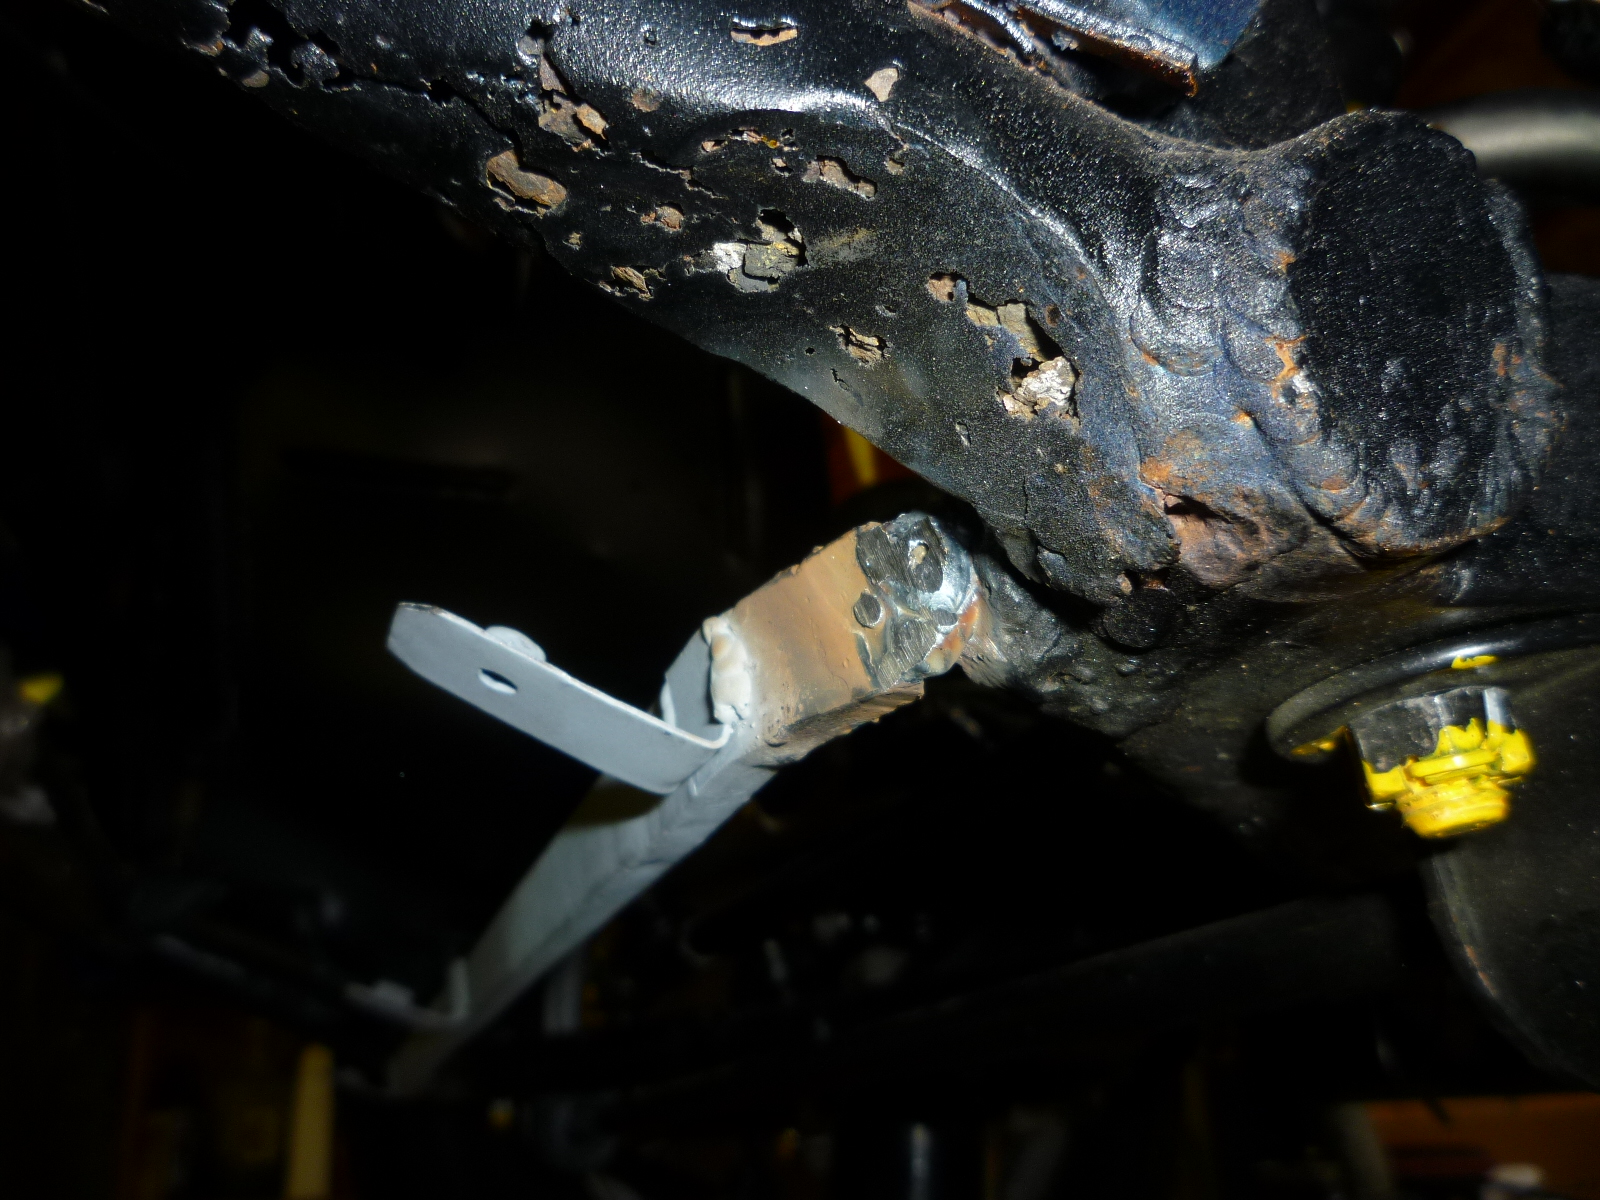
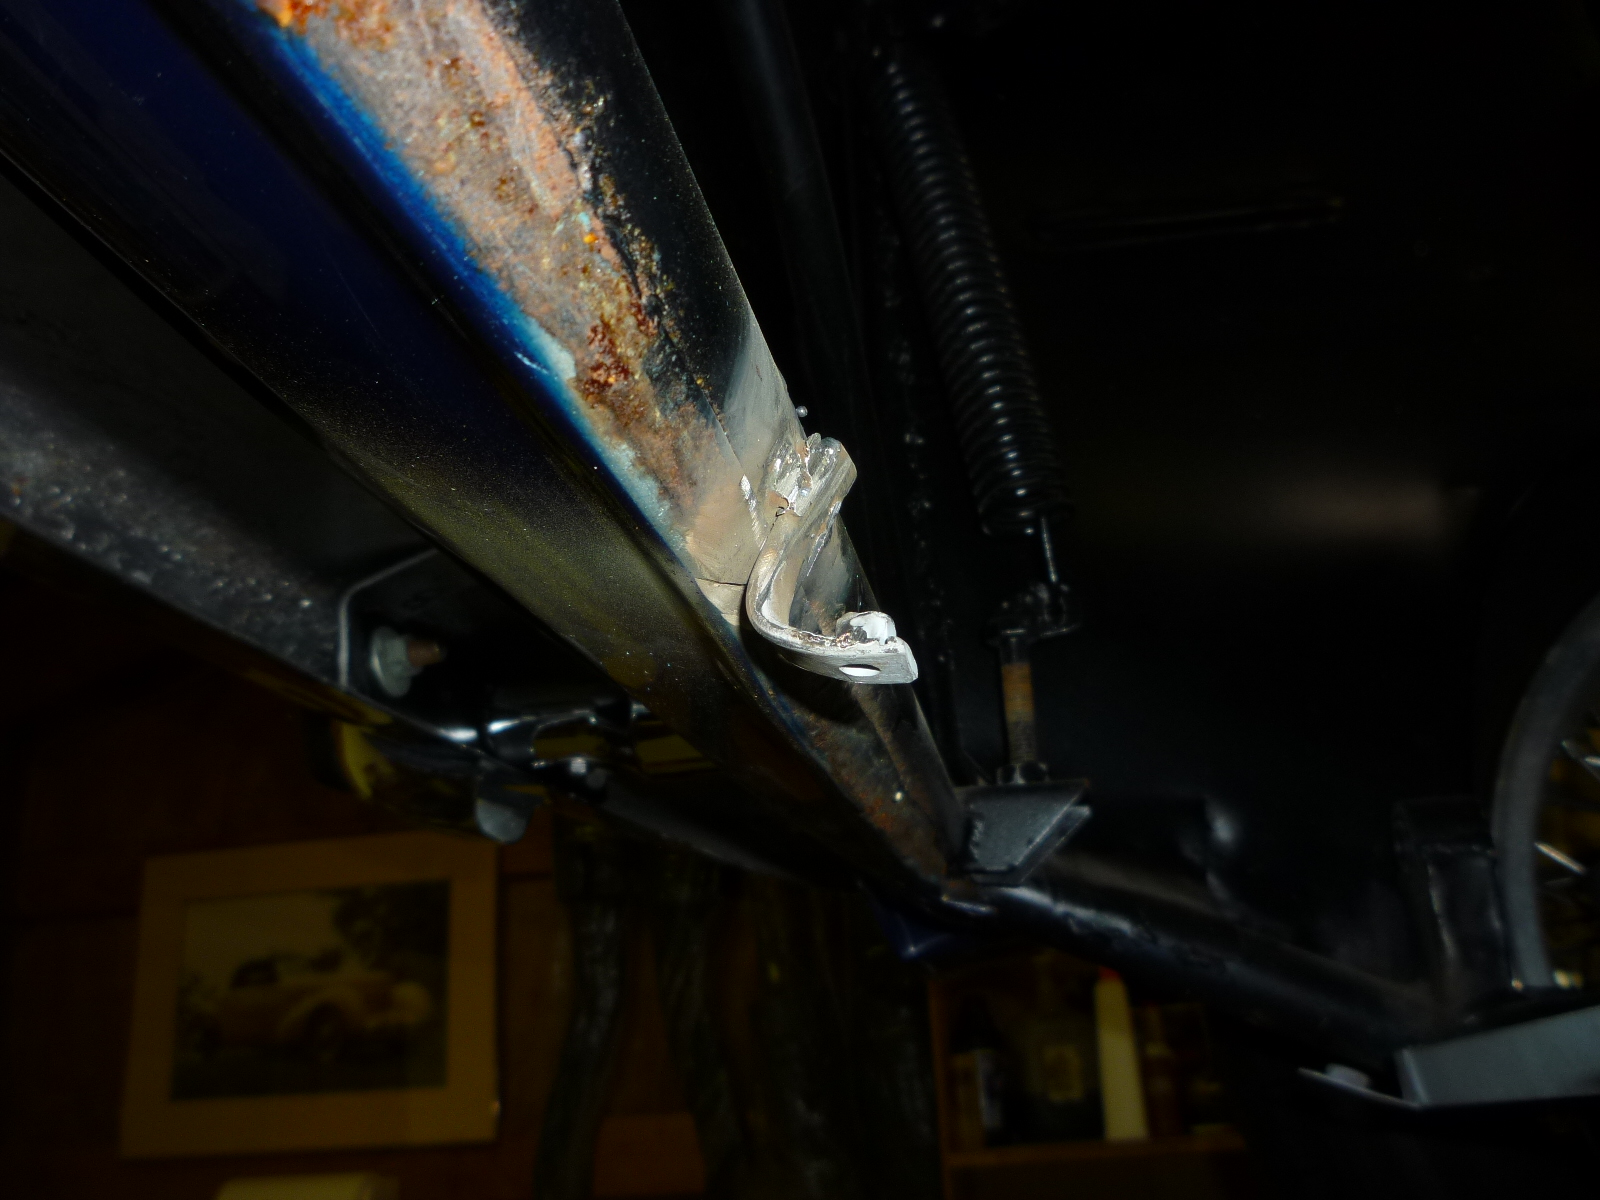
The original front supports were welded to the body panel, but I didn't want to destroy the paint, so I made bent ones that I could weld to the tube frame up higher away from the painted surface.
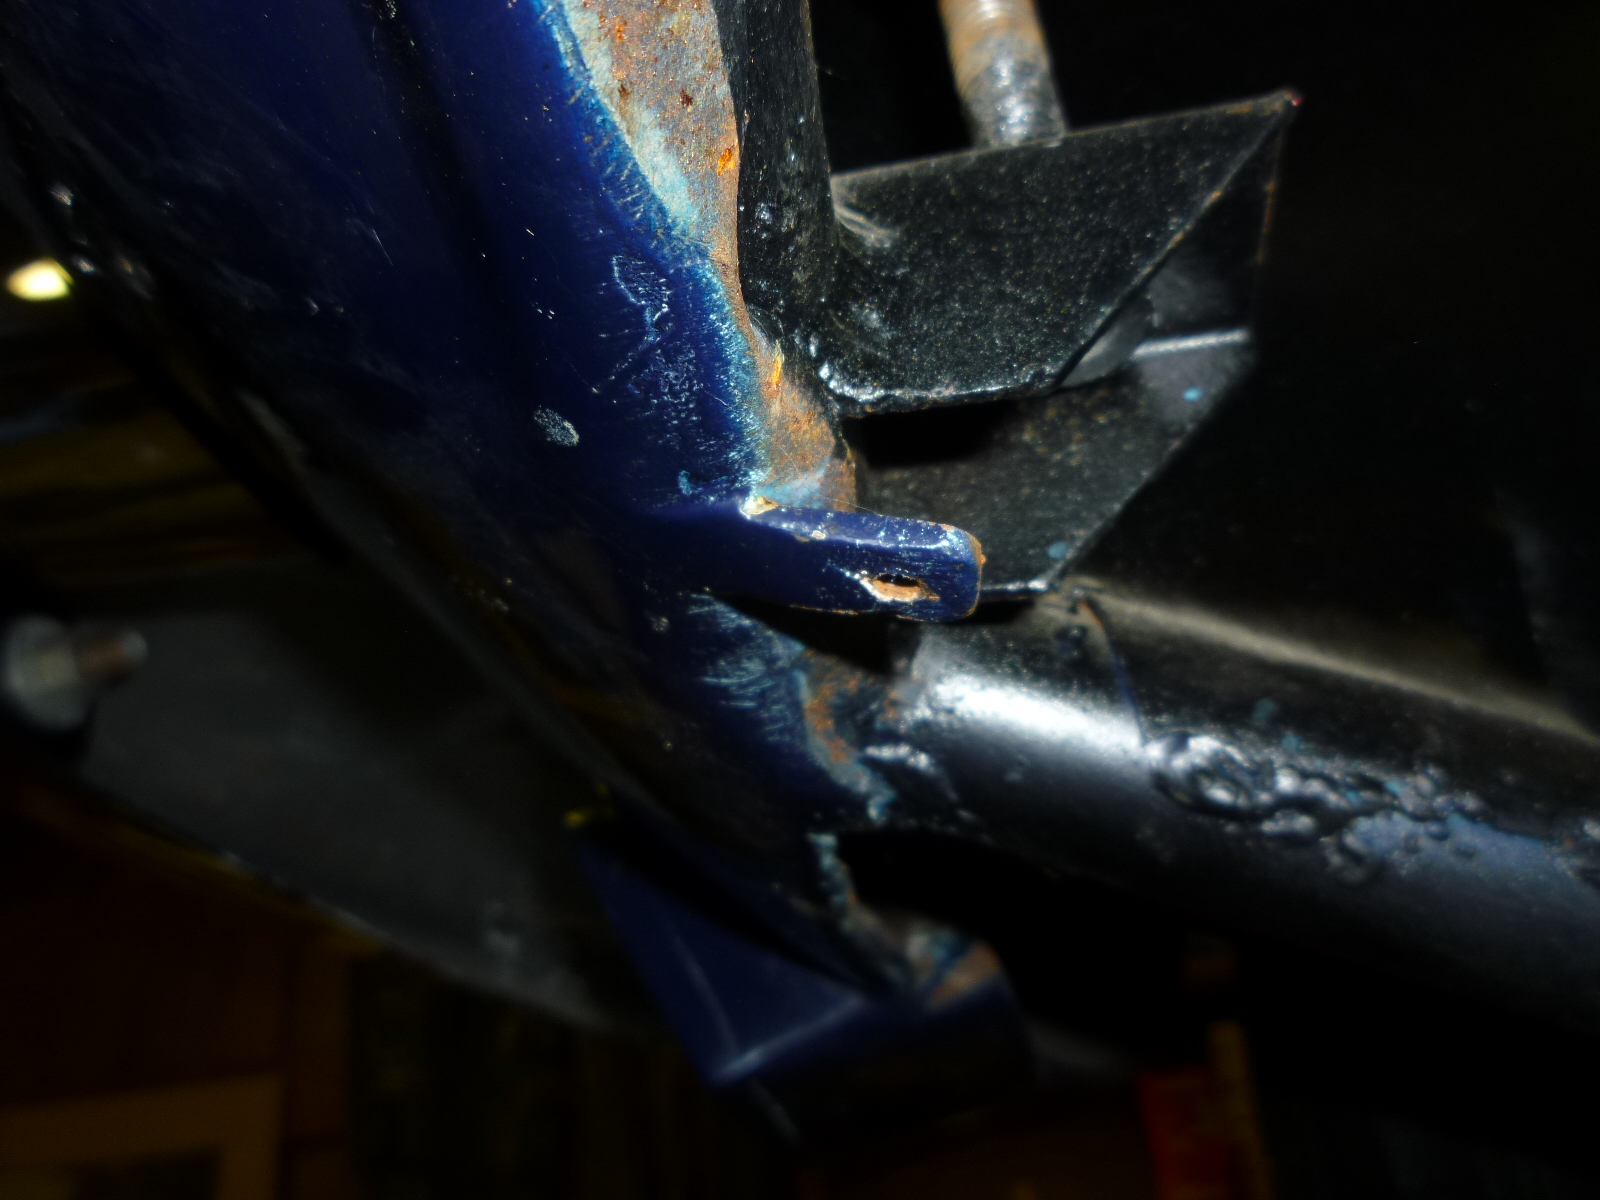 Original |
 My replacement |
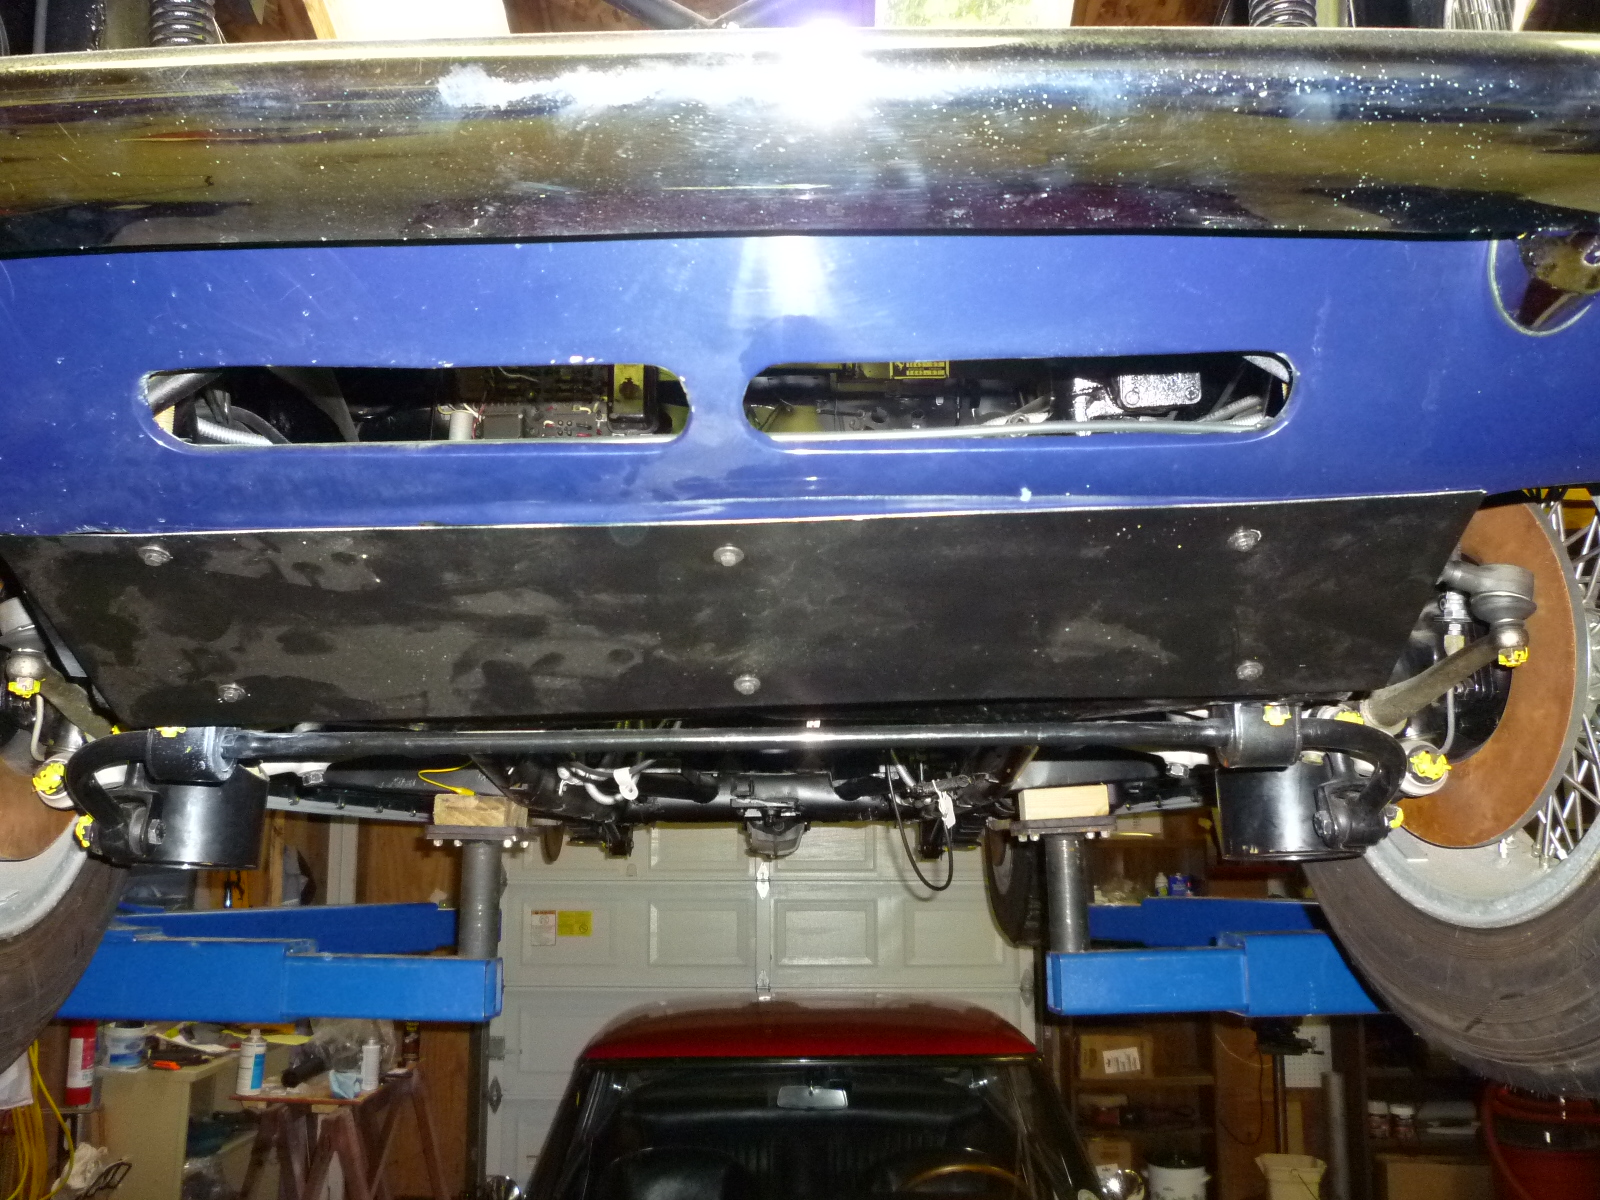
I fit the shield in place and using a scratch awl, marked the hole locations and drilled for the bolts. Three were OK, but the other three took a little reaming to allow the bolts to line up with the brackets. Then I cleaned up the weld areas, primered them and painted the new brackets and bar. Here's a 'finished' picture.