VIN Plate
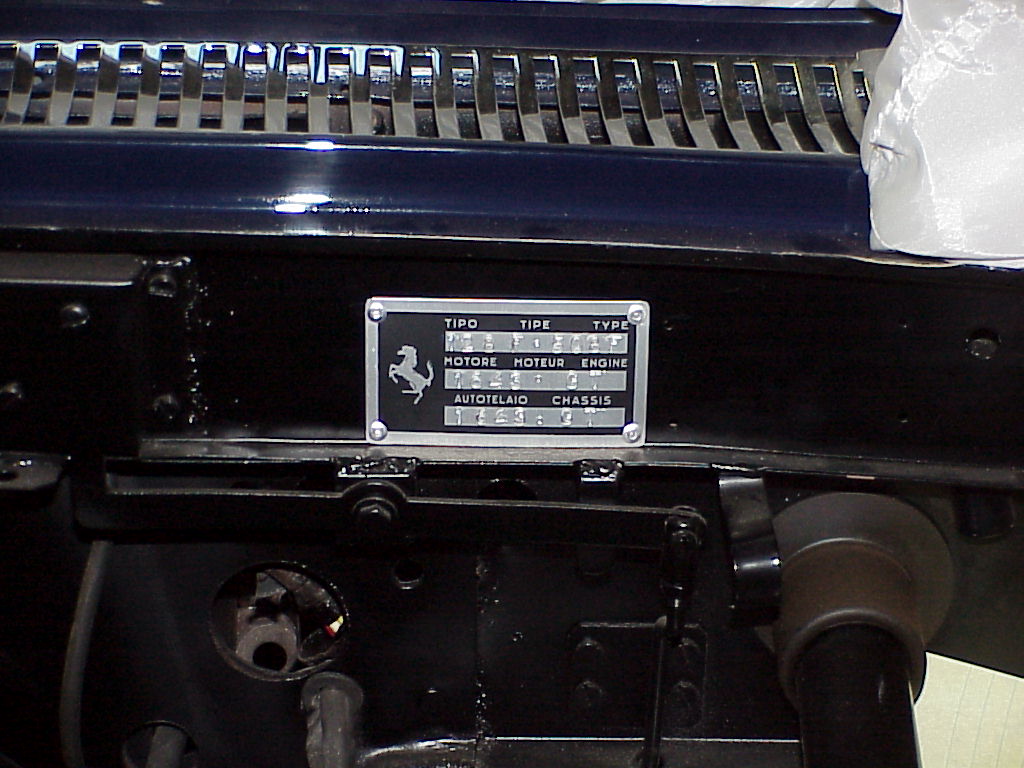
One thing missing on the PF coupe was the VIN plate. More than likely (just like the keys), it's sitting in Tony Nancy's desk, but unless I could be there to help hunt, I'll never get it.
I ordered a blank plate, not realizing that Ferrari had changed the design along the way. I had one major advantage in that I have the original plate from 1765 to use as an example.
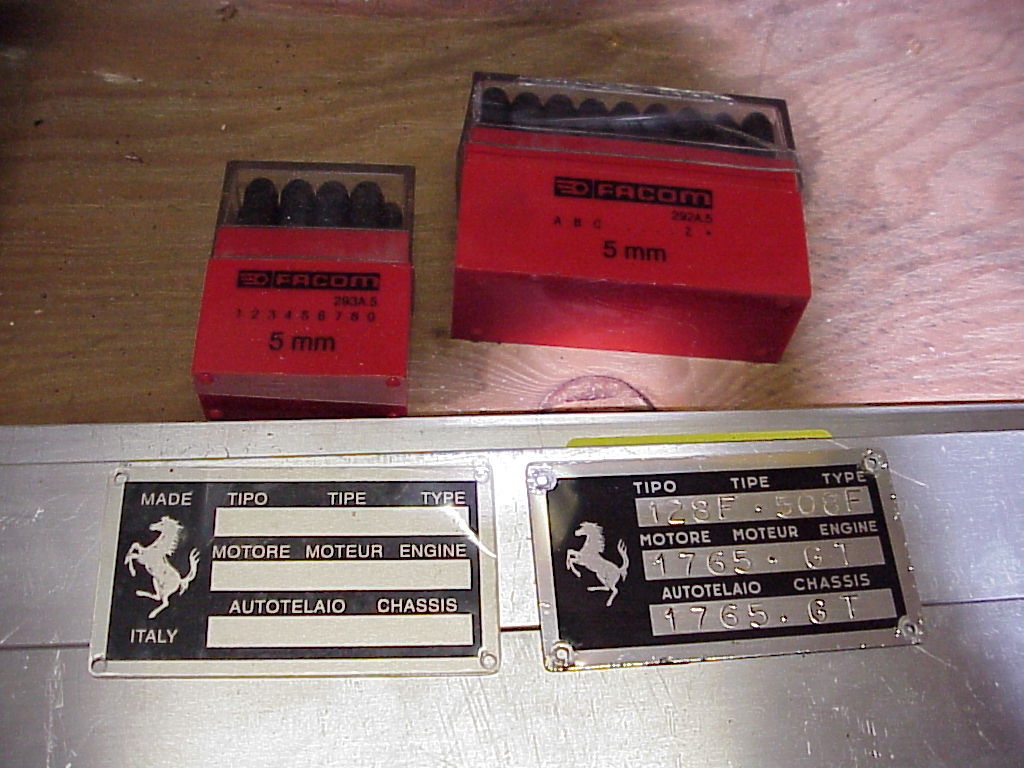
As you can see, the blank plate has 'MADE' above and 'ITALY' below the horse on the left. Further, the horse is a little larger and the holes are too close to the corners. It turns out that there are four types of VIN plates and this is what I call a Type 3 while I needed a Type 1. I bought 5mm punches from FACOM that are fairly close, but not exactly correct. I clamped both plates so they were aligned vertically and then marked the location of each character or number. Then I clamped them side by side and aligned a guide to align the stamps in the row.
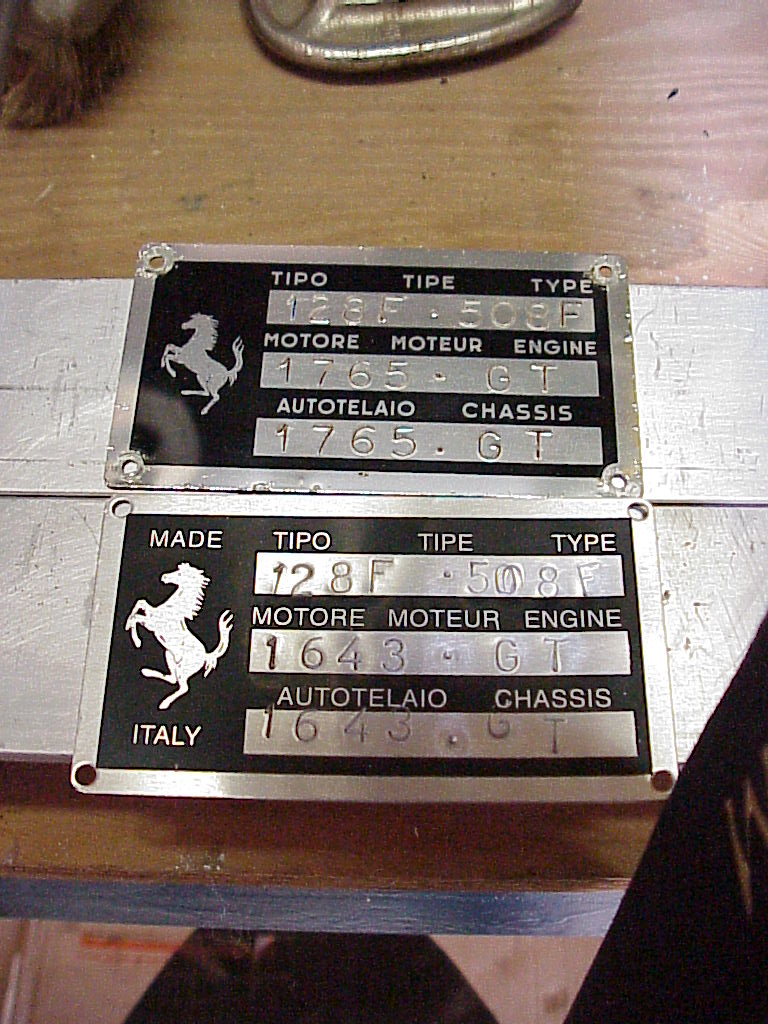
On the first row, I didn't have a tall enough guide so the stamps weren't aligned vertically. The second row was much better, but I didn't get the guide properly aligned horizontally for the third row. The next time I'll have a stamp pad and dip each stamp to check alignment just before stamping it. Practice will make perfect.
I found two of the Type 1 plates and bought them. This way, I've got two more opportunities to screw up.
Keep tuned in to see if I learned anything from the first try.
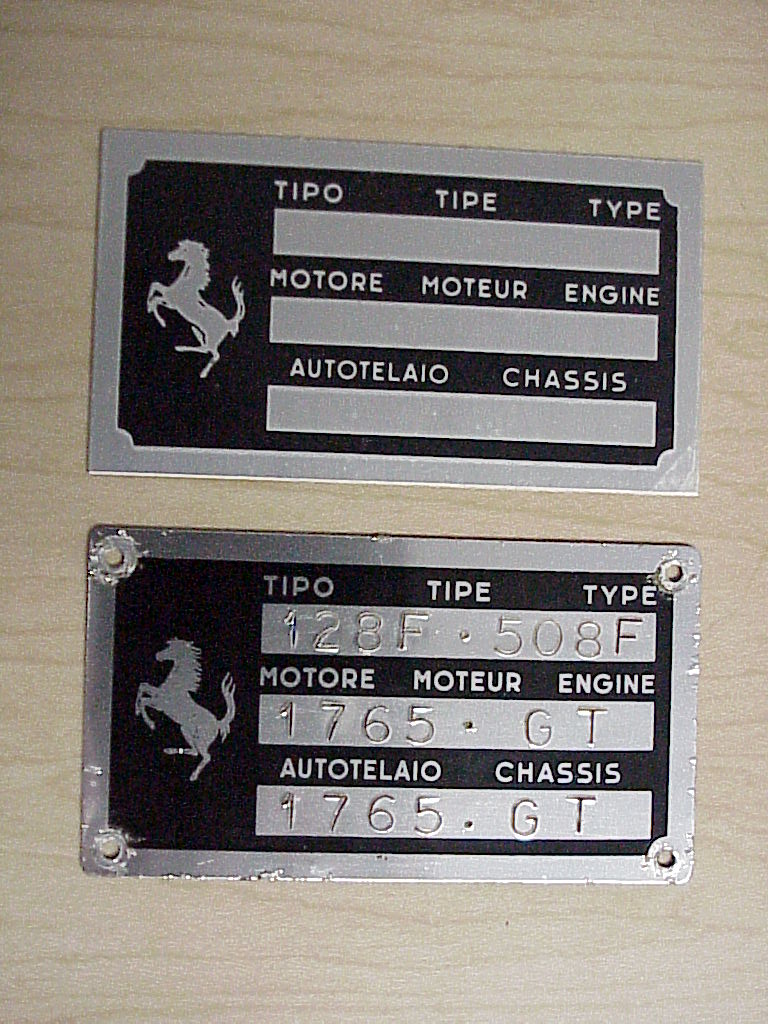
I thought quite a bit about how to do this more accurately. One thing was to photo-copy an original VIN plate onto clear self-stick plastic. I did a number of passes, using different settings on the copier to try and get the best copy.
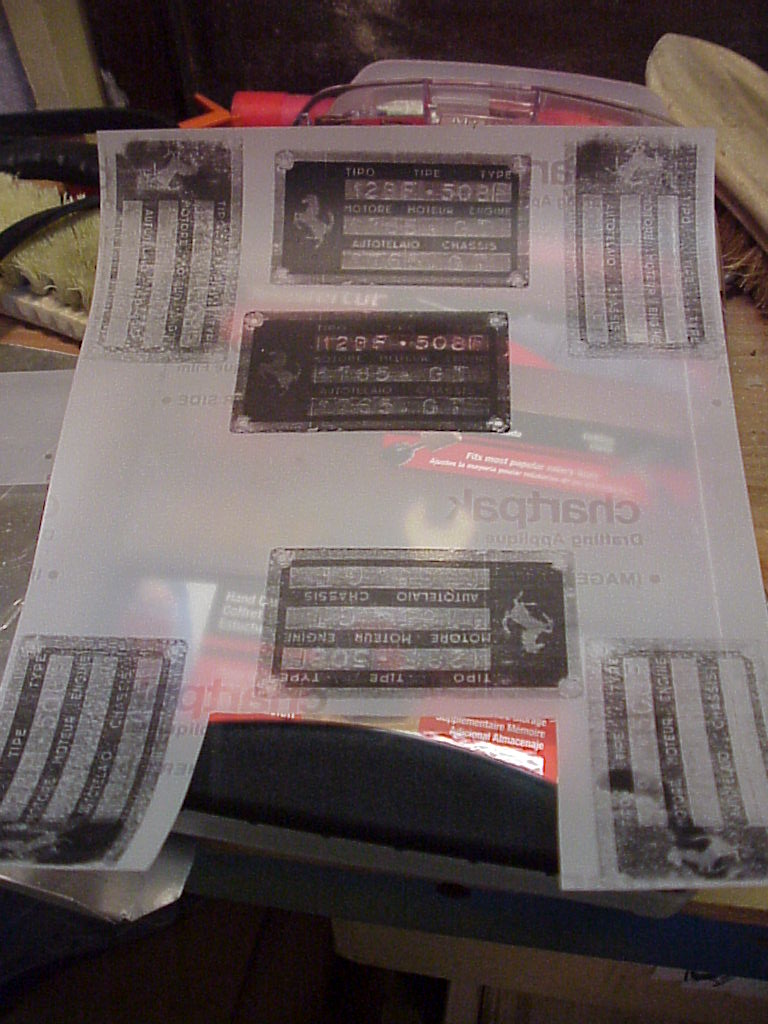
Sticking this onto the new plate allowed me to see exactly where each number or letter should be stamped. You can see that I've already stamped the first row. The other thing I made was a jig to keep the stamps in horizontal alignment and to keep them 90° to the row so the numbers and letters were vertical.
 |
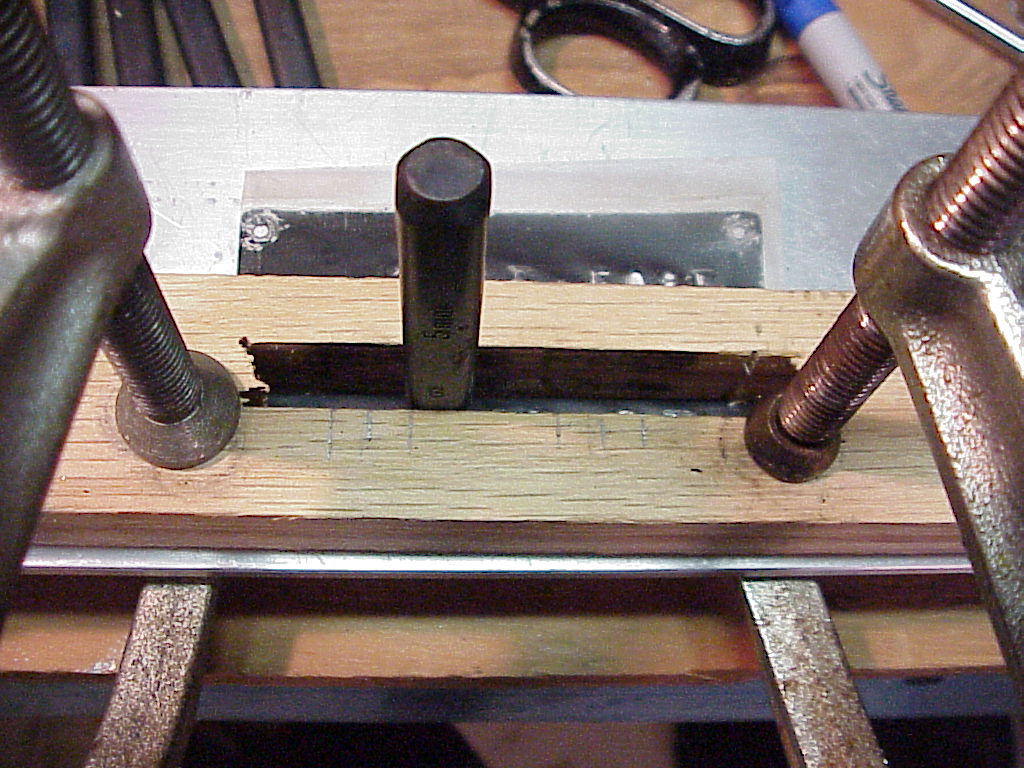 |
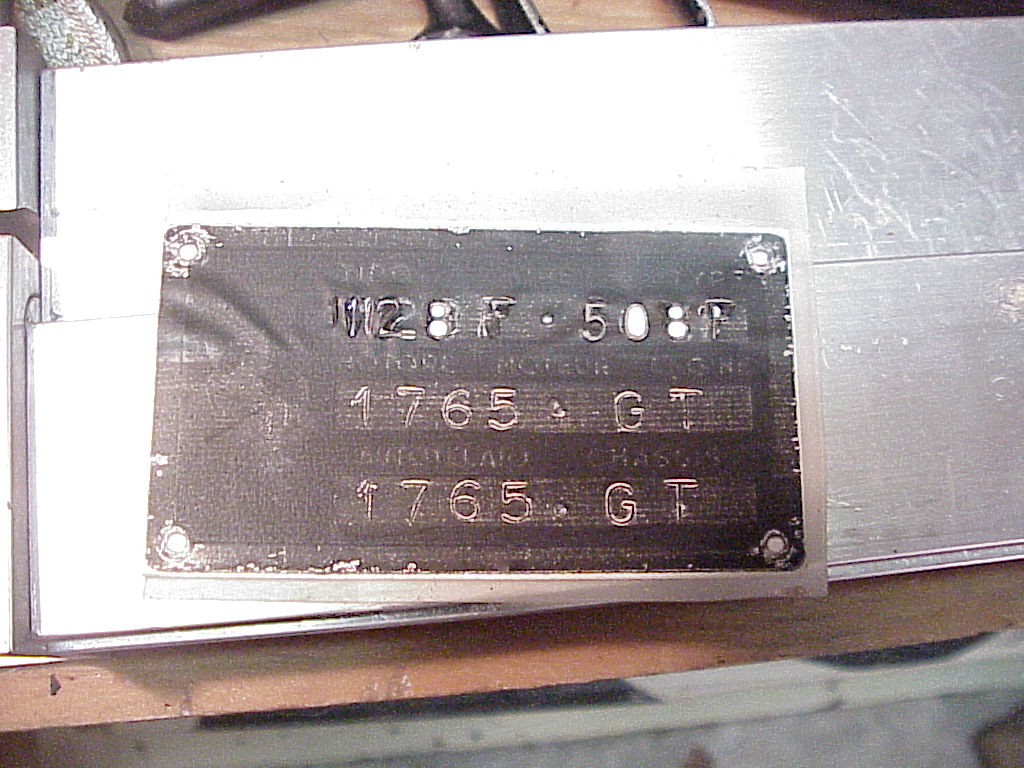
This method kept everything in alignment so I only had to get the right to left position correct. By lightly pushing down on the stamp, it would leave an impression in the overlay. Then I would note how much to move it to the right or left before using the hammer. Here's the result with an original plate on the bottom. Not perfect, but it would probably pass everybody's inspection except for a knowledgeable concours judge

Then I drilled the holes, rounded the corners and installed it on the car with pop rivets. And I didn't even use the second plate!