Water Pump Rebuild
The other night I was driving the 308 to my weekly bowling league. Just as I got off the freeway about 3 blocks from the bowling alley, I heard some noises that I thought sounded like back firing (though that's never happened on the 308 before). At the same time the alternator light came on.
As I just had a short distance to go, I went on and then checked over things when I got to the bowling alley. I could see a belt hanging loose and a crank pulley without a belt. I didn't worry too much as I only had about 20 minutes to drive home, so even with the lights on, the battery should be sufficient. Not having had to do much work on the 308, I didn't realize that the water pump is also driven off the same belt.
On the way home, I watched the water temperature go up, realizing that the water pump must be on the same belt. I had to stop three times to let the engine cool and add a gallon of water that boiled off in the process. You may ask why I didn't notice the empty water pump pulley when I looked at the engine. That's because there was no longer one there.
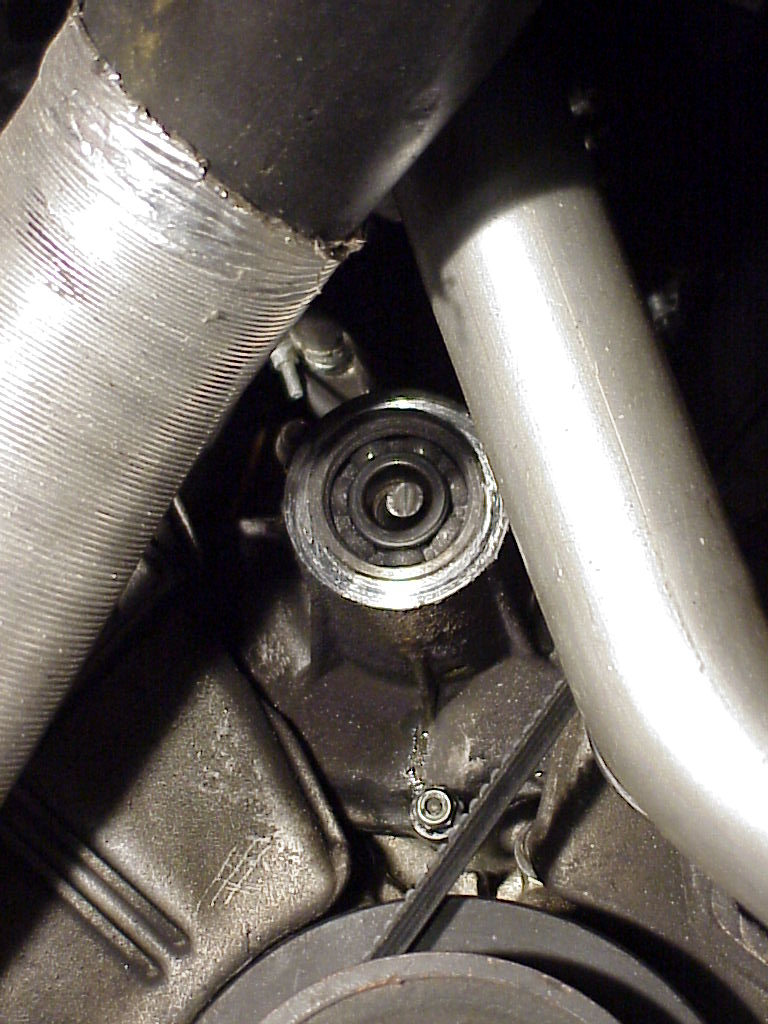
As you can see, only the sheared off end of the shaft protrudes from the outer bearing. Further it moves off center with some help from a screwdriver. At this point, I'm pretty confused since it is supposed to be a solid shaft starting with the impellor, inner bearing, spacer and outer bearing. If the shaft moves, that implies that it is also broken between the inner and outer bearings (or the inner bearing is totally destroyed).
I don't understand how the shaft could shear off. Even if one of the bearings seized up, the belt would just burn on the pulley and eventually break or flip off. There's no sign of a leak and I haven't had to add any water since I bought it 18 months ago. I guess that I'll find out what happened when I get it out and apart. My wife and I did go back to the exit ramp the next day and spent half an hour walking through the grass looking for the pulley. Of course we didn't find it.
Since you have to remove the cam belt housings to get at the water pump bolts and the A/C compressor bolts onto the front housing, I decided to fix the A/C that died just after I bought the car at the same time. As I'm sure that one of the long A/C hoses leading to the front of the car has a hole in it, I'm going to replace them. That involves removing the right side fuel tank since the hoses run through the rocker panel on that side. At least it will make removal of the cam belt covers easy since everything will be out of the way.
It would also be a good time to replace the cam belts, but they are only 2½ years old and less than 10K miles on them, so I'll forgo that this time.
Stay tuned as I finish this project.
From looking at the end of the shaft, I couldn't understand what could have happened. After I got the water pump out and took it apart, I figured it out.
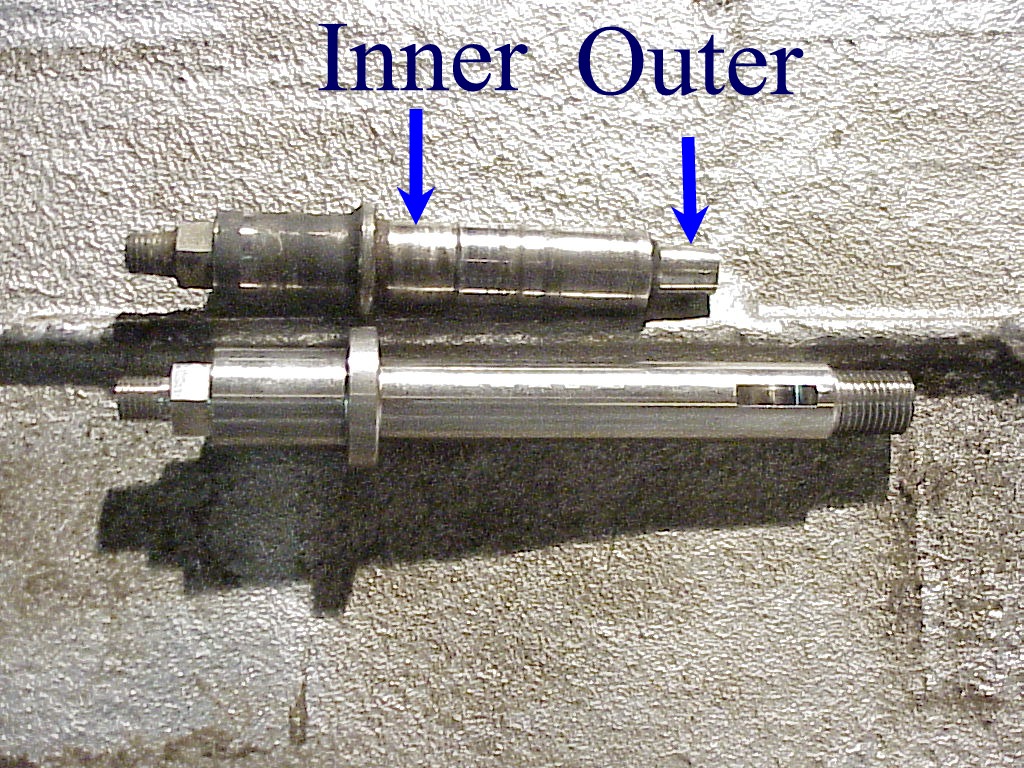
As you can see, the shaft is worn at the inner bearing location and really worn where the outer bearing is. Evidently this had been wearing for a long, long time, much longer than I've owned the car. I think that the shaft at the outer bearing originally wore to the point that the shaft could turn inside the bearing. The bearing wasn't seized nor is there much wear on it, so it must have continued to rotate slower than the shaft. Then the shaft started wearing against the bearing race, slowly letting it tilt downwards due to the tension from the belt on the pulley. Eventually, the tilt was so bad that the pulley was wearing on the end of the housing and the impellor was wearing on the inside of the pump cavity.
 |
 |
| Note the angle where the pulley wore off the end | More wear at the bottom due to the belt tension |
Then three weeks ago, the shaft had had enough and broke off just outside of the outer bearing. The interesting thing is that I hadn't noticed any noise associated with all of this. The engine does make a lot of 'nice' sounds but I thought I would have heard a metal on metal rubbing. Perhaps I'll notice the lack of some noise when I have everything back together.
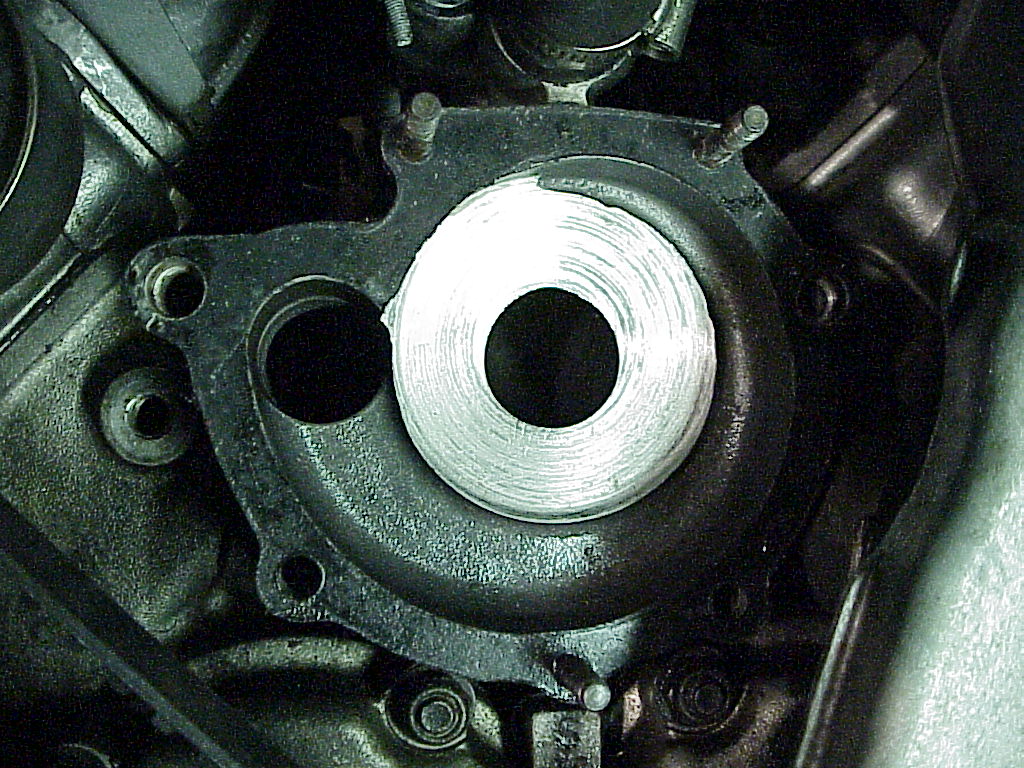
I took all of the parts down to Carlo Durante at Alfa of Tacoma to ask his opinion of what to do. I ended up buying a rebuilt water pump from him and also had to pay the core charge as the end of the housing was too worn to be rebuilt. I asked about the pump body and the wear on the inside. He said to take it off the car and use some modeling clay or silly putty to determine the clearance from the impellor blades and the cavity. It should be about .9-1.0mm or about .040". He also mentioned that there's an O-ring as the back of the pump body that always should be changed as it only reseals about half the time. I'll also change the two large hoses that are at the back of the pump body under the carburetors.
More to come.
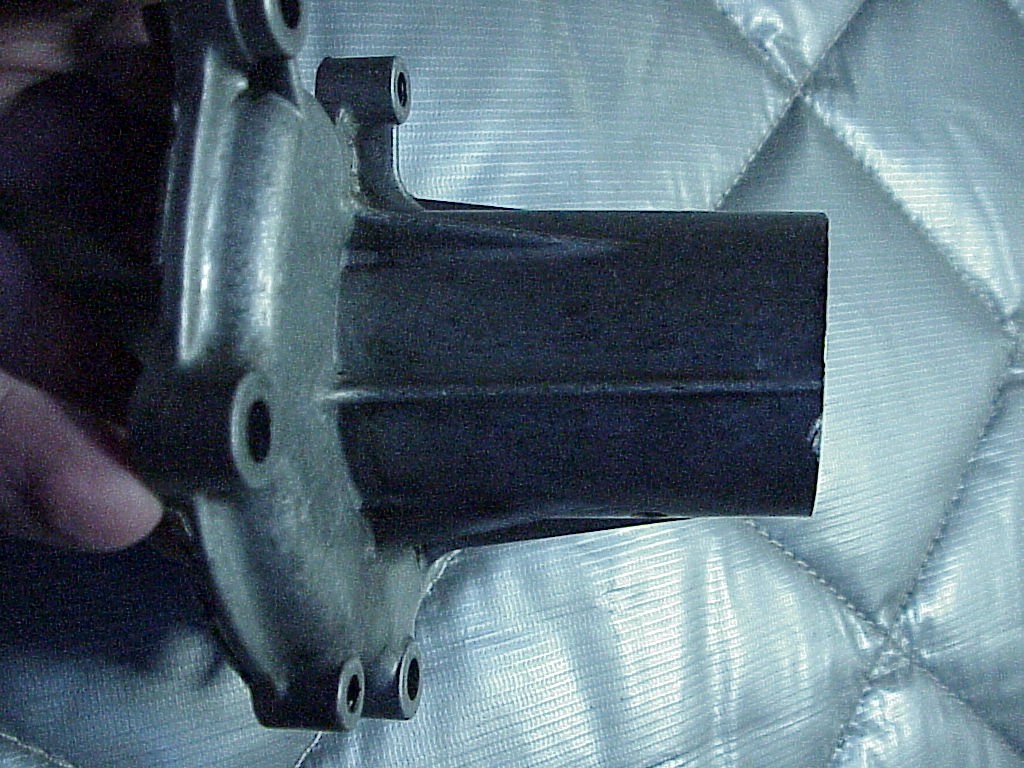
Well, there was sufficient wear in the pump housing to require a new one. Tom Shaughnessy sent up a whole used pump that I took apart to use the body.
I hadn't taken off the air cleaner but needed to in order to replace the two hoses leading to the rear of the pump body. Actually, I should have done that first as it makes everything (A/C, water pump, etc.) much easier to get to. Of course, of the 16 studs holding it in place, 4 came out of the carburetor bodies. So I had to clean and Loctite those back in place. There is very little room between the deck lid and the air cleaner when taking it off. In fact, so little, it's not possible to change the air filter without removing either the deck lid or air cleaner. I guess Ferrari figures that you only change the air cleaner on a major service where you'll have everything out of the way.
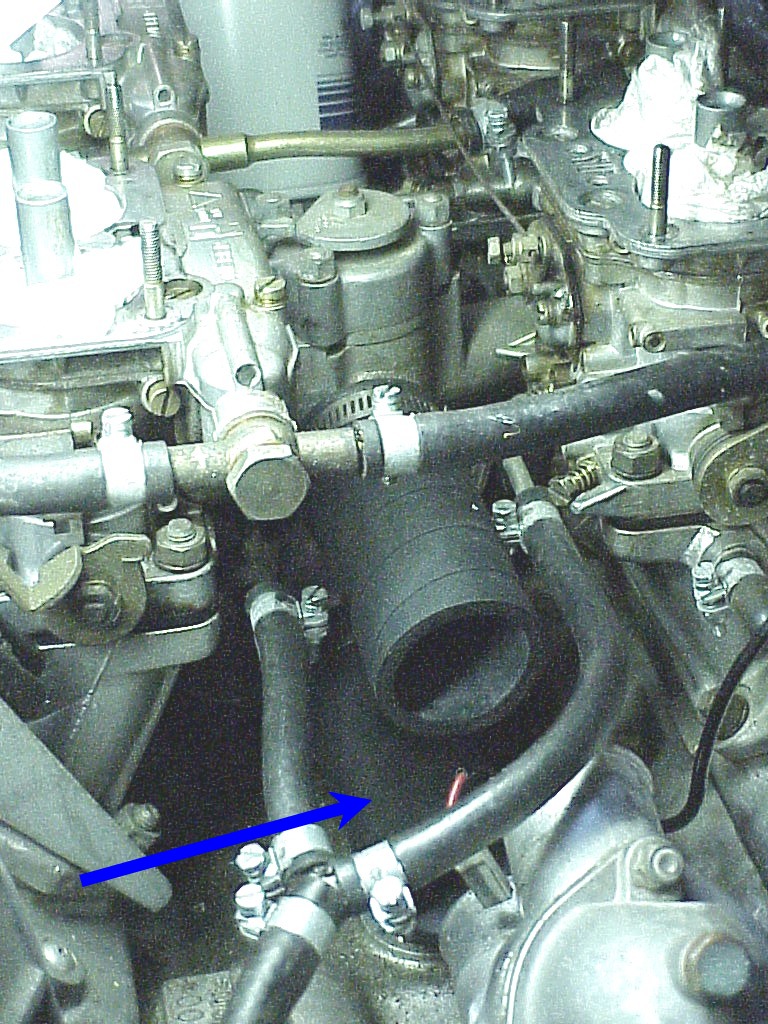
Changing the various hoses is a pain. There's very little access so it is difficult to get them started on the various pipes. Then when you have them all on, you need to adjust how each fits so the attached pipe is in the correct place and not rubbing against something. The lower hose (see arrow) at the rear of the pump attaches to a pipe that runs under the carbs and then turns, running forward, eventually connecting to the pipes running to the radiator. After I got all done, I realized that this pipe was rubbing at the far end. So I loosened the clamp at the pump and pried it over enough to position it correctly. When I went to tighten the clamp, it failed by bending and stripping the screw slots in the band. I had to put pressure on the band while unscrewing it in order to remove it. Then the new clamp had to be taken apart, wrapped around the hose, screwed back together in order to tighten it. All this with little access.
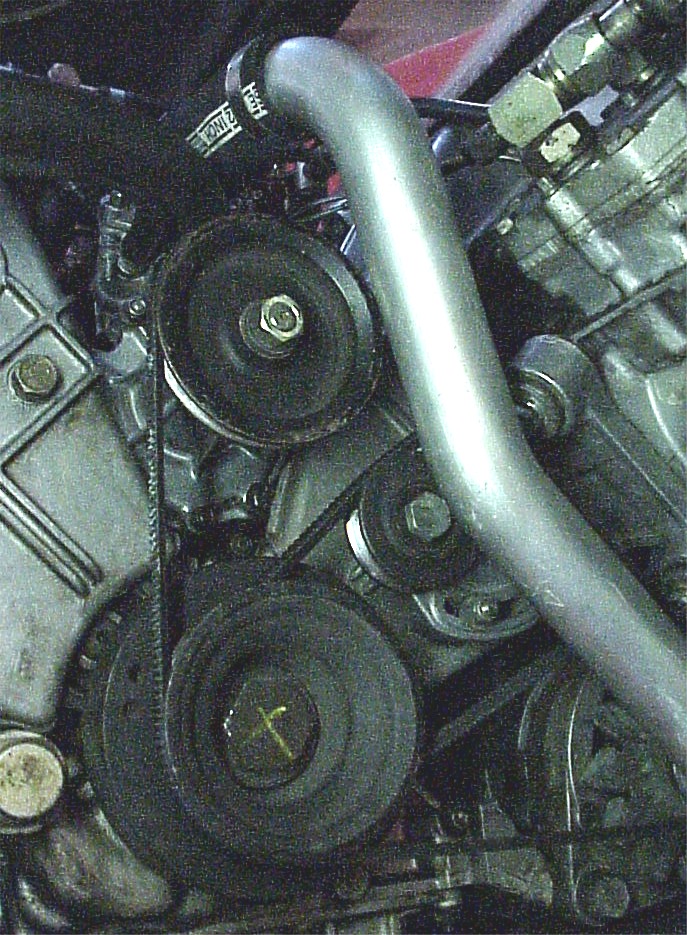
Finally I got everything together hose wise. Then I re-installed the A/C. I went to put on the belt and figured out that the belt goes around the lower support bracket. So that had to come off in order to put the belt over it. Once that was done and in place, I adjusted the belts using a tension meter. It's a simple device that measures the tension that a belt is under. You attach it to your finger, press it against the belt on the longest section and press. There is a little click when you've pressed the right amount. A lever is moved that denotes the belt tension. Ferrari is very specific about the belt tension on the 308. The owner's manual specifies the tension for each belt, both new and used. These belts are really skinny (7 and 11 mm), so if they are too loose, they will slip and get destroyed quickly. Too tight and the alternator, water pump or idle pulley bearings will get worn out.

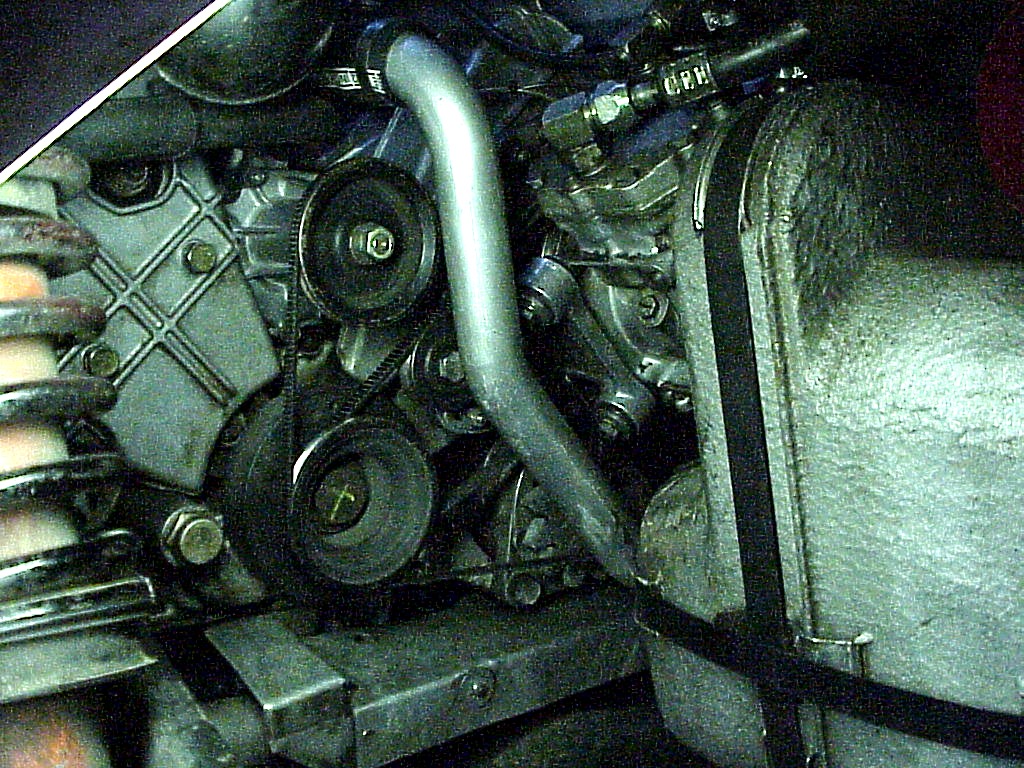
Here's everything back in place ready for the fuel tank to be re-installed.
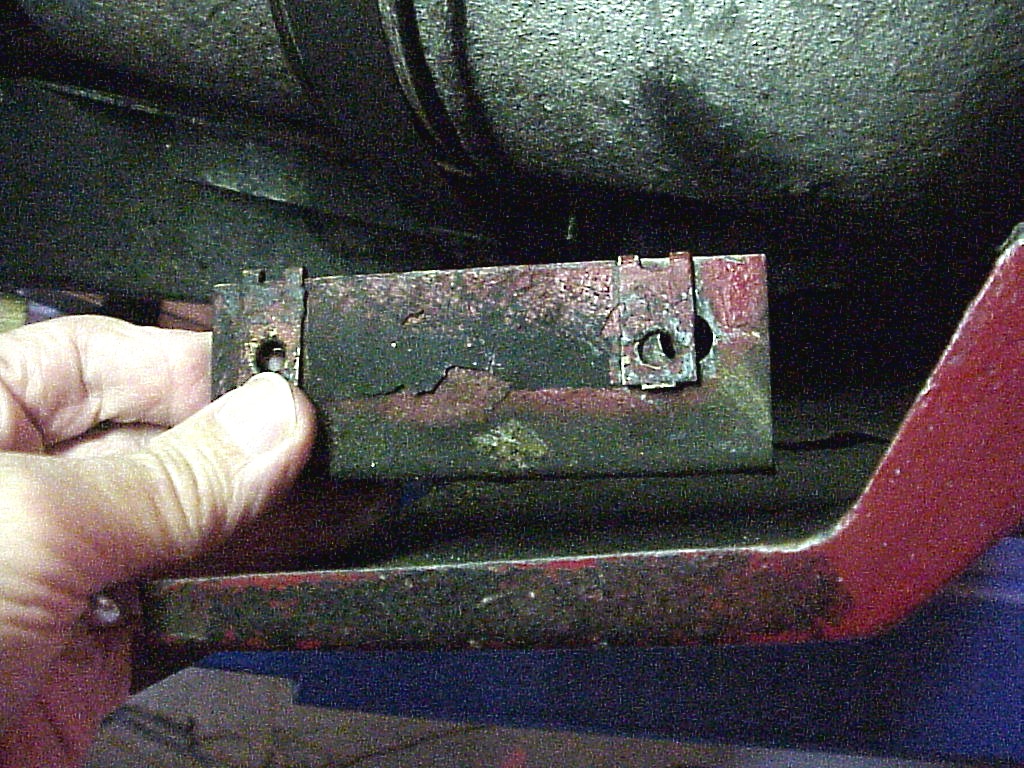
When I took out the fuel tank, I just kept turning and twisting and finally it slipped out from under the fender. I really didn't notice exactly how it came out. So putting it back in was about the same. It's just like one of the wire logic puzzles where you have to get everything right and suddenly you've solved it. I just kept moving, turning and twisting the tank and then it slid under the edge of the fender. One casualty was the little bracket spot welded on the rear of the rocker panel. The spot welds broke and the bracket (the inner fender shield bolts to it) came off.
Fitting the various hoses onto the tank is also difficult as there's little room to move the tank so the end of the hose will slip onto the fitting. Eventually I got them all on and connected up.
Once that was all done, I put a gallon or so of fuel into the tank and checked for leaks. None seen, so the rest of the 5 gallon can was added. I turned on the key to have the fuel pump pressurize the system. Still no leaks, so it was time to put in antifreeze. According to the owner's manual, the system is supposed to hold 18 pints or 4½ gallons. However it was full (with fluid running out of both bleed screws) with about 3 gallons. After checking for water leaks, I started the car and brought it up to temperature. No leaks!
Now I just have to get the mobile A/C guy out to recharge the system. However that is going to wait until I've replaced the A/C hoses in the 330 so I can get both cars done at the same time.
But at least I have one of the three Ferraris back on the road just in time for spring.