A/C Hose Replacement
As I suspected, one of the A/C hoses was worn through near the compressor. This matches the location of the hiss in the right rear I heard when it let go.
The two long hoses from the compressor loop over and in front of the right fuel tank and then down through the rocker panel in the right side. So you have to remove the fuel tank in order to replace them. This means draining the fuel. I usually plan ahead and make sure that there's not much fuel left when I need to take a tank out. But in this case, the water pump failed so I wasn't able to do that. At least it wasn't full, only about 3/8, but that's still about 10 gallons to drain and store. In my case, storage is only for a gallon or so, just enough to get the car to the nearest gas station once the repairs are done. The rest just went into the 330 GT tank.
To replace these A/C hoses, you:
-
Remove the right rear wheel.
-
Remove the fiberglass inner fender panel.
-
Remove the air intake boot.
-
Remove the air duct from the scoop and the one that cools the transmission.
-
Drain the fuel.
-
Remove the right fuel tank.
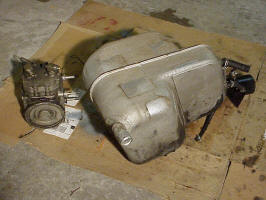
There are 6 hoses attached to the tank. Three of them go to the vapor canister. It only has two other hoses, both of which are easy to remove so I unbolted it and took it out with the tank. You will also note that I took out the A/C compressor. I had to do this to work on the water pump. -
Remove the hoses from the compressor.
-
Remove the right front wheel.
-
Remove the right front fiberglass inner fender panel that is to the rear of the wheel.
-
Remove the spare tire and the spare tire tub.
-
Unbolt the right heater box so it can be moved out of the way. I didn't have to disconnect the water tubing.
-
Remove the hoses from the dryer and condenser in the front of the car.
-
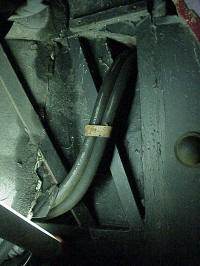
Cut apart the old hoses as needed to remove them.
-
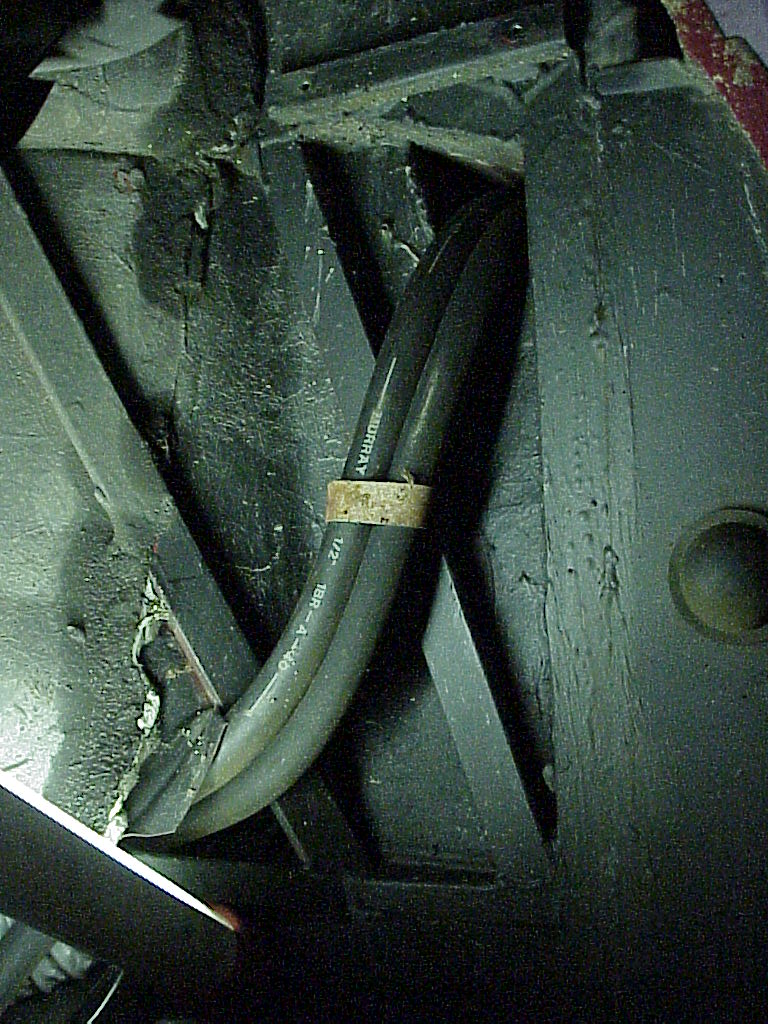
Pull the old hoses out of the rocker panel with a pull wire attached to them.
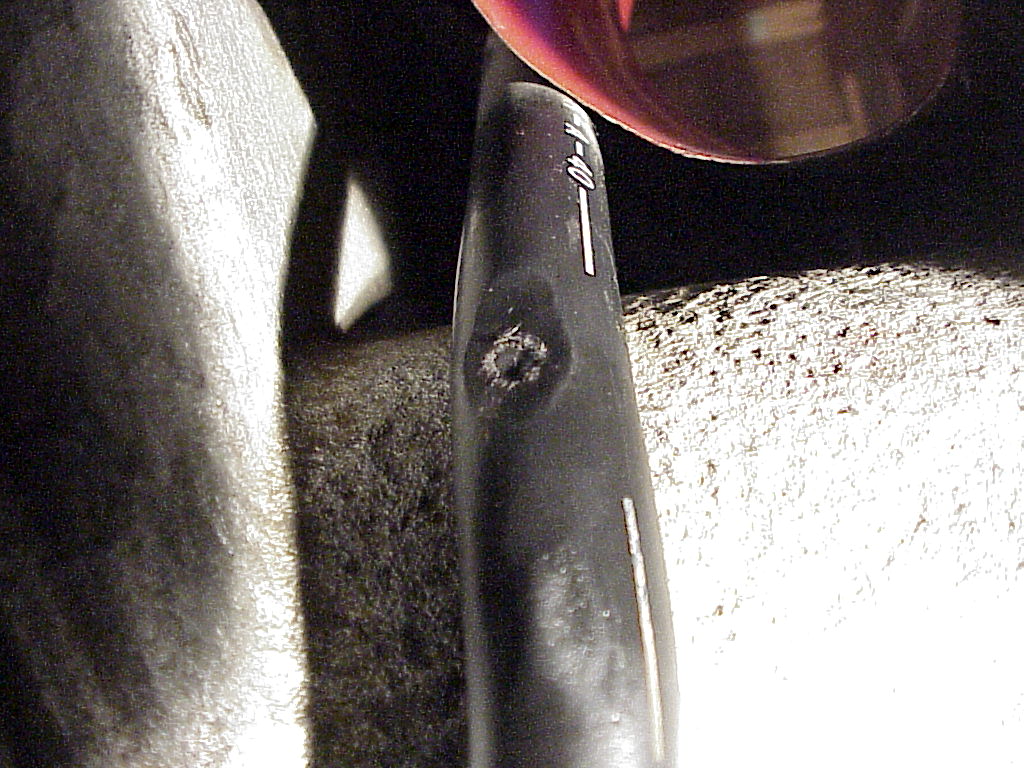
This picture is where the hoses come out of the rocker panel in the front (the easy end) -
Snake the hoses into position (easy to say, but difficult to do).
Of course, the larger hose is the one on the left that runs behind most of the bracing. The ends disappear behind one of the fuel tank pads (welded on) and into a small hole in the rocker panel. -
Use the pull wire to pull the new hoses through the rocker panel.
-
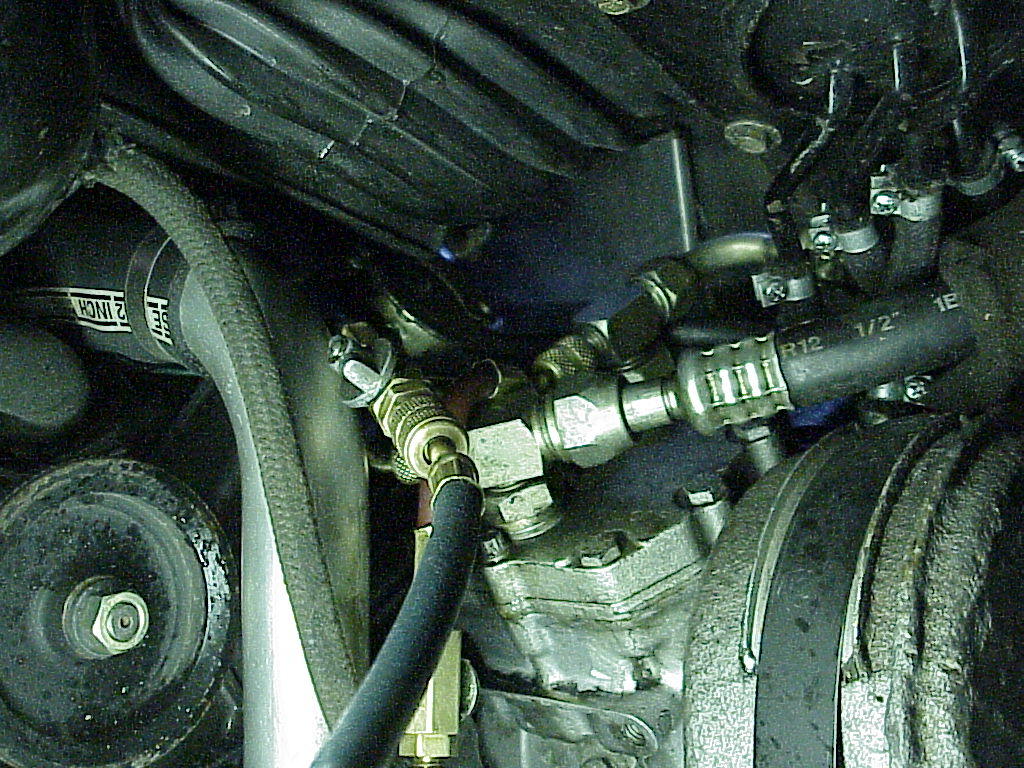
Tighten the fittings on each end of the hoses. Position the upper hose at the compressor so it doesn't rub against the frame.
-
Install the fuel tank. Add fuel and check for leaks.
-
Replace the heater box.
-
Call a mobile A/C specialist to evacuate the system and refill it with the very expensive R12 Freon.
-
Check for leaks and that the A/C blows cold air again.
-
Replace the spare tire tub.
-
Replace air ducts and air intake boot.
-
Replace the inner fender panels.
-
Replace the wheels.
-
Go for a drive and enjoy the cool of the air conditioning. Never mind that it's November in Seattle and about 50° outside.


I'm now ready for step 17, but this project has to wait until I've fixed the water pump issue before progressing.
When the gauges were taken off the compressor, the low side Shrader valve was leaking. So the Freon had to be pumped out, the valve replaced and the system evacuated and refilled again.
Step 26. Went for a drive on a hot day. No cold air. I probably bumped the compressor wiring when recharging the system or when putting back the duct work or inner fender shield. So now I either take that stuff back off or try and feel around for the wiring.
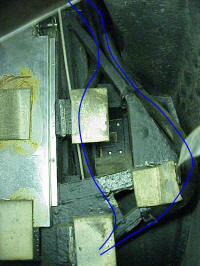
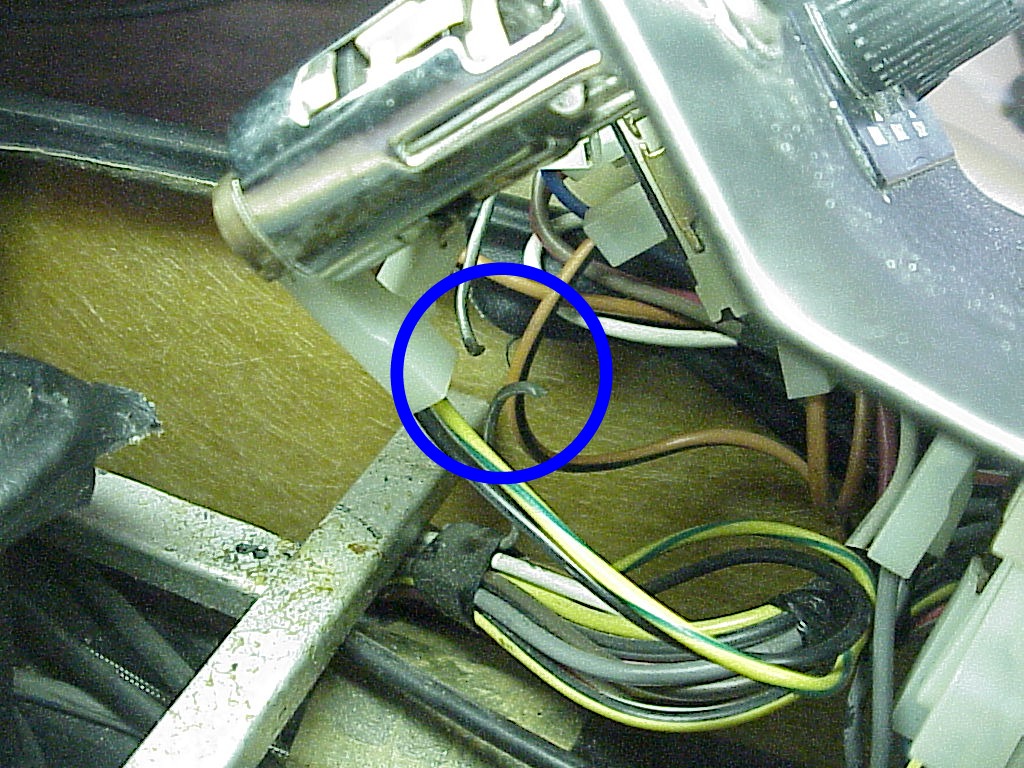
I put the car back on the lift and pulled the wheel and inner fender shield so I could get to the A/C wiring. Everything seemed to be clipped together properly. I pulled the plug and checked for +12V when the A/C fan switch was on. The fan runs, but no power back to the compressor. I photo-copied the wiring diagram and traced the circuit using a hi-liter (the only way that works for me on these tiny lines). The power runs from the A/C fan switch to the thermostat switch, then to the low and high pressure switches and back to the compressor. Since I had had the console section apart recently to replace the heater control, I thought that I might have loosened a wire. Plus taking that out is only 2 screws as opposed to removing the tub around the spare tire where the pressure switches are. Somehow I managed to break the thermostat tube that runs to the evaporator. So the thermostat switch was never closing. You can see the two ends circled in the picture below.
For now, I just put a jumper across the thermostat switch. Actually, that's how the thermostat switch is usually set on a 308, i.e. always on MAX. The system is so anemic that it's marginal even on maximum. The good part is that the switch is available and reasonably priced, less than $50.
Once the switch was eliminated from the circuit, I could hear the A/C electric clutch engage and disengage as I turned the fan switch on and off. A short test gave me cold air blowing out the vents. I got this done just in time for a drive Sunday up to Canada for a few days. We'll be at our place in Whistler where it can get hot during the summer so having the A/C working will be nice.
The last thing that happened was I bumped the heater fan switch and the bottom of it came off yet again. I've fixed this before but this time I didn't have spare inside parts. These fall down inside the console when the switch comes apart. Since one of the pieces is nylon, using a magnet doesn't work. Instead I cleaned out the dust collector on the vacuum cleaner and vacuumed everywhere I could reach in there. When I got done, the parts were in the dust collector so I was able to re-assemble the switch again. I think that I'll just remove and reinstall it when I go to replace the A/C thermostat switch. That way I can't break it again.