Metal and Filler Work
Pininfarina bodies of the mid-60 were hand made, beaten over oak bucks. Then the various body panels were butt welded with oxy-acetylene torches. So nothing was straight or true to start with. Then a filler was sprayed over the whole car and was block sanded to make it look good.
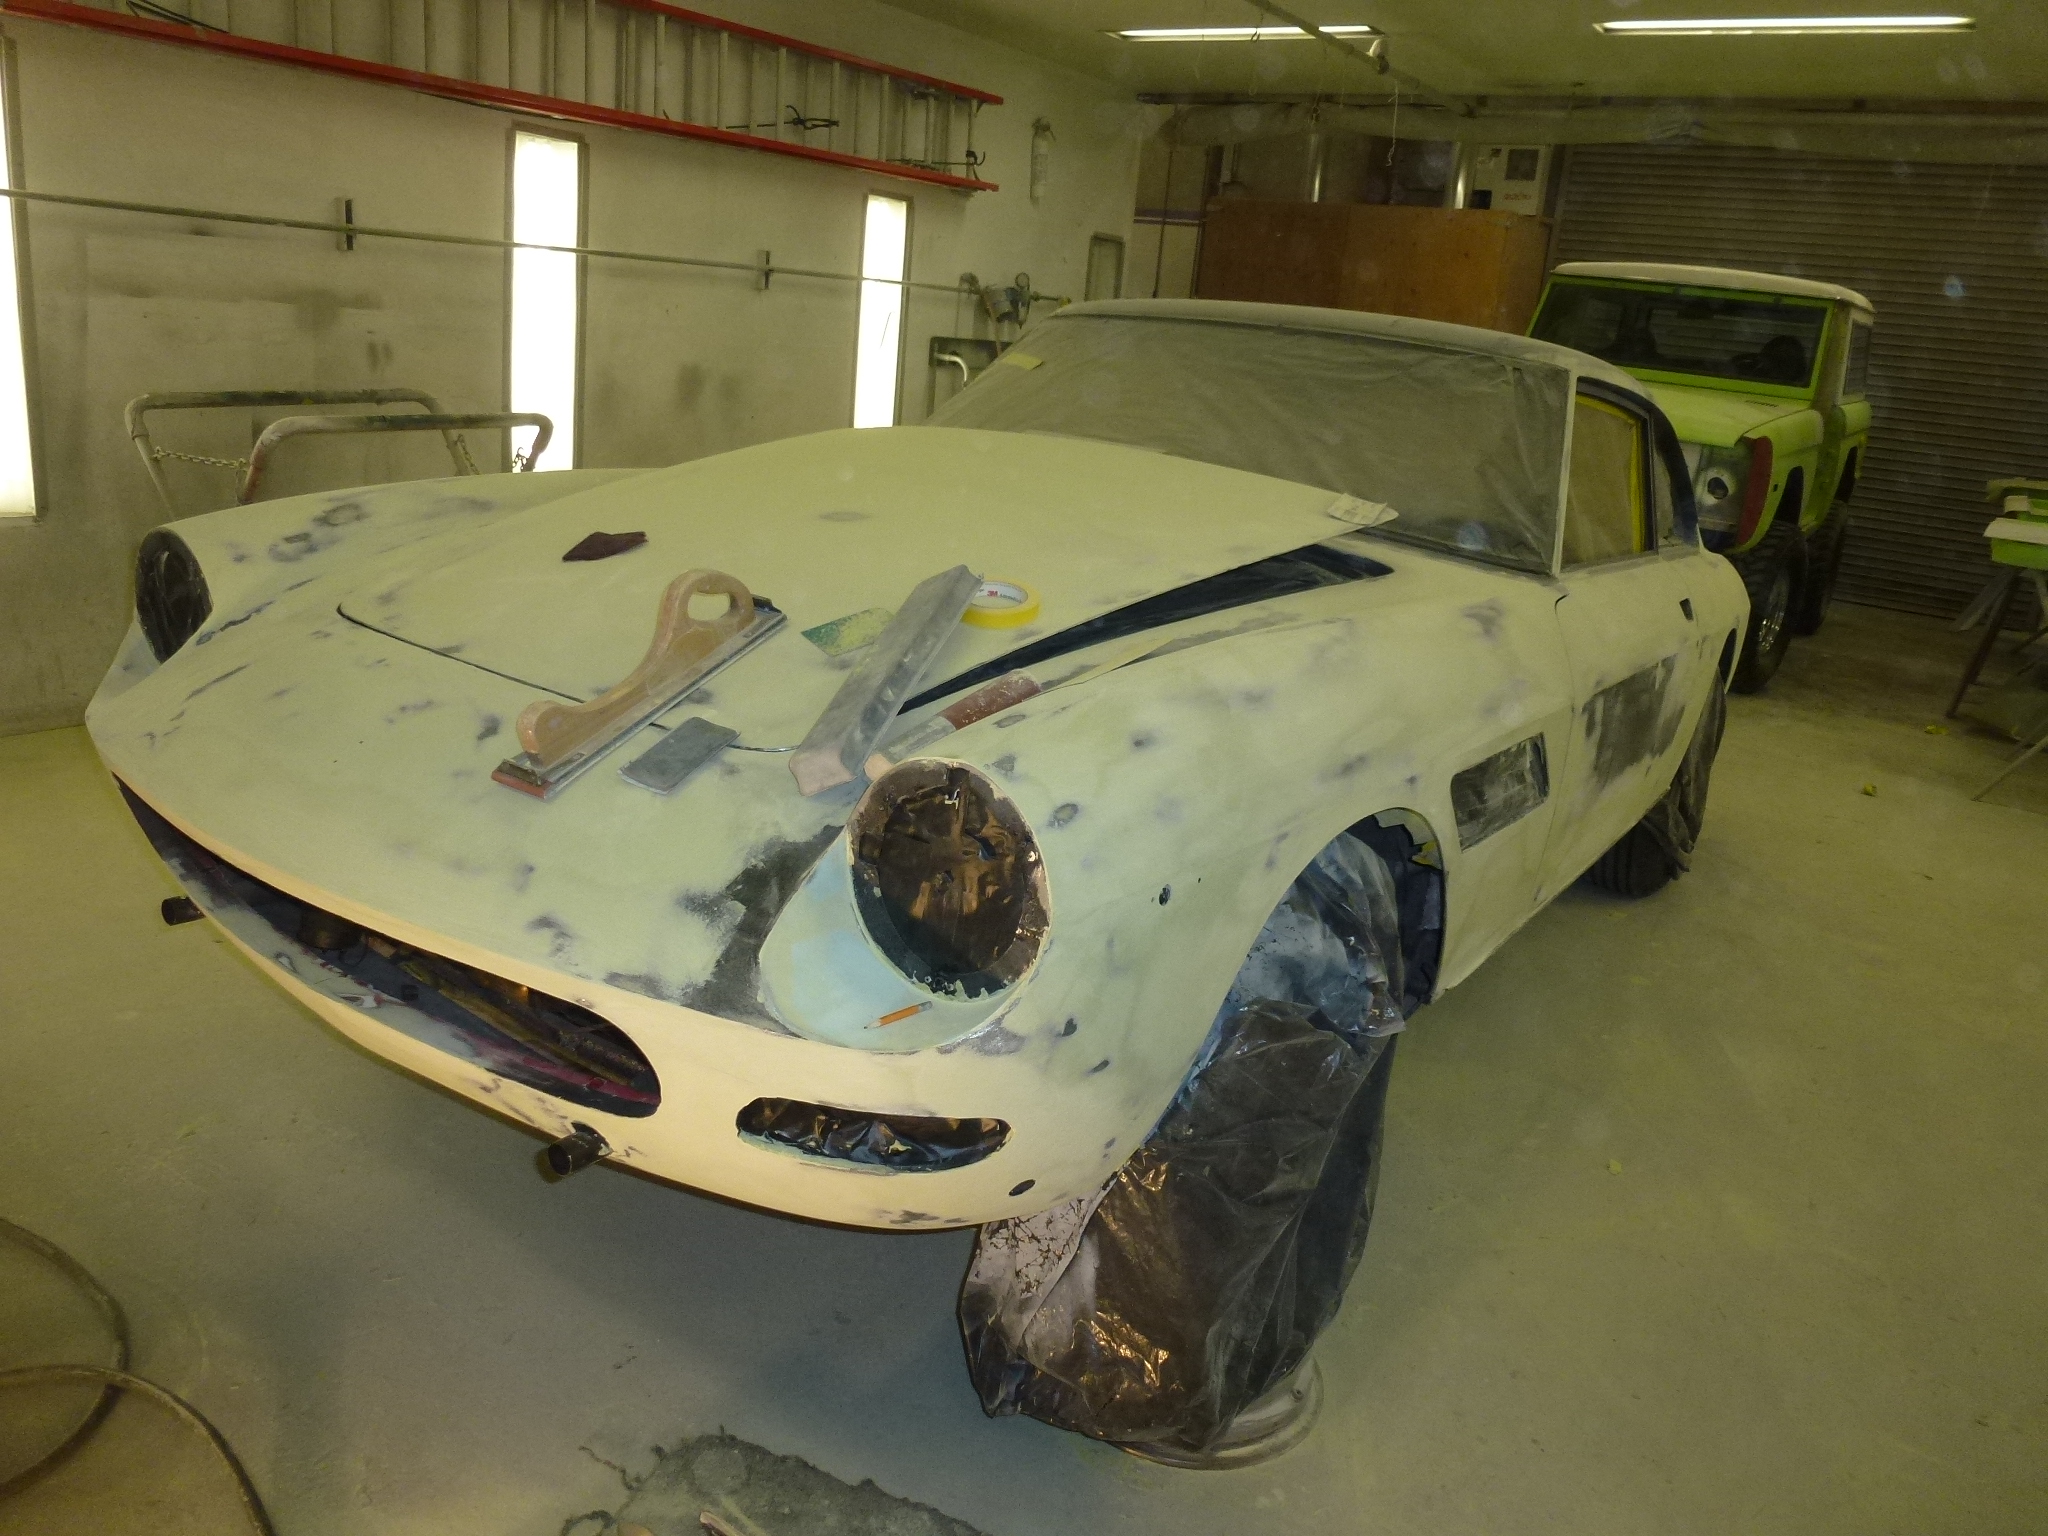
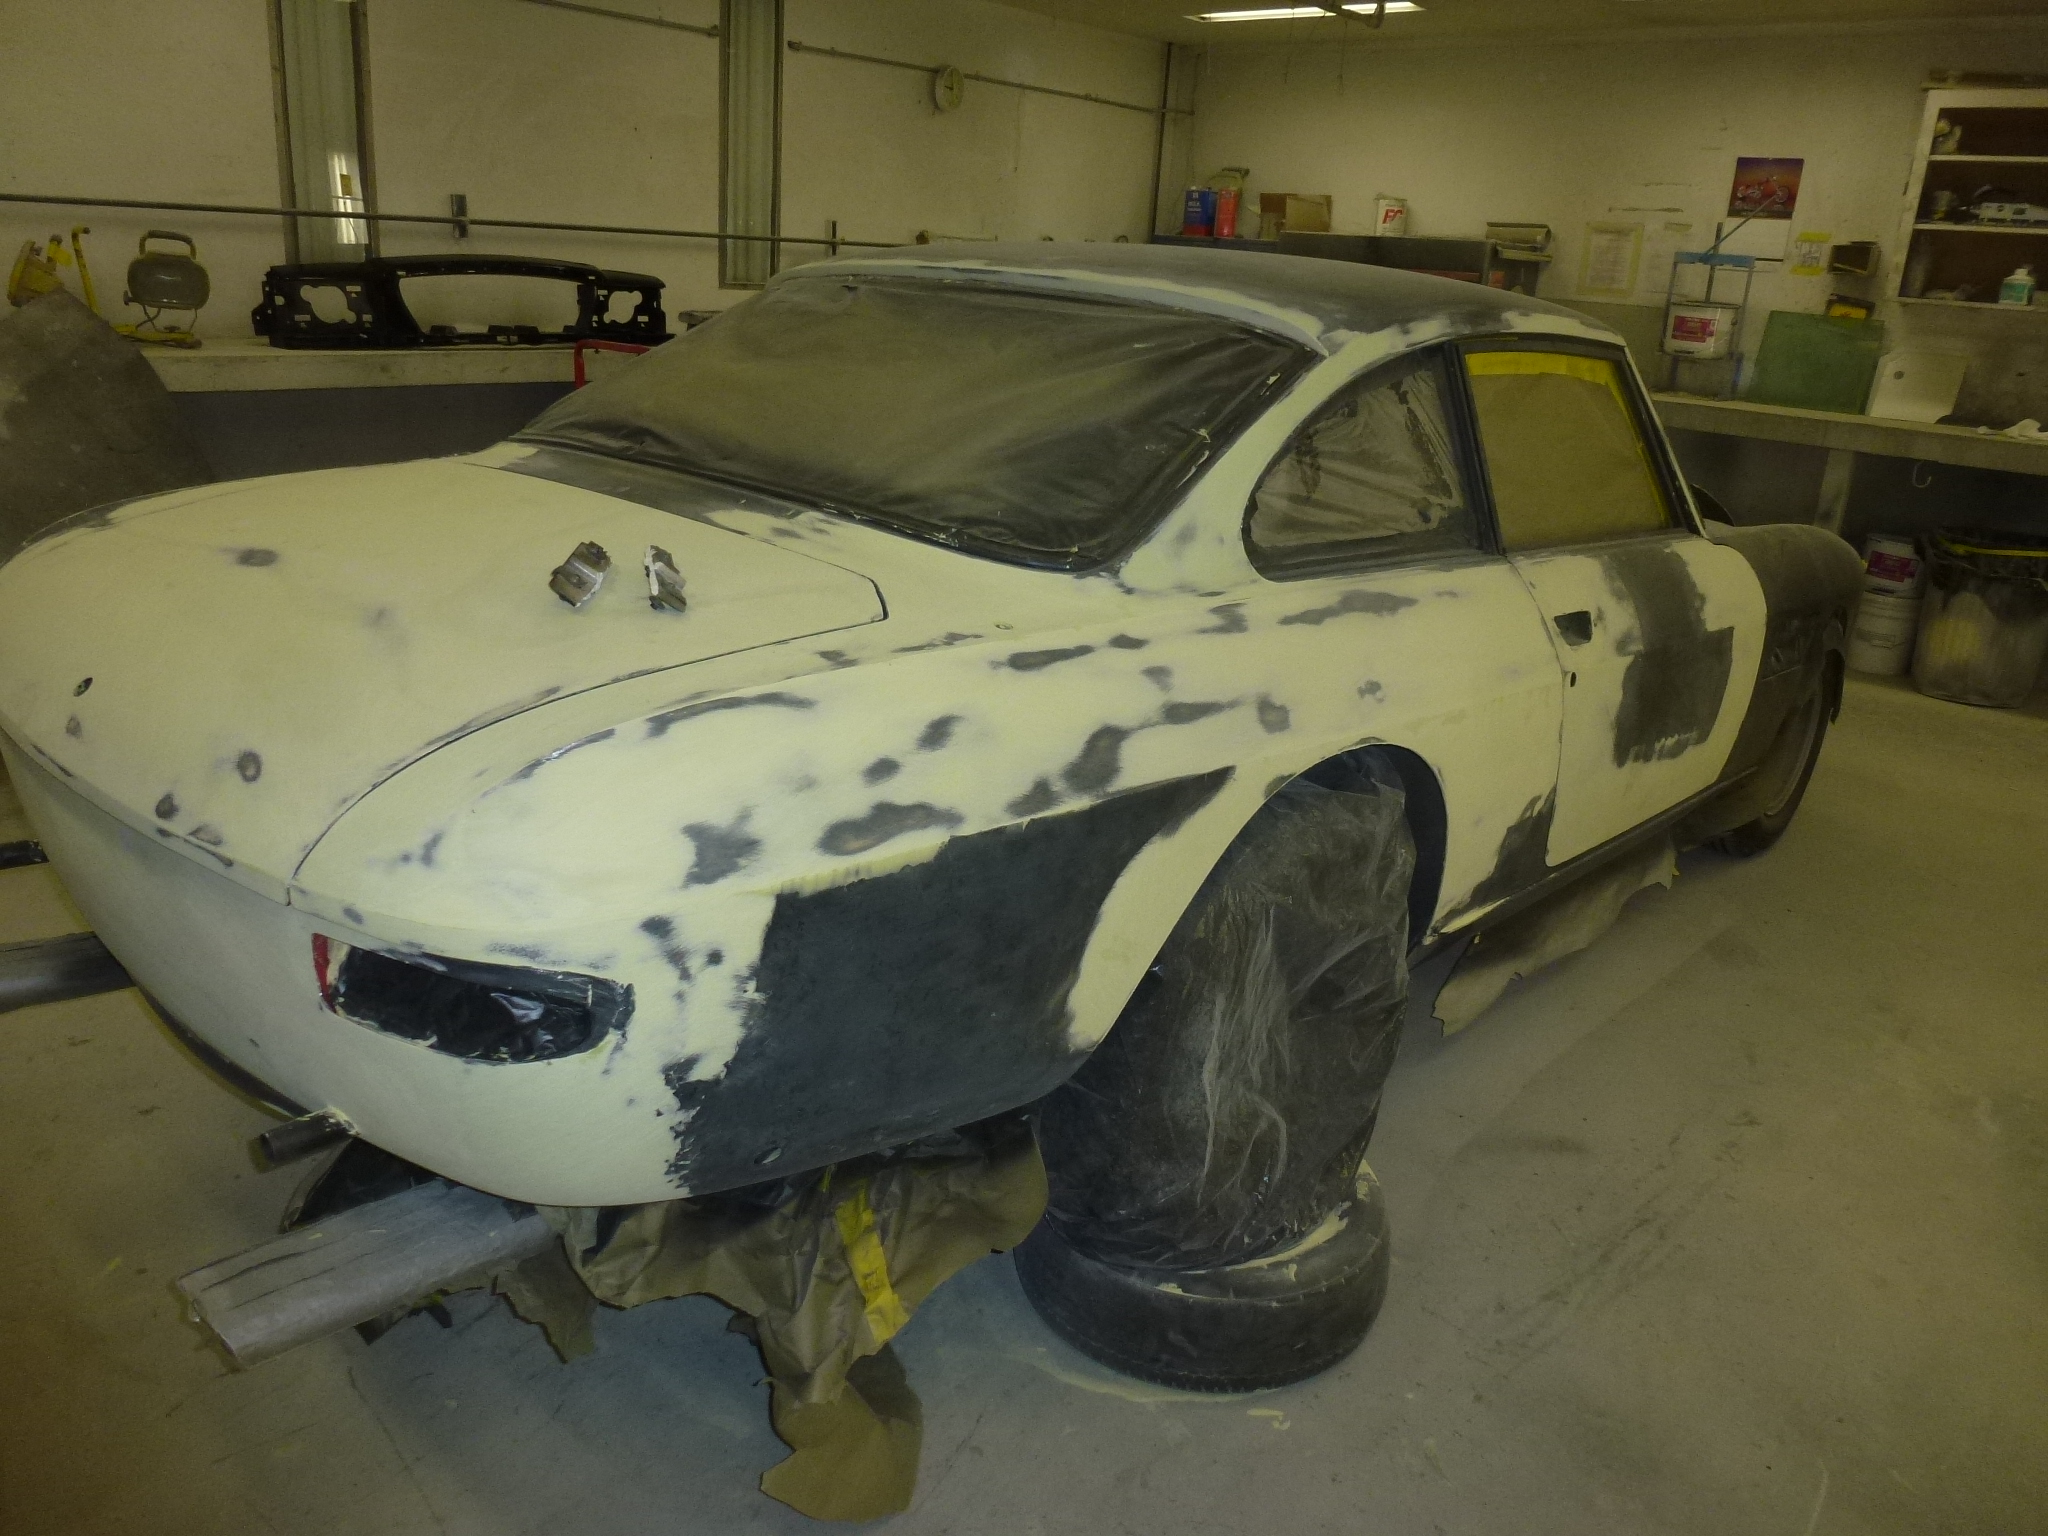
So, this is the same process that needs to be done when starting with a bare metal paint job. Here you can see some of the waves and issues in the metal.
The car was primered with a semi-gloss primer, which shows all of the issues. Then a hammer and dolly are used to bring some of the low areas and lower any high ones. That way, the final filler coat is more even and consistent in thickness. Here you can see that the doors have been re-hung and some filler work has been done.
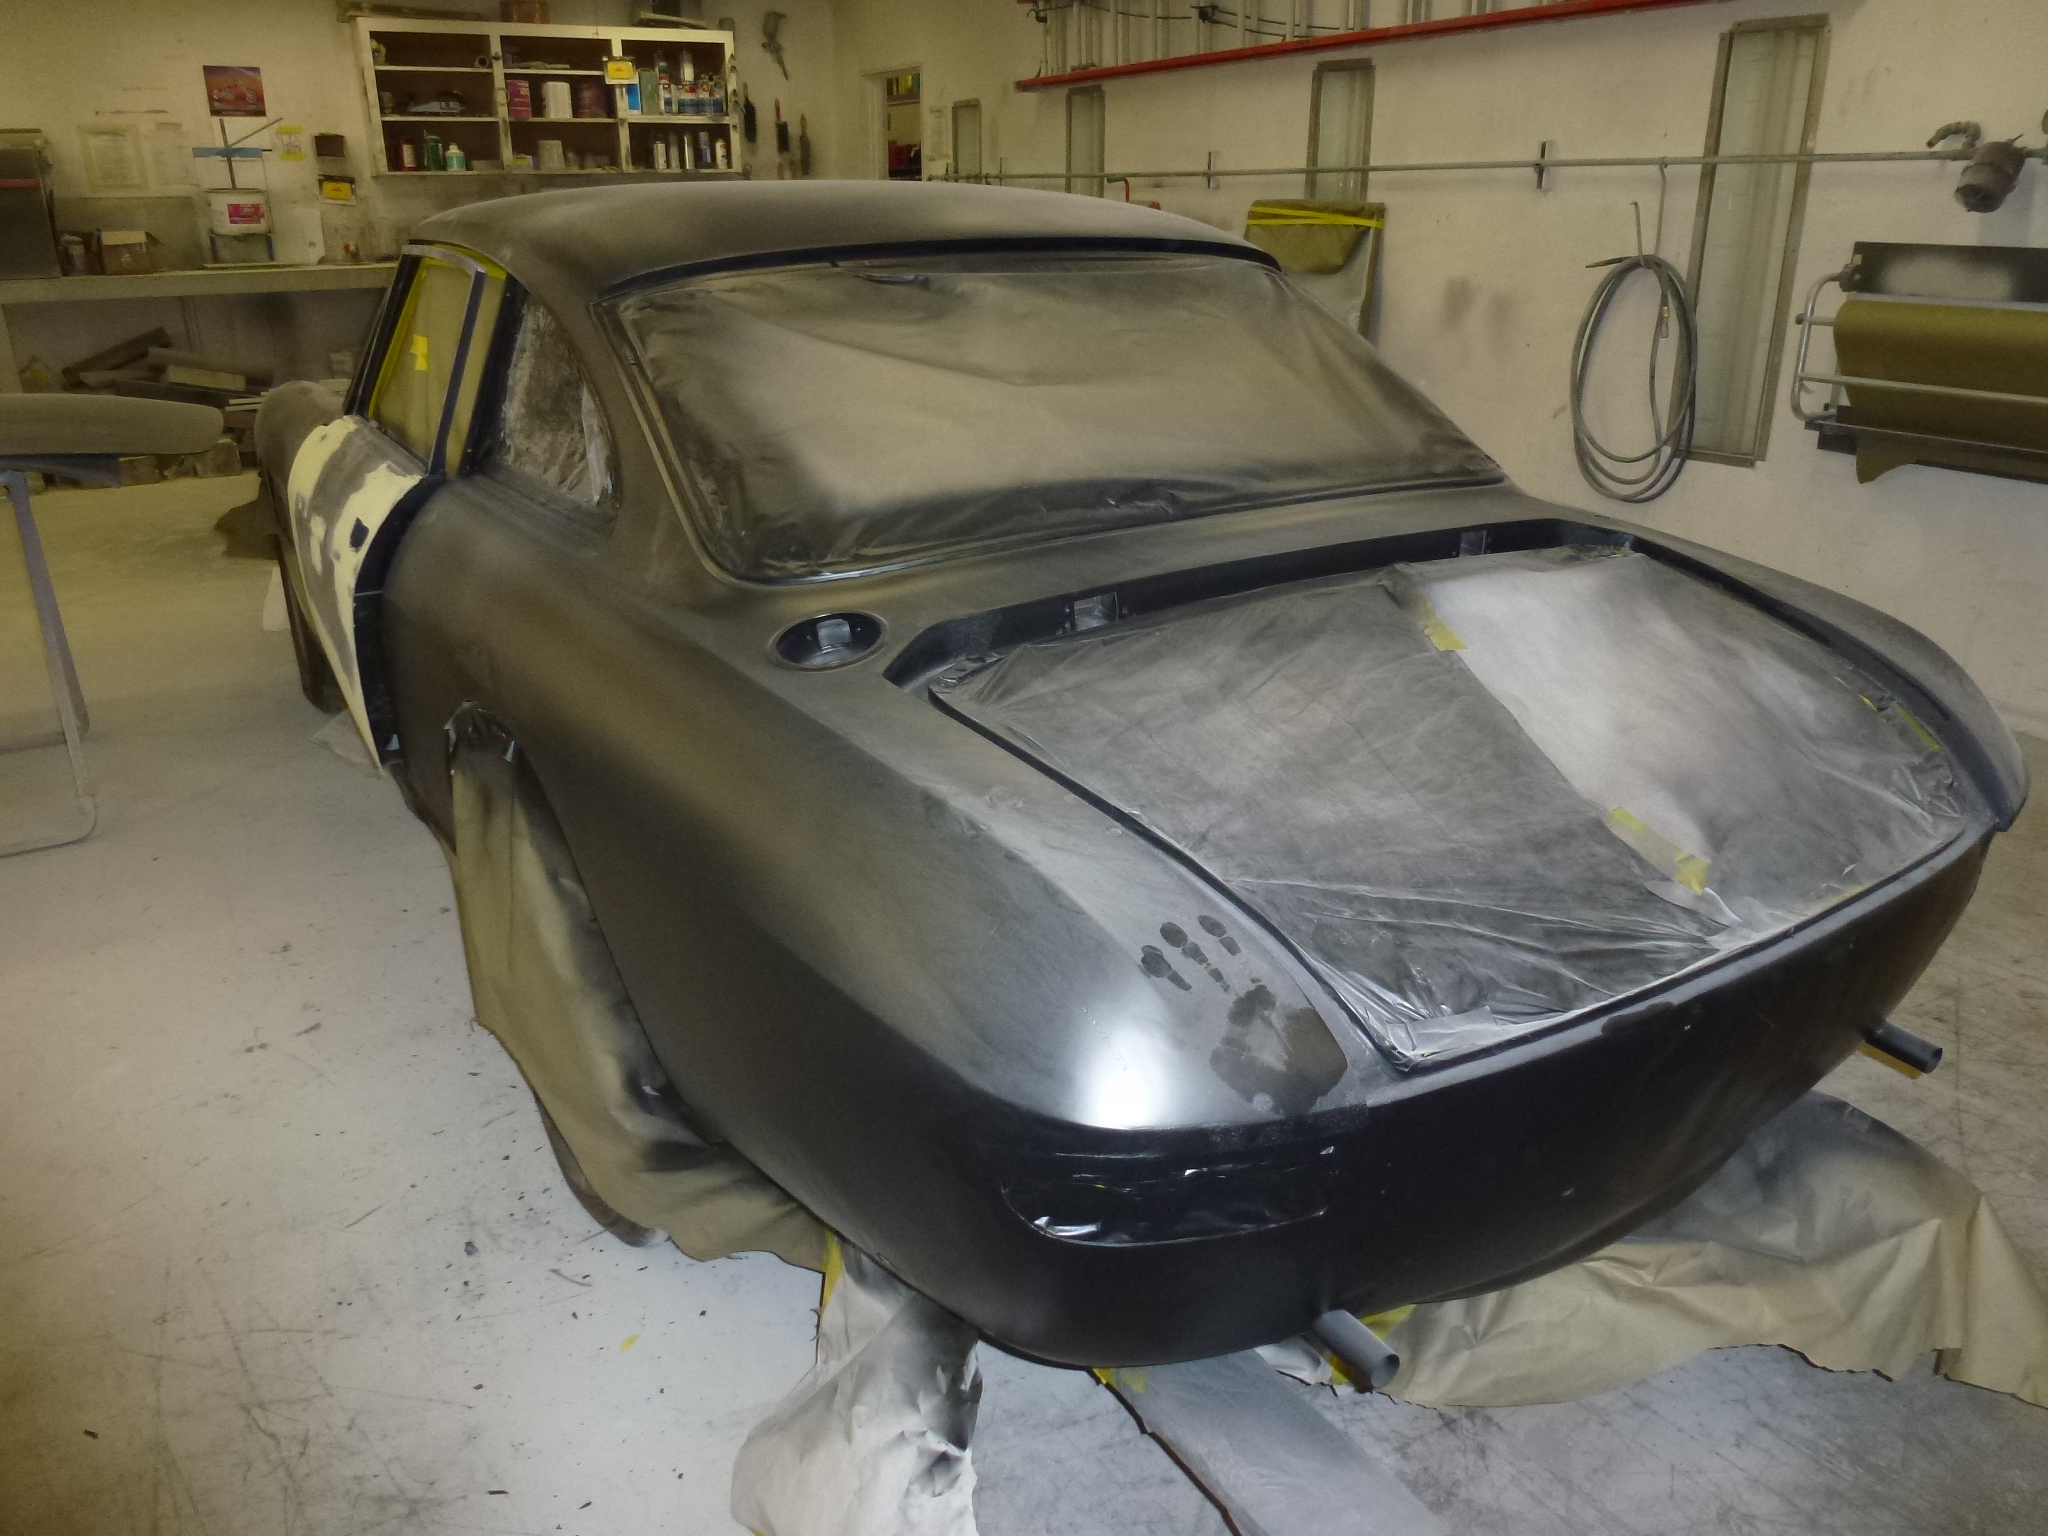

One of the things I realized in the last visit was that I took the door latches, etc. home with me. The body guy will need these to latch the door in the proper position to make the filler surface even from the front fender to the door to the rear fenders. So I brought those parts back and included the trunk latch as it will be needed to set the trunk lid properly. Some work has been done on the hood.
They have been working on the rear under the trunk lid. When I first bought the car and brought it home on a trailer, I had to unhitch the trailer for the ramps to work in order to unload the car. What I didn't do was leave the chains attached. The trailer had dual wheels, so was stable without the hitch hitting the ground. I had rolled the car off and into the garage and then the trailer decided to roll down the driveway into the back of the car. This left a big ding in the rear. I removed some of this 30 years ago, but didn't work too hard on it. Now it's being taken care of correctly.

When I was in Santa Fe visiting Lowell Brown recently, I took lots of pictures of his car for the shop. Lowell's car has never been restored, so the body lines are still the same as when it left Pininfarina. I made a CD for the shop to use when they are doing the final lines. In particular, the front fender line to the top of the headlights and the rear fender line down near the brake lights were of interest to me.

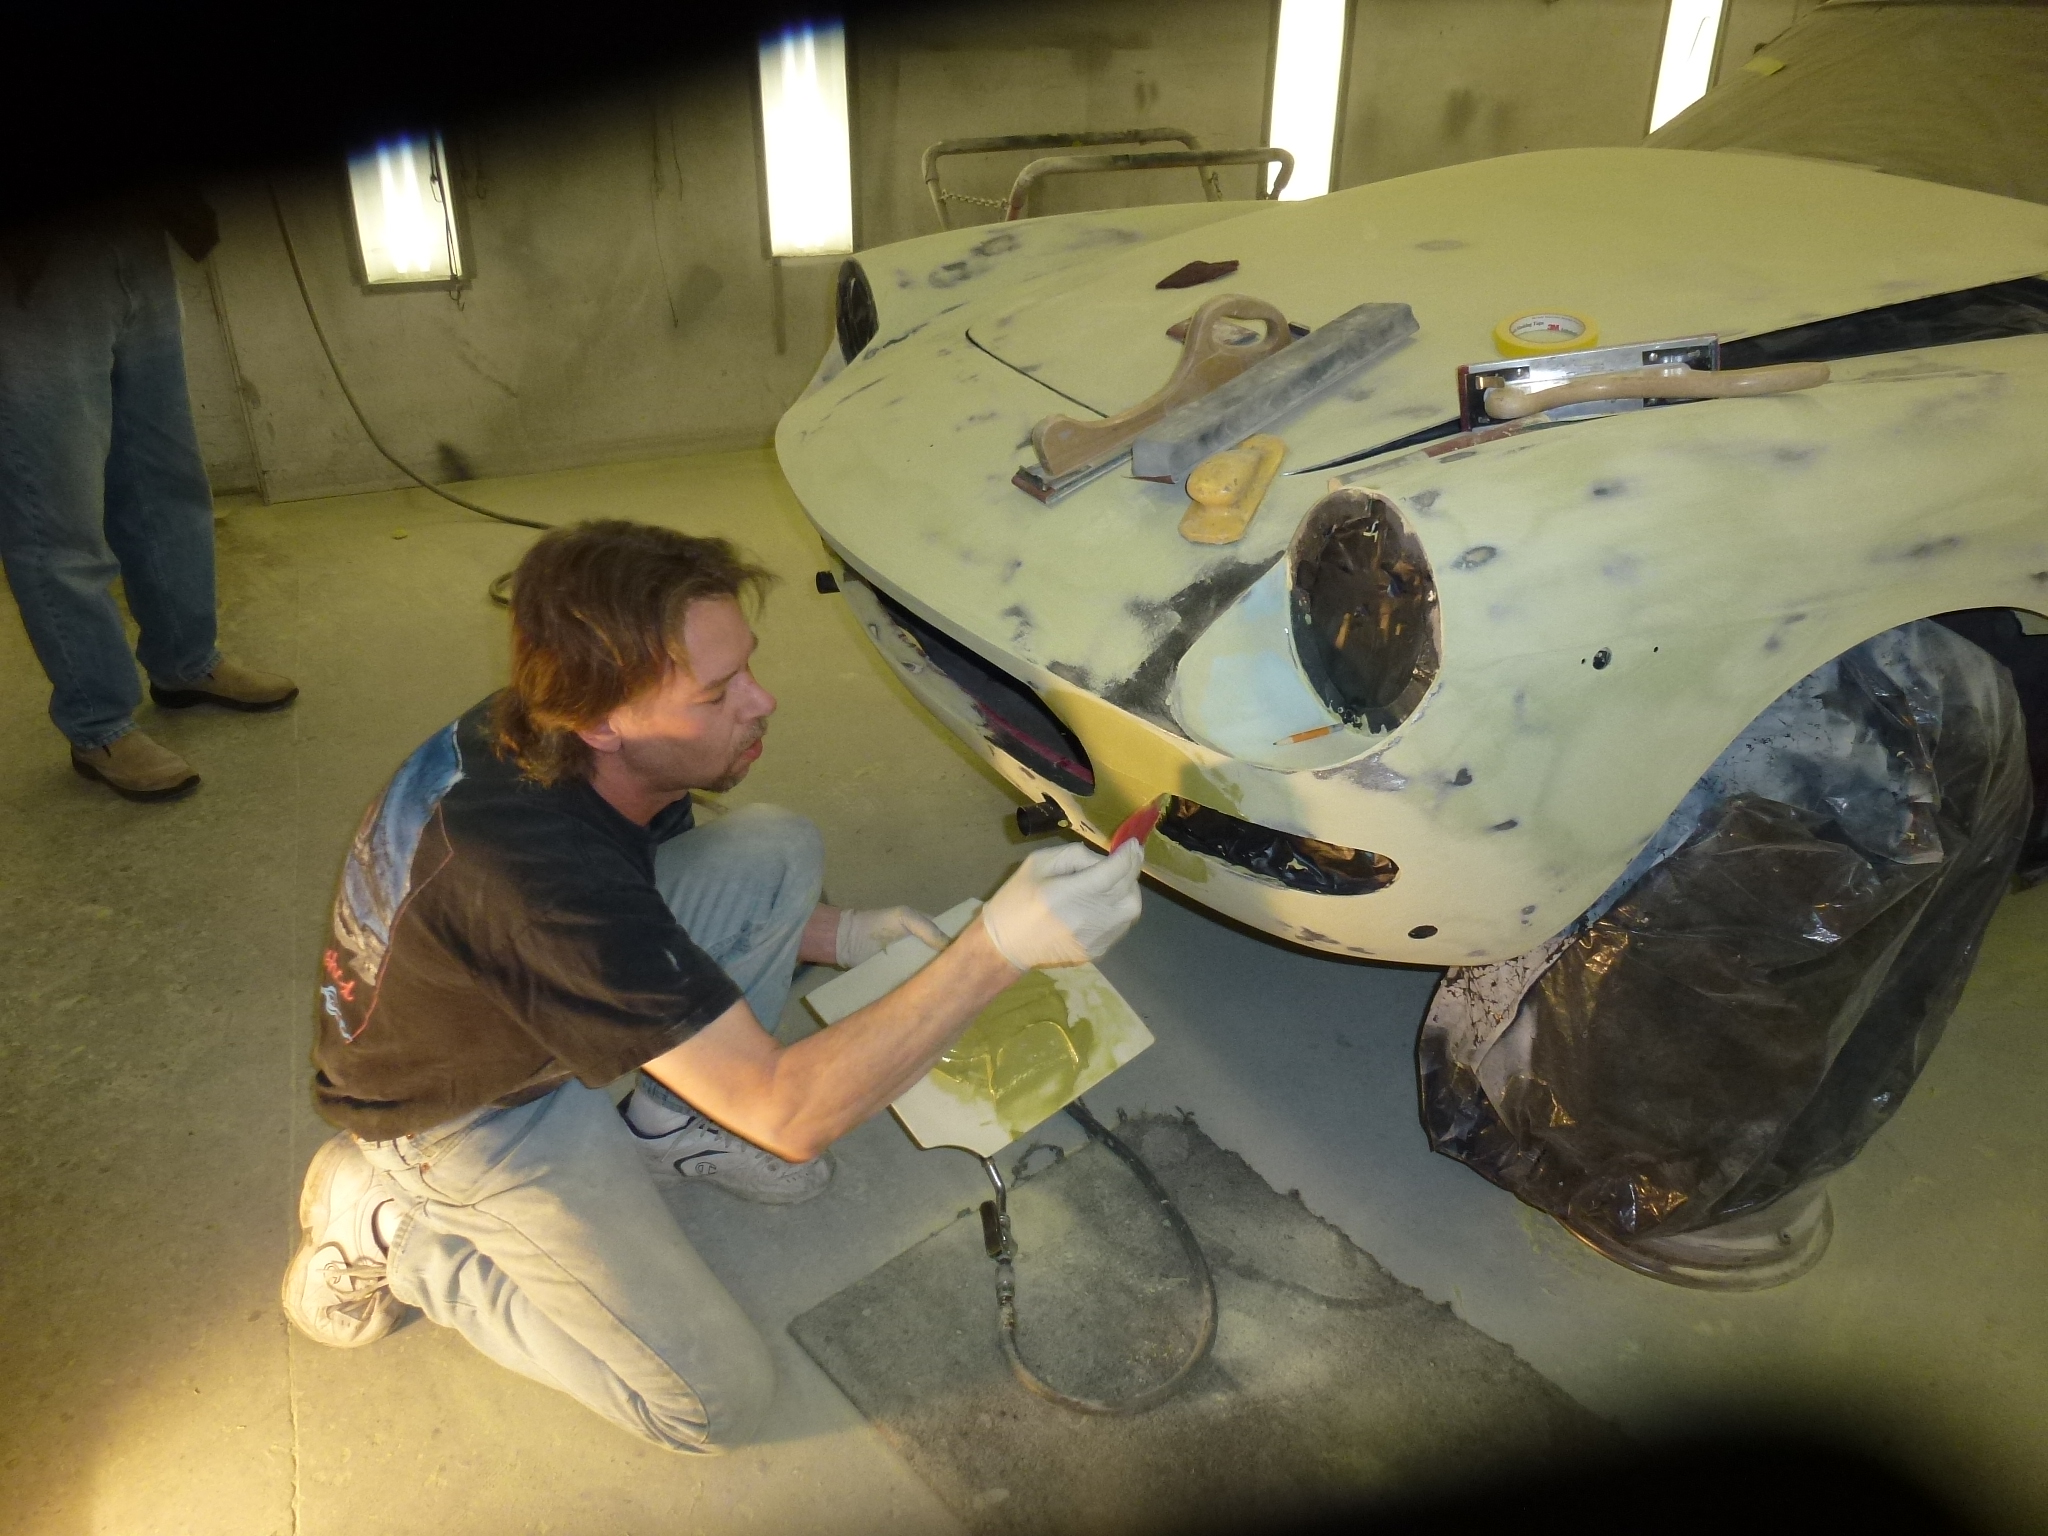
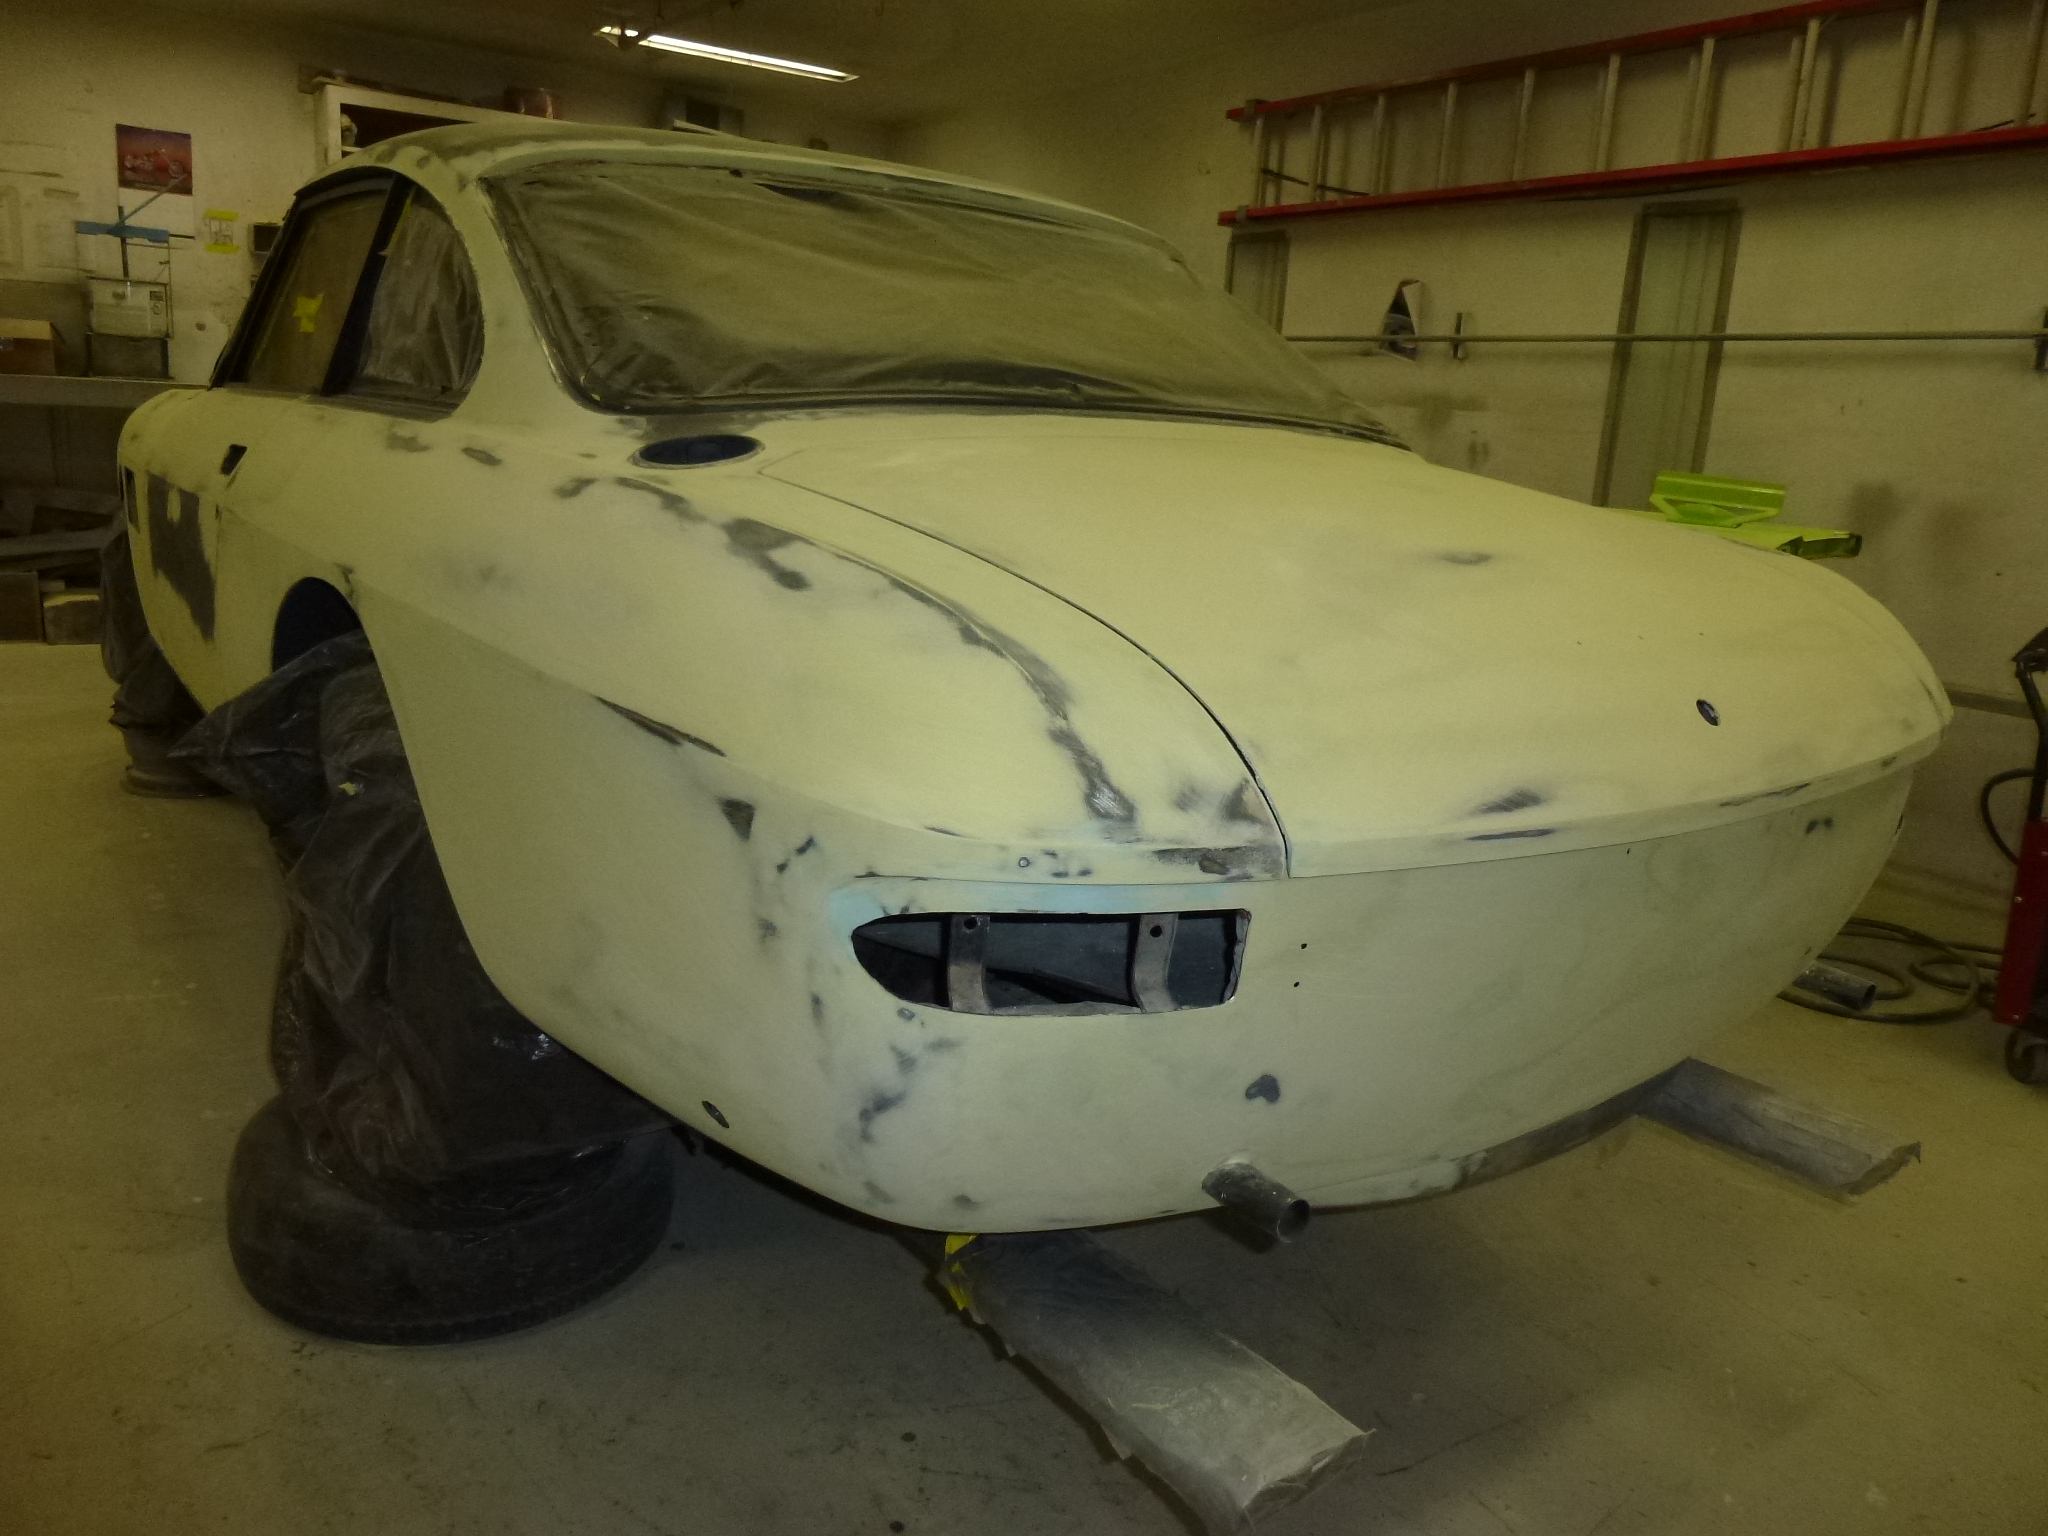
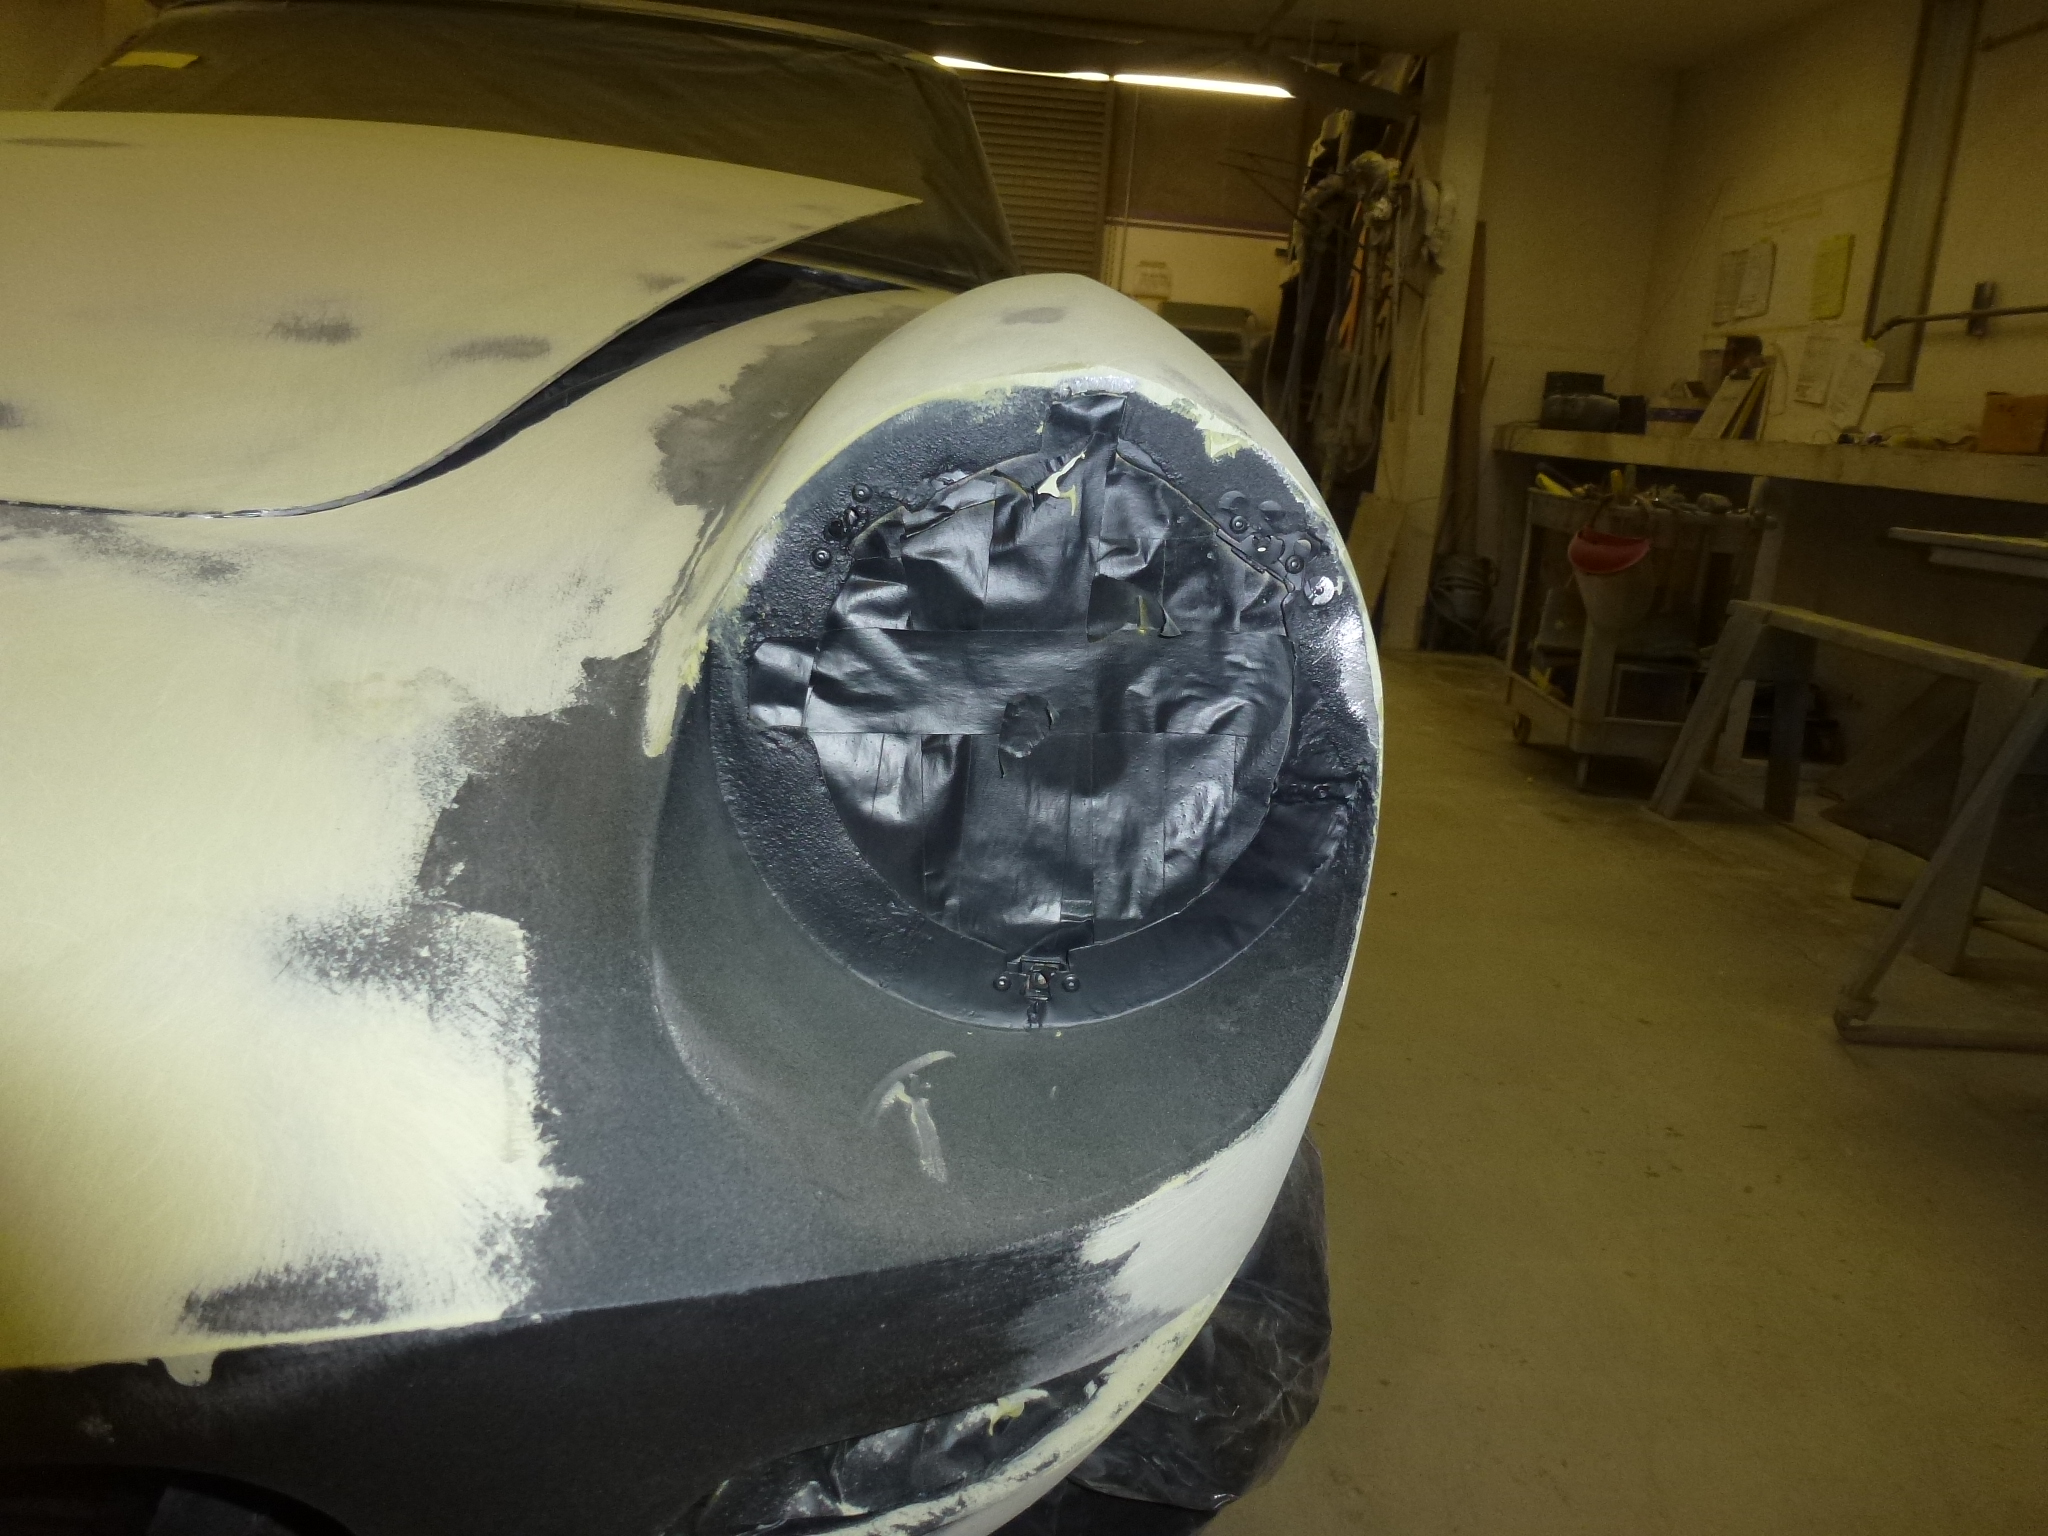
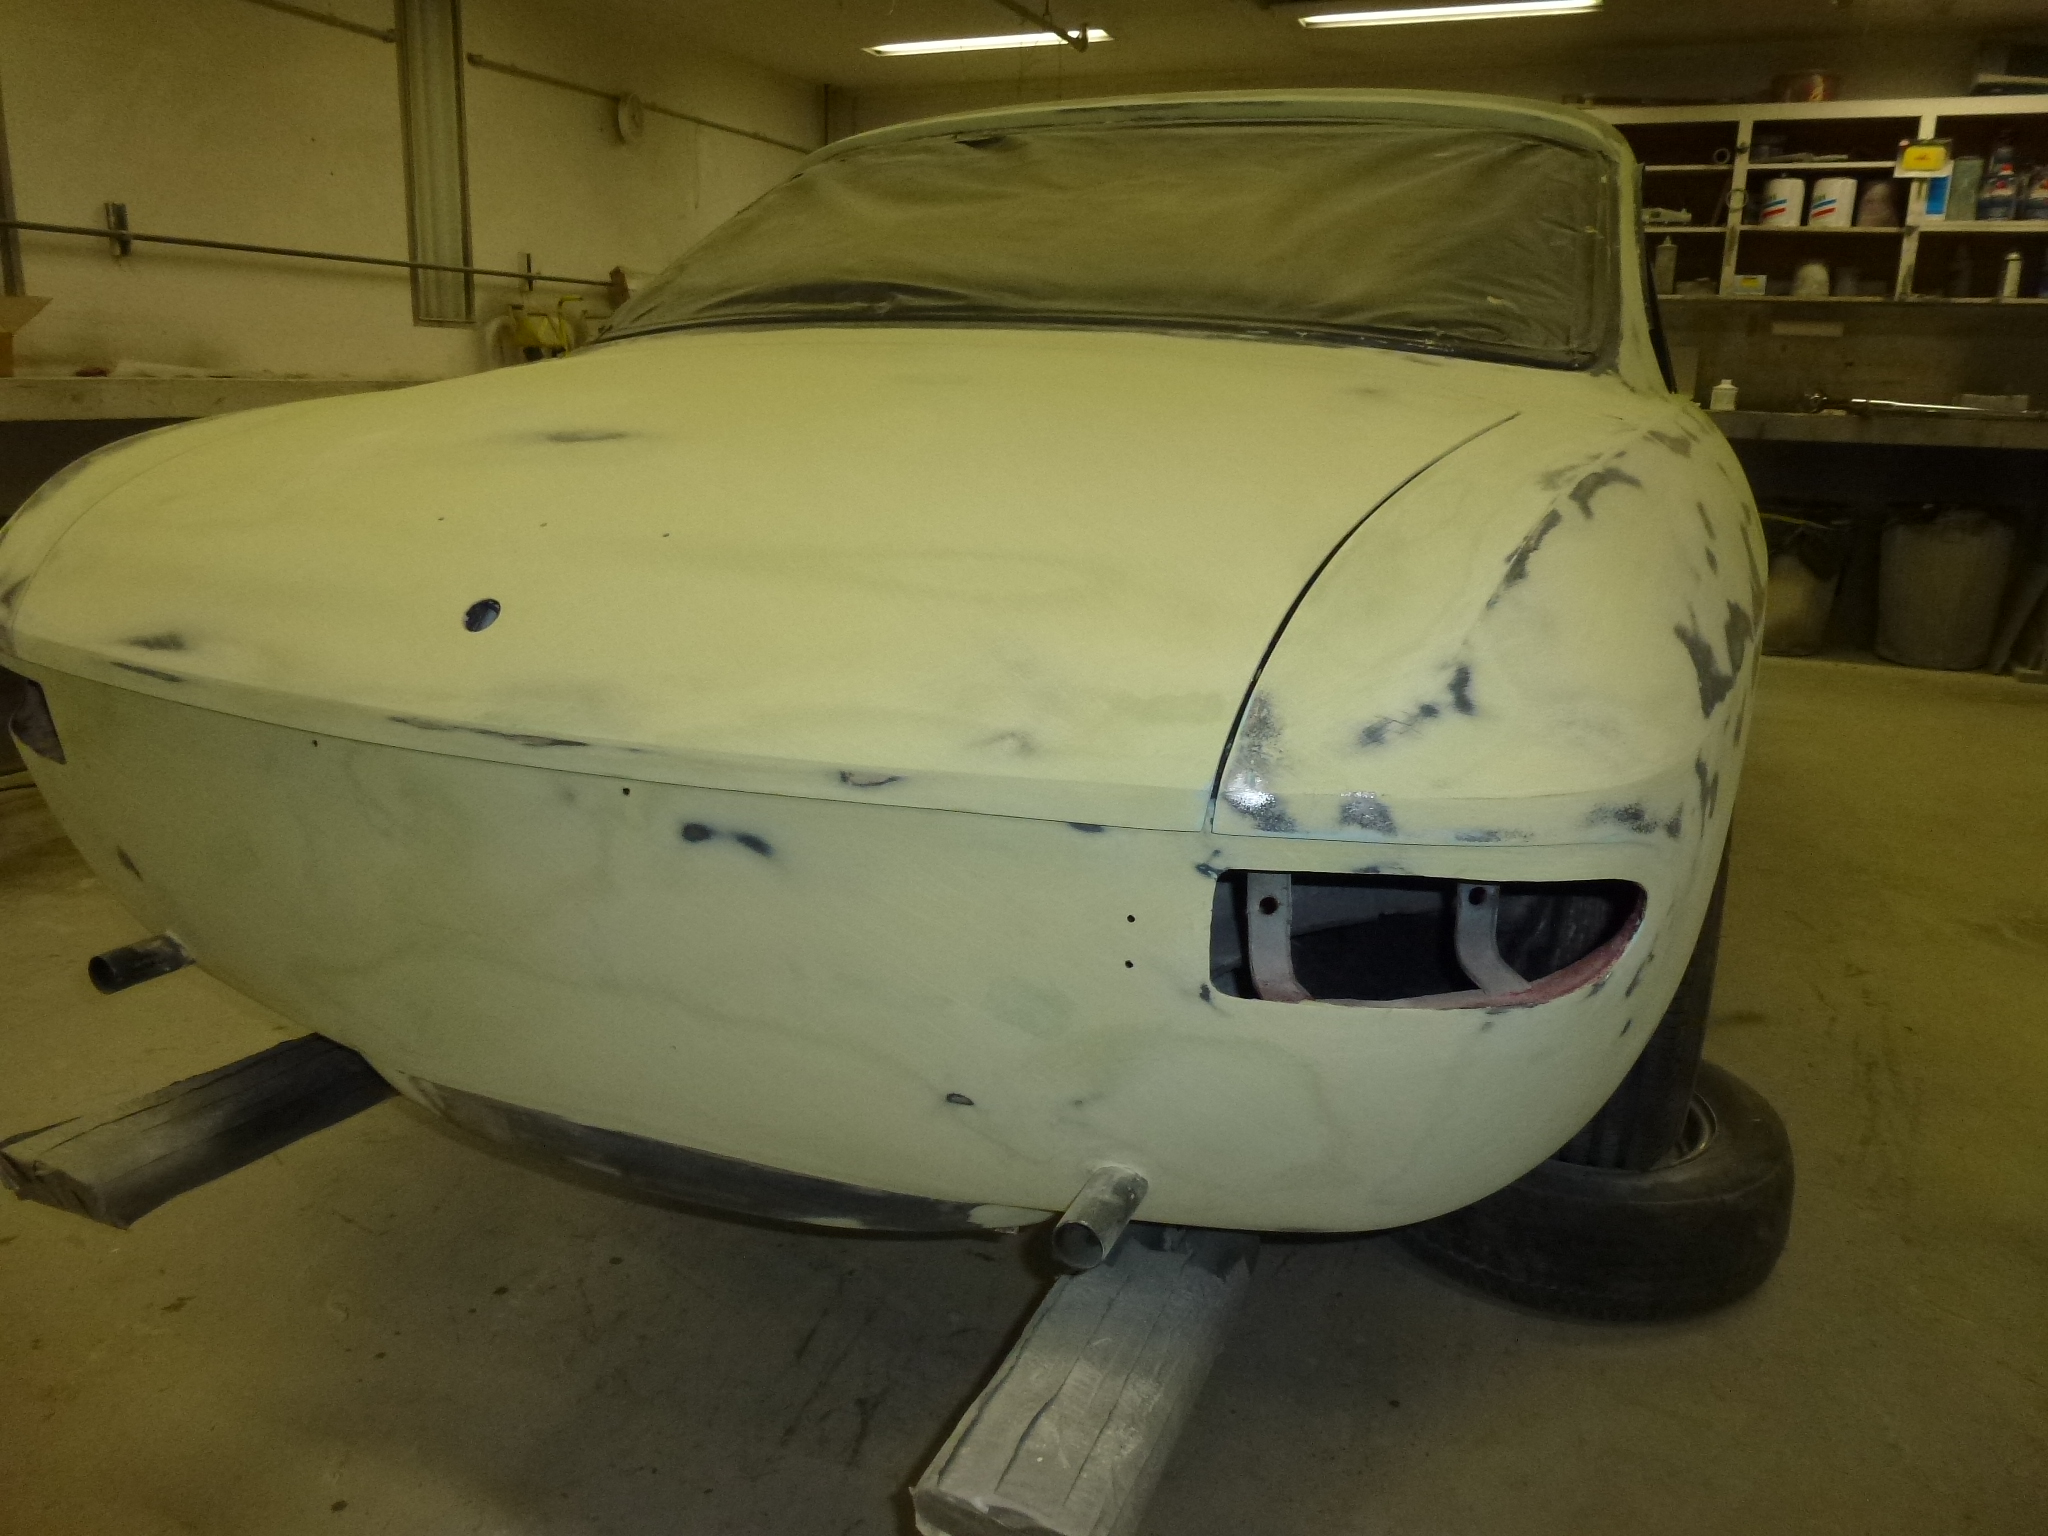
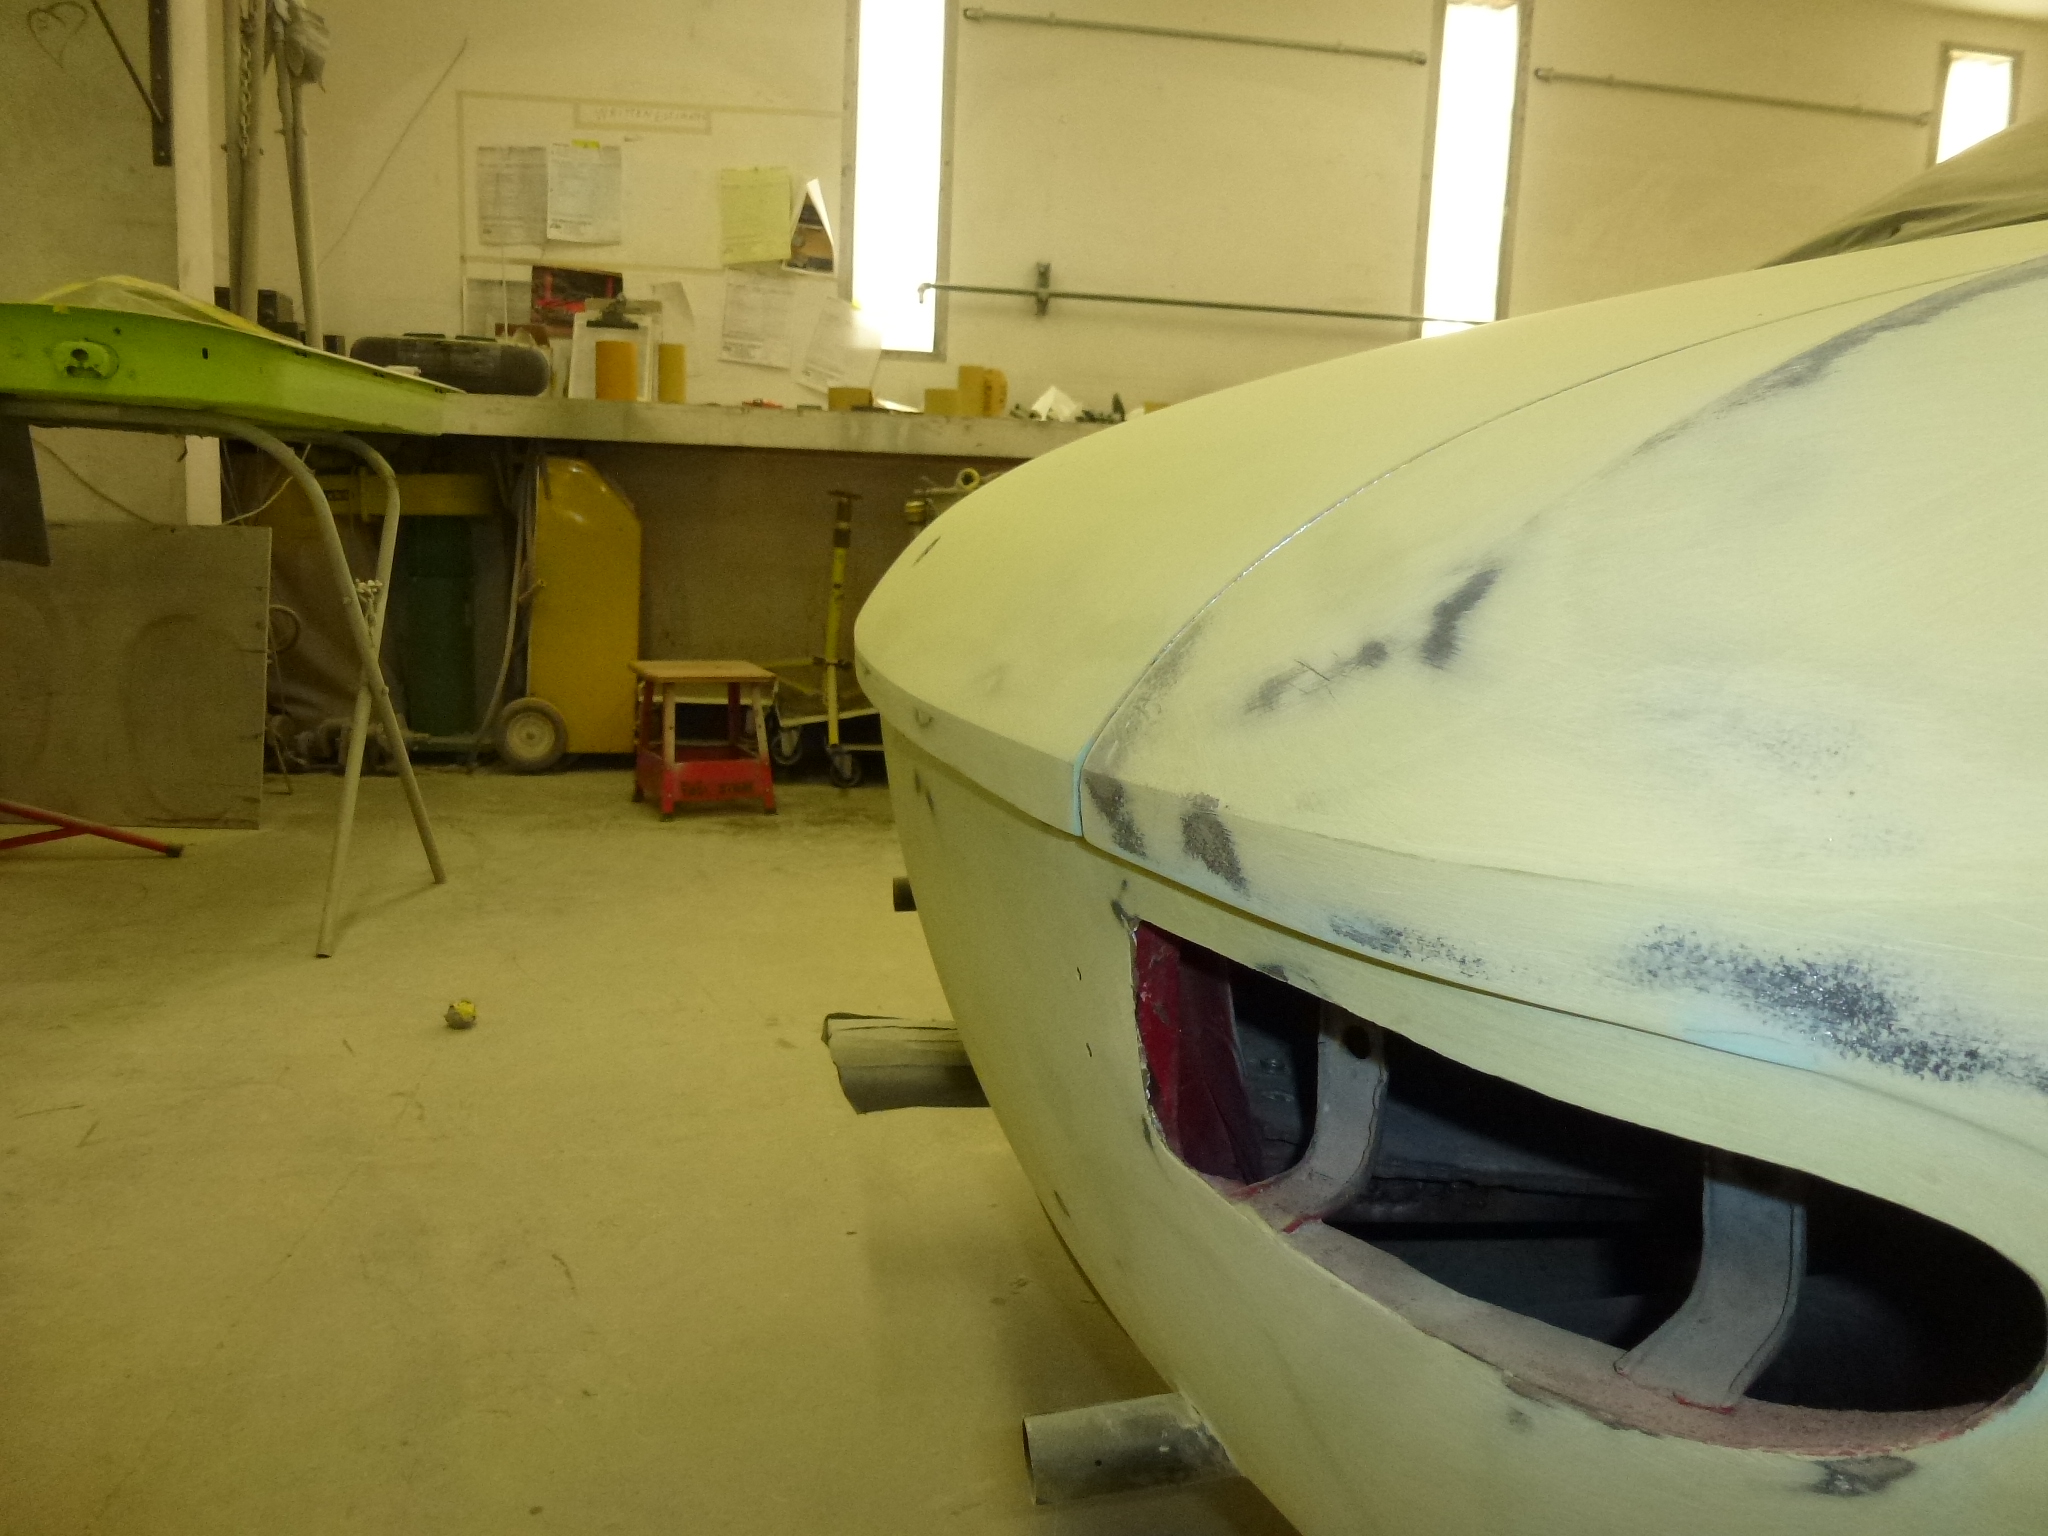
The body guy also wants the front and rear turn signal assemblies so he can use filler to have the body conform to the assemblies. This is something I never considered when I originally did the body. So I'll make a trip back next week and drop off those parts.
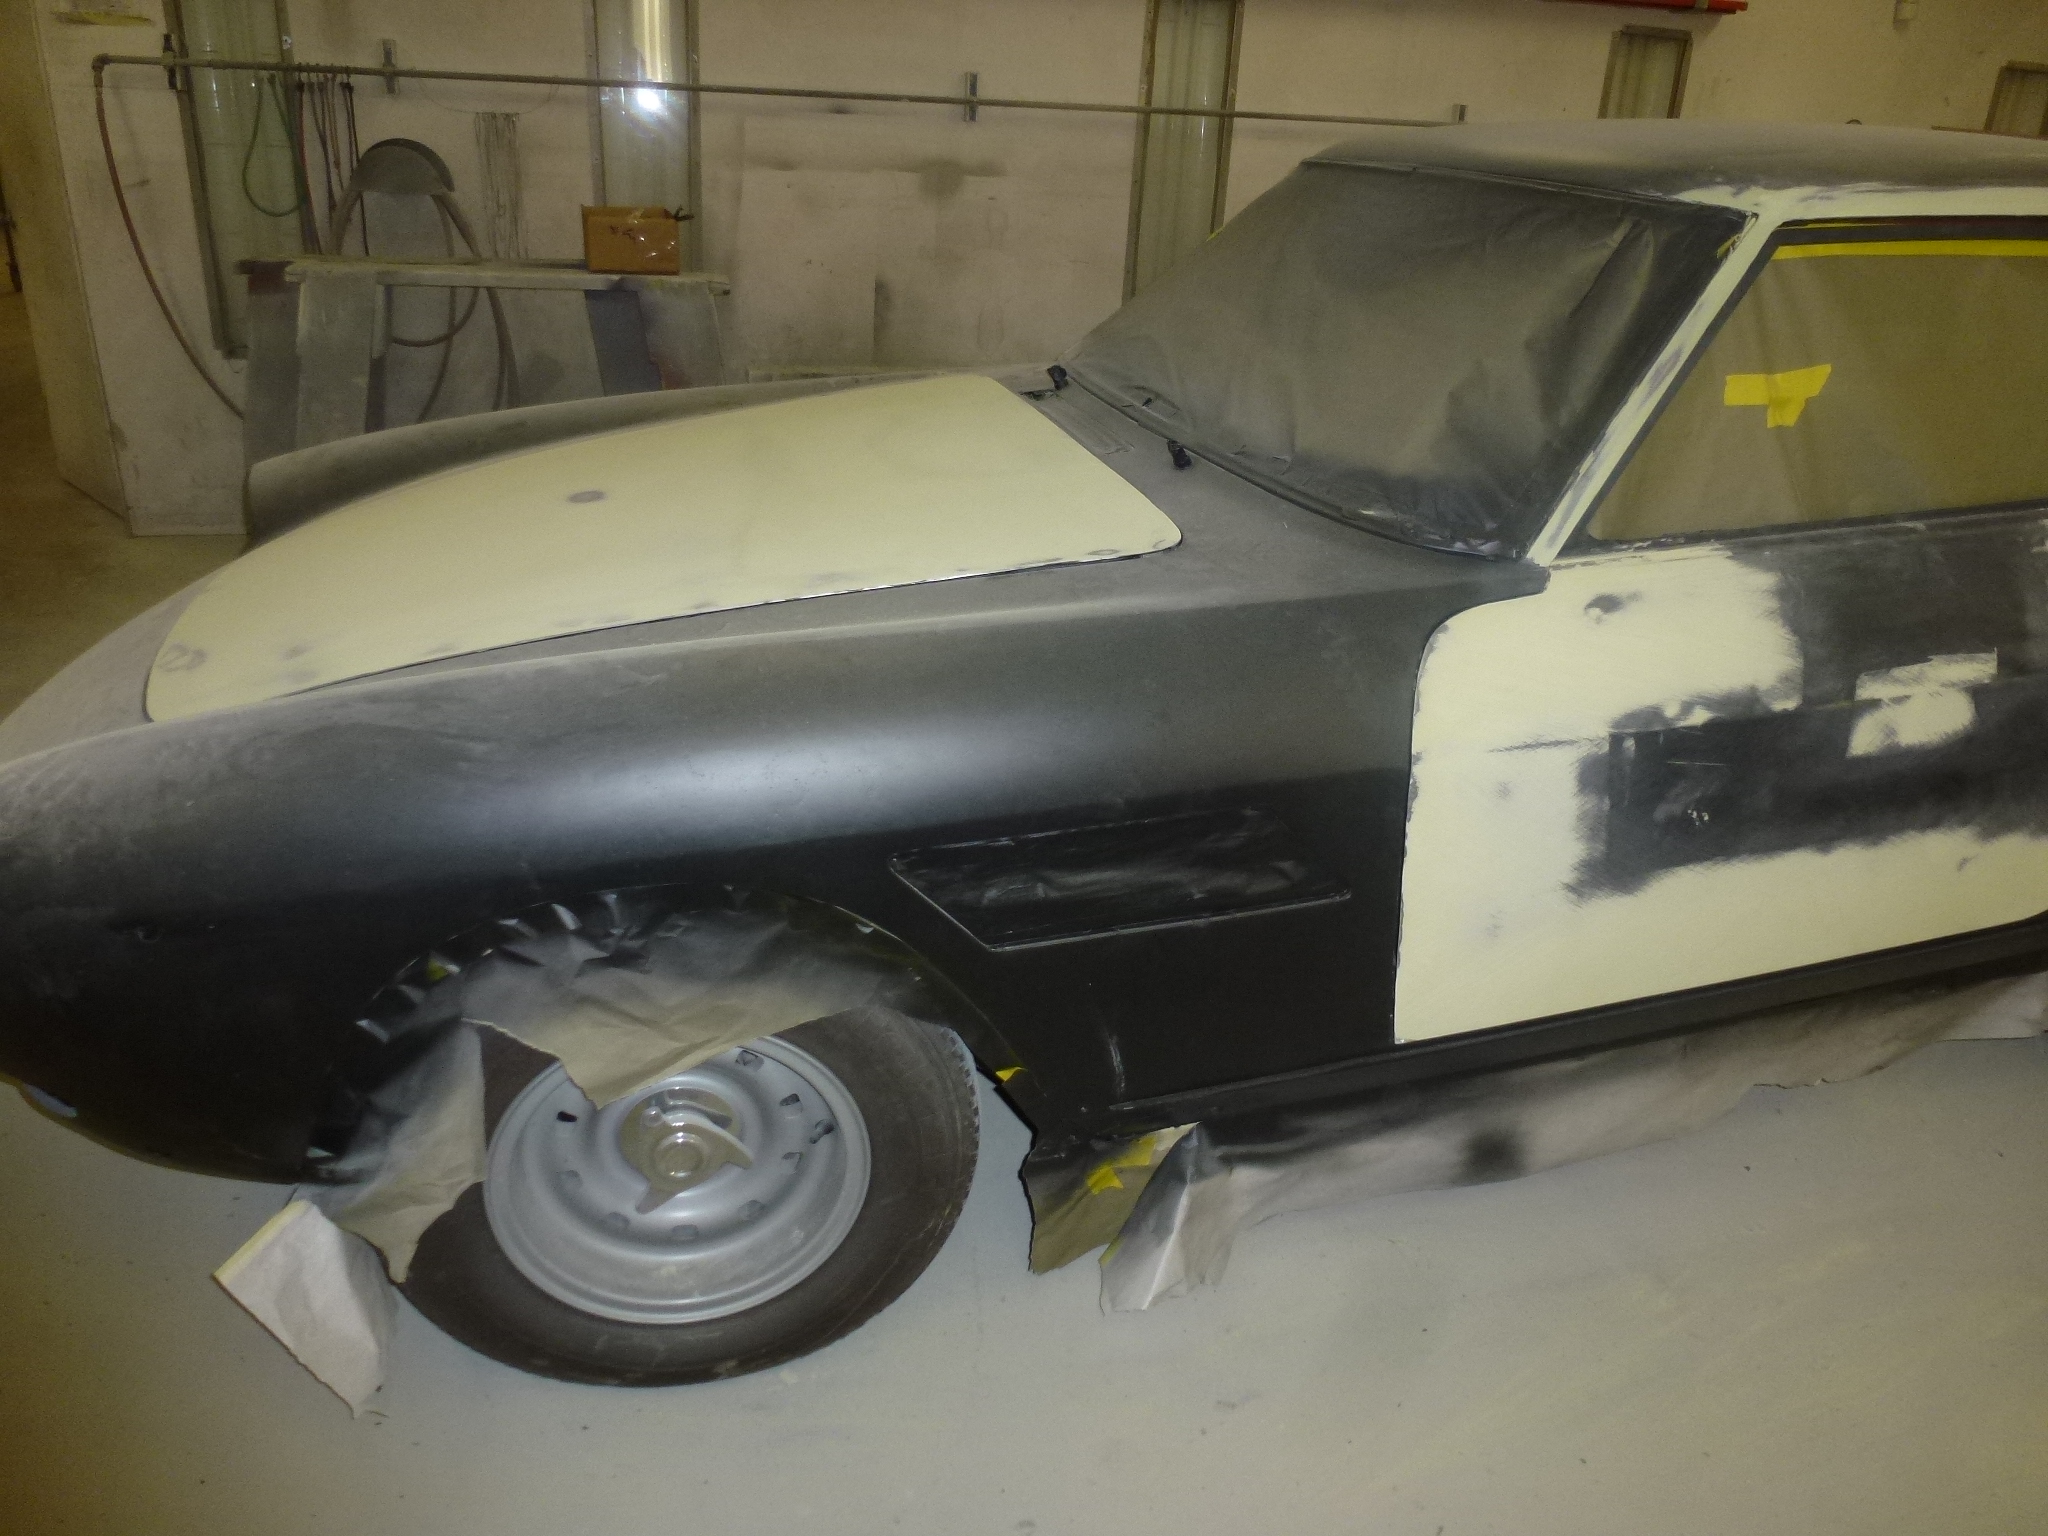
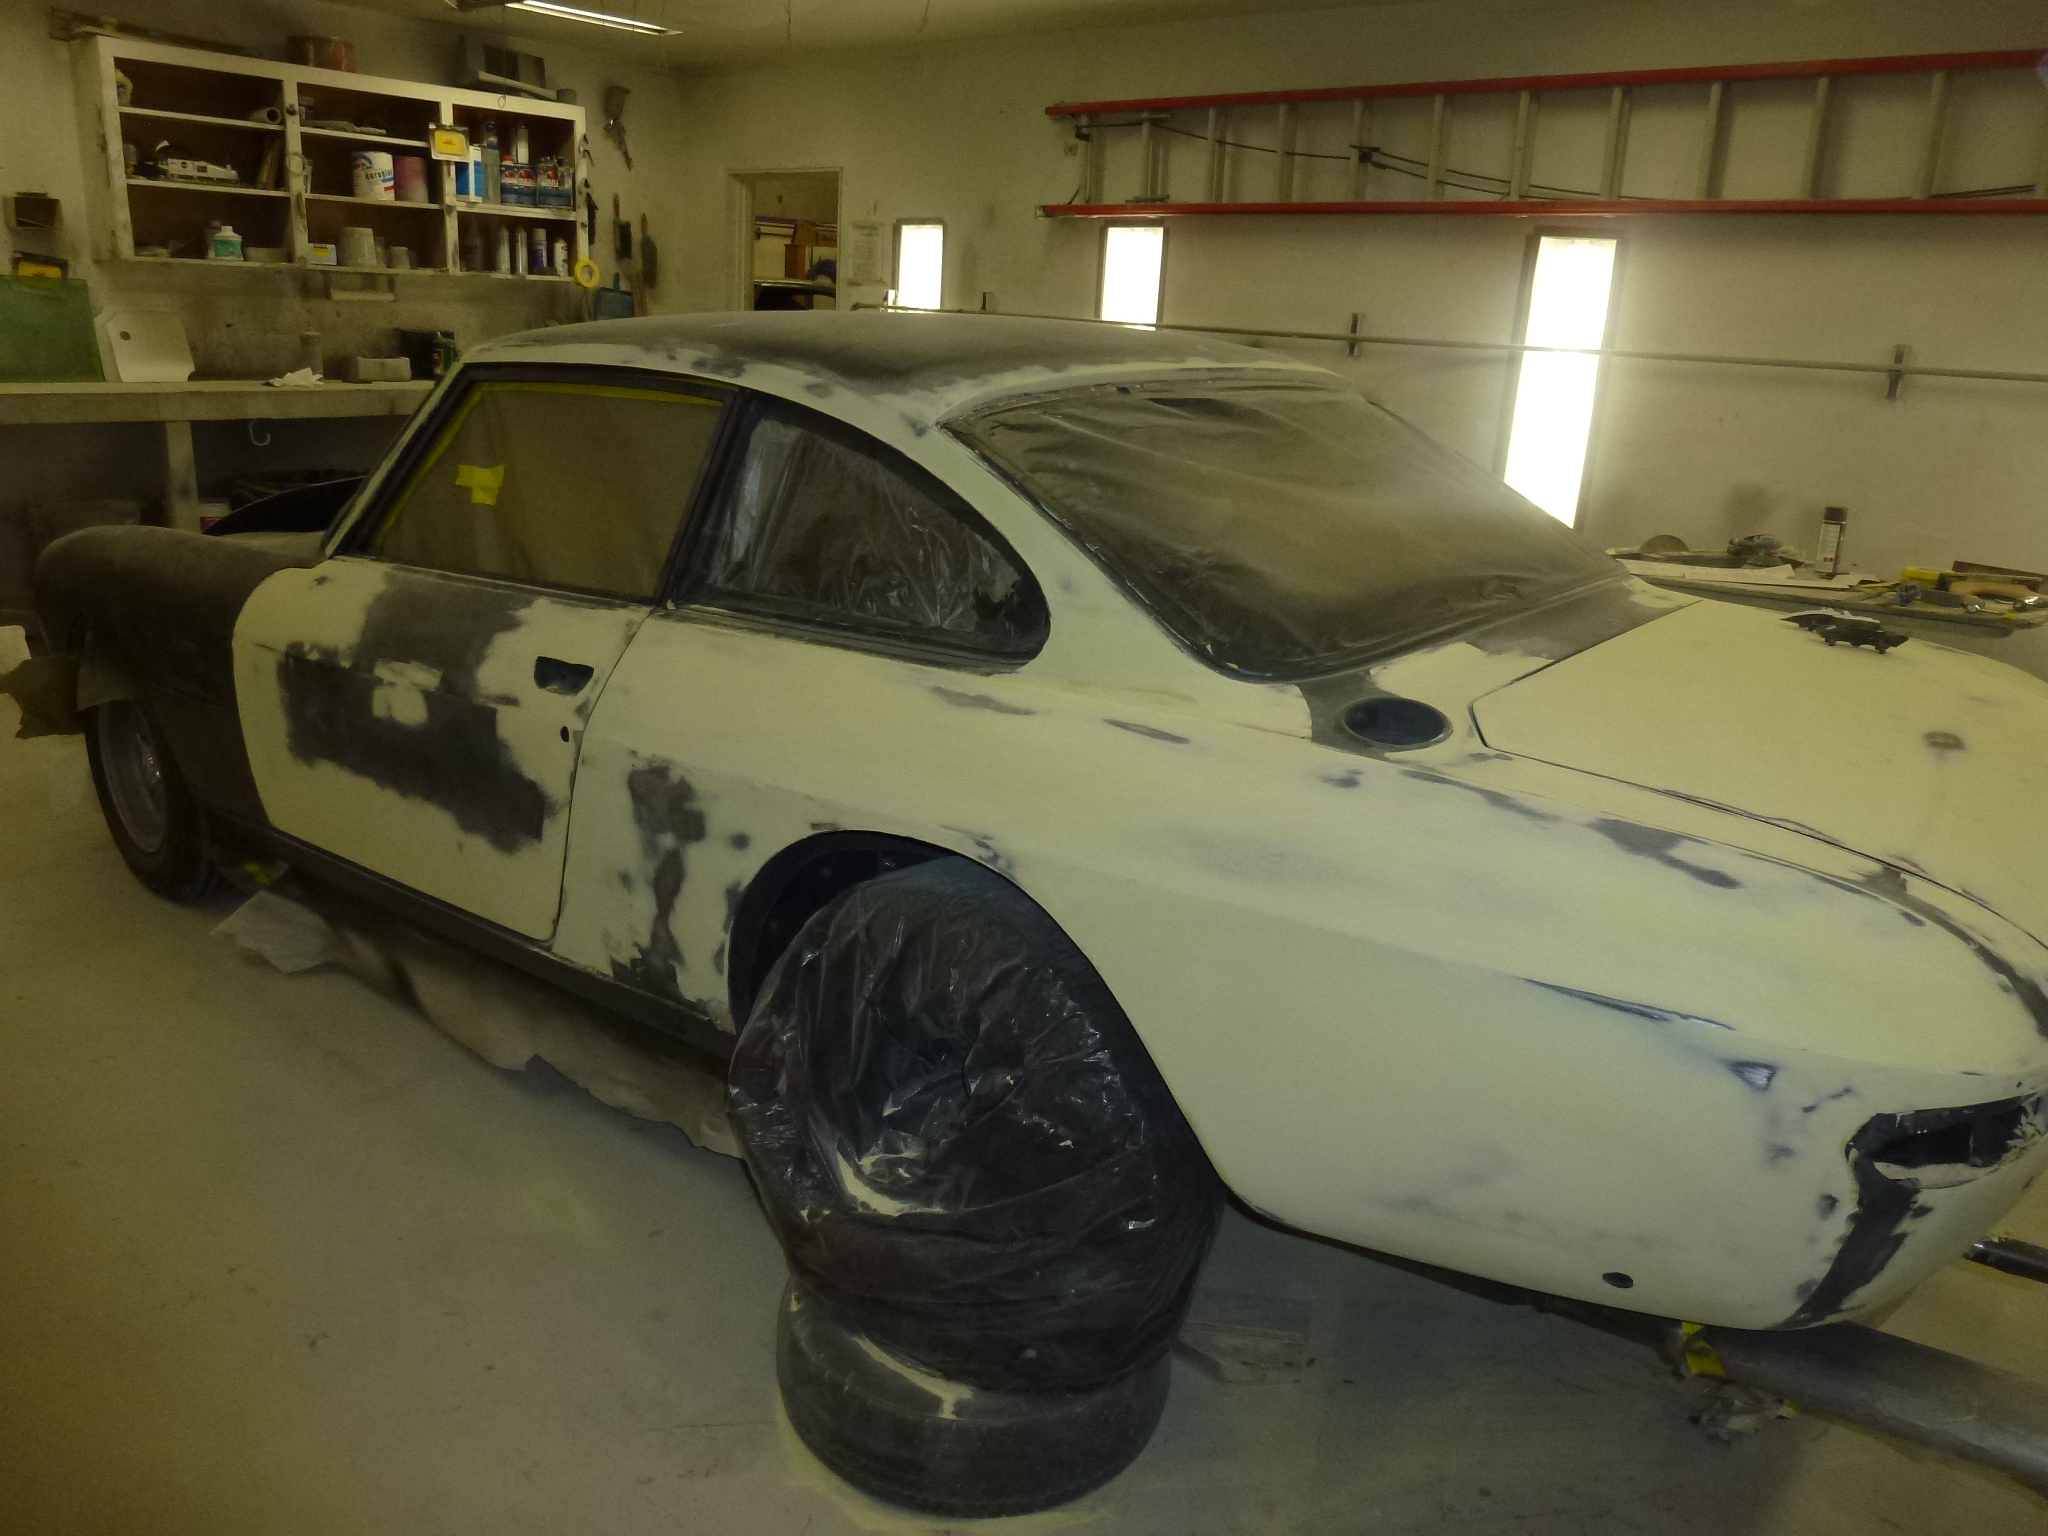
I stopped by to drop off the signal assemblies. Most of the rear is done with just needing to check the fit of the rear lights. They are working up the sides now. The door hardware has been re-fitted so they can make sure that the fenders and doors are flat to each other when latched.
I was also going to bring my knock-off tool and large torque wrench so they could remove the wheels when needed, but I forgot them. Instead, we used a 2x4 and a large hammer to loosen them.
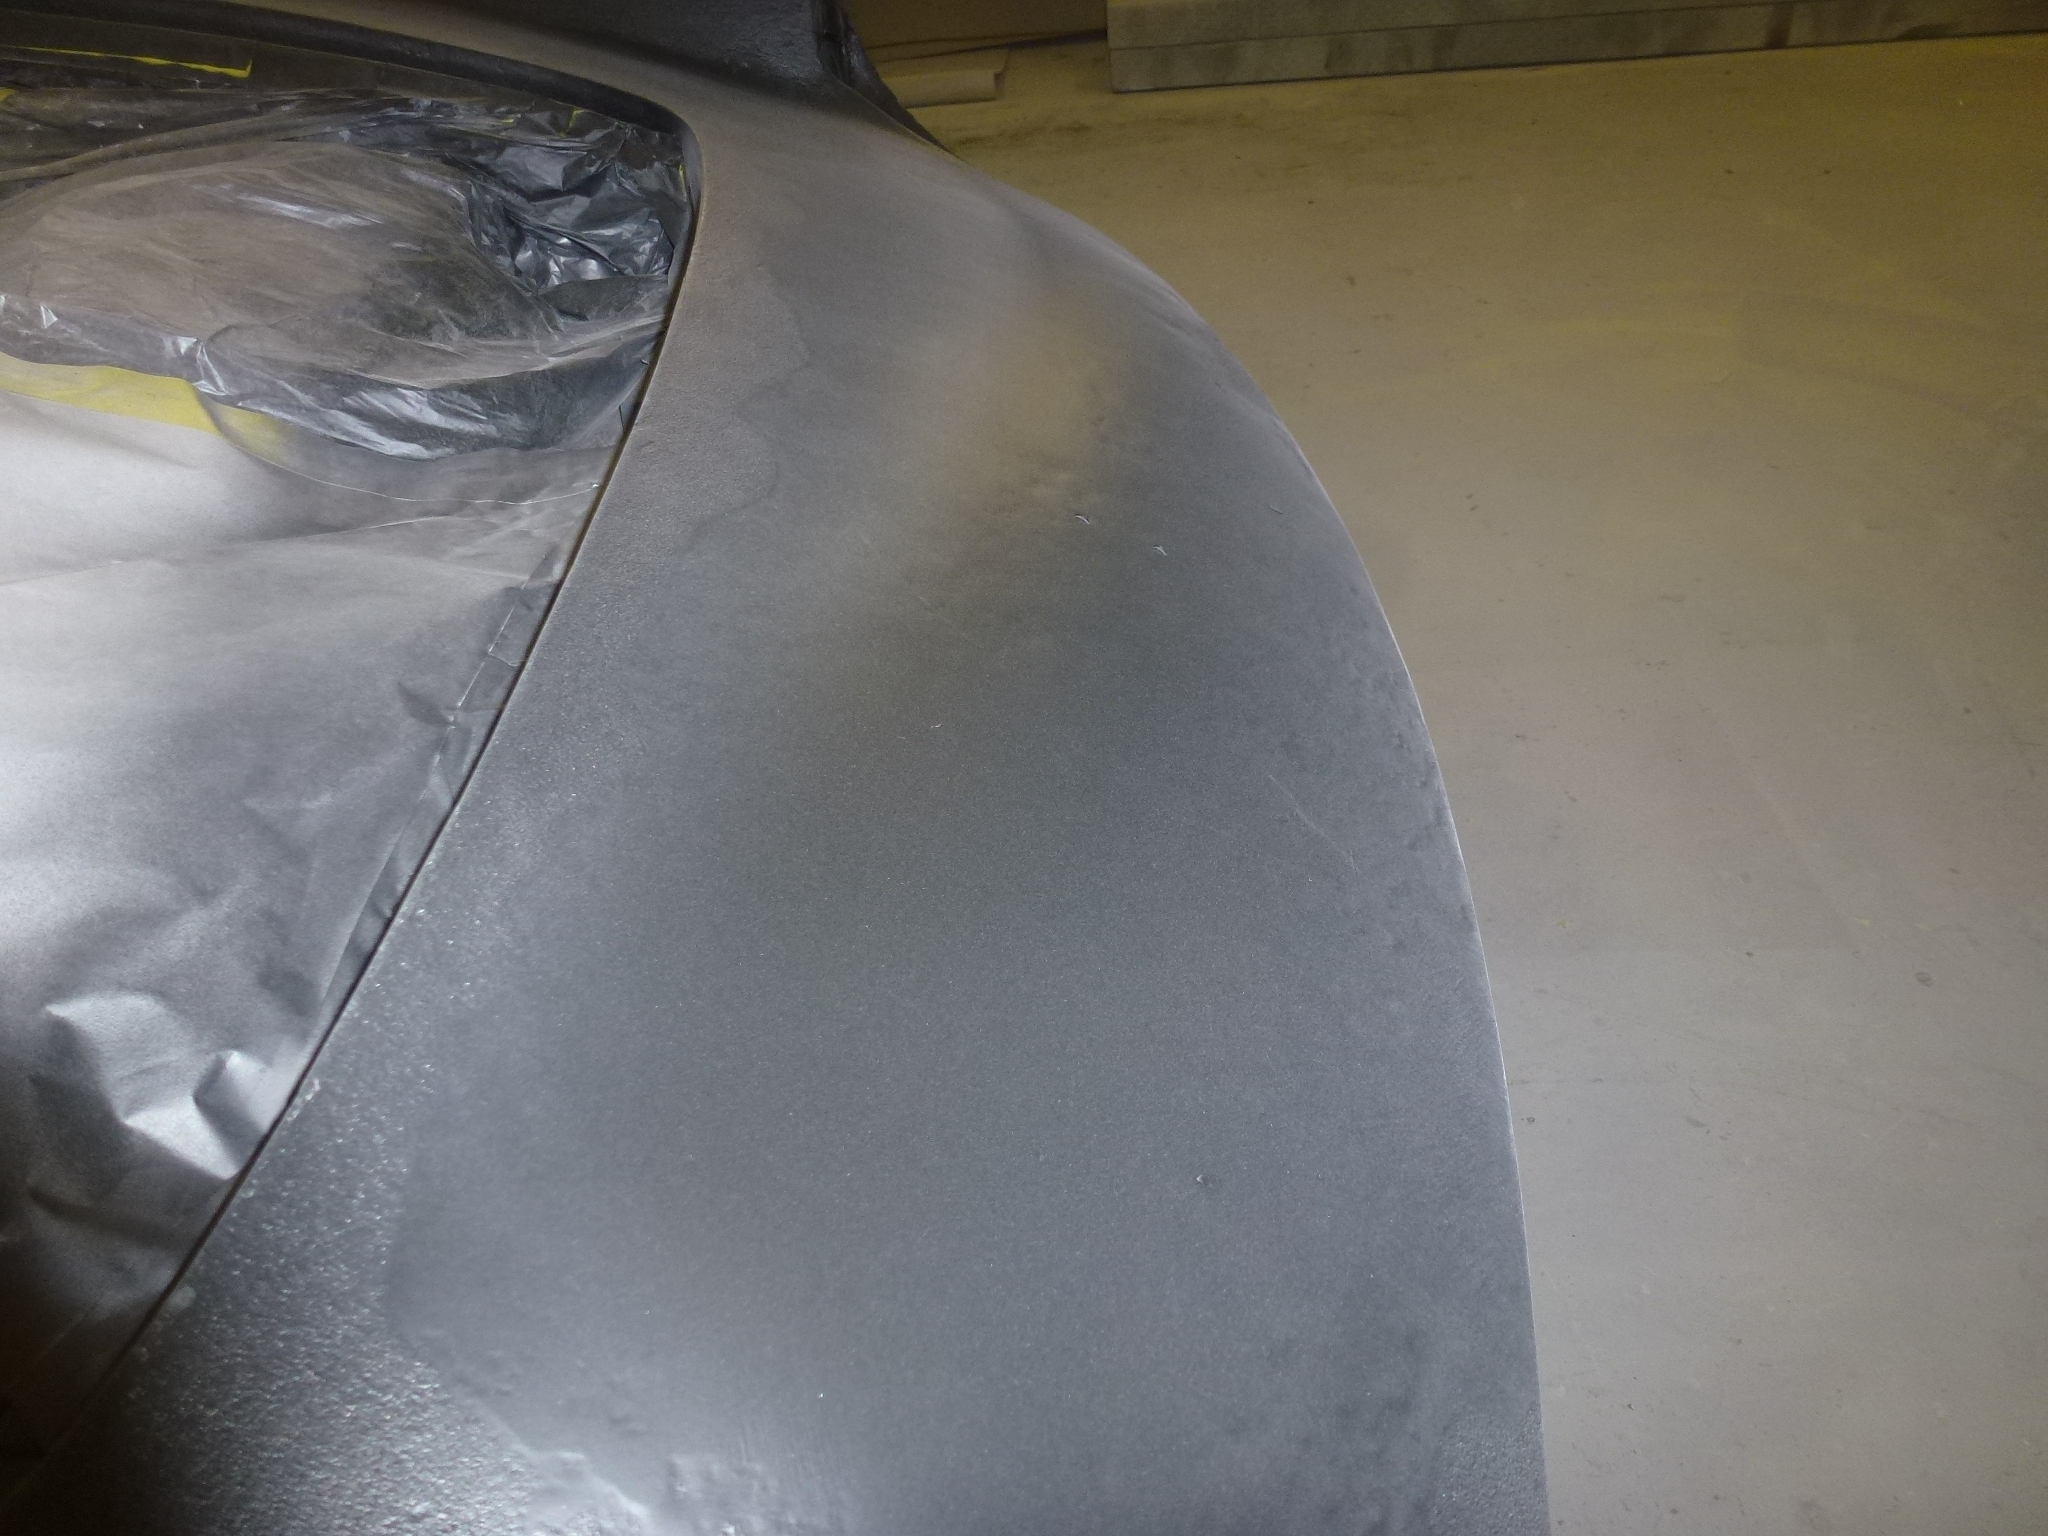
I dropped off the knock-off tool and torque wrench and took some more pictures. Most of the metal work and rough filler are done.
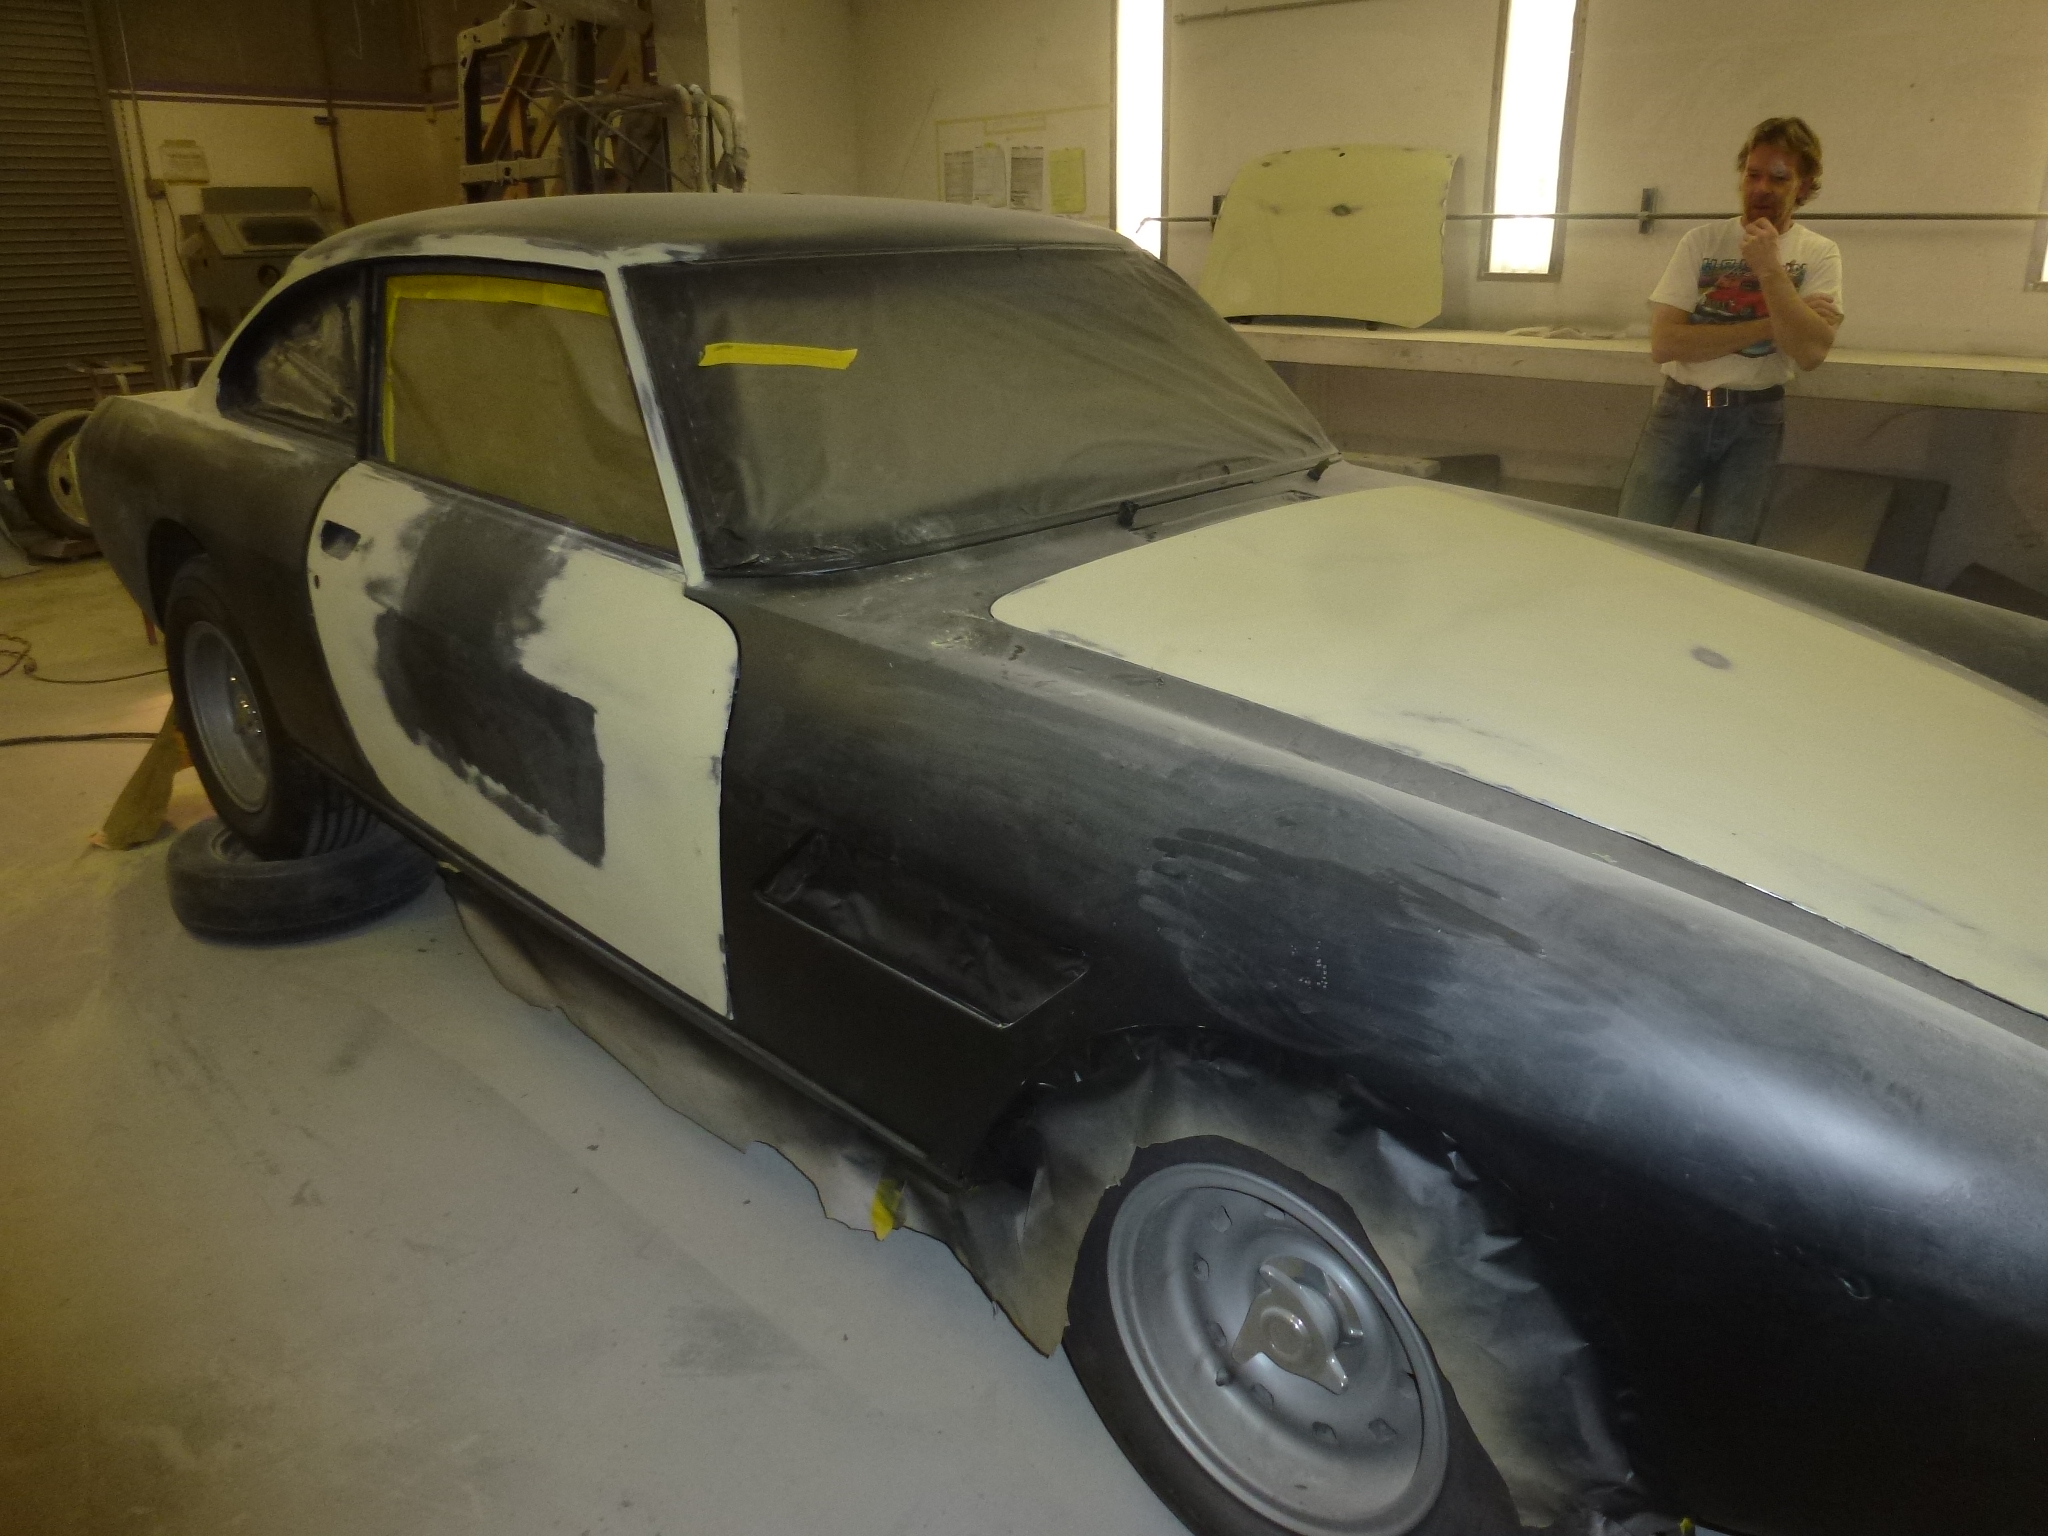
The body man is now starting to work on the body lines. He's keeping the edges crisp to see them better, but later, we'll round them over a bit.
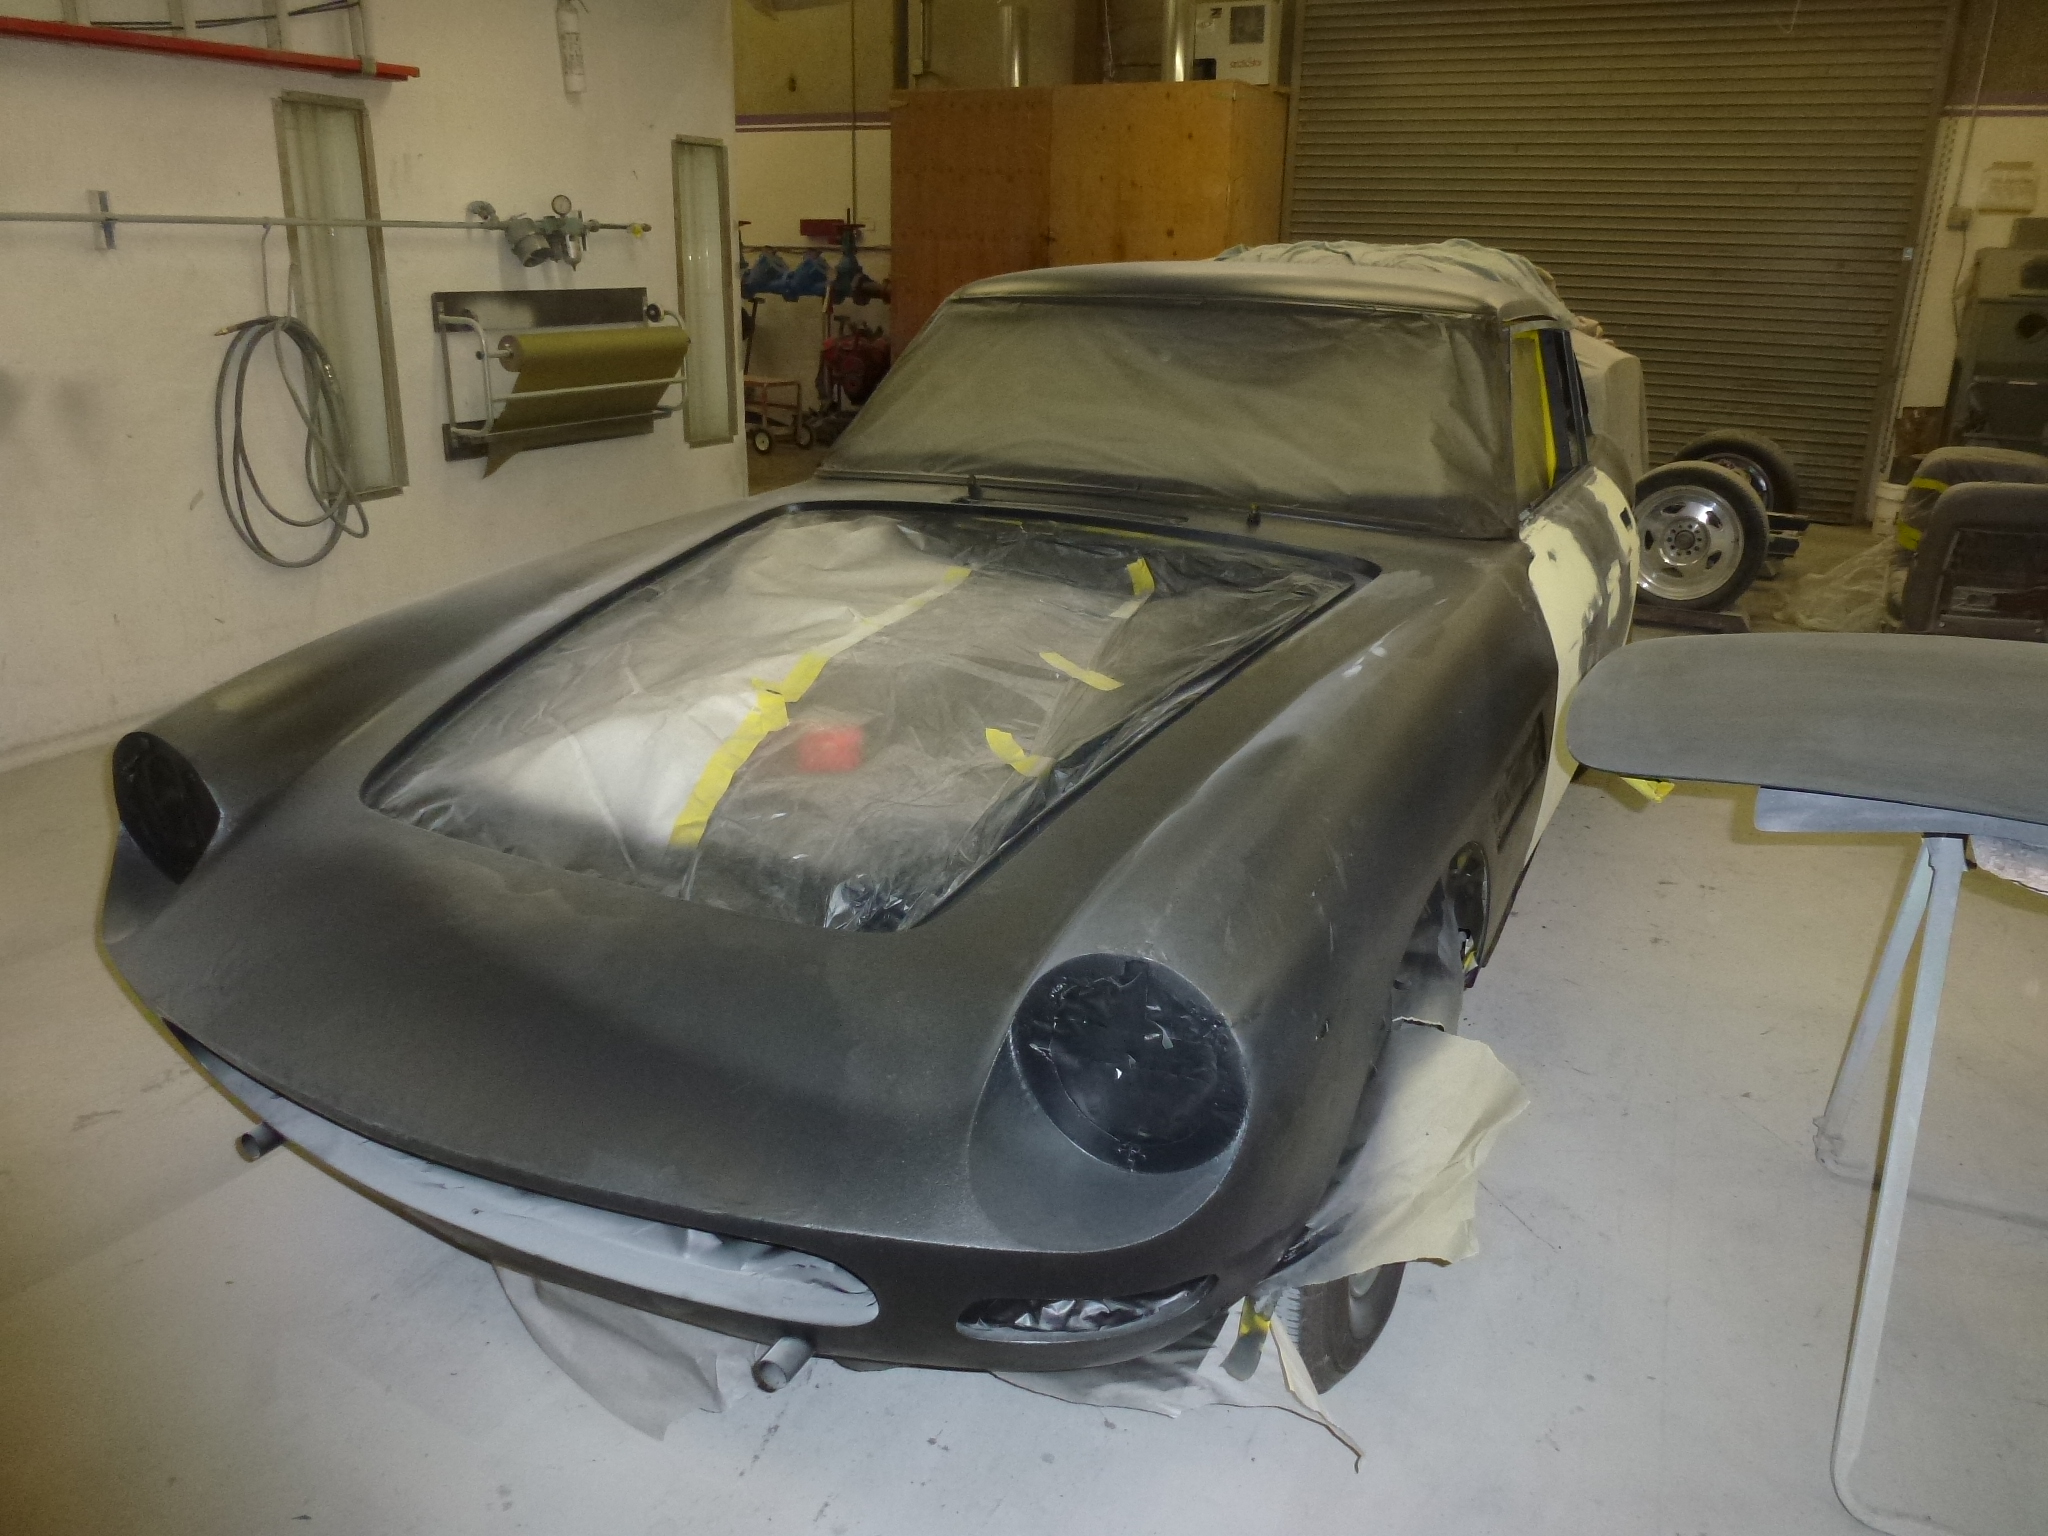
The rust holes under the PF script have been welded up or in case of the RH side, a new piece fabricated and welded in. During that process, sleeves were welded from the outside panel to the inside panel where the studs from the triangular rub rail goes through the body. This way, there is no place for water to get into the rocker area.
The work is progressing well and I estimate that I'll get the car back in mid-February. It's about 40% done now.
I stopped my to check on progress. They expect to have the rough body work done in a week or two. Then it's a new coat of sealer to protect where the metal has been exposed from the sanding, followed by a primer/surfacer layer. After that, block sanding and fixing whatever minor imperfections are found.