A Fiasco
I went back to the east coast and visited Buddy Obara (9667) along with going to the Radcliffe Motor Car event in Maryland.
Buddy had mentioned that two of the studs holding the air cleaner to the carbs were stripped out. I said that I had replace about half of mine over the years, so it was not an uncommon problem. I also have the Heli-Coil kit for 5mm, so Buddy asked if I would bring it back and fix his.
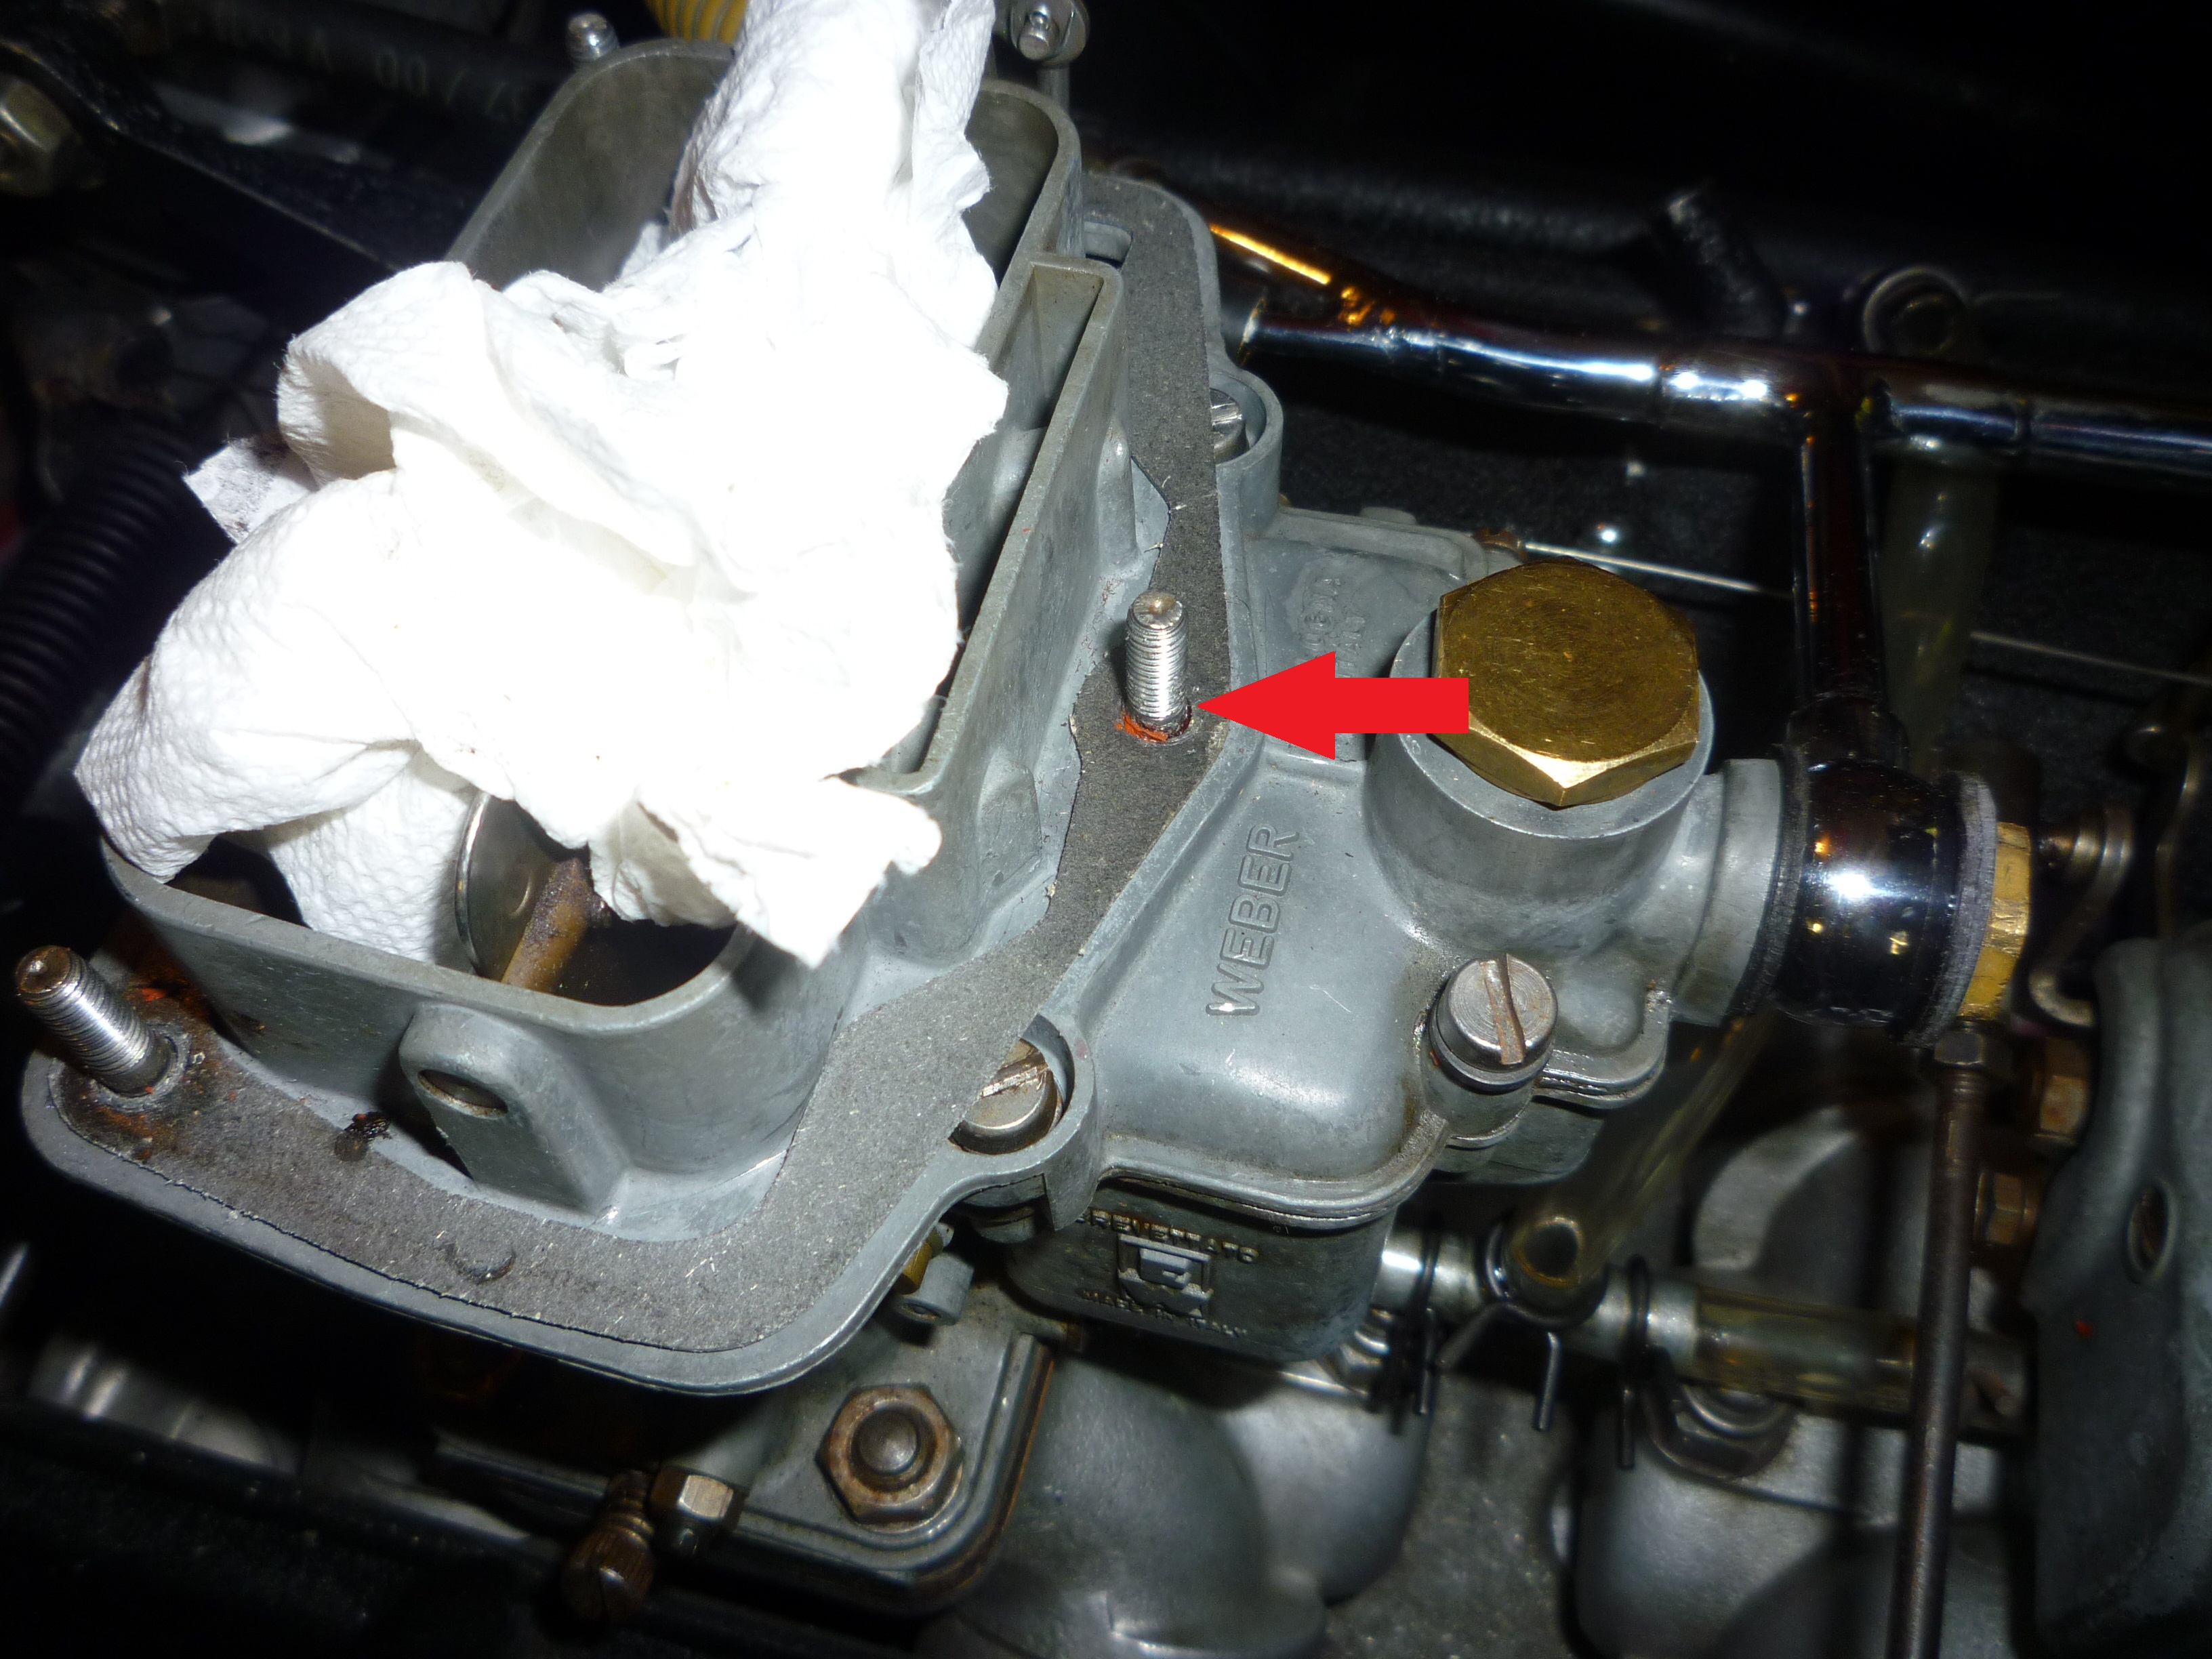
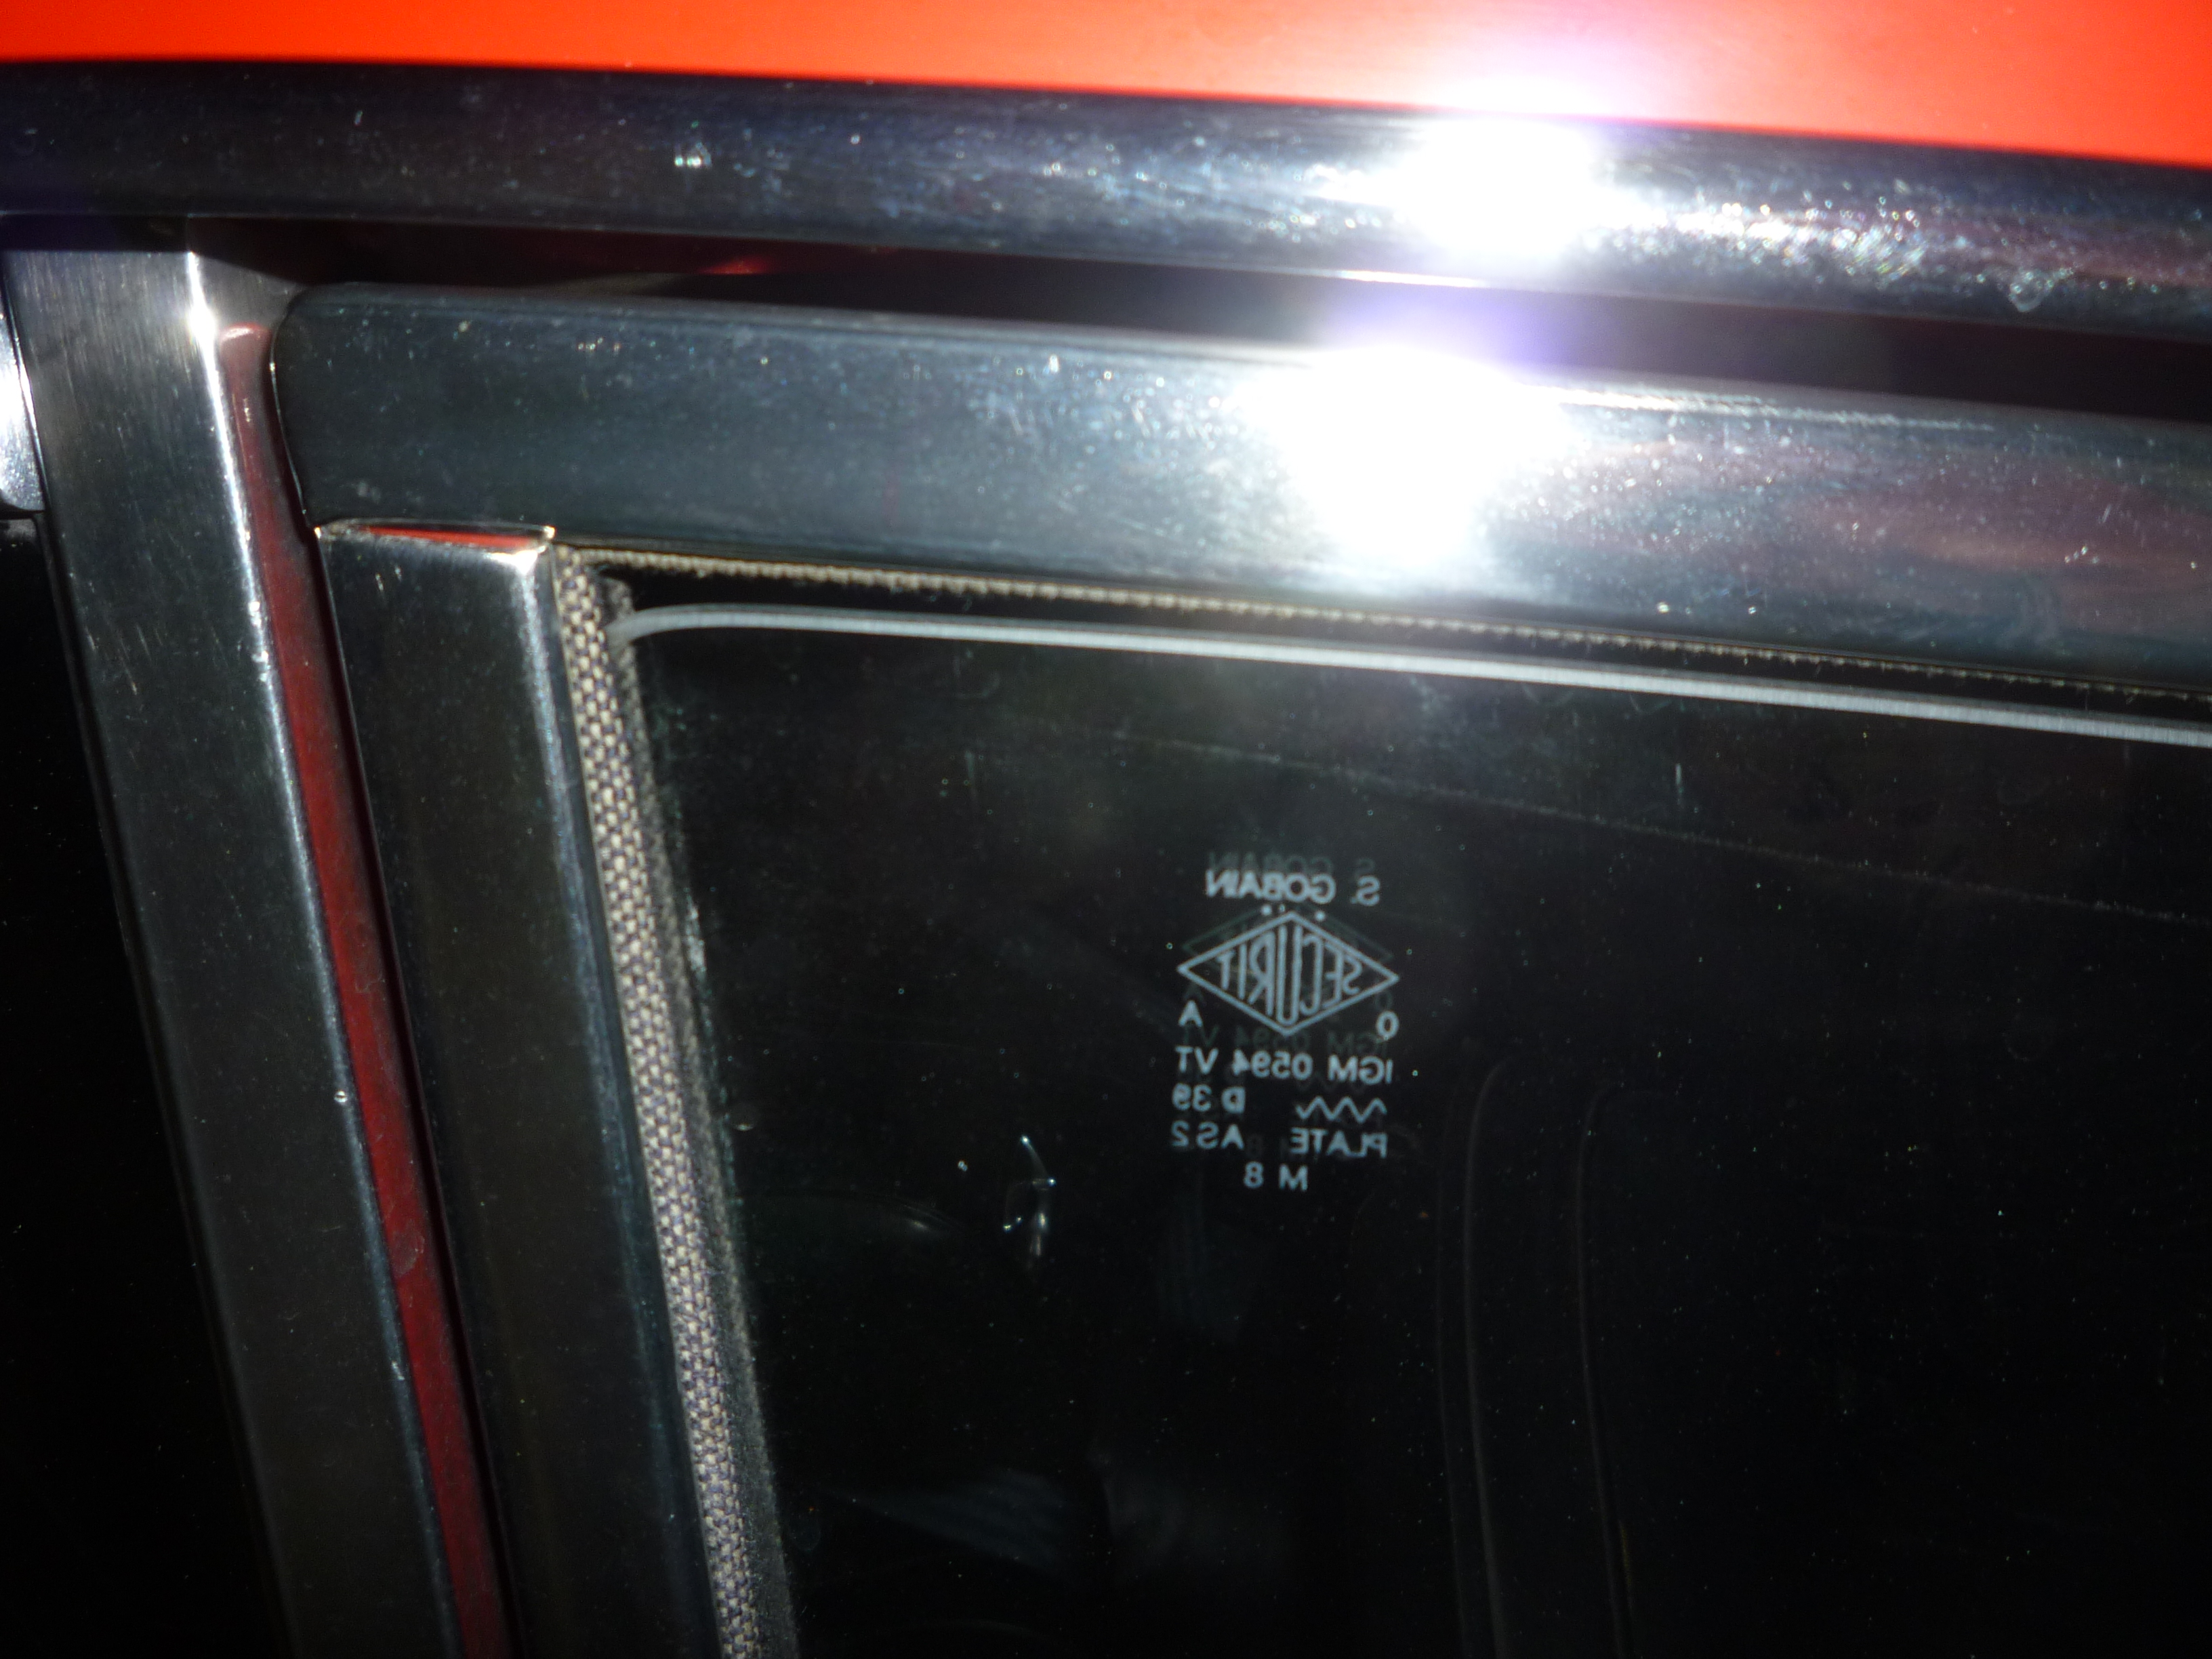
First, I had forgotten that his car has the 40 DFI-2 carbs rather than the 40 DCZ/6 ones like my car. The major difference is that there are 4 studs per DCZ carb and they are on the outside of the working area. There are only three per DFI-2 and one of those is over the float bowl. You can see the missing stud in the picture below.

Of course, the two stripped studs were ones over float bowls on Buddy's carbs. I've never taken apart a DFI-2, so I didn't know if the tapped holes had bottoms or went through the top. I poked with a probe and felt resistance, so assumed that there were bottoms to the holes. I carefully drilled out the holes and then used the Heli-Coil tap to create new threads. When I inserted the coils, they didn't feel right, having too much resistance as I was screwing them in. When I screwed in the studs, they also went in tight. We buttoned everything up, but that night I got to thinking about the situation and decided that the tops should come off to better understand what was going on.
So the next morning I told Buddy what we needed to do. At first he was thinking that I wanted to remove the carbs which would mess up the linkages and settings. After I explained just what needed to be done, he was OK, so I removed the banjo nuts from the two carbs, choke linkage and the screws holding the tops on. Once the top was off and the float mechanism removed, it was clear what the problem was. When I initially probed, I felt the gasket sealing the top to the base thinking that the hole had a bottom. From either the tapping or when I broke off the tang of the Heli-Coil, the gasket ended up with a hole in it. There were little bits of metal in the float bowl, probably from the tapping. So we cleaned them up.
The problem with the Heli-Coils and studs not going in correctly was that the tapped hole was still tapered from the starting portion of the tap. Removing Heli-Coils is not easy. One has to pry out one end or the other and grabbing that end, carefully unwind the coil into the center as you pull on the end. Now that the tops were off, I was able to run the tap clear up to the middle. Then new Heli-Coils and the studs felt right as I installed them. So far, no foul, no penalty, just some extra work.
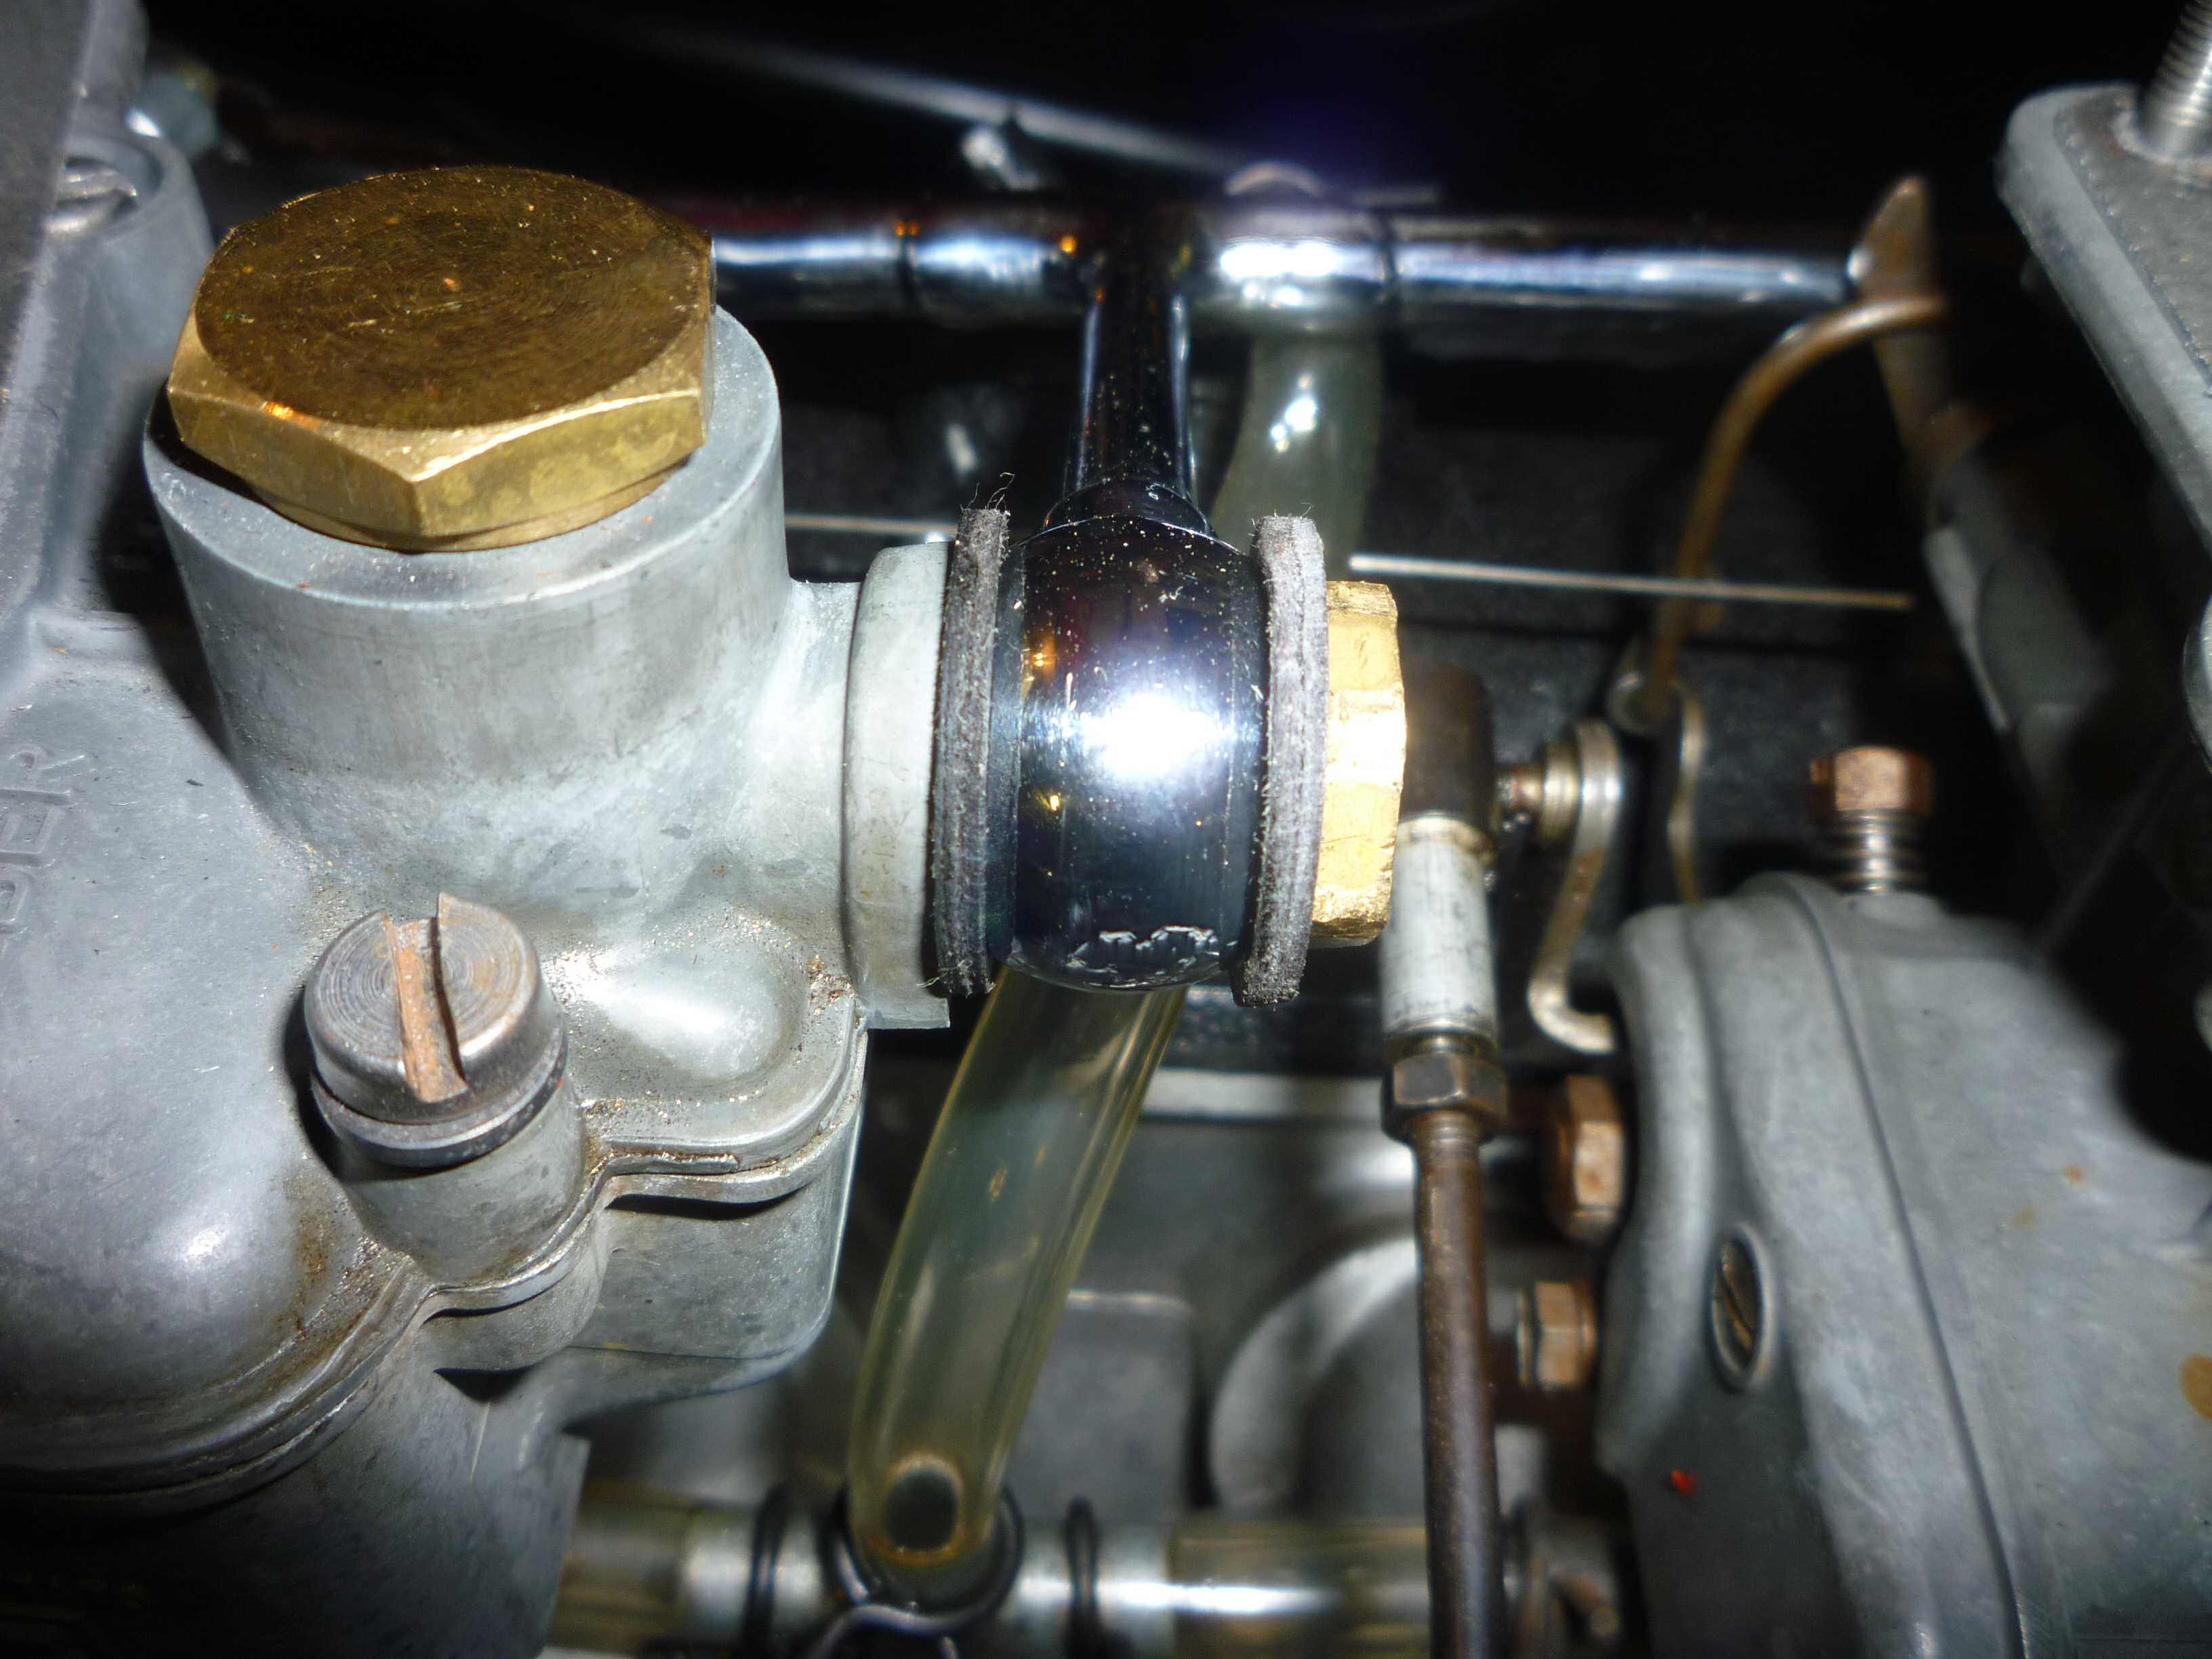
The problem arose when re-connecting the fuel log using the banjo nuts. For a reason unknown to me, the guy who rebuilt Buddy's engine a while ago used solid copper washers instead of the red fiber washers that were stock. Of course, re-using copper washers is problematic. One carb sealed without any problems. However, the other one was dripping some fuel. I tightened as much as I though I could and it was still weeping. We removed the washers and annealed them, all to no avail. In the end, the banjo nut stripped the carb top. An hour later, after visiting a couple of parts stores and an import car repair shop, we had a selection of copper crush washers and fiber washers of the right ID. By using some Teflon tape and fiber washers we were able to tighten the banjo nut so it wasn't weeping any fuel. This let us drive the car to the Radcliffe Motor car event the next day.
The following day, we took the air cleaner off again to check the fittings. The stripped one was weeping slightly, so we tightened it another 1/8 turn (holding my breath) and that stopped the weeping. A tour of various nearby repair places didn't give me a good feeling on them doing a successful repair. There are two issues, one, the depth of the hole is only about 5/8", so one has to start threading with a Heli-Coil tap and then use a Heli-Coil bottom tap to get full threads down far enough for the Heli-Coil to screw in properly. I've never seen a bottom tap for a Heli-Coil, so one would have to make one by cutting off the tapered portion, thus ruining that tap for any other use. Two, the hole has to be perfectly perpendicular to the face or the banjo nut will be cocked and the banjo fitting will have a gap on one side or the other. This means using either a larger drill press with a machinists vise or a vertical milling machine. The places we checked just wanted to to it by hand. Buddy has a concours next Sunday, so we left well enough alone. I flew home and left him with the problem of getting that top fixed with an insert or Heli-Coil after his concours.
Besides screwing up Buddy's car, we managed to stop by Algar Ferrari. Buddy is a valued customer, so he twisted some arms and we got to wander through the parts department looking for goodies. They still have some NOS parts. Everything is in boxes with the part number on the front. Since most of the 330 GT body parts start with the 242... Pininfarina number, I kept my eyes out for that number. I ended up buying the last ones of a couple of items.
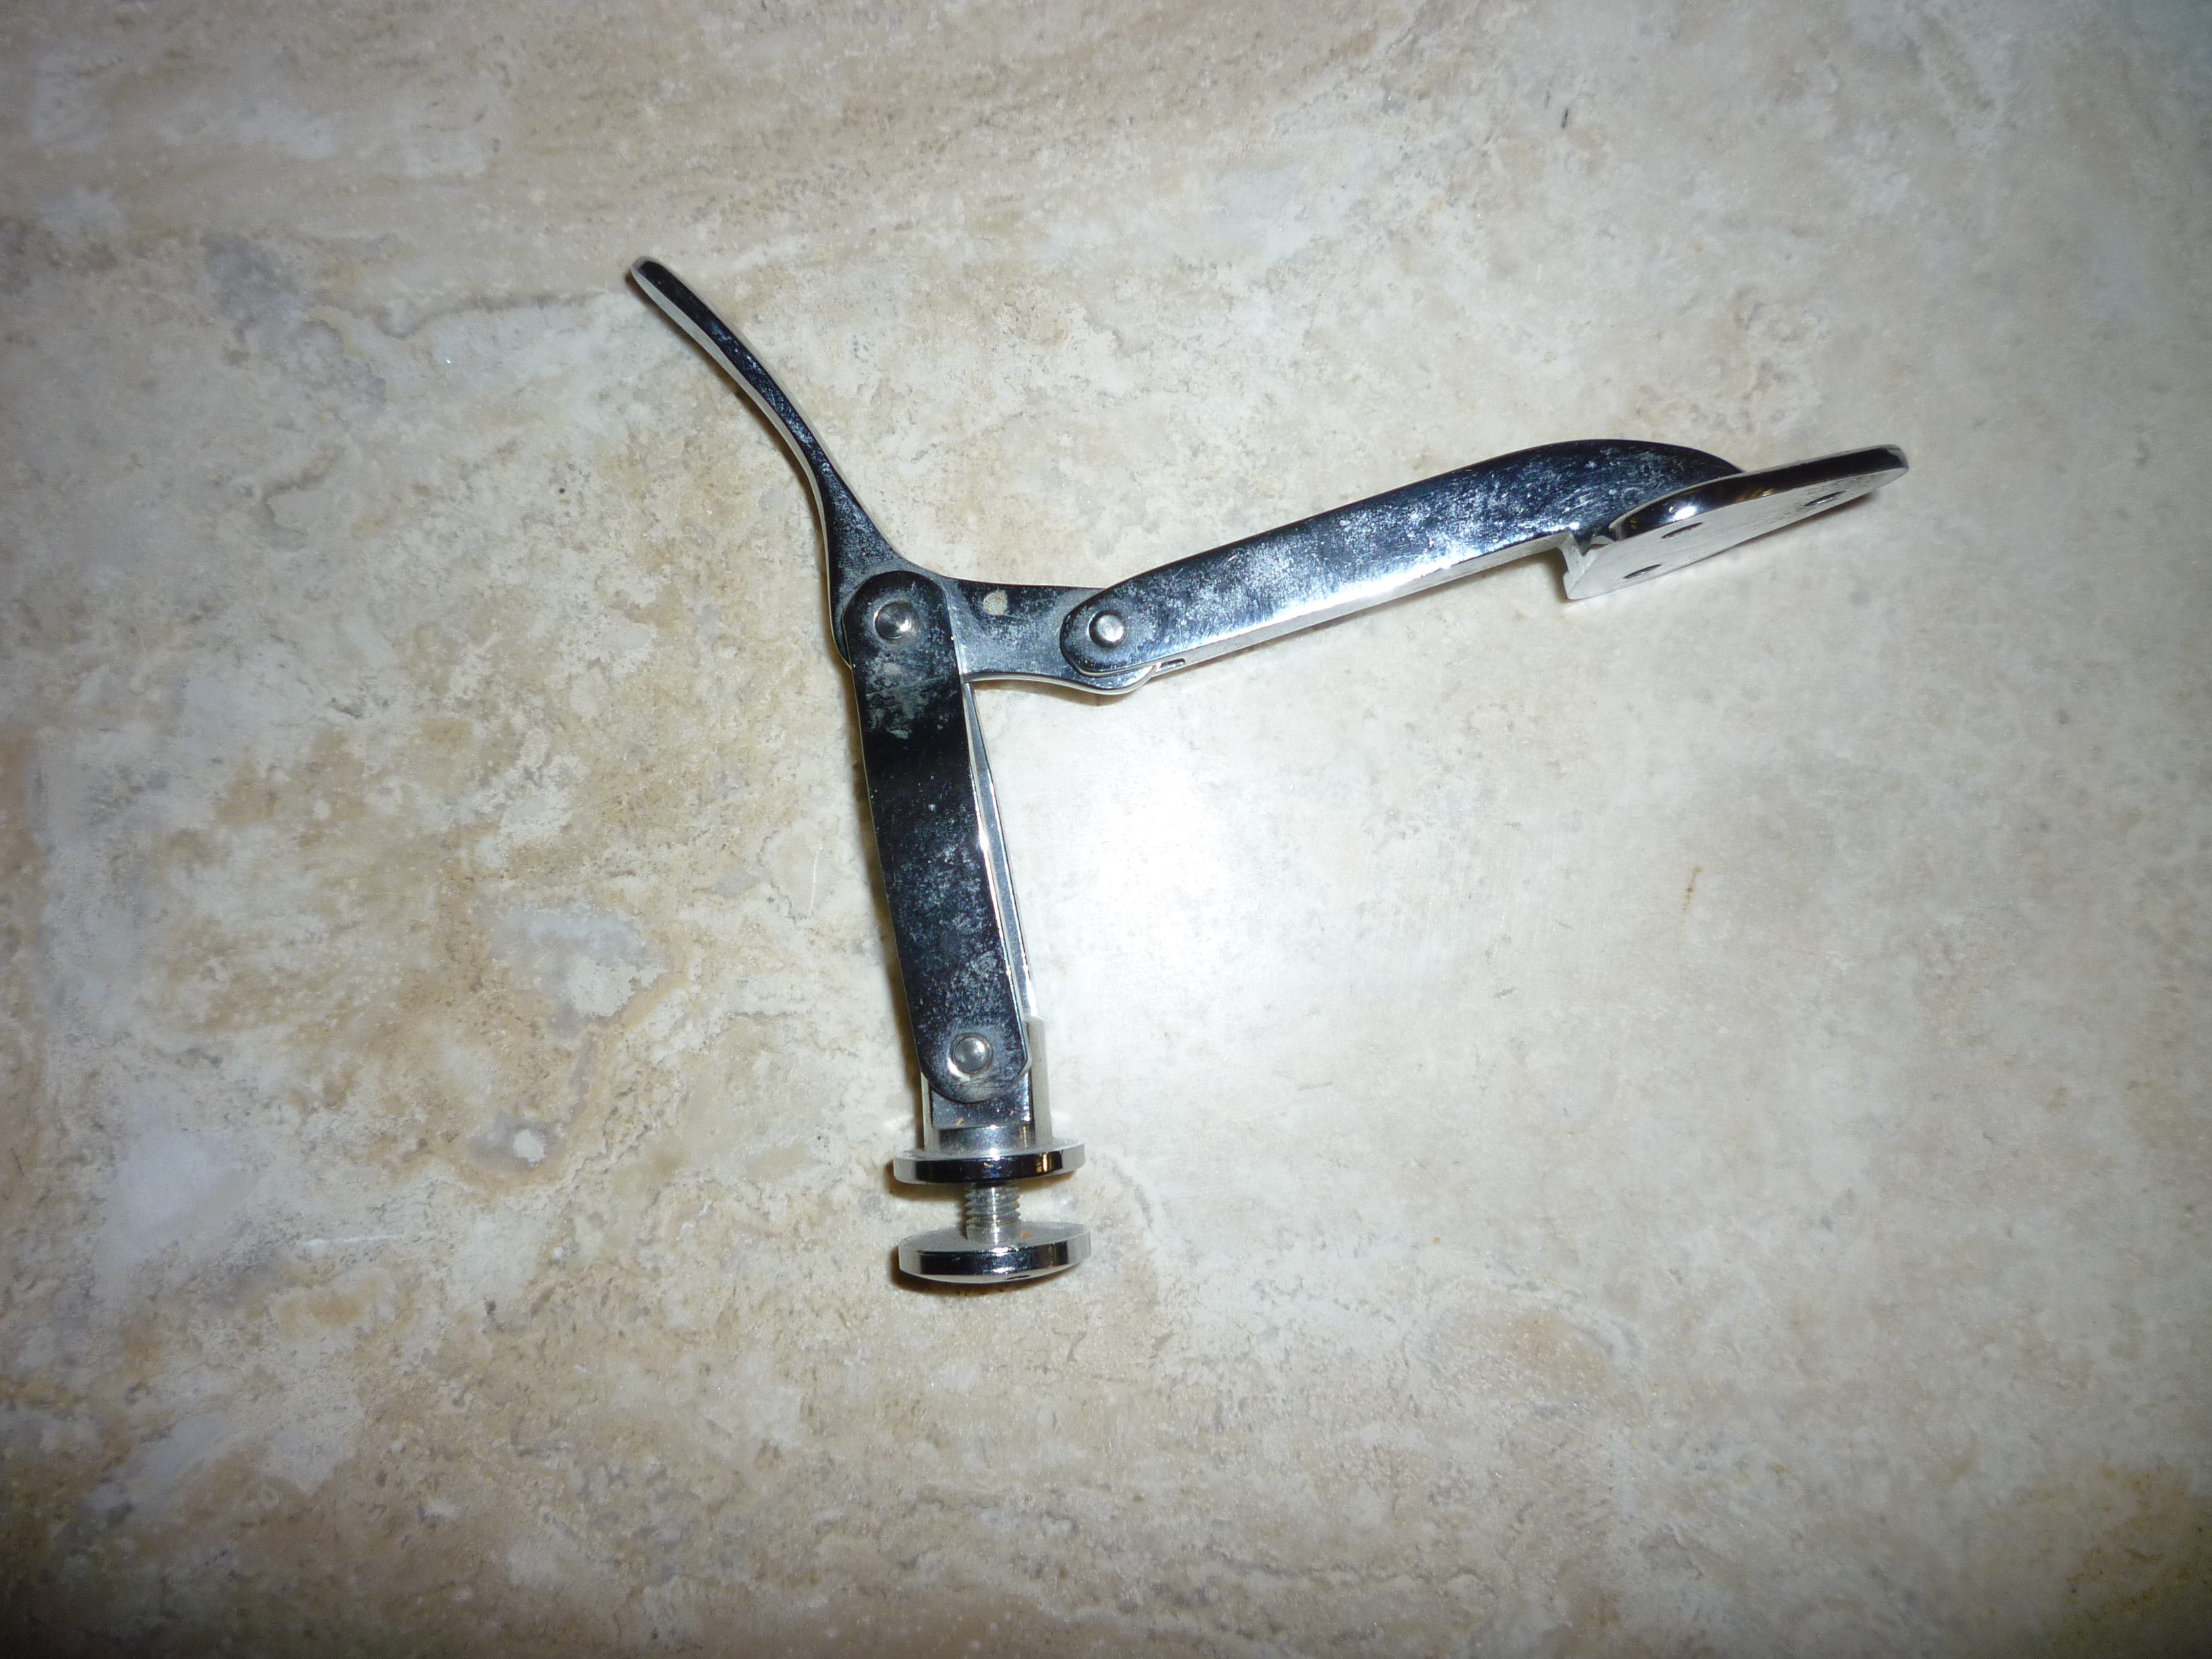

The left picture is a rear quarter latch for a 330 GT. I didn't need it, but I remembered a post on TY's message board where someone needed a part to their latch. I'll look that post up and let that person know that I have one available. In any case, someone will need it eventually, so I can just keep it in the 330 spare parts. The strips on the right are the stainless steel strips that clip over the door window frame on 330 GTs. As you can see, they are still in their original paper sleeves. There are eight in total and most of mine have dings and scratches.
As you can see, I have quite a bit of work to get mine strips sanded and polished. So starting with two of the eight in great condition will save me lots of time.
I can remember how long it took to sand and polish the windshield and rear window trim, so anytime saved will be well worth the $24 spent on these two NOS pieces.
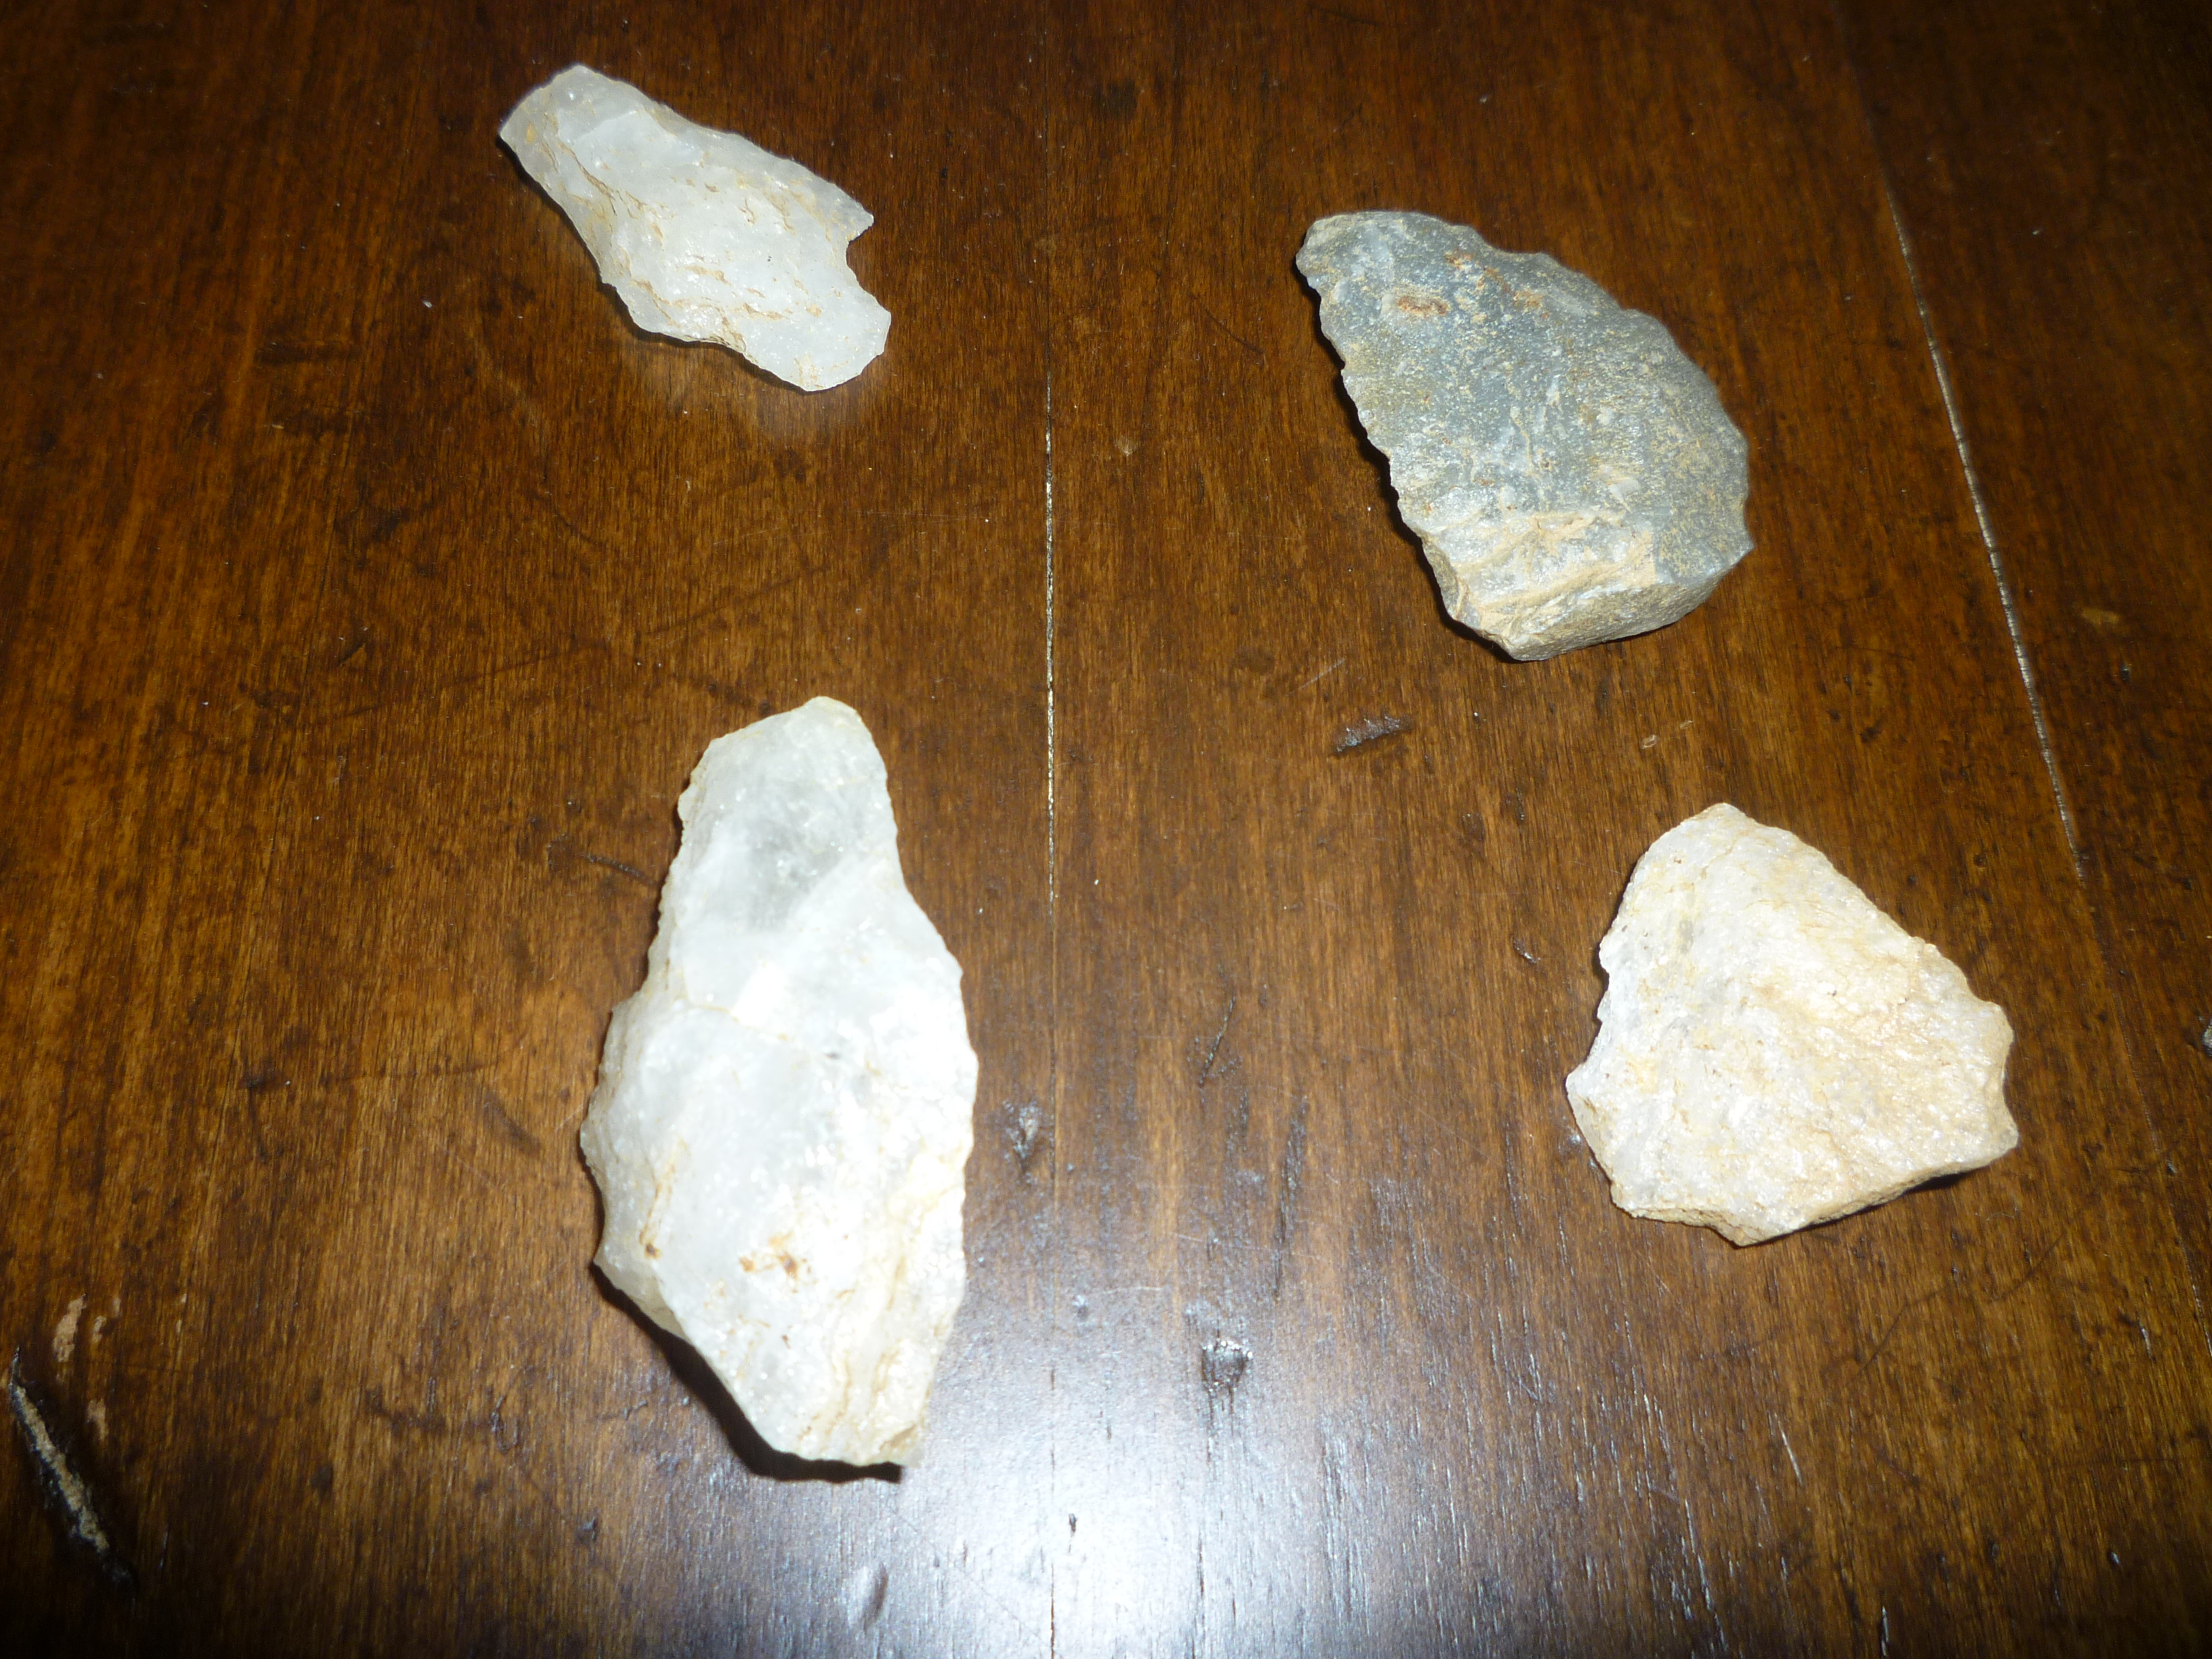
In between Algar and auto parts stores, Buddy and Janie took me arrow head hunting. He knows a farmer who allows him to walk the fields just after they have been plowed. These fields are where American Indians used to have encampments. You just walk the field and keep your eyes out for any quartz looking item. Here's Janie looking and some of what we found.

We also stopped by the Delaware Museum of Natural History where some of Buddy's sculptures are on display.