Windshield Trim
Once I sanded and buffed the trim and corner pieces, it was time to work on the installation.
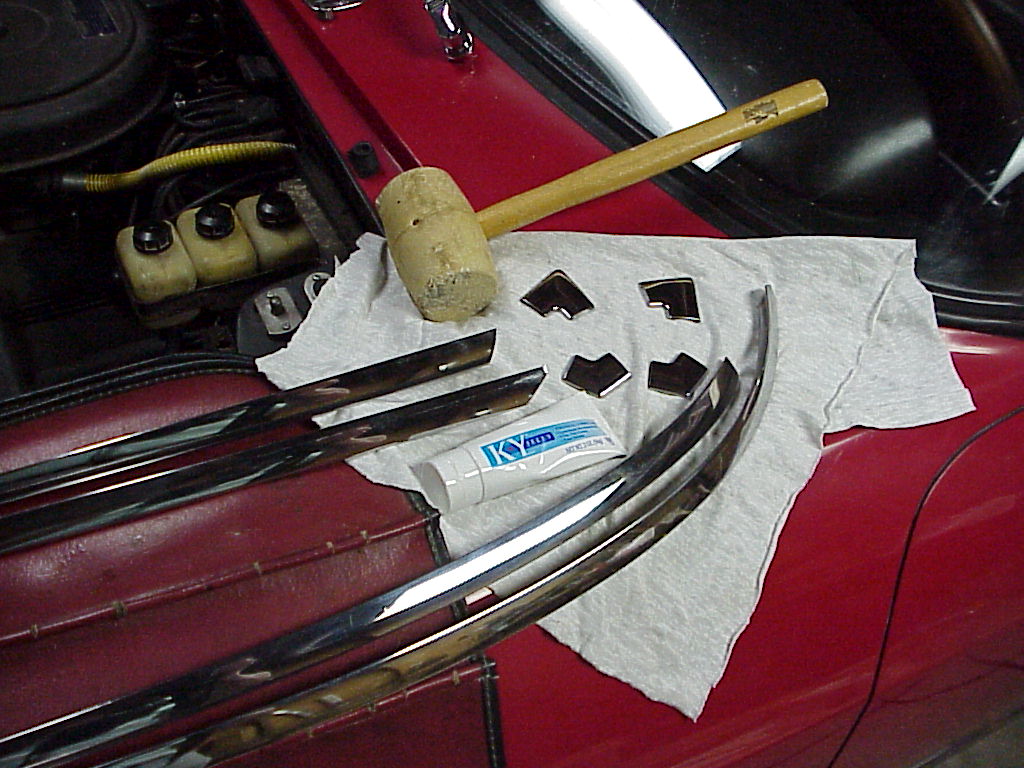
After looking at the rubber trim and J shaped piece on the trim, it's clear that some lubricant would help everything fit together easily. So I got to thinking of what lubricant is water based (so I can wash it off) and won't hurt things made of rubber. The next time my wife was going to the drugstore, I asked her to get a tube of personal lubricant as I needed it in the garage. She didn't ask and I didn't tell! A rubber mallet is also necessary to tap the trim into place. Be sure that you don't have any metal particles embedded in the face or you'll nick up your nicely polished trim. Here's the tools, corner pieces and trim ready for installation.
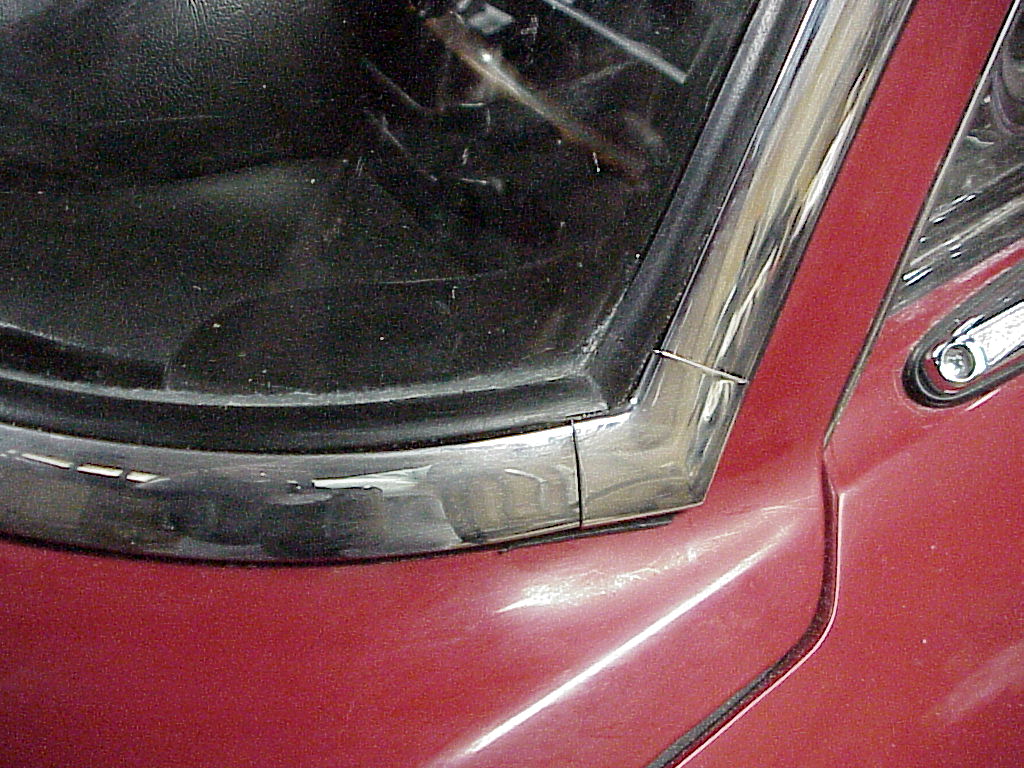
You first start in one corner, fitting the lower trim piece, corner piece and vertical trim piece together. Then start pushing the lower trim into the groove after lubricating it. Get enough of the vertical piece started so it won't slip out, but you have to leave the upper end free so it can fit into the upper piece.
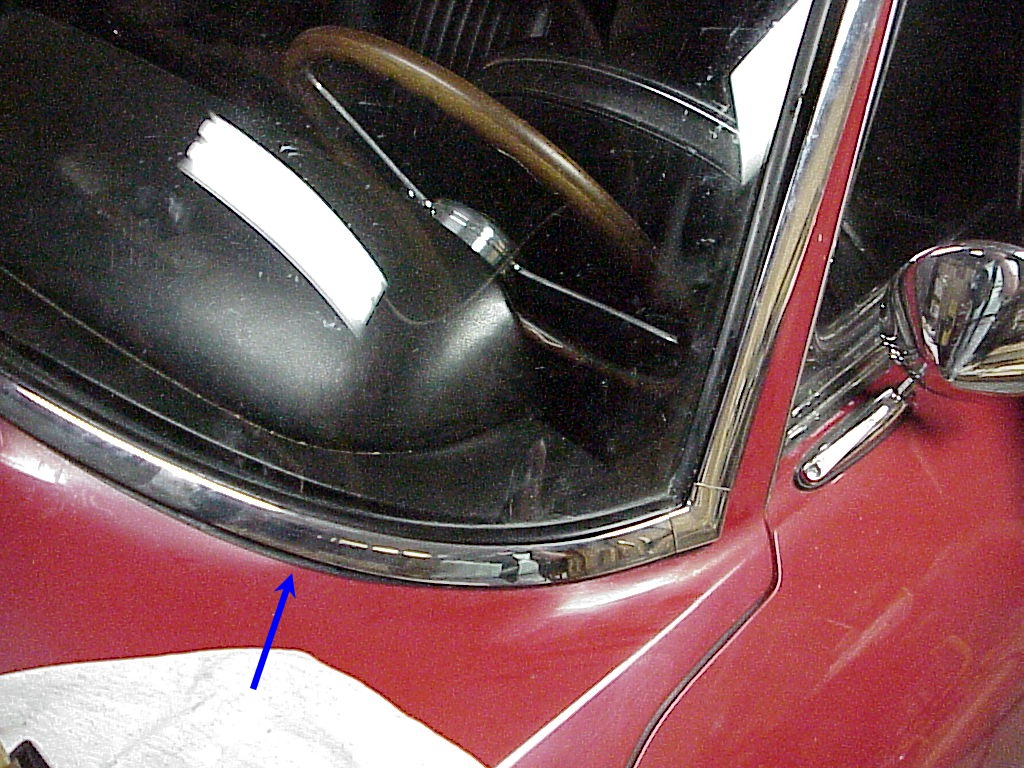
Once you get the trim started, push and tap the trim into place across the bottom of the windshield. If the outside edge of the rubber seems to get sucked under the trim, undo that section and add some lubricant. The outside edge will also spread out quite a bit as the J shaped piece fits in. You can see that where the arrow is pointing in the picture above. Then it pulls back under the trim sticking out just an 1/8" or so. If a section ends up sticking out too far, keep tapping in that area with the rubber mallet. Eventually, everything will slip into place and the edge will pull back to the proper reveal. Continue across the bottom and up the other side. Then put the top piece in place and start installing it. Once it's mostly installed, you have to fit its free end with the last corner piece onto the free end of the first vertical piece. Here's a picture of the trim completely installed (but before the cleanup).
I haven't finished the sanding on the rear window trim, but the installation process will be the same. Since the rear is just 3 pieces of trim, I'll start on one of the corners, finish the top trim and then do the side pieces that meet together in a clip at the bottom center of the window.