Gauges
The speedometer story first.
The speedometer stopped working during a trip to Whistler. When I got home, I undid the cable at the back of the speedometer and drove back and forth in the driveway while feeling the end of the cable. It didn't move, so I presumed that the cable broke or there was something wrong at the transmission. So a few weeks later, I took off the belly pan and undid the cable at the transmission. Then I put a drill on that end and spun it while my wife looked at the speedometer. She didn't see anything registering, so I presumed that I had misdiagnosed the problem (first mistake). I replaced the belly pan (second mistake) and a couple of days later, took out the speedometer.
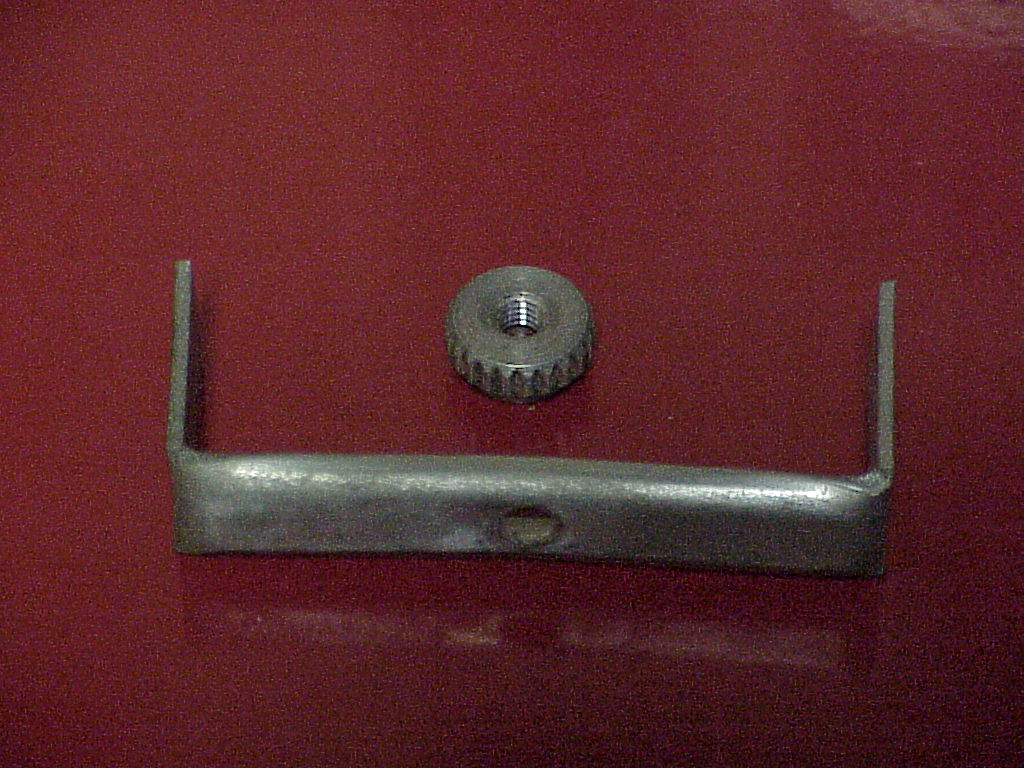
Removal of the speedometer is pretty straight forward. It's held in by two J shaped clips screwed onto studs in the back of the speedometer. The long end of the J presses against the back of the wood dash while the short end pushes on the speedometer. Turning a knurled nut tightens the J clip down to hold the speedometer in place. There are also a bunch of wires and light bulbs, so be sure and keep track of where everything goes.

I made a little squared off rod from a nail so I could spin the speedometer using a drill. When I ran it on the bench, the speedometer worked. Since I already had it out, I decided to take off the front glass so I could clean the inside.
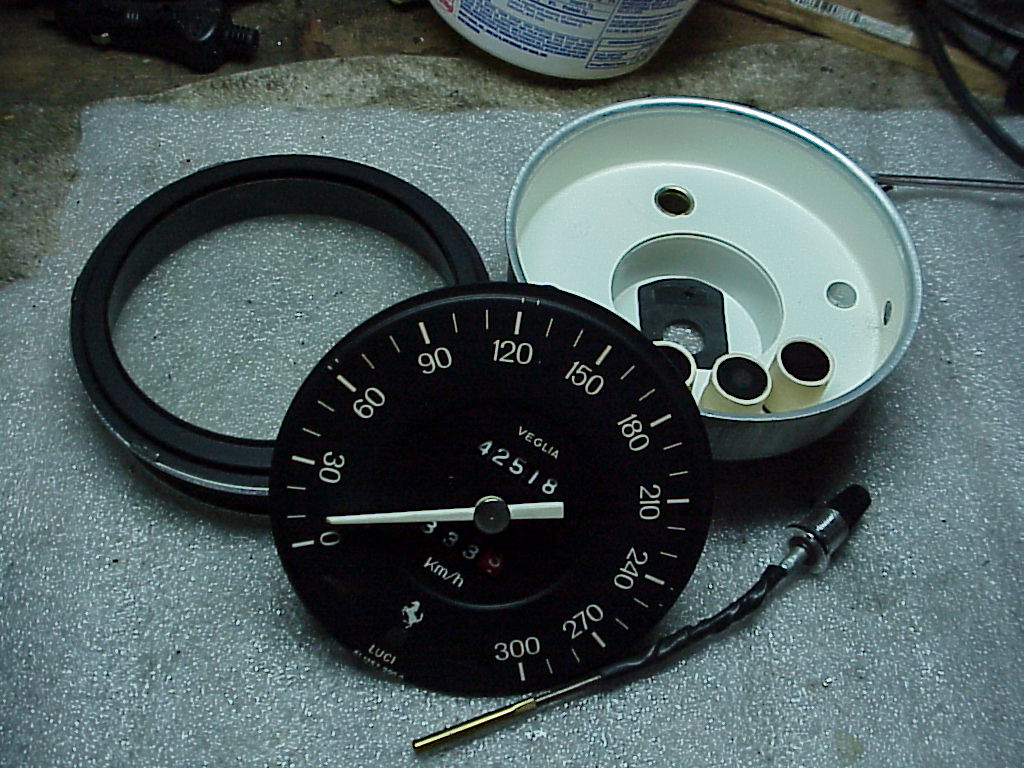
To remove the chrome bezel, you don't have to straighten the clips. Simply use a small screwdriver and carefully pry outward until the clip slips past the frame. Continue with the other 5 clips and then be careful to not scratch the plastic bezel with the clips. Here you can see the frame, bezels, insides and the trip odometer reset knob.
Once I had the glass cleaned, I also polished up the outside of the plastic bezel. Putting it back together is the reverse where you pry outward just enough to pop each clip back over the frame.
I pulled the speedometer cable out of its sheath. It was hard to pull out for the first few inches and then came smoothly. No breaks, well lubricated, so I was back to square one. I took off the belly pan again and saw that the sheath took a sharp bend near the right angle drive at the transmission. I straightened that out and the cable then slid in smoothly.
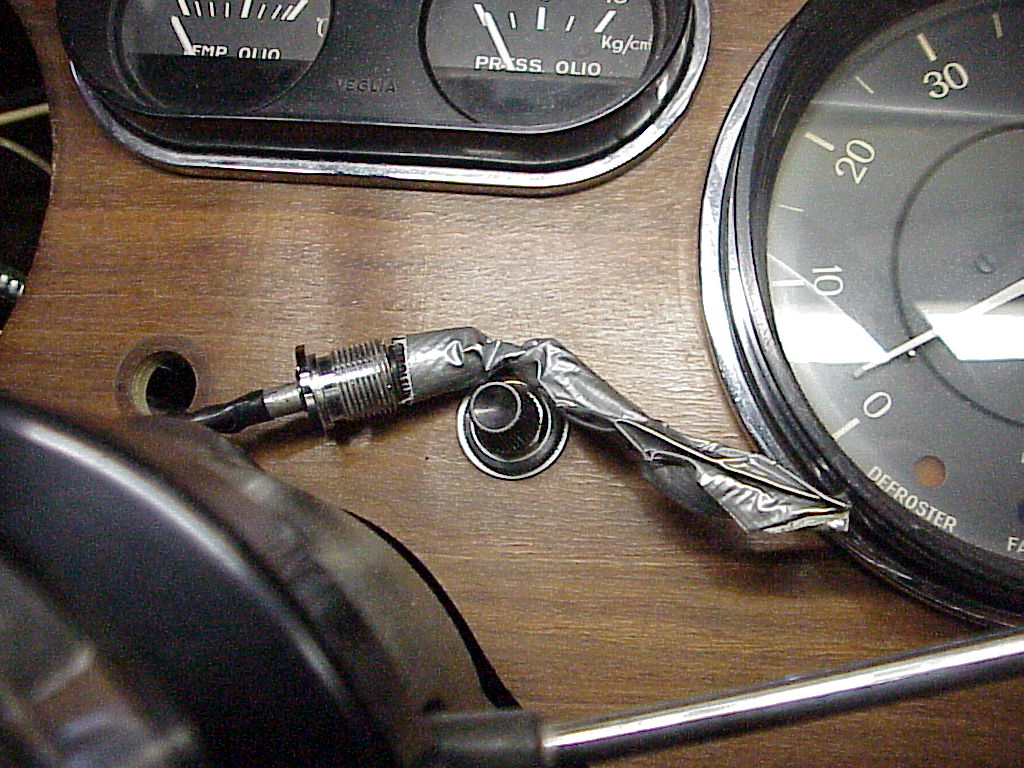
Installation of the speedometer in the dash is straight forward except for putting the trip odometer reset knob back in place. I ended up putting a few inches of duct tape on the knob. That let me stick the tape through the hole in the dash and put the speedometer into its hole. Then I was able to pull on the tape and with a little guiding from underneath, get the knob through the dash. Here you can see the knob, tape and the hole on the left that it needs to go through.
Once I had the speedometer re-installed and connected, I ran the car on the lift (rear wheels off the ground) in first gear and the speedometer still didn't work. I looked at the next step which is to remove the right angle drive. That will require removal of the transmission tunnel since there isn't any room pull the drive out from the transmission. So that project is for some future time.
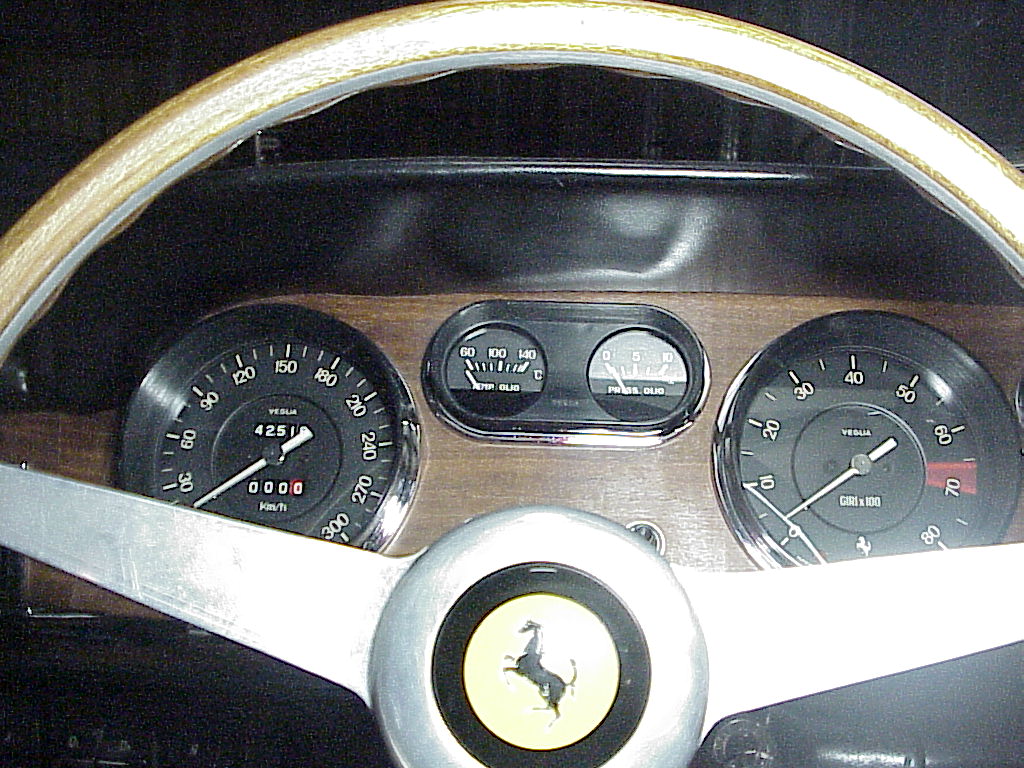
After I had the speedometer back in place, I noticed how bad the tach looked next to it. So I removed the tach so I could clean the bezels and glass on it. Here's the before and after pictures:
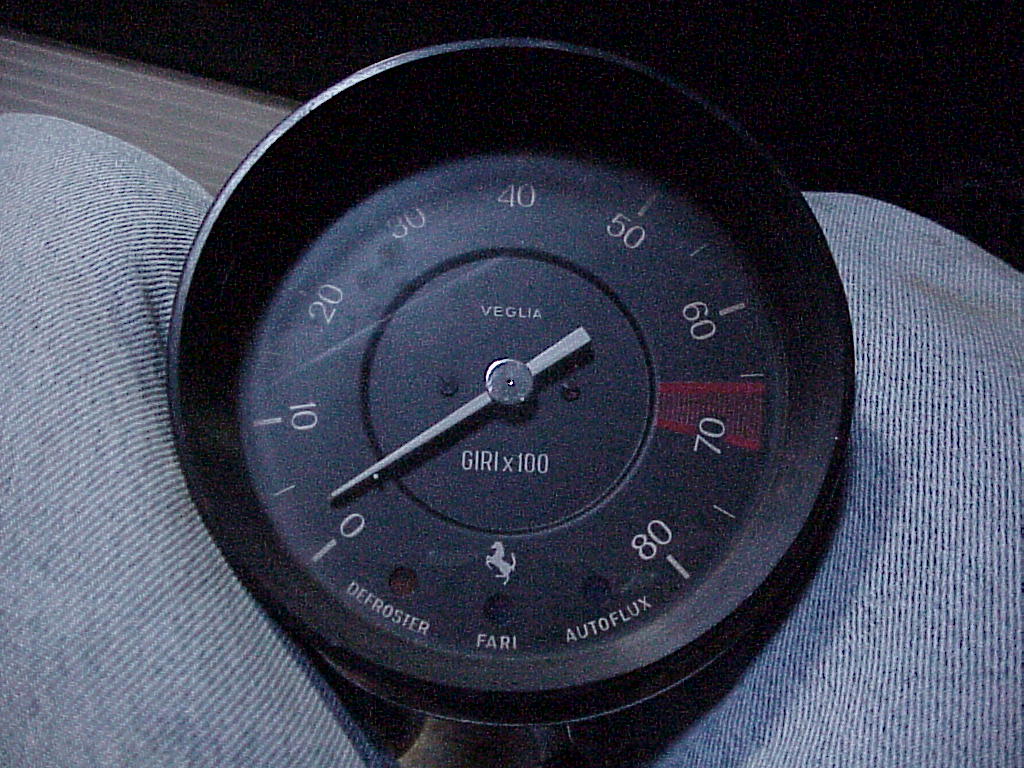 |
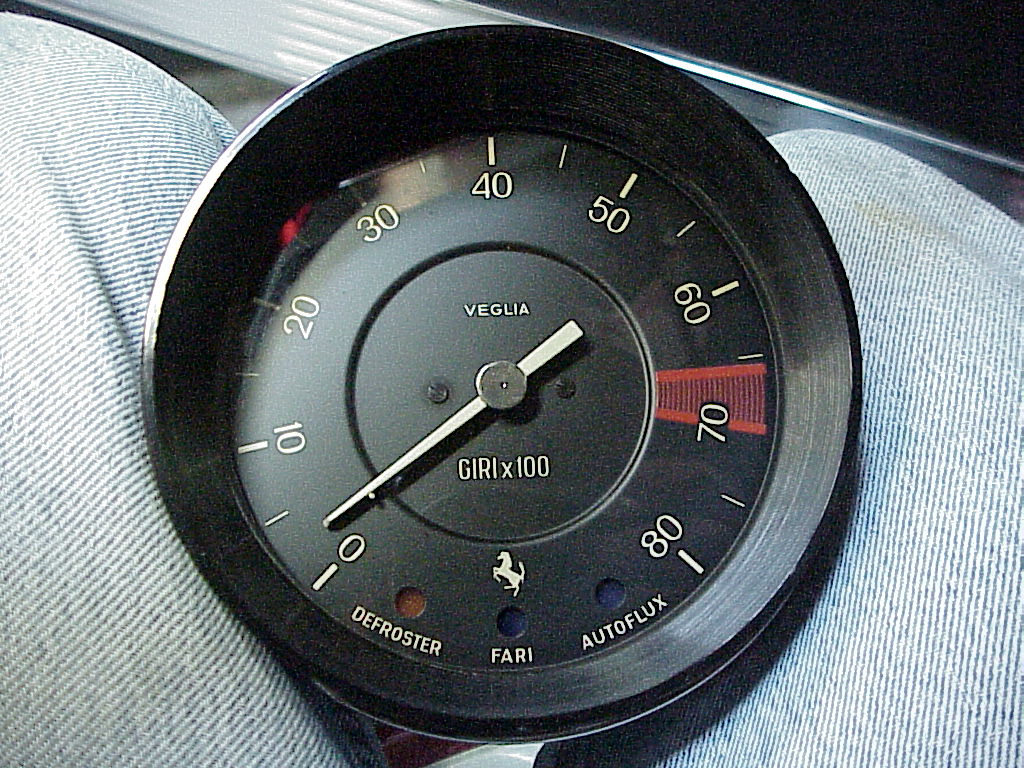 |
Quite a bit of difference.
Since the tach was now out of the dash, I decided to remove the clock and get it working again. This requires removal of the center gauge cluster. This set of gauges are held in by two U-shaped clips that mount on studs. Each end presses against the back of the dash and a knurled nut tightens the gauge set against the dash.
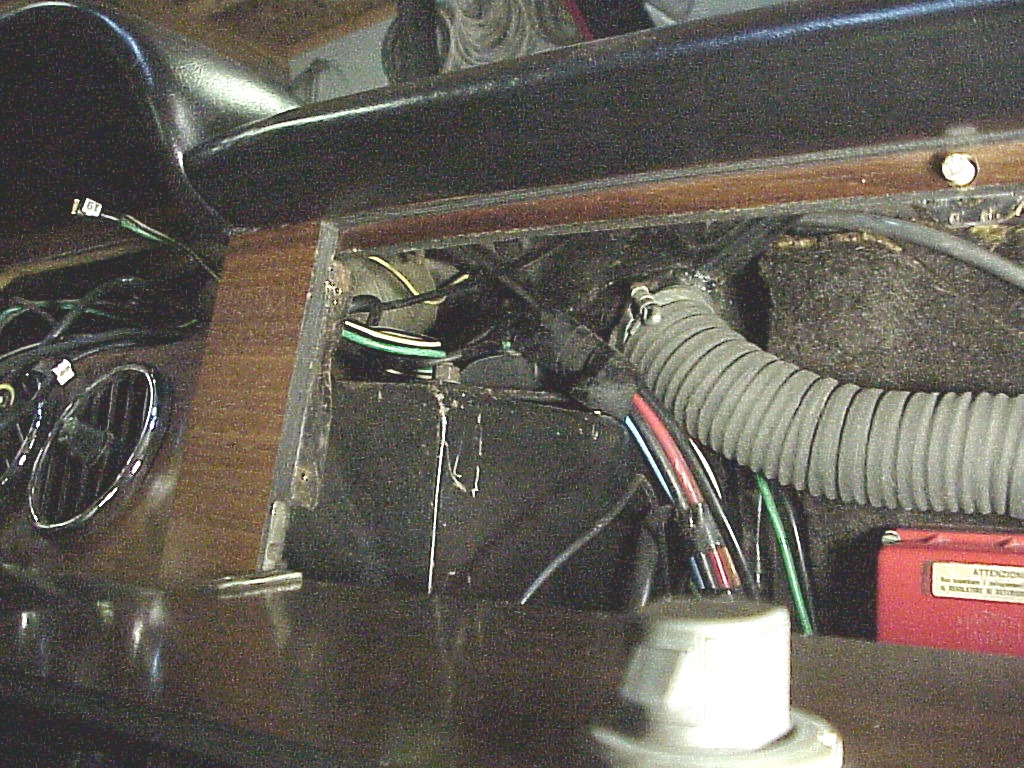
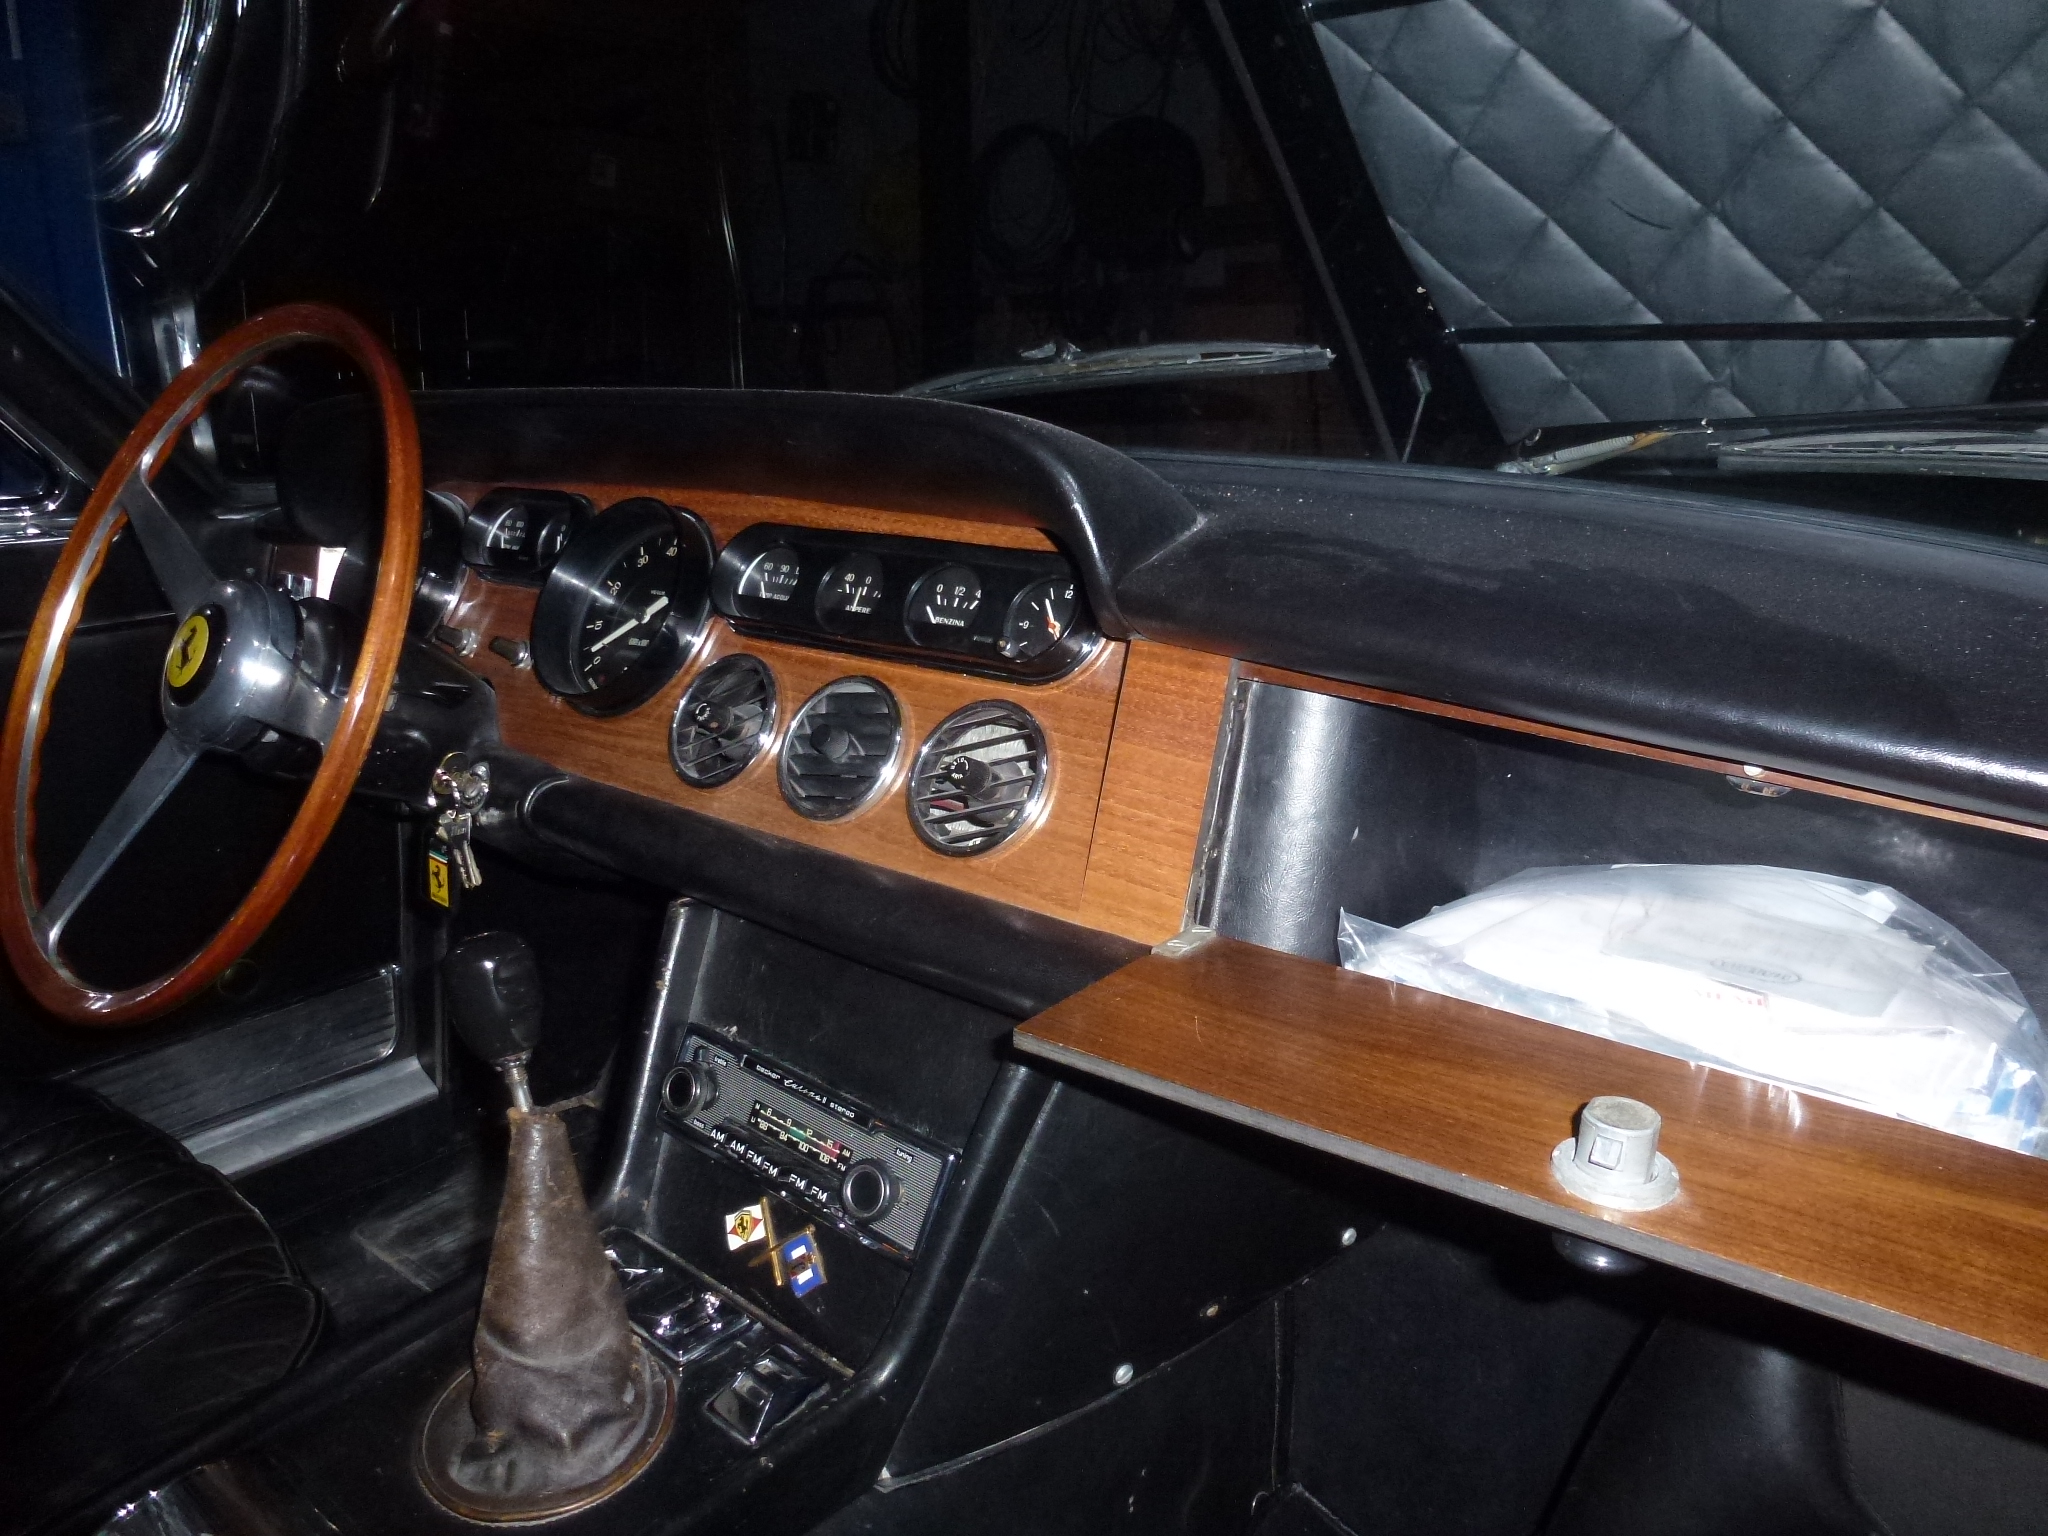
Removal of the knurled nuts and clips requires access from each end. The one end can be gotten at through the tach hole (thus the rational to fix the clock when the tach was already out) while the other end requires removal of the glove box. Even with the glove box out, it's a tight fit on cars with A/C as the evaporator is right below the gauges. You can see the green and white wires to the upper left of center. Your hand needs to go past them a few inches to reach the knurled nut on that end.
Once the clips are removed, the gauge set pulls out of the dash. Before I forget, be sure to disconnect the battery as the ammeter with very large hot leads is part of the cluster. You could have some spectacular sparks if you ground one of those unfused wires. Here you can see the gauge set after I've removed the bezels. As I only needed to remove the clock and bezels, I left most of the wires attached. The fuel gauge needs to be loosened as its face overlaps the clock face.
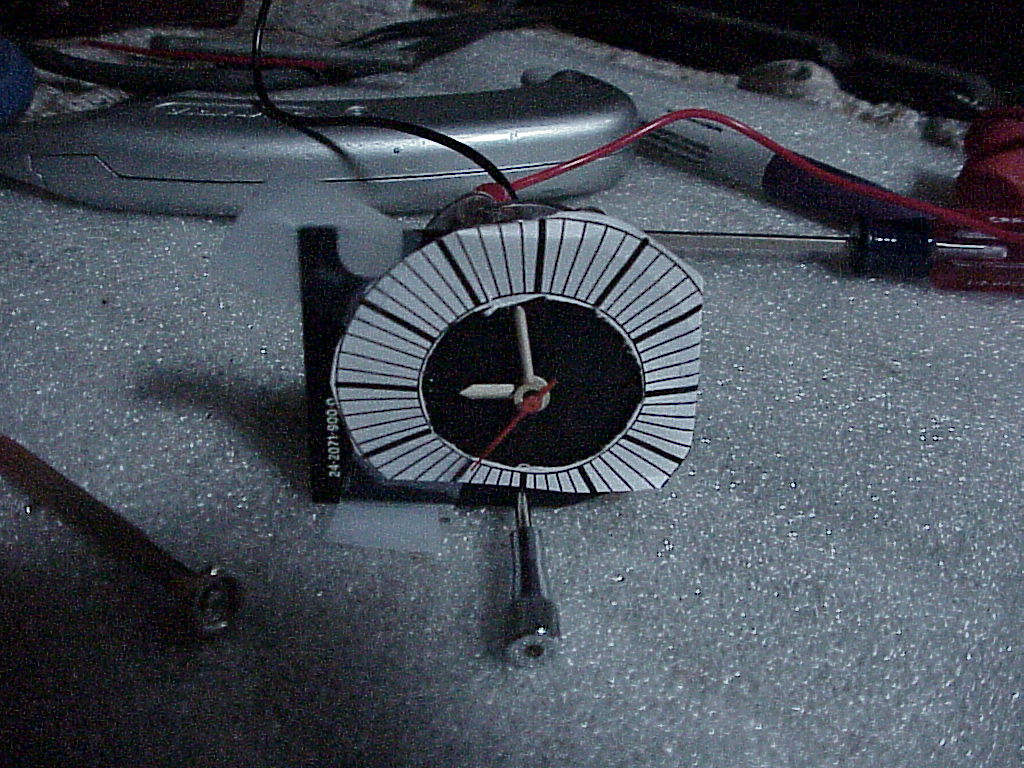
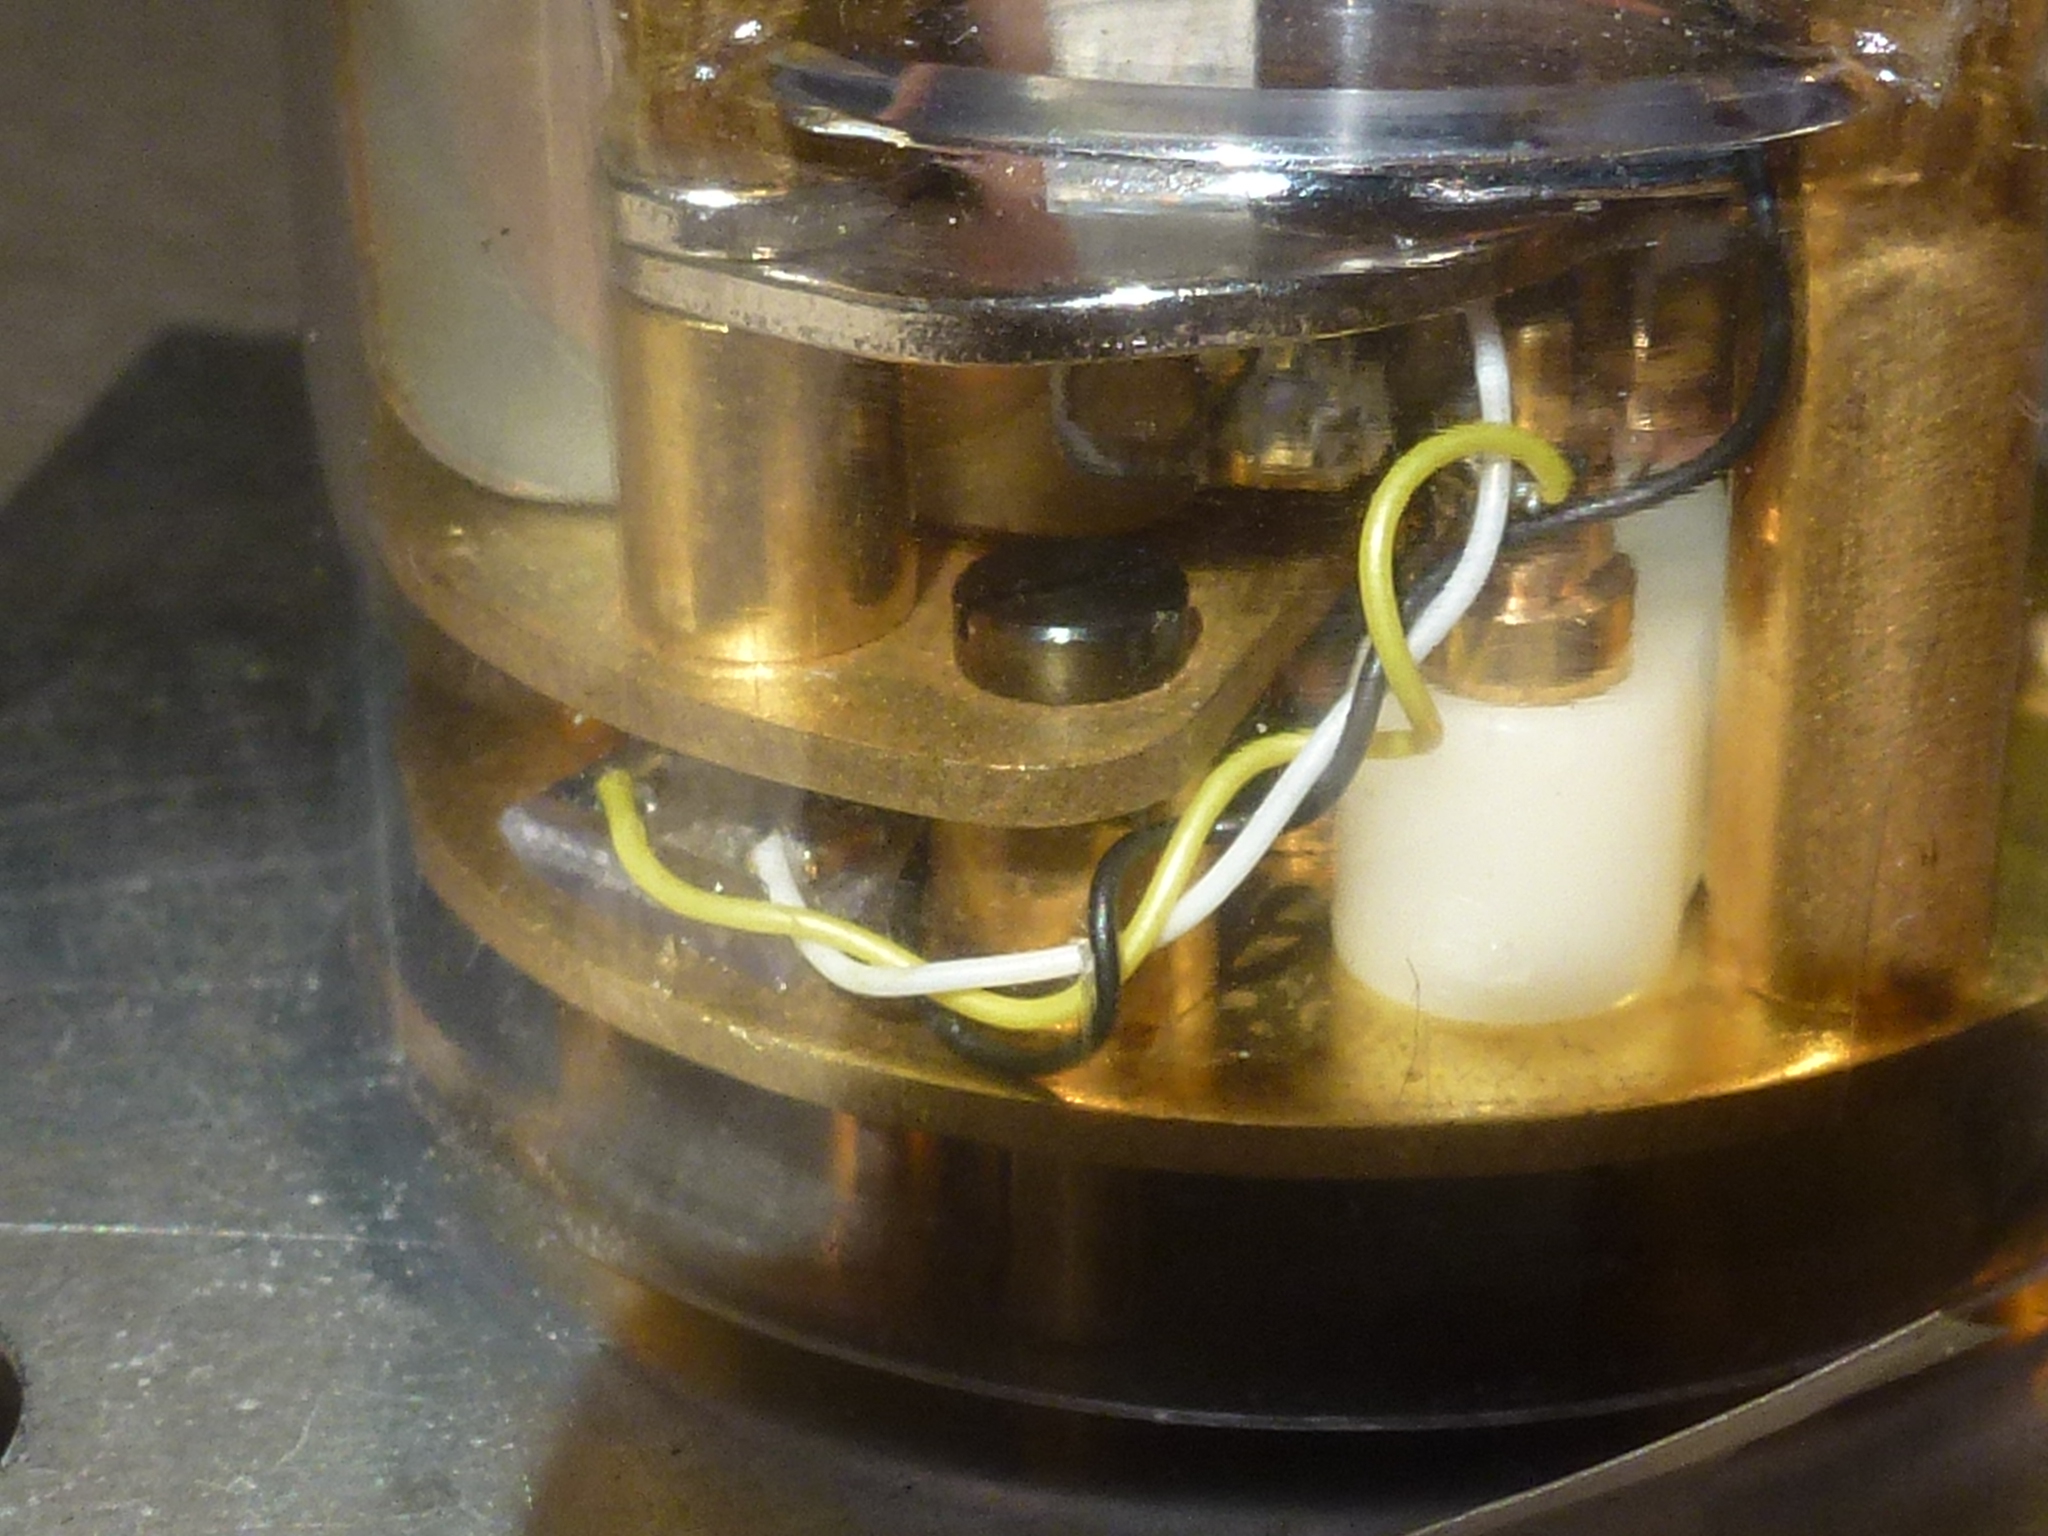
Fixing the clock turned out to be quite simple. There's a spring loaded carbon tipped contact that touches a contact on the flywheel. Each time the contact on the flywheel touches the carbon one, a circuit is made that energizes the magnetic field. This gives a kick to the flywheel so it goes far enough to push the escapement mechanism for one tick. The carbon contact wears and eventually won't energize the field enough so the second hand just ticks in place and finally stops altogether. Here you can see the two contacts. The blue arrow points to the contact on the flywheel and the red one to the carbon contact.
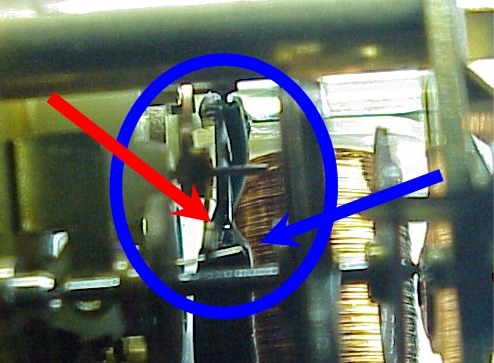
The solution was to clean the wire contact and bend it outward slightly so it made better contact with the carbon one. You see that it's at an angle to the shaft right below it as a result of being bent outward. To better understand how it works, here's a movie of the clock running and then stopping. Click here to see the movie.
The last thing to do on the clock was to adjust it. There's an adjustment screw on the back to speed it up or slow it down. I've got it on the bench and I'll keep checking it for the next several days until it is pretty accurate. I would like to get it within a minute a week. I've noticed that it runs slower in the winter when the car is cold. Perhaps I should be working in a freezer rather than on the bench!
I cleaned and polished the plastic bezel and face plate on this gauge set too. Now that three of the four gauges were clean and polished, I decided to take out the oil gauge set so it would match the rest. This is held in by one U clip and is accessed through the tach hole too. The last trick I learned was to screw down the ground wire using one of the screws that hold the bezel on. The ground wire has a spade connector that you had to fit under one of the knurled nuts. Keeping it on the stud while tightening the nut (with one hand since there isn't room for two) is difficult. Screwing it down eliminates that problem.
I finally finished adjusting the clock. Or rather I got tired and gave up. My clock runs well most of the time, but every once in a while it will just stop for a few minutes and then restart. I never saw it do it, but it would keep good time for 12 or 24 hours and then lose several minutes when I hadn't changed anything. One thing I had to do was stick on a better dial. It is difficult to determine exactly what minute the clock is on with the dial only marked every 5 minutes. So I made and printed one on the computer the right size. I also put a piece of tape sticking out from the adjustment screw so it was easier to make small adjustments.
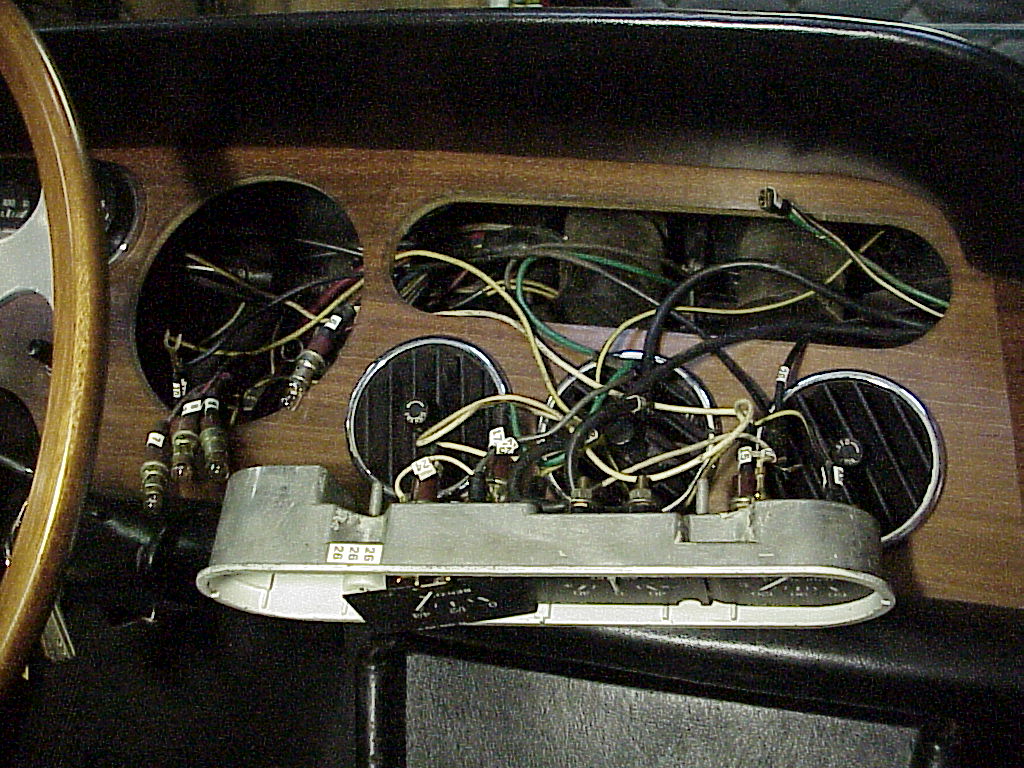
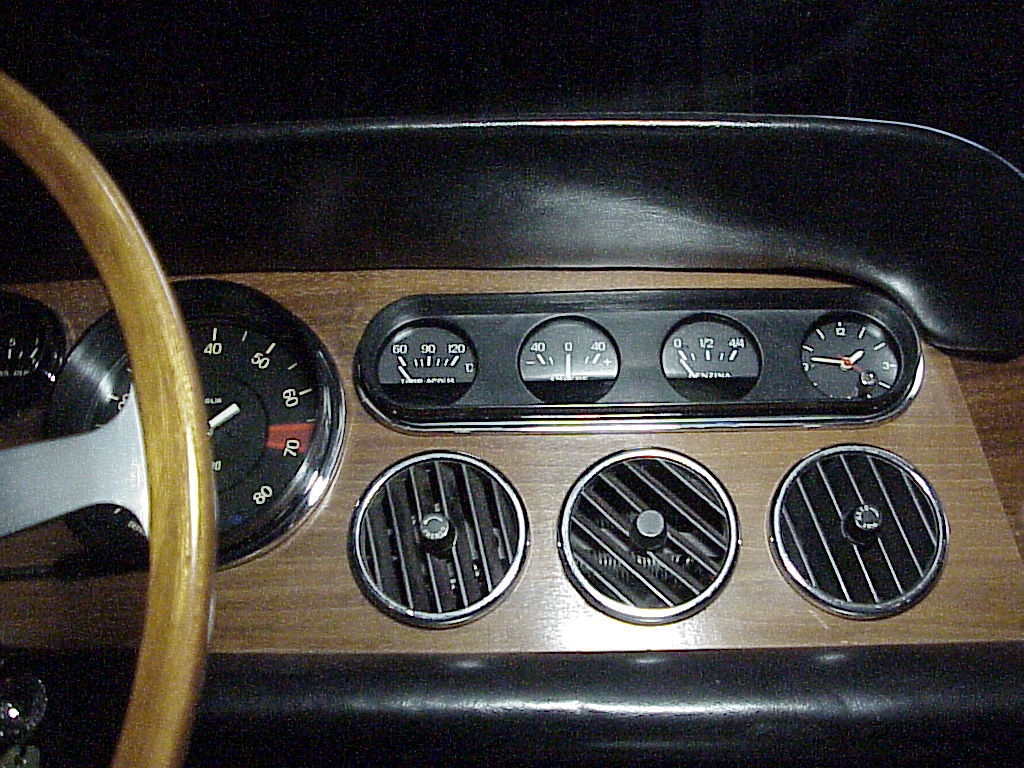
I eventually got the clock to where it was gaining only a few seconds a day (unless it stopped and restarted itself). Trying to get it closer was an exercise in futility as even the smallest adjustment would affect the time too much. Here are the gauges after I put everything back together.
 |
 |
Over the years, I would get the clock running again by cleaning the contact wire, but after a few years, it would stop again. Since removing the four gauge cluster is not a quick or easy task, I usually ignore the problem for a couple more years until I have another reason to take the dash apart. My last thought on this problem would be to put a switch into the power lead to the clock. Then I could turn the clock off unless I wanted it working in a show or something. However, I am sure that I would probably forget to turn it back off and have the same problem after a couple of times. Buddy Obara found a Jaguar clock repair guy that puts in a transistorized switch that eliminates the arcing since the transistor is now switching the current load. Buddy's has been running and keeping accurate time to the second for a few months now, so I'm going to take my clock out and send it off for this retro fit. He doesn't remove anything and it can be put back to original. The clock also ticks as normal, unlike some where the innards are replaced with an electronic mechanism.
The clock came out without any problems by
removing the four gauge cluster and it's on the way
to NJ to get a permanent fix. Here's what is will be done:
Yes, I ultrasonically clean and then lubricate the clock and install a
little circuit that takes the strain
off the little contacts. Turn-around
will be 2 or 3 weeks since I like to run it for
a while to be certain it will perform
well for you when you receive it back.
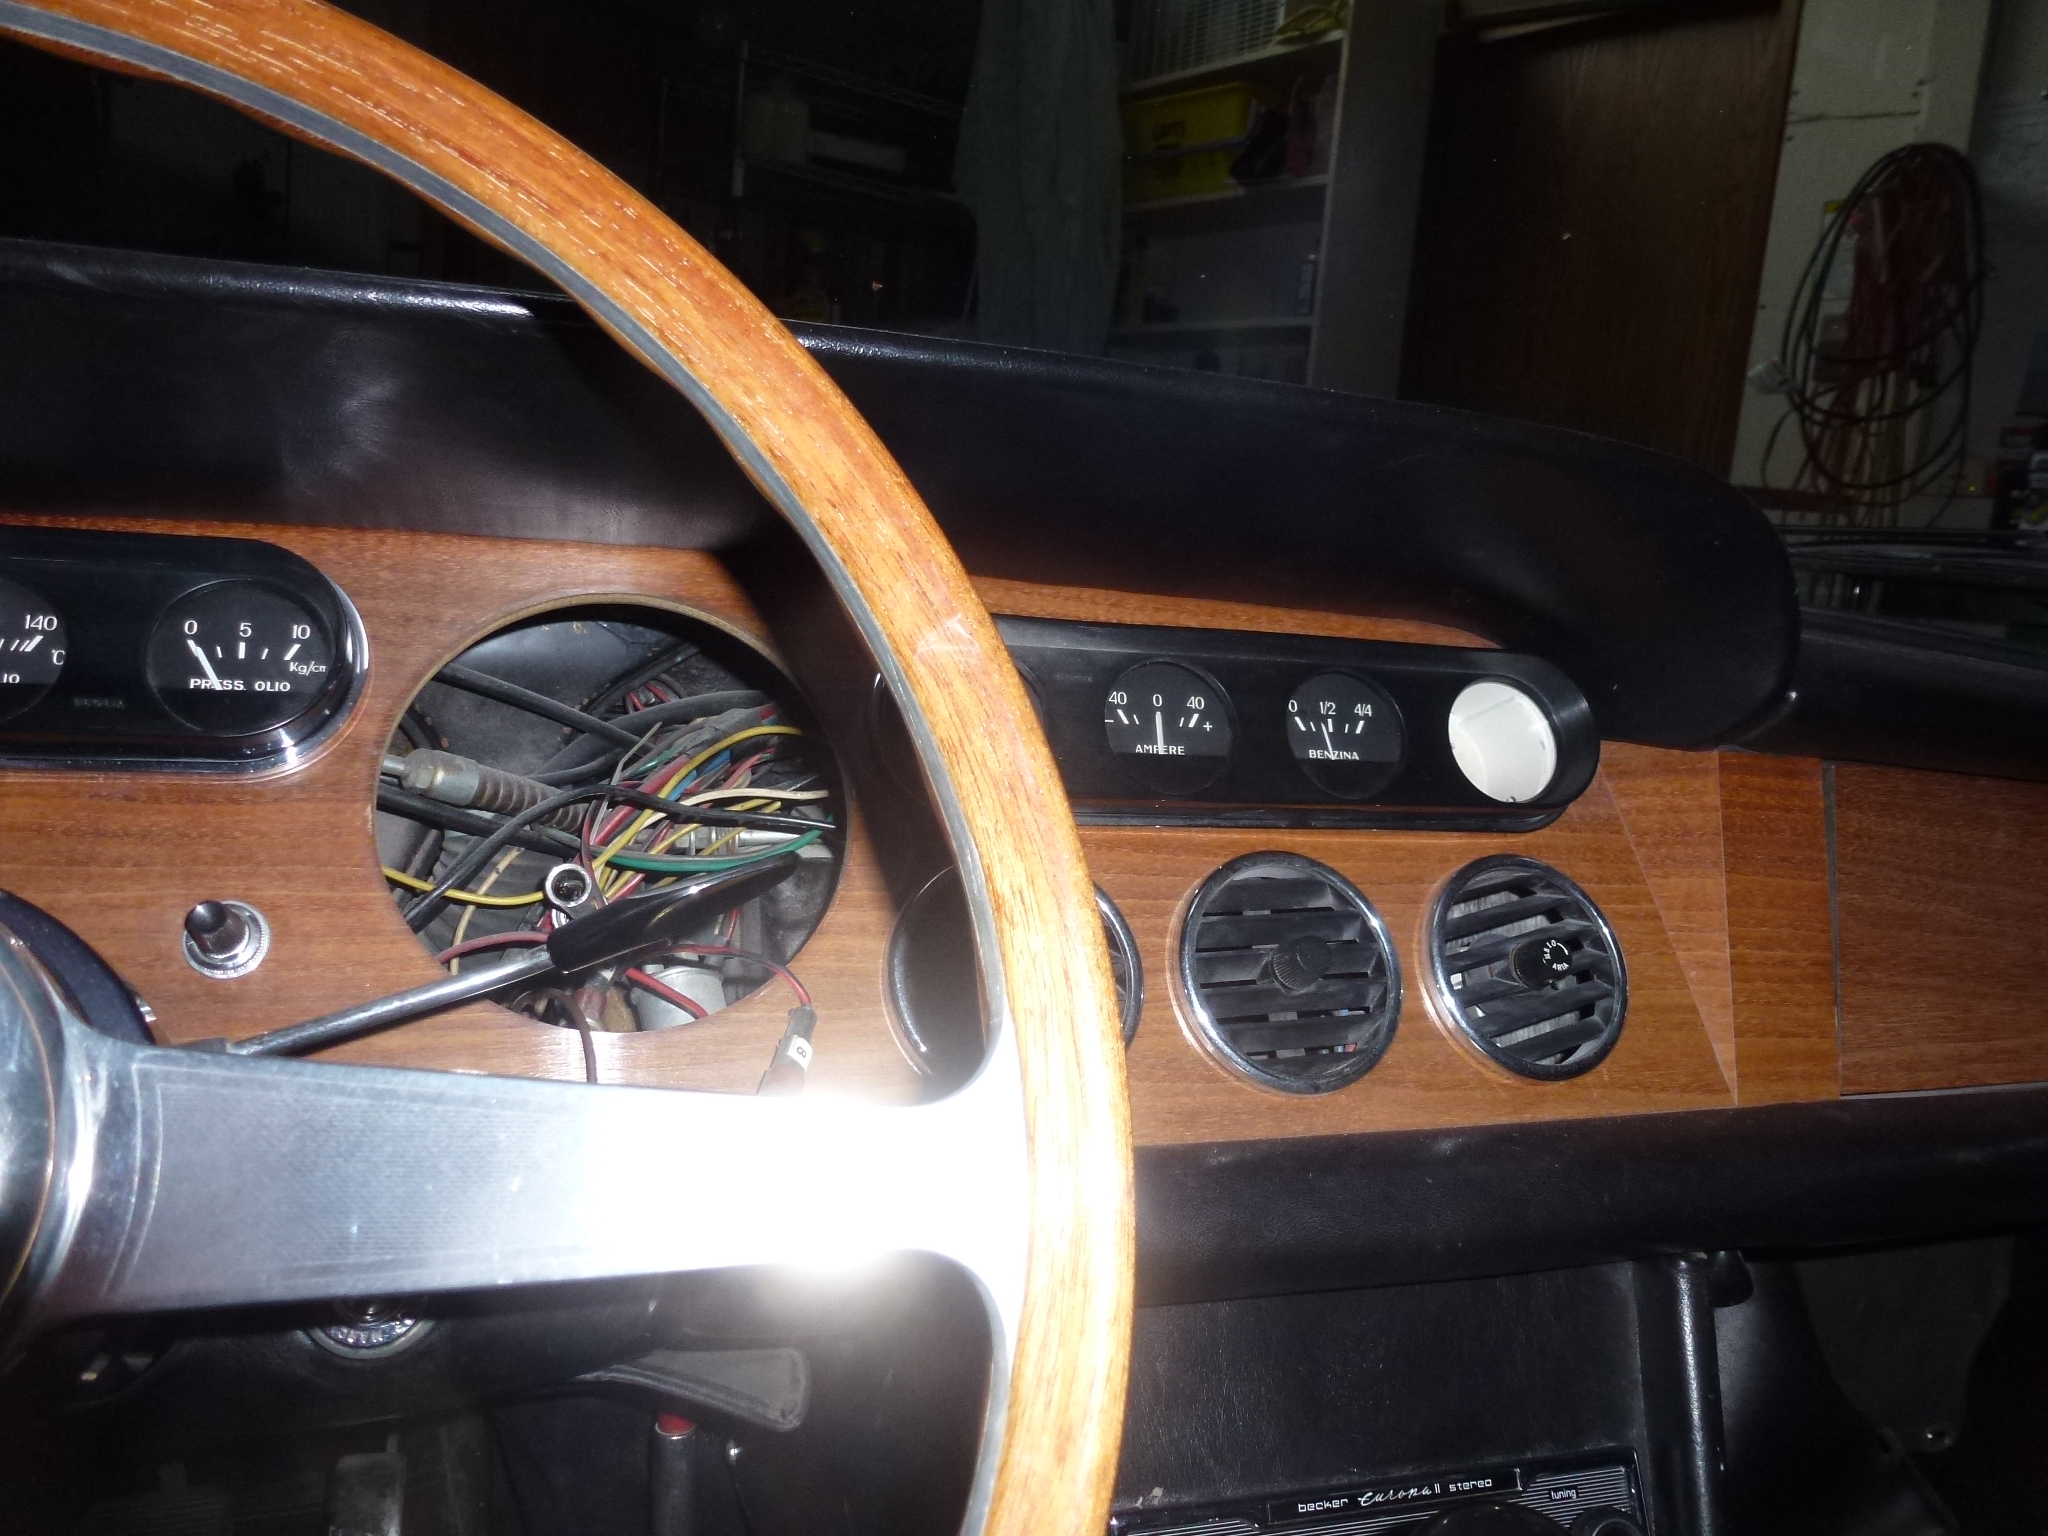
Since the clock will be gone for a bit, I put the four gauge cluster back into the dash, but just pushed in, no clips. I'll leave the tach out as it is not essential if I drive the car.
The clock came back from NJ, well packaged inside of two Styrofoam cups taped together. Here is the little circuit that gets installed. As you can see, it is entirely internal to the clock, so there are no space issues.
Putting it into the cluster was easy, but then I had a problem re-attaching the adjustment knob. I hadn't noticed that I had the face plate correct, but the plastic surround was upside down. Once I turned that over, the knob screwed on fine. I'm just glad that I tried to put the knob on before attaching the gauge cluster in the dash. As usual, you drop a lock washer or two before getting all of the clips on the cluster and tach.
Since then, the voltage regulator acted up and destroyed the new circuit board. I sent it back to have it replaced. The package was lost on the way back to me and the vendor refused to pay the purchase price of another used clock. So I'm back to one that doesn't have the fix. I did wire it to a hidden switch which I normally have off. That way the contacts don't wear but I can have the clock work for a show when needed.