Plumbing
Last weekend we took the 330 to Festa Italiano in Seattle. After we had been parked for a few minutes, the event coordinator pointed out that I was leaking anti-freeze.
A quick look underneath convinced me that it was more than just a little overflow. Luckily a look under the hood only showed a minor leak in a radiator hose.
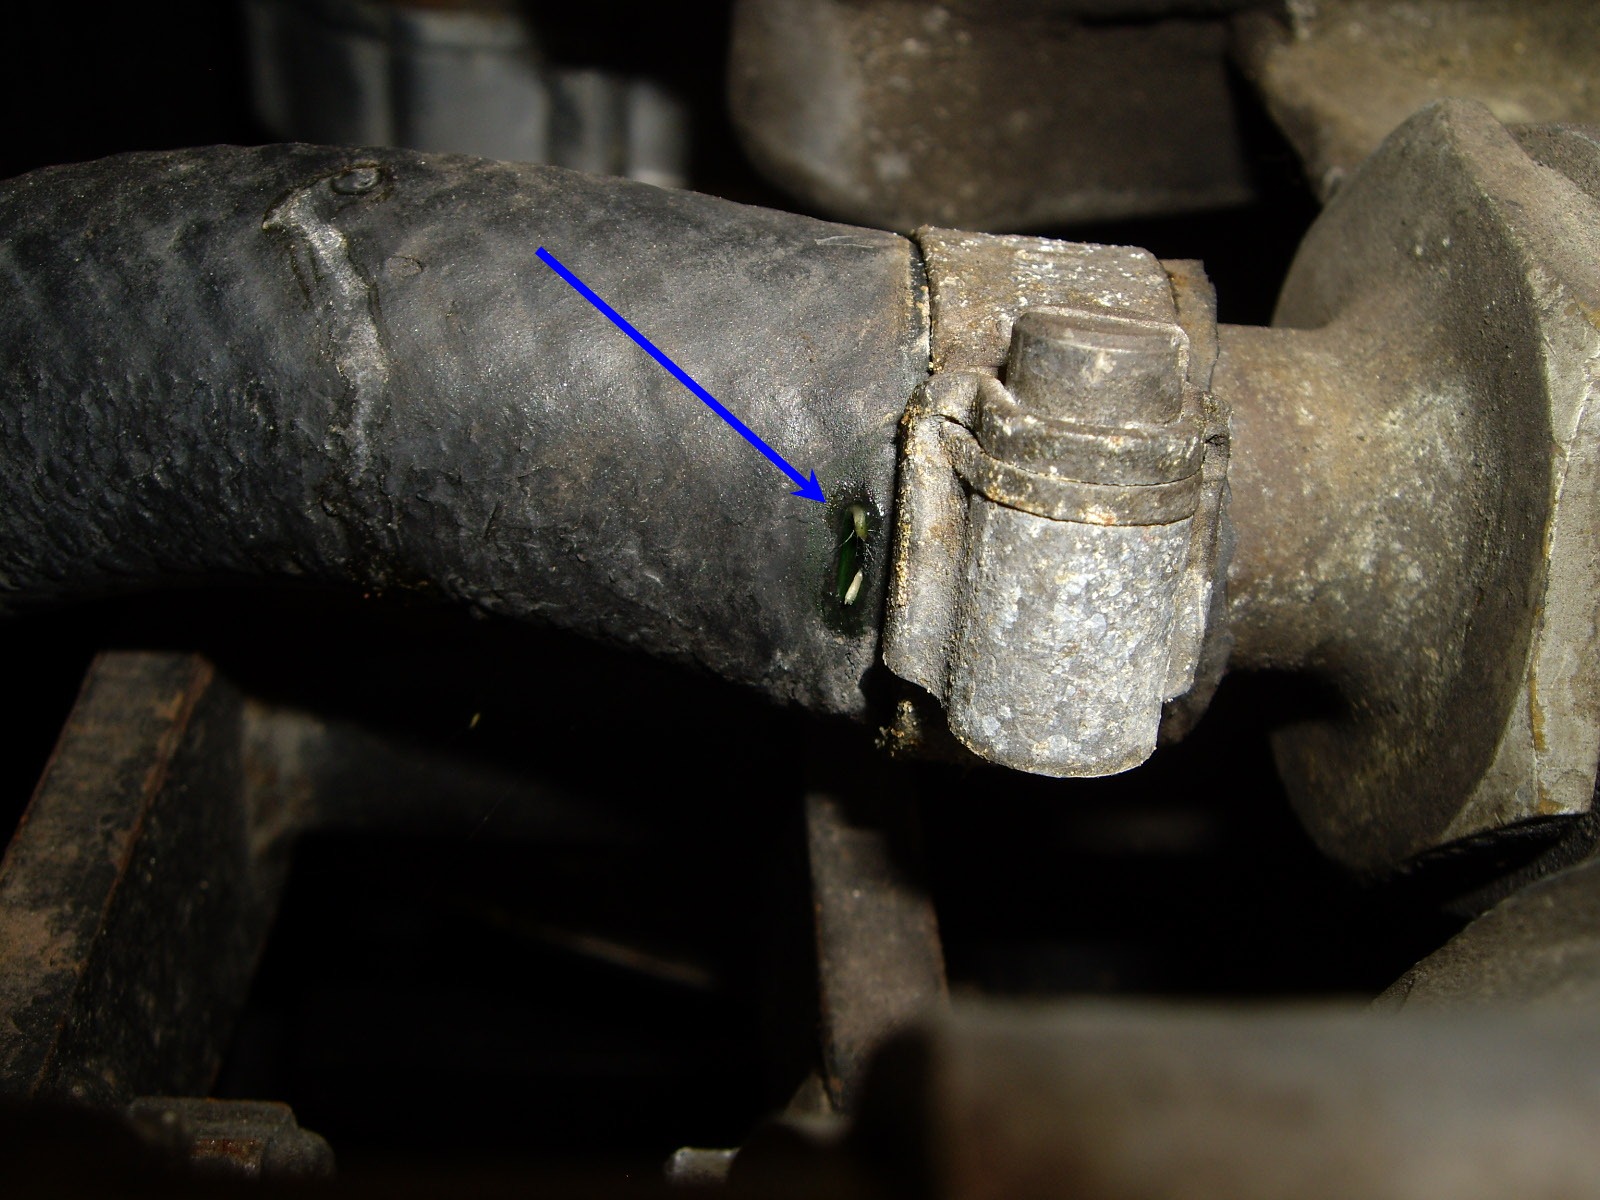
Since the weather was cool and the leak stopped as soon as I released the radiator cap, nothing had to be done before the drive home.
There have been a couple of other things that I had planned to fix the next time I drained the radiator, so now I had an excuse. One was to replace a kludge with the proper part.
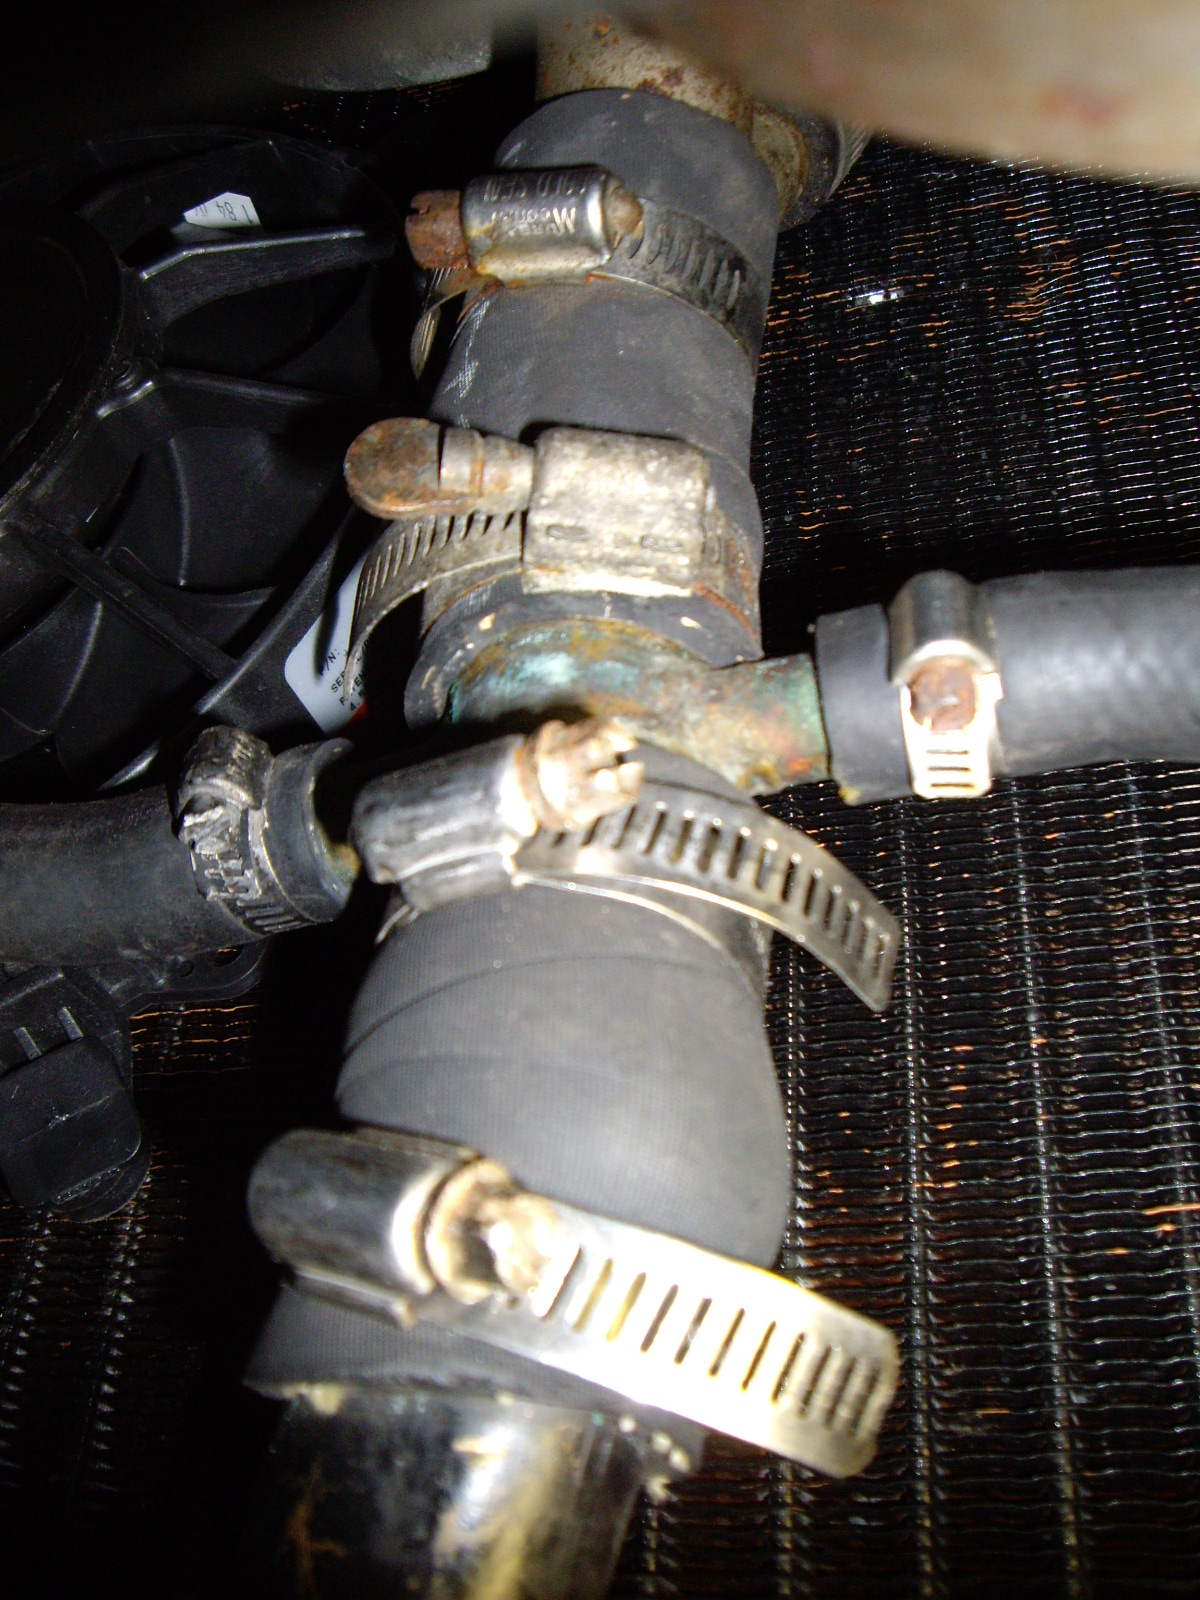
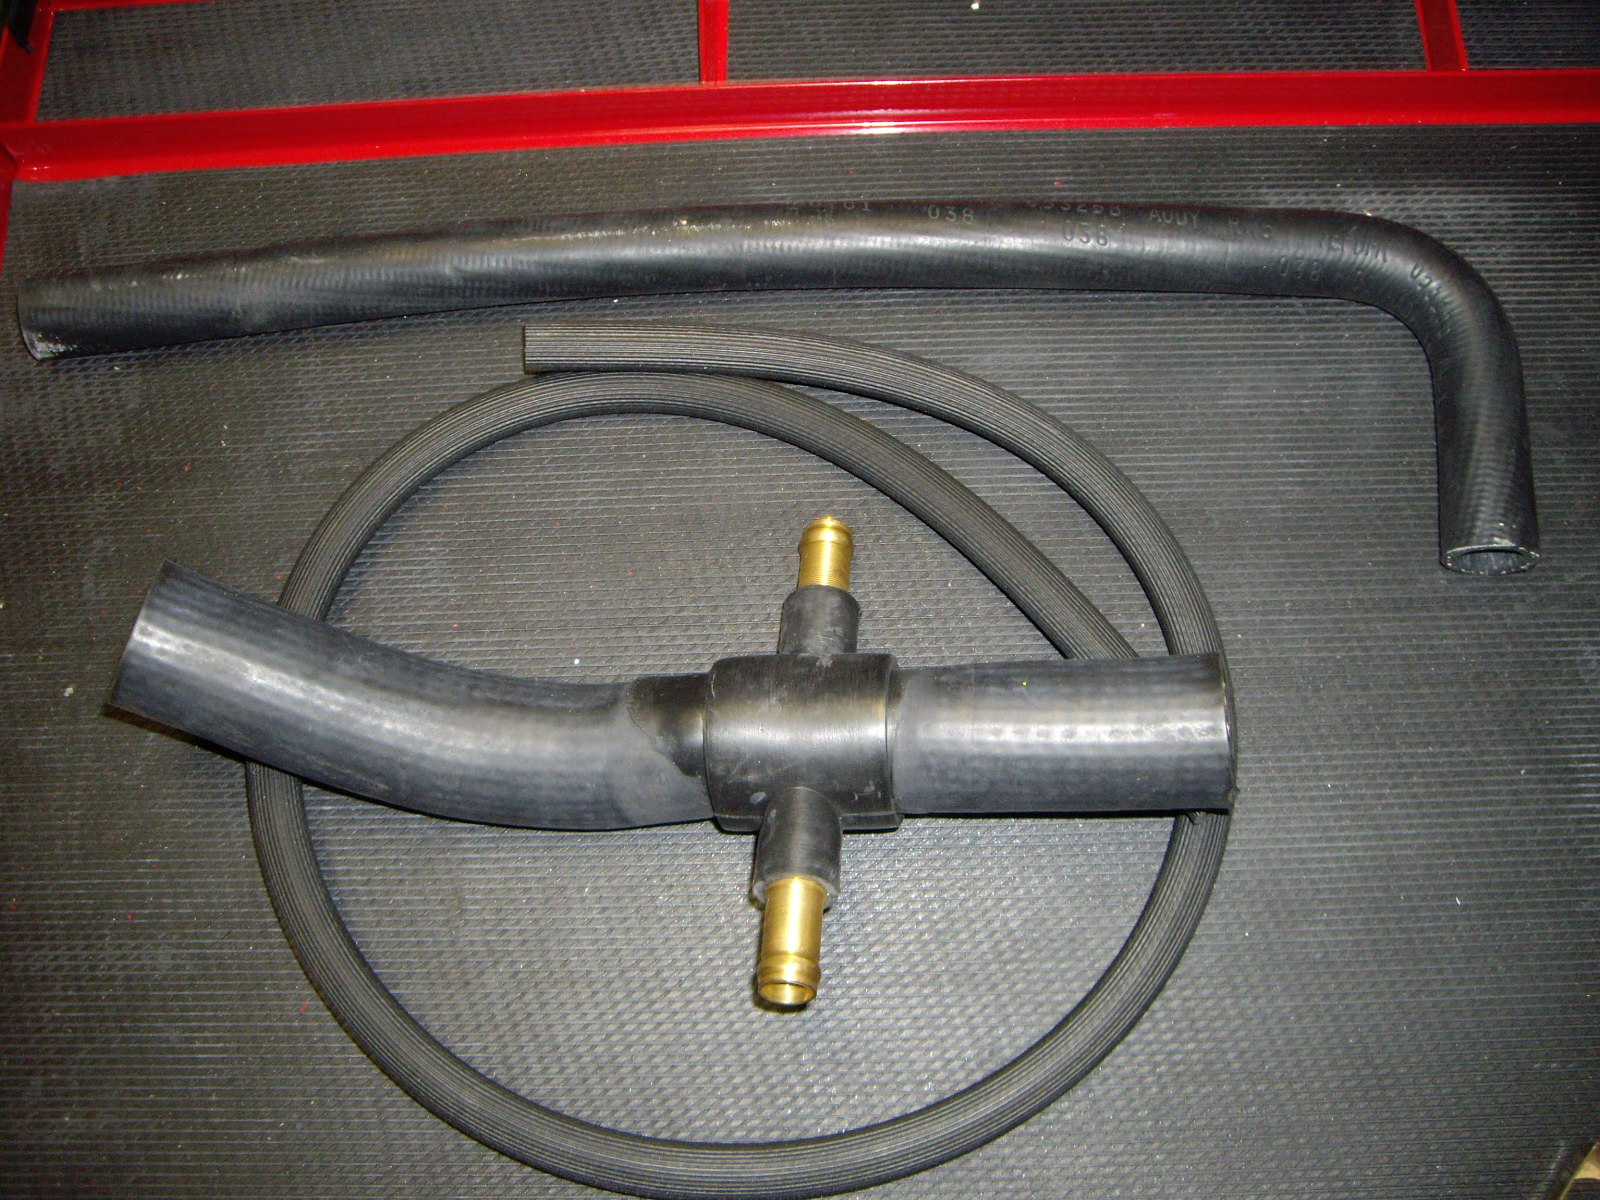
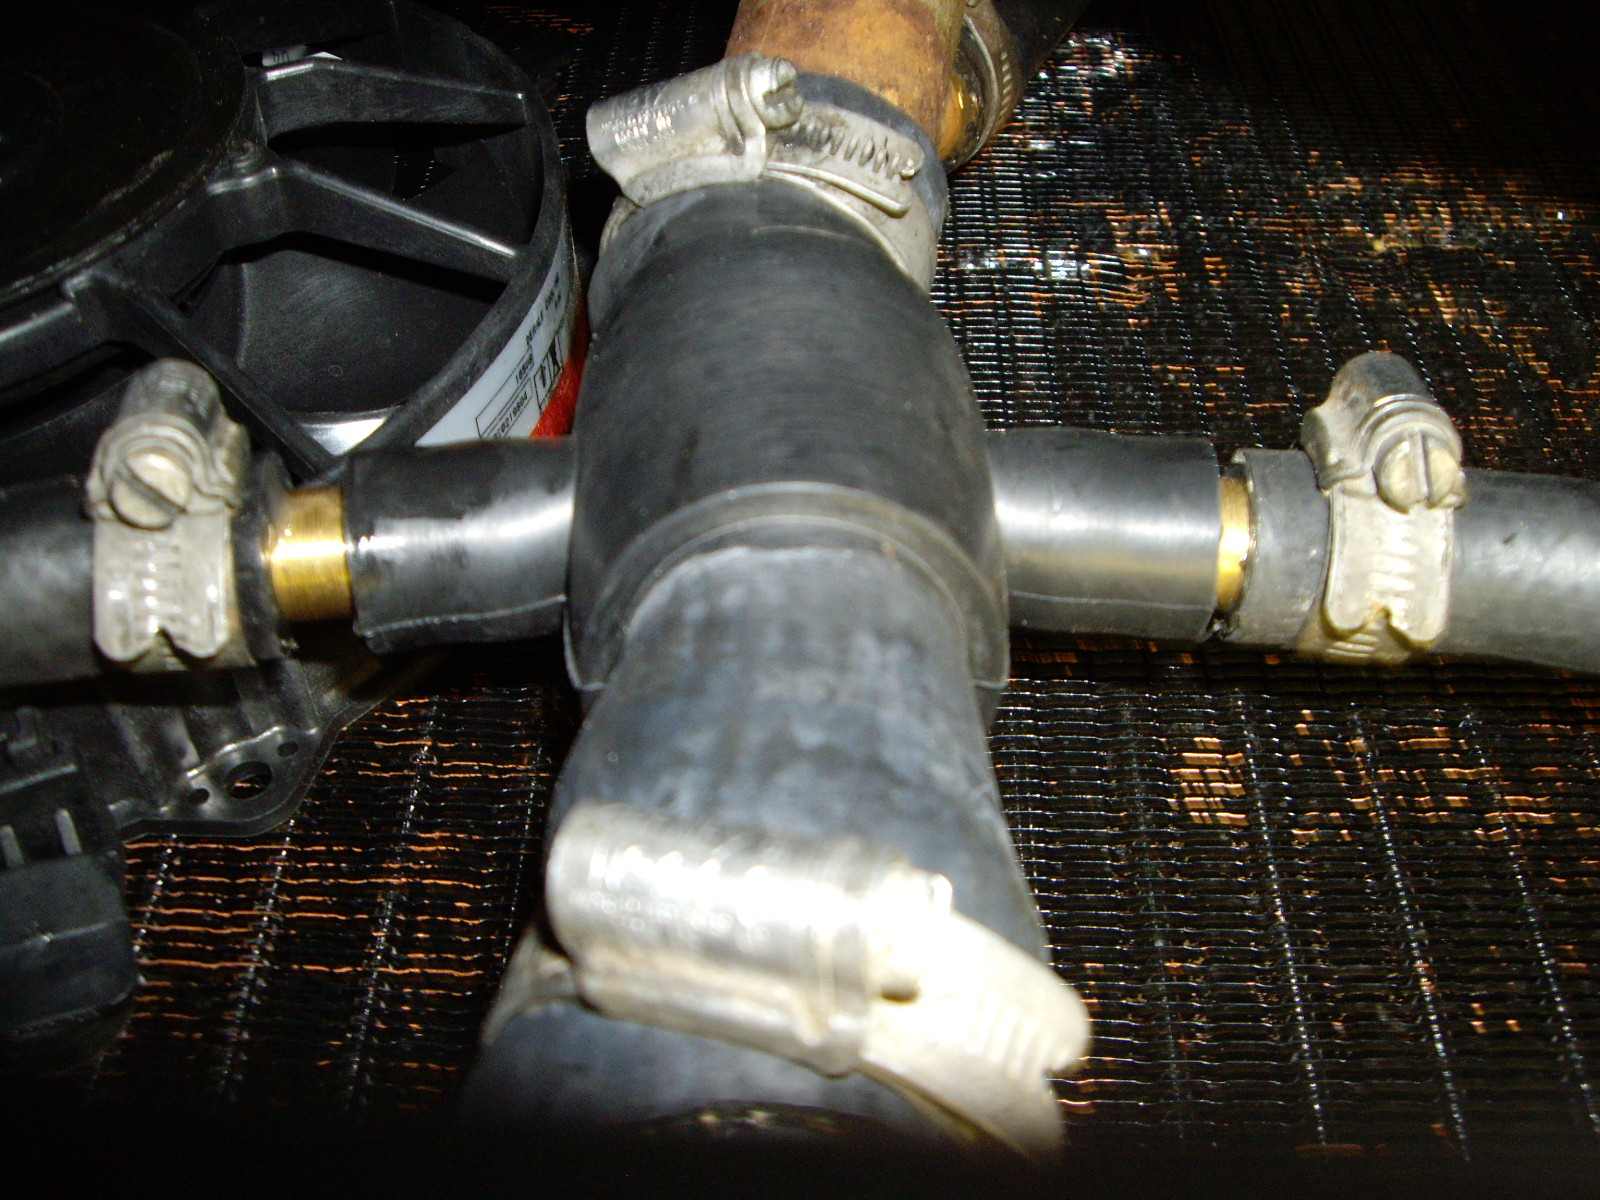
As you can see, a few too many clamps and hose pieces. The second item was to put in the corrected ribbed radiator overflow hose. And lastly, replace the leaking hose. Here are the various new parts.
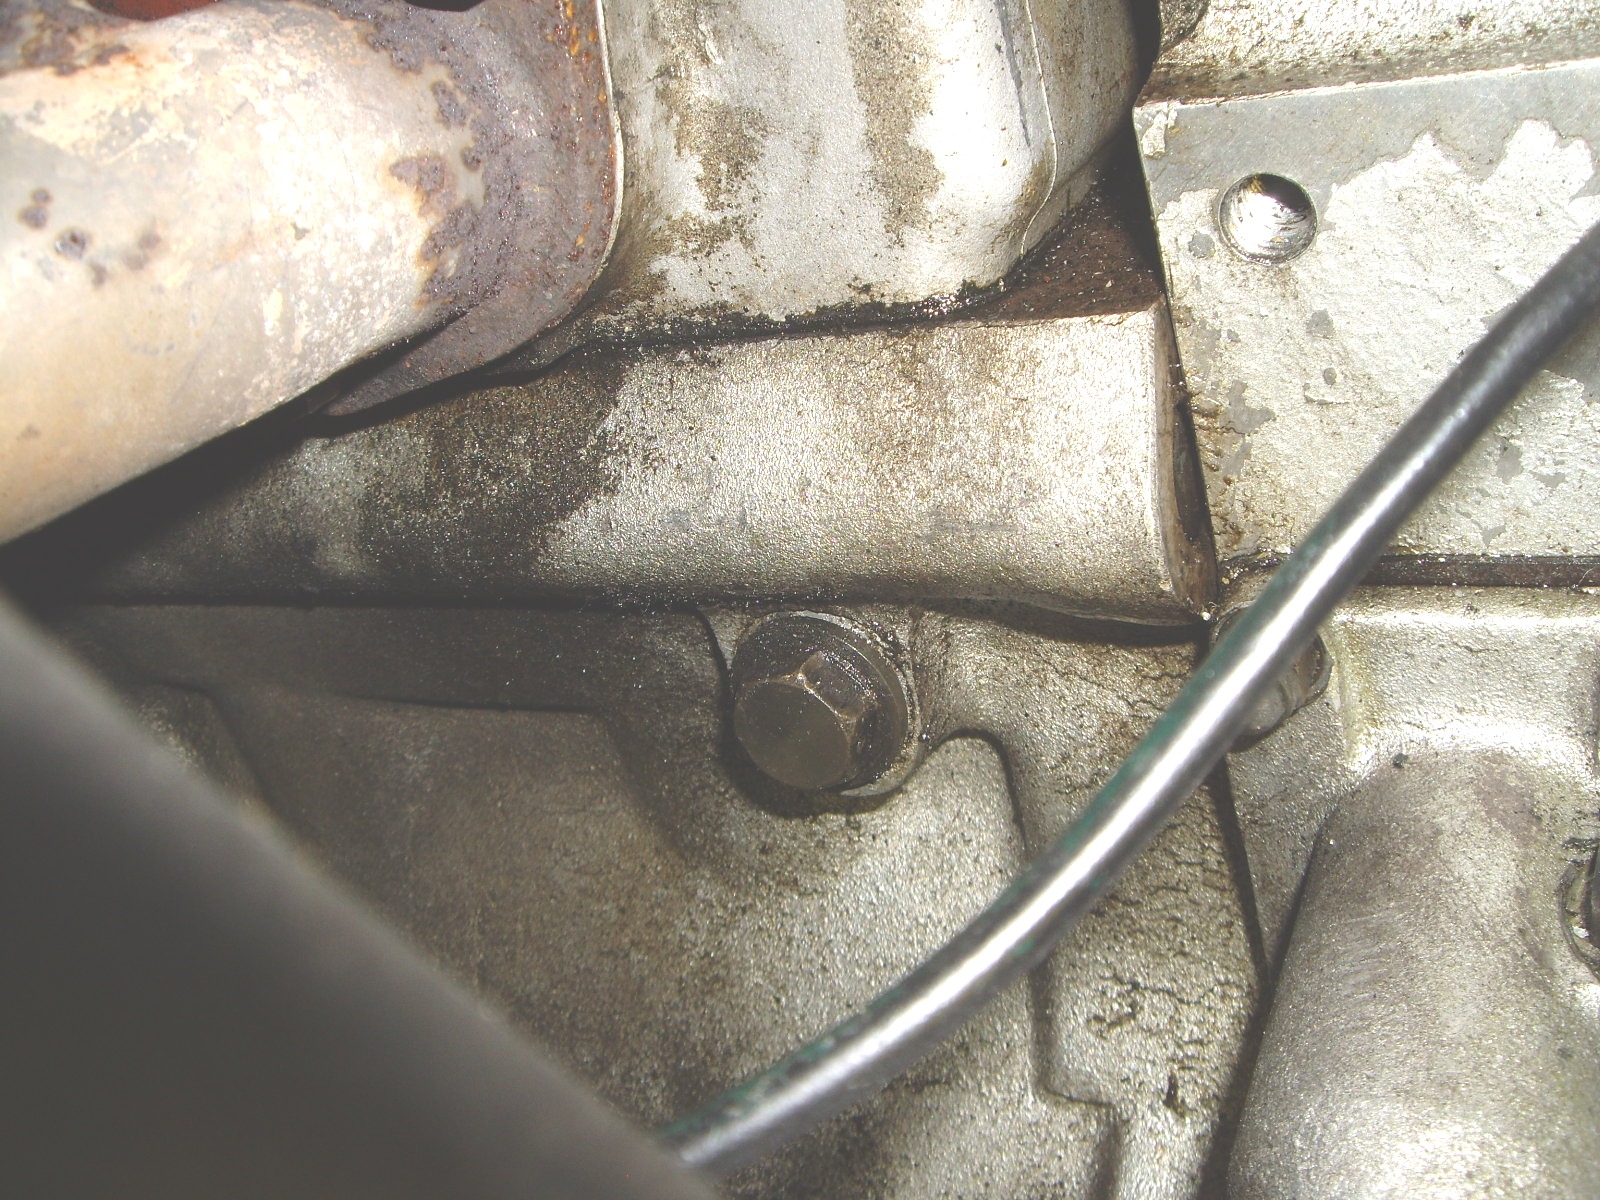
To start, I drained the anti-freeze. The obvious place is the petcock at the bottom of the radiator. In addition, there is a drain plug on the RH side of the block. This needs to be removed too. Of course, the anti-freeze just runs down the side of the block, in and around the front member, dripping everywhere. I managed to drain out three gallons, which is about the capacity of the system. Putting the heater lever on hot and opening the two manual valves ensures that the heater cores get drained too.
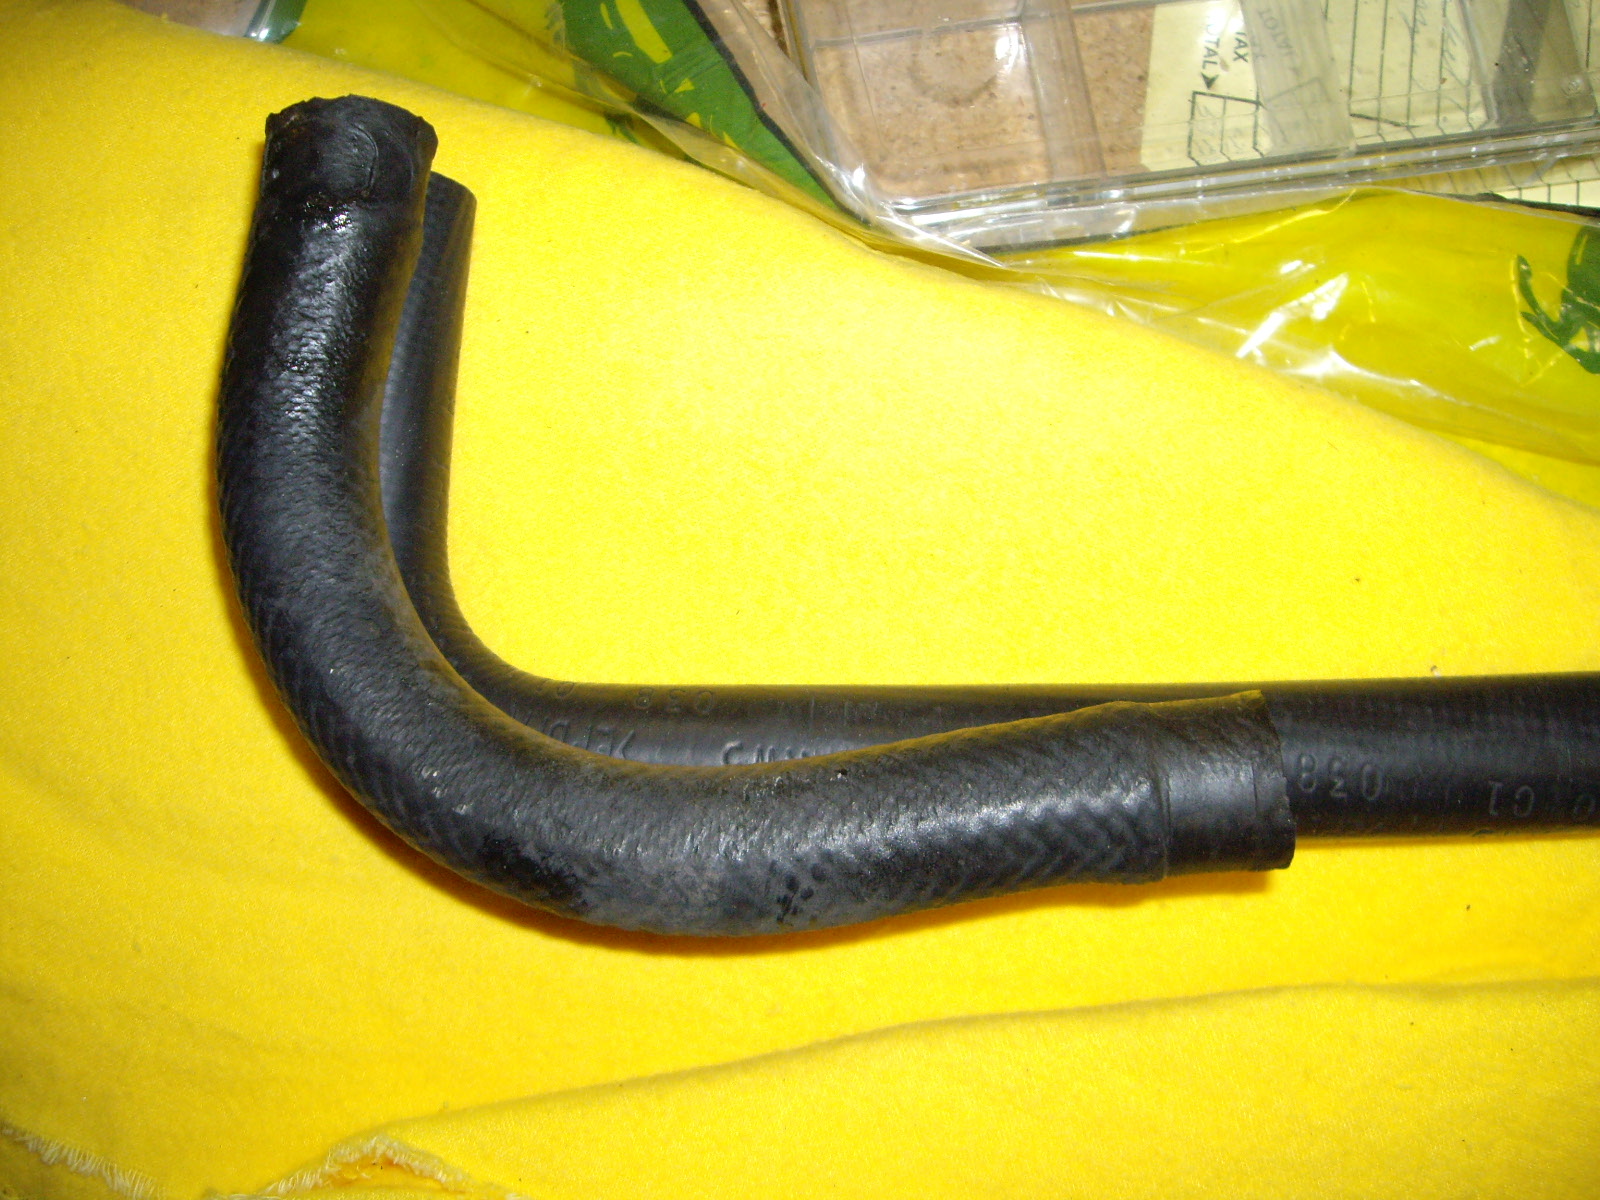
Then I went to the local auto parts store with the dimensions of the failing hose. I told the kid at the counter that I needed to find a radiator hose. His idea was to look up the part on the computer. I said no, I needed to get one that was L shaped, 5/8" ID x 4" x 7". Then he understood and directed me to the proper aisle behind the counter for me to look through the available hoses. After a while I found one that was suitable. Here you can see the old one on top of the replacement before I cut it to size.
The other thing I did at the same time was to replace of the stainless steel worm drive clamps with the proper Cheney clamps. The size I used was a hair bit small, so it was a hassle getting the hose and clamp installed properly. But the next size up I had would have been too large.
Next was removing the kludge. At some point in the life of the car, the original rubber part must have failed. Instead of getting the right part, someone made the heater hoses/radiator hose junction out of some brass tubing, very nicely brazing everything together. The replacement part was too long, so I cut each end off as appropriate. Then four Cheney clamps and that part was done.
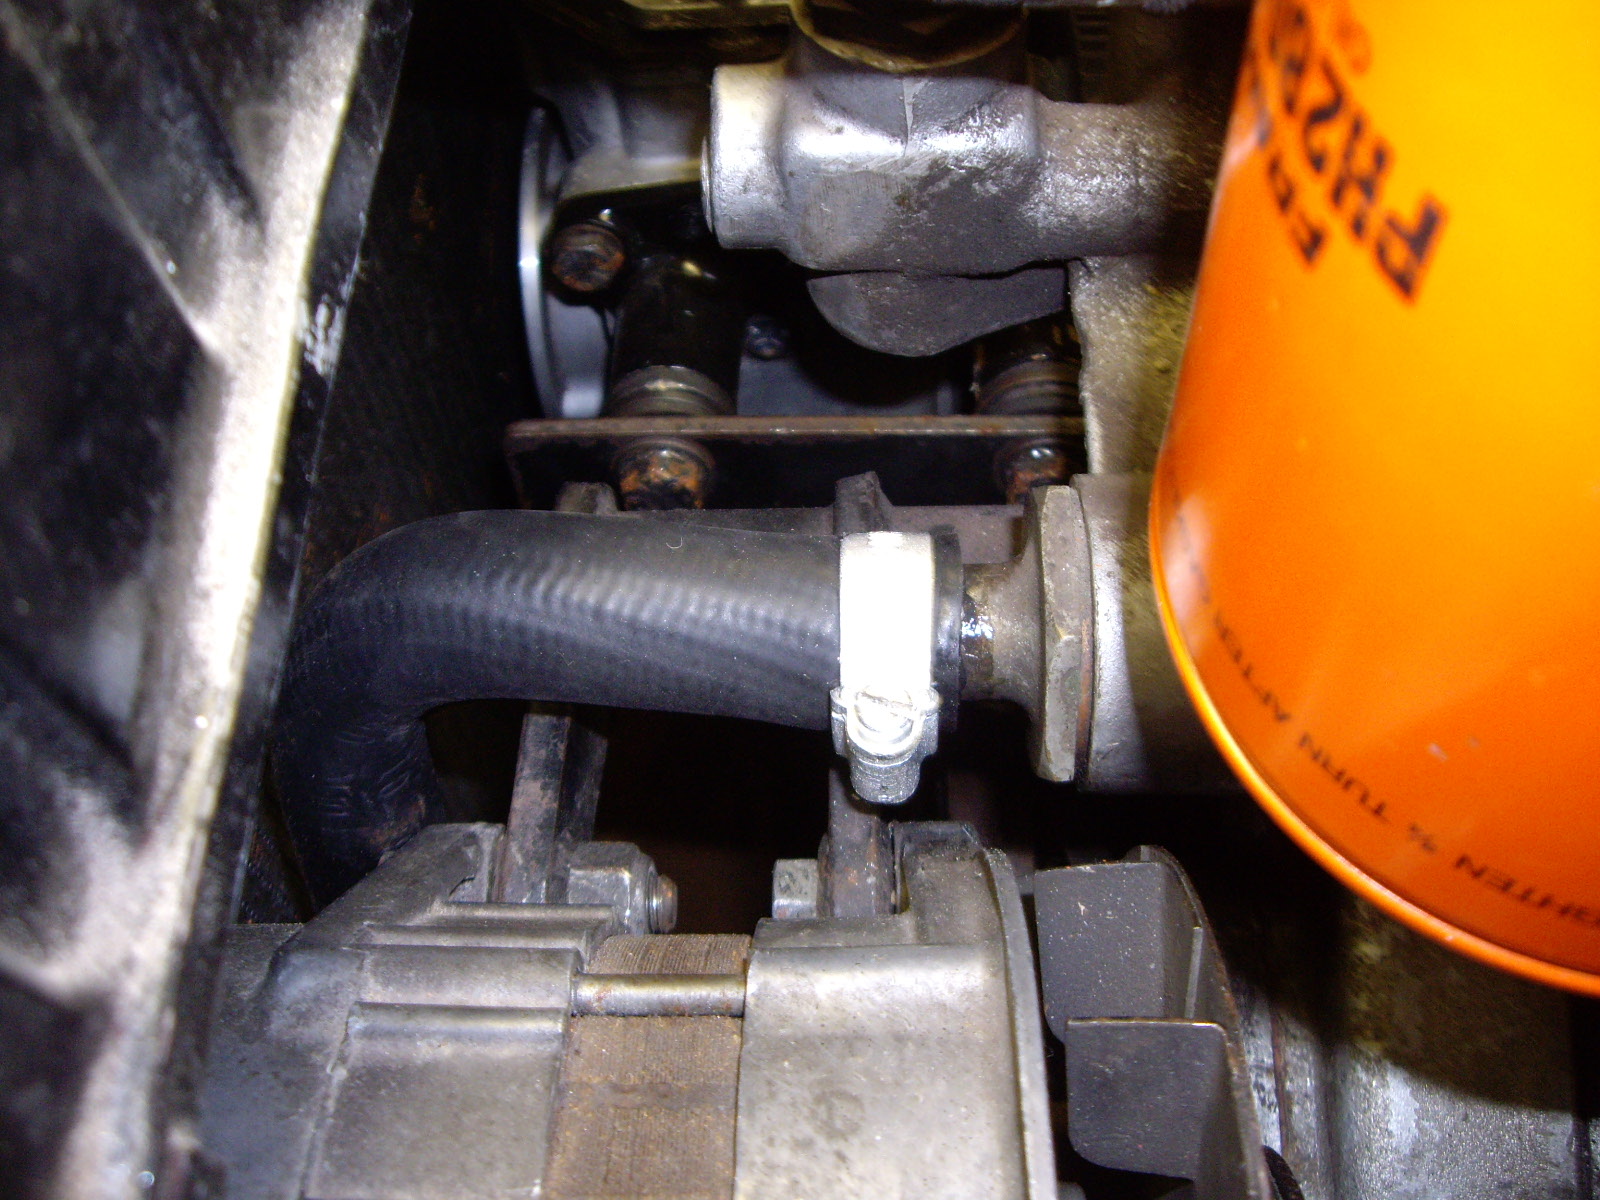
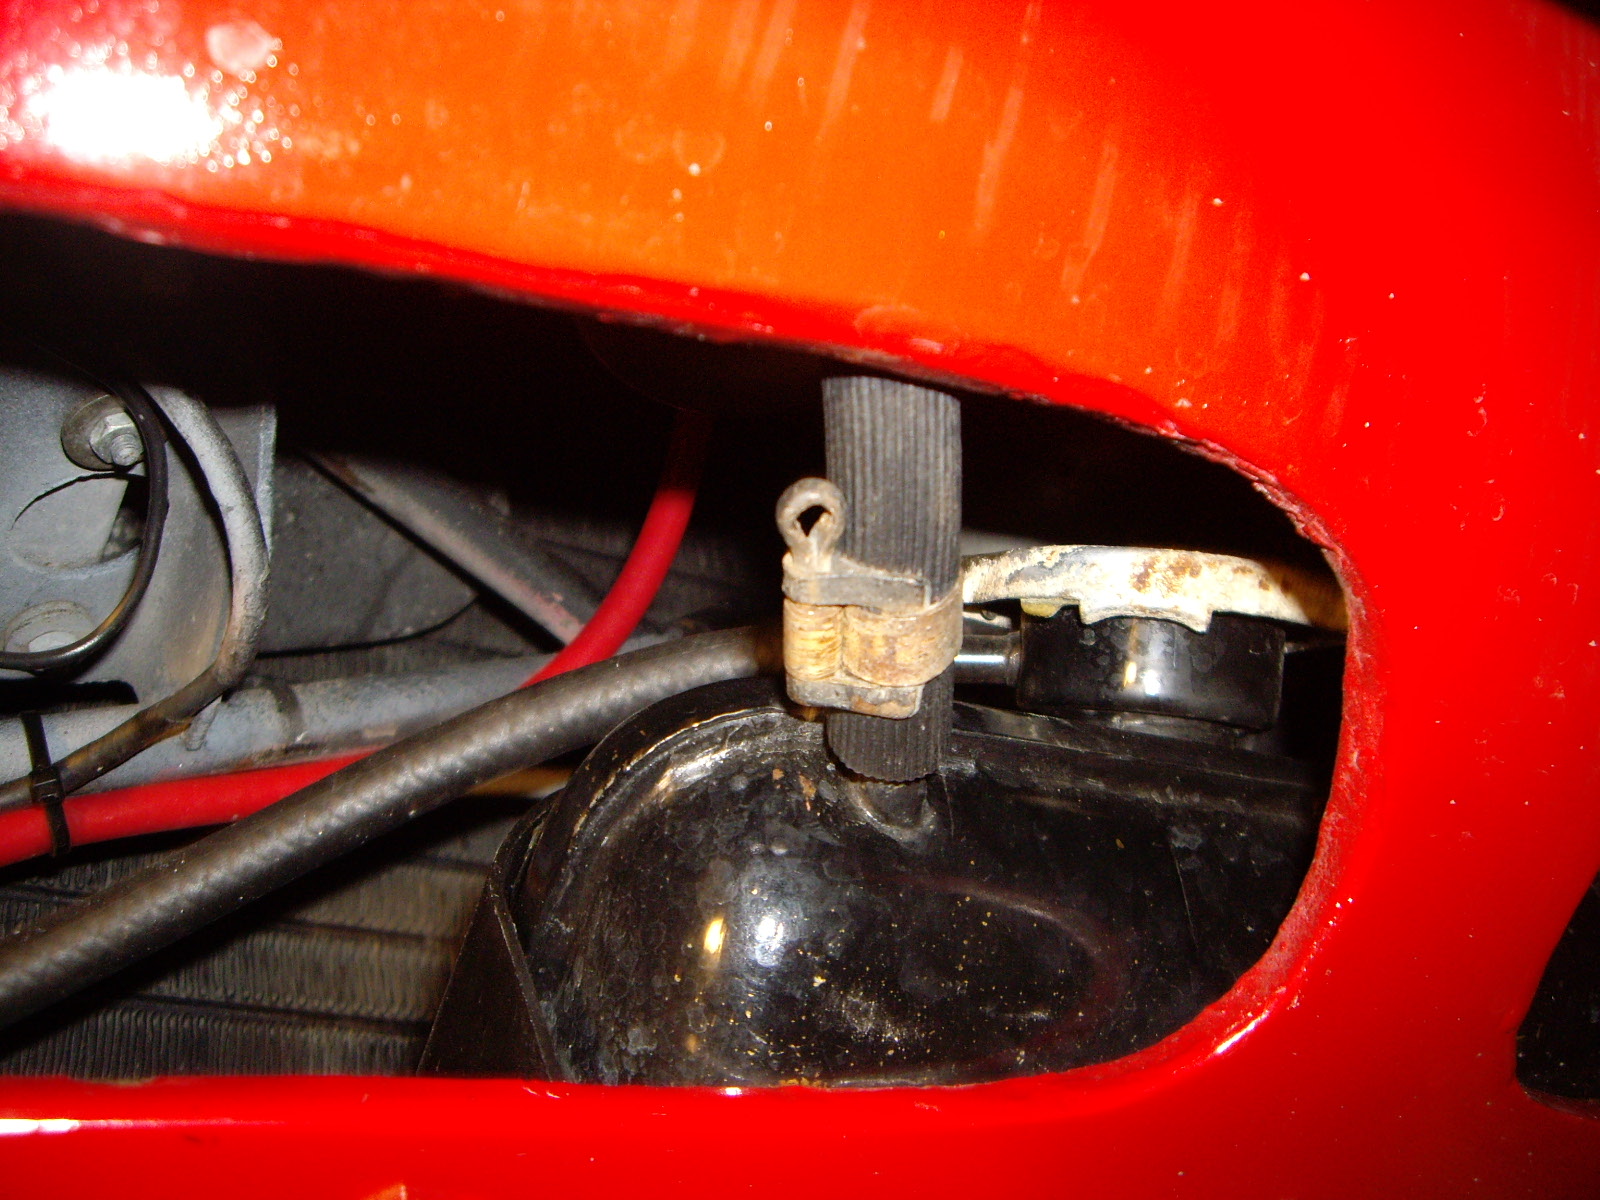
The ribbed radiator overflow hose is no longer available except as a reproduction from Mike Dunn's MAD Enterprises. It is priced by the inch and Lowell Brown mentioned one time that it was good that Mike didn't do metric or it would be even more expensive priced by the centimeter. This hose uses Copiglia clamps instead of the Cheney ones. Careful inspection and reading of the parts book lets you determine what kind and size of clamp goes where. Here you can see the clamp and end at the overflow tank.
Finally with a double check that everything was tight, three gallons of anti-freeze filled everything back up. No leaks so far, but the acid test will be after the car is run for a while and then turned off. That's when the pressure will build up.
A few years later, Al Pezella, who owns 8917, bought a new pump up garden sprayer and noticed that the hose supplied with it was exactly right on the outside. Inside, there was a polyethylene liner that is a tight fit.
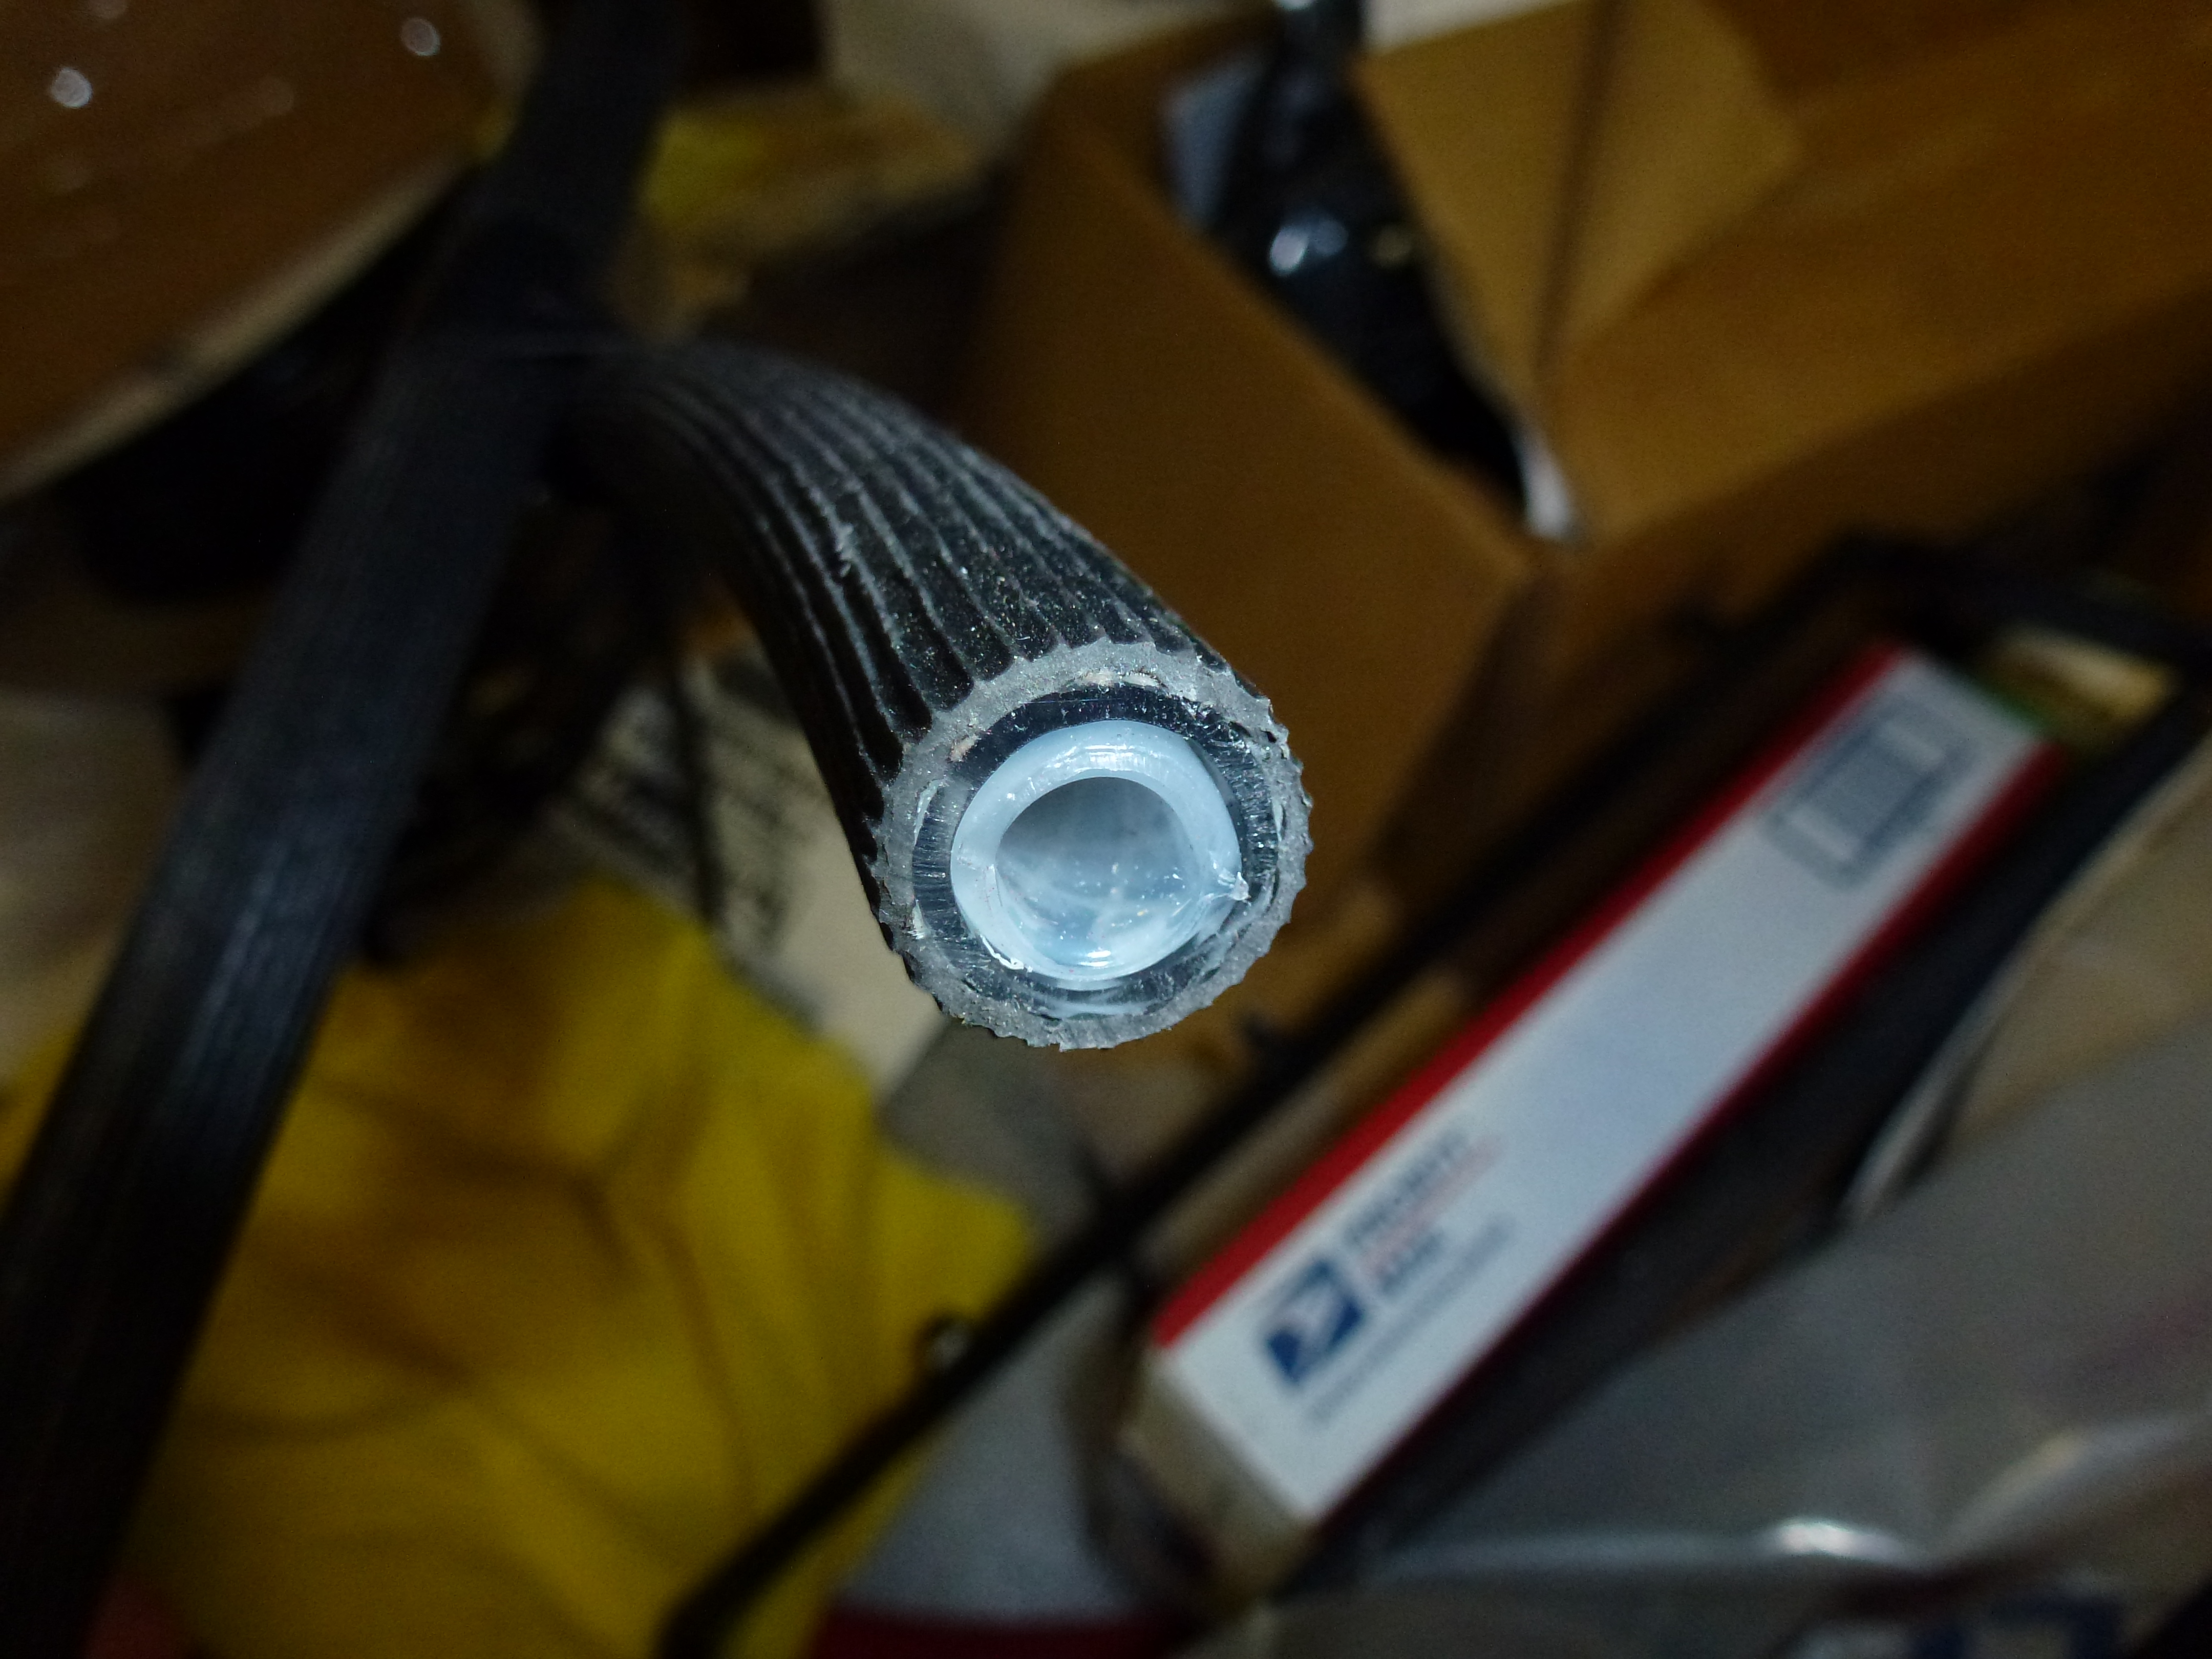
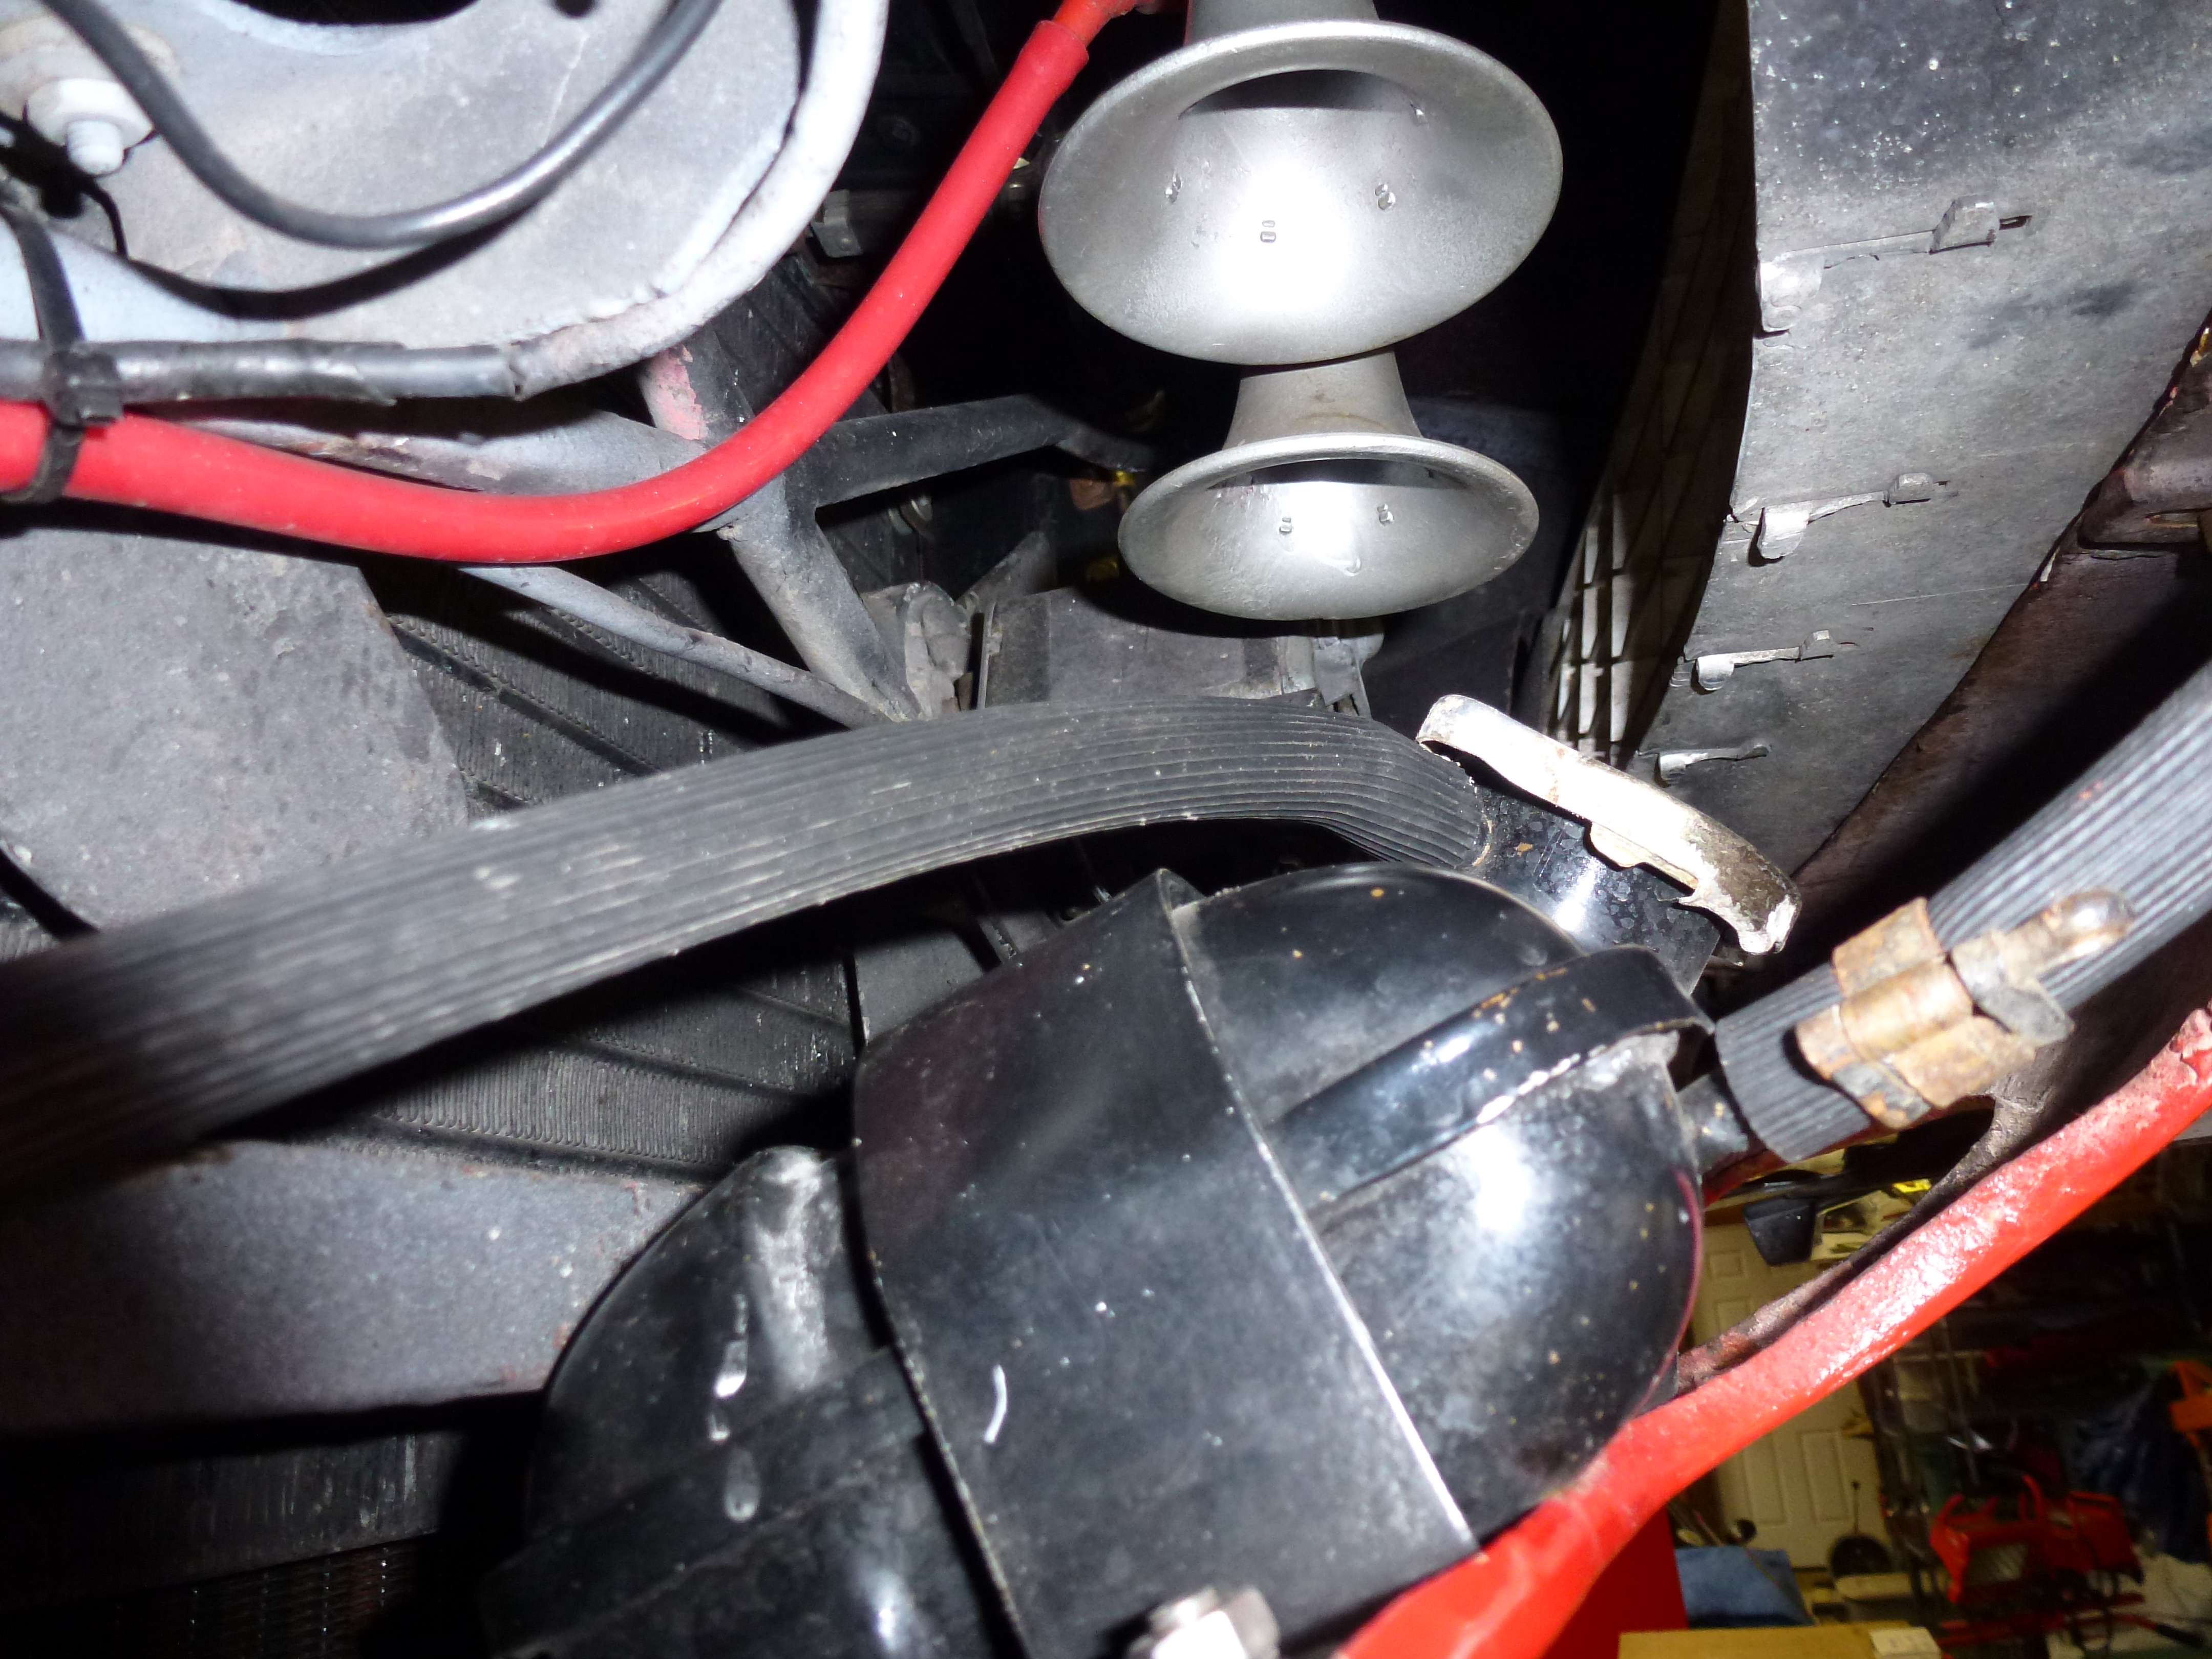
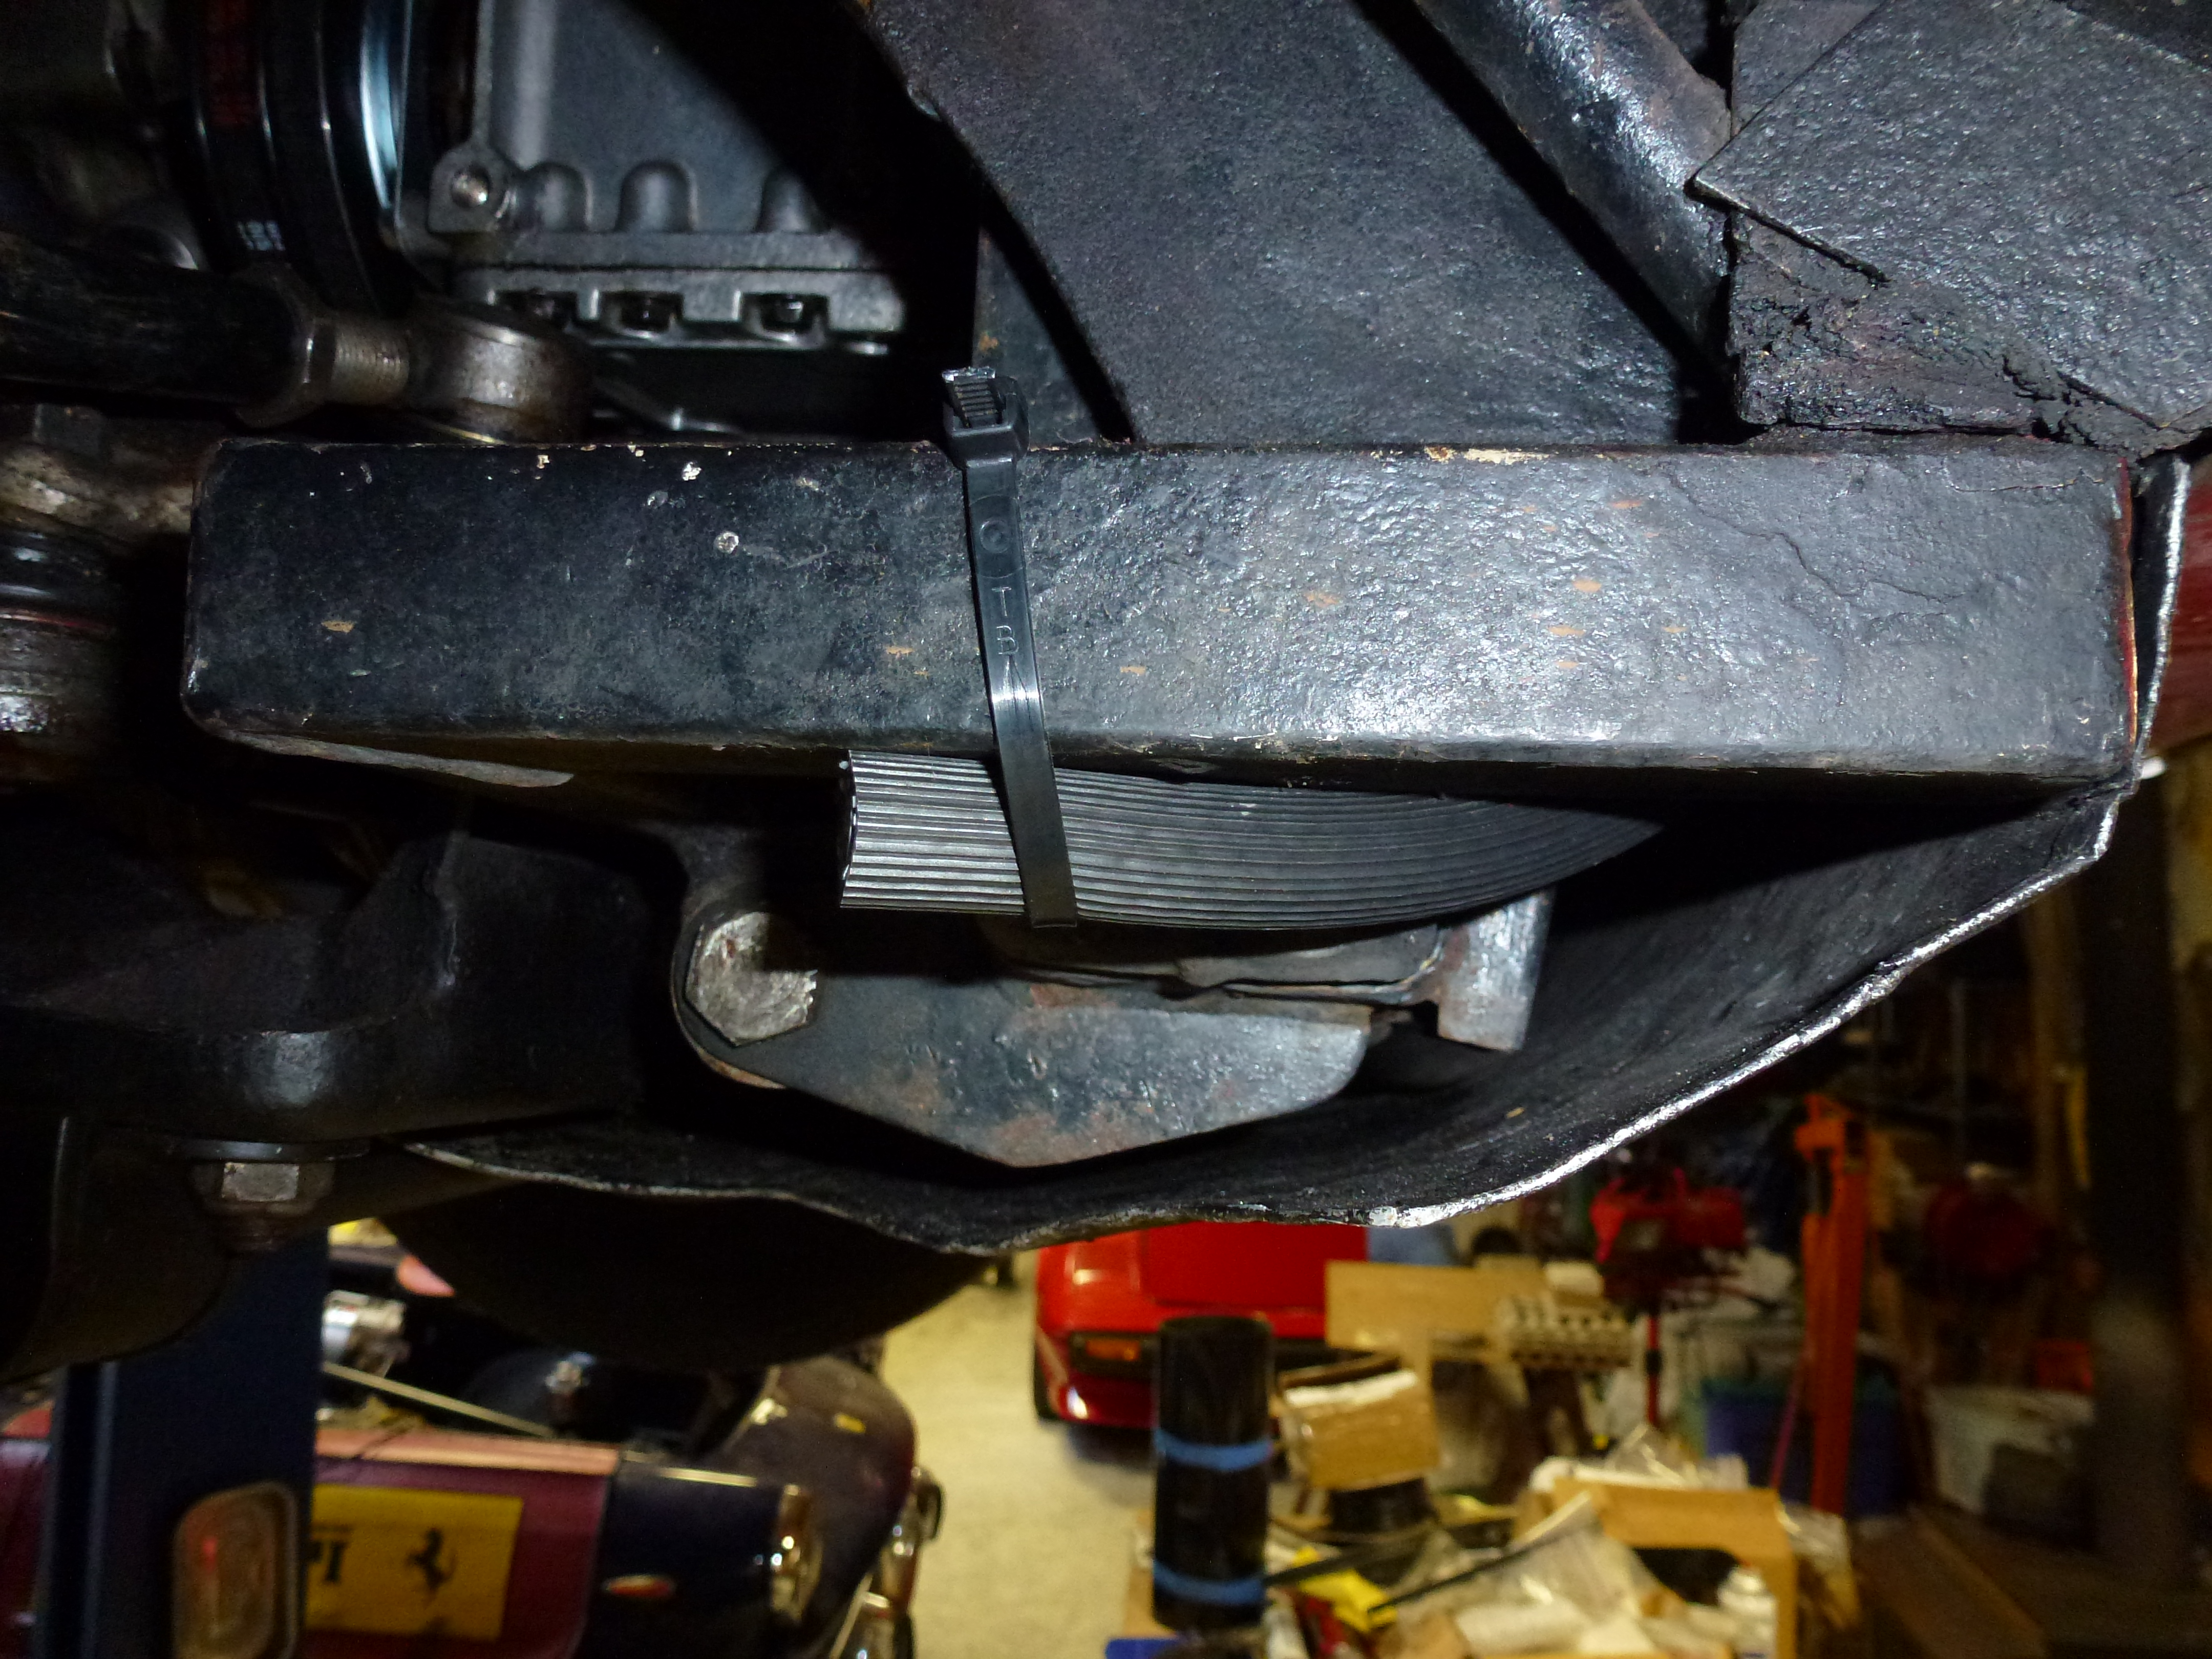
When I replaced the hose for the radiator to overflow tank a while ago, I used regular hose for the pressure release from the overflow tank as it isn't easily visible. Al had sent me some of what he bought from the sprayer company, so I replaced the regular hose with this new ribbed hose. Here you can see the Dunn version entering from the right and the new type exiting to the left. It is not clear where the far end should be, so I just have it empty out on the right side of the radiator shield with a black wire tie to hold it in place.