The Push
The next step was to finish the wet sanding and polish the paint.
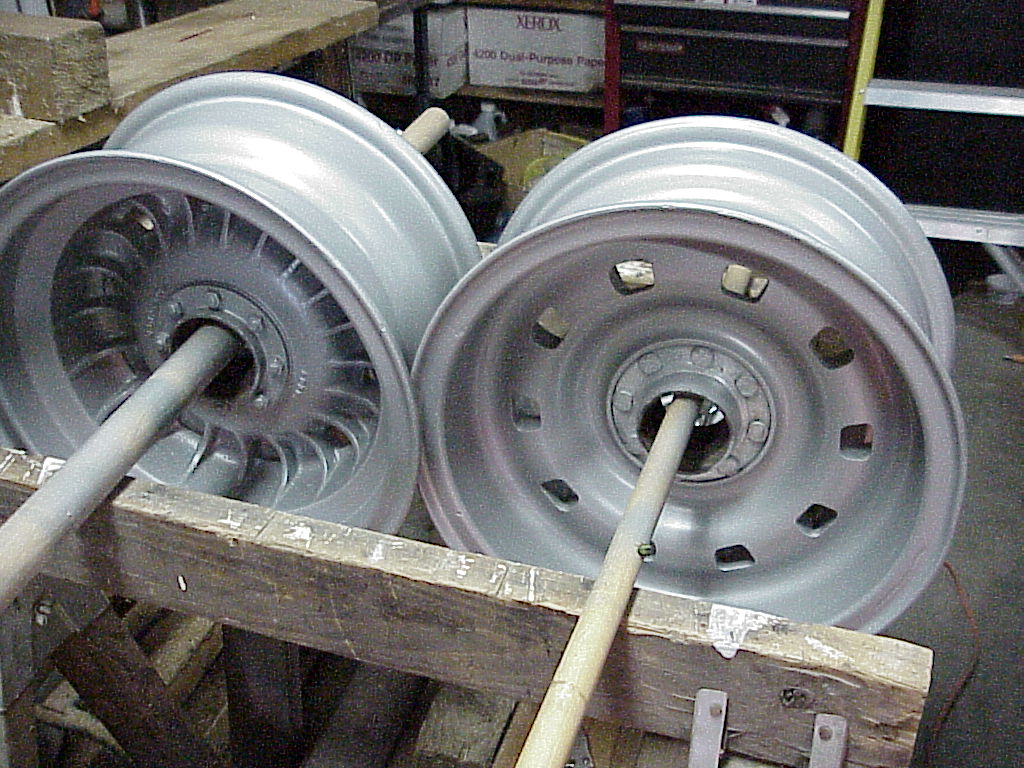
The wheels are bagged because I had borrowed a set of Borrani's that were in immaculate condition and I didn't want to polish off water spots. My alloy wheels were waiting for the paint to harden before having new tires mounted. I used PPG Delstar, color DAR 32498, Marlin Silver Poly*. To that I added PPG Urethane Flattening Agent, DX 685, to make it a semi-gloss (per instructions on can). I also removed the trim rings in the center of the wheels and had them re-chromed. Click here to find out how I did this.
At this point we are now into early July and the tour to Whistler was scheduled to start on the 14th. My wife was beginning to wonder why I hadn't started everything a couple of months earlier. But this is just like a software project. It will fill all available time plus more. While I was working on mechanical issues or the paint, my wife was cleaning and feeding the leather, cleaning and polishing the various trim pieces and anything else I asked her to do. This included using contact cement to glue some trunk carpet to the cardboard backing. I don't think I'll ask her to use contact cement again as she wasn't very happy about having smelly sticky fingers.
I wet sanded down the trunk lid, fixed up the grooves where the reducer removed the primer and then re-primed it. On Wednesday the 12th, I re-sprayed the trunk lid. The paint fish-eyed. This is where small indentations occur in the paint surface usually caused by having silicones present on the surface. Well, I was out of time for screwing around with the trunk lid, so it was left to dry with the fish-eyes.
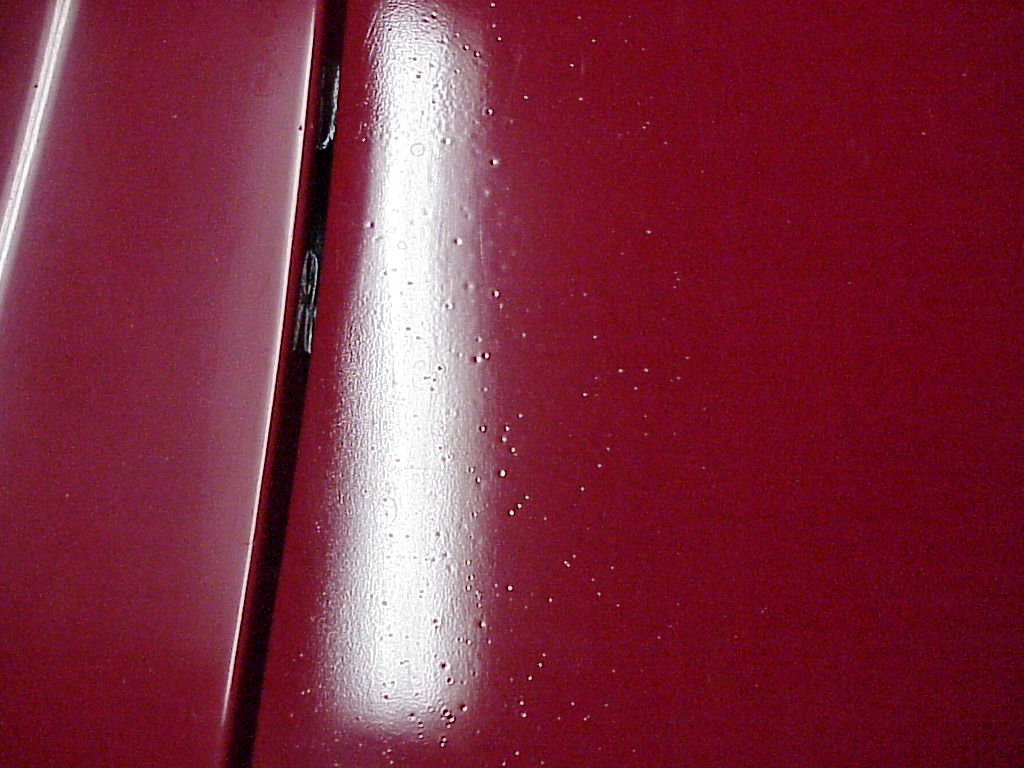
Trunk Lid with Fish-eyes in Paint
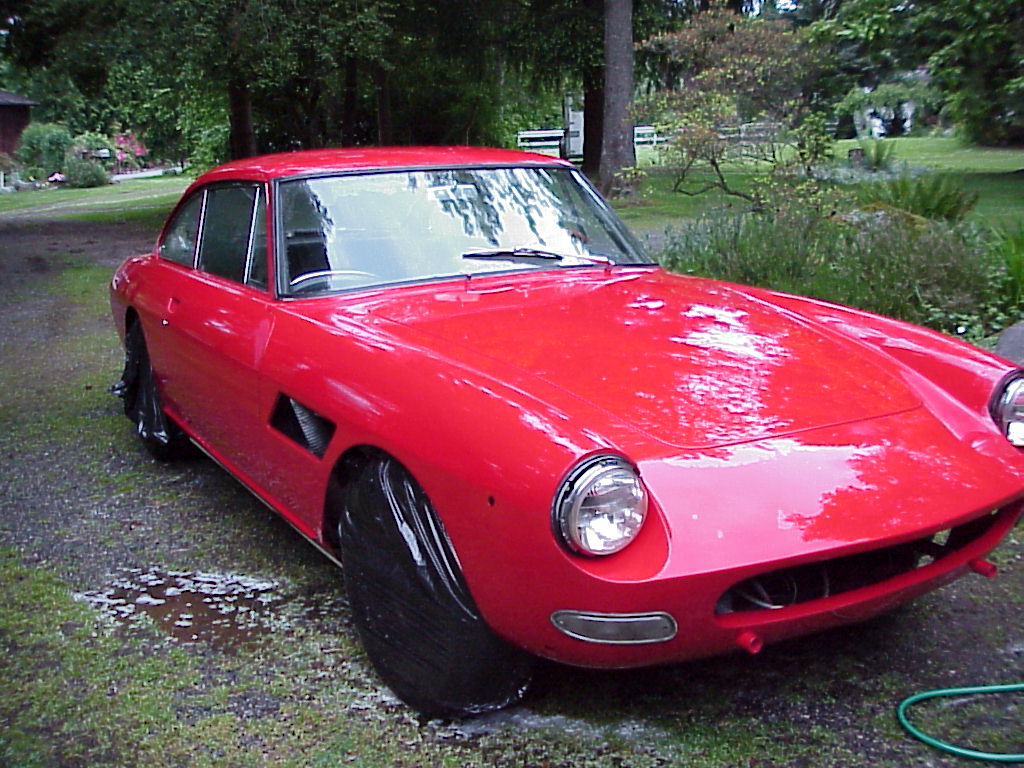
We were polishing and putting on trim on Thursday the 13th. It was time for a test drive as it hadn't been driven for more than a couple of blocks in 10 years. So down to the local gas station to fill the tank. Then onto the freeway for a 50 mile run up the freeway to Snoqualmie Pass (3000' elevation). Then off the freeway at an exit after about 7 miles to check on the overheating. Hmmm, a little hot. After cooling a while, a fresh gallon of anti-freeze was added and we headed back home. As it was downhill with less load, we made it home OK and gave it a good wash.

So much for taking it on the tour. So the van got loaded and an extra Ferrari trunk emblem was stuck in the back window.
* I just ran across a Ferrari technical bulletin from 1971 where they specify how to paint the Cromodora Magnesium wheels:
Technical Information no. 182
Ref./Cromodora Magnesium Wheel Rims
When a respray of magnesium wheels is required, the products to be used are the following:
- Acrylic
metallized paint - gray 2427078
(smalto metallizzato acrilico grigio ghisa 2427078)
[ed: literal translation is metallic cast iron gray acrylic enamel]
which can be ordered directly to:
- ITALVAR - Via Privata Bolla, 27 - Milano (Italy)
The paint should be applied with viscosity 37" (Ford type viscosity meter - orifice 3), and baked at 212°F (100°C) for 40 min. in the over or under stoving lamps.
Kindest regards,
FERRARI TECHNICAL ASSISTANCE
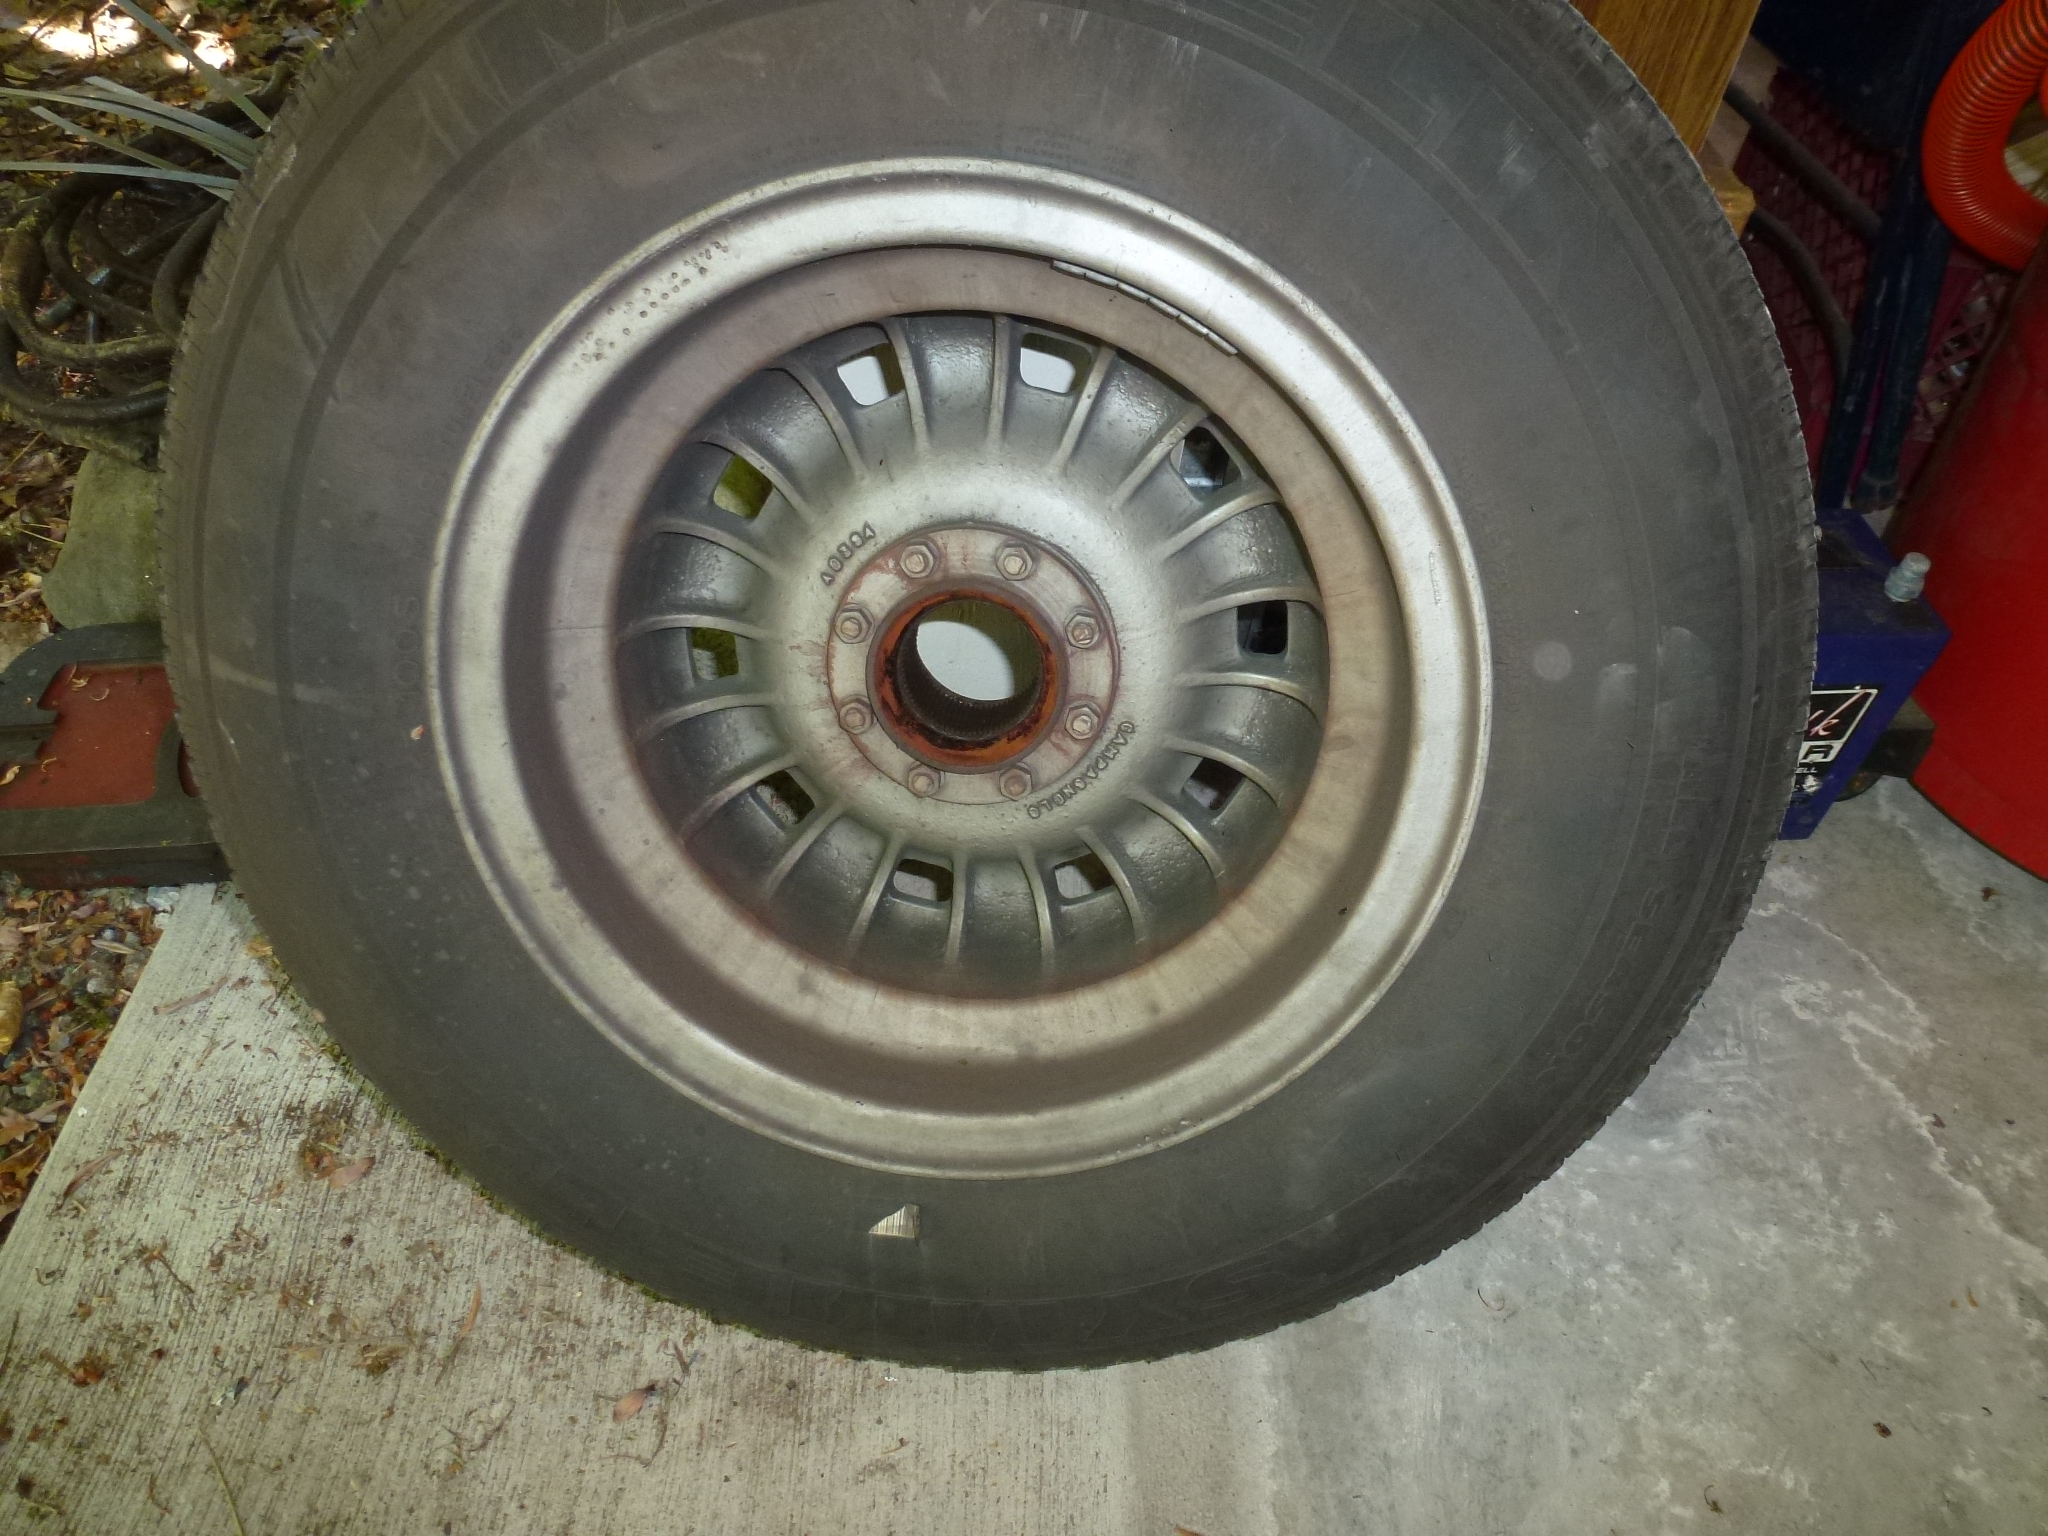
I painted the wheels about 15 years ago and never cleaned the insides. With a couple of concours' coming up. I thought it would be good to pull them off the car and give them a good cleaning. I had some Zymol wheel cleaner (courtesy swag from Zymol back when I volunteered at the Pebble Beach concours) and it really worked. Thank you Zymol. The insides are back to the silver paint.