Radio and Antenna
The car had a Japanese cassette radio and a couple of big holes in the console. The part of the console where the radio goes is fiberglass covered with leather. Since the holes were cut through the fiberglass, I ended up cutting a sheet of aluminum, covering it with leather and putting it over the top of the fiberglass.
I got a period Becker Europa radio on eBay but it was a mono (single speaker) unit. I also got the correct crossed flags that go on the face of the console and mounted them too. The dial light was burned out and I couldn't find a source for the bulb. So I ended up going to Radio Shack and buying a very small screw bulb and matching socket. They mounted in the same place as the original light and can't be seen unless you pop the knobs and bezel off.
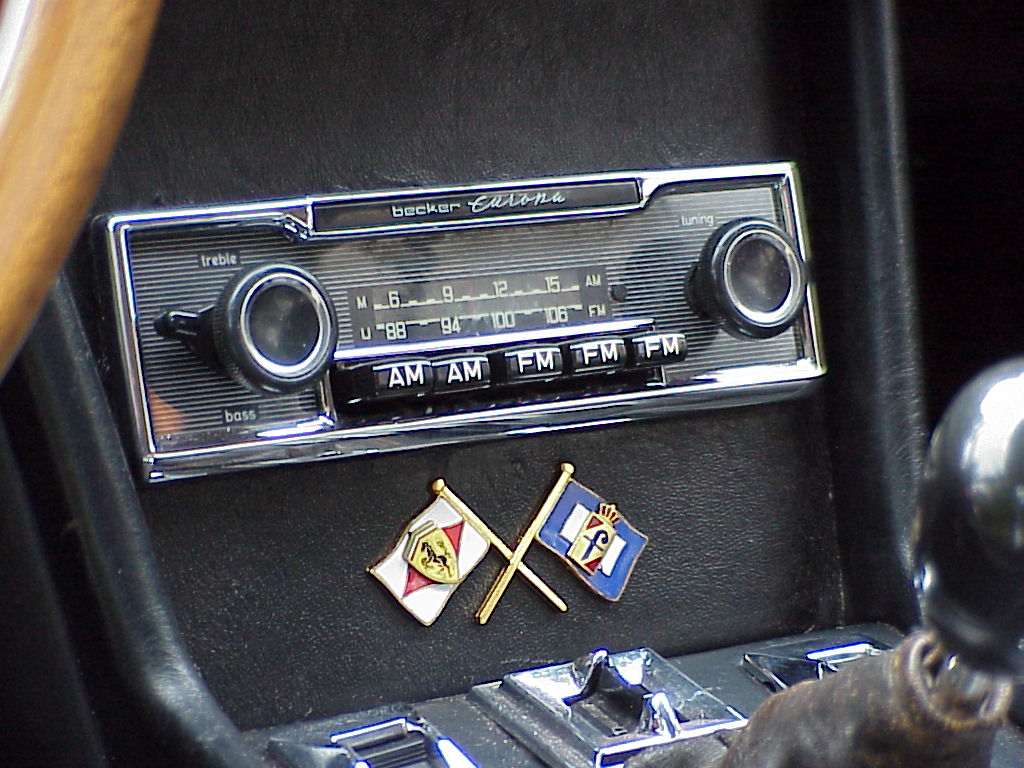
Then the electric antenna didn't work. It would simply draw lots of power and never move. A disassembly yielded a lot of gunked up grease. After cleaning that out, putting in some light electric motor grease and aligning all of the gears properly, the antenna would then go up and down. For the series II cars, the antenna is supposed to be an automatic type that goes up when the radio is turned on and then retracts when it is turned off. However, the antenna was a semi-automatic one which requires a switch to make it work. You can see the switch just below the flags in the picture above. It doesn't belong there, but unless I completely recover the console with new leather, I would have a hole if I removed it. So I decided to stick with the semi-automatic antenna and switch. Someday though!
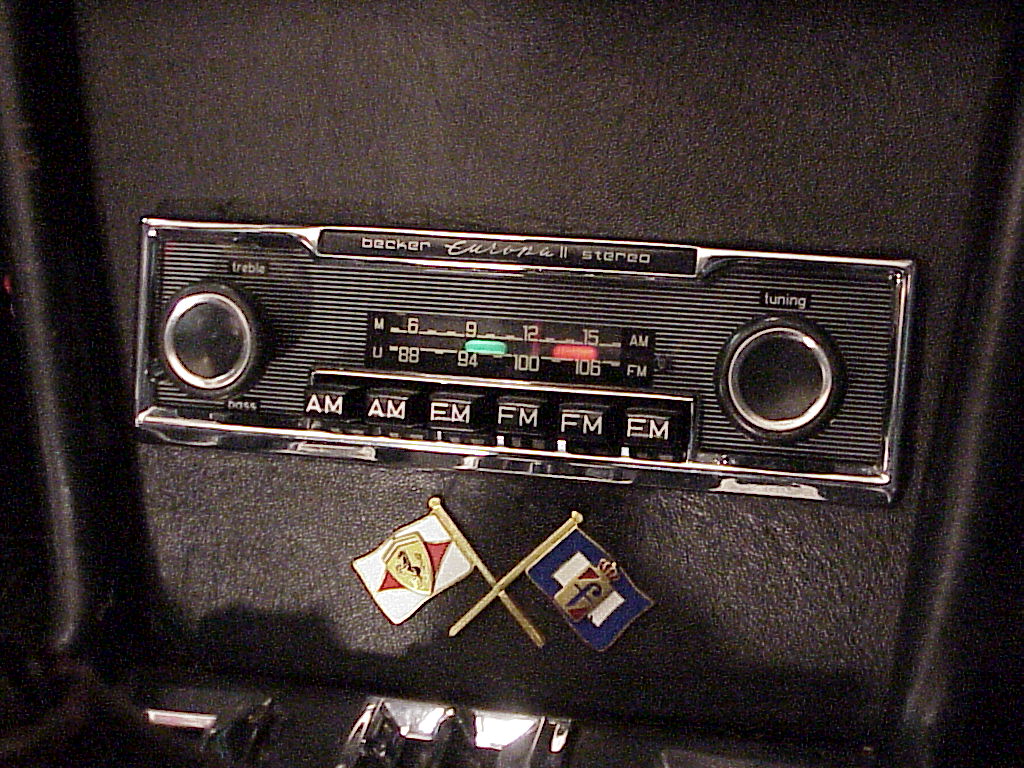
Recently, I managed to buy a Becker Europa II stereo radio on Ebay at a reasonable price. The series II cars were designed for two speakers so a stereo radio is more appropriate. Of course, both the dial and stereo bulbs were burned out. But by now, I've found out that Becker has a service and parts location in New Jersey so I was able to buy the correct bulbs from them. Not cheap, $15.50 for three bulbs (one spare) by the time shipping and a small order handling charge was added. But it was a lot easier to install those than to put new sockets in.
One of the other things I decided to do was to replace the antenna wire with a longer one as it was really tight getting the end plugged into the radio. So I pulled out the tape measure and figured 12' would be plenty long. A trip to Radio Shack and then it was time to pull the new wire through the body to the trunk. I put the old end into the new wire, taped them together and then managed to pull the new wire through without having to disassemble anything more. Then for grins, I measured the old antenna wire and found it to be 12' 3" long. What a bummer, now the new wire was even shorter. So for right now, the new wire is positioned correctly so it fits at the console with the old wire coiled up in the trunk as an extender. I'll hunt down a 2' extender so I won't have this coil in the way.
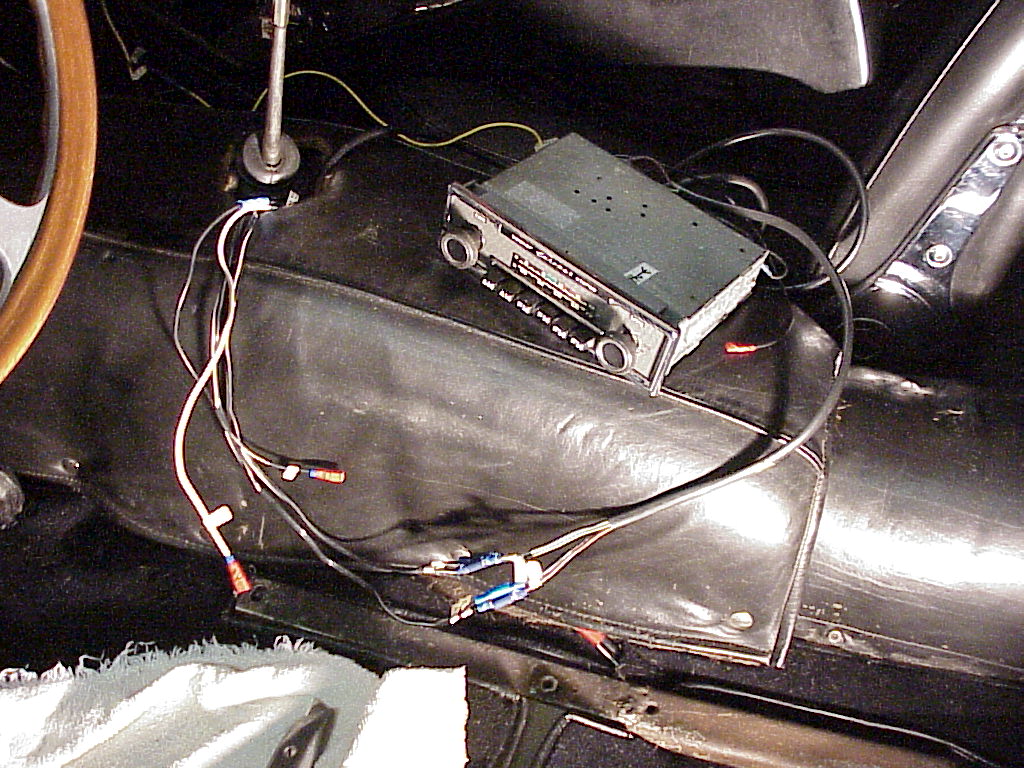
The new radio has the same chassis, so it fit into the existing opening without any changes. I had also installed the two speakers and wires when I did the package shelf, so I was set there. Here I was testing all of the connections and figuring out the left and right speaker wires.
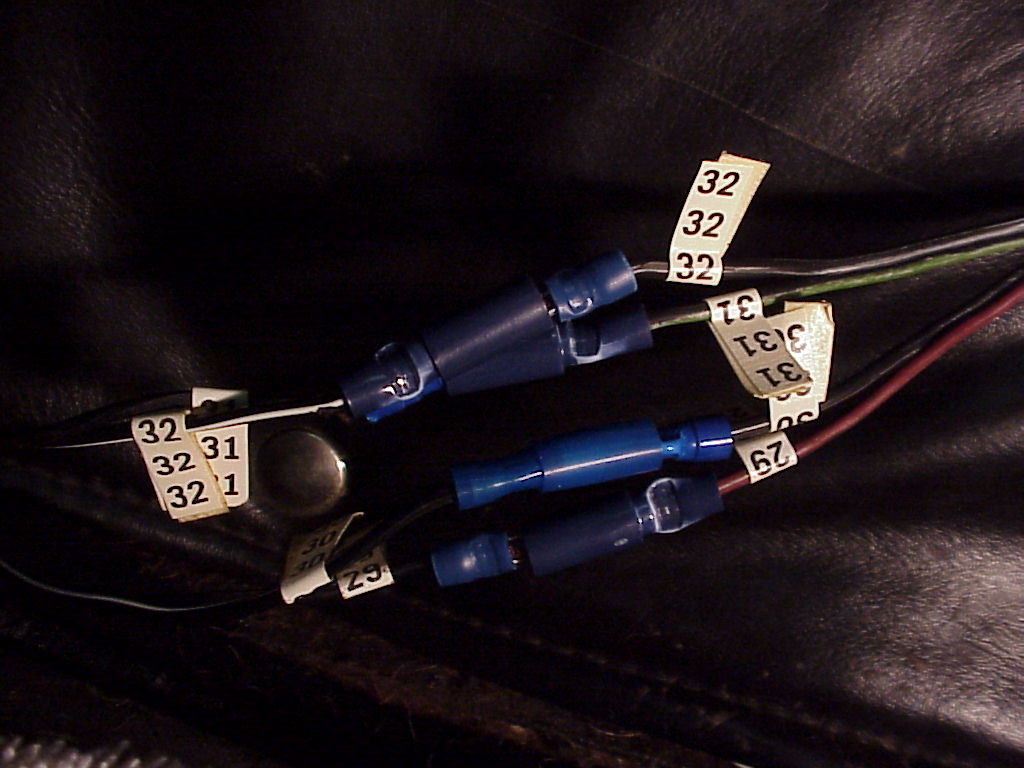
There are a lot of wires running to the console. These include the electric window switches, antenna switch, cigarette lighter, speaker wires and antenna wire. I use wire marker numbers to keep track of each of these wires so they are easy to plug back together. The marker numbers come in strips that are self adhesive. So you just pick a number and wrap the corresponding wires on both sides of the connectors with two matching strips. Then you just match up the numbers when it comes time to put the console back in. Here you can see the speaker wires all marked and assembled.
Here's the final result along with a short movie. You can see the dial and stereo lights doing their thing.