Rear Brakes
After waiting a few days to make sure that the new seal on the differential solved the leak problem, I proceeded to change the oil soaked brake pads. During that process, I pulled back the dust covers on each piston to see if there were any signs of brake fluid leakage. I'm sorry to say that there was rusty brake fluid behind three of the four dust seals. So off came the calipers.
However, as usual with an older Ferrari, everything didn't go as planned. The brake line running to the left inner caliper was rusted to the fitting. Removal meant that the brake line was twisted off. I had bent the tube before I realized what was happening and at that point there wasn't much else to do but continue. So I had to make a new brake line. Much to my surprise, the line is a normal 3/16" brake line that I could buy at a local auto parts store.
The flares on each end are a different story. The one at the T (on the differential) is a normal brake flare fitting. The one at the caliper is a special double bubble flare used on Dunlop brakes. At least this time I can blame the English rather than the Italians! You can see the double bubble flare on the left and the normal one on the right.

Luckily Lowell Brown has a friend who works on Jaguars, so a trip to his shop was required. It didn't take too long to actually bend the lines and put the flares on the ends. We spent more time talking and looking at the wide breadth of cars he had there. Everything from American iron to a Lancia with lots of English cars in between. There was one forlorn 308 GTS sitting in a far corner. After 20 minutes of real work, the line was done. Here are the old and new lines. You can see the broken off end closest to you.

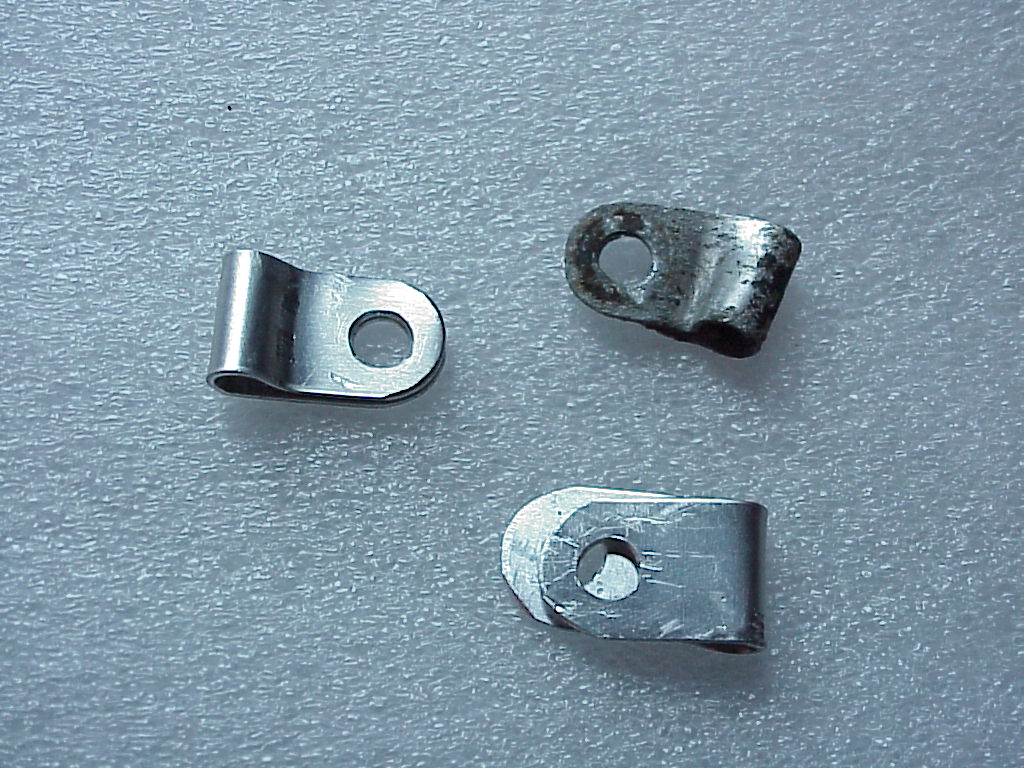
There are aluminum clips that bolt the brake line to the differential in a couple of places. One of these was broken, so I decided to replace them. I just used some .040" aluminum, cutting them with hand snips. I bent them around a 3/16" pin punch since that is the same size as the brake lines. My first attempt (lower right) left a little to be desired. Then I decided to make the bend first and then locate the hole and round the ends off. I should have gone back to Tom Yang's write-up as he did it right the first time (or didn't admit it). You can see the original on the upper right and my final result on the left.
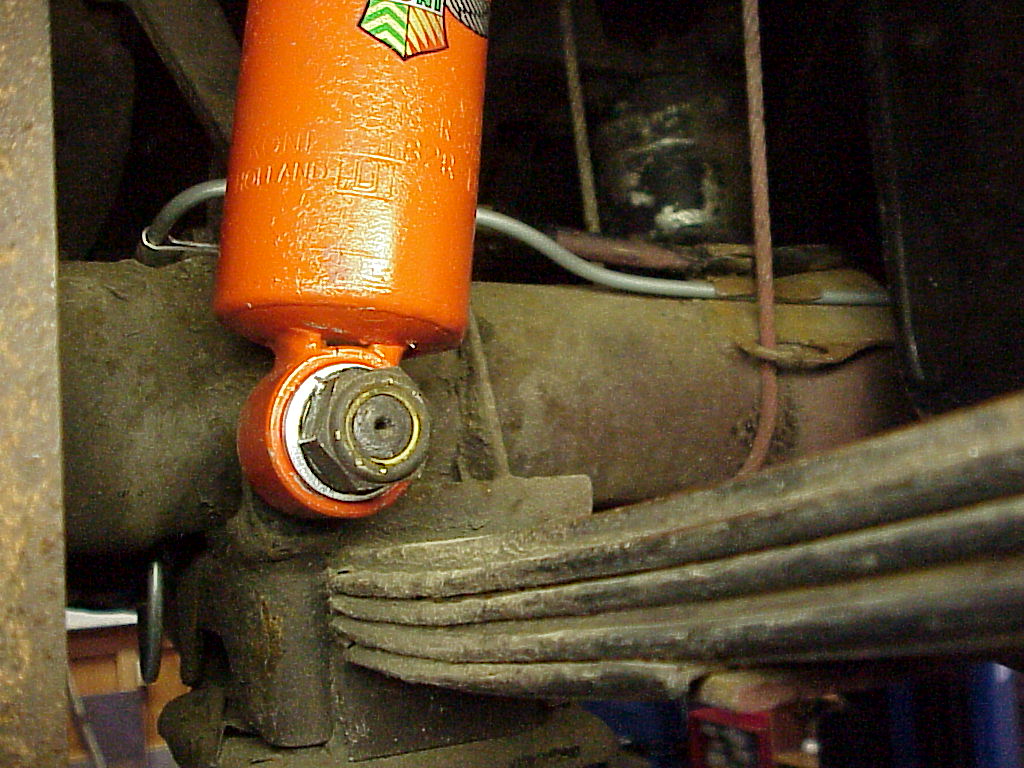
The final step for the brake line was the installation. I had to do some tweaking to get the two ends to line up with the fittings, but all in all, the fit was fine. Here you see it installed with one of the clips visible to the left of the shock.
I'm now waiting for the brake rebuild kit to be delivered. But that's not a problem as we're going skiing for probably the last time this season. So it'll be here when I get home.
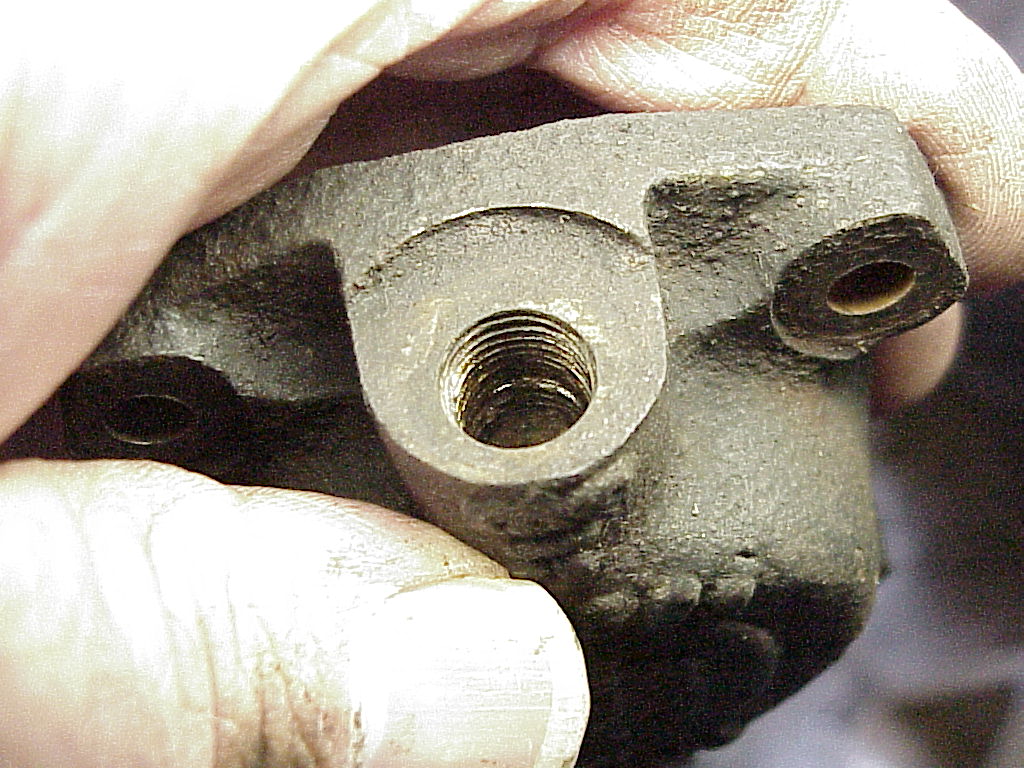
Another issue that I decided to deal with was one of the brake bleeder screws. When I first got the car, one screw was so rusted in the caliper that it sheered off when I tried to loosen it to bleed the brakes. At the time, I removed the remains by drilling with successively larger drills until I could see the threads. Then it was possible to remove the rest with a dental pick. However, I was just slightly off, so the threads on one side were a bit thin. With a brand new bleeder screw, one could be careful and tighten it without continuing to strip it. Now that the caliper was off the car, I decided to use an E-Z LOK thread insert to repair the threads. I had used one of these inserts to repair a stripped nut on the seats and it worked well. You can see the original threads on the left and the new ones on the right.
 |