Shift Bushing Replacement
Based on SN 8755 and
8855
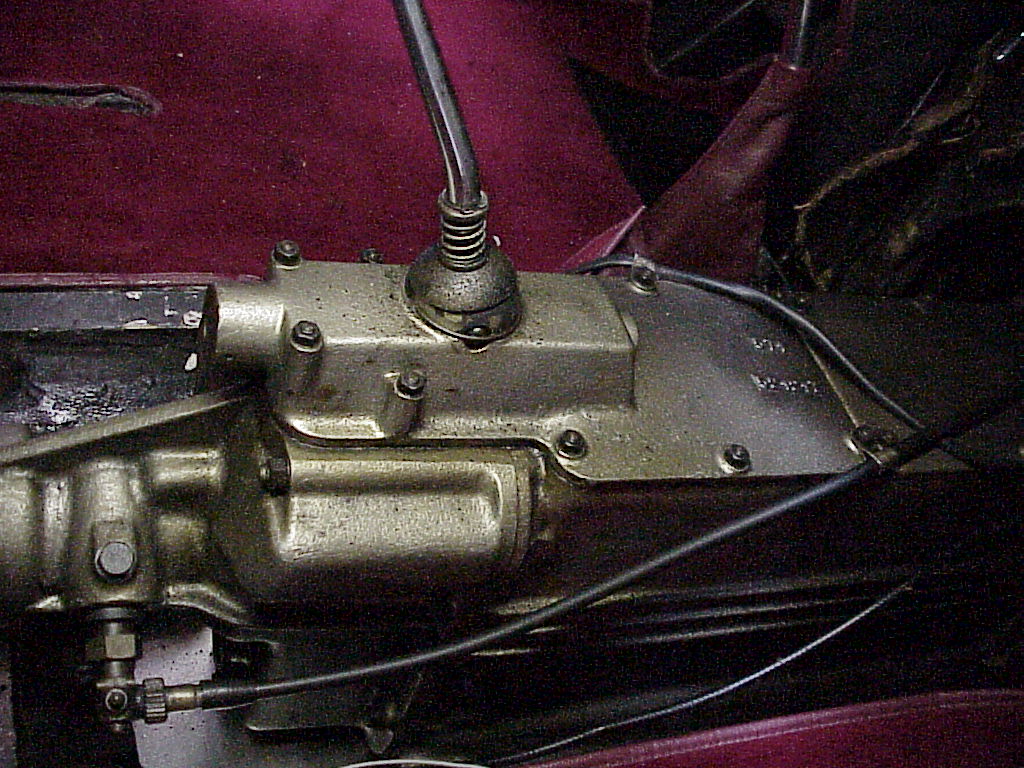
You will know that the bushing (part 23 below) needs replacing if there is lots of slop in the shift lever. It feels like it’s in neutral even when it’s in a gear. There are two types of bushings. The original caramel colored ones are prone to failure. The later ones are black and have a split down one side. They are made of harder material and will last longer. Try to get one of these if possible. The picture on the left is of the 5 speed transmission in interim and early 2HL models. The picture on the right is the transmission in the later 2HL models (starting with 8279). The numbers below refer to the left picture. The main difference is at the bottom of the lever. There is a C-clip and washer (#19 & #20) on the later model.
 From the 1965 330GT parts manual |
|
- Remove the gear shift knob (1) and jam nut (2).
- Remove the passenger seat.
- Disconnect the ground on the battery. The window switches in the console have heavy wires on a 30 amp fuse. Lots of sparks are possible.
- Remove the console. You should make note of where the various wires are attached as there are several for the power windows. On 8855, the wires were long enough that the console could be removed and set on the passenger floor without disconnecting any wiring.
- Remove
the transmission tunnel cover. You
may also have to remove some of the carpeting.
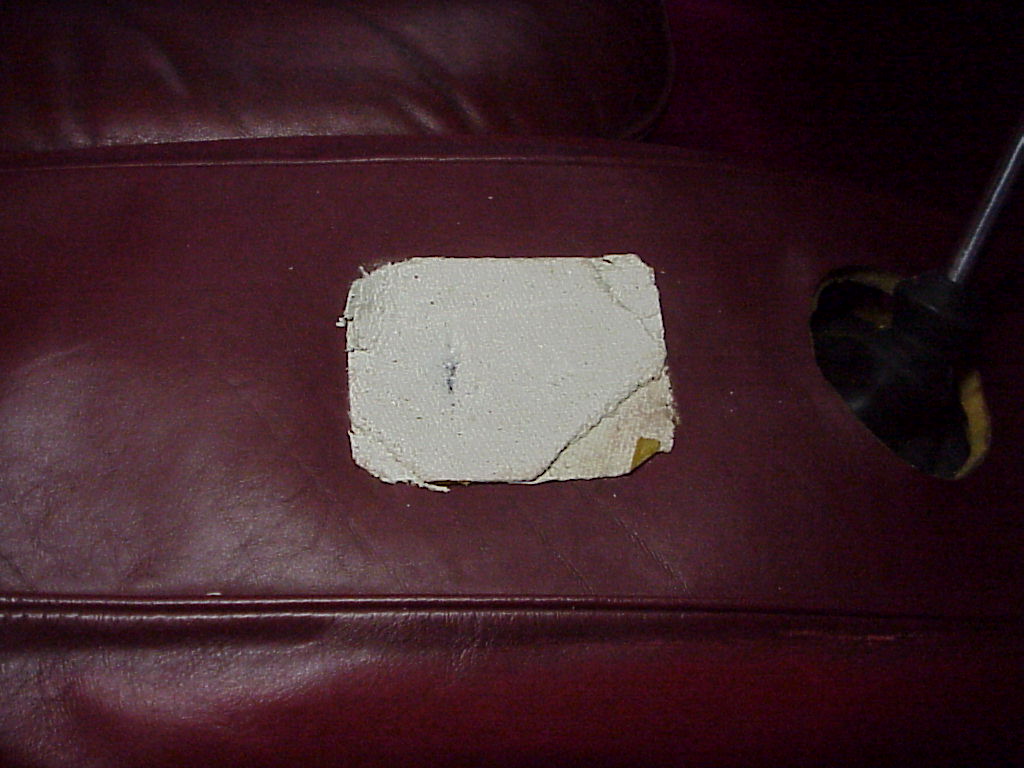
As a side note, the tunnel cover on 8855 had an asbestos pad glued under where the ash tray sits on the console. This is interesting in that the console is leather over fiberglass and would catch on fire much before the leather tunnel cover would.
- Remove
the transmission tunnel. This
may require loosening of the parking brake housing to allow withdraw of the
tunnel. Note, there are 4 bolts
holding the tunnel to the fire wall, 3 along each side and 2 studs with
nuts at the rear sides of the tunnel. You’ll probably find that some are missing or not
holding anything as they screw into captured nuts that are pop riveted to
the firewall or floorboard which come loose or break.
You might want to have some long 3/16” pop rivets available if
needed.
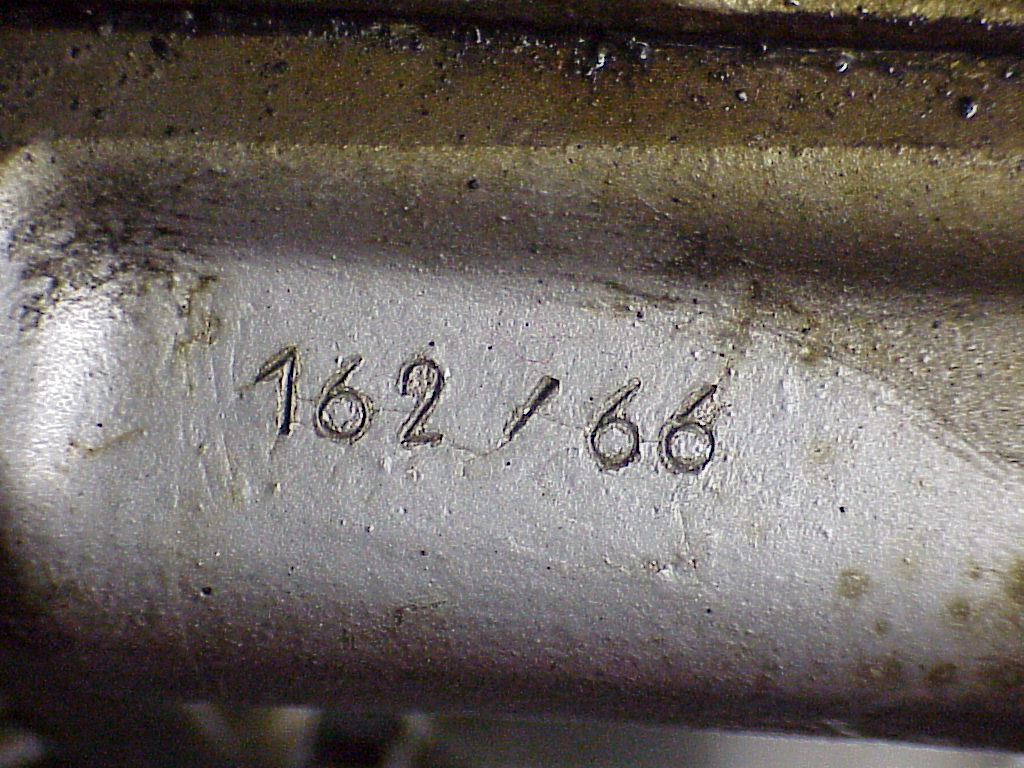
At this point, be sure and take a picture of the transmission serial number so you can apply for the build sheet and heritage certificate from the Ferrari Owner's website.
- Remove the 10 housing nuts (10) and lock washers (11) holding the rear housing cover (20) to the transmission.
- Put the transmission in neutral.
- Carefully remove the rear housing cover, paying attention to separating the gasket (21) cleanly if you are going to reuse it.
-
Remove
the spring ring (not shown) at the bottom of the actuator (22).
This is not easy, but a large nail ground to fit into the small slot
in the actuator works.
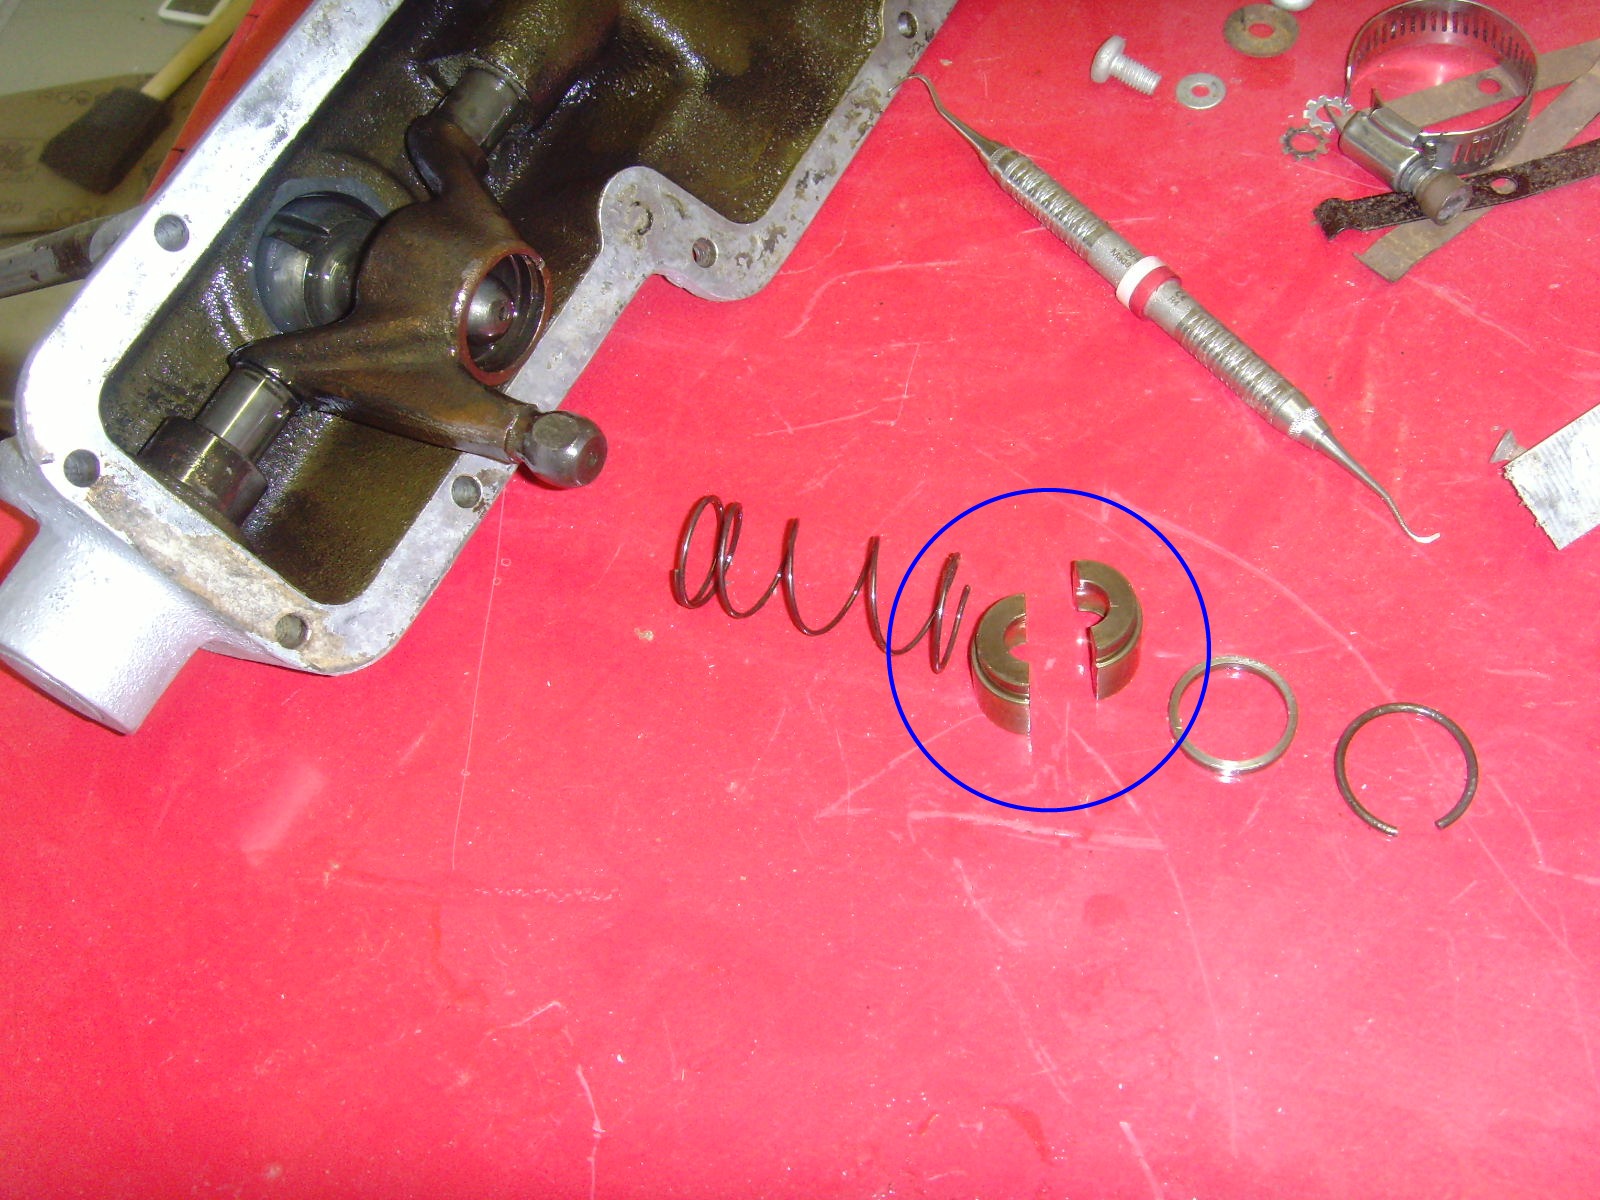
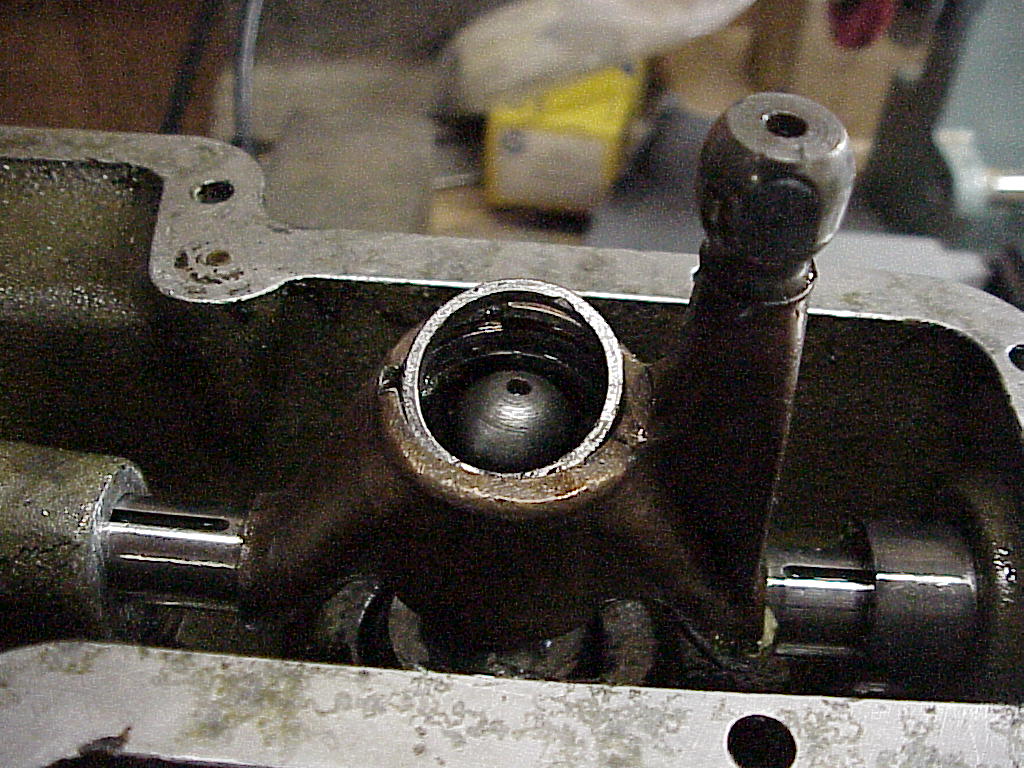
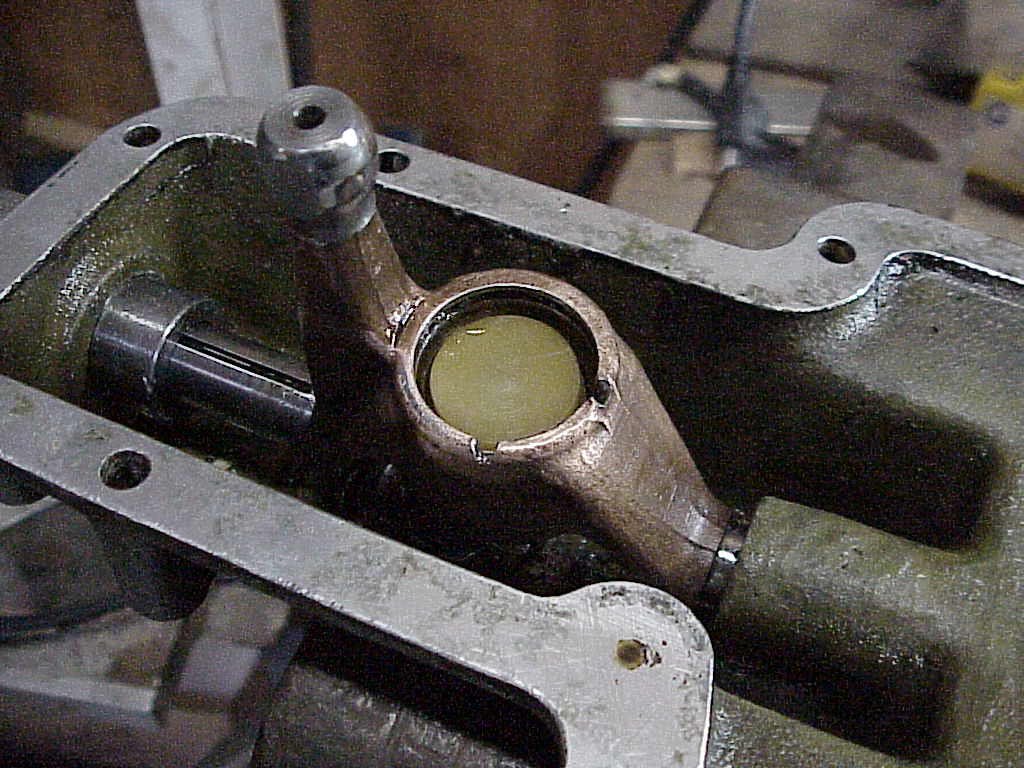
On 8855's transmission, instead of a spring ring, there was a C-ring and a bushing (#19 & #20 right side picture) underneath it. Here's the bushing loosely sitting in the actuator. Much easier to get off.
- Remove the C-ring (4) that’s on top of the spring (6) and parts 5-8.
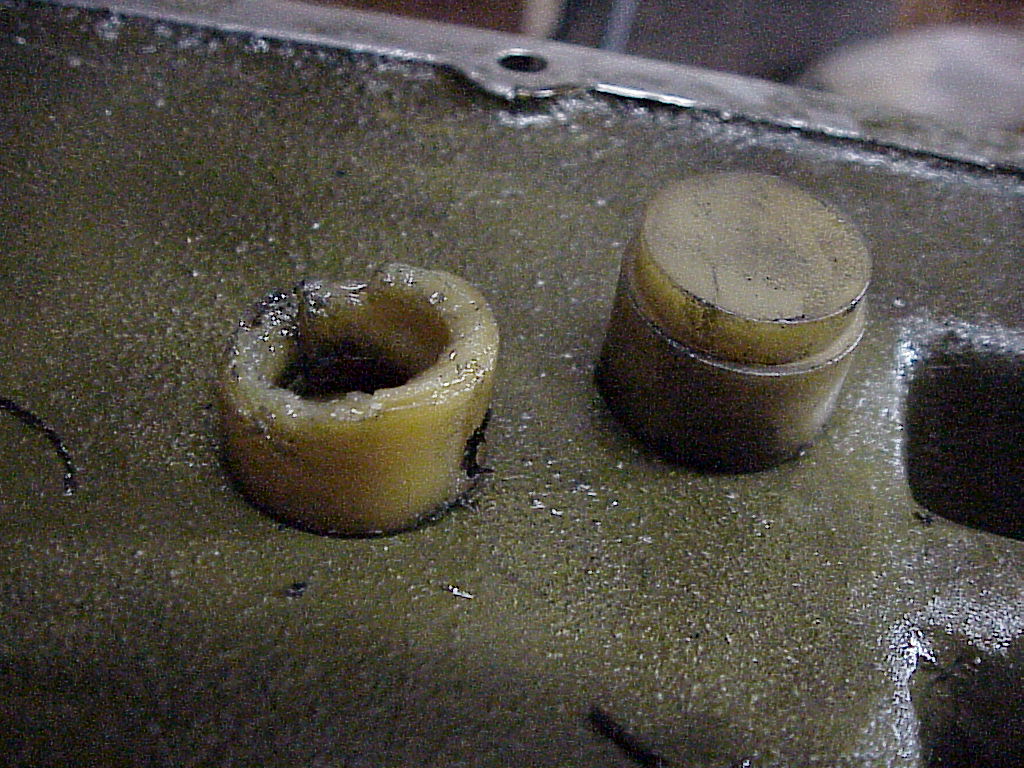
- If the old bushing (23) is still intact around the shift lever, split and remove it. If not, the parts are somewhere in the bottom of the transmission. Here's the partial old bushing and the new one (caramel colored type).
- Push the shift lever down and through the actuator.
- Pop on the new bushing (23) onto the end of the shift lever.
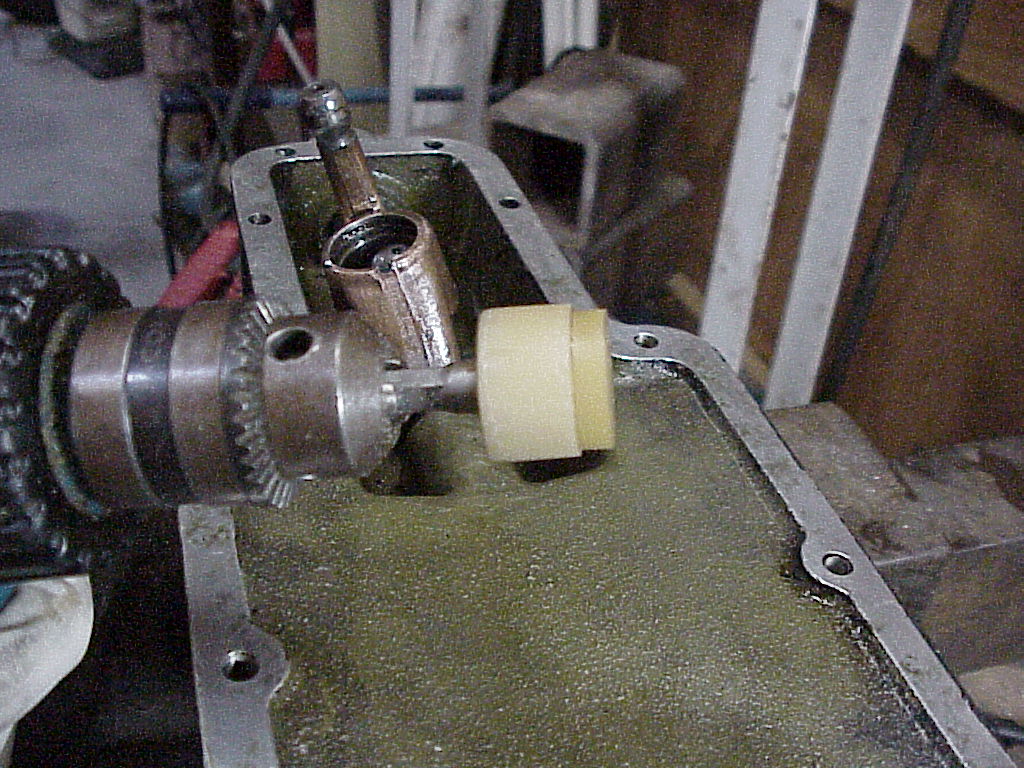
- Pull the shift lever back through the actuator with the new bushing attached. When I did this on 8755 with the black bushing, I don't remember any problems. When we worked on 8855 with the caramel bushing, it wouldn't fit. In fact we destroyed the one trying to make it fit. A measurement of the actuator hole was 26.6mm and the bushing was 26.7mm. We ended up finding out that a 11/32" driver drill socket just fit into the bushing hole. Then spinning it against a disk sander allowed us to sand it down smoothly and evenly. The final measurement was 26.5mm with a taper at the bottom down to 26.4mm to allow it to start easily. The picture on the left is the bushing chucked in the driver drill. On the right is the final installation.
 |
 |
- Replace the spring ring (or bushing/C-ring) at the bottom of the actuator.
- Replace parts 5 though 8 and the C-Ring (4).
- Check the transmission oil level (large nut near the parking brake). The level should be ½” down from the opening. It's a lot easier to add oil now than having to get at the filler nut with the tunnel on.
- Clean the mating surfaces on the cover and transmission and the gasket if you are reusing it. Also use some silicone gasket cement or form-a-gasket on both sides of the used gasket prior to re-assembly.
- Replace the rear housing cover, carefully aligning the knob of the actuator into the slot made by the shift forks.
- Check that you can shift into all of the gears. The lever should not feel sloppy now.
- Replace the nuts and washers on the cover, torqued to 5 ft. lb.
- Replace the transmission tunnel. Note, the tunnel fits tight against the firewall, so any sound proofing material needs to be pushed aside. Also be careful to not poke a hole in the shift lever rubber boot.
- Tighten the parking brake housing if needed.
- Replace the transmission tunnel cover and any carpeting that was removed.
- Replace the console, re-attaching any of the wiring that was undone. Test all of the circuits
- Replace the passenger seat.
- Replace the gear shift knob and jam nut.
I recently got this picture from another 330 GT owner. As you can see, someone machined a split bushing from brass. A lot of work, but I don't think that it would ever wear out. I've never seen this available commercially.