Triplex Decal
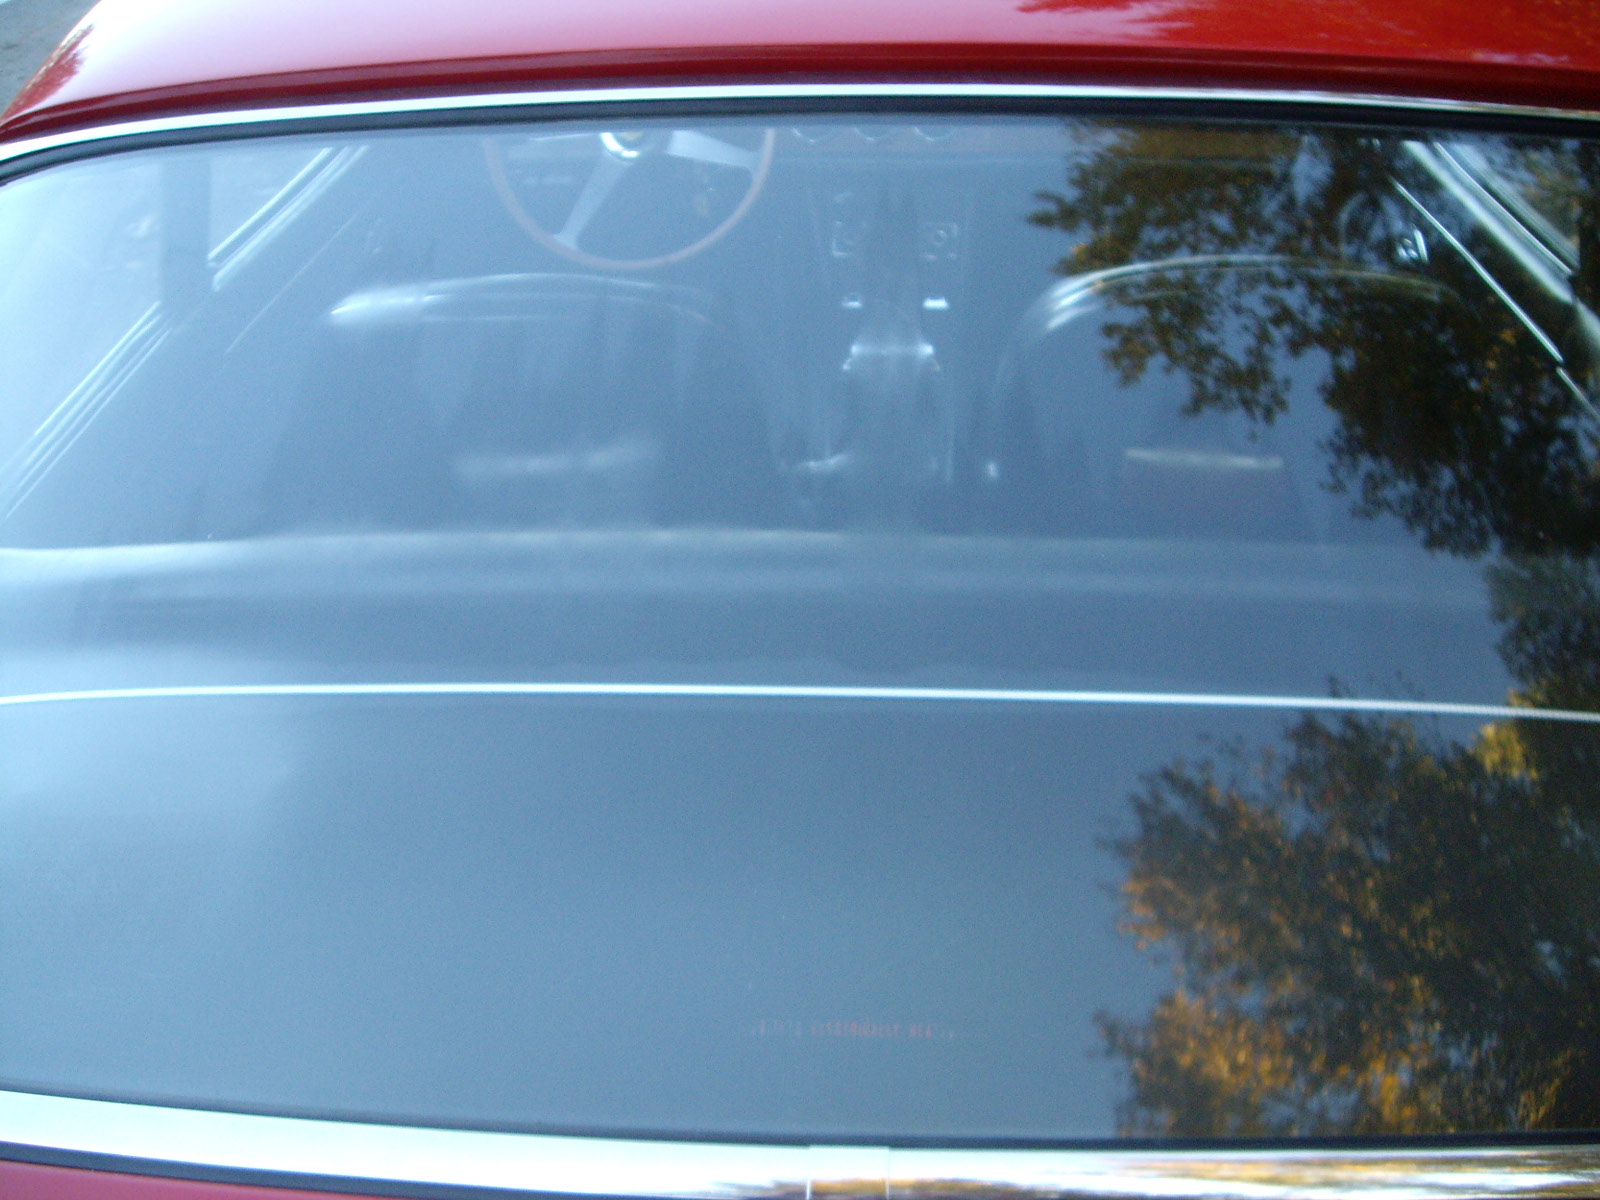
The rear window of the series 2 330 GT model has a electrical defroster laminated in the glass. This was the predecessor to the current heat lines that are painted on the inside of the glass. The series 1 and interim models just had a circulating fan as part of the driver's side package shelf.
The obvious sign of the new defroster is the silver strip that electrically connects the wires. It is about 2/3rds the way down the window and is also laminated in the glass. There are two contacts at the top of the window on the inside for the electrical connections, but these are covered by the rubber molding. Most people notice the silver strip, but never see the tiny wires.
It is difficult to tell if the defroster is working under normal circumstances. The easiest way is to watch the ammeter when you turn it on. If it deflects to the left, the defroster is drawing current and should work.
The other day, I had the car out early on a cold morning and on the way home, had some condensation on the rear window, so I turned on the defroster. Just at the right time, I noticed that it was working, so I stopped and took a couple of pictures.
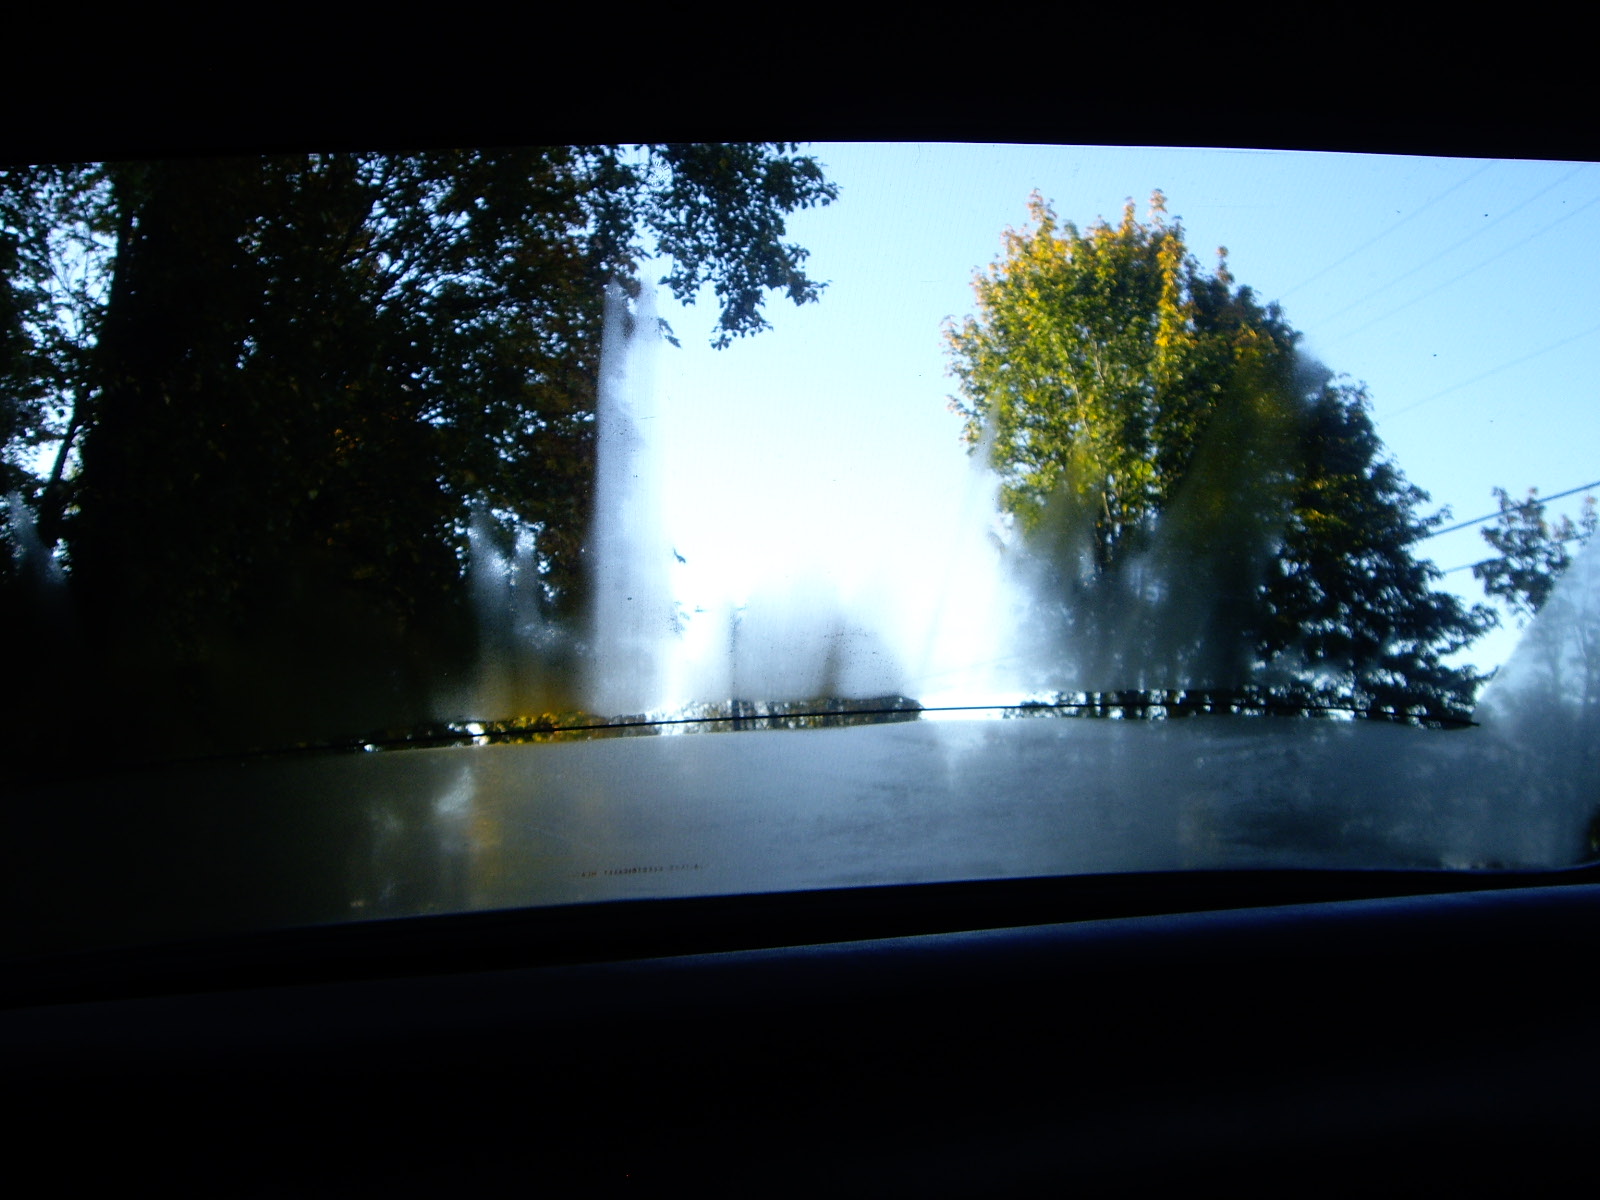
Clearly working, but some of the wires must not work as well as you can see streaks that haven't cleared yet.
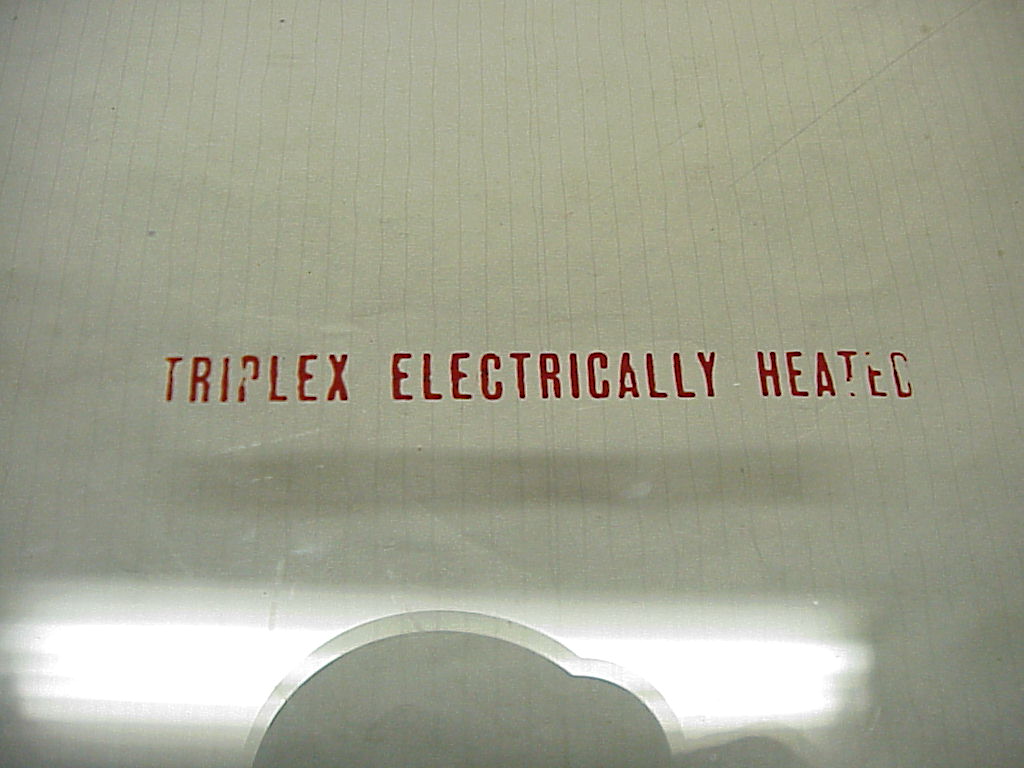
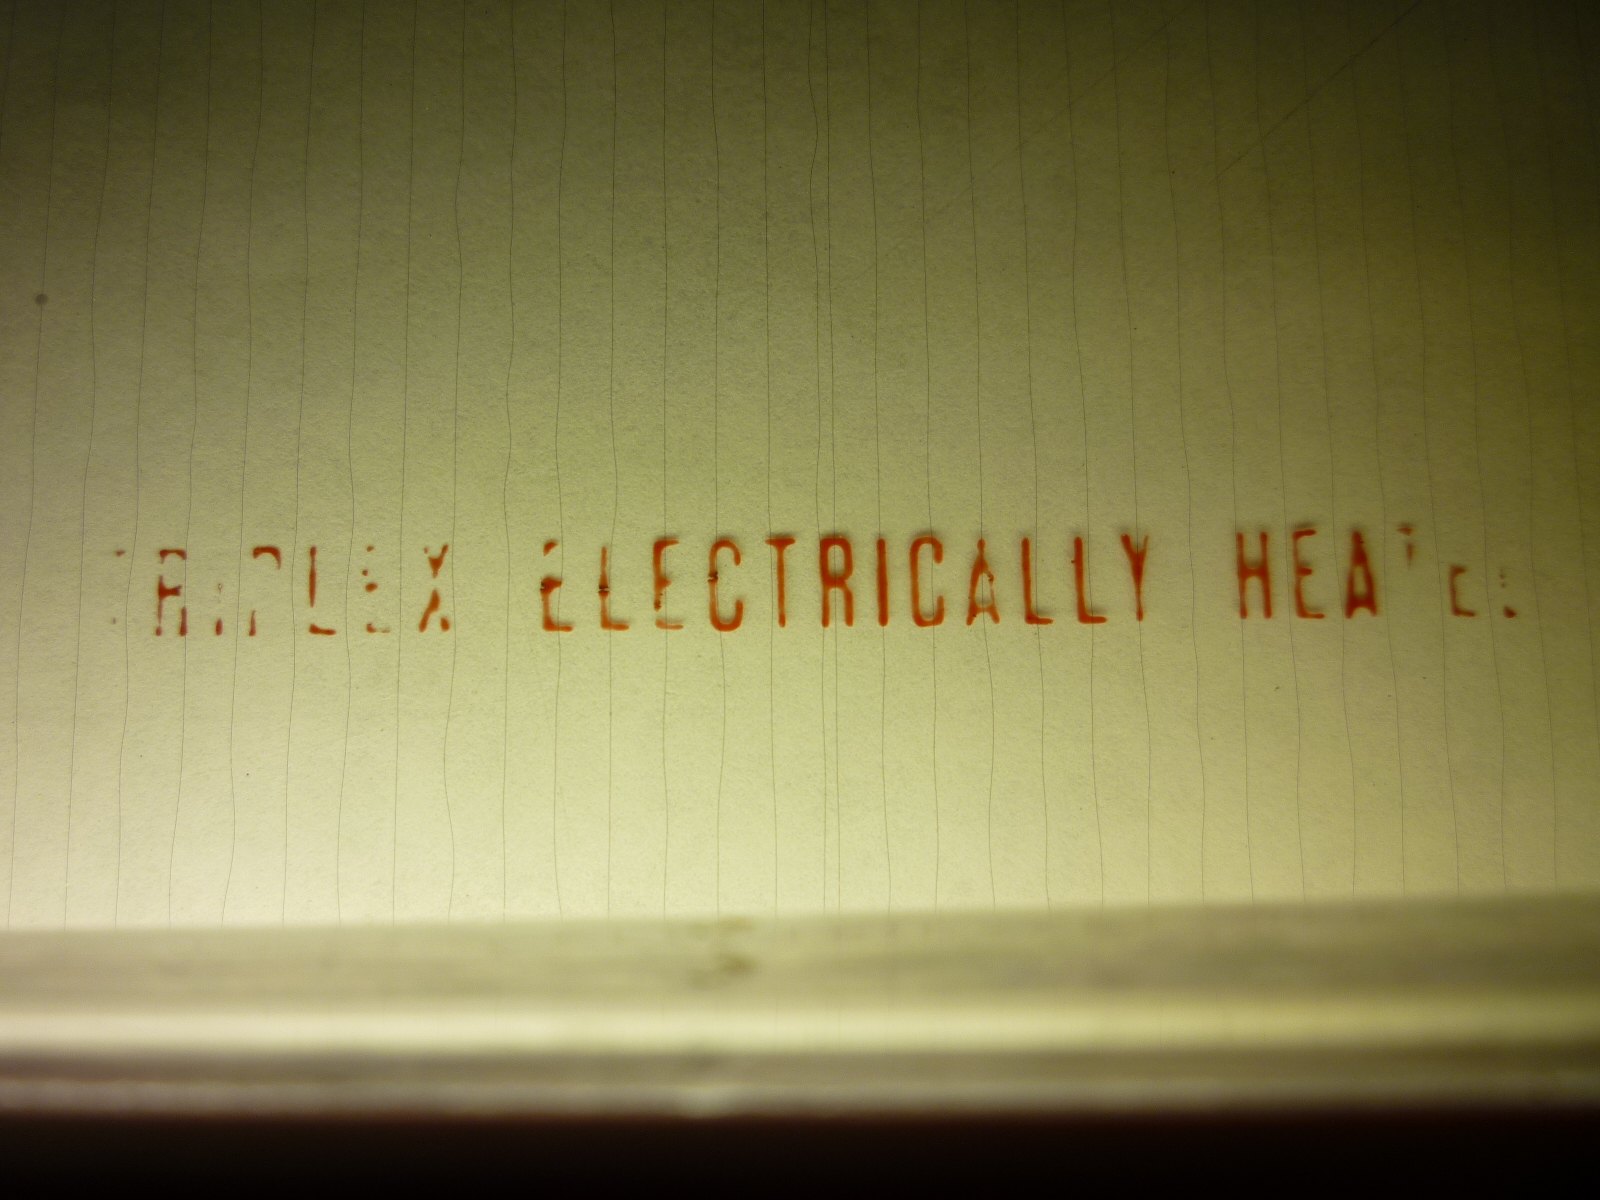
At the bottom of the rear windows is a TRIPLEX ELECTRICALLY HEATED label. This was originally silk screened on the window during manufacture.
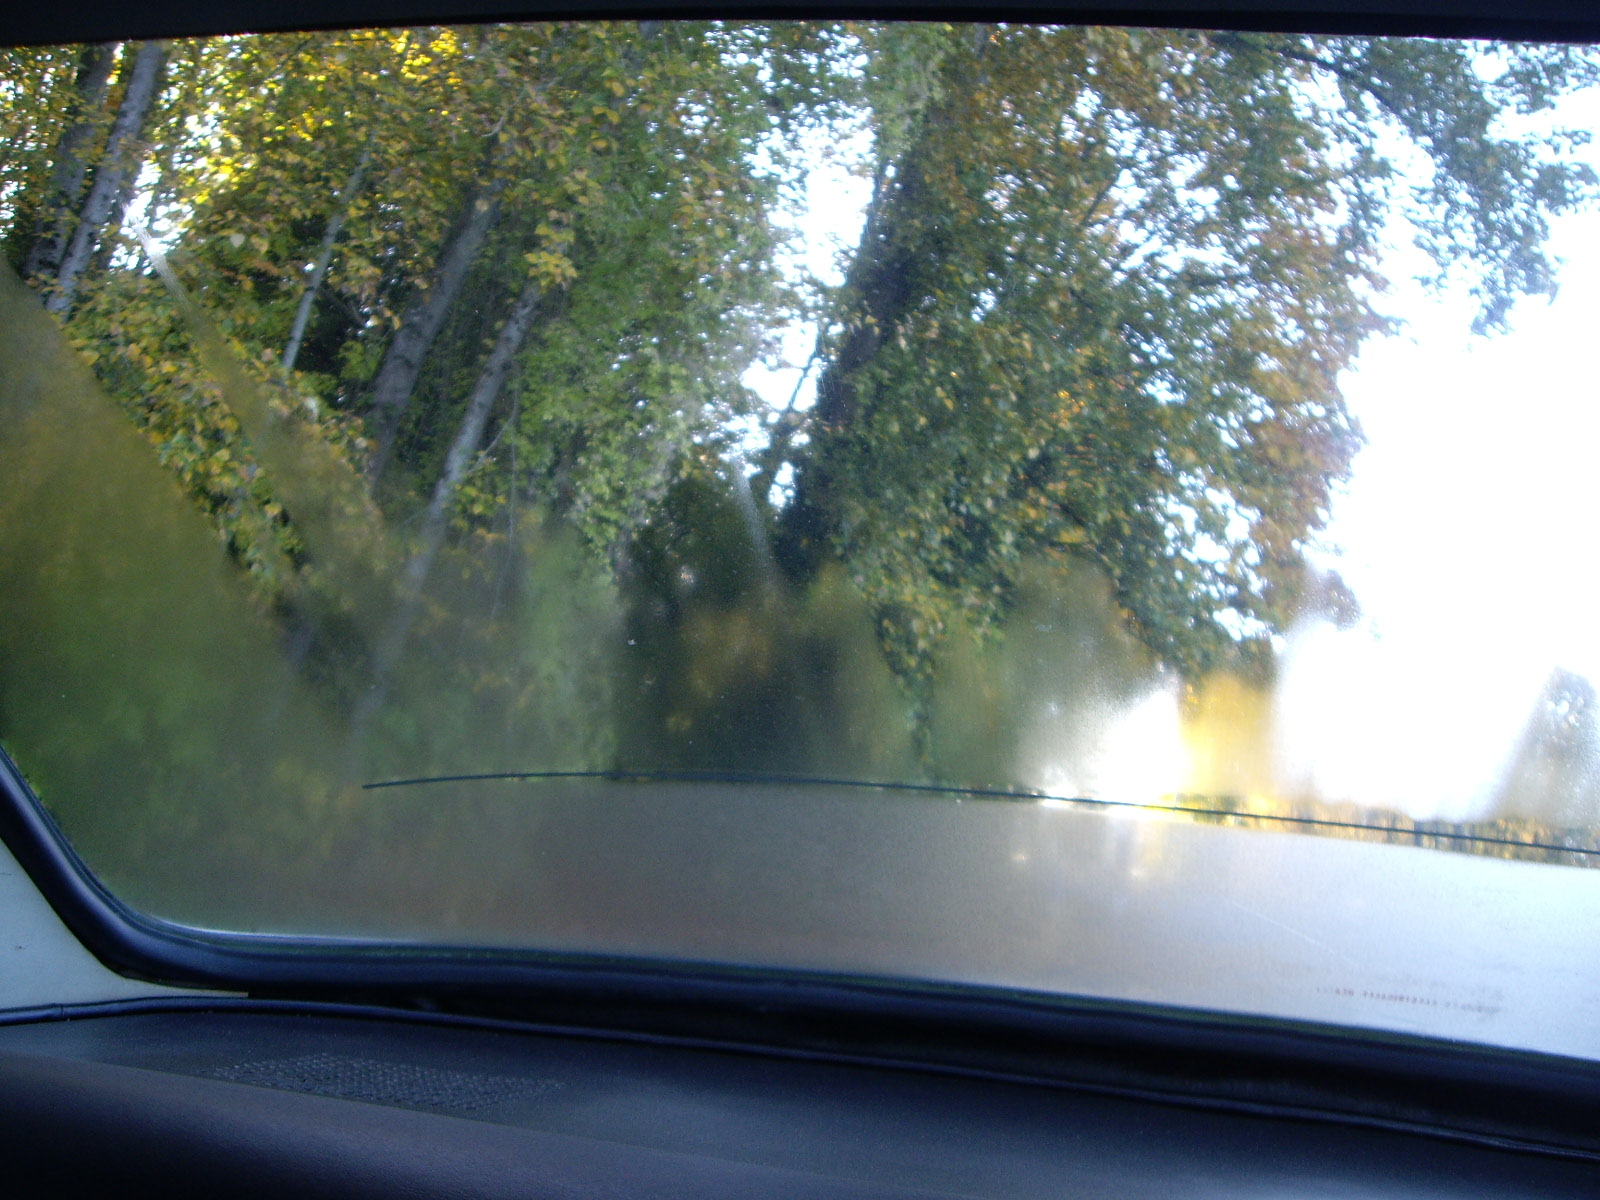
That picture was taken about 10 years ago. A couple of years ago, I was cleaning the inside of the rear window with Windex (which contains ammonia) and notice some red on the paper towel. Uh oh, I thought as I realized that I was cleaning off some of the lettering. Here's what it looks like now. You can see the T of TRIPLEX and the end of HEATED are almost gone.
So a word to the wise, don't use any cleaning product where the label is. Note, if you click on the picture to see the full size image, you can see the tiny wires laminated in the glass.
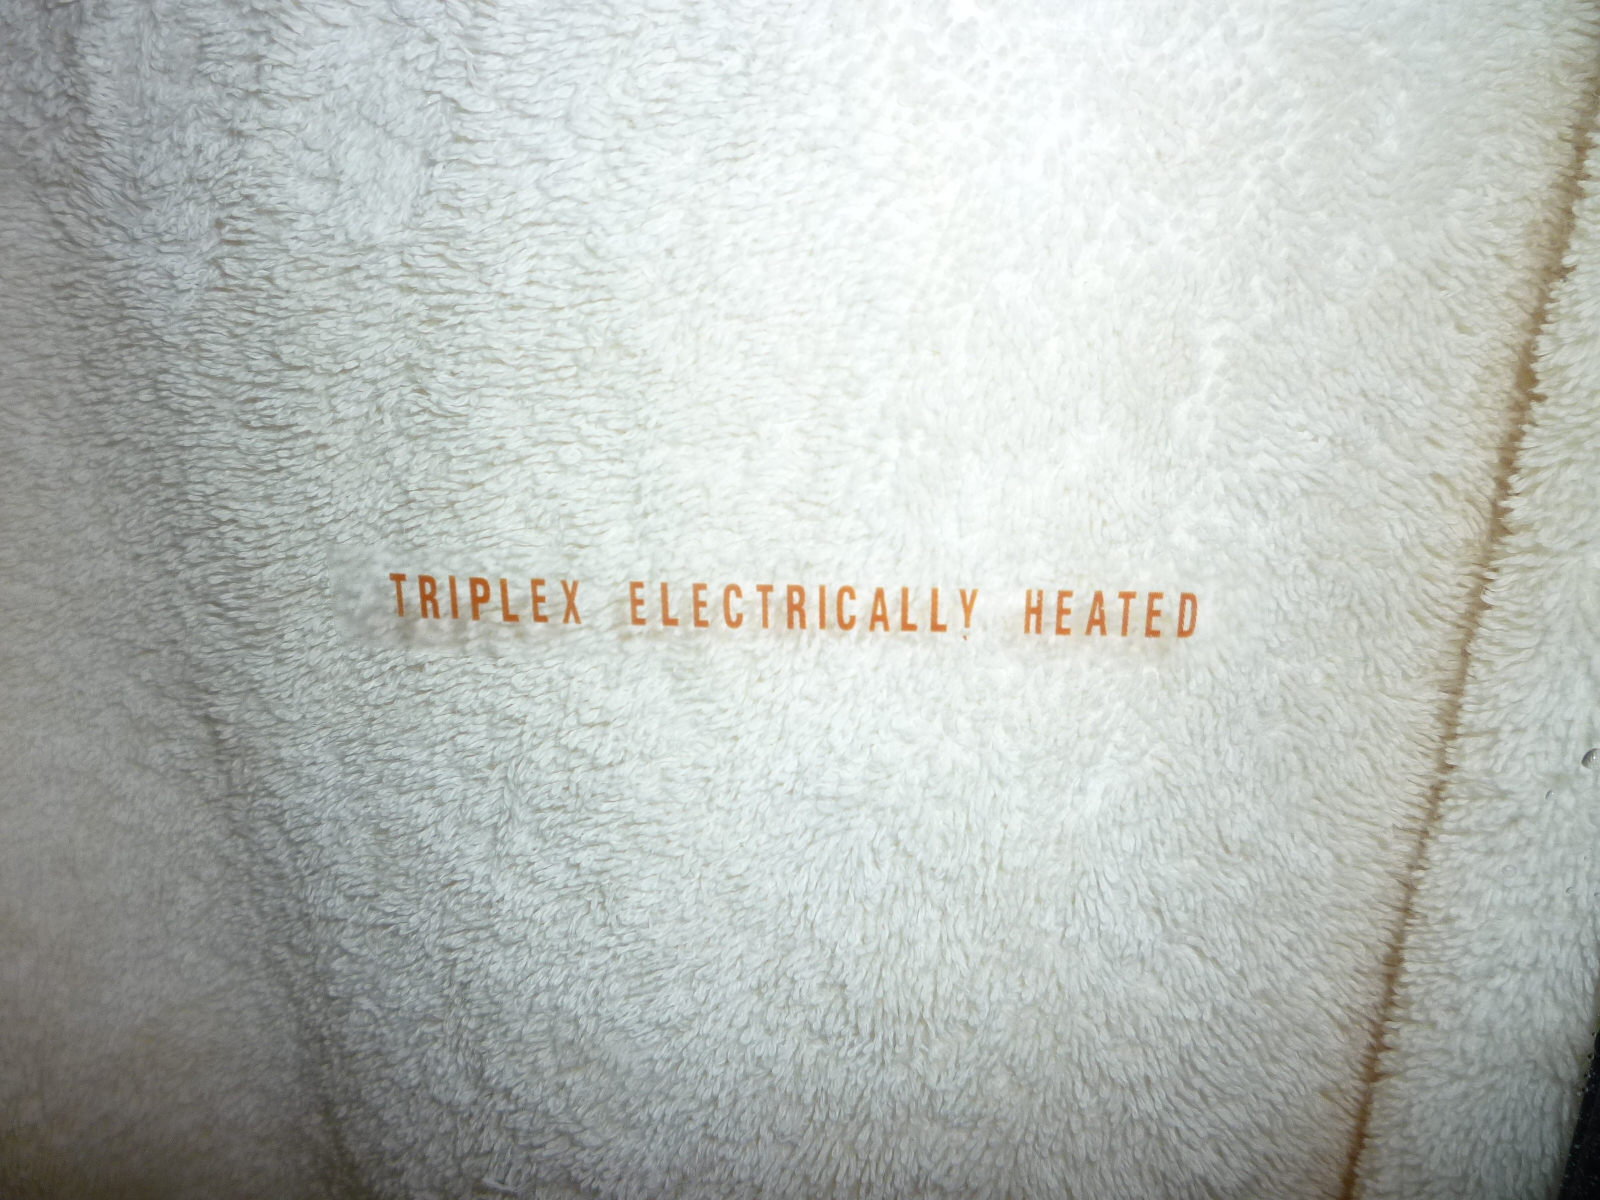
Parker Hall (Kilimanjaro Designs) has reproductions of this label, but they are on a plastic self-adhesive backing, so you can see the edges of the plastic when it is attached. As a result of one of the 330 GT Registry members asking about a registry decal, I looked into getting some made. It turns out that you can buy water transfer decal paper for both laser and ink jet printers. Water transfer decals are the original kind where there is a clear film with an adhesive glue backing. You soak it in warm water and then transfer the film onto a hard surface for placement. Squeegee out any bubbles and you are done.
Anyway, I bought a few sheets of this paper and spent some time in a drawing program to produce the artwork. Since you print on the non-adhesive side, it needs to be a mirror image as it will go on the inside of the window, but be viewed from the outside.

Once that was done, it was just a matter of printing it on the color laser printer. The first page jammed, but I found a 'thick paper' setting for the printer that fixed that problem. I put a sample of the shower door so I could do some cleaning testing to see how well this will hold up. You can see the film around the lettering (look at the left end of the full size image). If I cut the decal closer to the lettering, I thing that the edge will blend in and become unnoticeable.
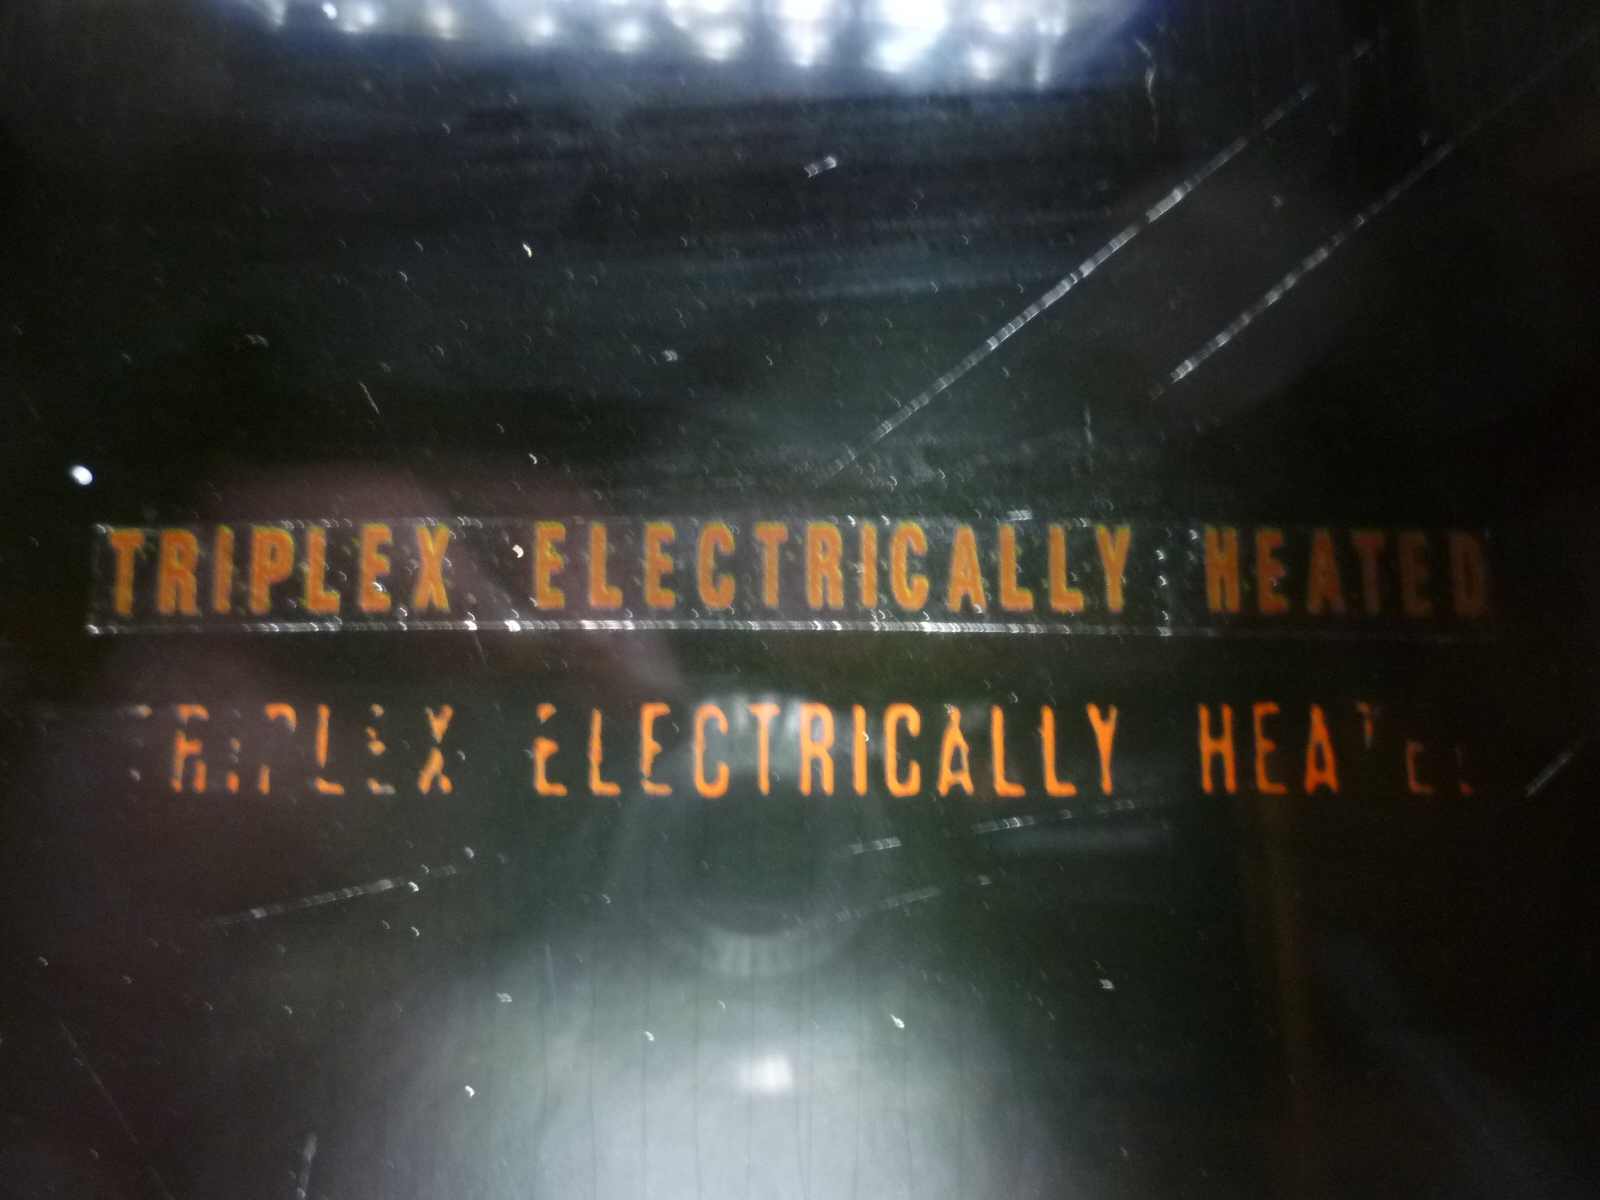
Here's what it looks like on the car, next to the original label. I'm going to wait to see how well the decal holds up before removing the original and replacing it. For the record, it is centered and positioned so the lower edge of the lettering is 1 5/8" above the rubber edge on the outside of the glass.
As you can see, it is a little bit too long and the font color needs to be a bit more orange. You can't determine the correct color until you are printing on the correct paper to see exactly how it turns out. The font is also a bit too thick. I set the characters to bold style because that looked correct on plain paper. On the decal paper, I need to use regular style. So back to the drawing board (or program in this case).
This try is just on plain paper as I thought I should get the color much closer before wasting any more decal paper. I also figured out the length problem. It was in the way I was printing multiple copies per page. The font thickness using regular style looks good too.
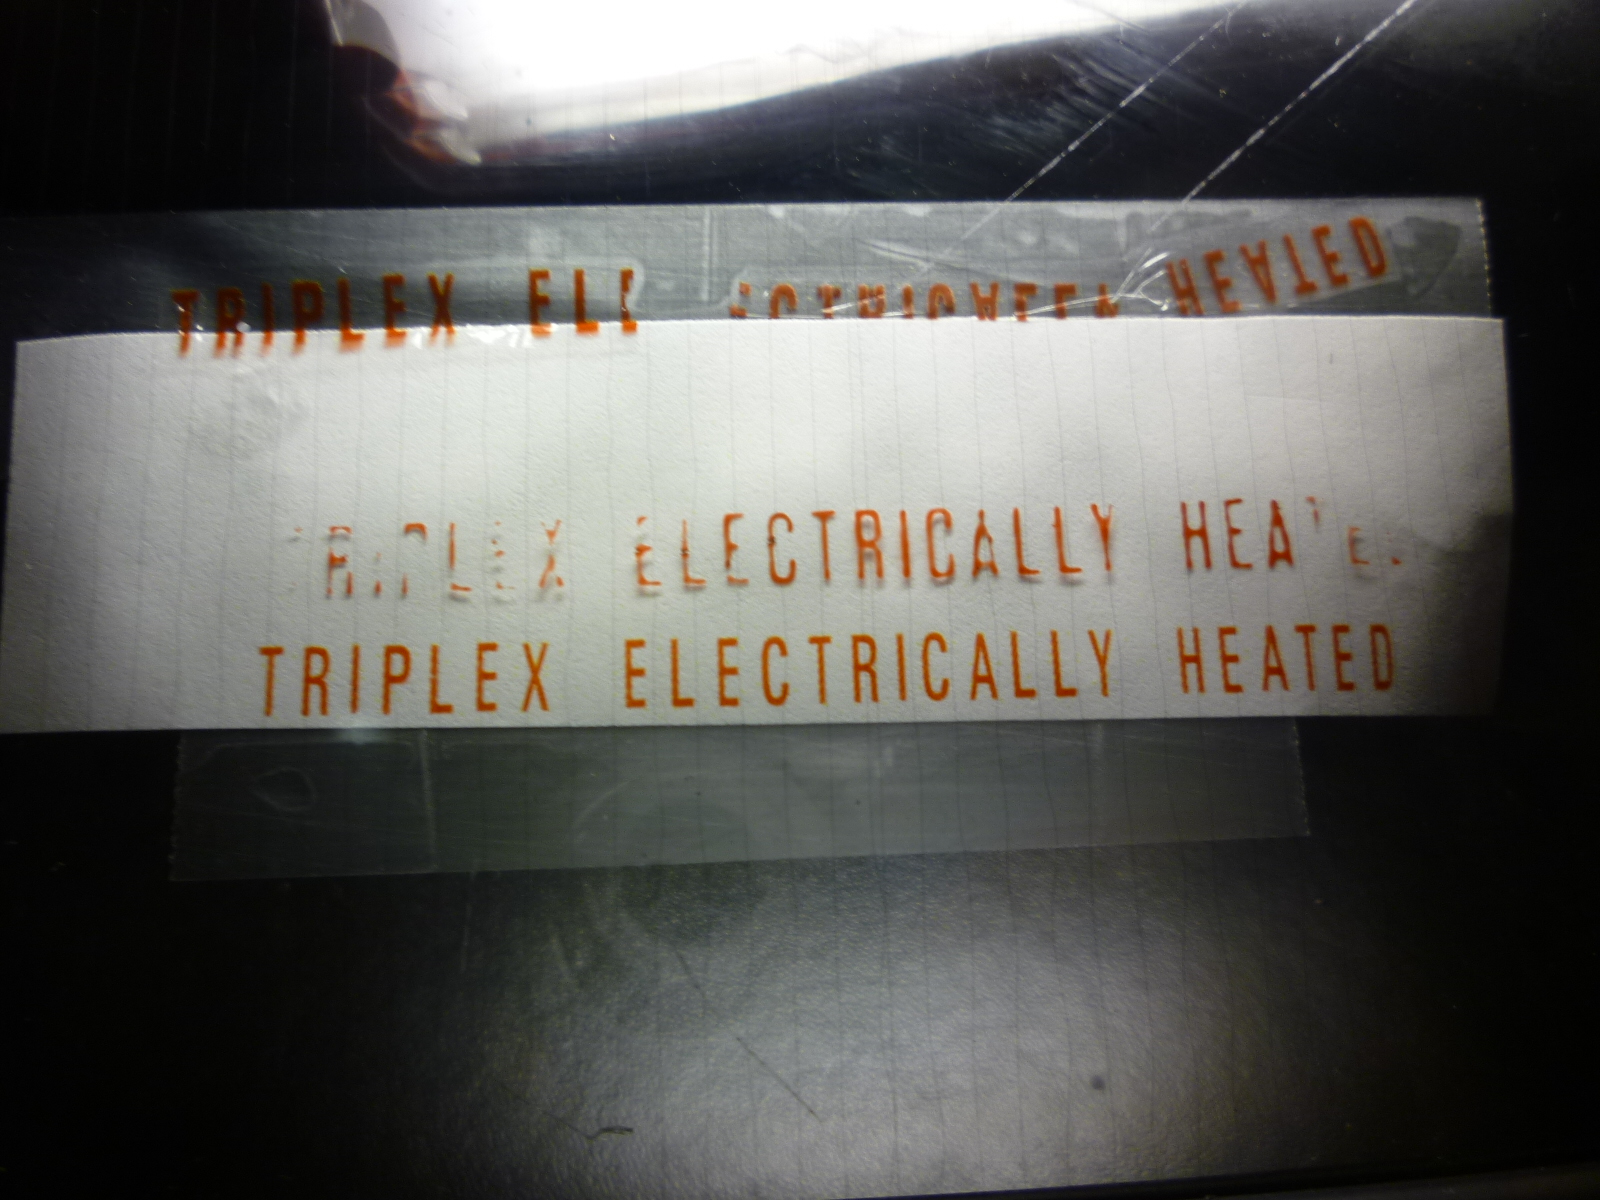
The only problem is that the color is considerably different when viewed through the decal film.