Mirror
There were a couple of things that needed to be done to clean up the inside mirror. The back needed to be stripped and wrinkle painted. The mirror itself needed re-silvering and the mounting bracket and associated parts needed new chrome.
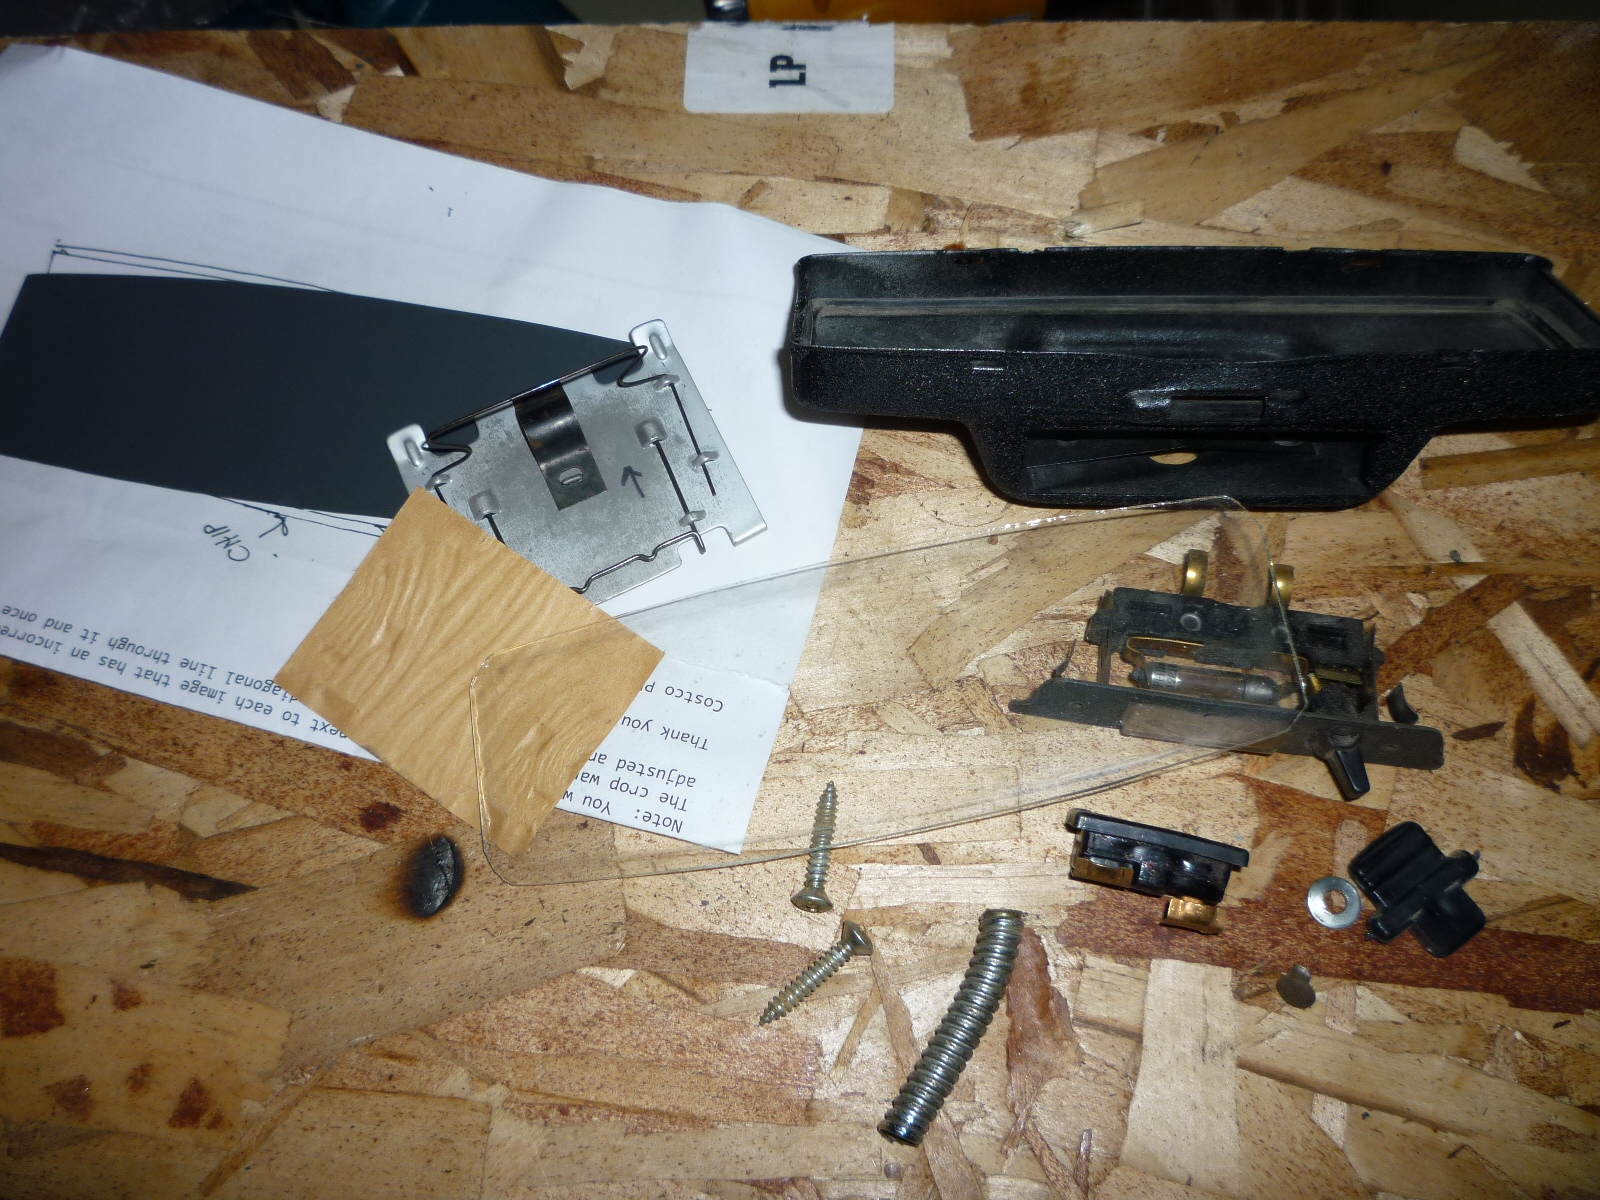
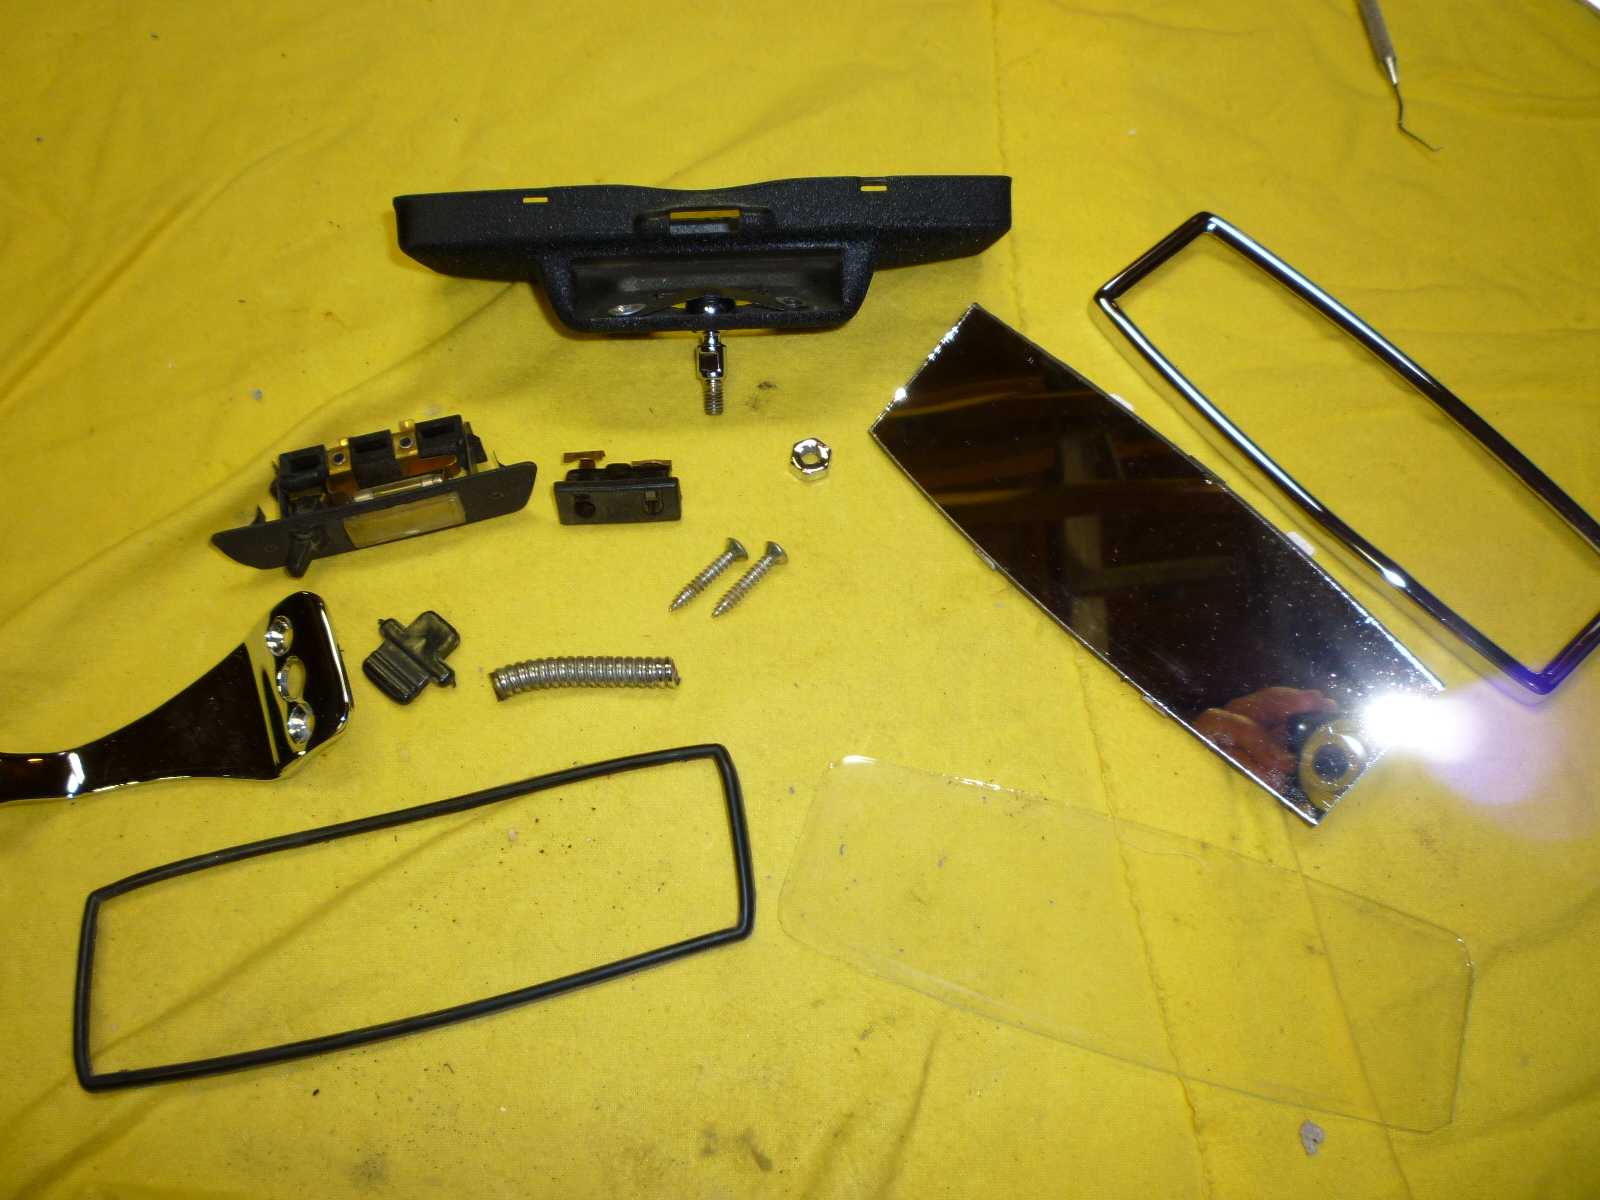
Figuring how to take apart the mirror was a puzzle in itself. The trim in the front needs to be popped off the back by levering the tabs clear. Then that trim along with the glass and rubber frame are free. Next was the mirror itself. It has a backing that clamps onto the mirror along with a couple of springs that work with a tab for the day/night feature. The map light and switch just pull out from the bottom, but you have to remove the electrical jacks in order to pull off the fitting where the connections are made. In order to remove the adjustment ball mechanism, I had to drill out a rivet that holds a spring over the ball as this was one piece that needed new chrome. Here's most of the pieces.
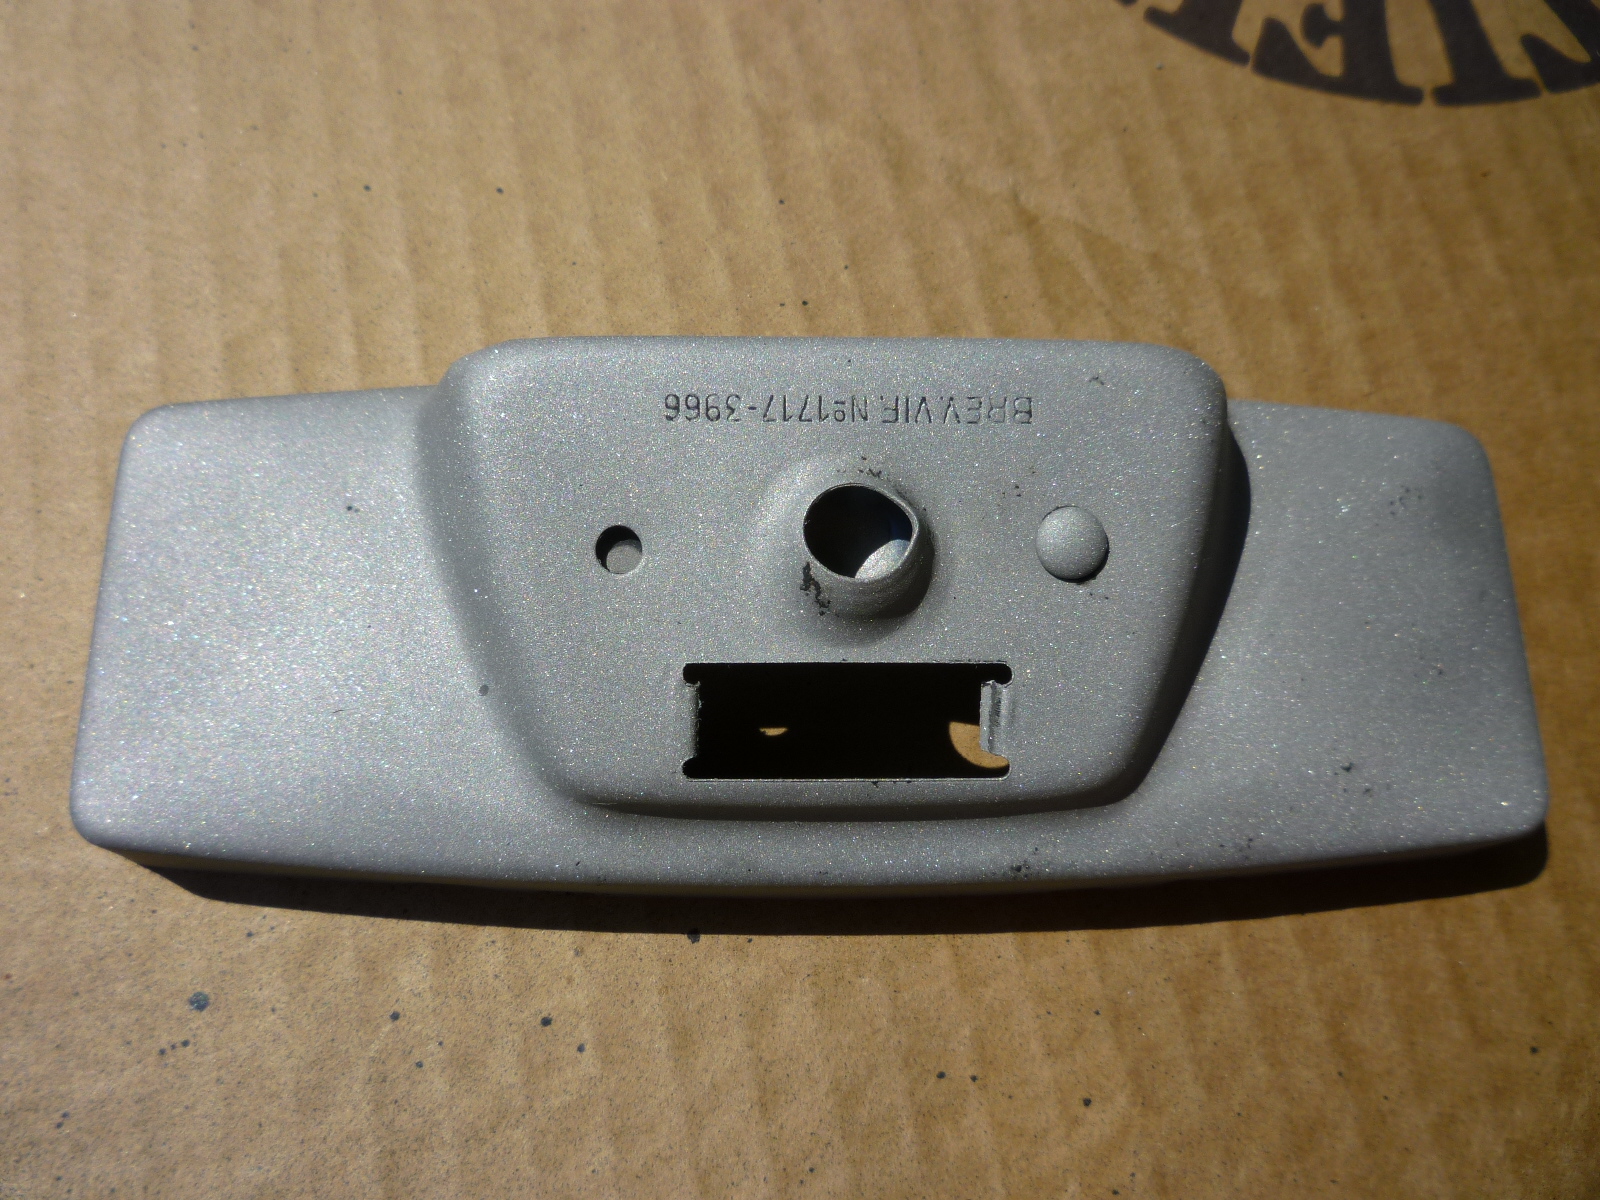
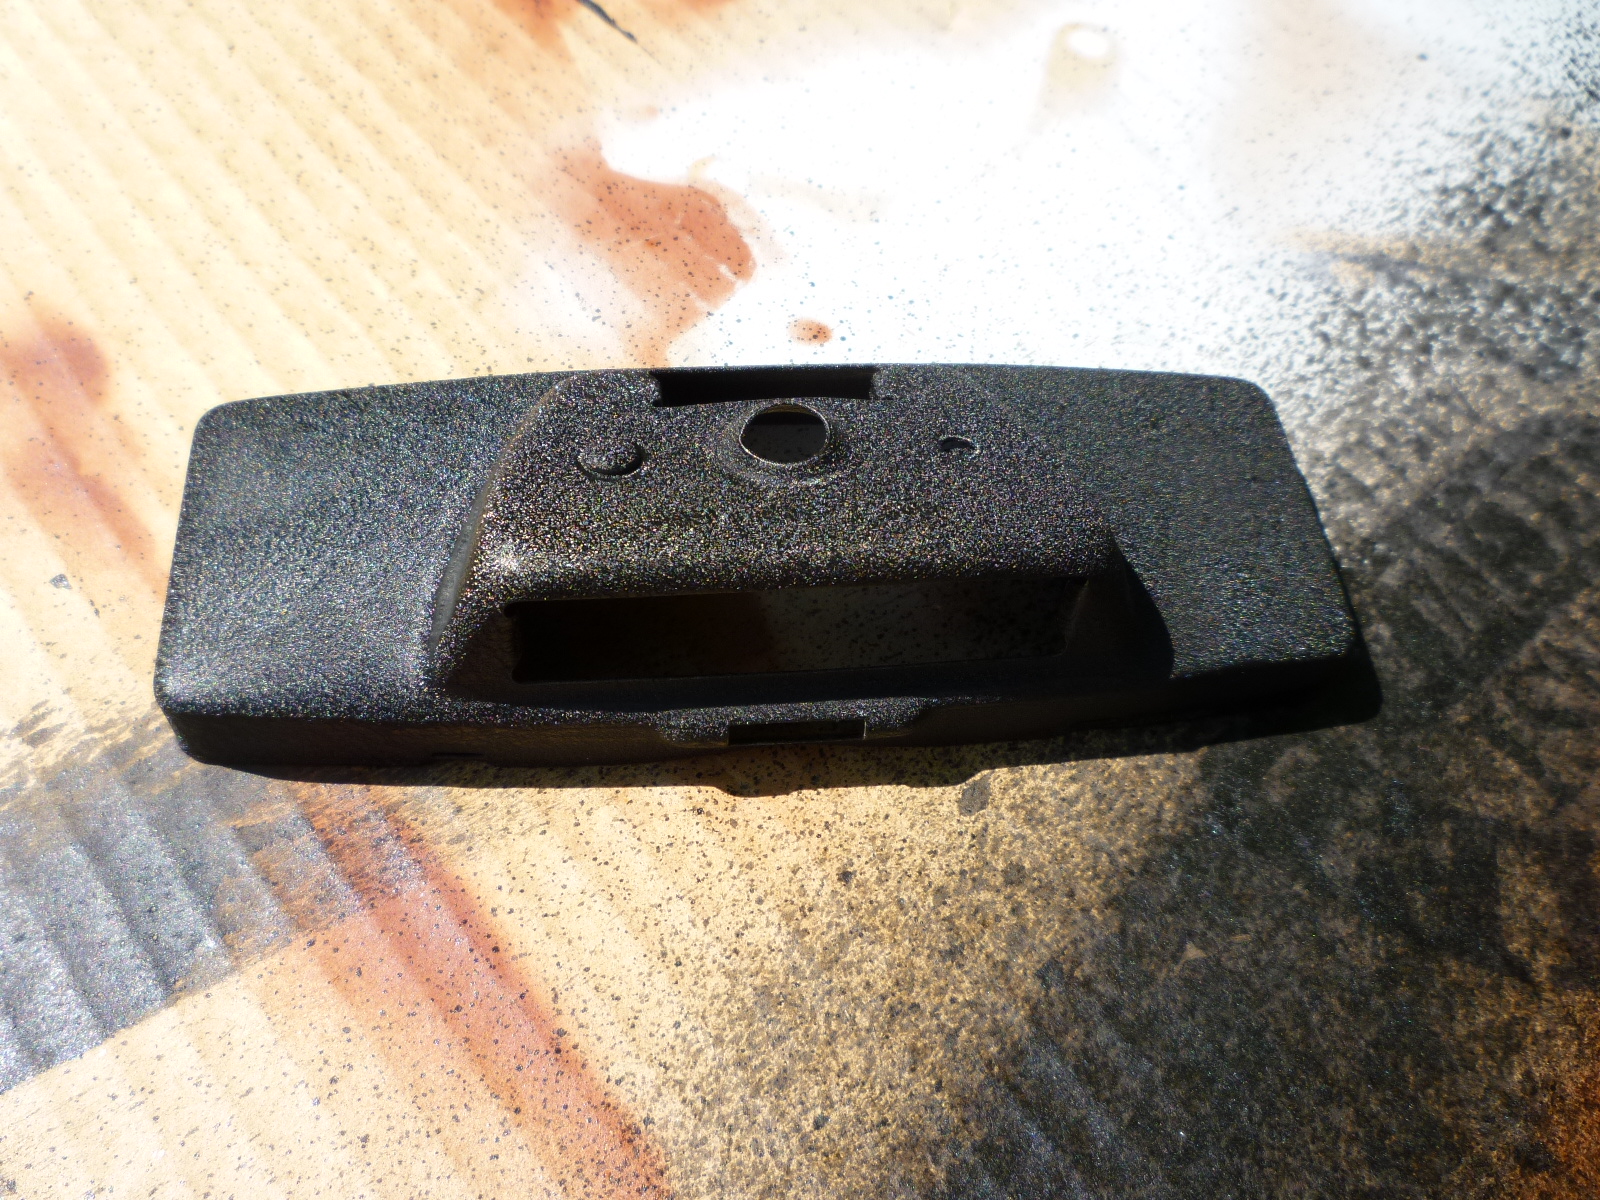
Once everything was apart, I sand blasted the back (notice the missing rivet) and wrinkle painted it.
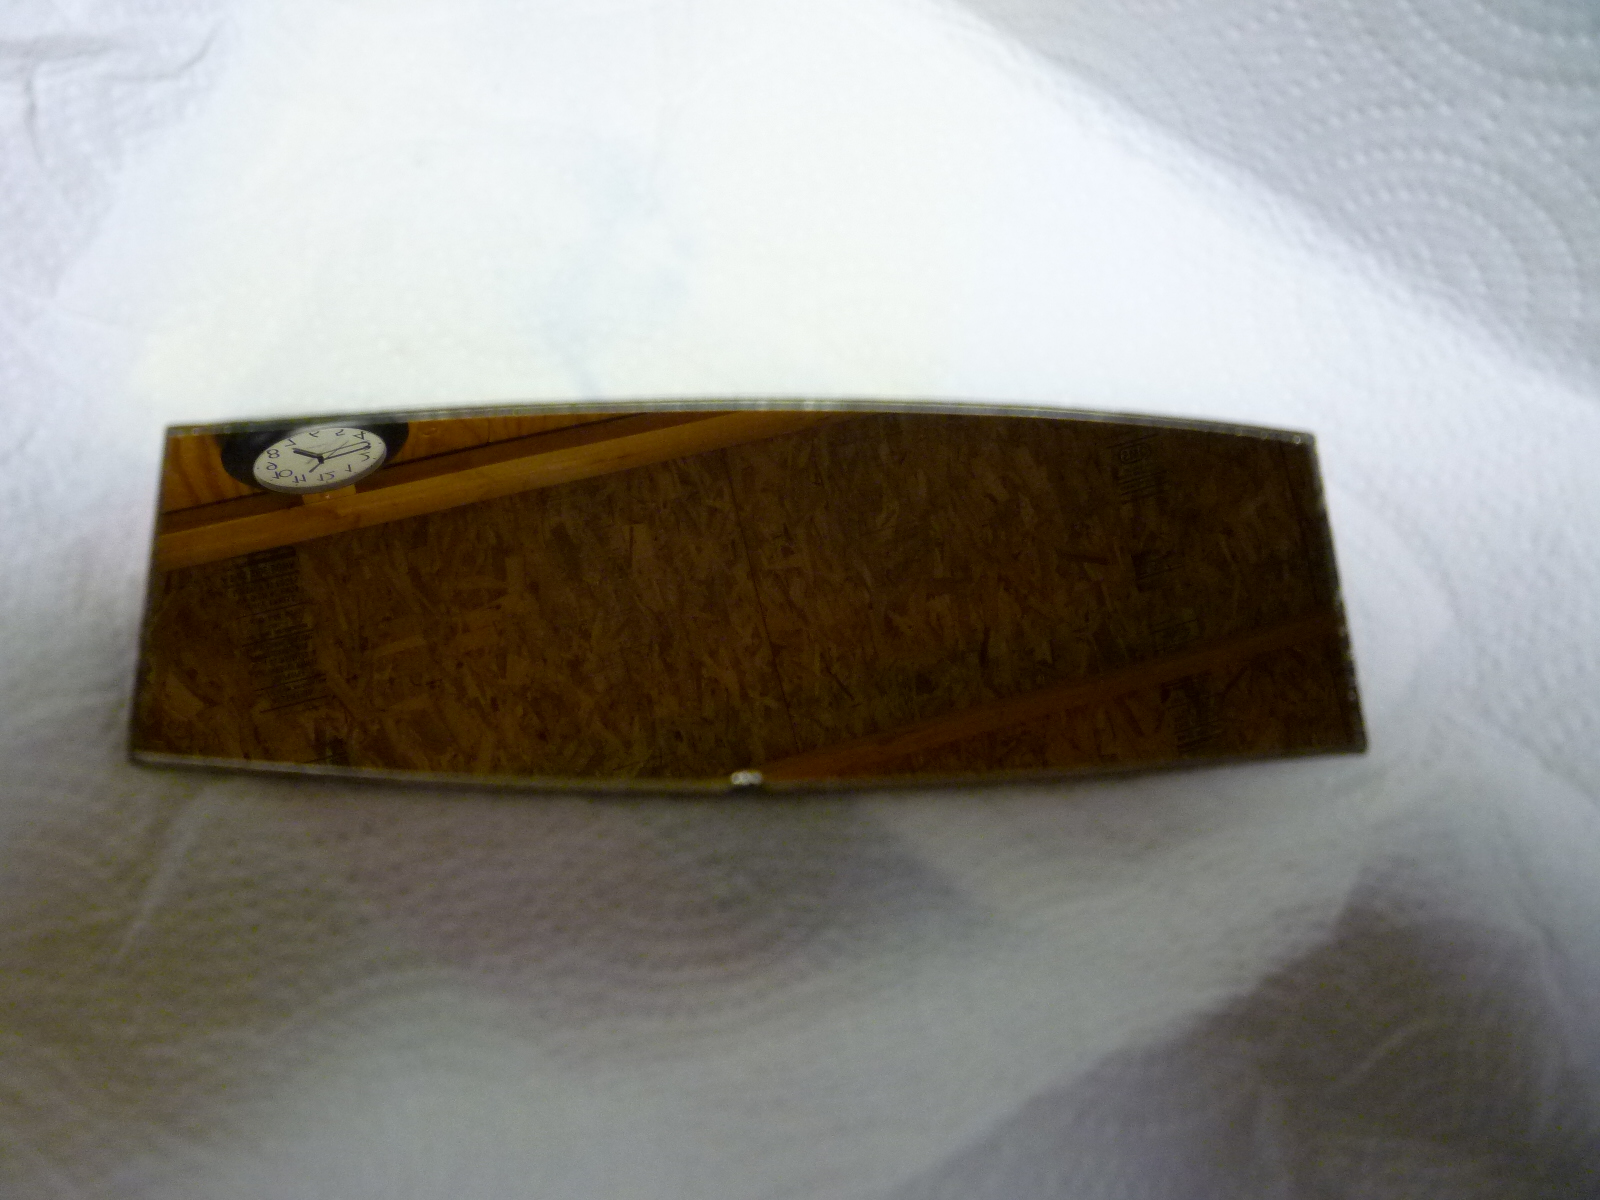
Next was removing the mirror from its backing plate and sent it out for re-silvering. Here it is after it came back.
The parts to be chromed went off with the large batch.

Once everything was back, it was time to re-assemble everything. First I had to put the ball adjustment in and re-rivet the spring back over it. This turned out to be harder than I thought because it was difficult to get the spring flat enough so the rivet would work, then get the rivet with some backing so I could hammer the hollow end to hold everything together. I ended up using some pieces of wood and a small C-clamp to hold everything in place. Then I had to wrinkle paint that rivet head. I masked everything else off, sprayed a couple of heavy coats of paint with the appropriate interval in between and then used a heat gun to get it to wrinkle in just a few minutes. Then I had to wait for a few days as fresh wrinkle paint takes quite a while to really get hard. I could have waited and done the whole back at one time, but masking off the newly chromed ball would have been hard as wrinkle paint seems to go everywhere when you spray it. Finally everything was ready to go back together.
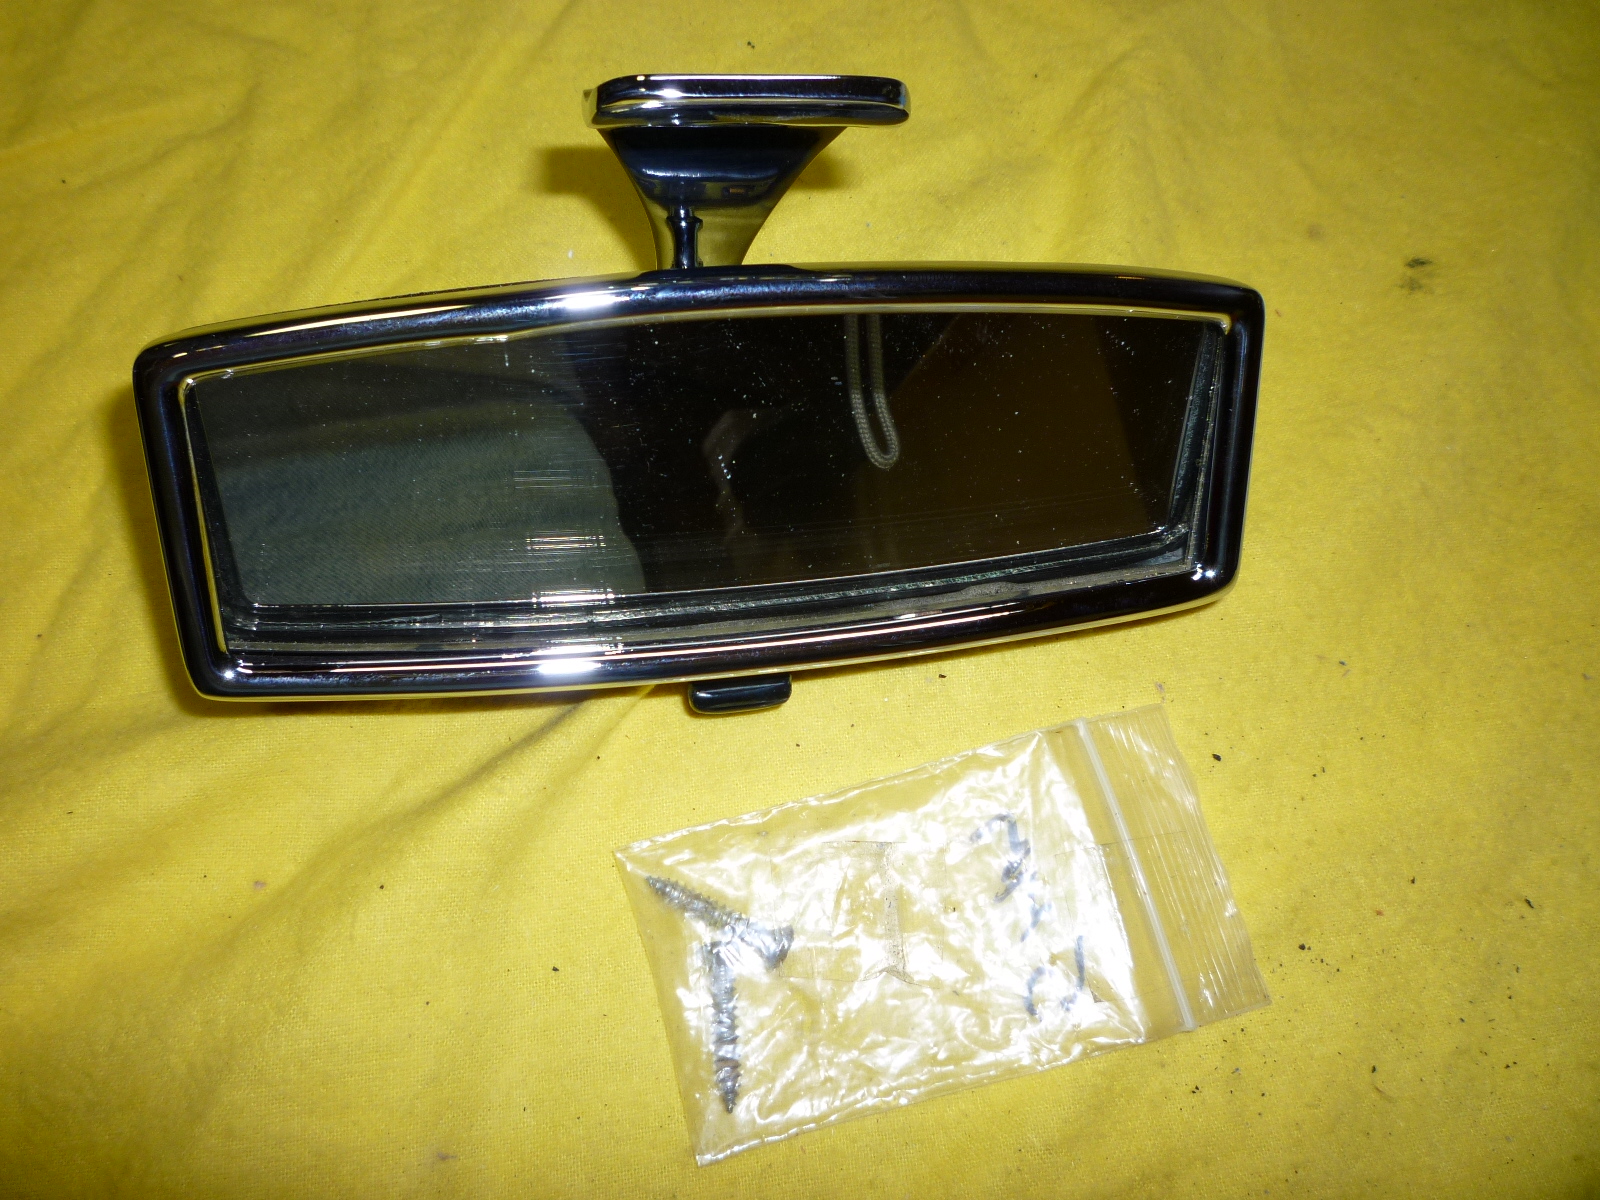
I did take some pictures when I took it apart, but using those is something like reading an instruction manual. One should be able to just figure it out. Everything was obvious except how the mirror, springs and day/night lever worked. After a couple of attempts, I did figure out the right way. Once the mirror was in place, fitting on the glass and front was easy. The electrical pieces went in after I tested the bulb and switch to make sure they worked. I also cleaned out about 50 years of grime in the little plastic window where the bulb shines through. Here's everything back together.
Next up is the hand brake.