Chrome and more Chrome
A lot of the chrome work had already been done by the previous owner. In particular, many of the large parts like the bumpers were done, so that saved me quite a few bucks.
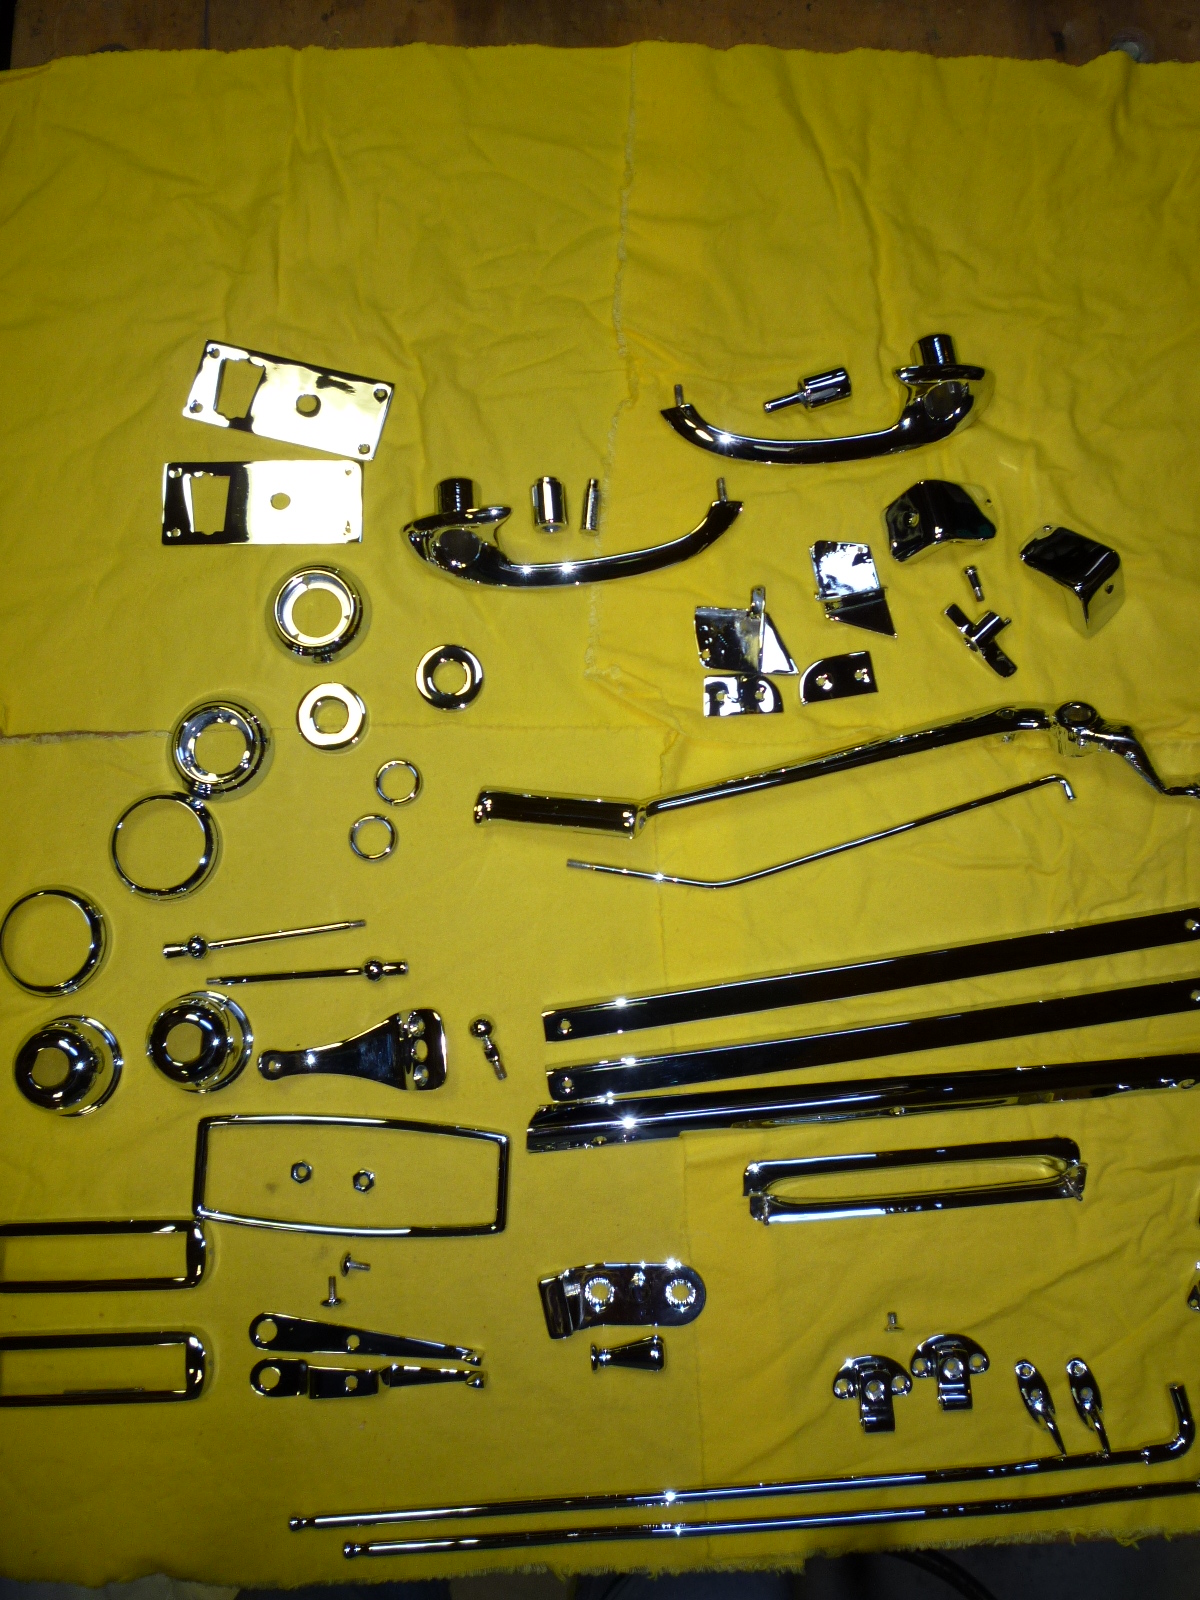
However, there were many other items that needed to be done. My friend, Buddy Obara, has a local plating shop in Pennsylvania that does a good job at a very reasonable price. So I packaged up about 30 lbs of items, 64 in all, and shipped them off to him.
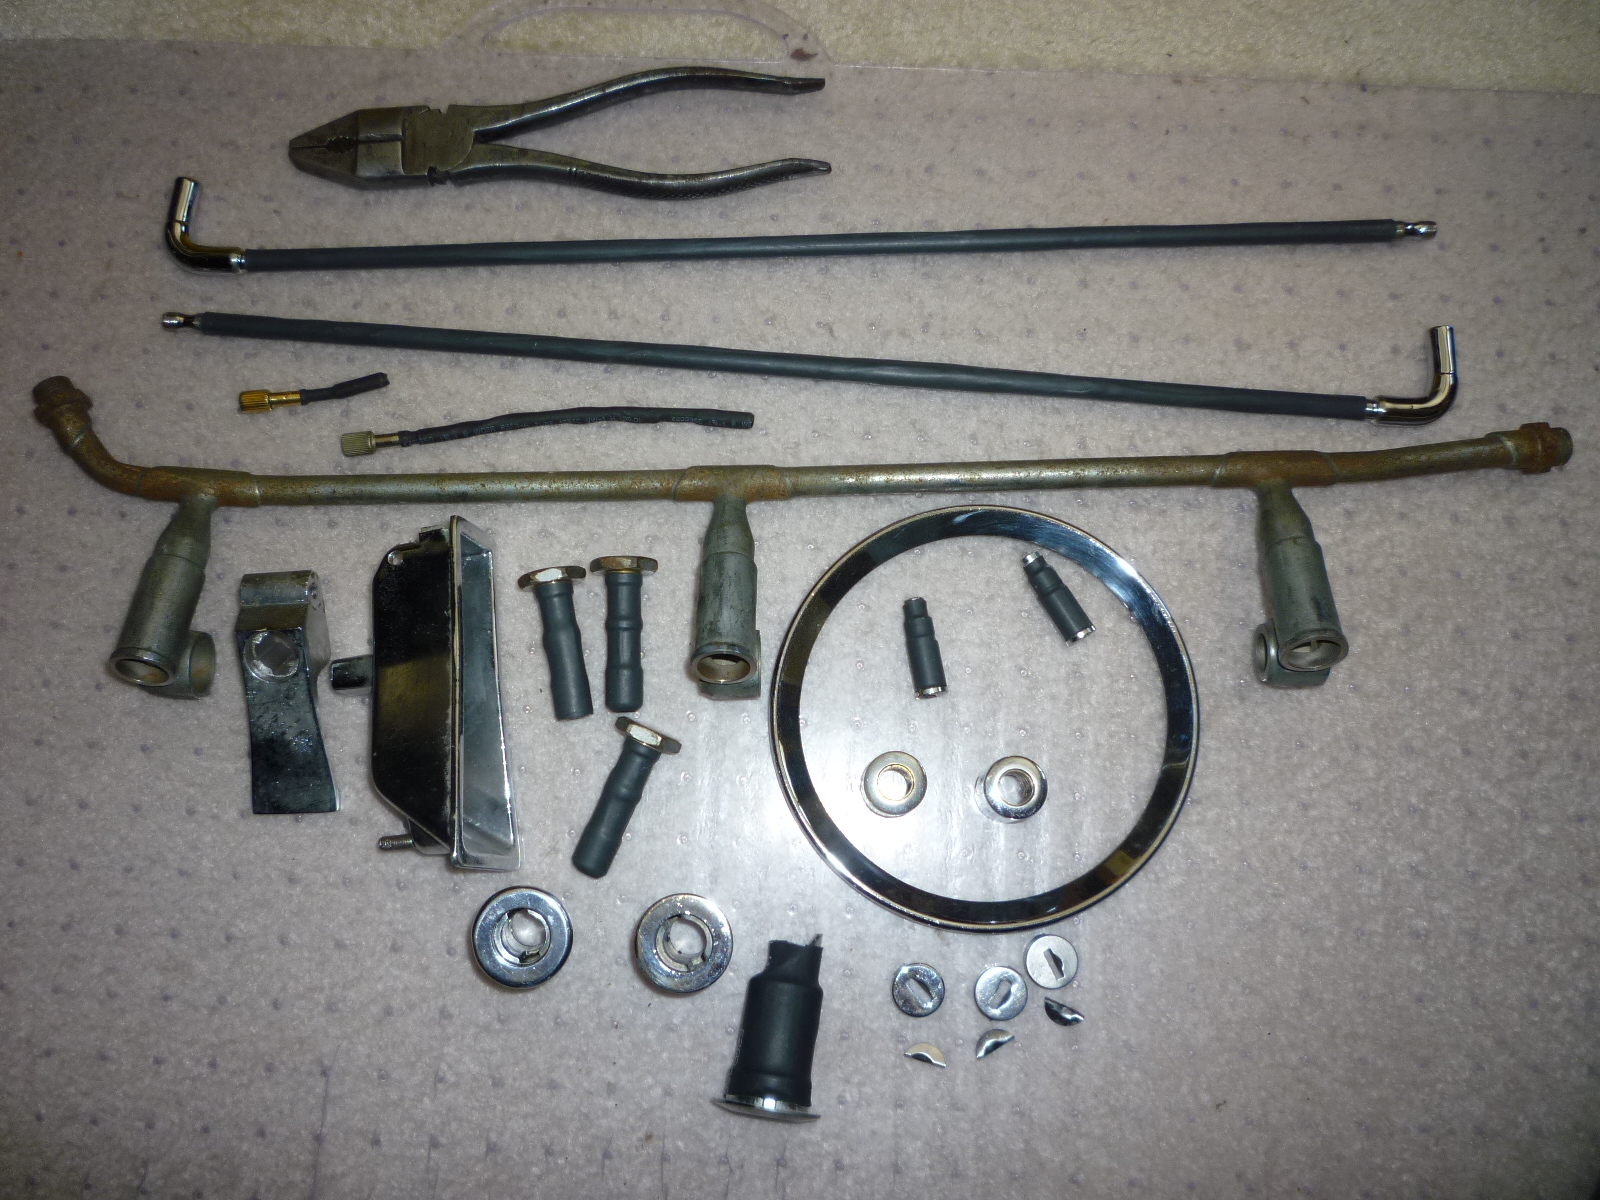
One thing I do when I send something out, is to make a complete list, weigh each item and take pictures. I include the list with the items, so there is no issue whether or not something was handed off. Here are some of the items I sent out.
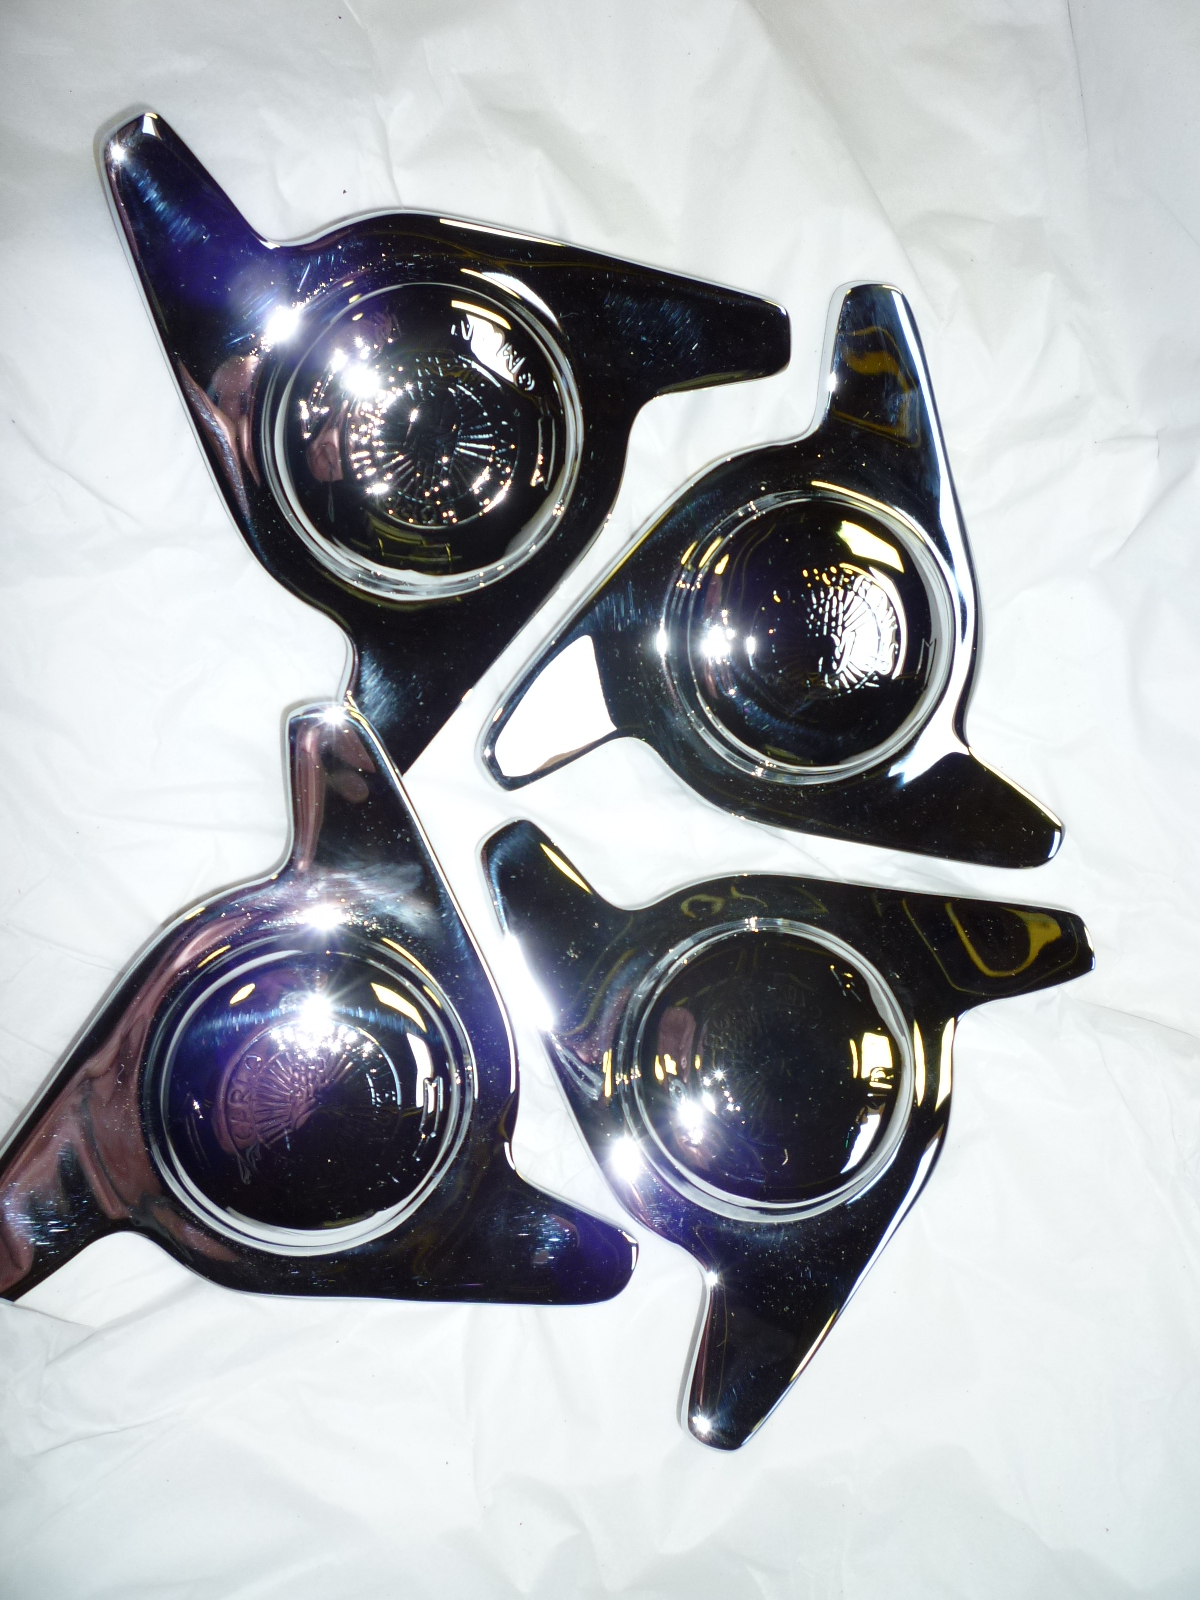
The biggest pieces were the four knock-offs. As you can see, they needed some work.
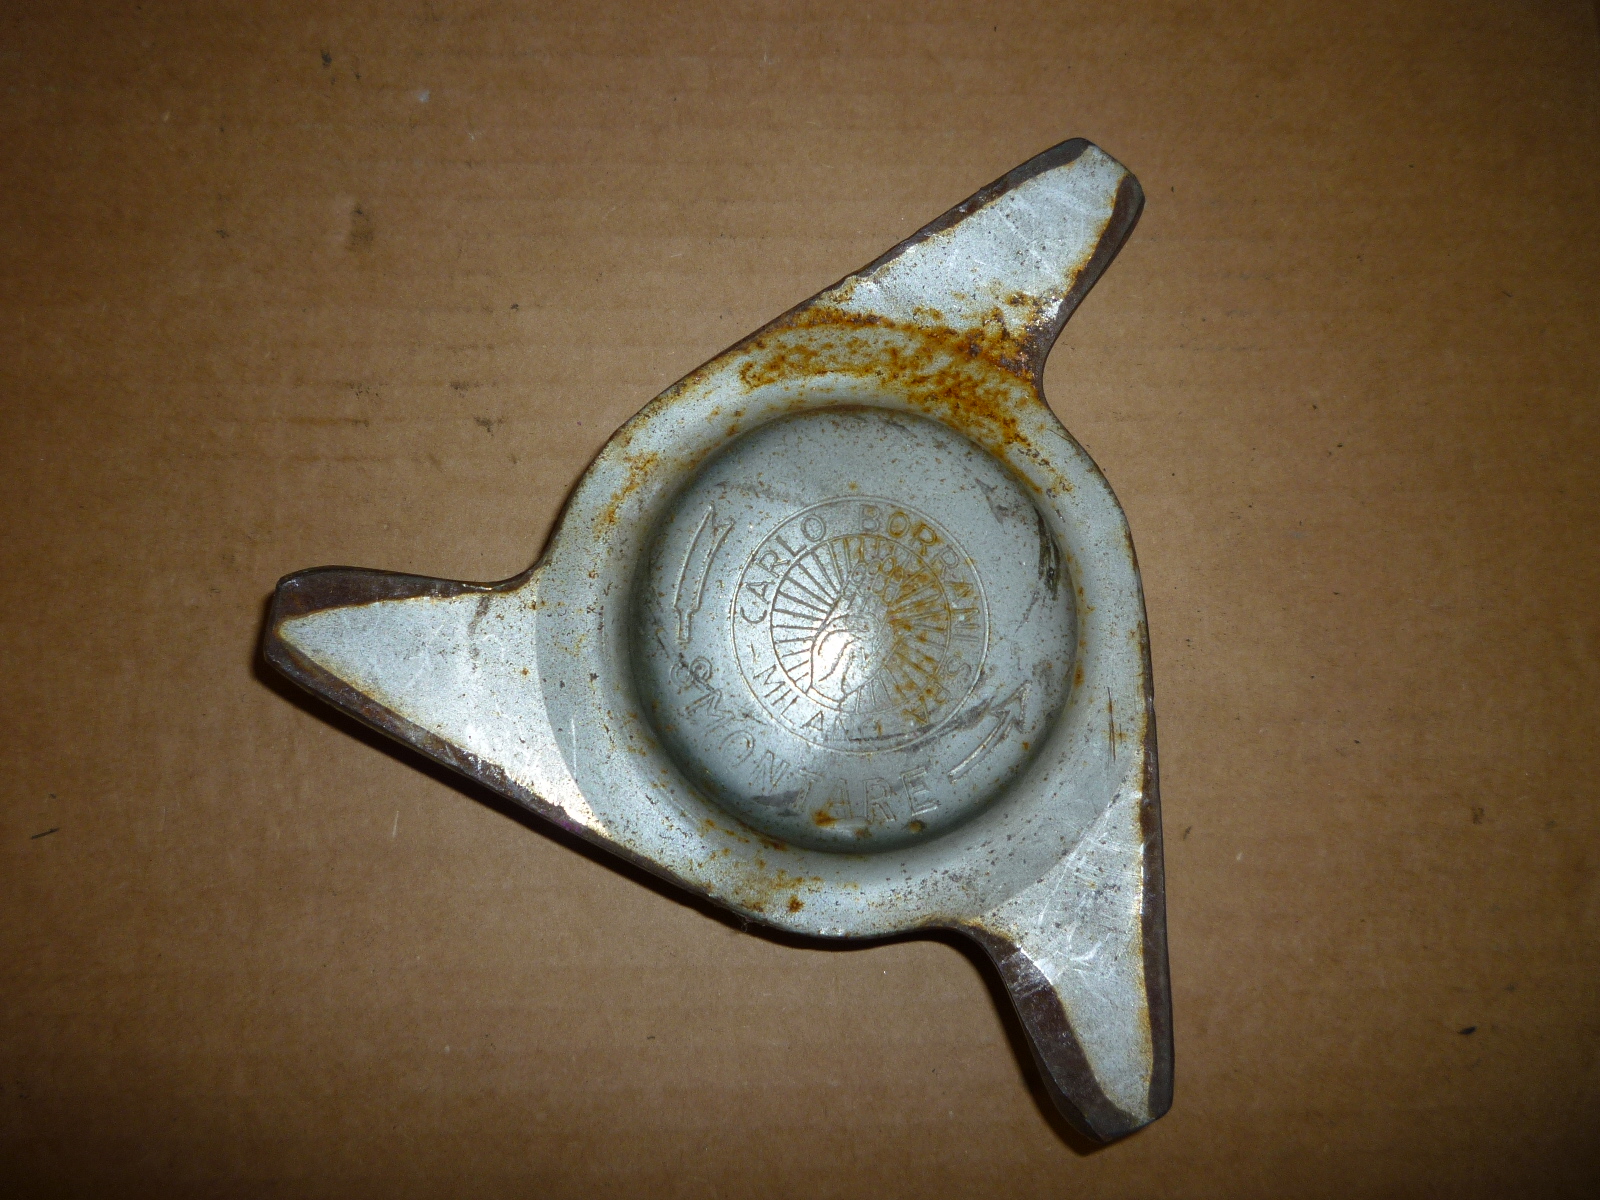
It took quite a while as the knock-offs needed re-engraving after the polishing had been done. Everything came back a few days ago. The first thing I did was to unpack and inventory each item.
Much to my dismay, there was one screw missing. It fits in the sun visor holder, so it isn't critical and I can probably find a close replacement.
Then it was time to re-assemble the various components I had to take apart to get certain pieces plated. One thing I found was that the sizing on certain pieces was so close that the three layers needed for the chrome process made things not fit.
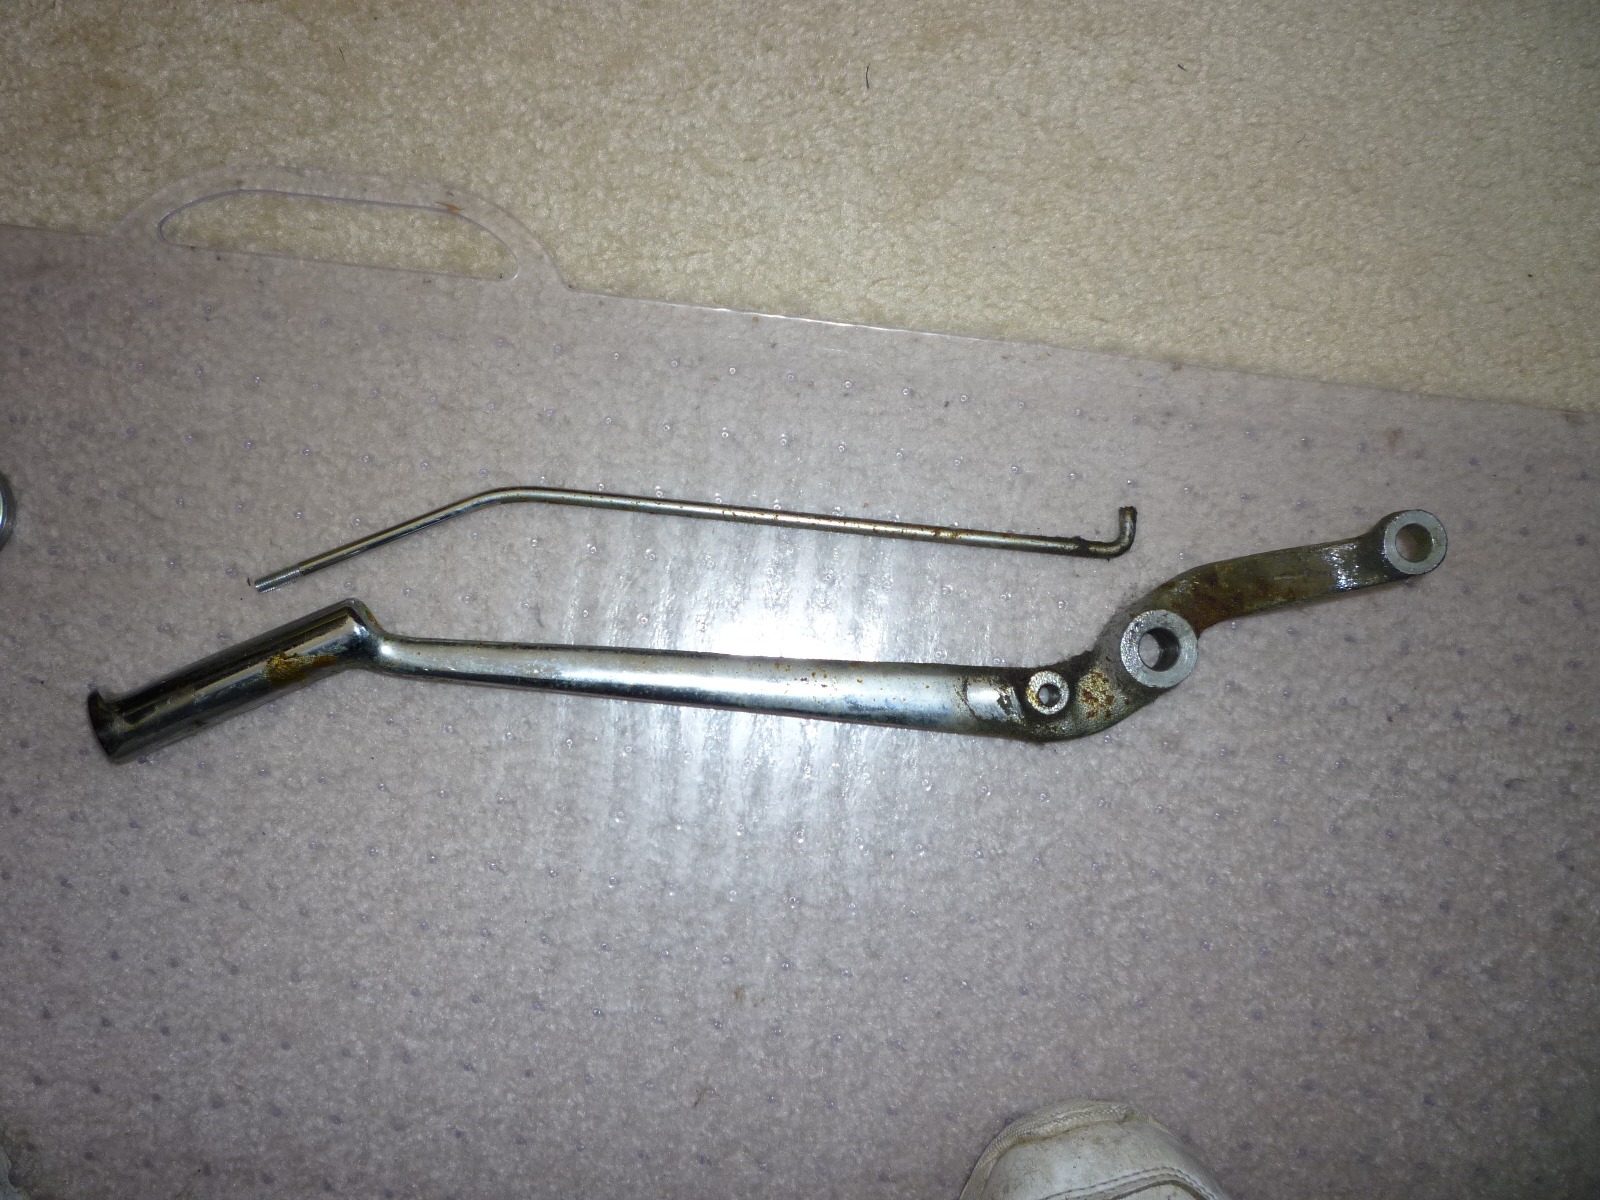
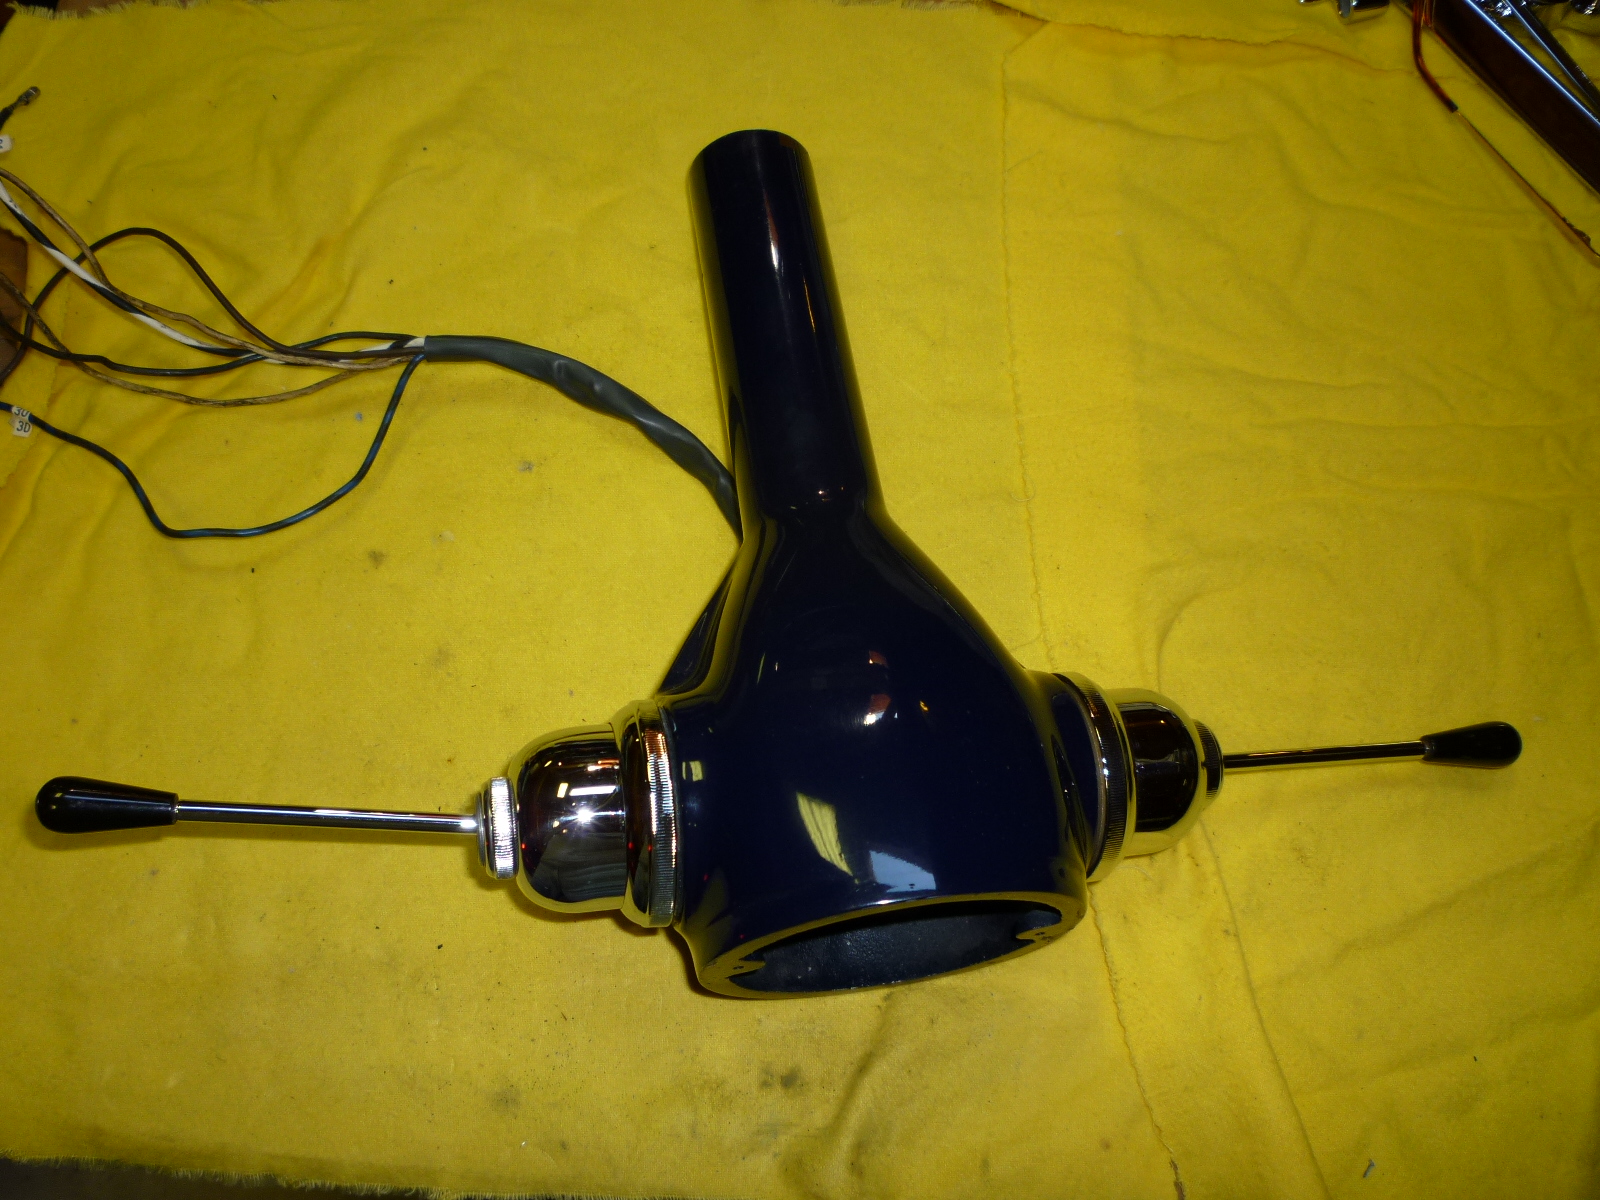
I spent the better part of two days getting the steering column and switches put back together. The parts that were chromed were the stalk levers, surround, surround nuts and stalk assembly nuts. Here they are as they left.
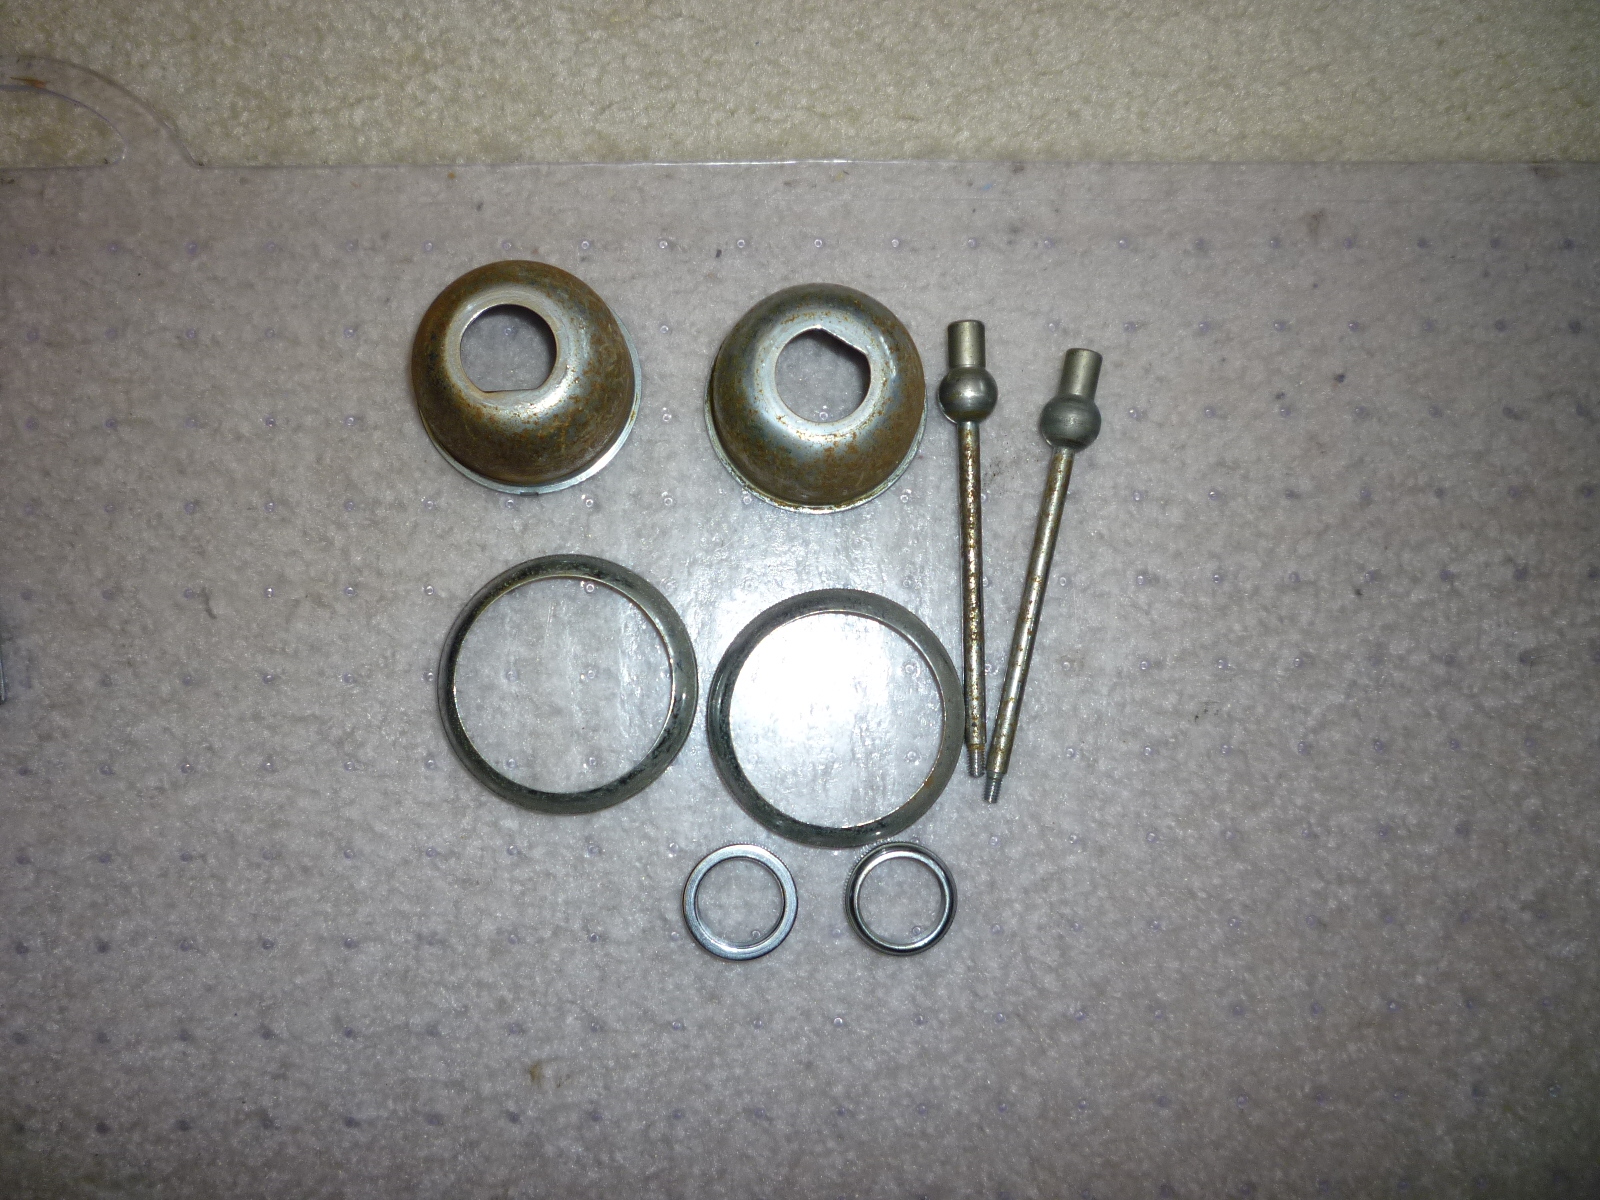
I had to enlarge the holes in each item. The surround nuts would not fit over the surrounds so the mating surface had to be ground away using a Dremel. The switch housings would not fit through the surrounds. The balls of the stalk would not fit into the switch housing, so they needed trimming down. The hole in the end of the stalk for the spring loaded detent had to be enlarged.

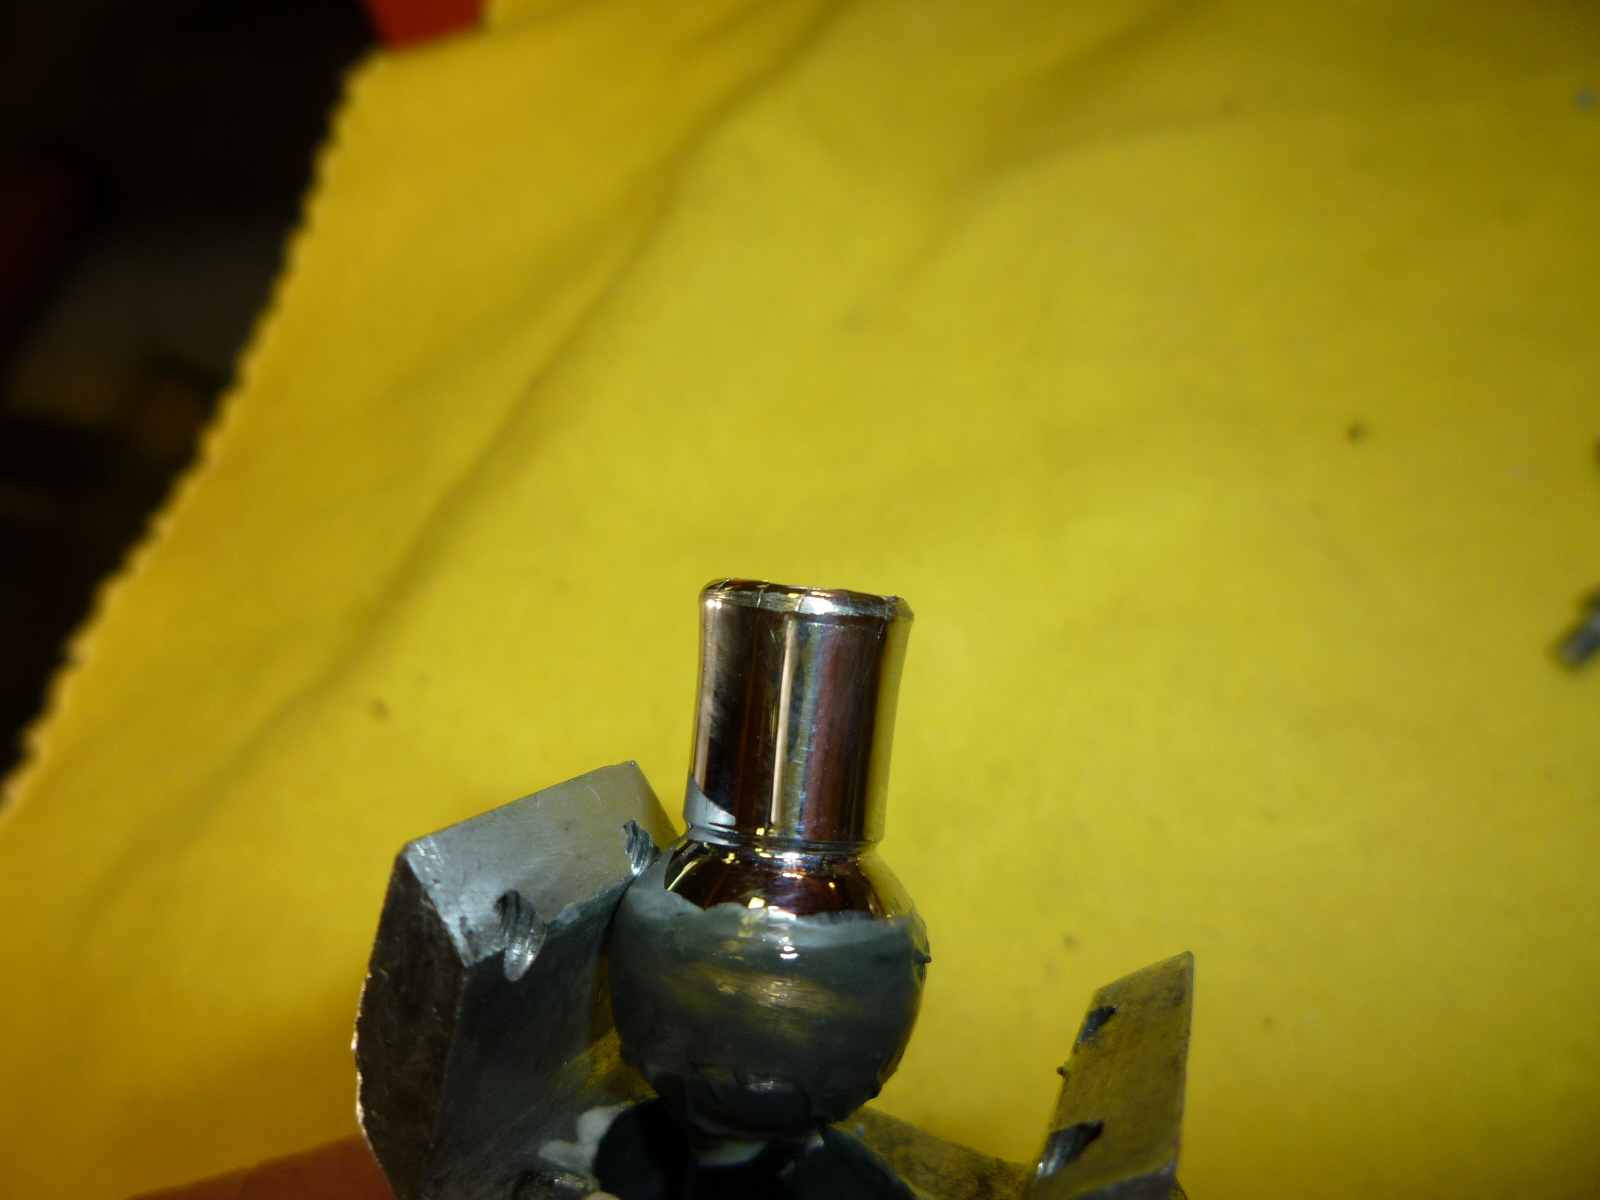
Even after all that, the overdrive switch wouldn't work correctly. At first I thought it was the outside of the detent area was hitting, preventing the switch from moving as far as needed. You can see how the chrome process enlarged the very end.
I ground down the excess, but it still didn't work, so I thought I might have an electrical issue. I took apart the switch and cleaned all of the contacts.
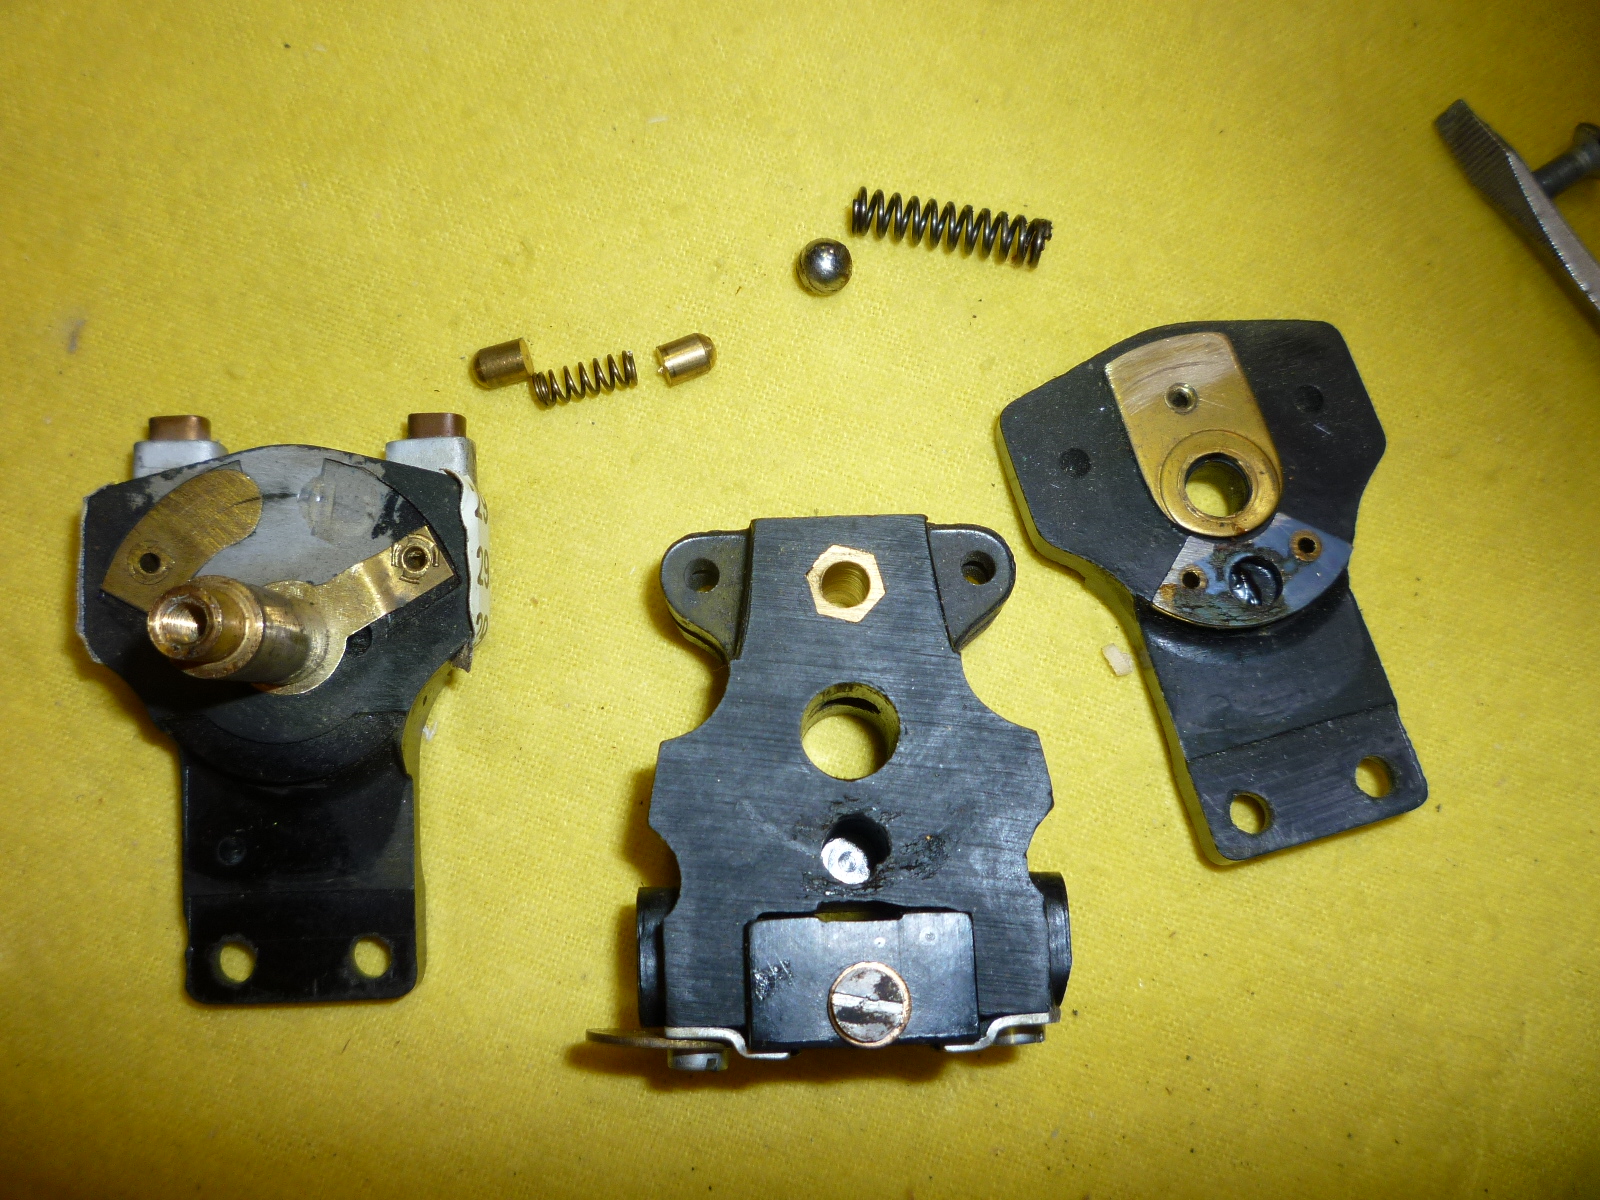
It's rather convoluted with the power being passed from one side by the central shaft to the plate you see on the right plastic piece. Then the two rounded pins with the spring touch that plate on the one side and the plate you can see on the left plastic piece. When it is in the middle, the one pin is just touching the plastic, so no circuit. When the switch is moved off center, the rotation brings the pin over onto the other contact and the overdrive works (assuming everything else that can fail on the error prone overdrive is OK). The other spring with the the ball is the detent spring. One thing I couldn't understand is that there is a semi-circular plate mounted on one side of the switch. It's visible (on edge) in the left picture just by the metal part of the housing. After puzzling over this for a while, I figured out that it kept the switch from going in the wrong direction from the middle position. That plate hits the inside of the steering column surround, so the switch only works in the one direction. Only in Italy would the problem be solved in this manner.
But after all of that, I still didn't have the switch working electrically once I put on the stalk assembly. After another careful inspection, I found that the stalk detent area was just a little too long from the plating, hitting before the switch would move enough to complete the circuit. A quick pass on the disk sander removed the excess deposited by the plating and I was back in business. You can see the grind marks on the ball and detent area.

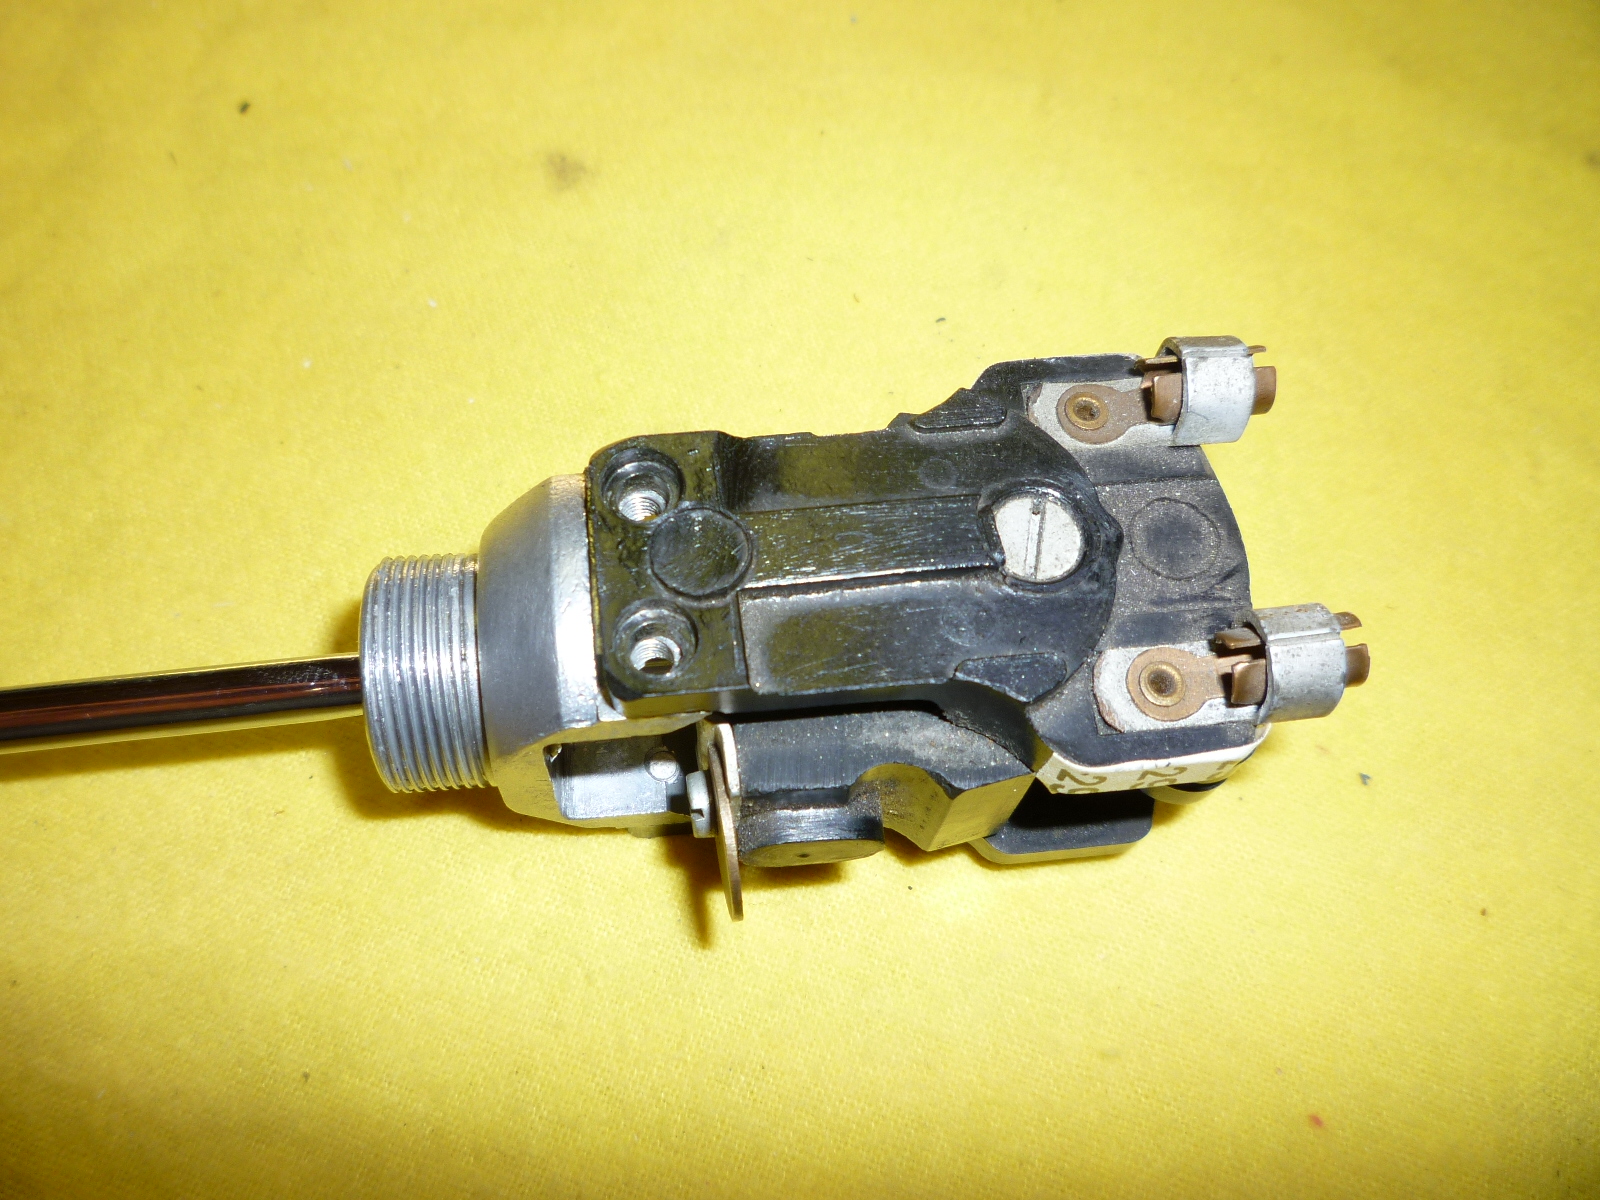
The other thing that happens with plating is the depositing of the material where you don't want it. The plating process uses an anode to provide the electrical current. That current causes the atoms of the metal to be deposited on the item being plated. The farther away from the anode, the less is deposited, so typically several anodes are used to get an even layer. If one needs the inside of an object plated, an anode that fits that area needs to be used. However, some material is always deposited, and this includes the threads of nuts, etc. The large surround and smaller stalk nuts would not screw onto the threads properly because of this. Normally, I would just use a tap (or die for a screw) and clean off the excess material. But I don't have huge fine thread taps that would need to be used. I spent some time with a dental pick and some other tools and then screwed them on the matching items to have them act as a tap, mostly unsuccessfully. Of course, these are knurled nuts, so one can't use a pair of water pump pliers with damaging the new chrome. I have a couple of rubber strap wrenches, but there is a limit to the torque that they can provide. After that they just slip. After thinking about this overnight, I realized that I could figure out the thread pitch and use a small tap with the right pitch as a scraper on the inside threads of the nuts. This took a long time, but finally I got each nut clean enough to tighten down. Here is the column assembly, all wired up and ready for installation.
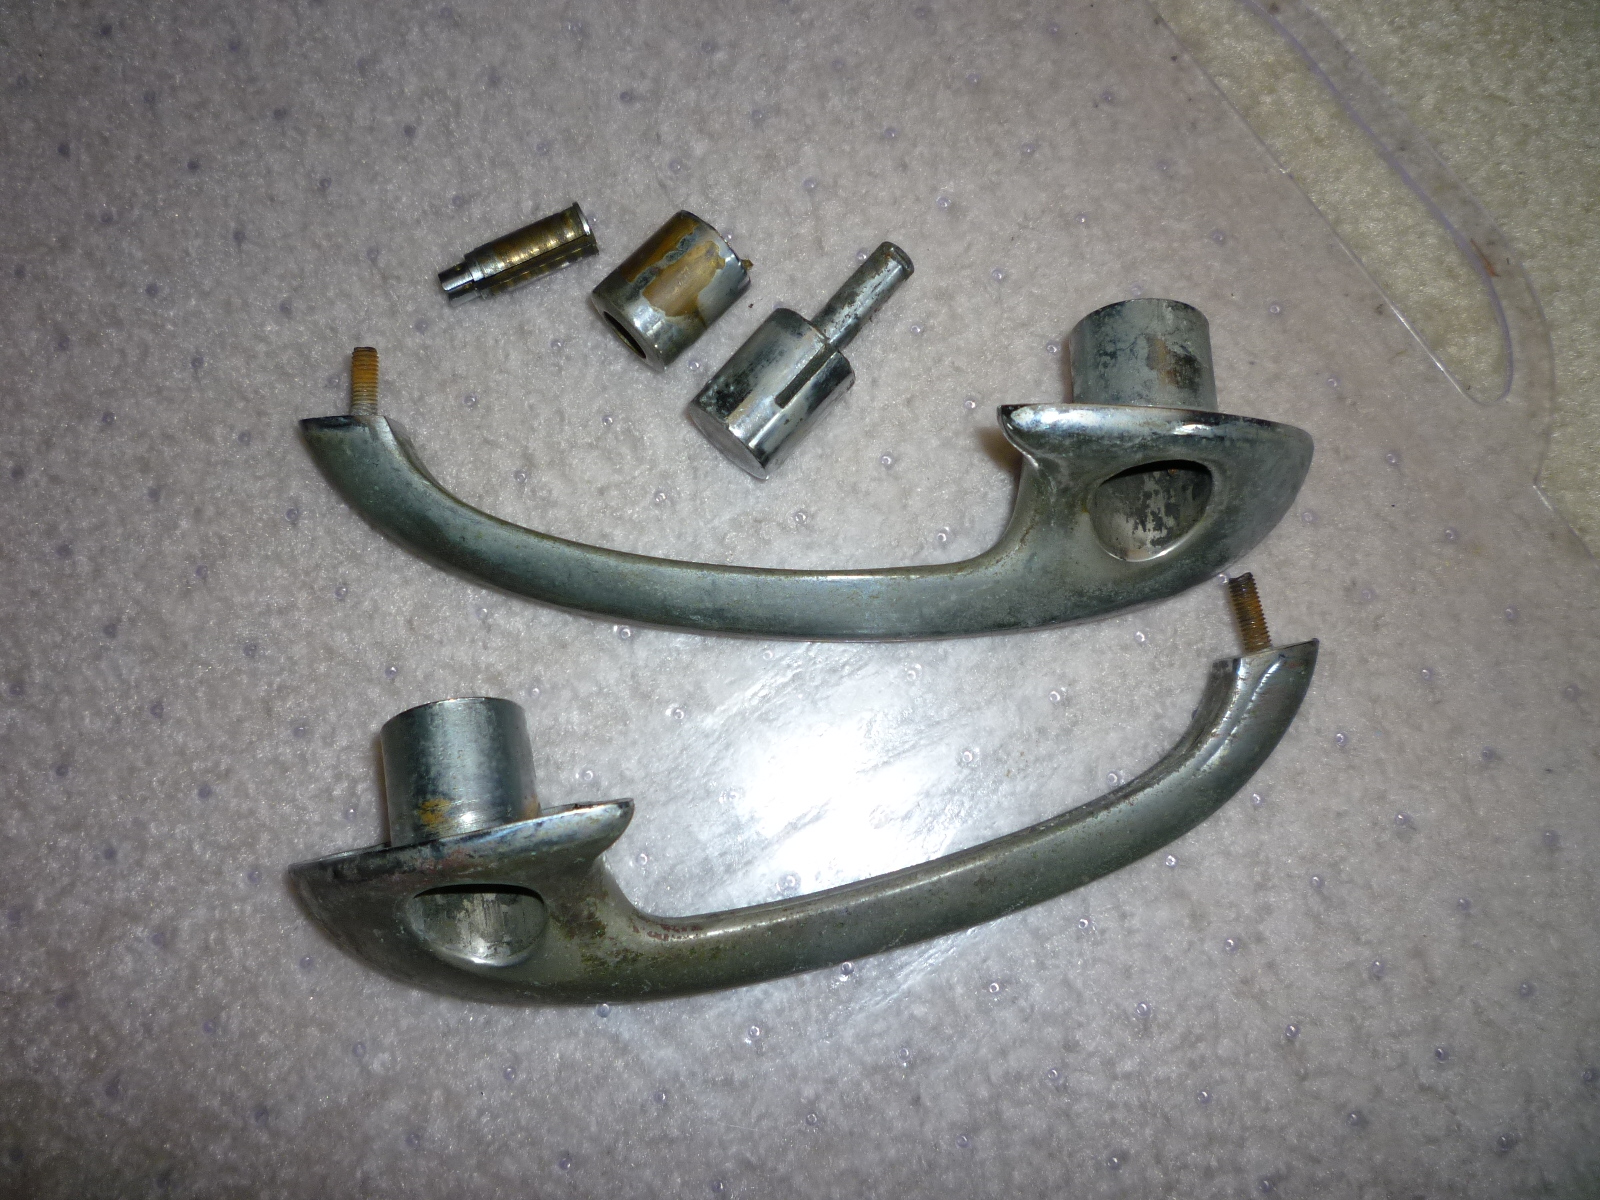
Now I just have the interior mirror, sun visors, hand brake, interior lights, door locks and handles to put back together.
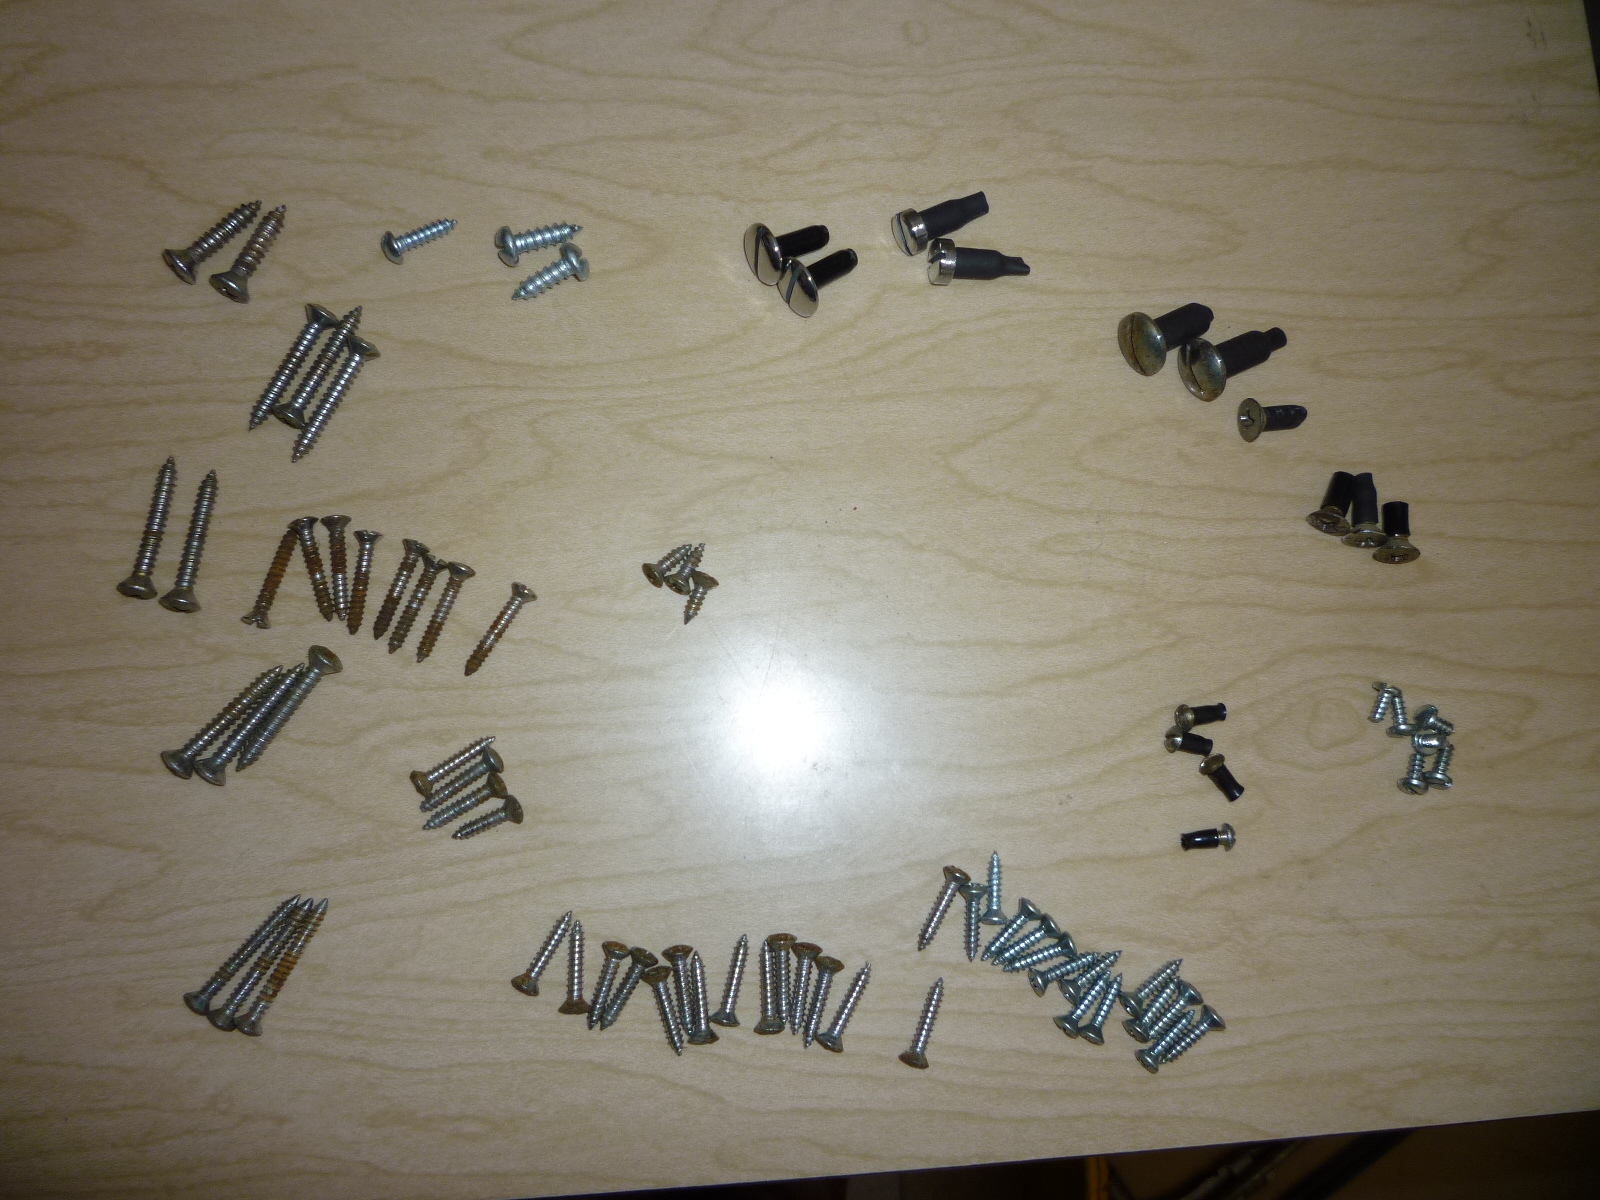
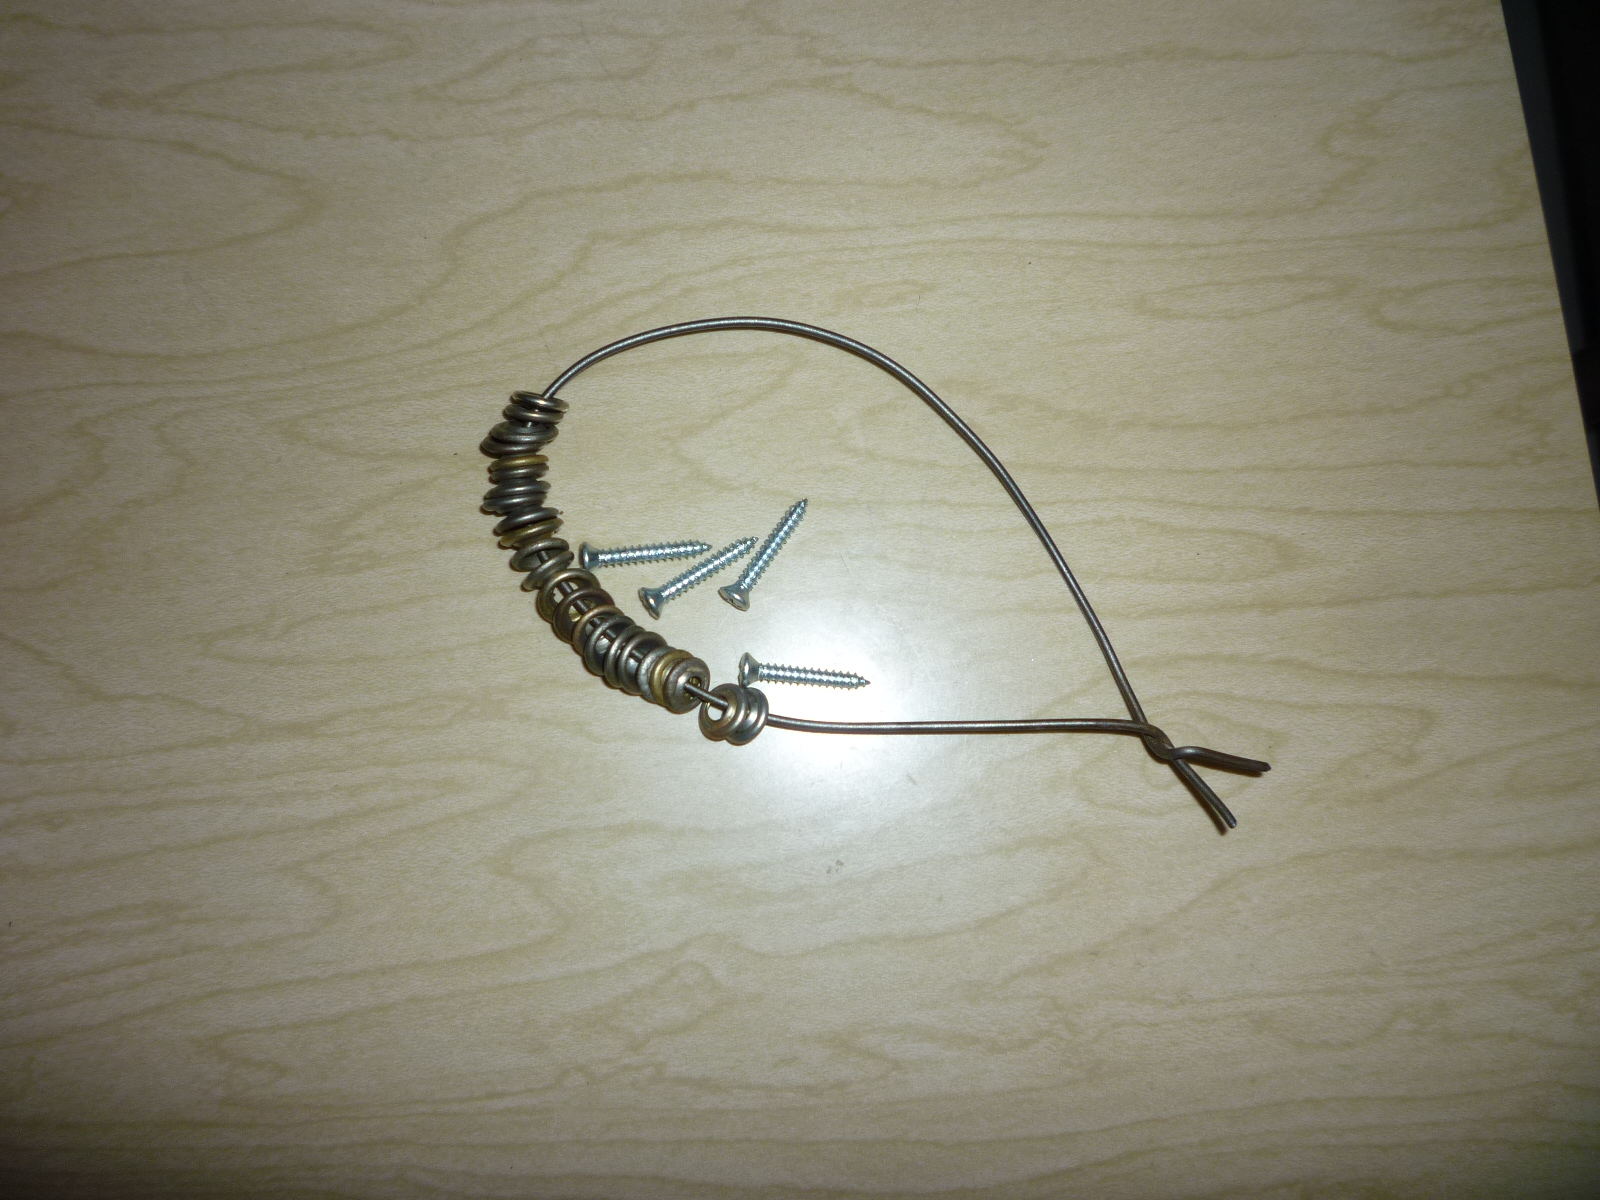
I just put together another batch of items to be chromed. I was getting some locks done for Al Pezella, so I decided to round up what else need to be done now. A big bunch was various screws, etc. that will be needed for the interior. I got a little smarter and used heat shrink tubing to cover threads and other places that I didn't want to get plated. This should make things fit better when they come back.