Rear Suspension
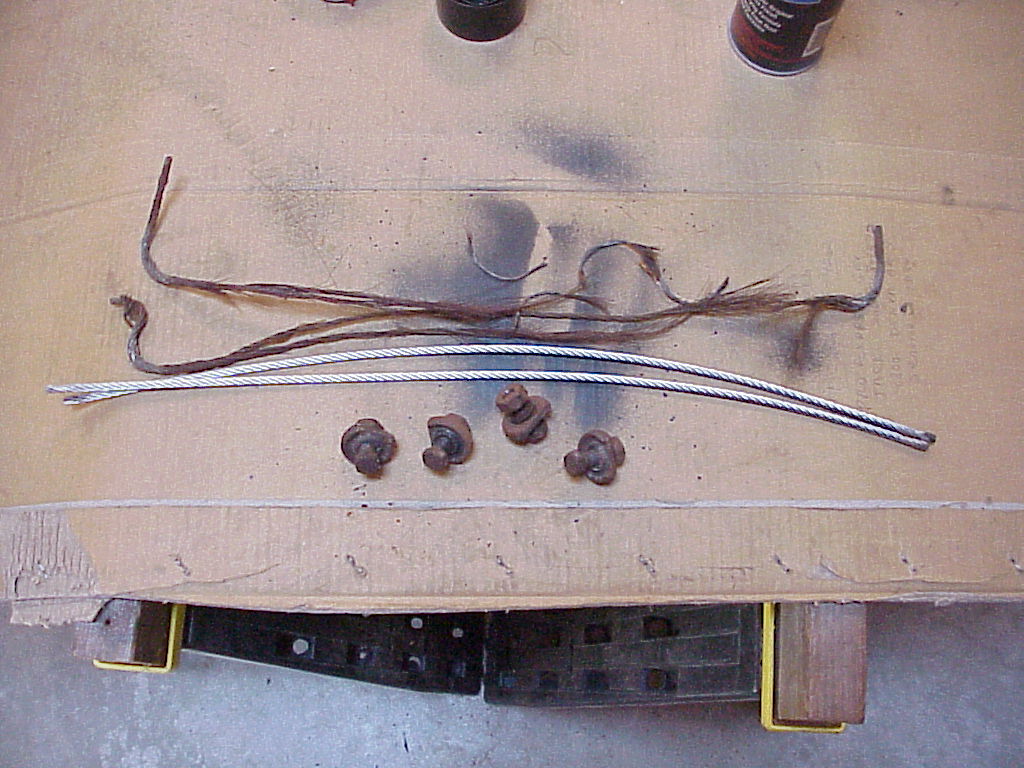
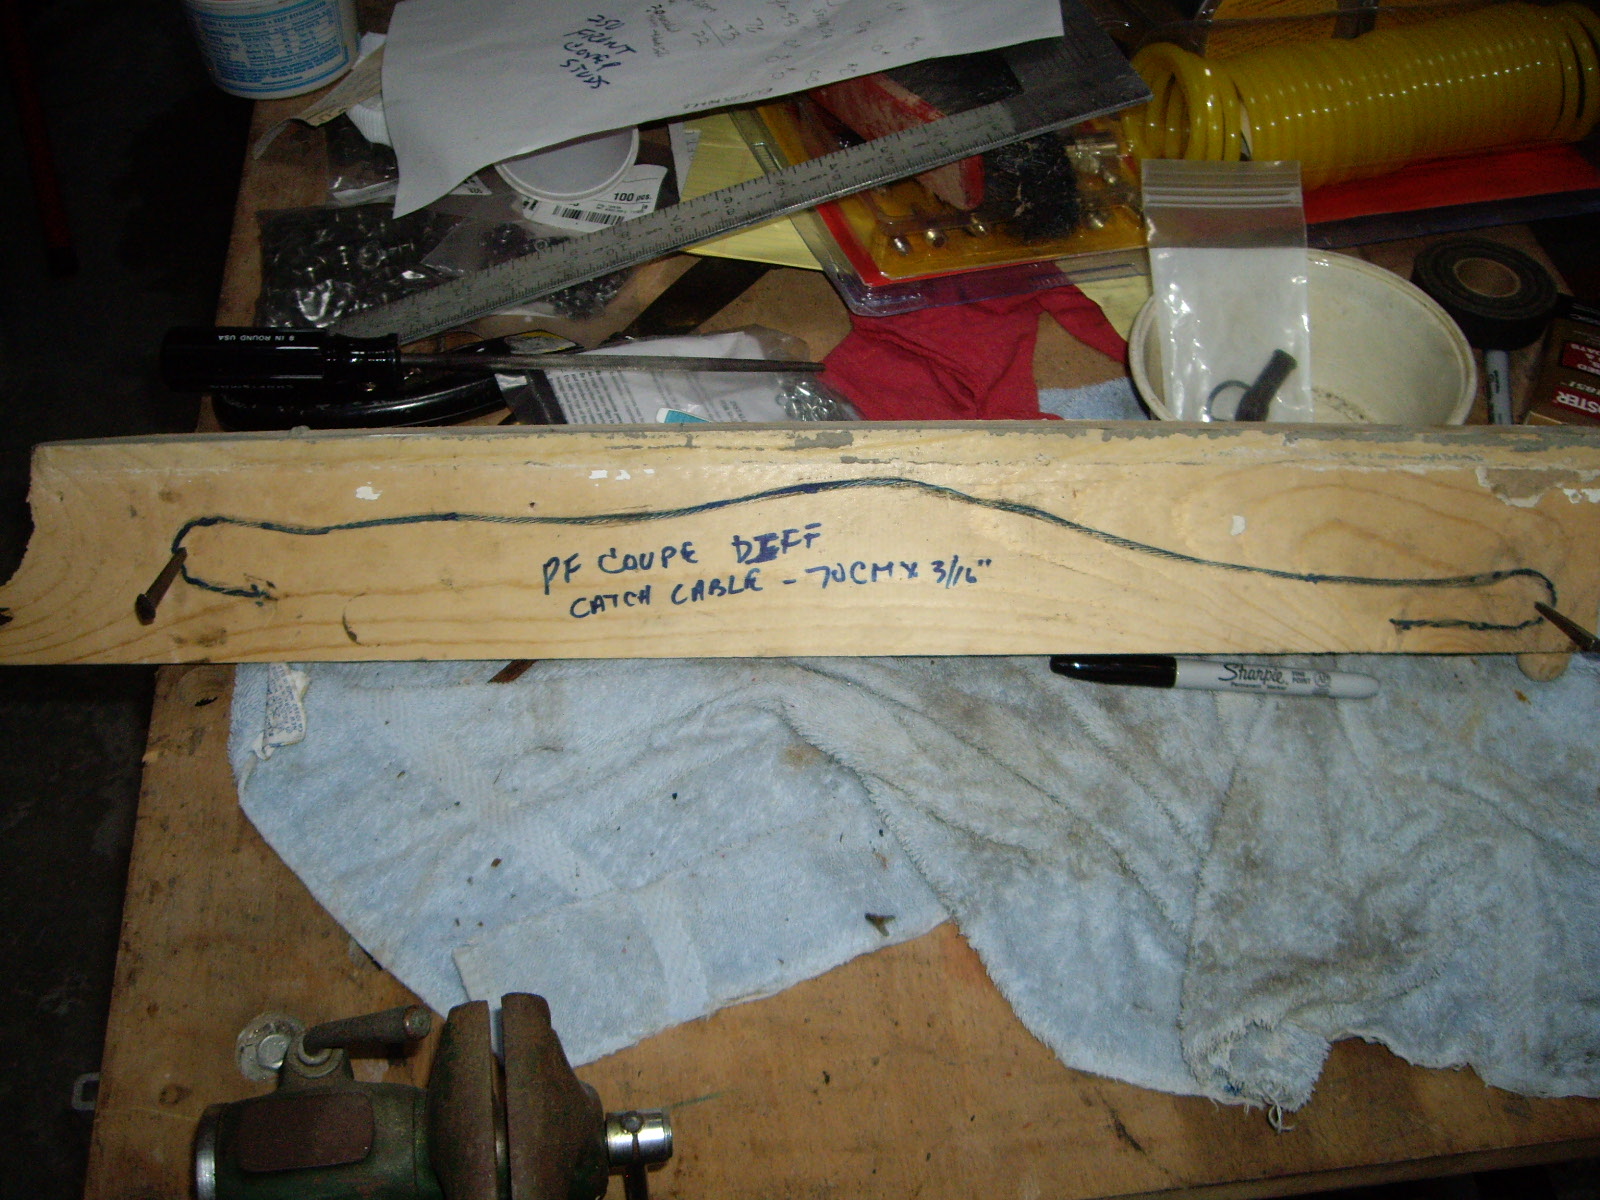
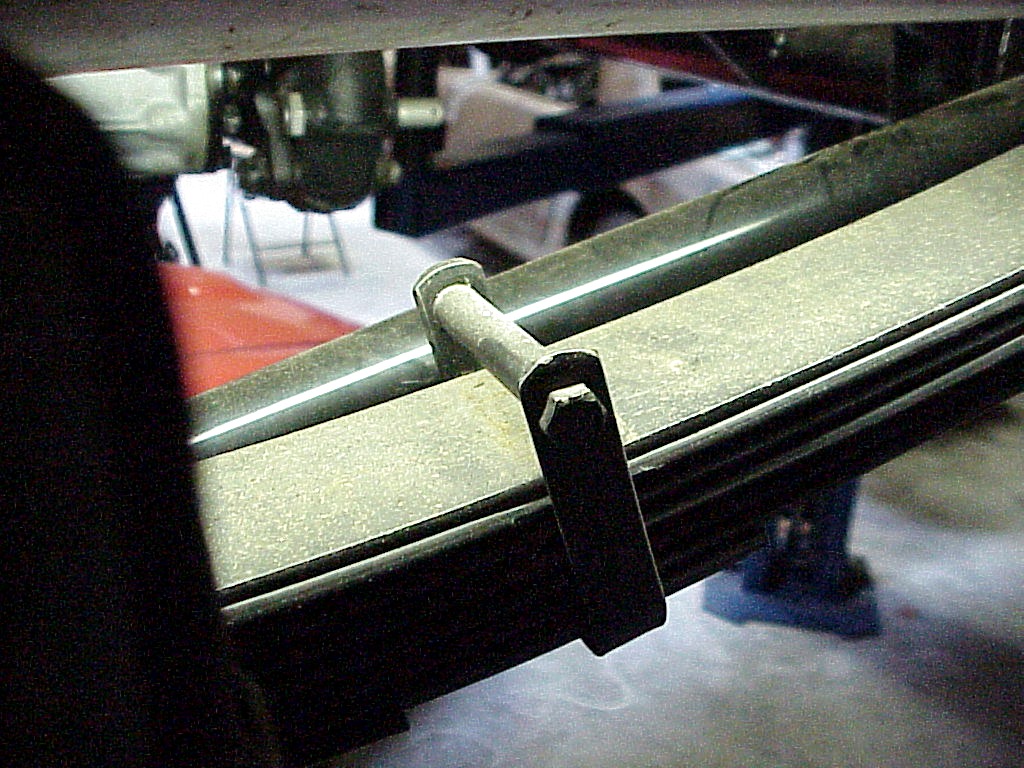
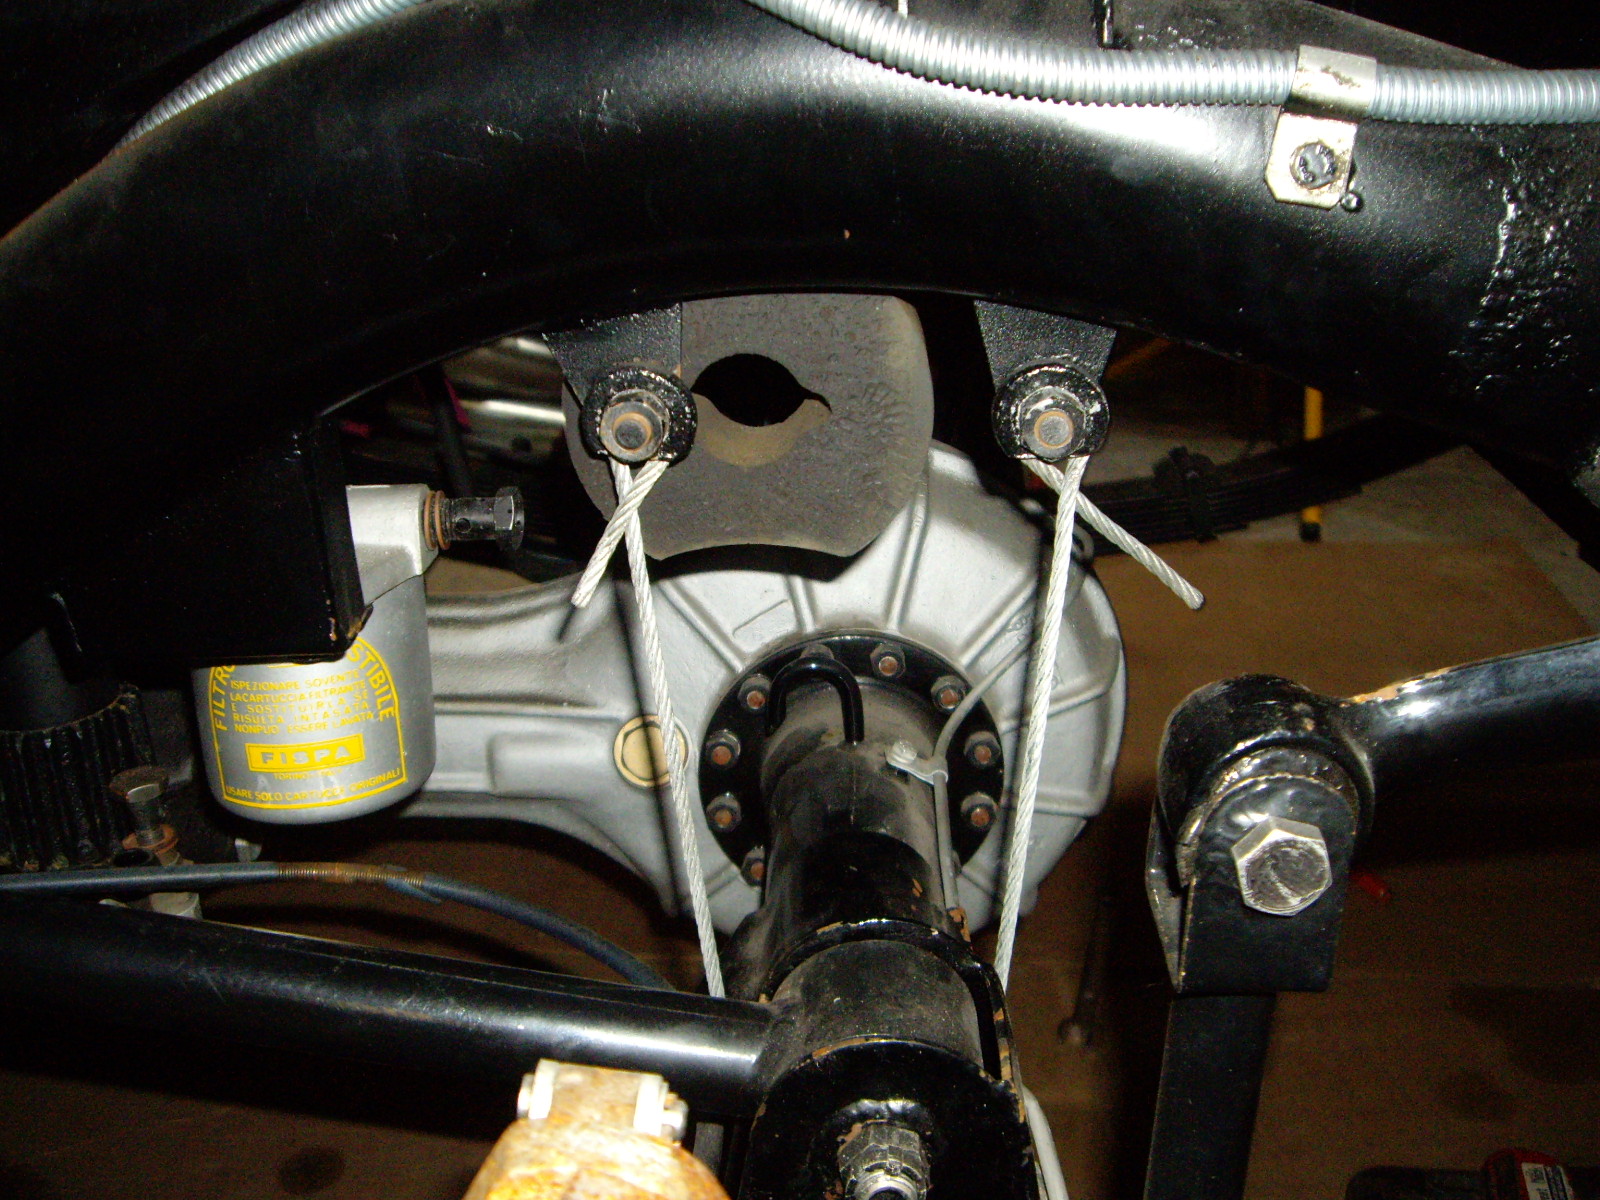
Among other things that were never replaced by the PO on the PF Coupe were the wire rope straps that keep the differential from dropping down too far when going over a bump or raised up by the chassis. Before I sold my other PF Coupe I looked at how they were attached and measured the length even though they were broken. I also measured the distance between the strap and differential on a couple of cars at Concorso Italiano a couple of years. You should have seen the expression of one owner when he came back and found me laying on the grass reaching under by the rear wheels. It was fine once I explained what I was doing and why. In the end, a guy here in Seattle with a PF coupe had his off and not only measured his, but made a model by sitting one on a soft pine board and then tapping on the wire to produce an indentation.
 |
 |
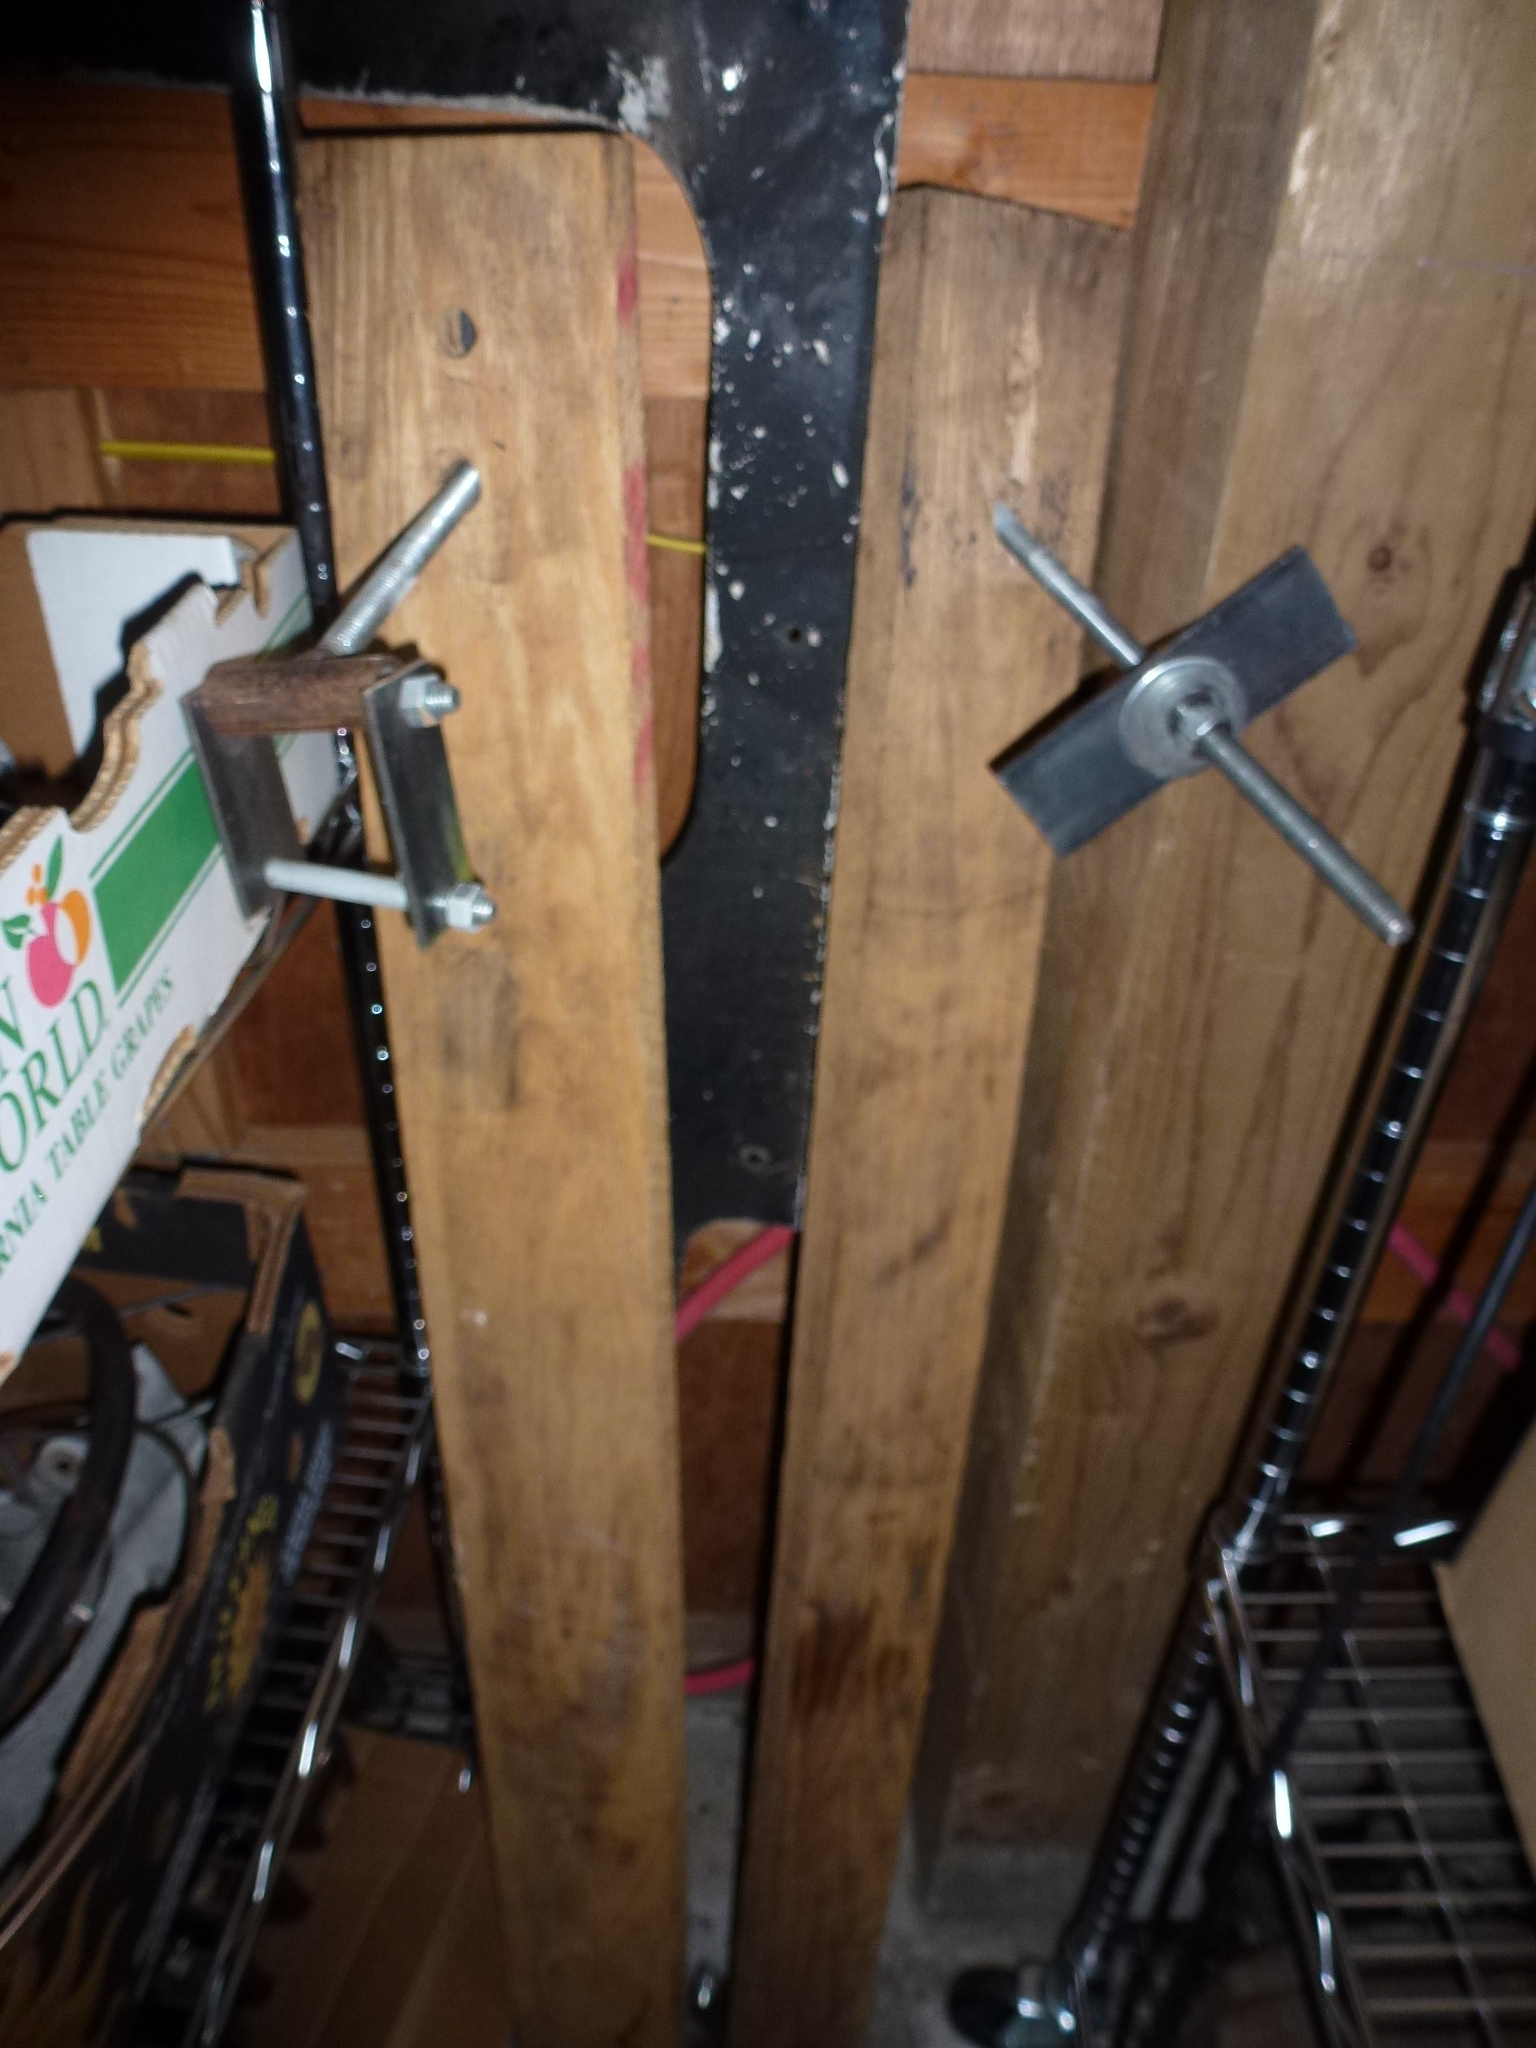
I had already tried to replace these a couple of years ago, but didn't know the correct length. The first problem was that PO had re-arced the springs and I think got too much arc in them. So even when on the ground, the correct length wire won't fit. I tried various methods to compress the springs with the most successful being using a bar clamp from under the differential tube on one side to the upper fuel tank support that's welded to the frame.
This seemed to be working, though requiring a lot of pressure. Then when I wasn't under the car, I heard a loud bang which took a while to determine what happened. The right rear shackle had gone over center and was now locked with the spring end jammed against the upper shackle pin.
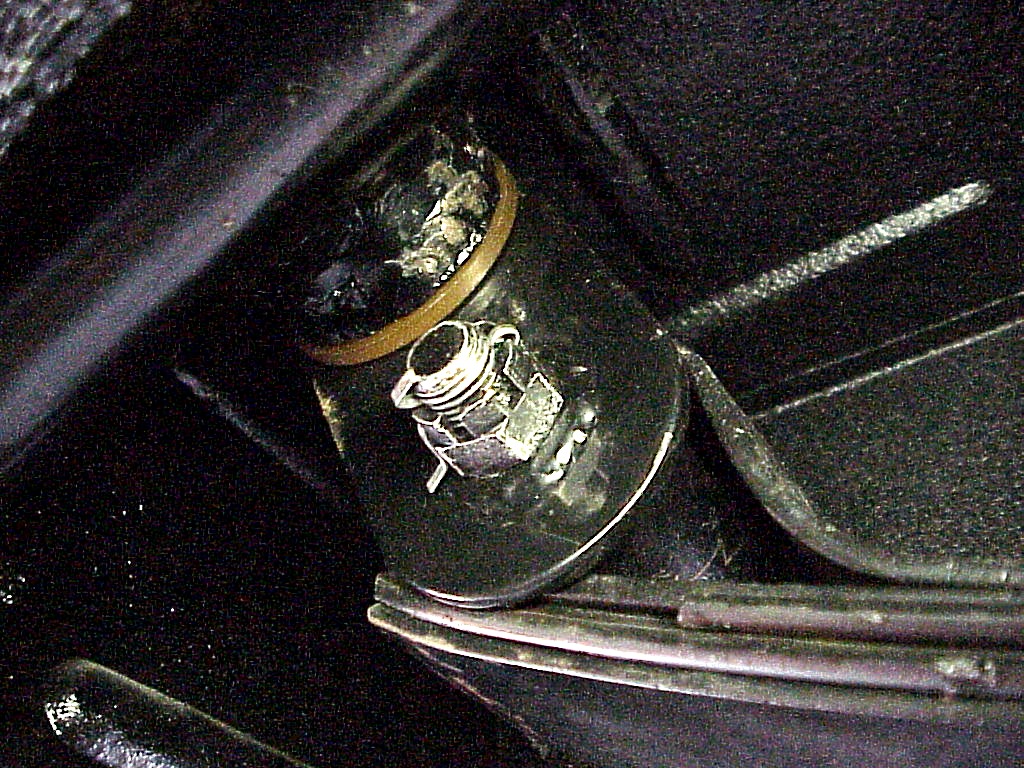
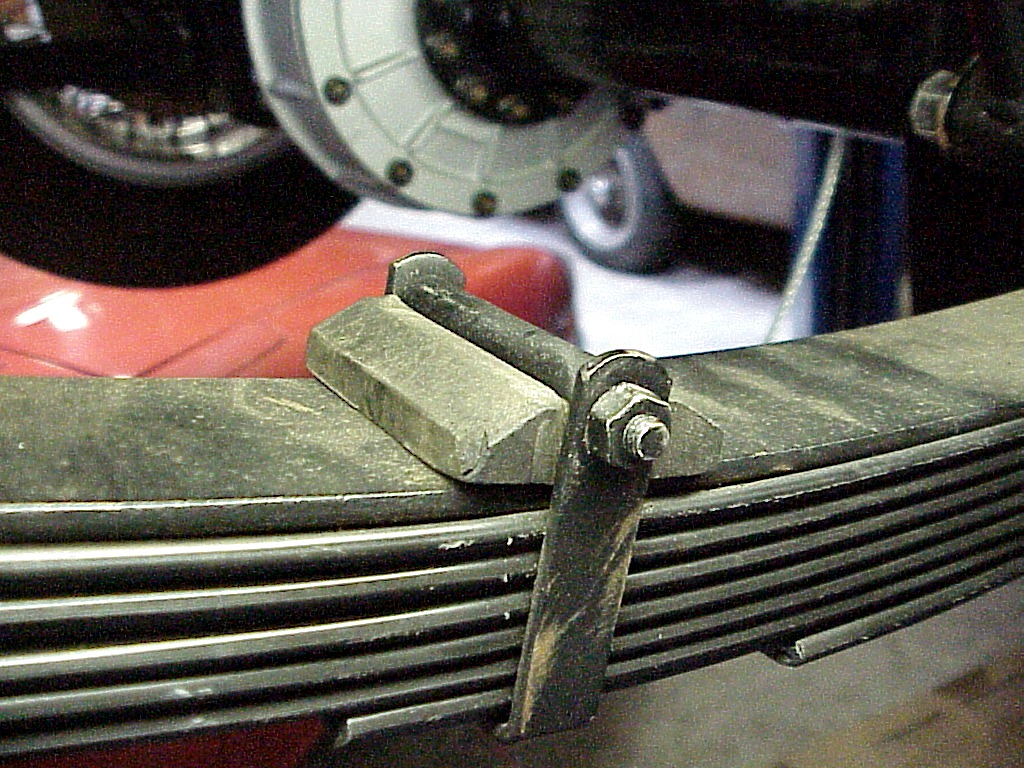
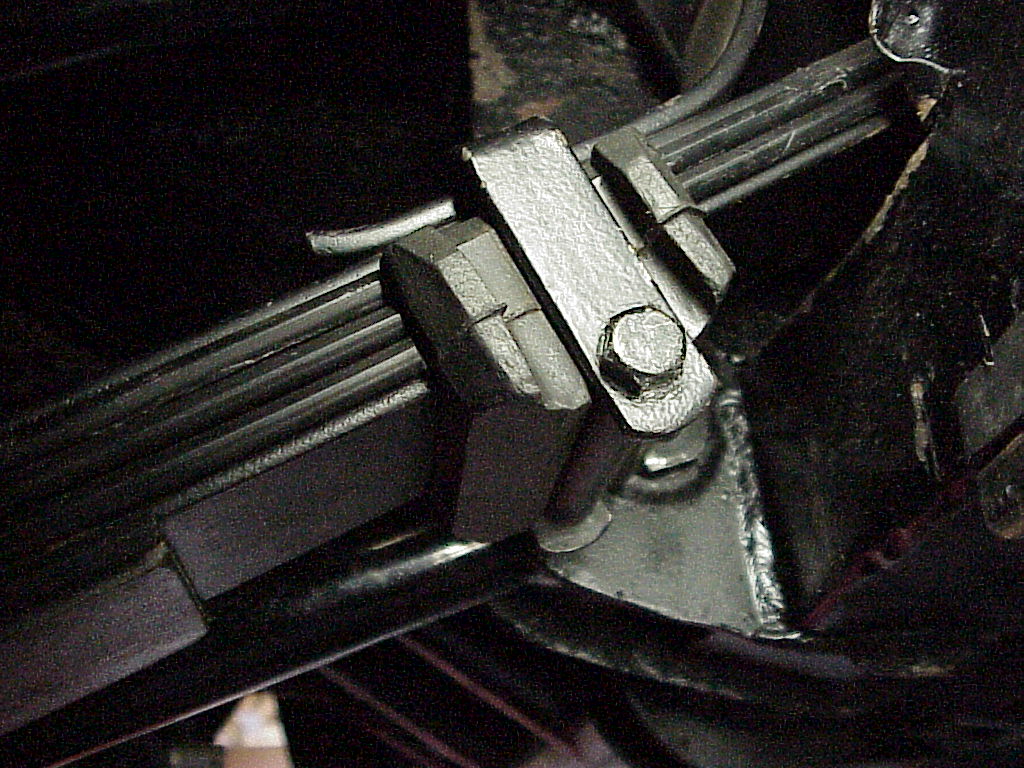
 Shackle over center and jammed tight. |
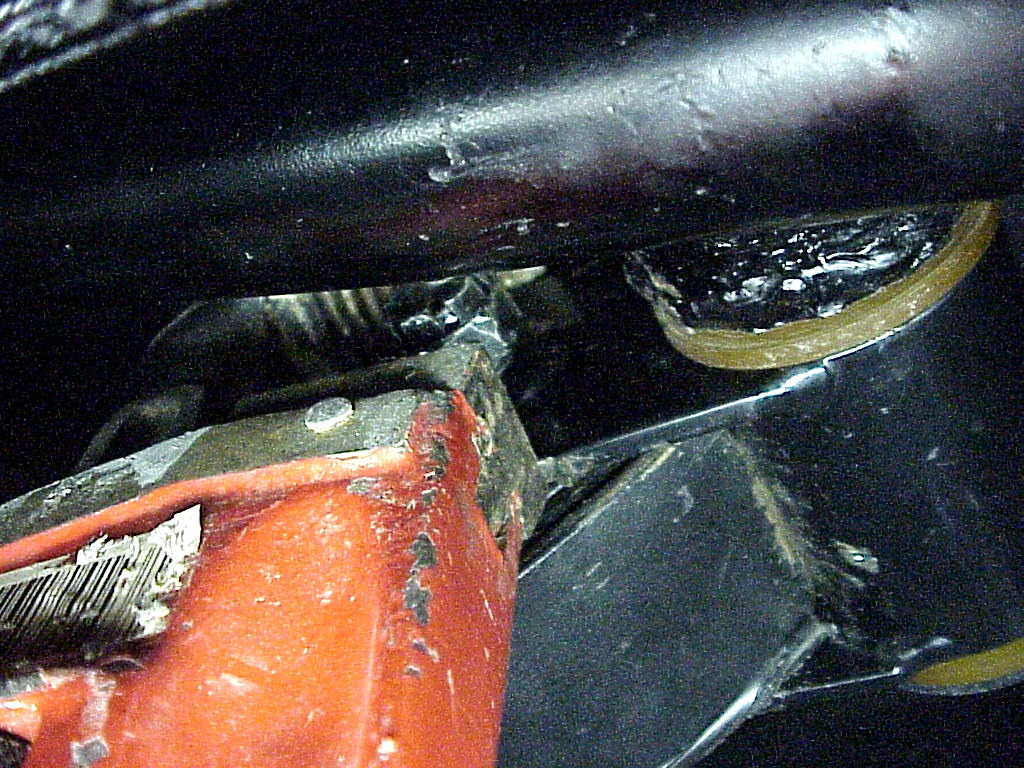
 Correctly oriented |
I tried a lot of things like prying, etc. to no avail. I also disassembled the front shackle, removed the shock and a forward strut, none of which helped the situation. I also got a piece of 3" square tubing and tried to unload the spring by putting it underneath and then using large clamps. All that did was produce some more spectacular bangs as various tries slipped and came apart. In the end, I finally figured out that I could just put a large pipe wrench on the shackle side plate and just rotate the shackle into the right position, but keeping it there was a different issue.
Without the wire strap, the differential would drop down too far, pulling the shackle ends toward the center and allowing the rear shackle to flip over center again. I finally got a wire strap attached, but it was too long as I couldn't flatten that spring enough to install a shorter one. At this point, I got discouraged and dropped the project.
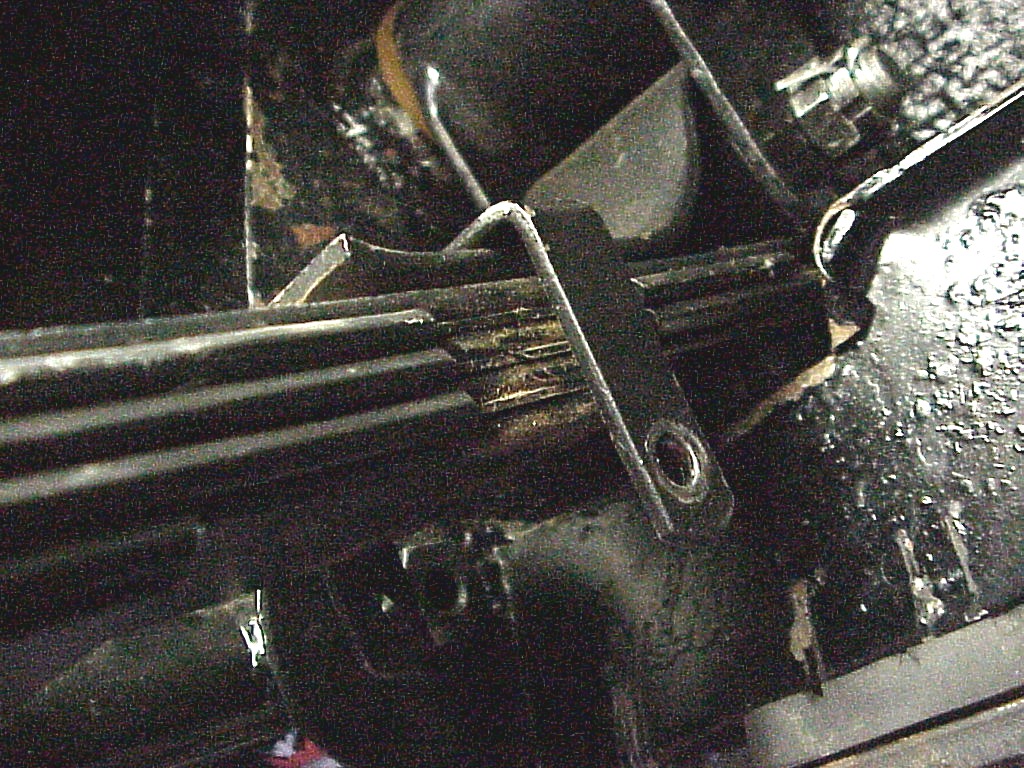
 Square tubing solution |
 Selection of clamps, etc. |
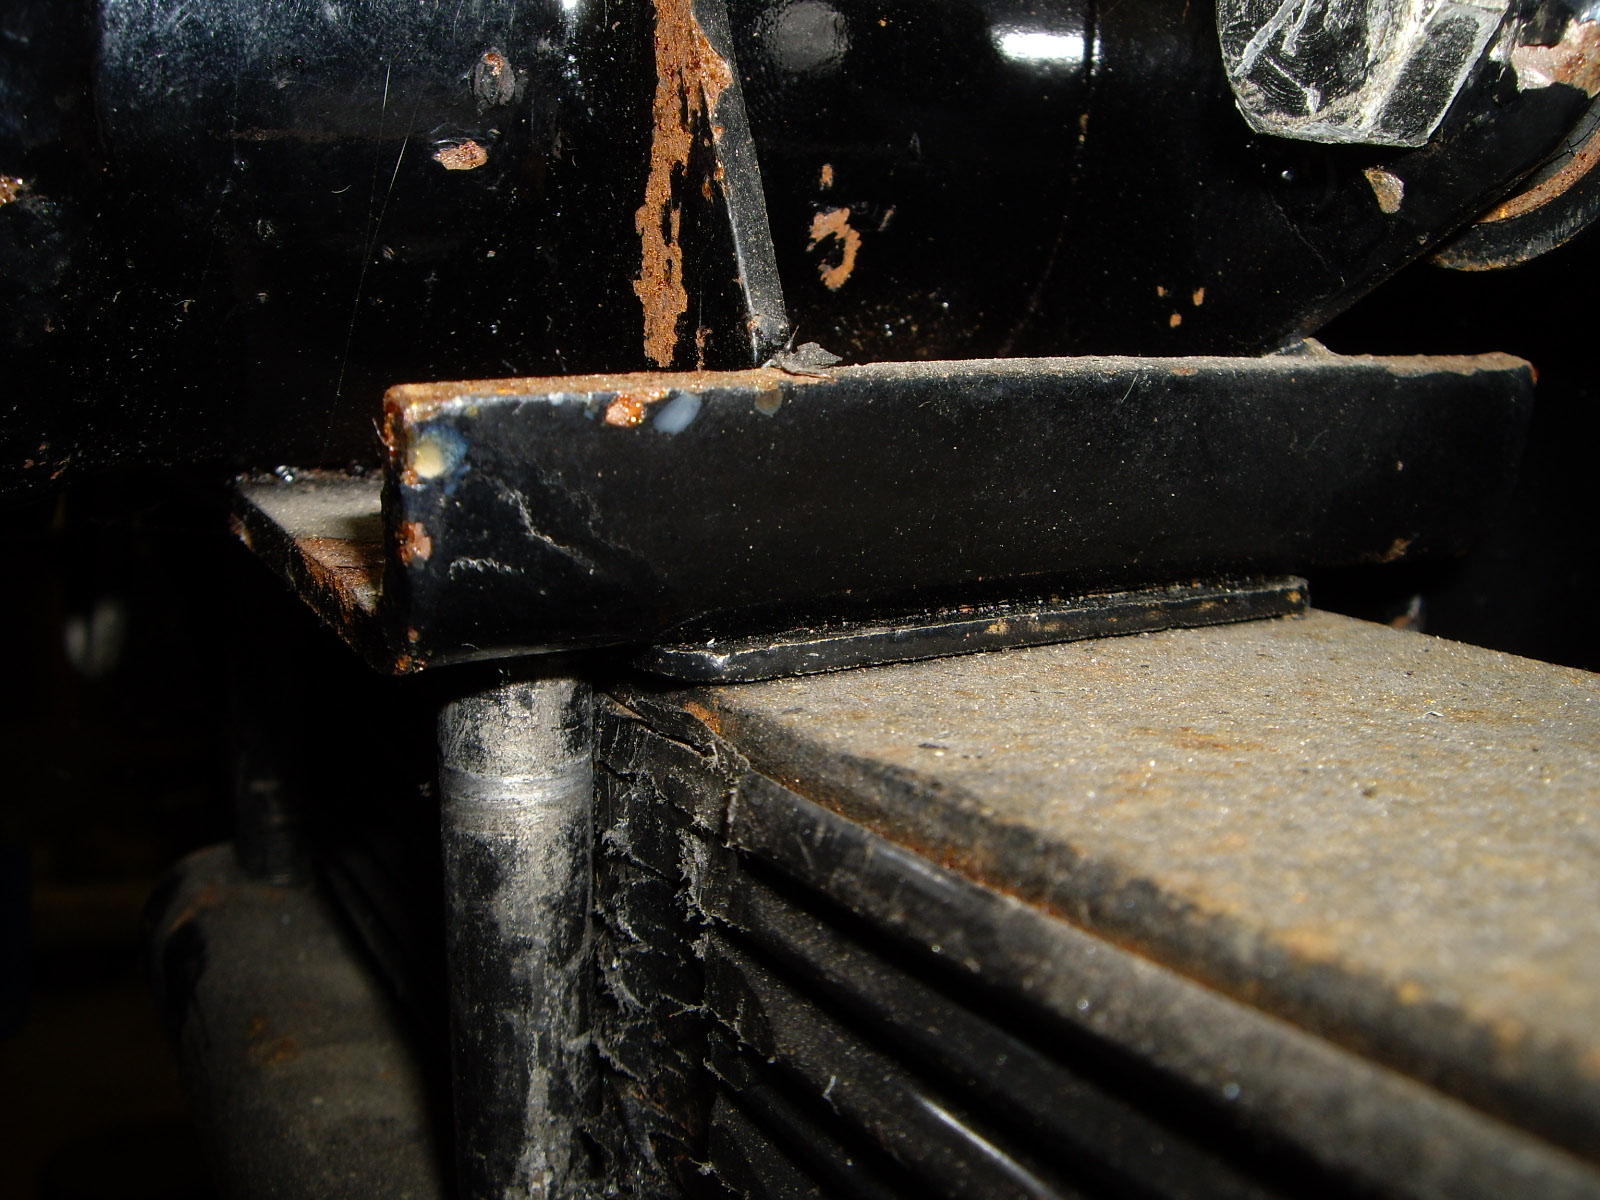
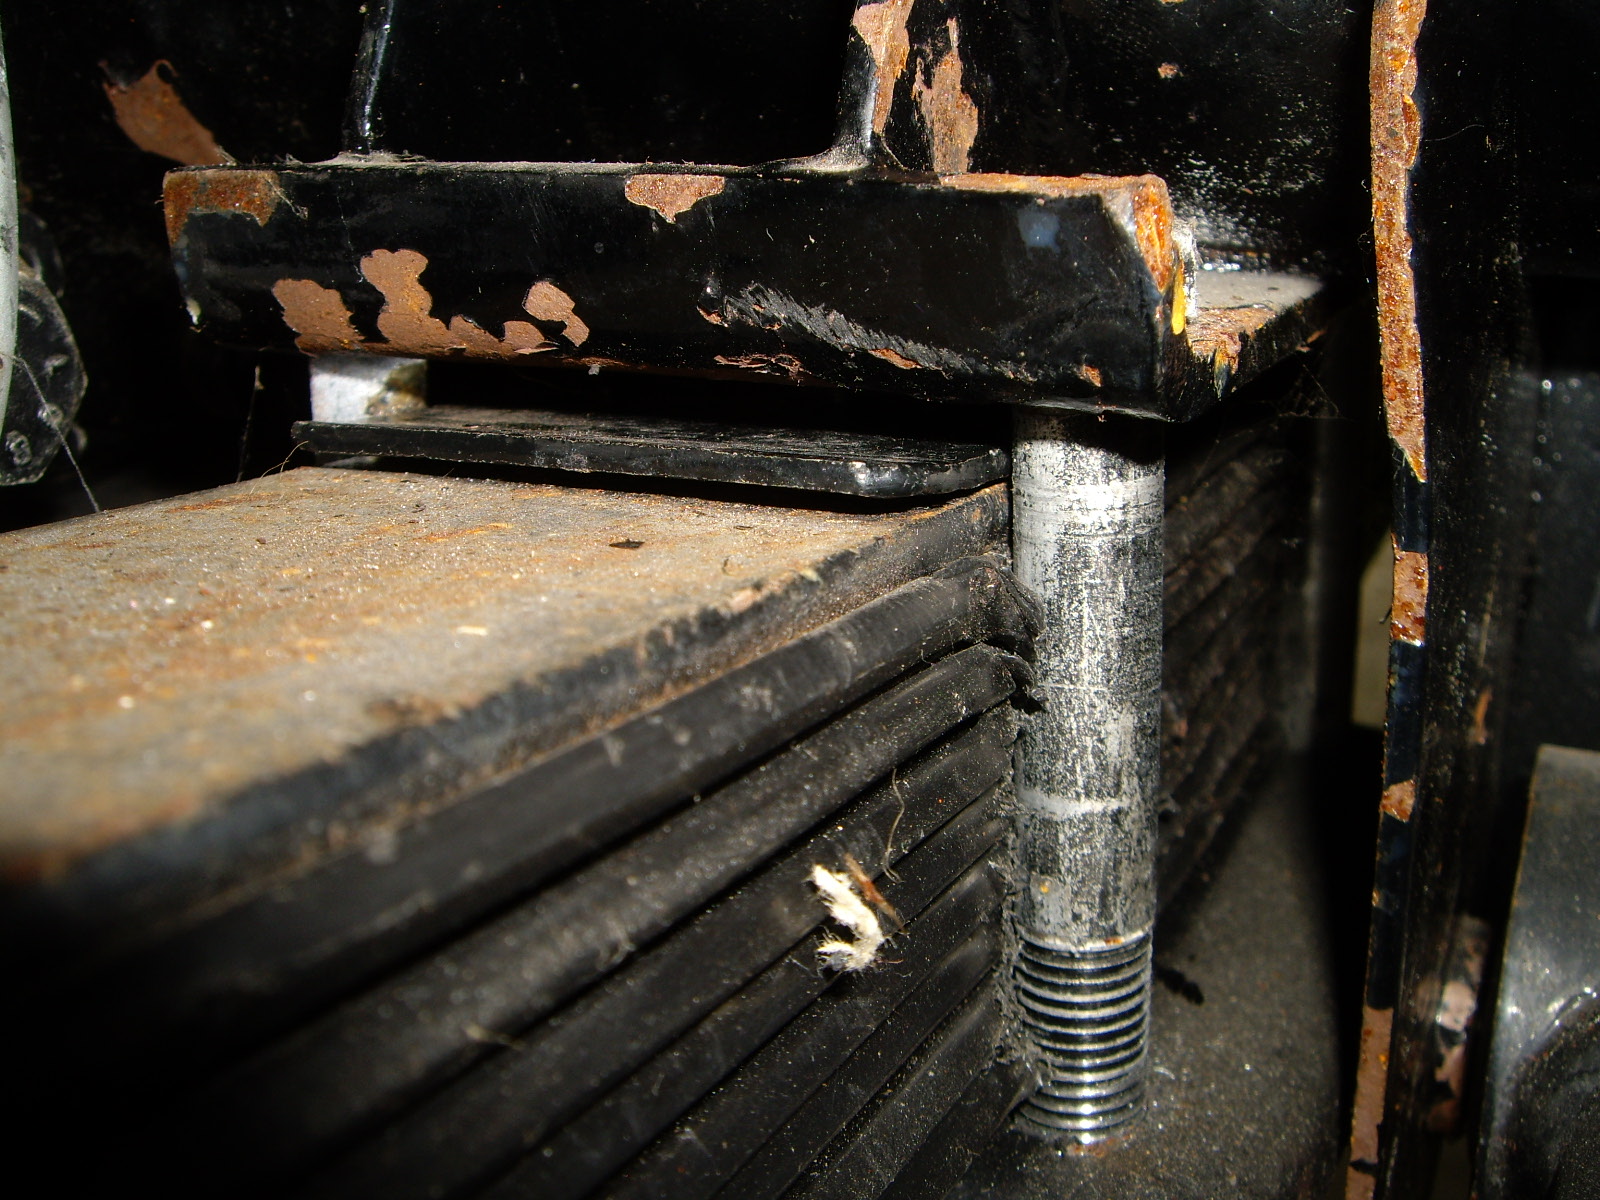
So I went on to the next project on the rear springs. There are a lot of things that were assembled on the car, but done incorrectly or incompletely. In this case, the rubber alignment blocks for the springs were missing. The bolts and spacers were put on, but not the spacers. It's almost like someone was helping that didn't know how to put it together. Here you can see what I had to do.
 |
 |
The two blocks at the each end wrap around on the sides of the springs. Since there was new polyethylene strips between each spring, they had to be trimmed to allow the block to fit. Here you can see the cut out area and what it looks like with the block installed.
|
|
 |
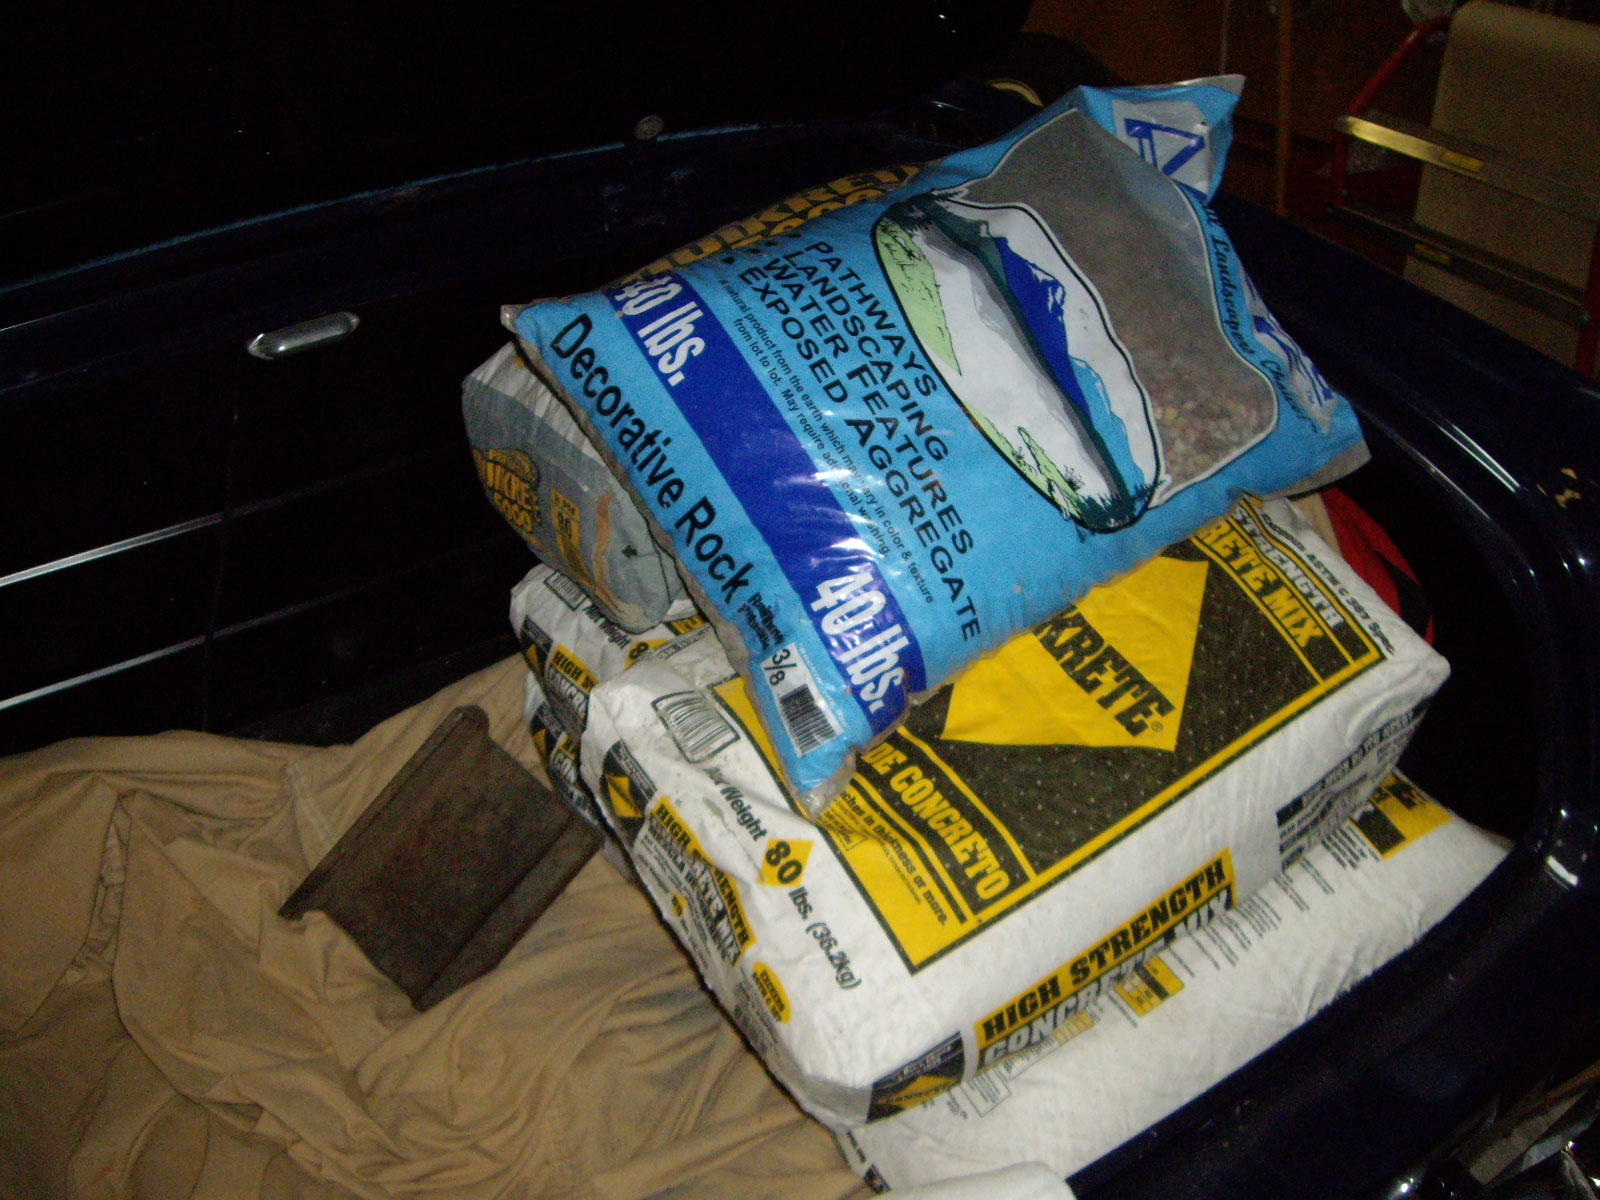
In the meantime, I thought about how to install the hanger wires safely. I decided that instead of trying to compress the spring by somehow flattening it or raising the differential with clamps, it would be easier (and safer) to set the differential on jack stands and add weight to the trunk thereby flattening the spring under a vary controlled environment. We needed some concrete for a home project, so I bought 8 50 lb. bags of concrete mix. I loaded that in one side of the trunk along with a couple of heavy pieces to steel that was handy. I started on the LH side which had the shackle hanging normally and didn't seem to be as arced at the other side. With the 400 lbs, the correct length wire was still about 2" short of fitting. I had my wife (weight undisclosed) and my neighbor (~195 lbs) sit on the rear and that dropped the chassis enough to attach the wire on that side.
 |
 LH side done |
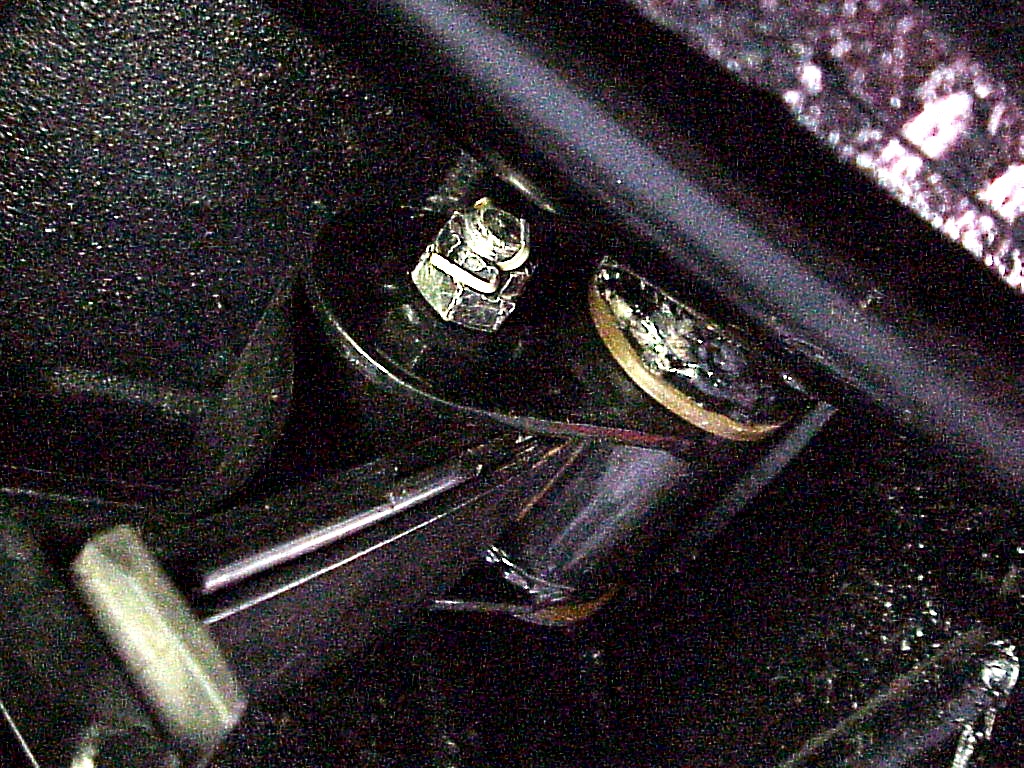
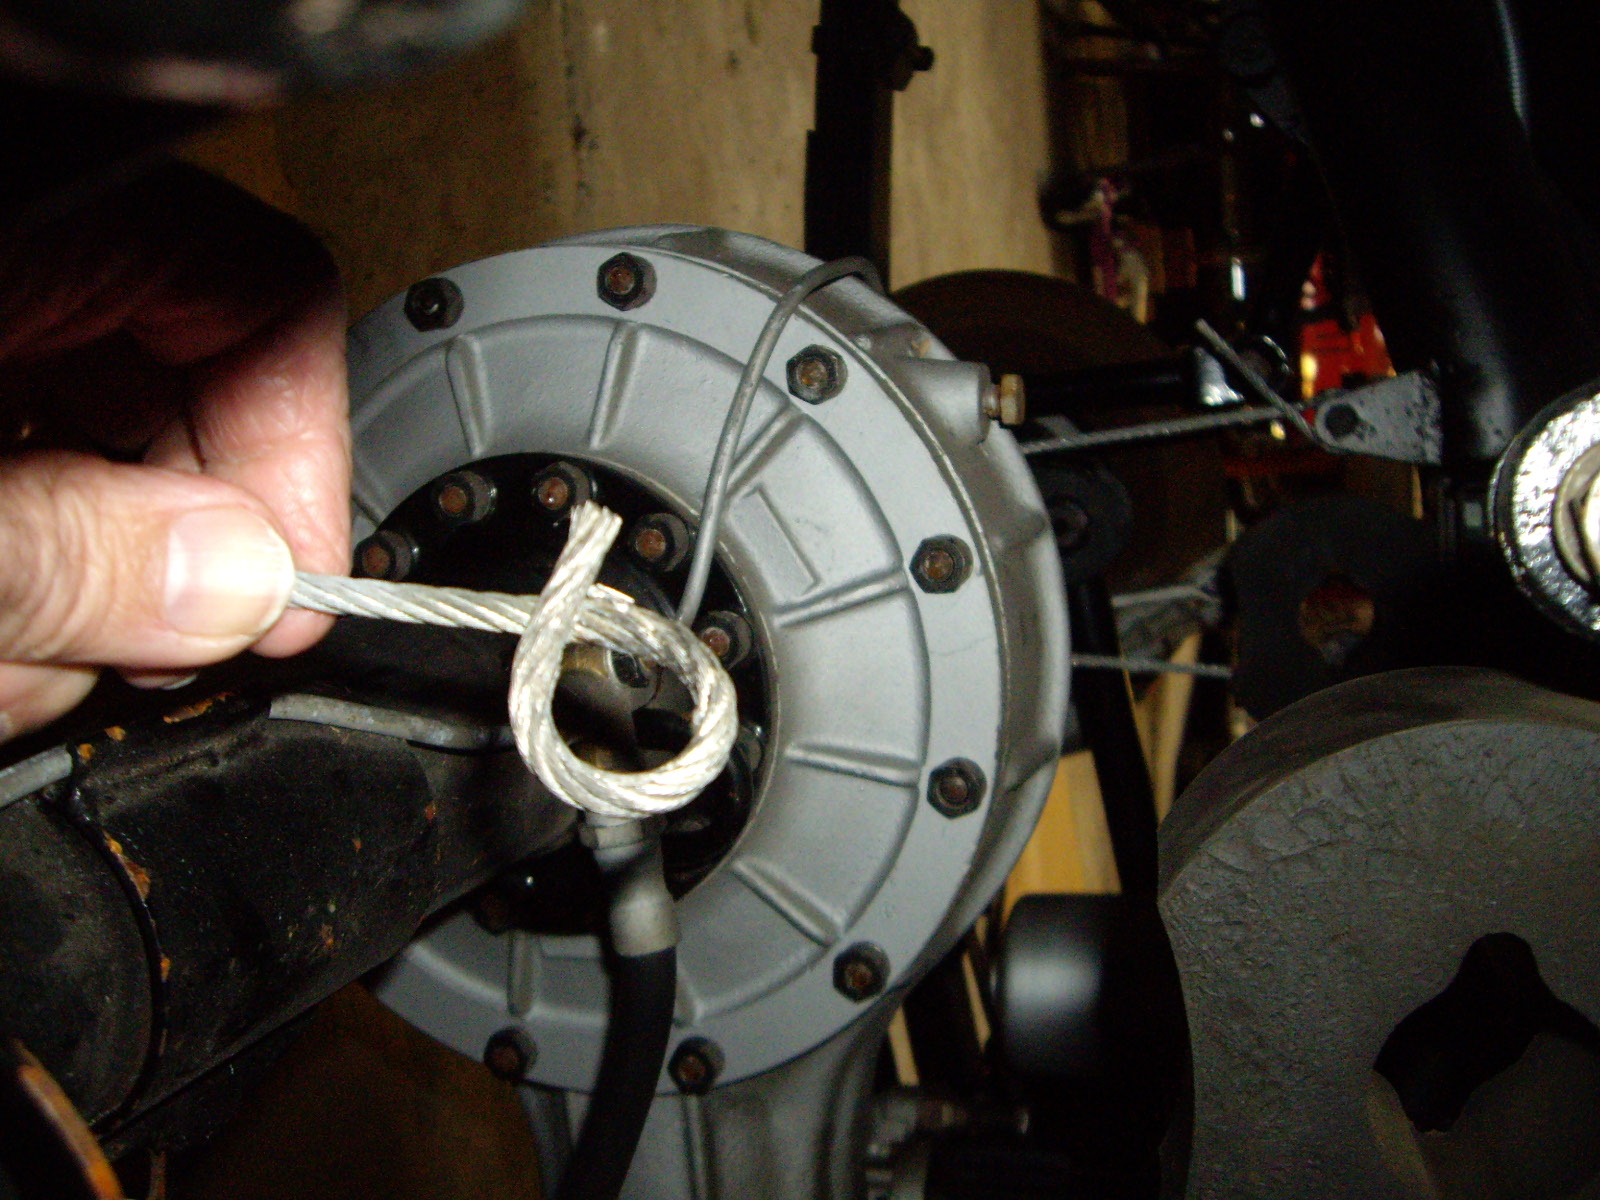
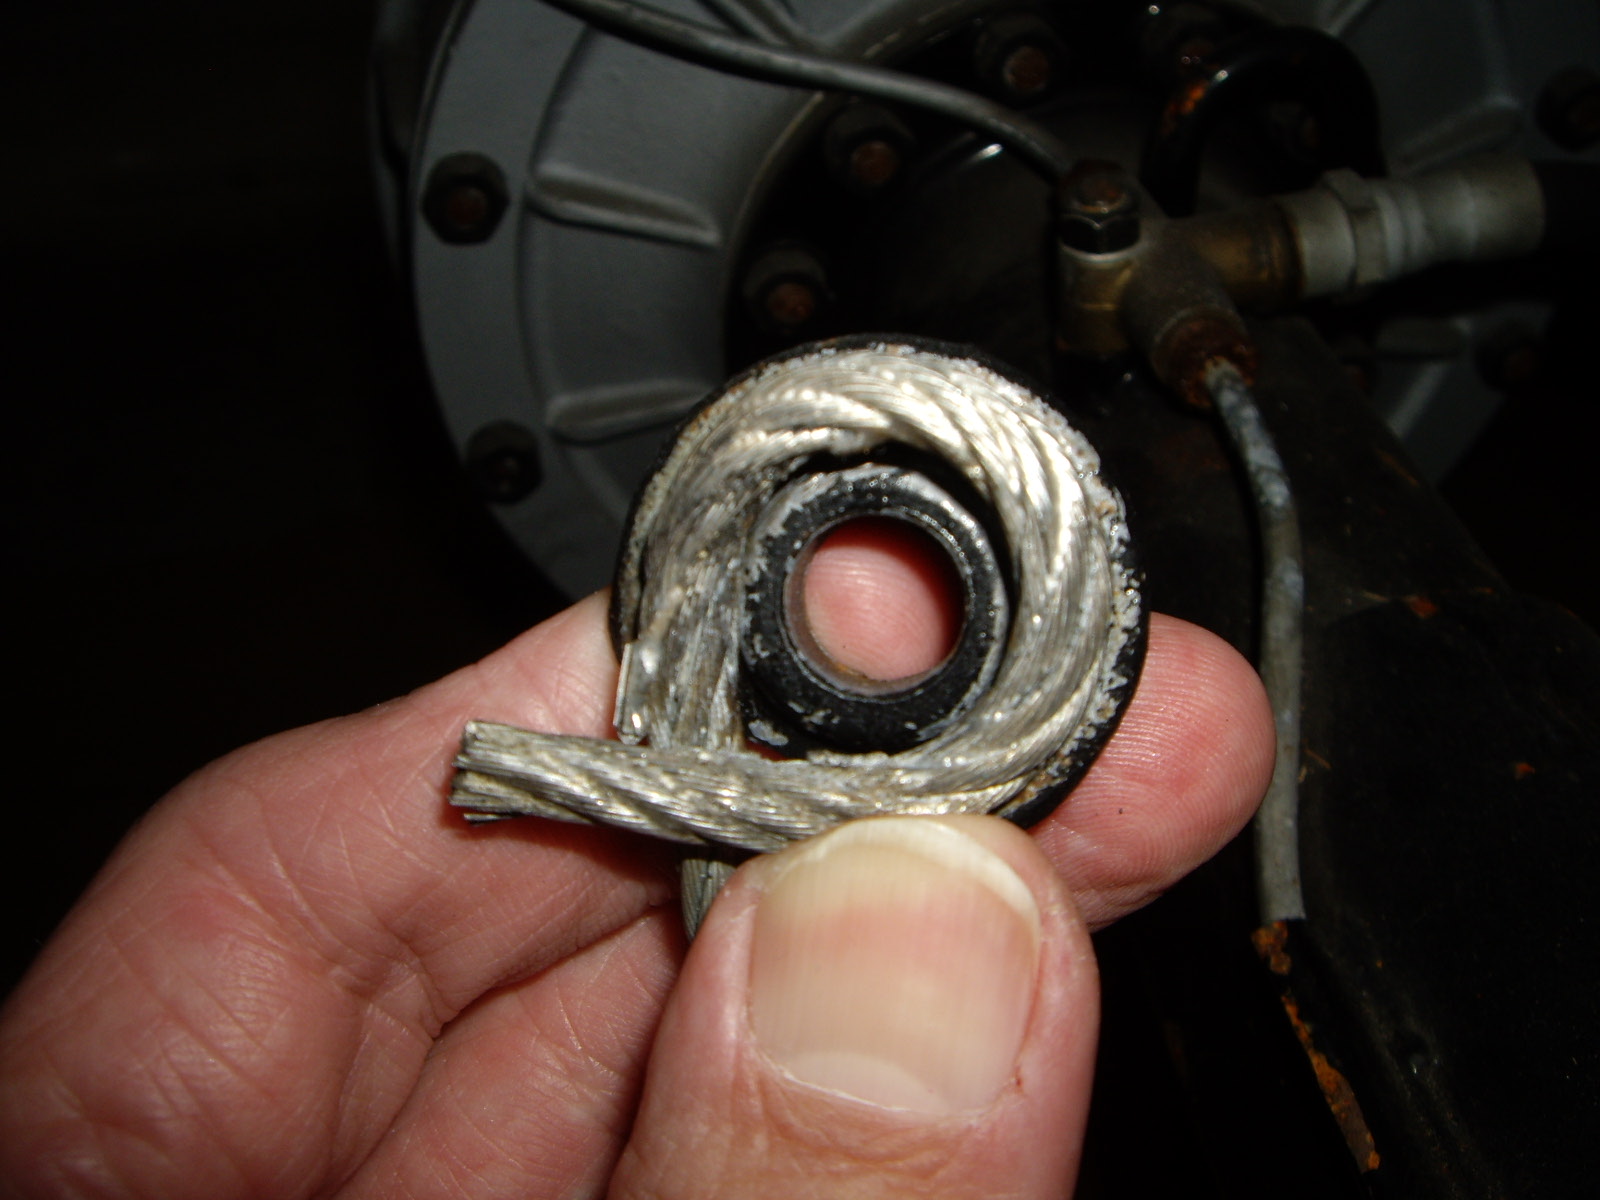
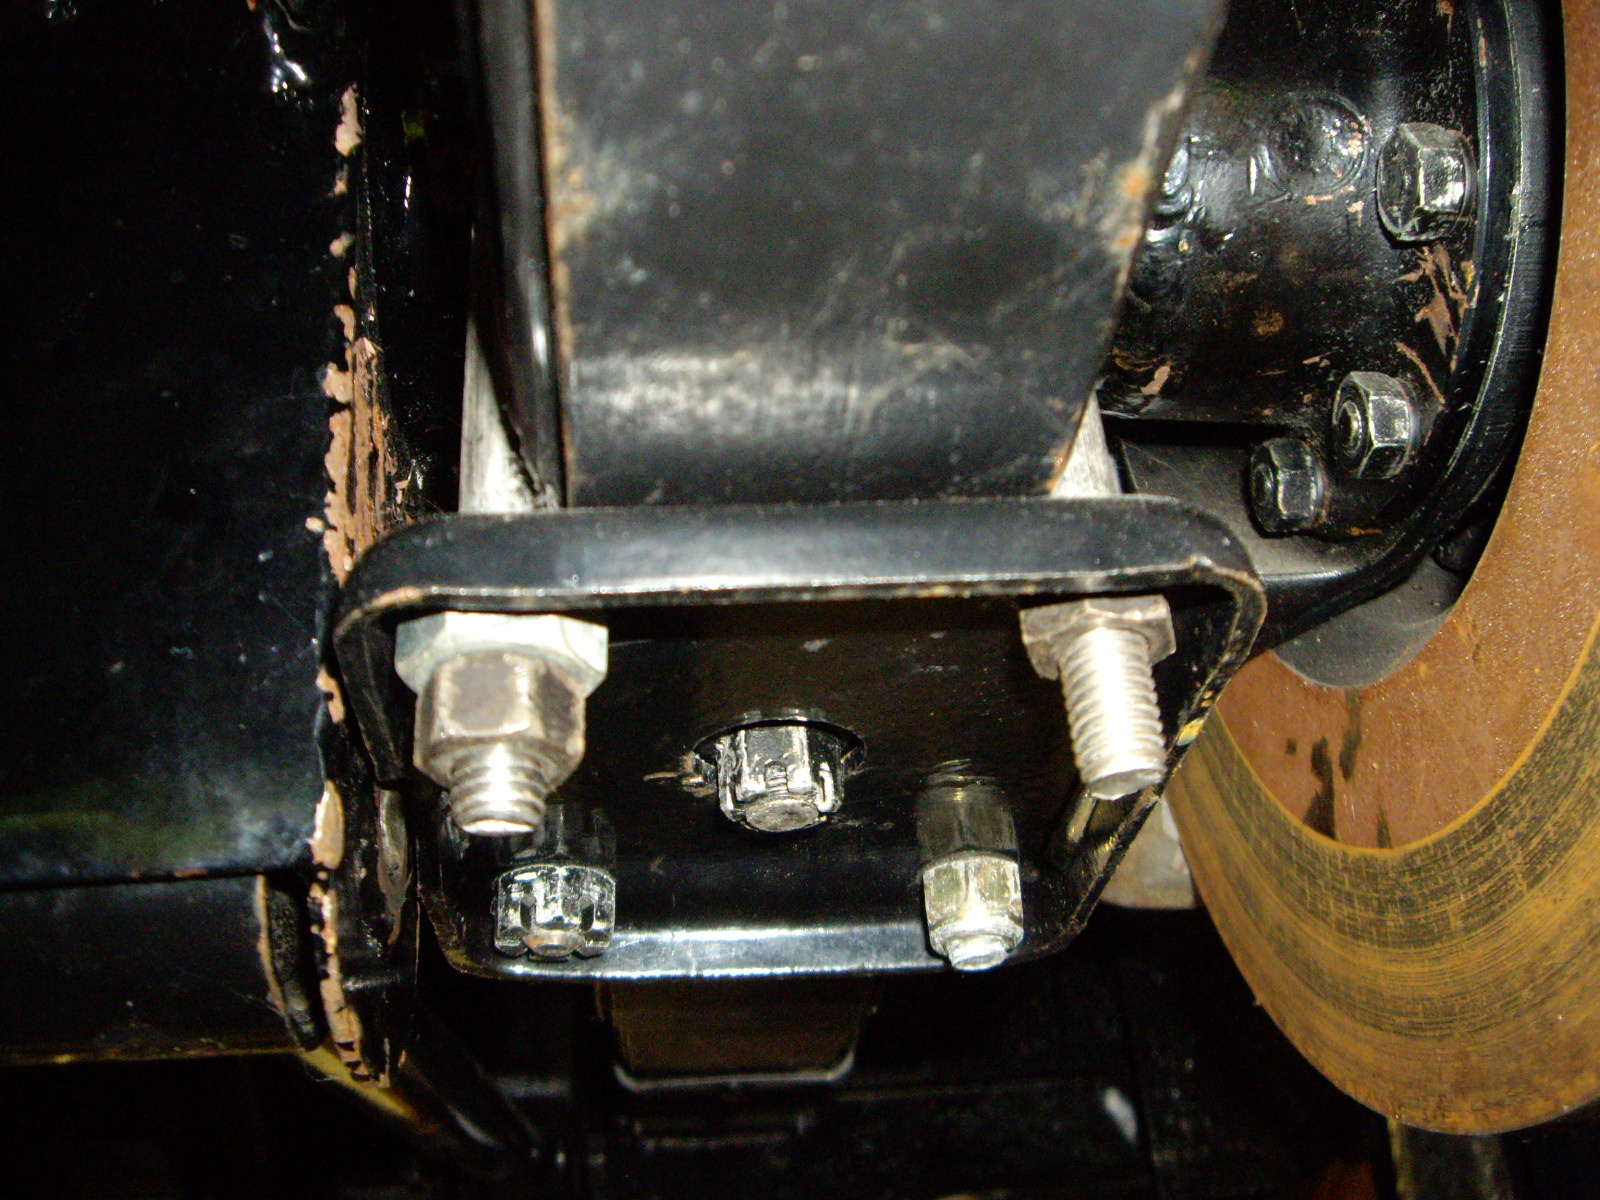
The wire attachment is interesting. Basically it is a thick washer (~1/4") that has a groove about 1/2 the thickness of the wire rope (3/16"). The wire rope is set into this groove and then bolted against a pad on the frame, thus clamping the wire between the washer and frame. The only problem is that 3/16" wire rope doesn't bend in a circle too easily nor stay in that position while you assemble and bolt everything together. I had noticed that the ends on another hanger looked like they were soldered. I ended up determining where the far point of the circle needed to be, tinned and soldered the stranded wire rope together for about an inch on both sides. Then I re-heated the soldered area and wrapped it around a 10mm socket and let it cool. That got the shape close, but not quite right, but at least the solder made the wire keep the right shape. I then pulled the two ends apart as needed while fitting the circular area onto the grooved washer. Once I had it right, I used a pair of vise-grips to clamp the wires together where they crossed. Then I re-heated the soldered area and let it cool in the tighter configuration.
 |
 |
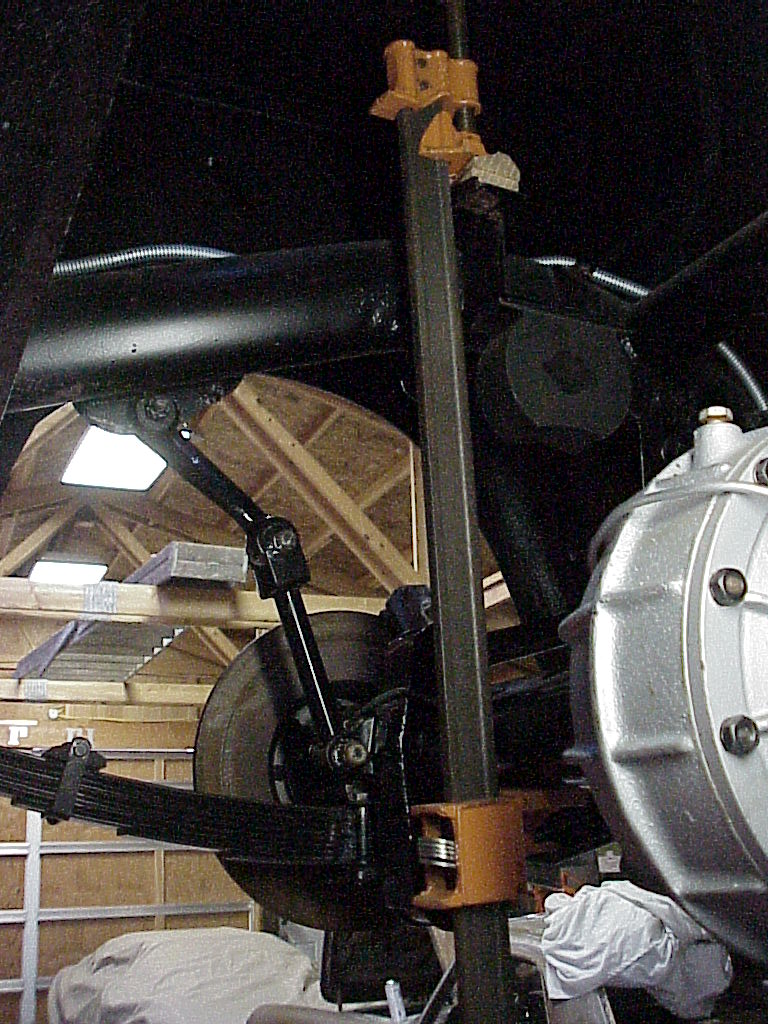
When we moved to the RH side (where the shackle was flipped), adding weight didn't make the spring compress much at all. Further, trying to bounce the spring felt like it was solid. Then I realized that the over center shackle wouldn't allow the spring to extend which it needed to in order to to flatten out. So we rotated the shackle into the right orientation and using a flat bar, held it in place while we let the car back down on the jack stands. Then it only took one person sitting on the rear (with the 400 lbs of concrete mix) to compress the spring enough to attach the second end of the wire rope. Once that was done, the car can be raised and the wire rope prevents the differential from dropping and the spring flipping the shackle over center.
Now, I won't know how the rear will look until I get the engine, transmission and interior installed. Then I can see if the rear springs raise the body too far or unevenly. If so, I will have to have them removed and de-arced appropriately.
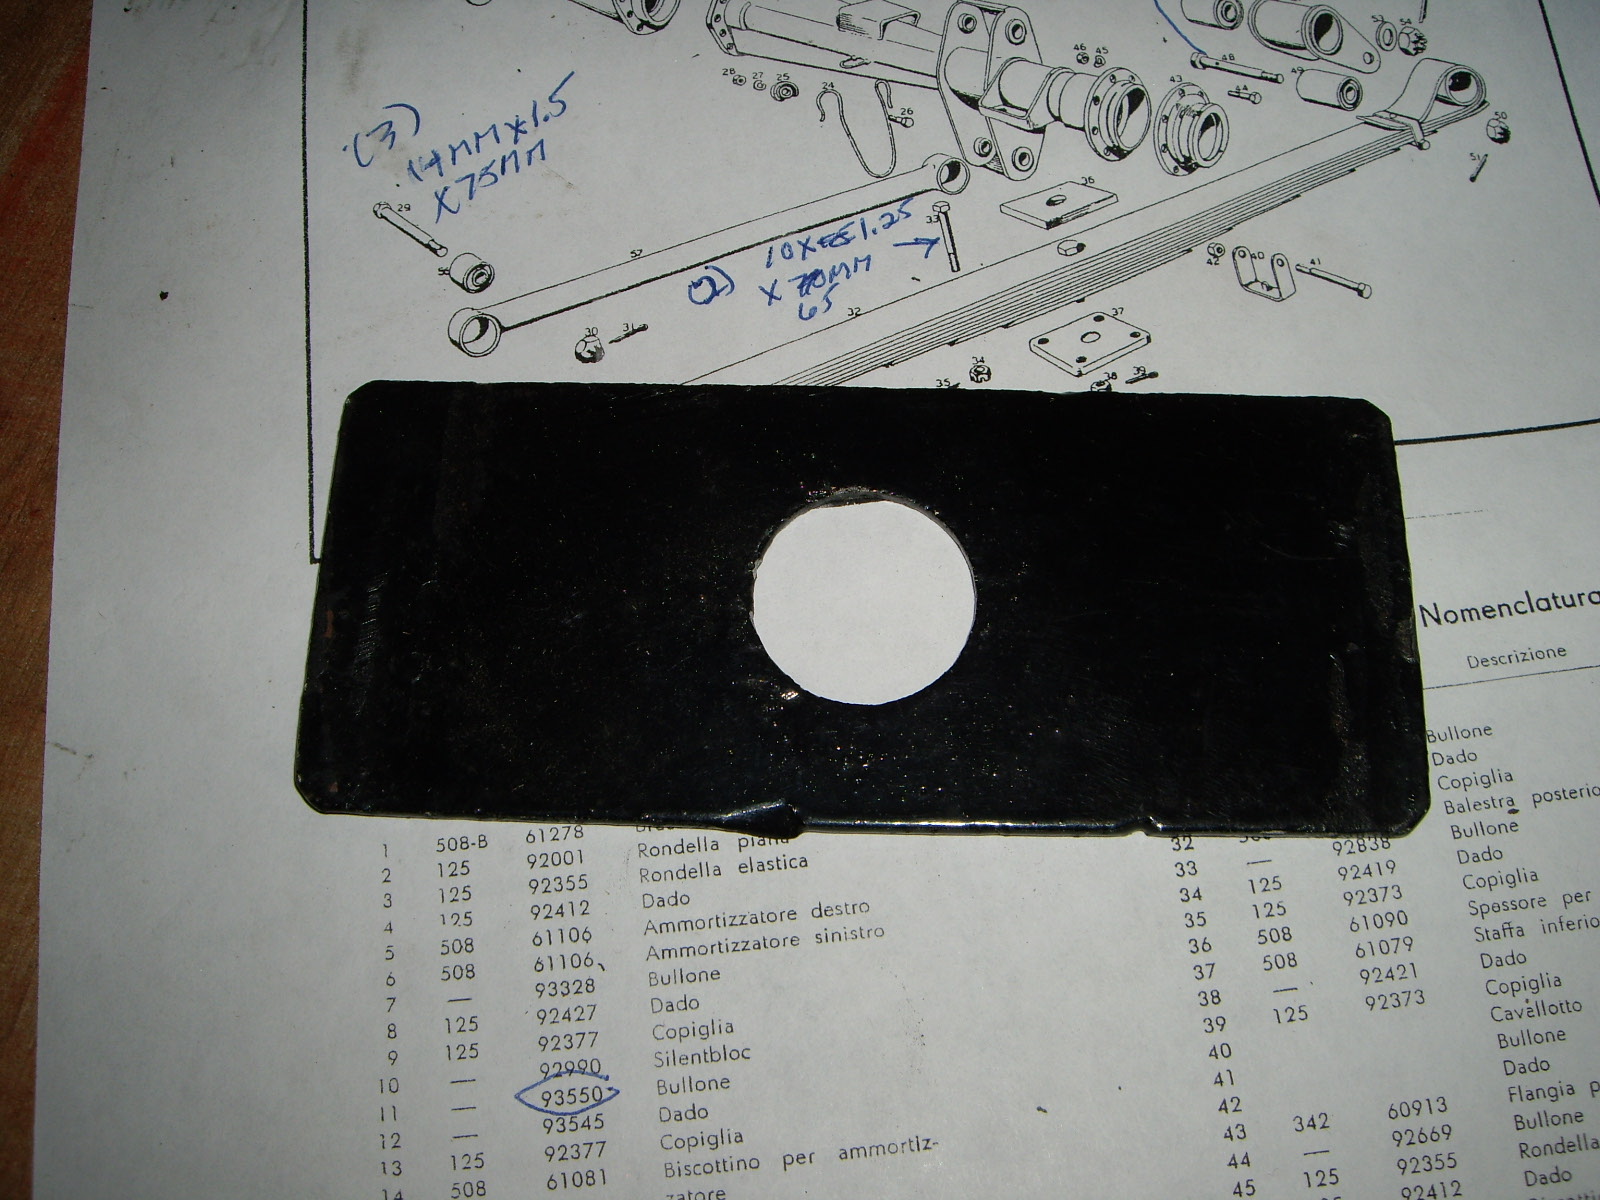
My friend George, a local PF coupe owner, was over the other day and was asking about a spacer plate between the springs and upper plate. When I looked, there was one on the LH side, but it was missing on the RH side. More of the sloppy assembly work by the previous owner. I went through the parts and found the spacer. I had seen it before, but didn't know what it was or where it went. You can see the end of the one on the LH side.
 |
 |
Since this gets sandwiched above the springs, I thought for a while about how to put it in without having to undo the springs. The springs want to arc down, so if I loosened the plate bolts, the force would push the bottom plate down and leave room at the top where this spacer plate needed to be inserted. The only catch is that there is a bolt running through the springs holding them together at the center. So there has to be enough space for the spacer to fit over the bolt head and drop down. The normal bolts don't have enough thread to do this. So I removed them one at a time and put in longer ones. Then I was able to loosen each enough to slip in the spacer plate as you can see in the right picture. Then I tightened everything up and replaced the original bolts one by one.
 |
 |
This worked well with the only problem being that the leaf spring didn't want to stay centered over the plates. I ended up using George's spring straightener to take some tension out to keep it aligned when tightening the plates back together. The tops of the shackles go into the spring loops. Then the nuts on the plates are tightened, pulling the springs flatter.
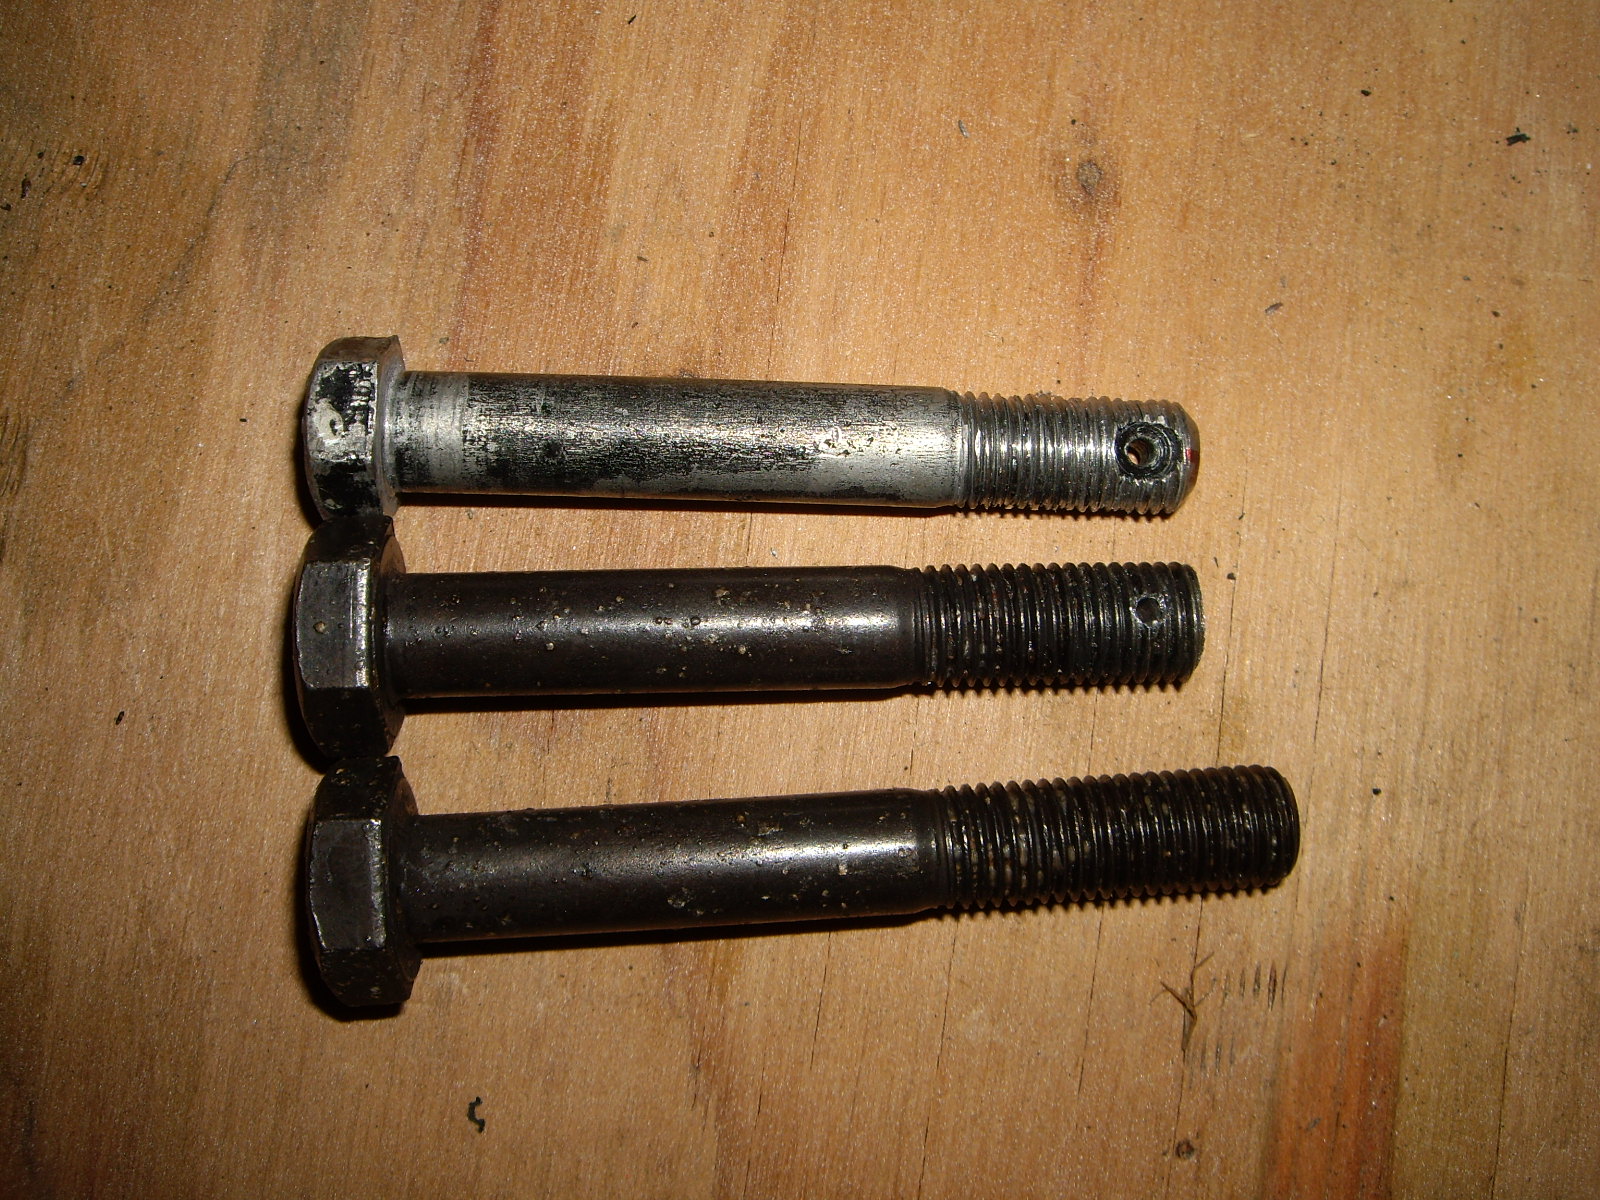
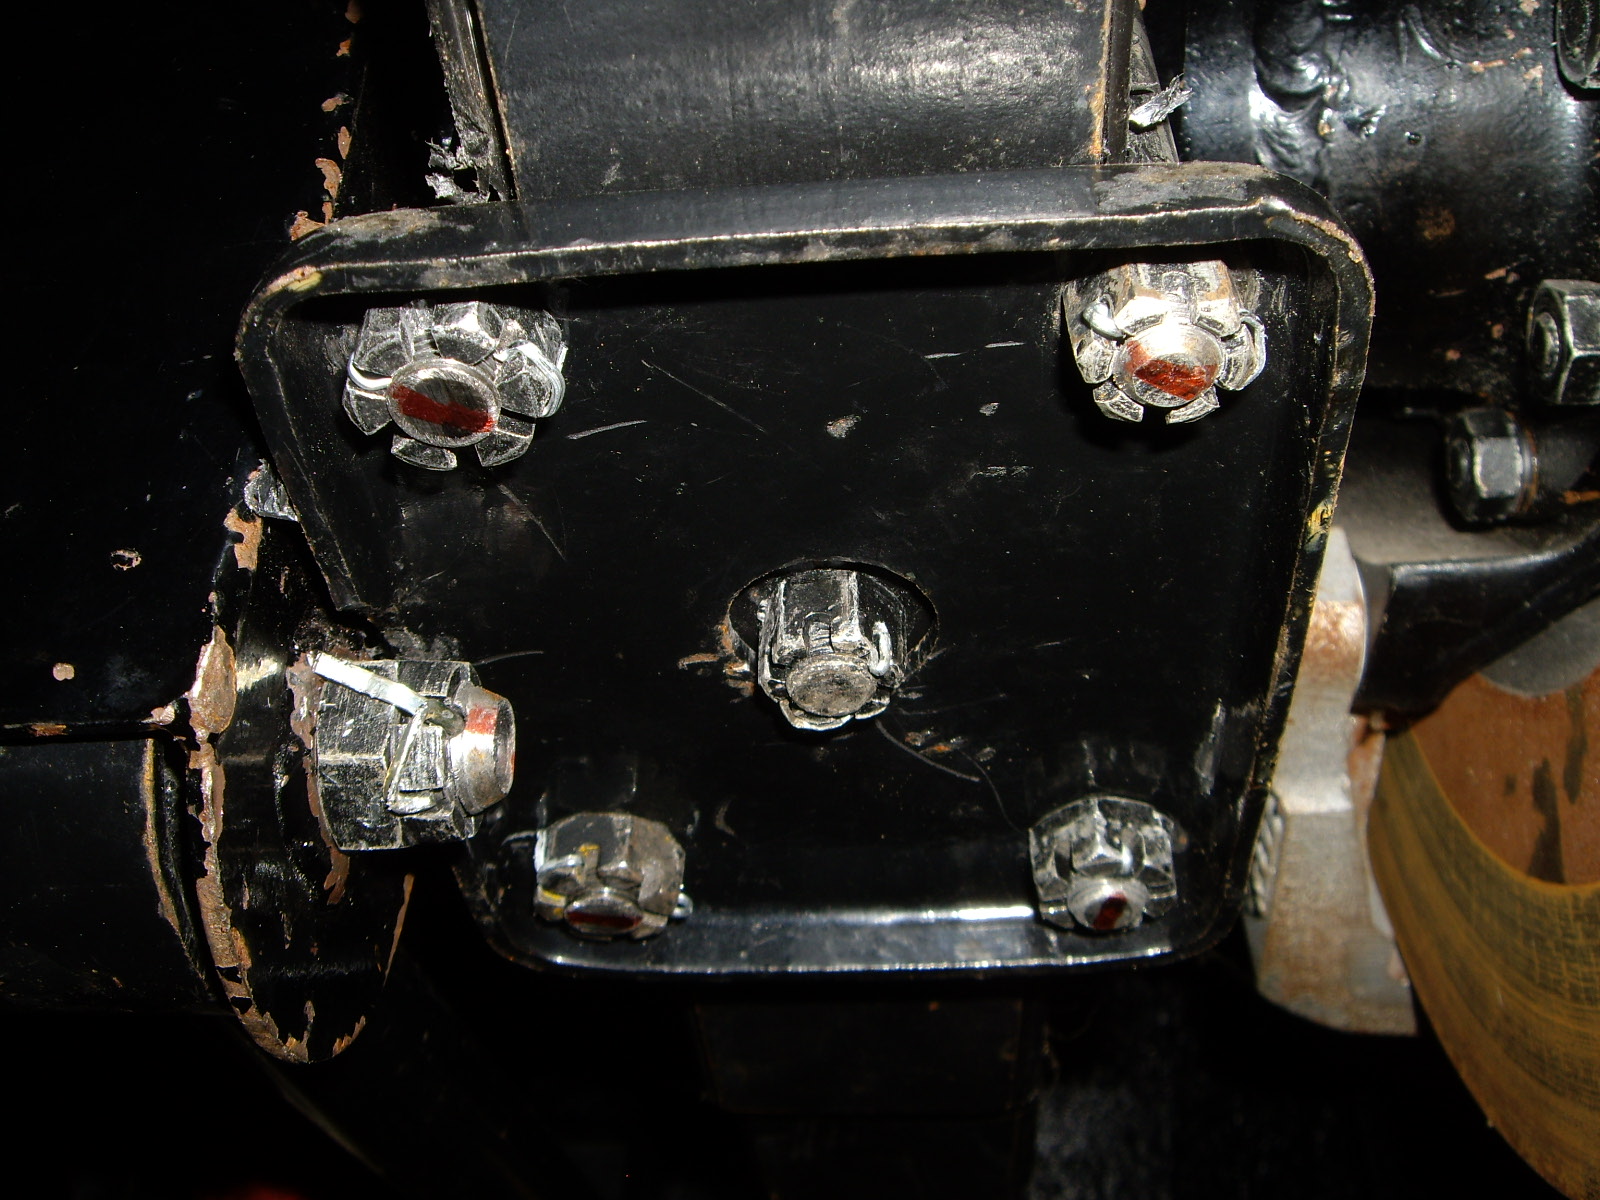
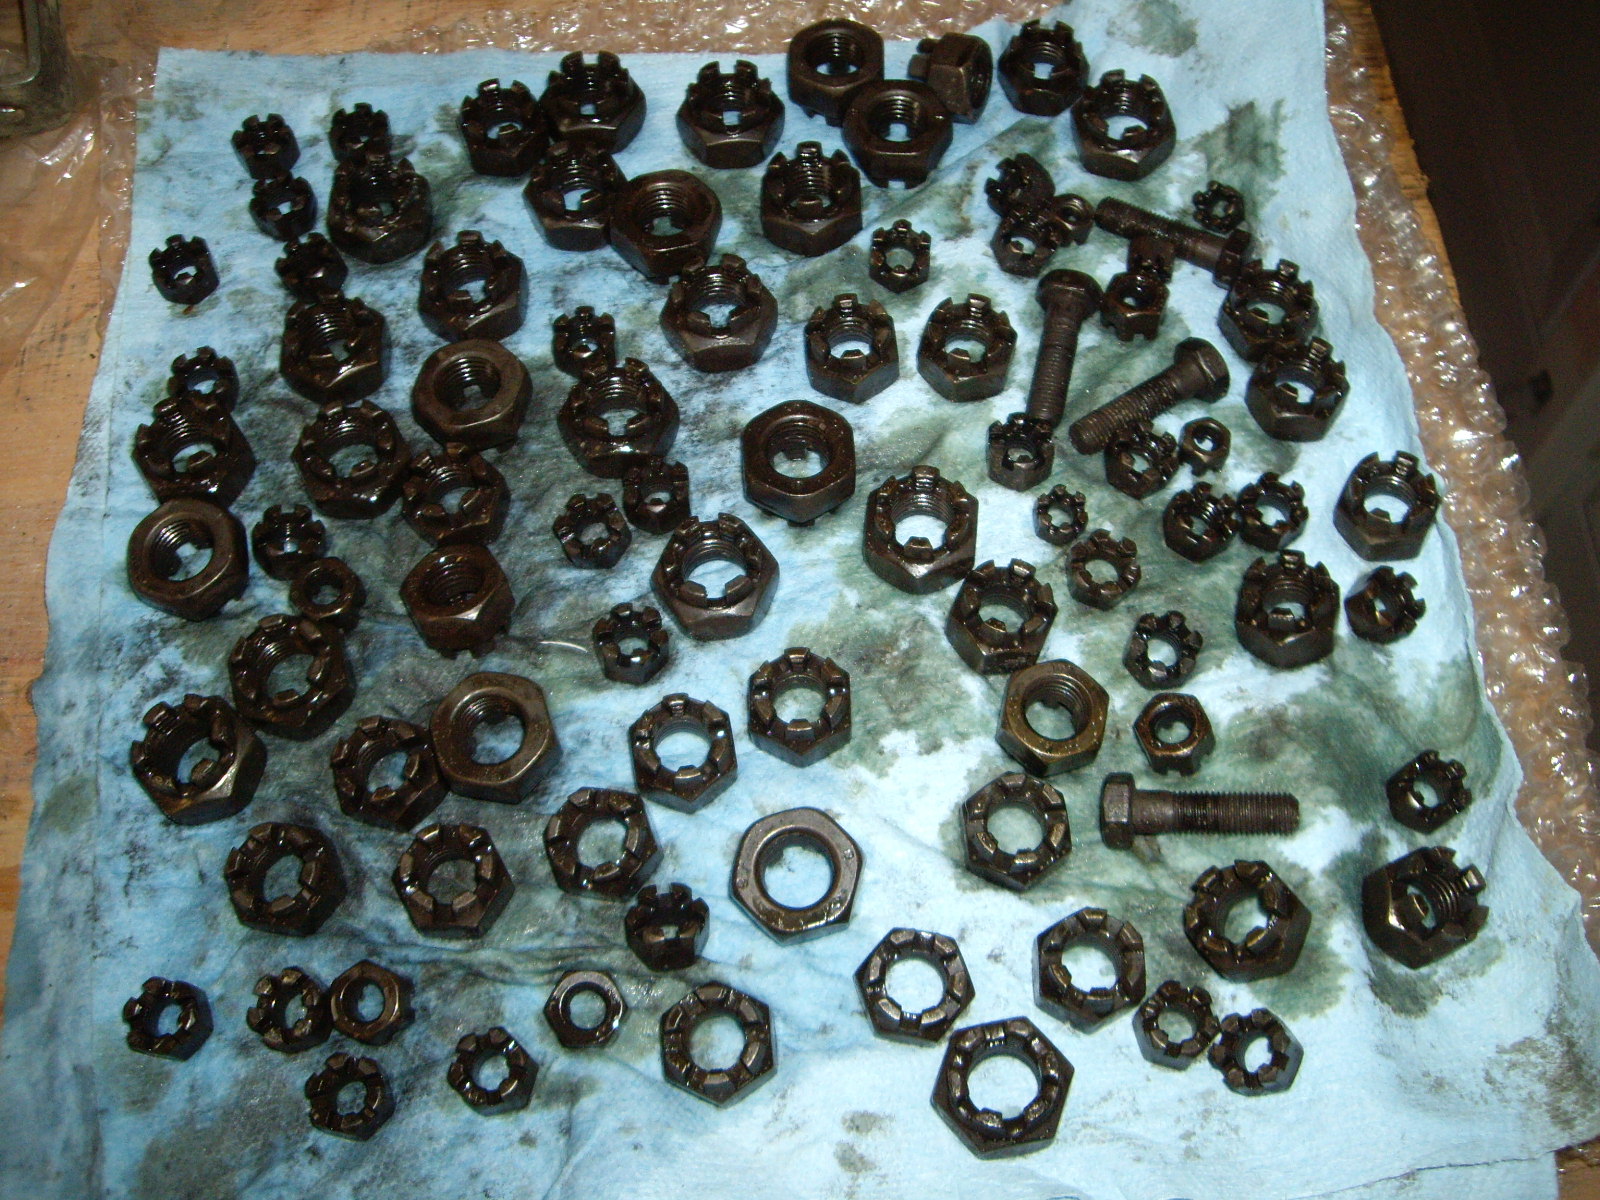
At the same time, I've been checking the tightness of each nut in the rear suspension and installing cotter pins as needed. There are several bolts that aren't original or have Nylok nuts. I've ordered the proper replacements along with matching castellated nuts. The latter are difficult to find as these bolts are all fine thread and find thread metric castellated nuts aren't stocked by most places. I had to get them from Metric & Multistandard, but have to buy them in quantities of 10 or 25. So each nut I need will be about $10, but I'll have several life-times supply left over.
The new bolts arrived, so I was able to work on the rear suspension some more. The first thing I had to do was to blacken the new hardware. For the bolts holding the spring plates together, I had to shorten them and drill holes for the cotter pins. I did these one at a time as I removed the temporary bolts and replaced them. Here you can see an original, a replacement ready for installation and how it was after blackening. On the right is the completed installation, ready for the yellow paint. You will notice an orange line on the bottom of each bolt. This marks the cotter pin hole direction and makes it a lot easier to line up the slots with the holes as you tighten up the nut.
 |
 |
I'm still waiting for some of the other castellated nuts to arrive before I can finish the rear suspension.
The castellated nuts arrived so I blackened them before installing the ones I needed. I also had to shorten a few of the bolts and drill holes for the cotter pins.
Now I am waiting for the silent blocks for the ends of the Houdialle shock arms and I'll be done with the rear suspension.