Valve Covers
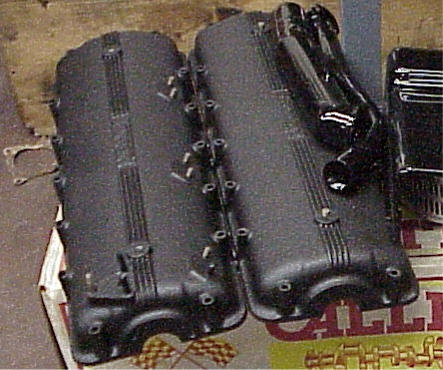
As I've mentioned before, the valve covers that came with the car didn't fit (5 studs/side vs. 6 studs that were needed). I swapped covers with Tom Shaughnessy last fall when I went down on a parts trip. Here are the ones that came with the car. You will notice only 5 holes per side, but they were very nicely wrinkle painted.
The ones from Tom weren't in quite as nice as shape.
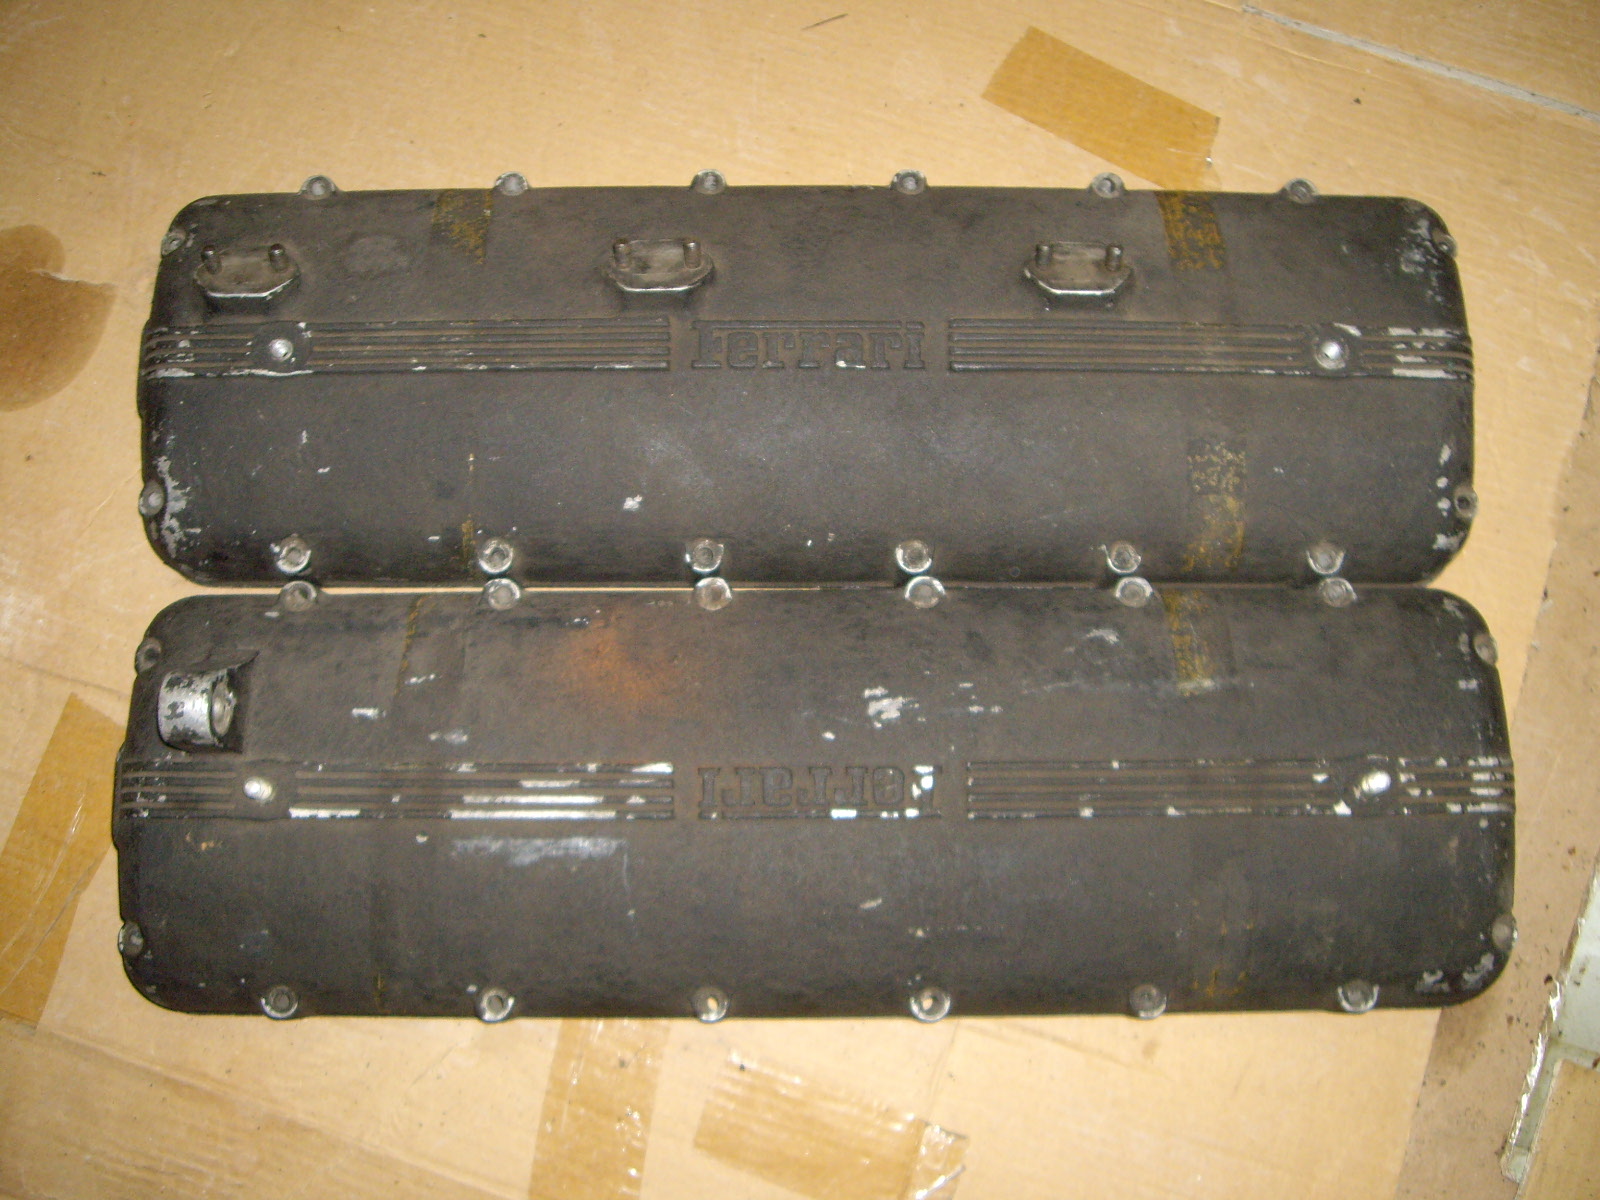
But they are the correct ones.
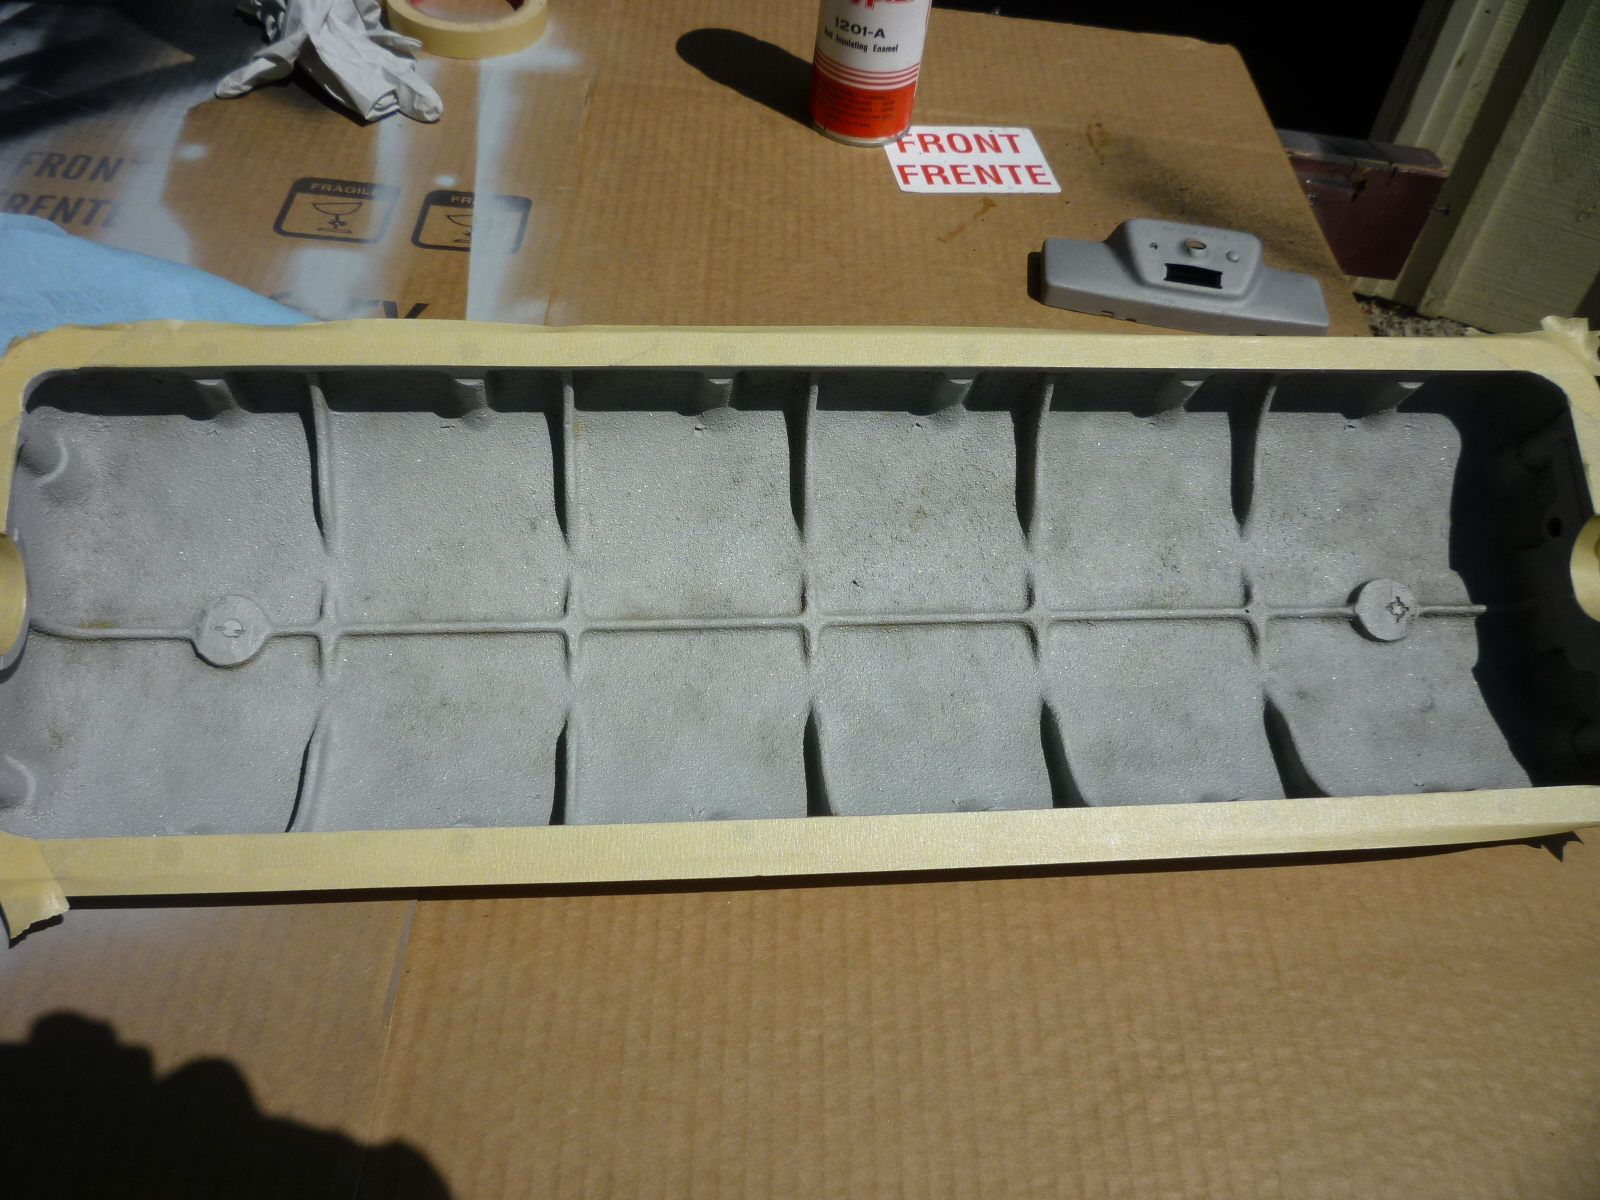
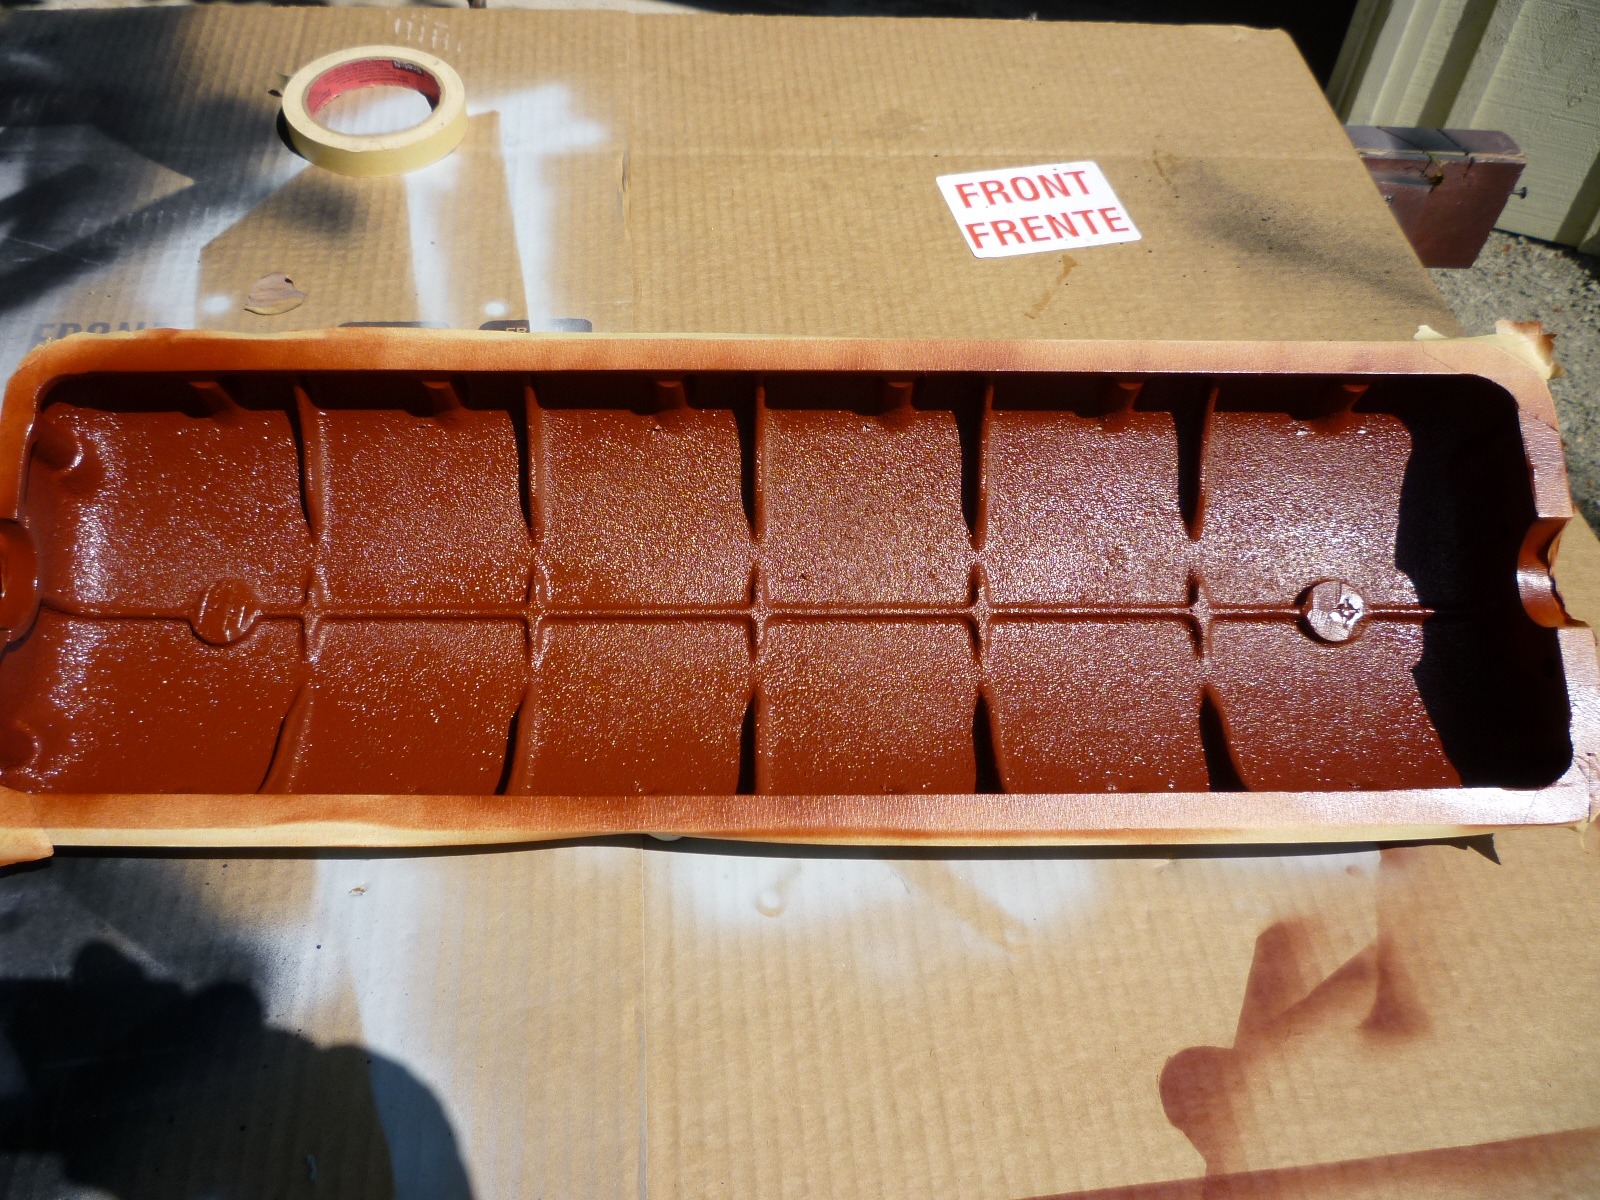
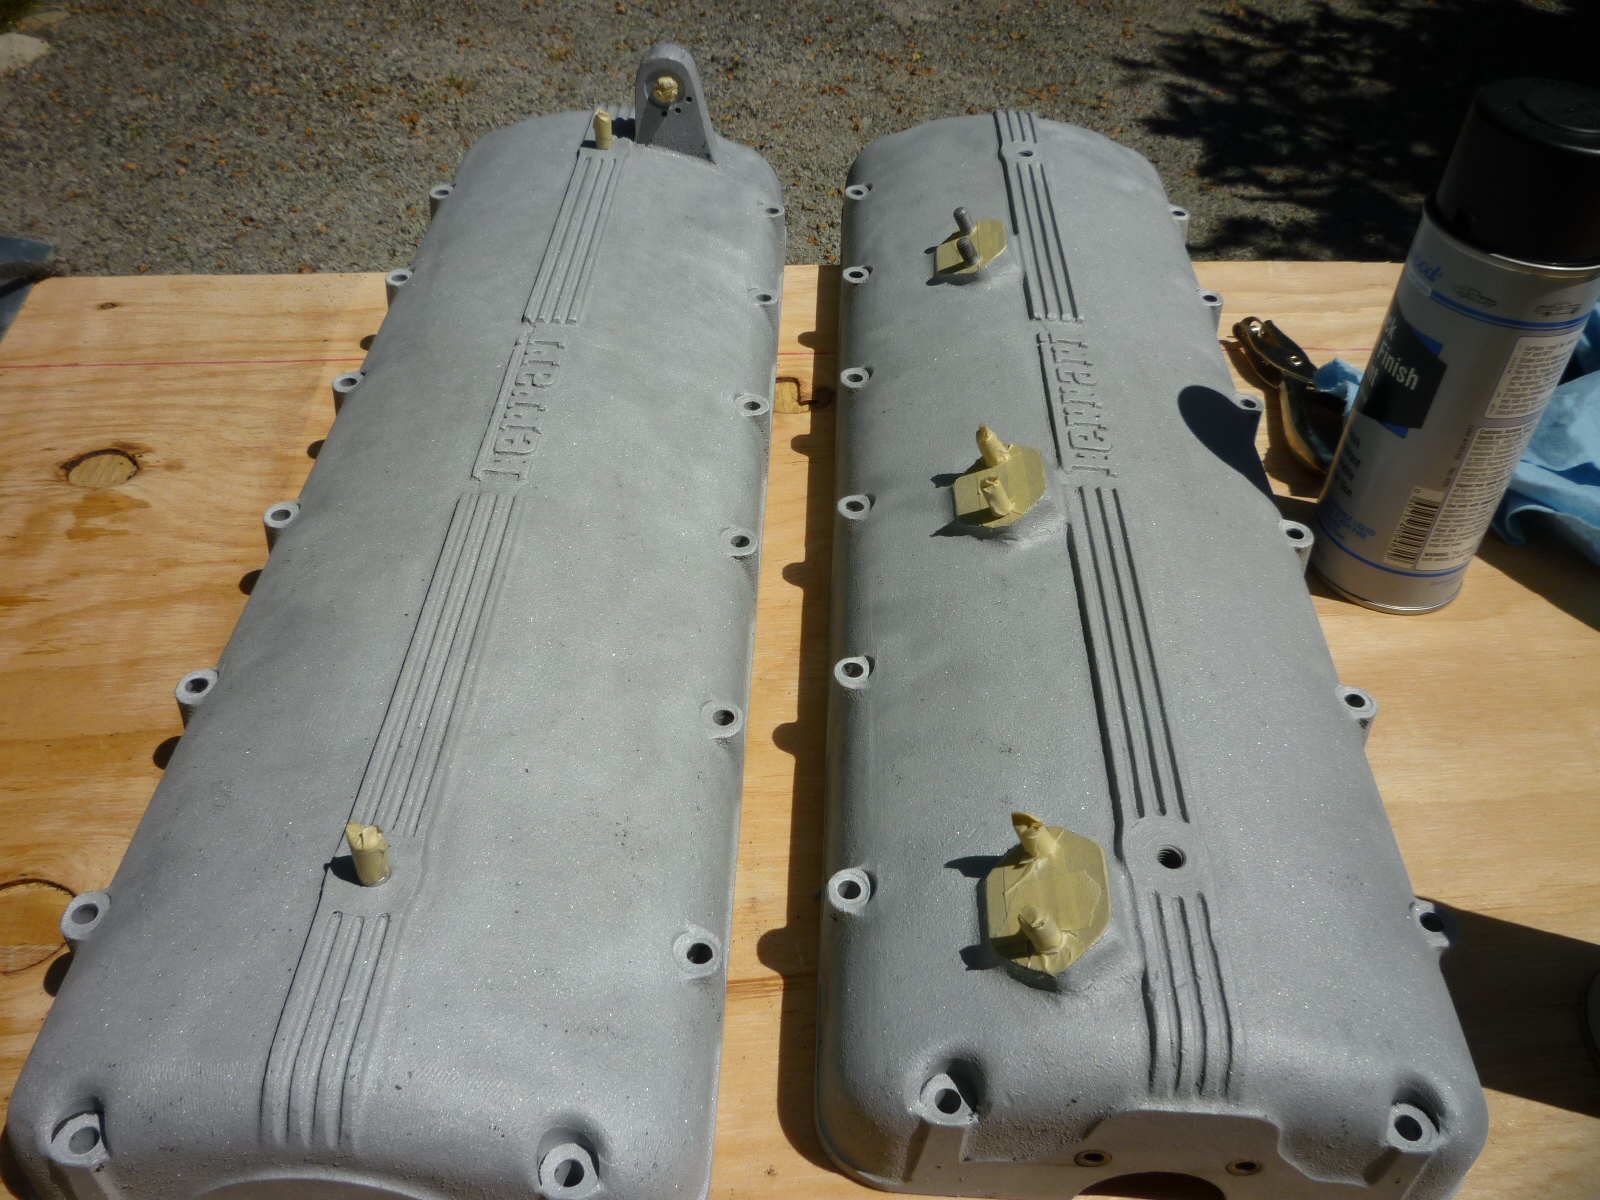
A while ago, I spent some time sand blasting the old paint off. One issue with Ferrari valve covers is that they tend to be porous, so one has to seal the inside with Glyptal, a sealer used in the electrical industry to coat wires used in transformers. This is available for brush application or in a spray can.
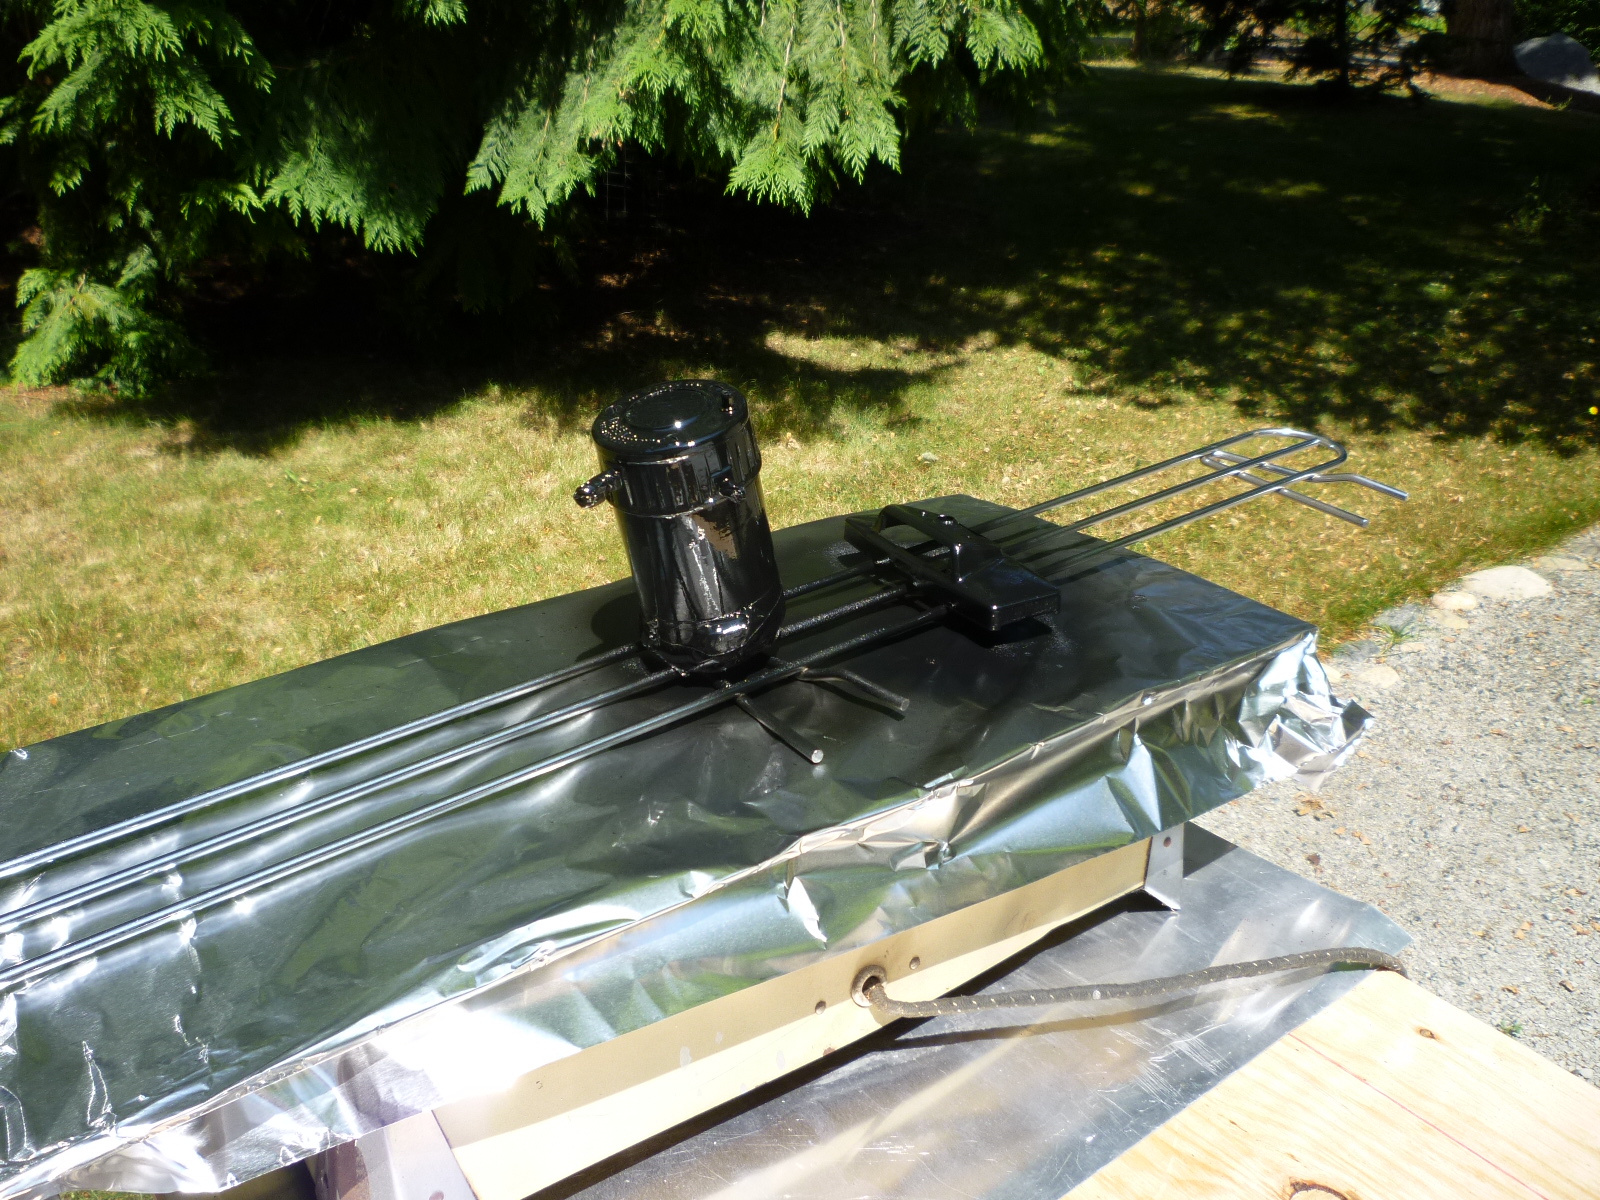
After that, it was time for the wrinkle paint. Today was a hot day (in Seattle, that means over 80°), so I took the opportunity to get some wrinkle painting done. Not trusting that the sun would be enough, I also used a hot plate. Here you can see a horn compressor getting its coating.
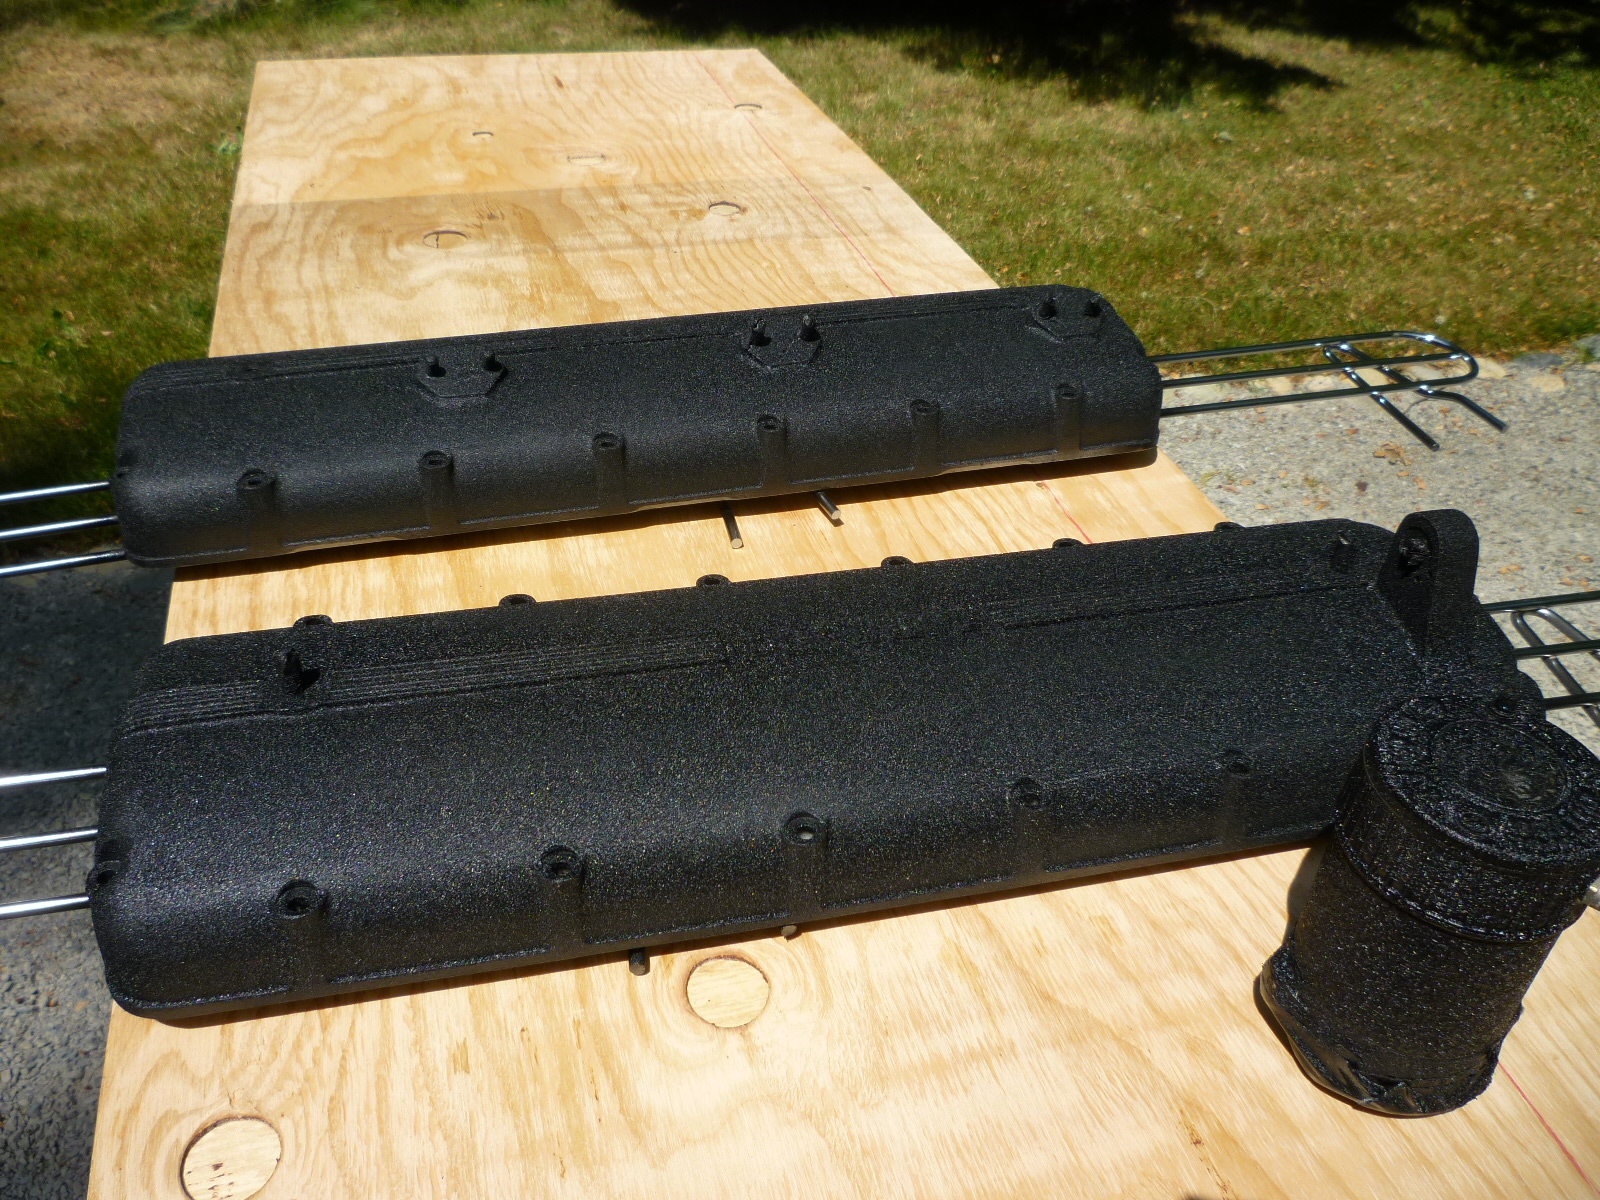
I was quite pleased with how they turned out. I used the Eastwood wrinkle paint, following their directions of a heavy coat followed by a second heavy coat 3 minutes later. Obviously it was hot enough as the first coat started wrinkling on one valve cover as I was spraying the second coat on. I got a nice tight wrinkle that was even overall.
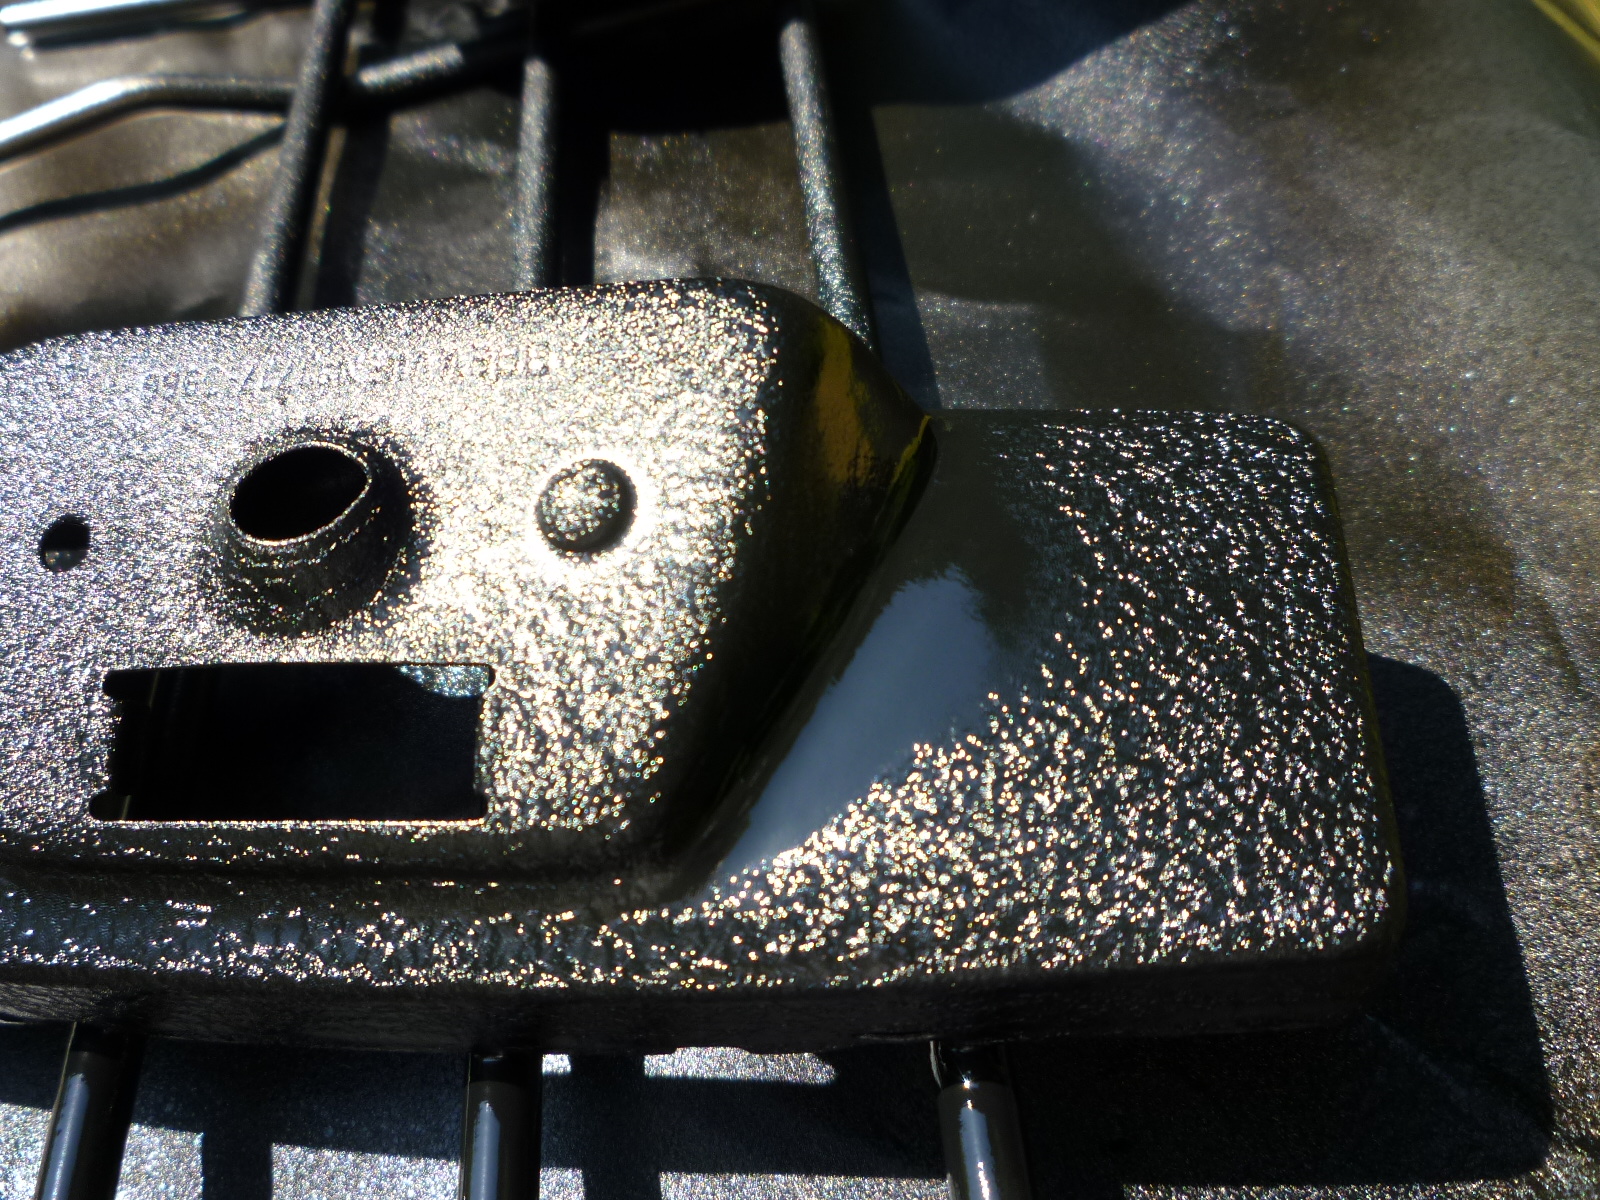
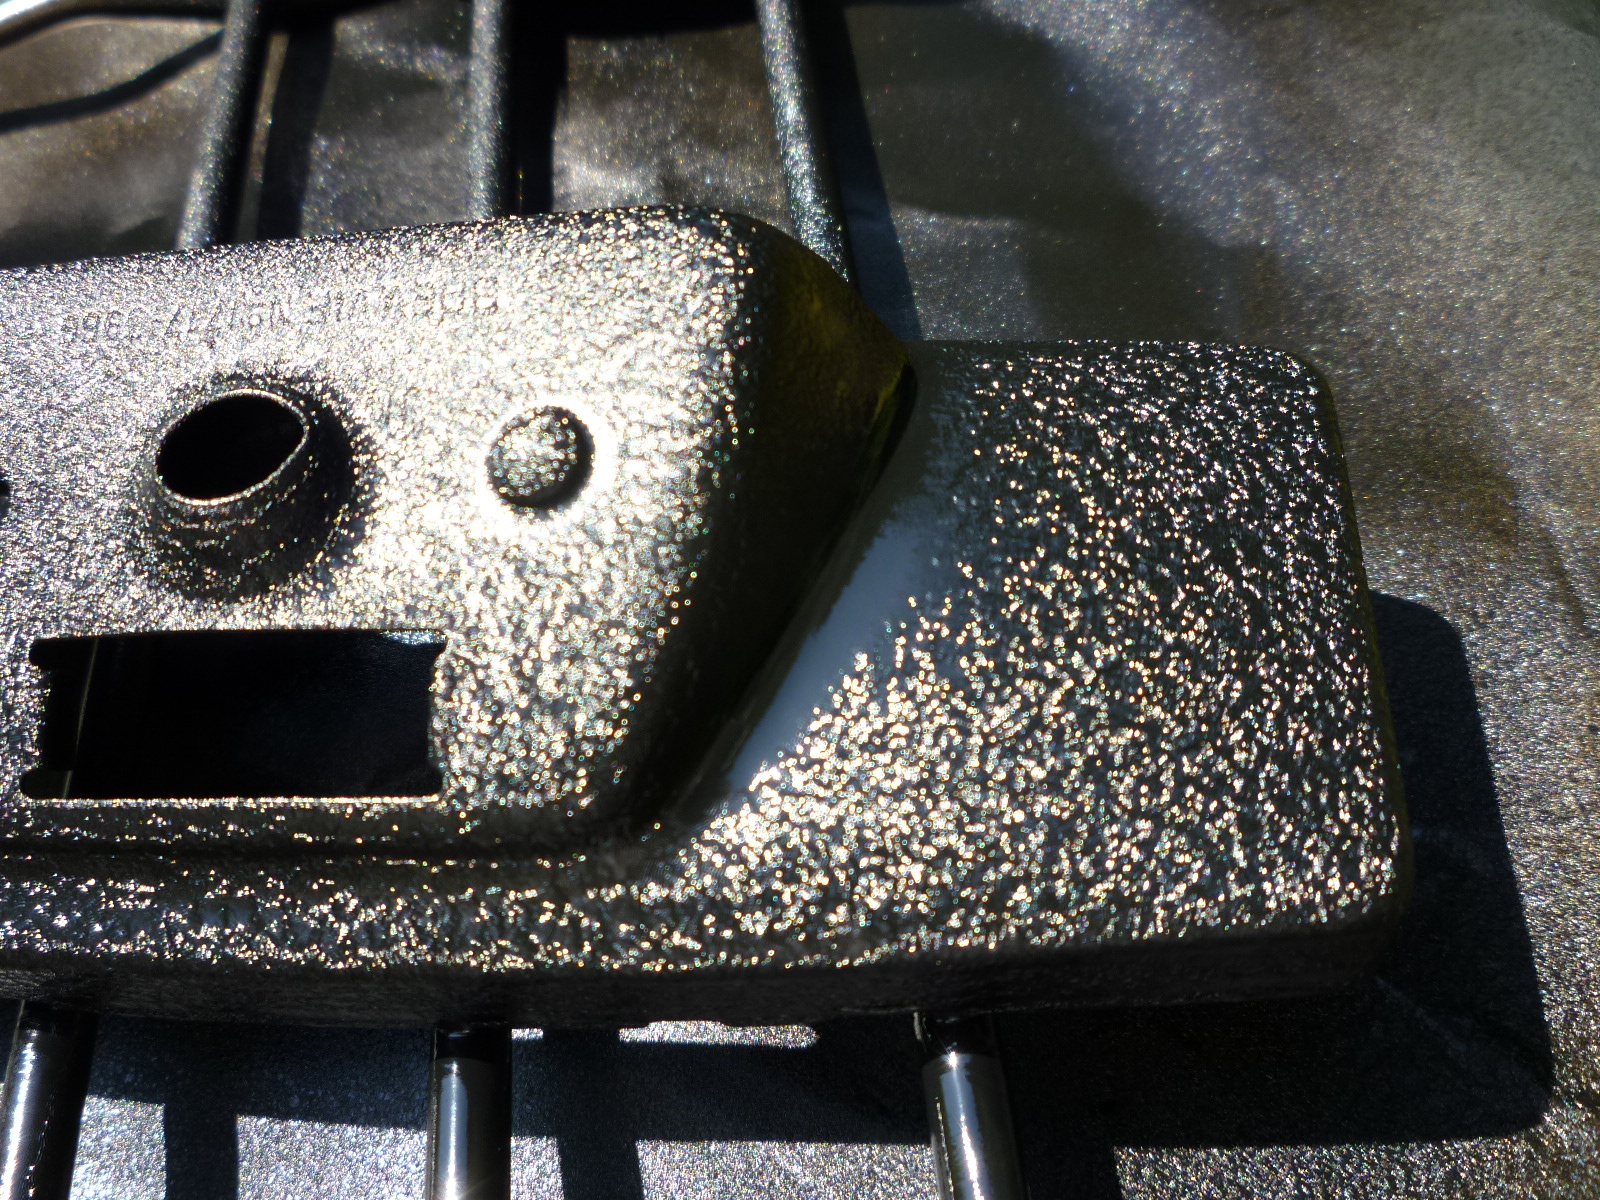
Wrinkle painting is quite interesting to watch. Everything is smooth and suddenly in a corner, it starts wrinkling up. That proceeds over the whole surface. You can see the progress in these two pictures of the mirror back. They were taken just a couple of seconds apart. The wrinkled surface becomes tighter as the first coat shrinks during the drying process.
I wasn't quite so happy with the results on the horn compressor. I think that there were 2 problems. First, I didn't pick it up when spraying the paint, so the coats weren't as even as they could have been. Second, the horn compressor is a heavy mass of metal and I don't think it was as hot as it should have been. This is going into my 330, well hidden back behind the grille, so I'll probably just let it go. Otherwise, I could just strip it and start over.
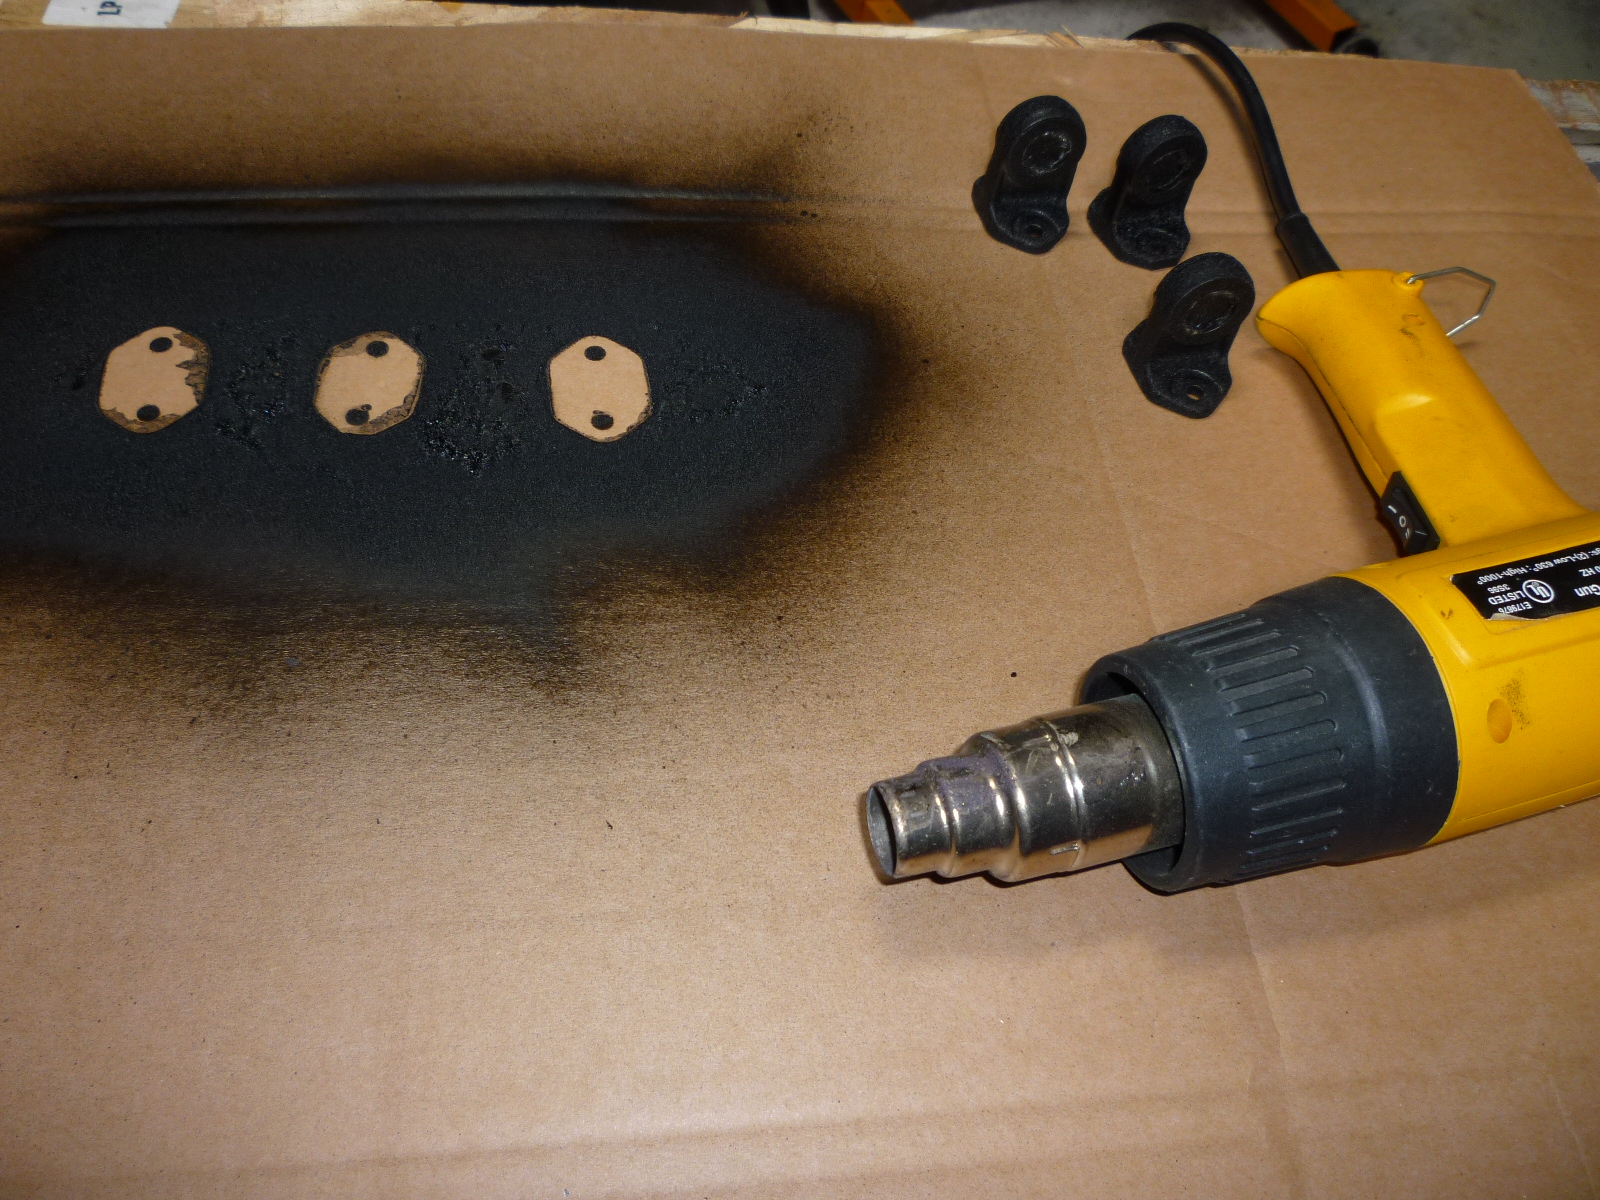
I wrinkle painted the throttle shaft supports the other day. For small parts like these, I find that just using a heat gun to pre-heat the parts and then to cause the wrinkle effect to happen works fine.
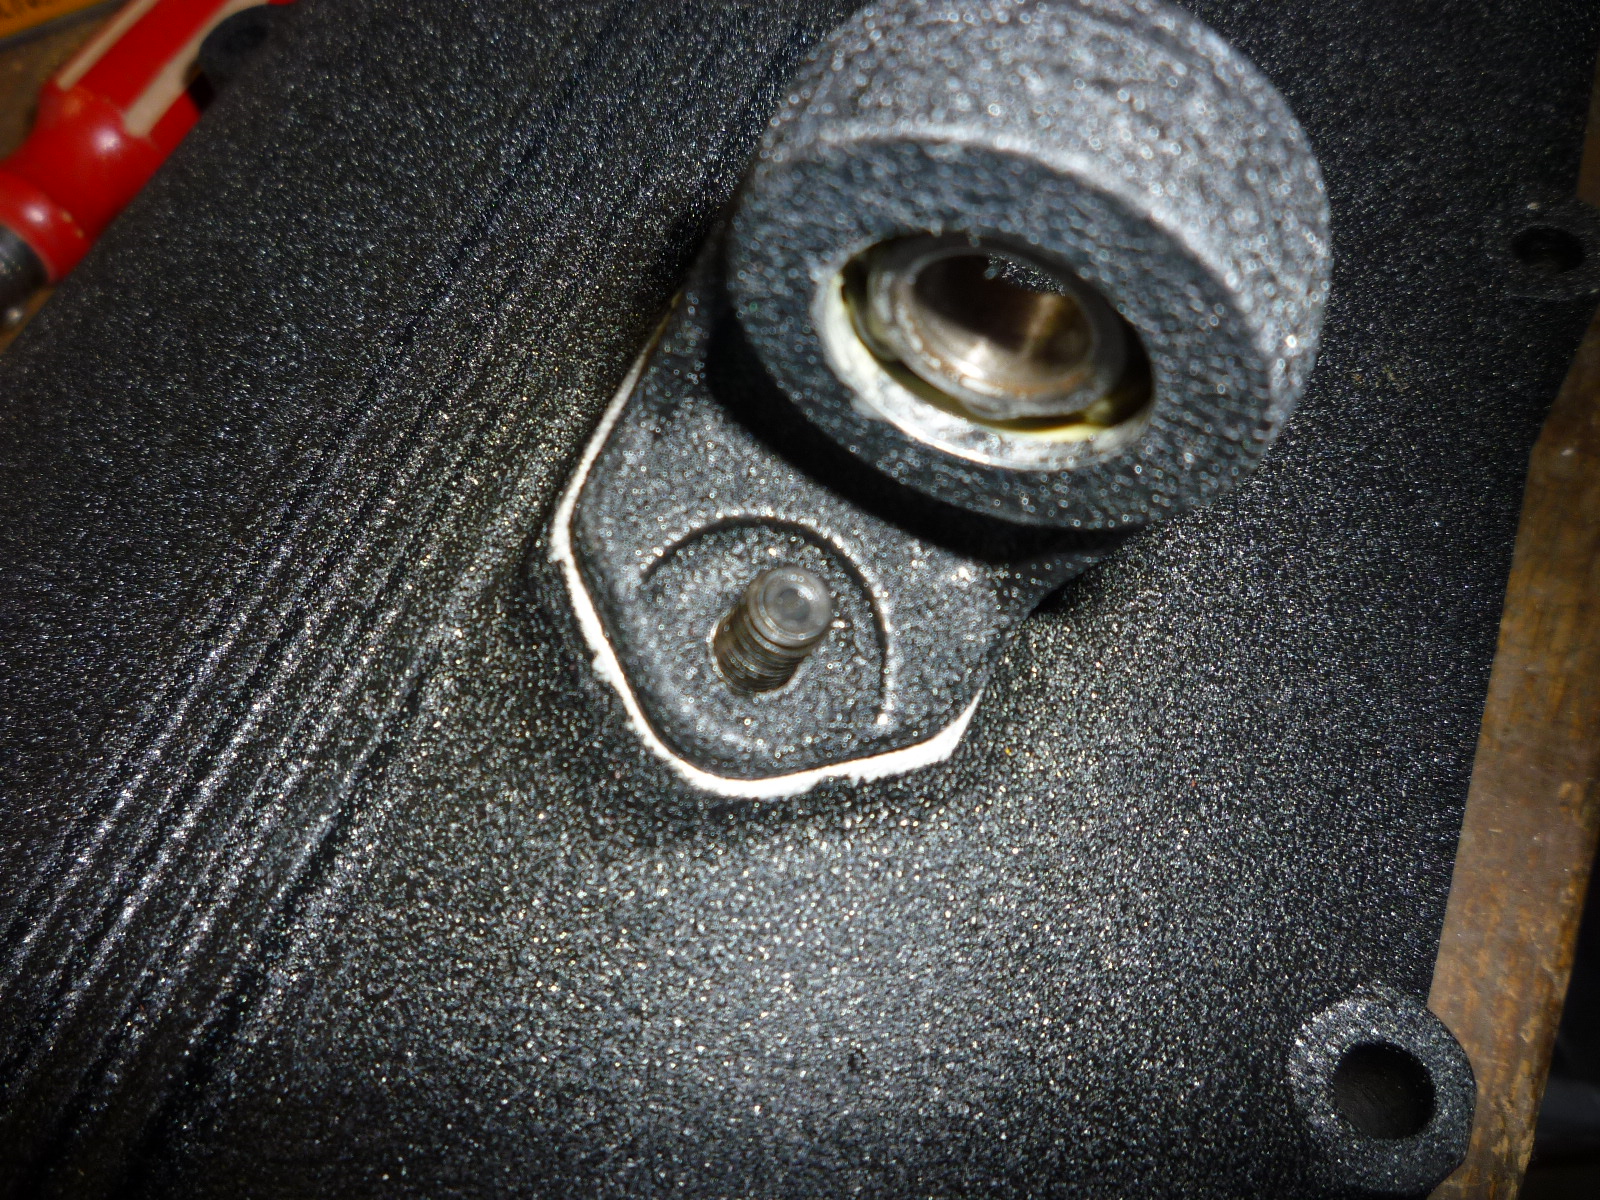
When I went to install the throttle shaft supports on the valve cover, I found that the studs weren't right.
After getting the correct sized studs in place, I positioned the throttle shaft supports and noticed that they didn't cover the whole flat area that I masked off when I wrinkle painted the cover. So I'm going to have to redo that area. I'll try just masking off the part already painted and just wrinkle paint the little edges, but I might end up doing the whole valve cover and supports again so it will look right.
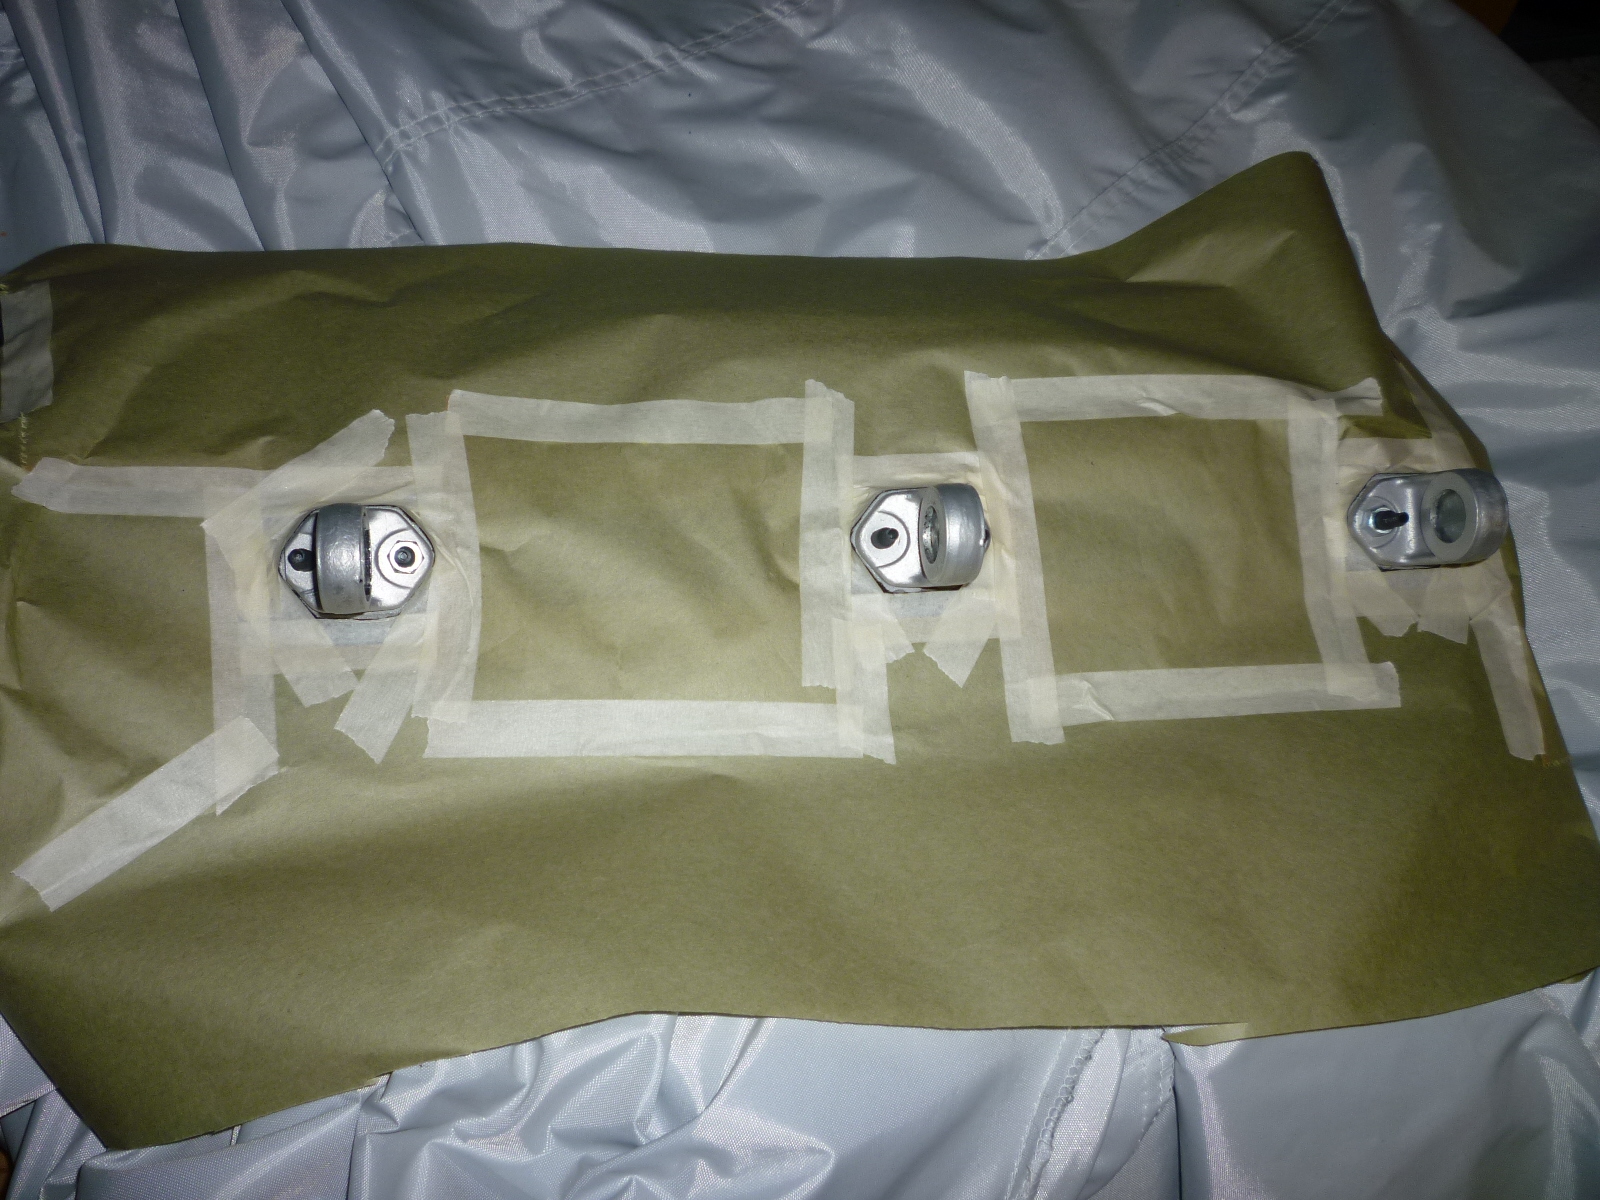
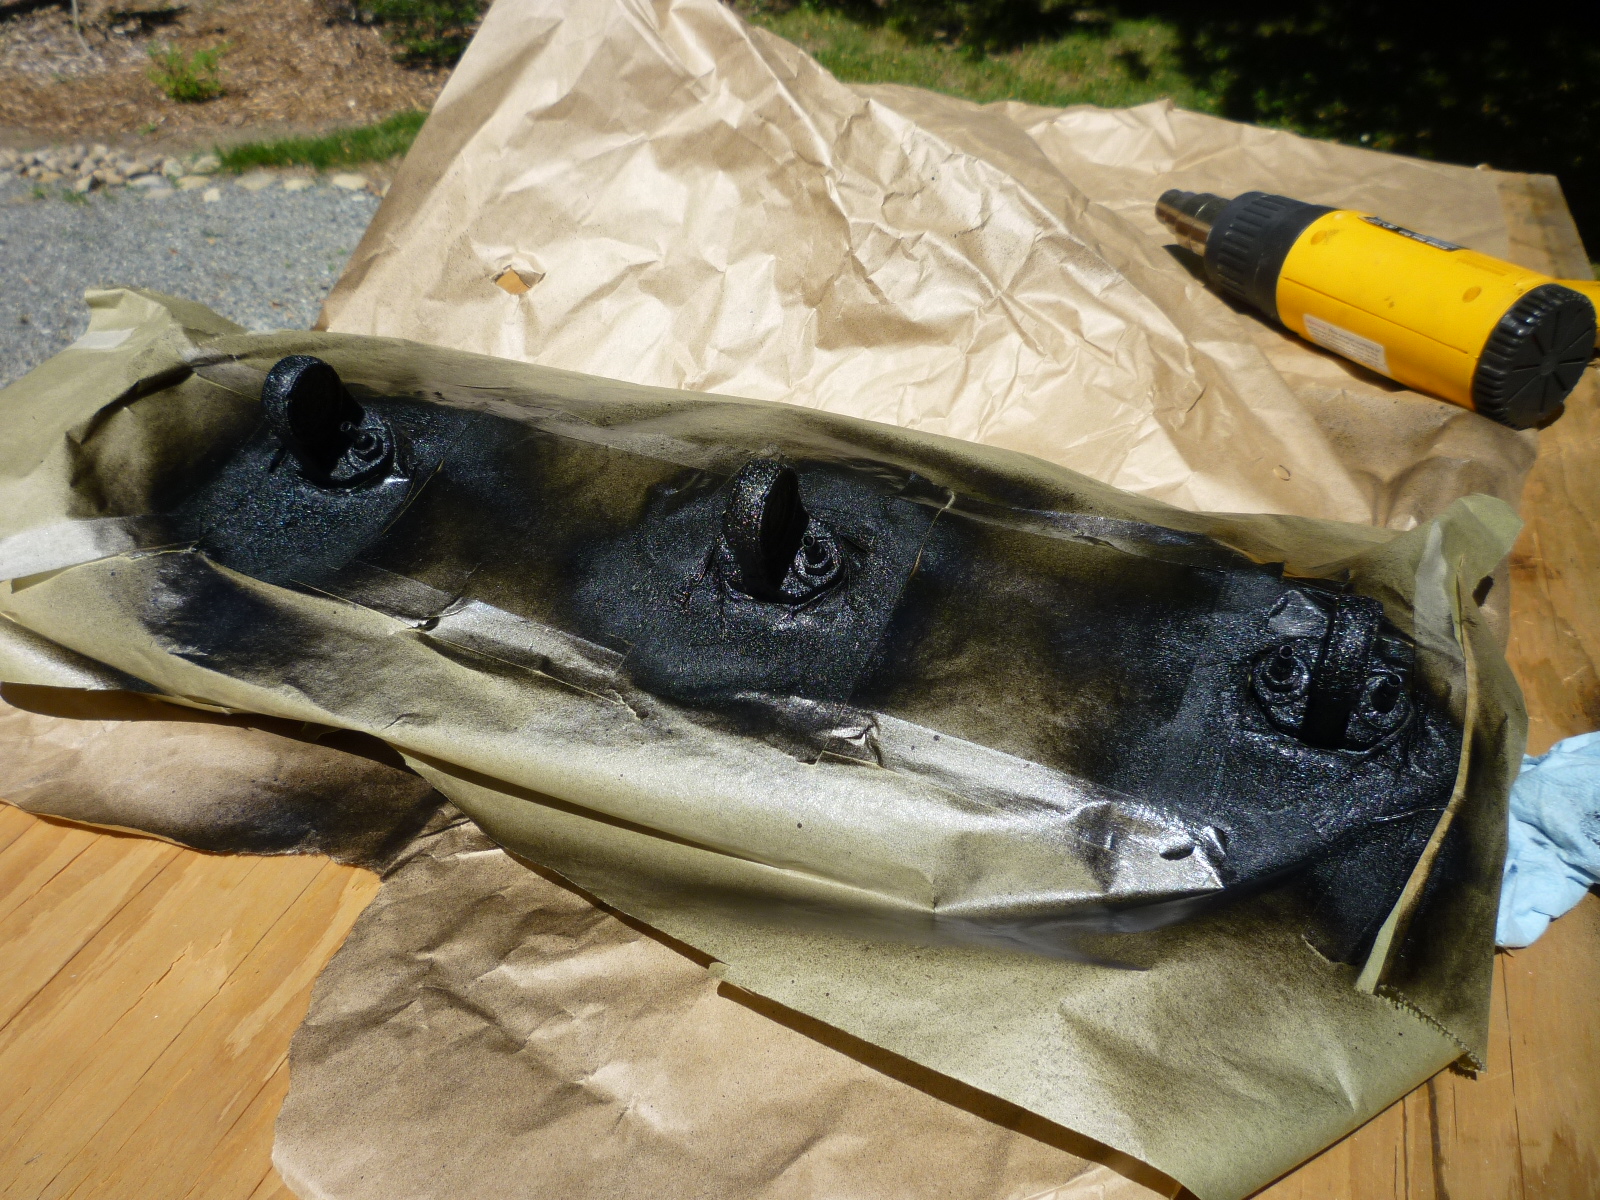
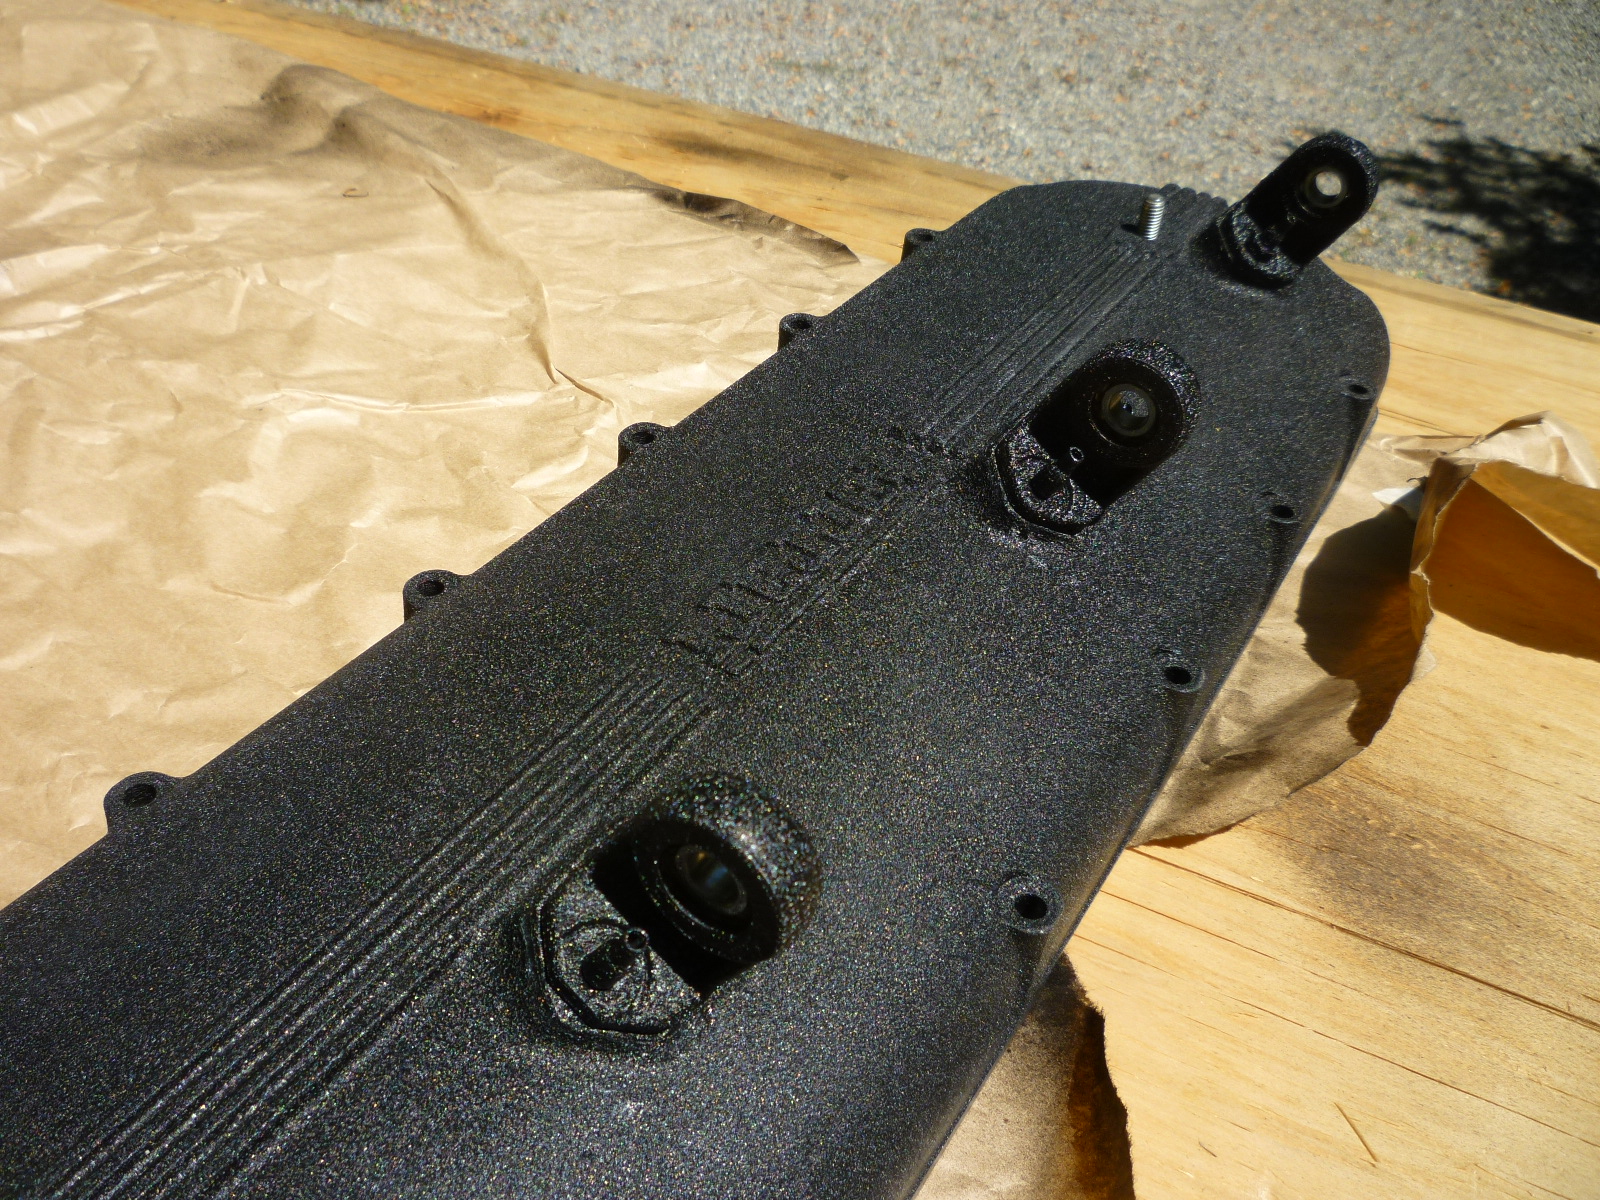
One thing I did this time was to use an ultra sonic cleaner after bead blasting the supports to clean the bearings (they are staked in, so non-trivial to remove). Then I greased them and used large hole punches to cut duct tape to cover each side. Much neater than covering the support and trying to cut away the excess tape. I helped out with the heat gun to make sure I got a good wrinkle. I was worried that the bases wouldn't wrinkle the same since they were bolted to the valve cover which would act as a heat sink. I also wanted to remove the paper and tape as soon as possible so there wouldn't be a line at the old and new paint surfaces. Between the heat and over spray, the adhesive on the masking tape was ready to peel off, so it was easy to get the paper off without touching the soft wrinkle paint surface. Here's the valve cover before, during and after the wrinkle painting.
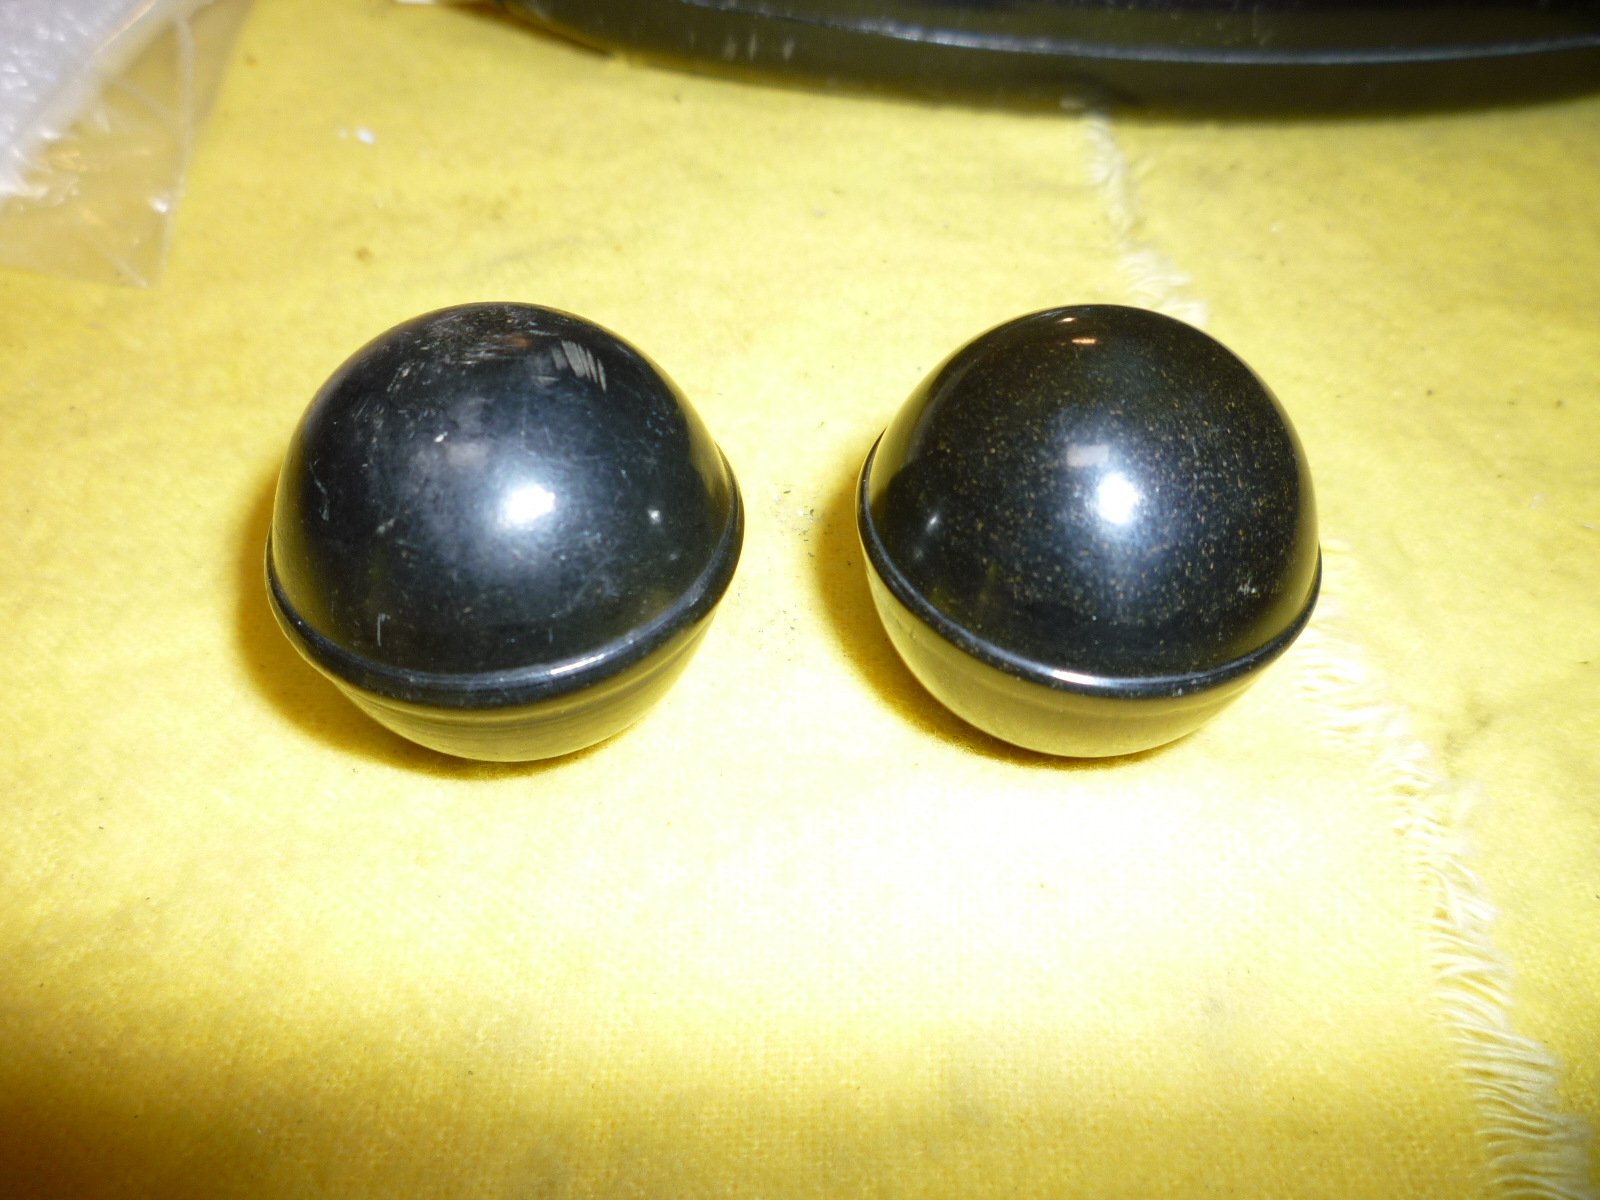
I also took the time to clean up and polish the knobs that are on the top of the valve covers. Once they were polished, it look like that there are little brass flakes embedded in the plastic. I wonder if that was to add strength and durability? Here is a before and after picture.