Clutch
For quite a while, I have been babying my clutch. I first noticed it slipping at low RPM/high torque when trying to accelerate quickly. I was able to adjust the clutch, but now I'm out of adjustment and it engages almost at the top of the pedal.
I had bought a new clutch disk many years ago, so I decided that it was time to change it.
Changing the clutch require removal of the transmission from the engine. My car is a late 2HL model with the 2 mount engine. So there are 2 mounts on the engine and the third is as the rear of the transmission. This negates easy use of a lift as you have to support the rear of the engine and the front of the transmission when disconnecting the transmission.
But to start you have to take apart several other items:
- The console has to be removed, first disconnecting all of the wiring and removing the gear shift knob. Then with the transmission in fourth, lifting the rear of the console and pulling it to the rear will let it clear the gear shift lever to be removed.
- The passenger and driver's seats have to be removed.
- Take out the front carpets and padding.
- Unsnap the tunnel cover and remove it.
- Remove the belly pan.
- Disconnect the handbrake and loosen it from the floor. This lets it more enough to the side for the transmission tunnel to be removed.
- Remove the A/C foot ducts if needed.
- Unbolt and remove the tunnel. Four bolts through the firewall, two at the front and middle at the bottom of the tunnel and two nuts at the rear. Once loose, it can be pulled back and removed.
- Disconnect the speedometer cable and reverse light wires.
- Remove the nuts holding the clips for the cable and wiring.
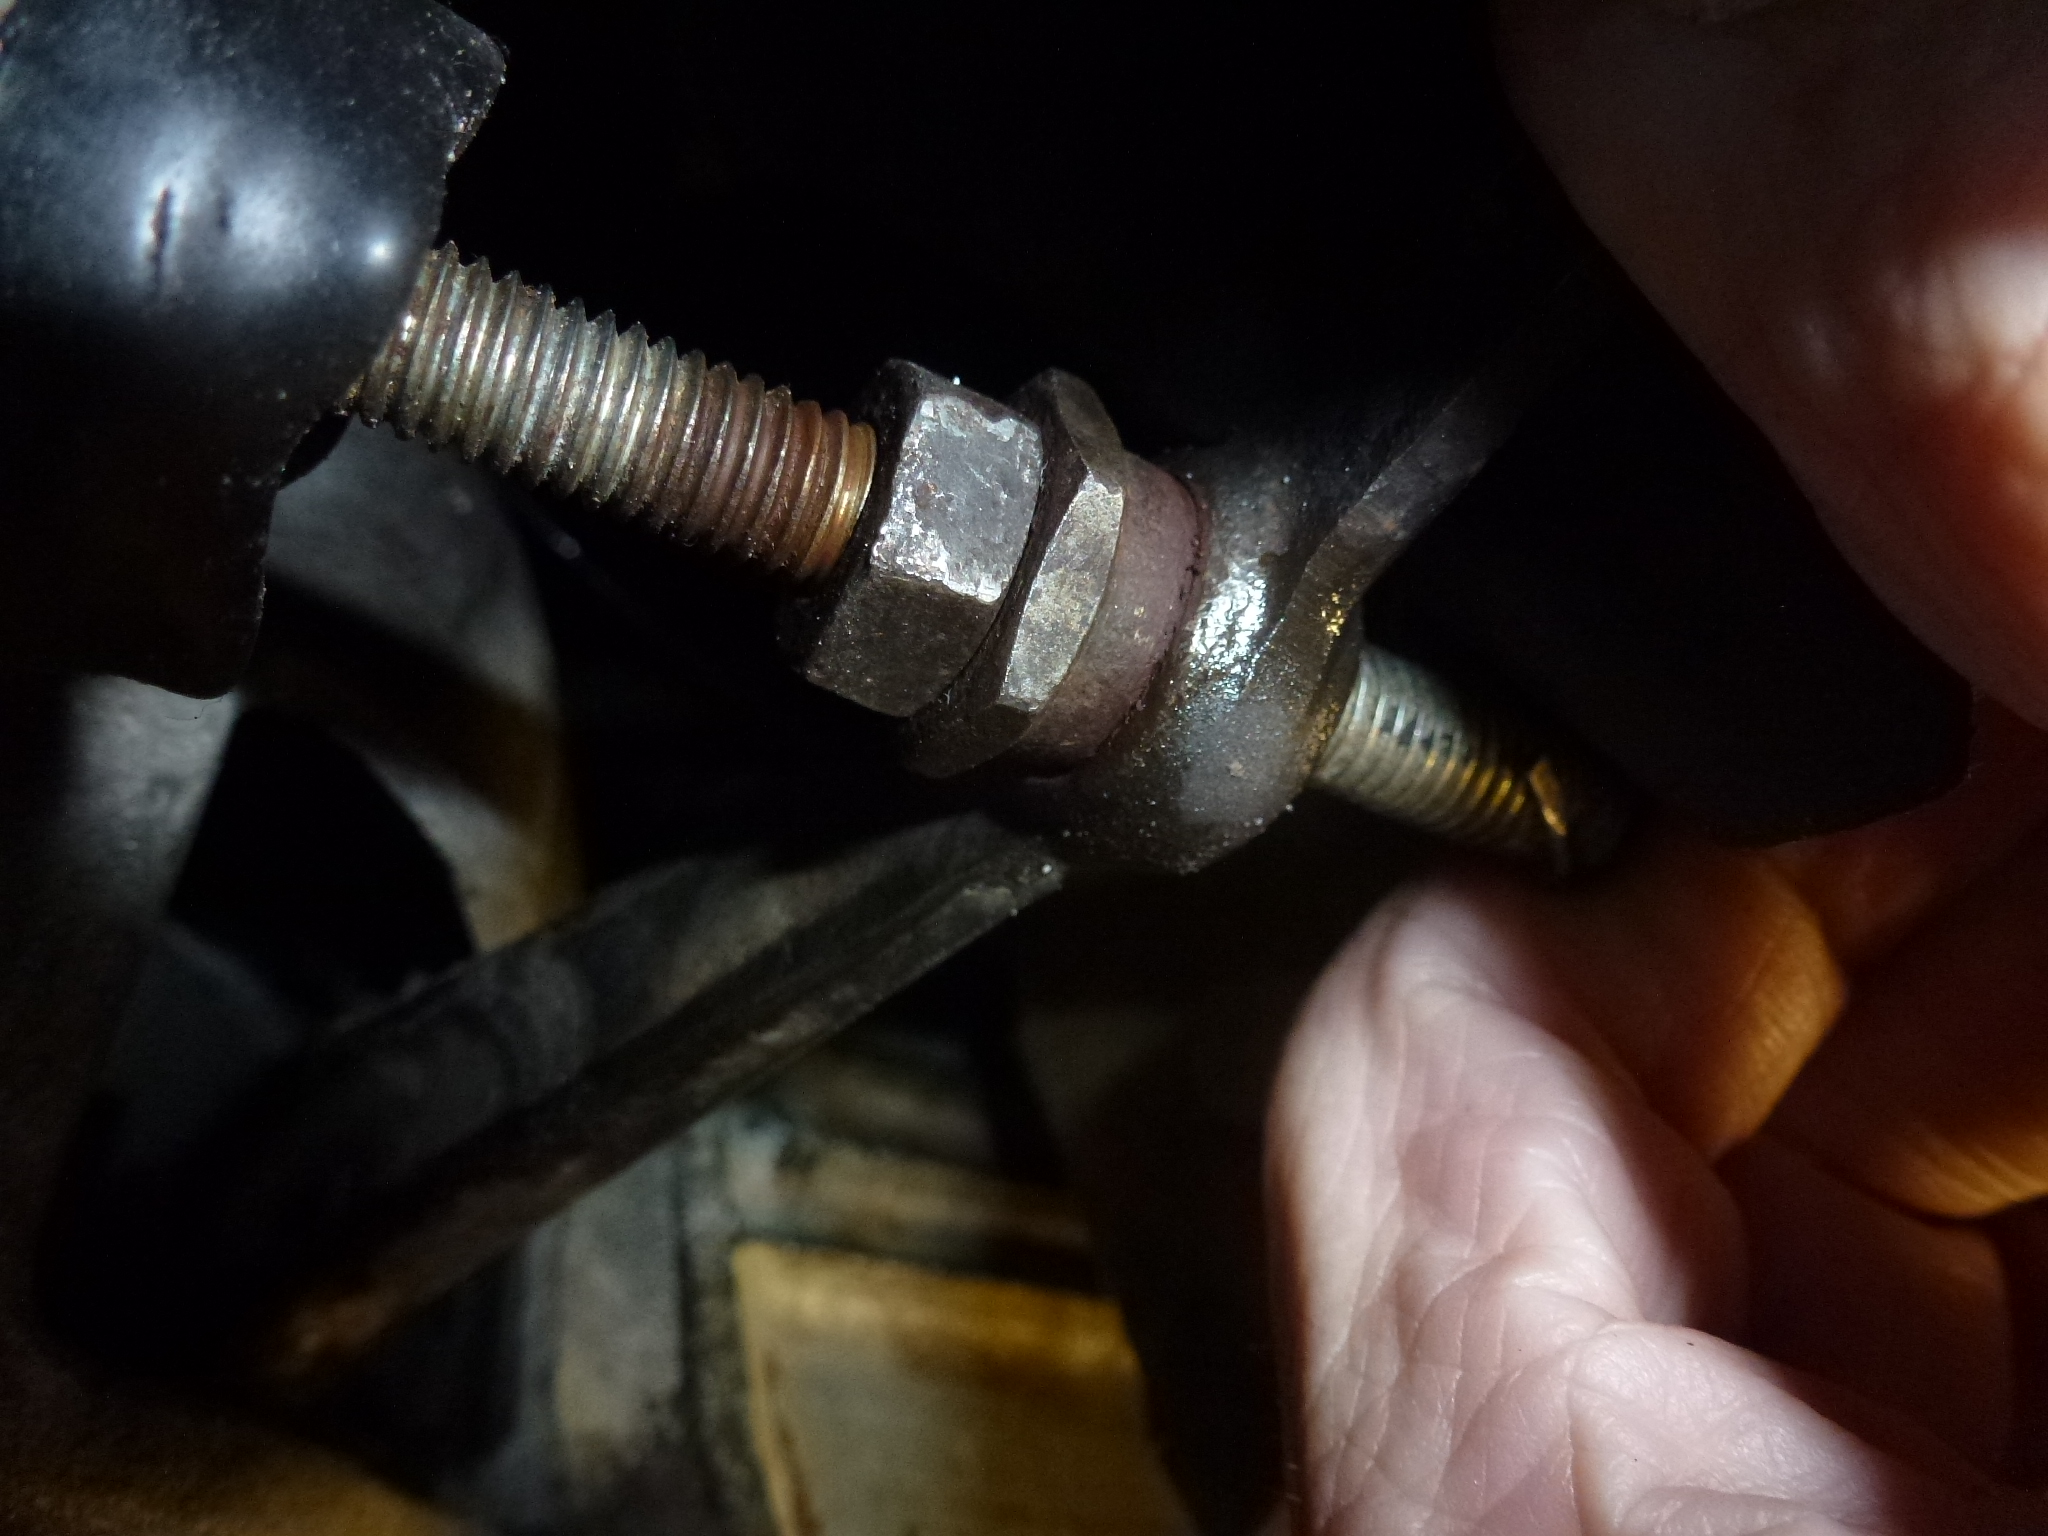
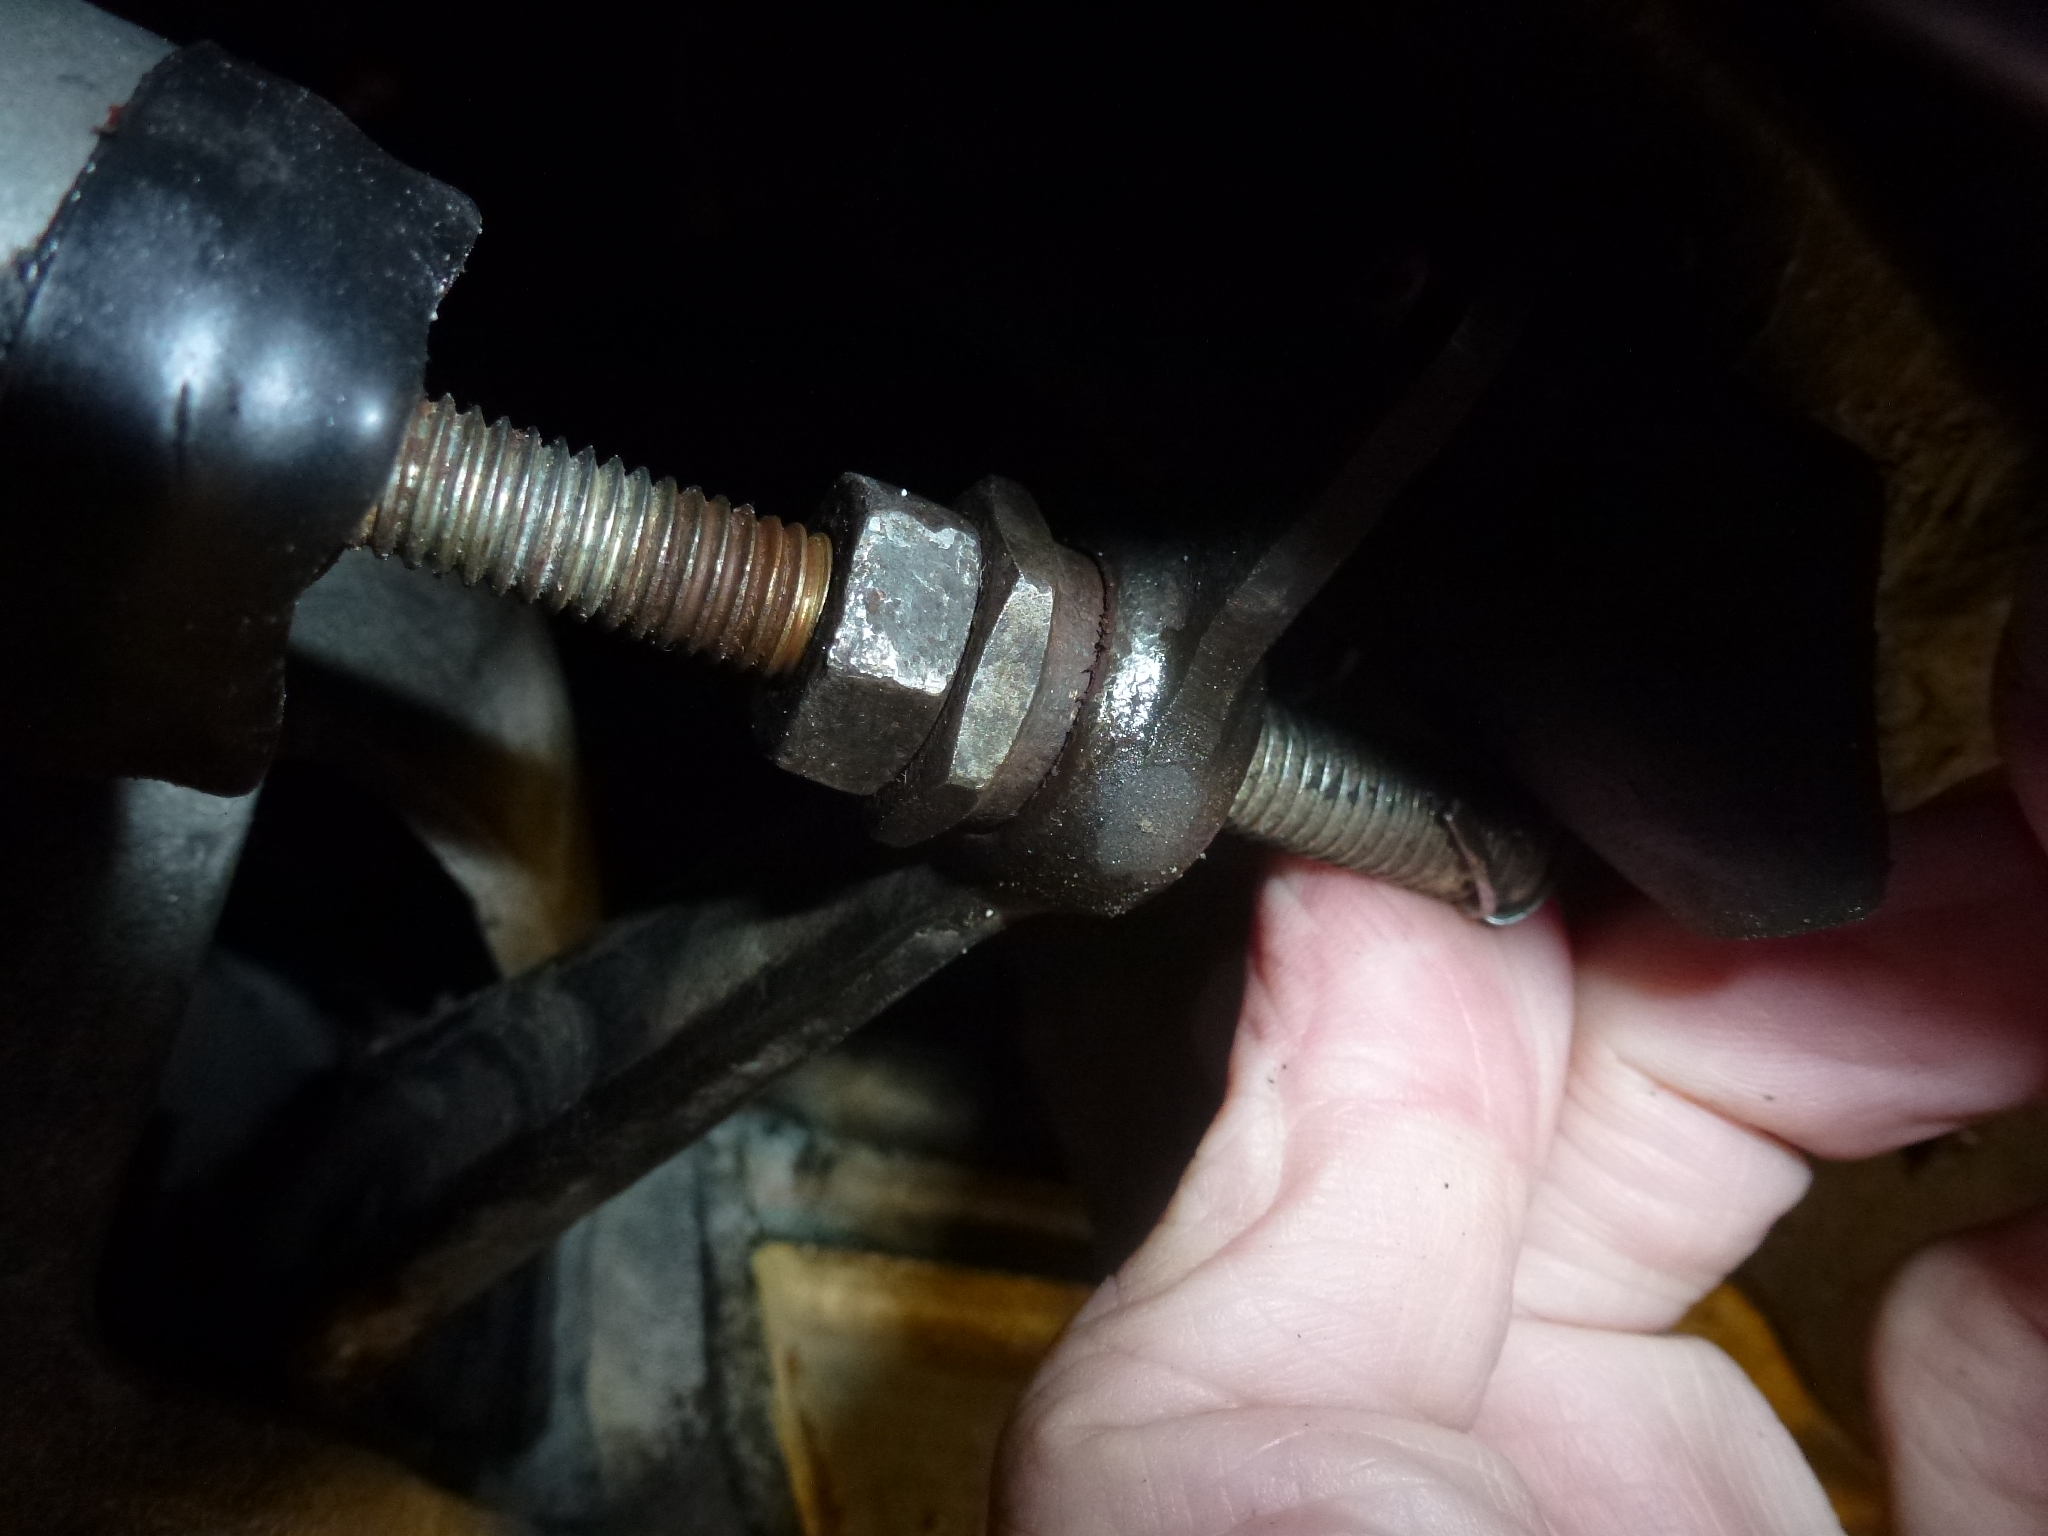
- Remove the clutch slave cylinder. I have to remove the rear stud to take it off.
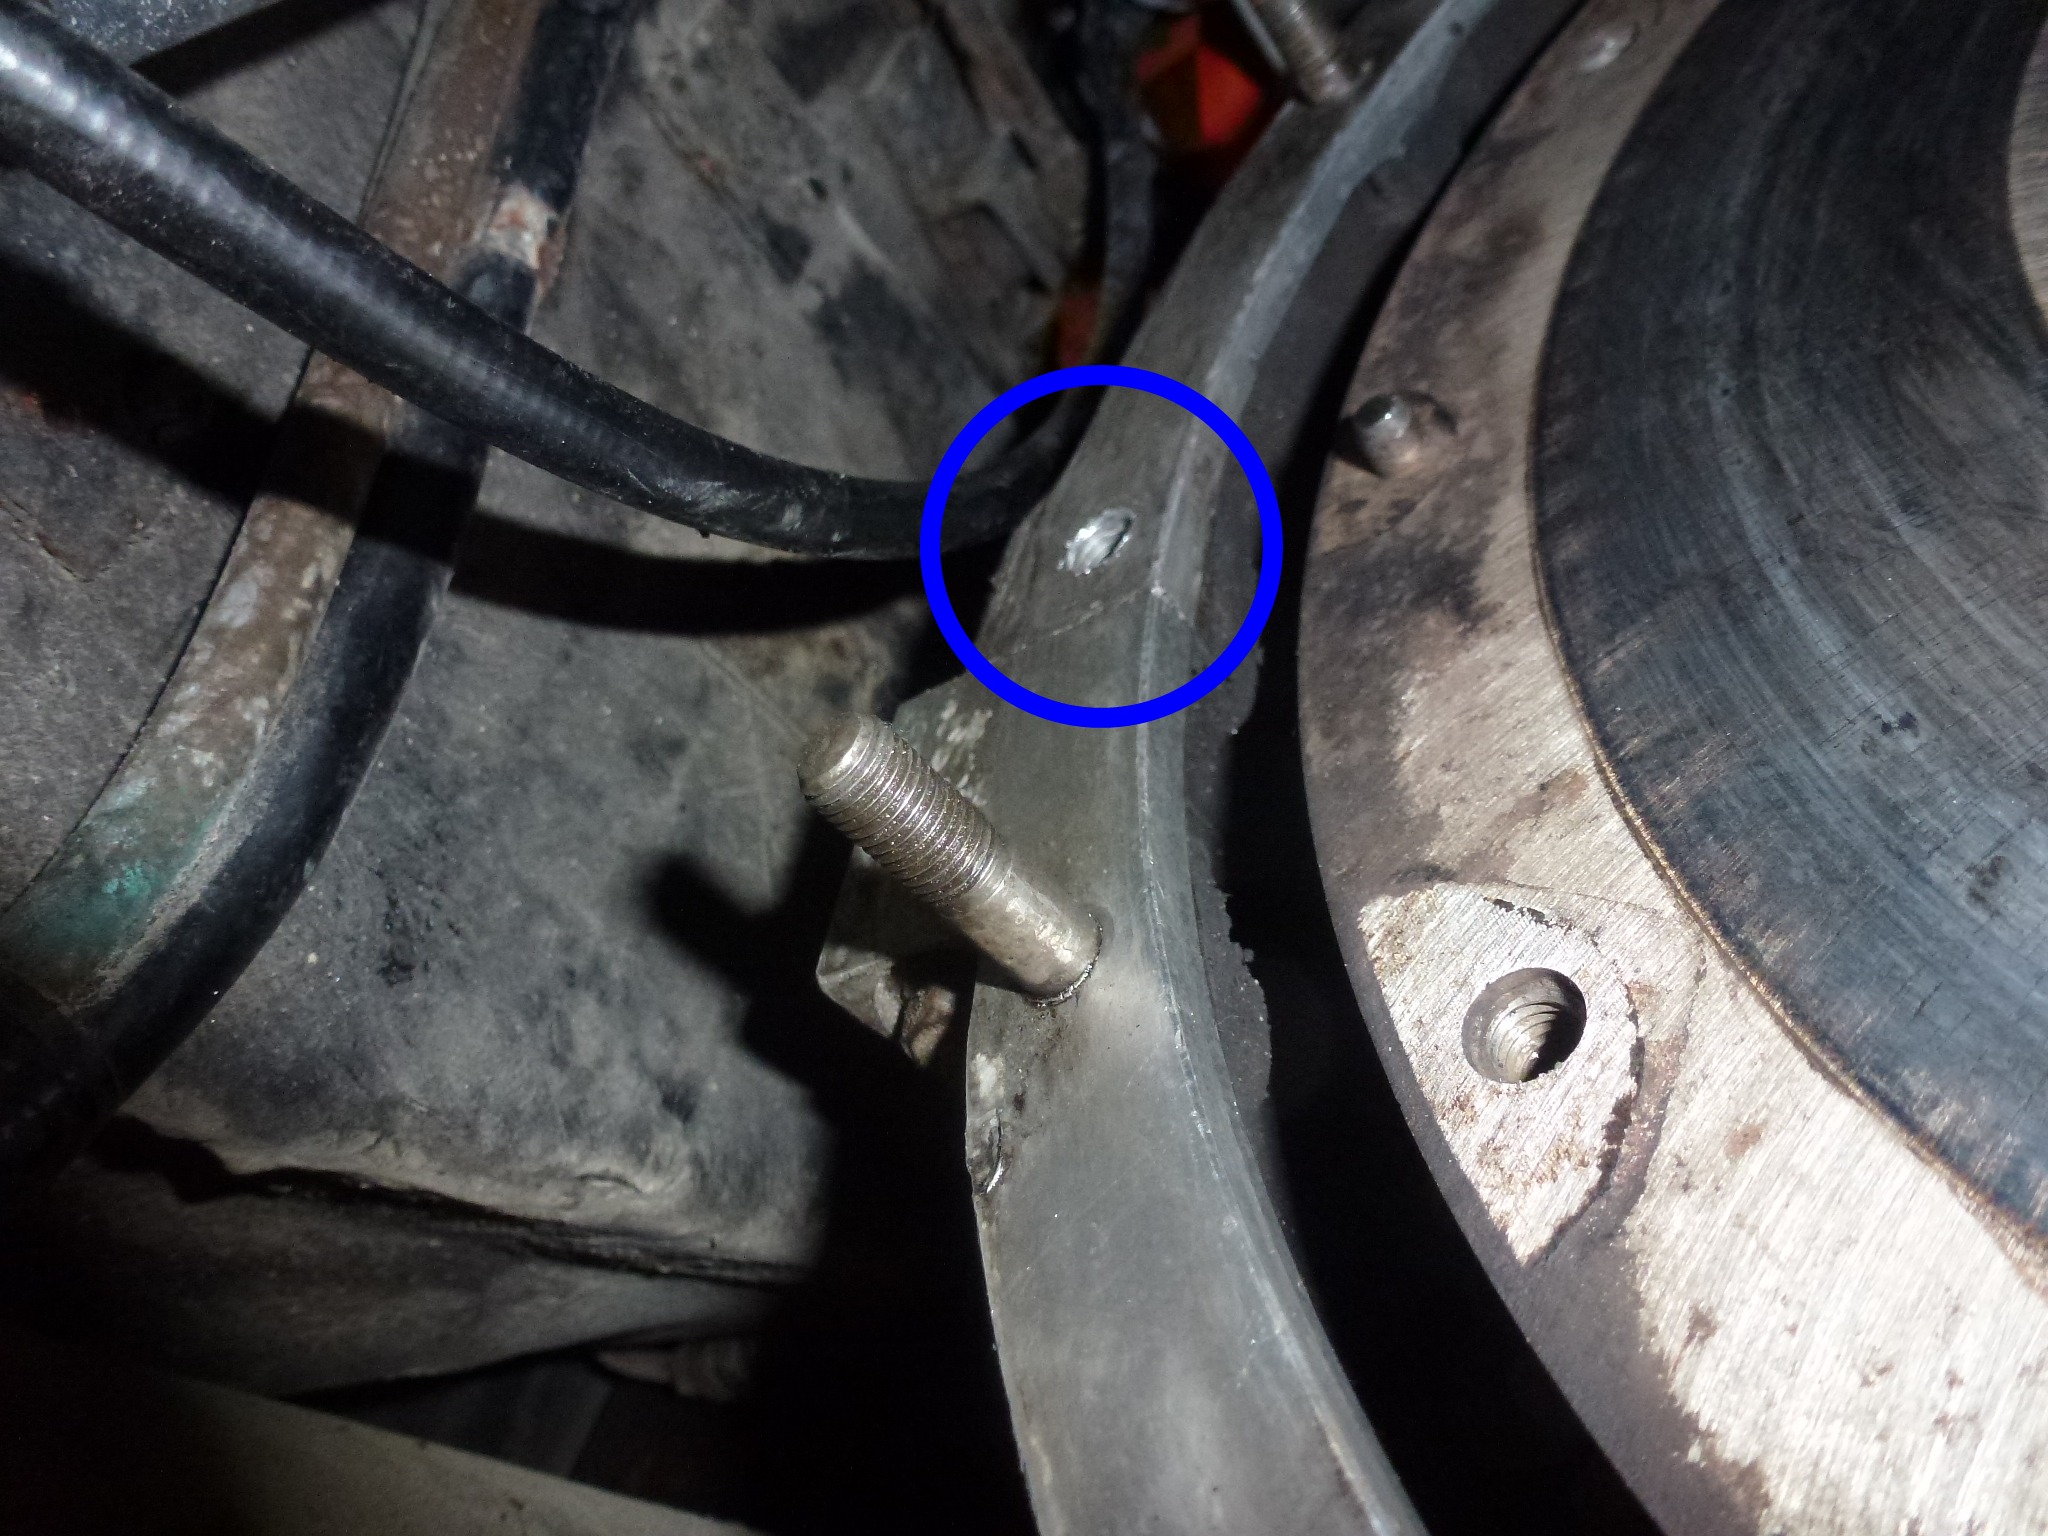
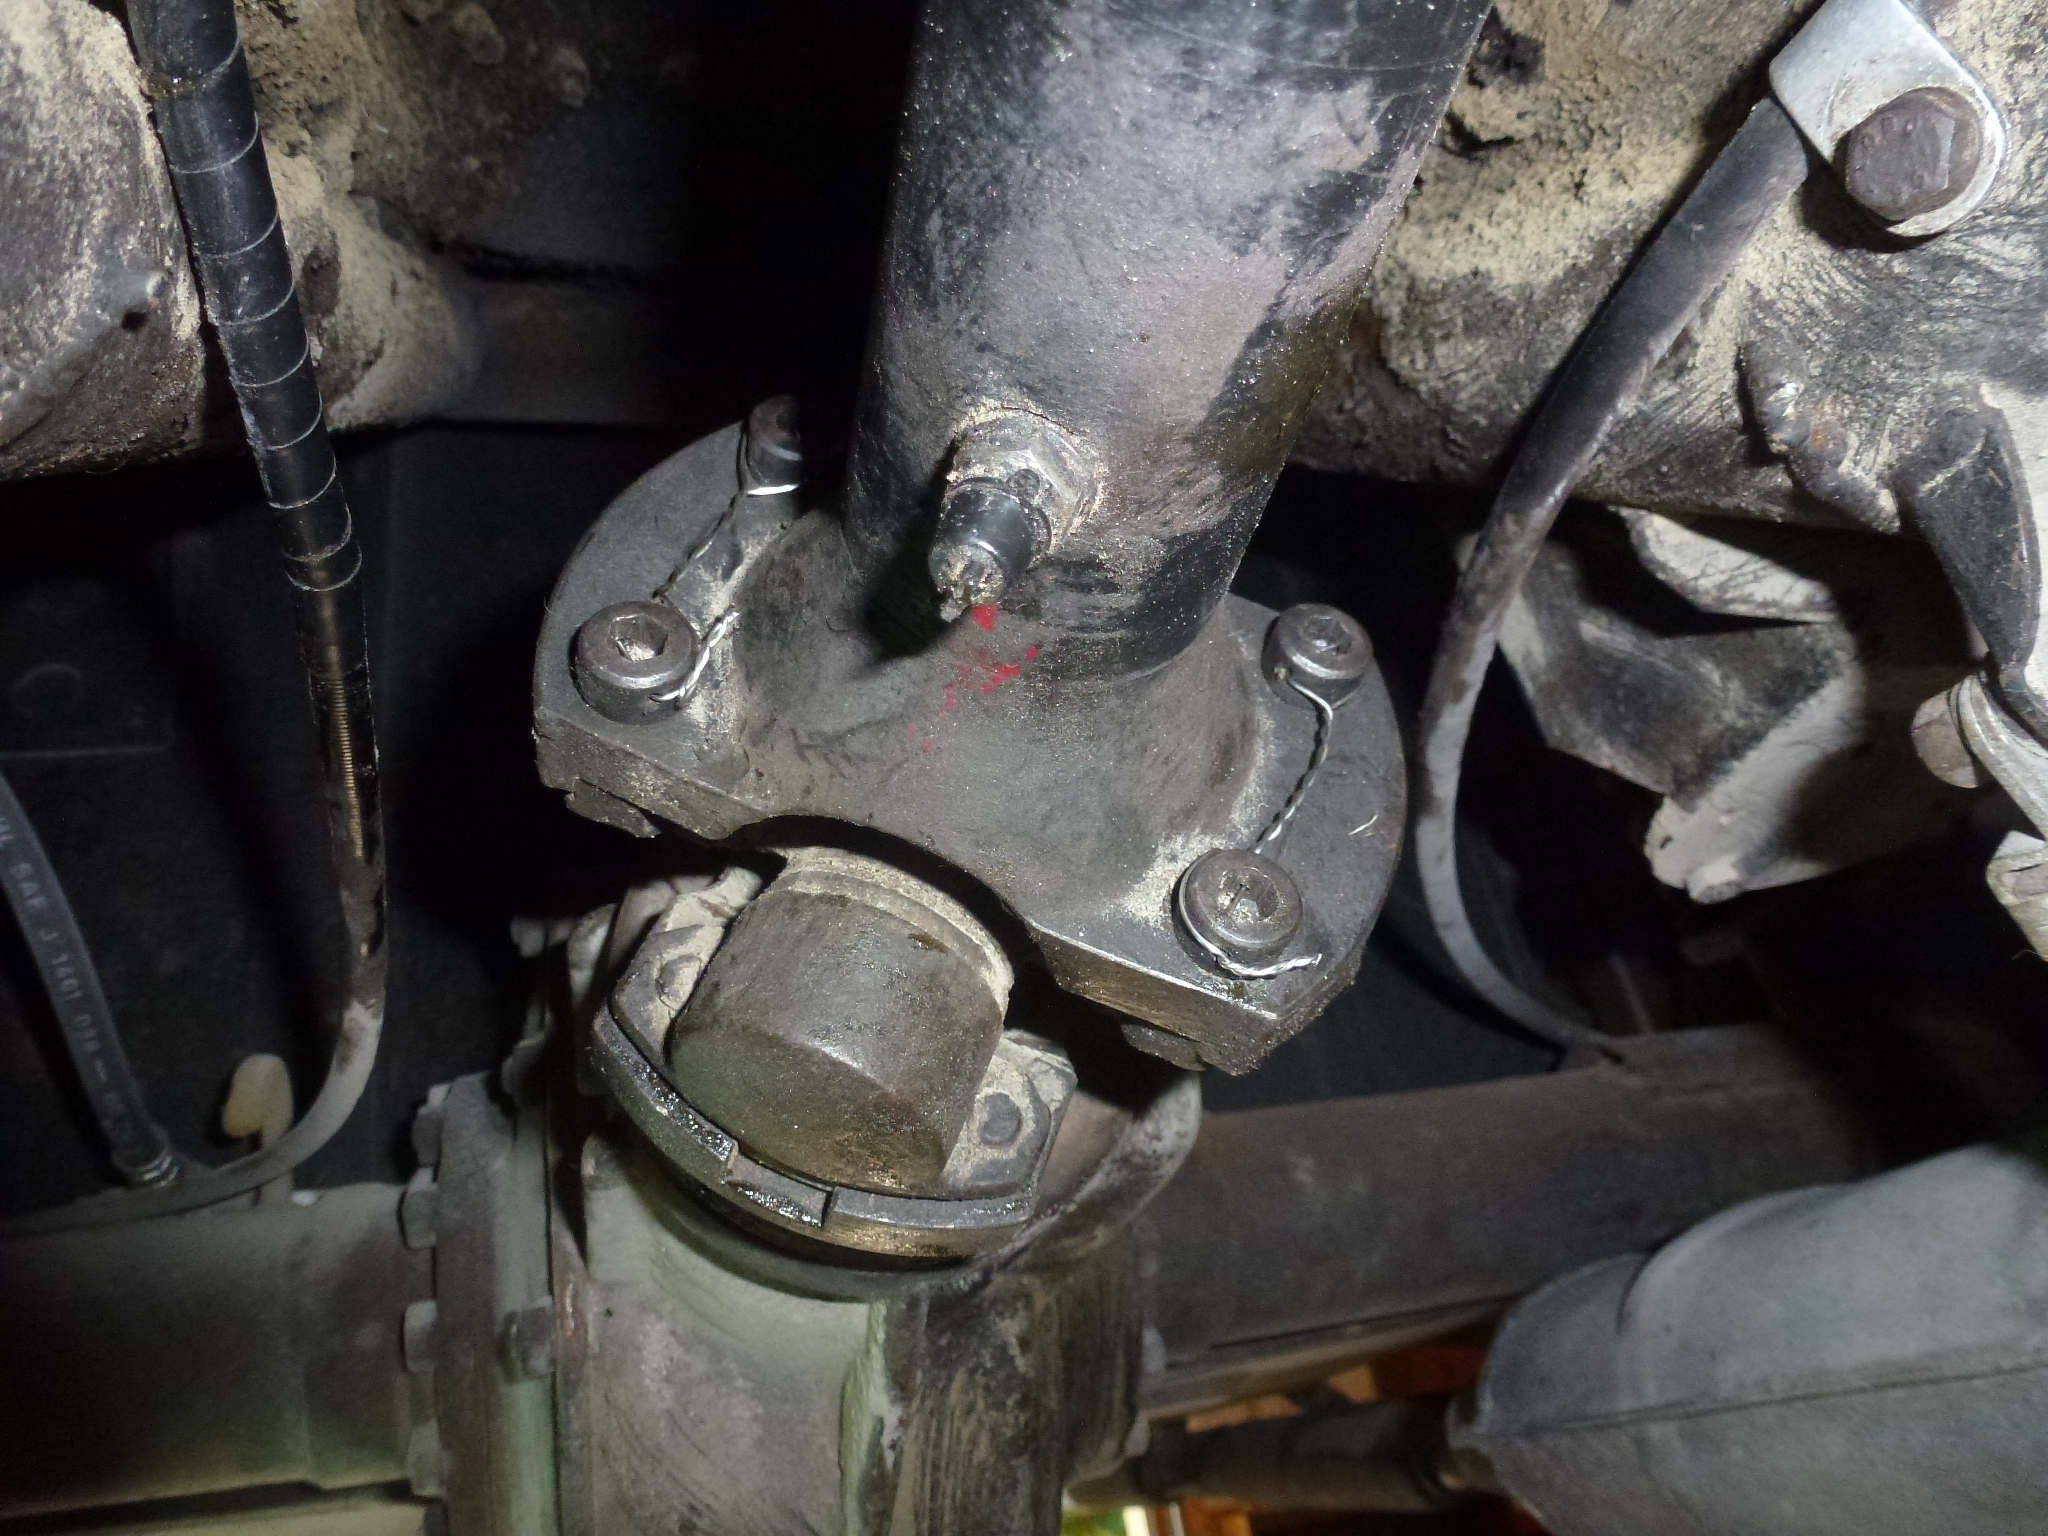
- Unbolt the drive shaft at the rear U-joint. This lets it be pushed up so it clears the differential.
- Remove the rubber donut at the front of the drive shaft. Then the drive shaft can be pushed to the rear and removed.
- Support the rear of the engine and the front of the transmission.
- Remove the rear transmission support. I removed the two bolts holding the bracket that bolts to the transmission through a silent block.
- Remove the eight nuts and washers holding the transmission to the engine.
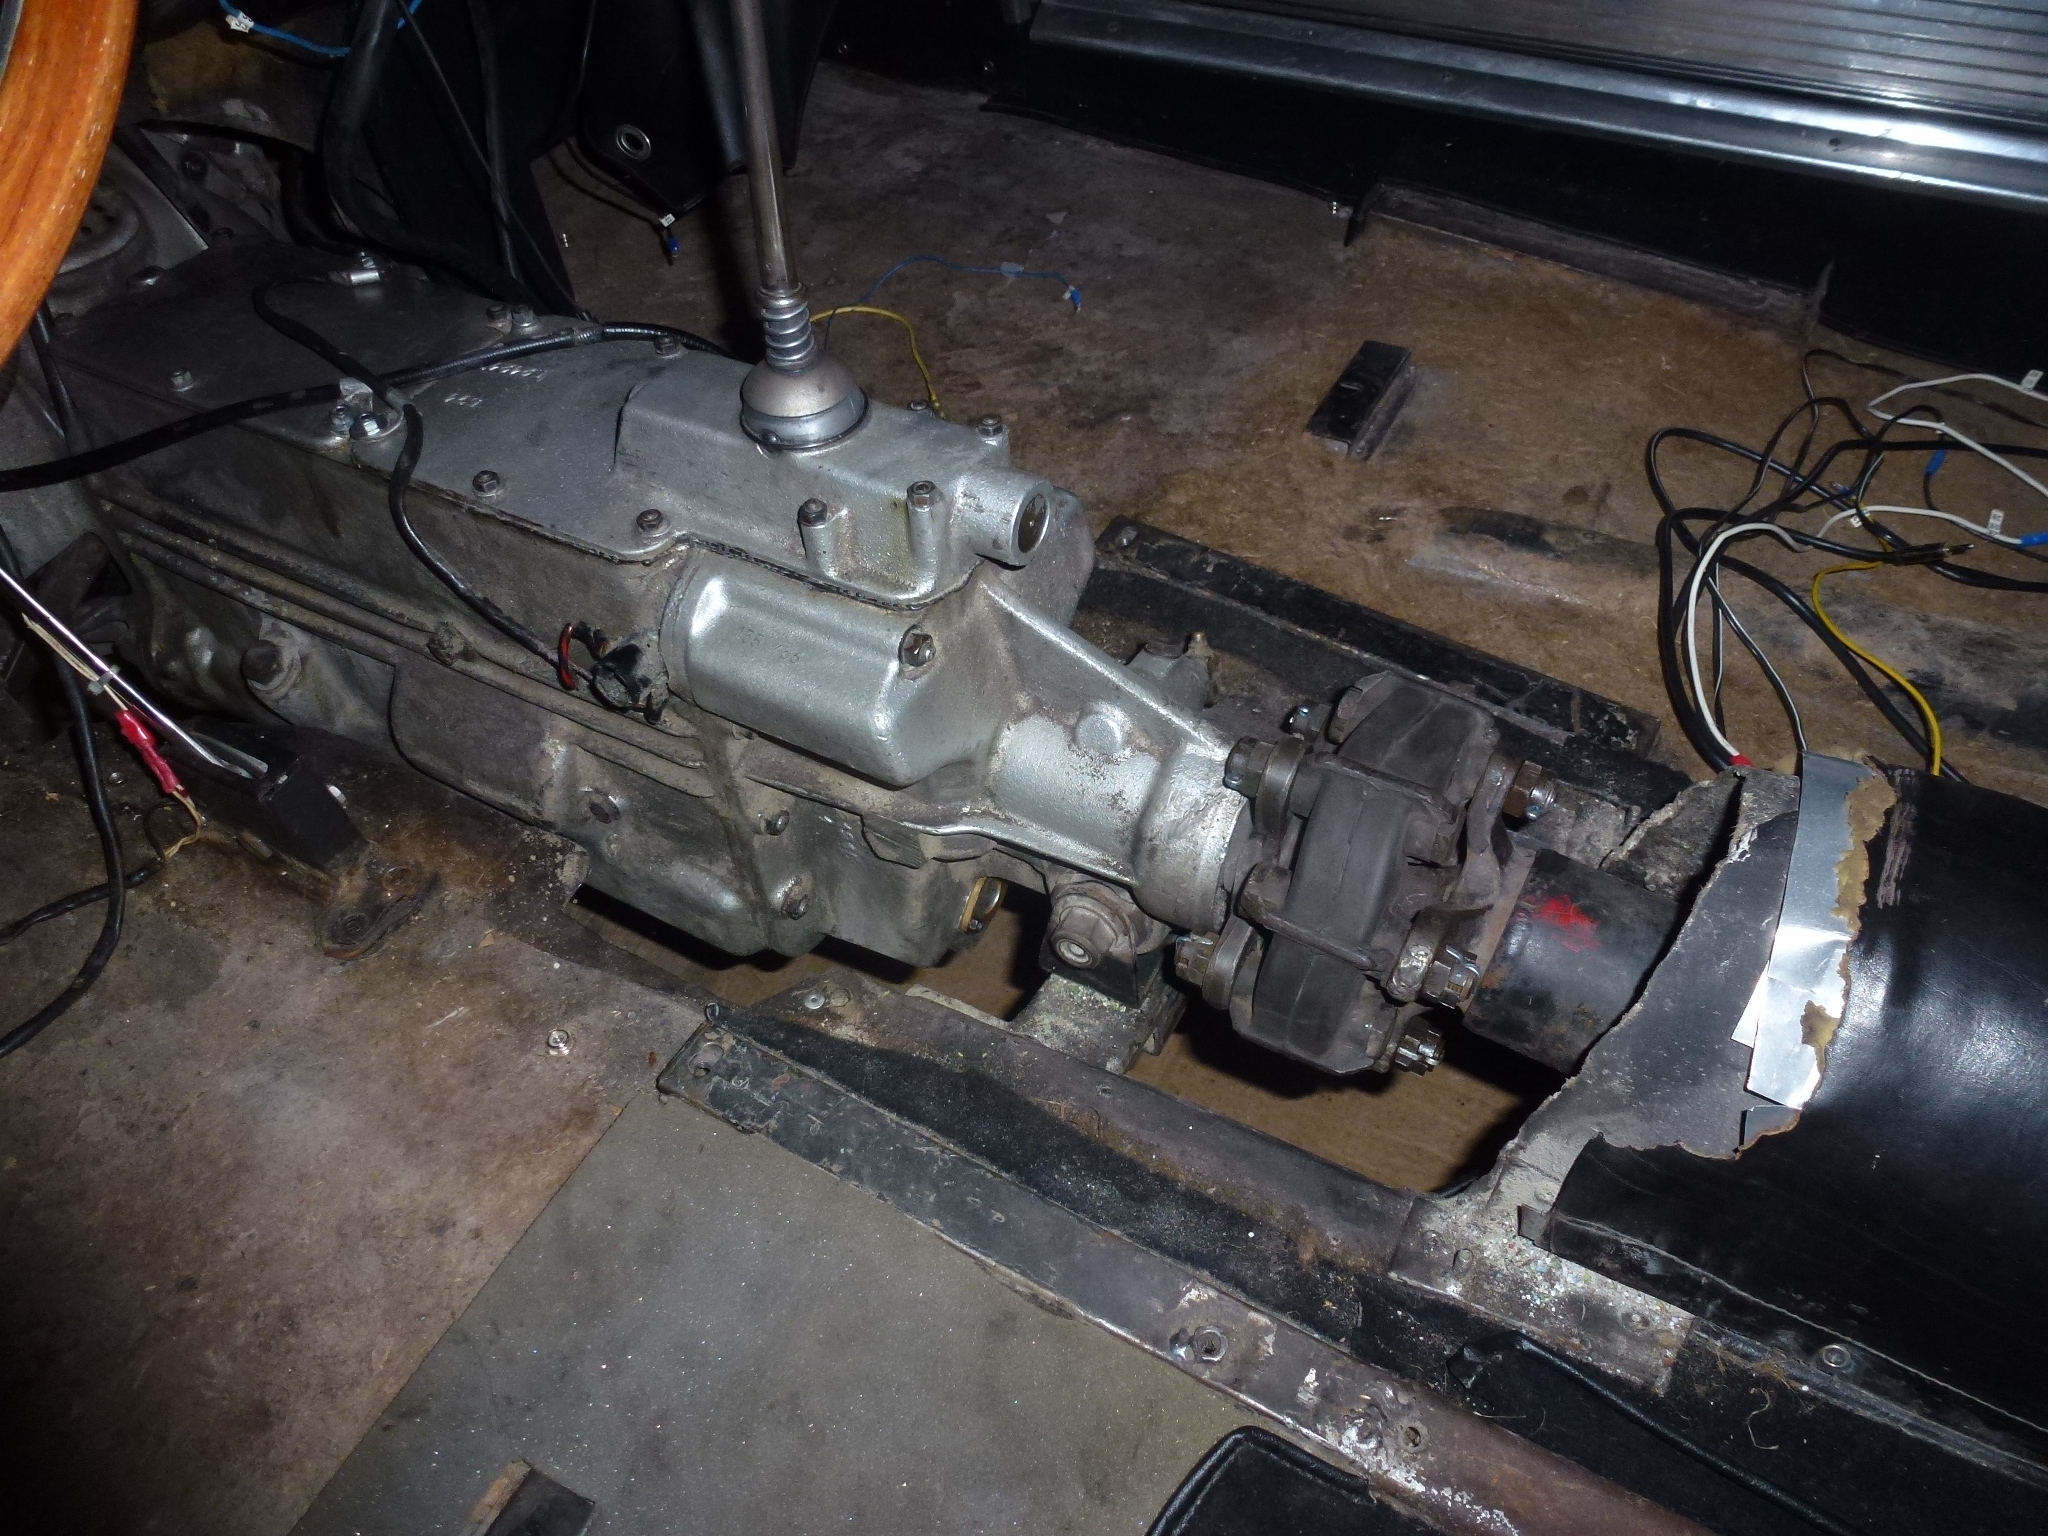
- Now the transmission can be moved to the rear enough to access and replace the clutch. You can also completely remove it, but getting it past the firewall is a pain, so I just moved it back.
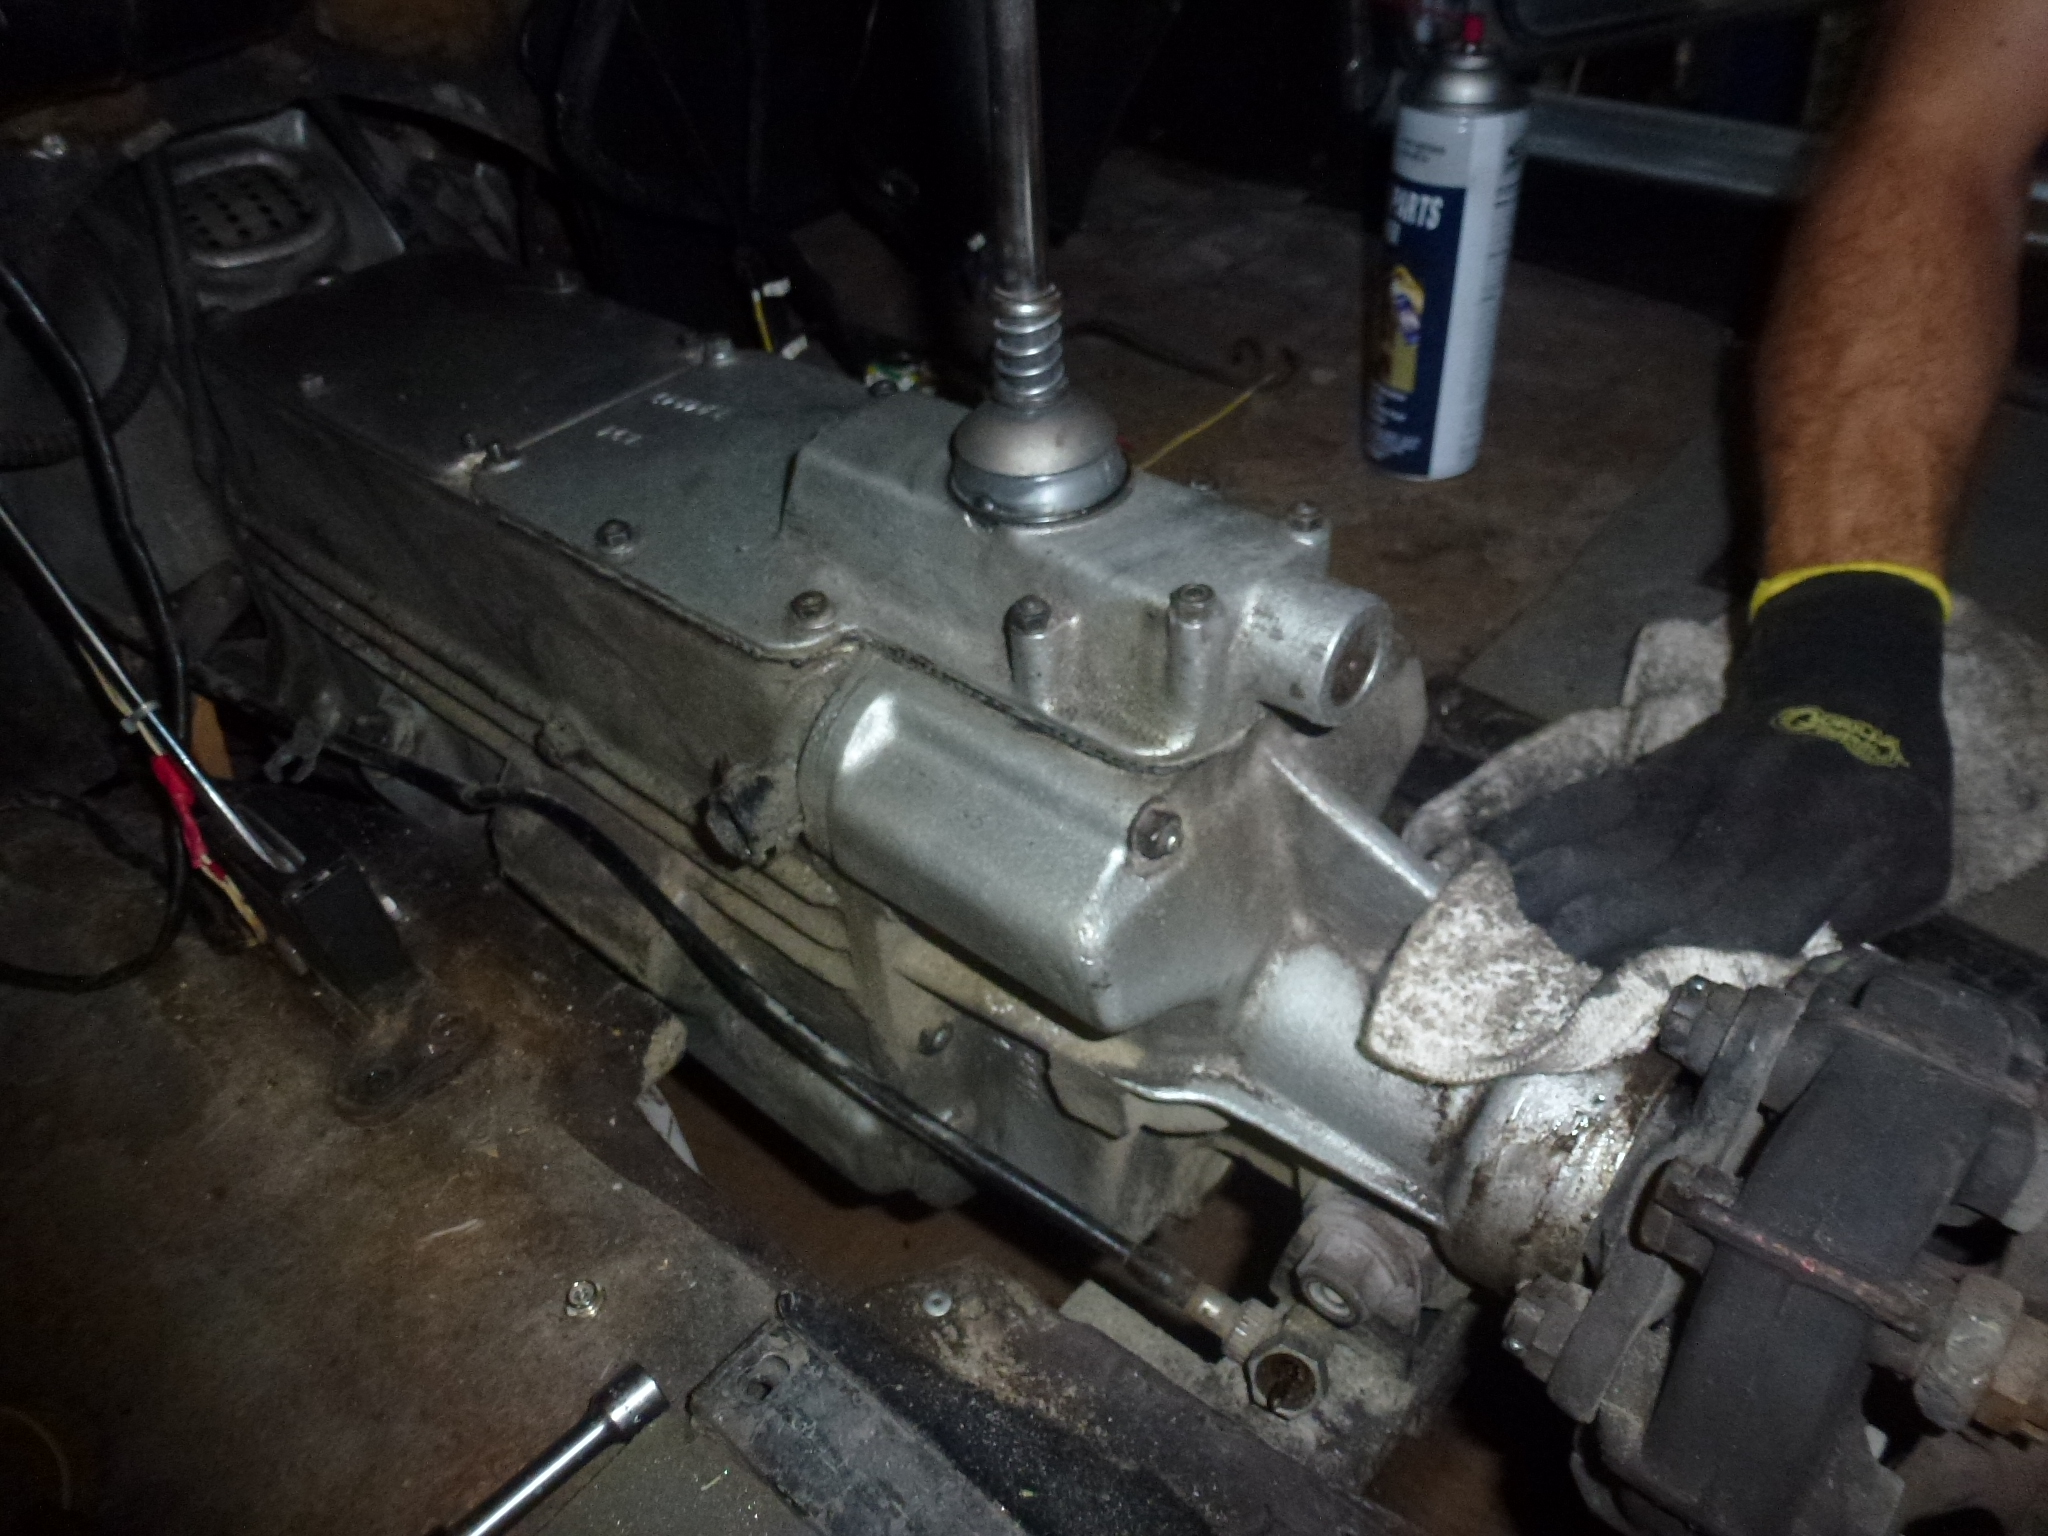
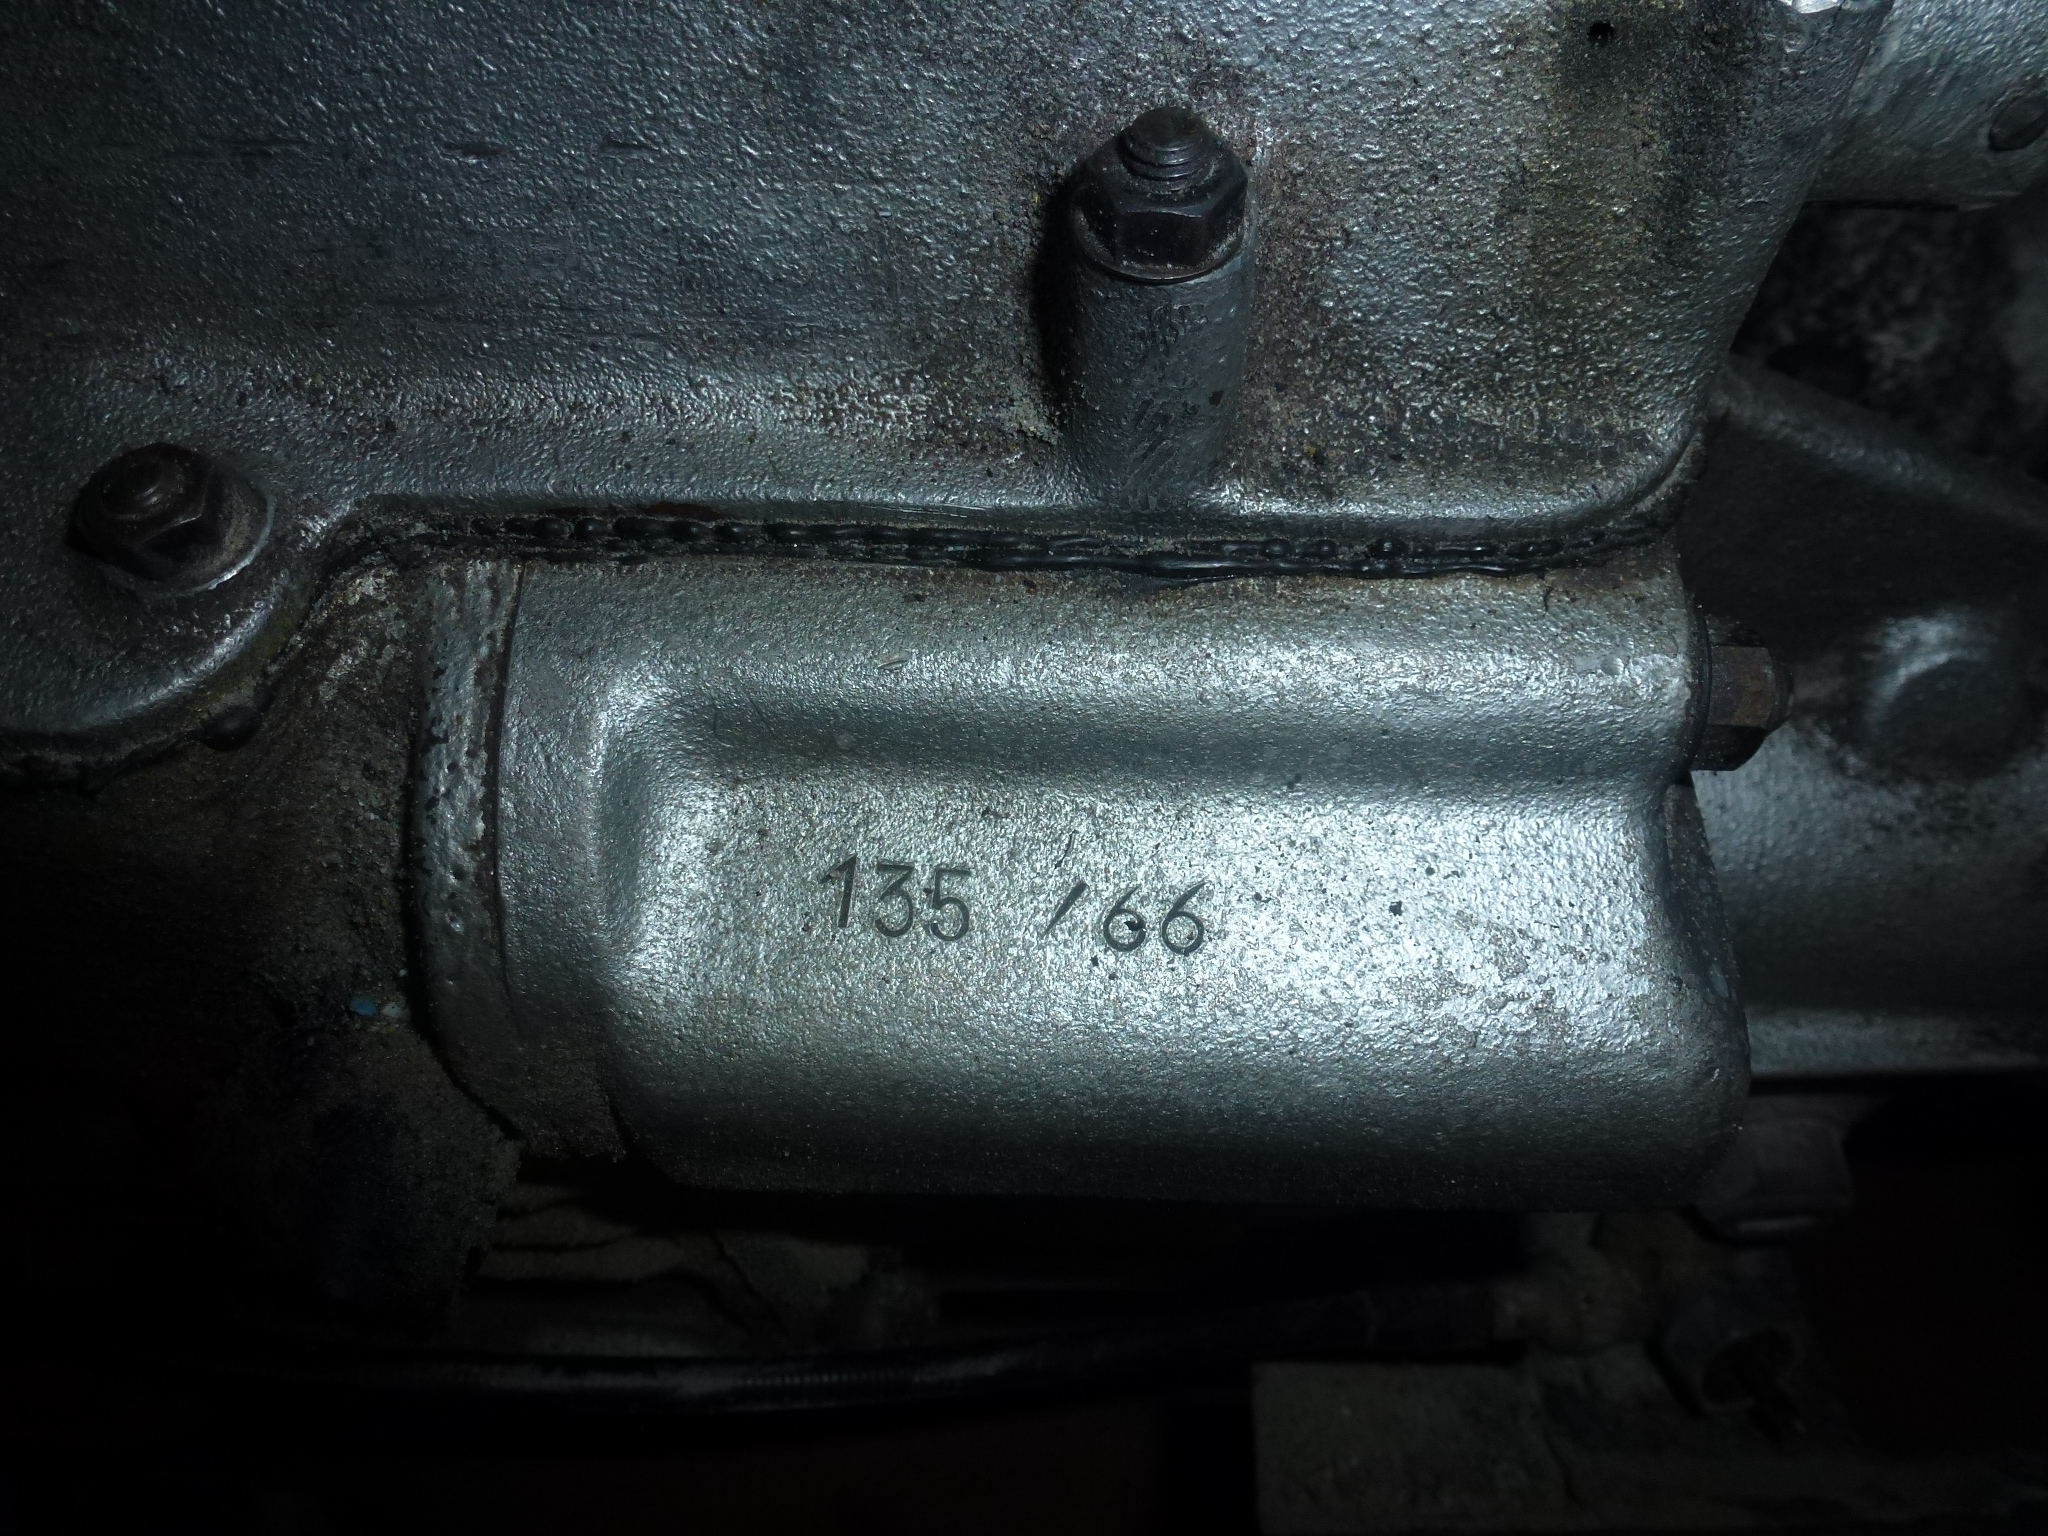
Once the tunnel is apart, the transmission is completely exposed. Mine was really dirty from the auto body shop, so I spent a bit of time cleaning. Now is a good time to take a picture of the transmission serial number too.
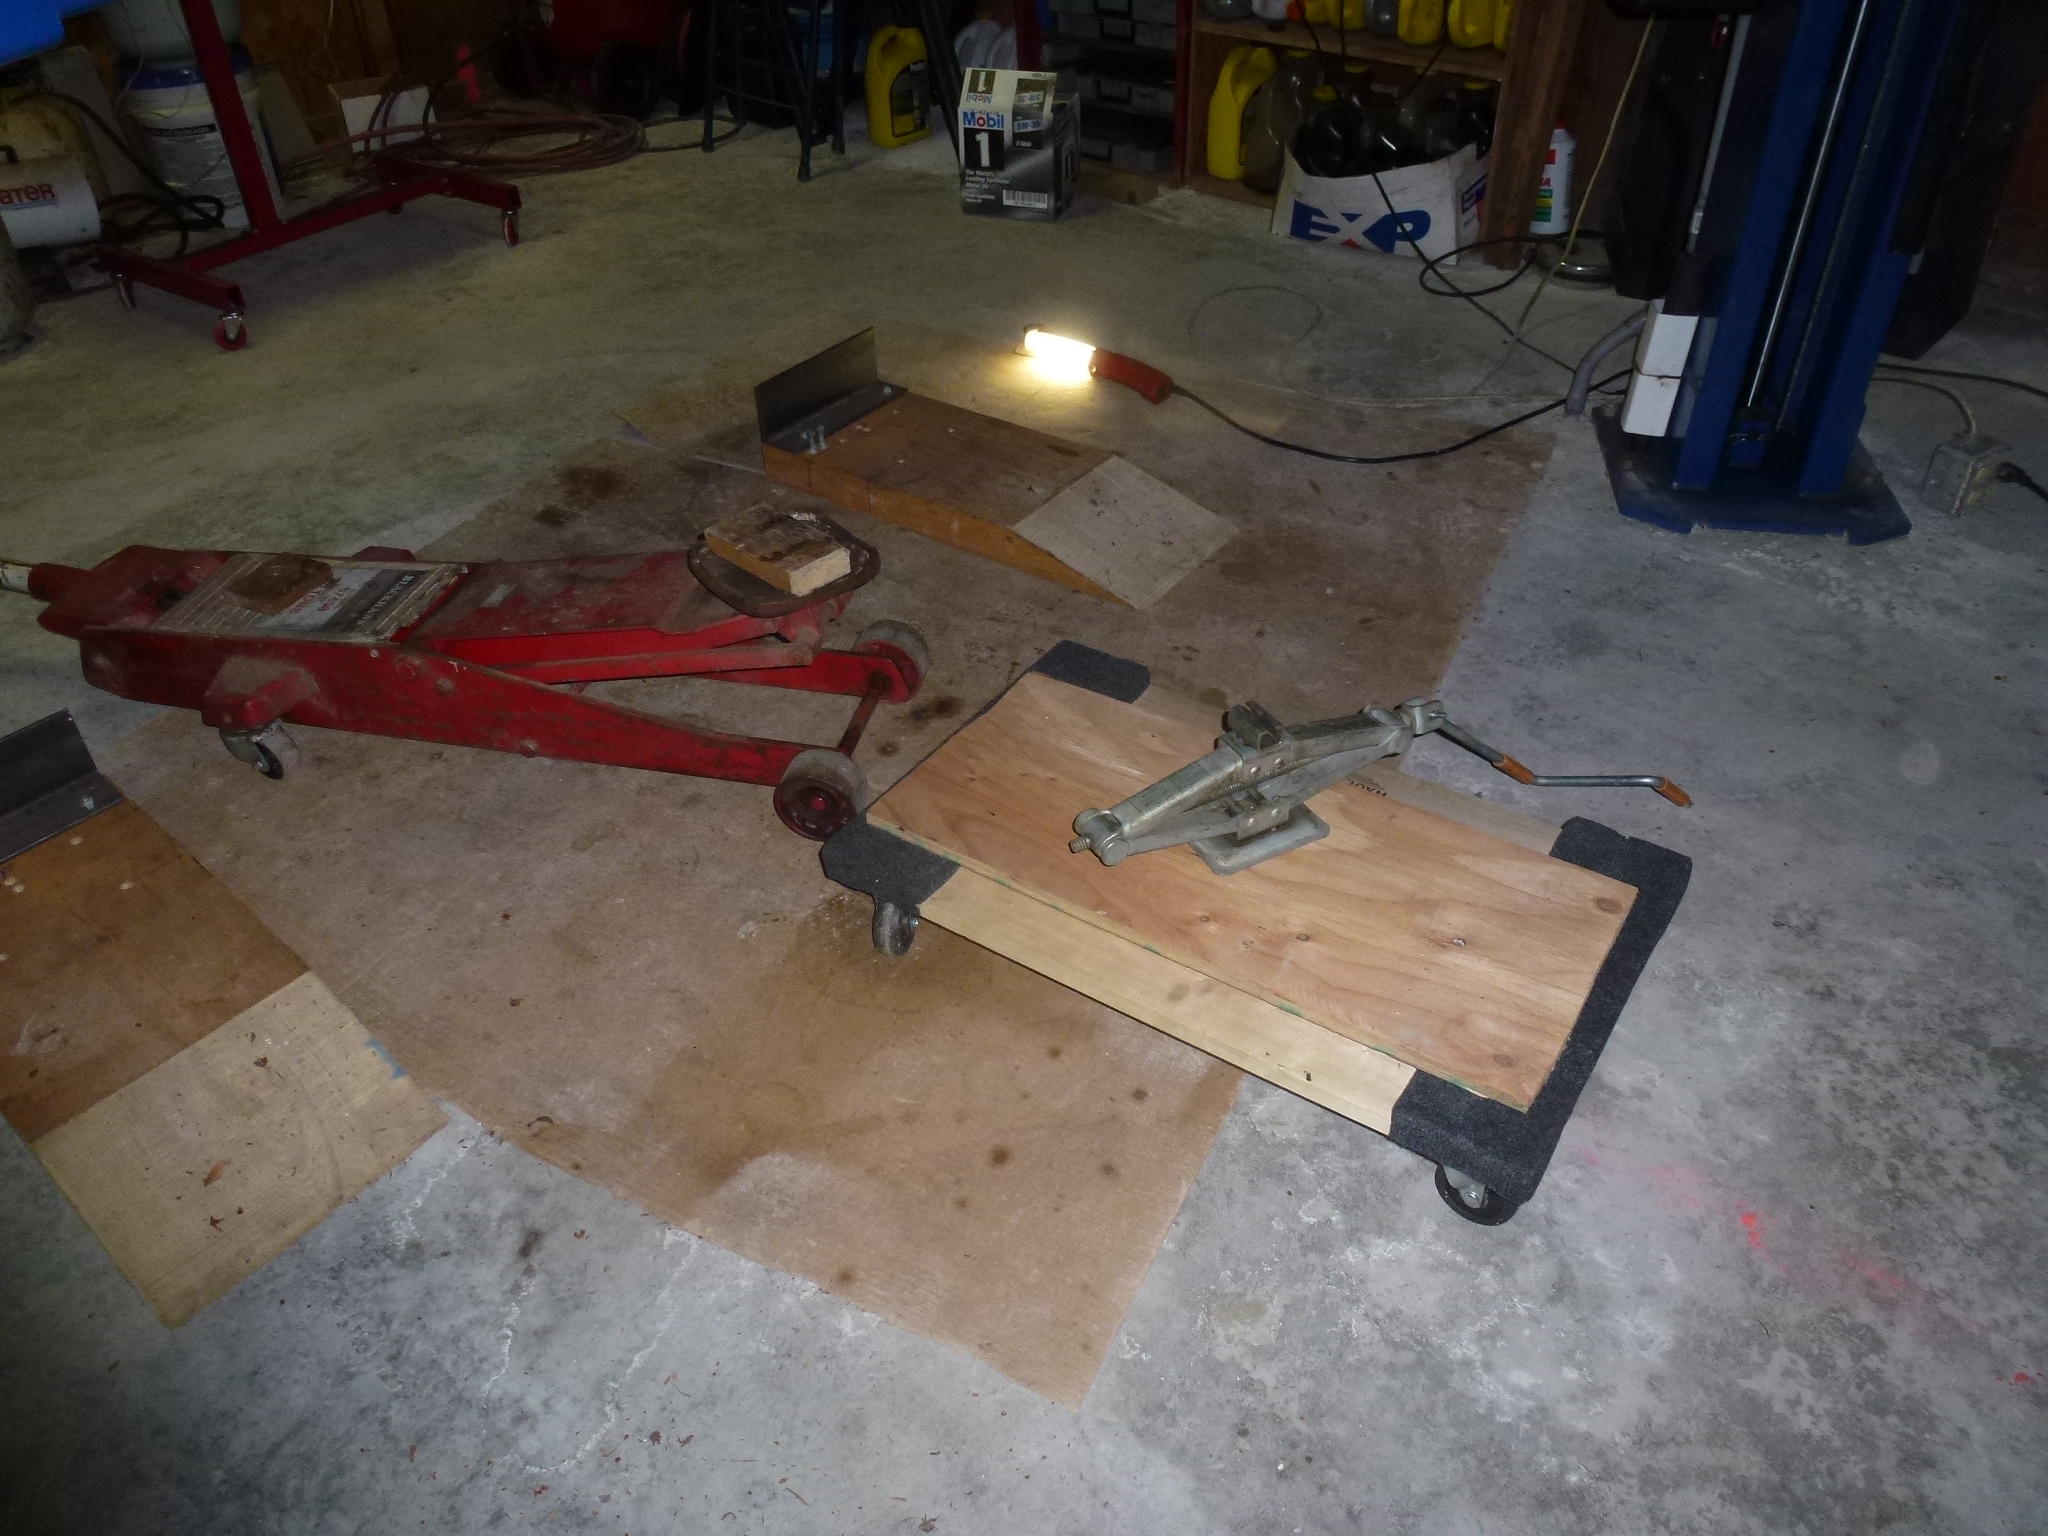
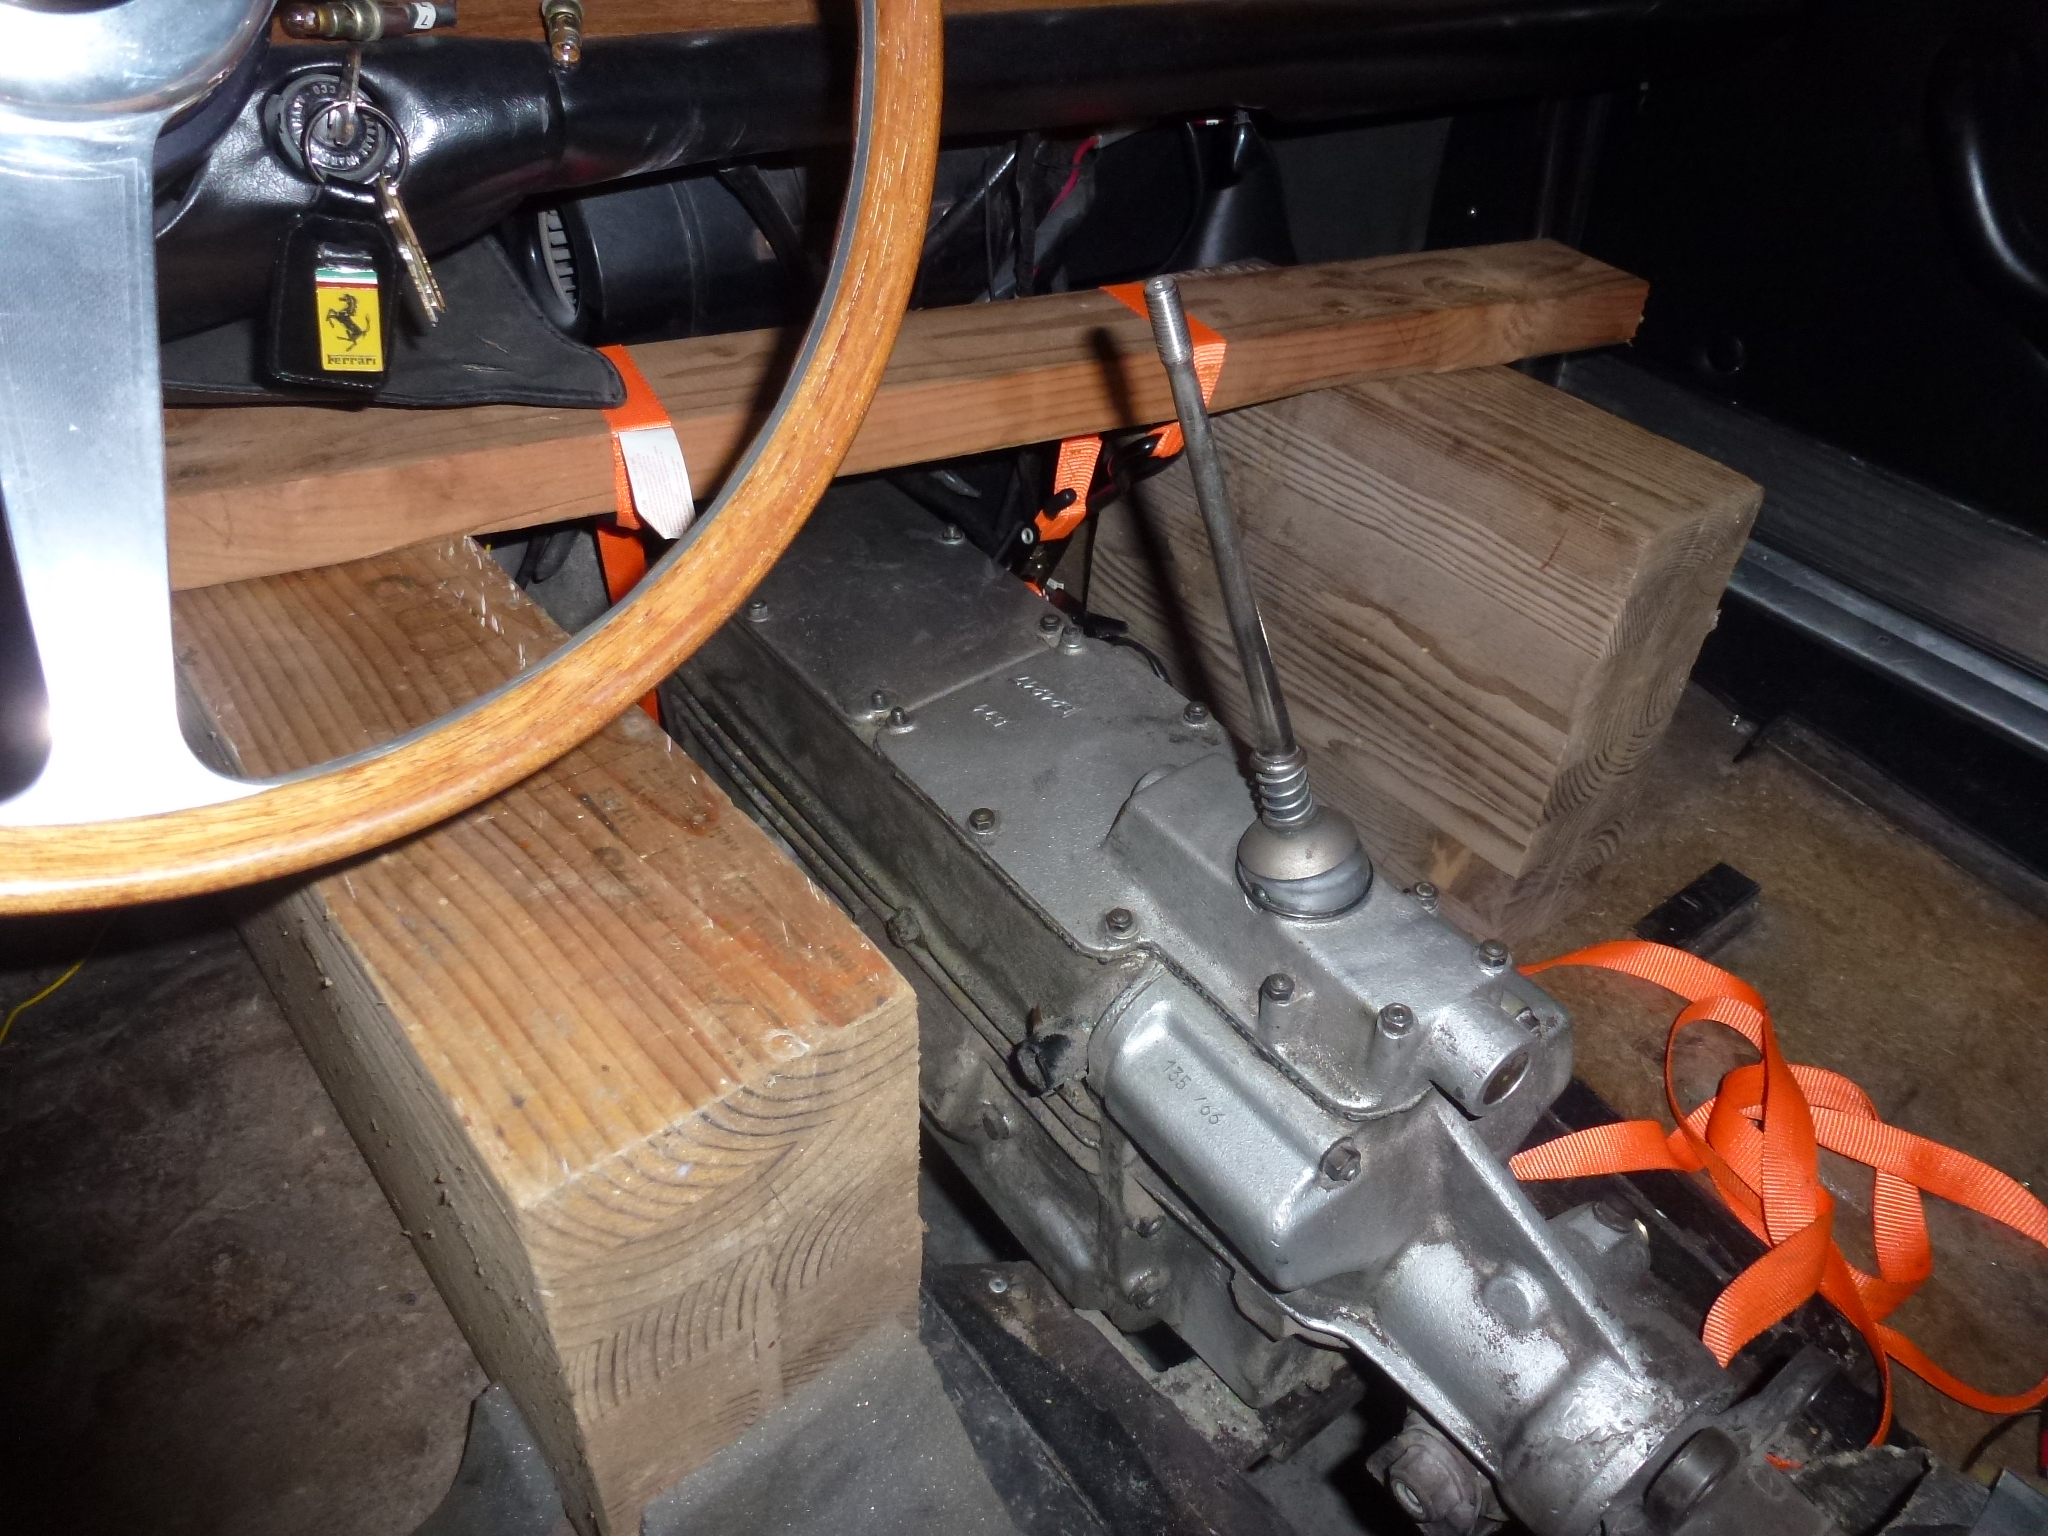
The plan was to support the engine with the garage jack and have the transmission supported by the scissors jack so it could roll backward.
This didn't work too well as the car was too low to deal with the donut, etc. So we ended supporting the rear of the engine with a ratchet strap and 2x4 supported across the hood. Note, the 2x4 is resting of two short pieces which are supported on the hood channel flange, not on the freshly painted fenders.
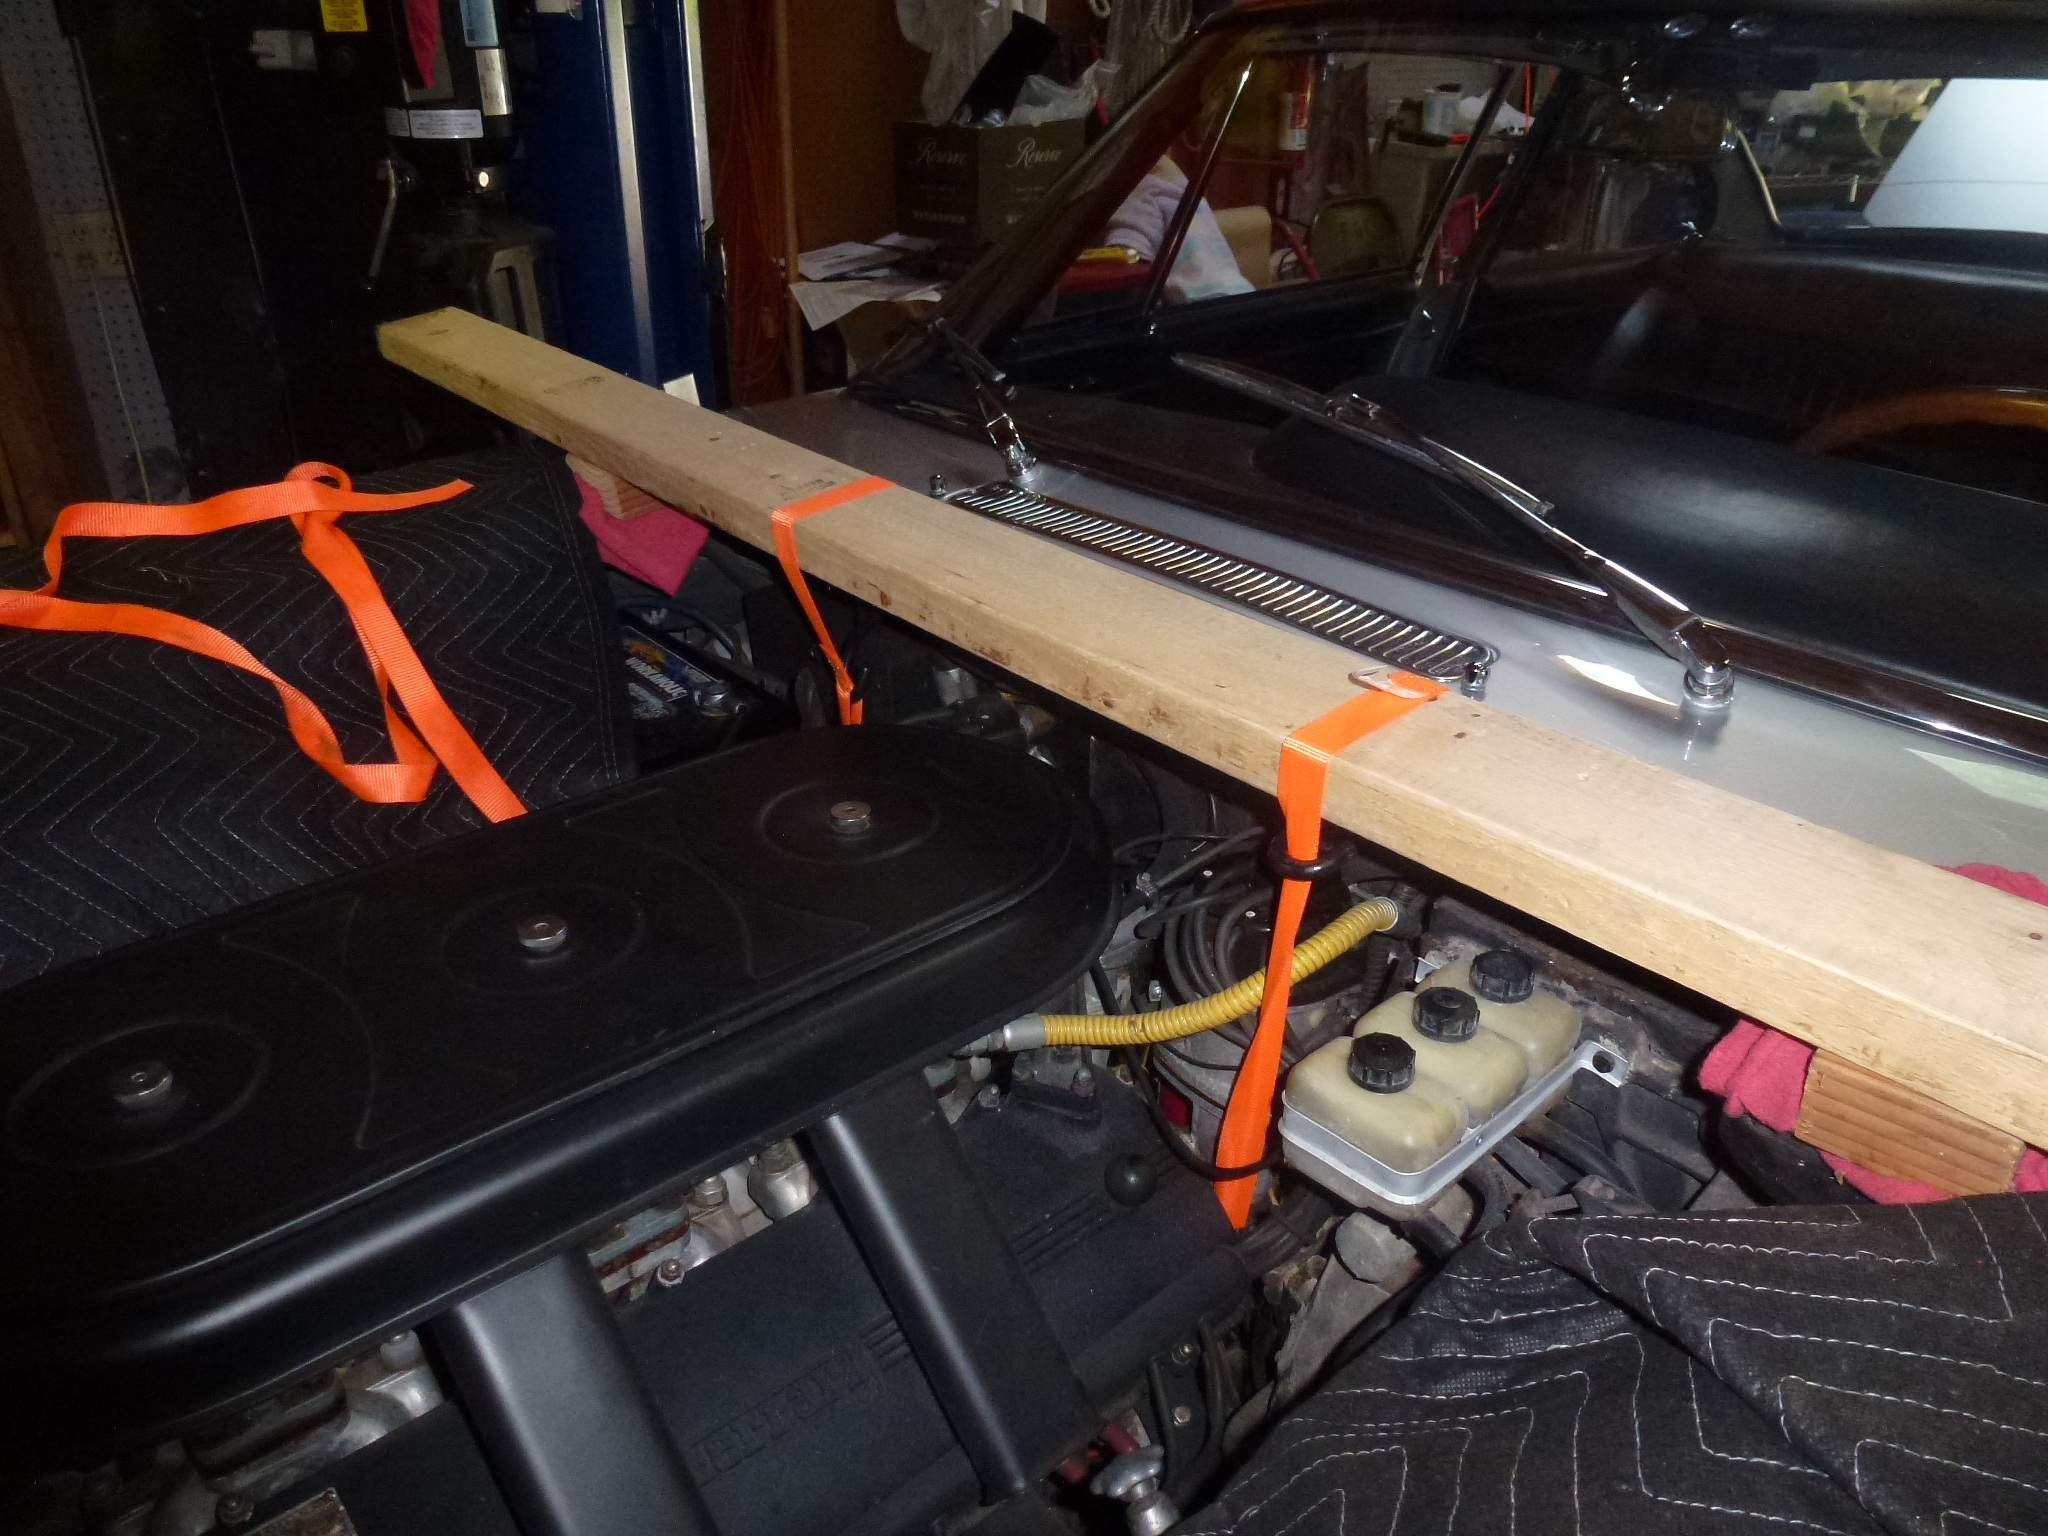
Similarly, the front of the transmission is supported by a strap, 2x4 resting on a couple of large glue lam blocks.
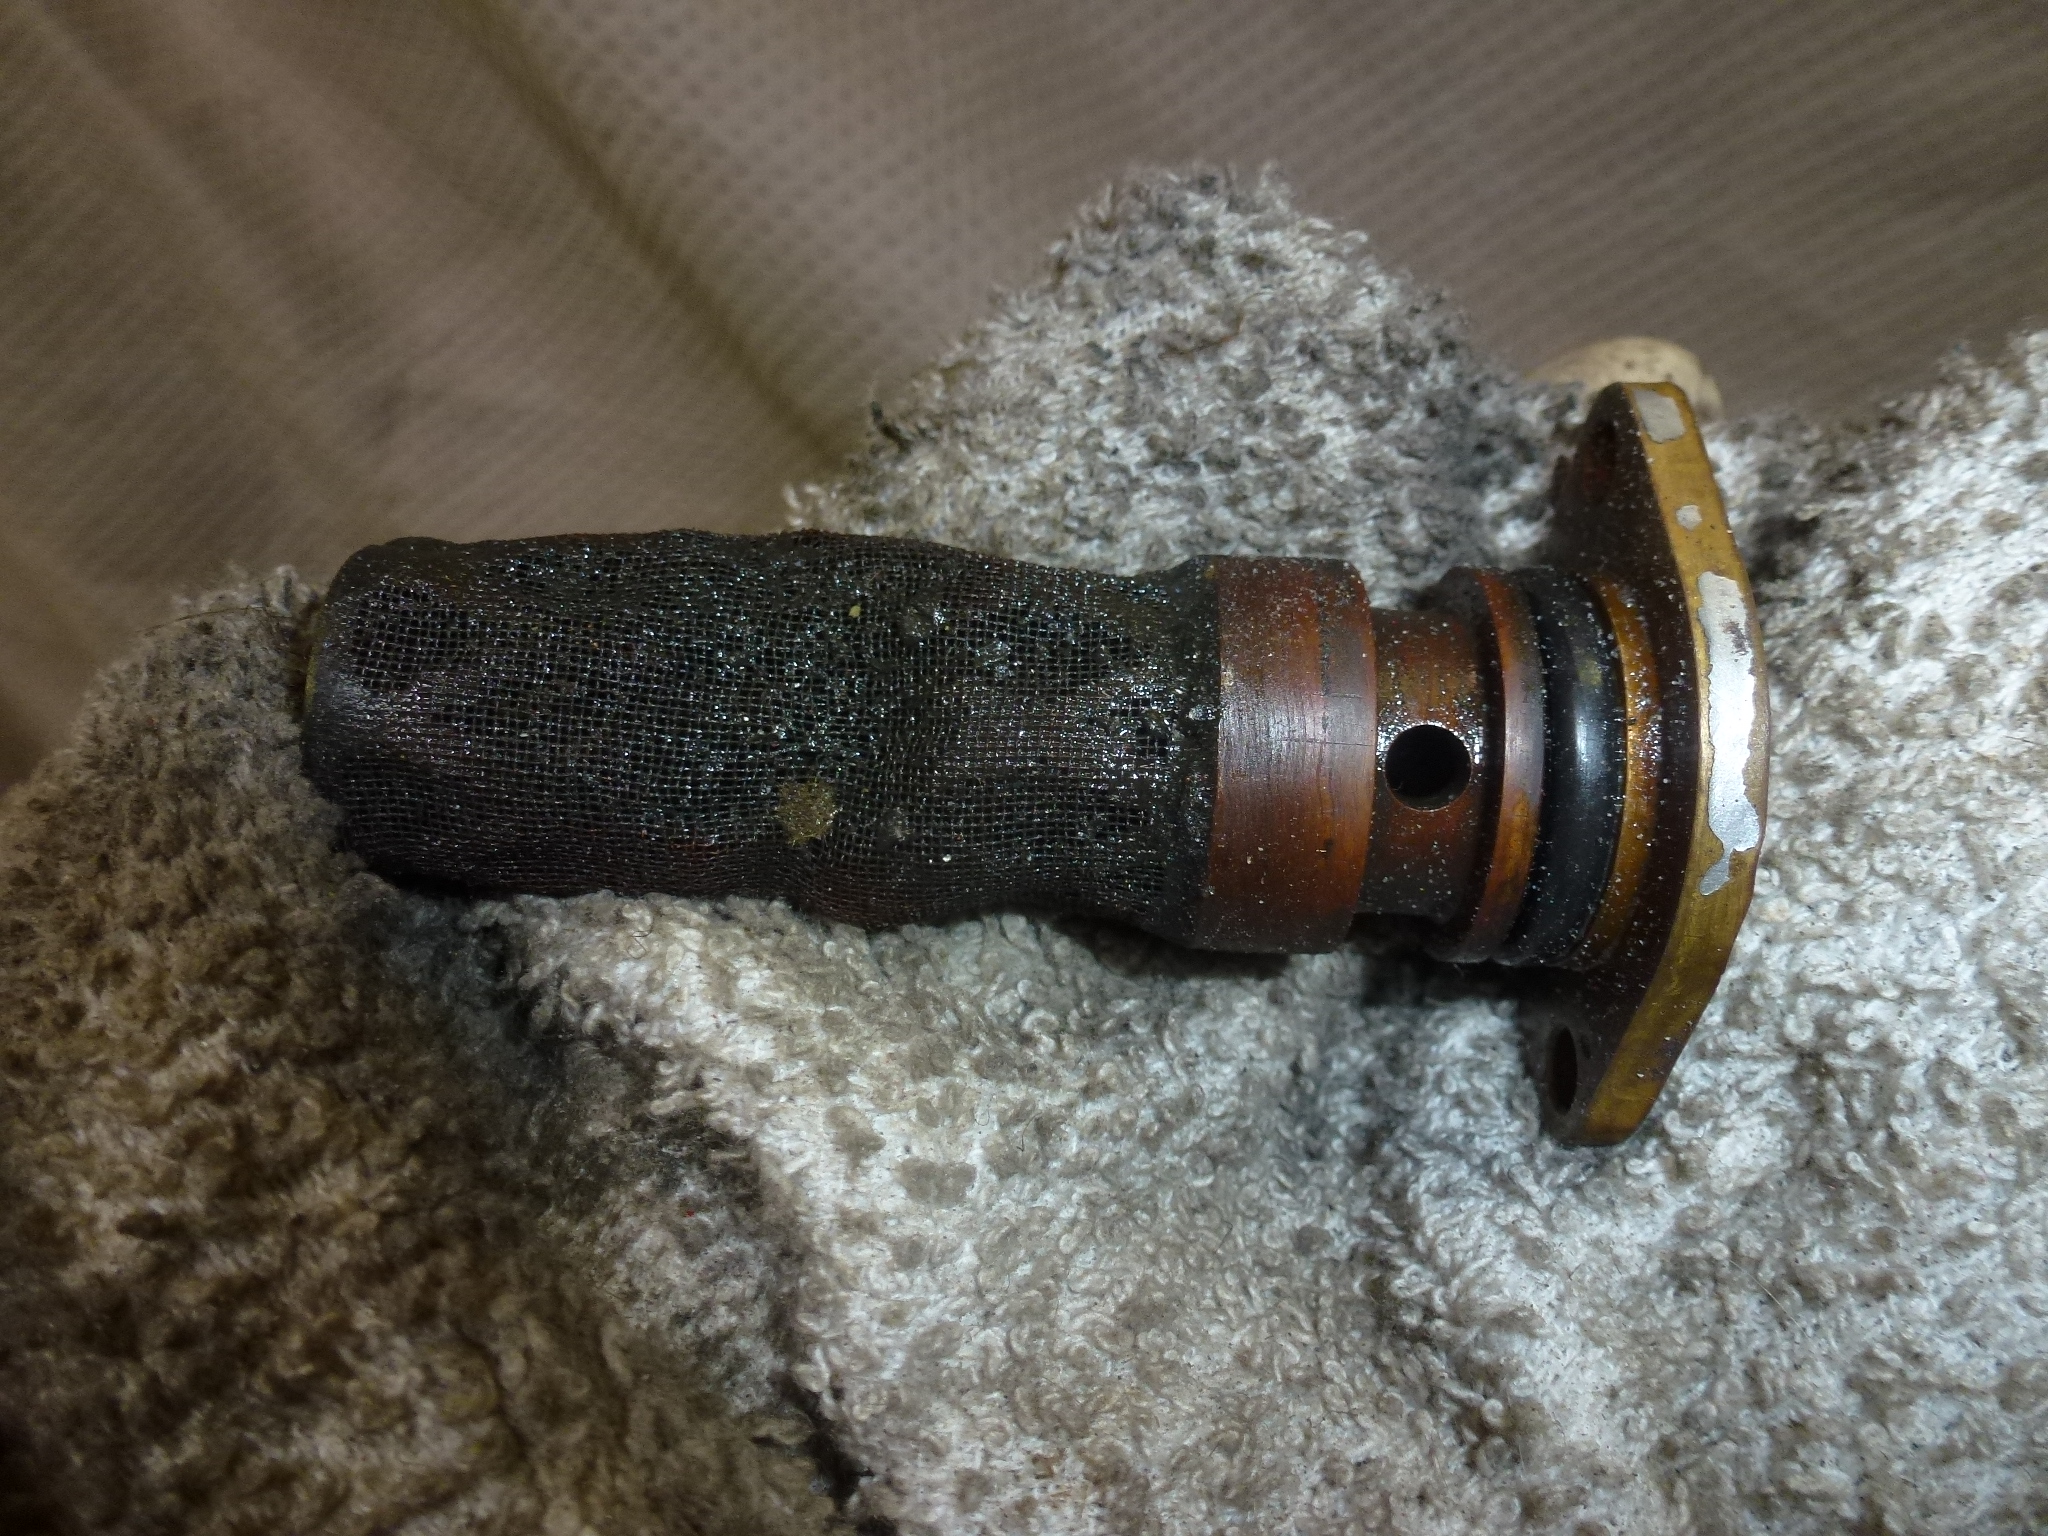
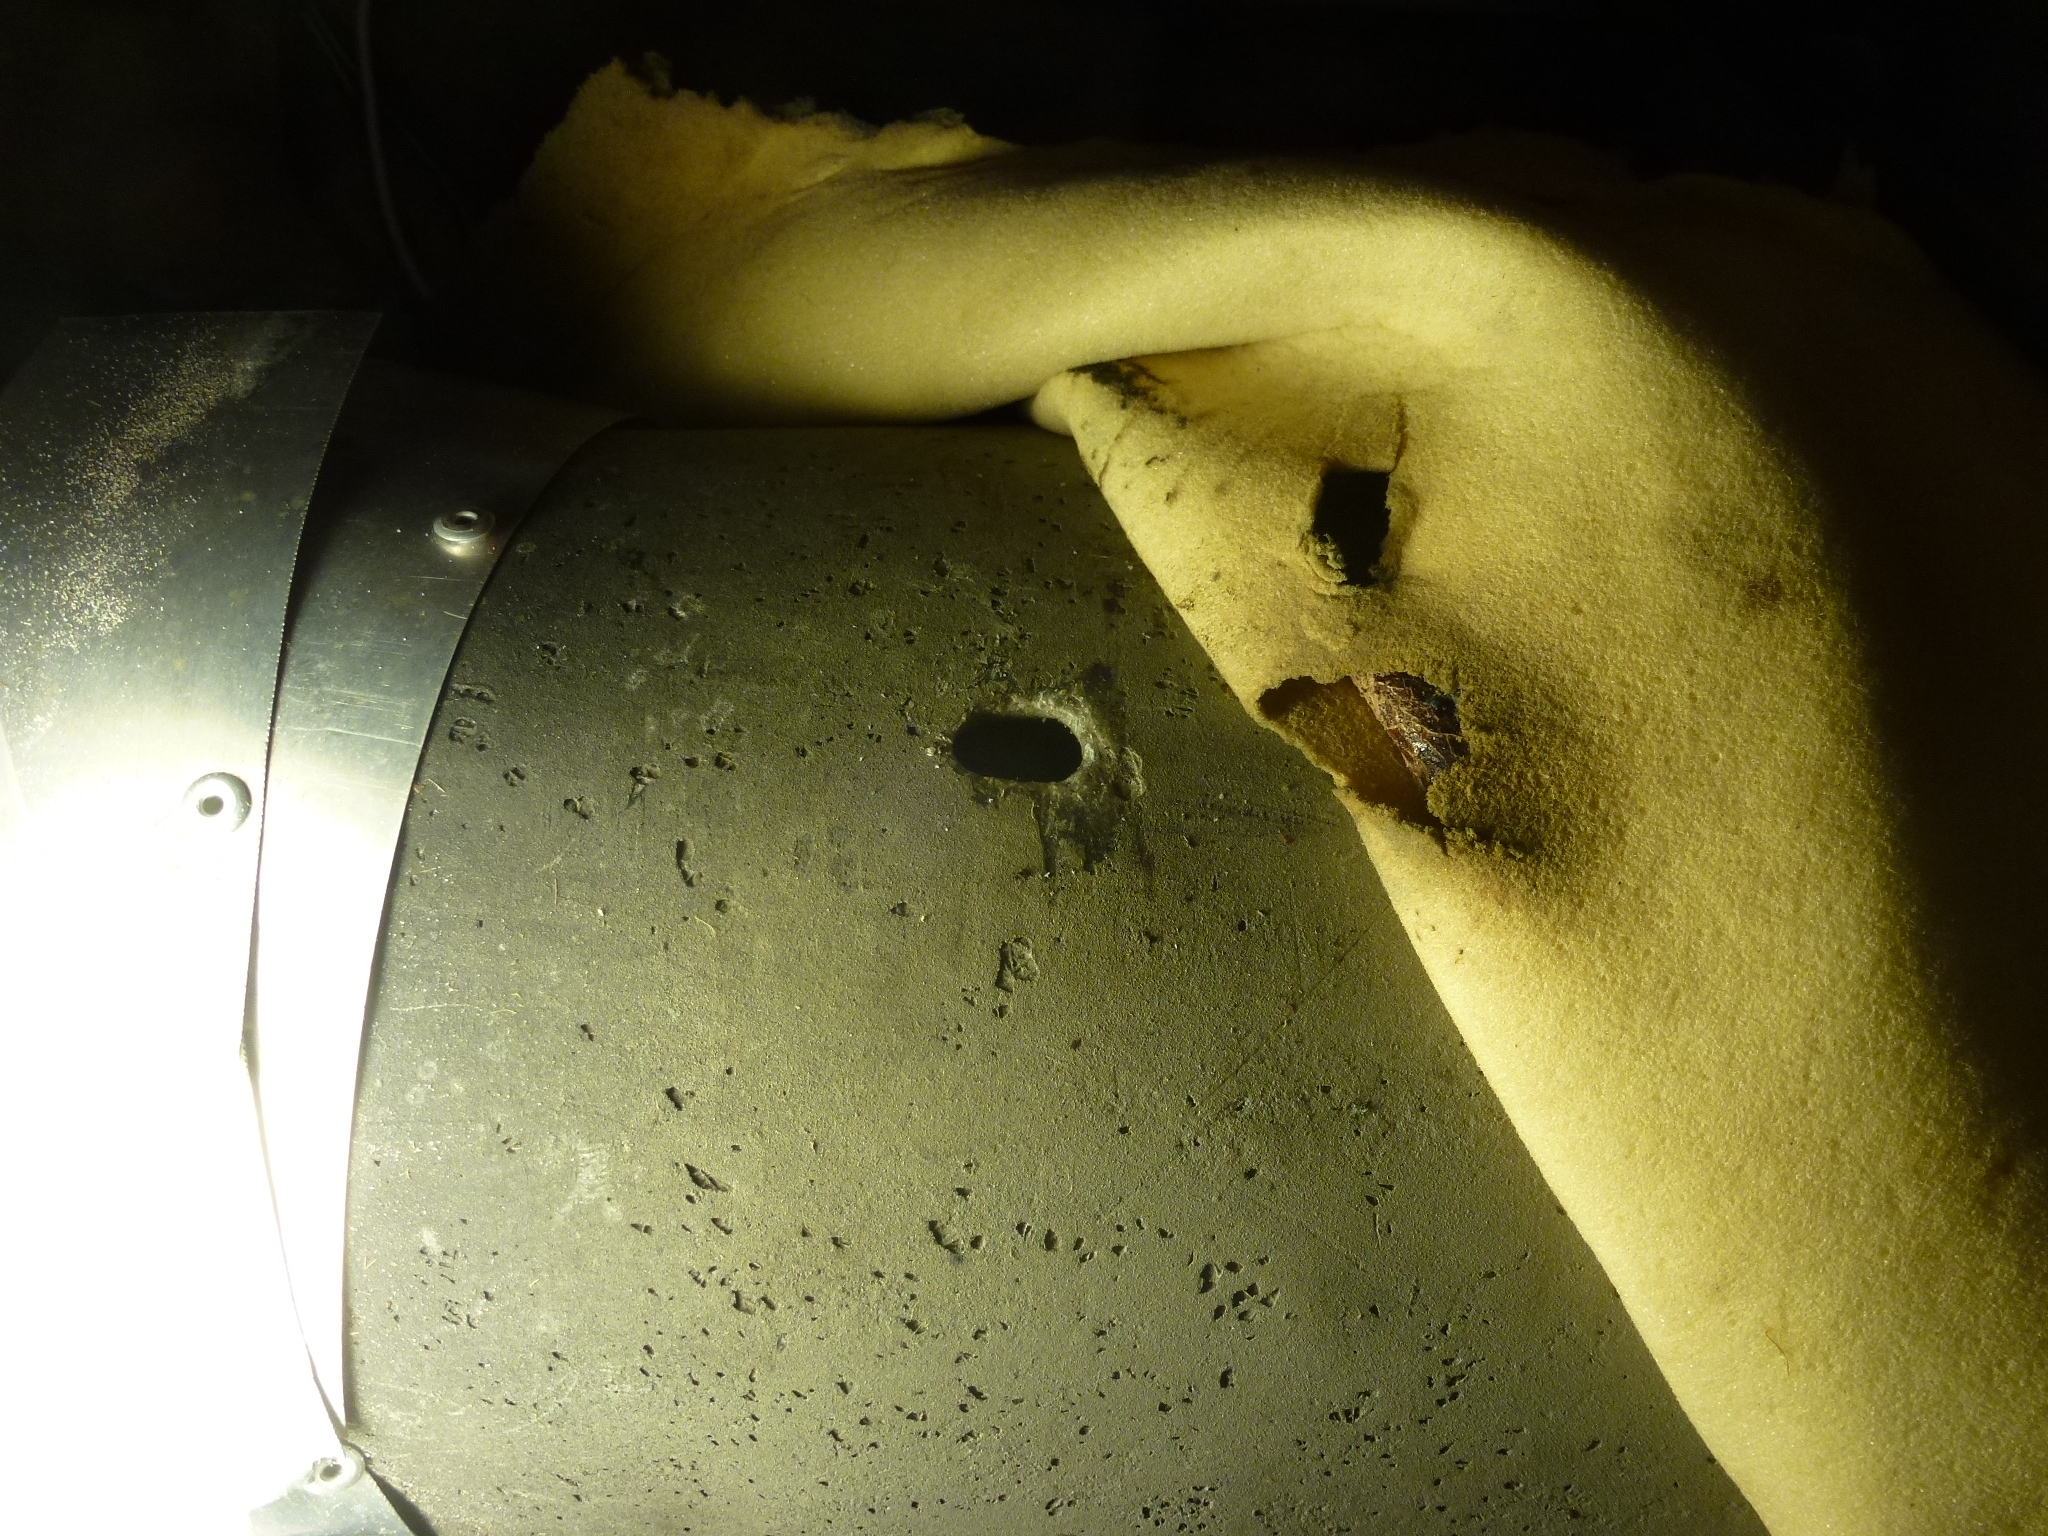
Now the transmission could be unbolted from the engine and pulled back. One thing that you should always do when the transmission is loose, is to clean the filter screen at the rear. This normally can't be removed as the support is in the way. With the transmission up and moved to the rear, it is exposed and can be taken out. You can see how dirty the screen is. But 30 minutes in the ultra sonic cleaner does wonders. Given that I didn't know about this filter when I rebuilt the engine 32 years ago, it is possible that it has never been cleaned before. Though the bent portion implies that someone had it out at some point (or tried, bending it in the process).
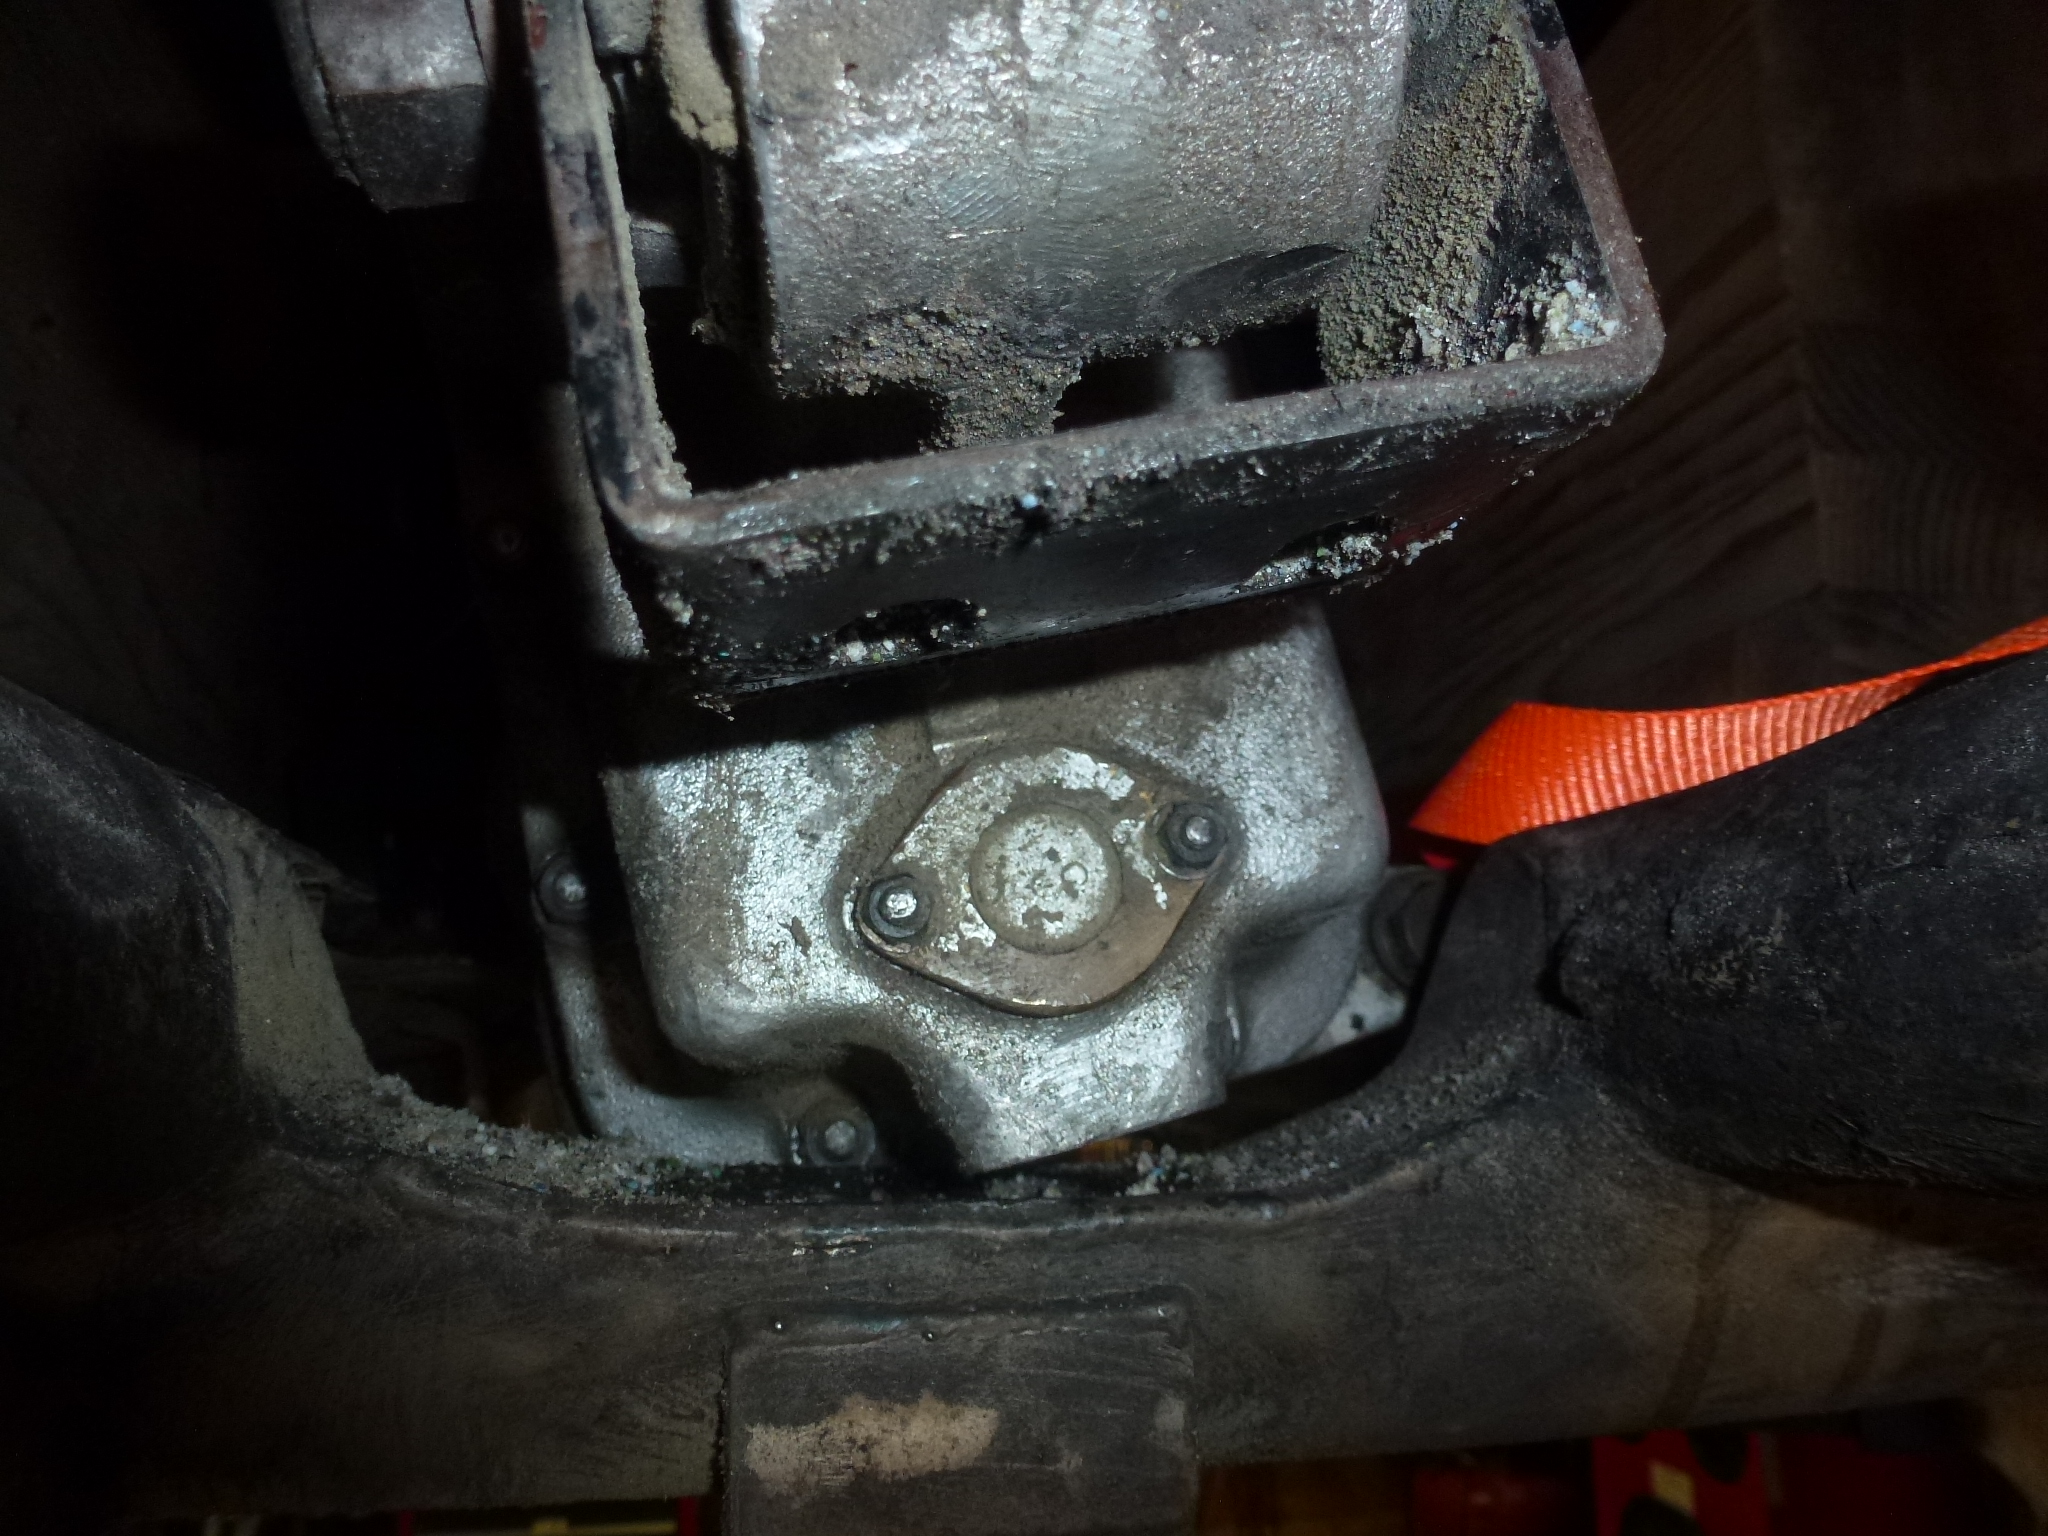

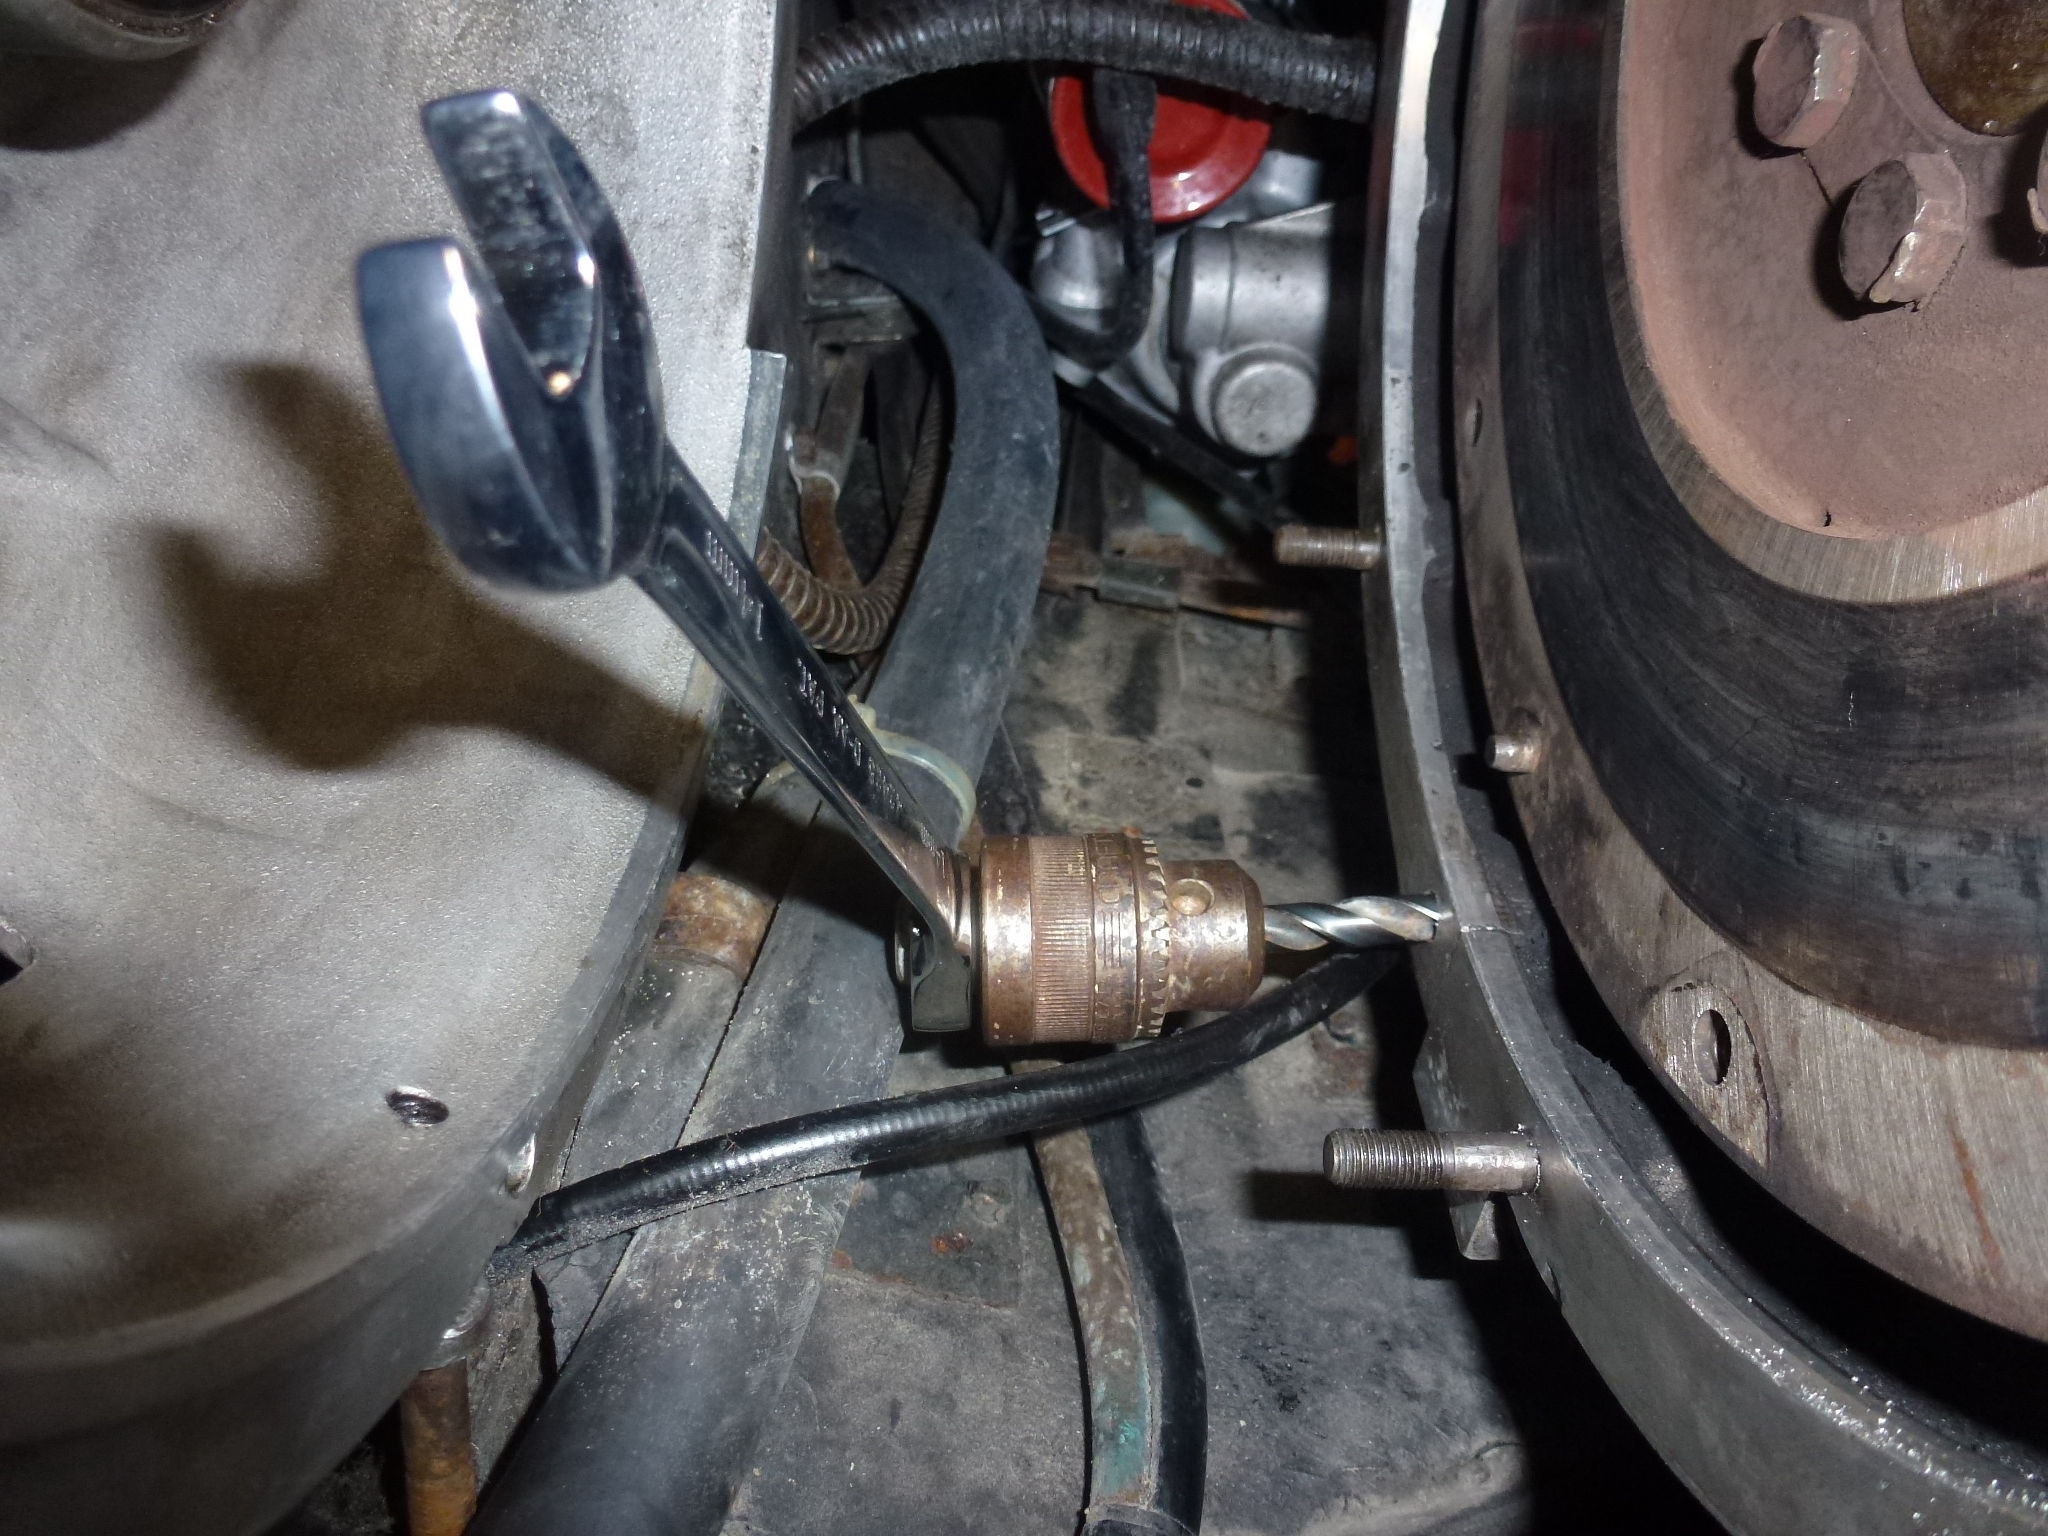
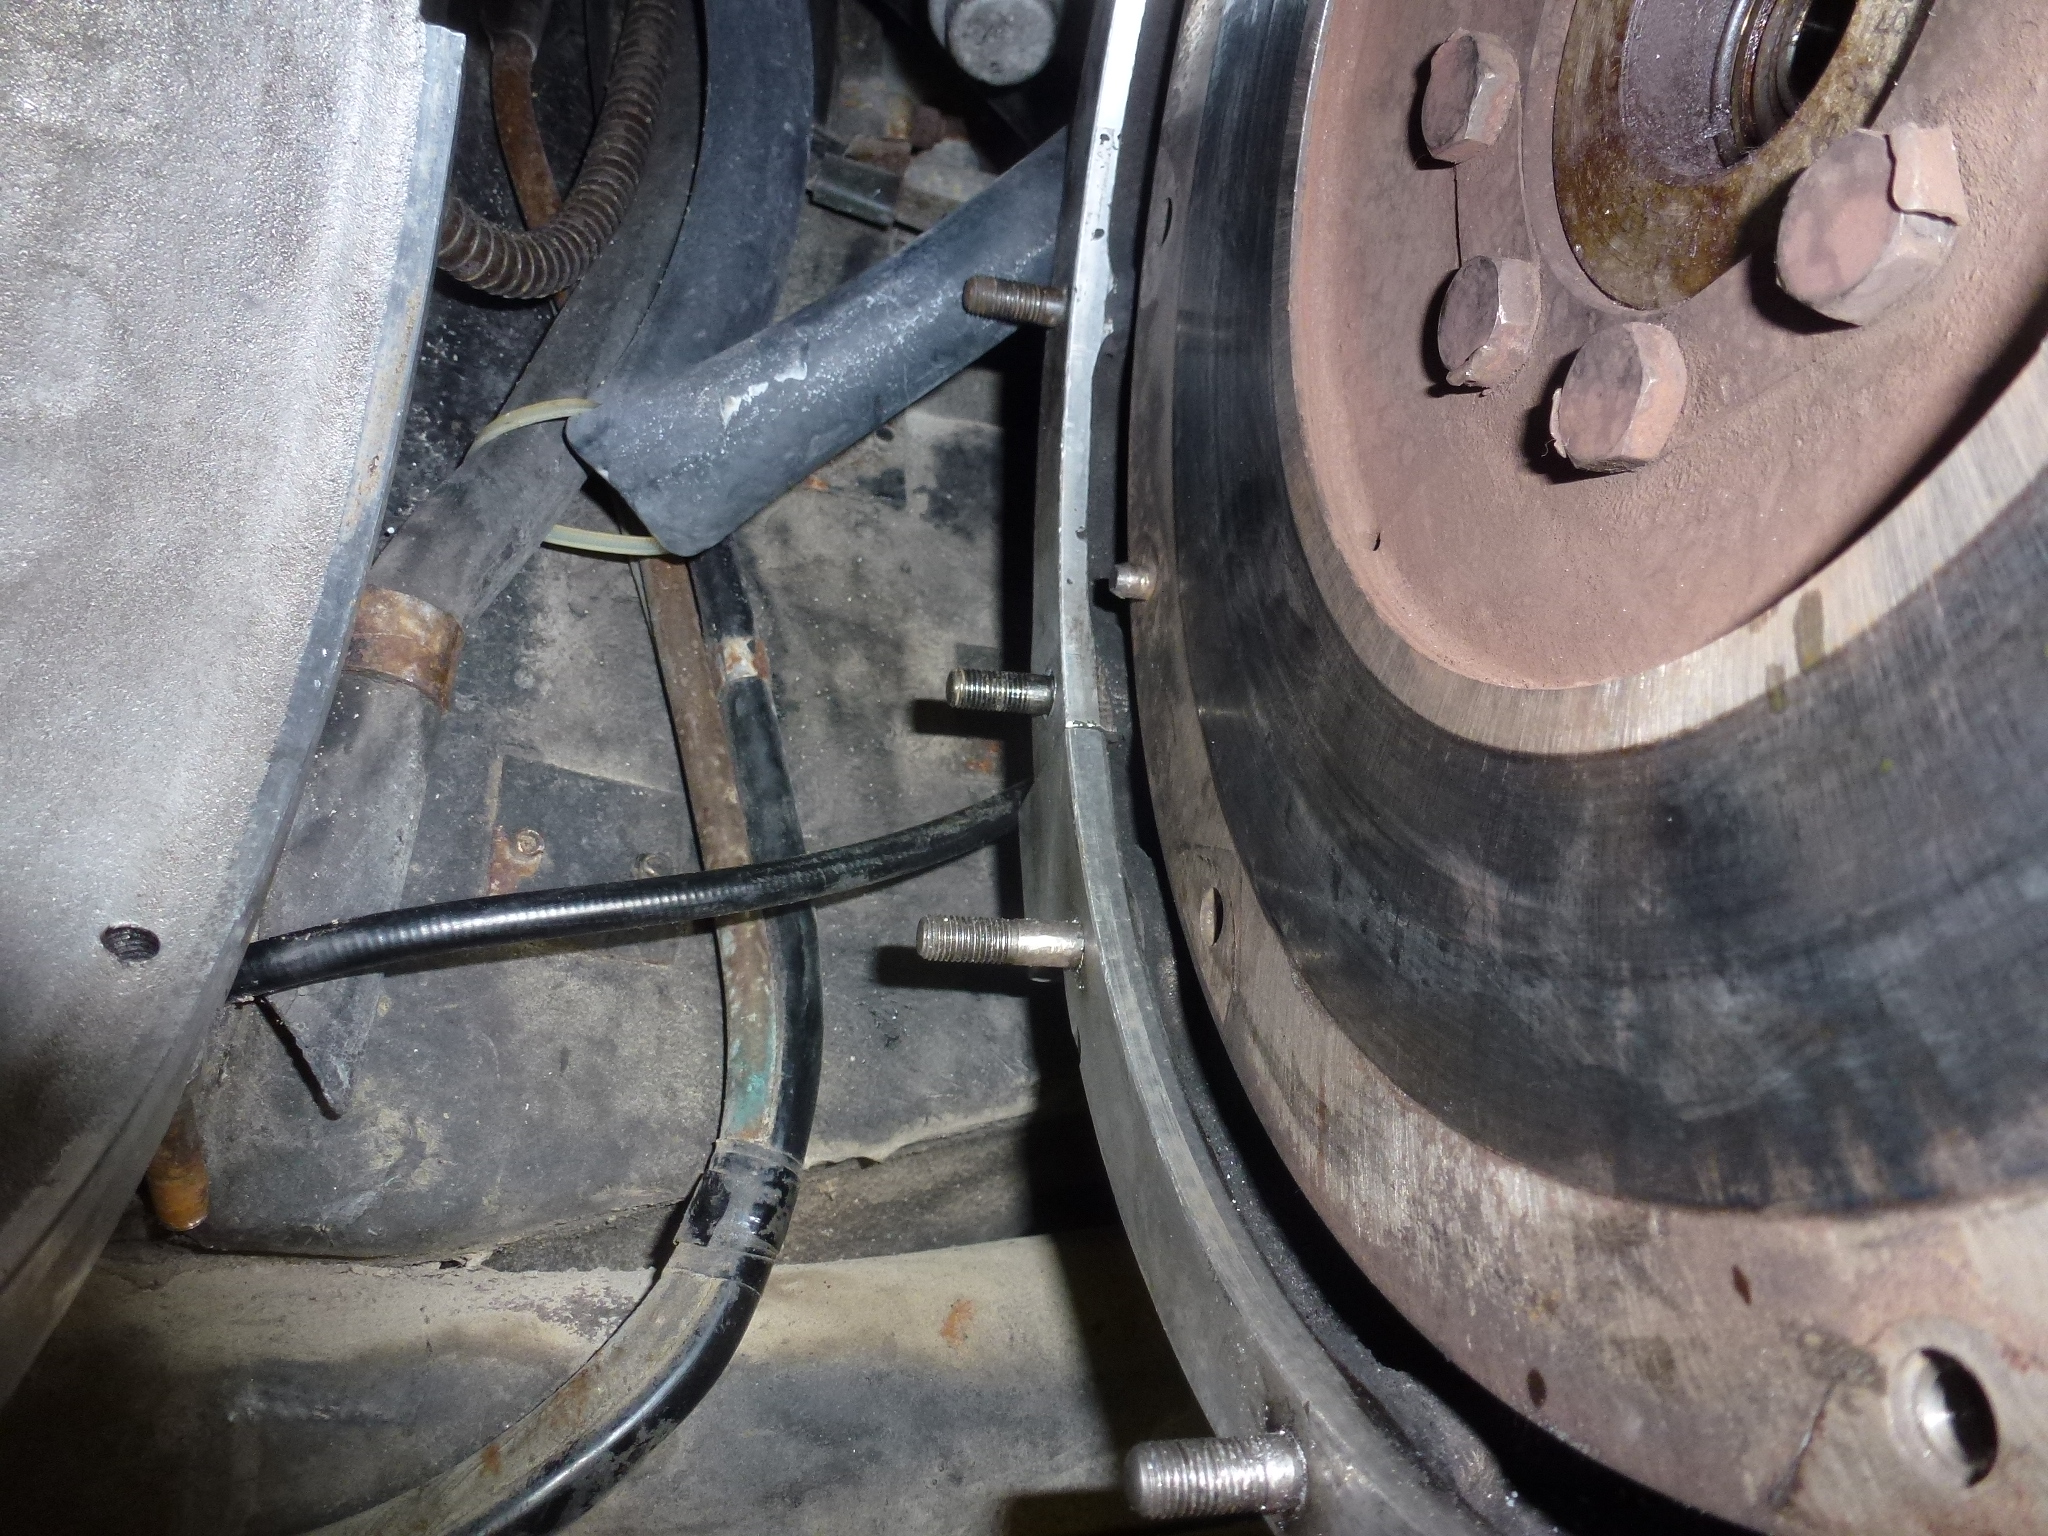
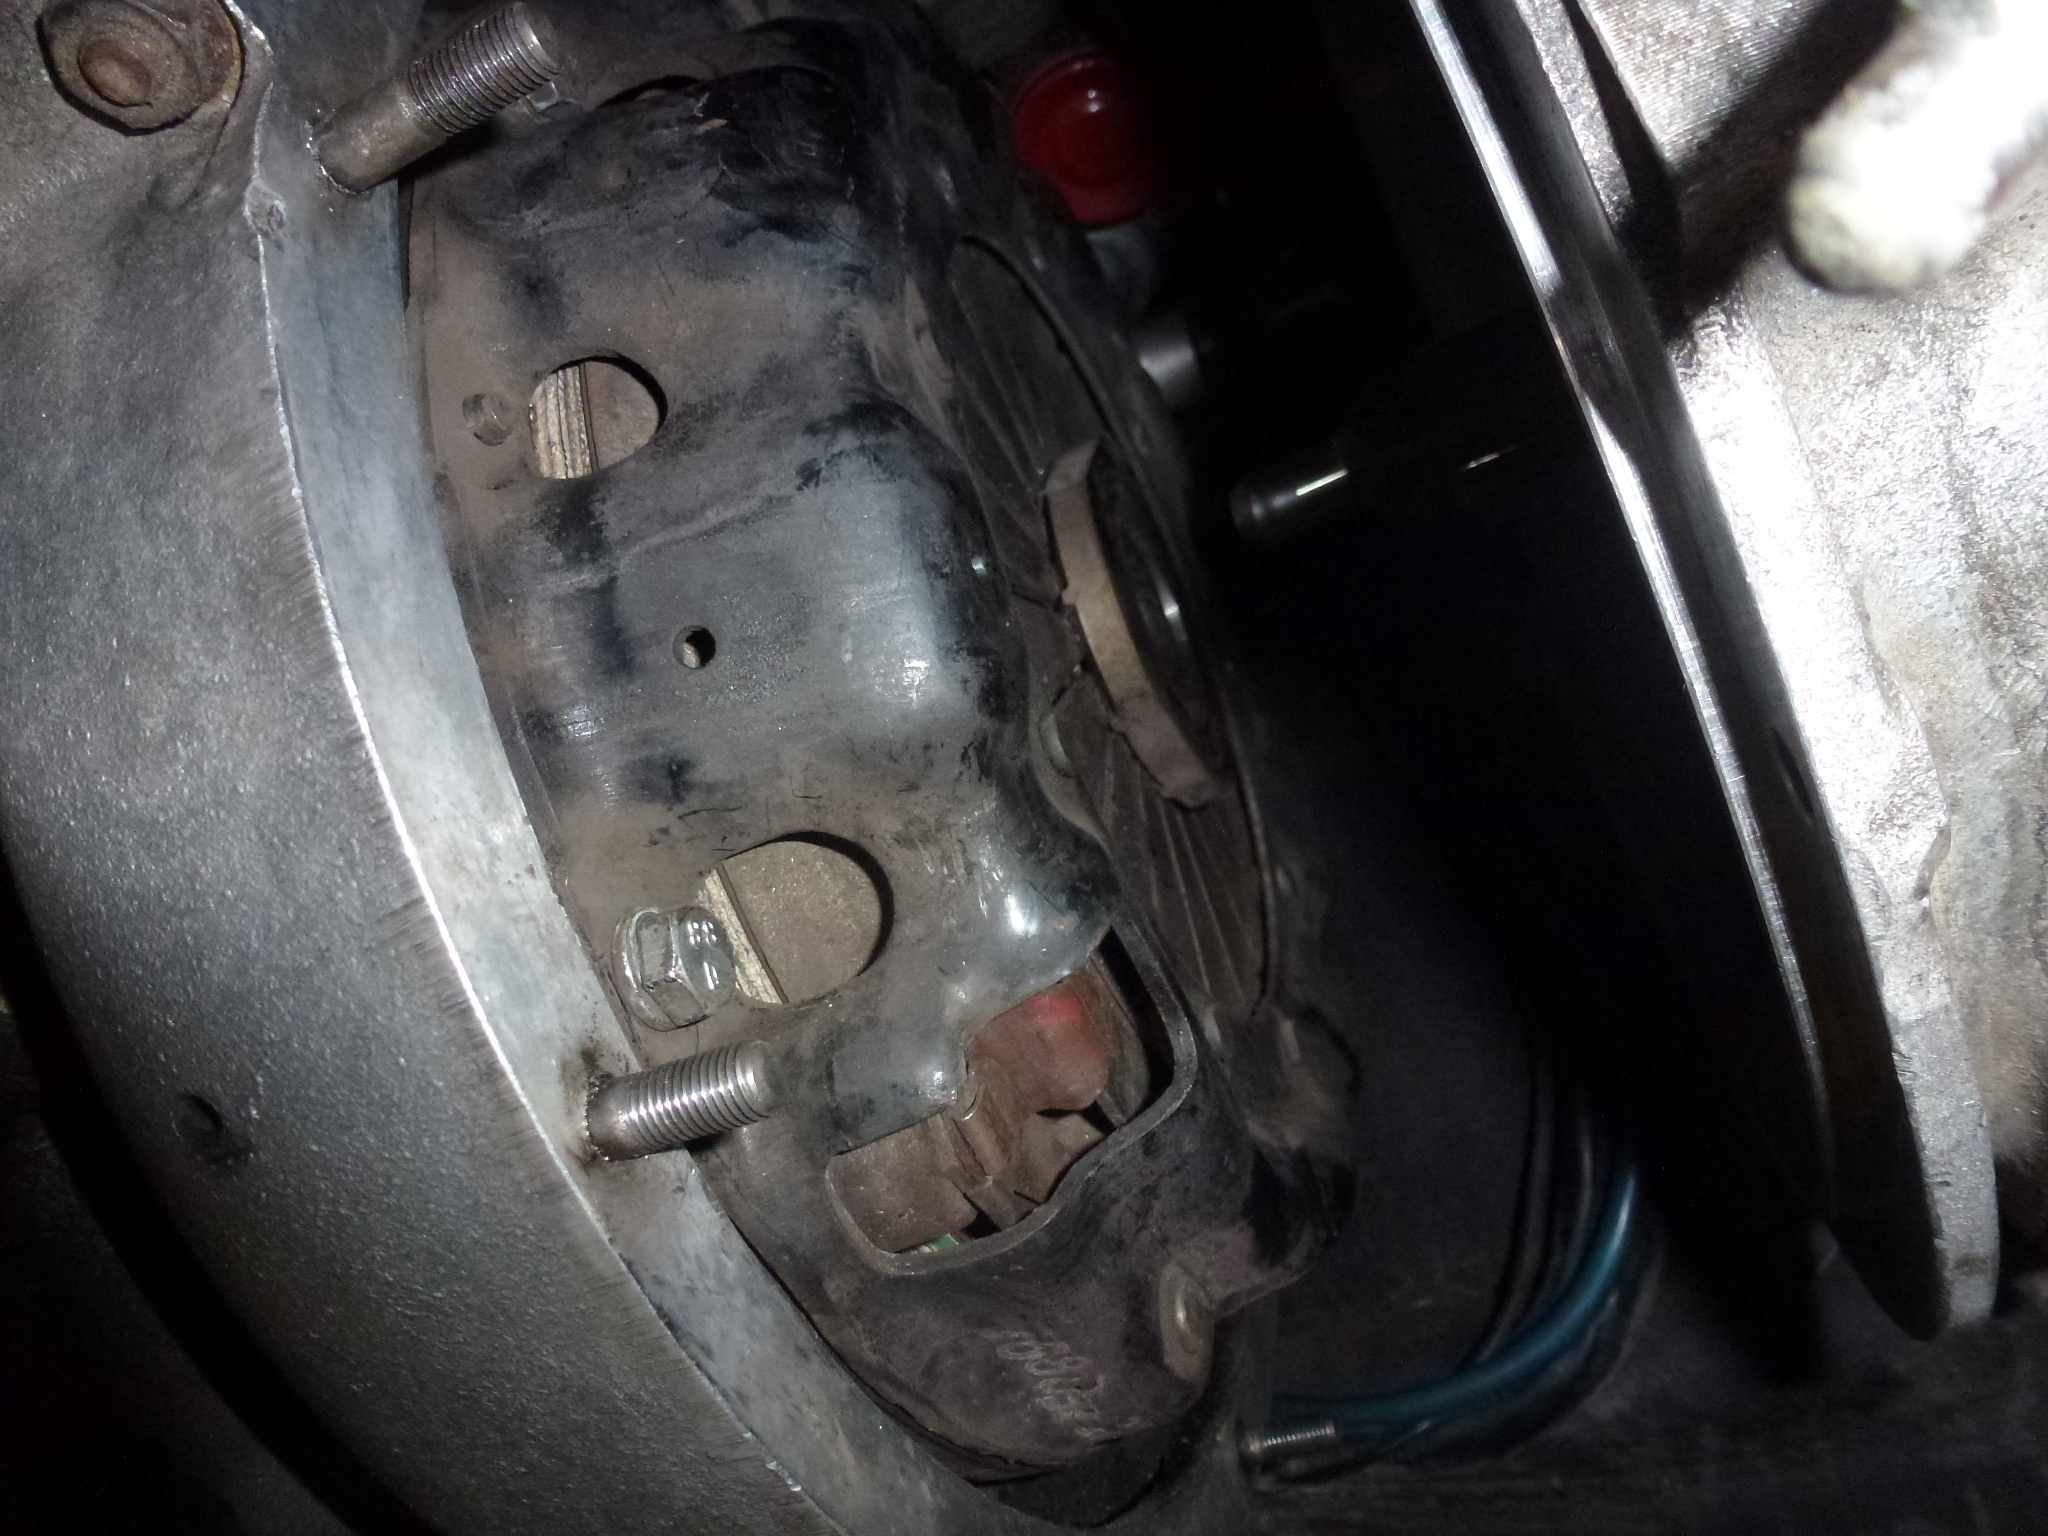
The other thing that we noticed was that there was a missing stud in the bell housing. The threads were stripped and though I don't remember, I'm sure that I decided to ignore it 32 years ago. Now I have better tools and a HeliCoil set, so it was time to fix it correctly.
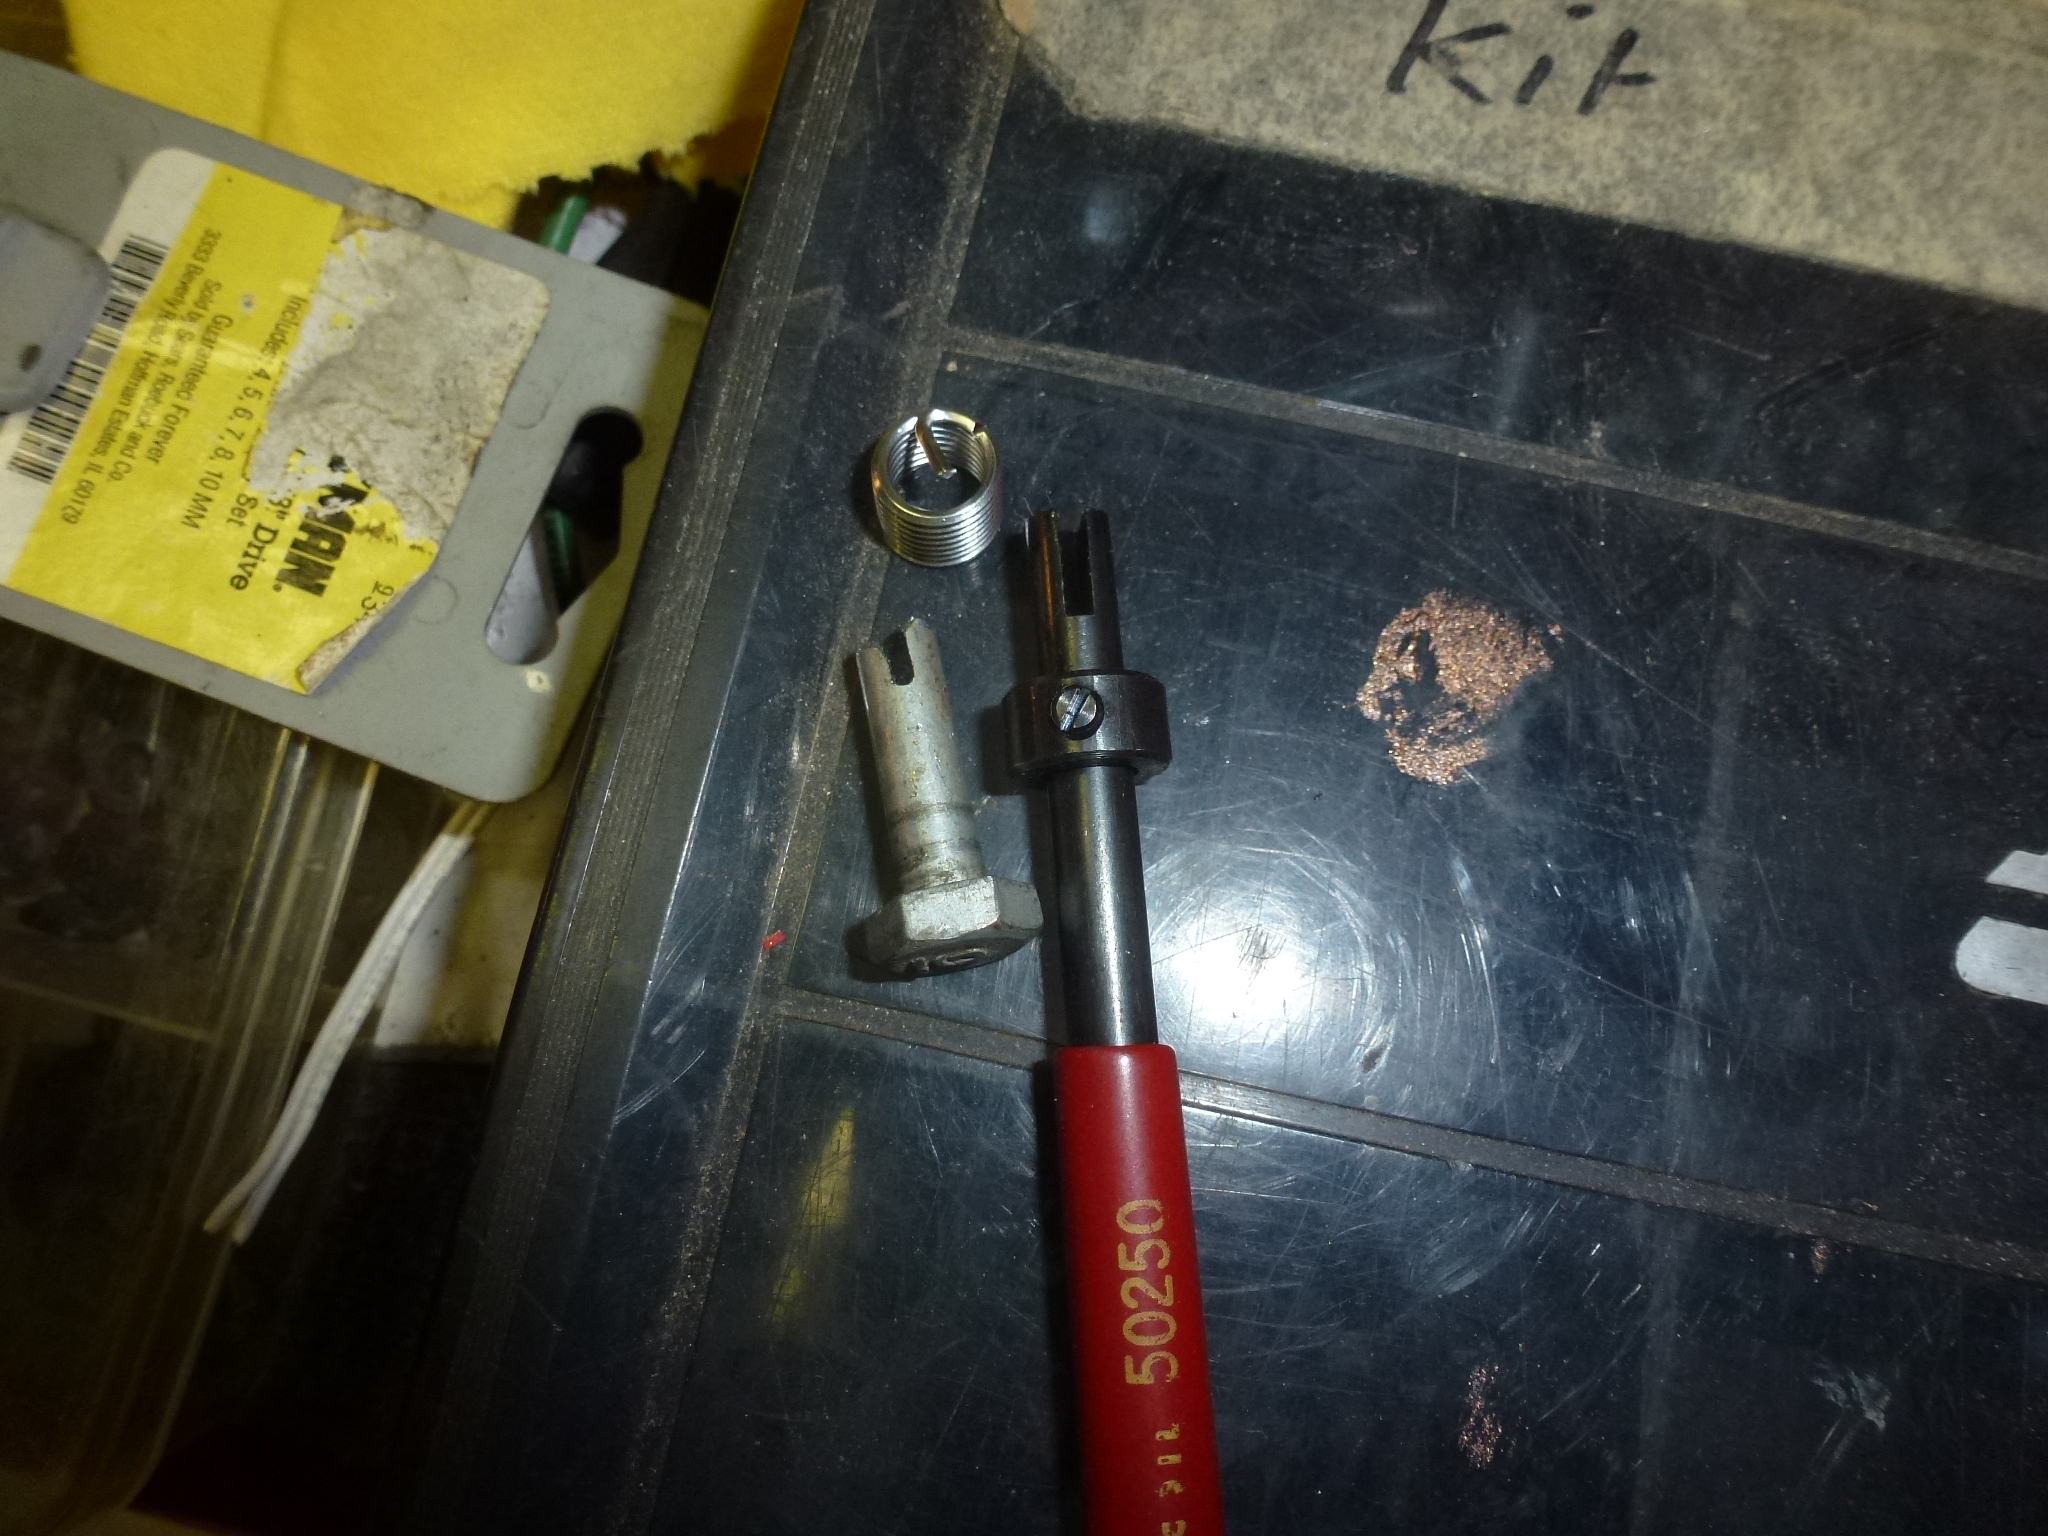
The major problem was that the transmission wasn't very far back from the bell housing. I ended up hand turning a drill to clean out the old threads for the HeliCoil tap. This requires shortening a drill bit, using just a chuck and a ratcheting box end wrench. It took a while, but eventually the hole was drilled out. The tap worked fine, but the HeliCoil insertion tool was too long. So I ended up cutting a ¼" bolt off and putting a slit into it, just like the insertion tool. As with most Ferrari studs that thread into aluminum, there are coarse (8x1.25mm) threads on the end that threads in and fine (8x1mm) threads on the nut end. So this isn't a stud you can get locally. In this case, I was able to remove one from my PF coupe block to use in the 330. At the rate I've been working on the coupe engine, I'll have lots of time to replace it.
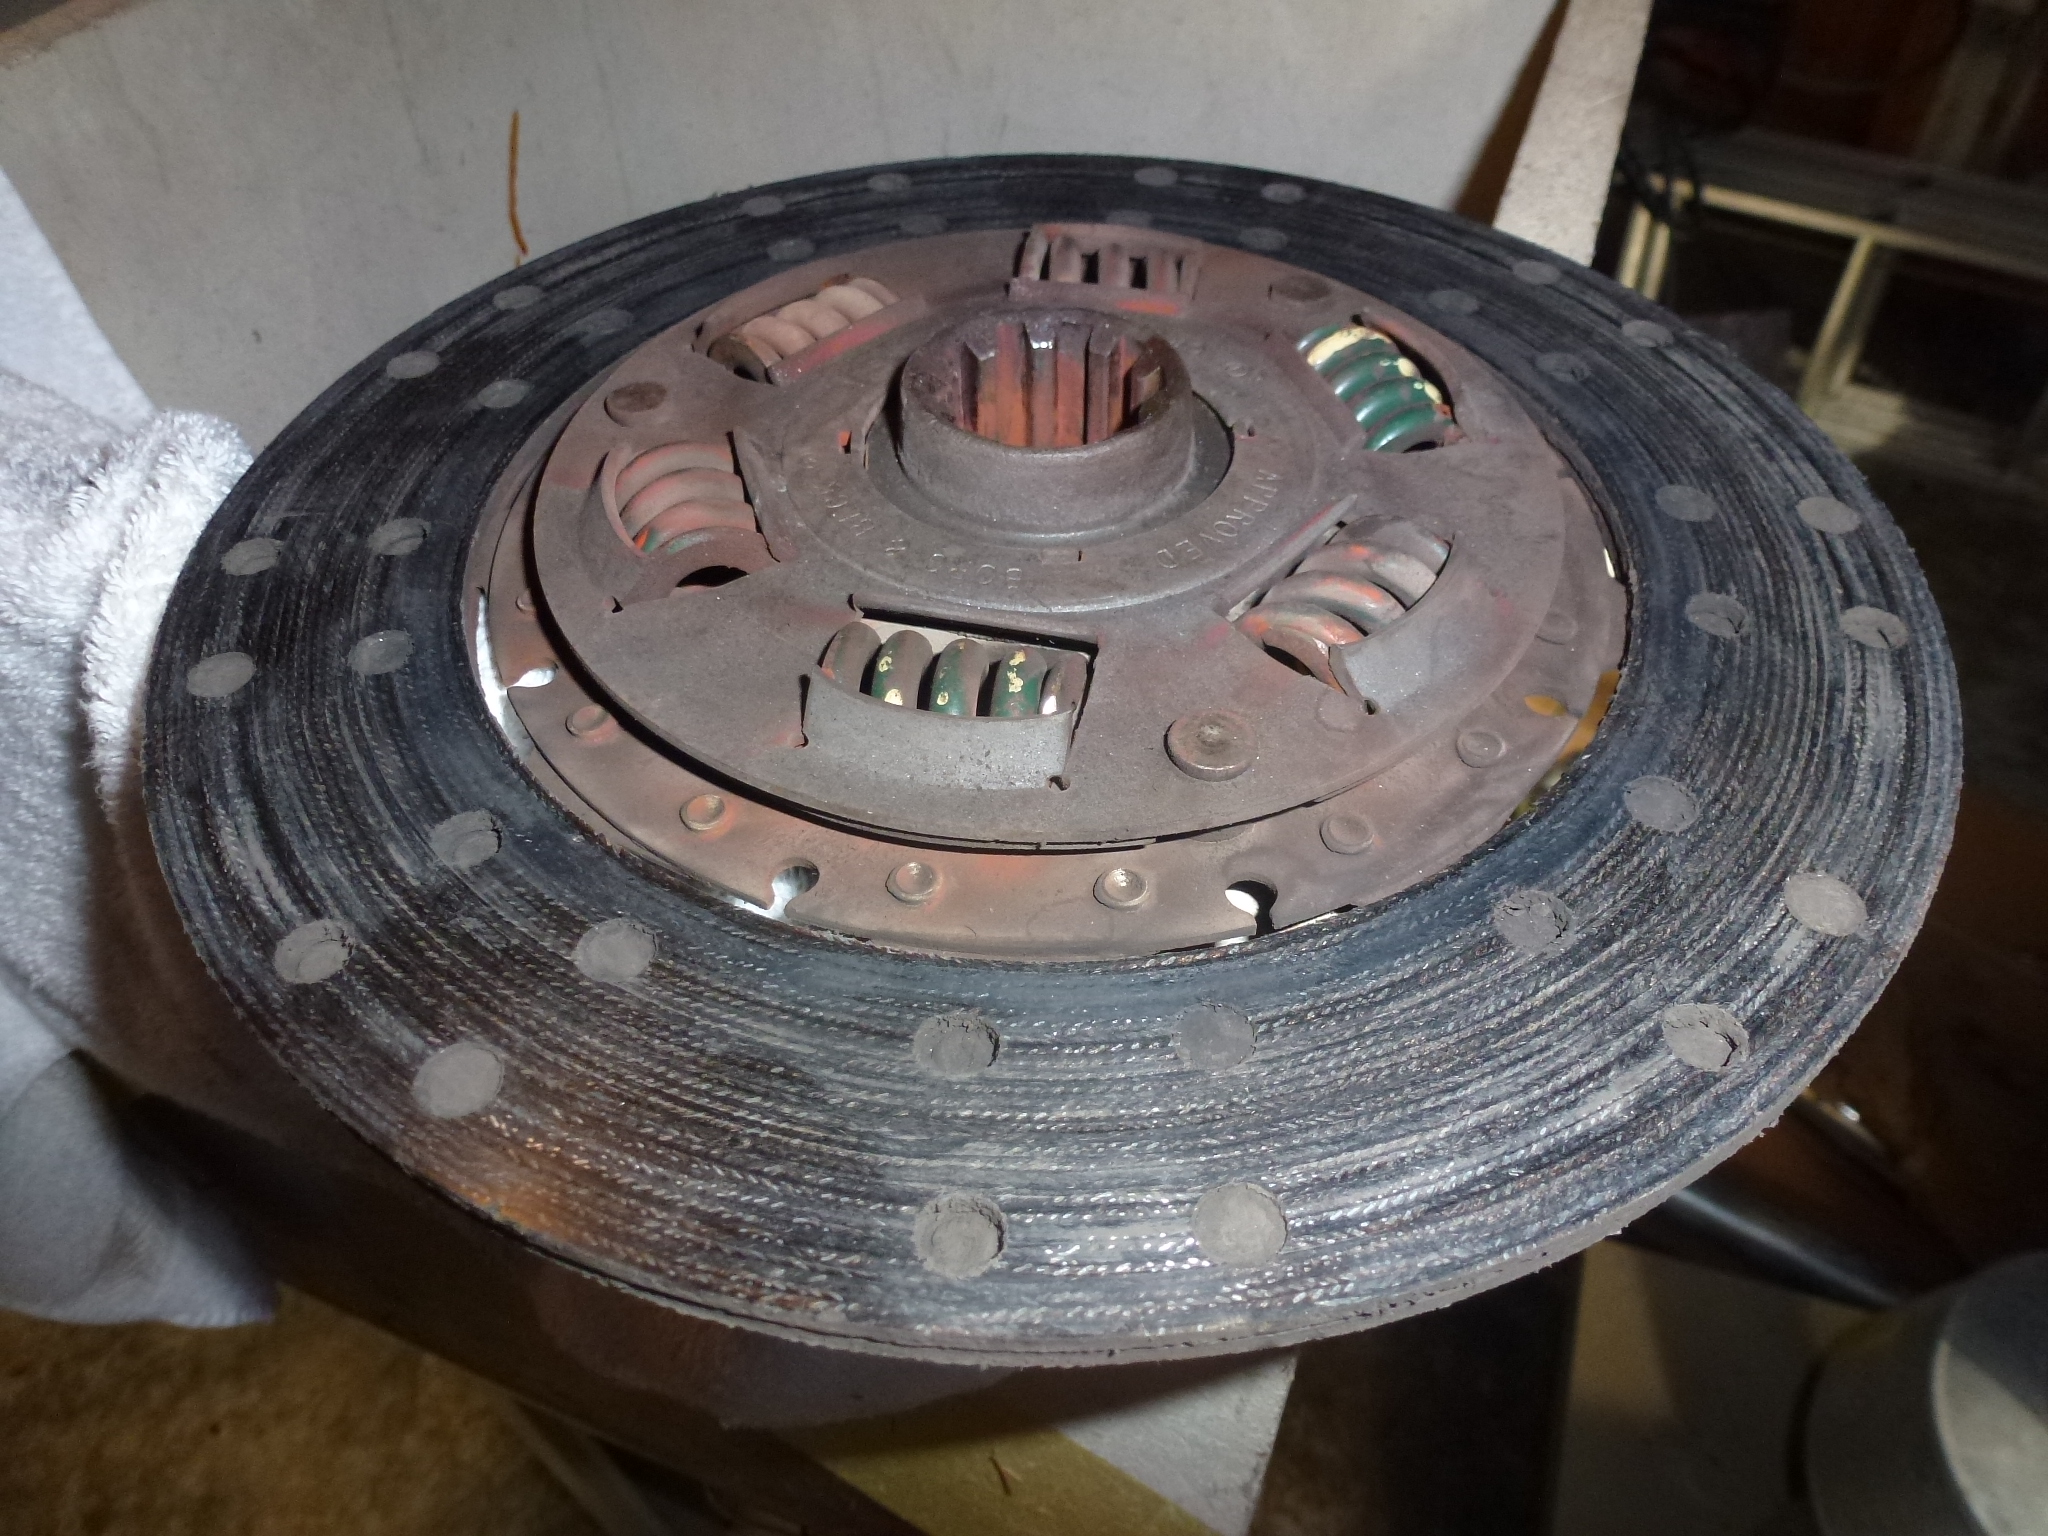
I measured the old disk at .271" and the new one at .360", so there was about 1/10" of wear in about 30,000 kilometers and 32 years of use.
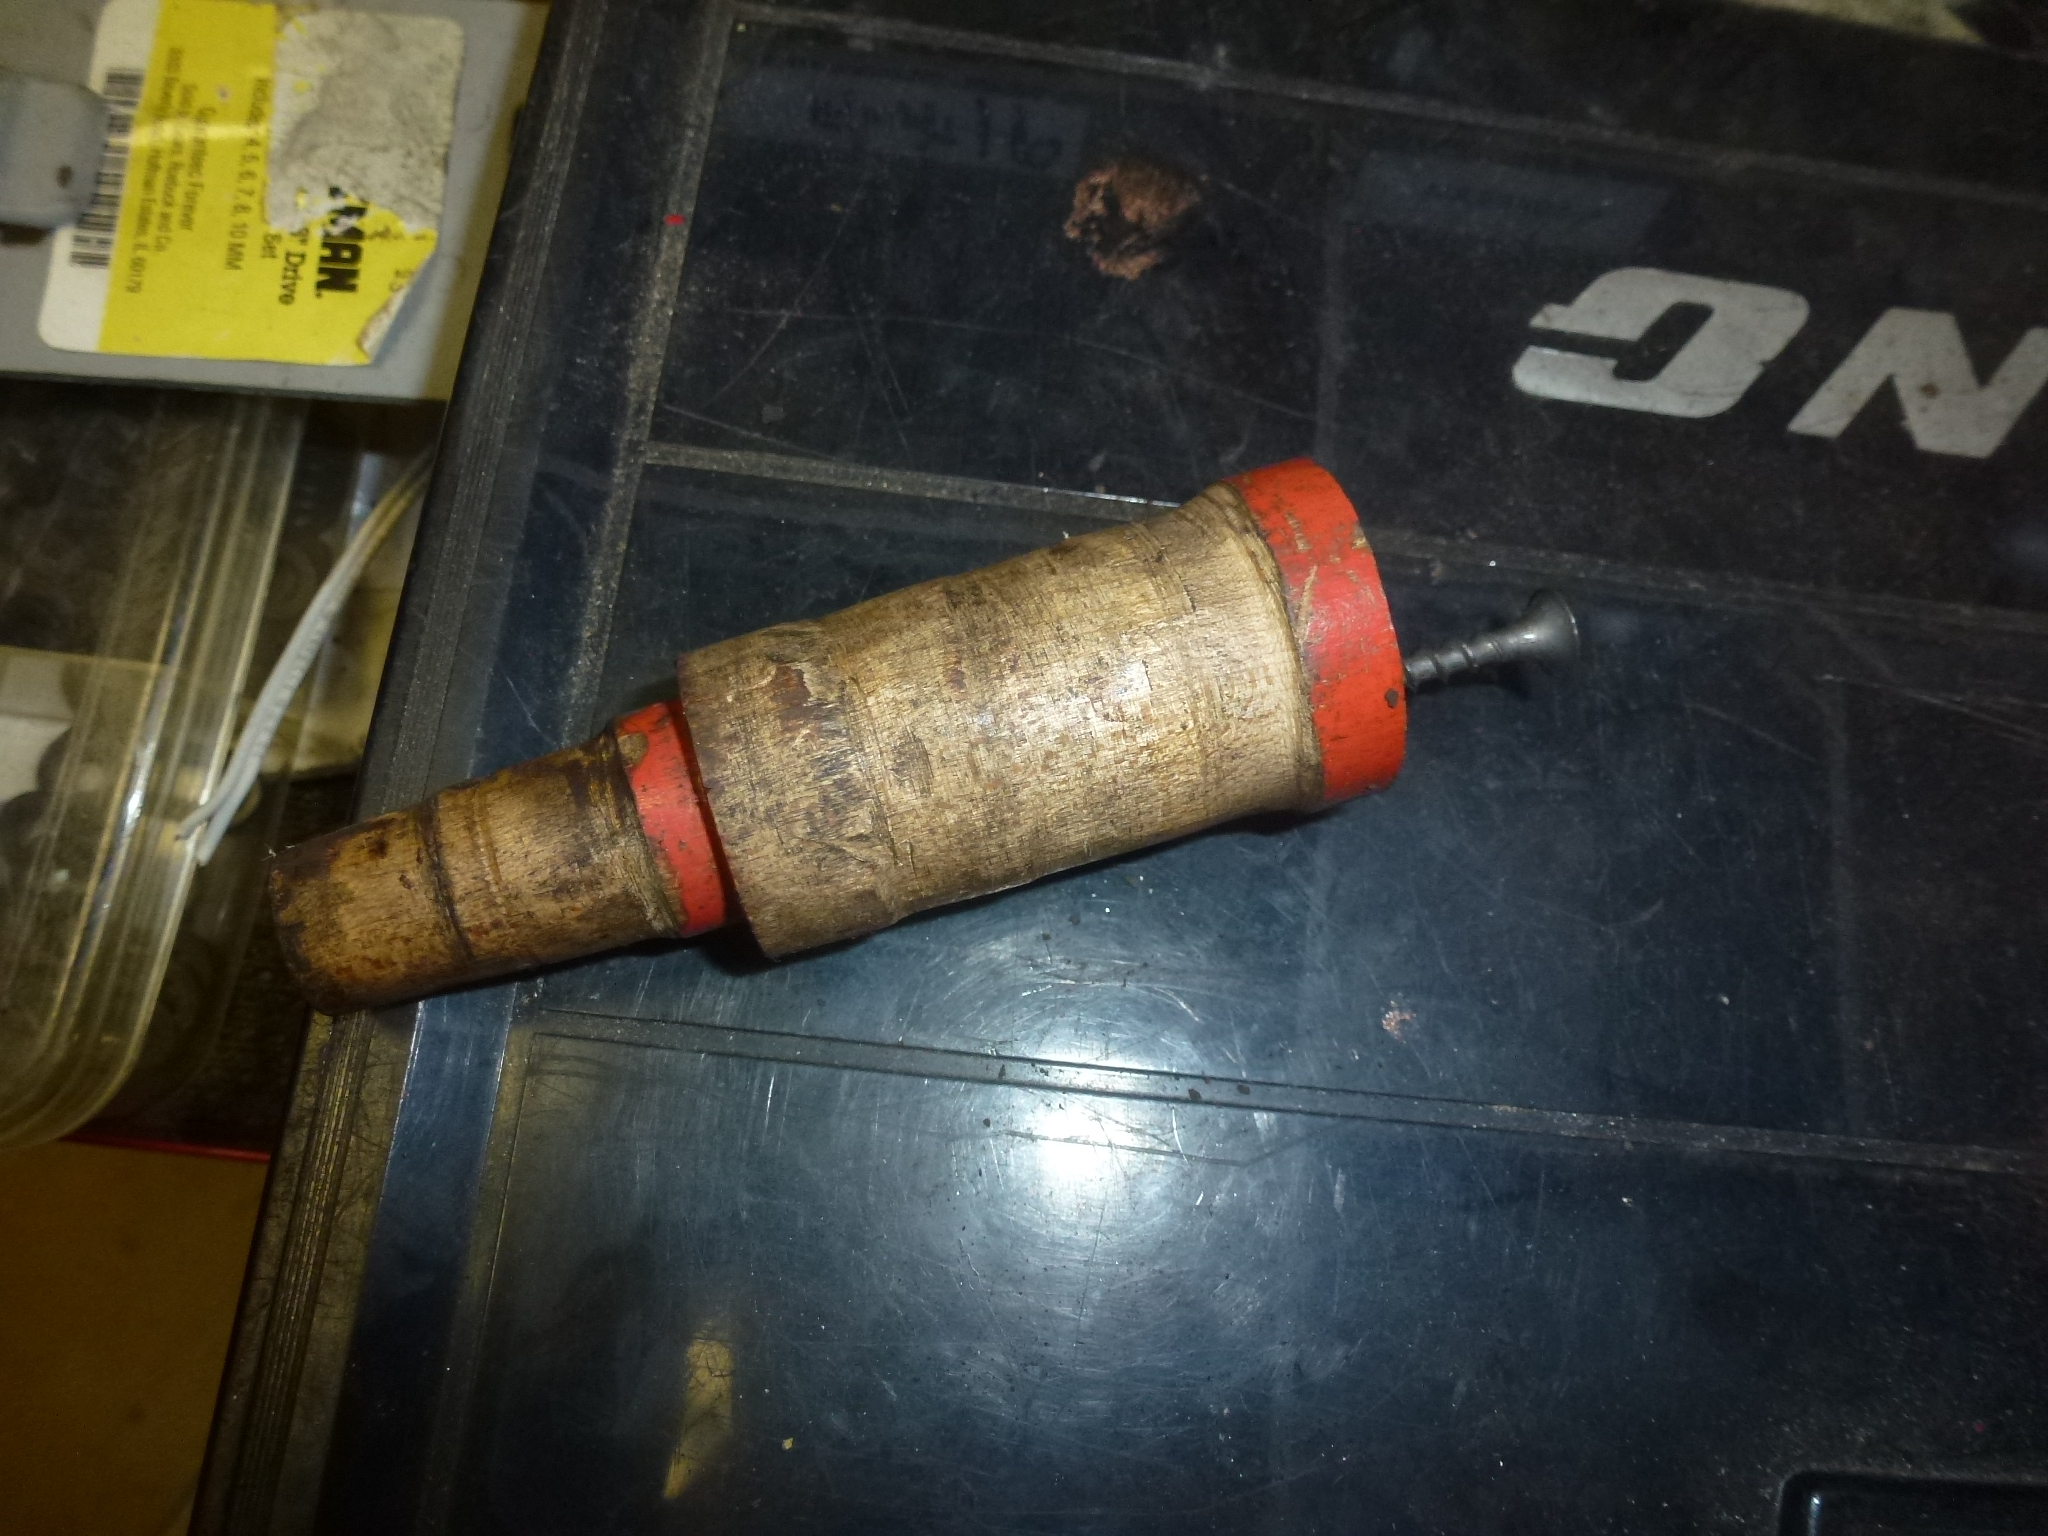
I have a very sophisticated clutch alignment tool. I made it from a broom handle, whittling and sanding it down until it fit the clutch disk and pilot bearing. It worked back then, so I used it to align the disk as I installed the clutch.
The clutch is in place, but I lost my helper and ran out of time for the day. Plus when I did this for the first time, I was 35 and now at 67 (in a month), I can't work from dawn to dusk anymore.
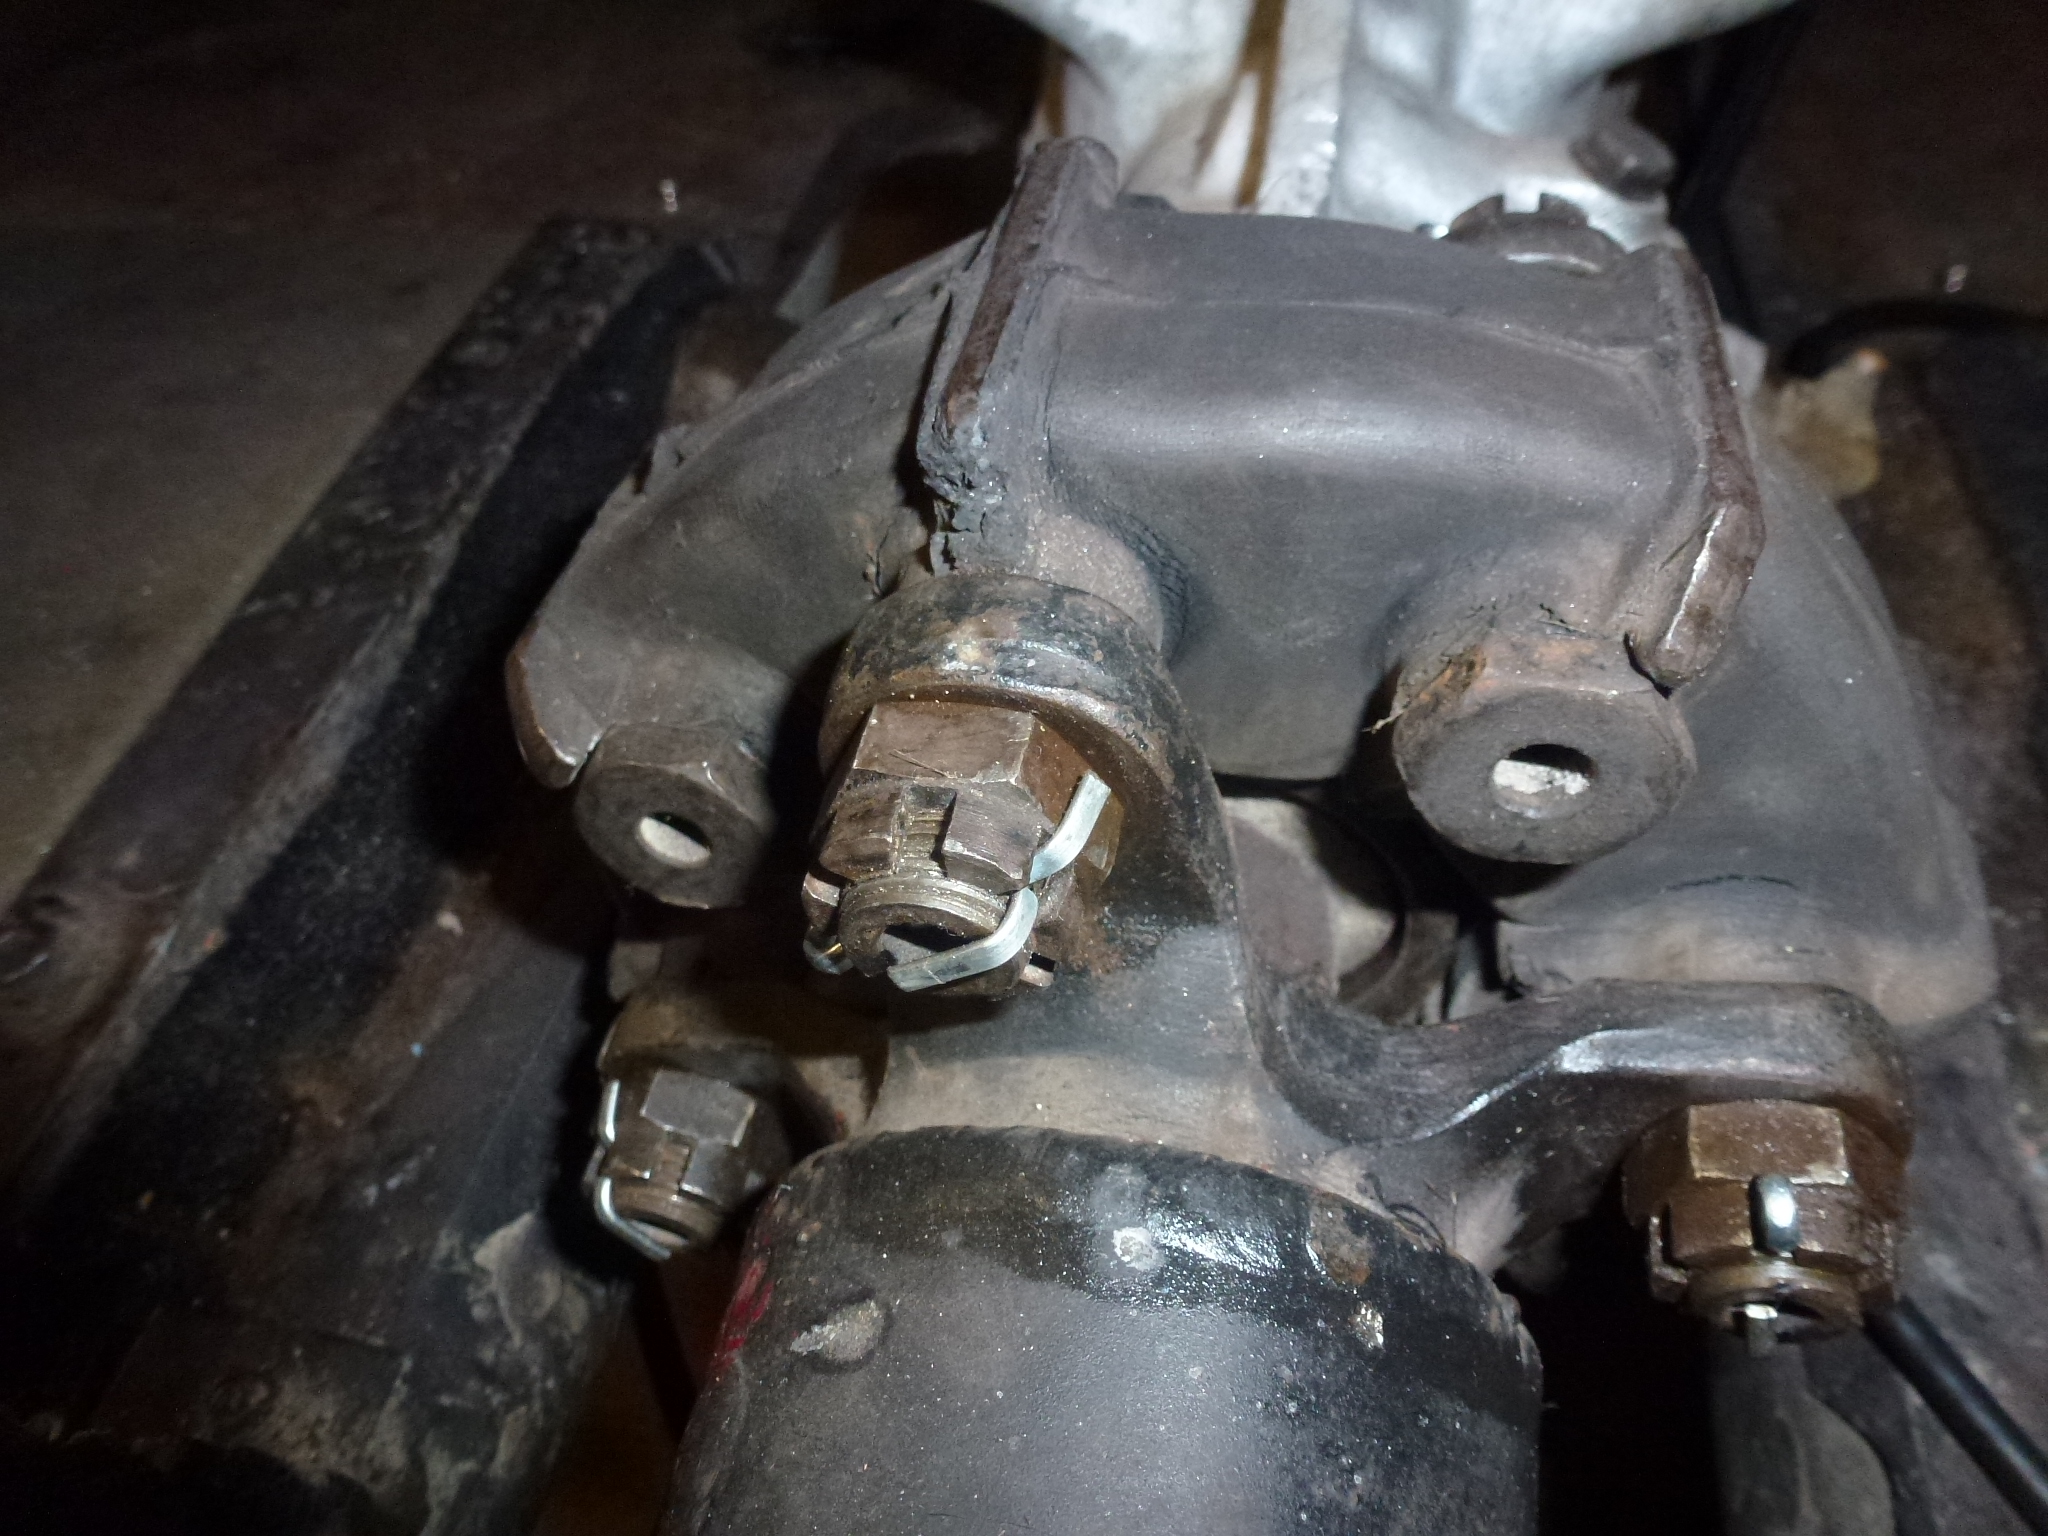
After a day of rest, my helper came over and we got the transmission bolted back in place. He brought over a second garage jack, so we were able to support the rear of the engine and the transmission separately along with having the lift holding the whole car up higher. By carefully adjusting the height of the rear of the engine, we rolled the transmission forward using the second garage jack, adjusting the height as needed. With the transmission in gear, rotating the drive shaft end allowed the splines of the input shaft to slide into the clutch disk. Then a little more fiddling with the heights aligned the shaft in the bearing and studs through the holes. I was happy that the stud in my hand drilled hole was straight and went through the transmission housing fine. After torquing the nuts, but before assembling the drive shaft onto the transmission, I installed and adjusted the clutch slave cylinder. I wanted to start the car to make sure that the clutch was operating correctly before going further. Everything worked fine, so we put the donut back, securing all of the castellated nuts with cotter pins. One thing that my helper didn't know was to mark the ends of the bolts in line with the cotter pin hole. That way you can easily see when you are close to having a slot line up with the hole. I also turned each bolt so the hole ran sideways to make installing the cotter pins easier. Then the U-joint at the rear was put back together and the bolts safety wired together.
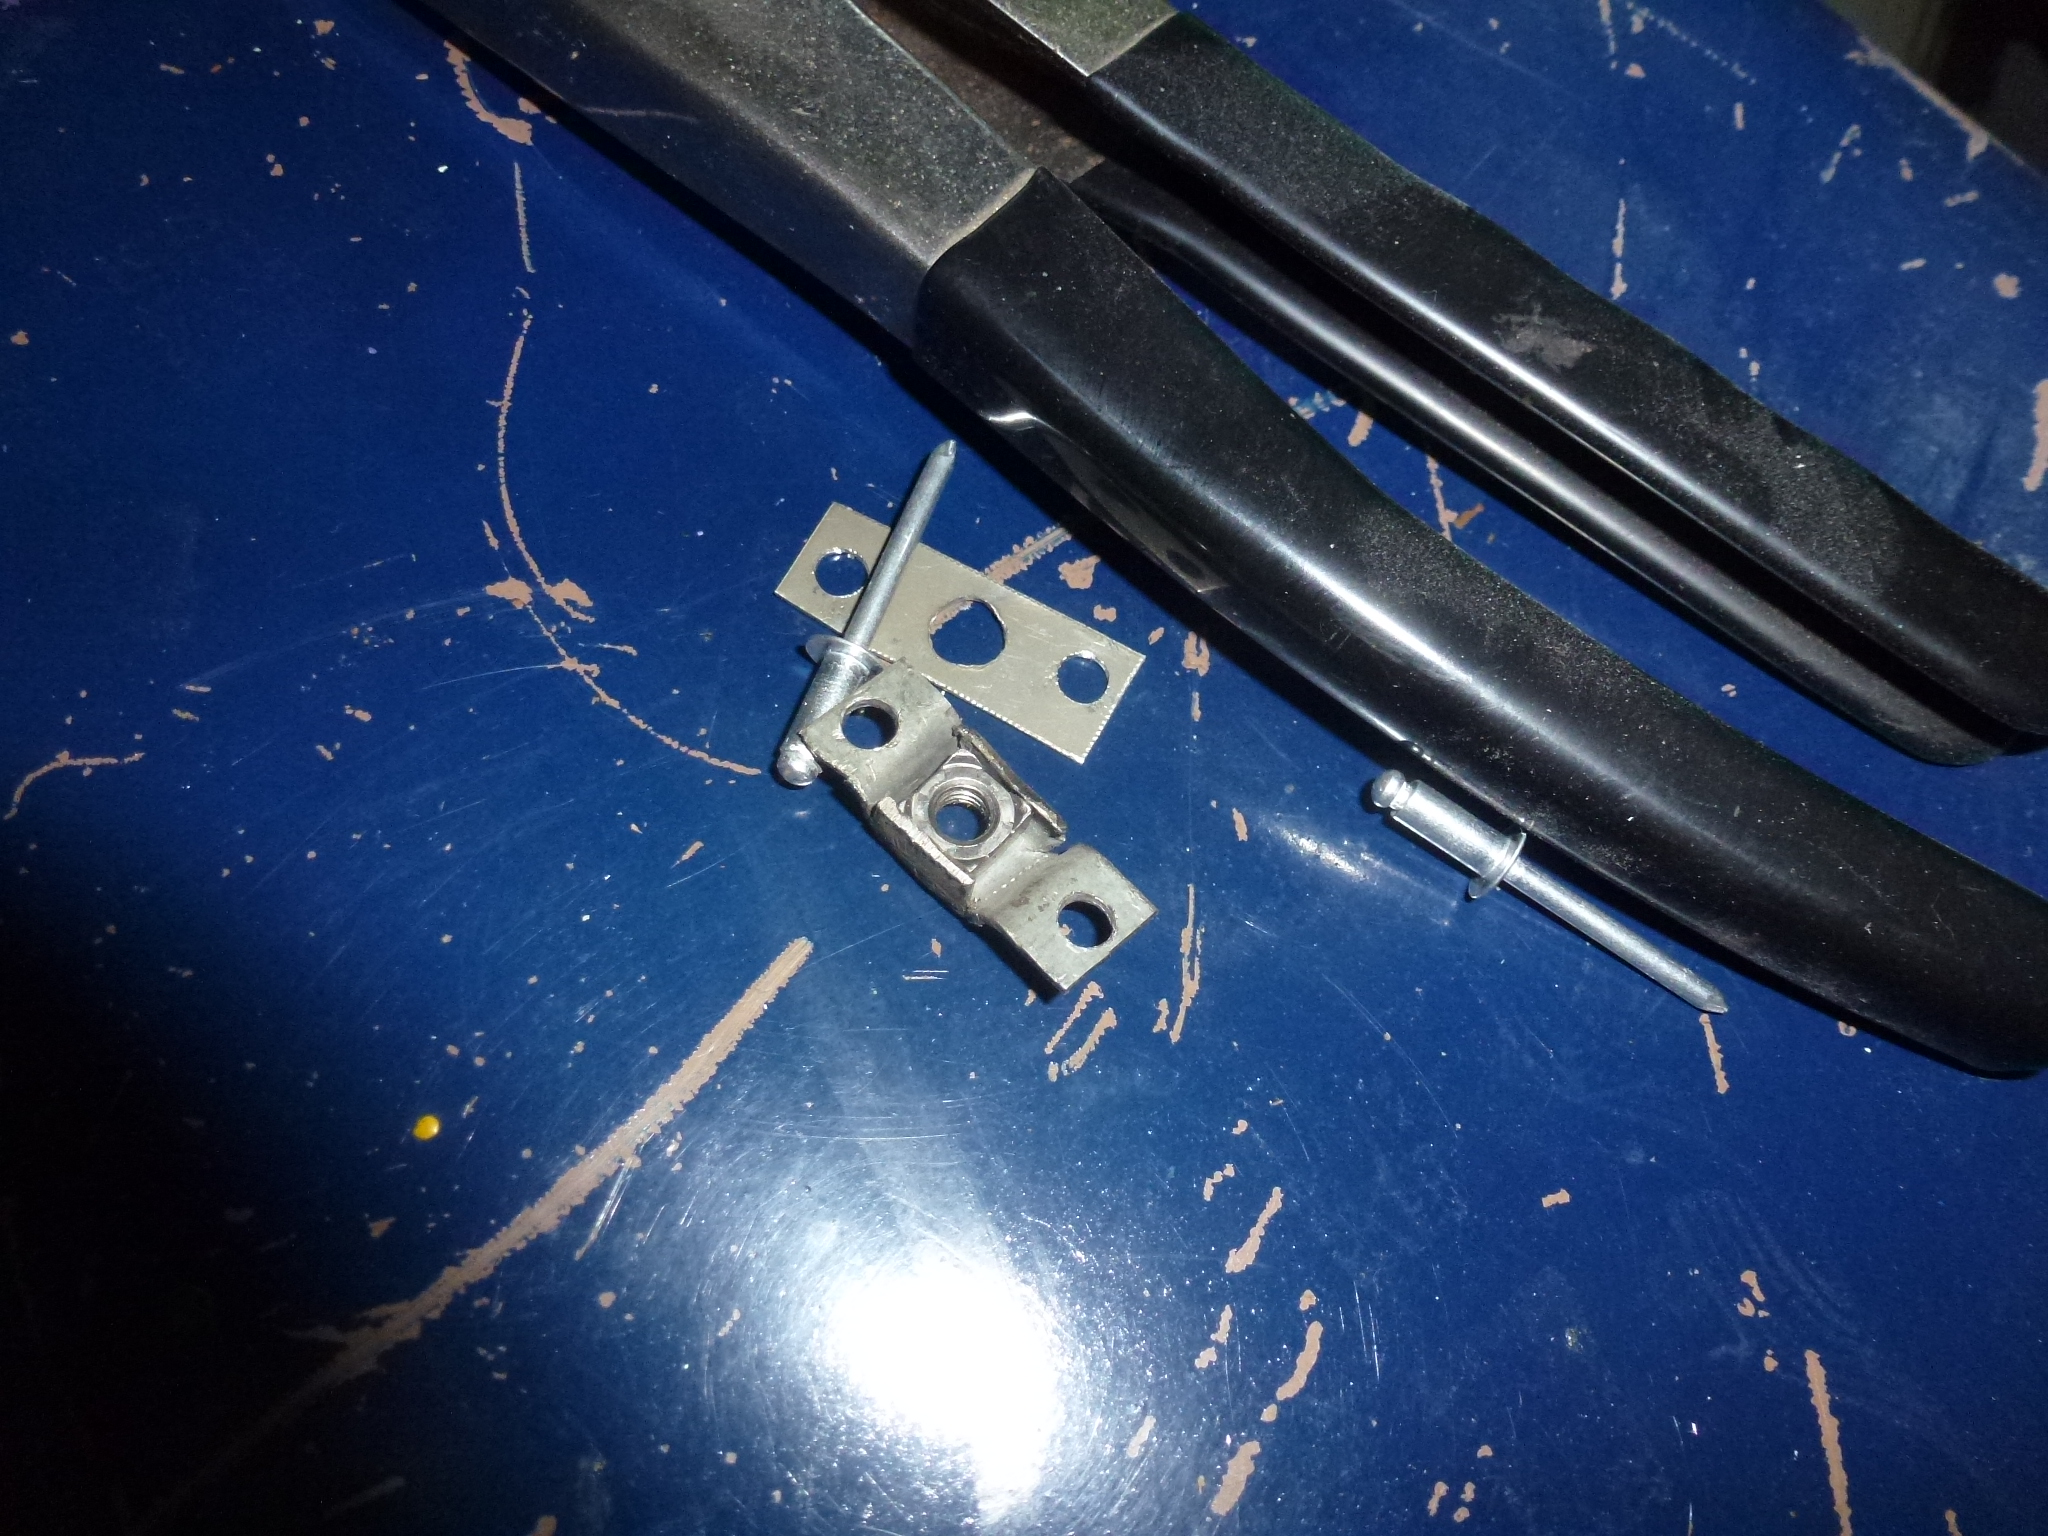
At this point, my helper disappeared, saying that there were only the fiddly bits left to do. However, the fiddly bits do take quite a bit of time. First was to rebuild one of the captured nut boxes that holds the tunnel to the firewall. I made several of these years ago as they were missing. Back then, I hadn't found a source of square metric nuts, so I used regular hex ones. The firewall opening was large enough that one hex nut just pulled through. So I drilled out the pop rivets, used a square nut and put a keeper plate on the box before pop riveting it back in place. Now it should last my lifetime at least.
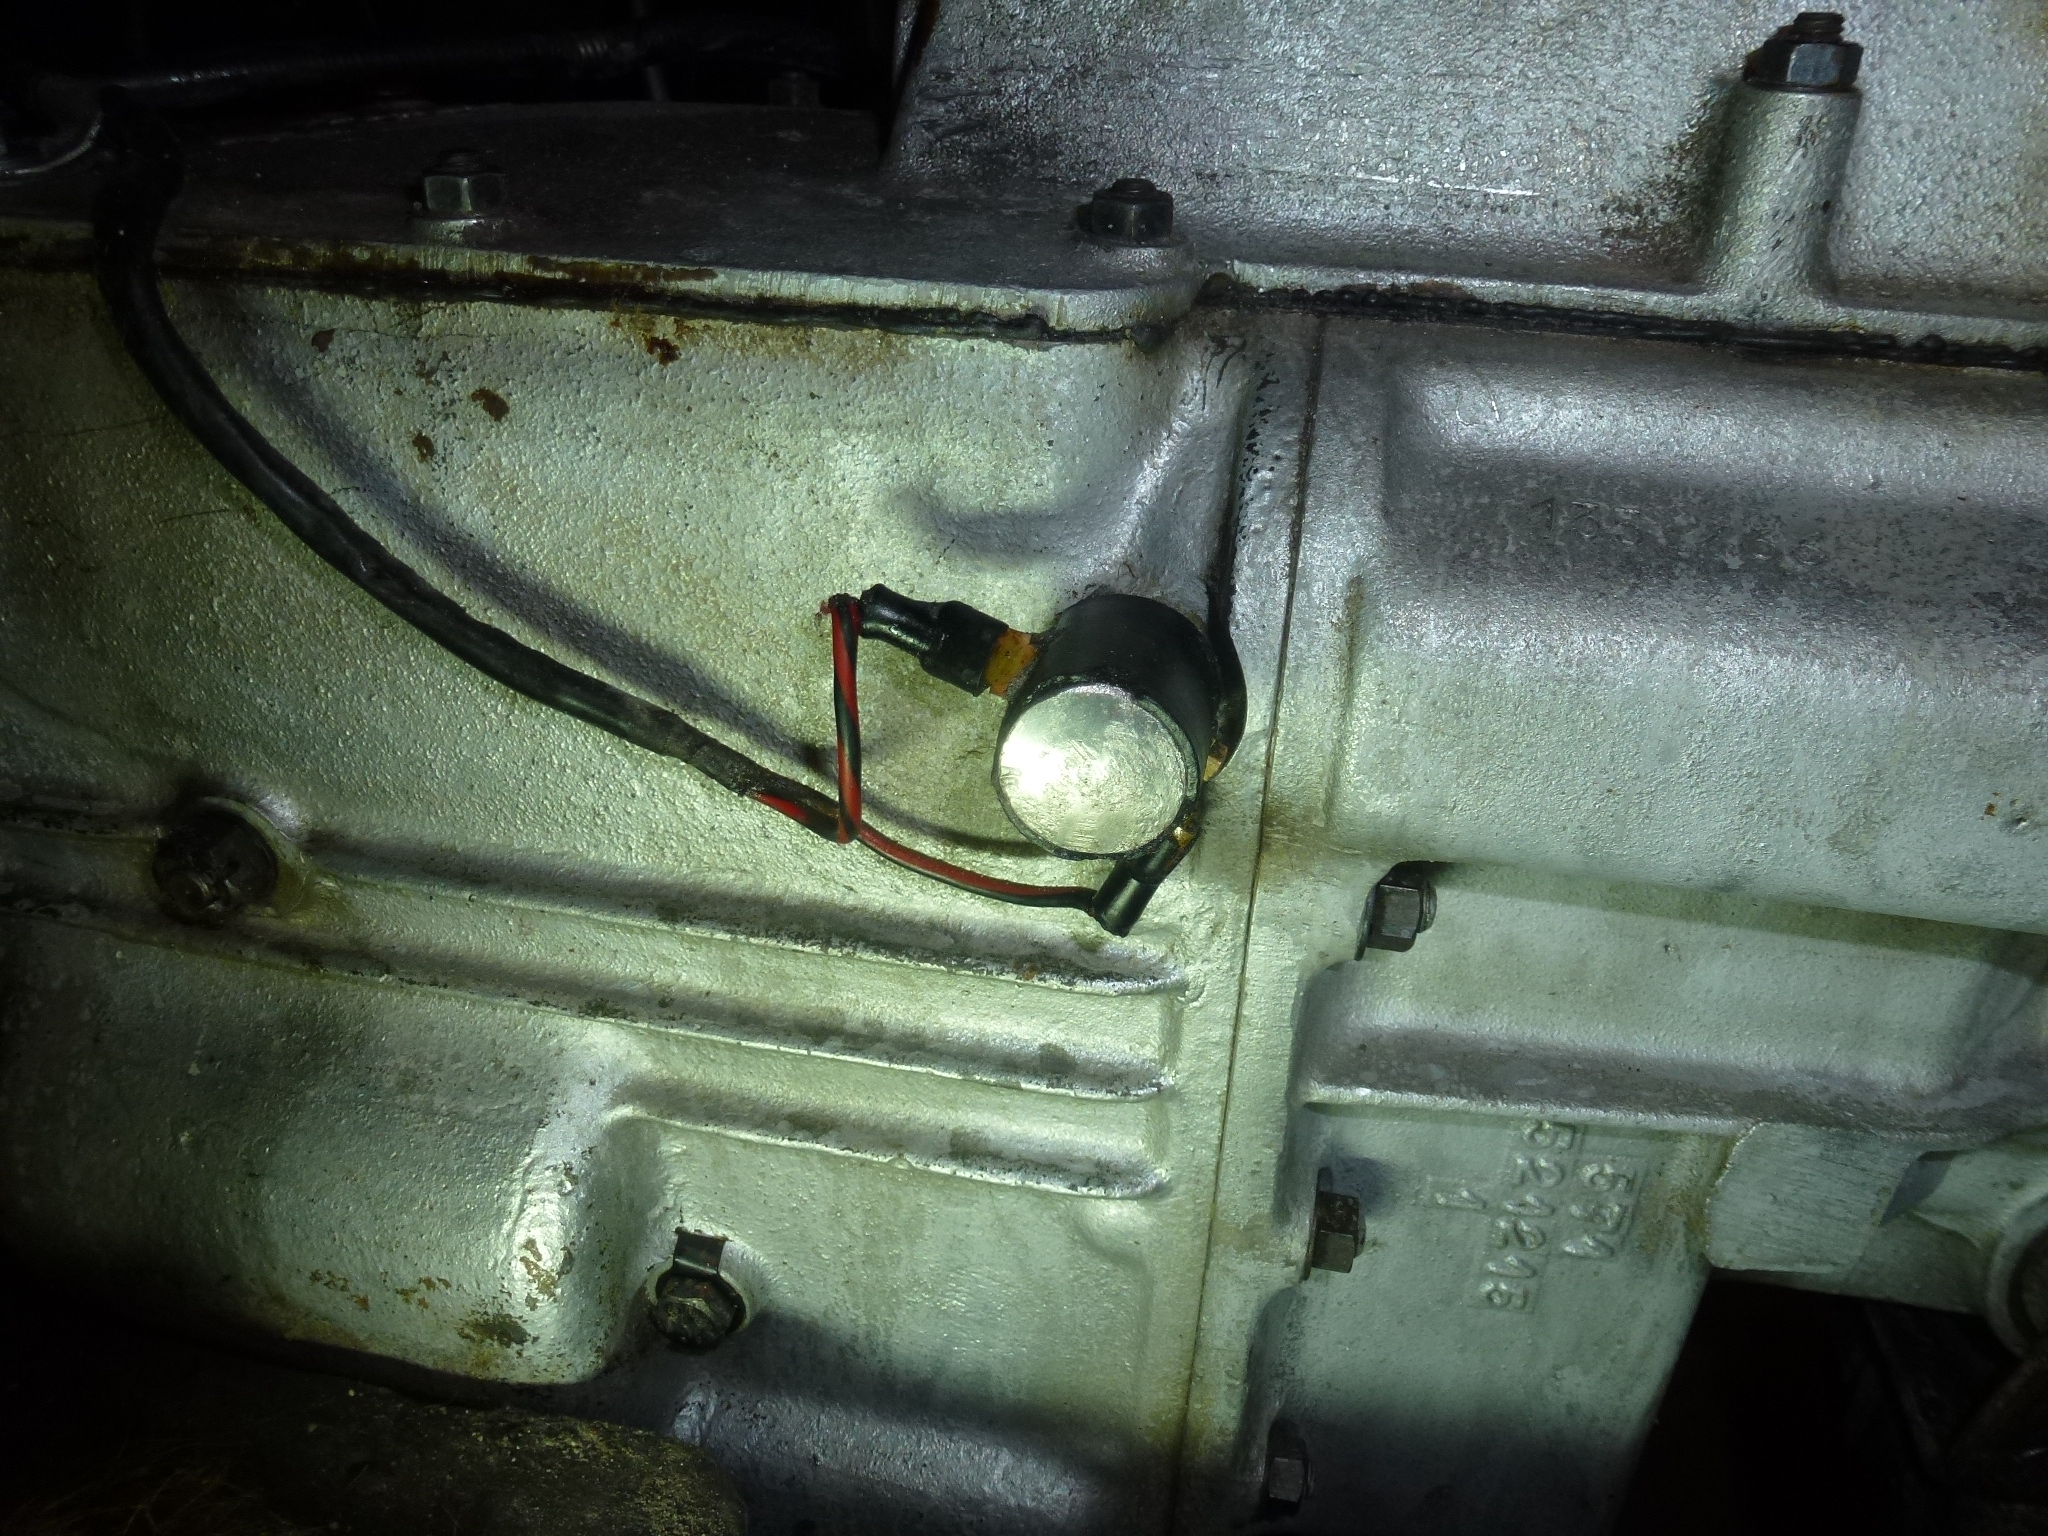
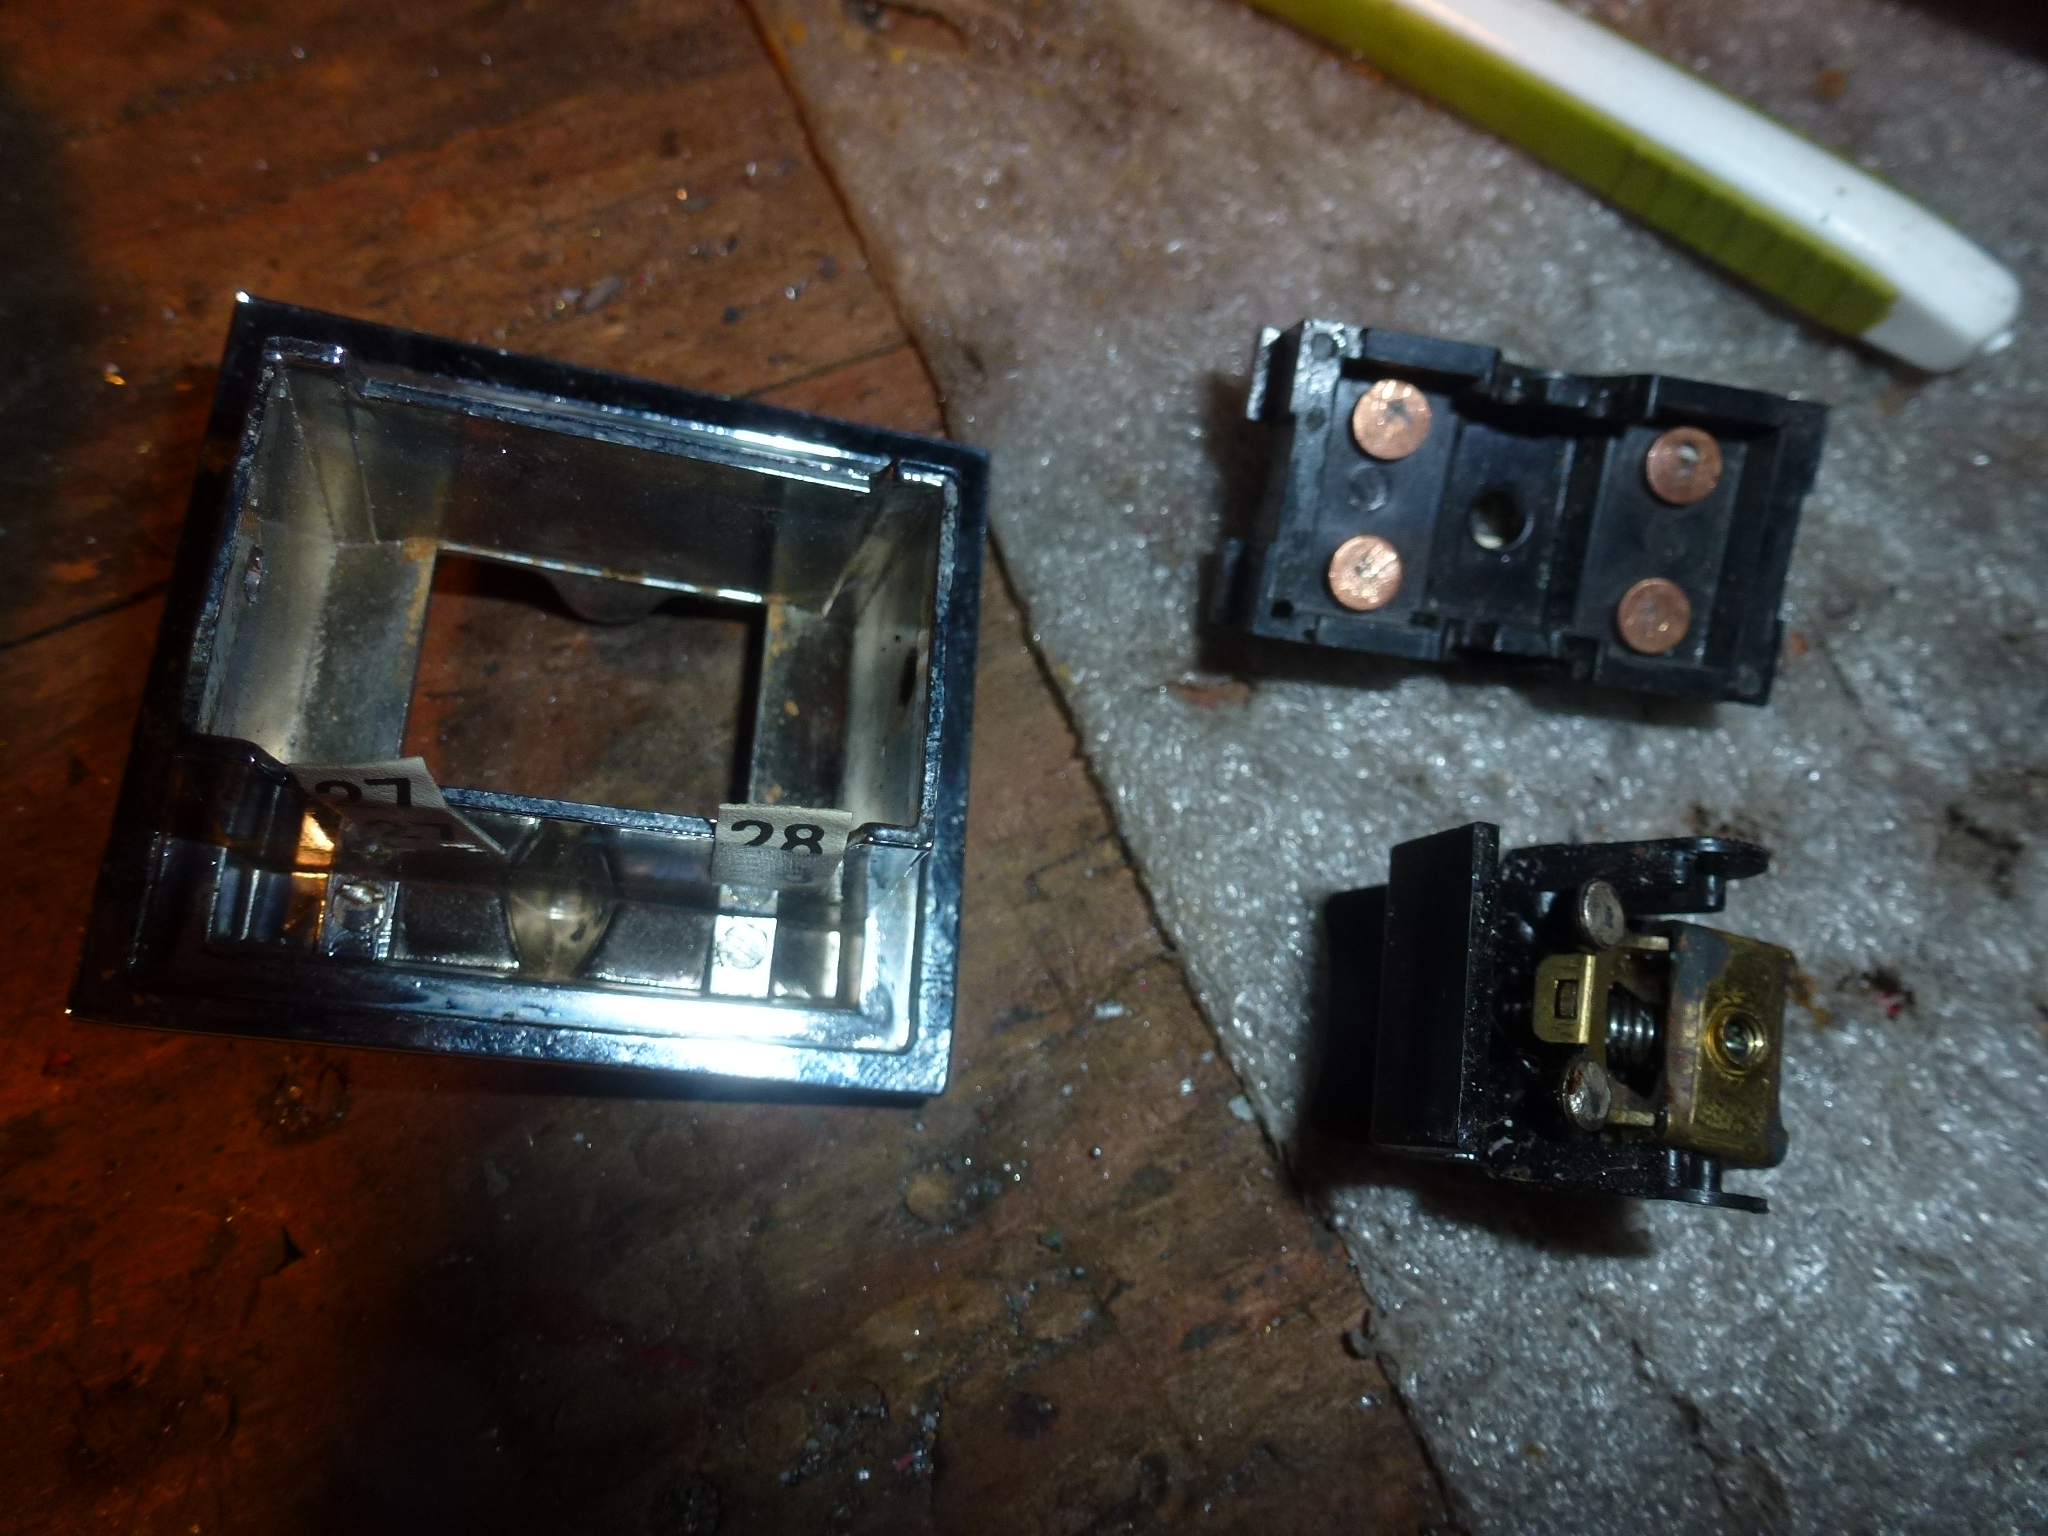
I also noticed that the reverse light switch was missing its cover. This is very common and I already fixed a couple on the coupe transmission. So some aluminum, tin snips, disk sander and silicon rubber got a replacement into place. I also put a new spade connector on one of the wires as it was down to a couple of strands. Then I tested to make sure the reverse lights were operating. The key has to be in the run position, headlights on and the transmission in reverse to actuate them.

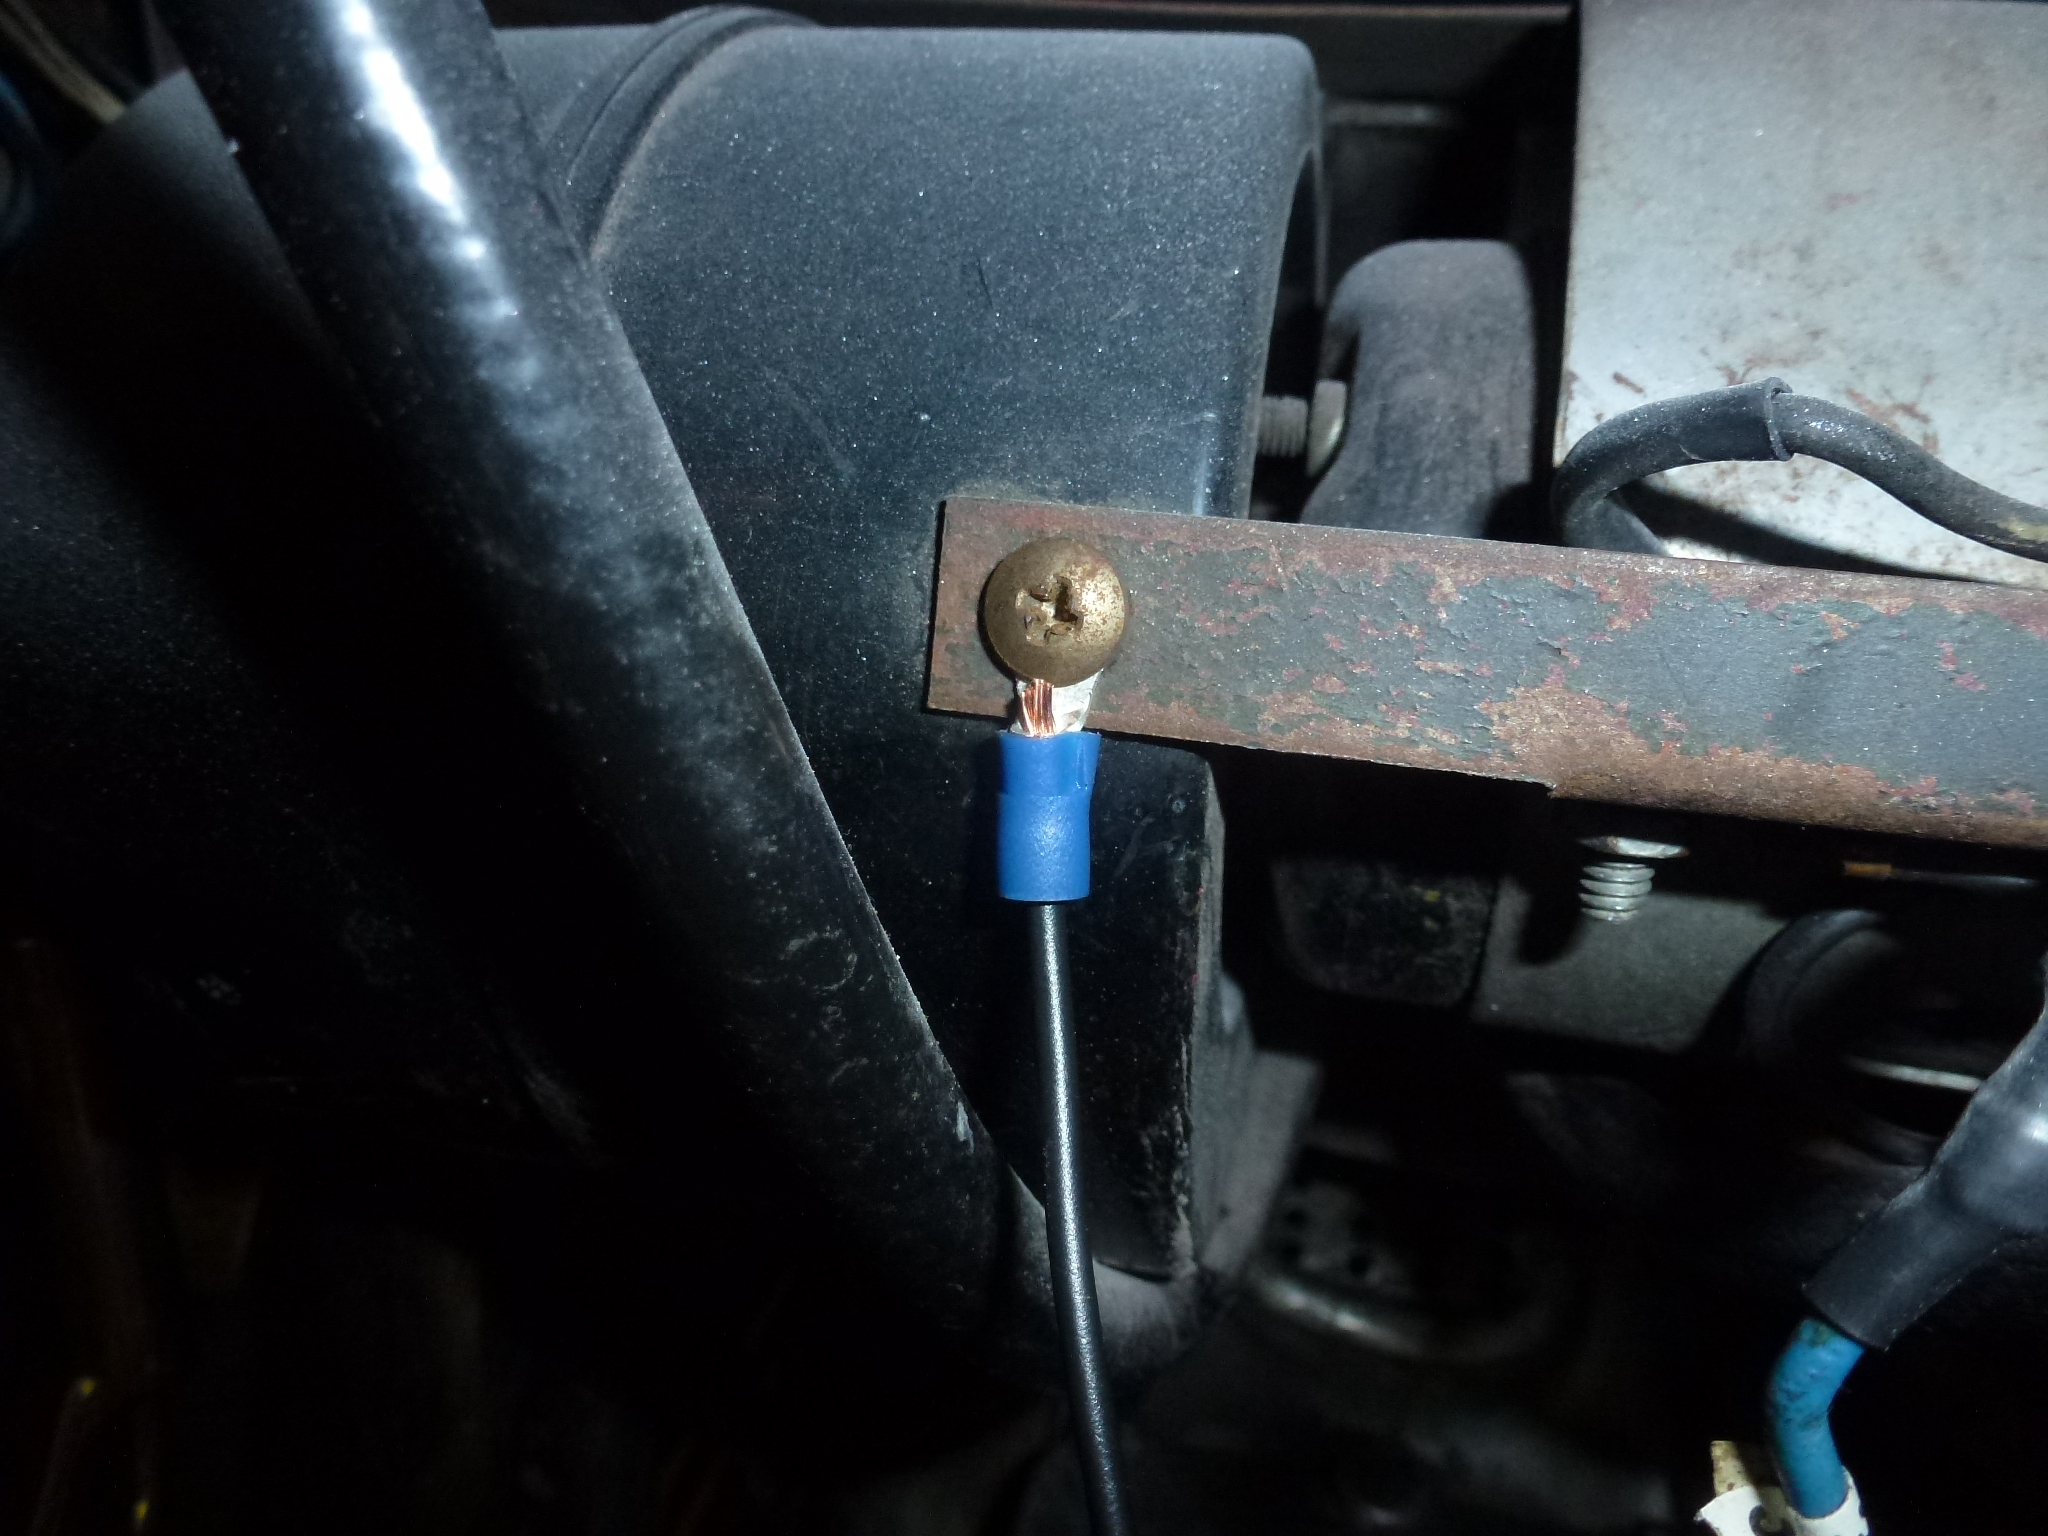
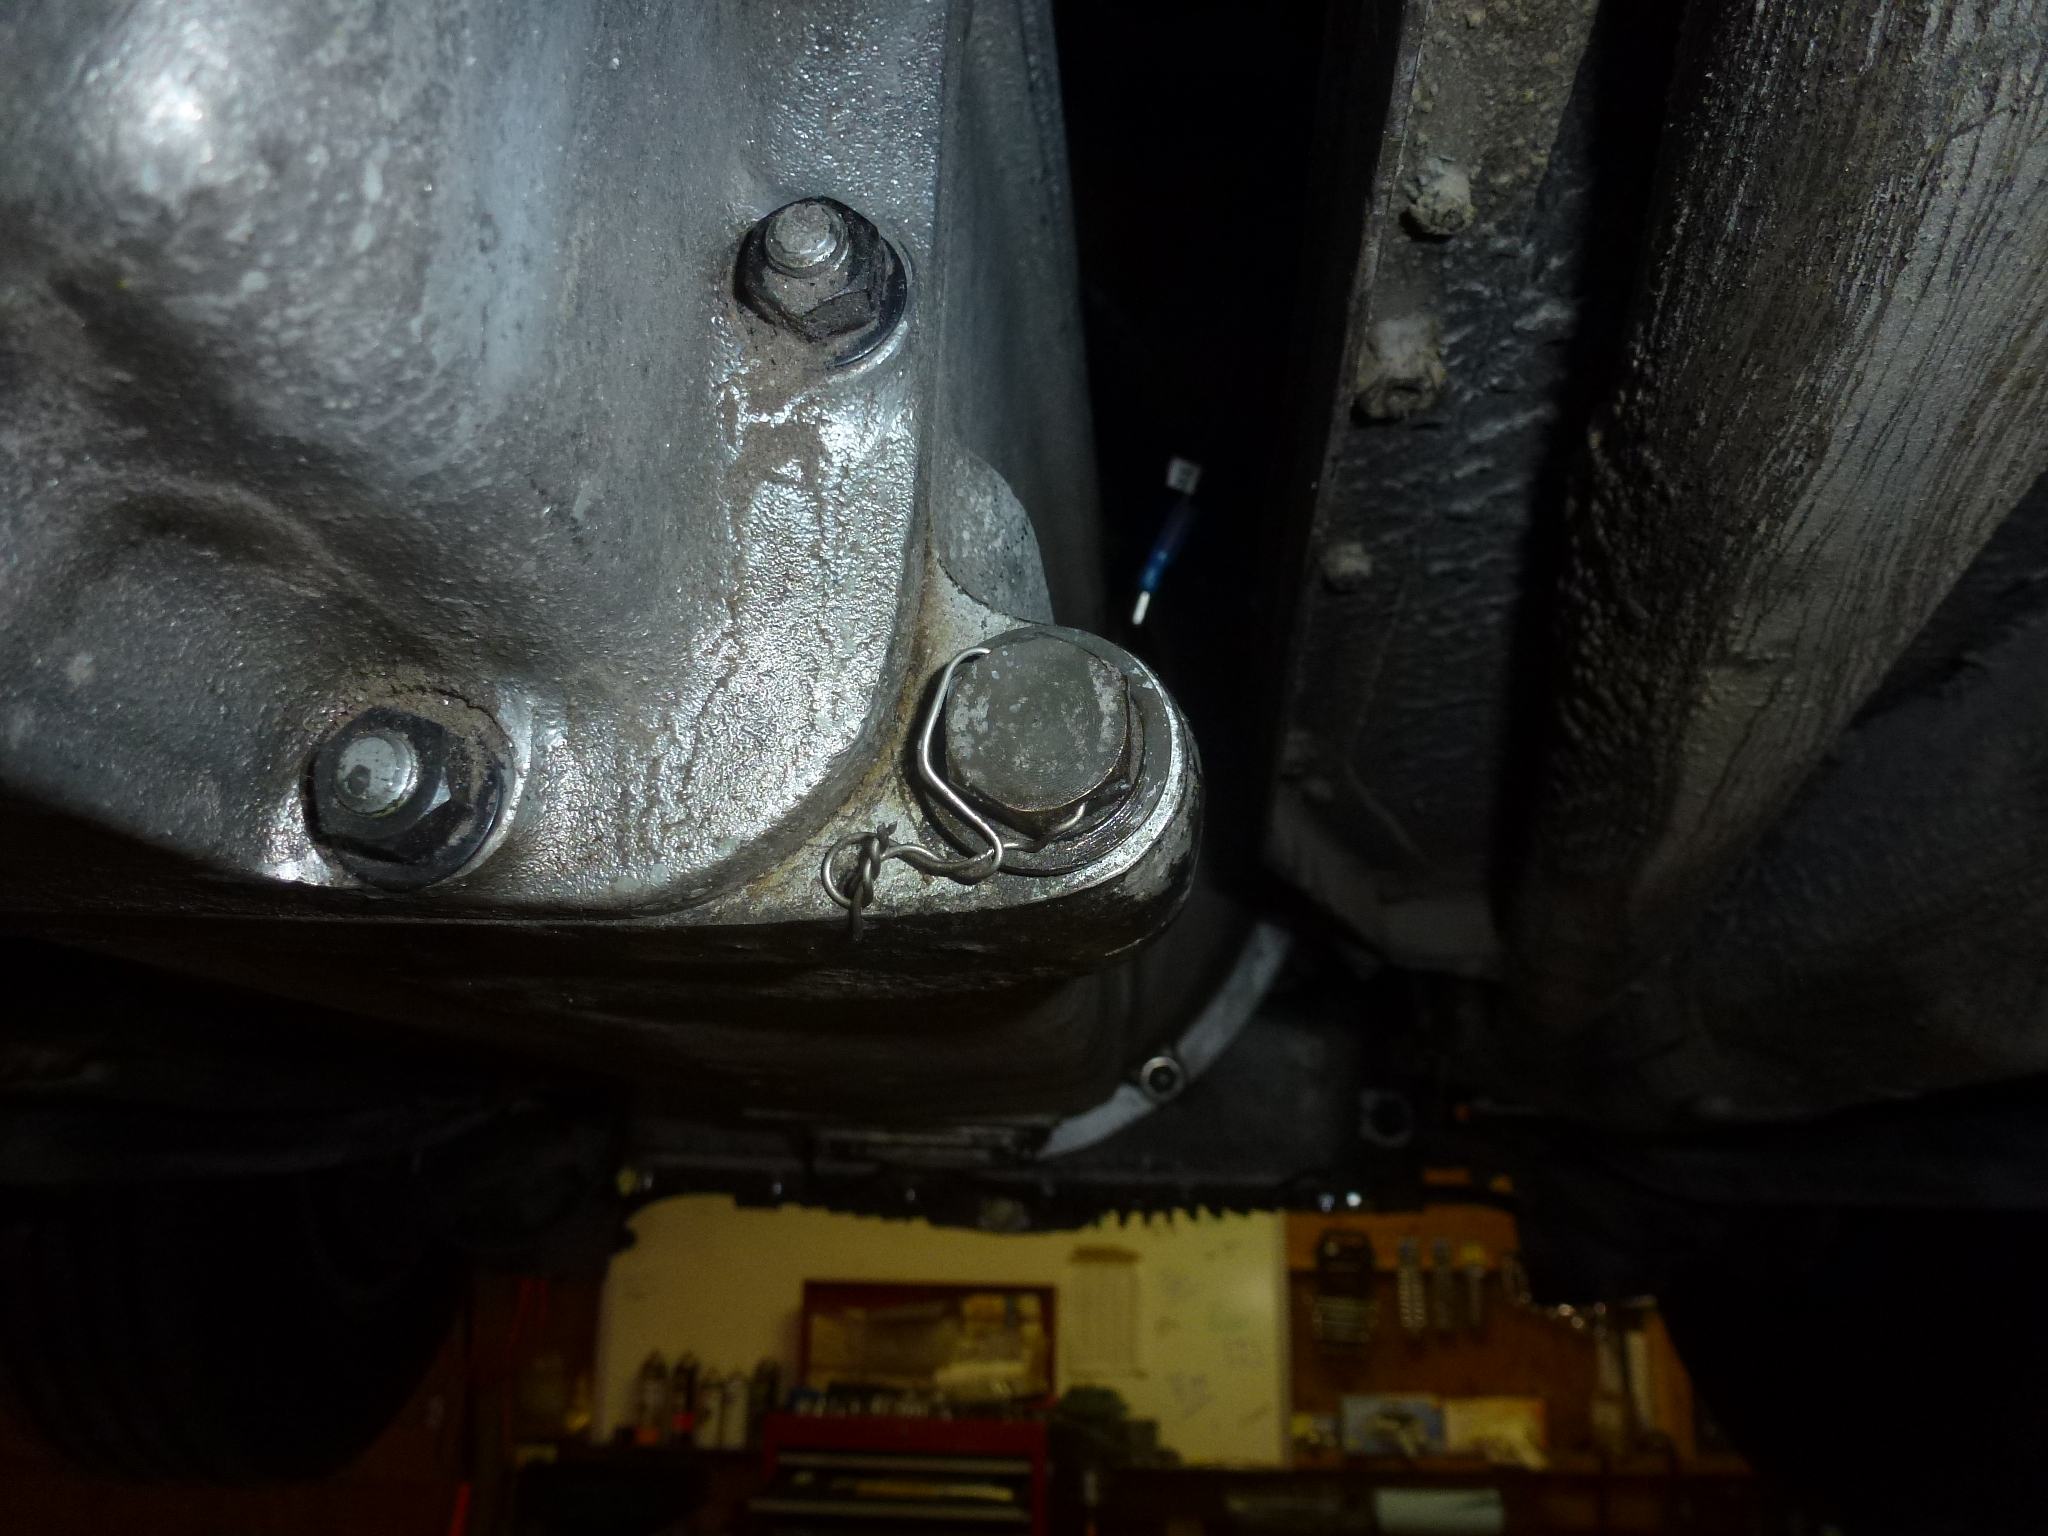
When I was putting the car back together after the painting, I noticed that the radio wasn't working, but when it was turned on, the cigarette lighter light would turn on. It turned out that the radio and that light were being grounded through the radio antenna. Once I installed the antenna then, everything work OK. But I didn't want to be dependent on grounding through the antenna, so I put in a wire from under the dash to create a better ground.
I had been using 140 wt. transmission oil, but in reviewing various recommendations, it seems that dinosaur transmissions like this one seem to work best with Red Line MT90 oil. Maybe I won't have to skip second gear for the first couple of miles of driving on a cold day! I've ordered some, but it won't be here until tomorrow. I did safety wire the drain plug. It's a pain to fill the transmission with the tunnel on, so I'm going to wait until the shipment comes before going further.
One of the fiddly bits was the screw at the back of the console. My screw has a large flattened head and two holes for a ring tool to turn it. Then someone had sawed a slot so it could be turned with a screwdriver. My first thought was to fill in the screw slot and get it chromed. Then I asked a couple of other owners what kind of screw was in their cars. In both cases, it was an oval head Philips with an escutcheon around it.
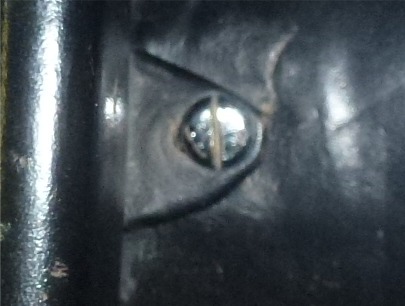
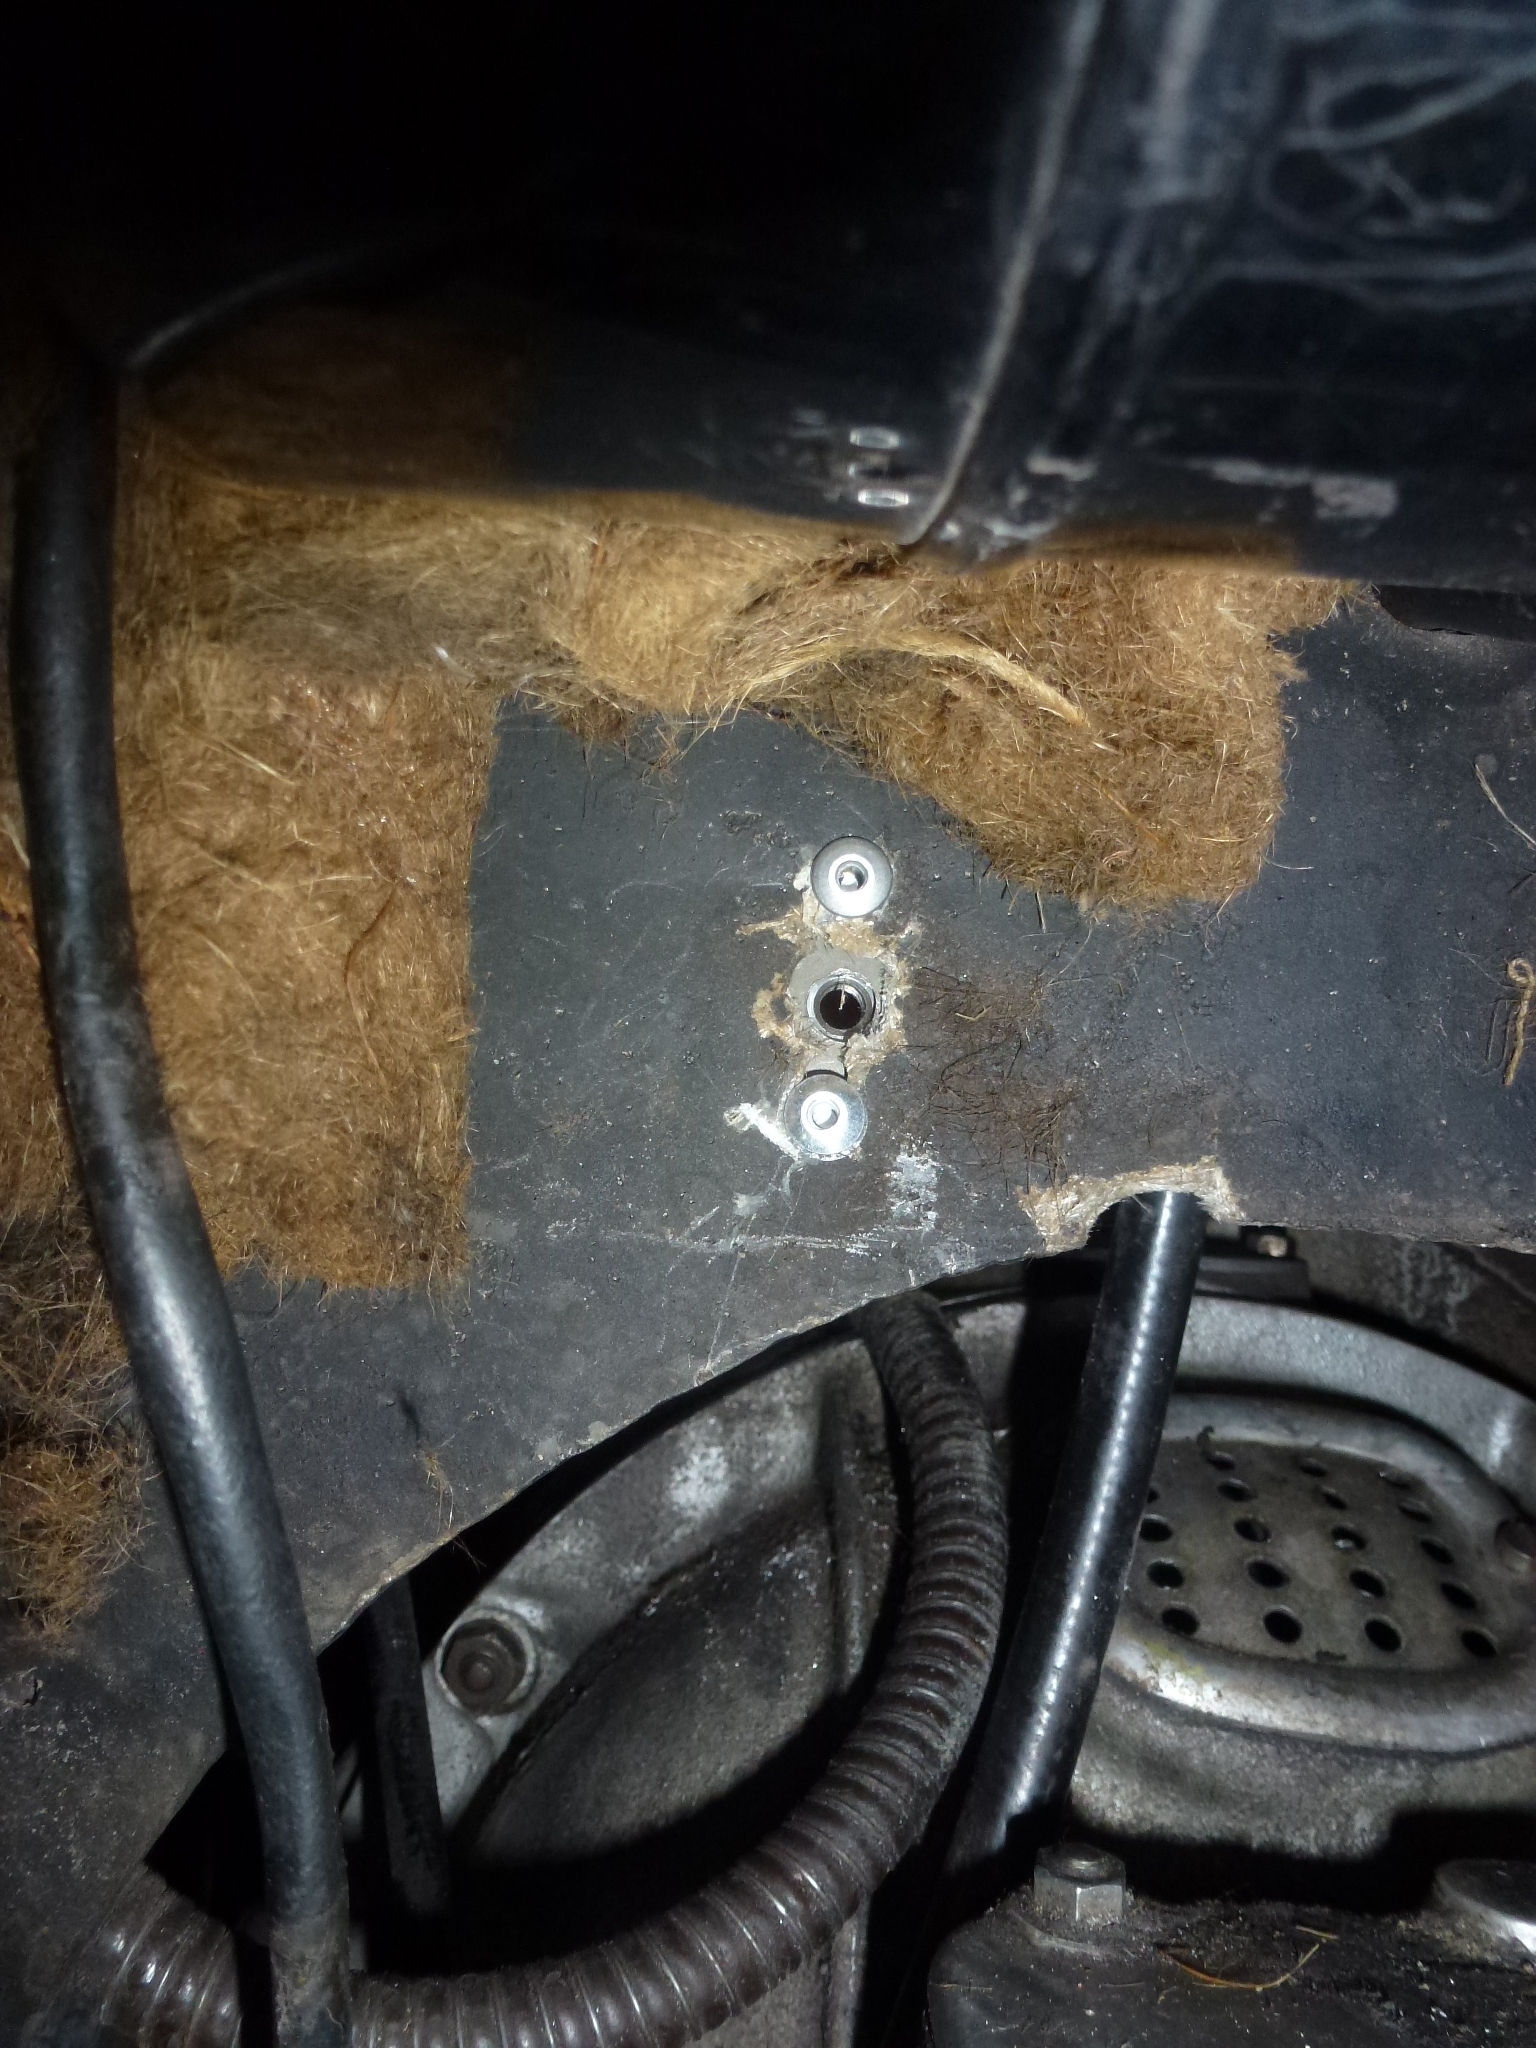
Regardless what I did about the screw, there was nothing left on the hump to screw it into. I imagine that originally, a screw with sheet metal threads was just screwed into a hole drilled in the fiberglass hump. As you can see, at some point, the hole in the hump must have enlarged, so a second hole was drilled in the tab so a new hole could be drilled further back on the hump.
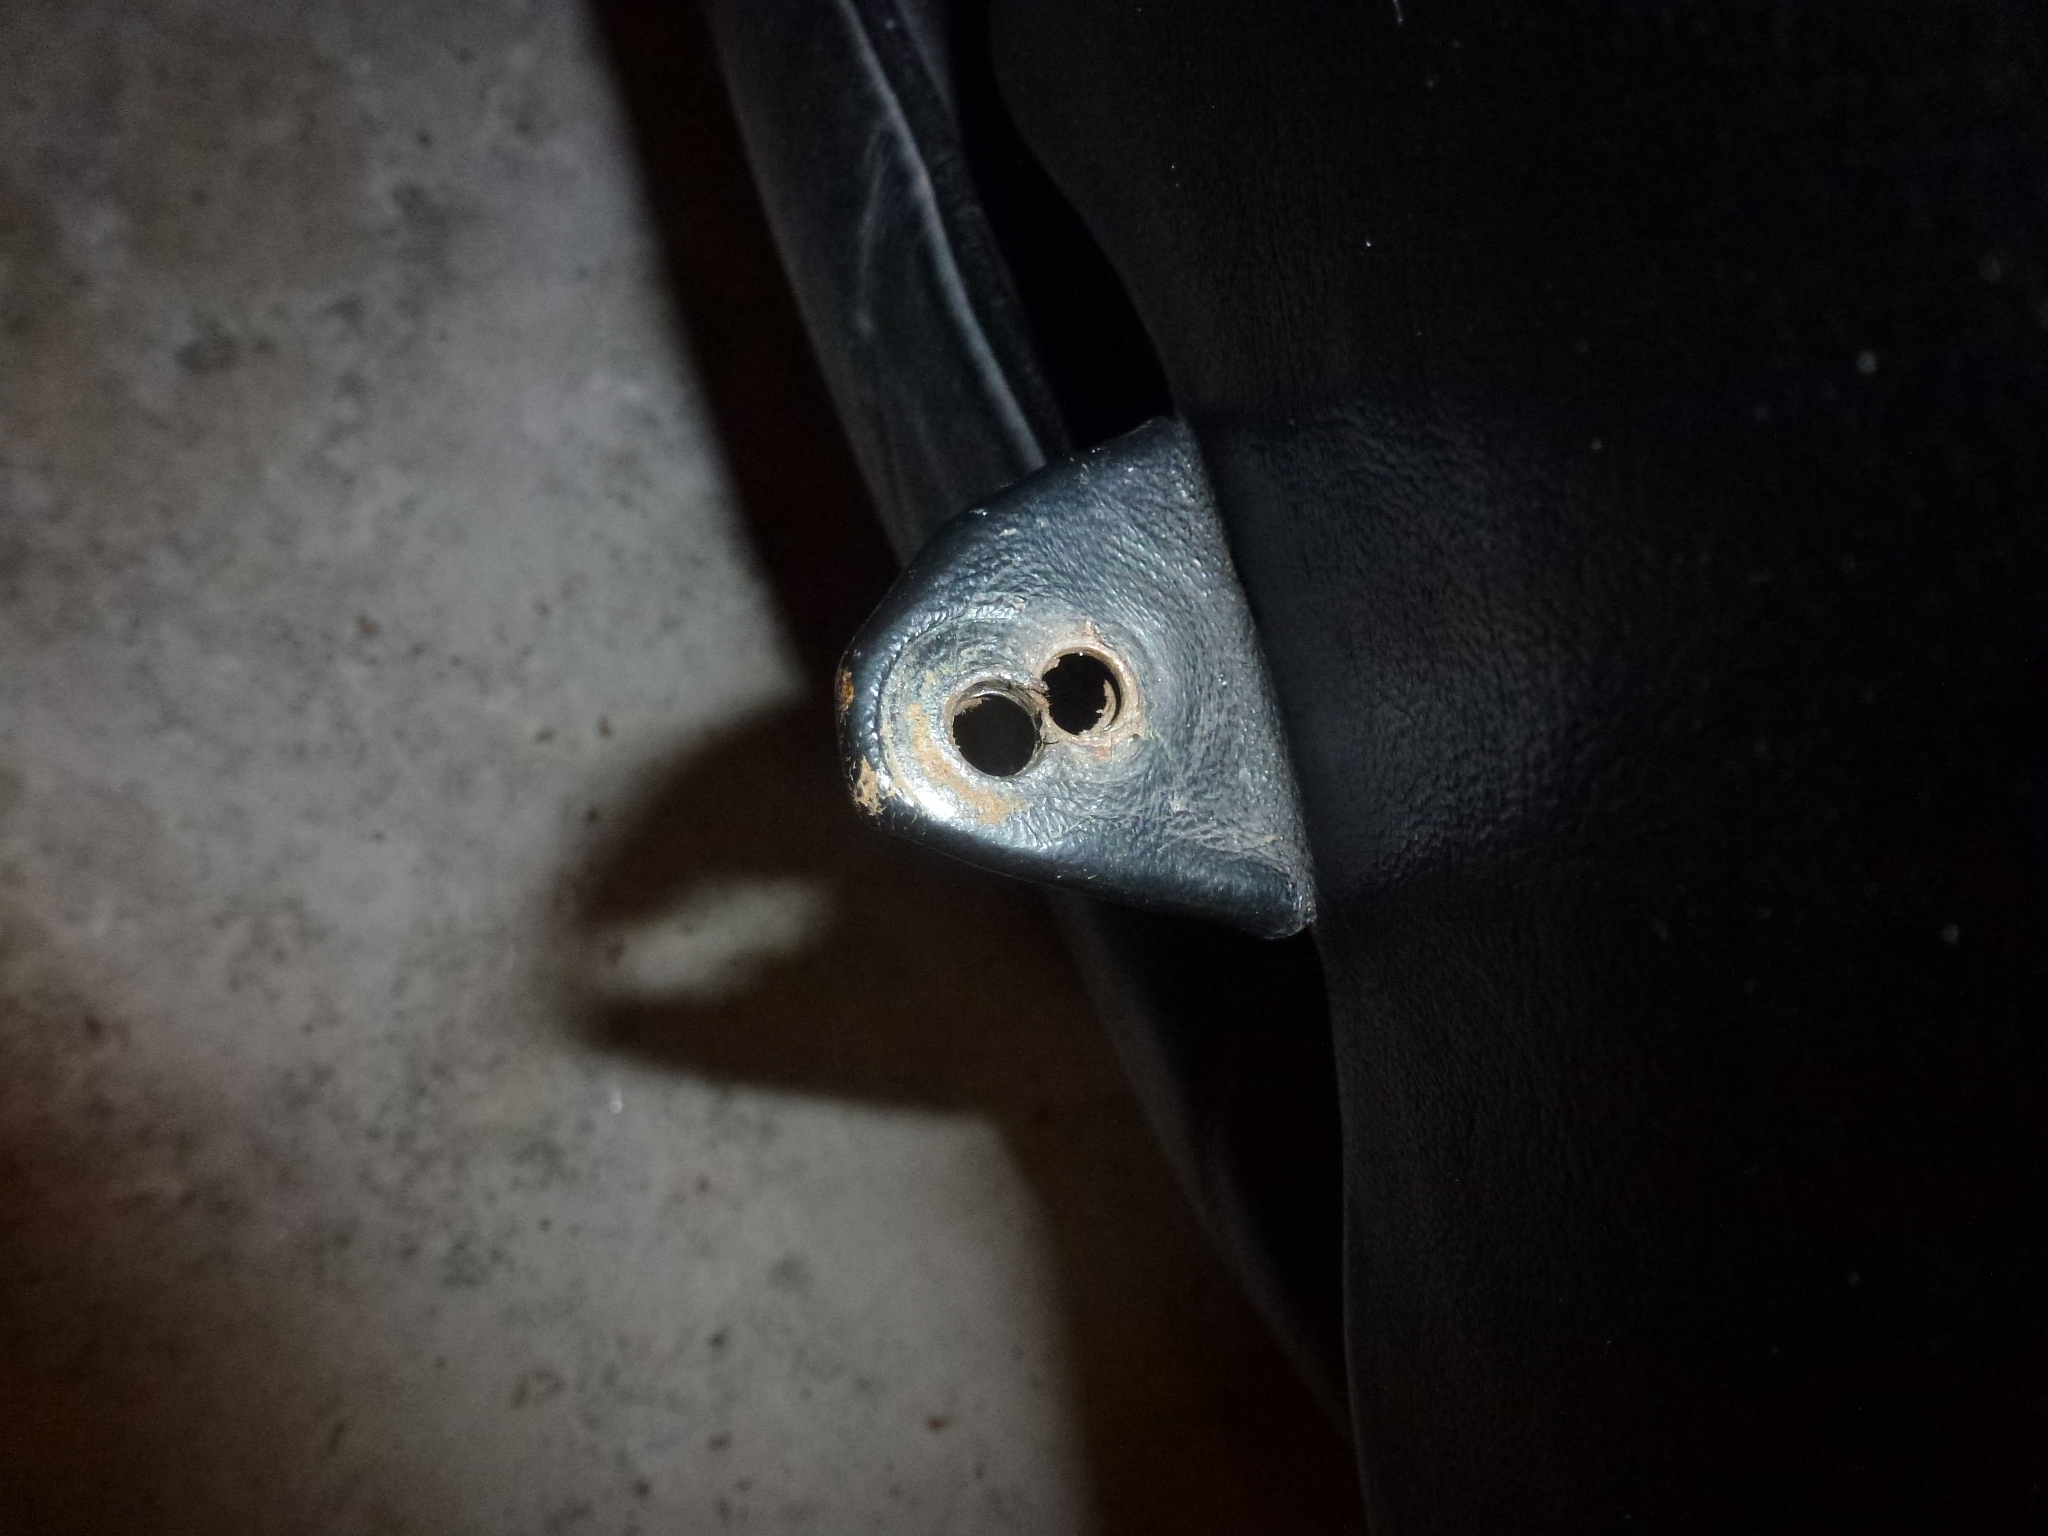
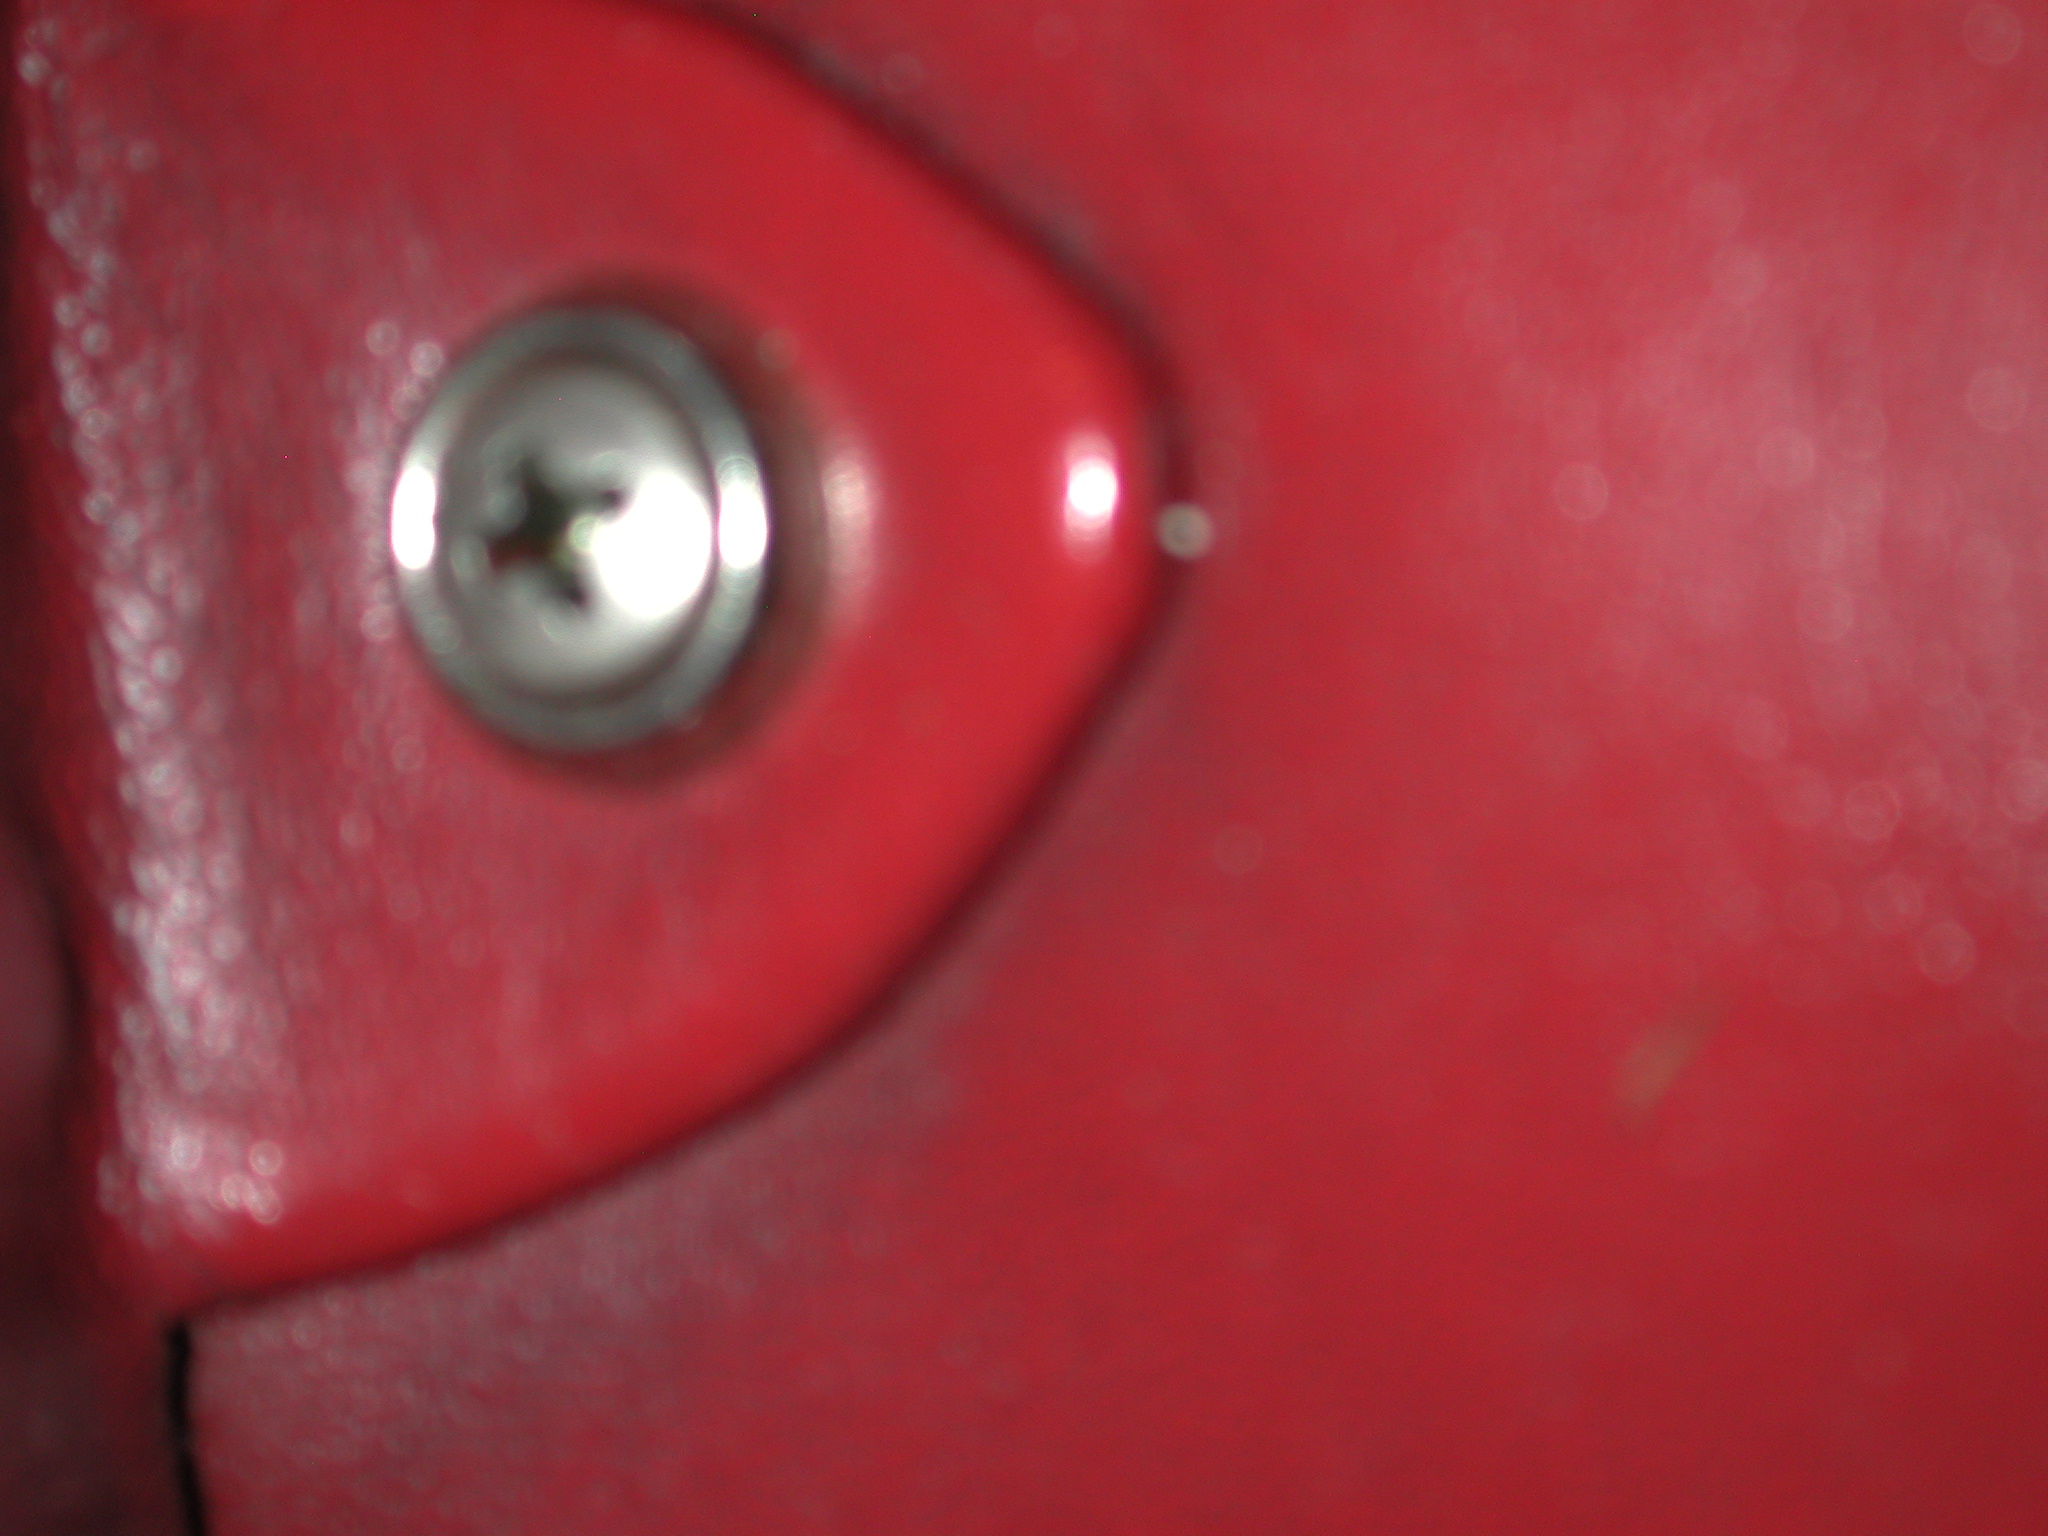
I decided to use an oval head Philips 5mm machine screw. So I built a captured nut box and pop riveted it on the underside of the hump. Now I don't have to worry about having that screw come loose or the hole enlarging again.
I did get the transmission filled with Red Line MT90. The book calls for 5 liters, but 5 quarts filled it almost to the top of the fill hole. After that, I installed the tunnel, re-attached the hand brake and put the tunnel cover on.

The original padding under the carpet was jute, probably about 3/8" thick. When I put in new carpets many years ago, I went with ½" foam padding. Pininfarina had spacers under the fittings to allow for the jute padding so the carpet would lay flat. I ended up screwing the snap fittings directly to the floor, figuring that the foam would compress. Well, you could see the carpet being indented at each snap location, so I decided to put in spacers. Instead of a special spacer or stack of washers, I just used 6mm nuts. I have a lot and they are cheap. Now the carpet lays flat everywhere.

Now I just have to install the console, A/C ducts, carpets and seats and the clutch job is done.
One thing that I wanted to do was to install some relays for the electric window motors. The switches carry a lot of current (~10-15 amps) and that causes arcing, requiring the cleaning of the switches when they get flaky.
Once that was done, the console was ready to be put back in. There is a lot of wiring that ends up being kind of a rat's nest. In the process, I inadvertently pulled the lead going to the glove box light (which was temporarily removed to get the clock fixed) into the console area. This wire is hot when the key is on and has an exposed bullet connector on the end. I didn't notice that it wasn't connected to anything and it ended up blowing a fuse as I was testing the wiring. It took a while to determine why the fuse kept blowing before I remembered about that wire and fished it out of the console. I should have put some tape over the end when I disconnected it.
The other electric issue I had was that the trickle charger I use kept showing a 'trouble' light and the LH window stopped working. I put the large battery charger on and it kept cycling on and off. I pulled the LH window fuse and the cycling stopped. After some looking, I determined that one of the switch contacts had gotten rotated and was touching the center (hot) contact, so the switch was on in the up position. Straightening the contact fixed that issue.
The final wiring problem was the electric antenna switch was flaky. I took it out, cleaned the contacts inside and peened the terminals on tighter. That fixed the flakiness. At least this switch wasn't as complicated as the window switches.
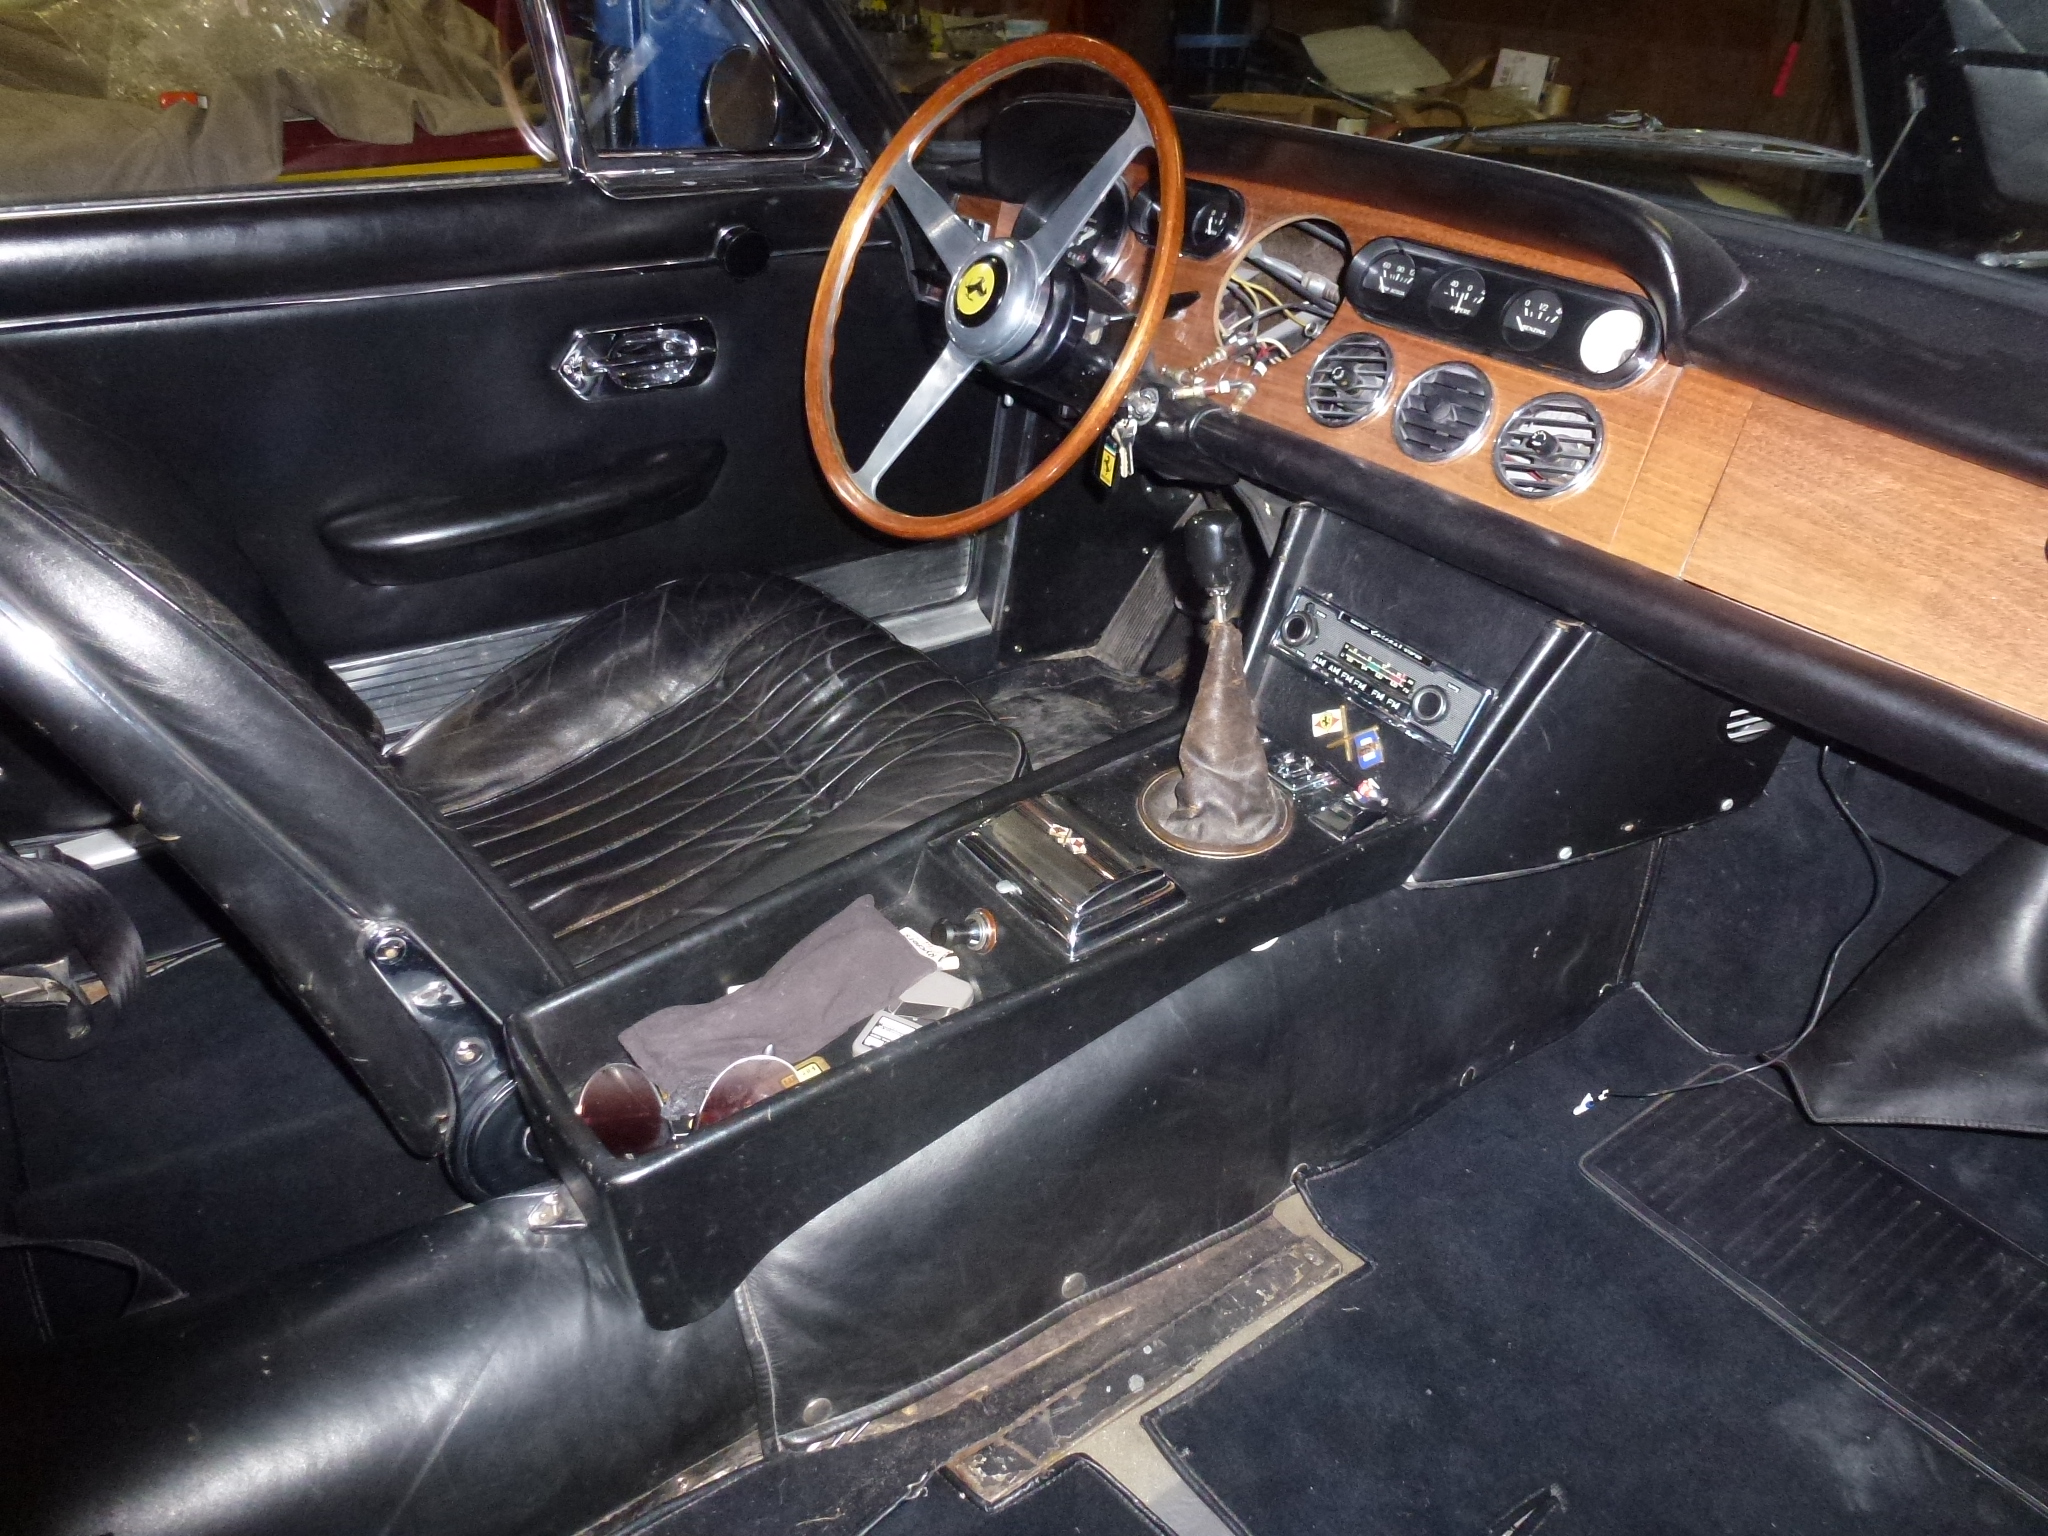
Finally the console was back in place and all of the wiring working correctly.
The last two items were installing the passenger seat and belly pan along with a final clutch adjustment. I've found that I can adjust the clutch at the slave cylinder simply by allowing about 1/16" (~2mm) of free play at the slave cylinder and that causes about 1½" of free play in the pedal, just what Ferrari specifies.
It'll be nice to not have to watch the power at low revs and worry if the clutch is going to die going back up the steep hill to my house.