Heater Control
This last summer it was clear that the heater was working regardless of the position of the hot/cold control in the car. After looking under the dash, I could see where the clamp that holds the cable housing had been replaced with some electrical tape. That was now loose so the whole housing was just moving back and forth and not moving the wire inside of the housing. My quick fix was to close the heater valve manually with a screwdriver. It was pretty hard to close which was an omen of problems to come.
Since everything is pretty well packed and moved for the old shop to be demolished, I decided that this would be a simple task that would require just a couple of tools and a couple of hours. Well not to be!
First, I had to figure out how to take the heater lever out of the dash. After doing some reaching and looking at a couple of pictures other people had sent me, I decided that the easiest way was to remove the speedometer. That's actually not too hard (though easier than putting it back). There are two knurled nuts that hold J-shaped clips that hold the speedometer back into the dash. After those are removed, you have to remove the trip odometer reset and the speedometer cable. Then the speedometer can be removed from the dash allowing you to remove all four light bulb holders thus freeing the last attachments. The speedometer is on the left and the blue arrow points to one of the J clips.

Now that I had a large hole close to the heater control, I could see everything better. After comparing it against the pictures, I decided that it wasn't broken, but simply that the clamp was gone. But first, I had to remove it. There are two Philips head screws that hold the back side of the control with the levers to the front side on the dash. Luckily these weren't too tight and a stubby Philips screwdriver was able to remove them. Pulling the front parts through the dash let me disconnect the wire end and then everything was apart.

I dug through my old parts and found a plastic bag with the original clamp and fasteners. However, it took quite a bit of bending and fiddling to get the clamp to fit tight and hold the cable housing without popping off the arm. Here you see the clamp and housing fastened together properly.

Next was to fit the actuator parts and lever to test the whole control before re-installing it back in the dash. The first thing that happened was that the wire didn't move in the housing, but the housing just push back out of the clamp. So either the wire was stuck in the housing or the valve at the far end wasn't moving properly. Given the problem I had last summer closing it, I was pretty sure I knew where the problem was. However, since I had to disconnect the cable and wire at the valve anyway, I pulled out the wire and greased it as I put it back in. That did make it work smoother, but the real problem was that the lever on the valve wouldn't move. Here's the control together for testing.

Taking the valve apart isn't very easy as it's buried under the air cleaner and between the two distributors. So to start, I removed the air cleaner top and body. Of course one of the twelve studs that holds the air cleaner body to the carburetors came out. So I had to hunt up the tube of Lock-Tite to put it back in place. Remembering which of forty boxes I put it in and then finding that box wasn't too easy. By the way, we are now several tools and a couple of hours into this simple project. The top of the valve is held on by four regular head screws with nuts on the bottom. Three of the screws came out without any problems. However, the fourth nut was in a place where I couldn't get either a wrench or socket on it and have any room to turn it. I ended up having to take off the support for the accelerator cable so I would have room to swing the socket handle. After that, the top finally came free. Here's a picture of the valve with the top off. One distributor is on at the left while the rear-most carburetor is at the bottom left with the venturis blocked off so nothing falls into the intake manifold.

The rubber diaphragm was is poor shape and easily cracked with just a slight bend. I check with McCann's online parts and found it for a reasonable $14.00 so I faxed an order off for a new one. We are now about 4 hours into this simple project and know for certain that everything won't be put back together today.

The lever on the top of the valve is designed to turn the diaphragm down against the center of the valve body and thus block the flow of water from the engine block to the hoses leading to the heater cores in each fender. That lever doesn't want to move. So I just left it soaking in some penetrating oil to see if that will free it up. Probably not, but it's worth a try and I can't do much else until the new diaphragm comes.
I did return to the interior and re-install the heater control and speedometer so at least the inside of the car is back to normal. That took more than a hour. I used the opportunity to replace the speedometer light with a 4 watt bulb rather than the original 3 watt one. According to Buddy Obara (SN 9667), this really helps seeing the gauges at night.
So much for a simple two hour project.
Two days later I got a fax back from McCann saying that they were out of stock. So a few phone calls later, I located one at Algar Ferrari in Pennsylvania. It was shipped 2 day air that day. Two days later, no part. I called the next day and got the UPS tracking number. The package evidently set in the Pennsylvania sorting place for 2 days before being sent on. So instead of arriving on Thursday, it came on Monday and was delivered to my next door neighbor. Great work Brown! Not a big problem except that I needed to move the Ferrari out of the old shop as it was being demolished that Monday. I had to tow it out since it's uphill and the 330 GT weighs about 3300 lbs. I didn't think the part was ever going to get here, but finally it arrived.
The better news is that soaking the valve did free up the lever. The actuating mechanism is pretty interesting. The post (on the right) has a slot machined around it at a steep angle. The tip of a screw fits into that slot. So as the post is rotated (by the lever), it moves up and down about 3/32", thus allowing or restricting the flow of hot water from the engine into the heater cores. The plate at the bottom of the post fits into the top of the diaphragm.

The diaphragm is designed to prevent water from getting into the upper part of the valve. But if there are cracks, it's quite likely that the valve will freeze up since the body is aluminum and the post is steel. A perfect combination to seize together with the help of electrolysis. I did put some lithium grease onto the post when I re-assembled the valve. Then it was time to put the valve top back on, adjust the cable, replace the accelerator support and the air cleaner and of course, refill the cooling system with new antifreeze.
This is a couple of years later. I had noticed that the interior seemed pretty hot even though the lever was in the blue (cold) setting. As I had to remove the dash to fix the A/C evaporator, I noticed that the sheath was again slipping. So when the lever was moved to the cold setting, nothing happened at the valve. The valve still moved freely, so I only needed to address the inside end. At least this time, I had complete access. The cable is hanging down to the left of the steering column.
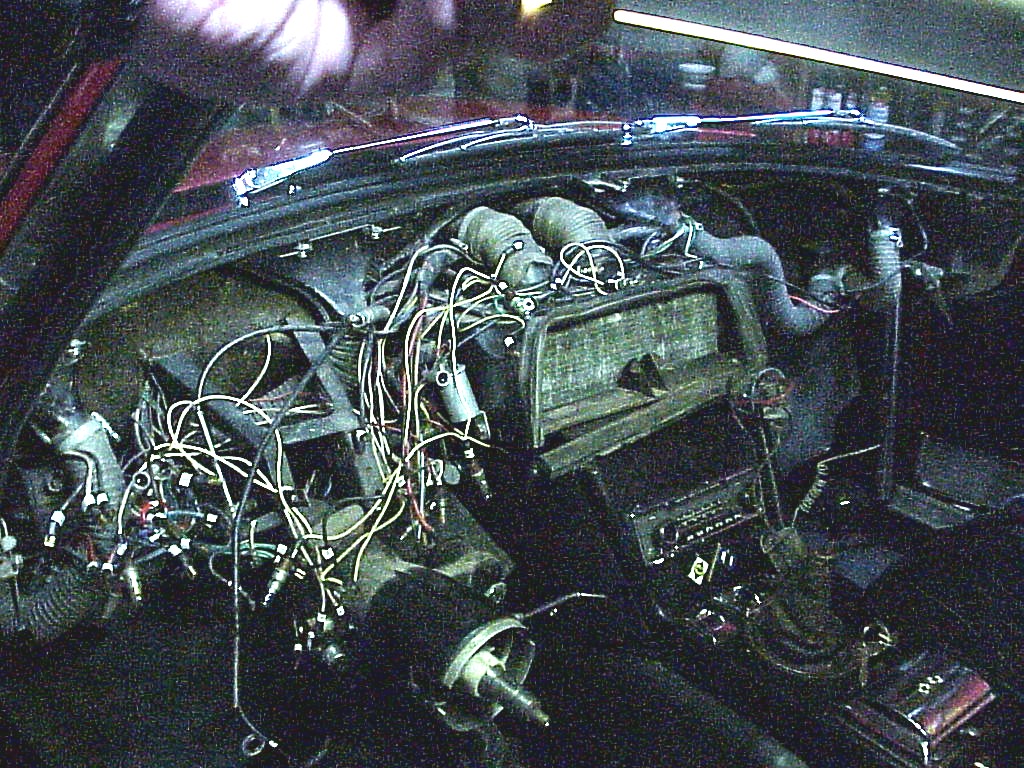
I fiddled with the clamp and hopefully got the bends right so it will stay tight and hold the sheath this time.