Exterior
I started removing some of the exterior parts.
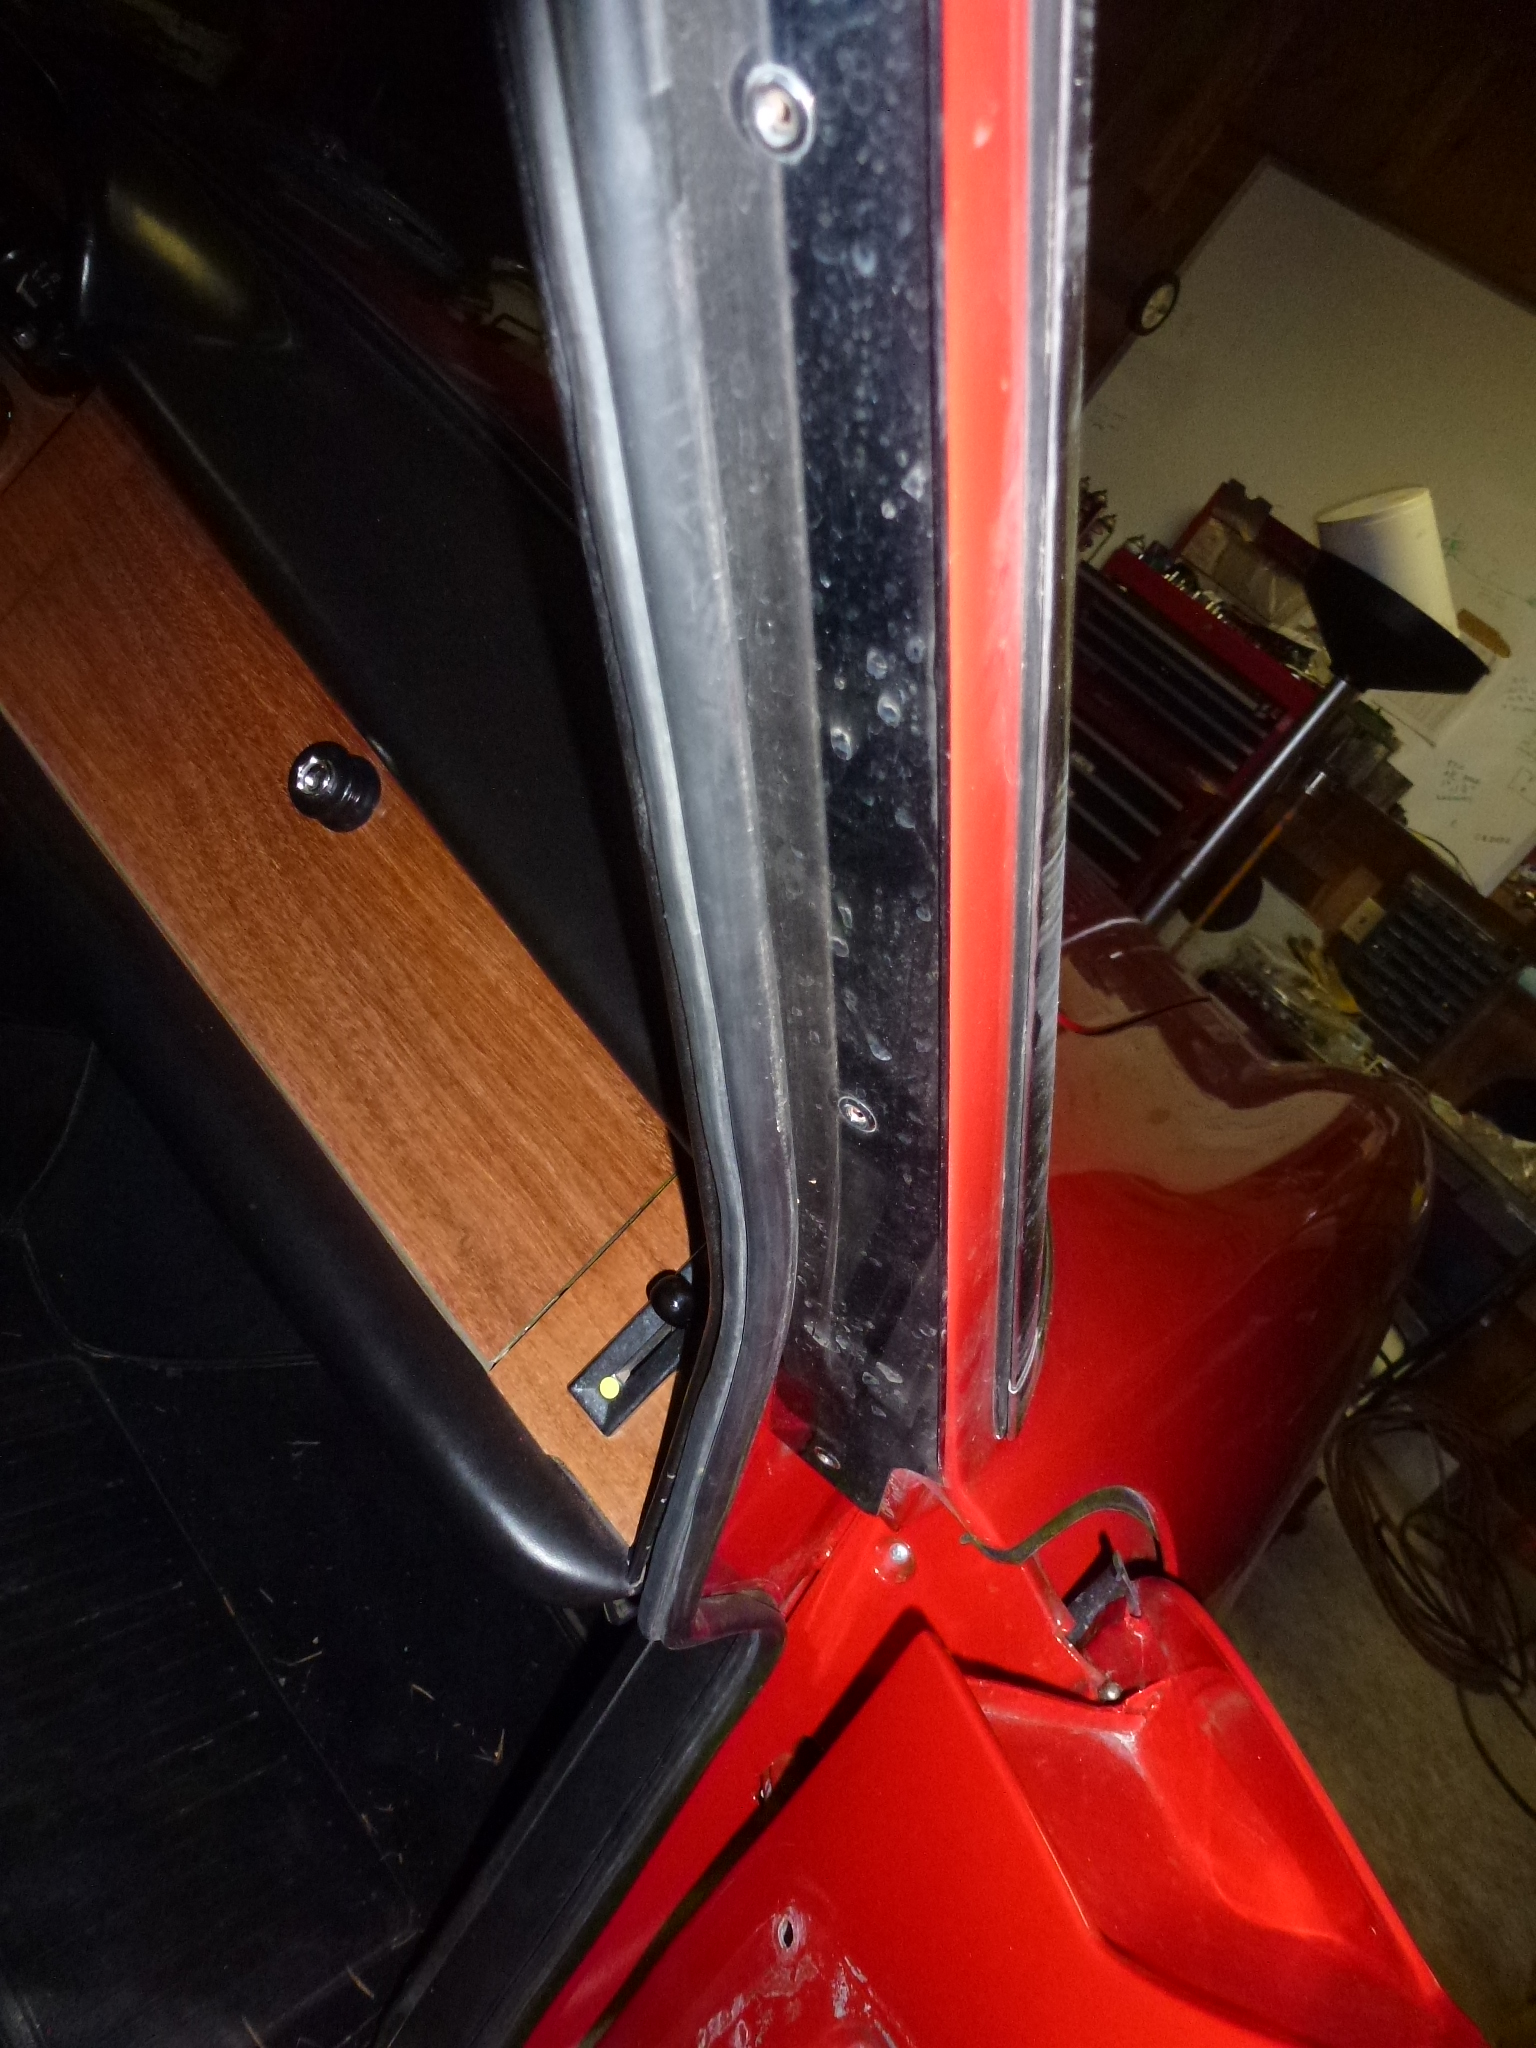
The strip over the pinch weld below the rockers needed to come off. Each side has four Philips flat head machine screws. This is a good view of how they are made. They are steel, in a box shape, with just lips on the back and the ends bent over.
On one side, when I was working on the front suspension a while ago, the car slipped on the lift and bent the strip and pinch weld. So this is something that I'll straighten.
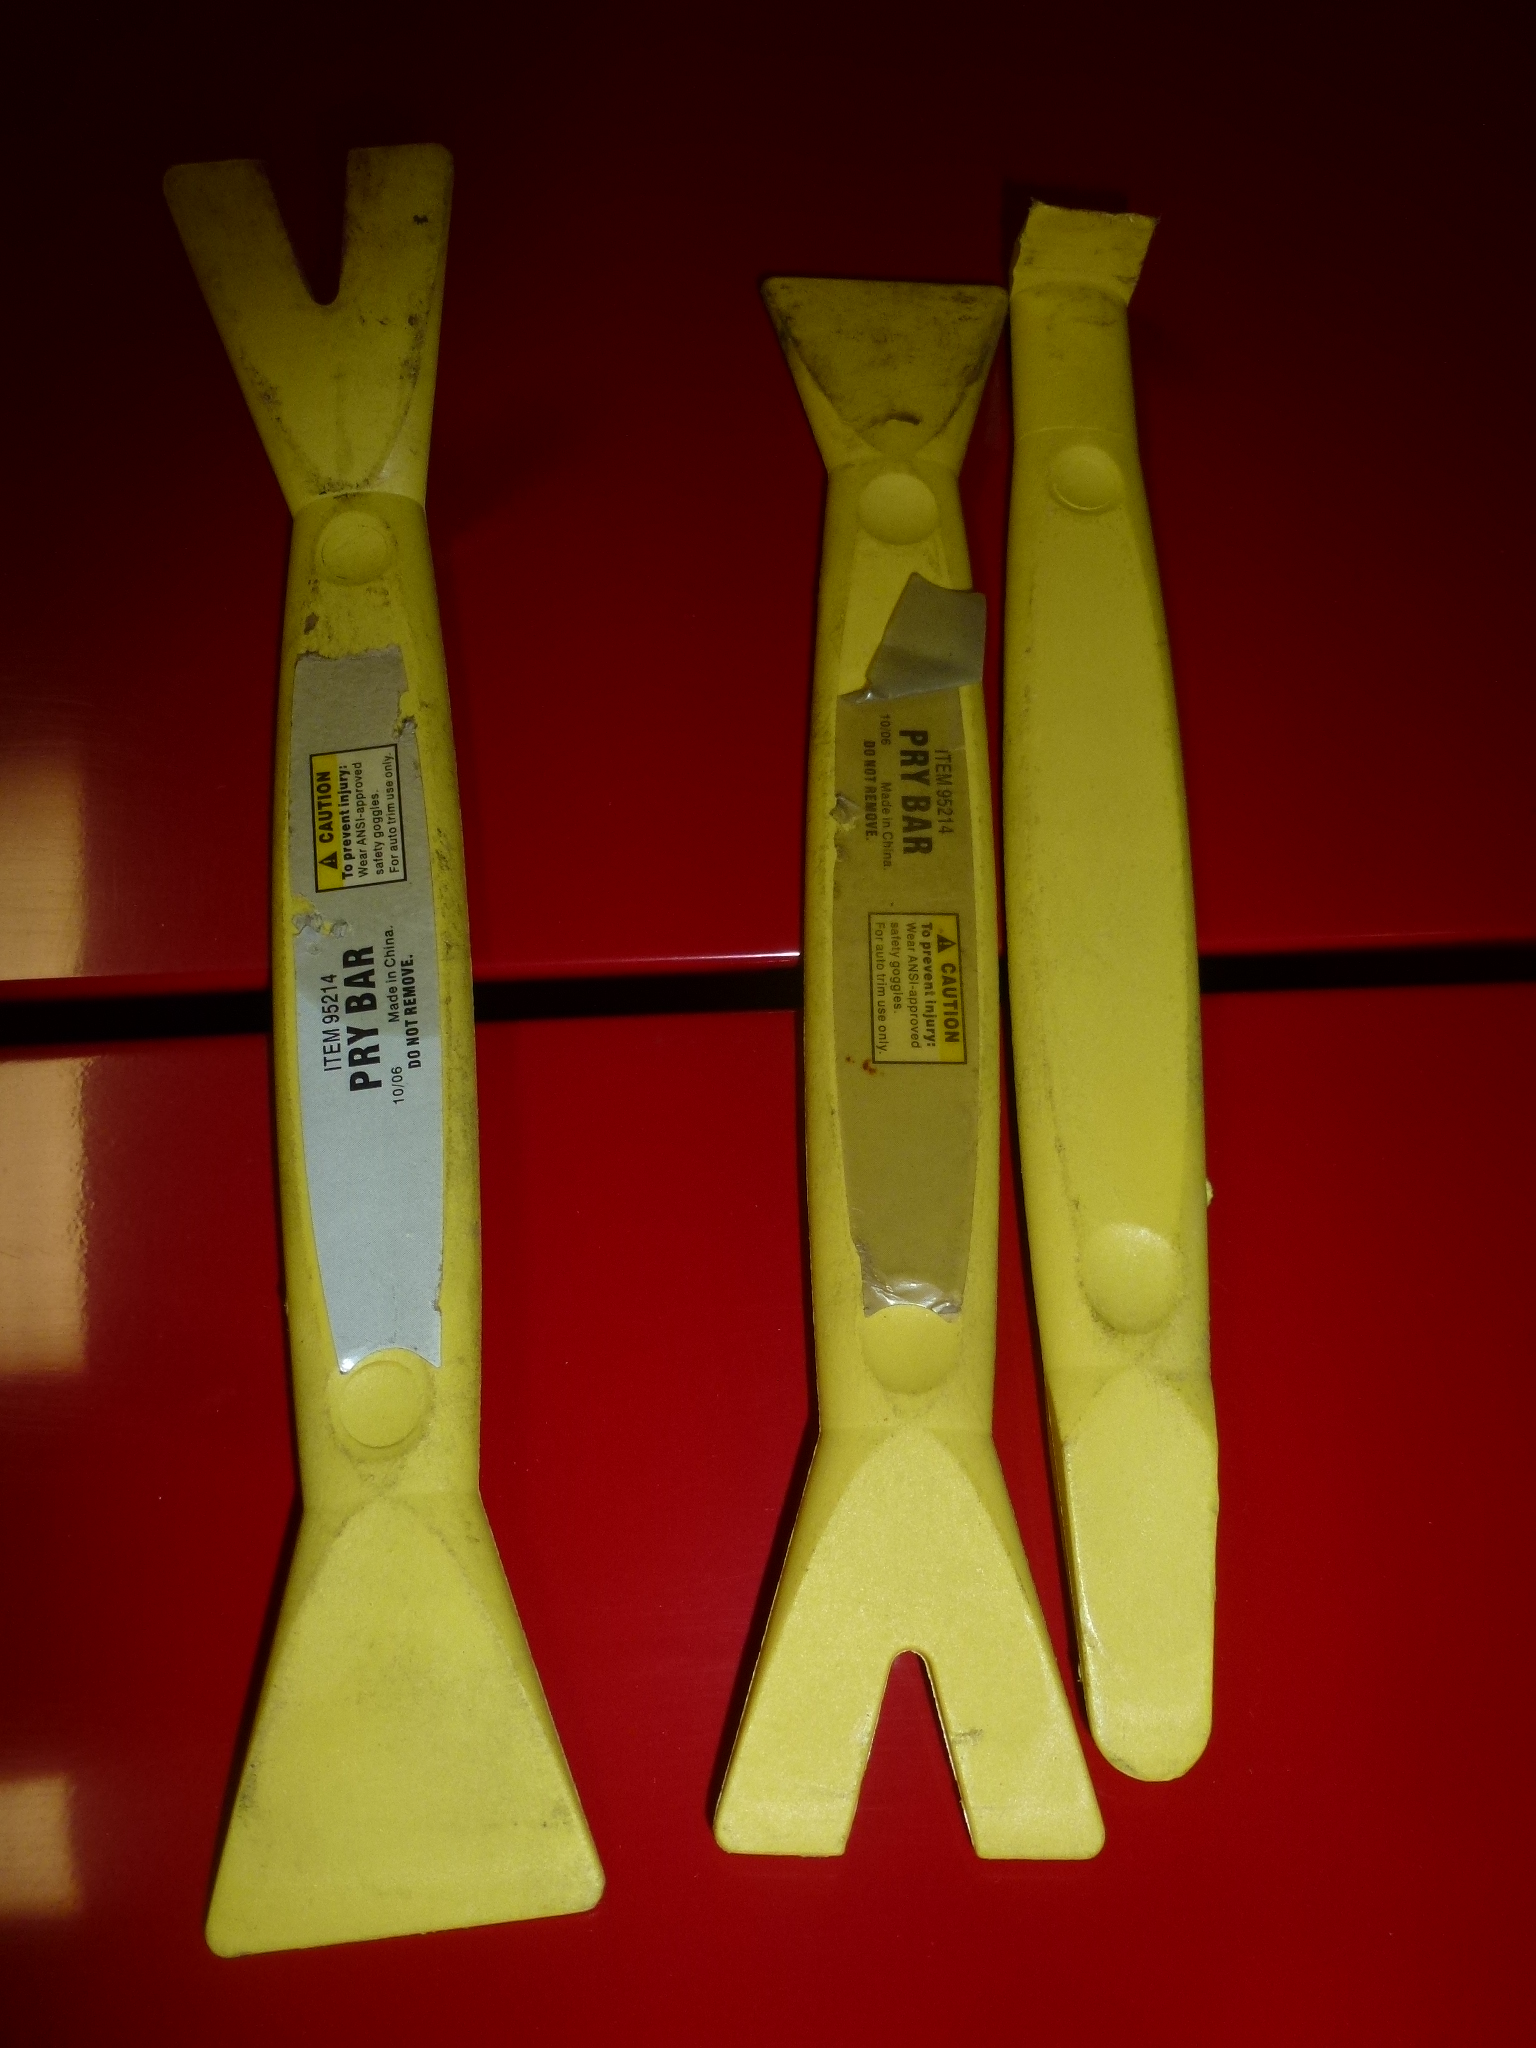
The A pillar trim strip had two screws. When I put these on, I used a couple of spots of autobody dum-dum putty in between the screws, so the strip needed a little prying. I have a set of nylon pries from Harbor Freight for jobs like this.
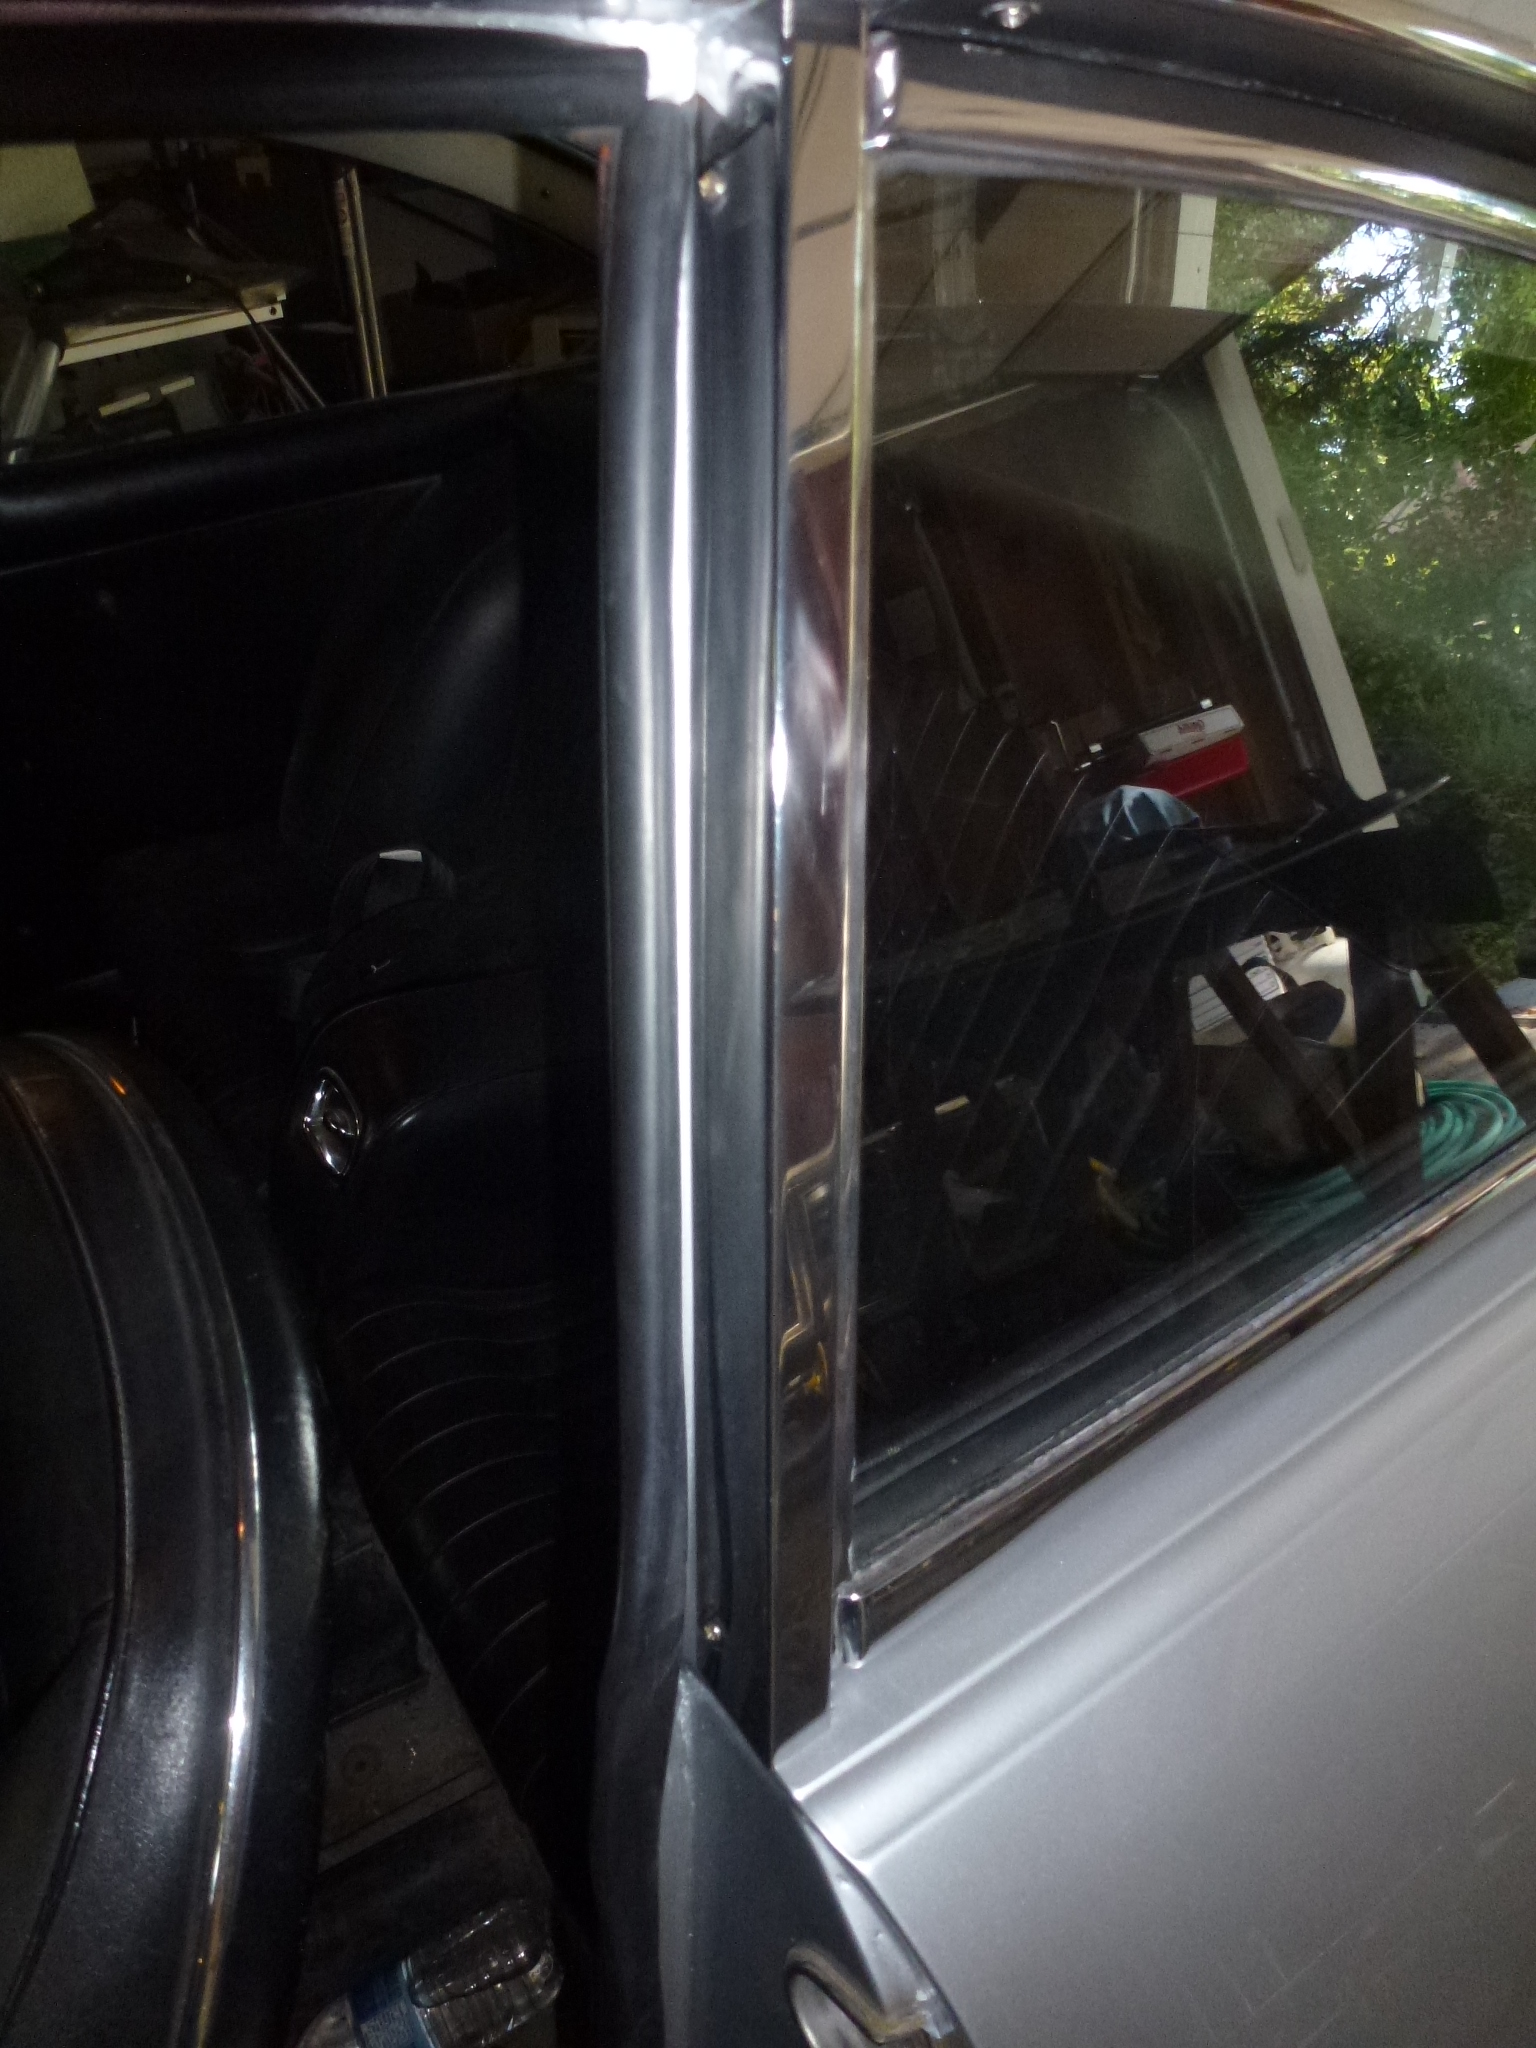
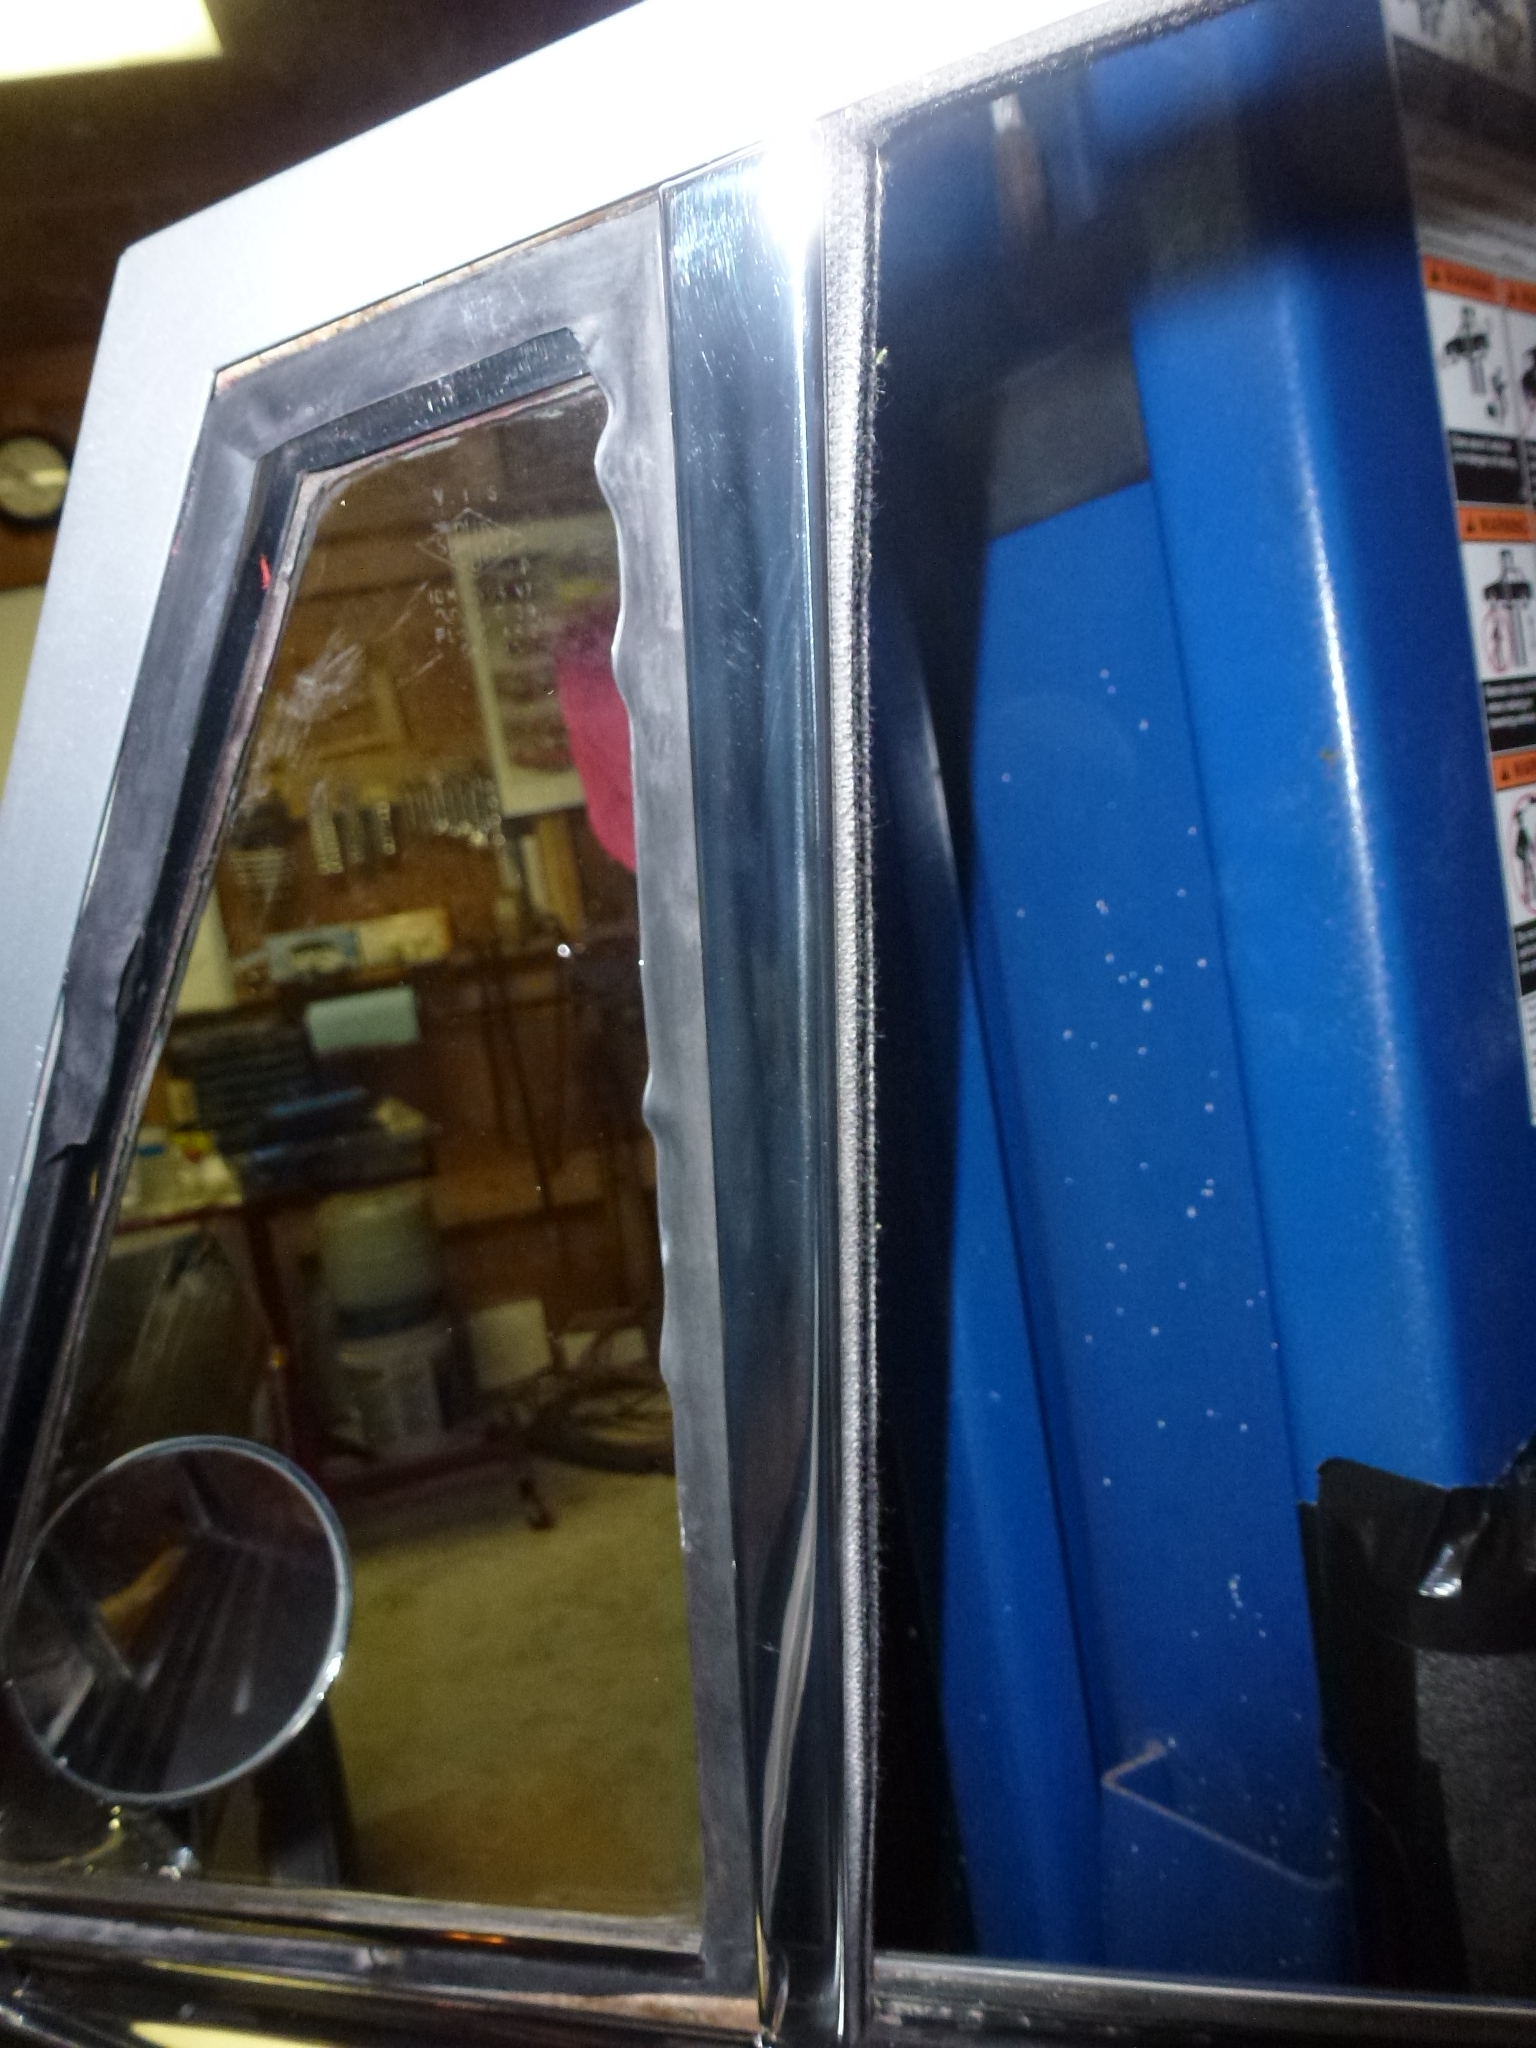
The B pillar trim strip just has two screws and then pulls off.
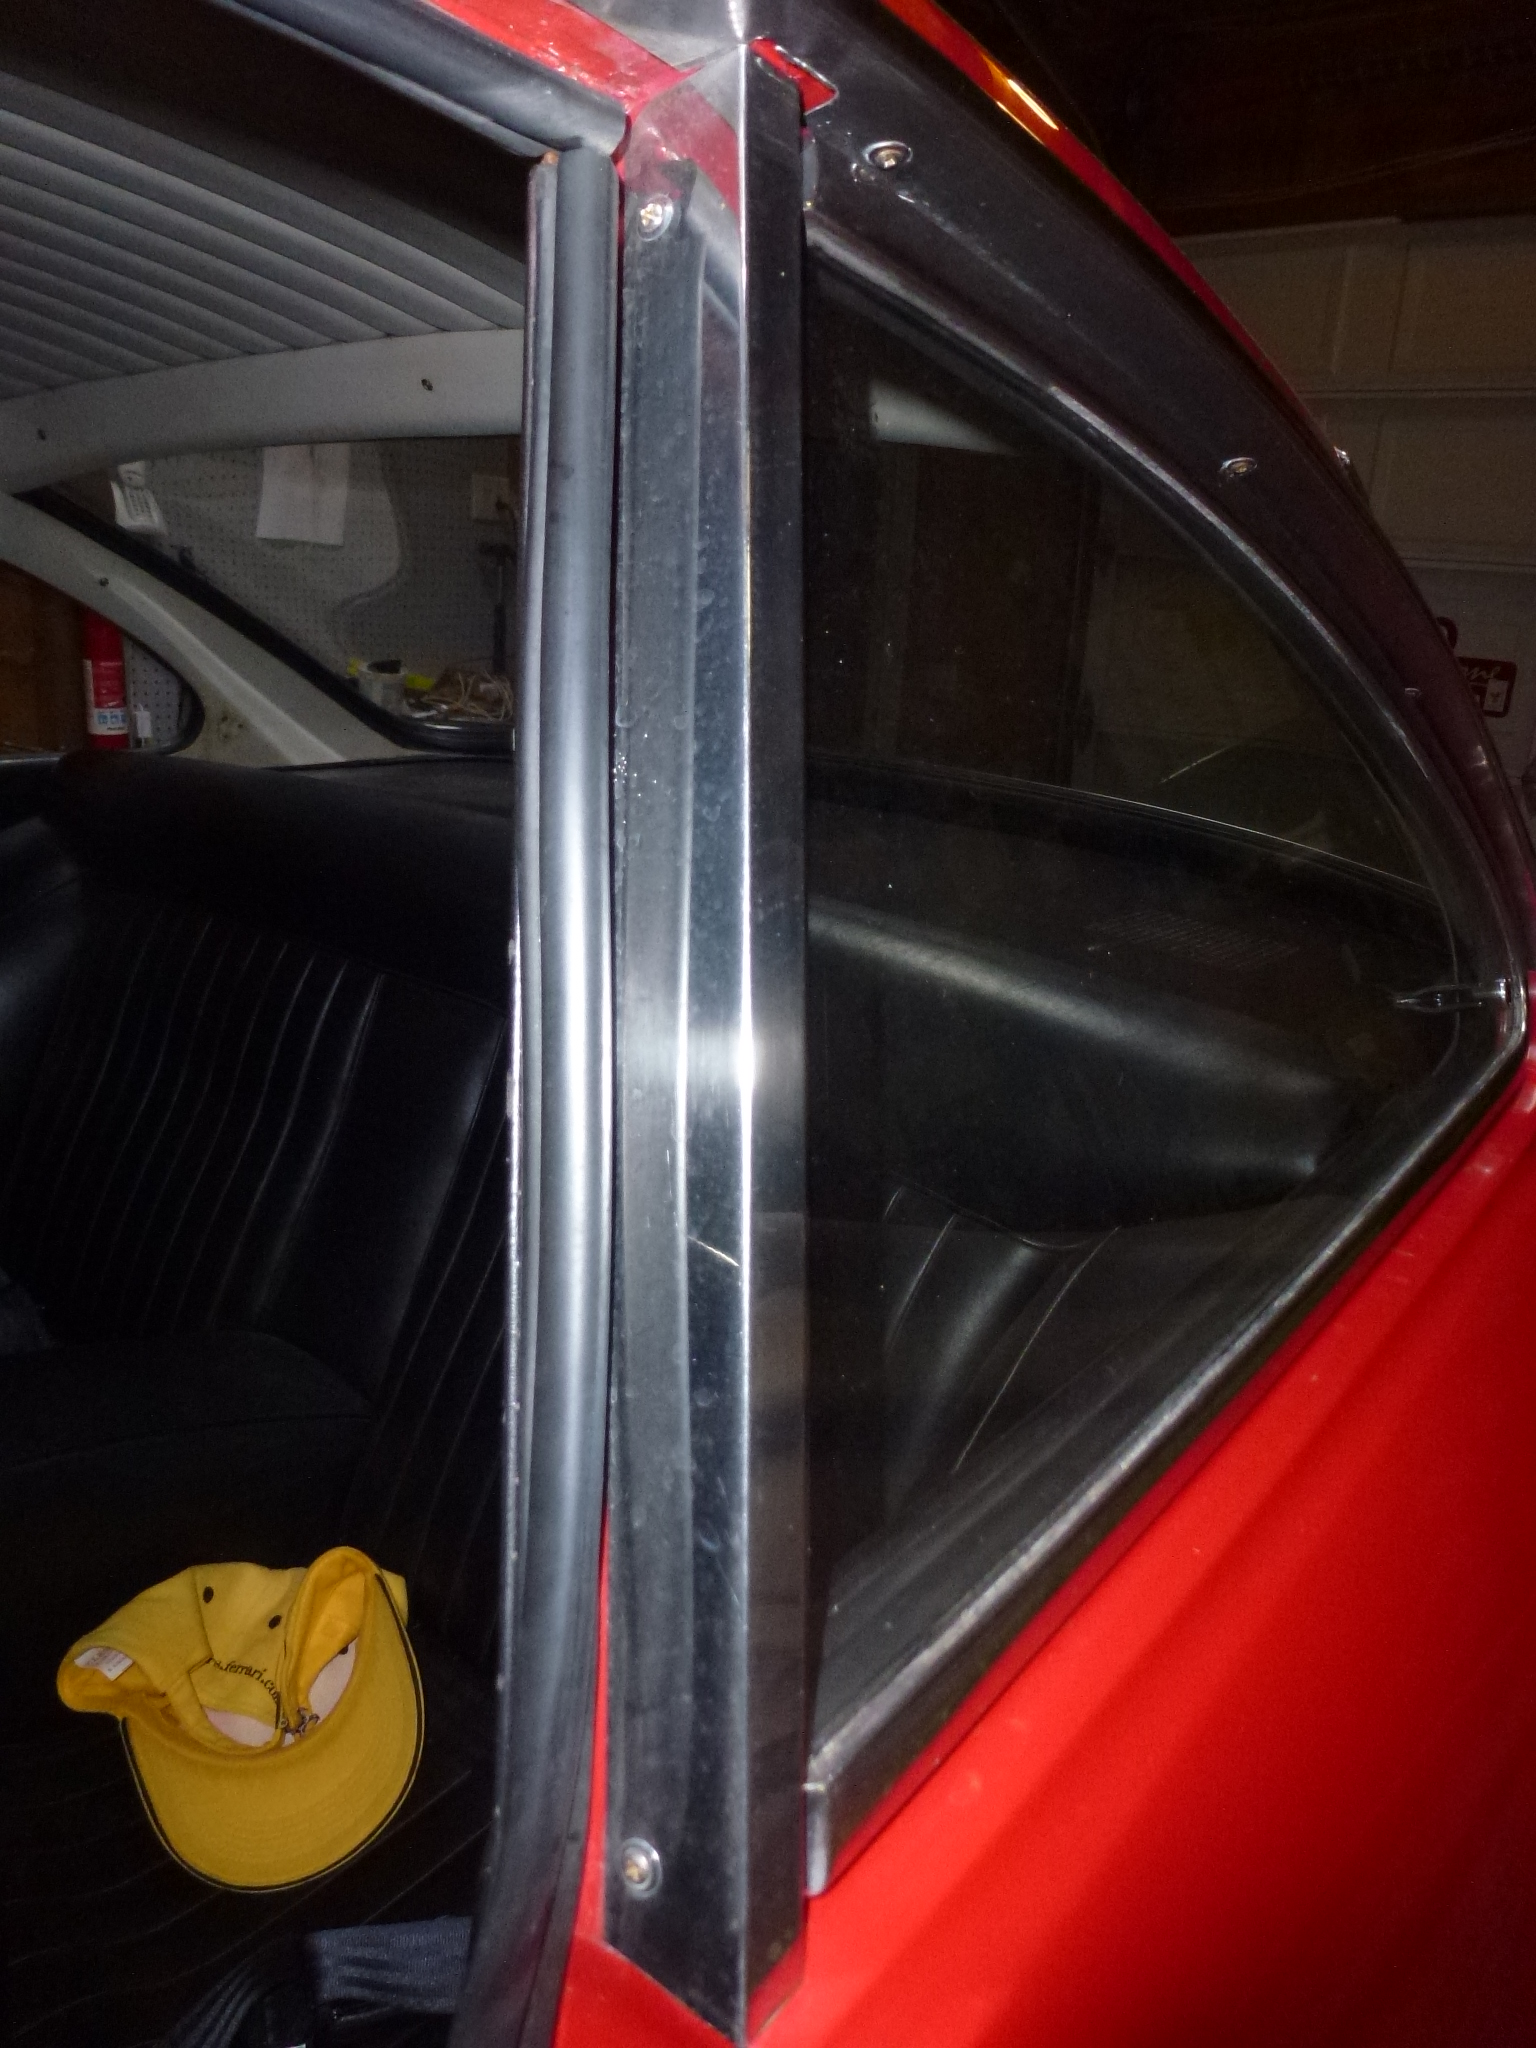
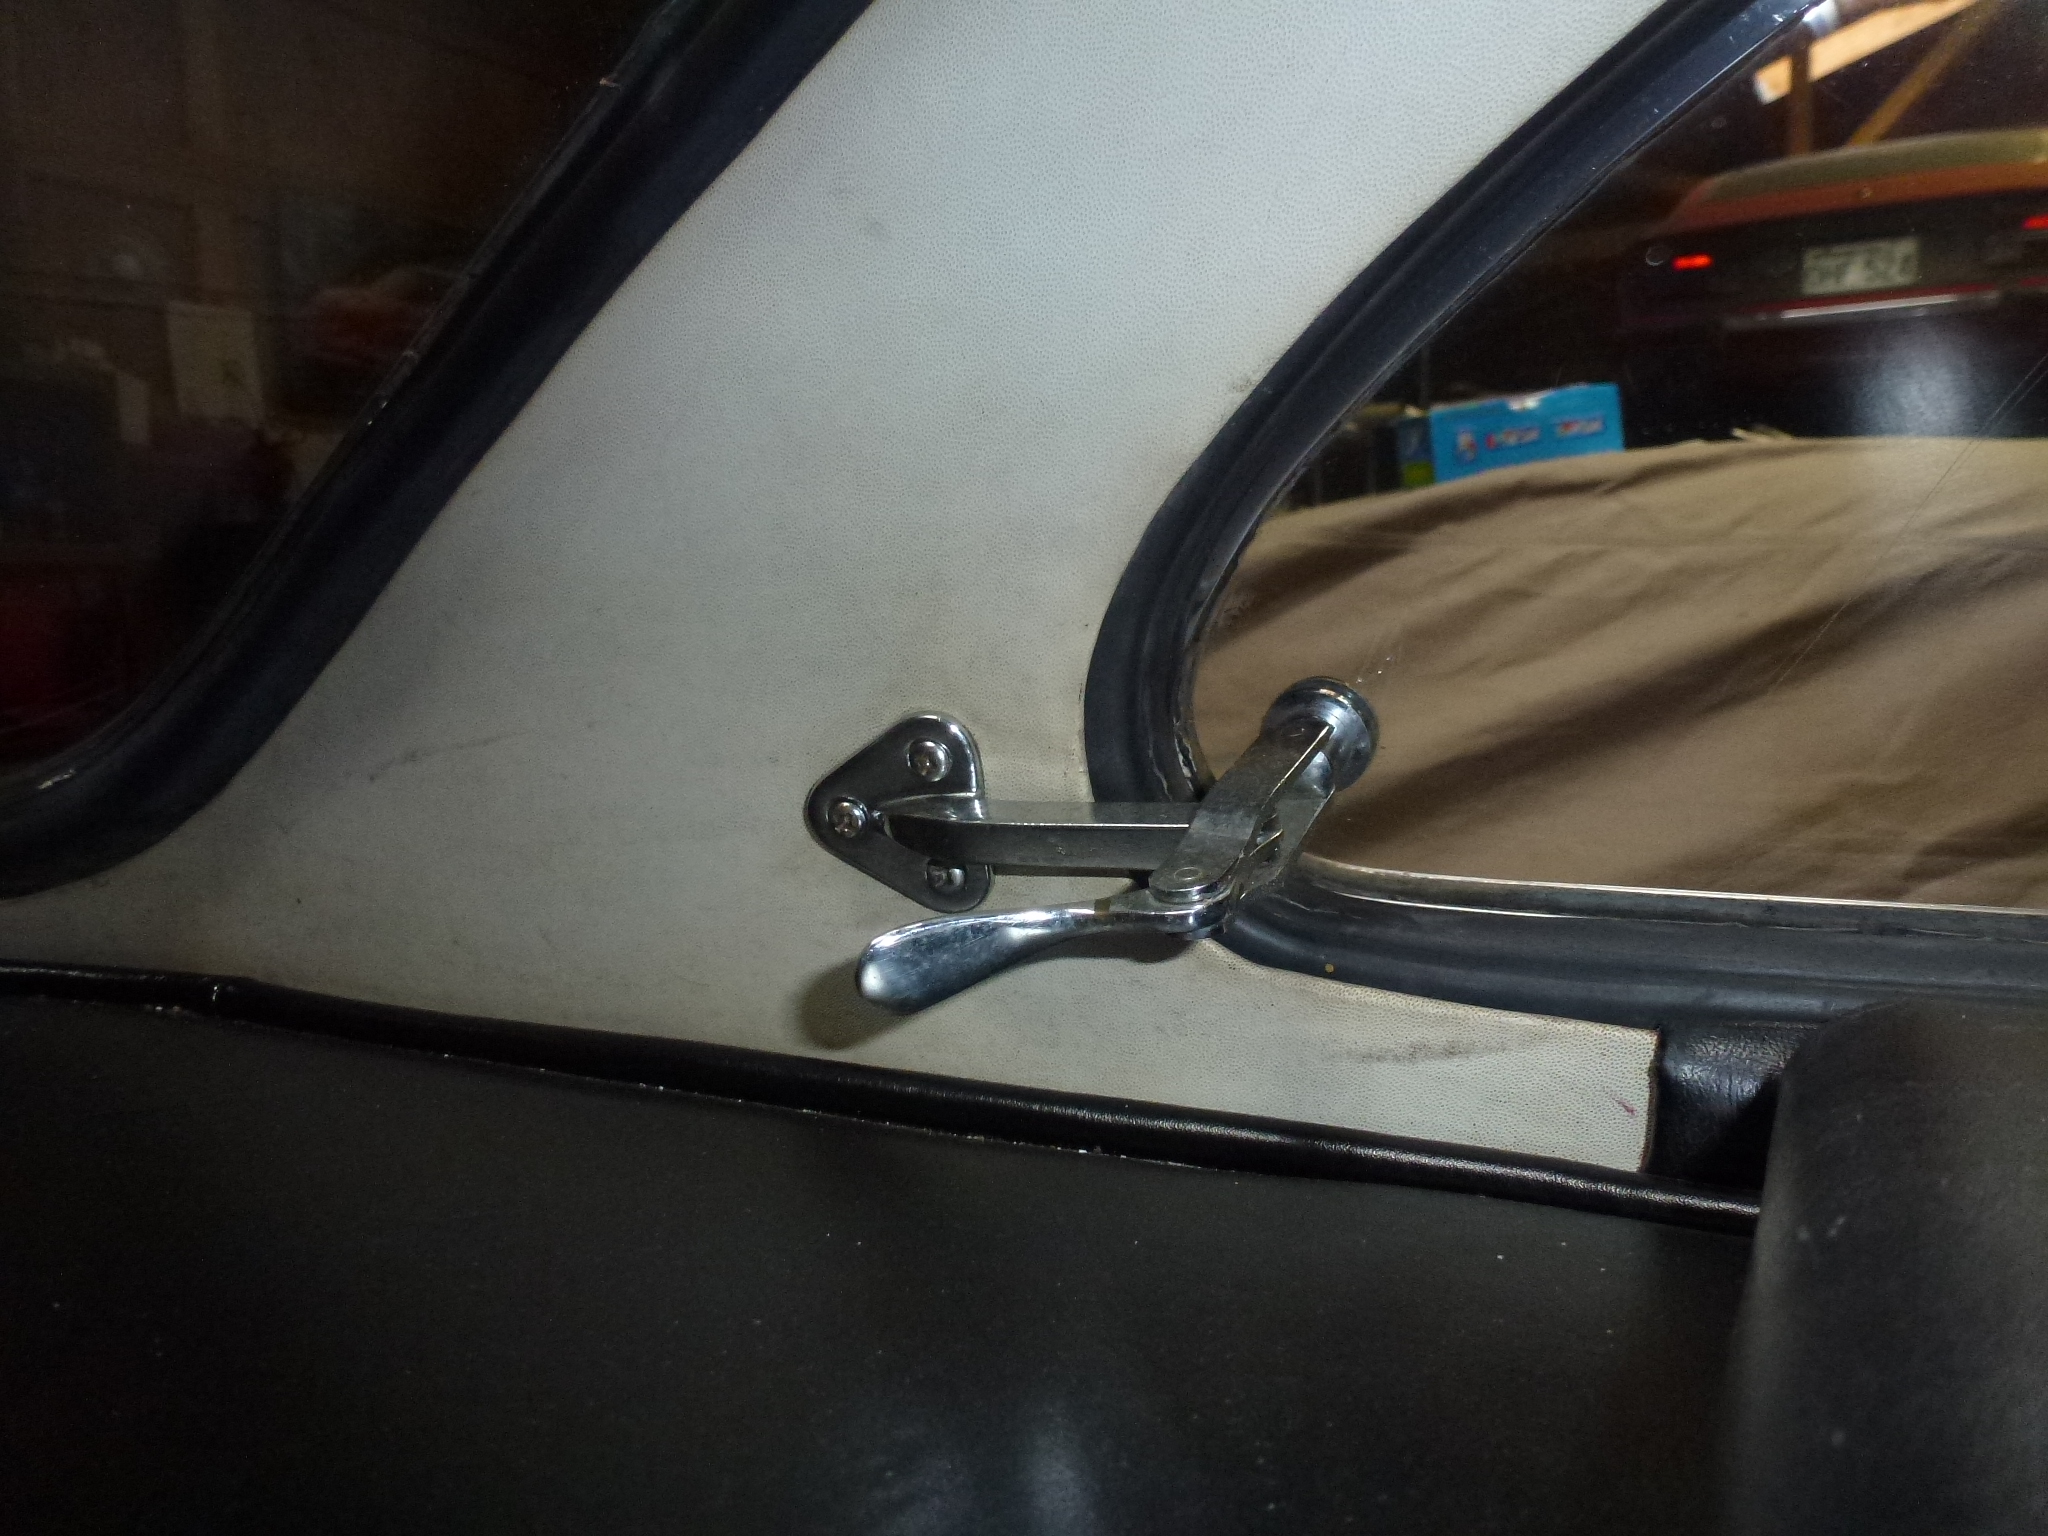
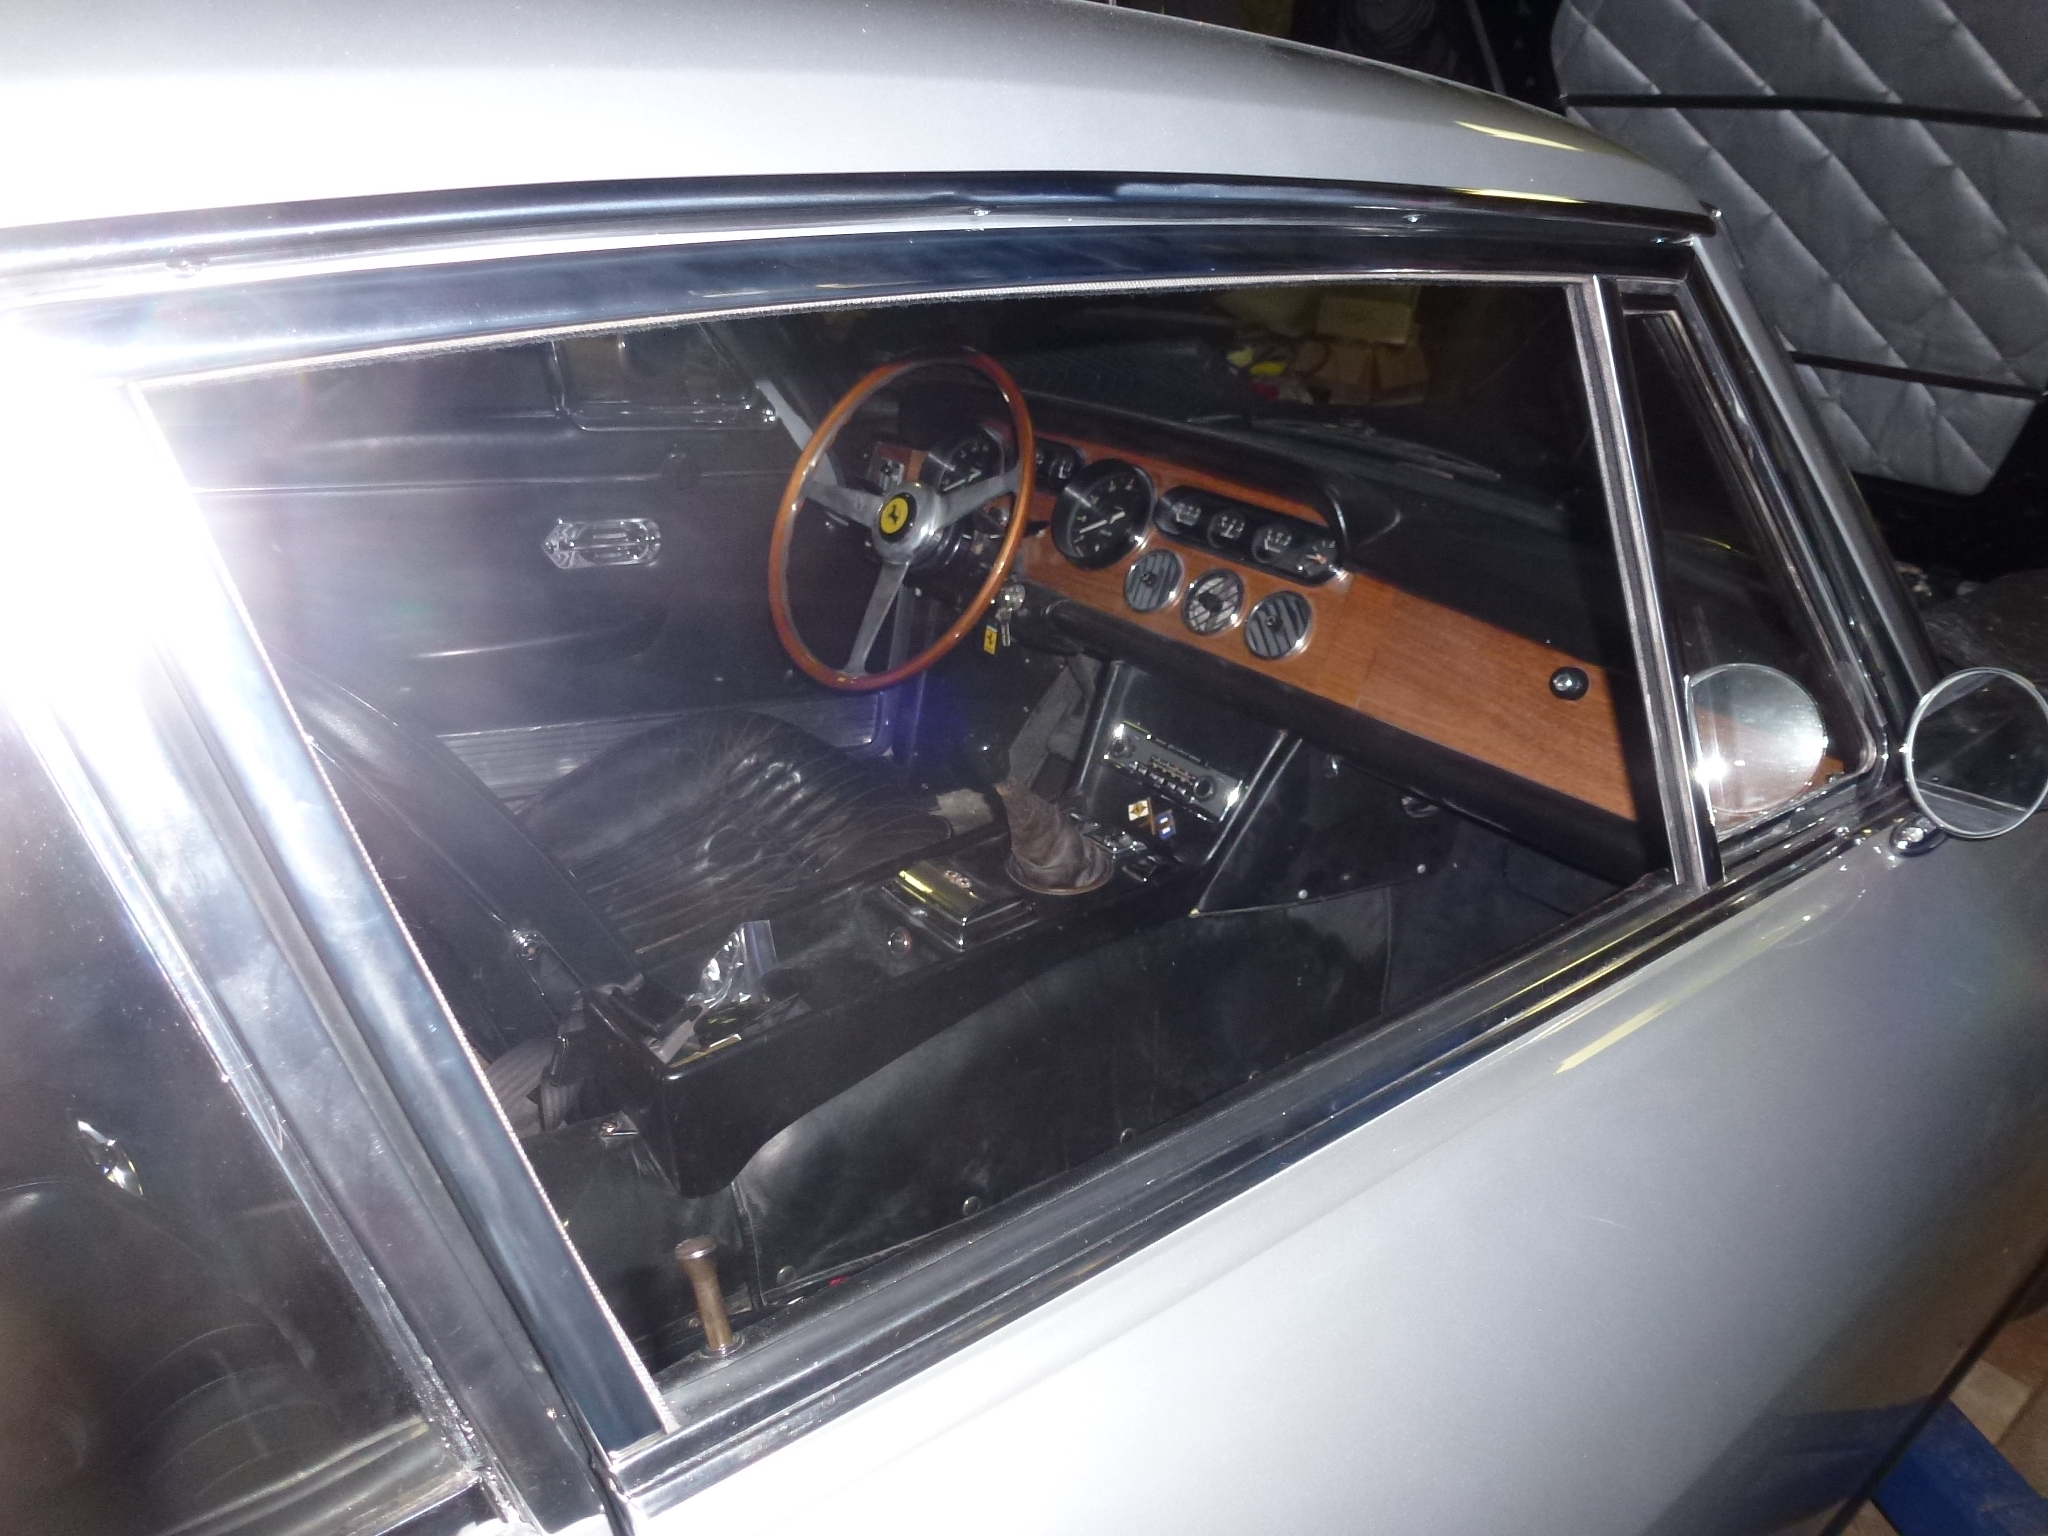
After the B trim pillar strip is off, the quarter window can come off. The latch has three screws, but the 'hinge' is simply two studs on the window edge sticking through the B pillar. Then there are two nuts that screw onto these studs. To visualize the nuts, think of the head of a flat head screw with interior threads going through it instead coming out of the head. If you lose one of these, you'll have to make a new one.
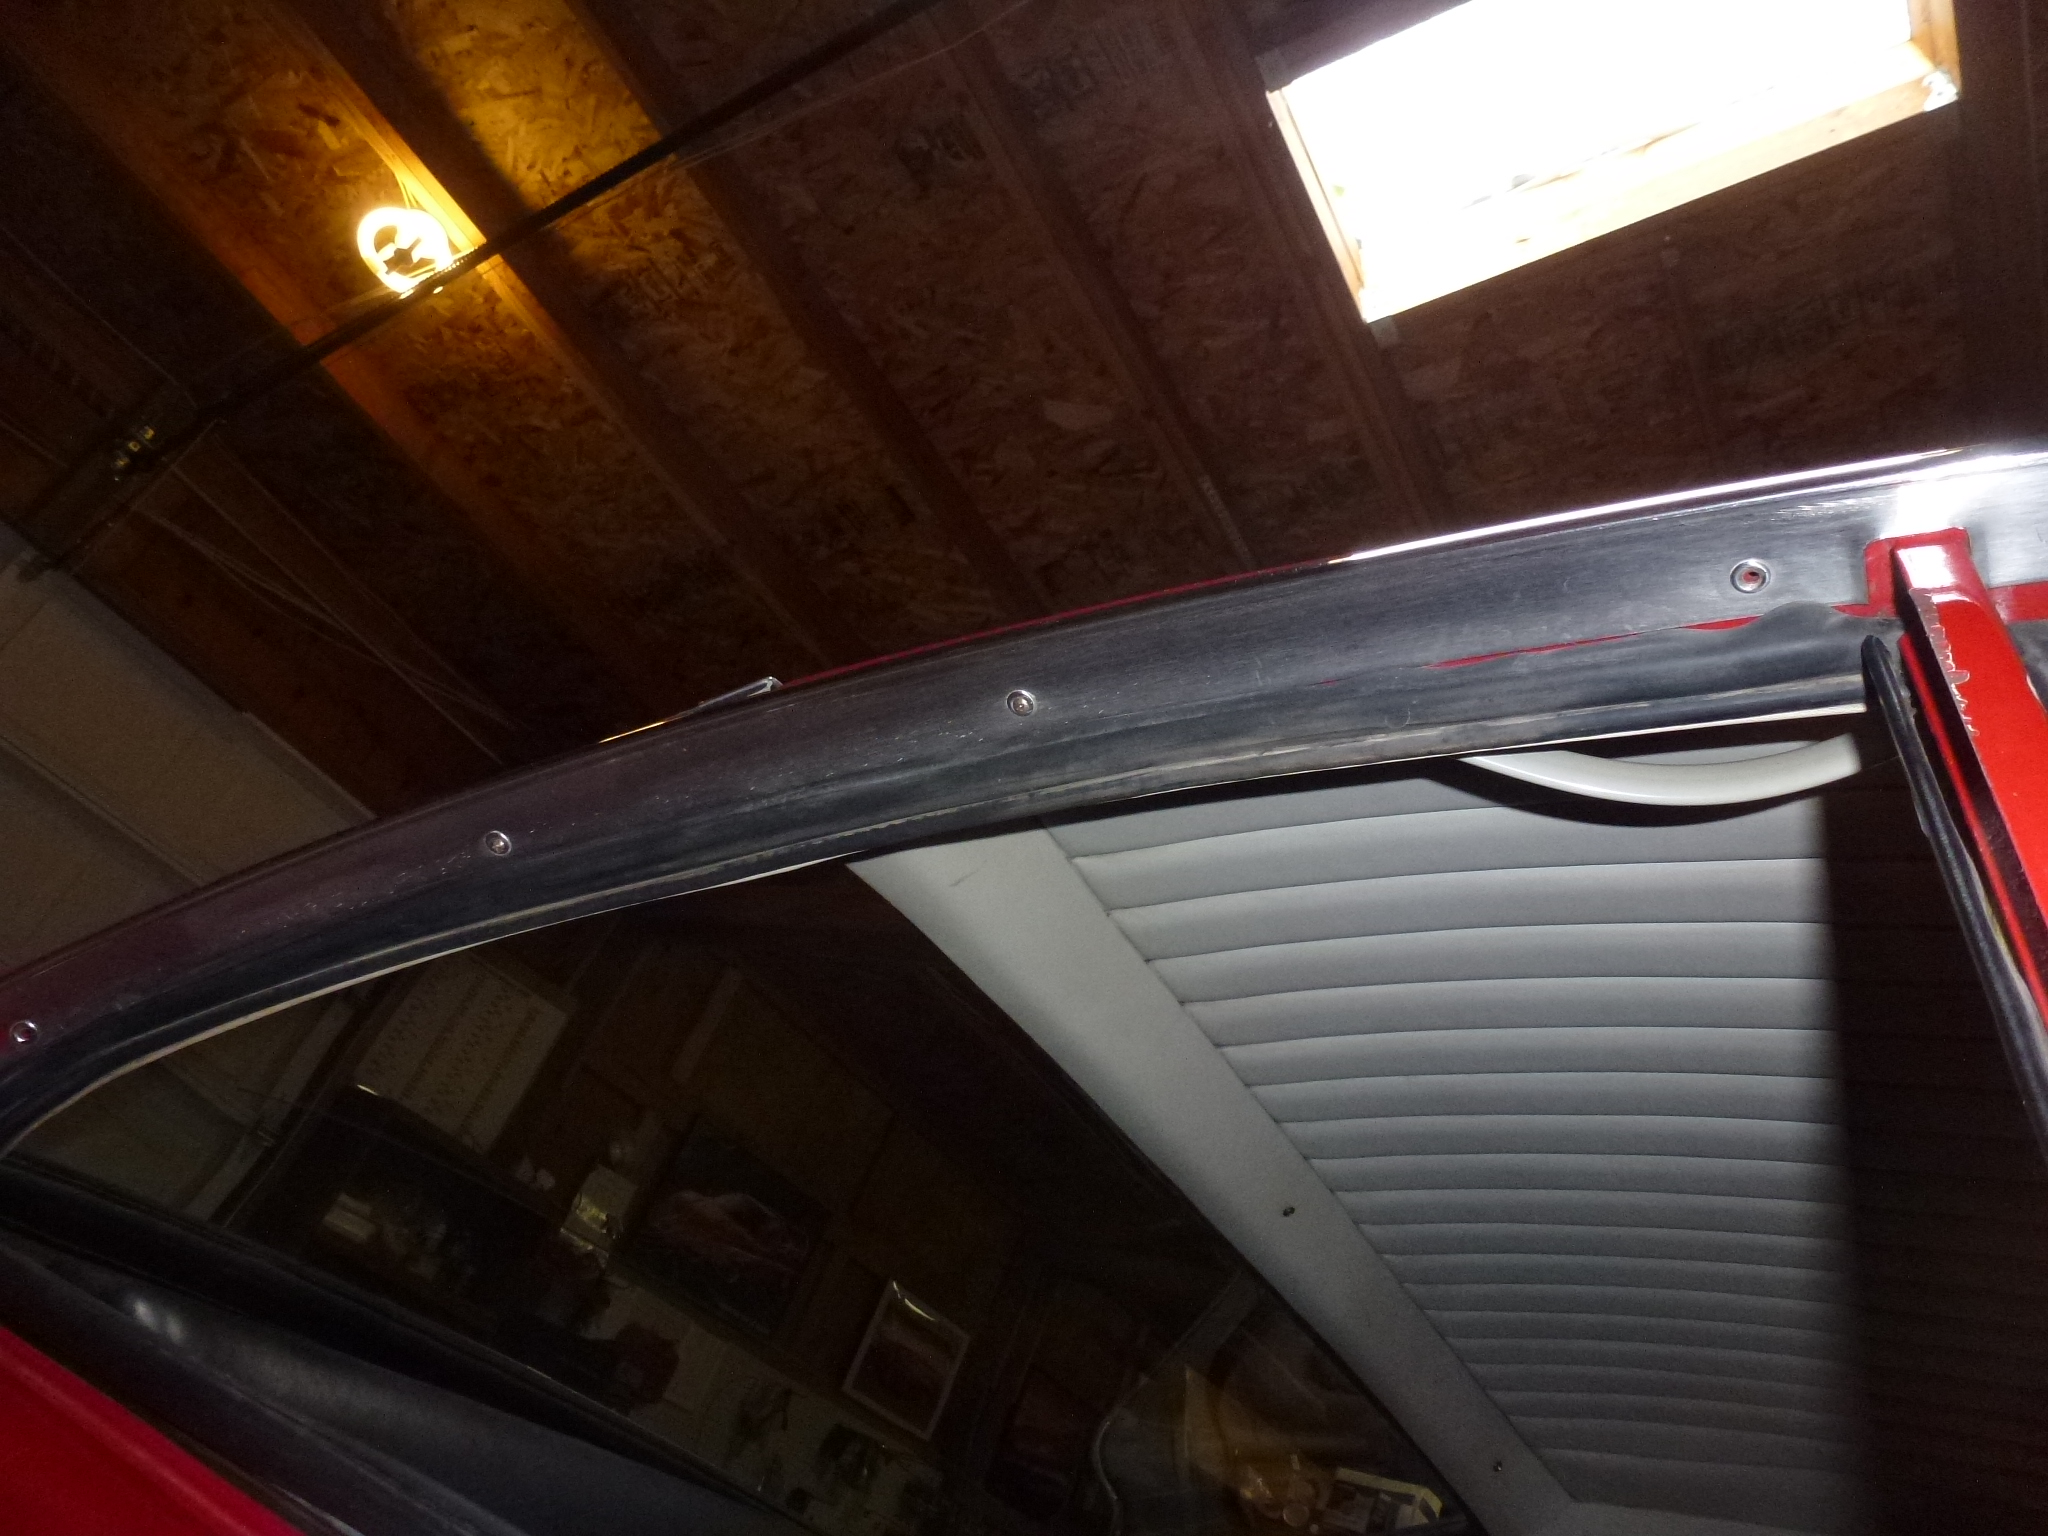
The rain gutter strip over the doors and quarter window is held on by eight screws. After they are removed, it gets pried off the pinch weld on the body.

Lots more to come off on the exterior, but I have a couple of days of volunteer work.
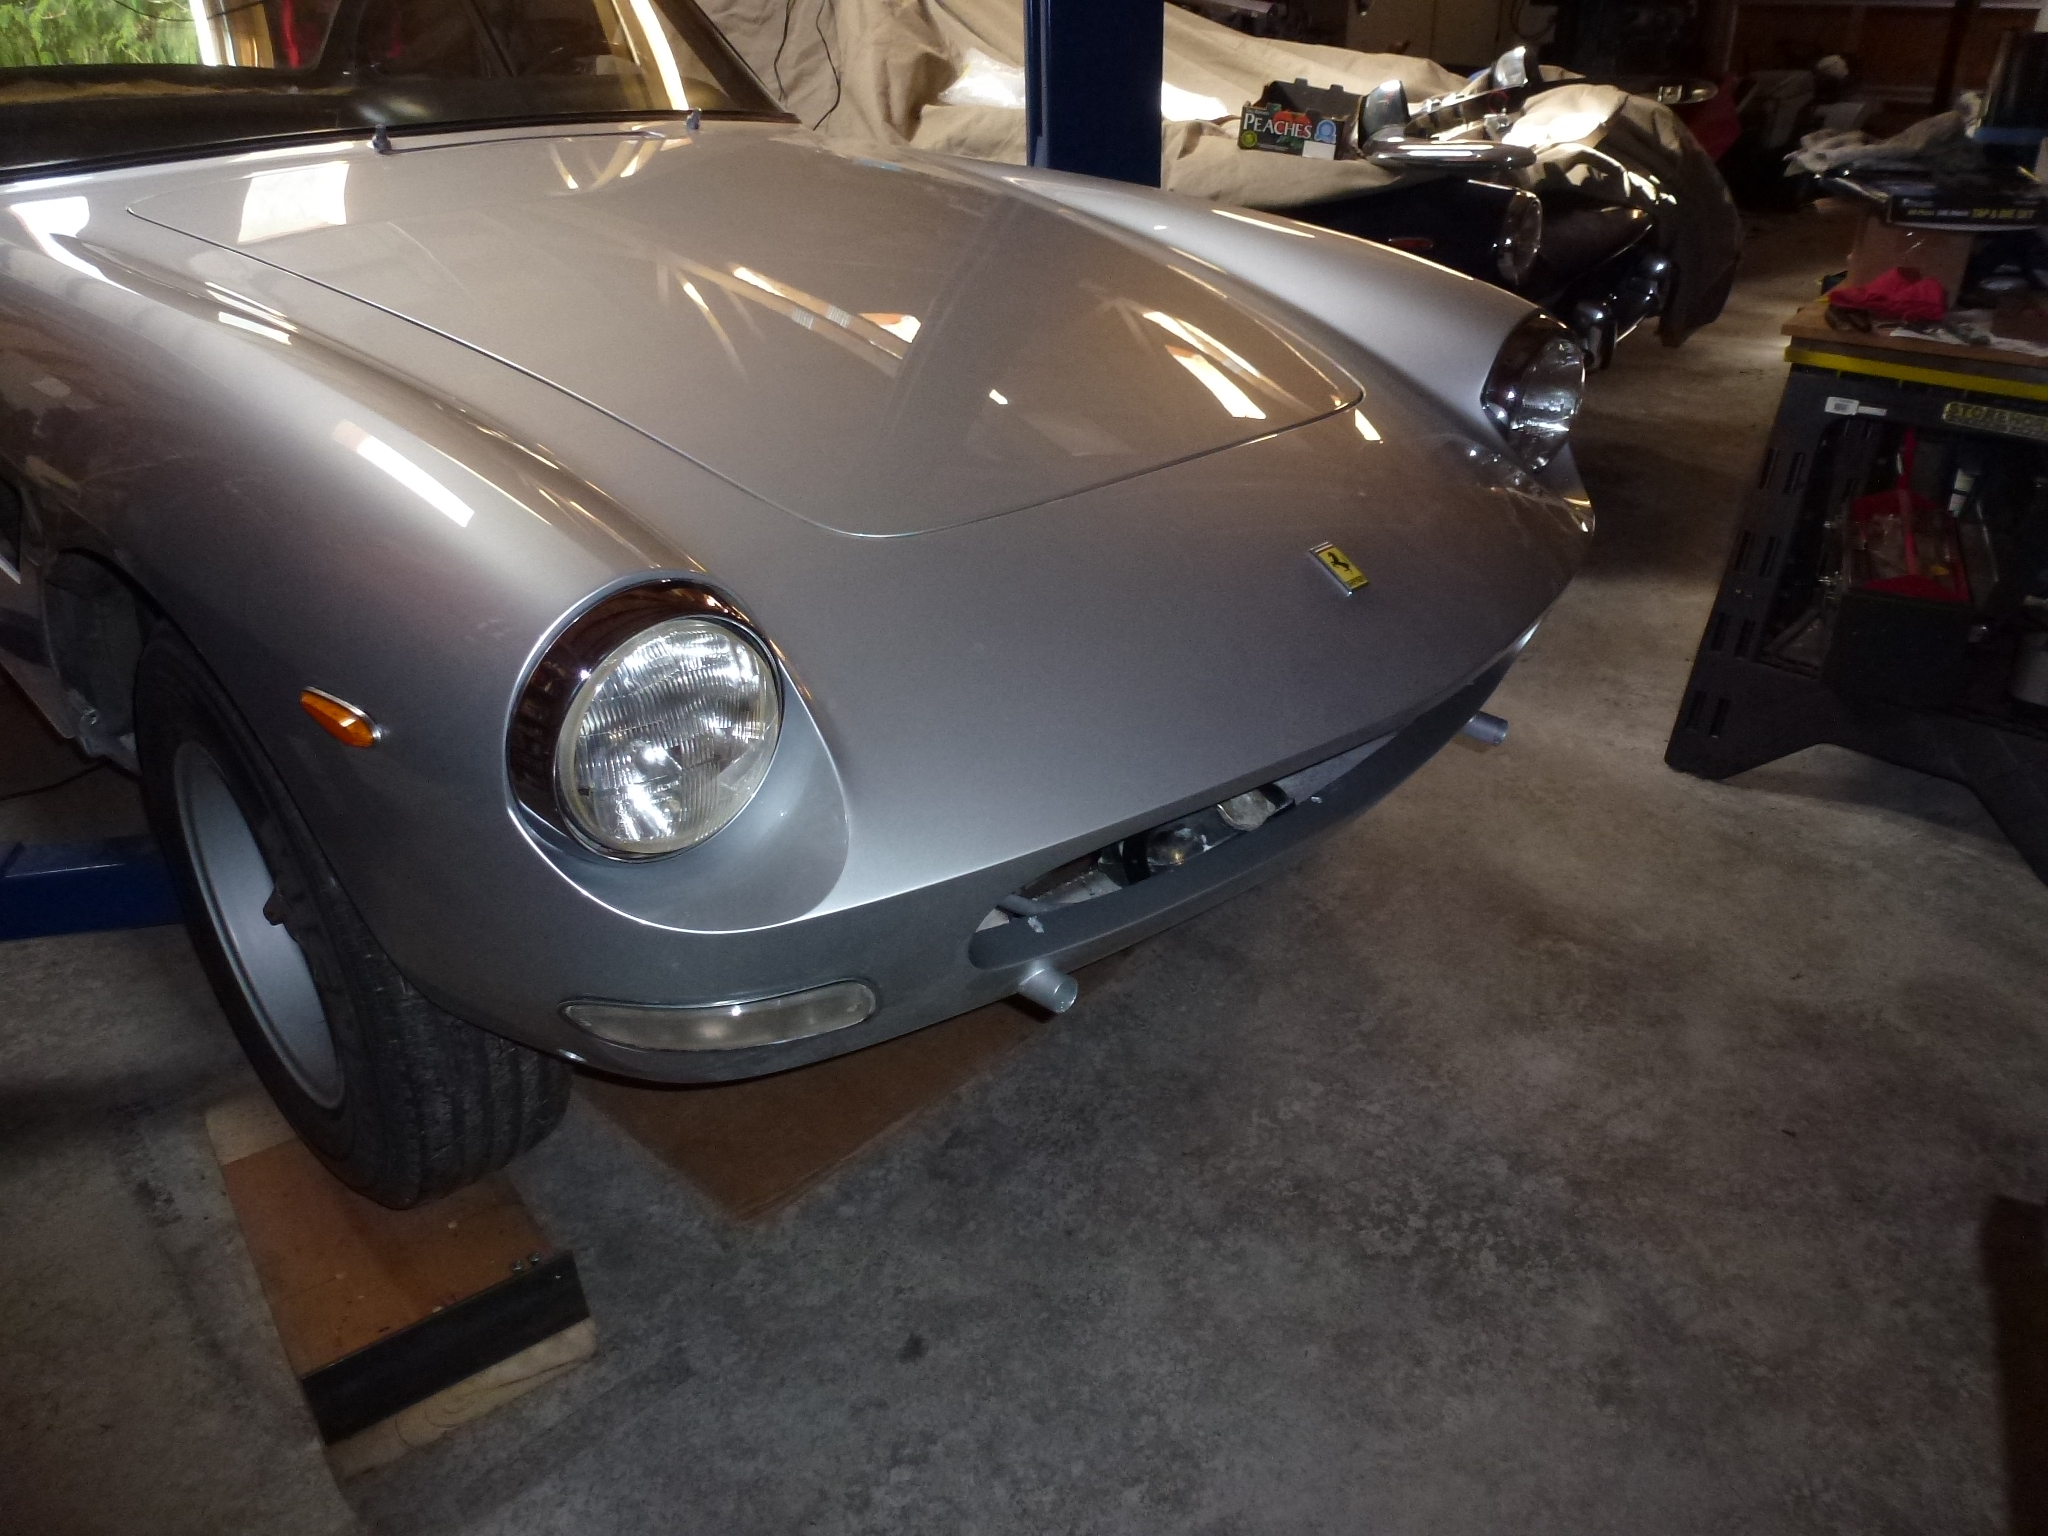
I found enough time to remove the bumpers and grille. The grille just has six screws and then it pulls out.
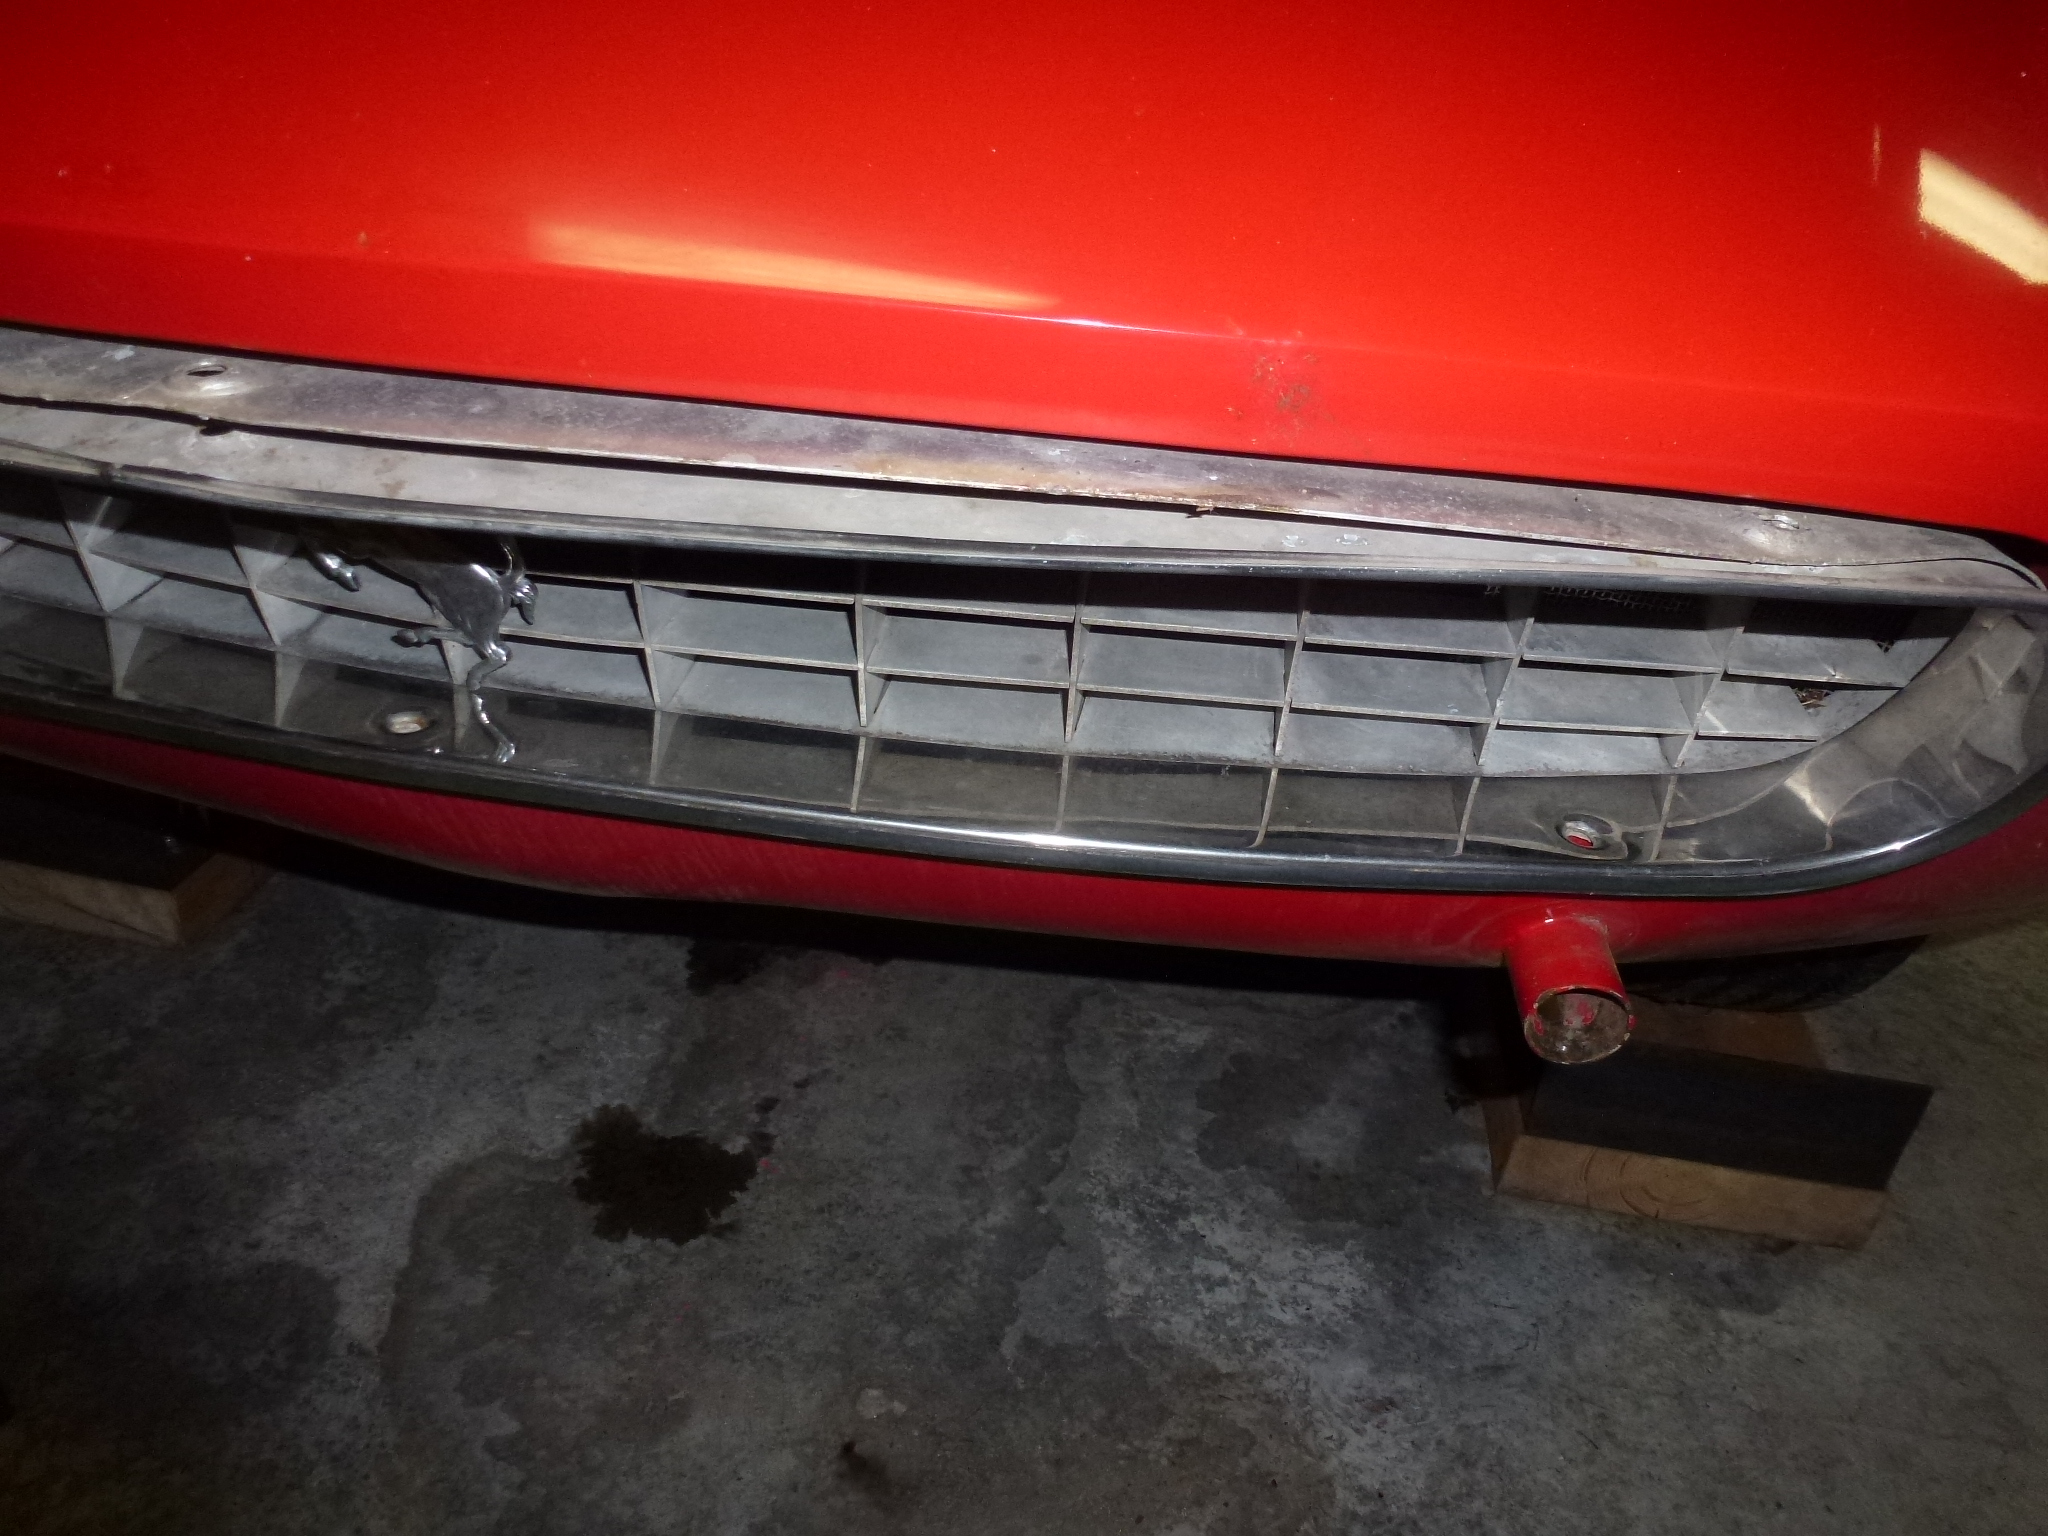
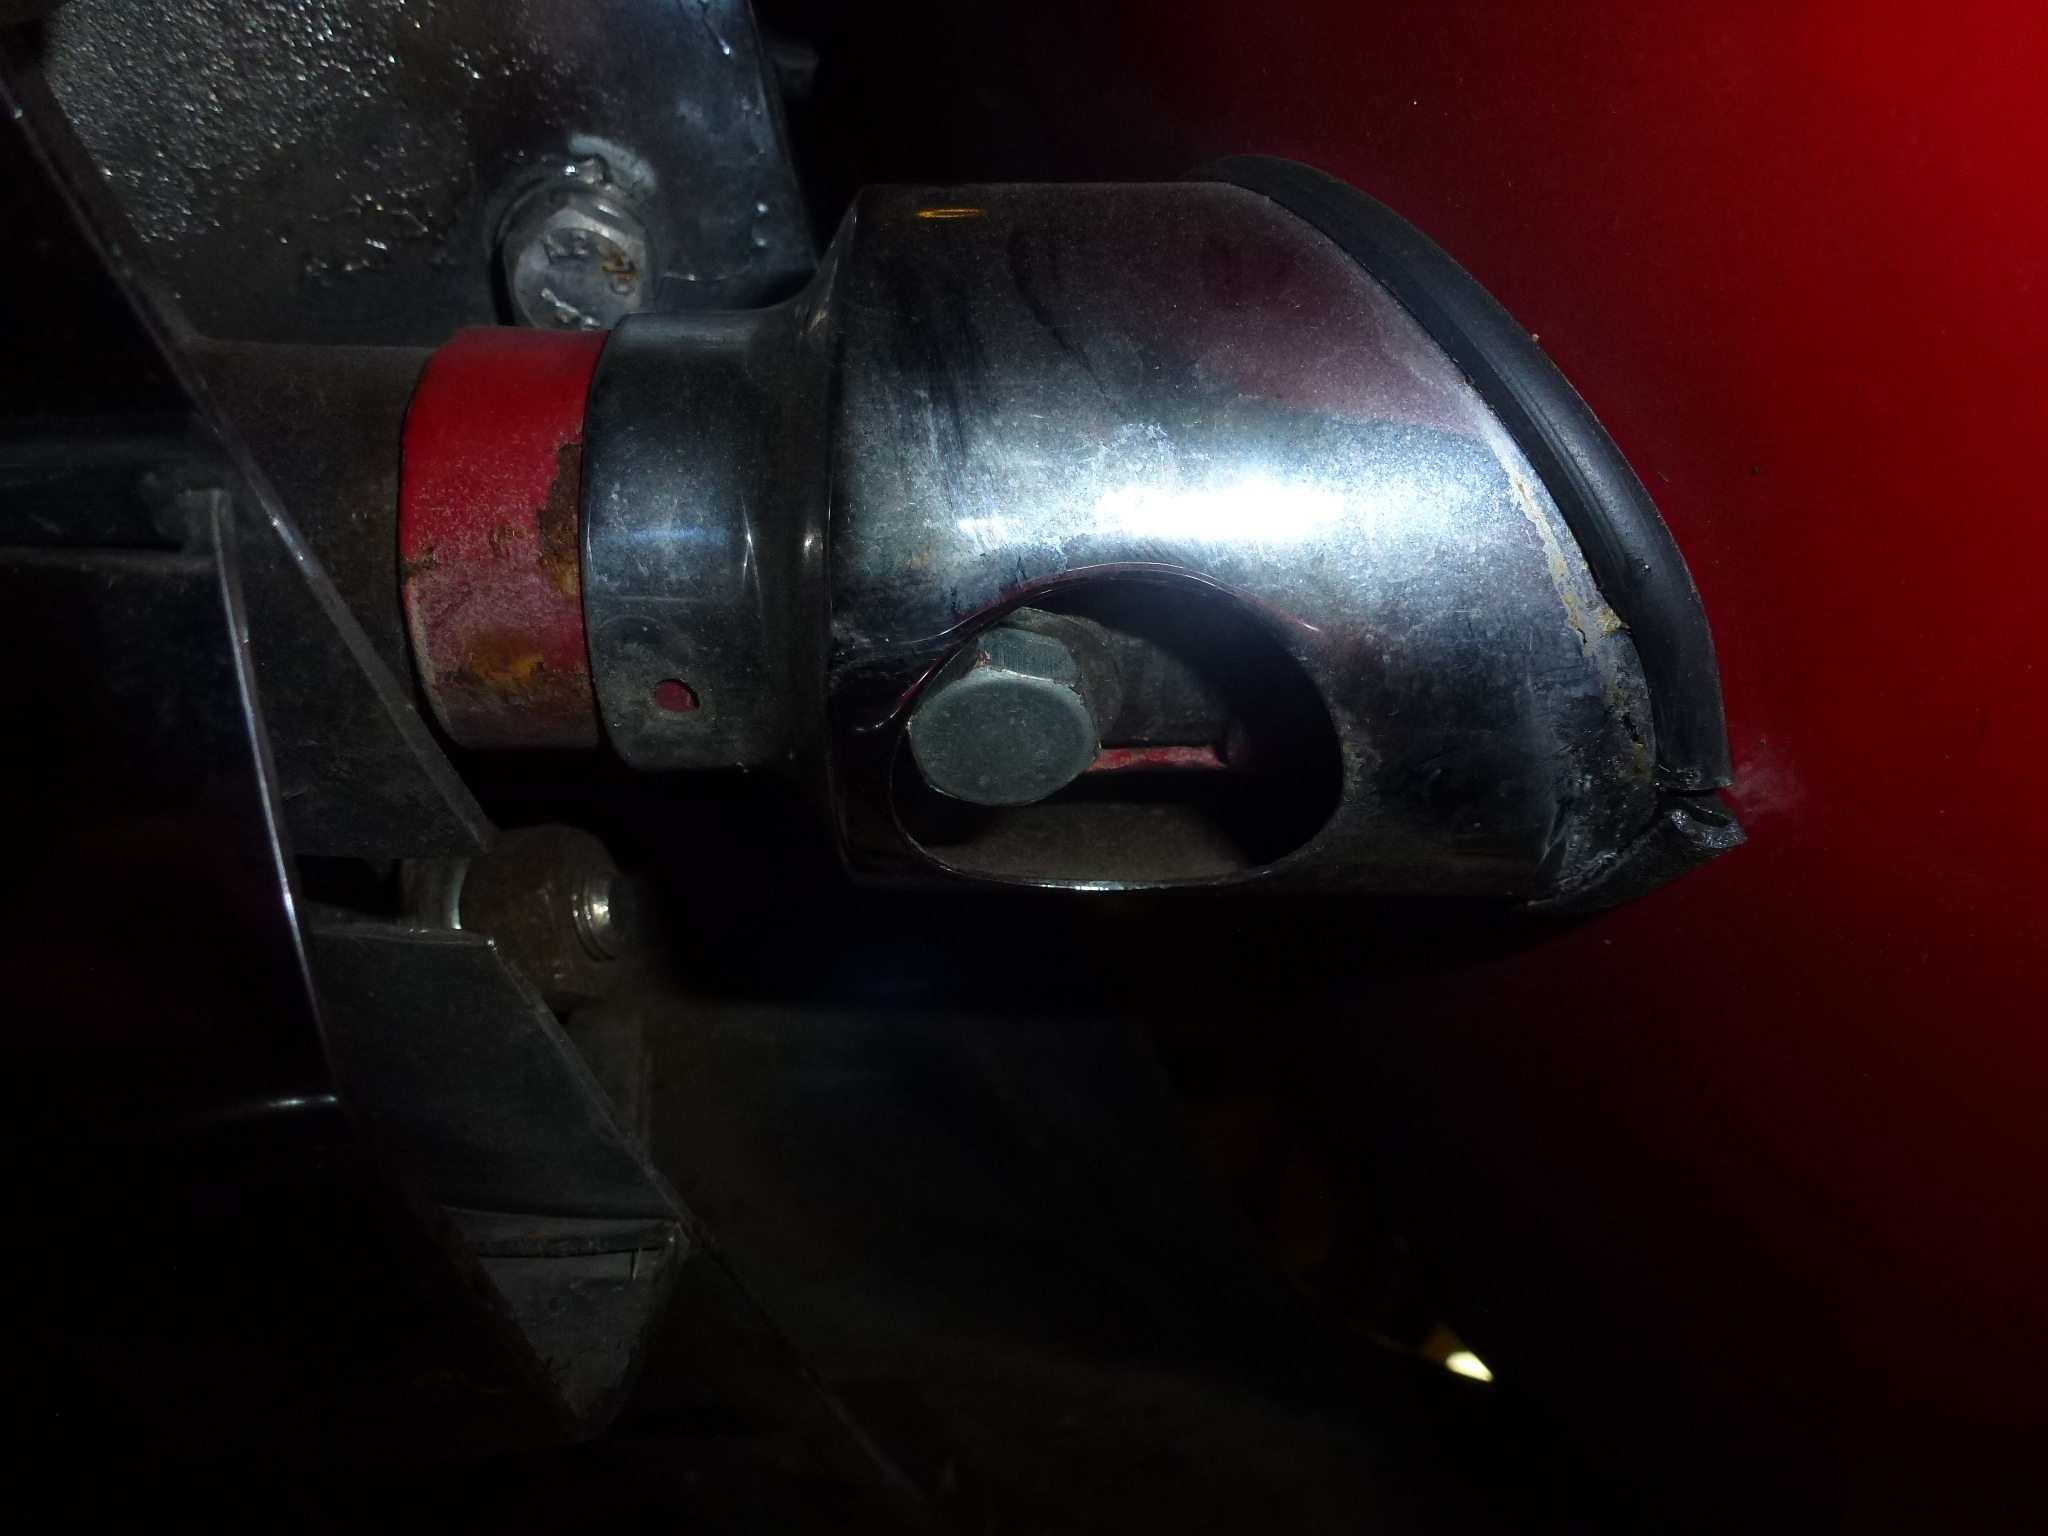
The bumpers have bolts that go through the fenders to captured nuts at each end of the bumpers. The central section is held to the body by T-shaped struts that fit into tubes welded to the chassis and body. A locking screw goes in a slot in the tube and screws into the strut once it is in place. I removed the locking bolts and the ones at each end of both bumpers, but the T struts with the bumper attached would not pull out of the tubes. So I had to remove the nuts (two per strut) that hold the bumpers to the struts. Then the bumpers came loose. Once the bumper was off, each strut could be rotated and pulled out. Finally, the escutcheons covering each strut are removed.

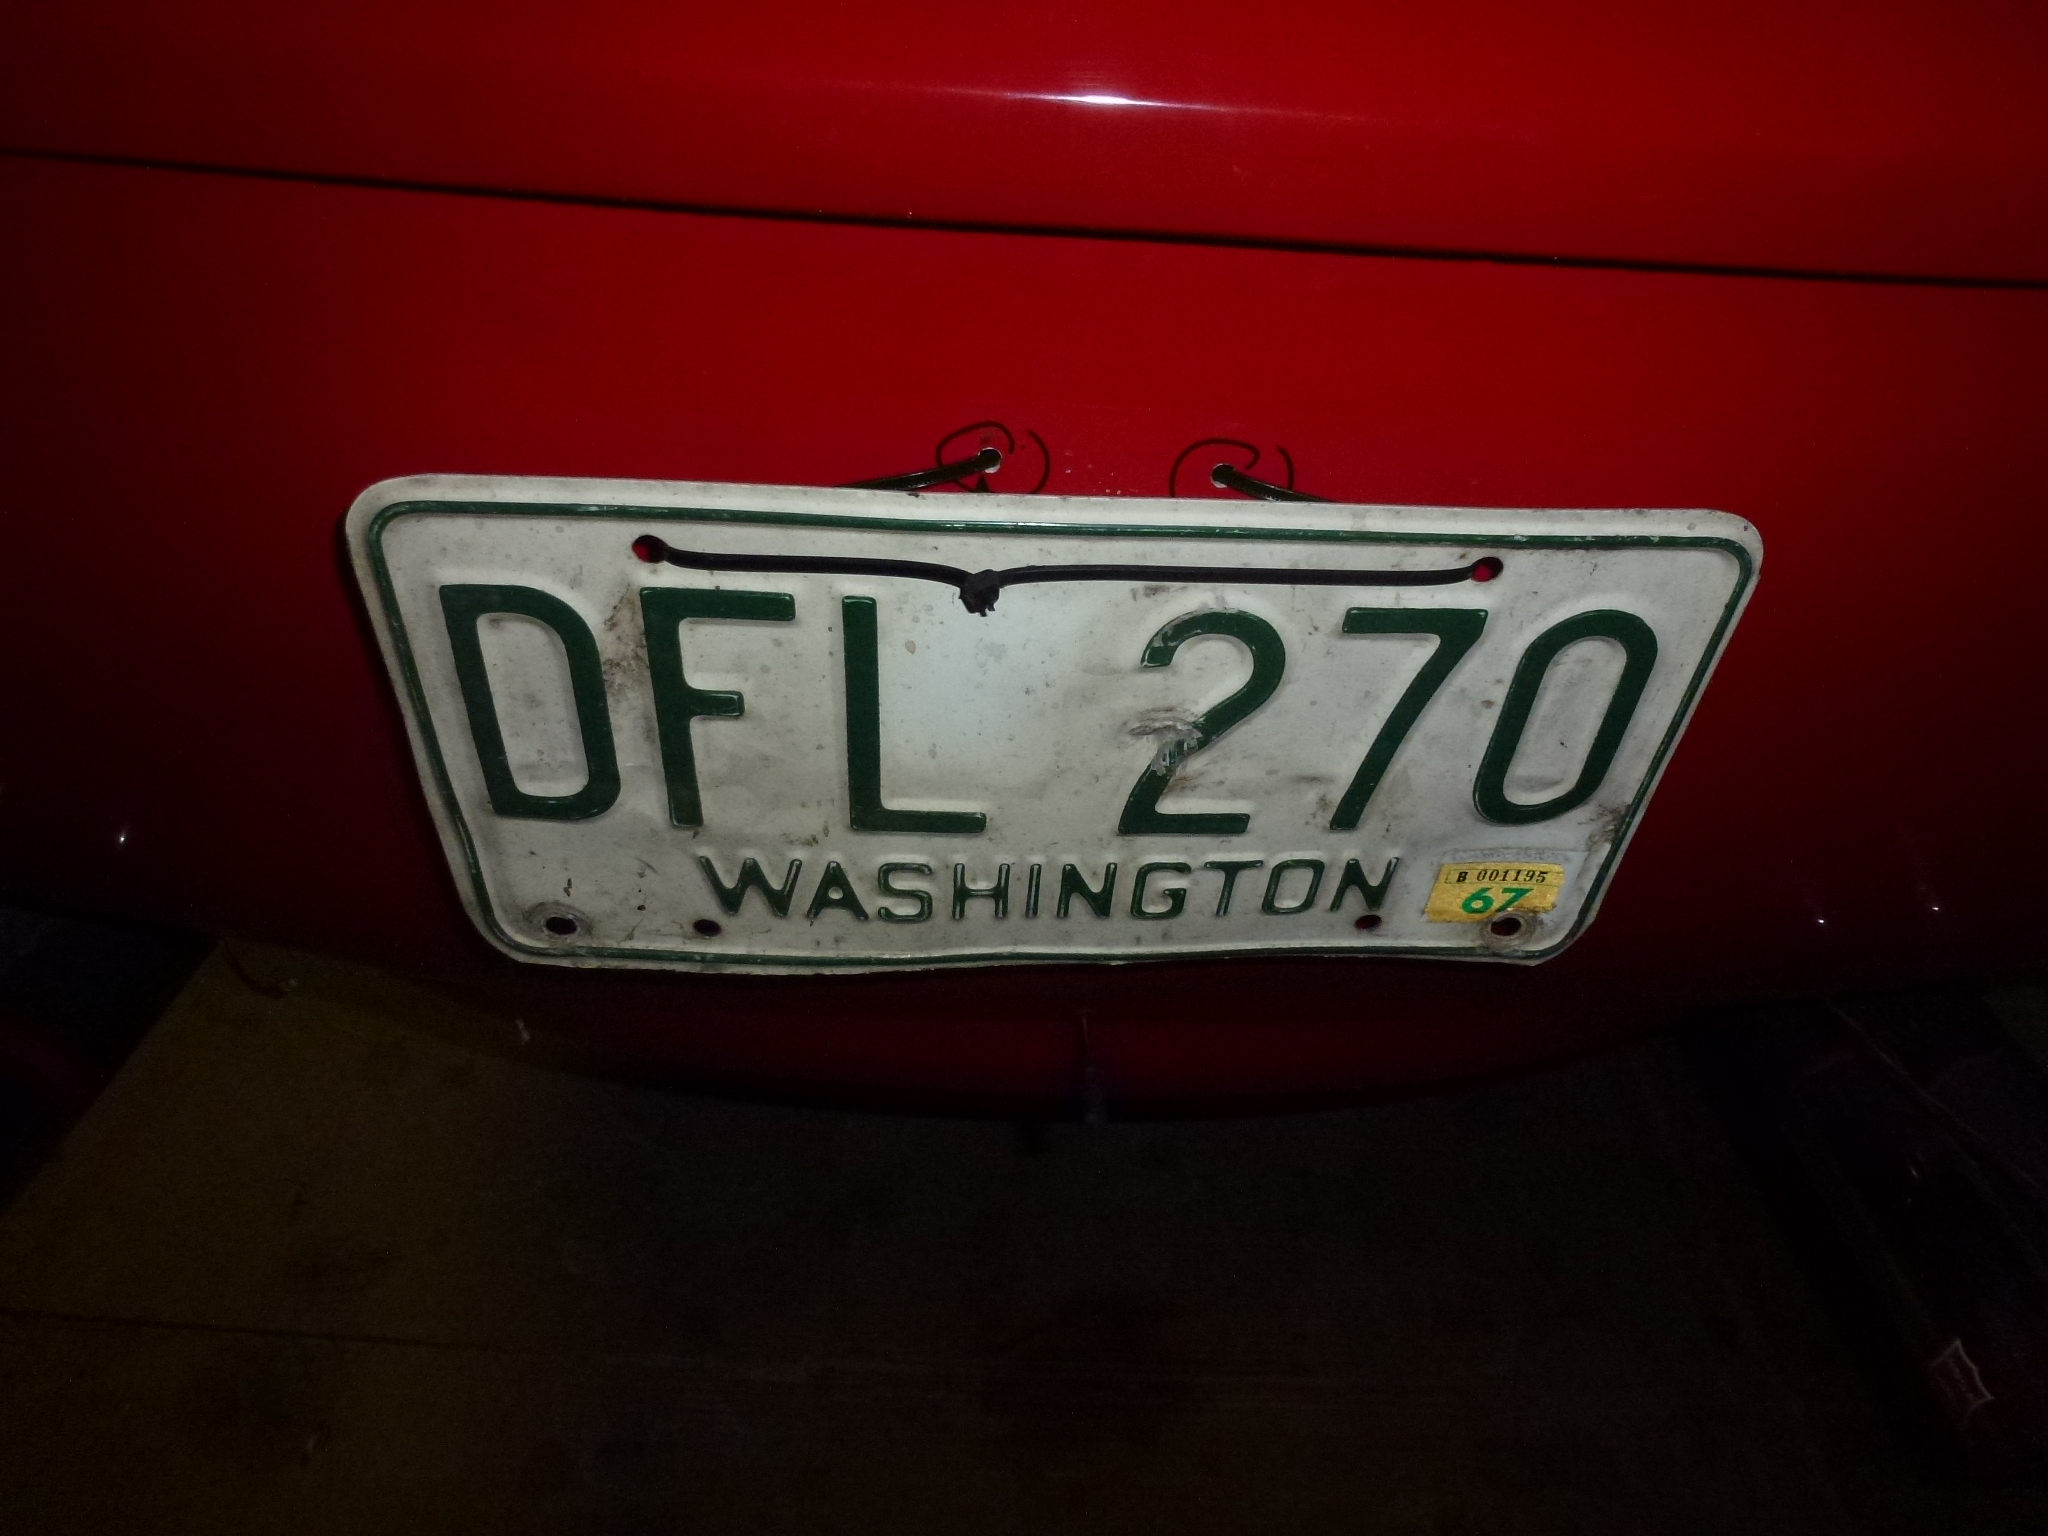
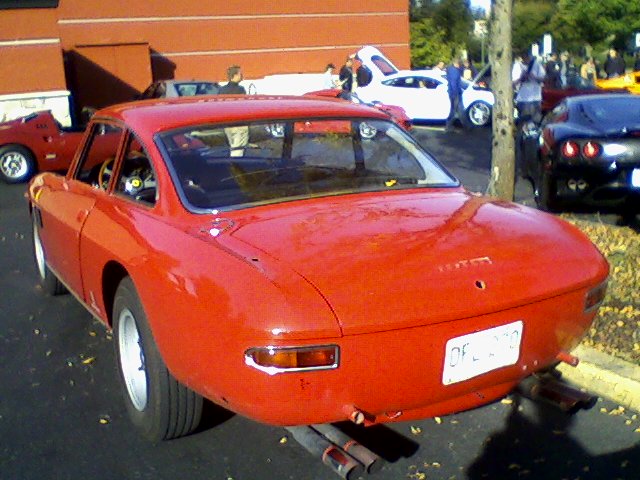
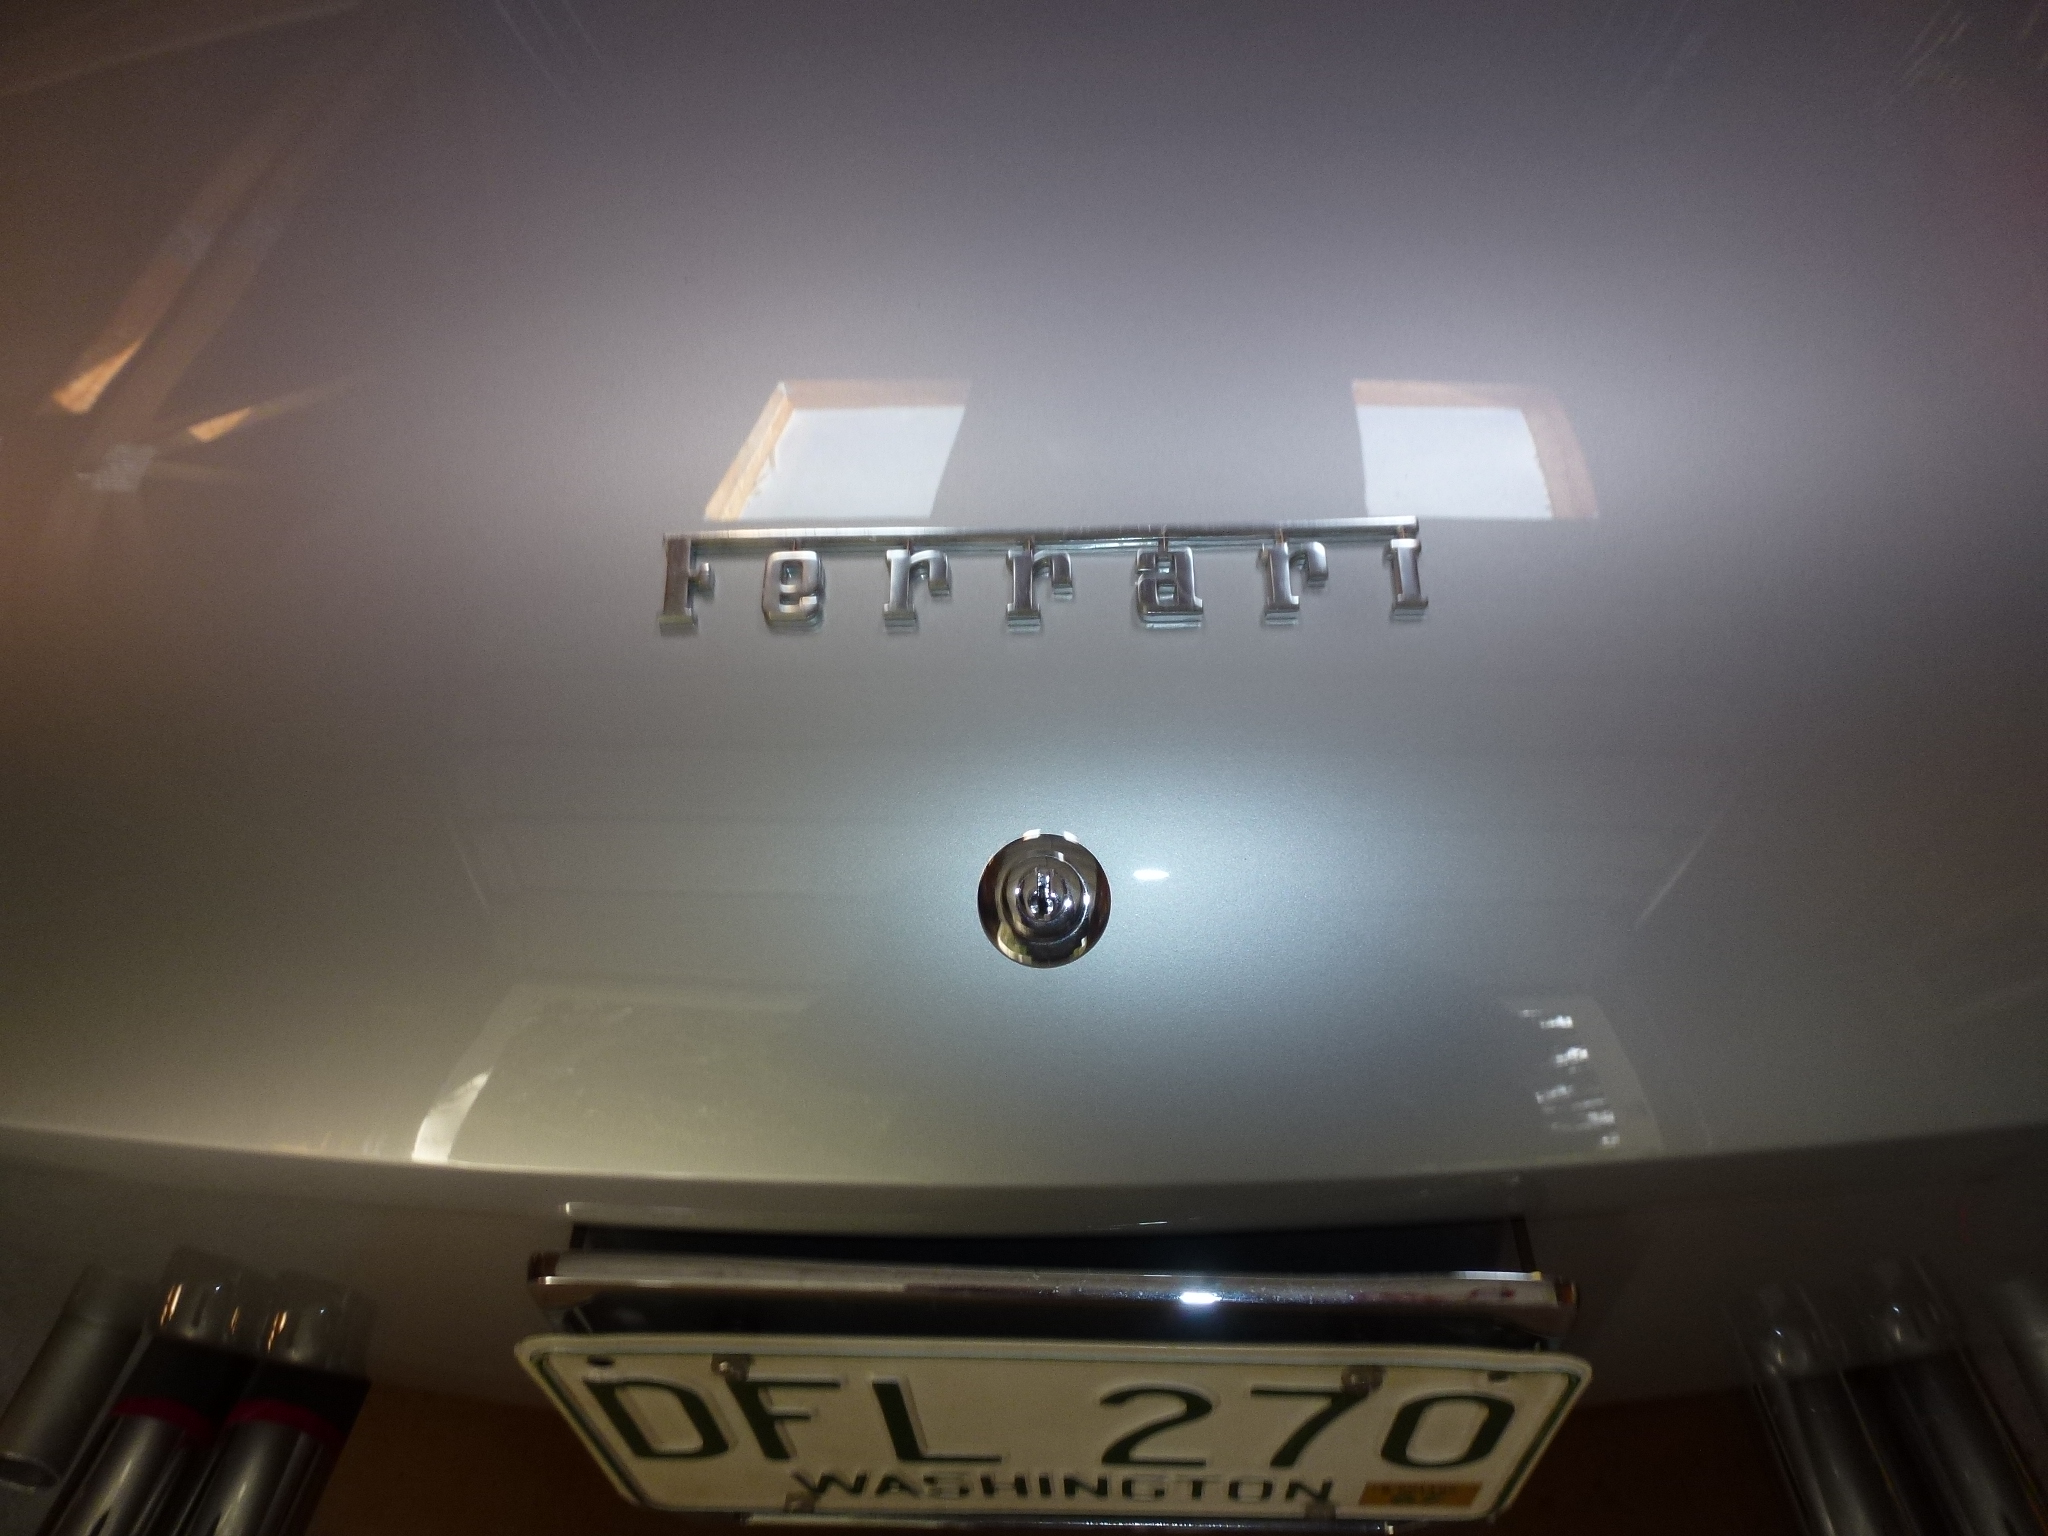
I also put a temporary license plate on the rear to make it legal to drive. A couple of long wire ties did the trick, particularly since I'm not worried that the paint will get scratched.
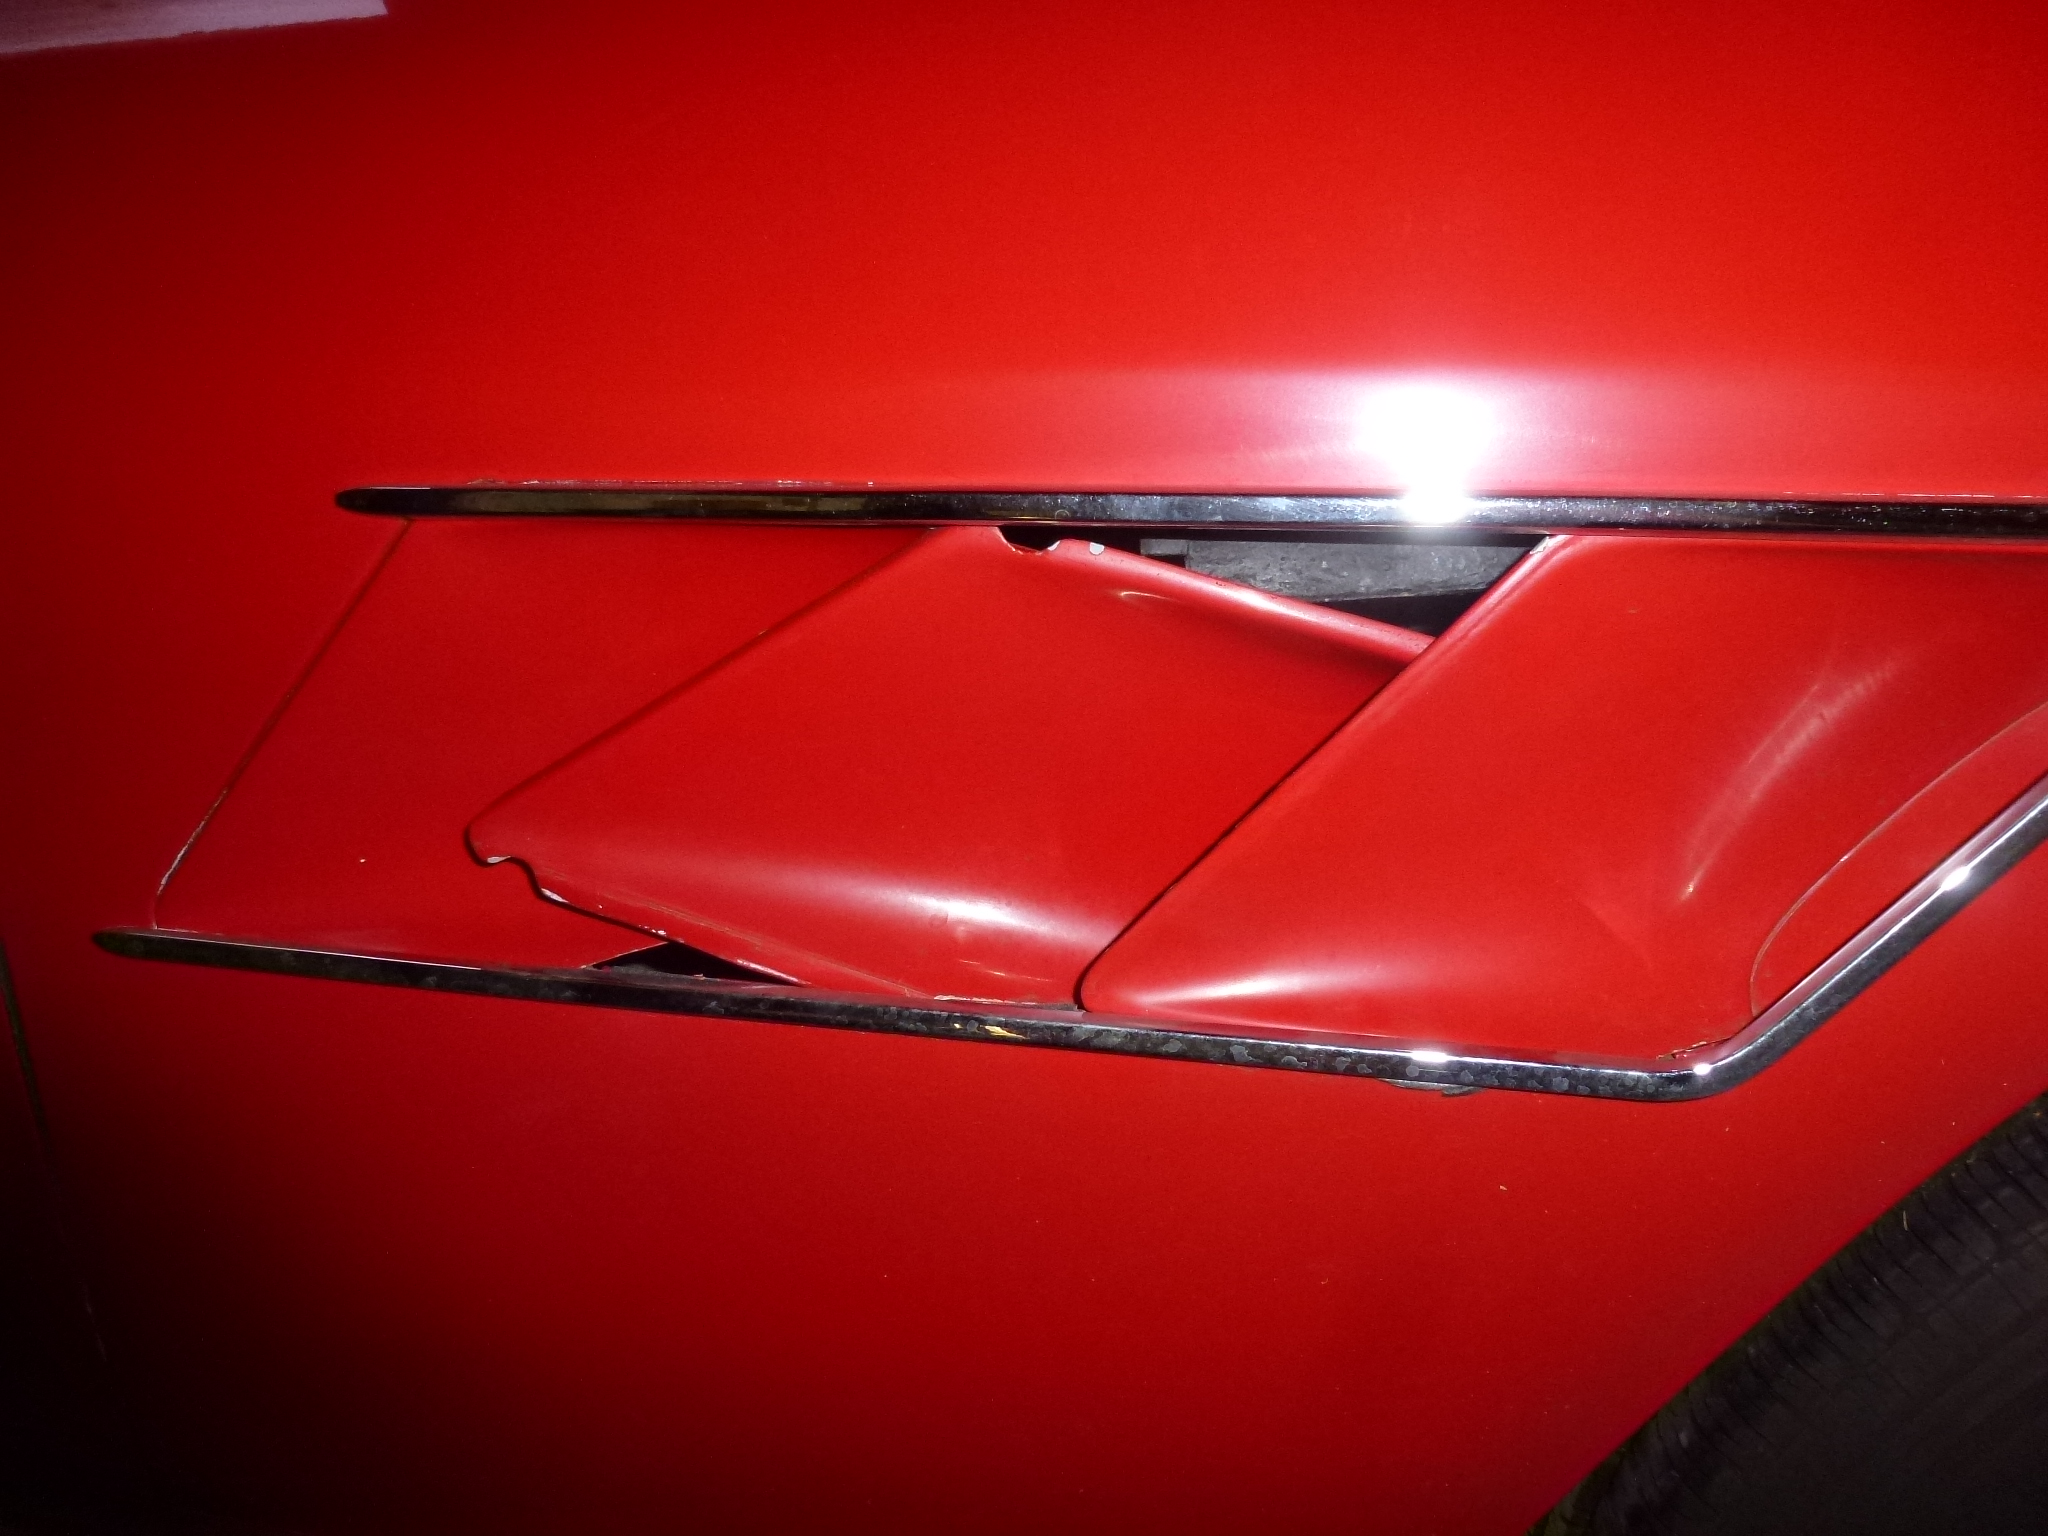
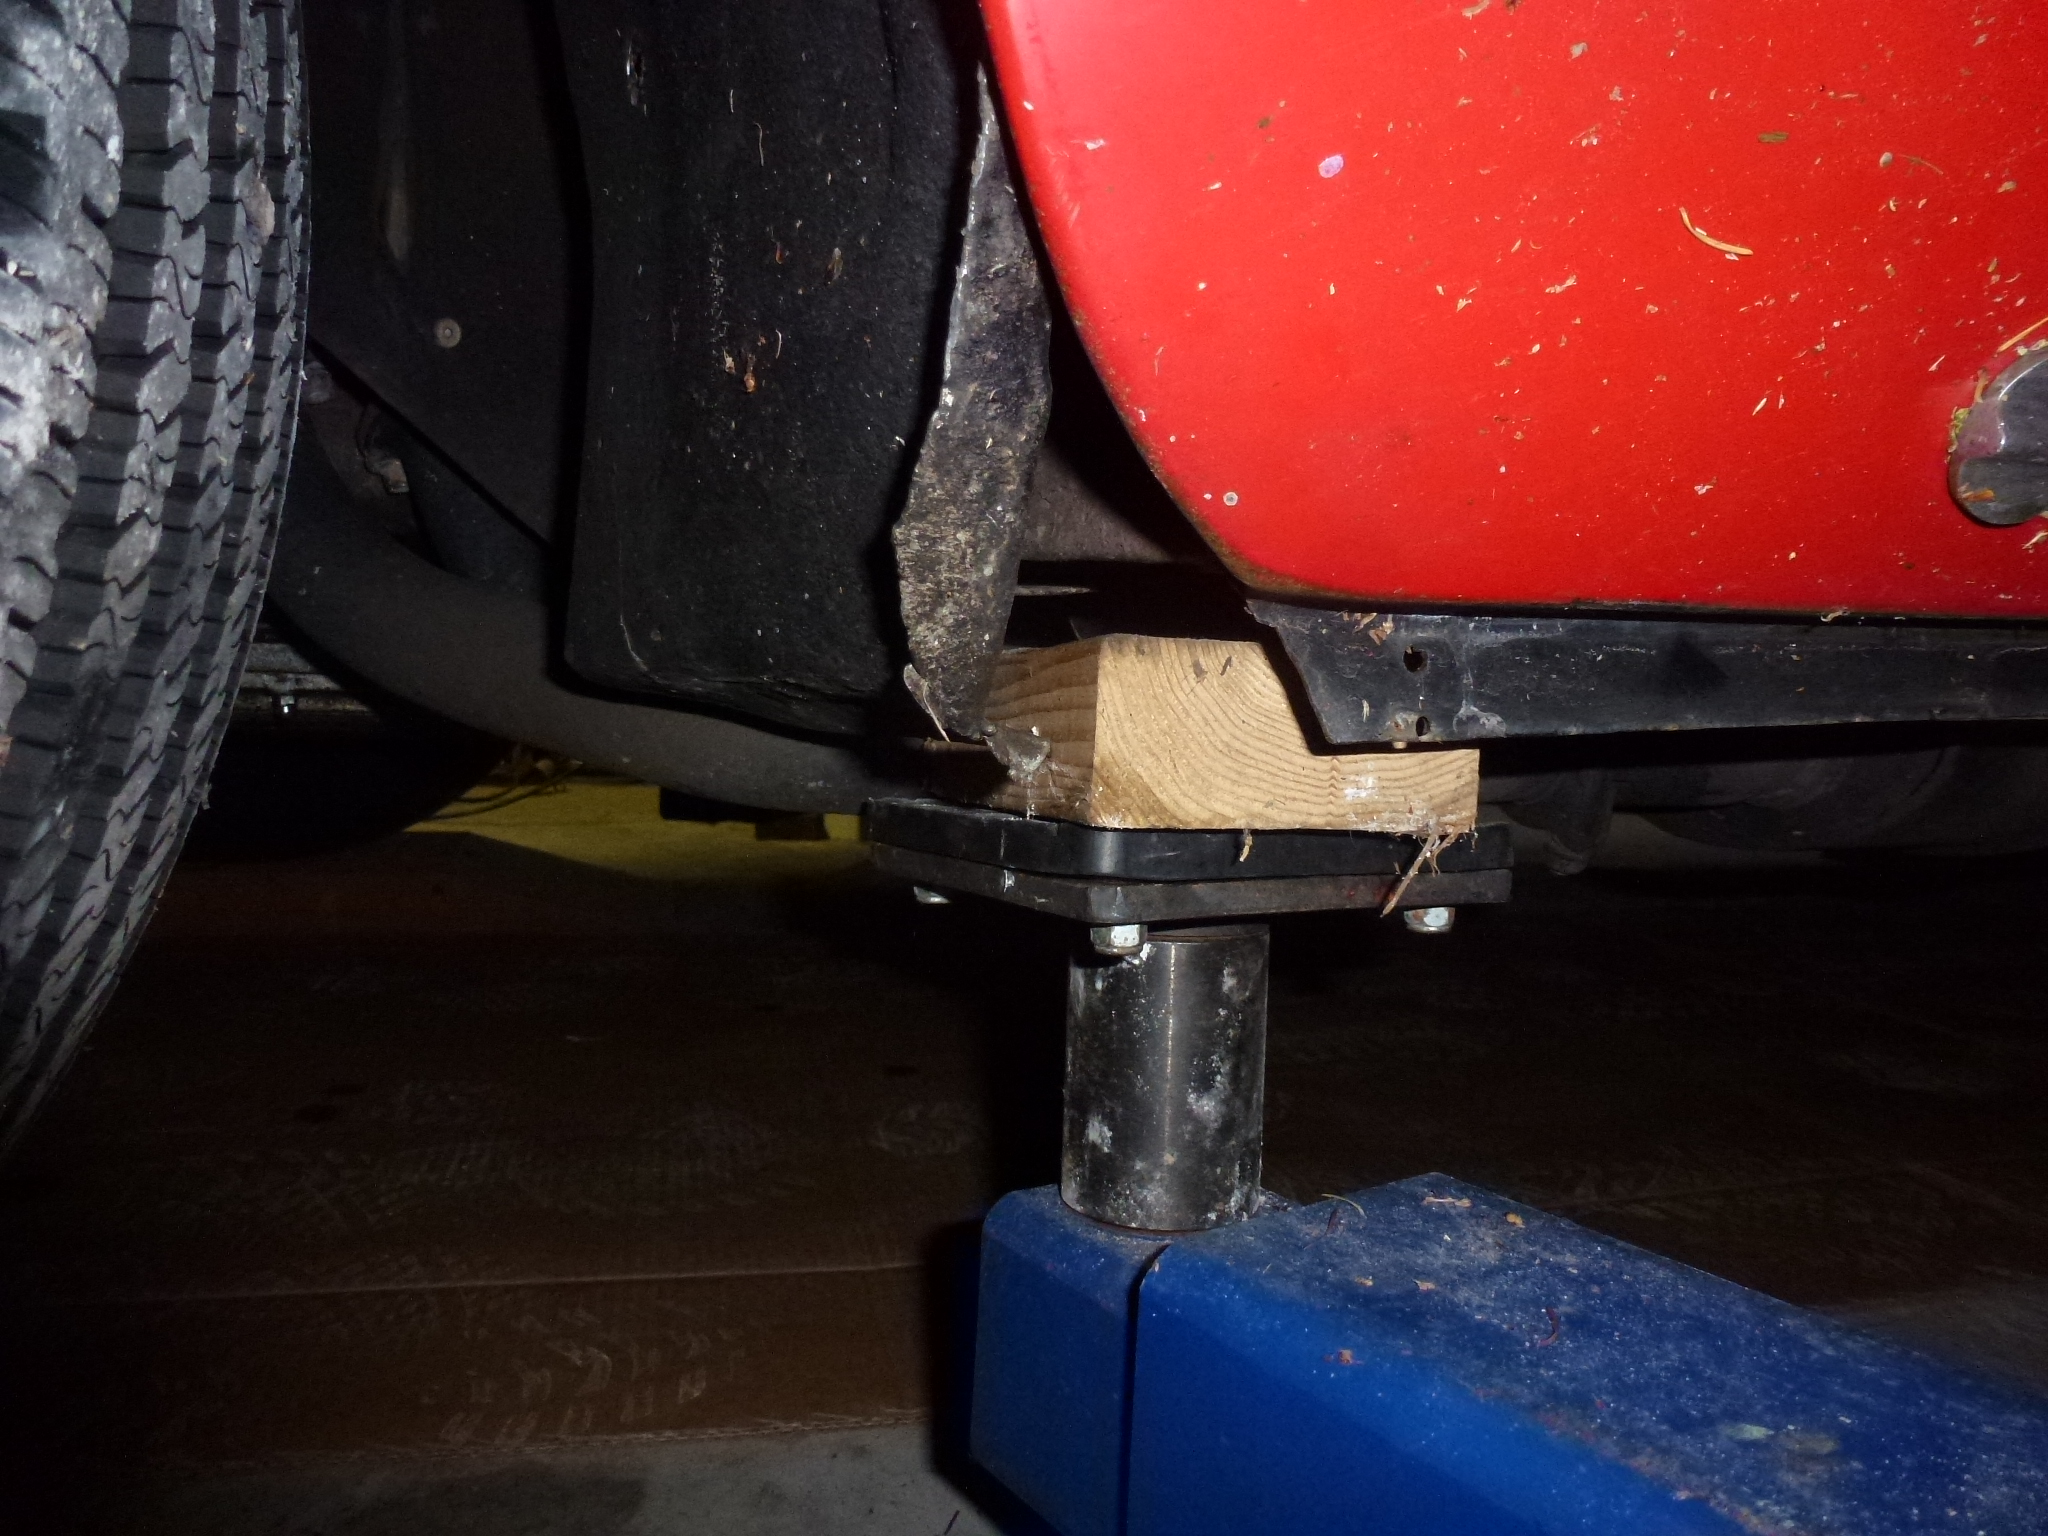
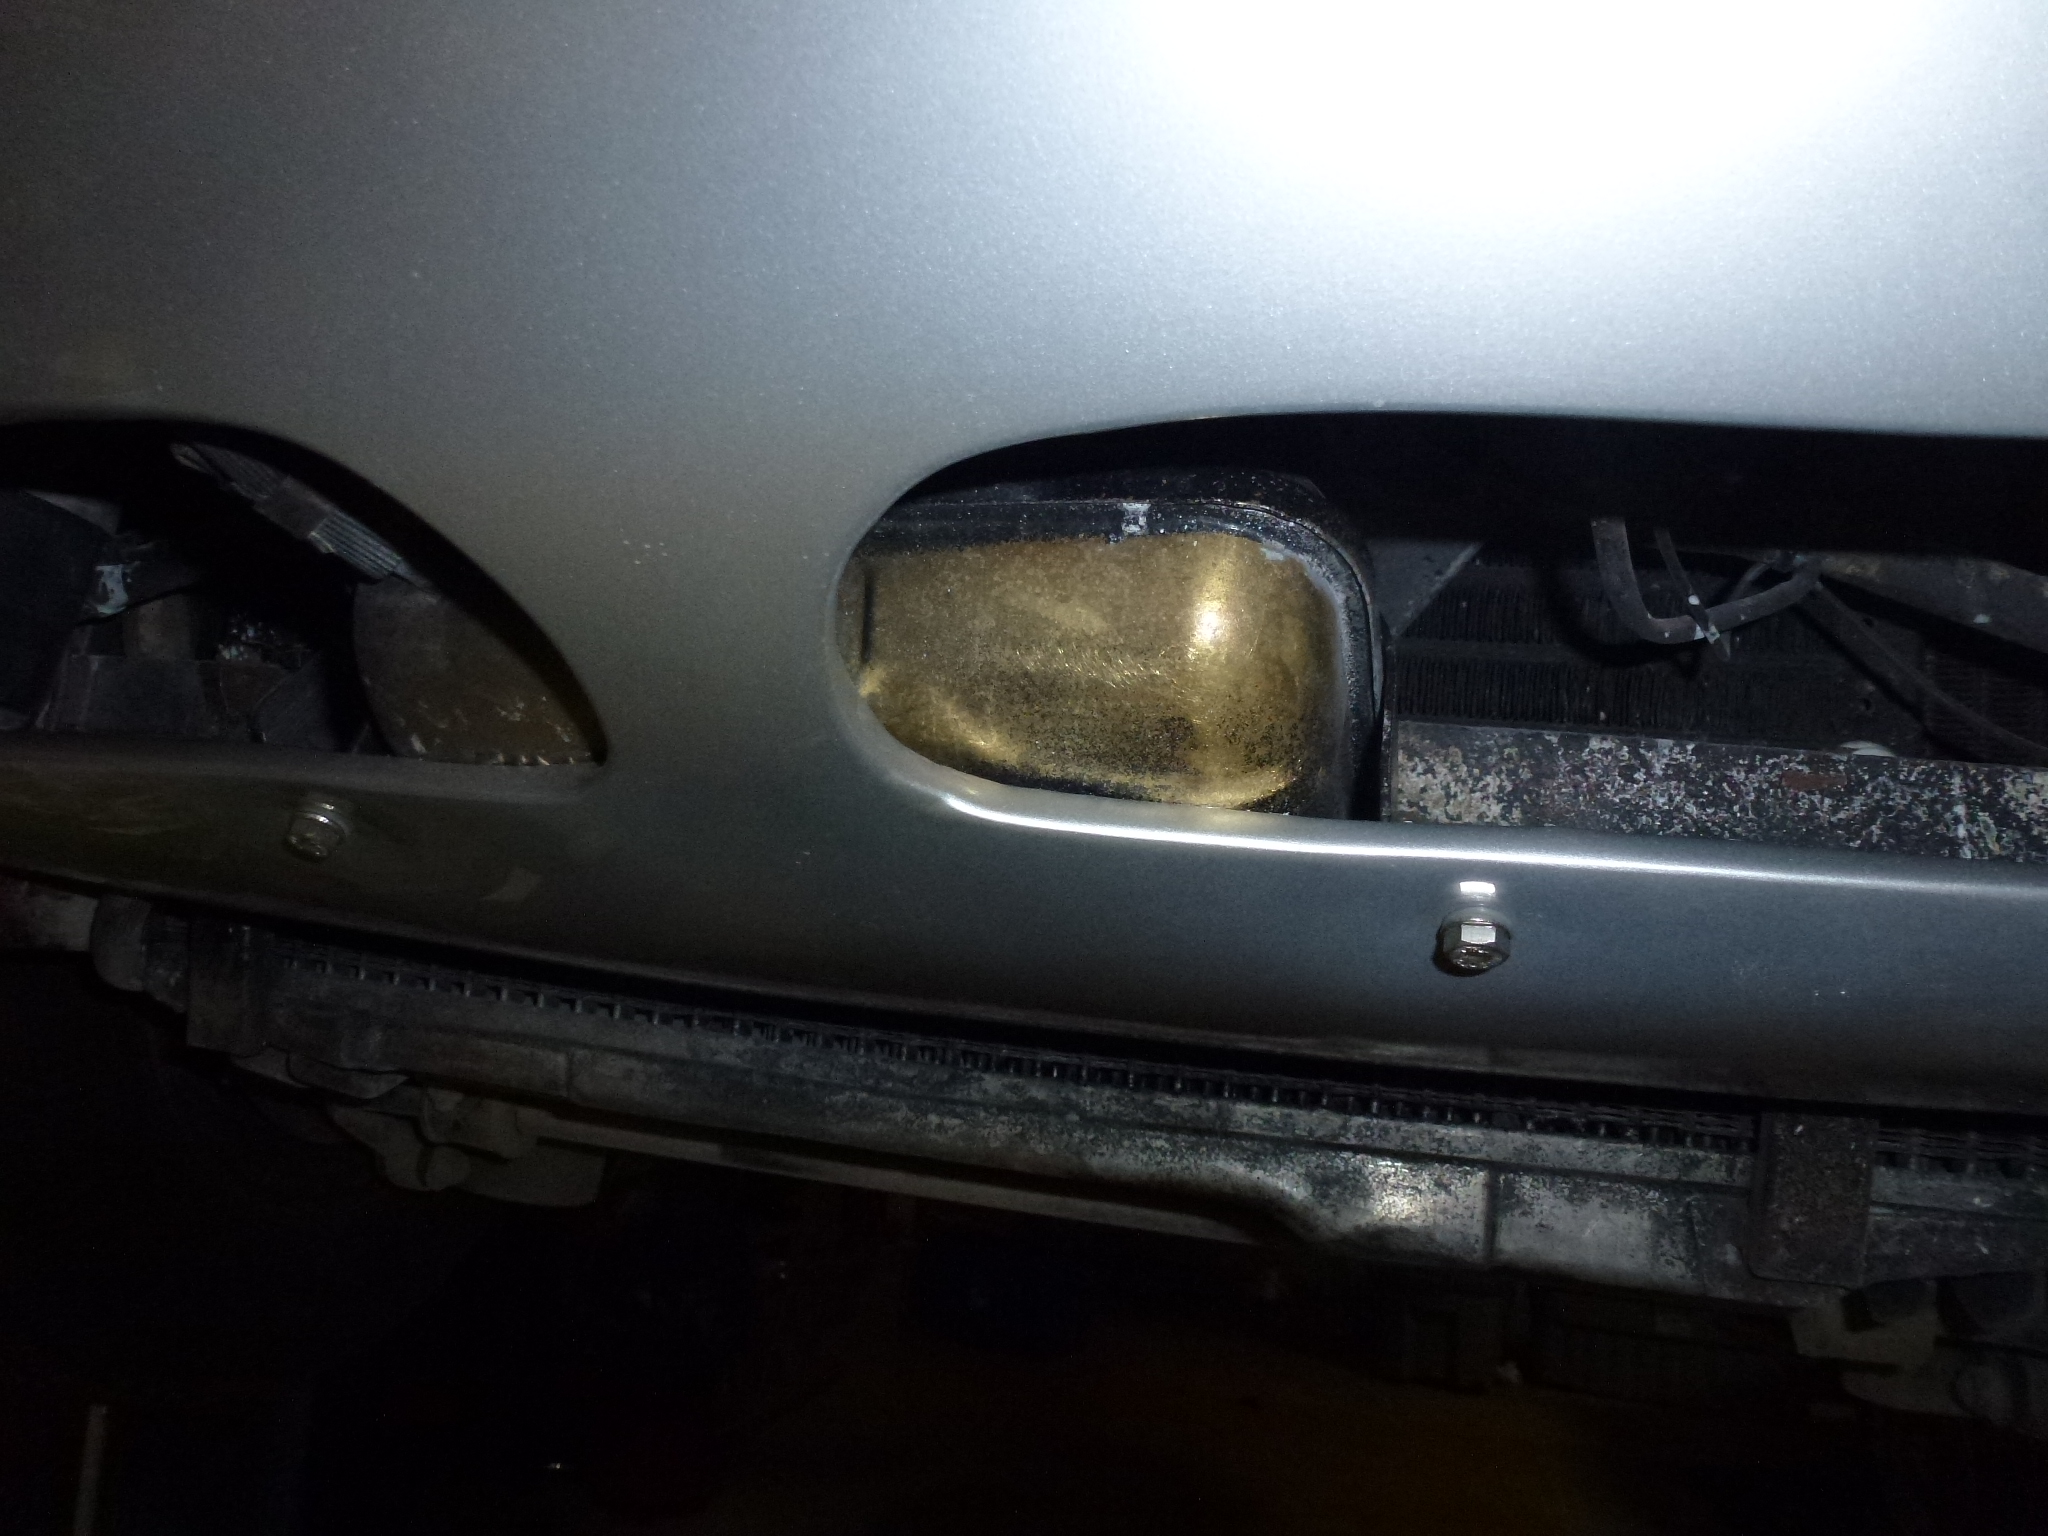
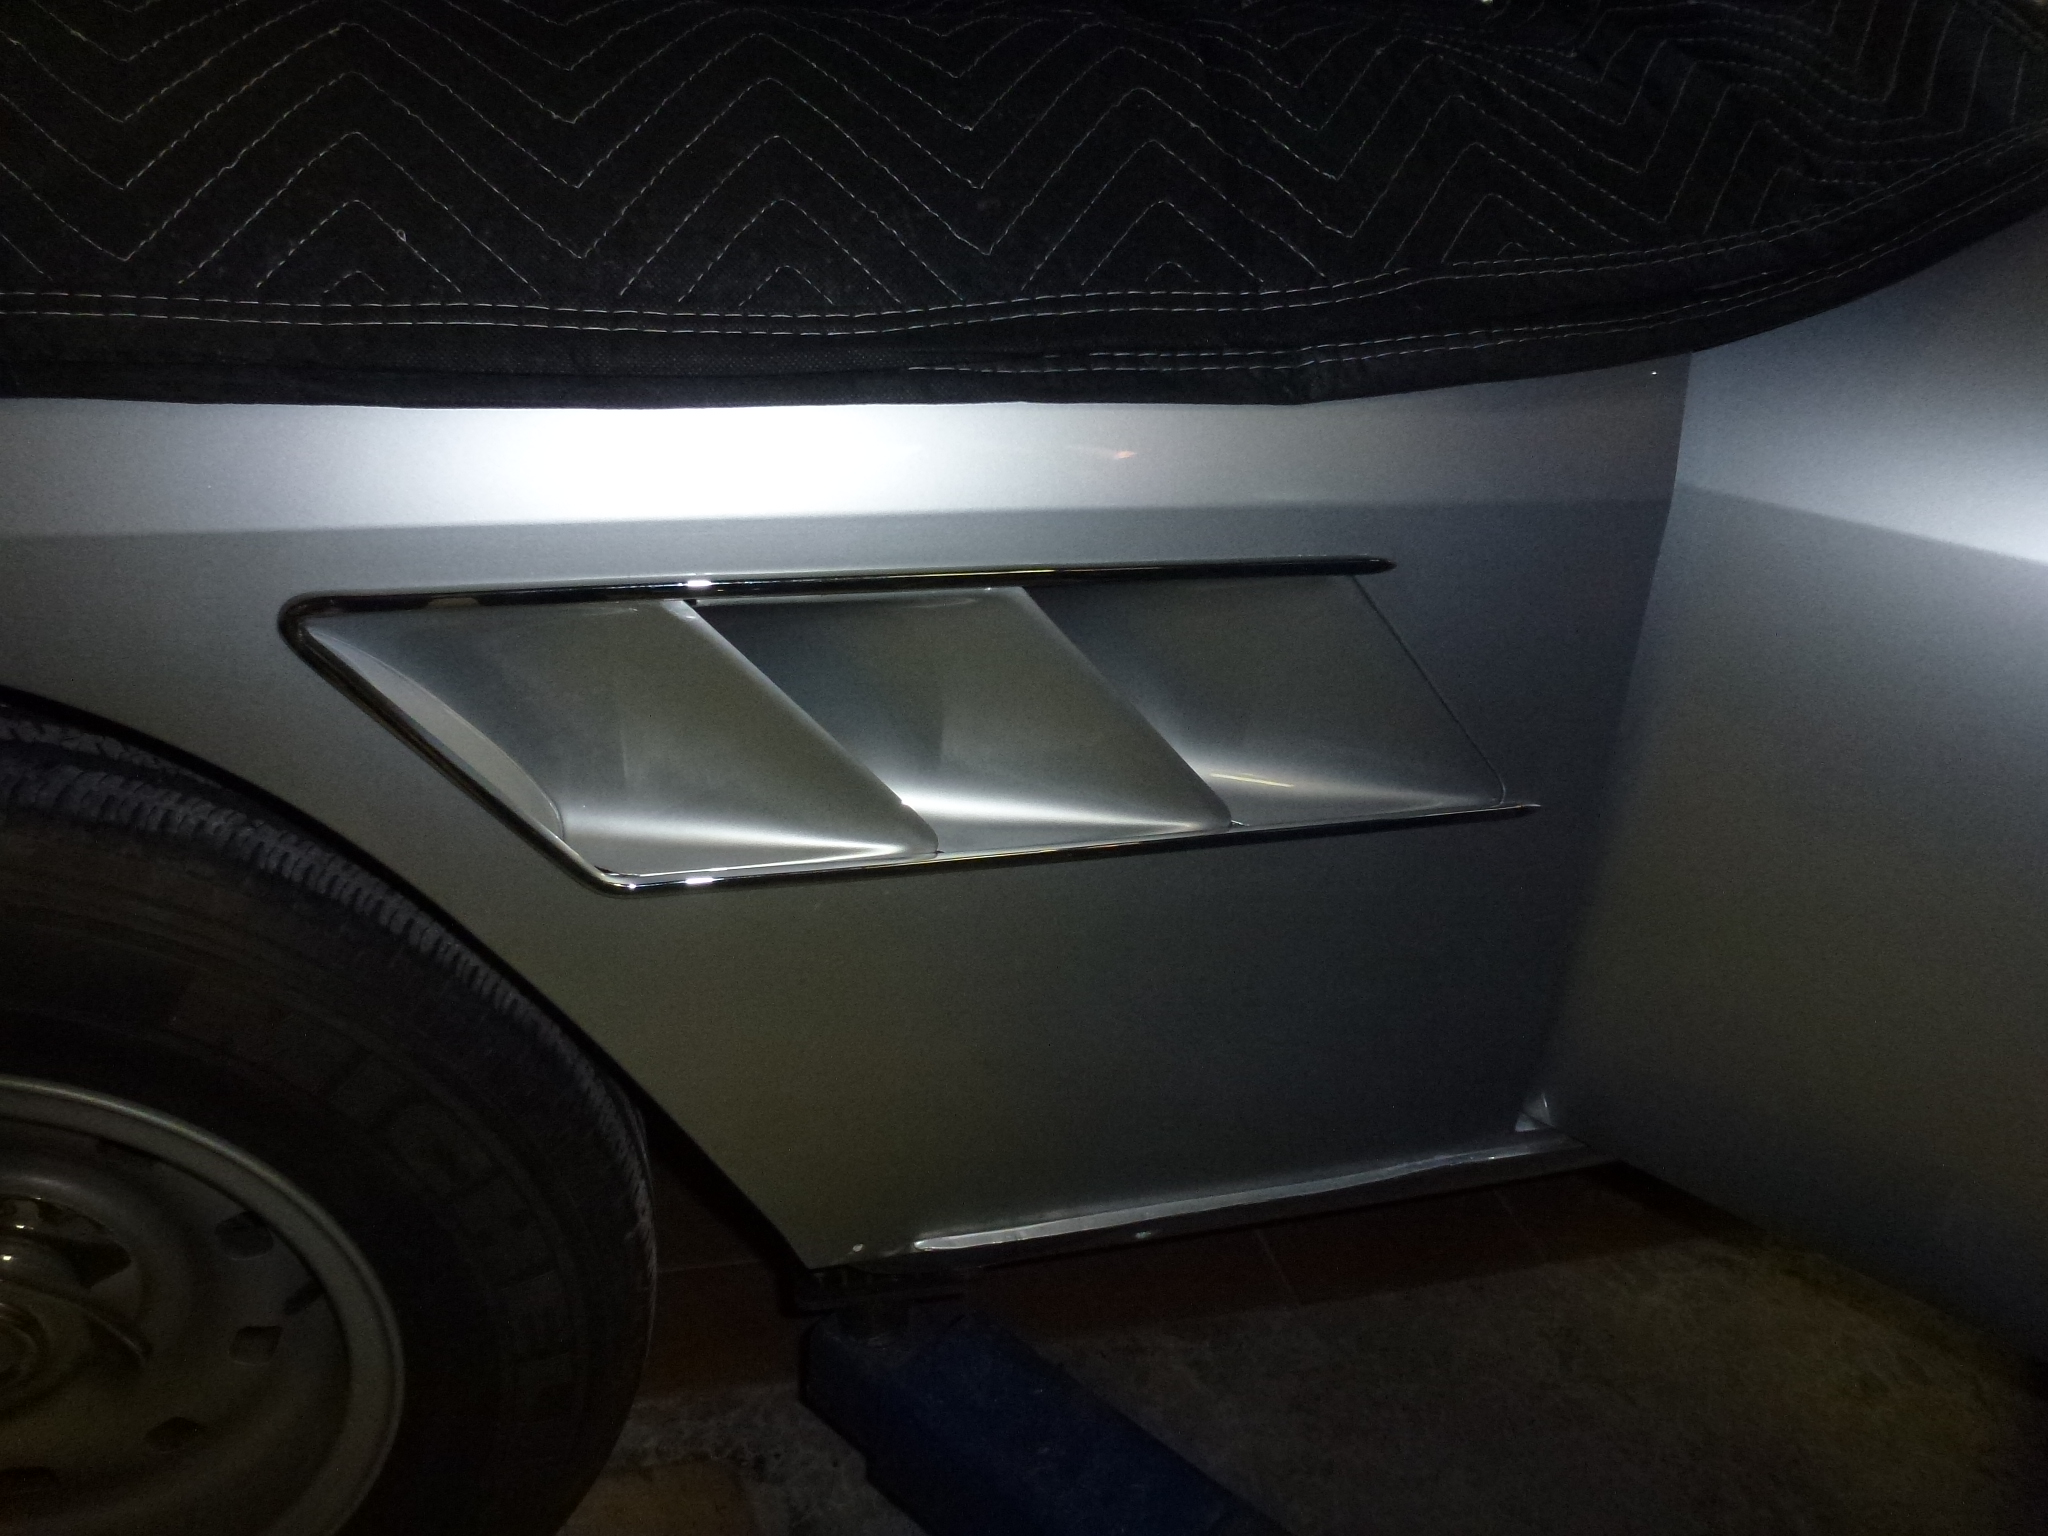
I took off the vents in the front fenders. It is possible to rotate the center vent and slip it out without having to remove the chrome trim. The trim has eight tiny studs with nuts and washers. They are very difficult to access from the wheel well. By removing the center vent, then the nuts can be loosened and the remaining vent pieces removed. I also removed the rear splash shields behind the front wheels. The bottom of these splash shields get trapped by the lift supports. So I undid all of the screws while the car was in the air and then lowered it until the lift was clear. Then the shield bottom could be moved away from the lift support and the car put back in the air.
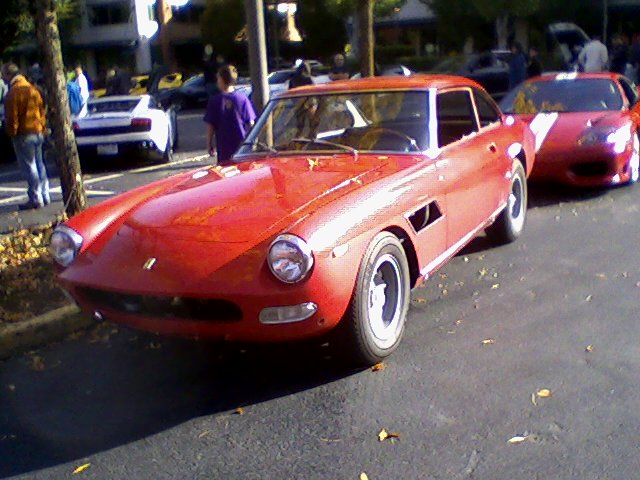
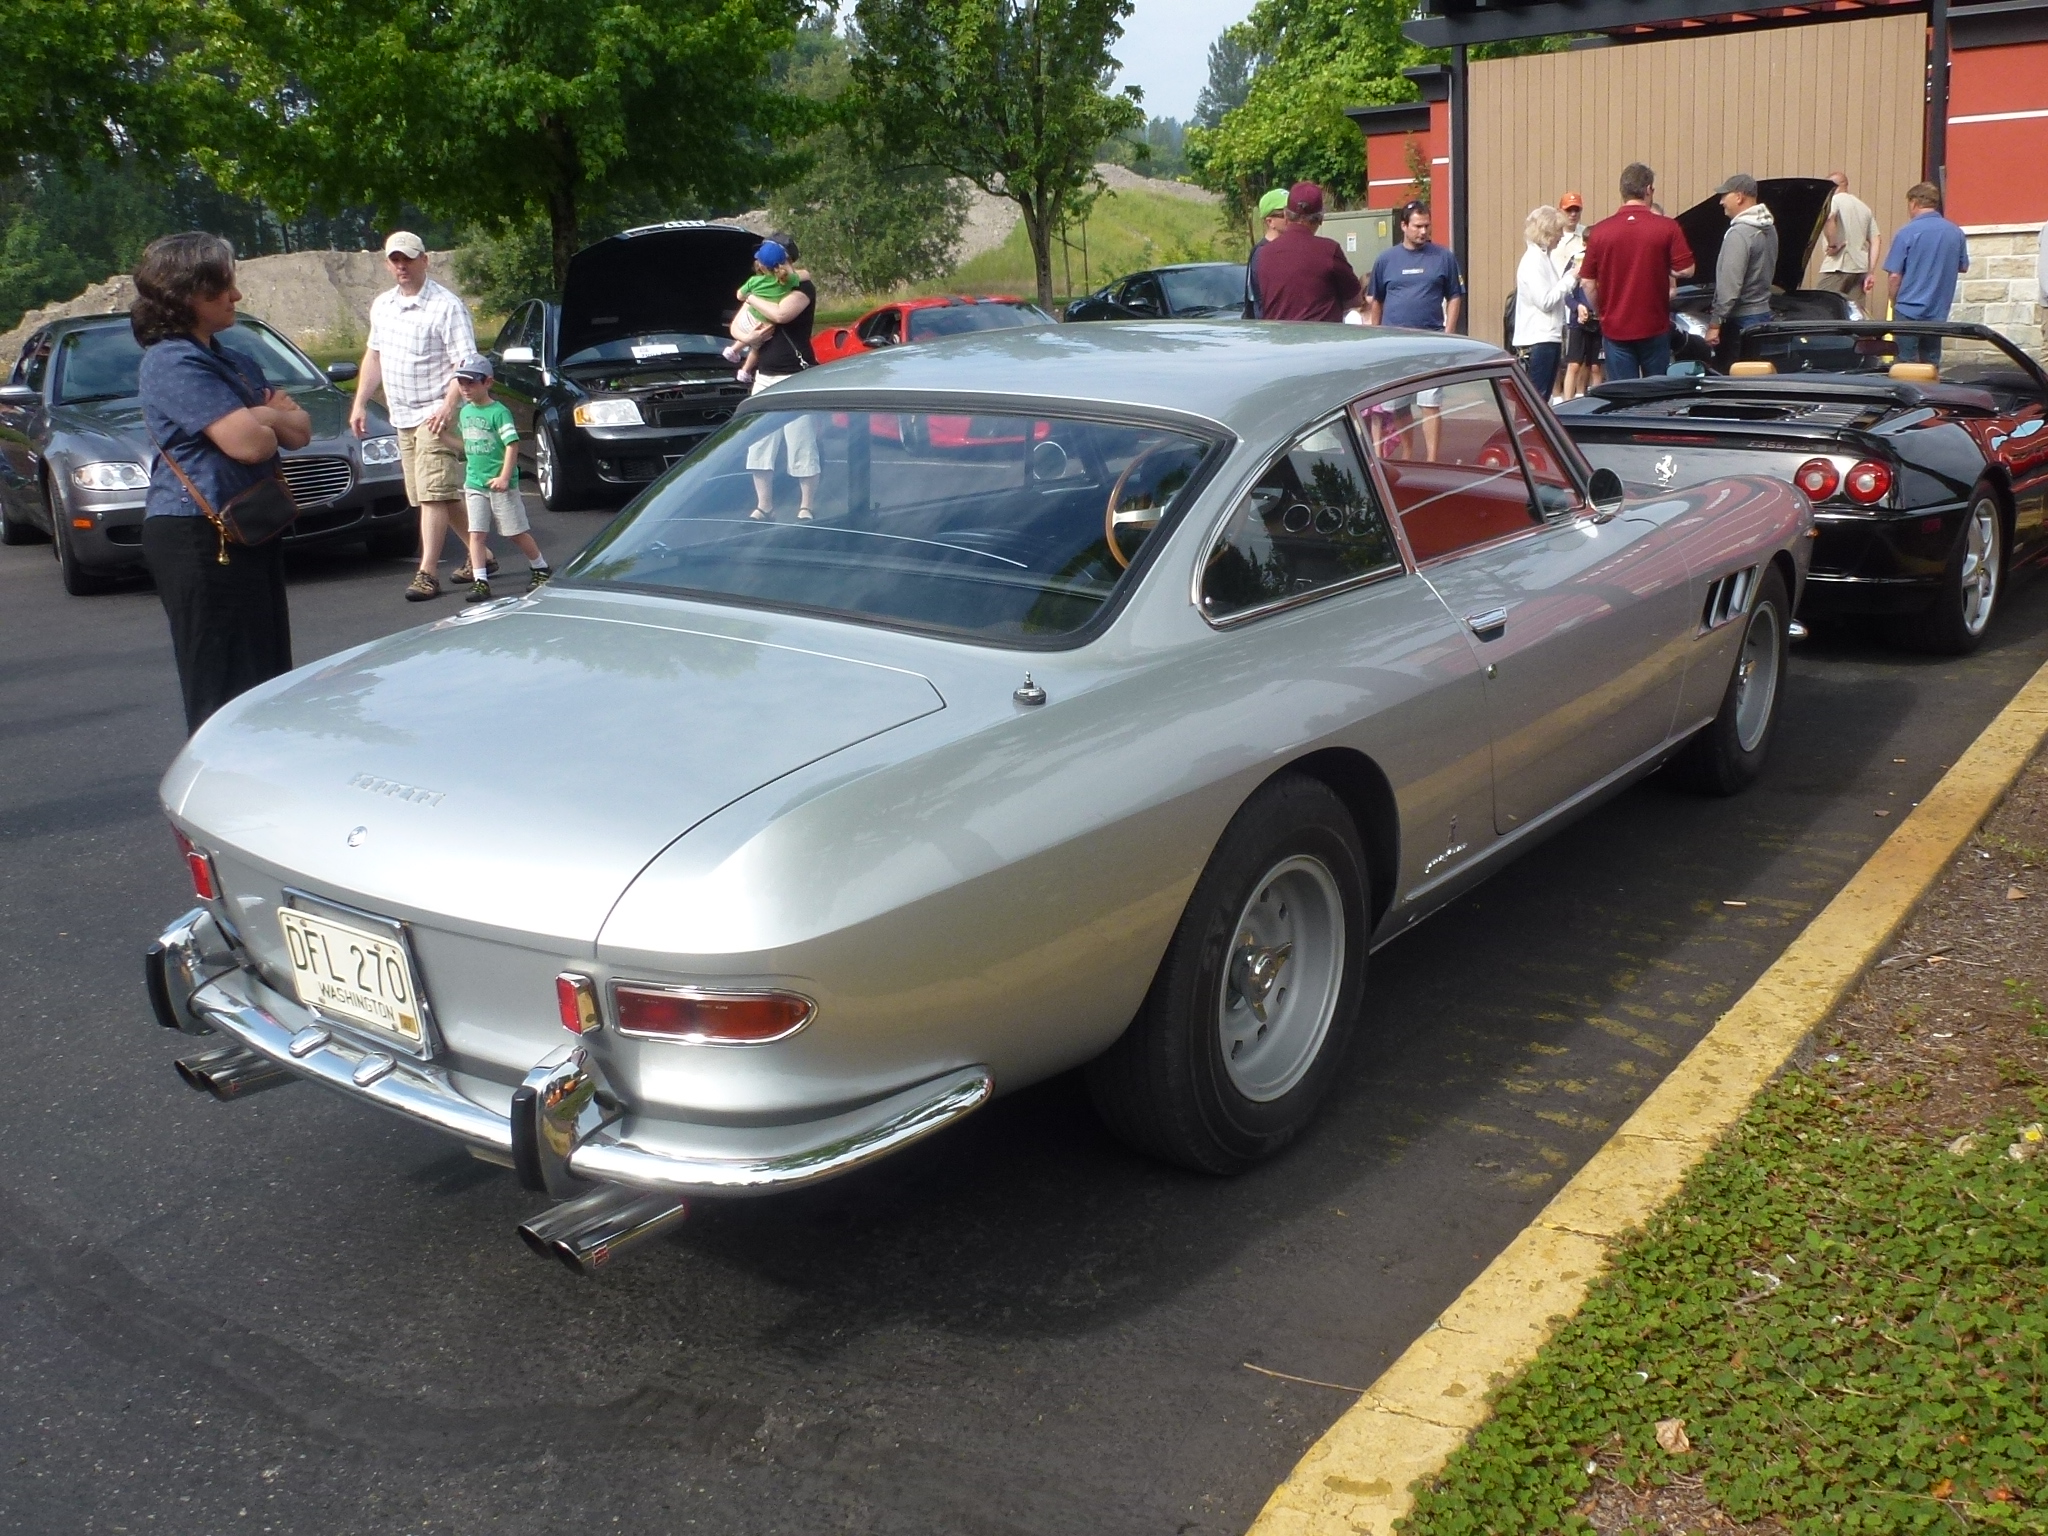
Every Saturday when the weather is nice, there is a cars and coffee show at a local mall. I usually get to about half of the Exotics at Redmond Town Center. I took the 330 with it partially disassembled and the car got lots of comments, even more than when it was all together. If the weather is nice next Saturday, I'll take it again and then go up to the autobody shop and drop it off for painting.
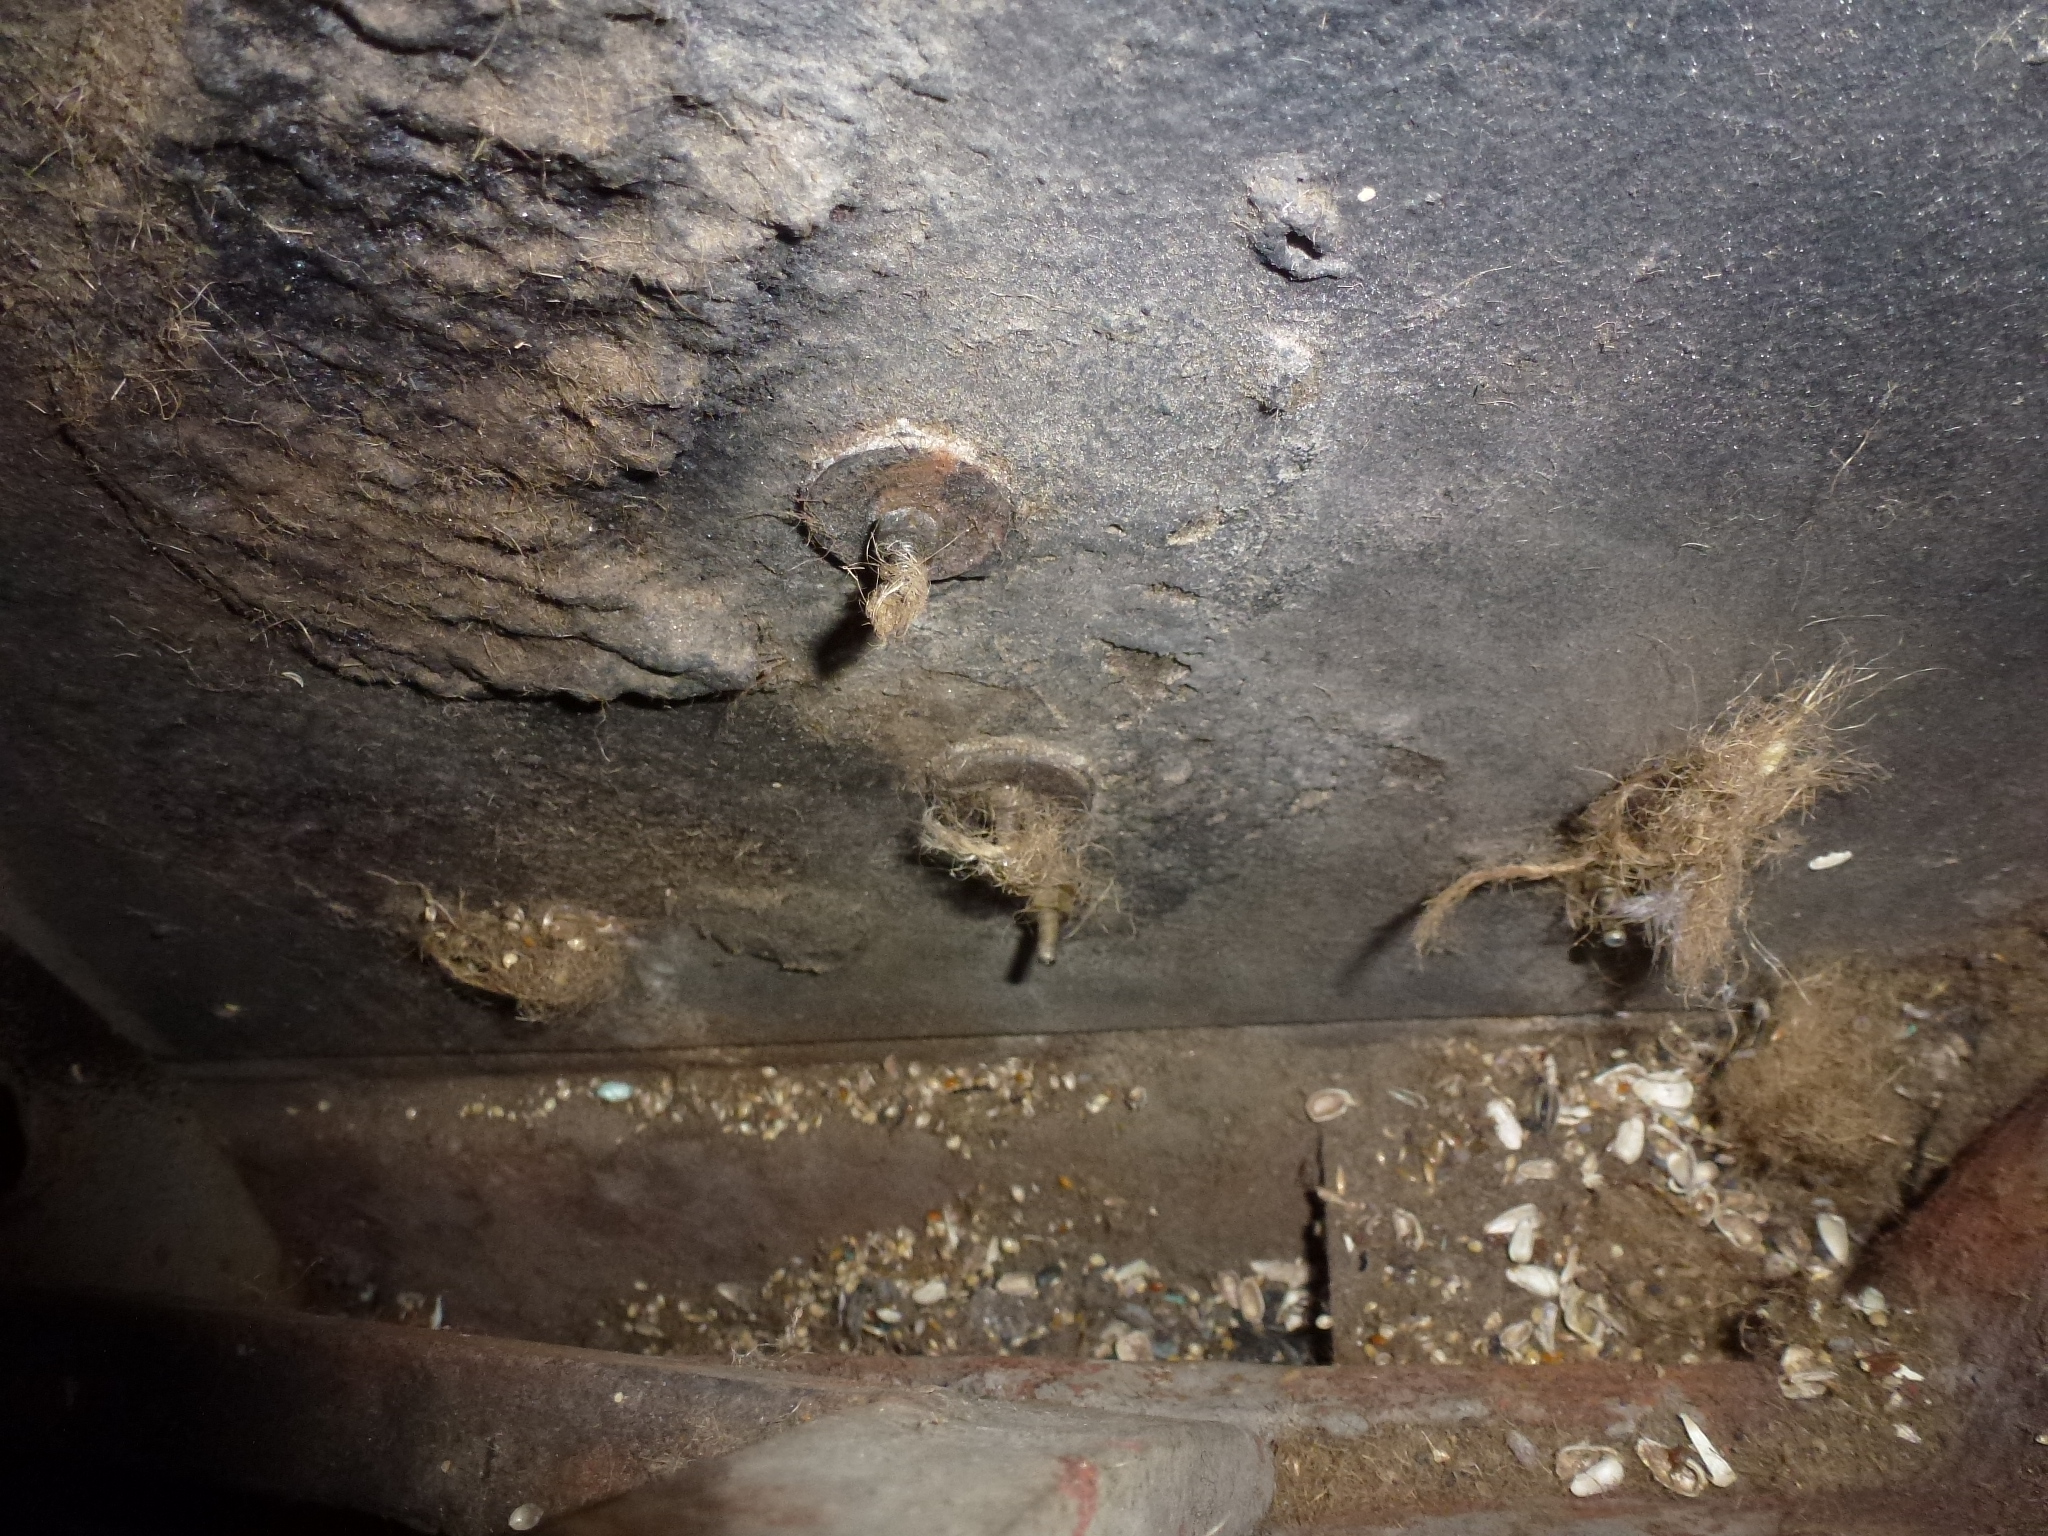
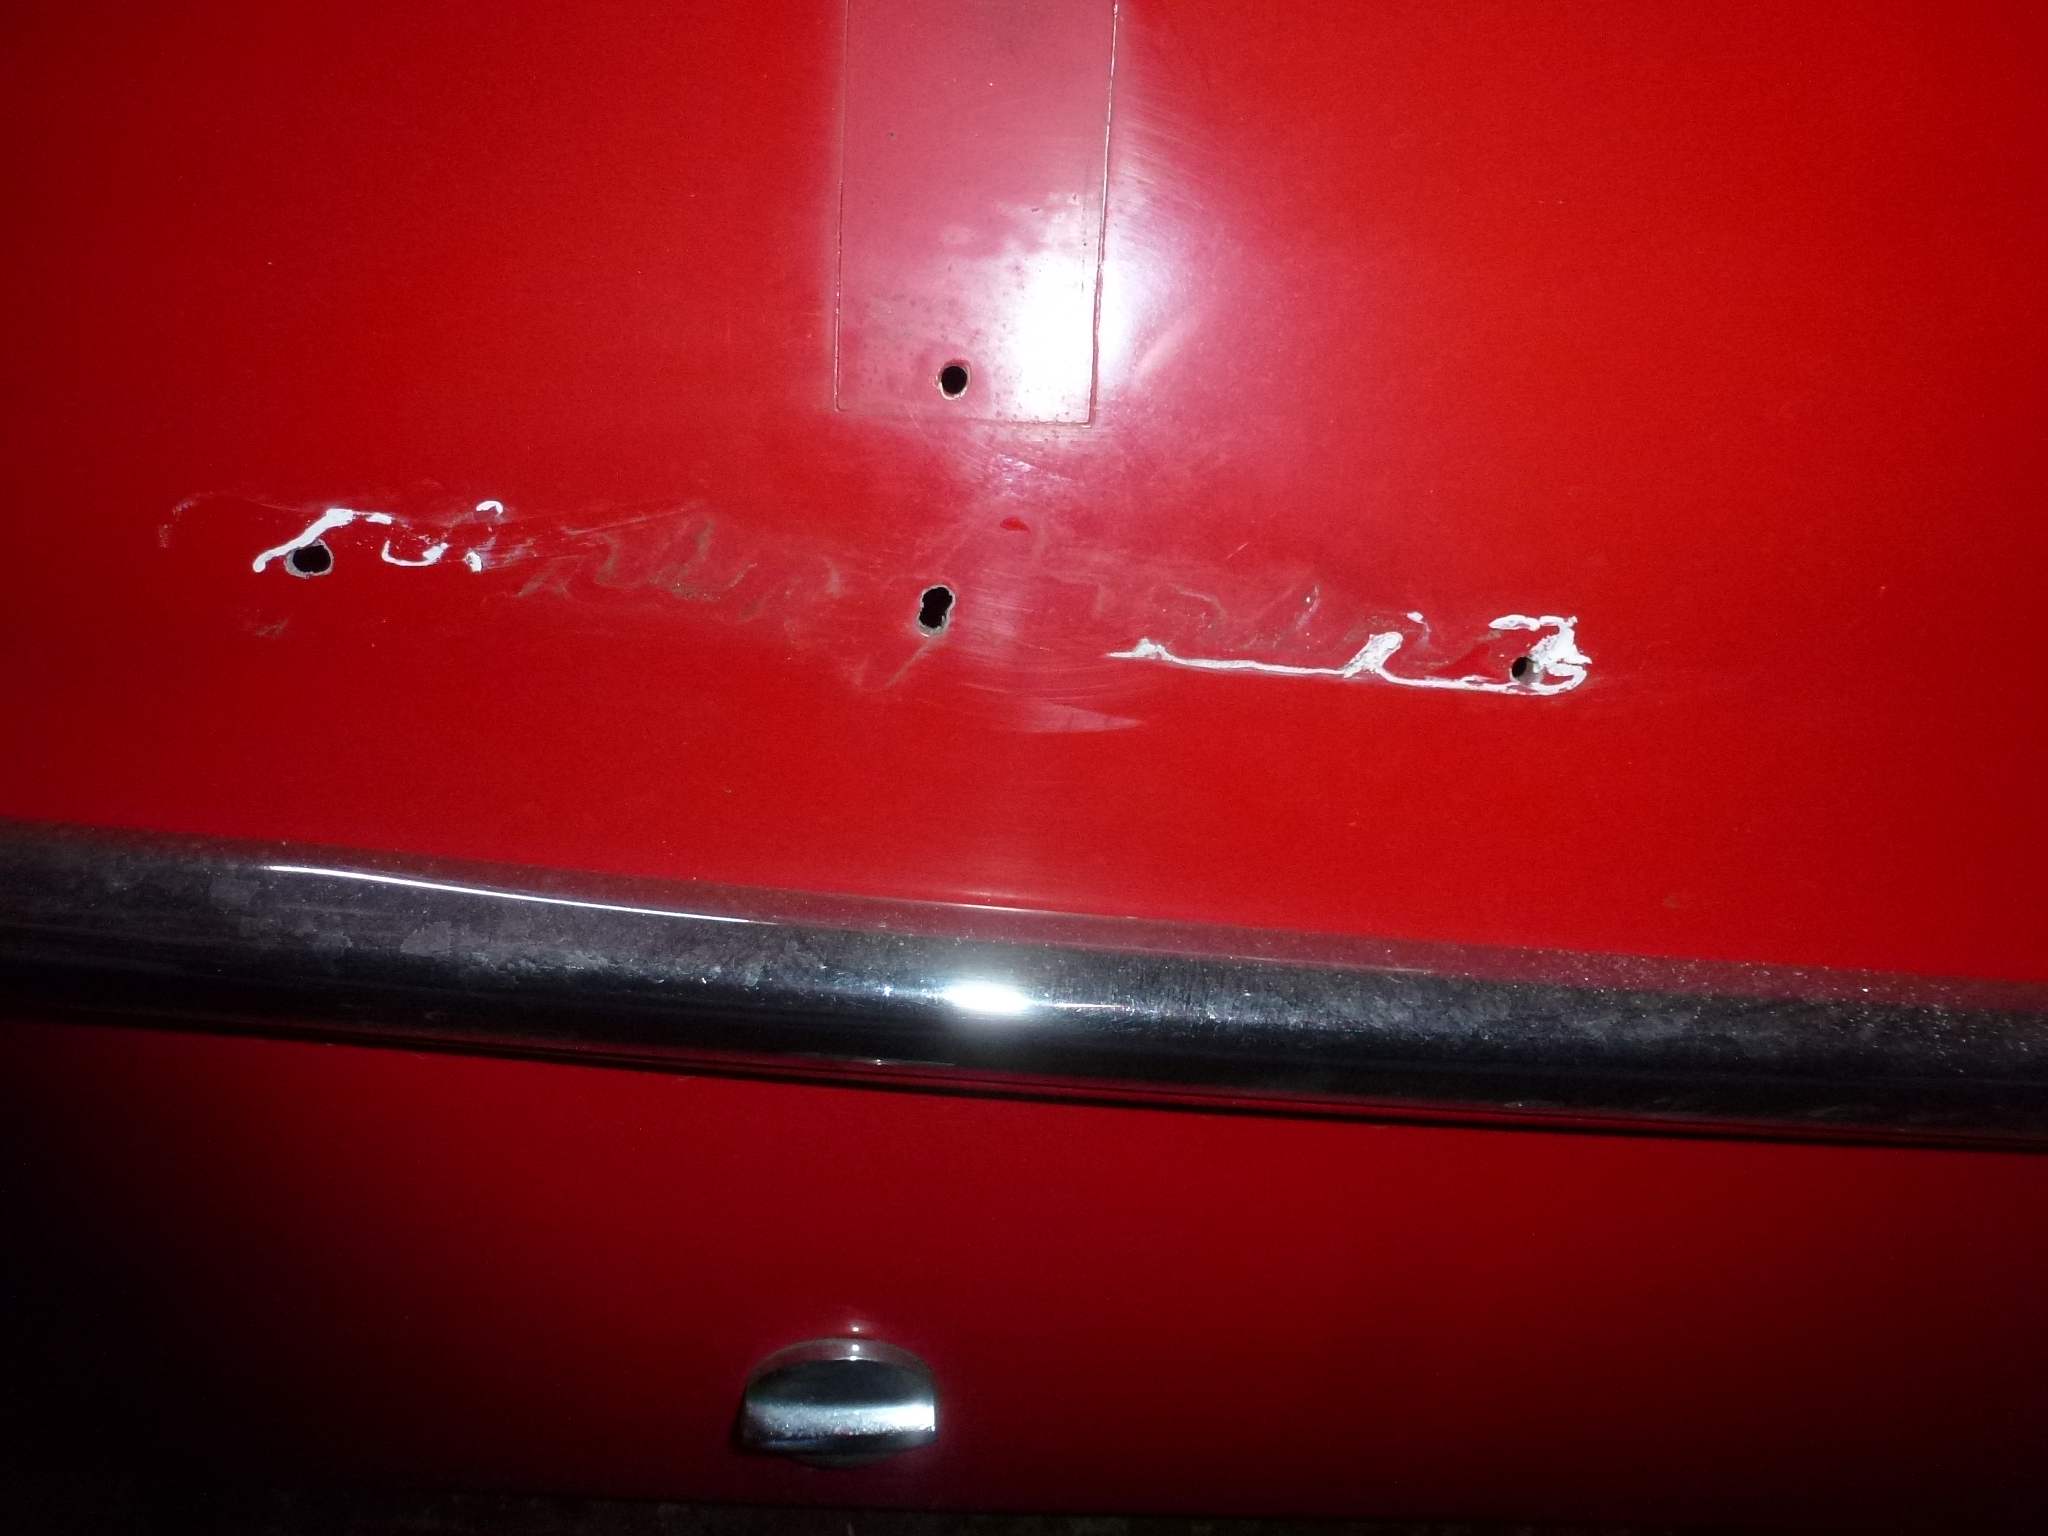
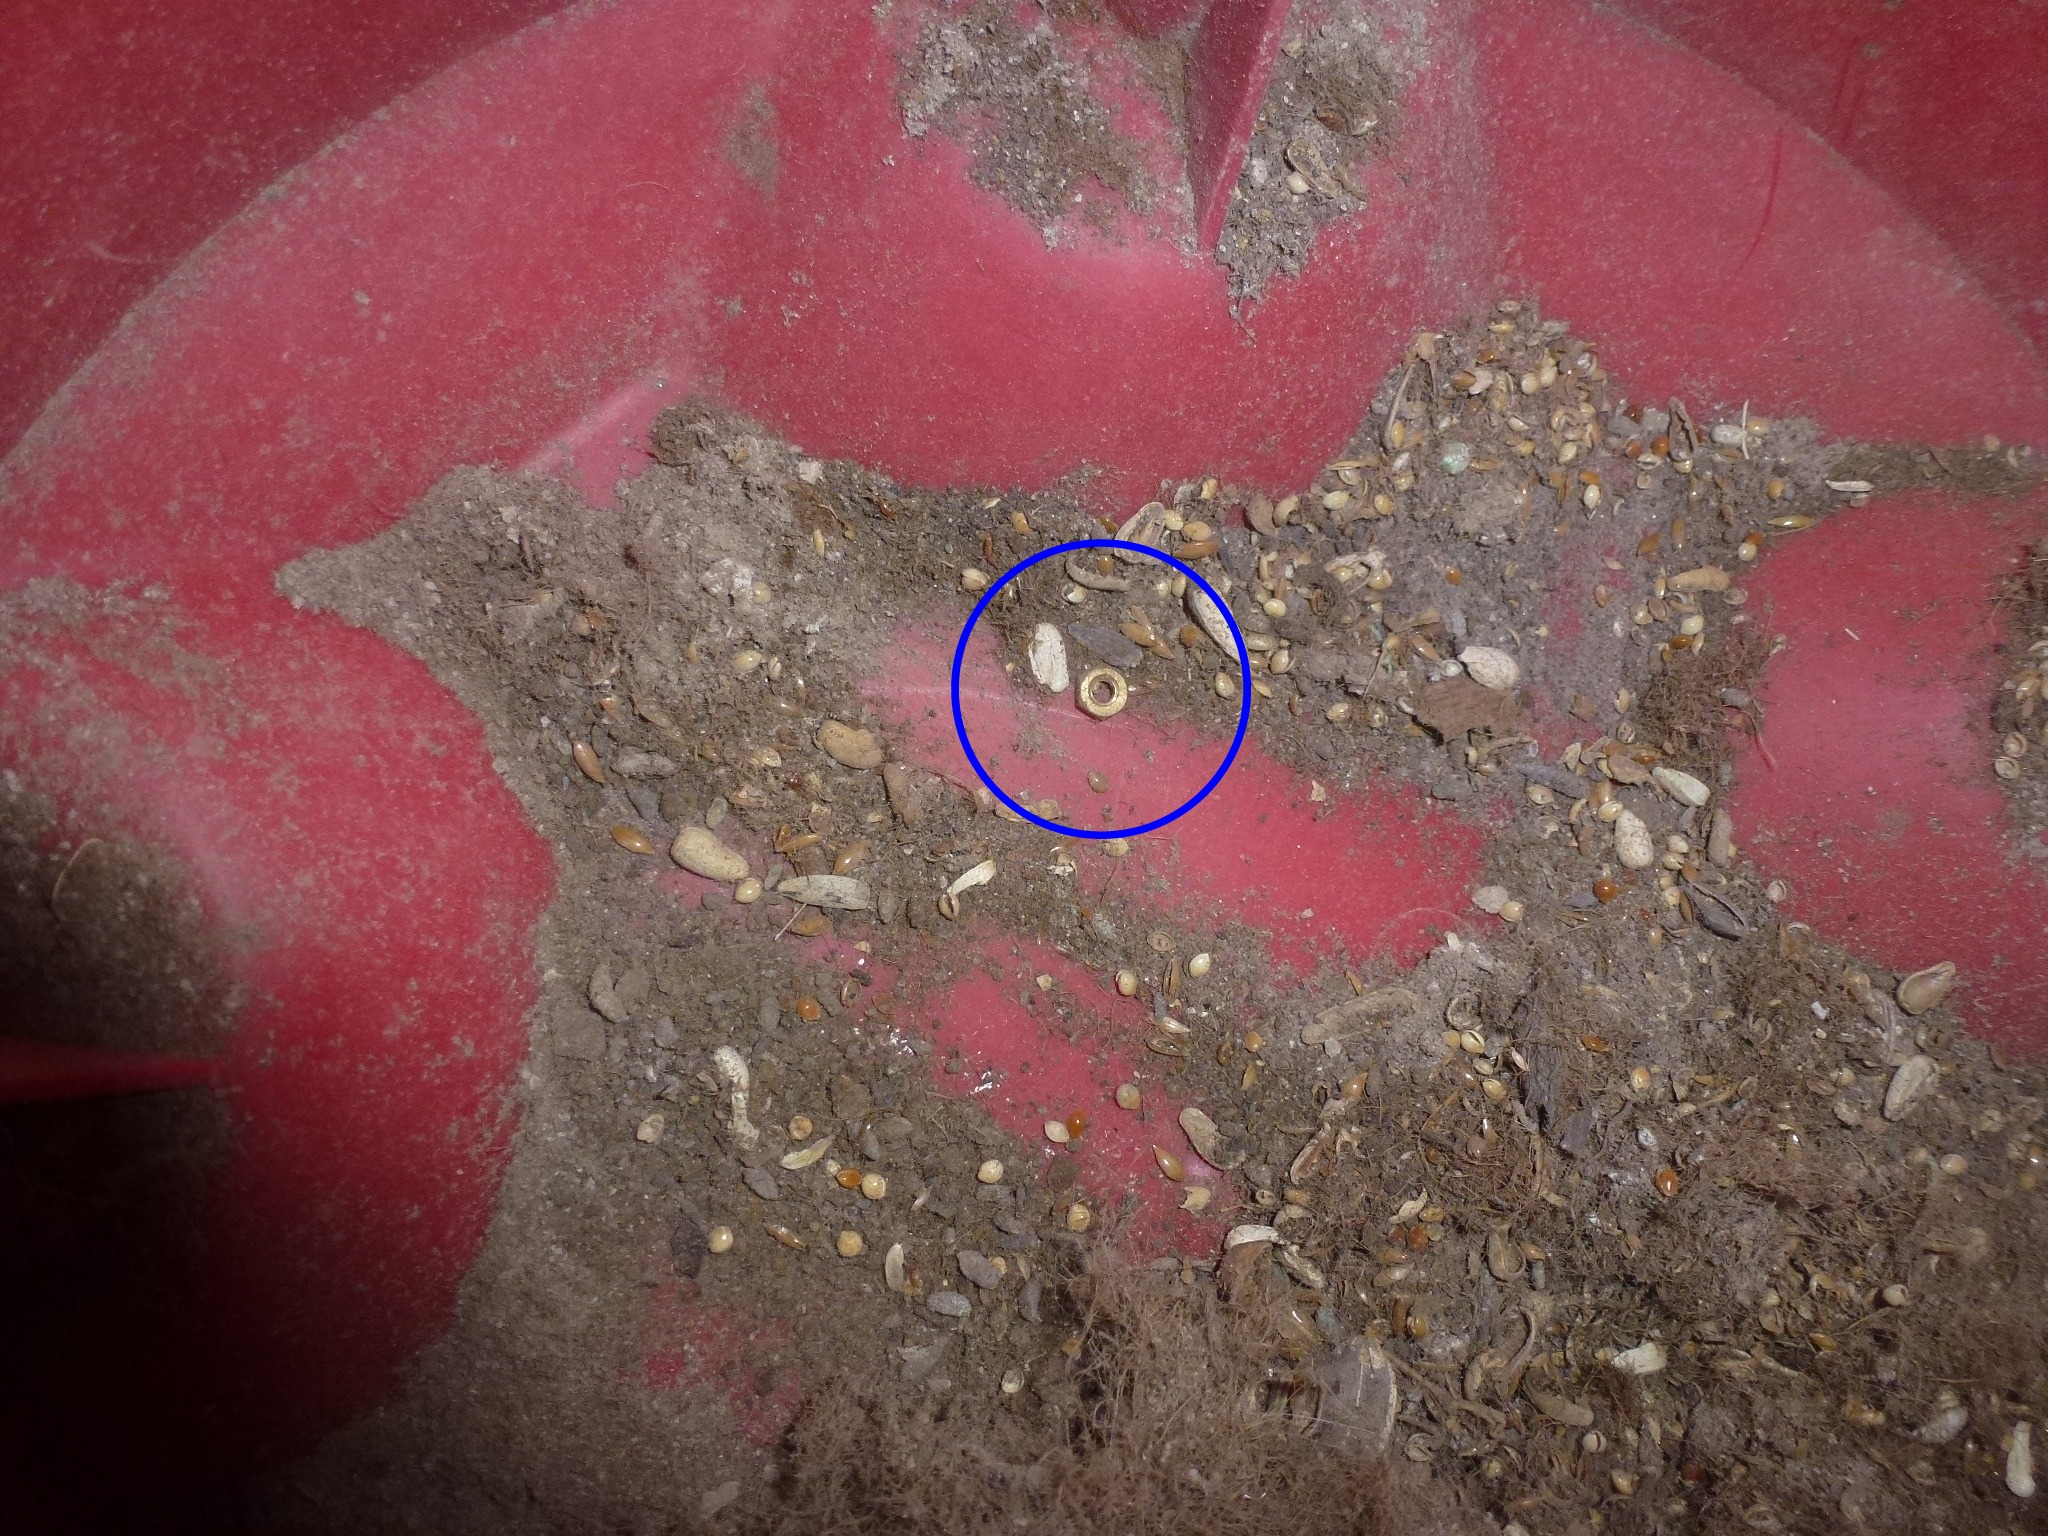
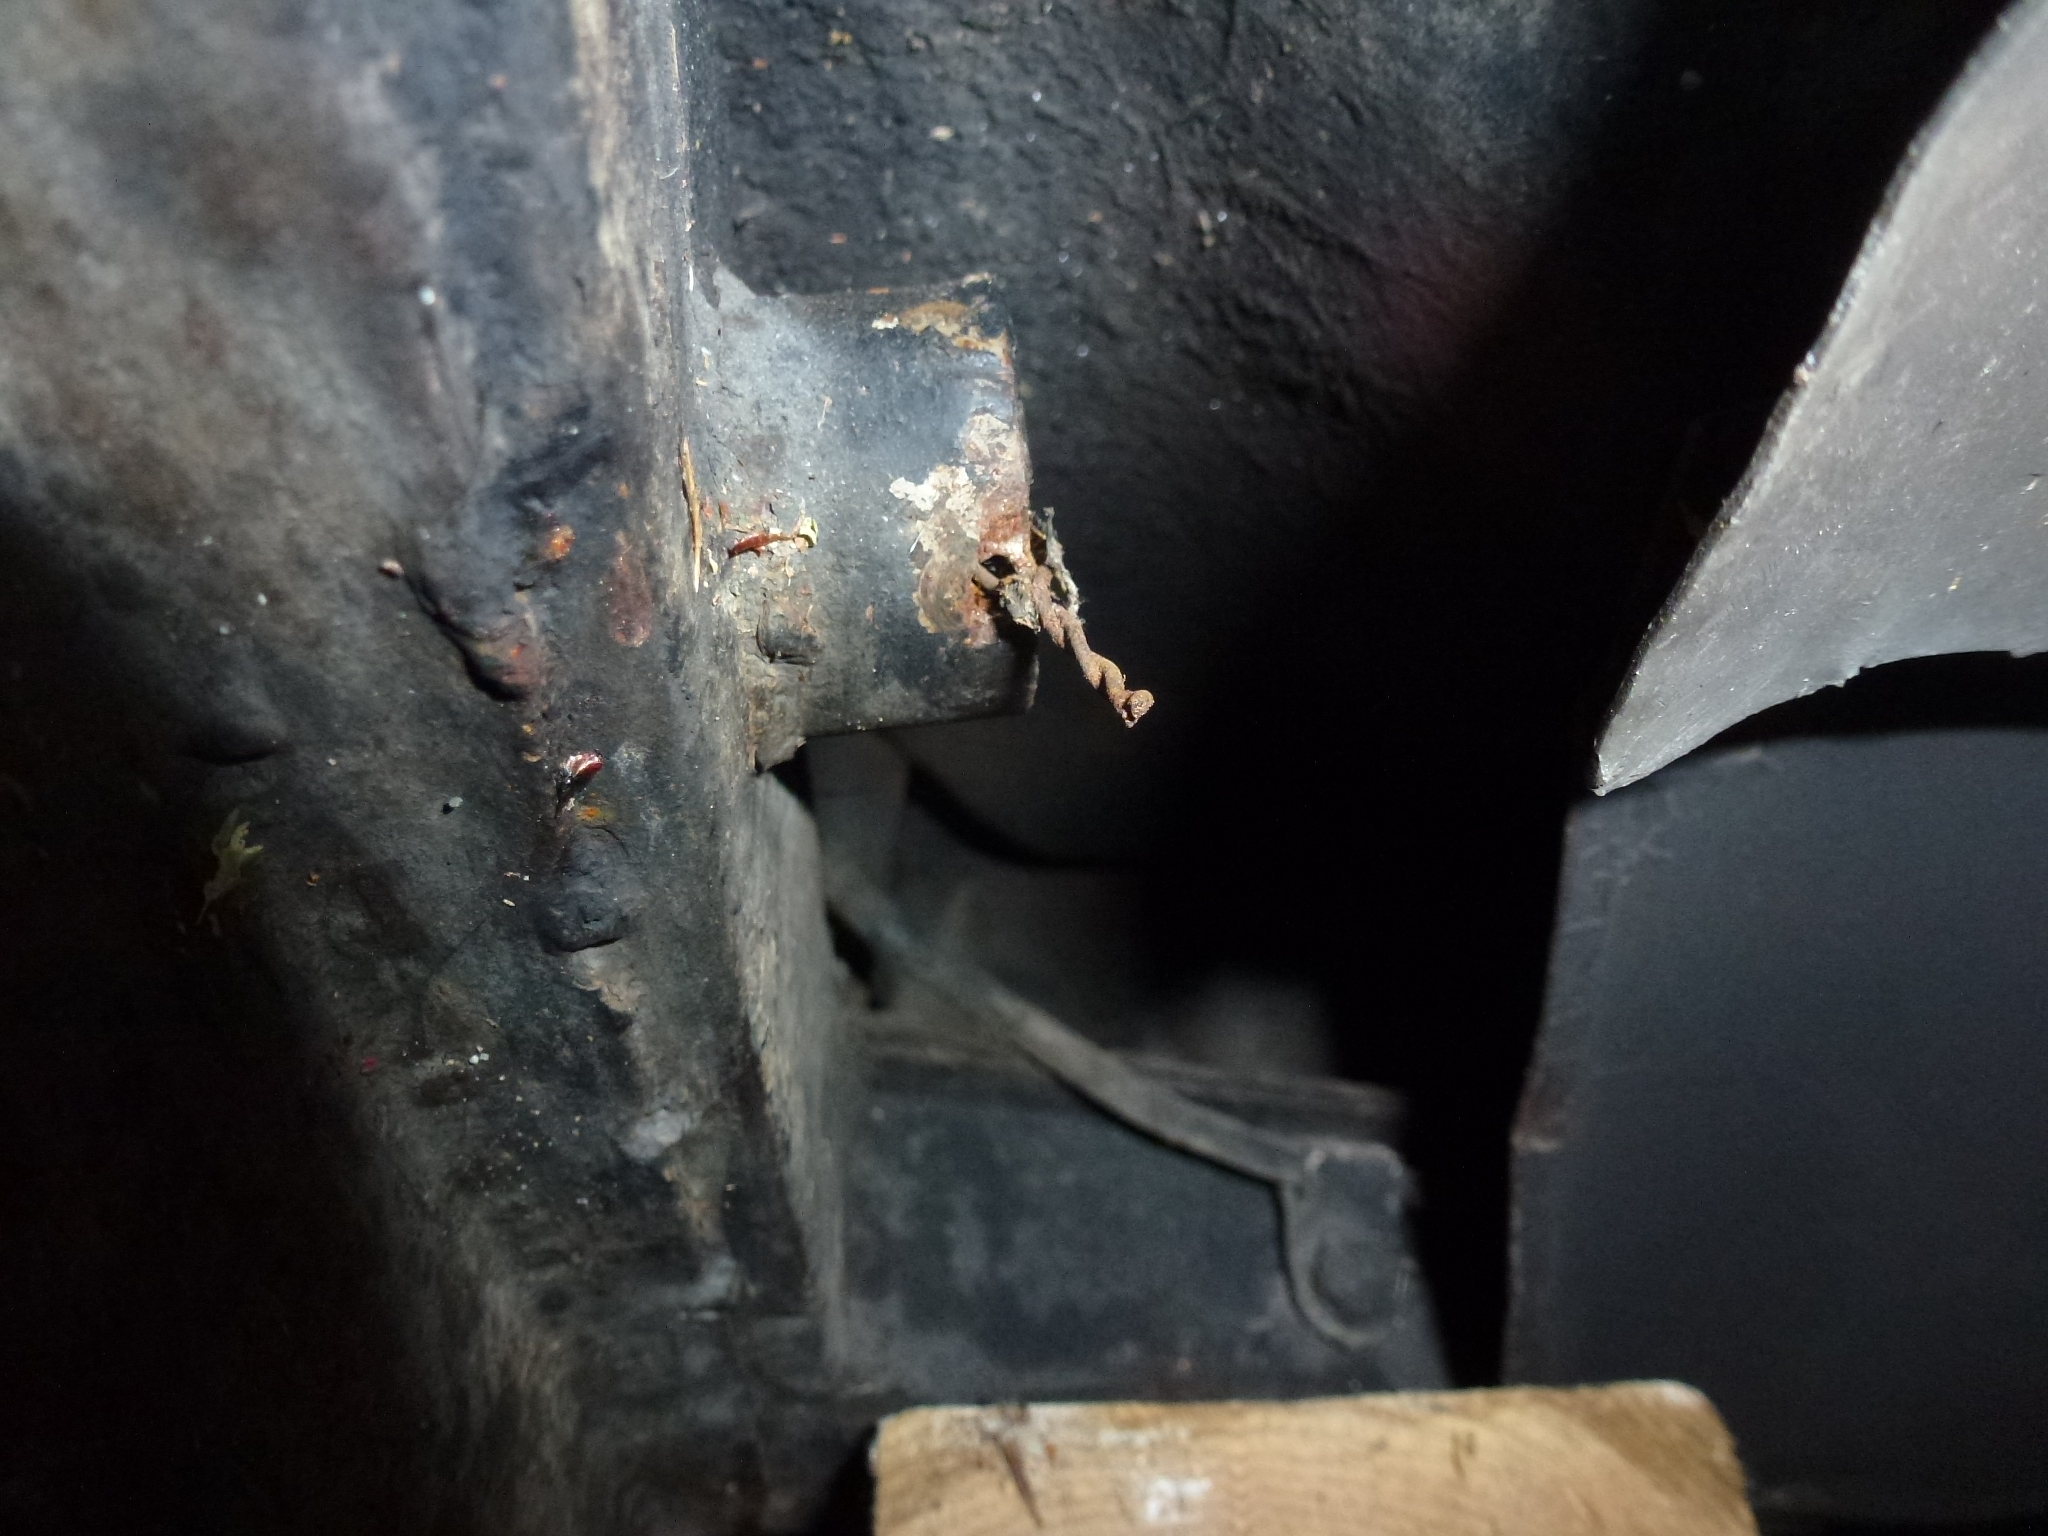
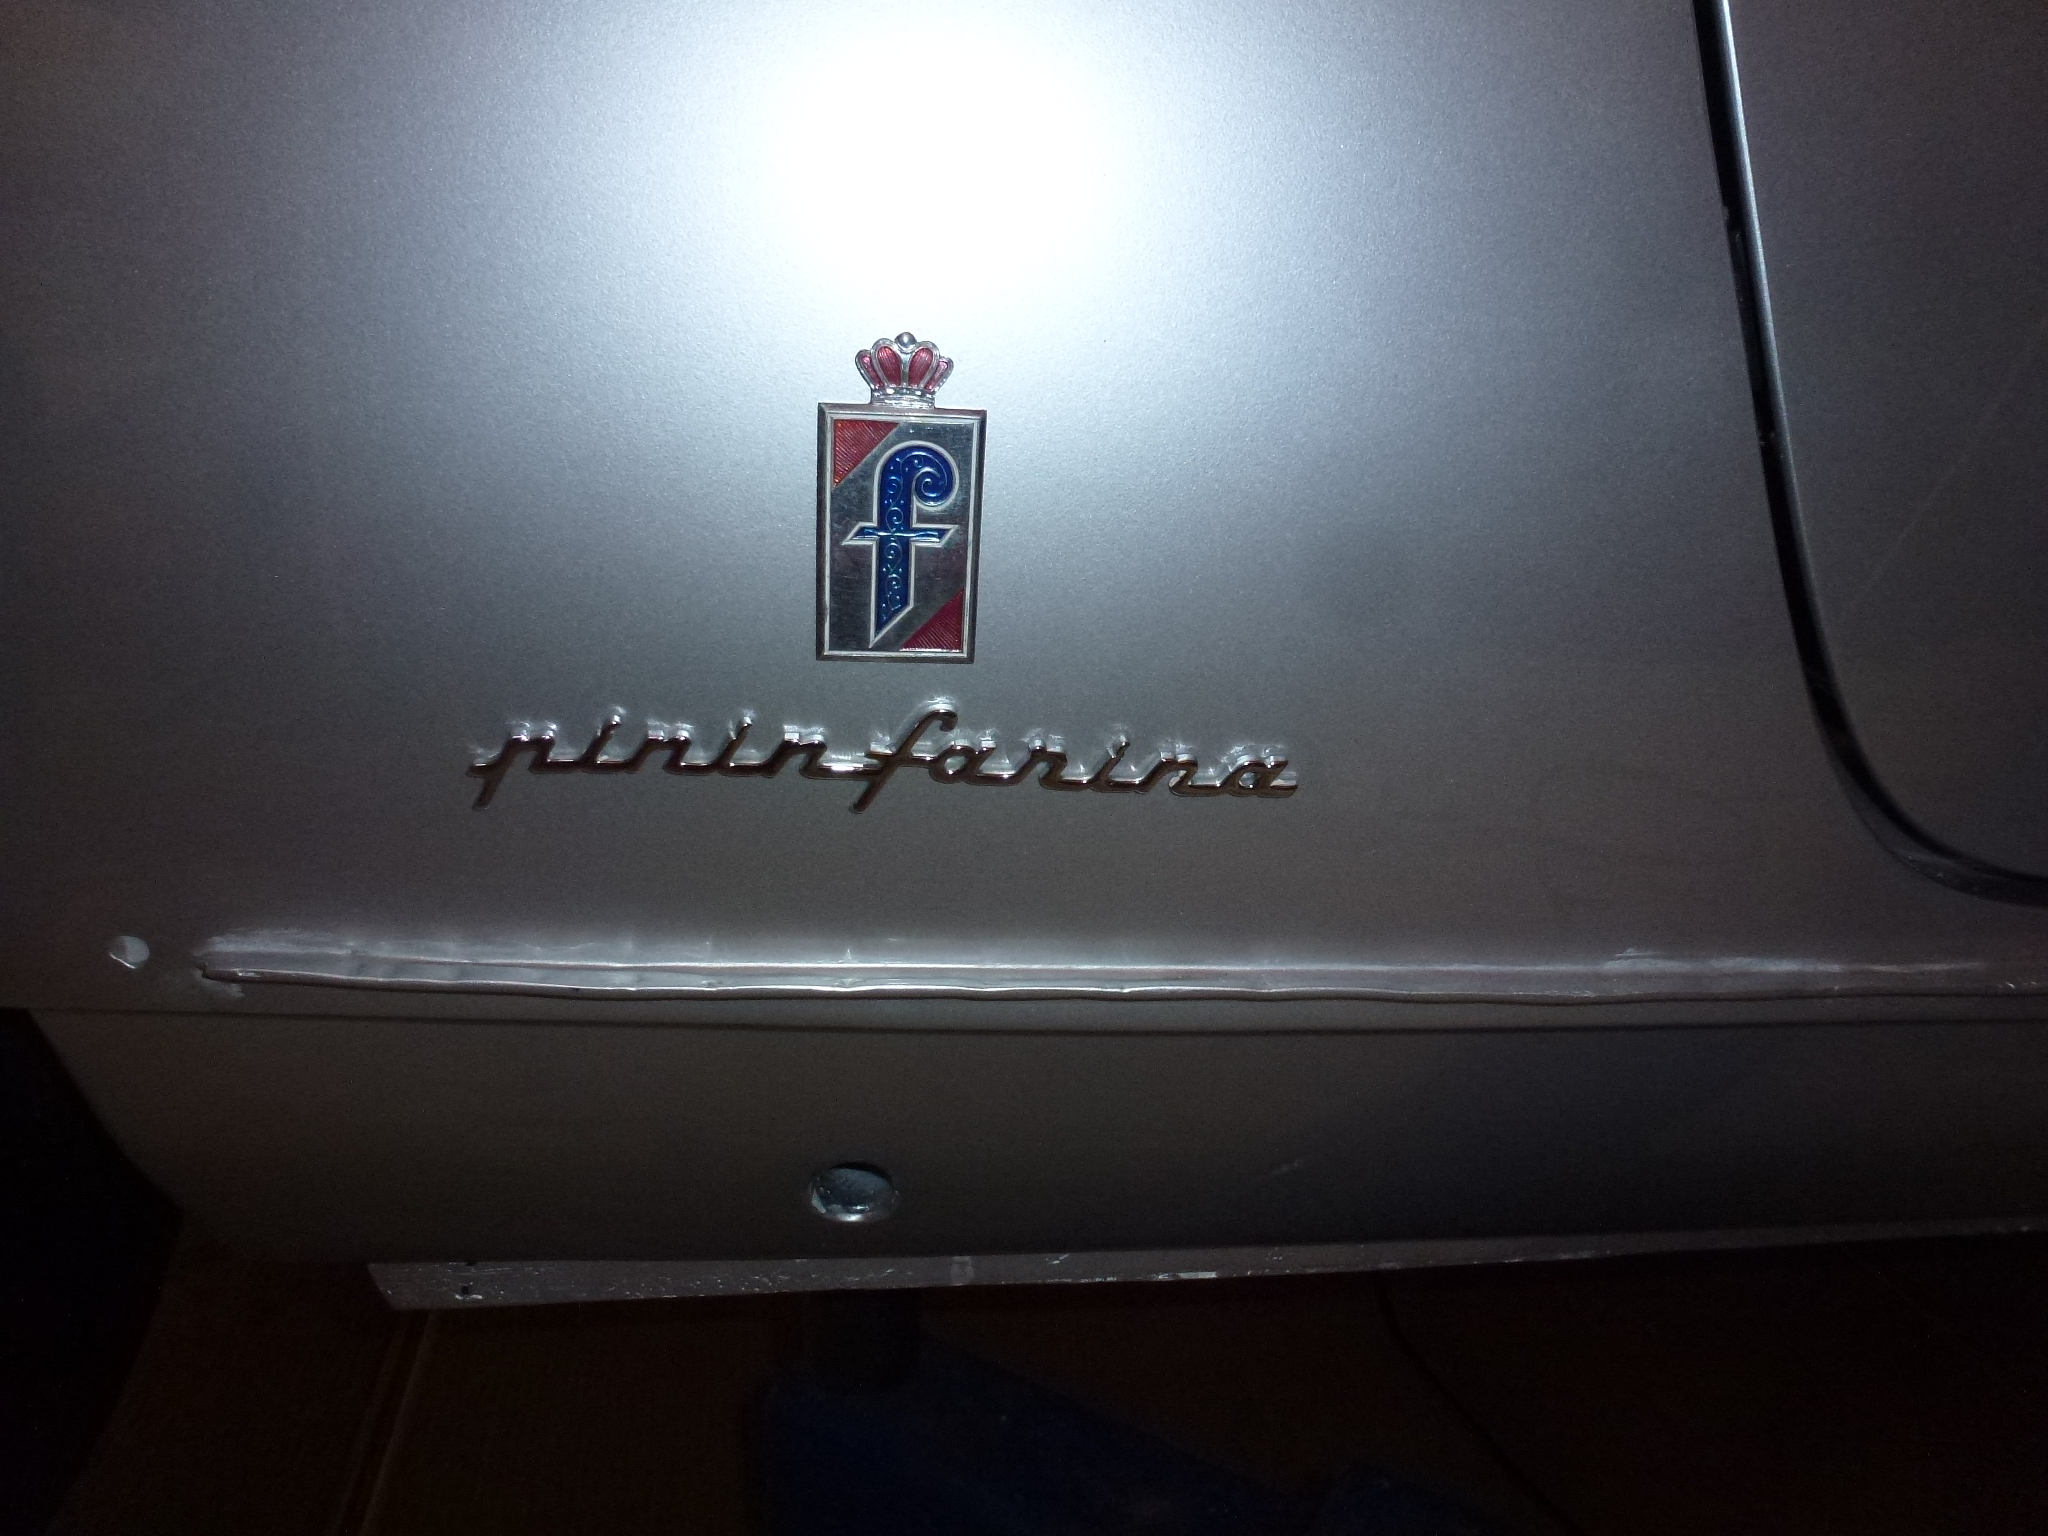
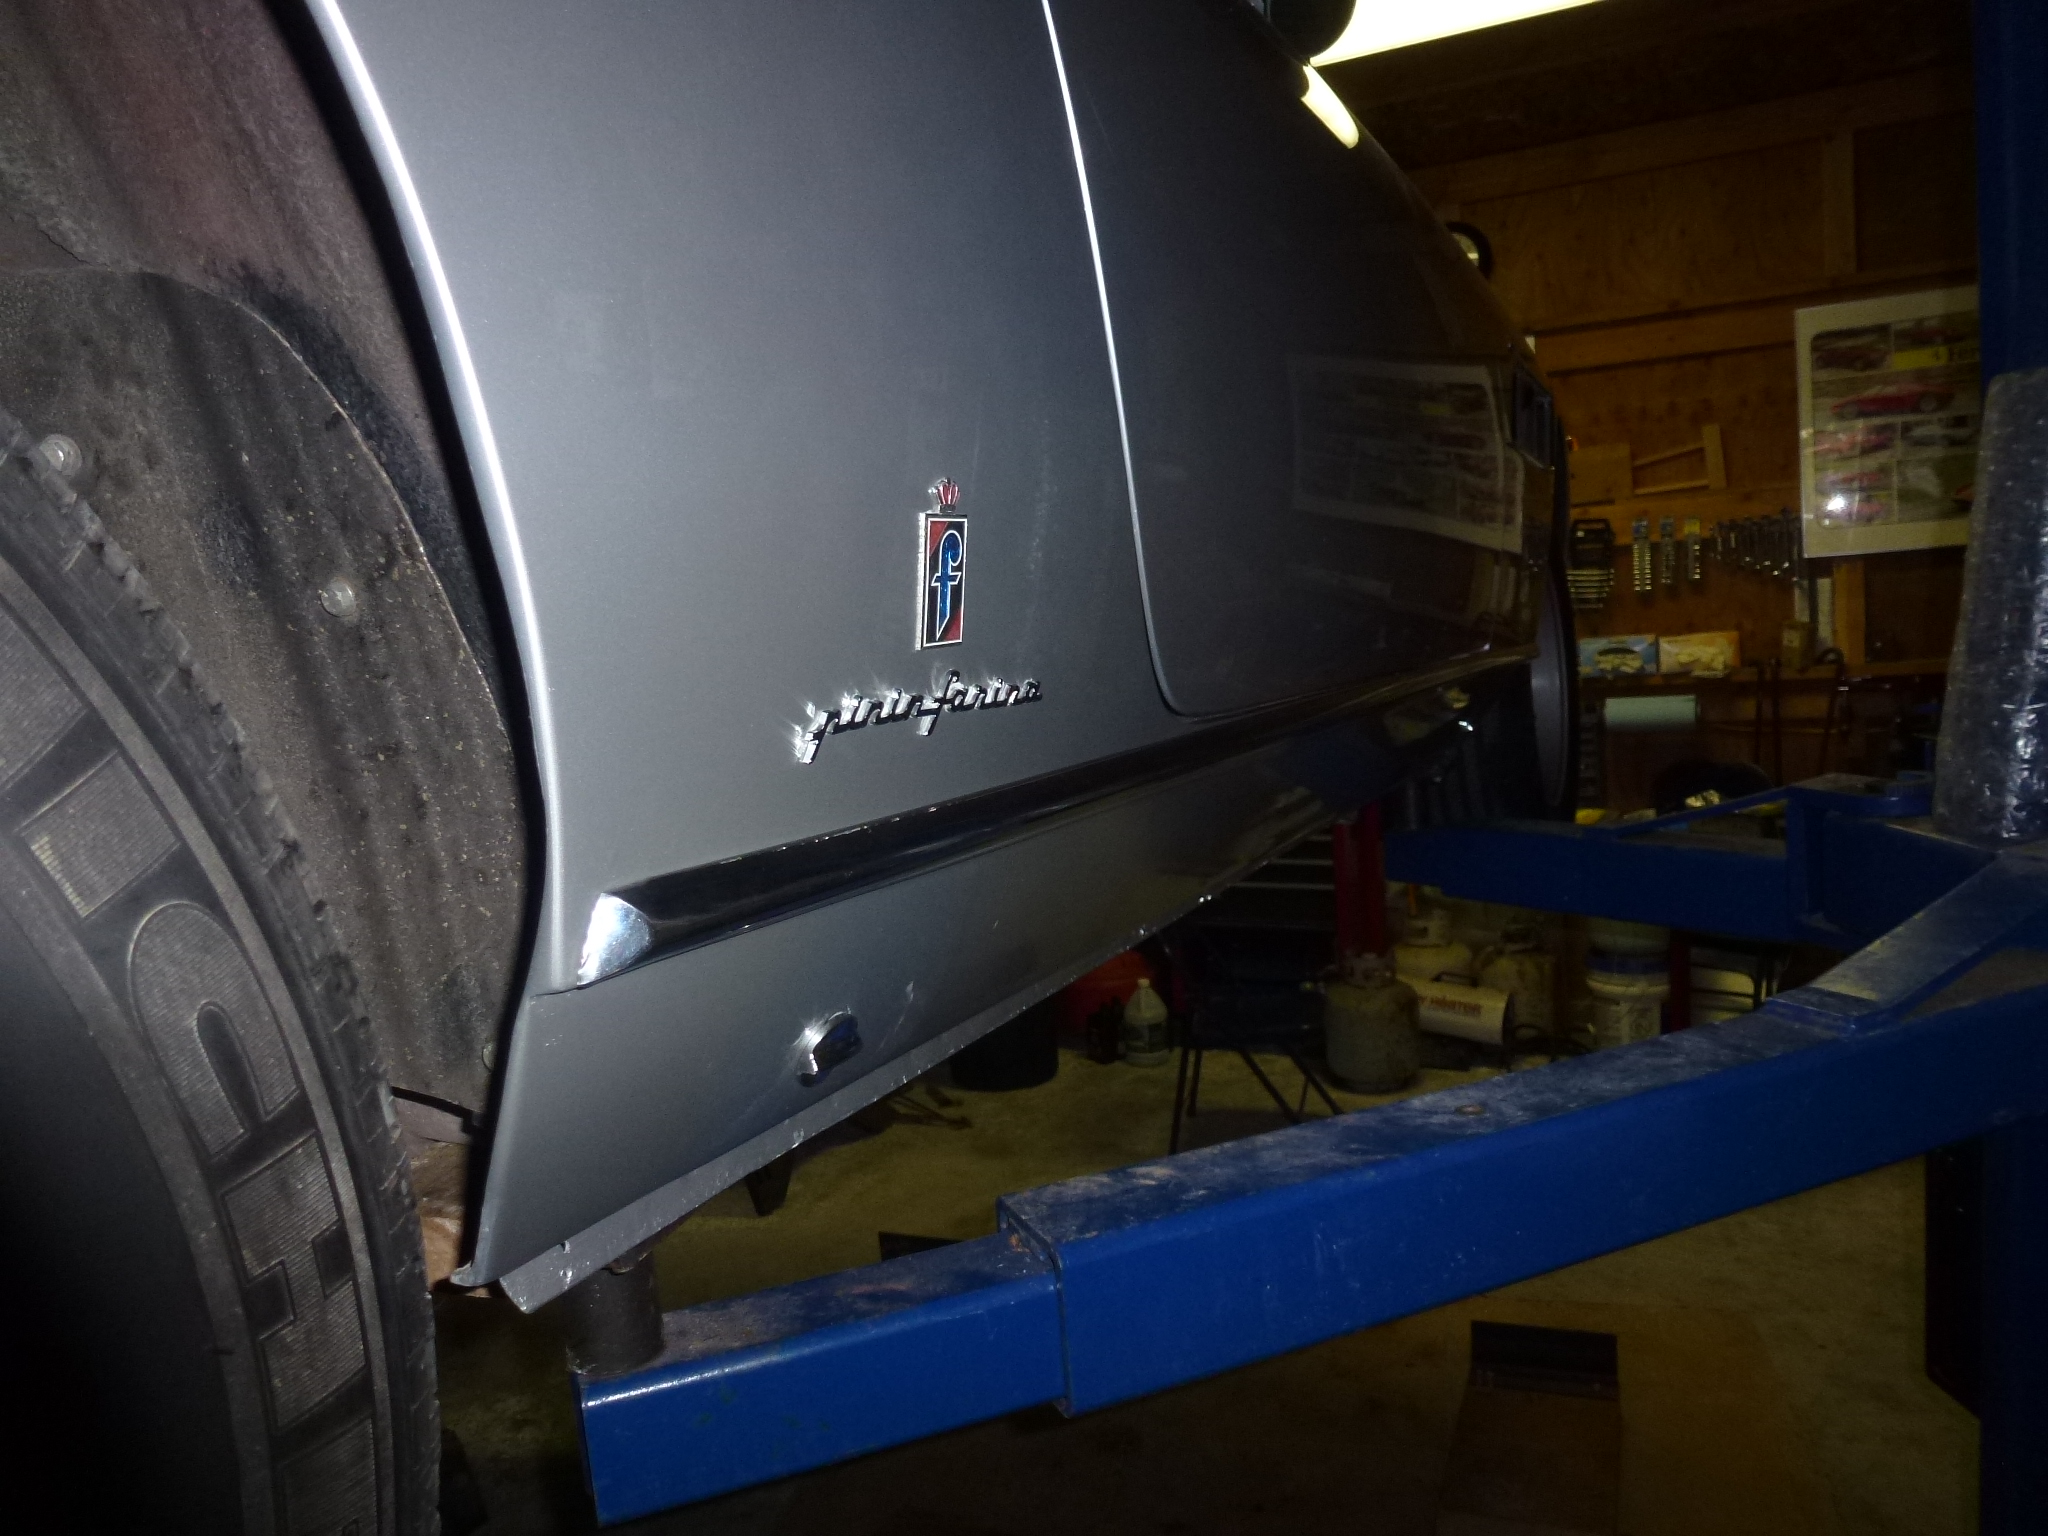
After removing some of the interior, it was possible to take off a few things on the exterior. In particular, the Pininfarina emblems and script require the dogleg panel by the rear seats to be off. Then you can access the nuts holding those items on. As you can see from the picture, the mice were treating this cavity as a mouse house. I don't know how they get in though. There are two studs on the PF emblem and three on the script. Now that the script is off, you can see the elongated holes mentioned before that I'll fix up. As usual, I managed to drop one of the nuts. My solution is to use a clean shop vacuum and suck everything out. Then I look through the debris and as you can see, the nut was picked up.
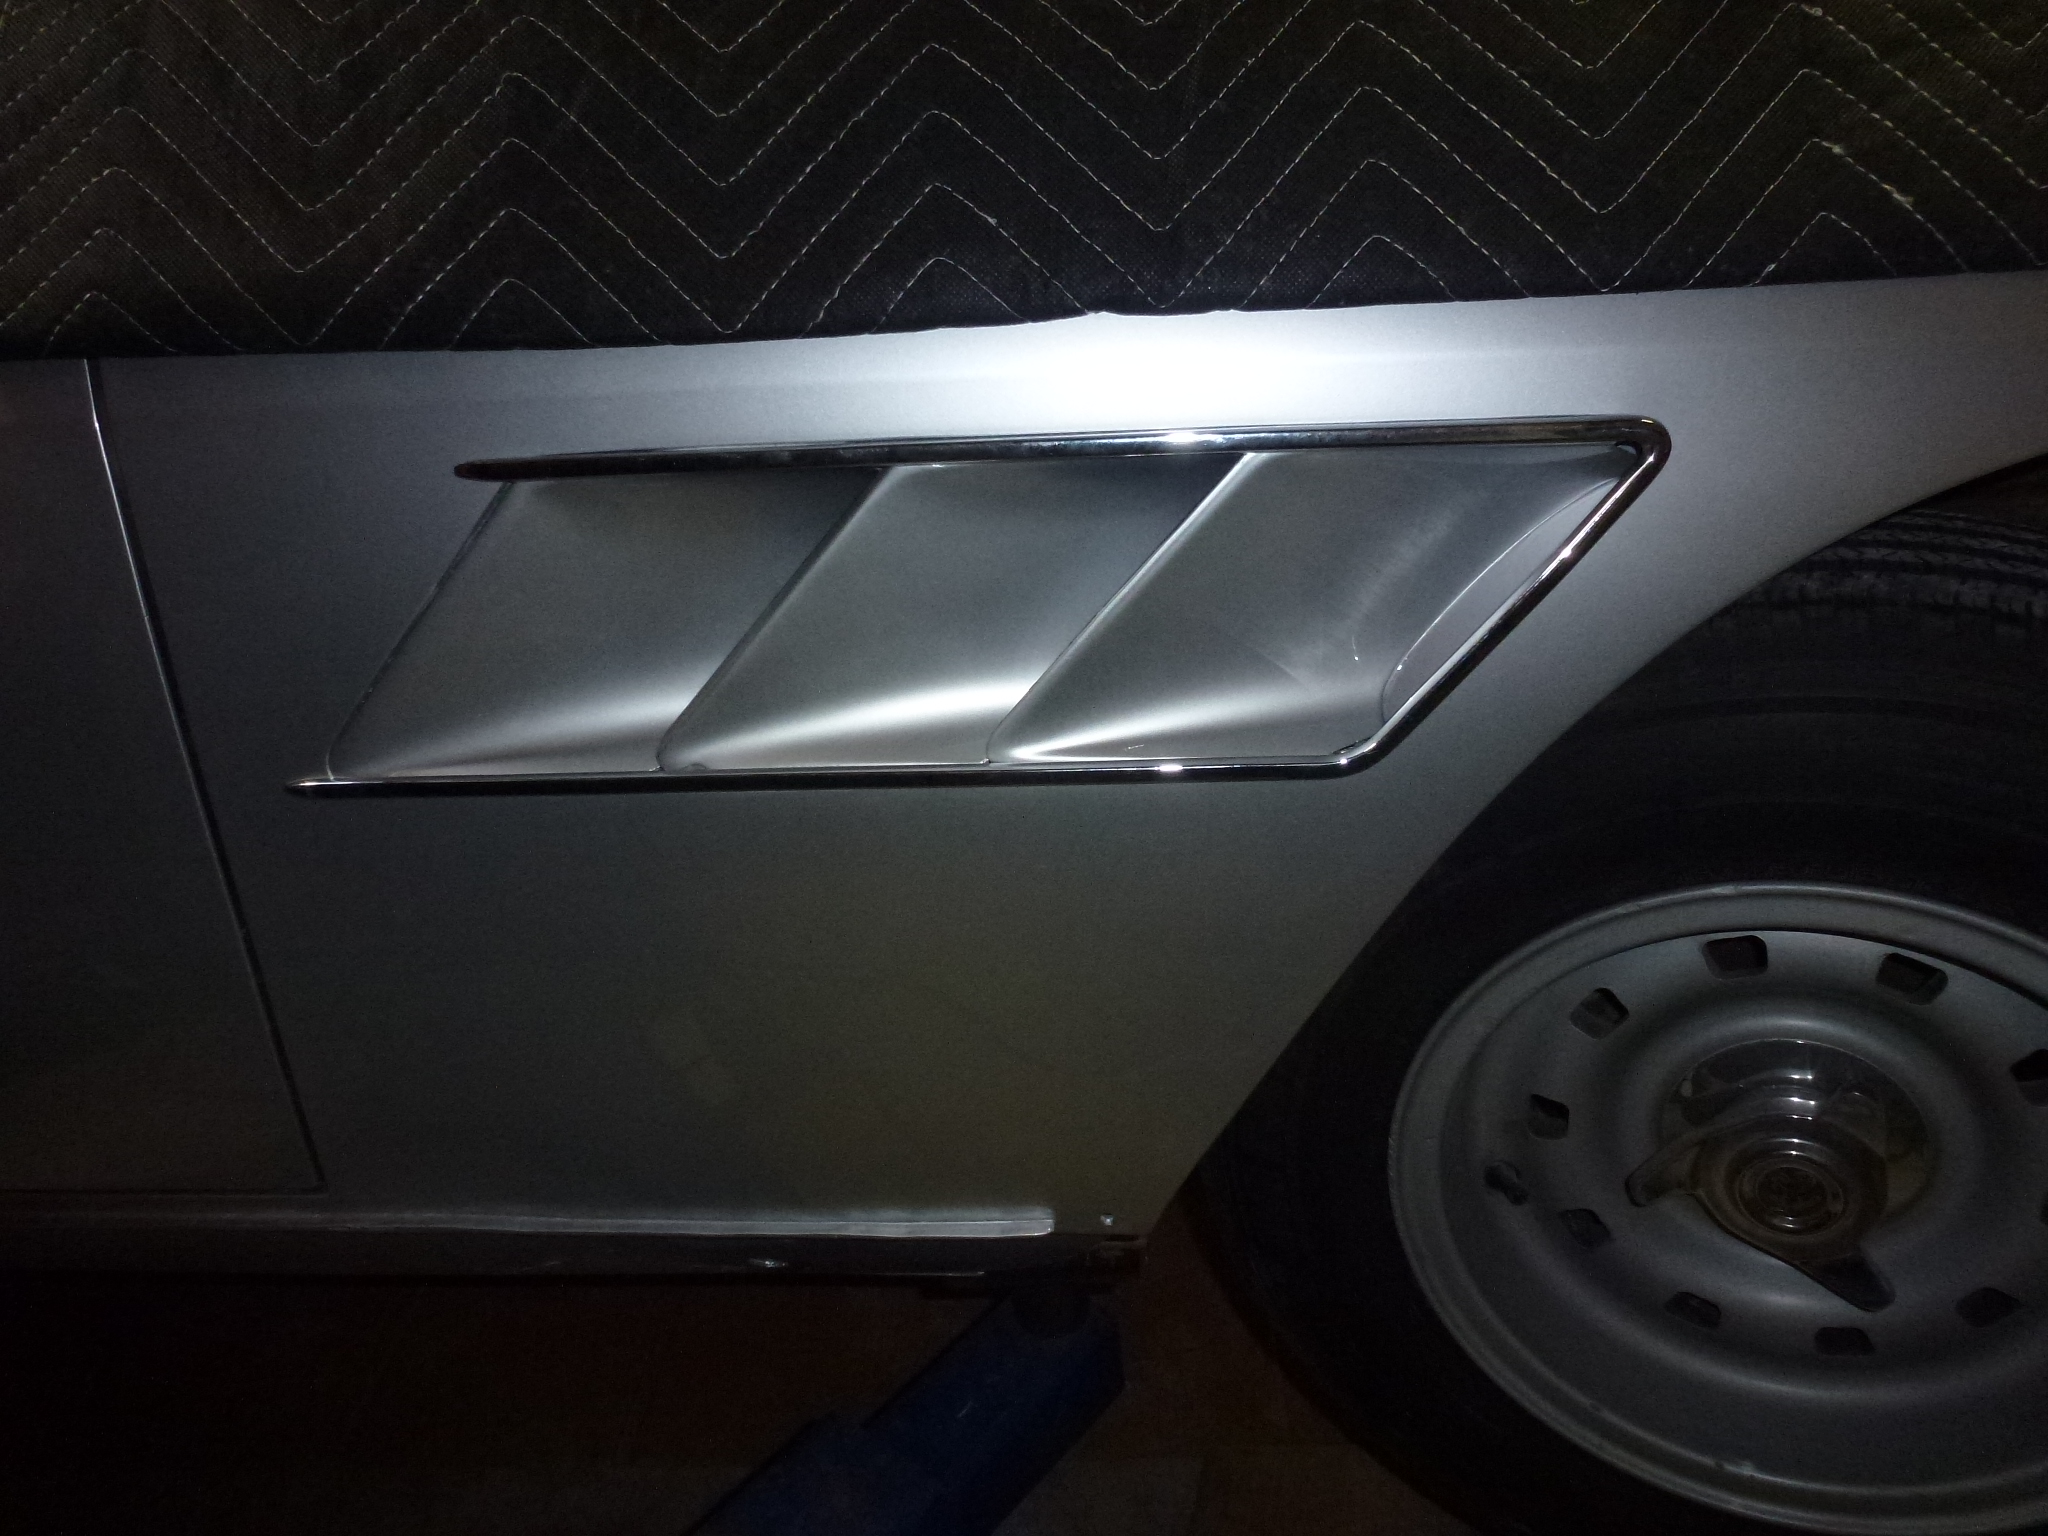
I also took off the chrome surround around the fender vents. I also took off the Ferrari emblem on the hood.
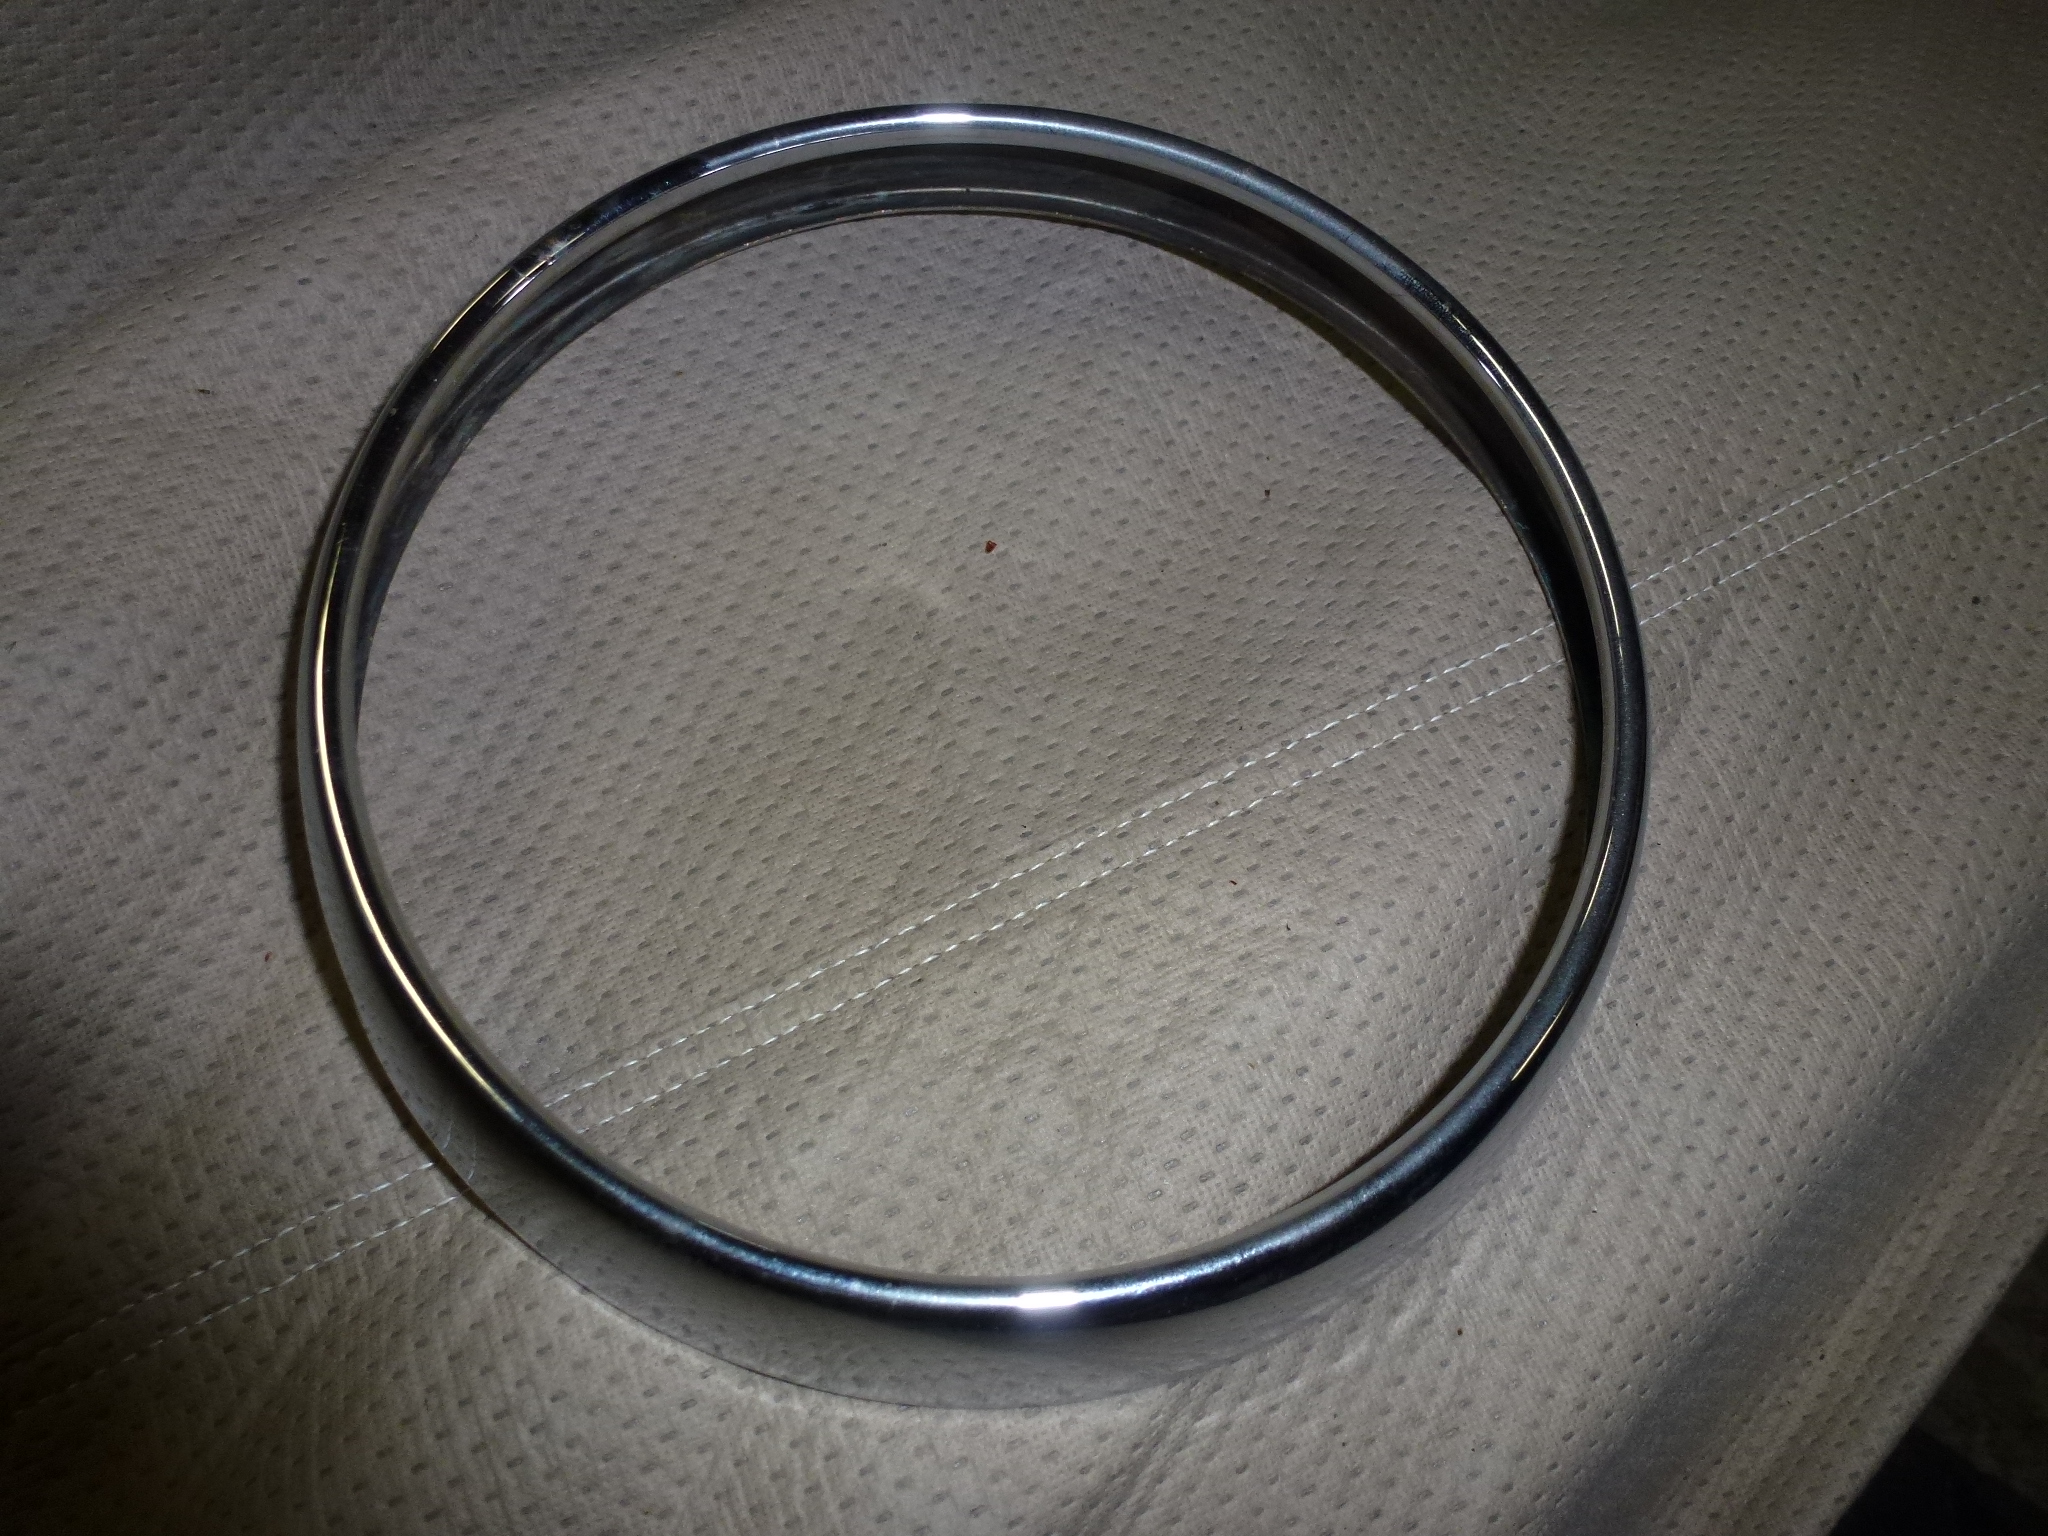
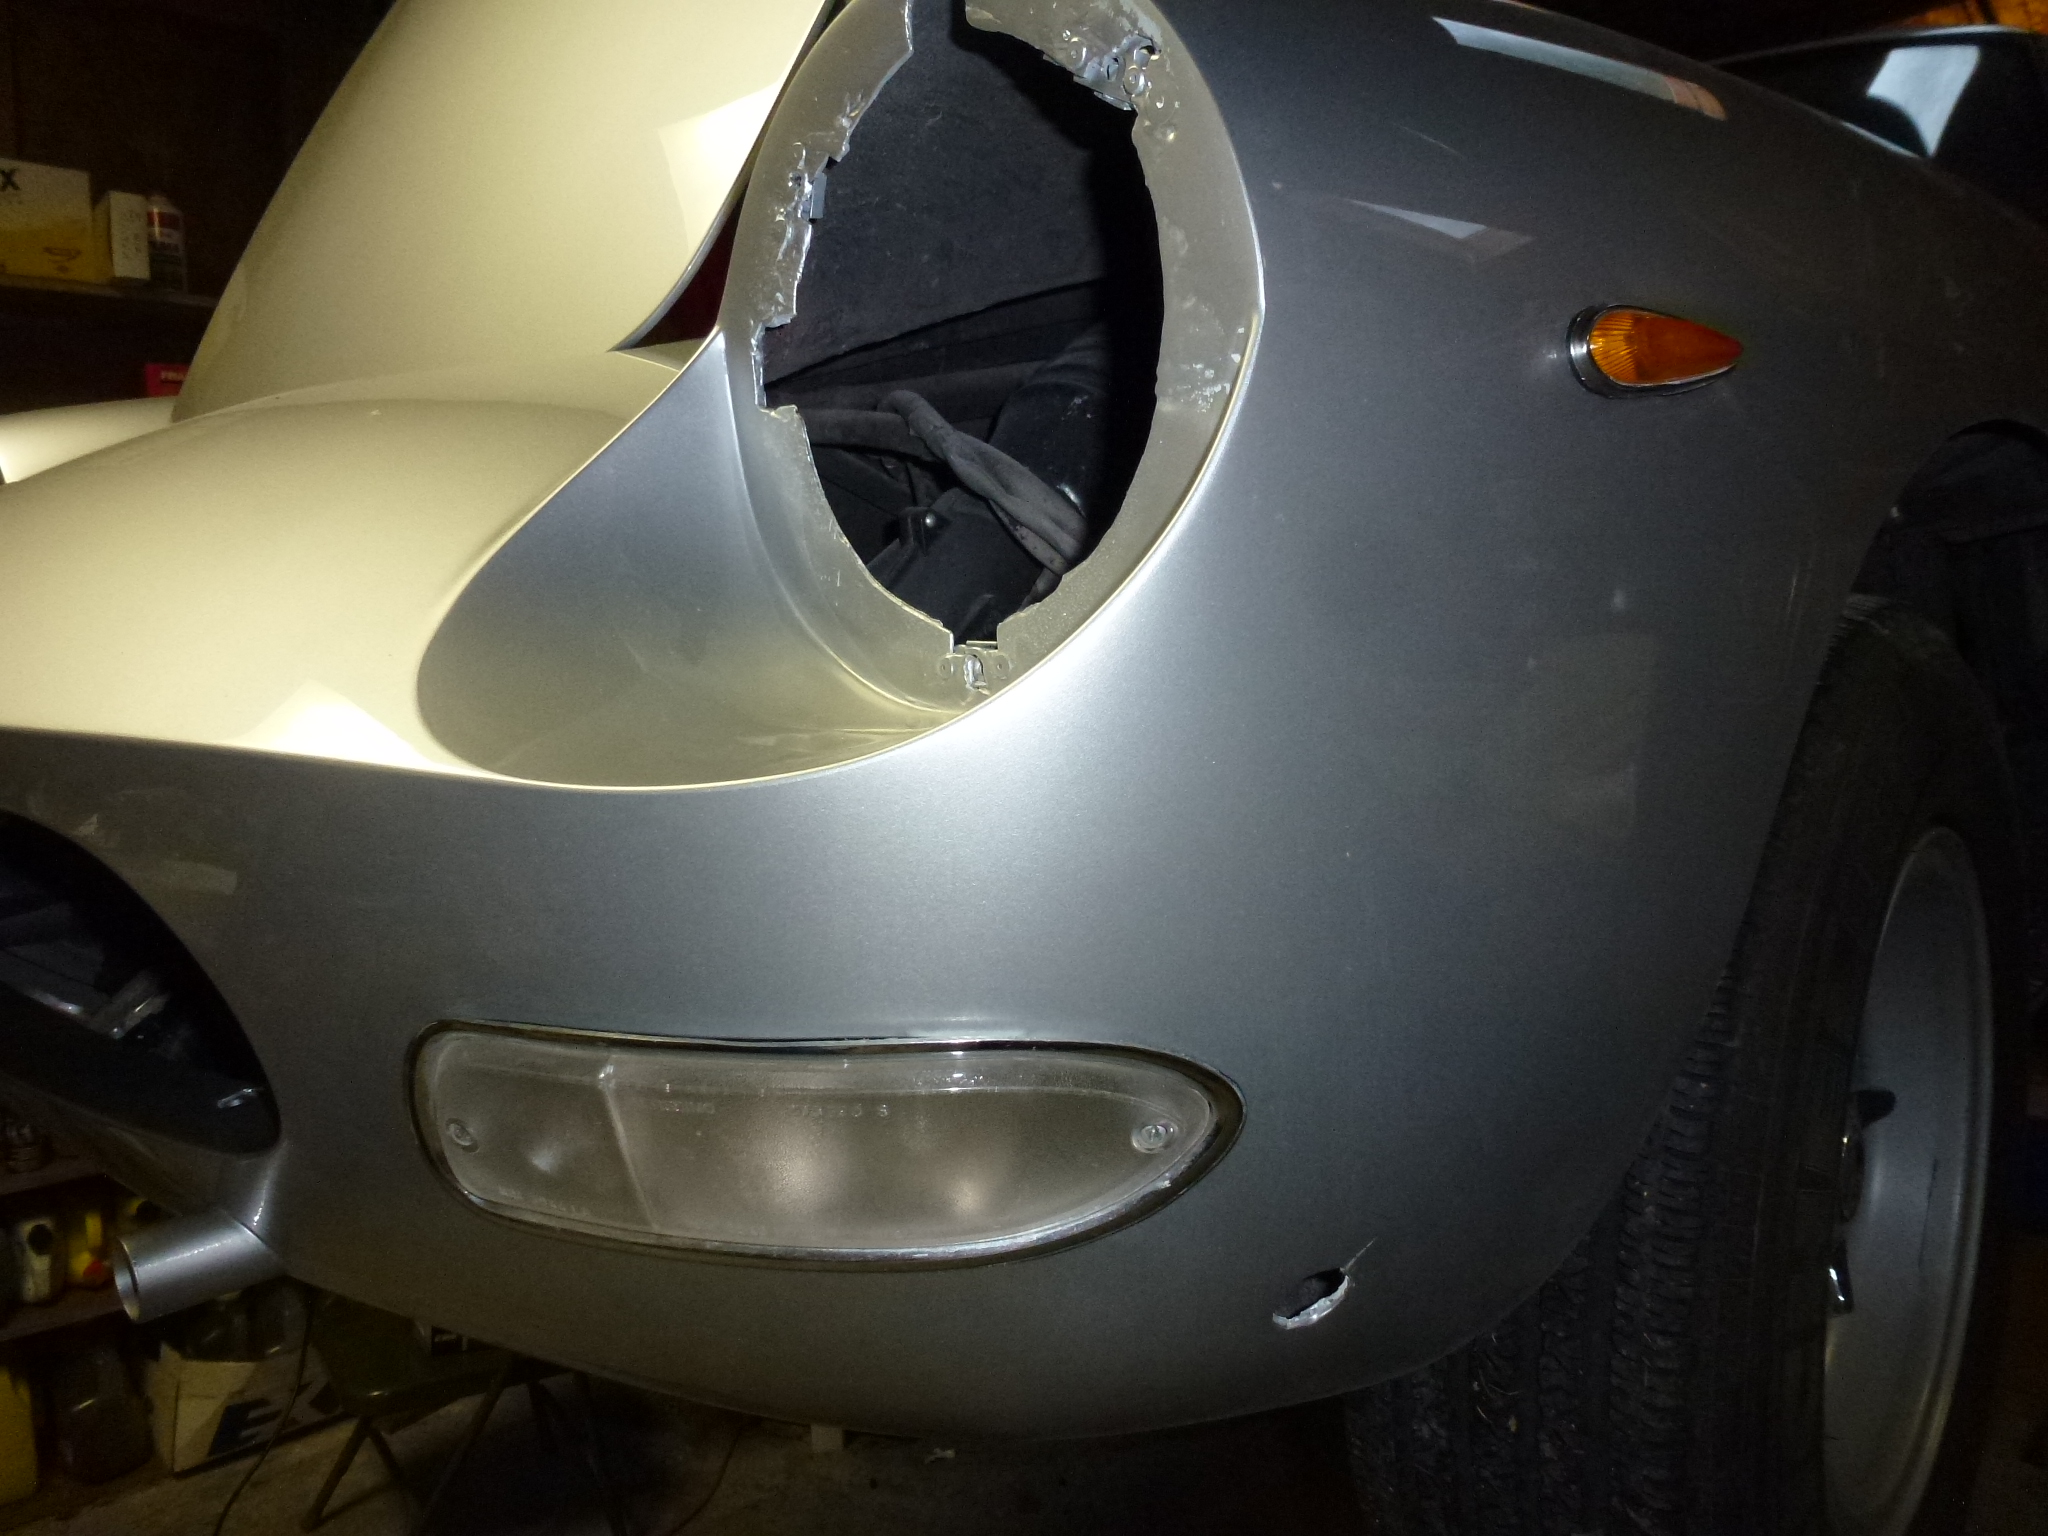
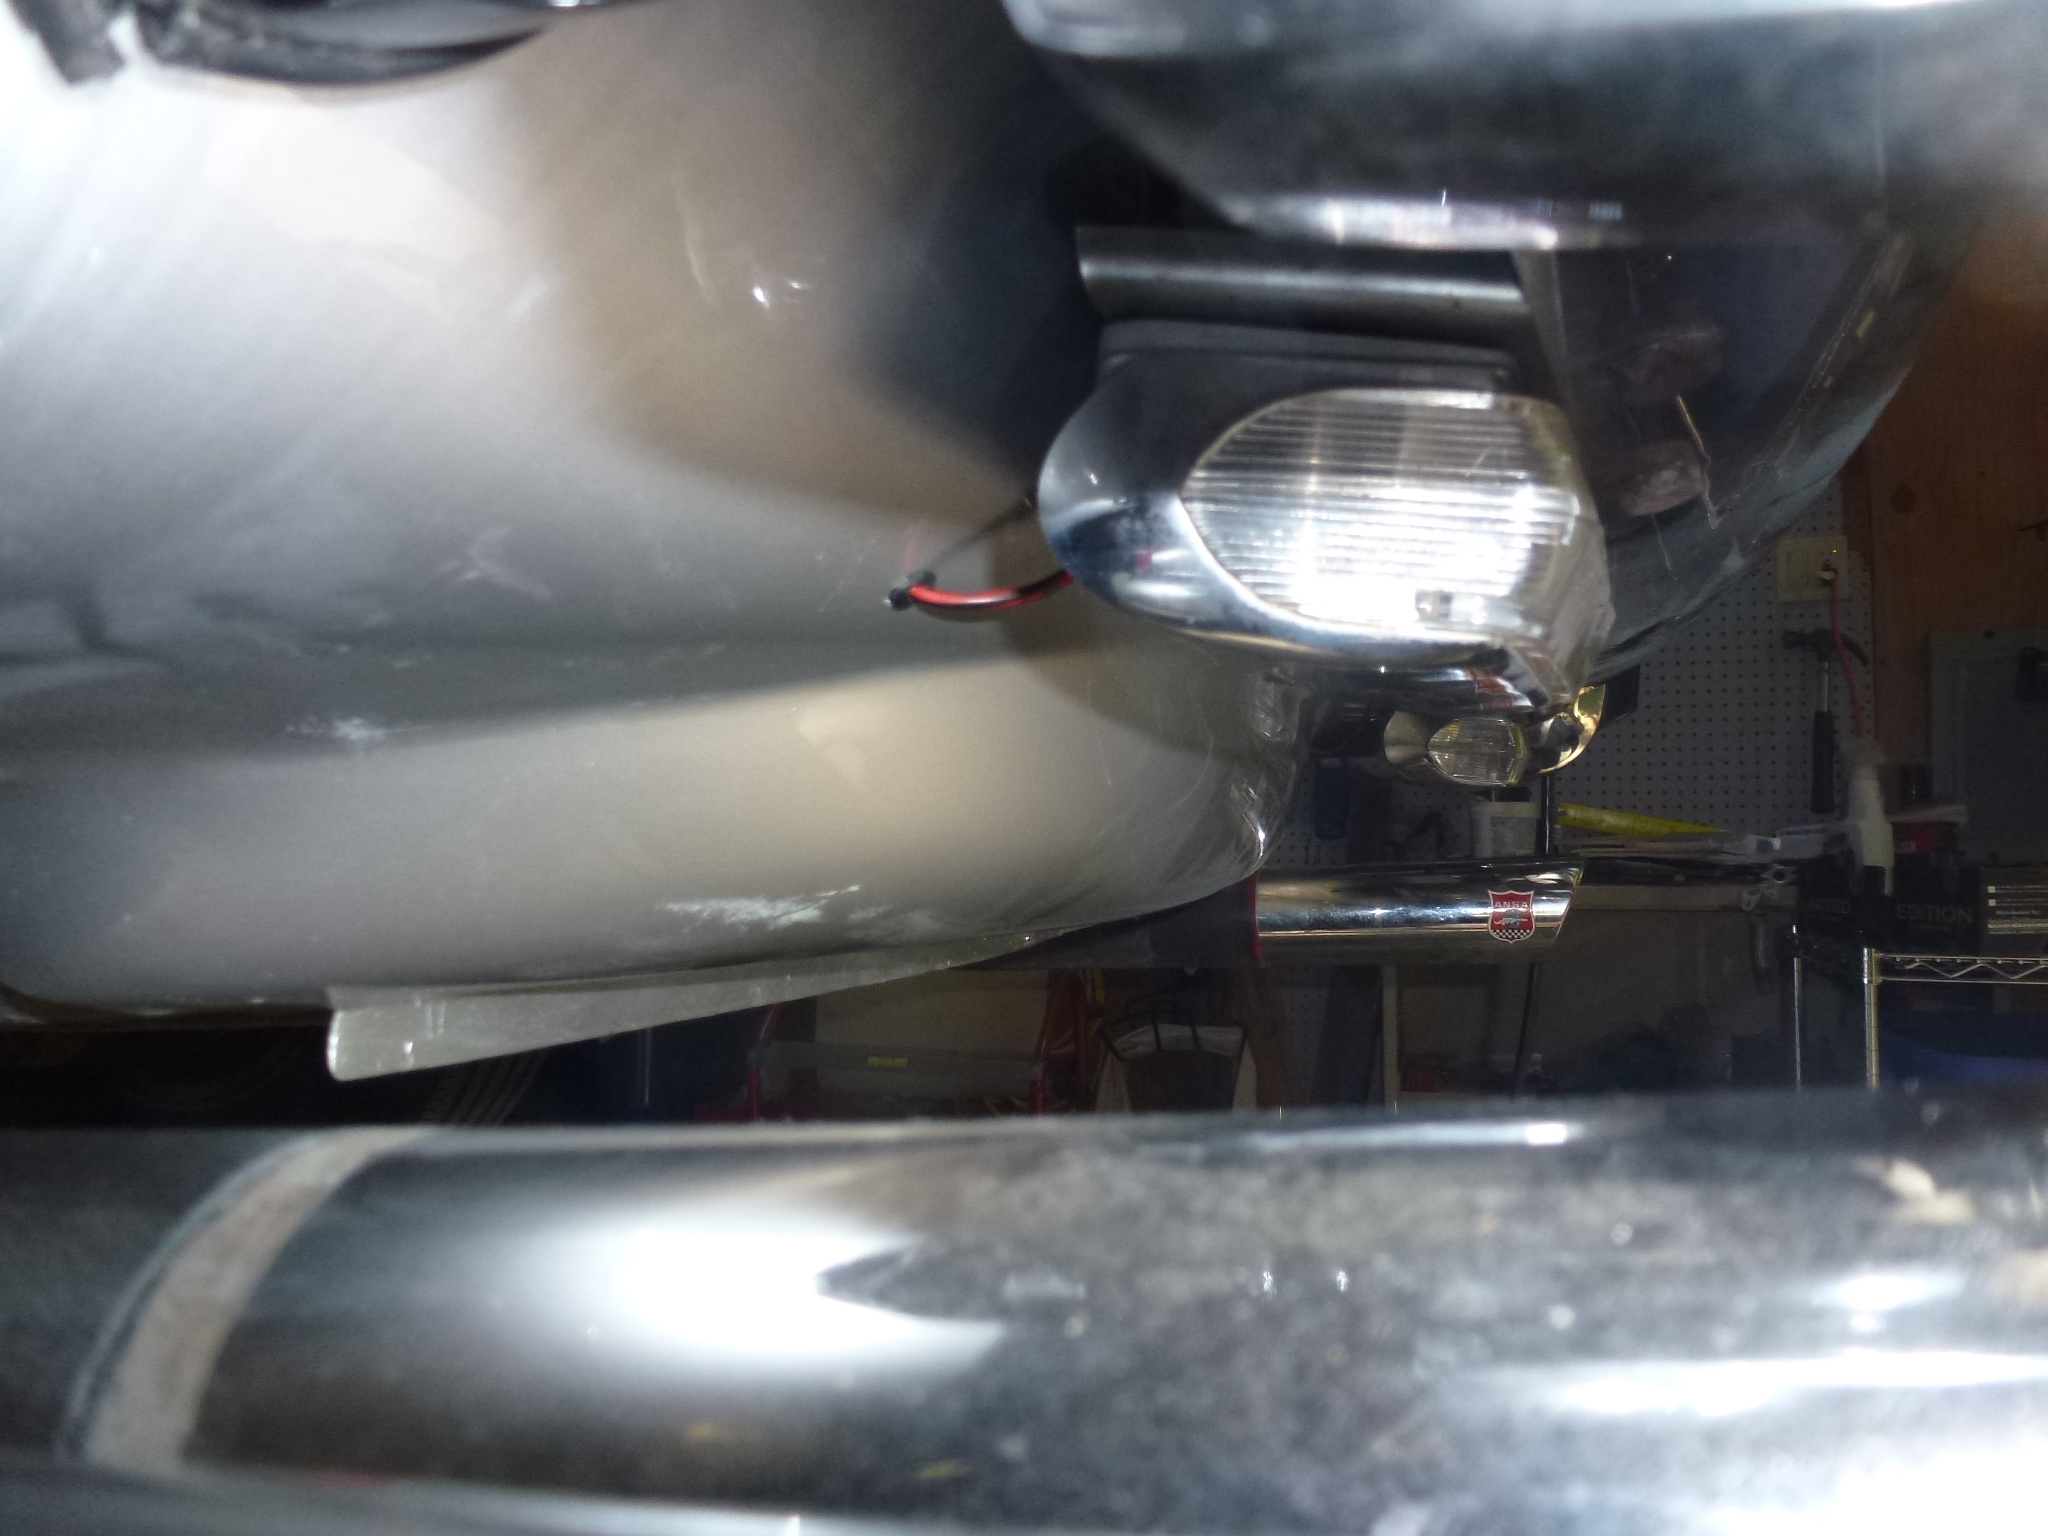
There were just a few parts left on the exterior. I removed the headlight trim rings. These just pull off or need just a little prying. There are three spring loaded tabs that hold each in place. They are positioned at 2, 6 and 10 locations as on a clock. I find that starting with the upper outer location (10 or 2) is the easiest place. Once that one is free, the ring can pop off, so be prepared.
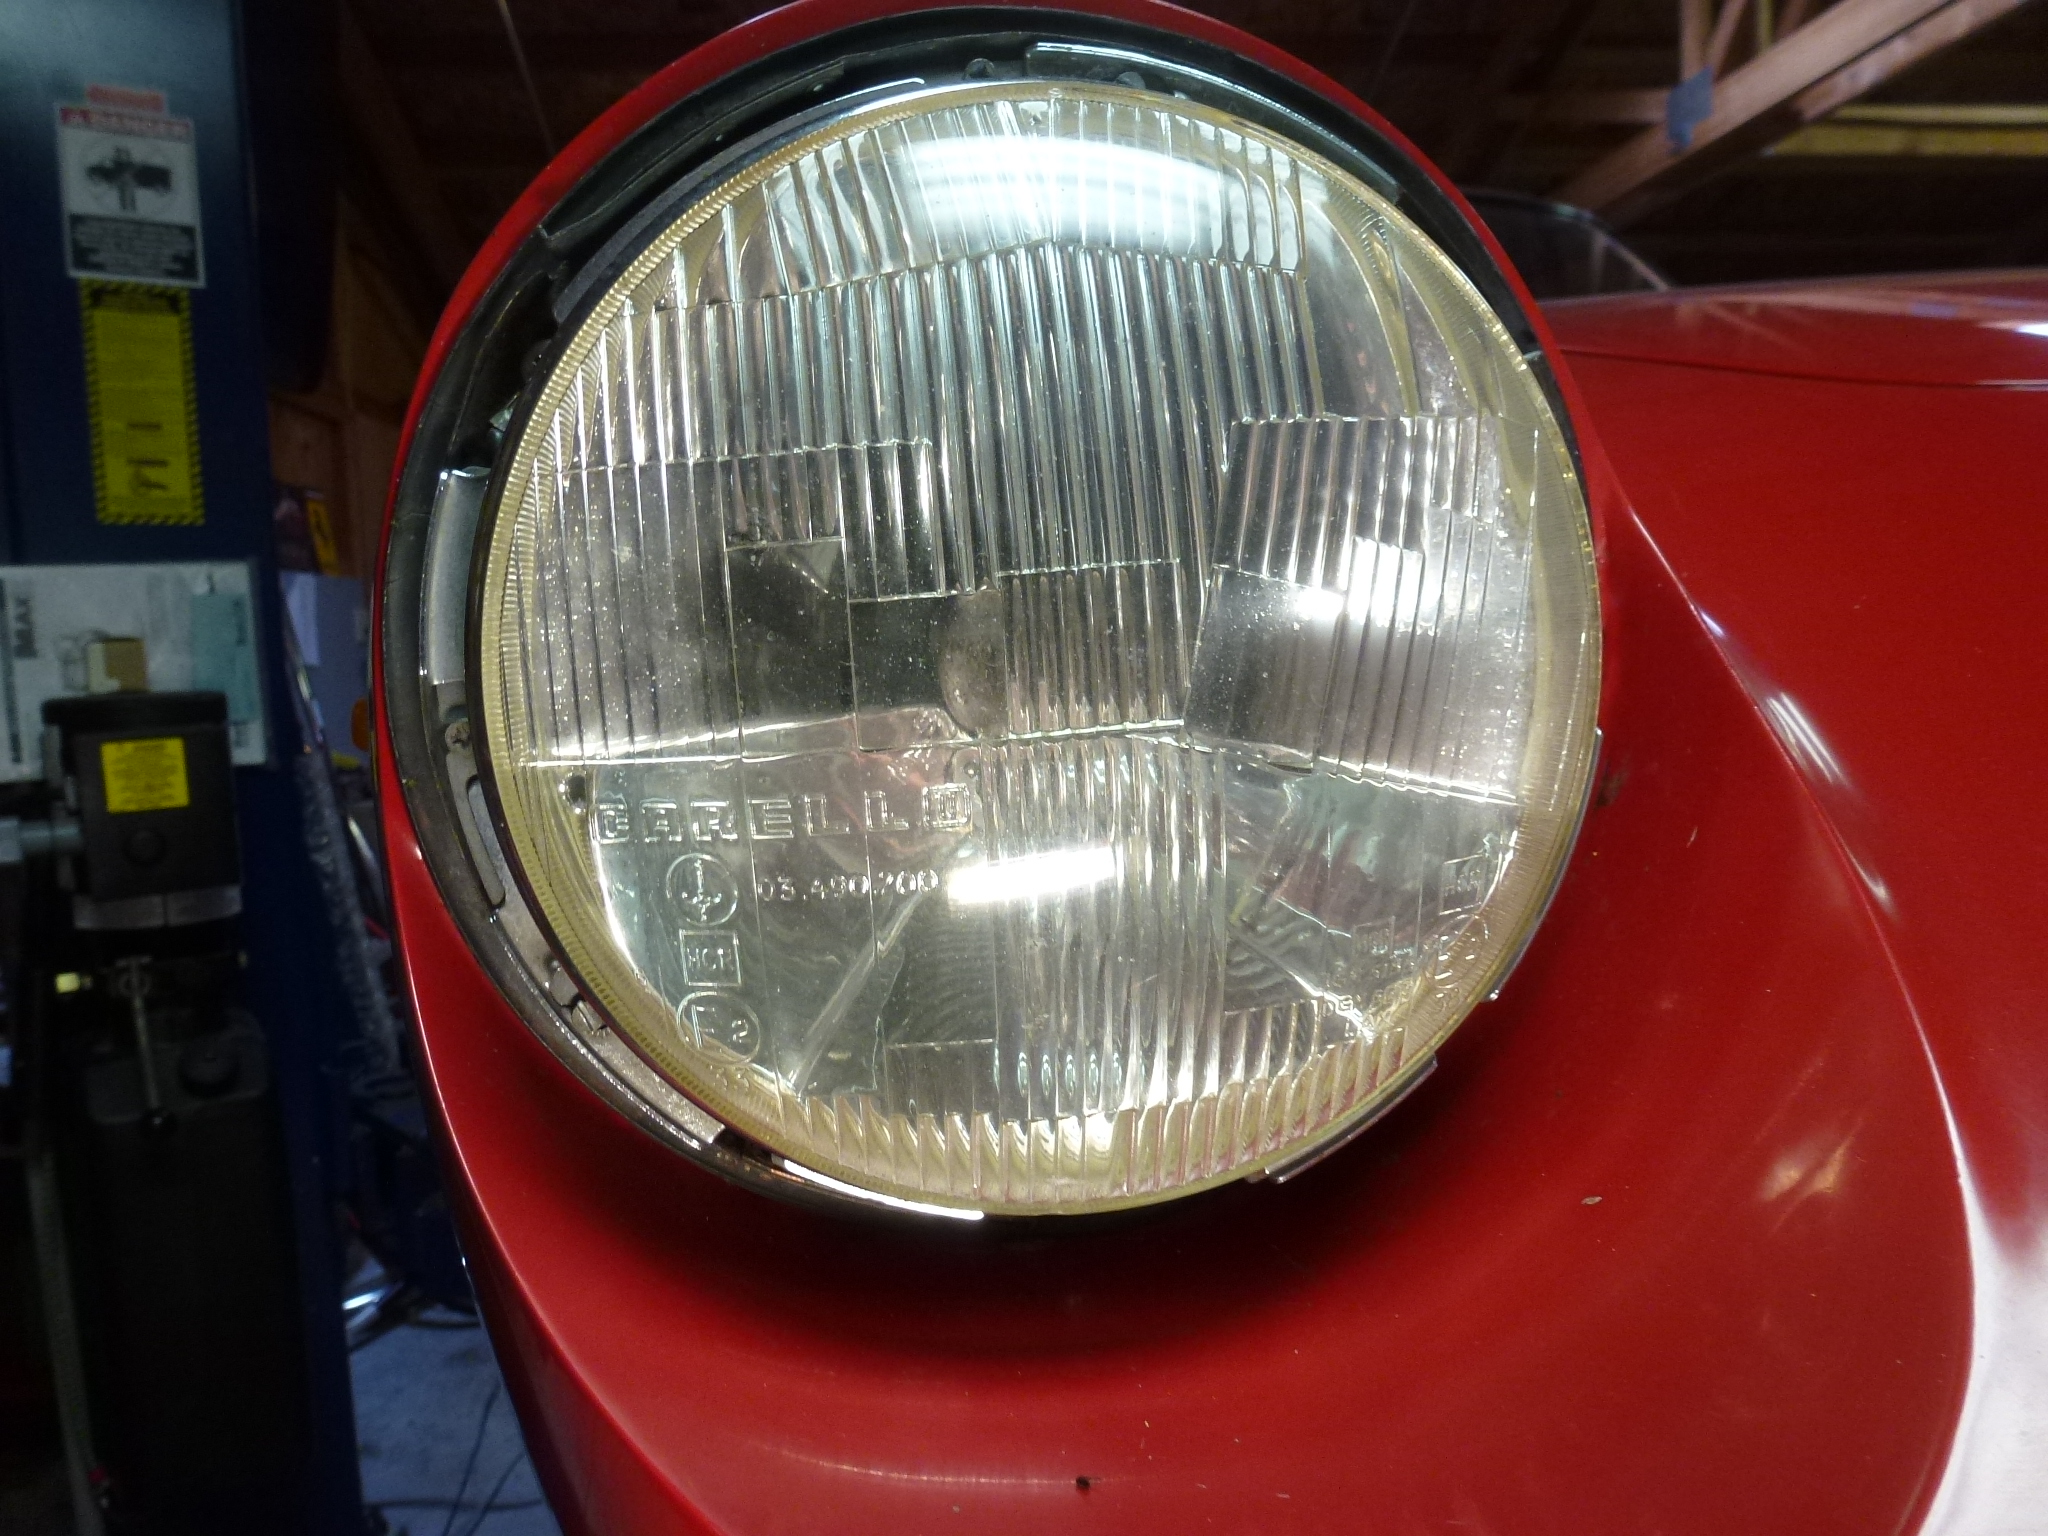
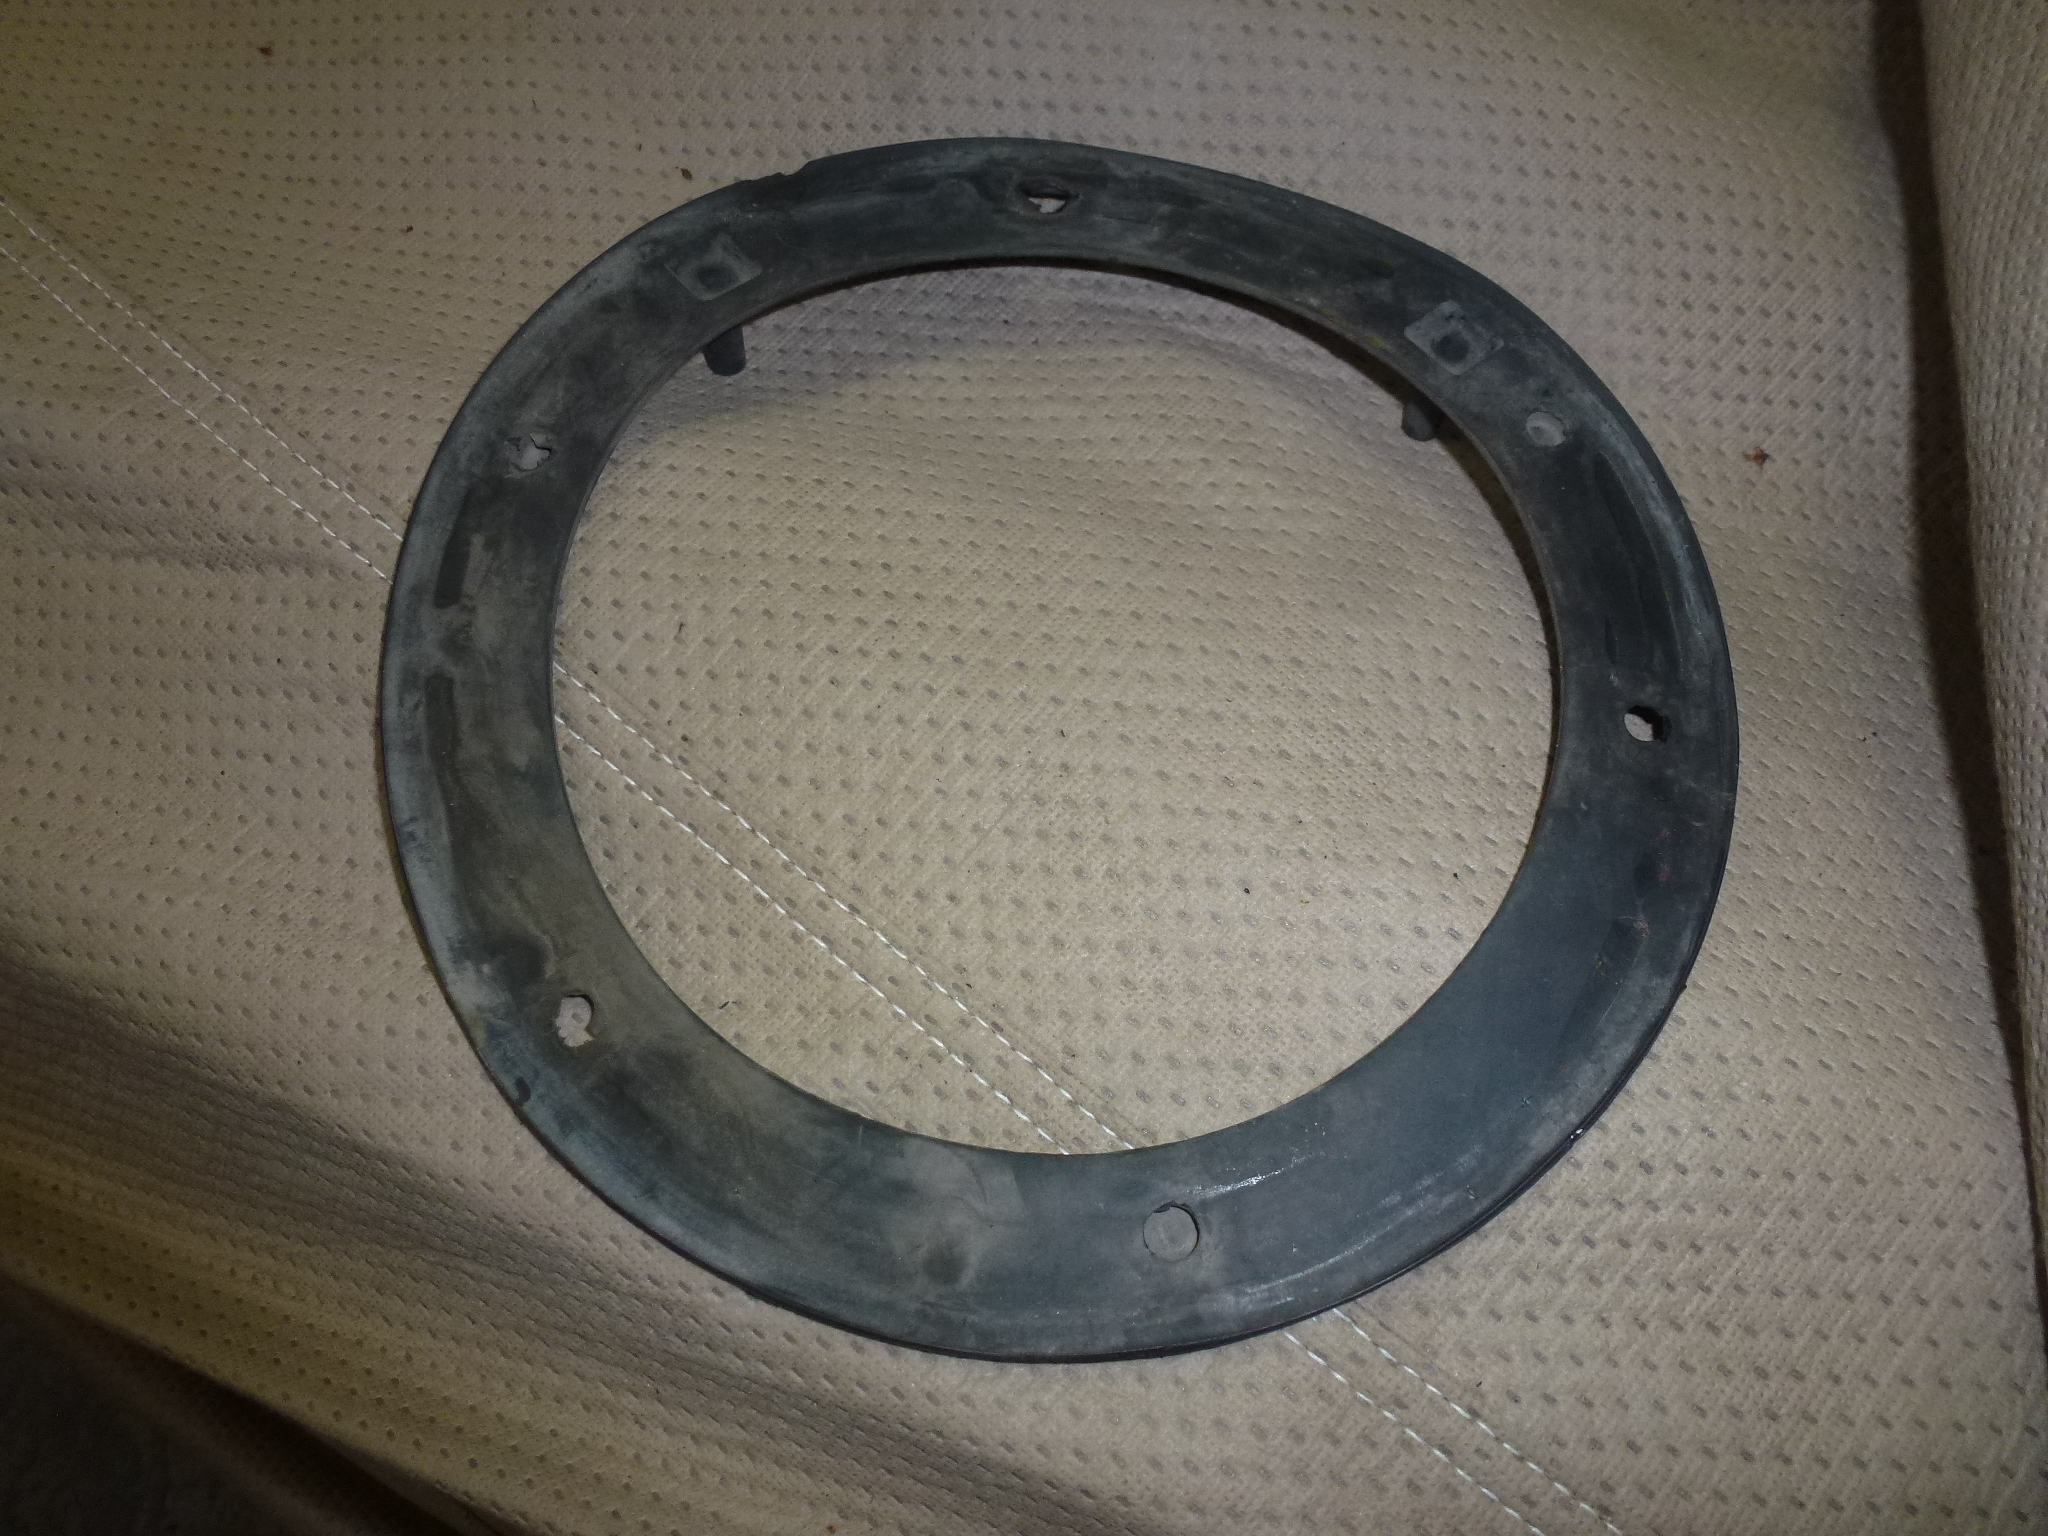
Next I removed the headlights and buckets. These are held on with three screws, also at 2, 6 and 10. After they are removed, the headlight, bucket and rubber pad are loose. Just remove the wiring to finish.
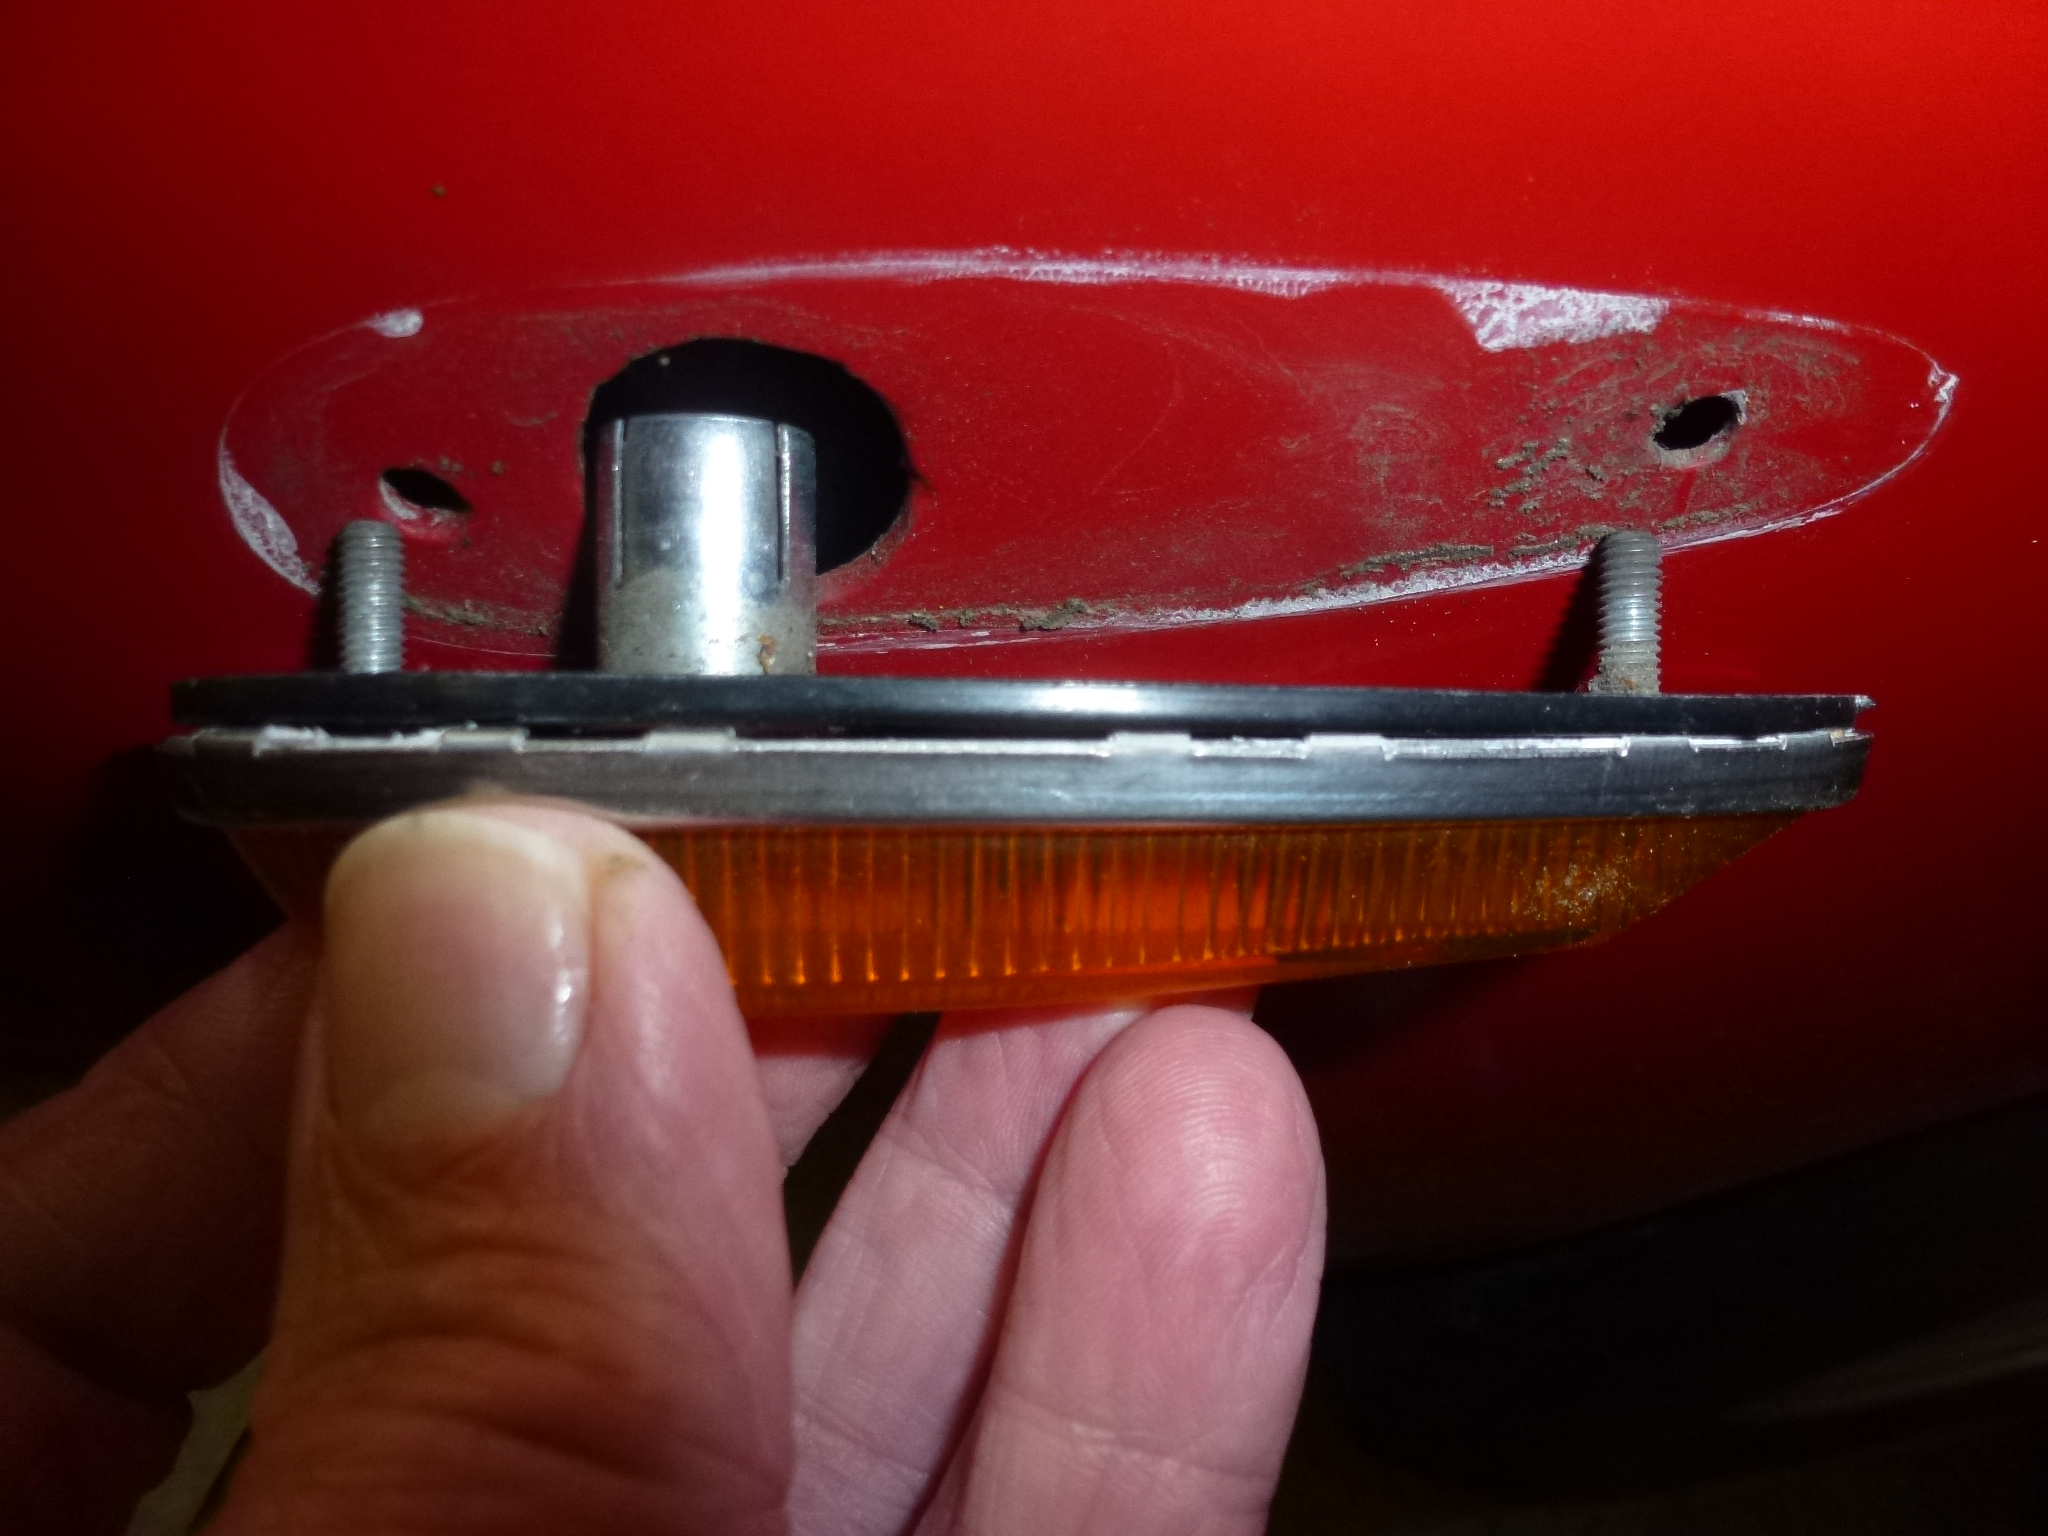
Once the headlights are removed, the side marker light can come off. Two studs with nuts, but one stud is forward of the splash shield, so you access it by reaching through the headlight opening. The other is accessed from behind the splash shield in the wheel well.
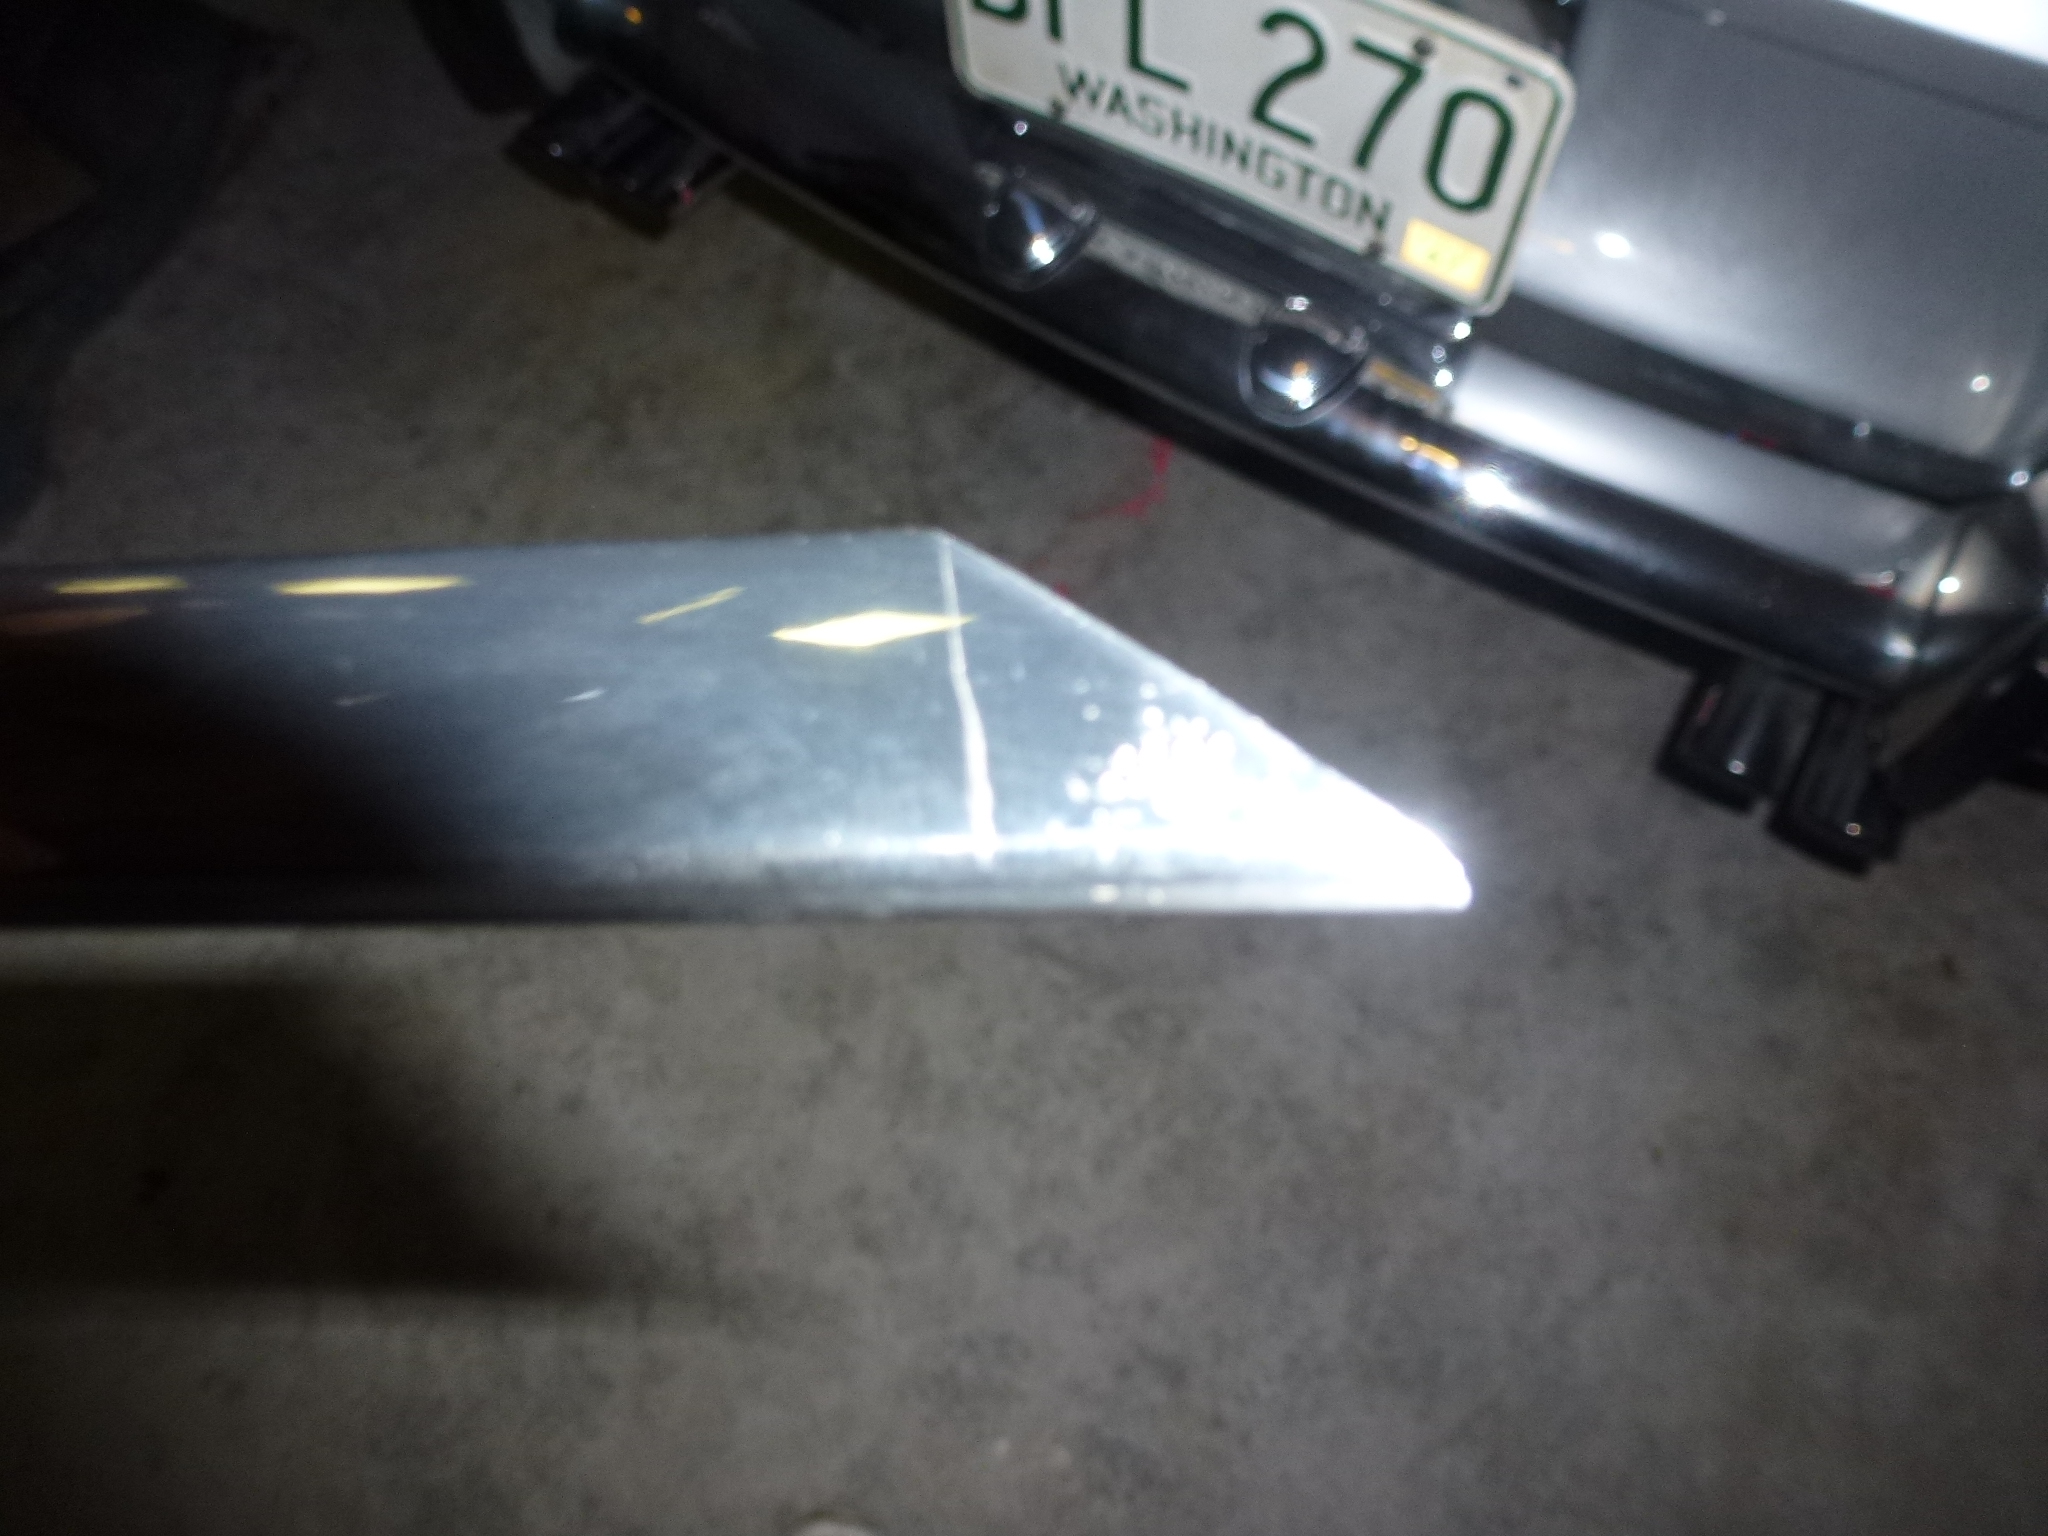
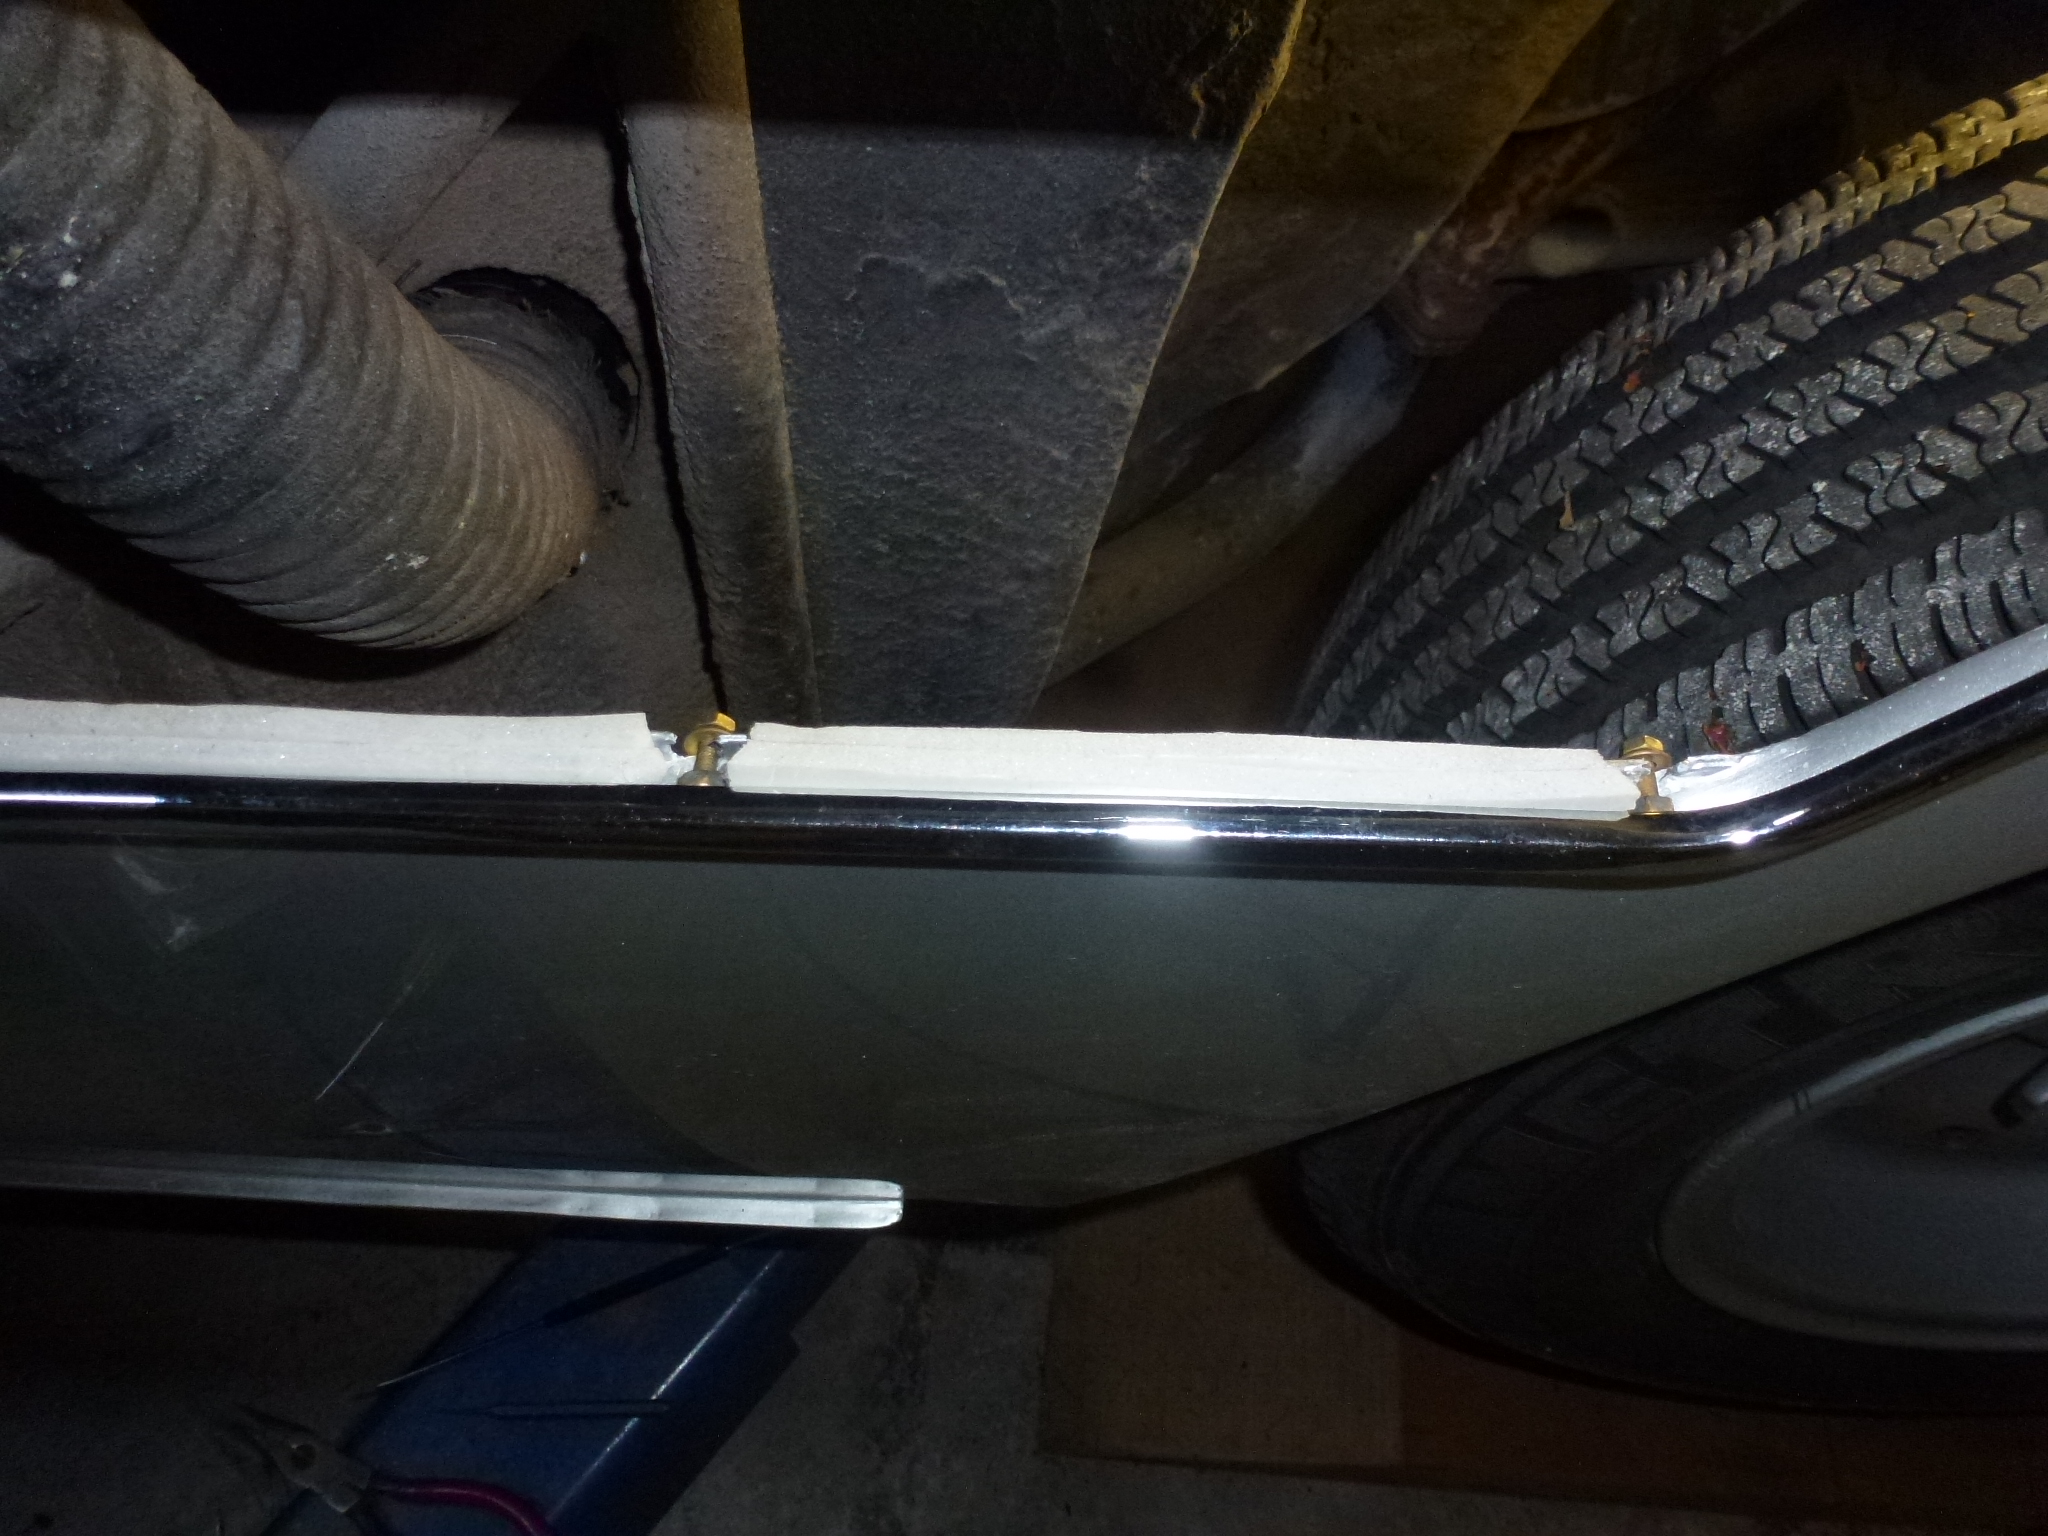
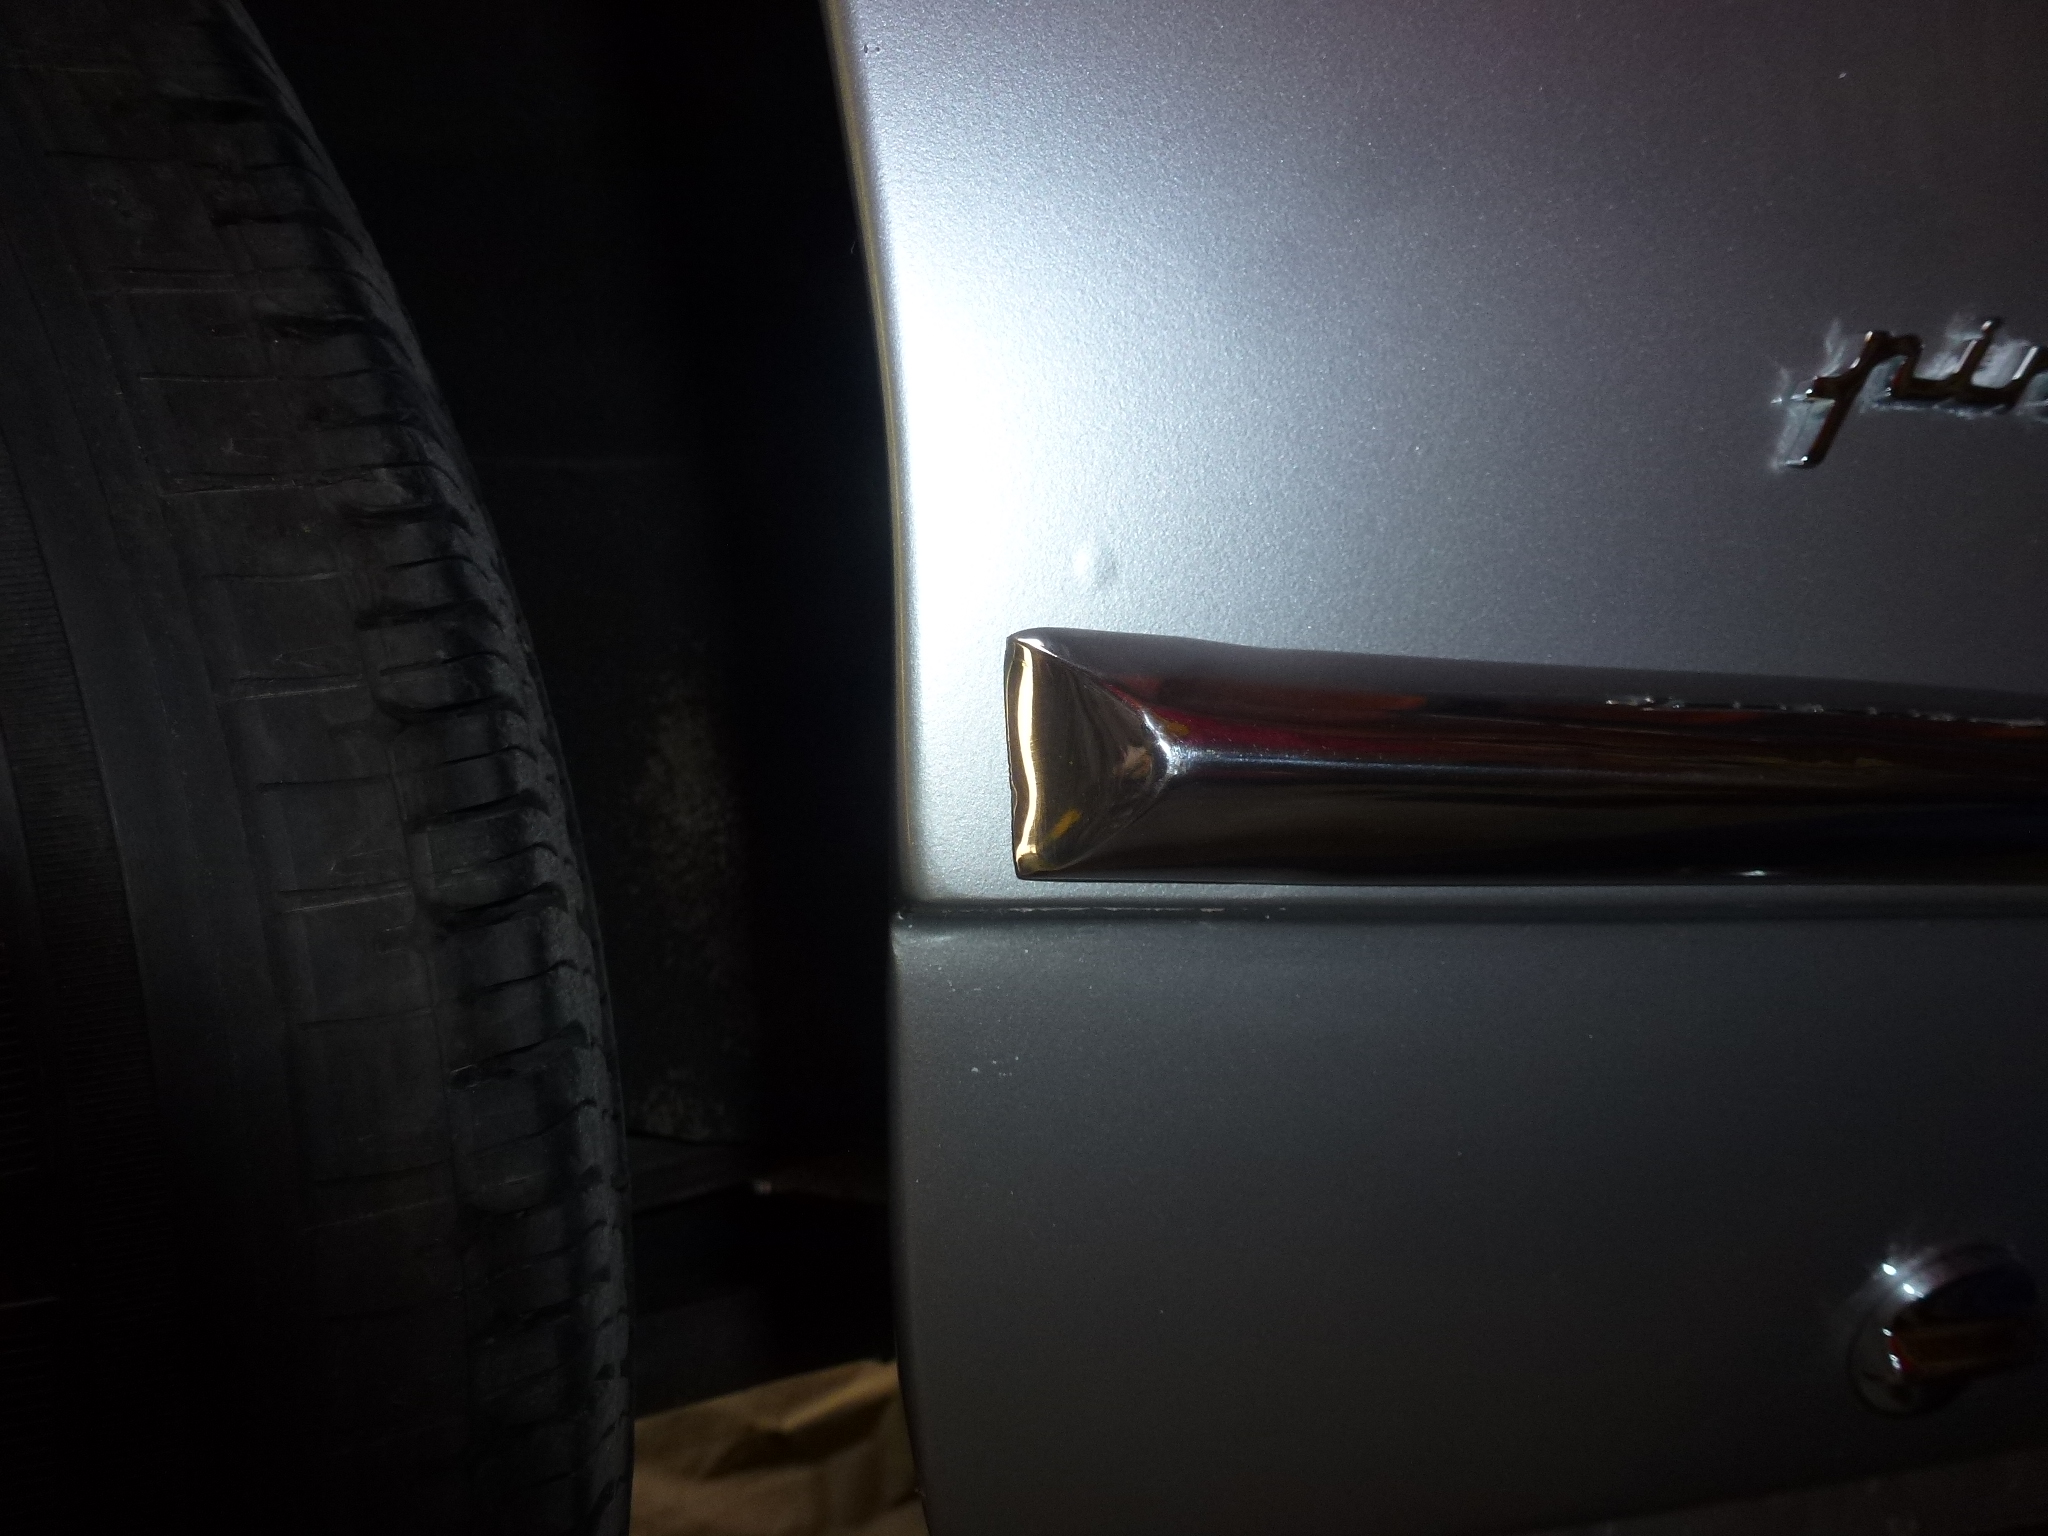
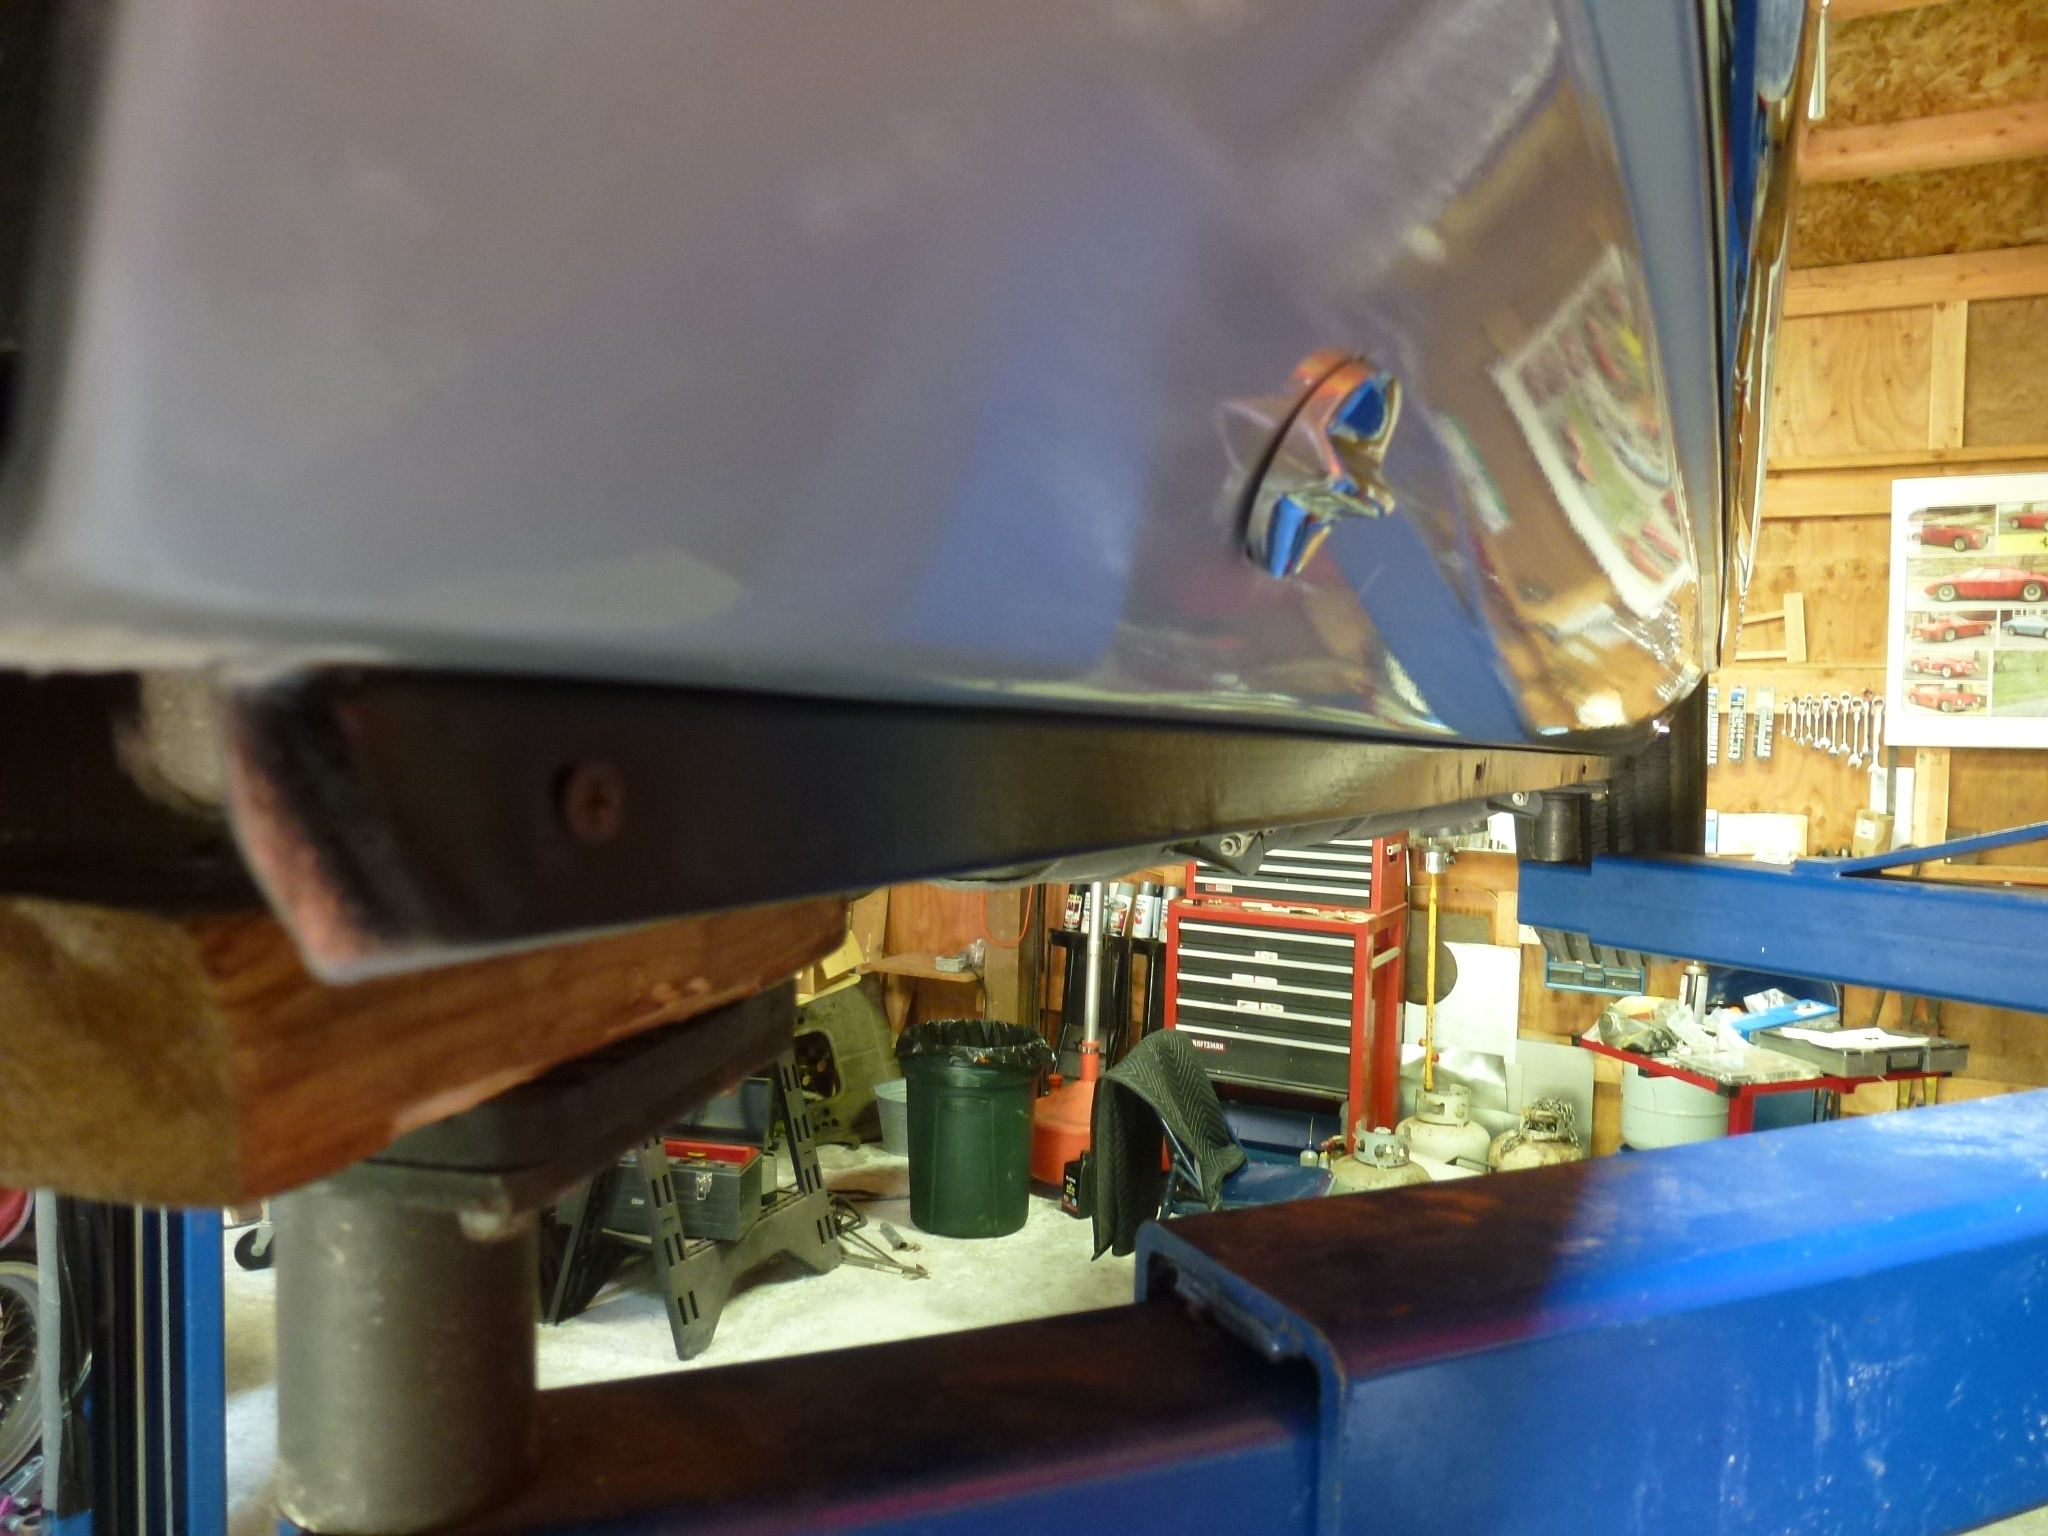
I removed the stainless steel strips under the doors.
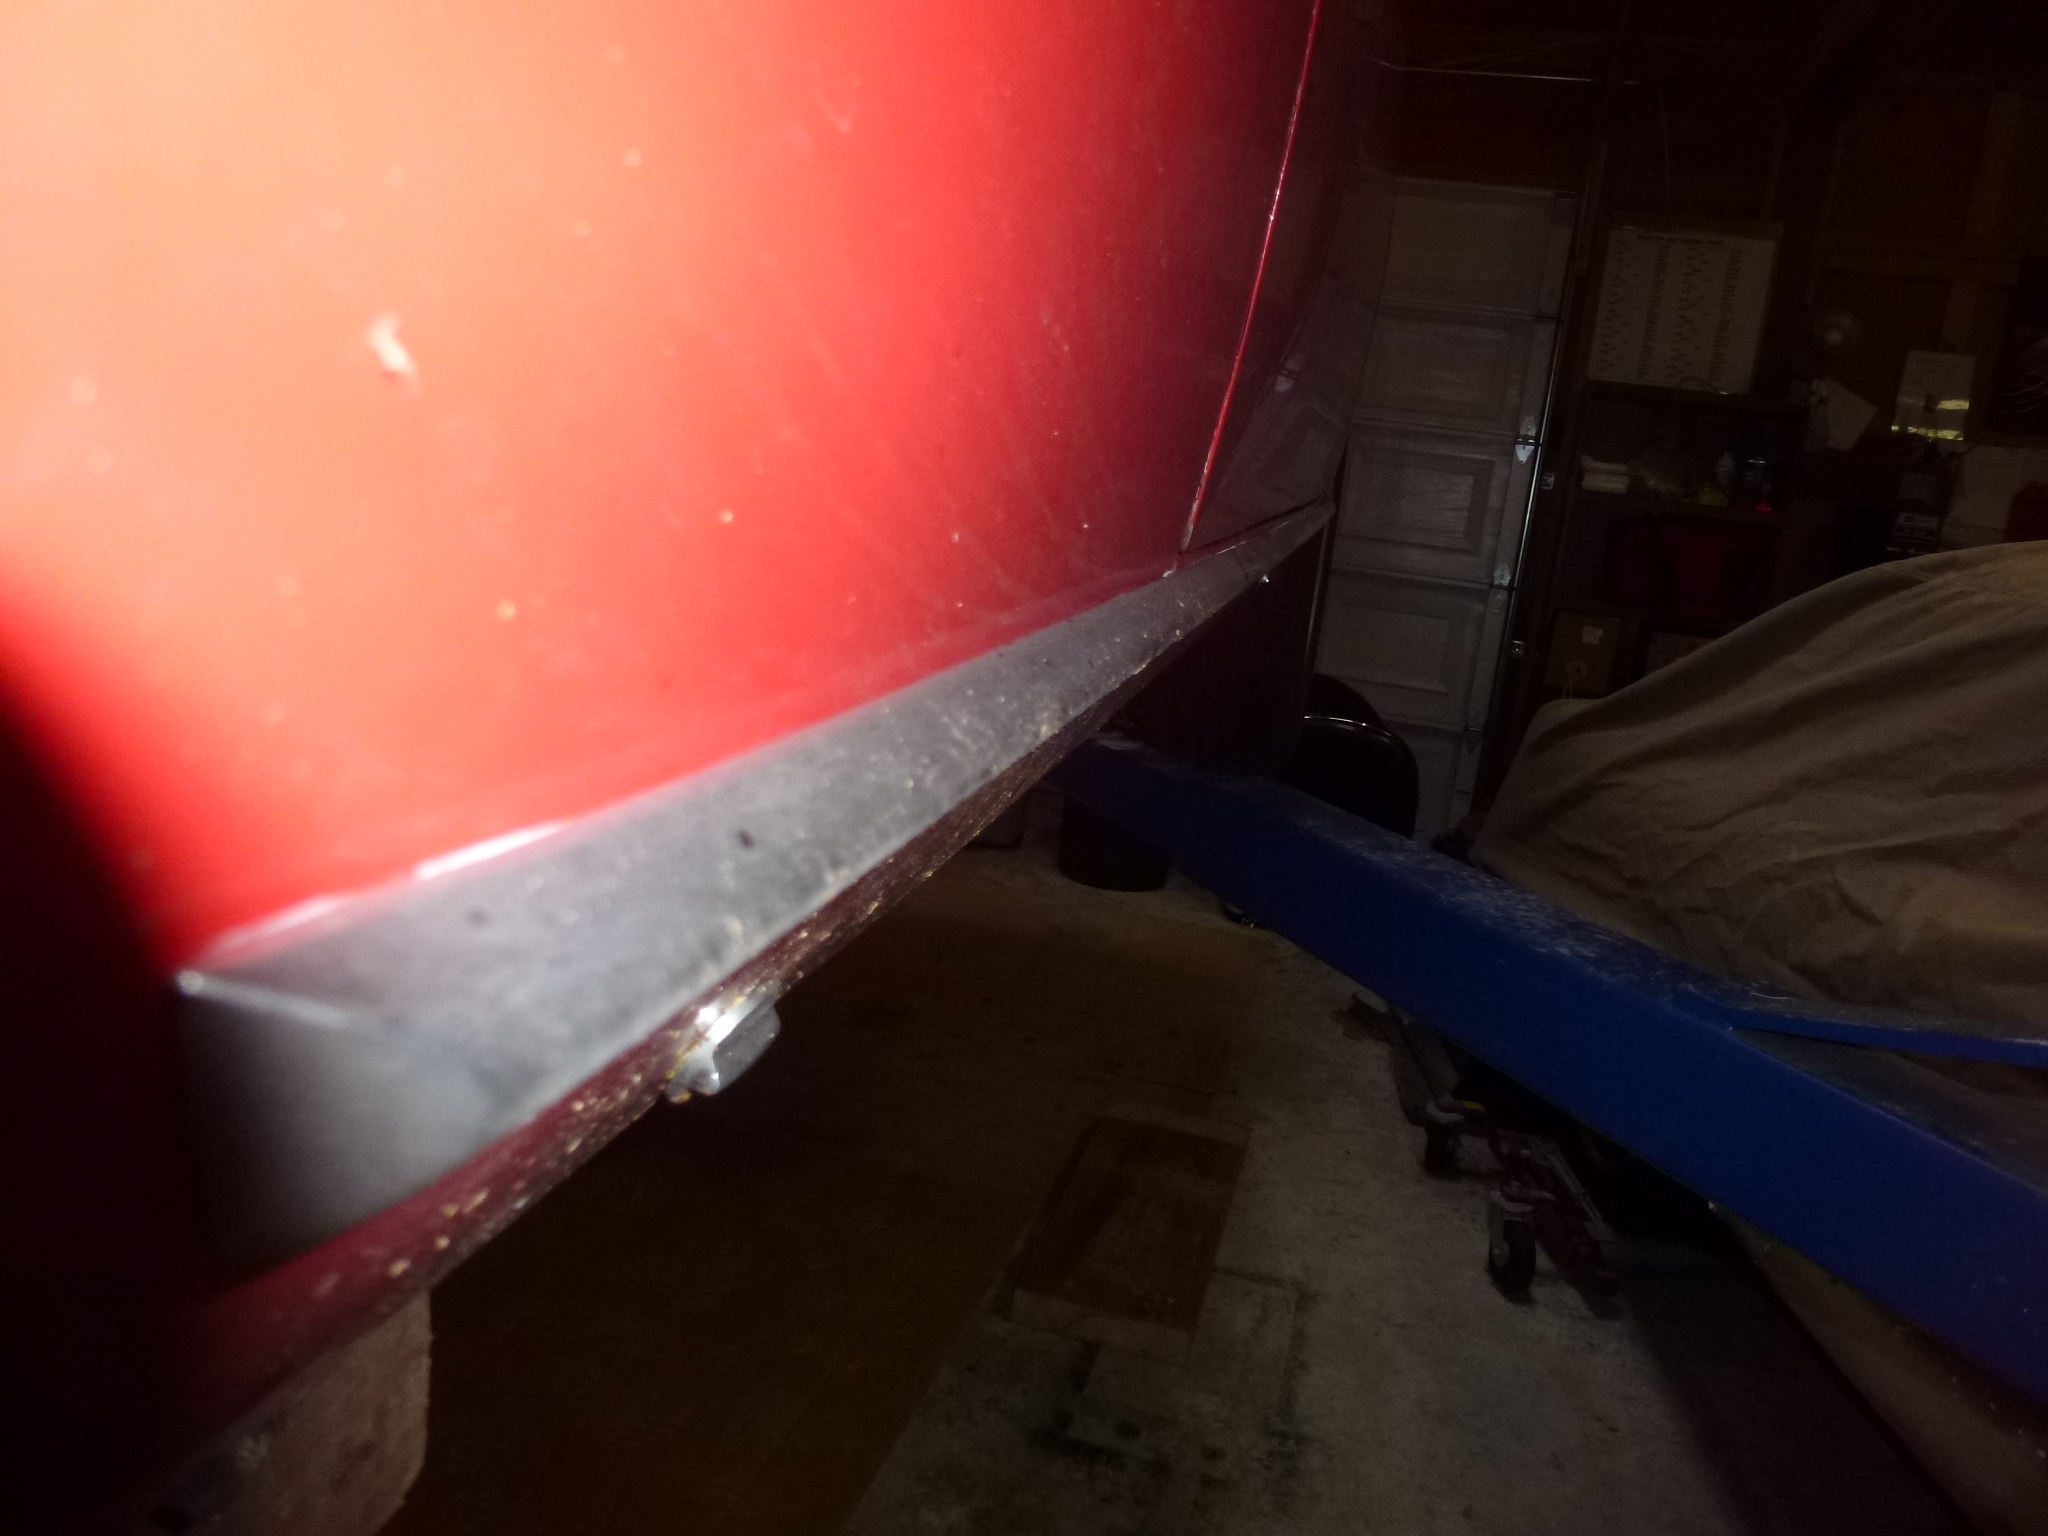
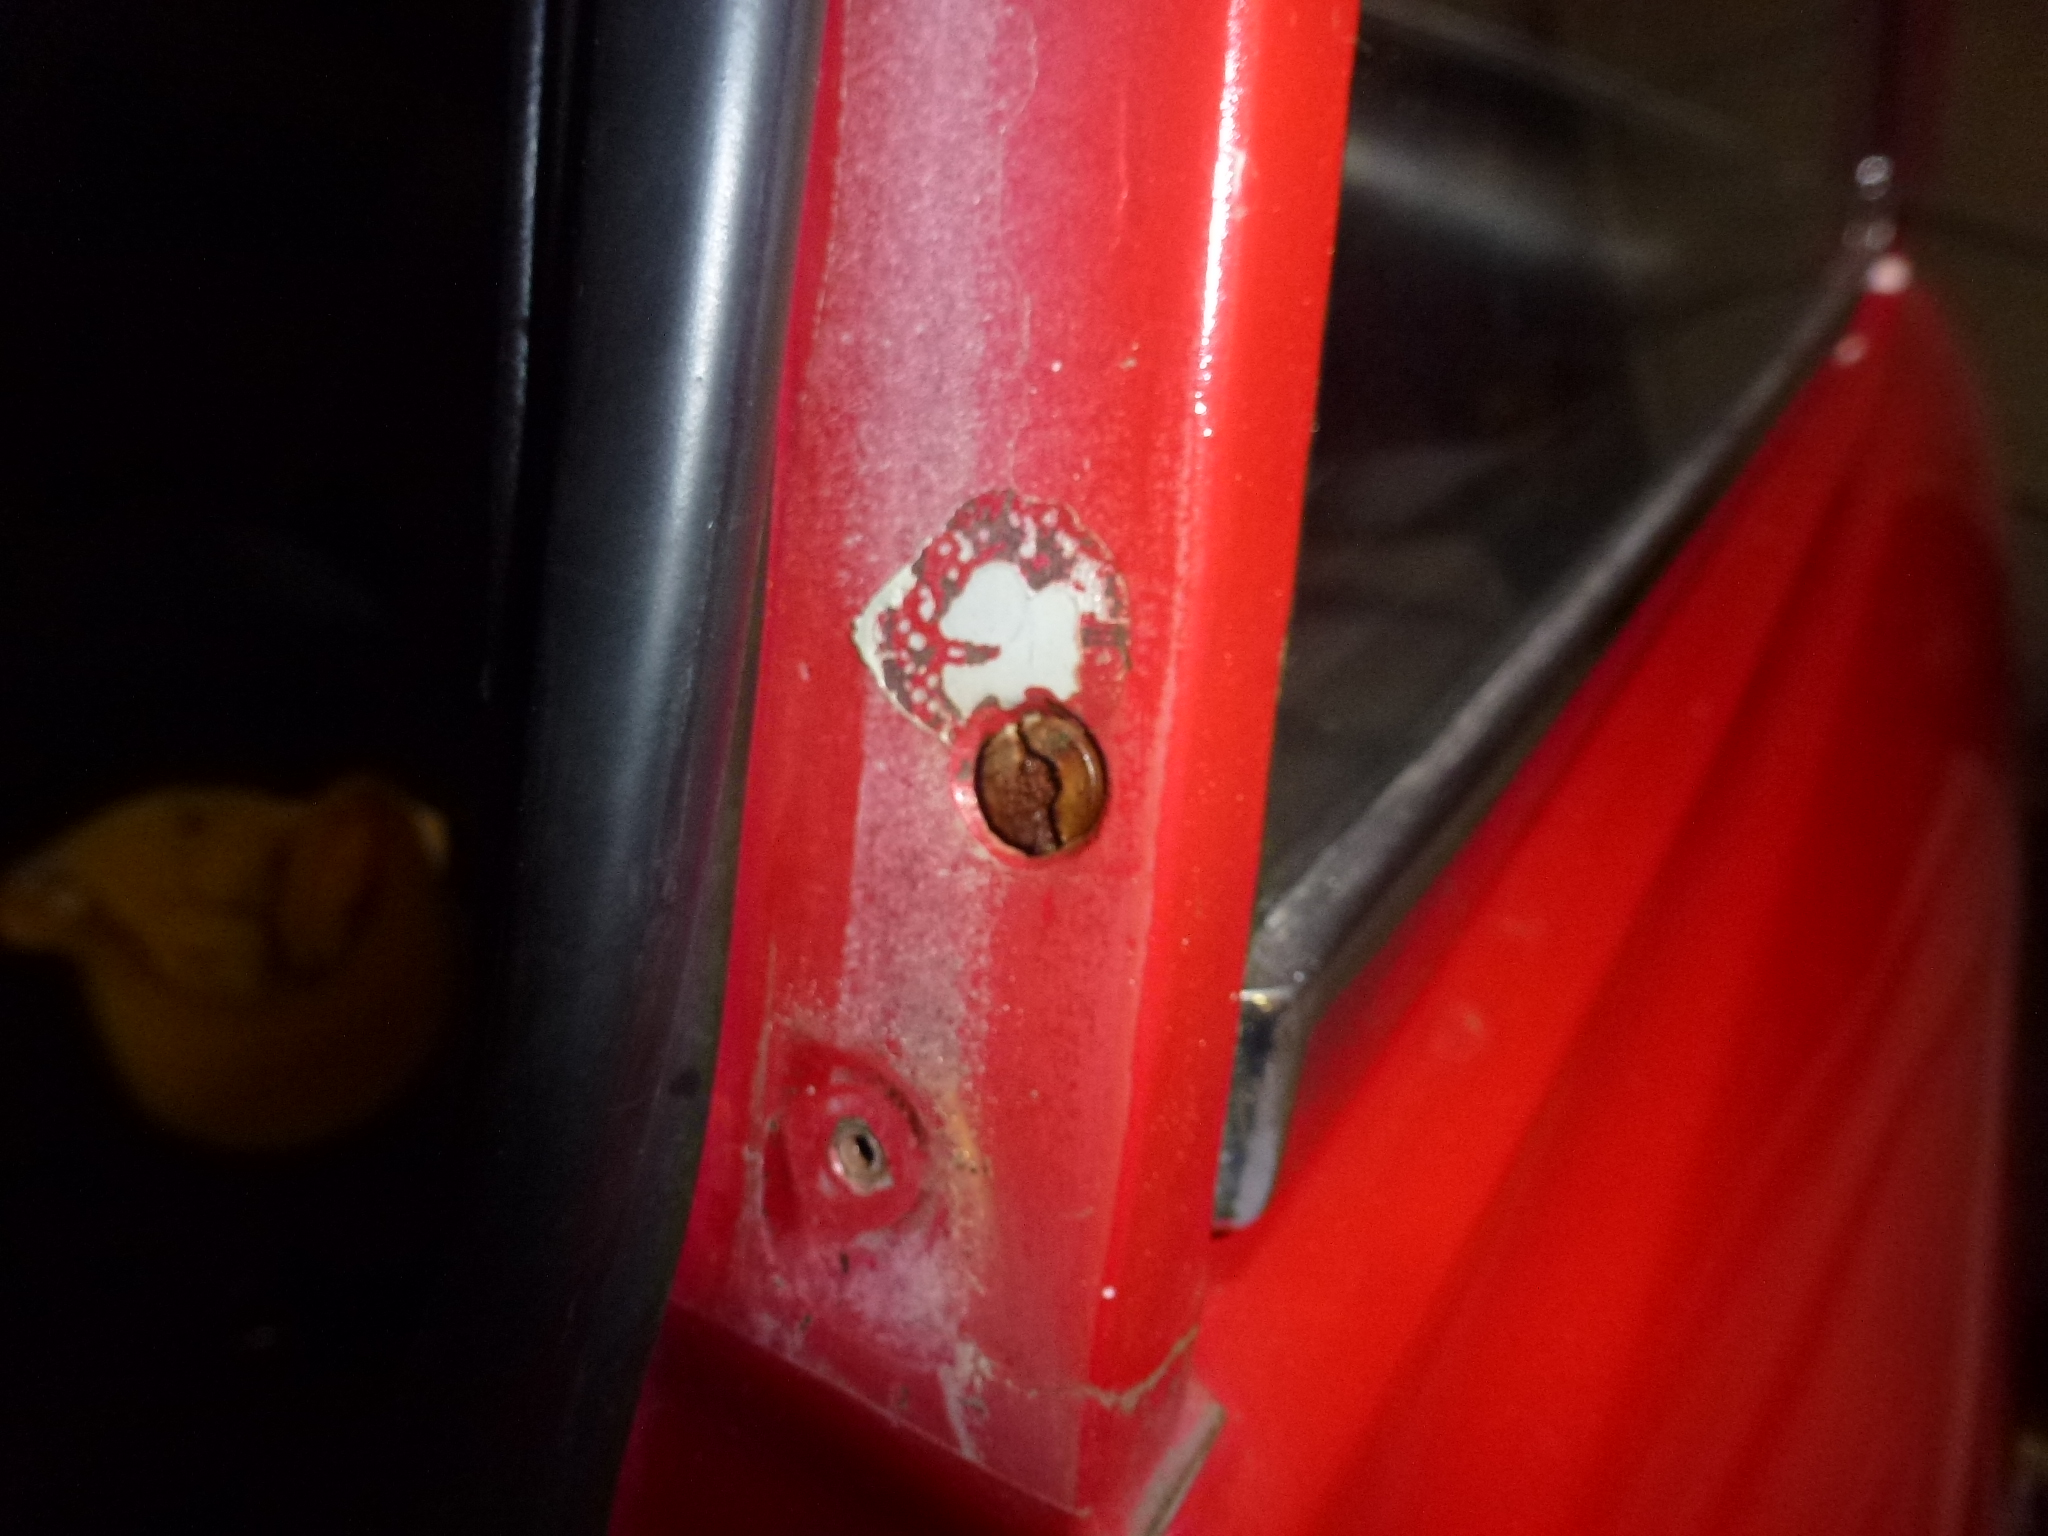
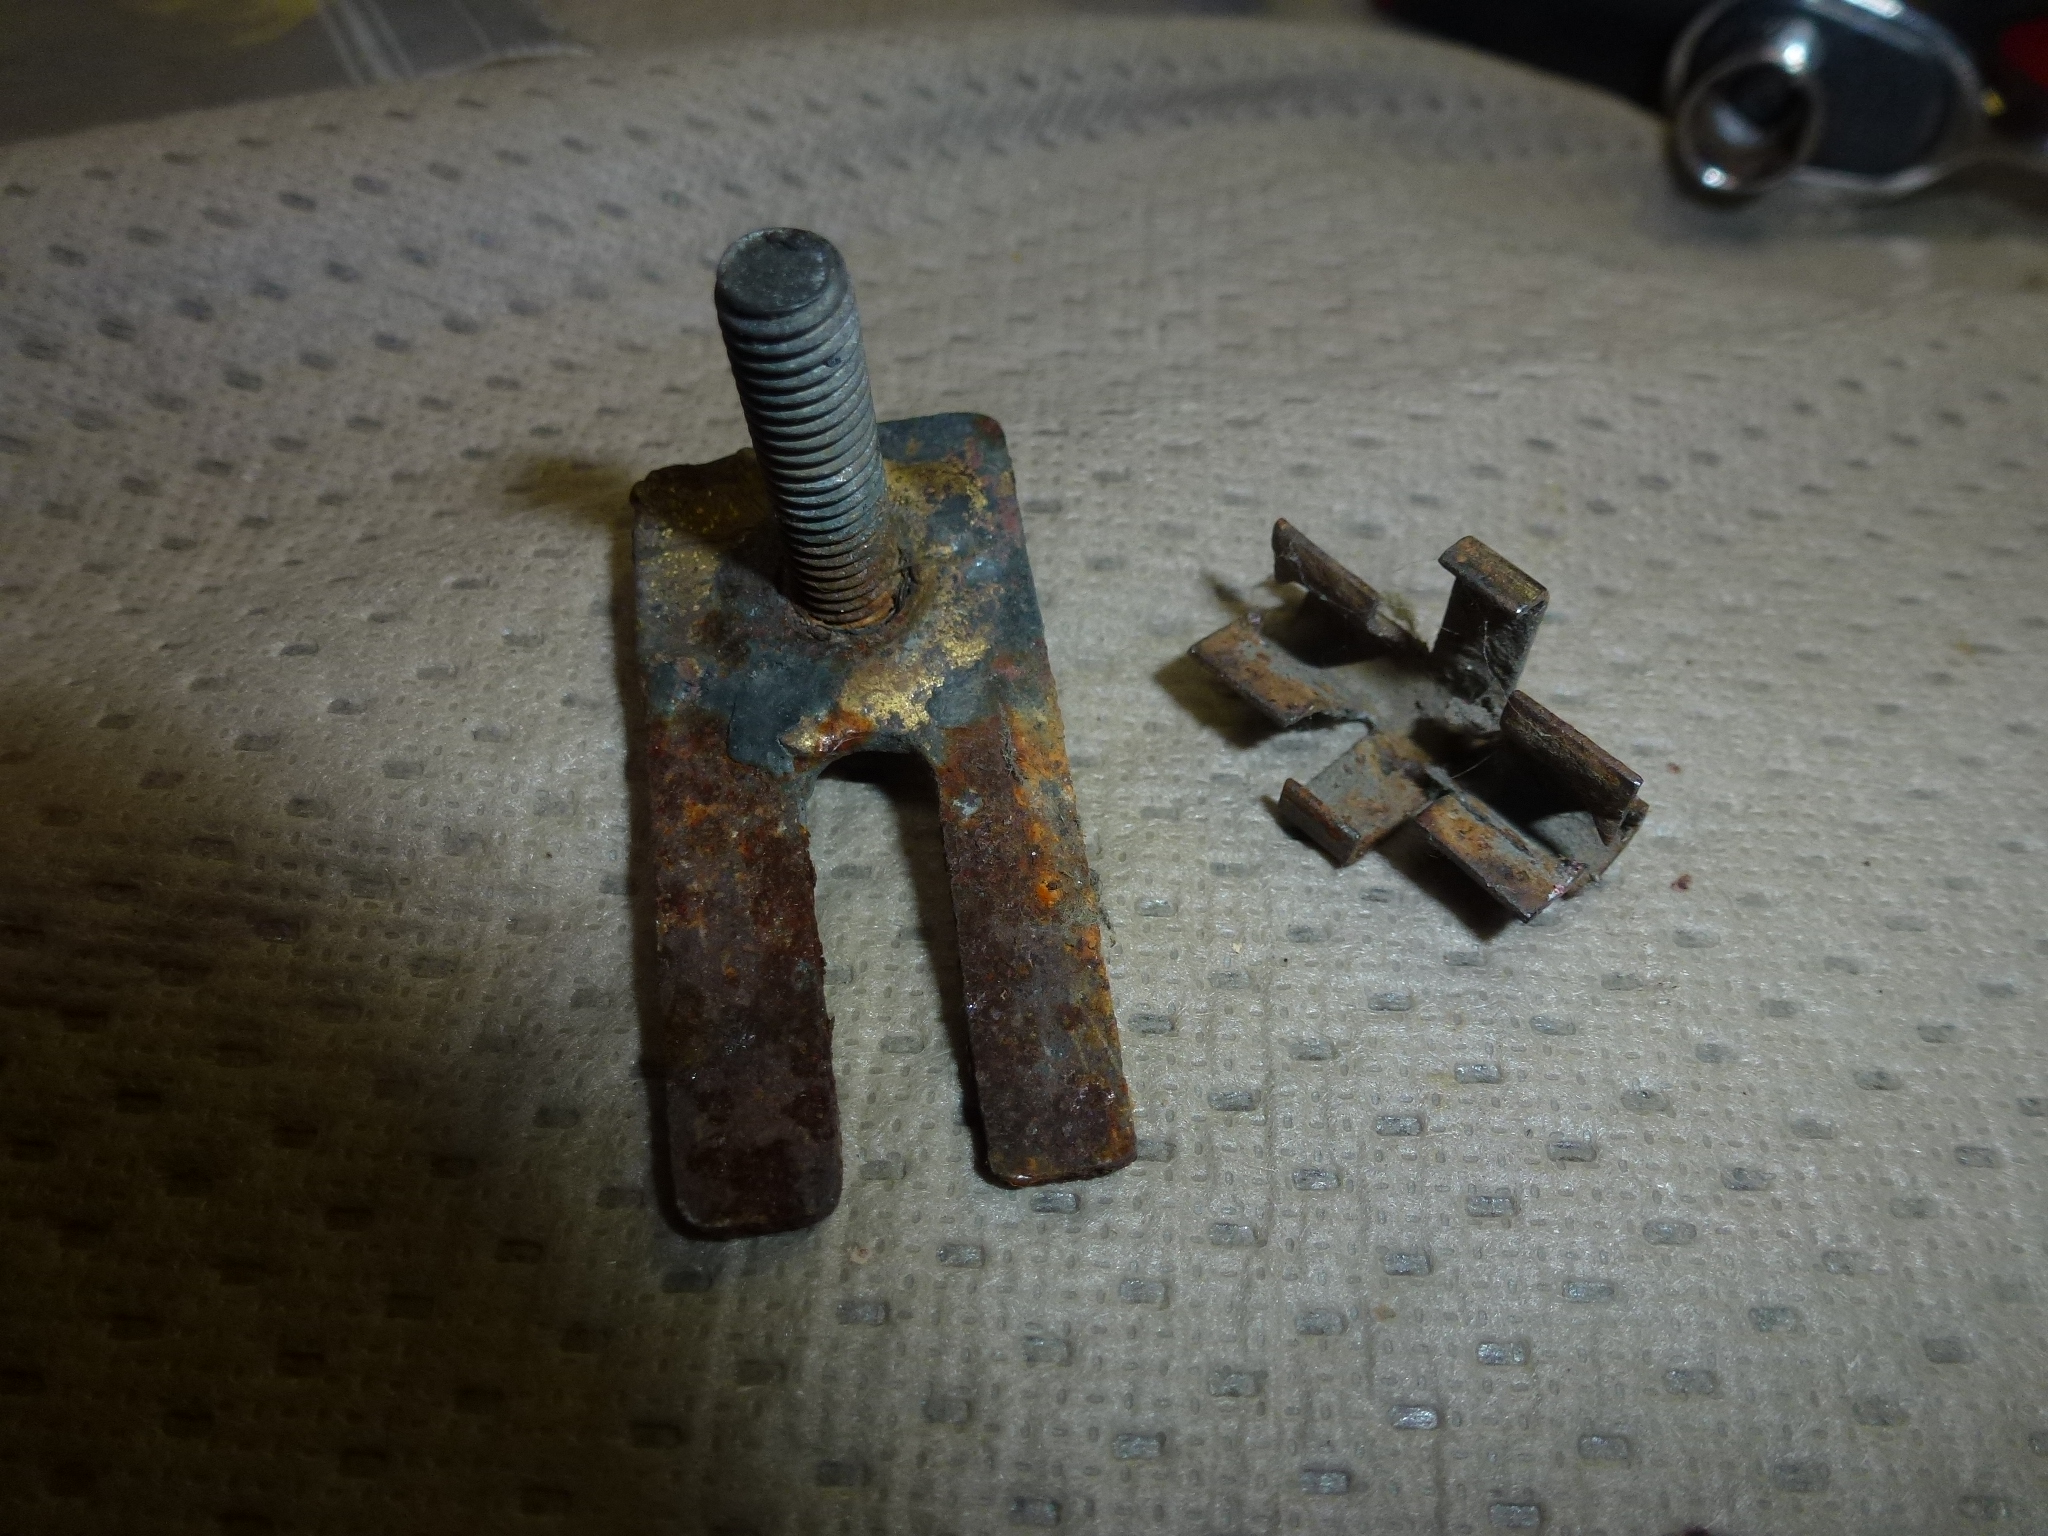
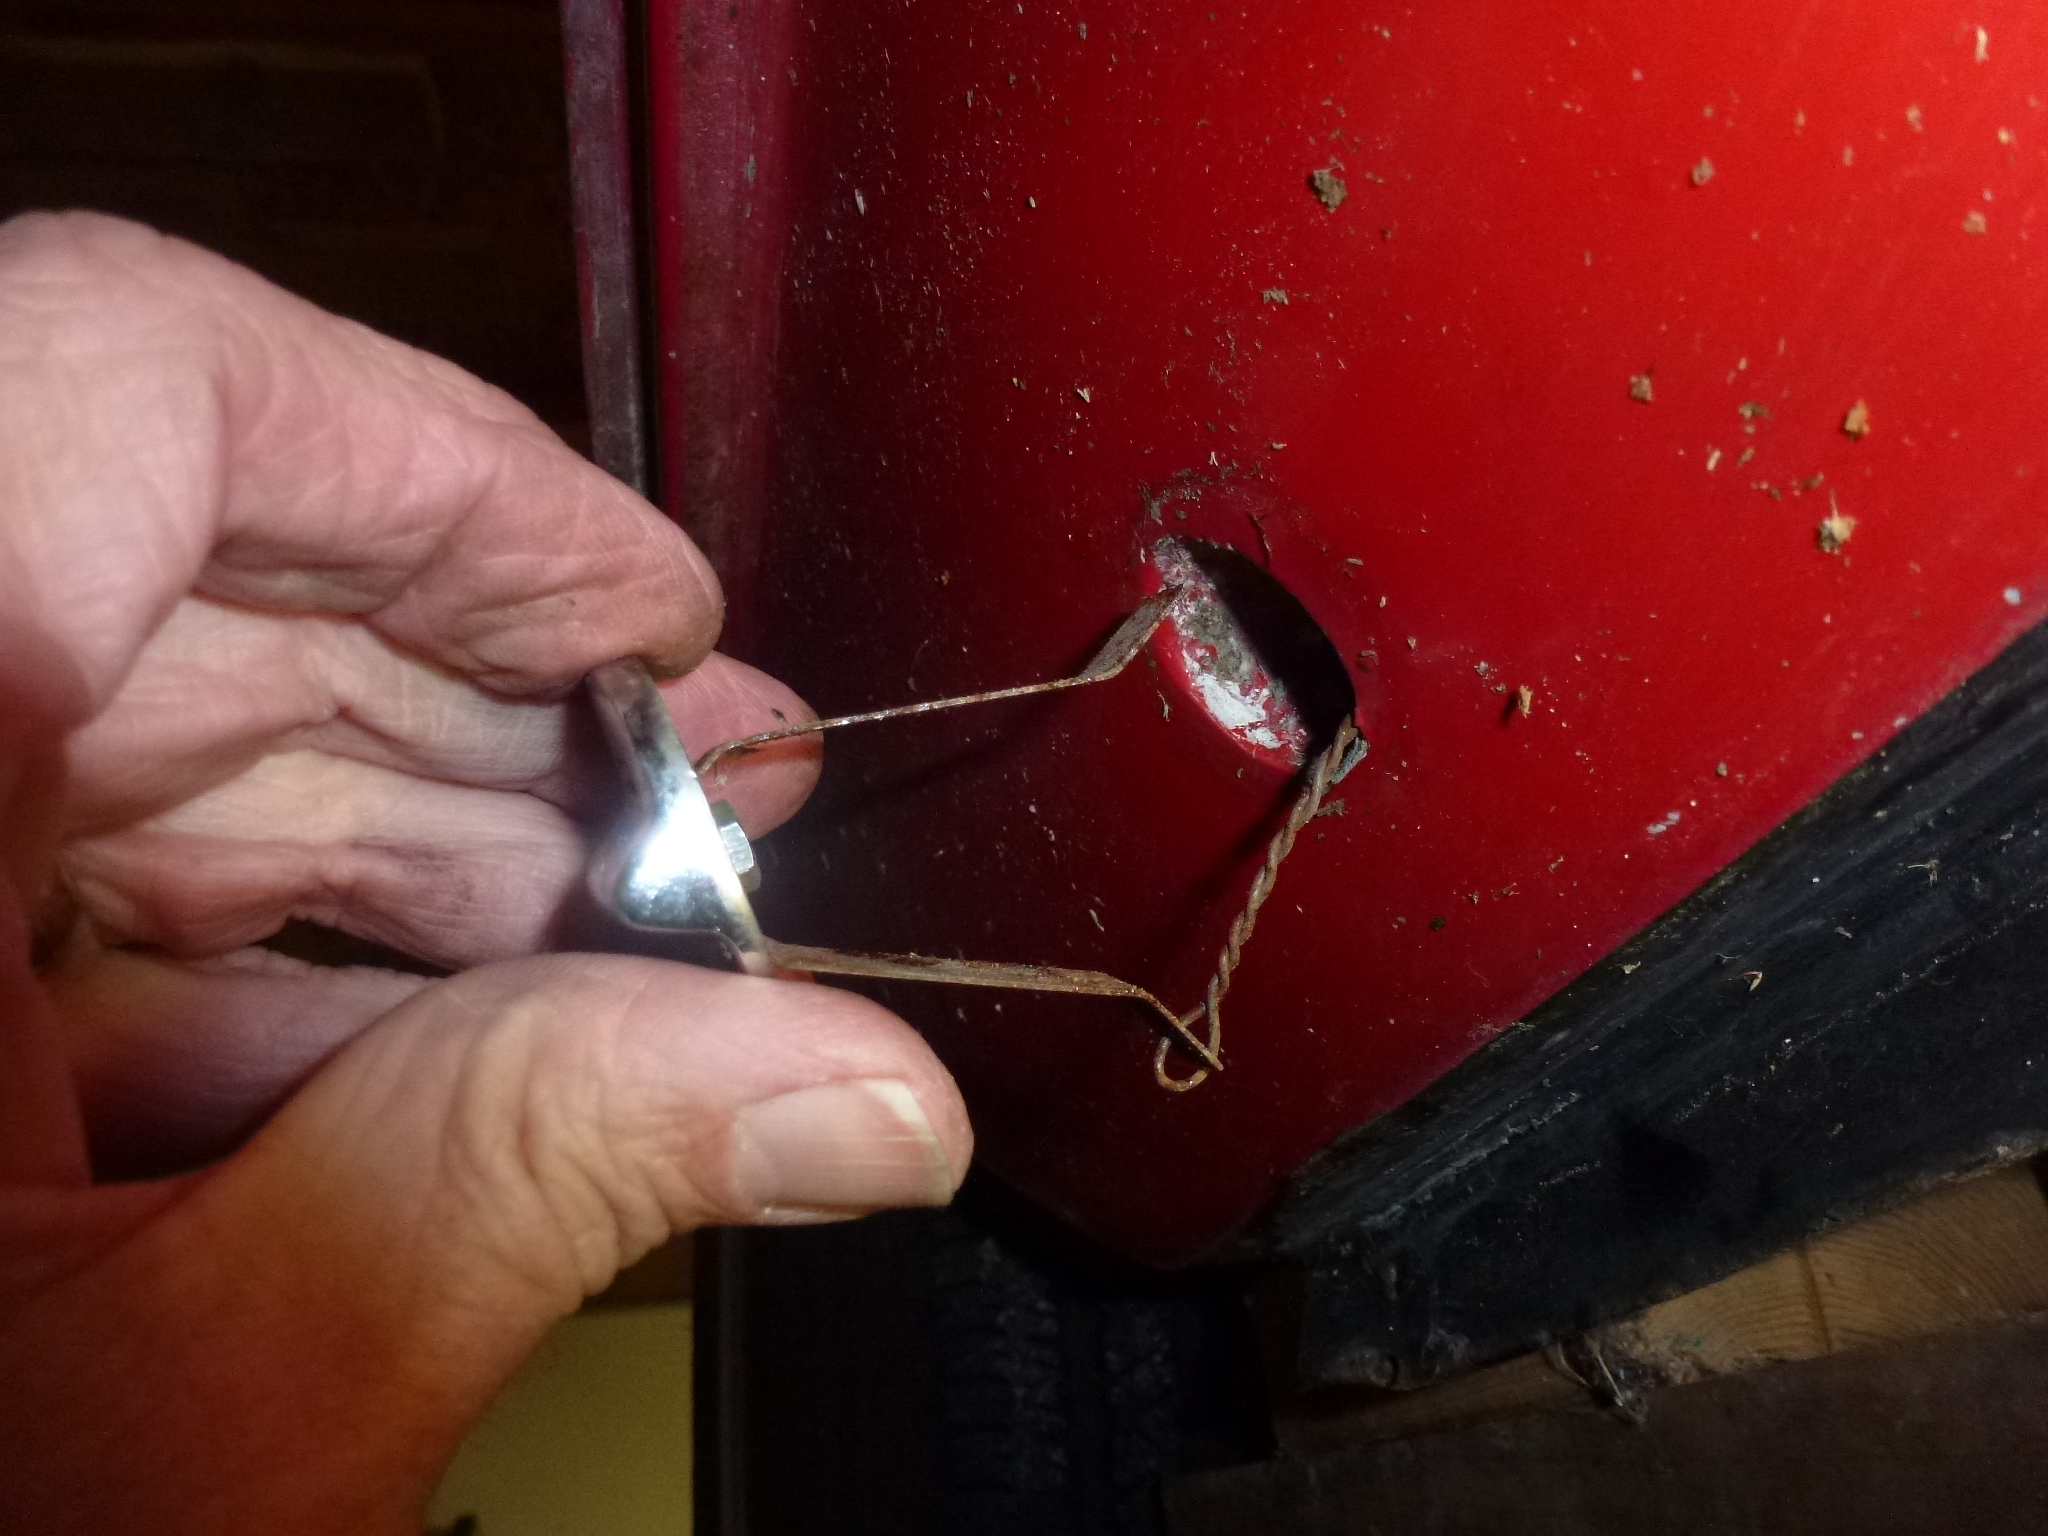
There are clips with studs at each end that go through the body with nuts and washers on the inside.
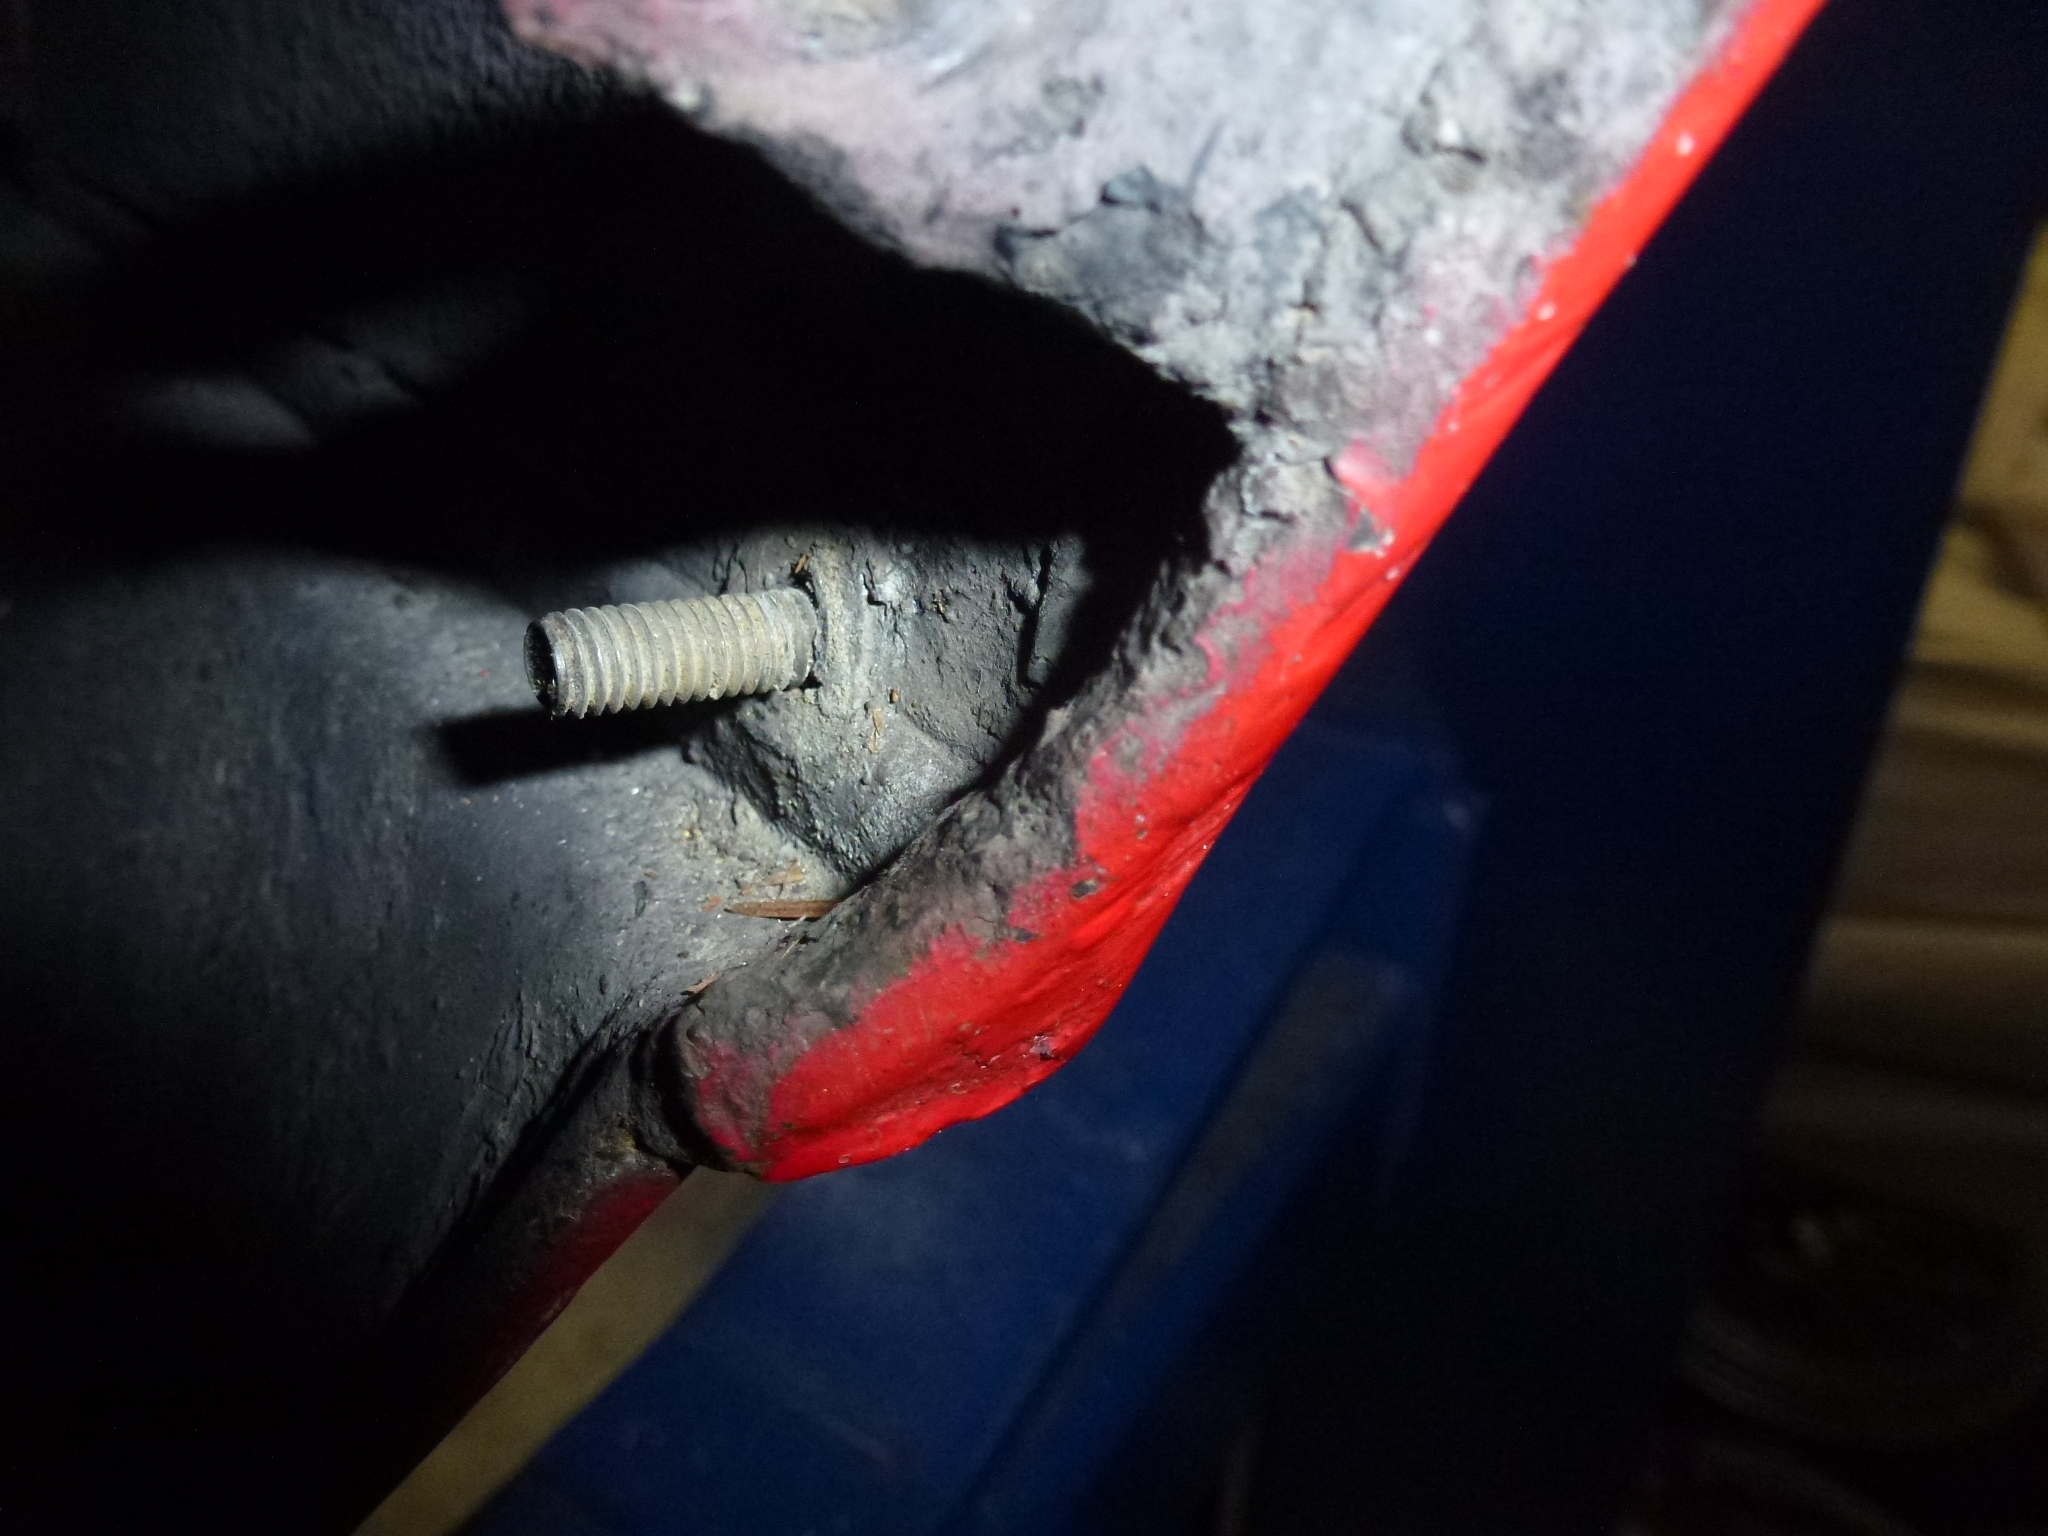
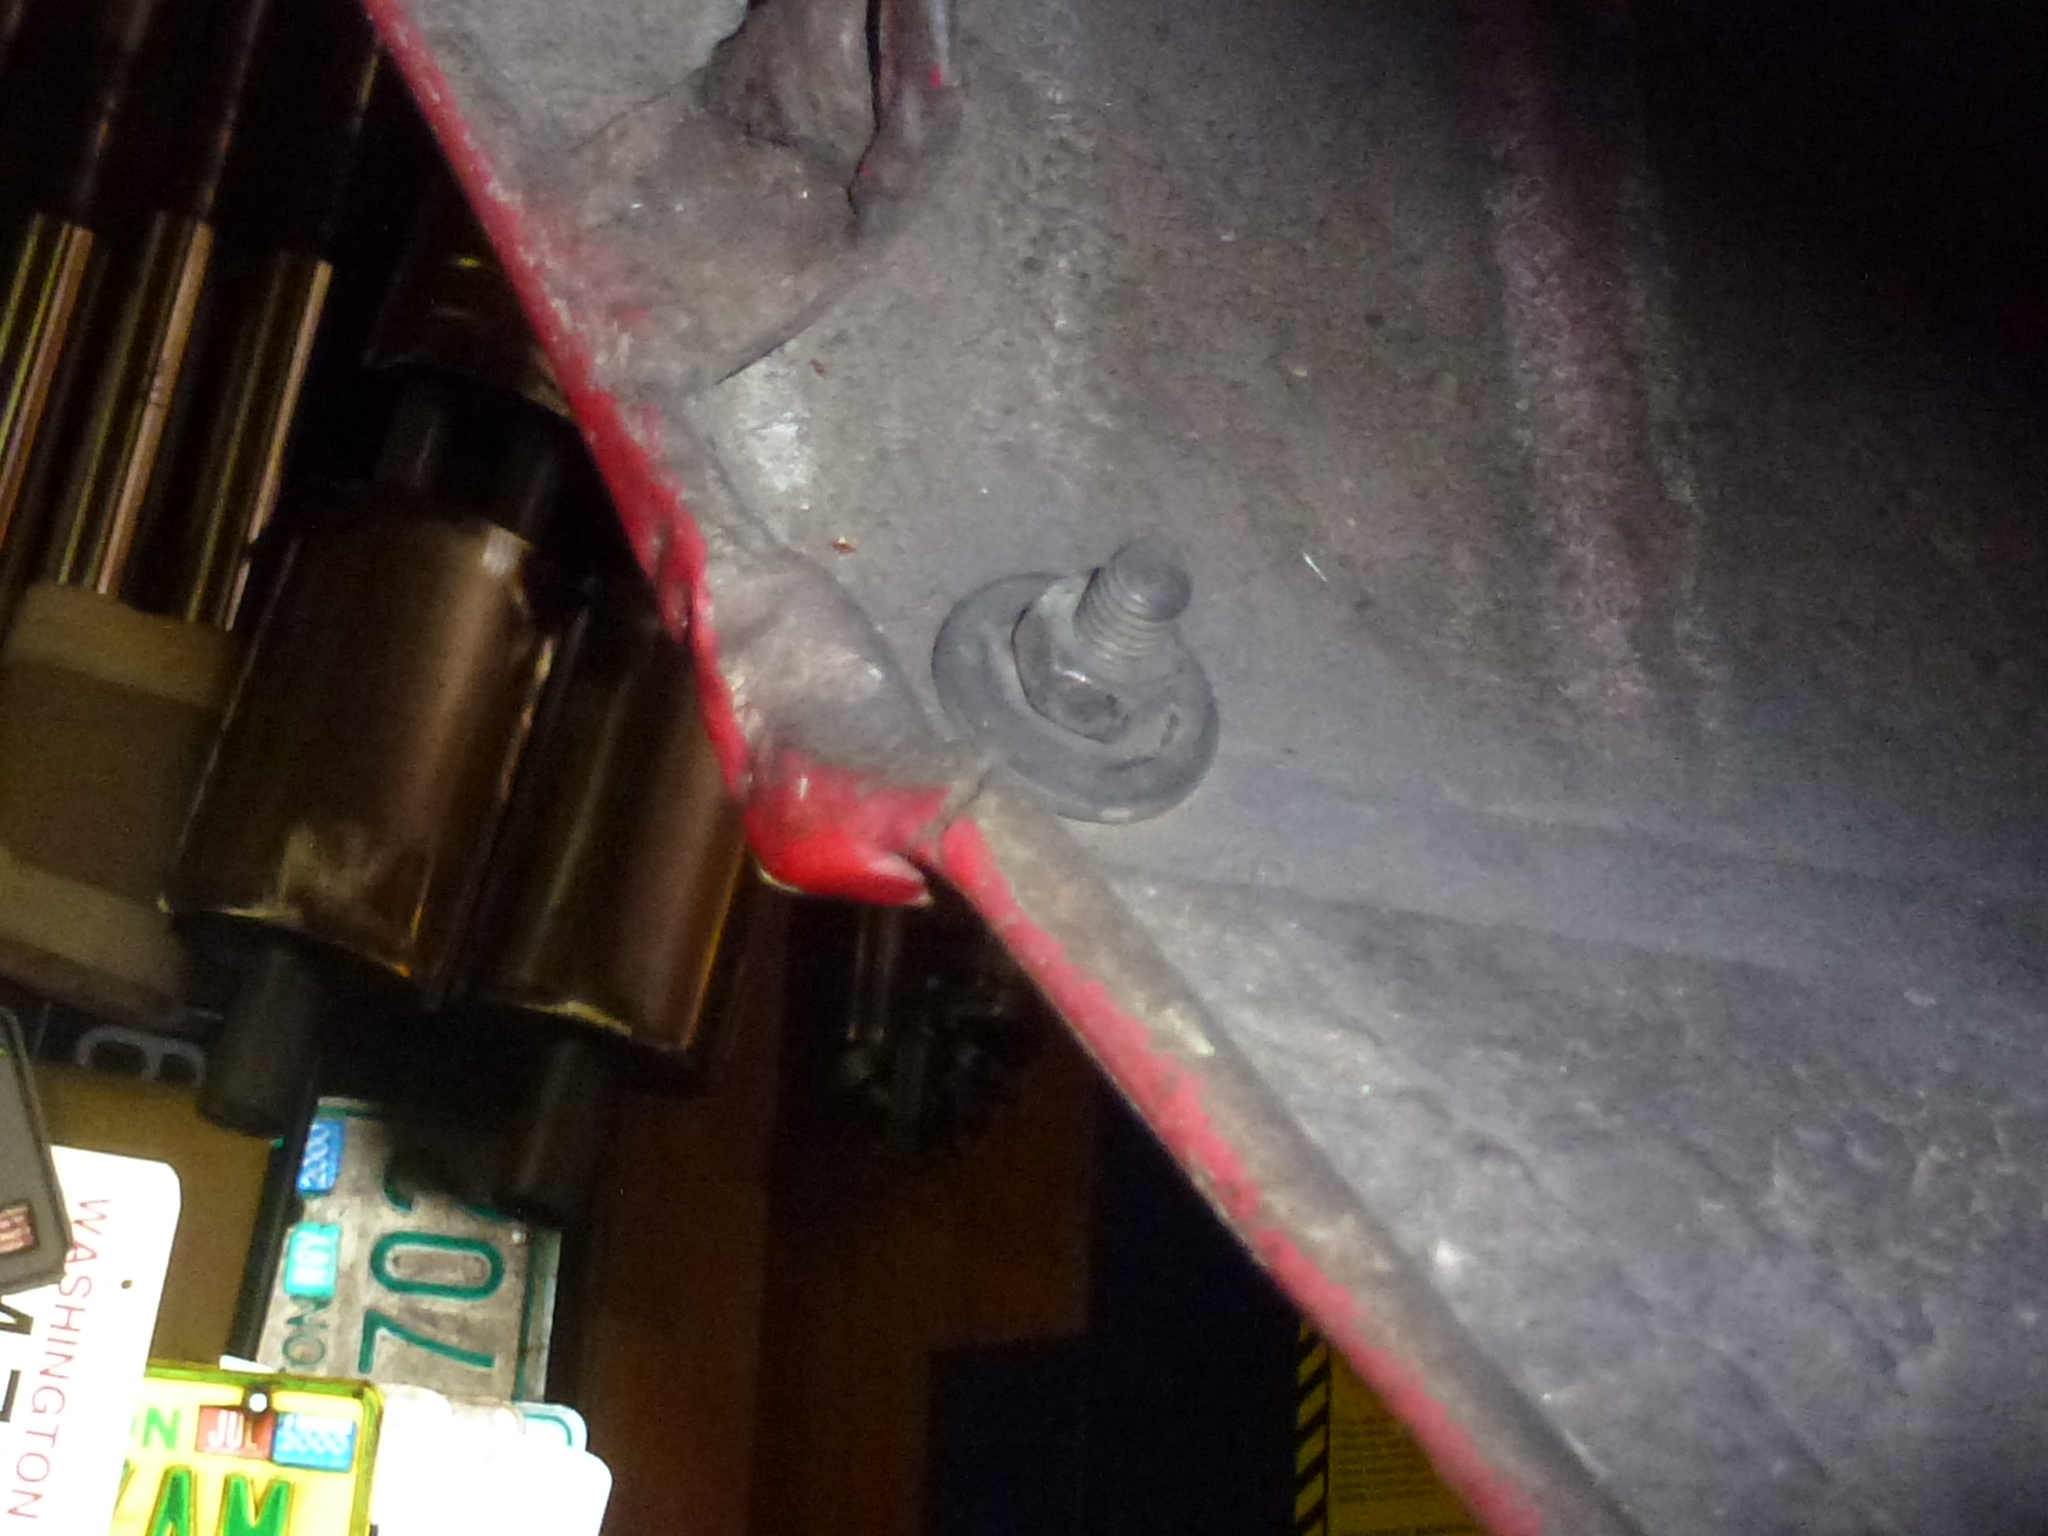
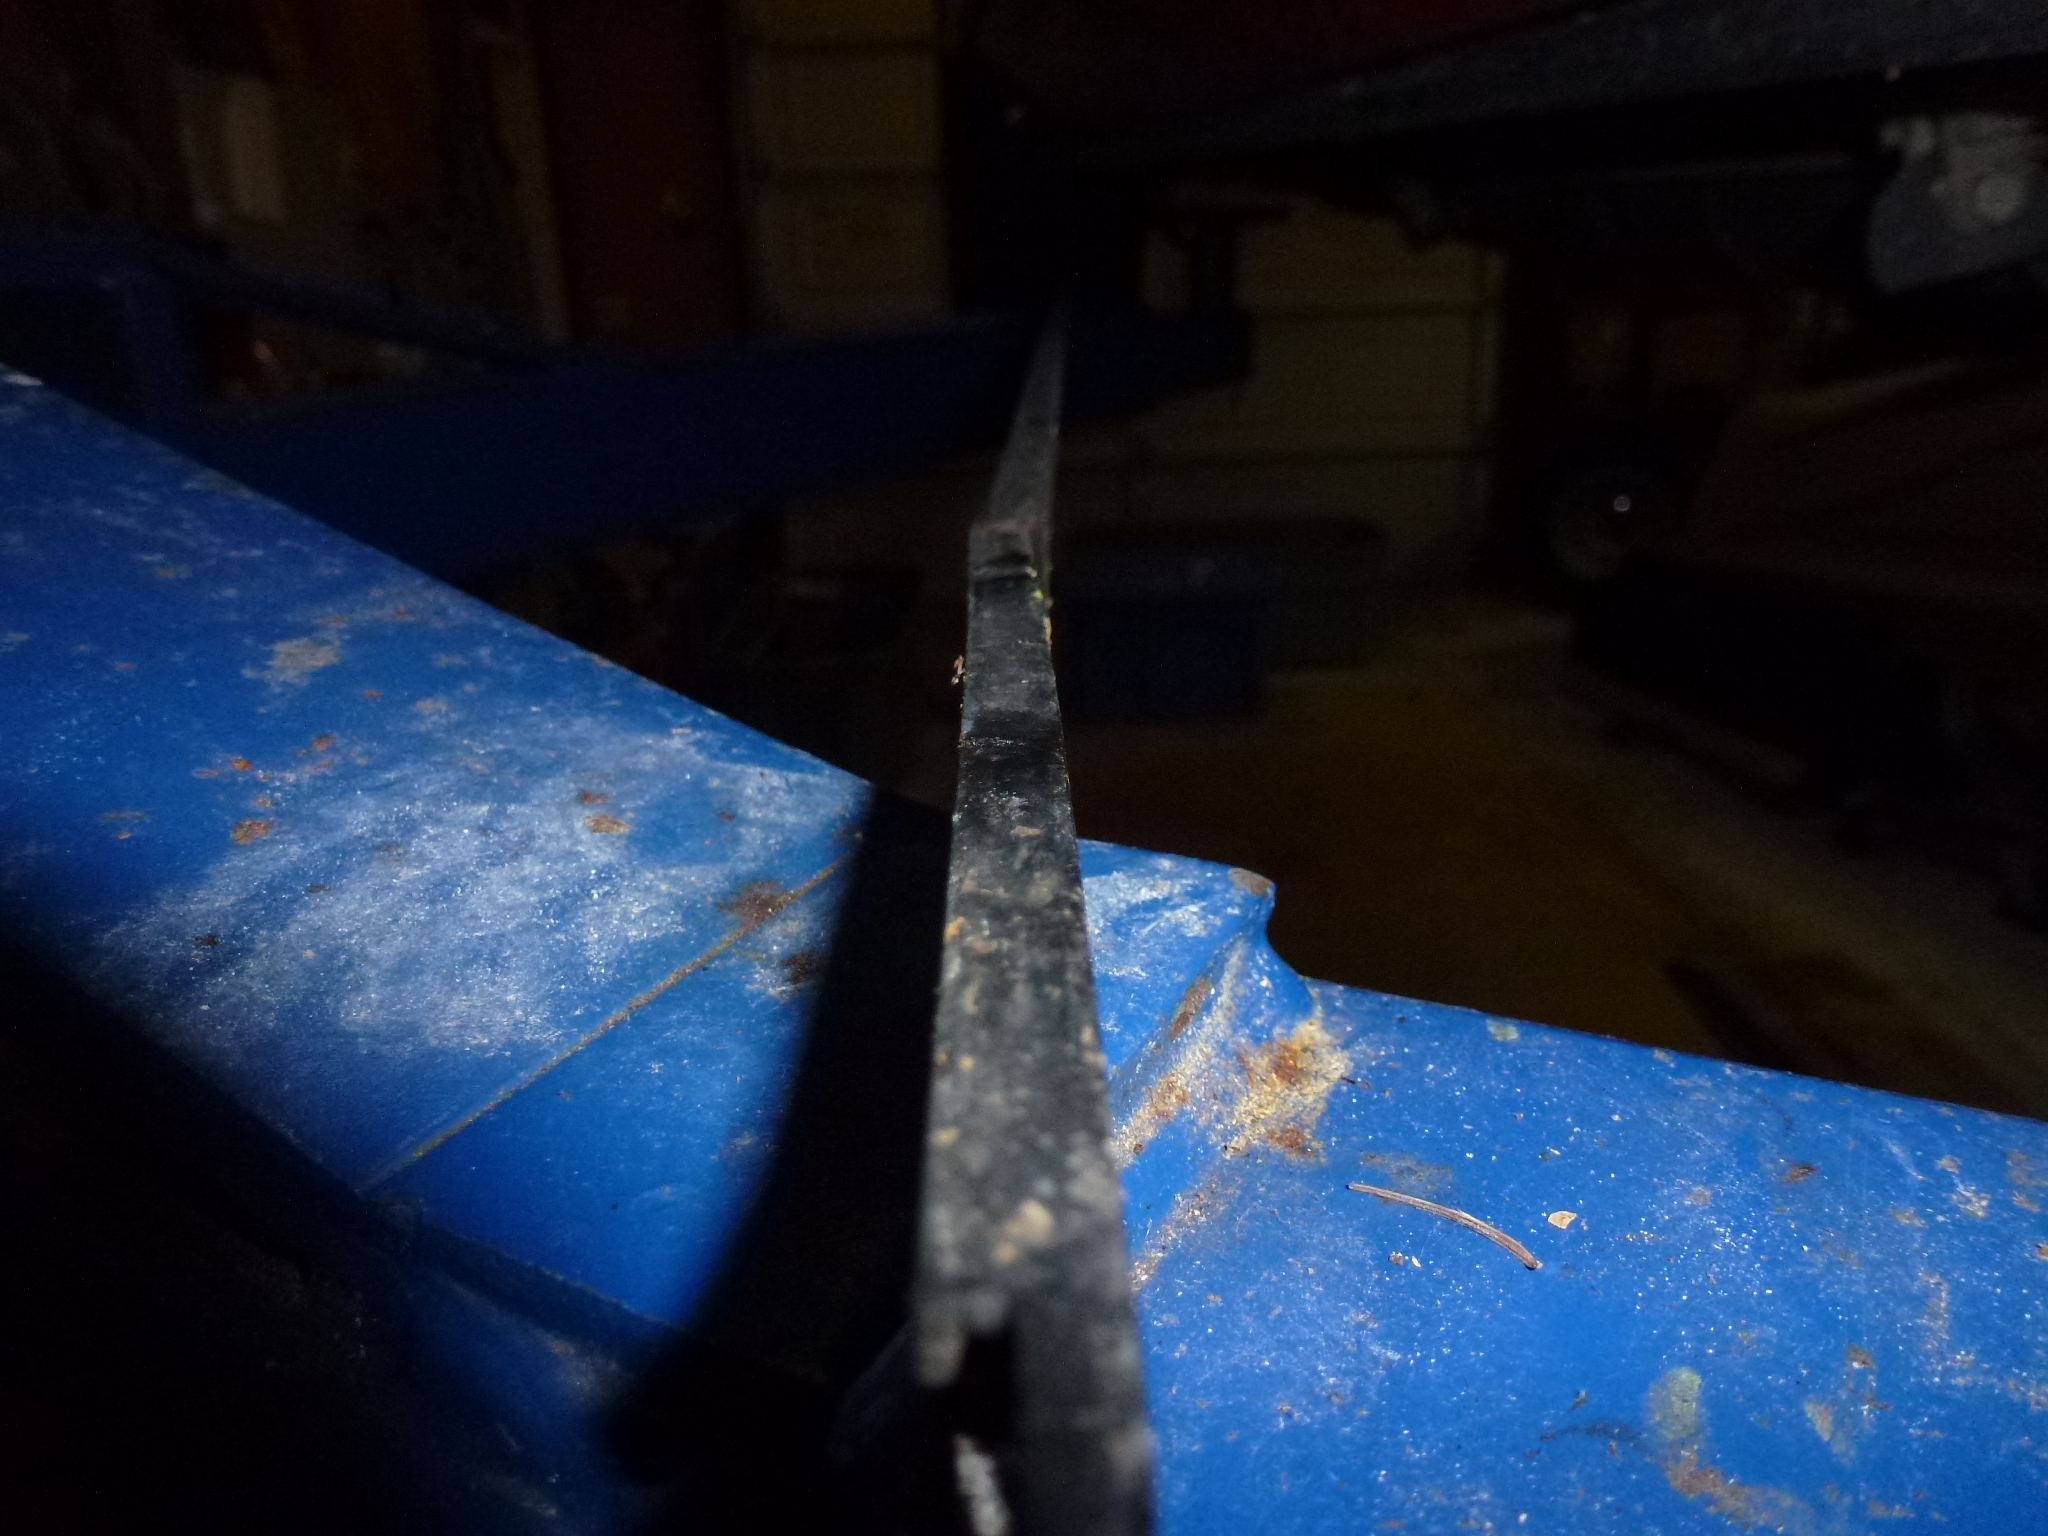
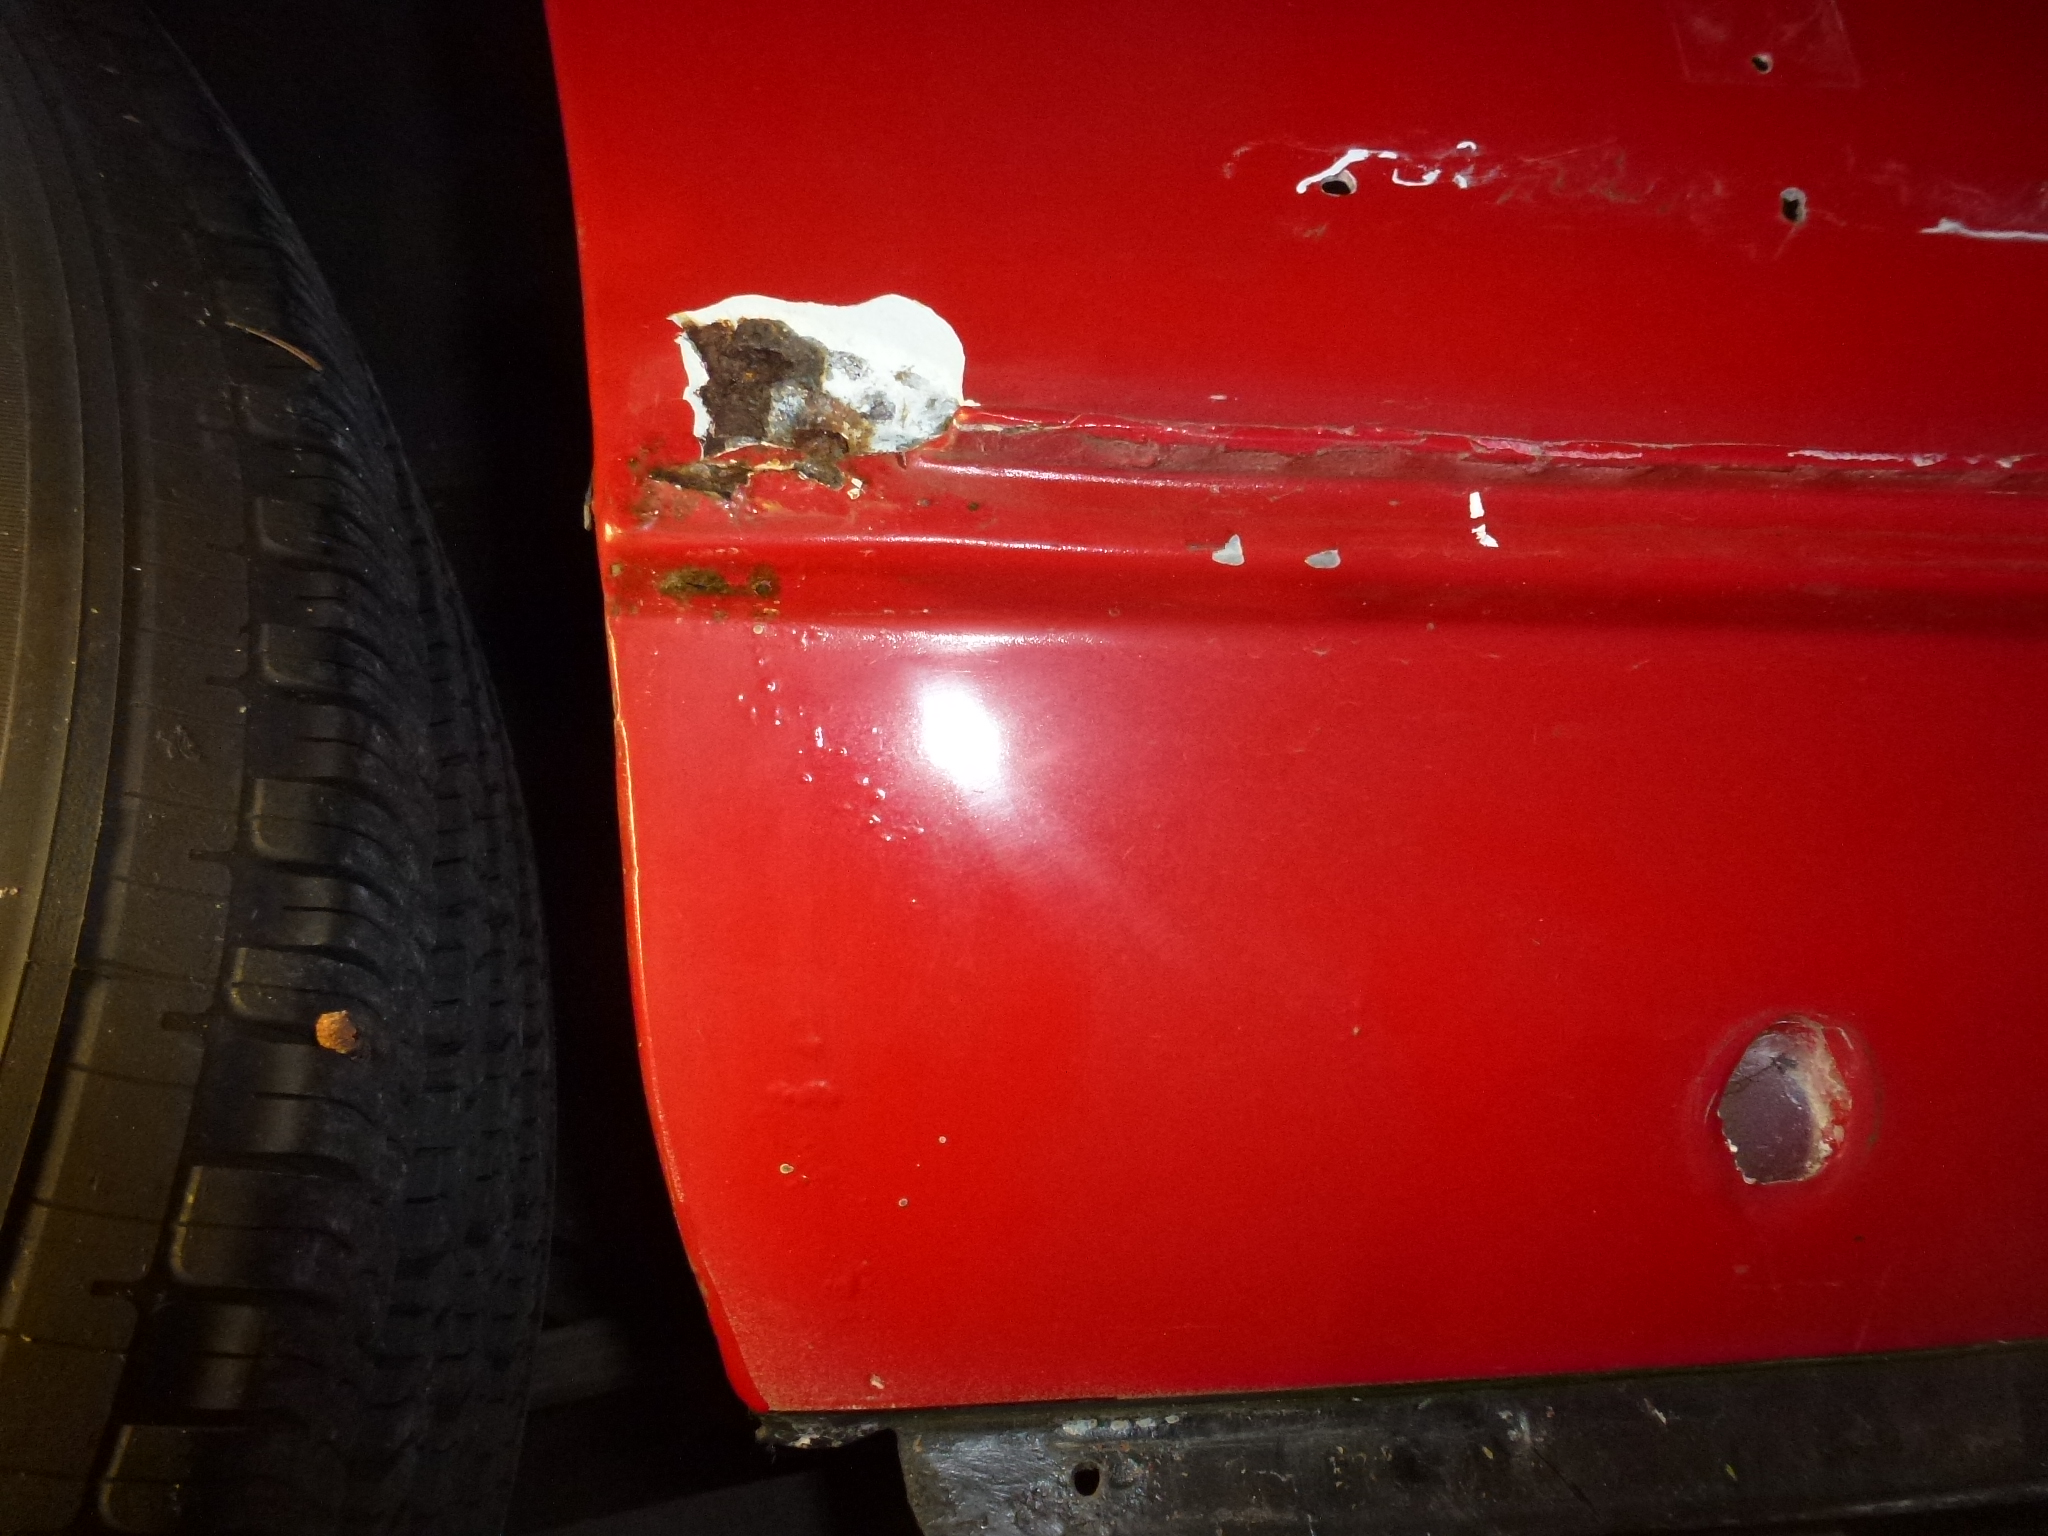
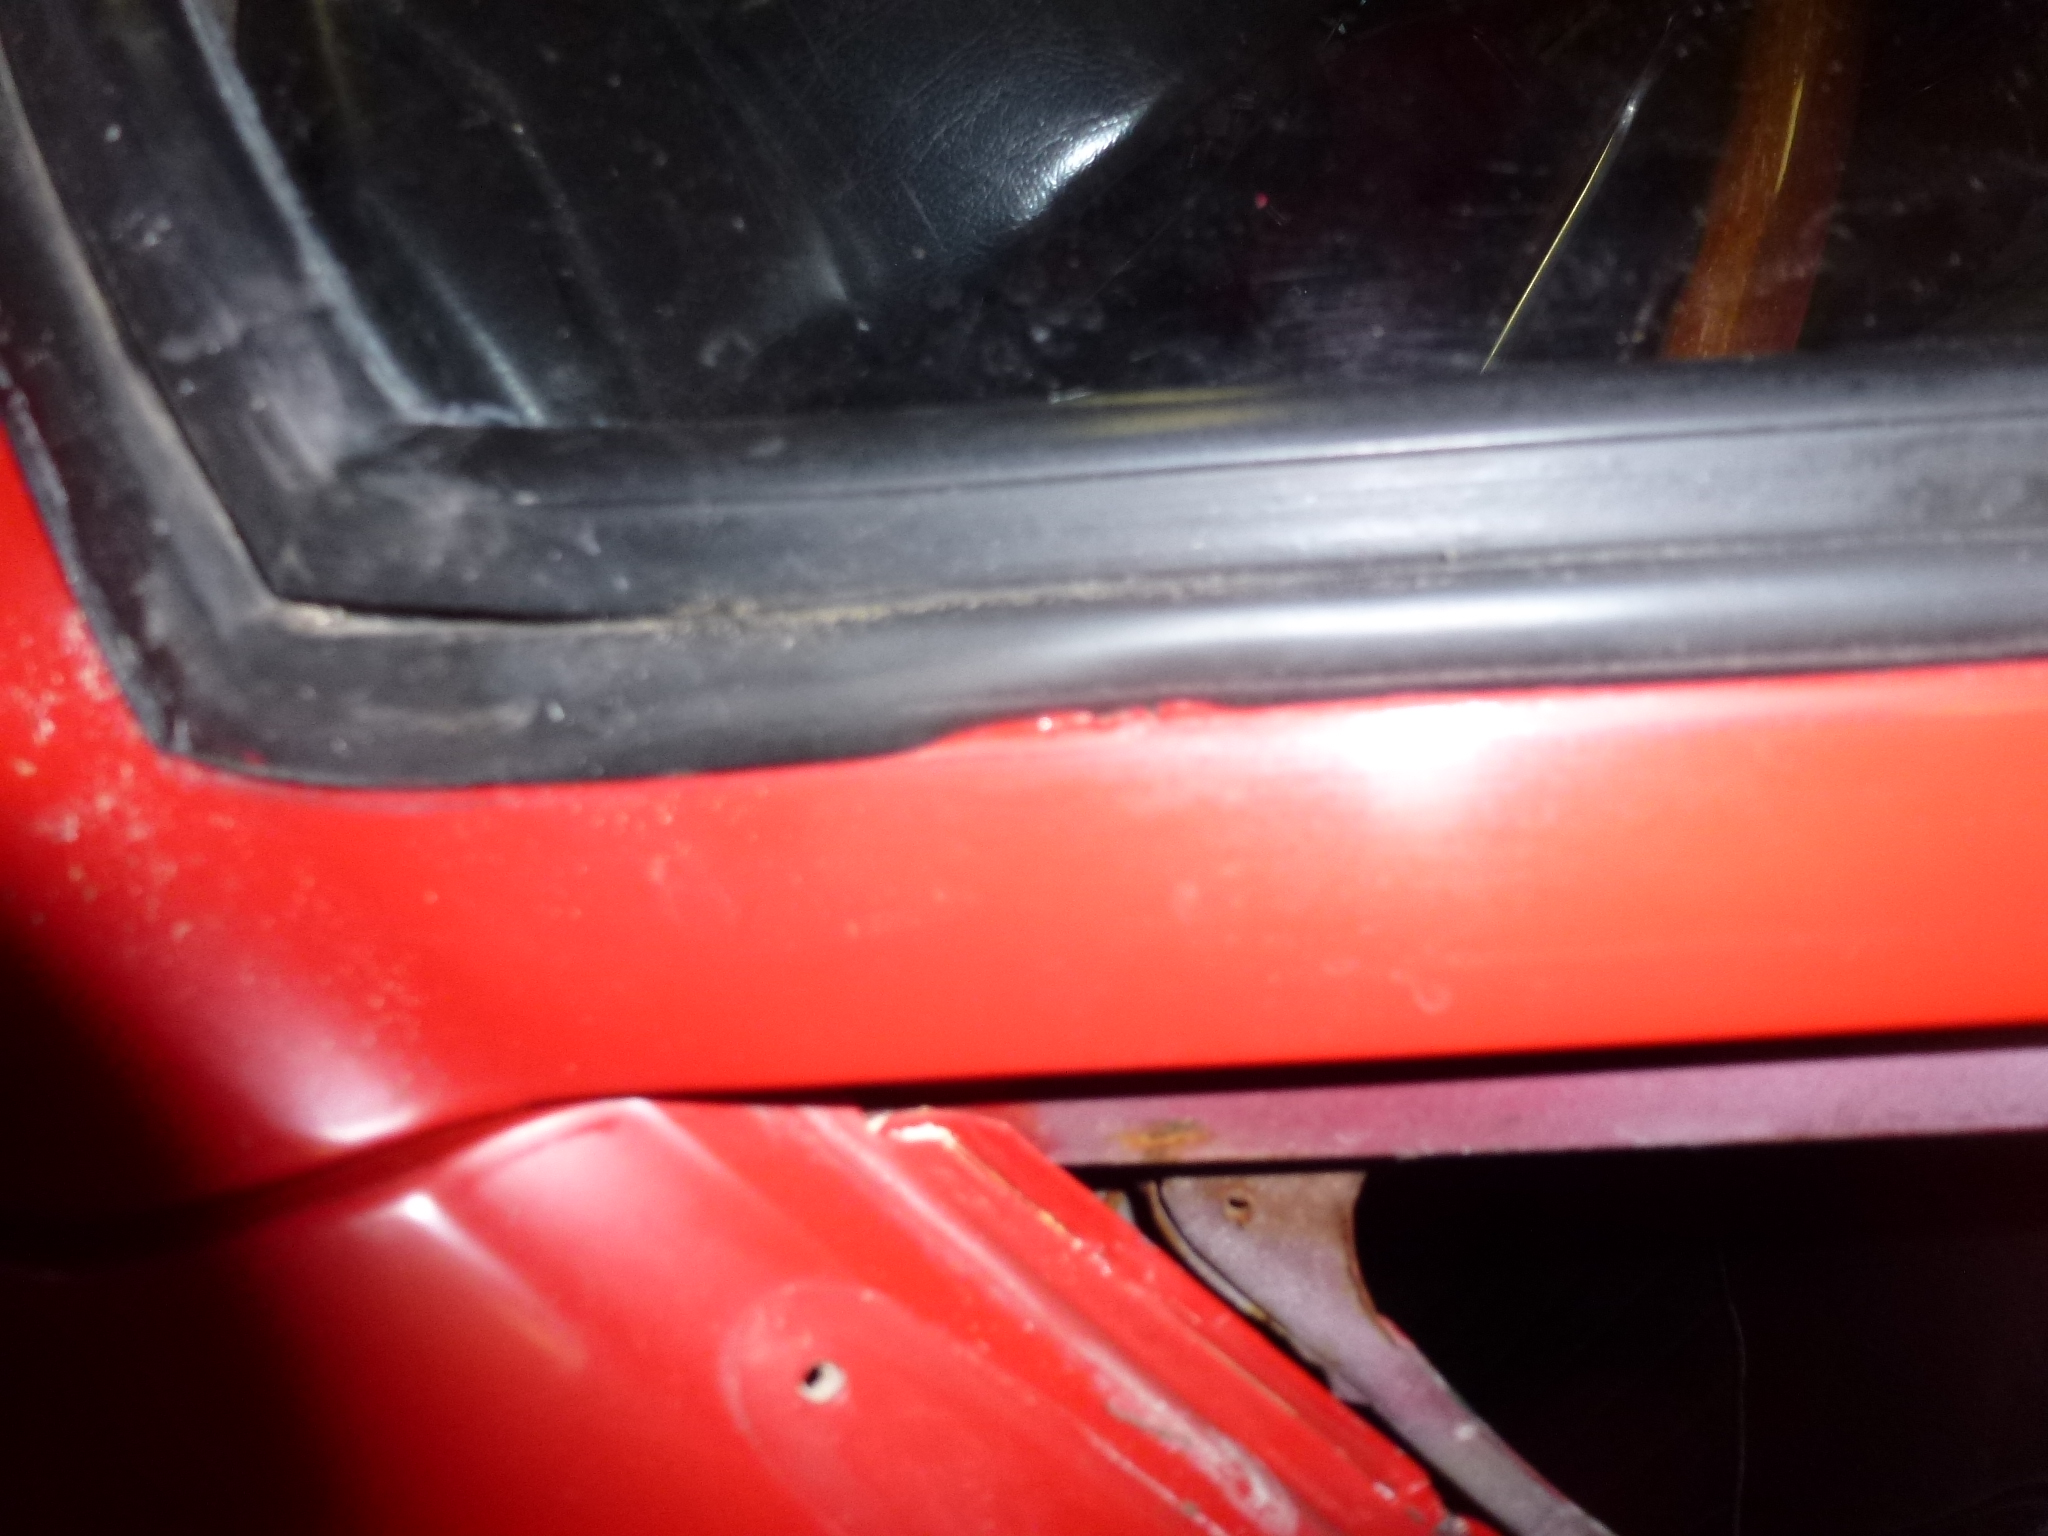
The only rust issue I have is related to the holes where those end studs go through the body. Here you can see that water got into the body through those holes. There are also rust signs below in the rocker. After the body is stripped, we'll see how much damage needs to be fixed. I'll also try and figure out a way to seal those holes, perhaps welding a small tube to the inner and outer skins for the stud to fit through. Then there would be no way for the water to get inside.
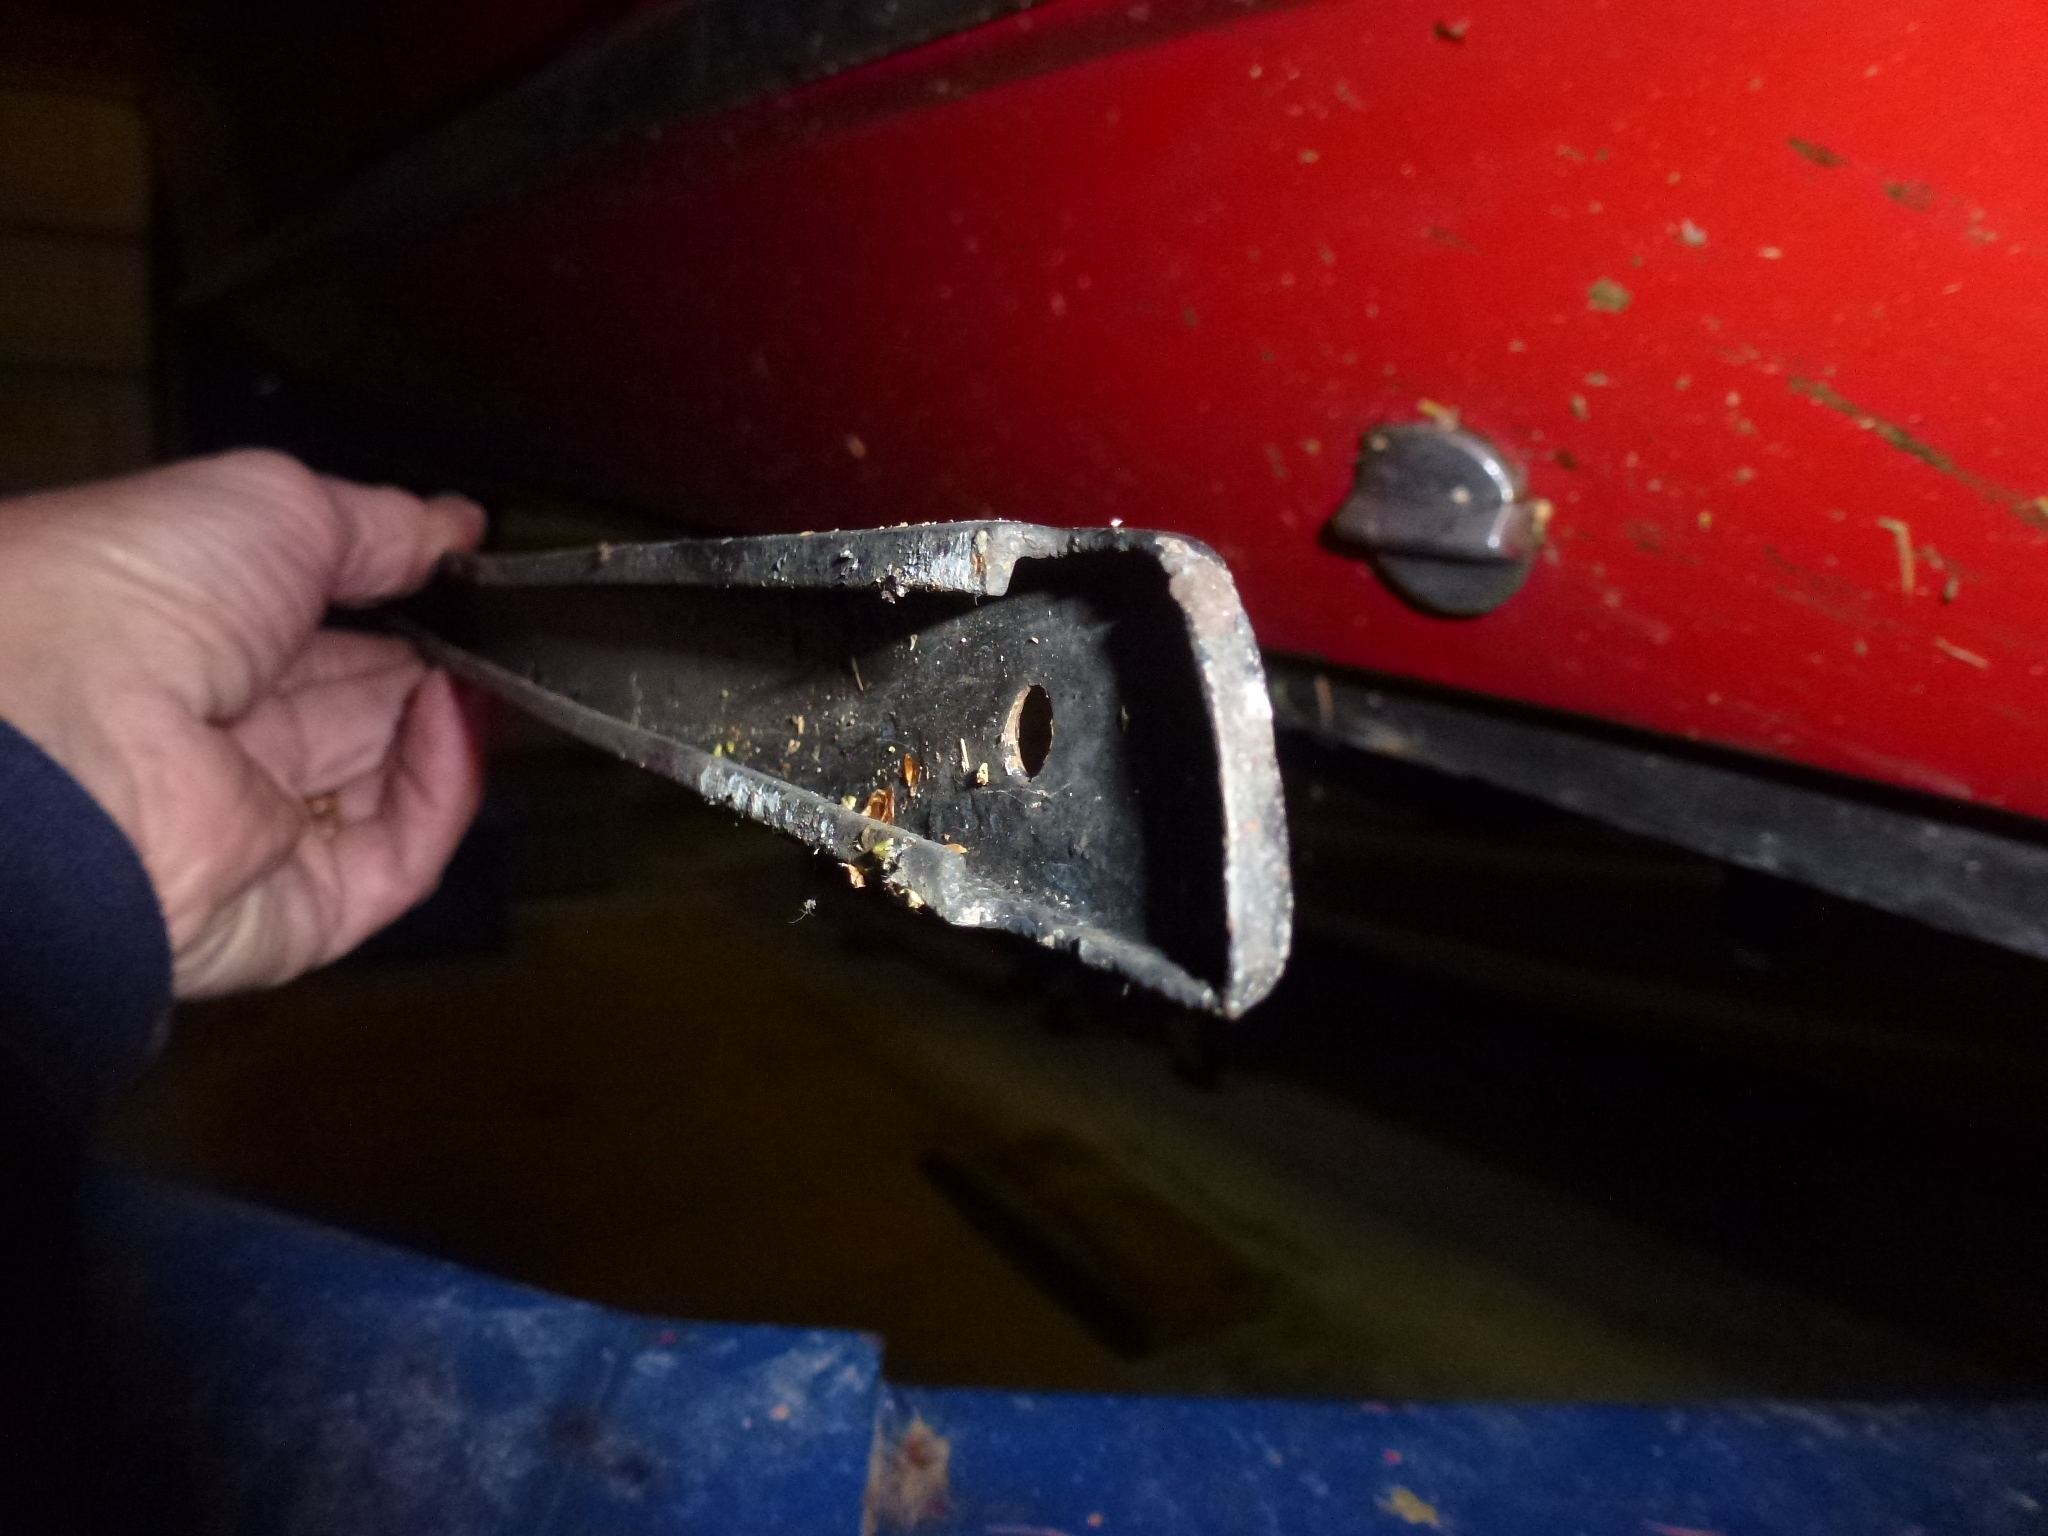
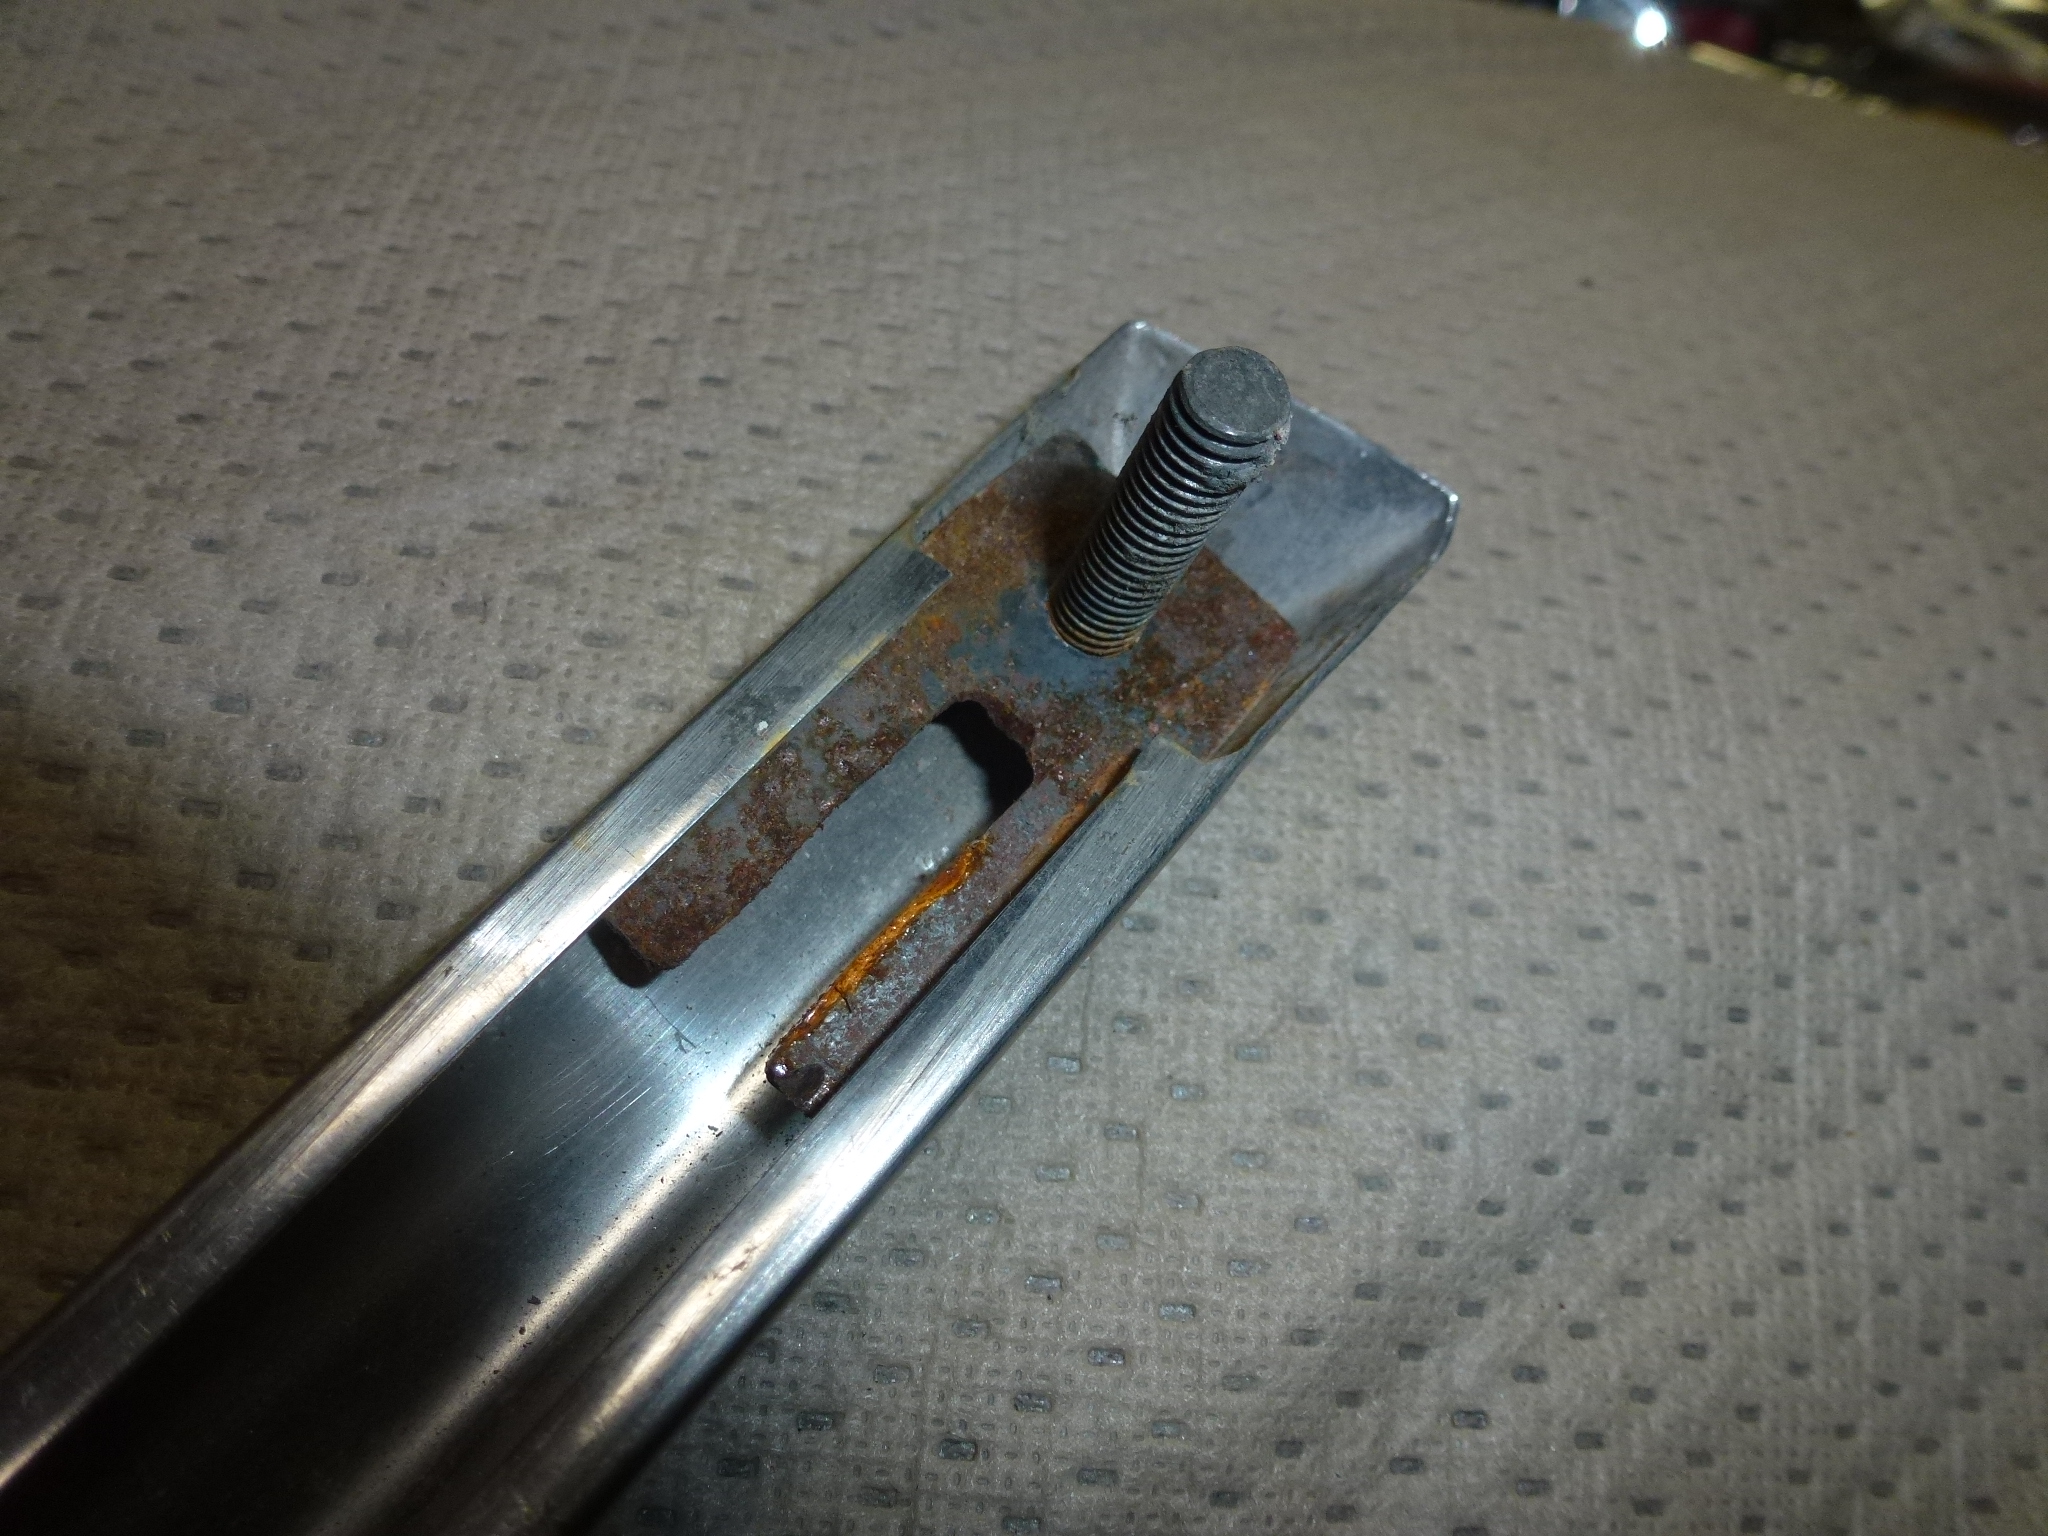
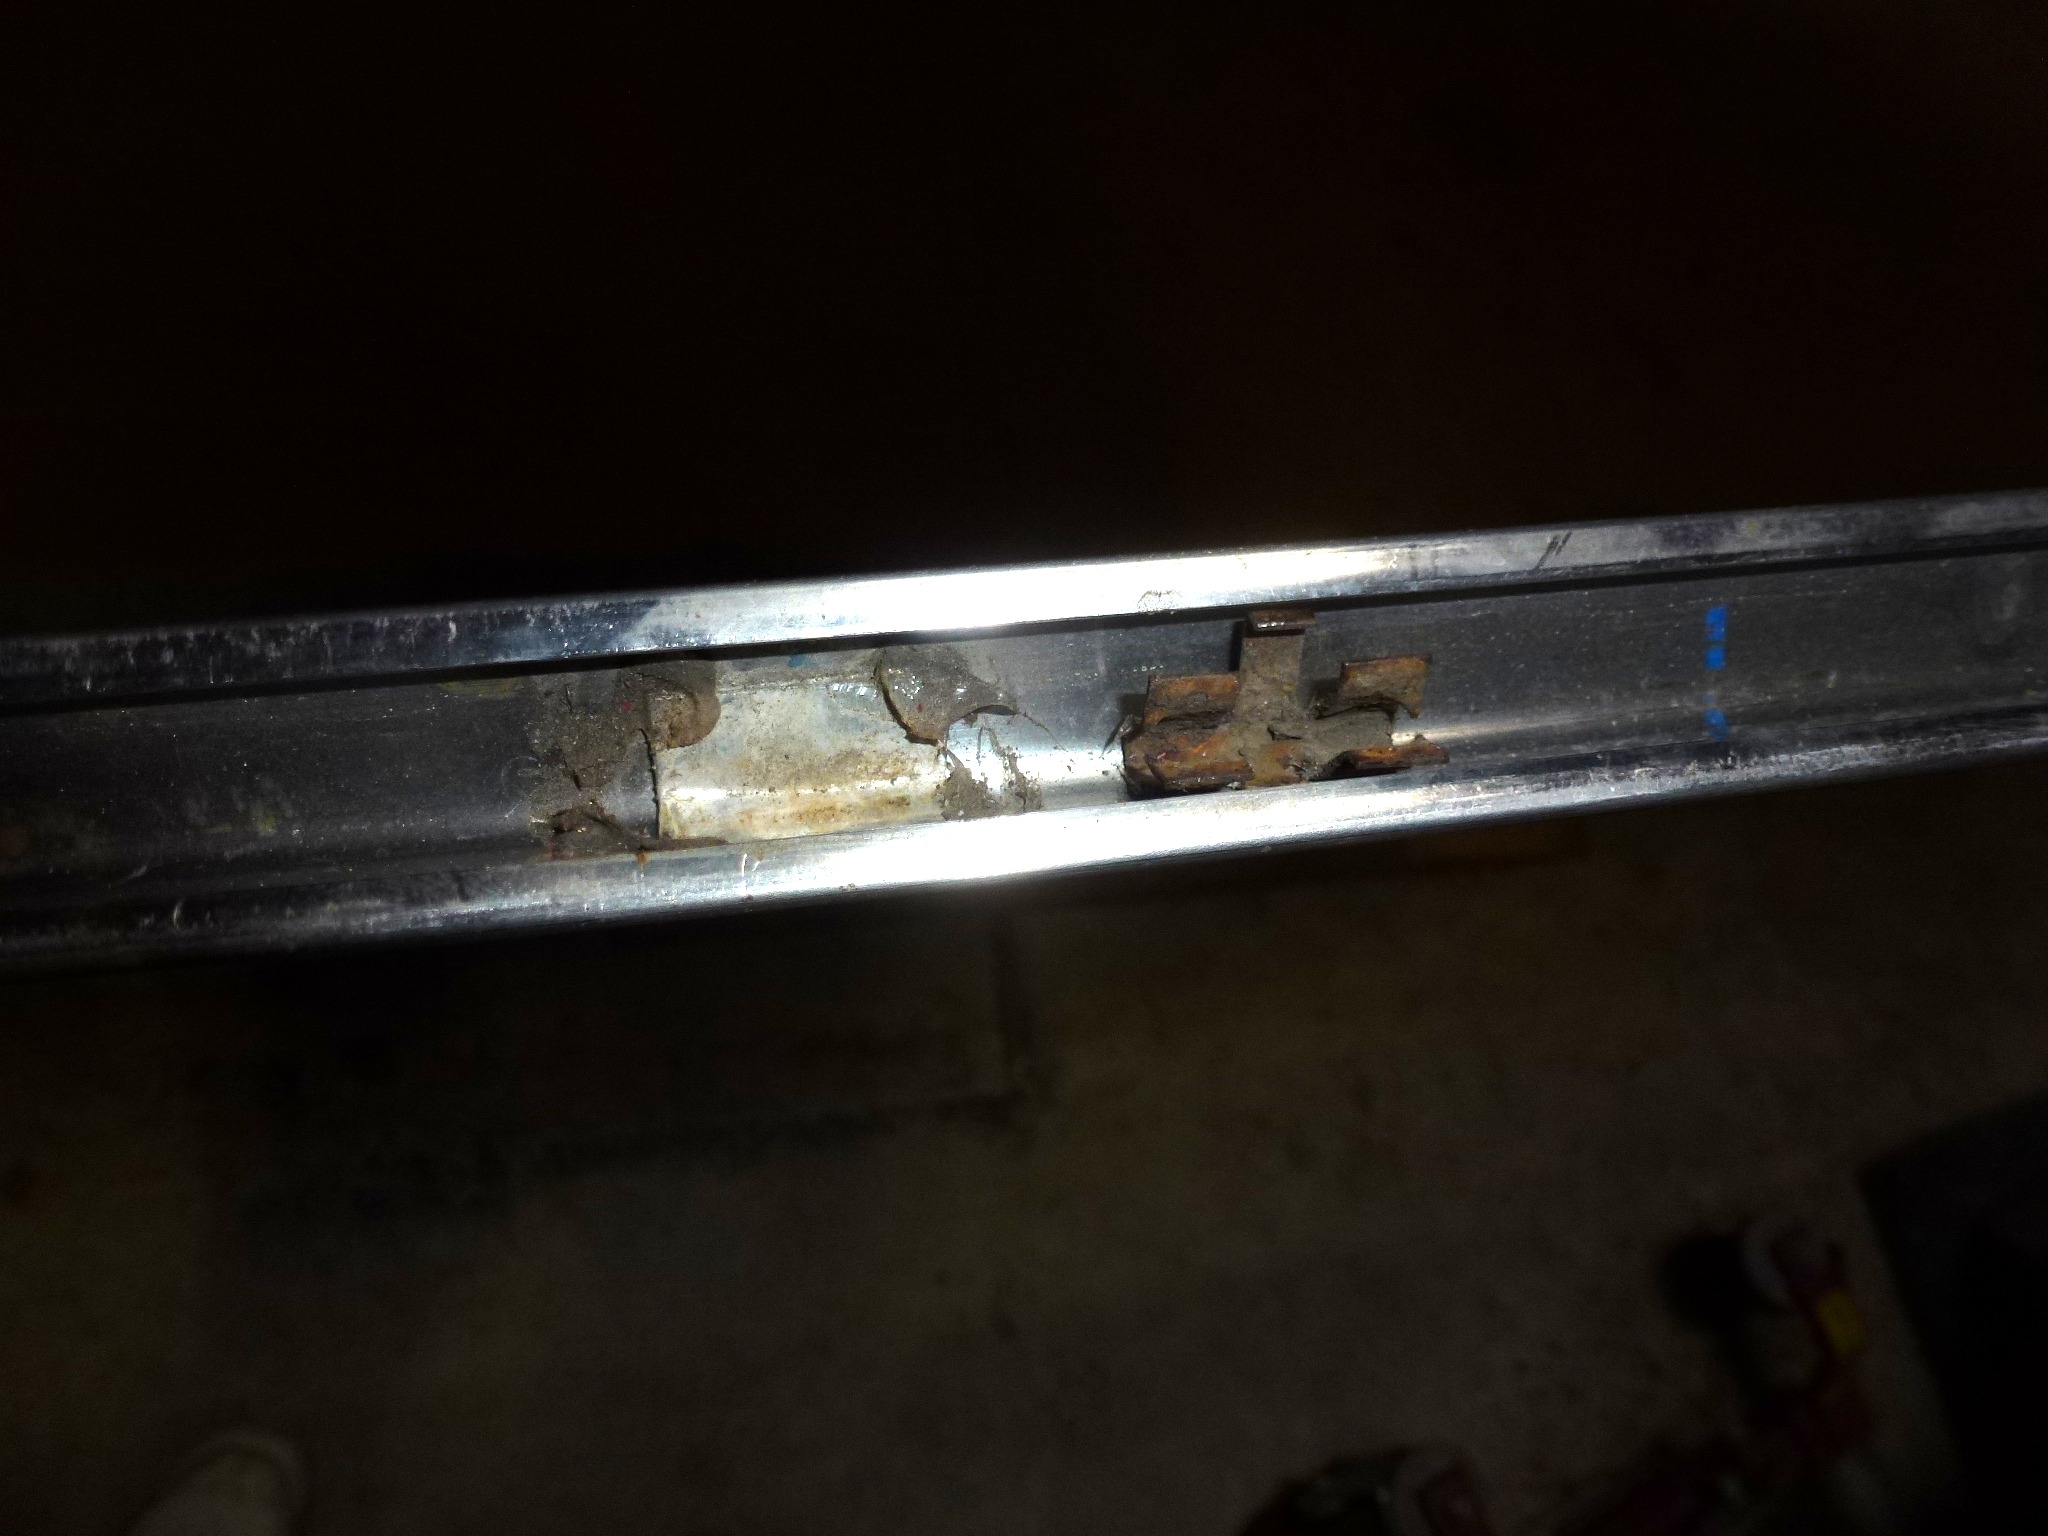
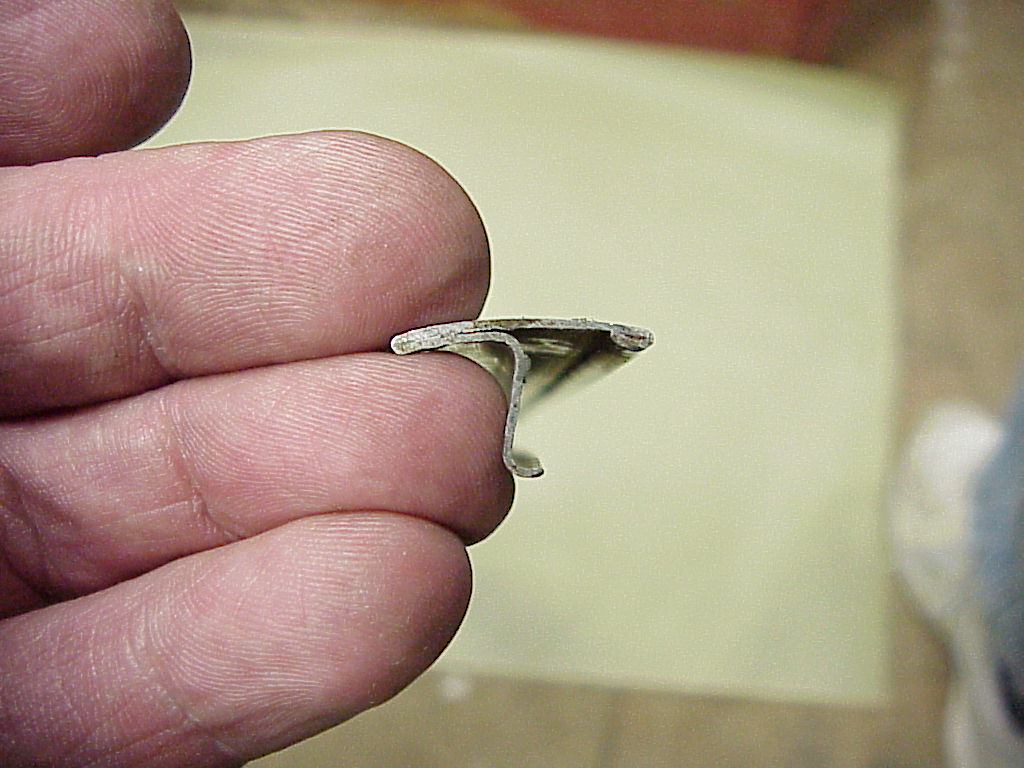
Once the nuts are off and the studs loose in their holes, the rest of the strip is pulled off. There are several spring clips that fit into the triangular shape of the strip and hold onto the pinch weld that is covered by the strip. With the car in the air, I slid a screwdriver along the underside of the strip until I could feel a clip. Then I pried it off of the pinch weld. In my case, I only had four clips on each side, although the PF body parts manual calls for eight per side. The clip in the picture below is an original. When I put these strips on years ago, I found that the original clips would not stay in place inside the strip. So I put aluminum shims under the clips and used some silicone rubber to hold everything in place. It worked, the strips stayed tight on the car for the last 30 years or so. Since the, I bought some new replacement clips which are a different design. When I put the car back together, I'll see if they will work better.
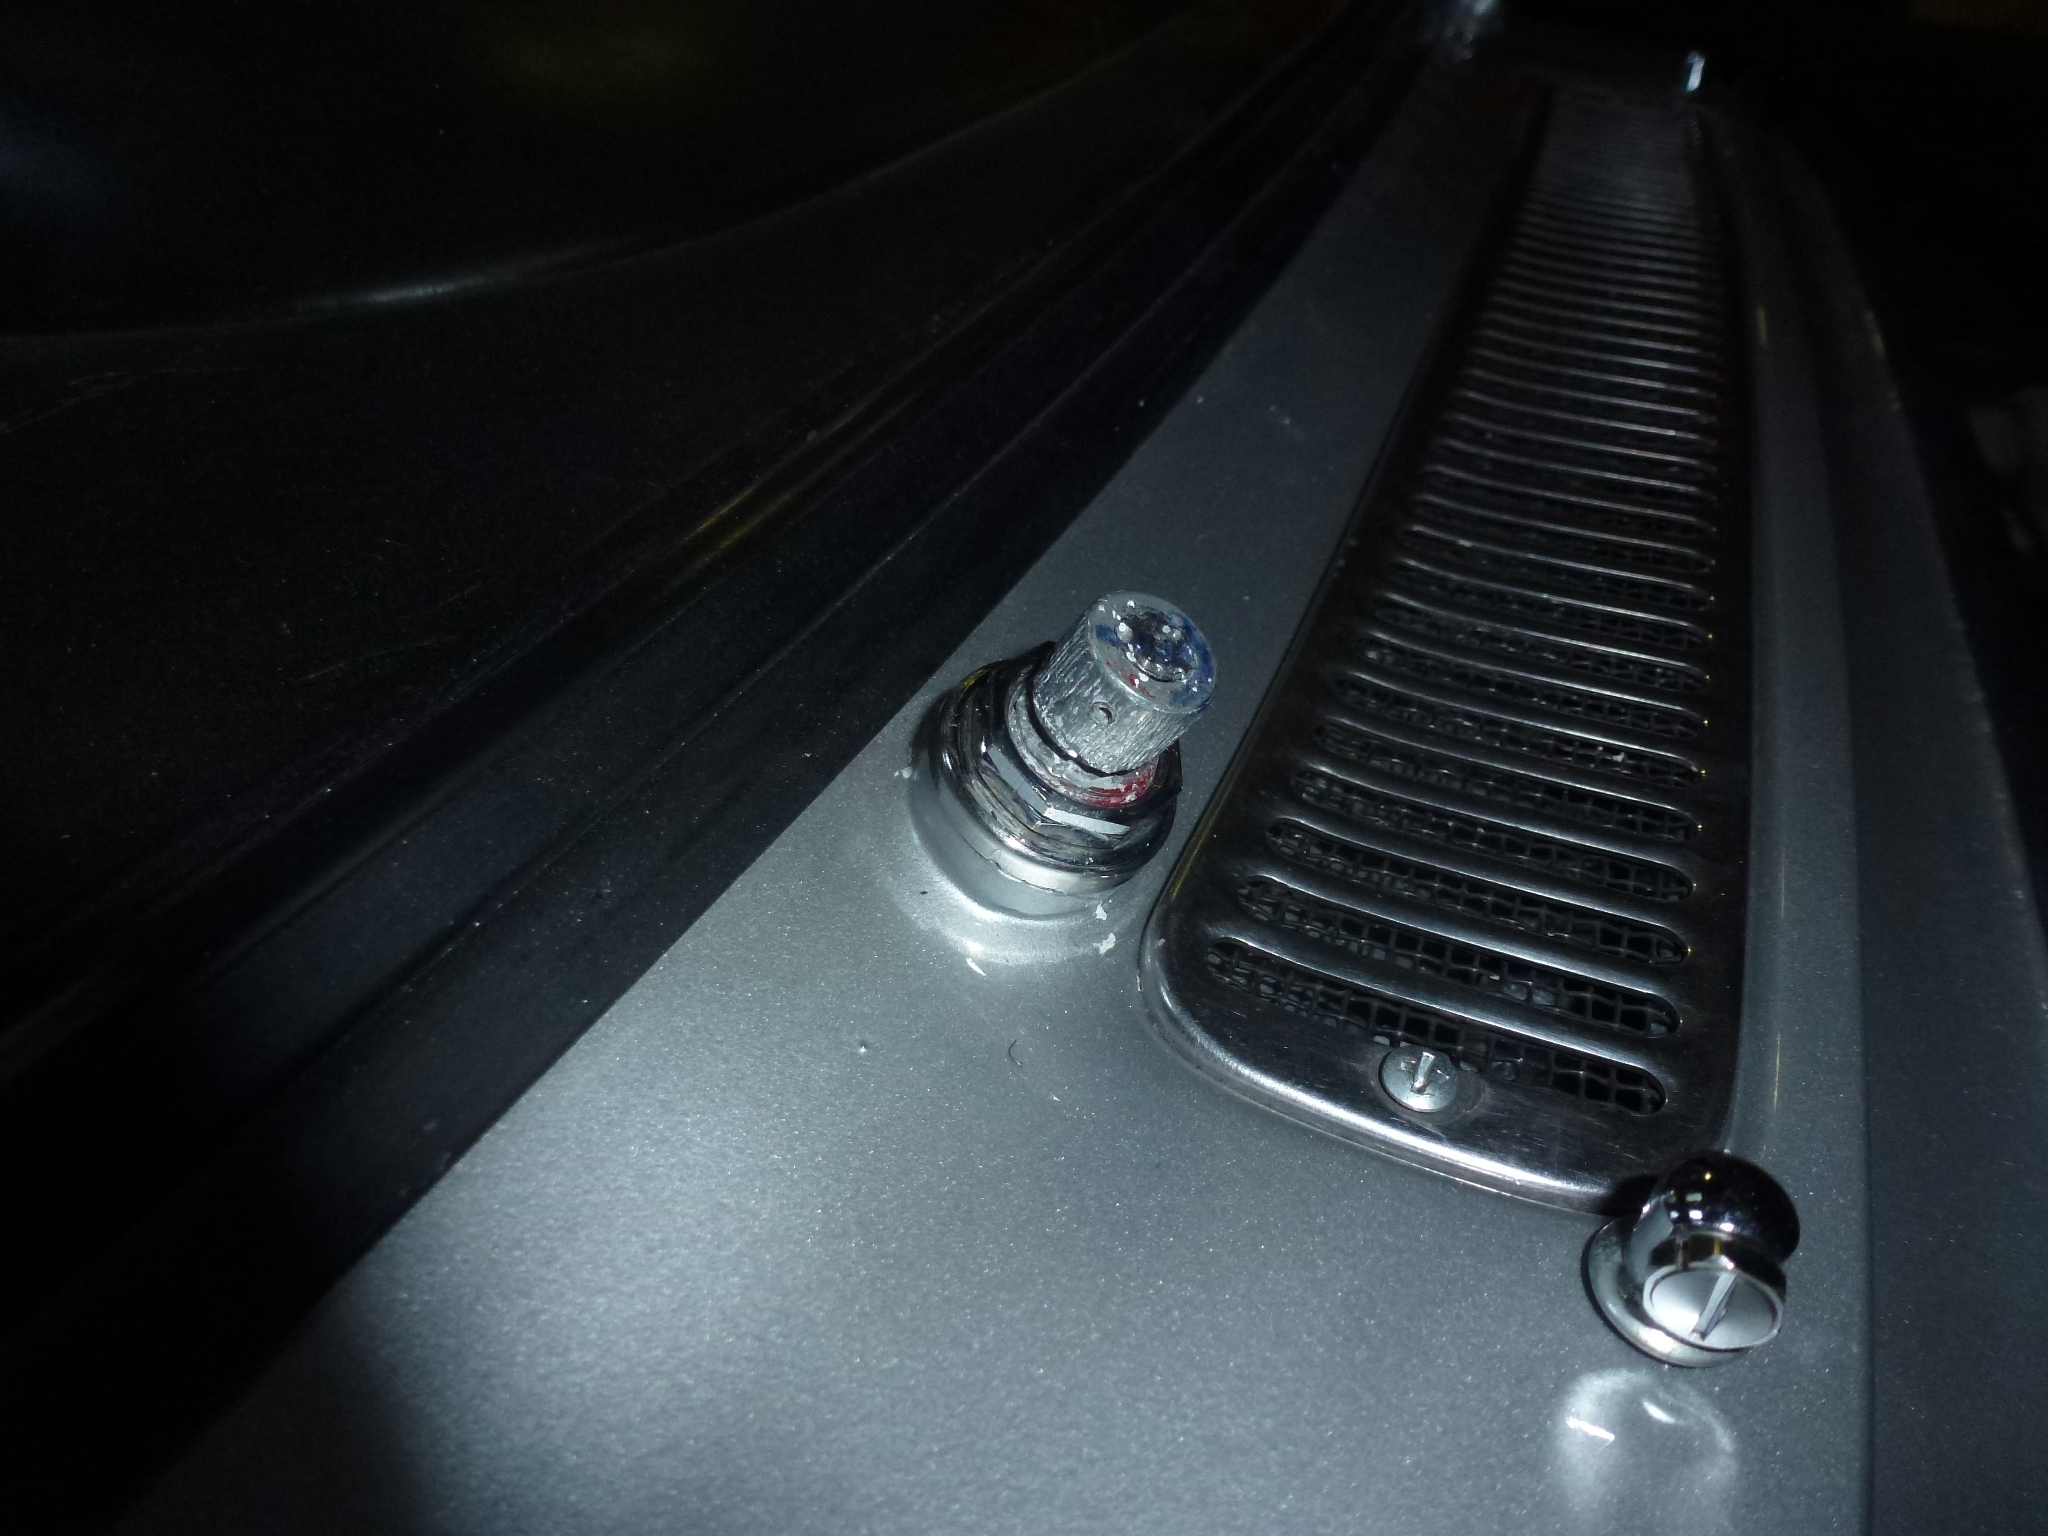
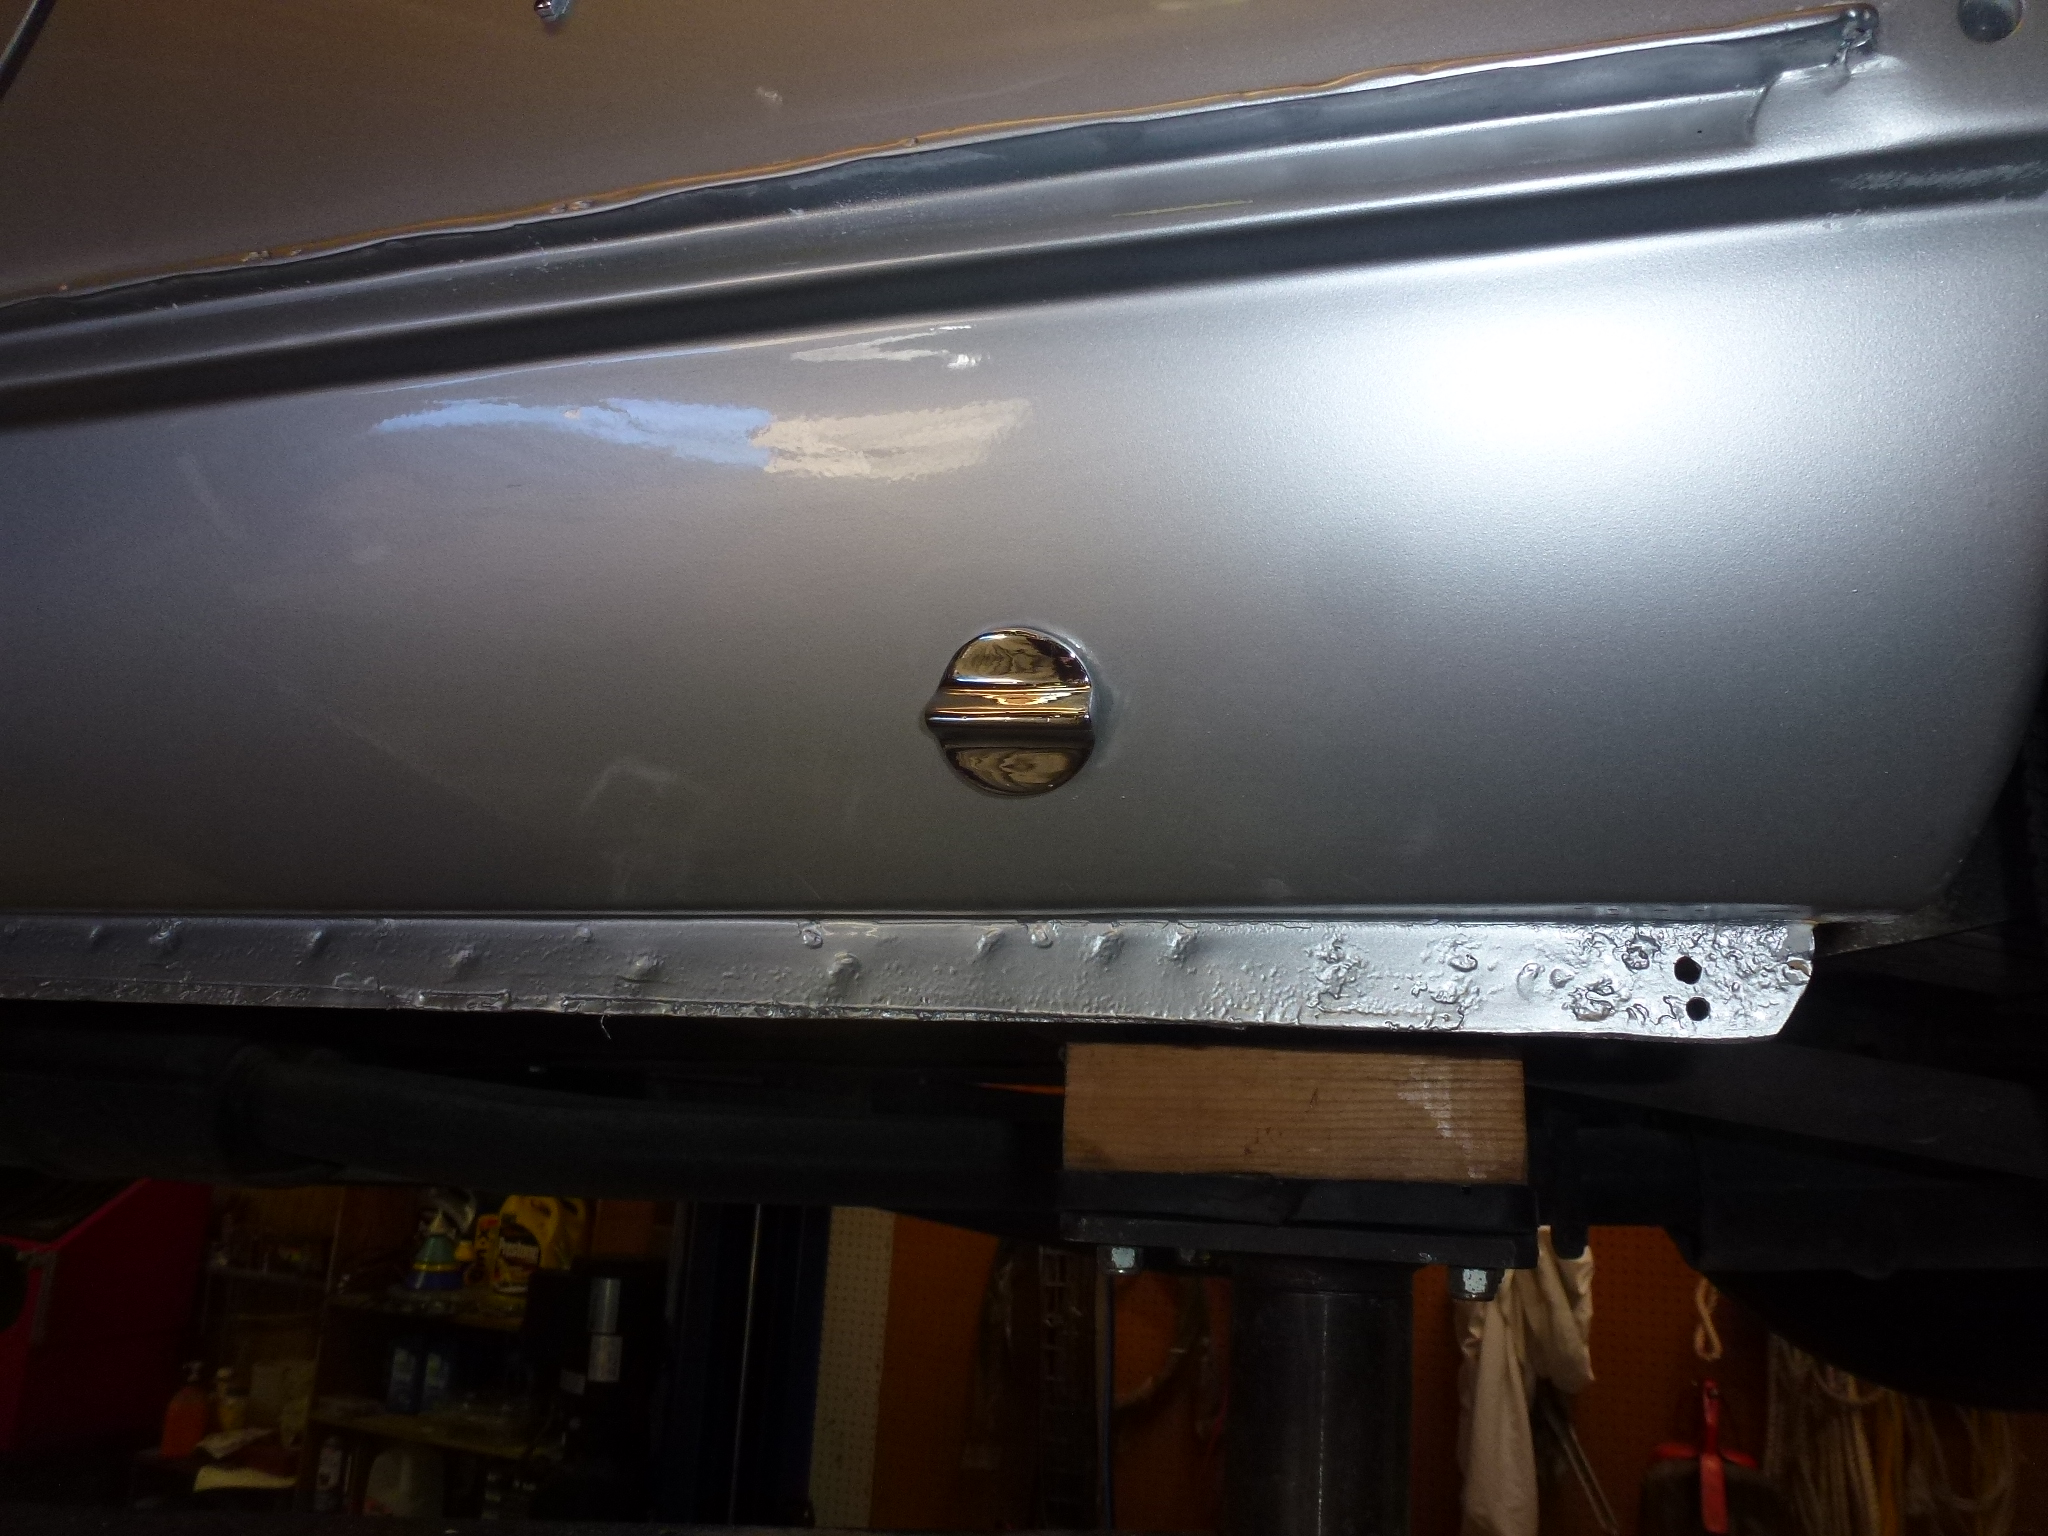
Since I was already working in that area, I remove the jack hole plugs. I had safety wired these in place years ago so they wouldn't vibrate loose and get lost while driving. So it was just a matter of clipping the safety wire and pulling the plug from the hole. Notice that the spring legs are not symmetrical. That is because the hole is horizontal, but the body is at an angle. If the spring legs aren't adjusted, the plug will not sit flat to the body.
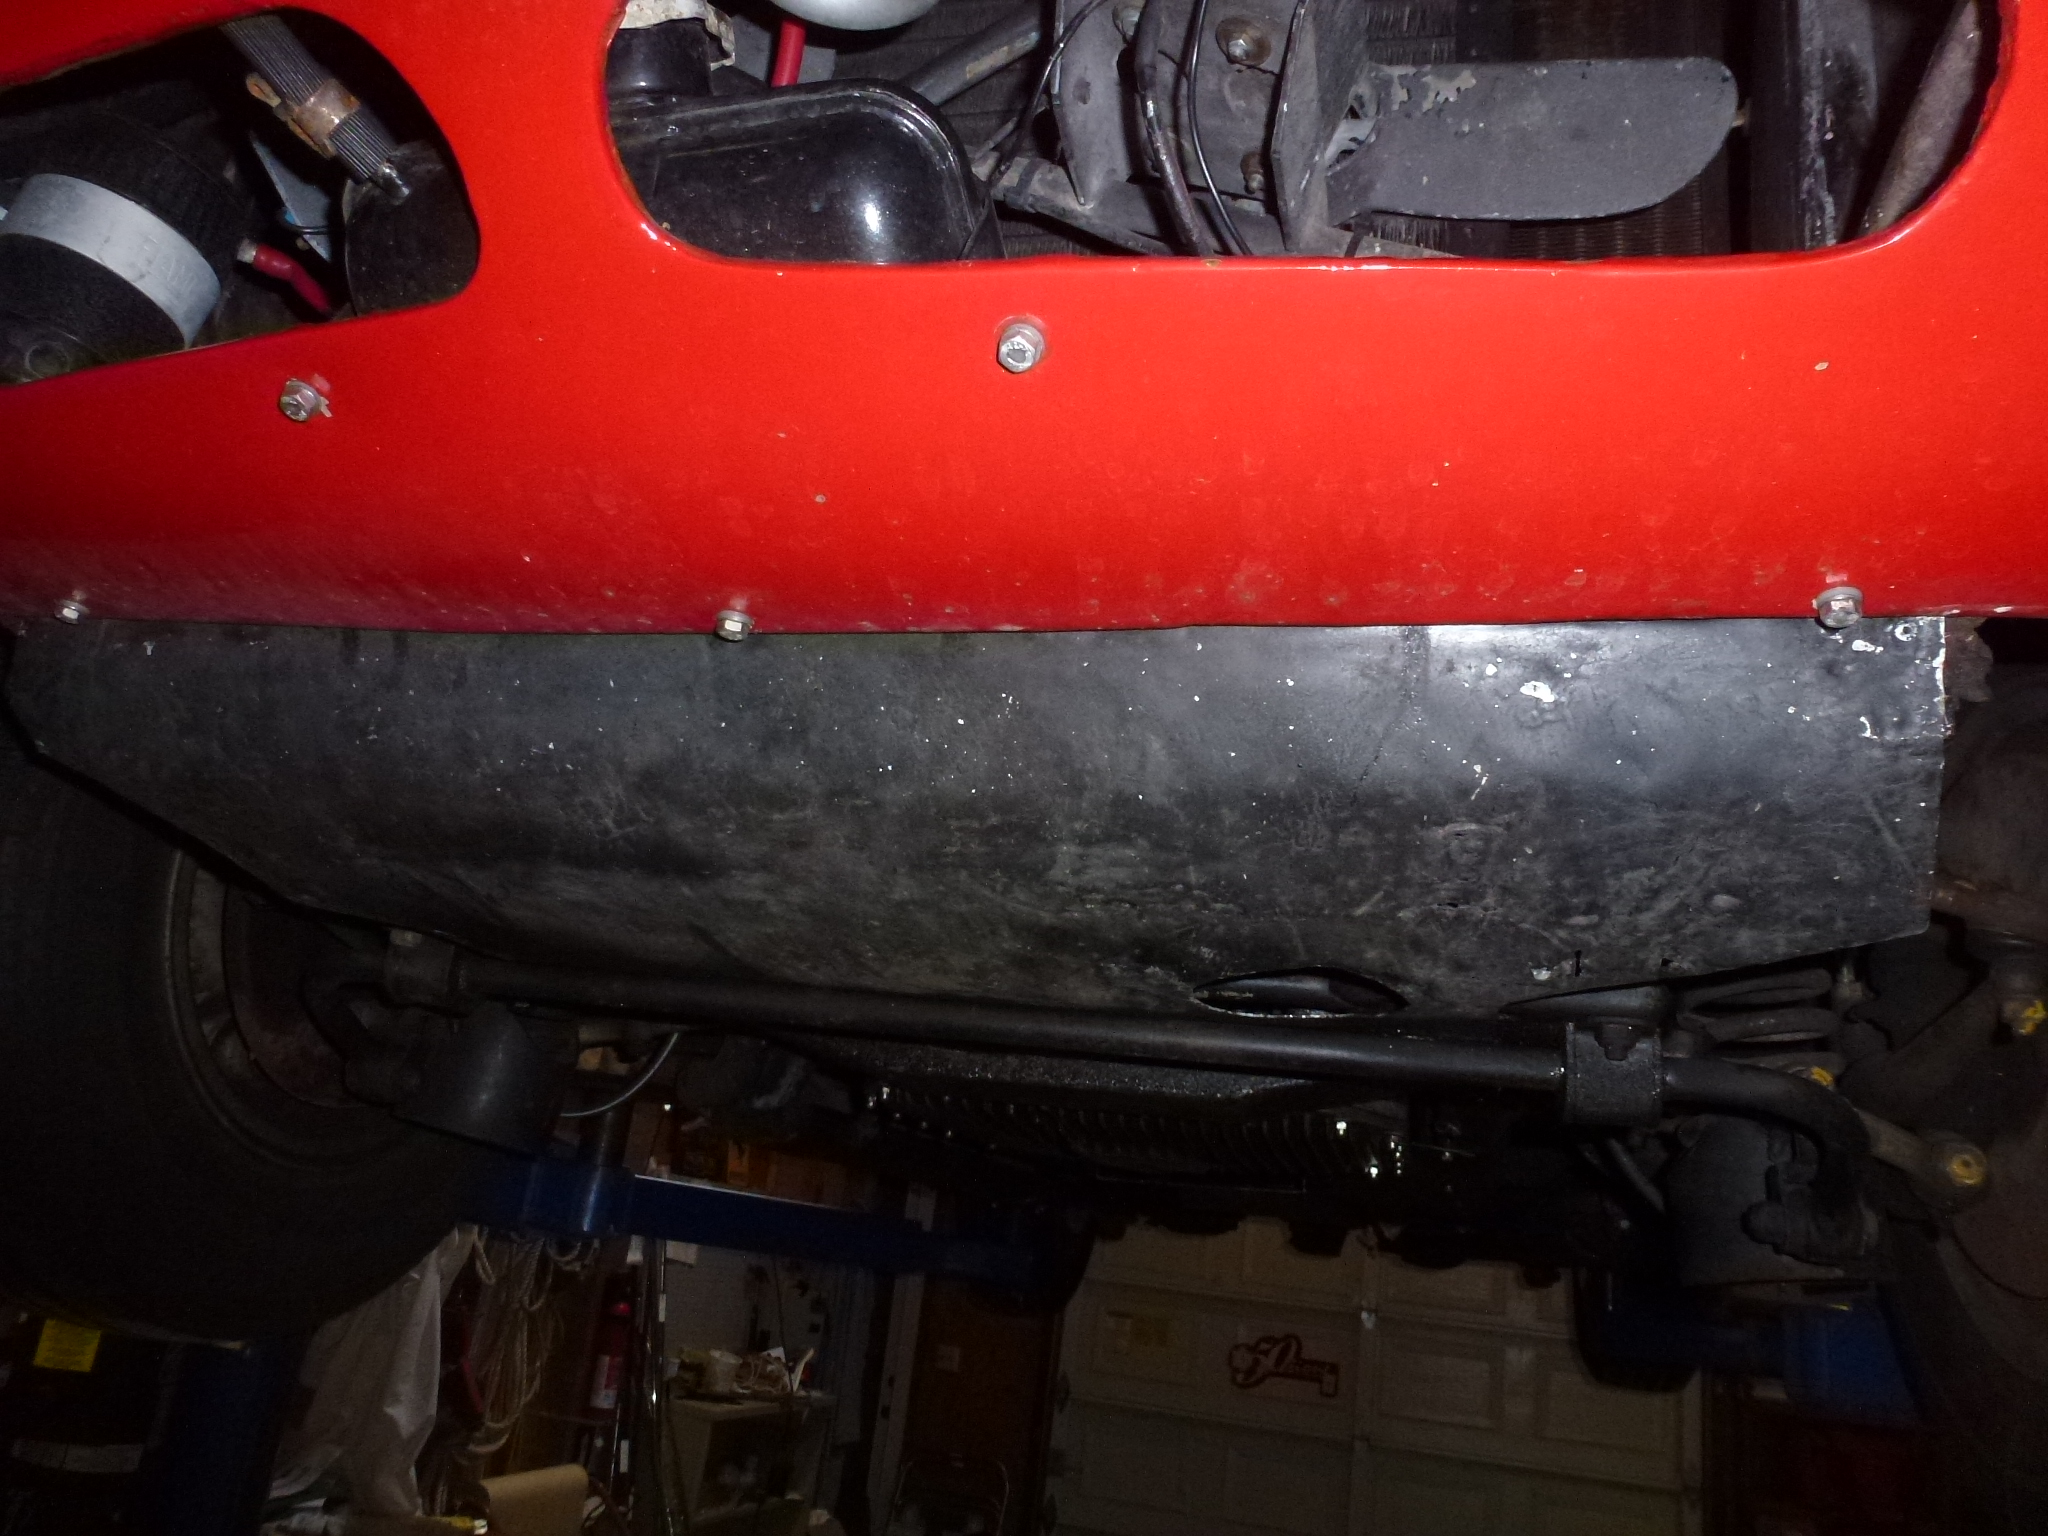
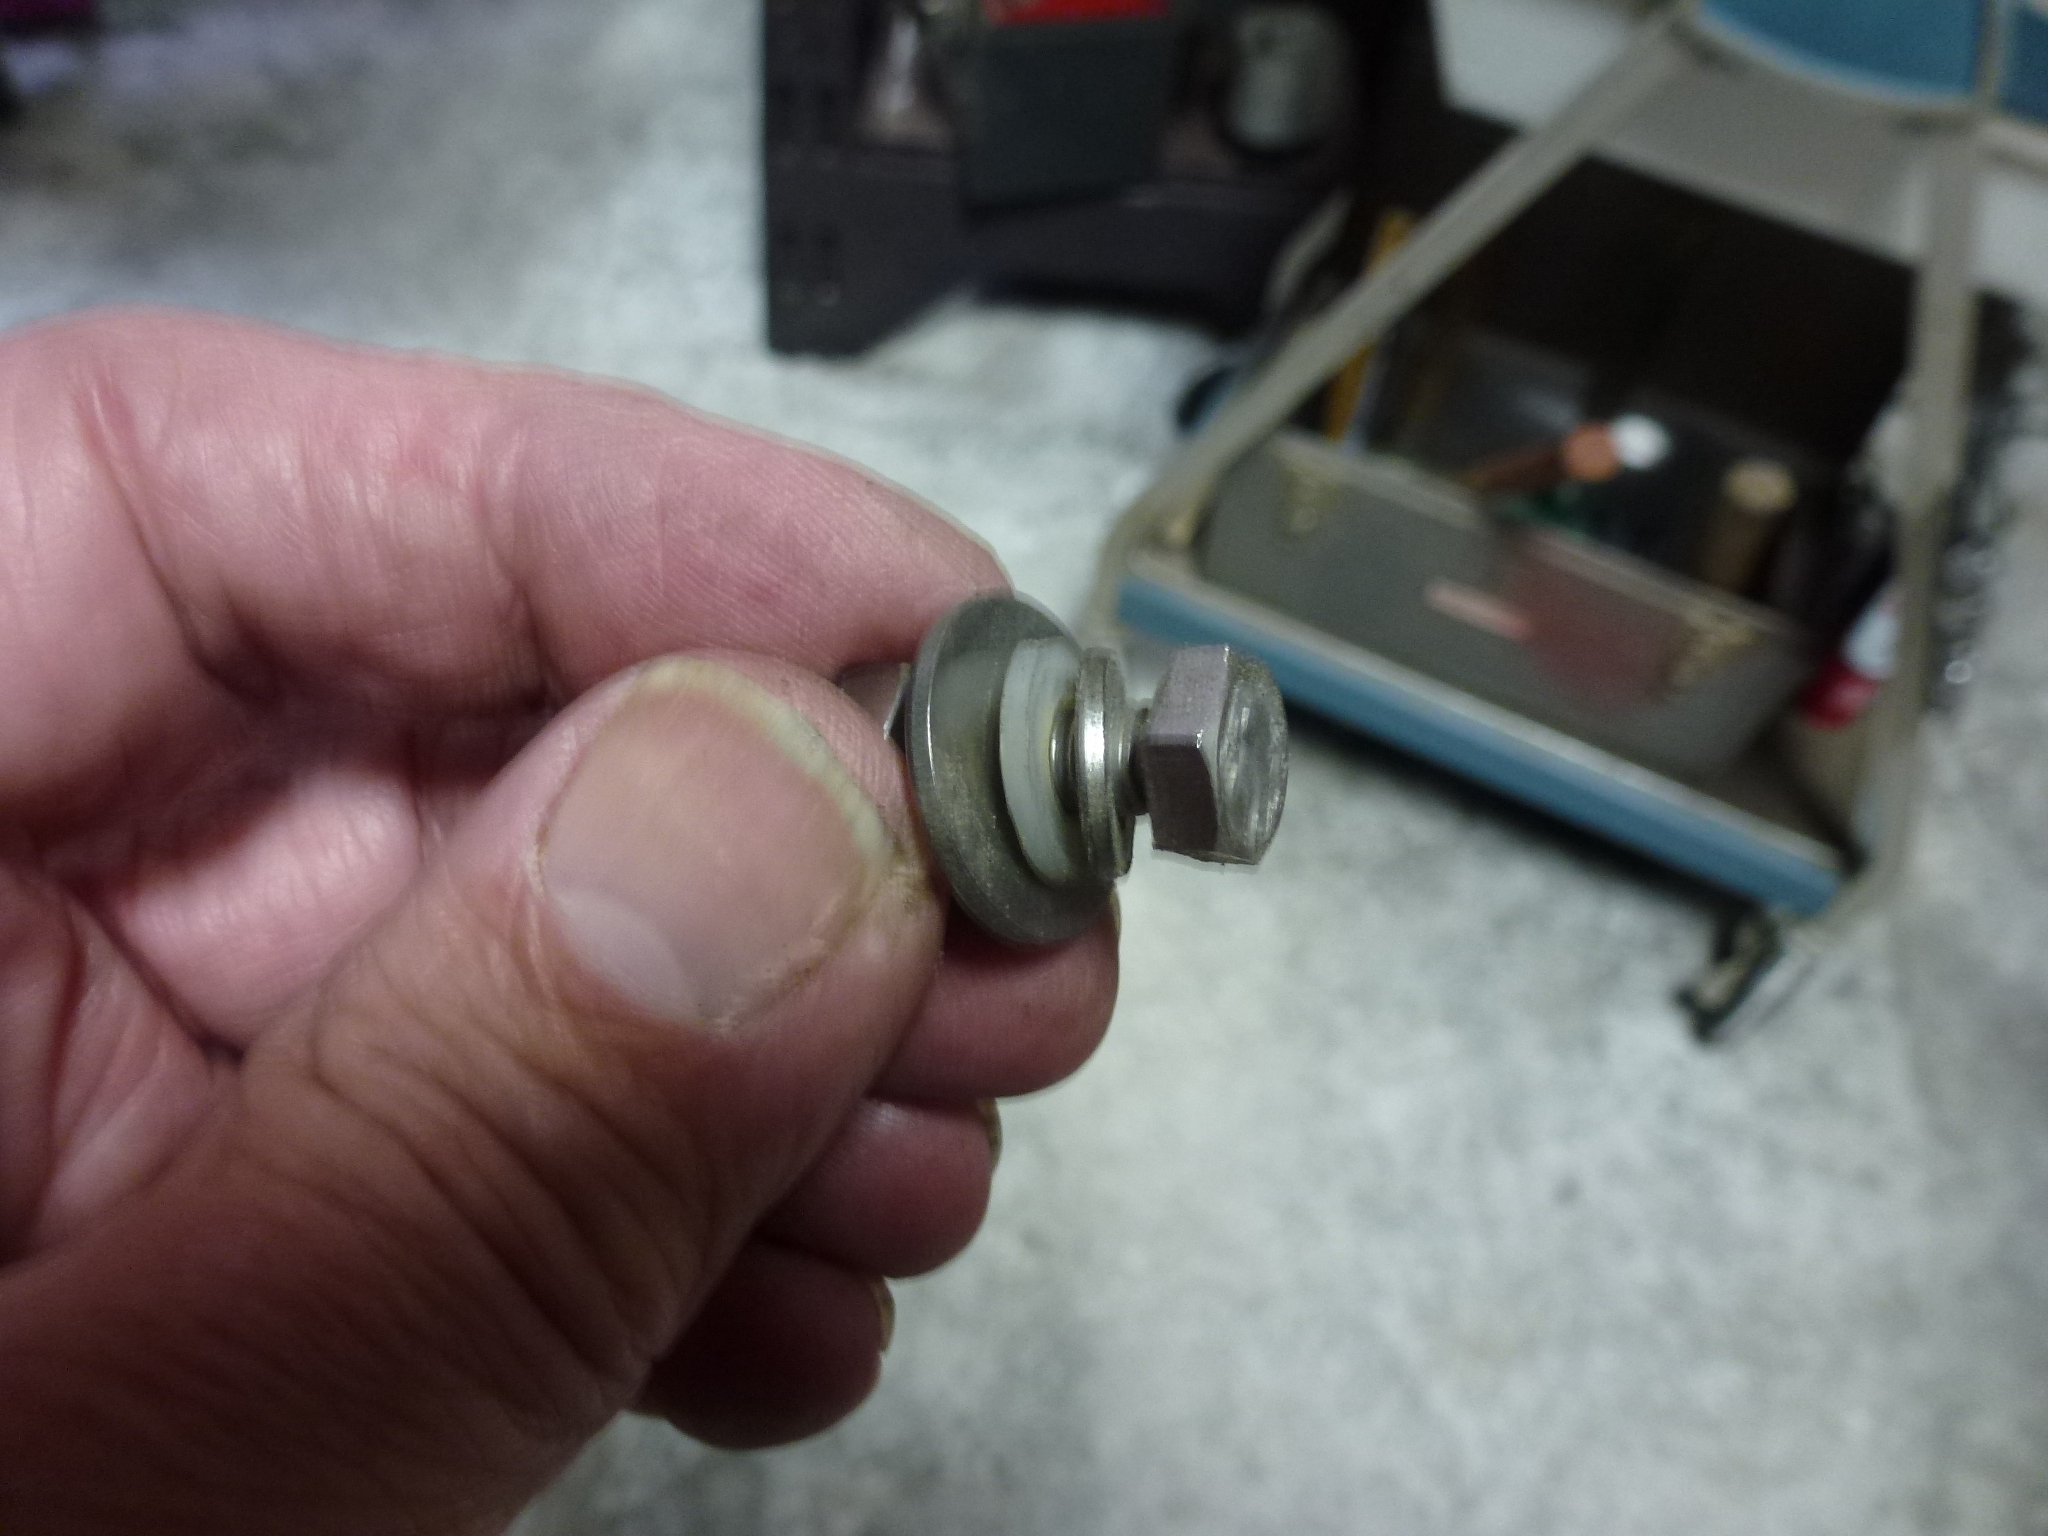
The radiator shield was removed as the bolts holding it are in the painted area. You can see the nylon washer that I put under the bolt head to protect the paint from being chipped by the lock washer.
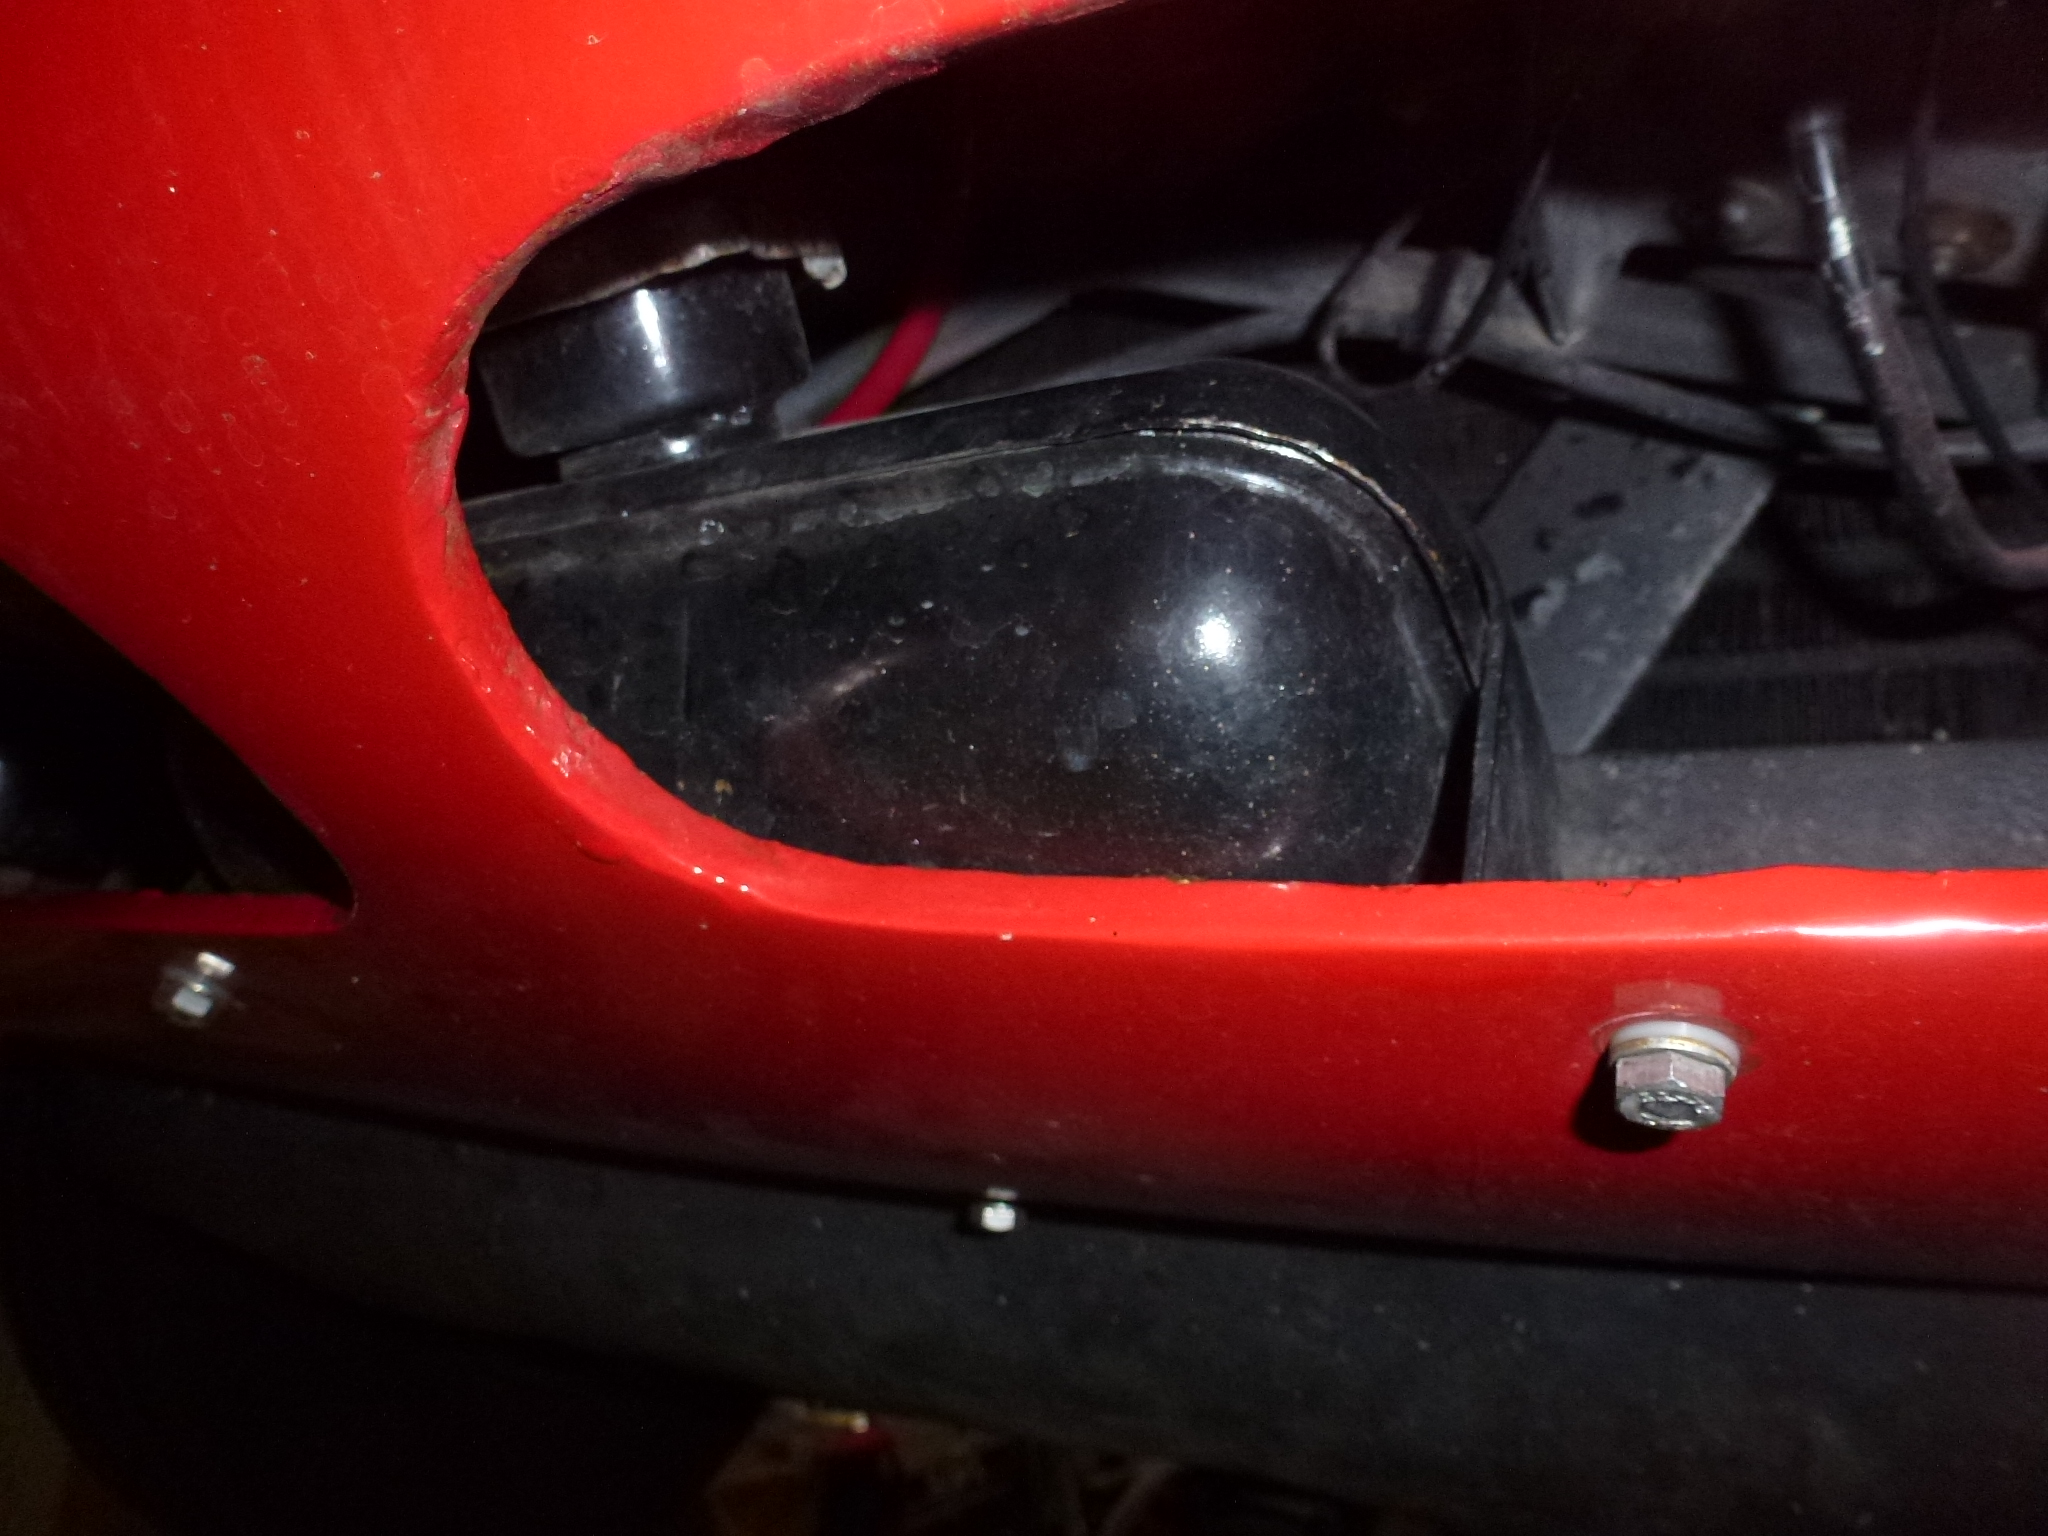
For the same reason, the bracket holding the radiator overflow tank needed to be removed.
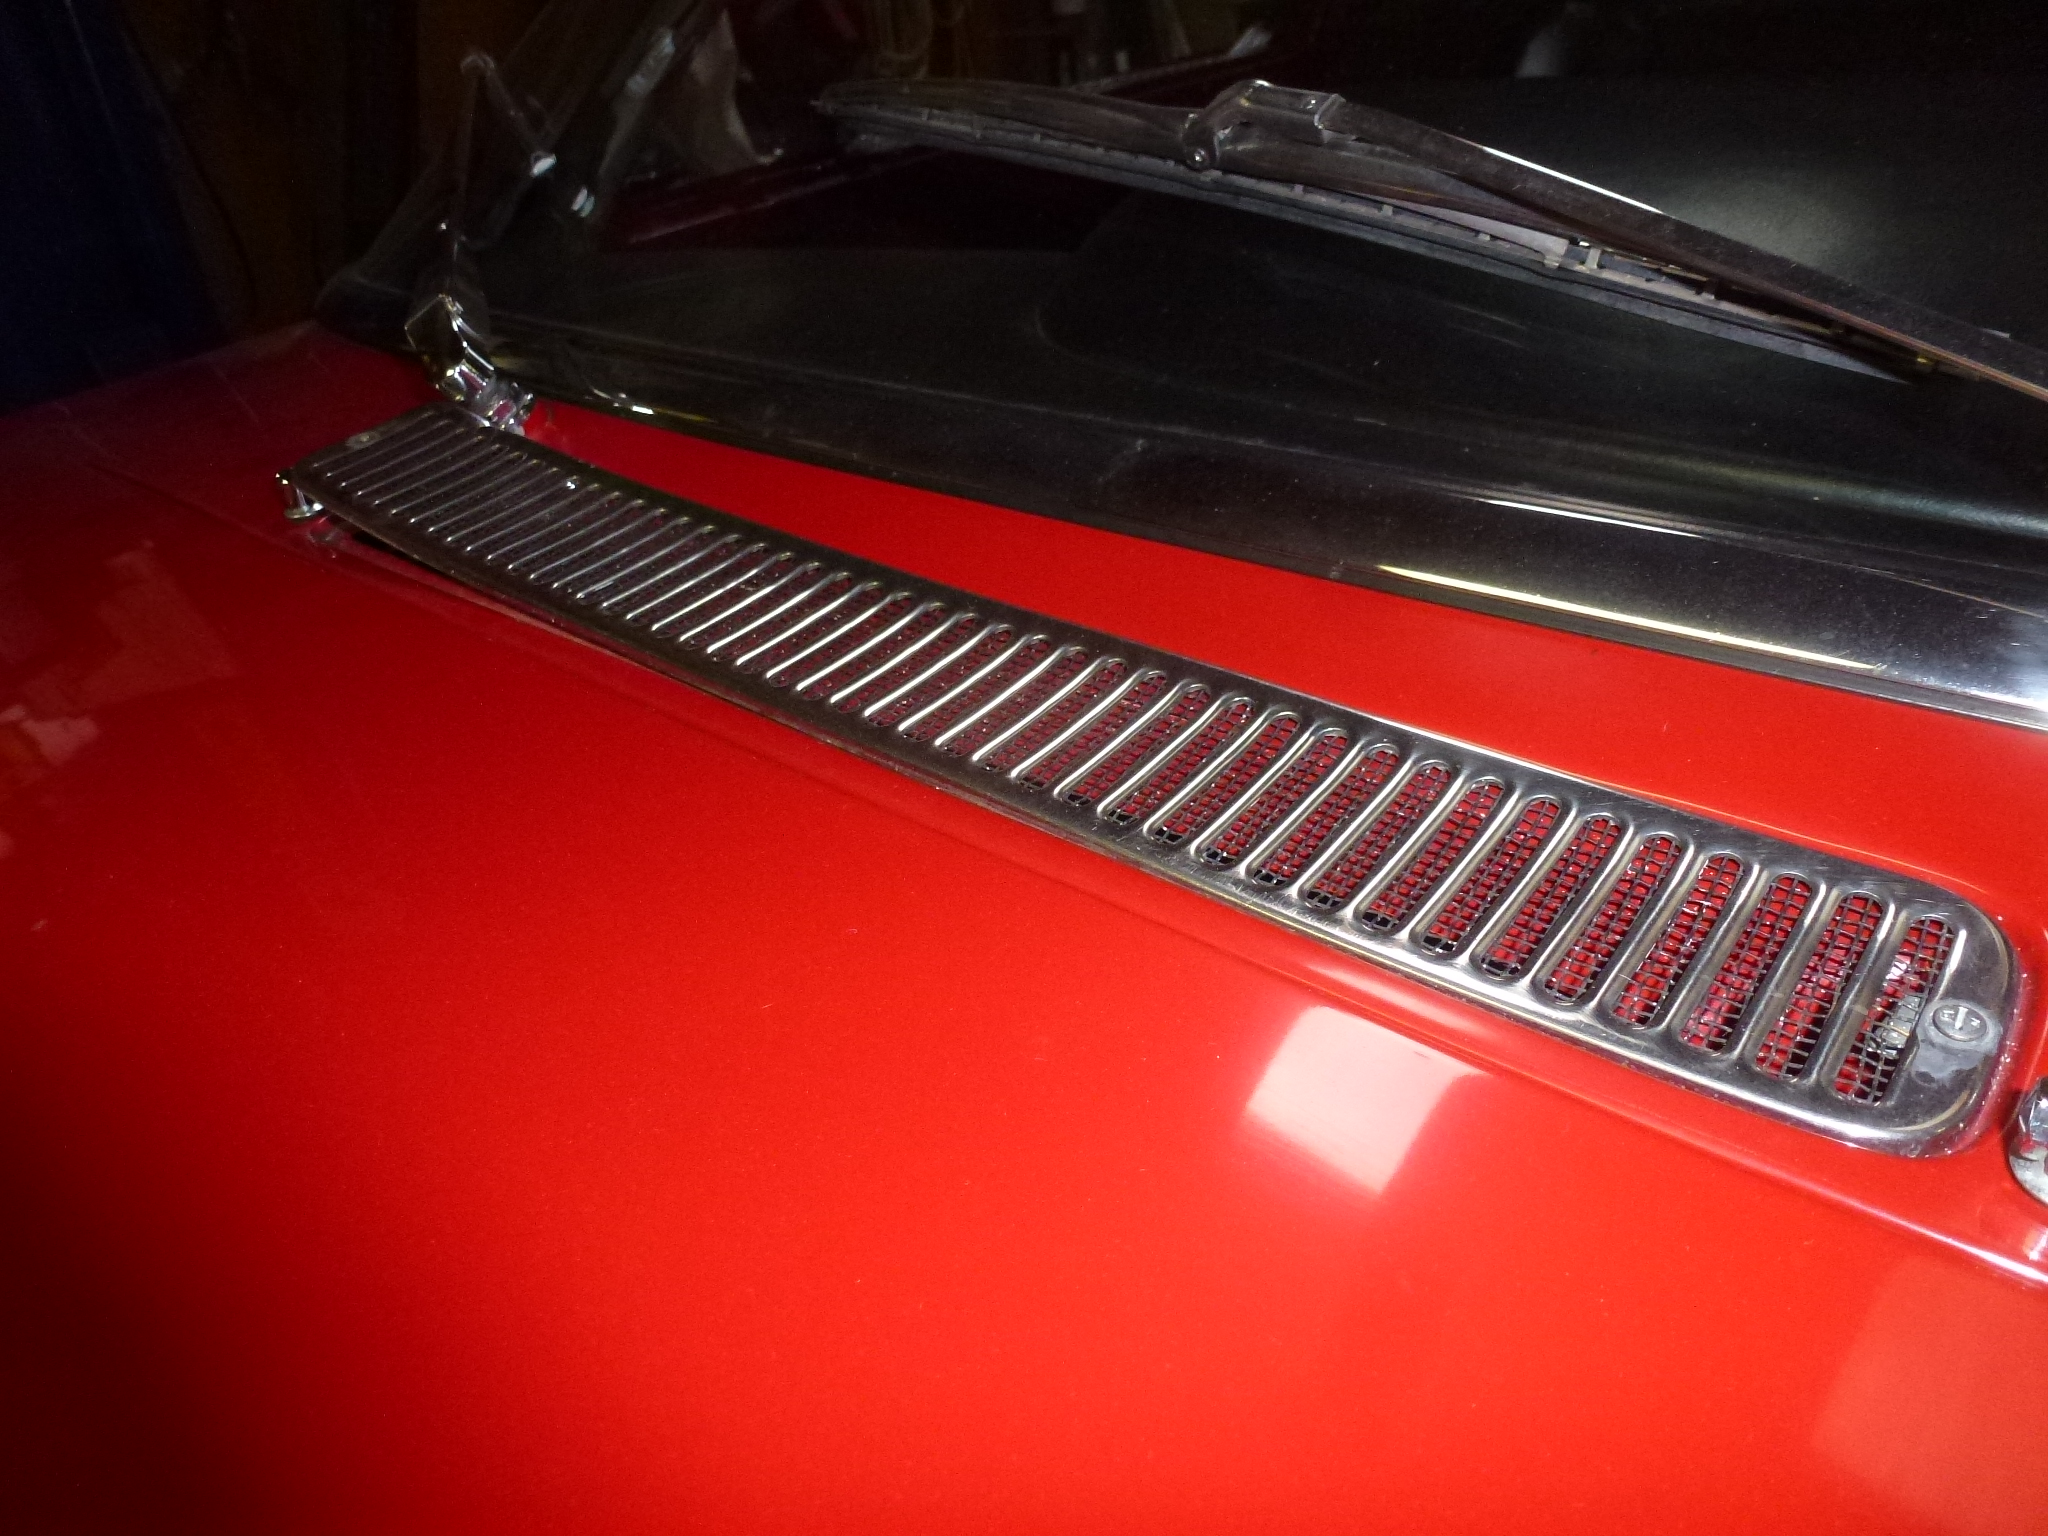
The fresh air intake grille was taken off. Just screws at each end.
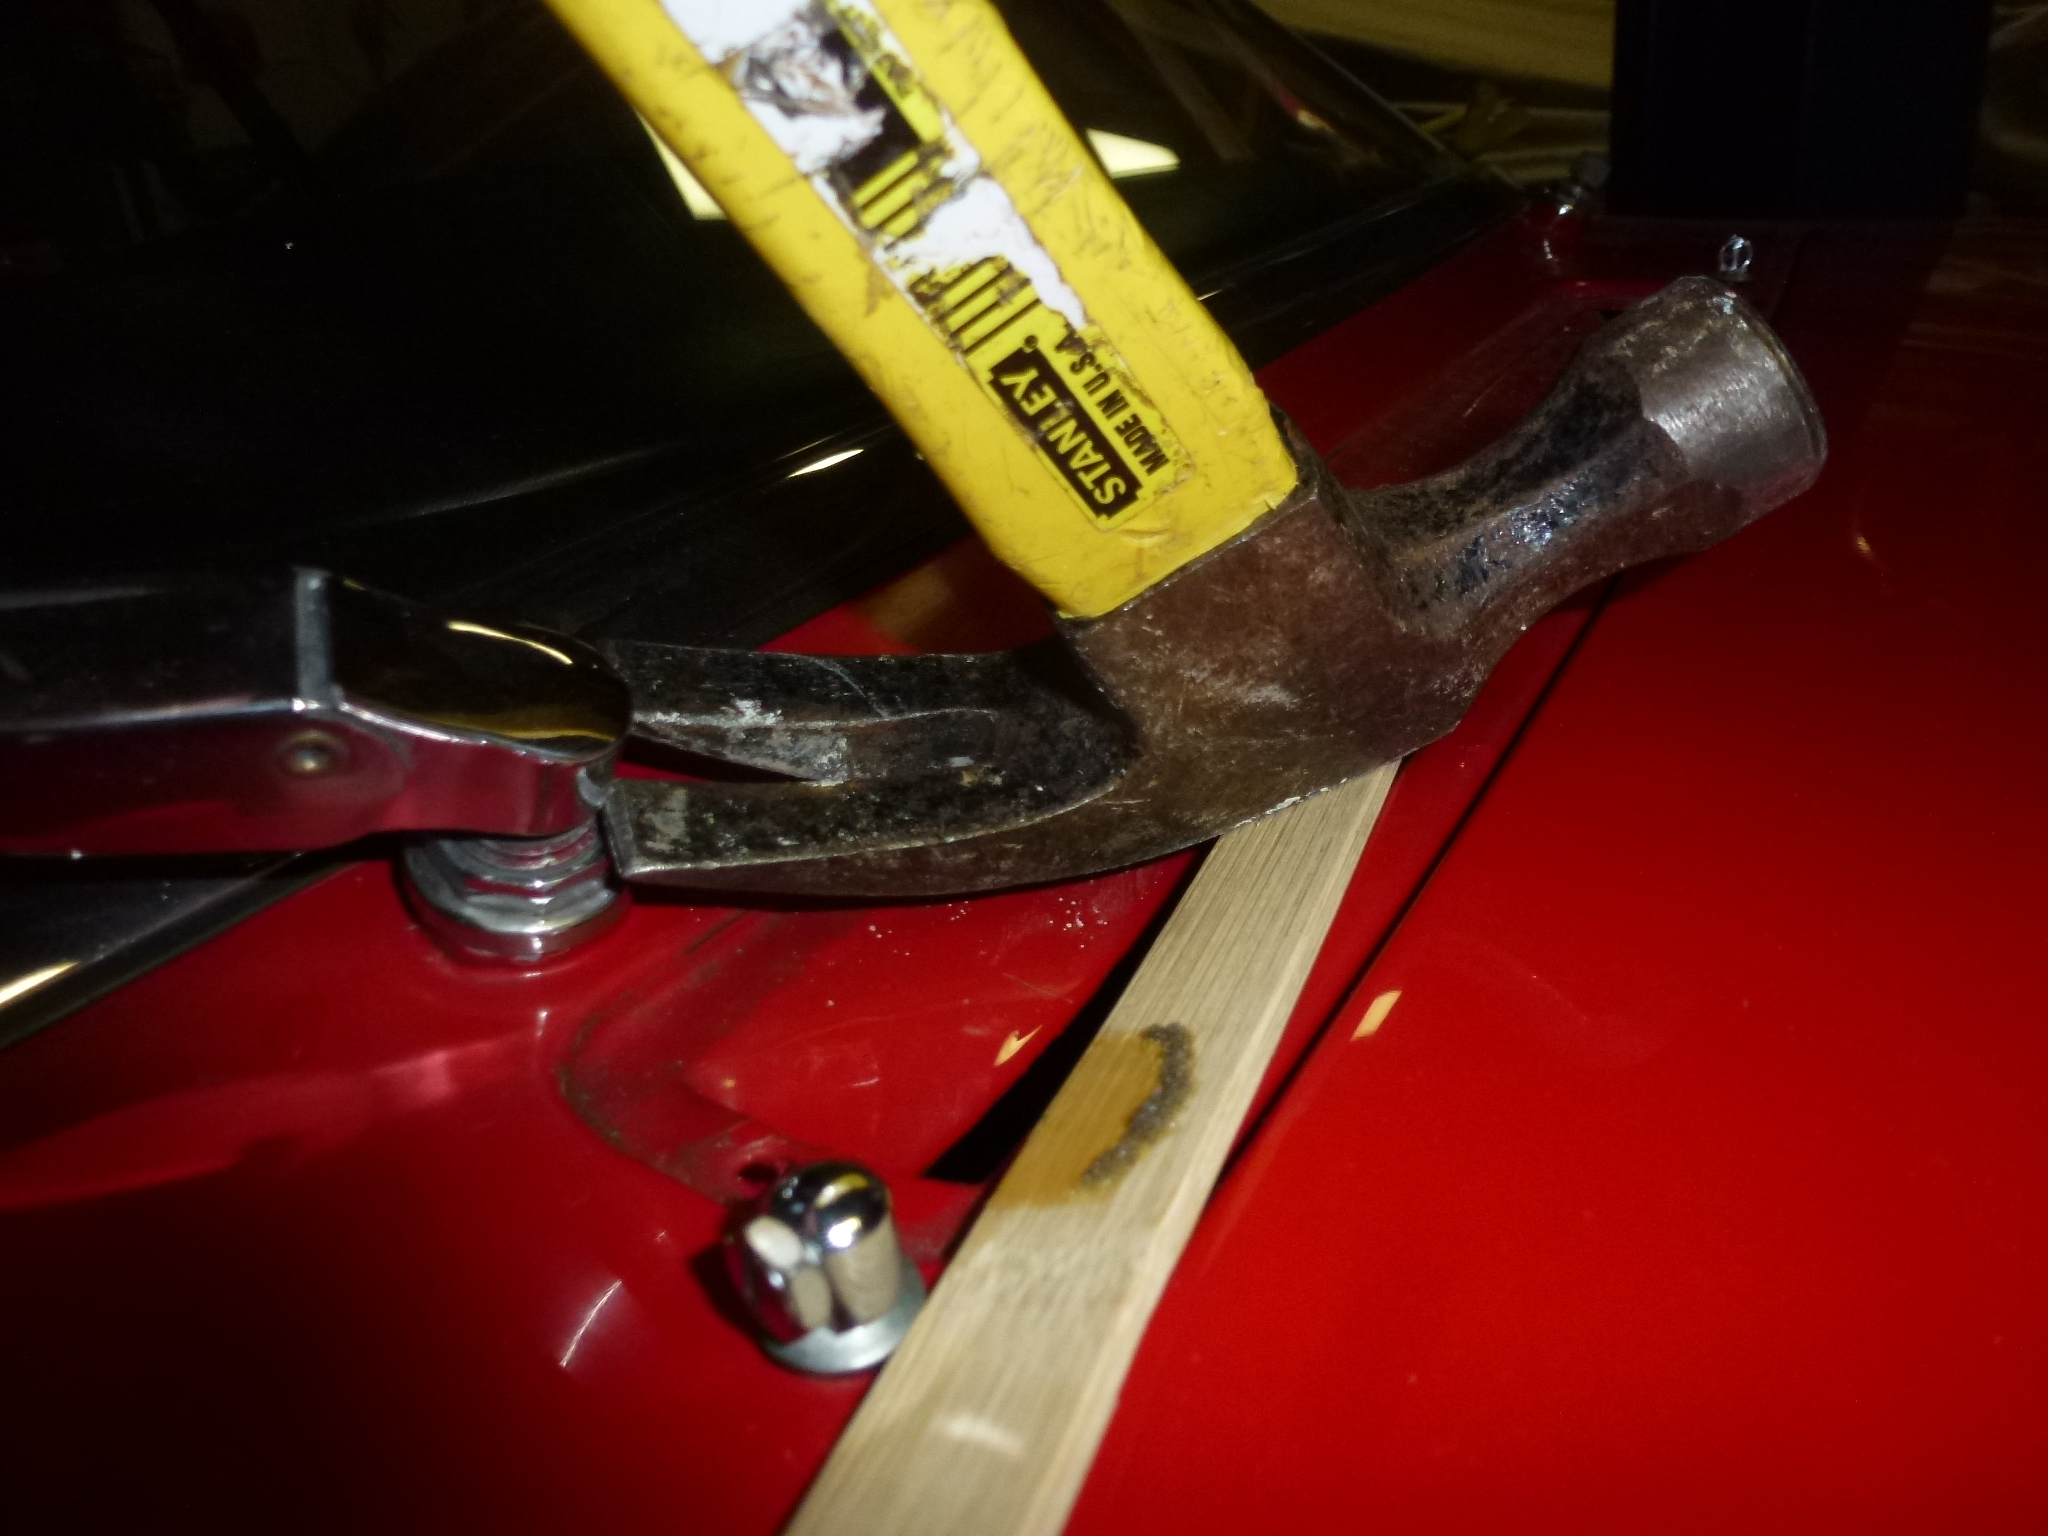
Removing the wiper arms can be difficult. I've found that using a claw hammer and some wood to protect the paint works well. With the claw just under the edge opposite the arm, a slight pull pops it off.
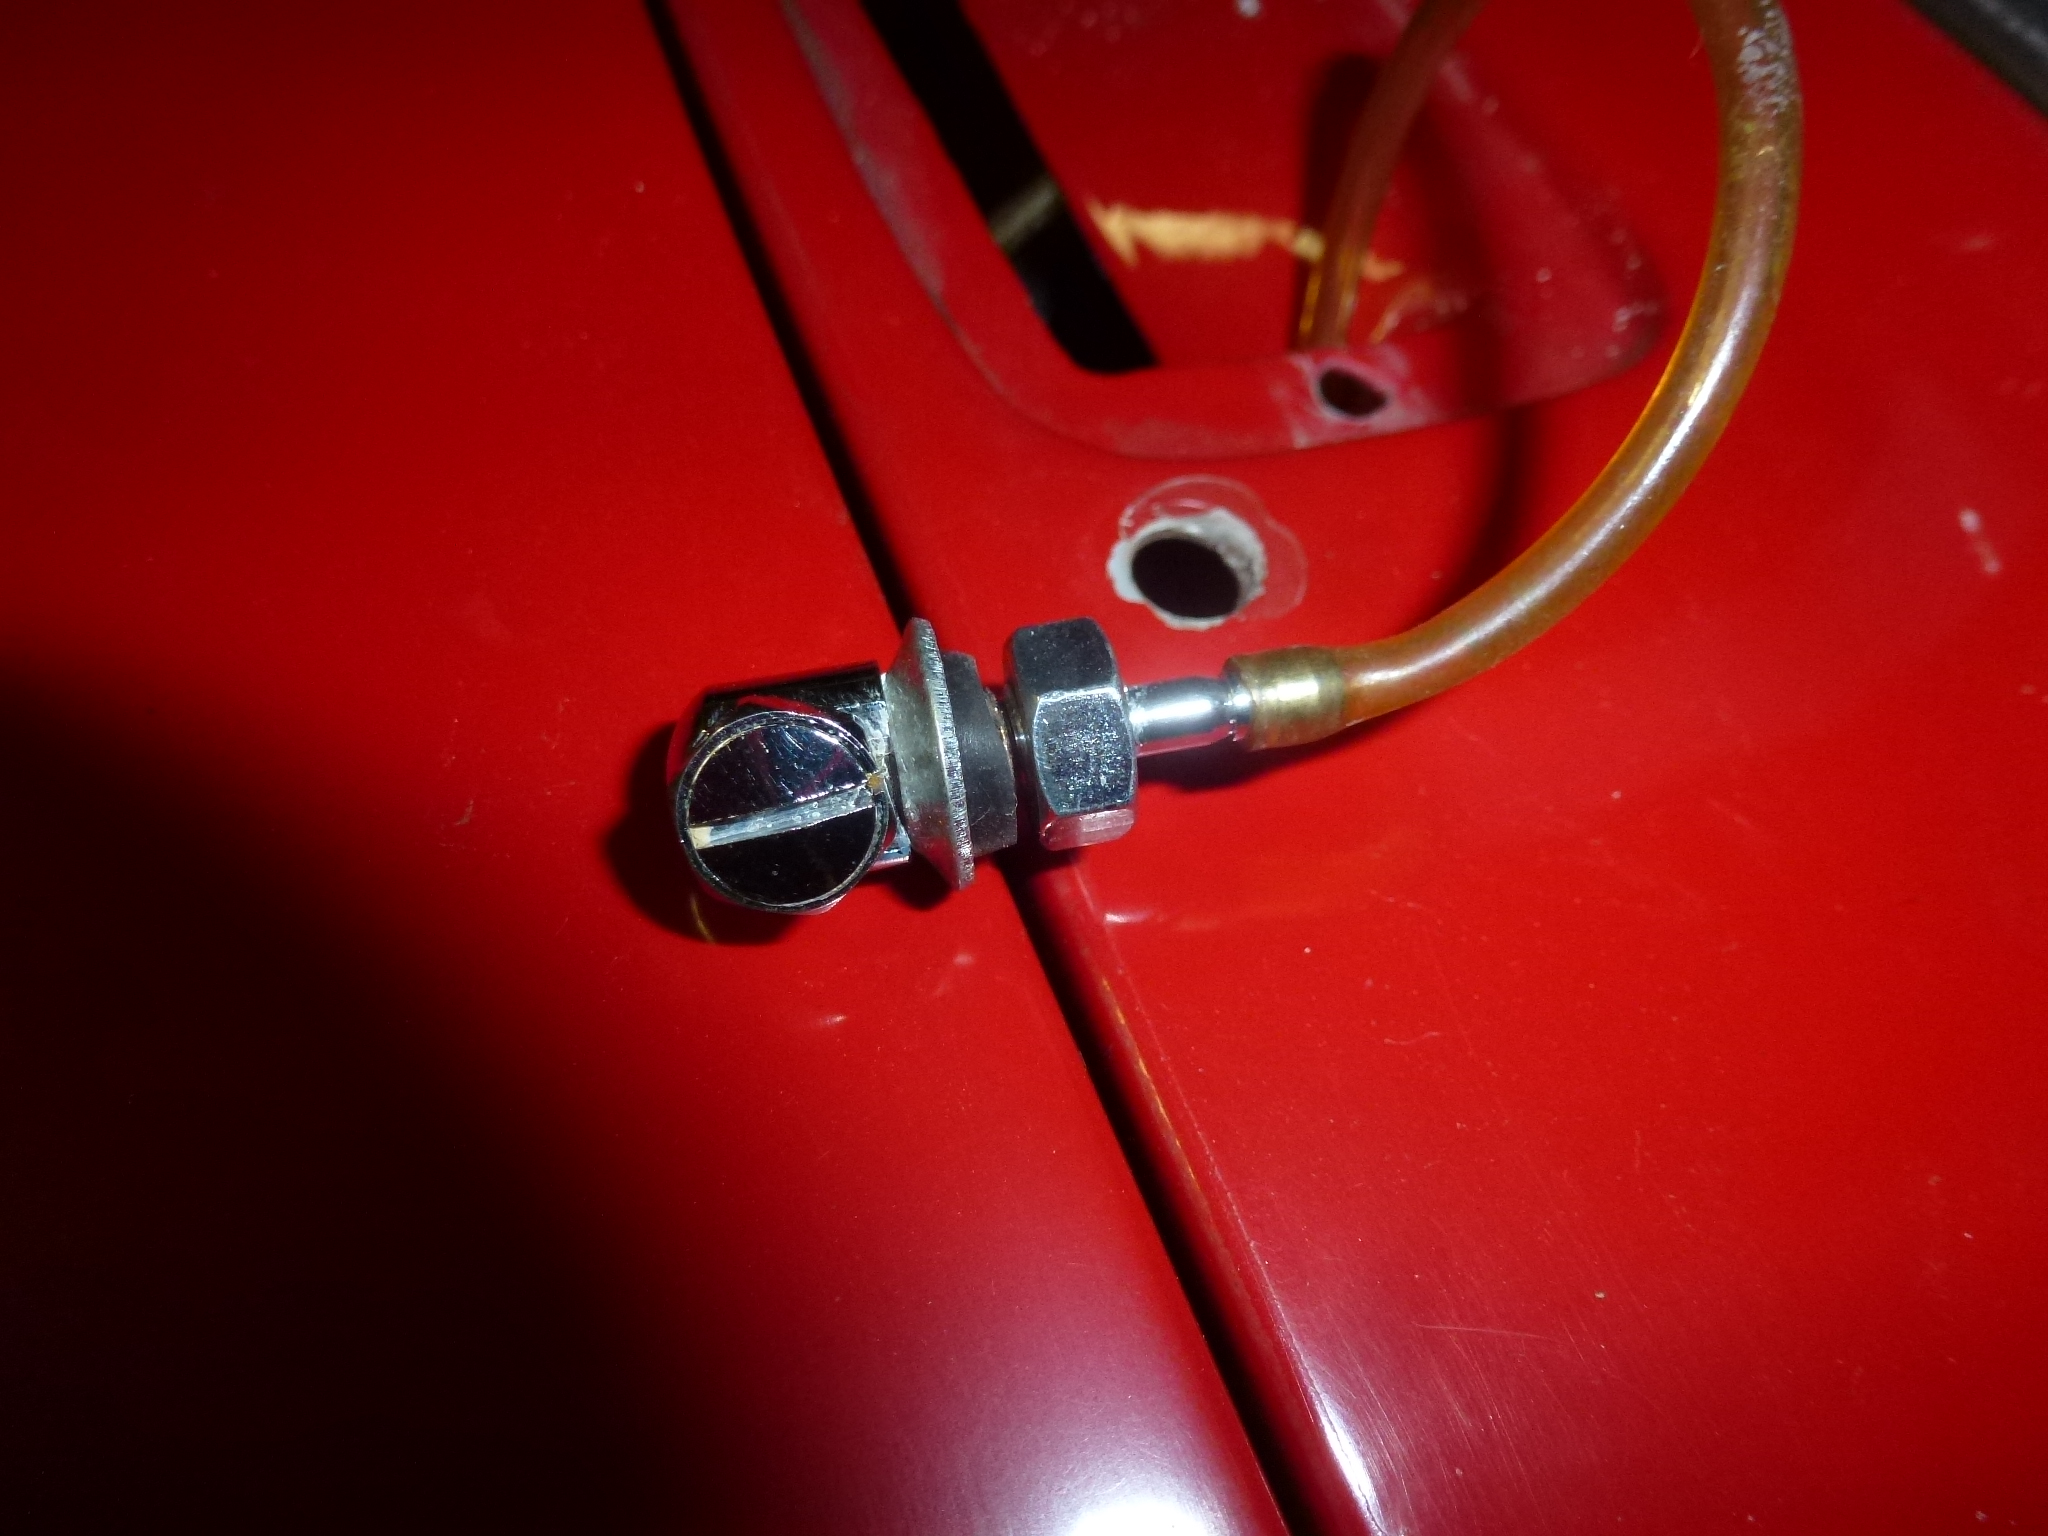
Now you have access to remove the windshield washer nozzles. These have a nut on the underside, but don't pull off the hose until the nut is undone and slides down the hose. Pull the nozzle and hose up through the hole and then pull off the hose while holding onto the end. Grab the hose from underneath through the vent opening and slide the nut off. If you drop the nut, it is fishing time with a stick magnet.
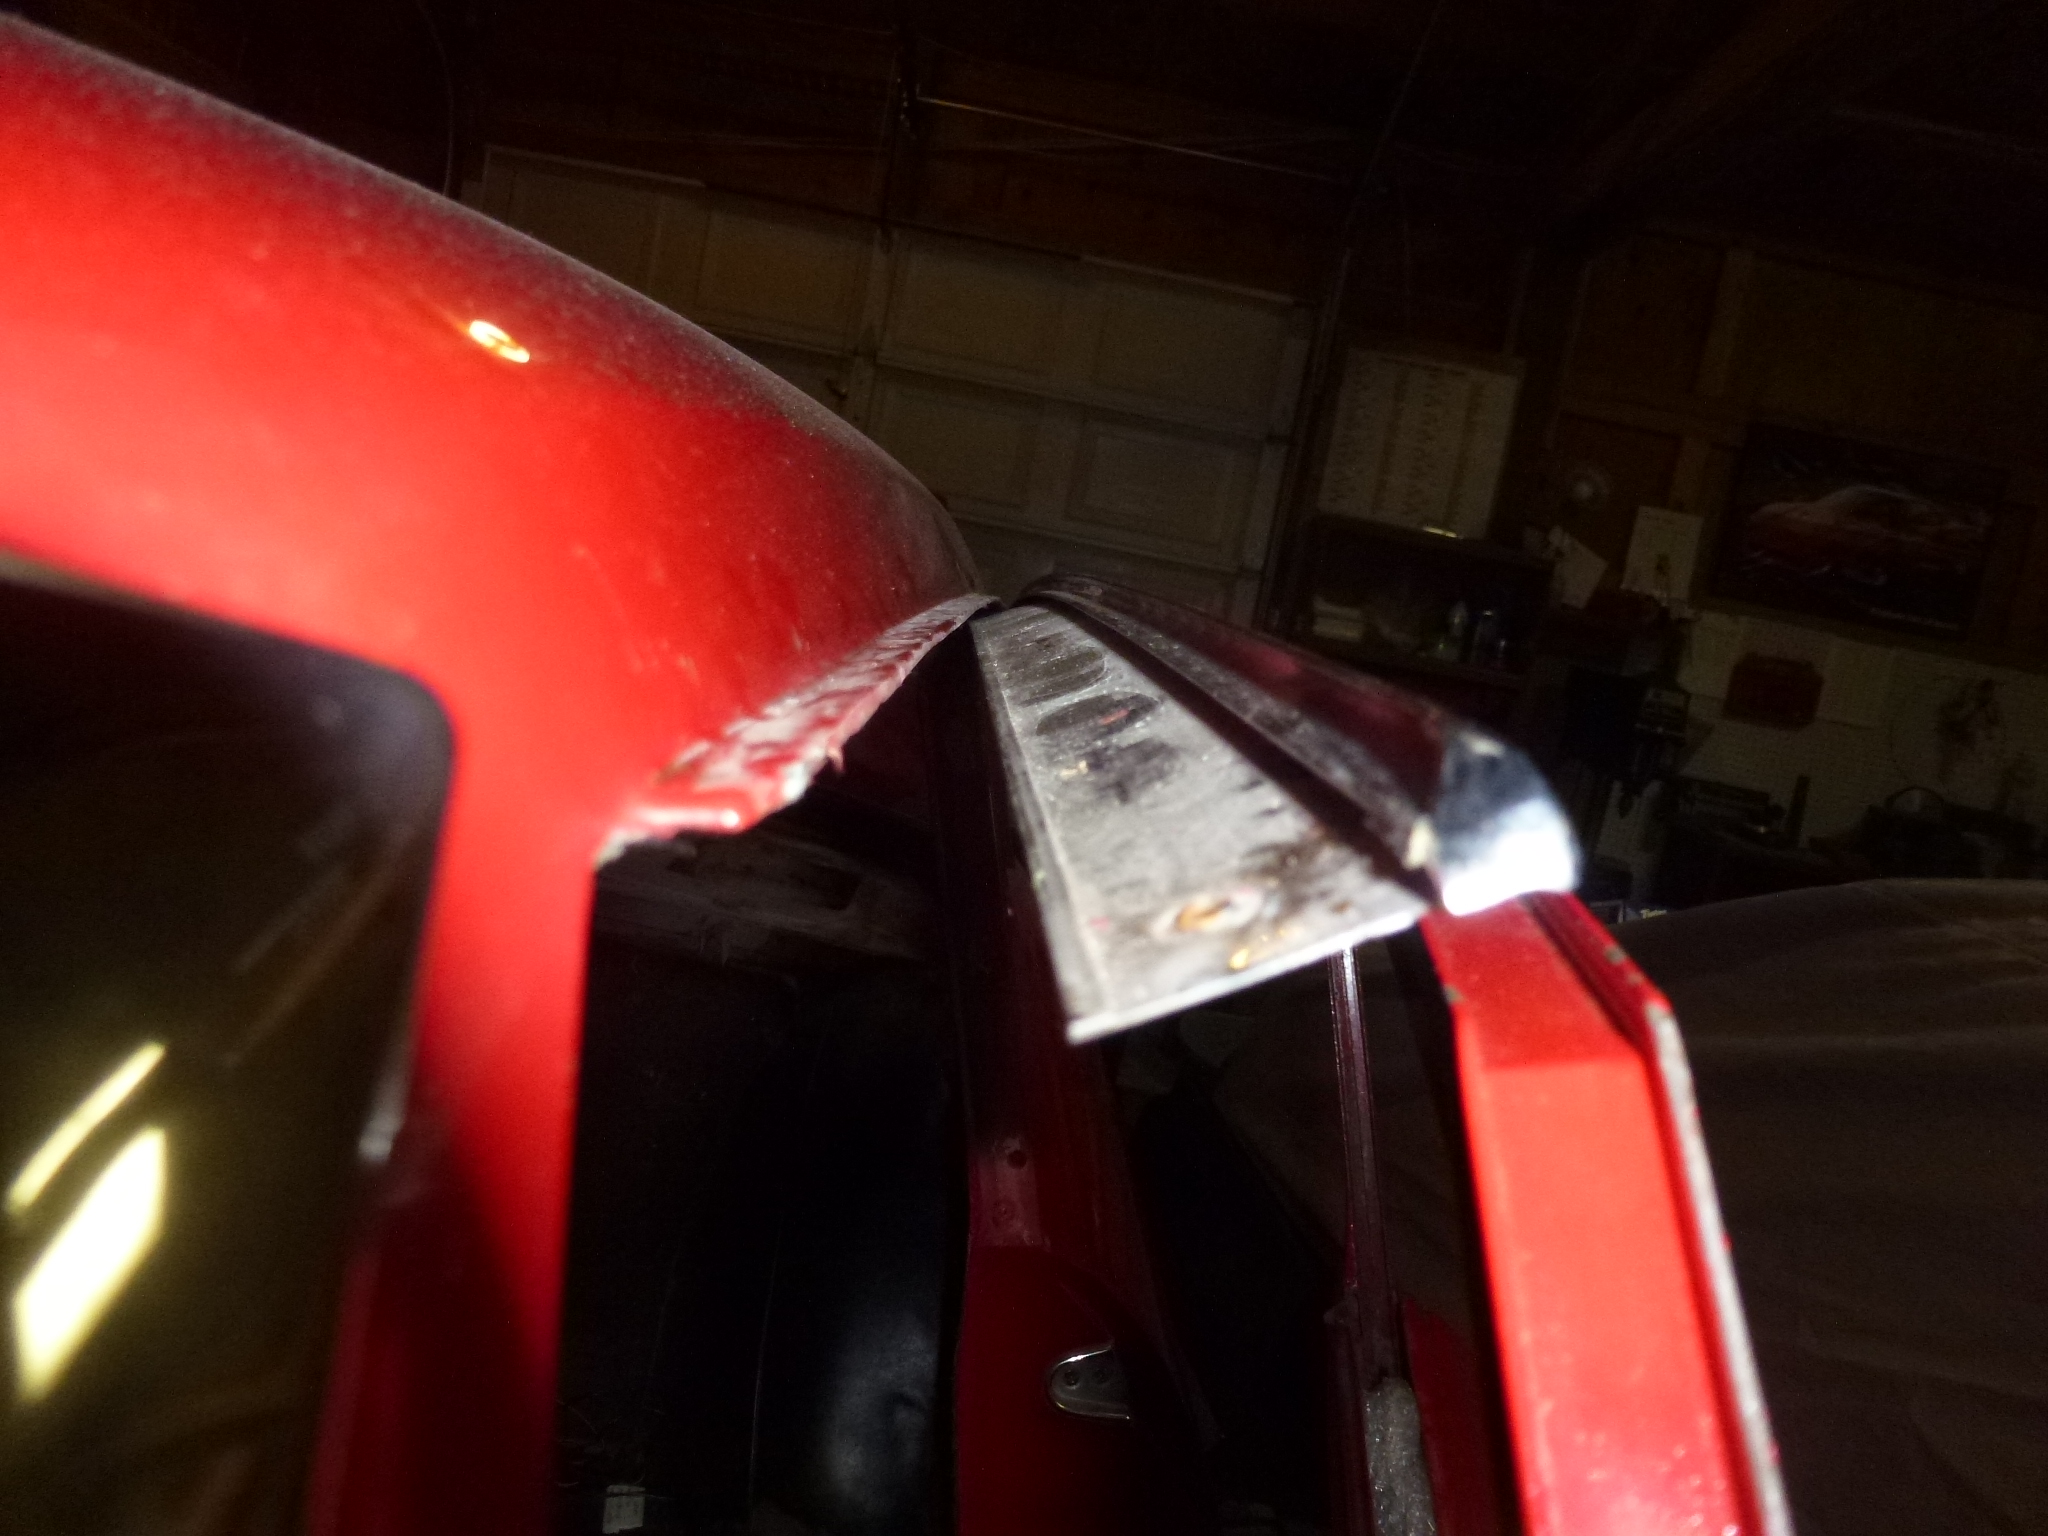
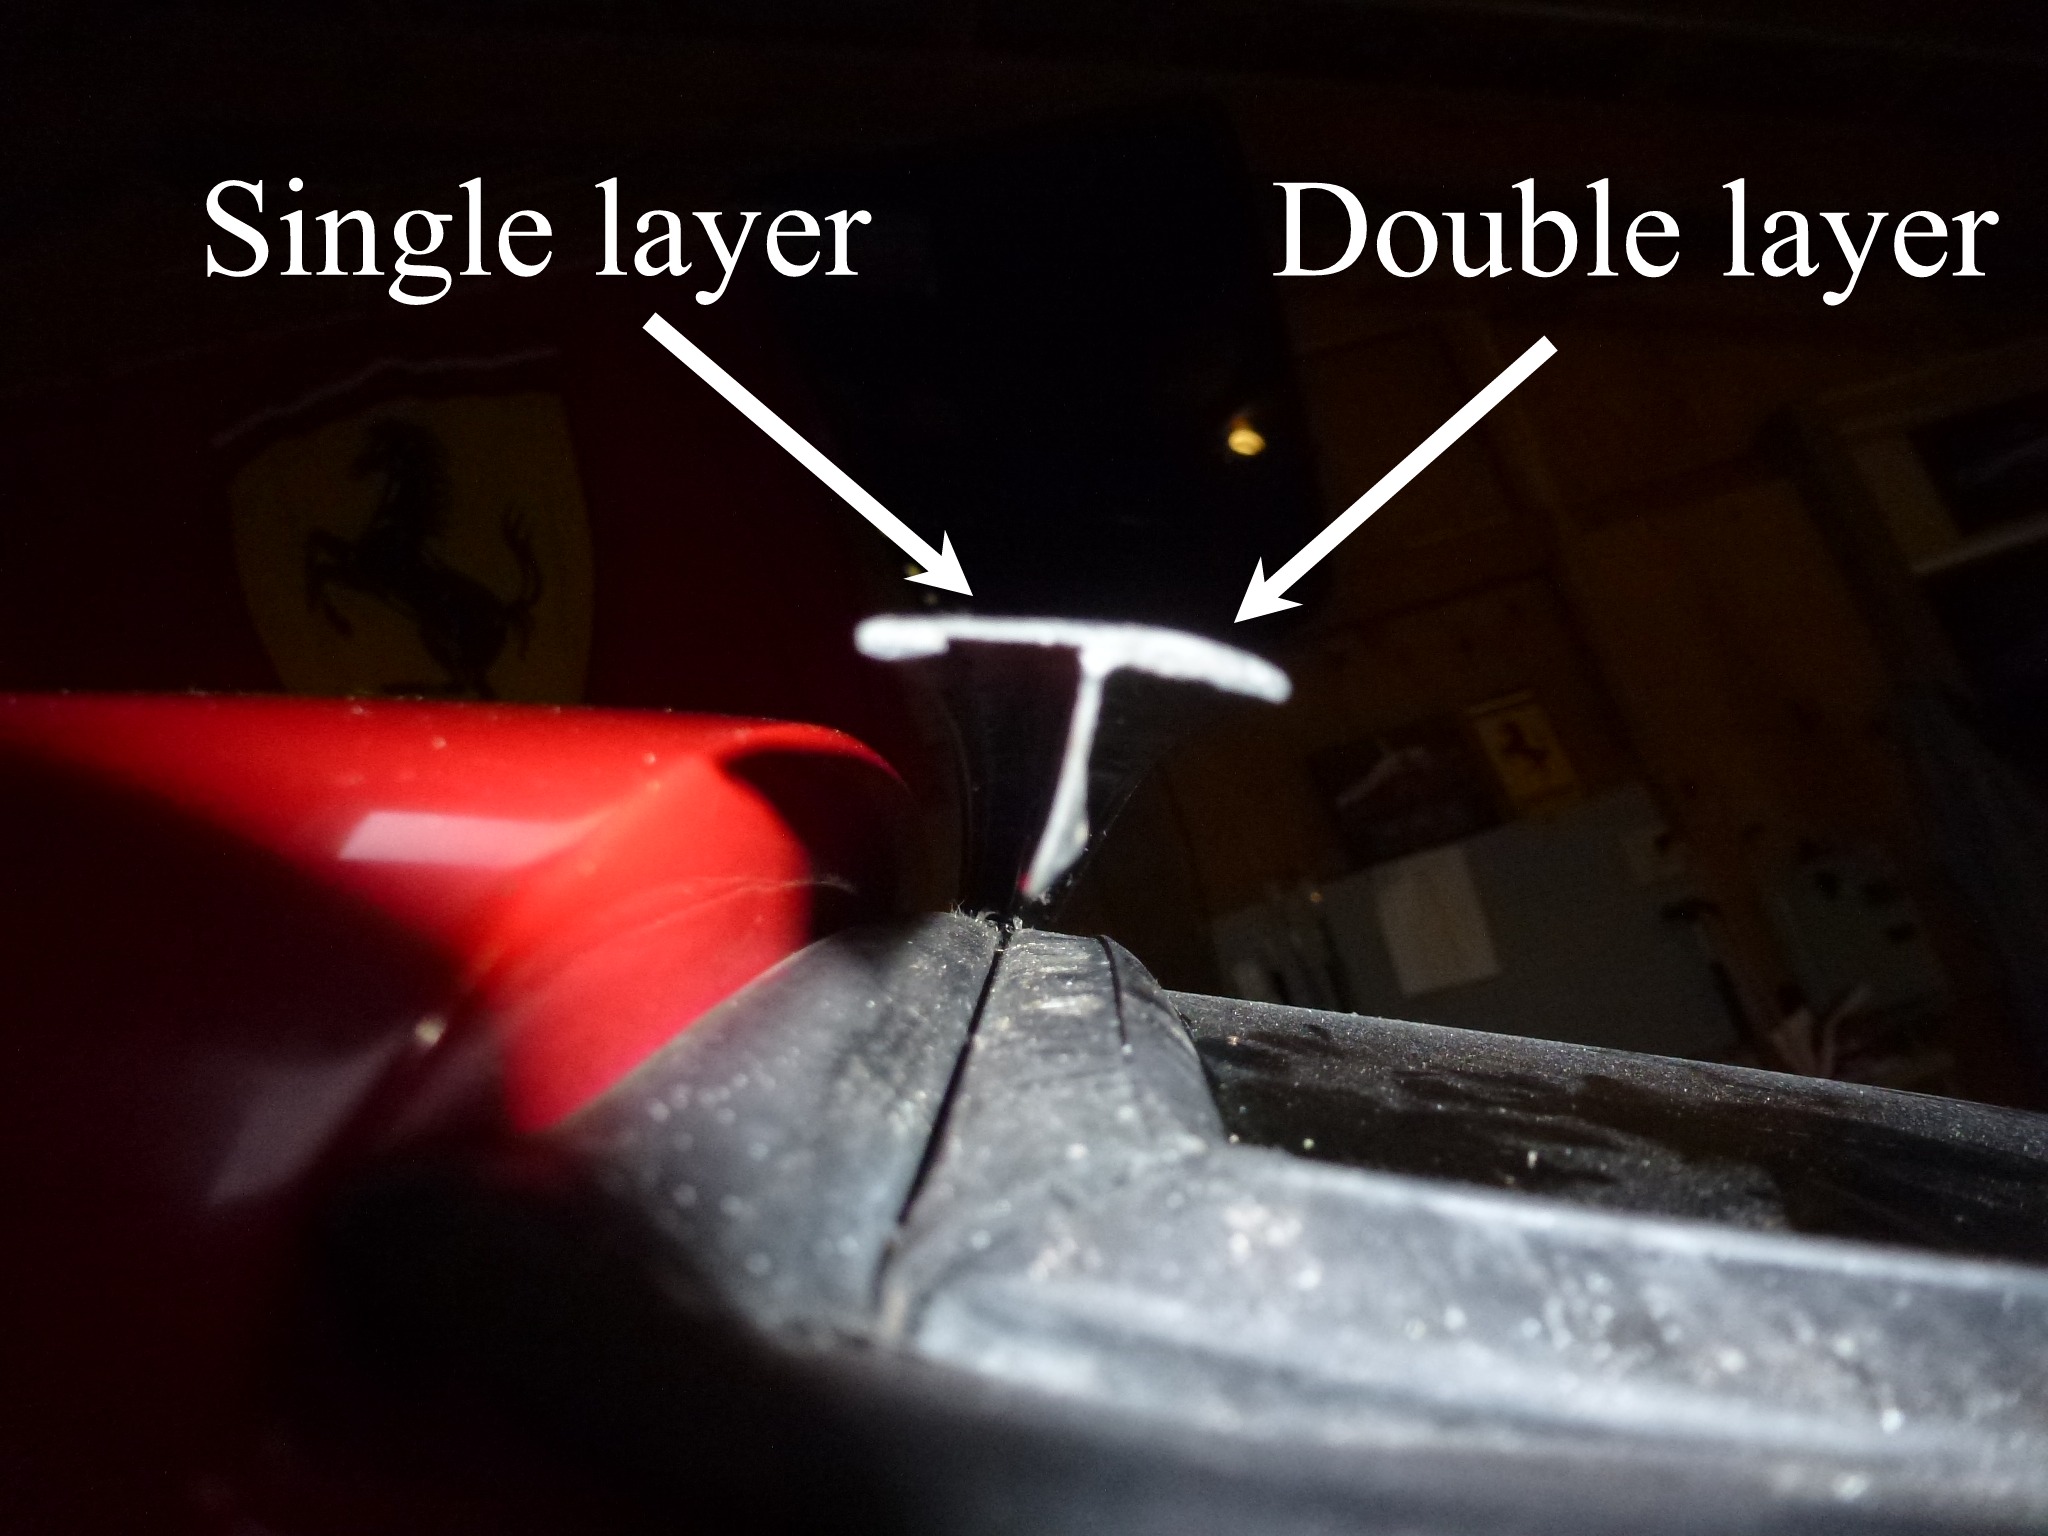
Removing the stainless steel trim strips around the windshield and rear window is something I've done a couple of times. In particular, one trick is to only pry from the inside edge of the strips as the inside has two layers of metal due to the way they were made. If you pry on the outside edge, you will make marks through the single layer that show. This cost me a lot of time when I went to polish them. You can also see the J hook at the bottom on the strip. This is what keeps the strip in the rubber groove and tight against the rubber face.
I used one of my nylon pry bars. The hard part is to get one corner up enough to slip off the corner clip. Once that is done, work you way along each strip until it is free.

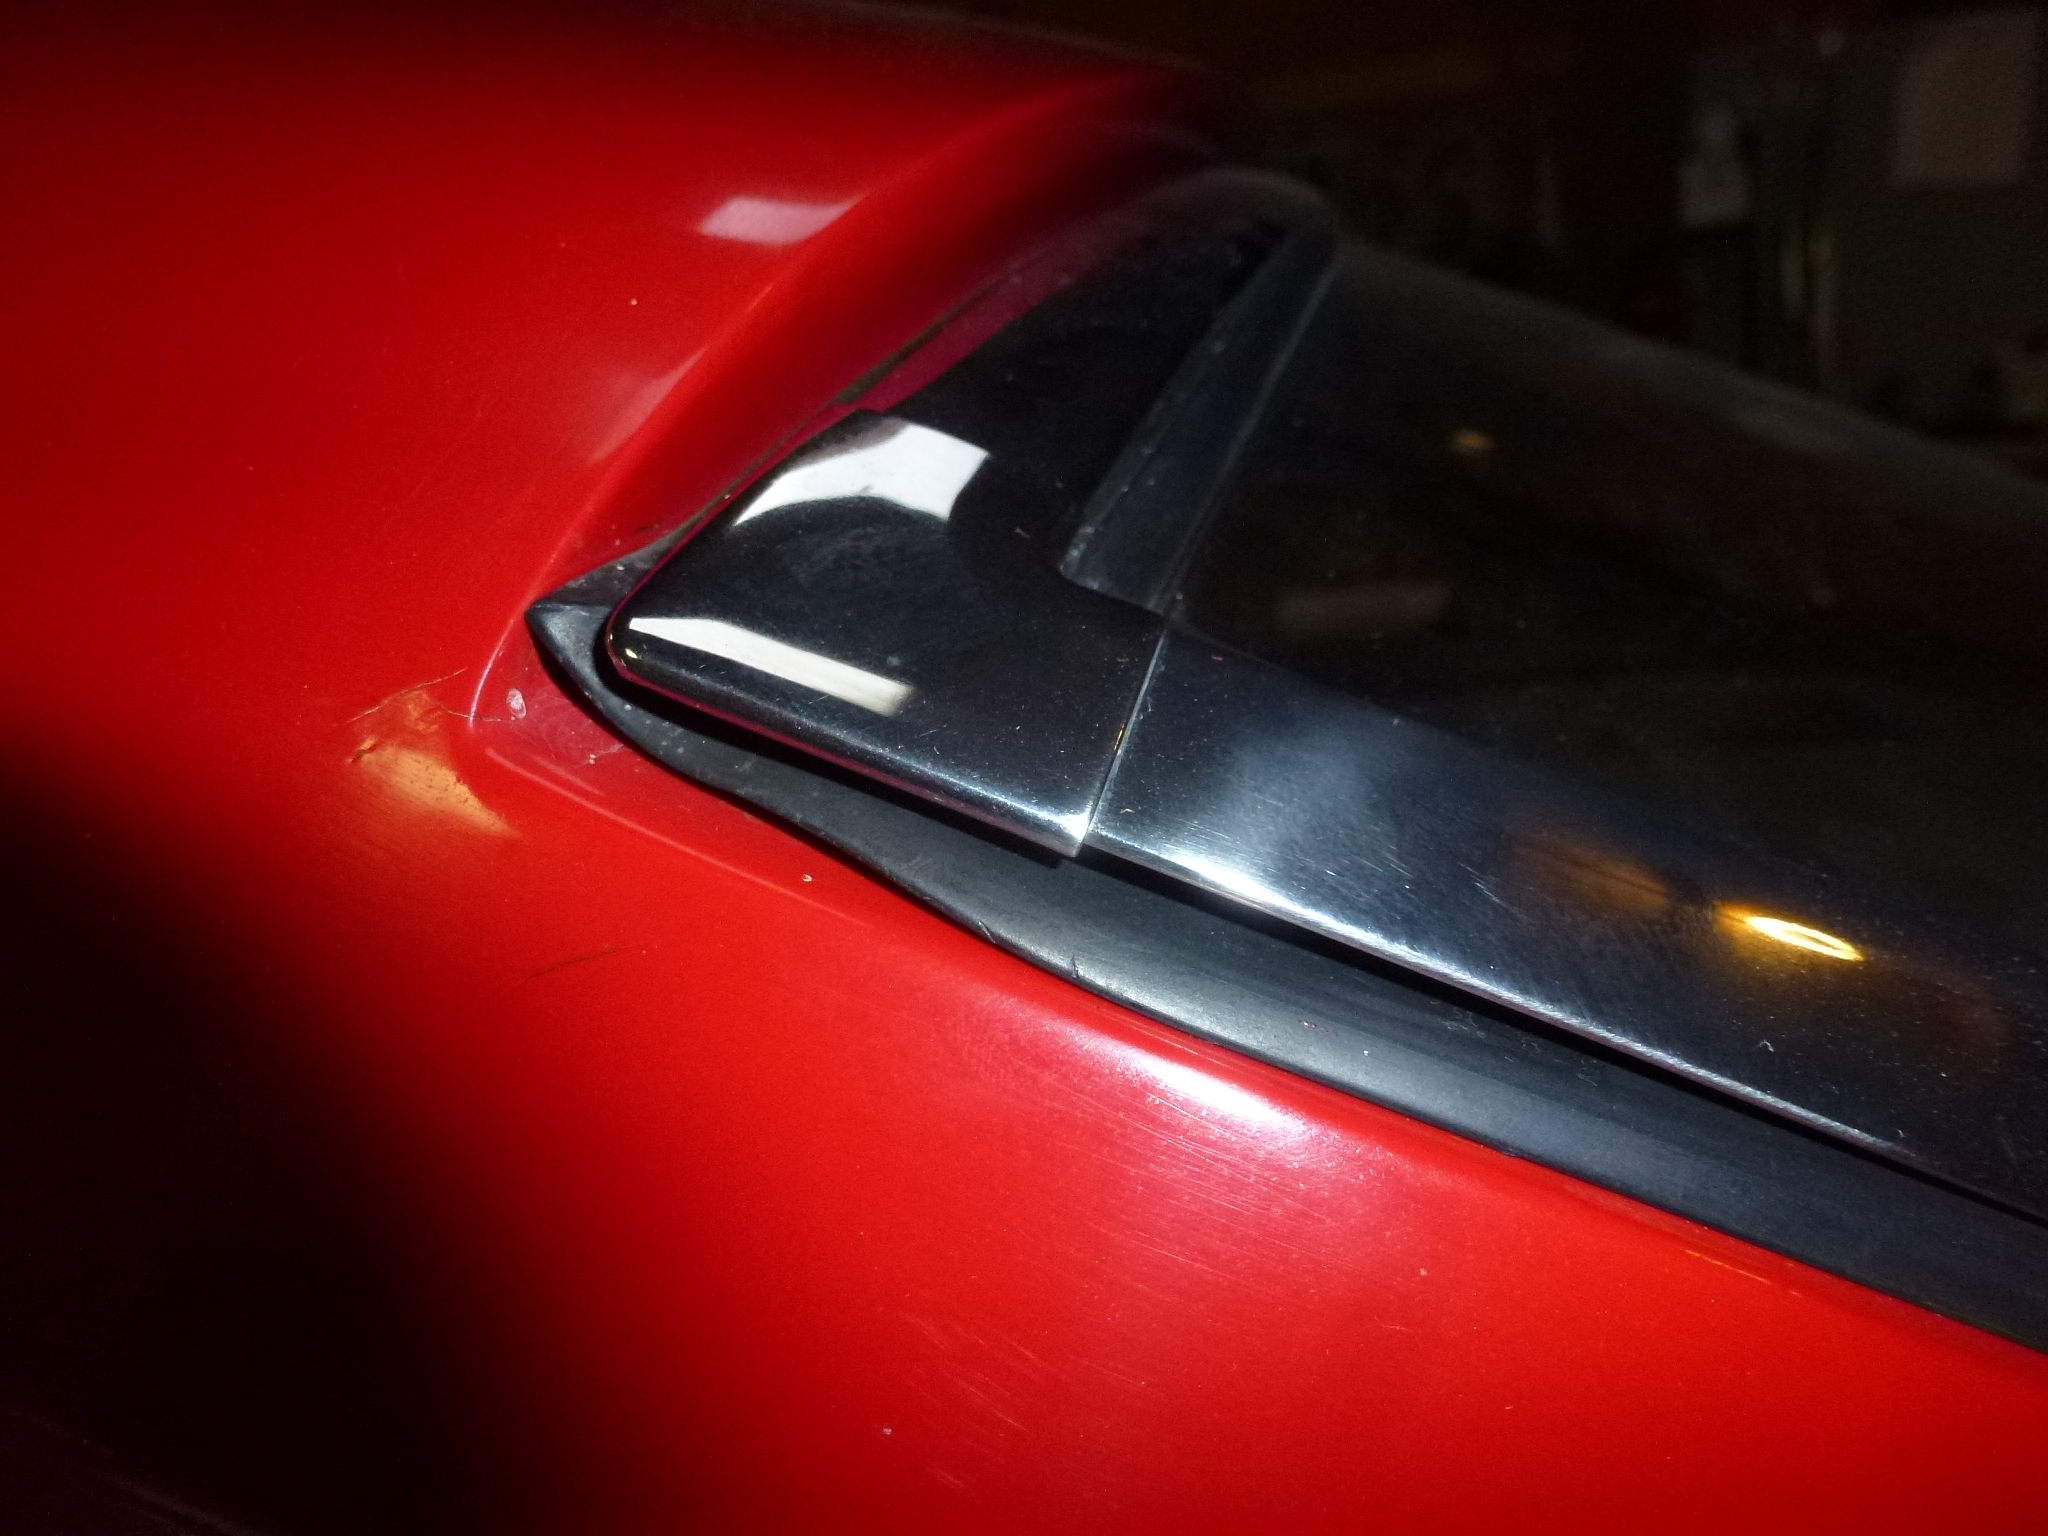
When I polished these strips several years ago, I didn't realize how much they get flattened during the removal process. As you can see, this corner doesn't lay flat on the rubber like it should. This time, I'll bend the strips to fit the contour of the body before re-installing them.
I'm not removing the windshield and rear window for the painting. You can tuck the outside edge of the rubber into the body channel to allow painting under where the rubber covers. Here you can see the rubber partially tucked in. Then the rubber and glass get masked as usual.
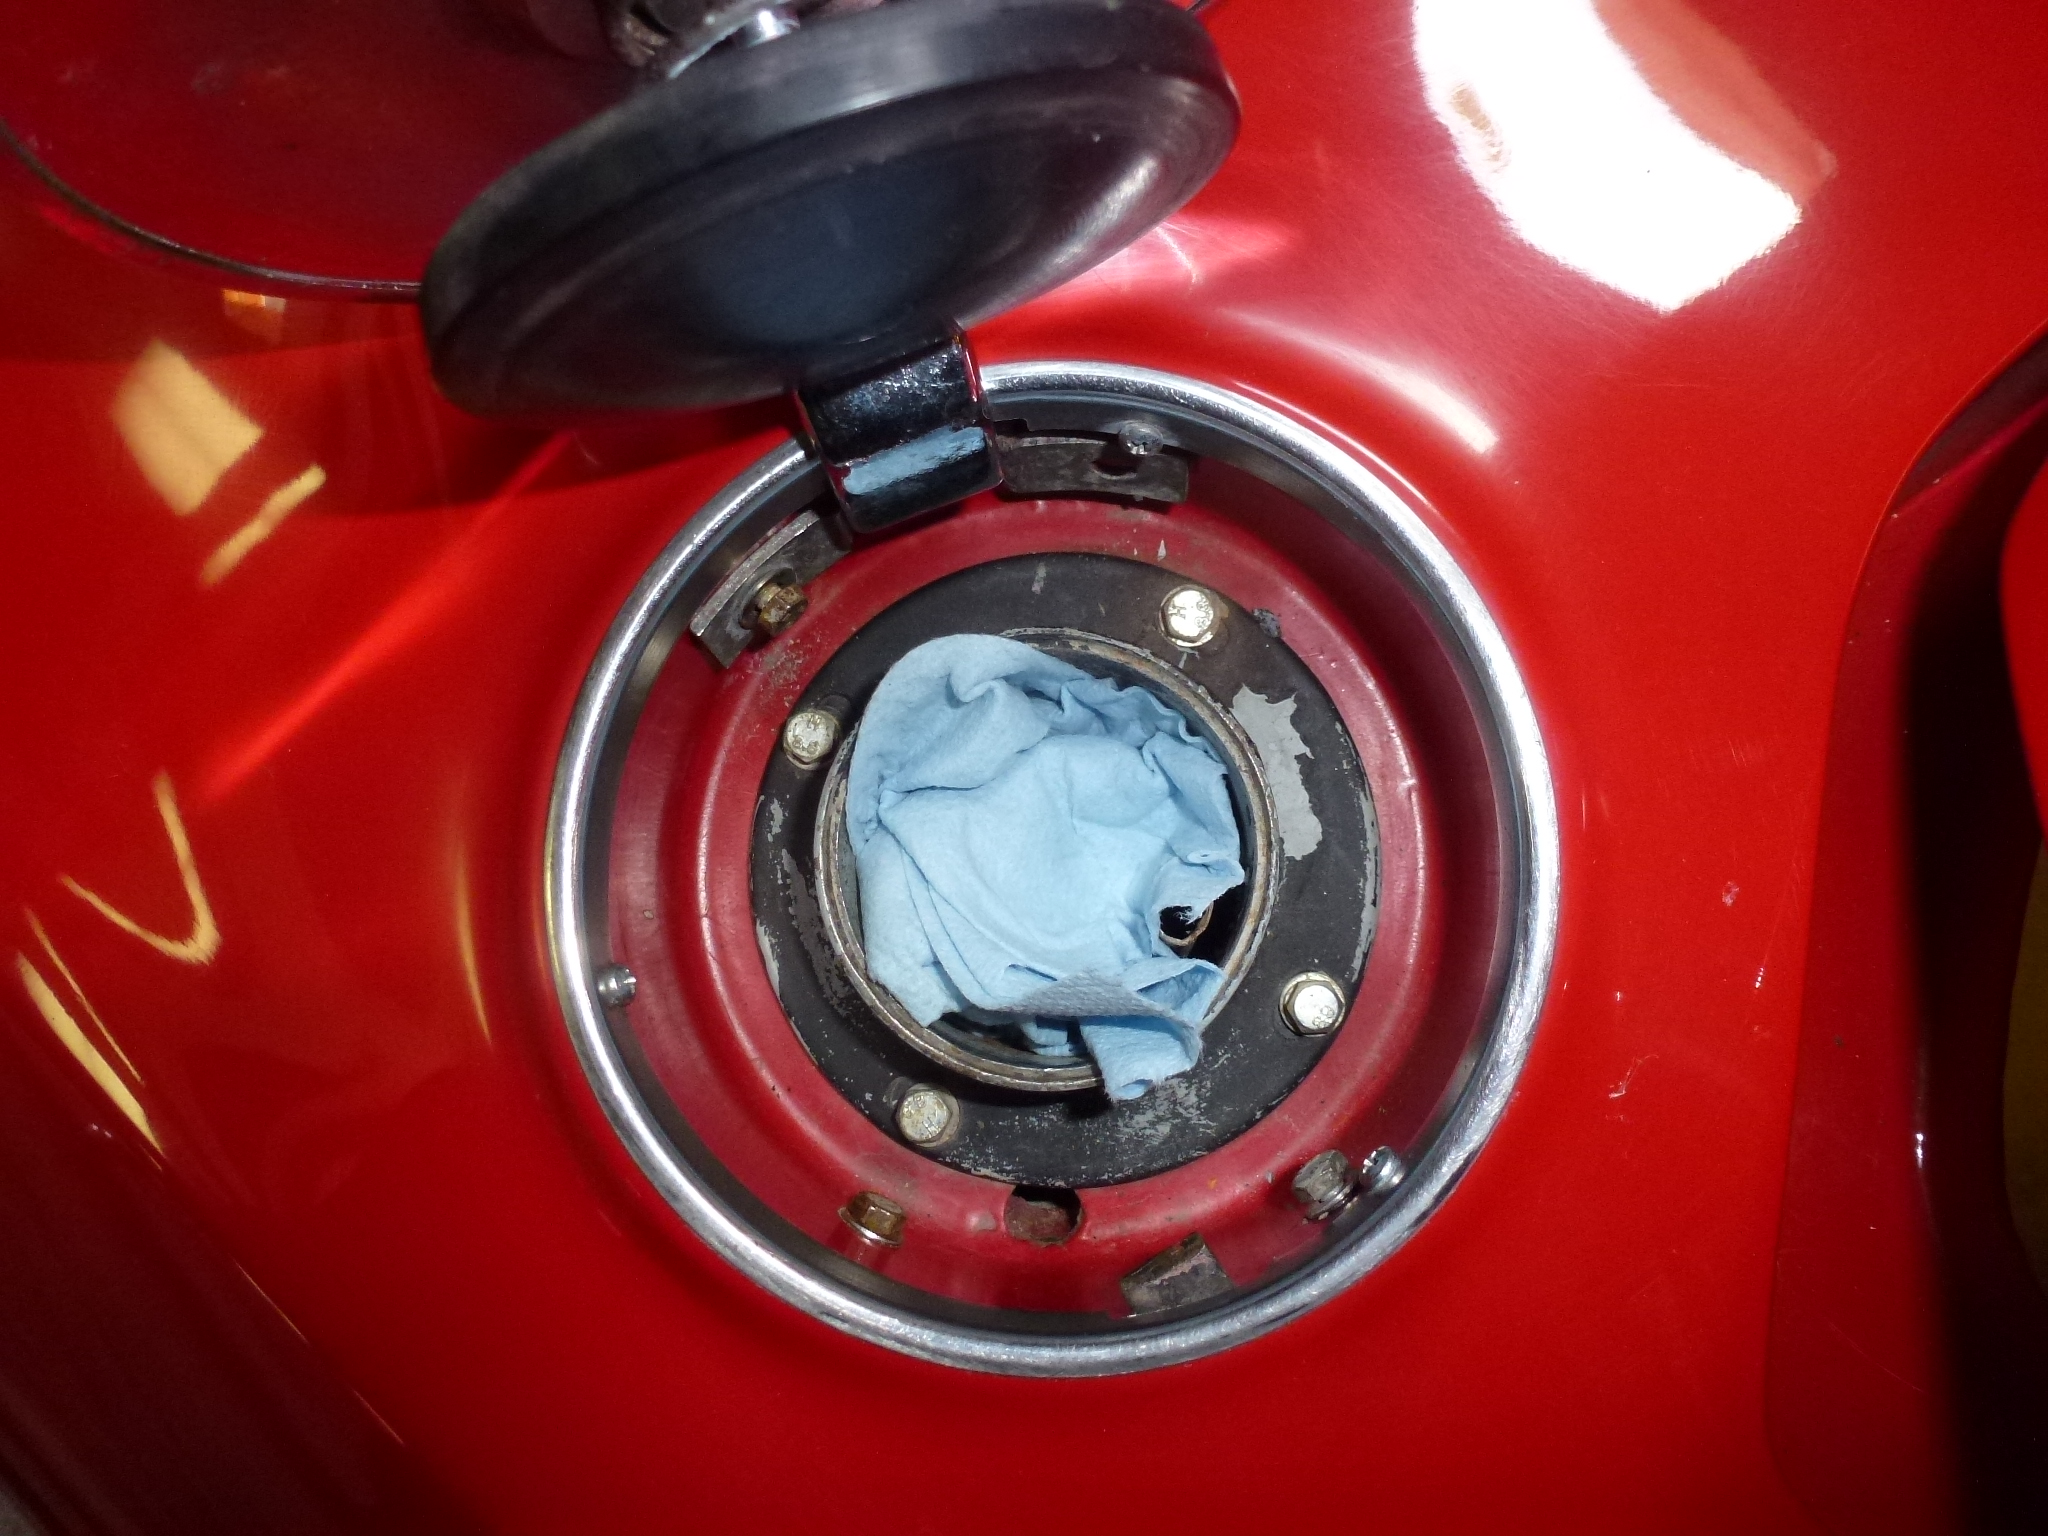
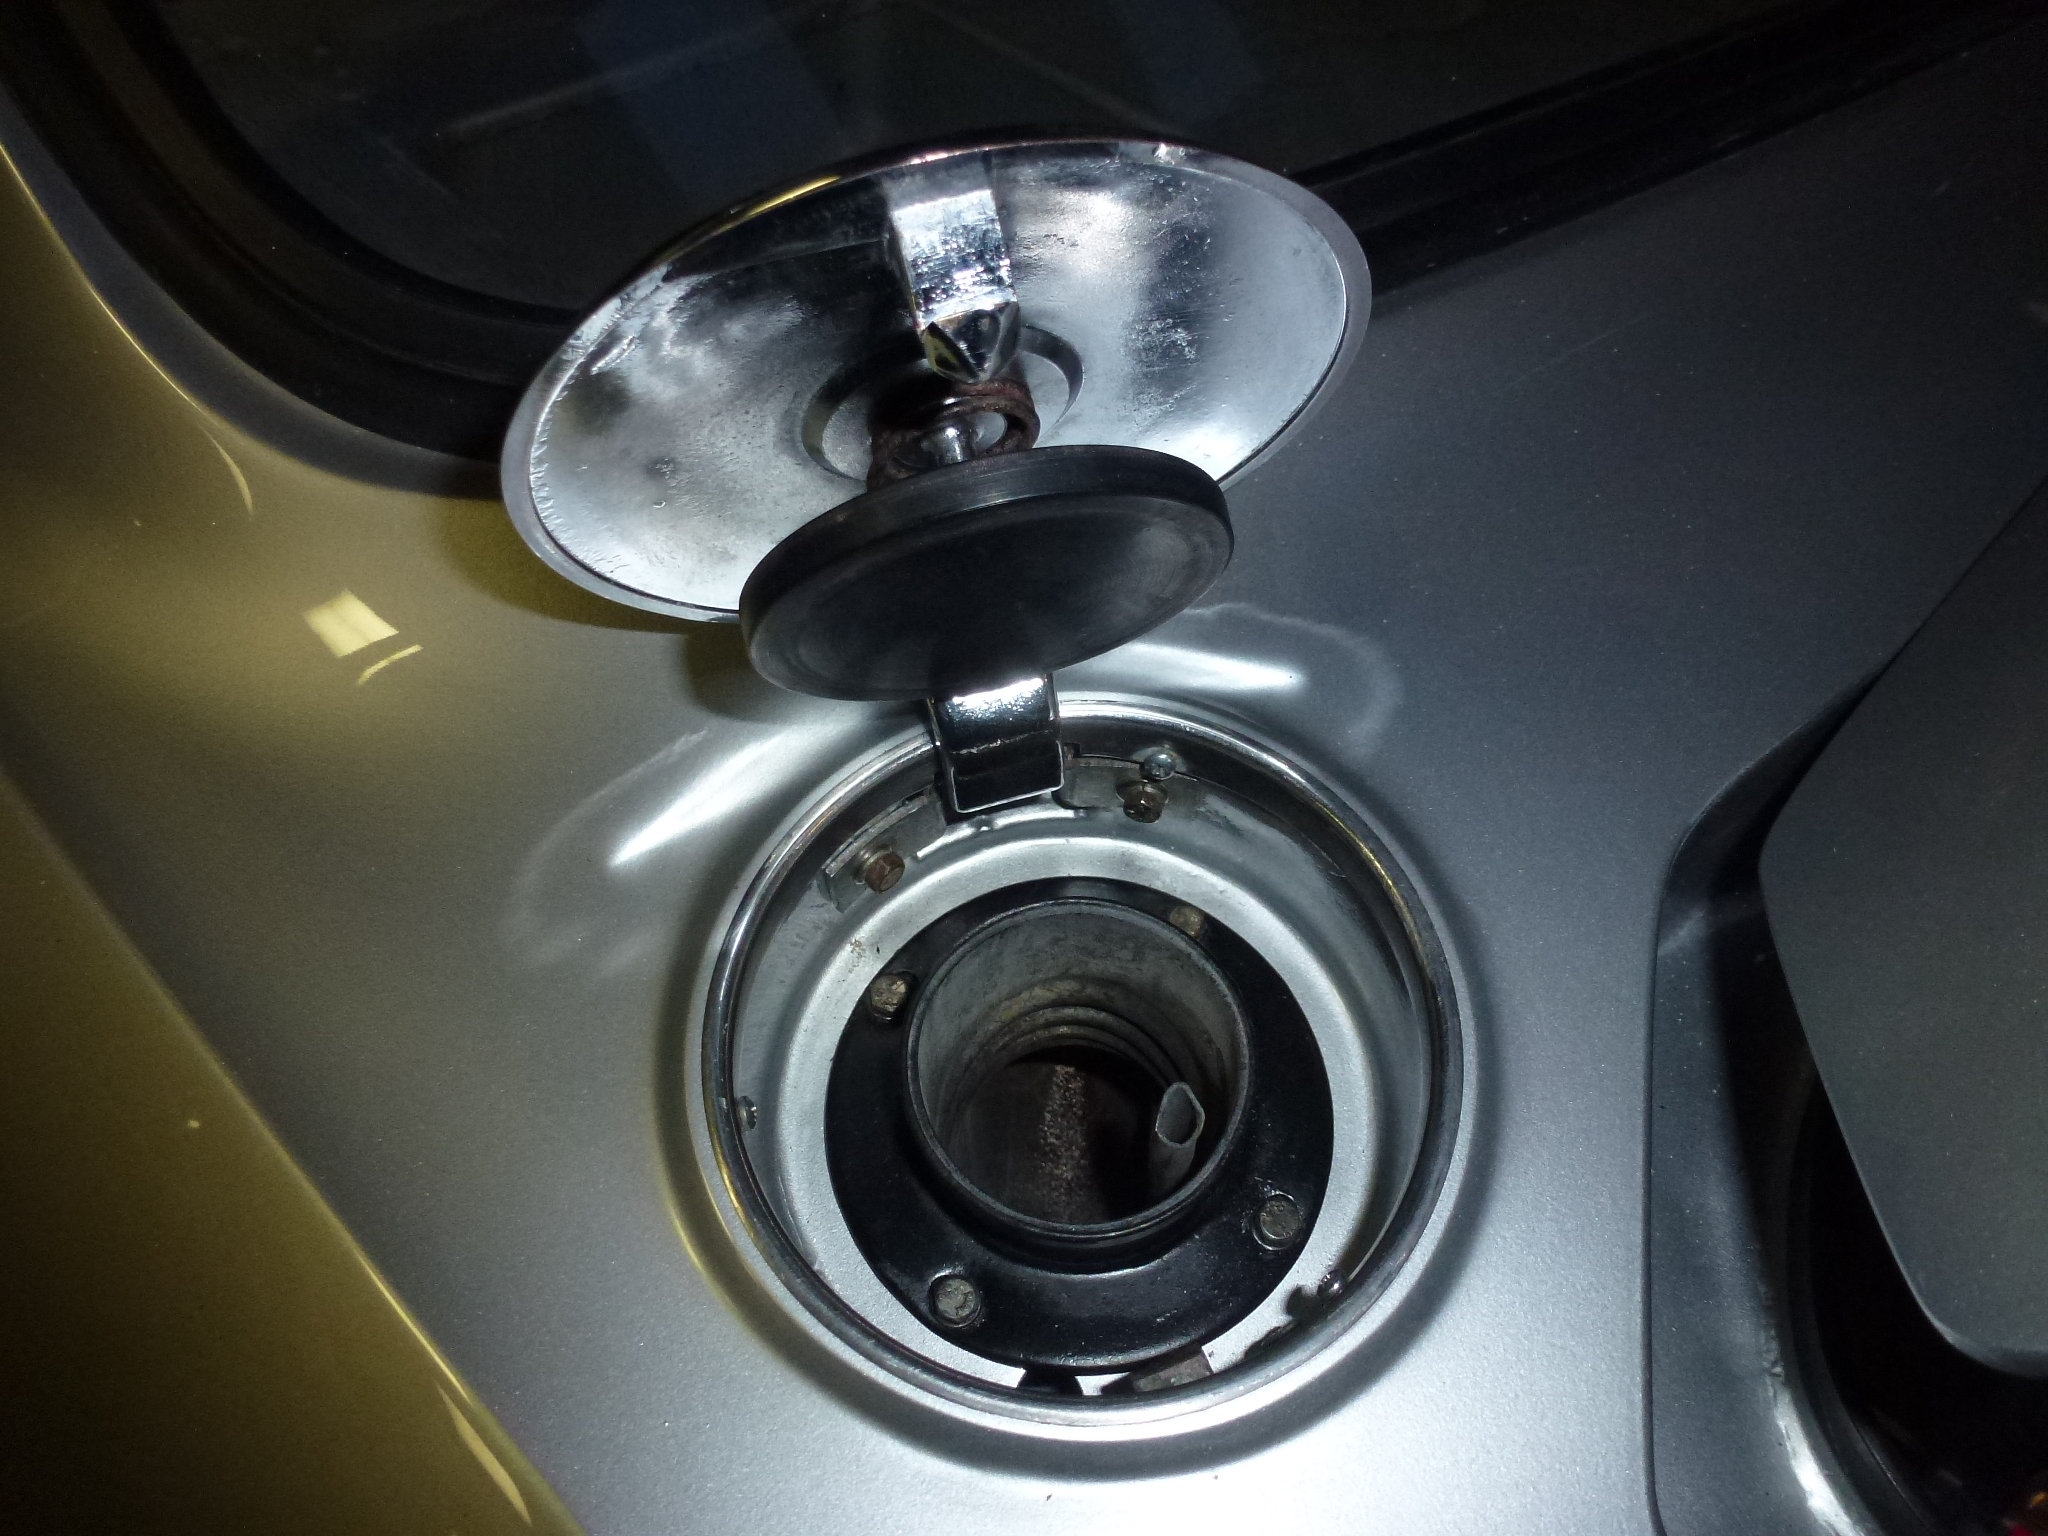
I realized that I also needed to remove the fuel filler cap and associated parts. The lid itself is held on by two screws. But first you have to undo the filler pipe so it will slide enough to allow the lid hinge to come out from its niche. There are four screws holding the pipe, but then you have to get the hoses free that have been on their for years. A heat gun helped that issue a lot. Once the filler lid is out of the way, the trim ring comes off with three screws. Finally the catch assembly can be removed by undoing its two screws. Notice the paper towel stuffed in the filler pipe to make sure I didn't drop a screw down into the tank.
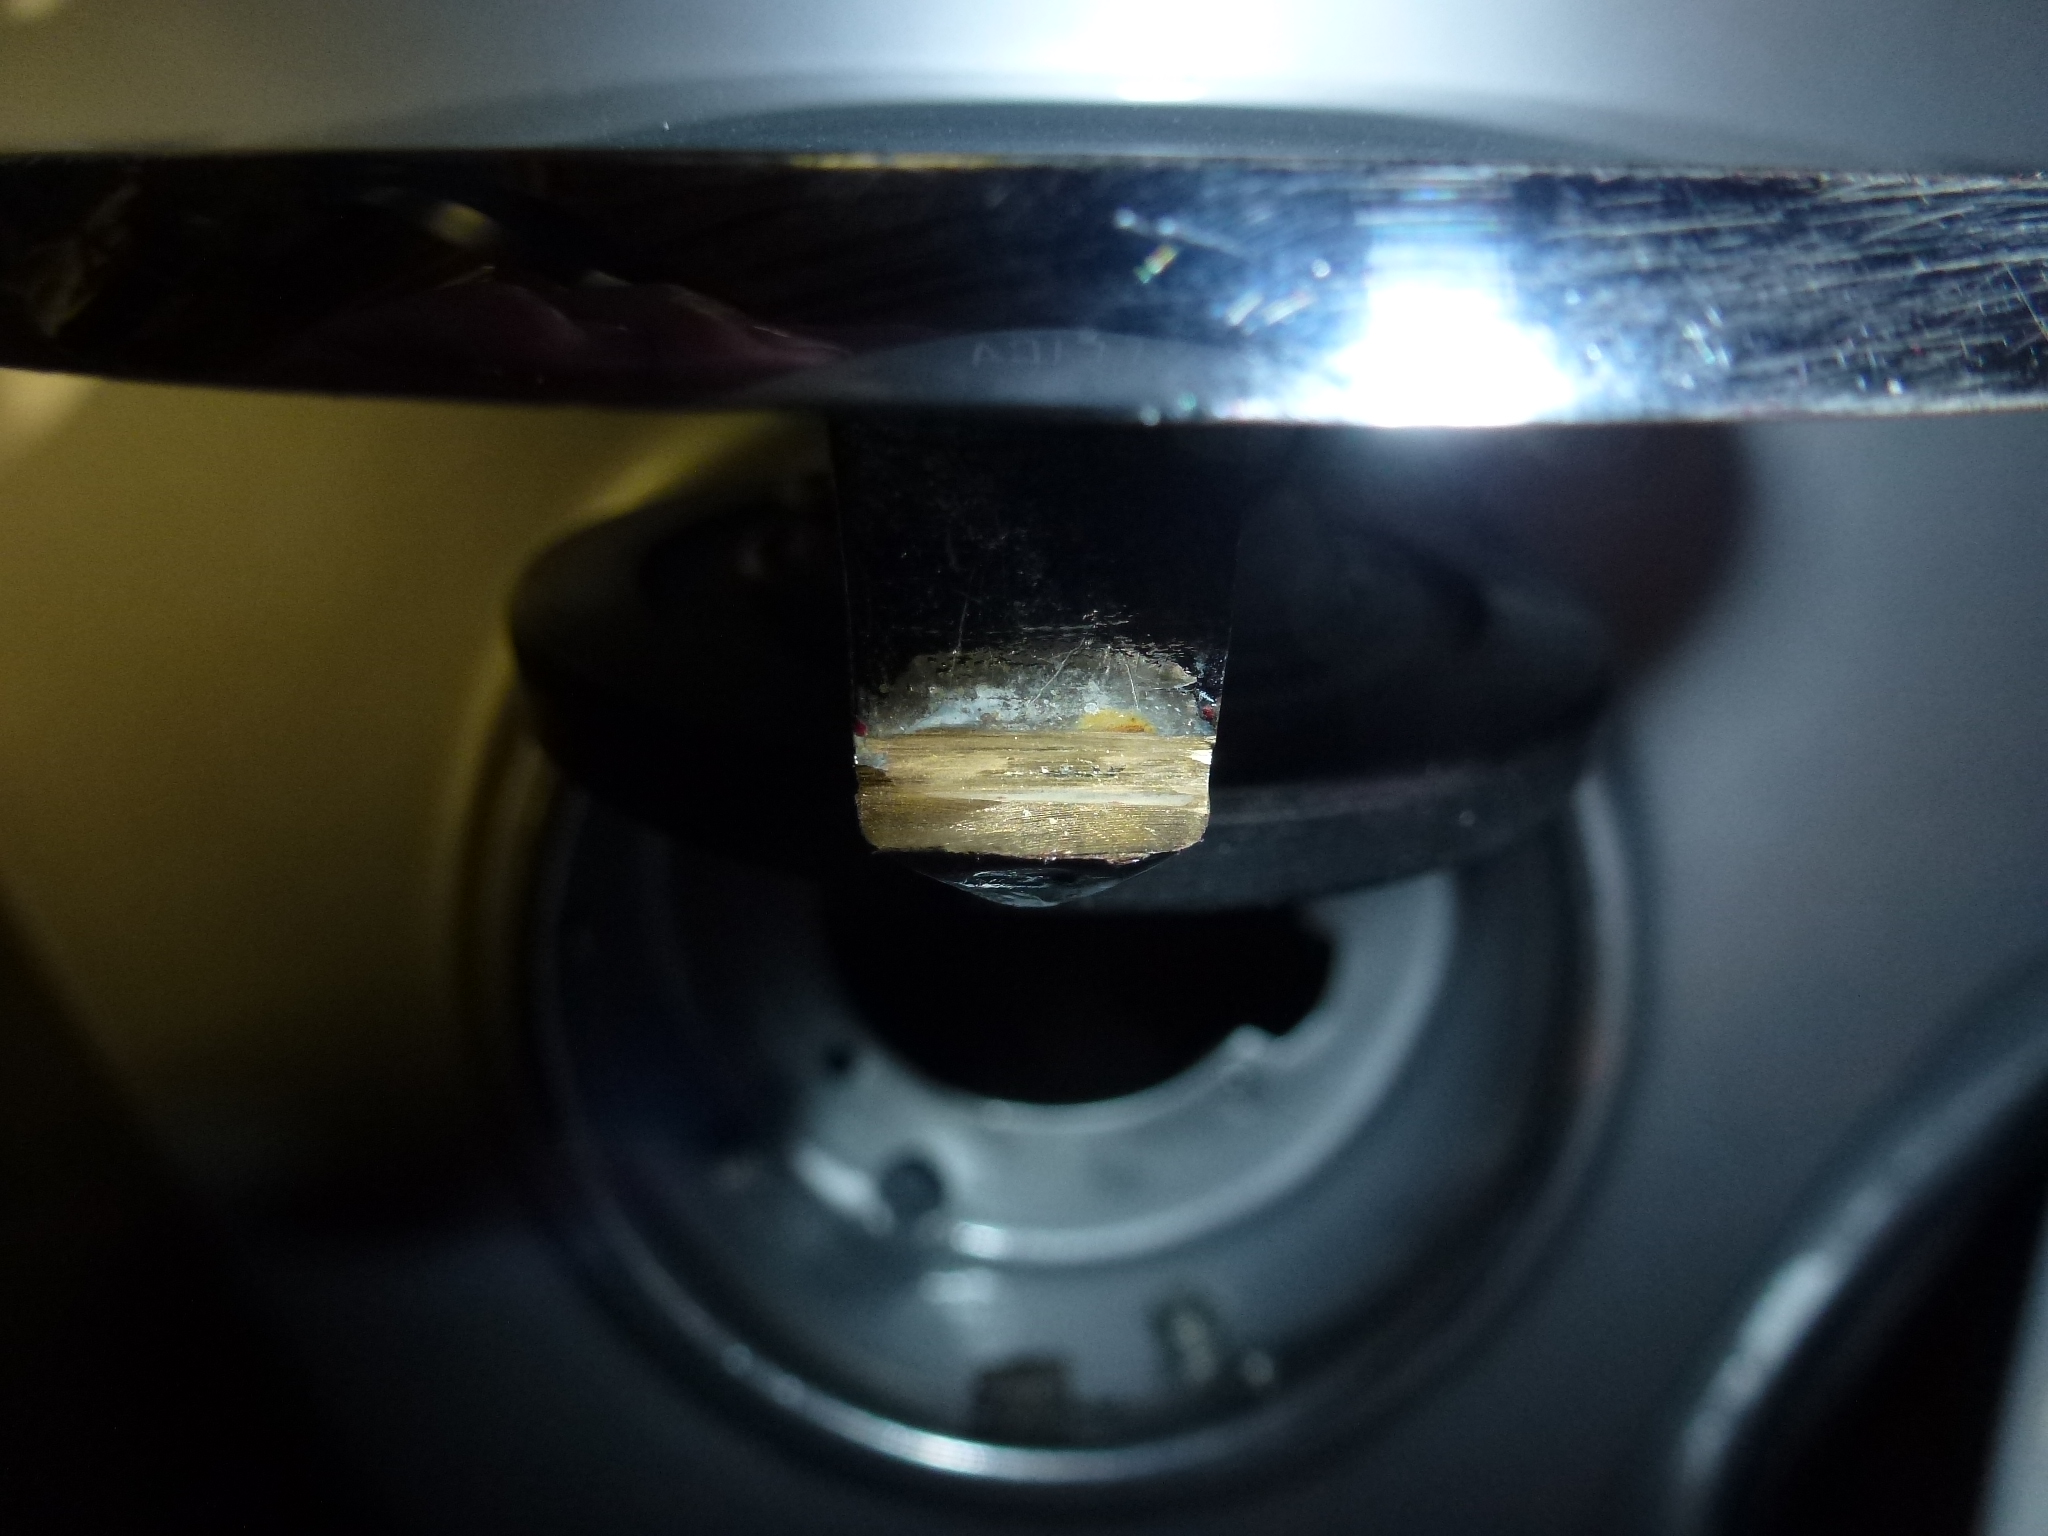
I need to see if I can remove the horse emblem in one piece. When I did this 30 years ago, the old one came off with a cold chisel. I remember I glued this one on, but I can't remember if I used silicone rubber or epoxy glue. I'll try the heat gun to see if it will loosen.
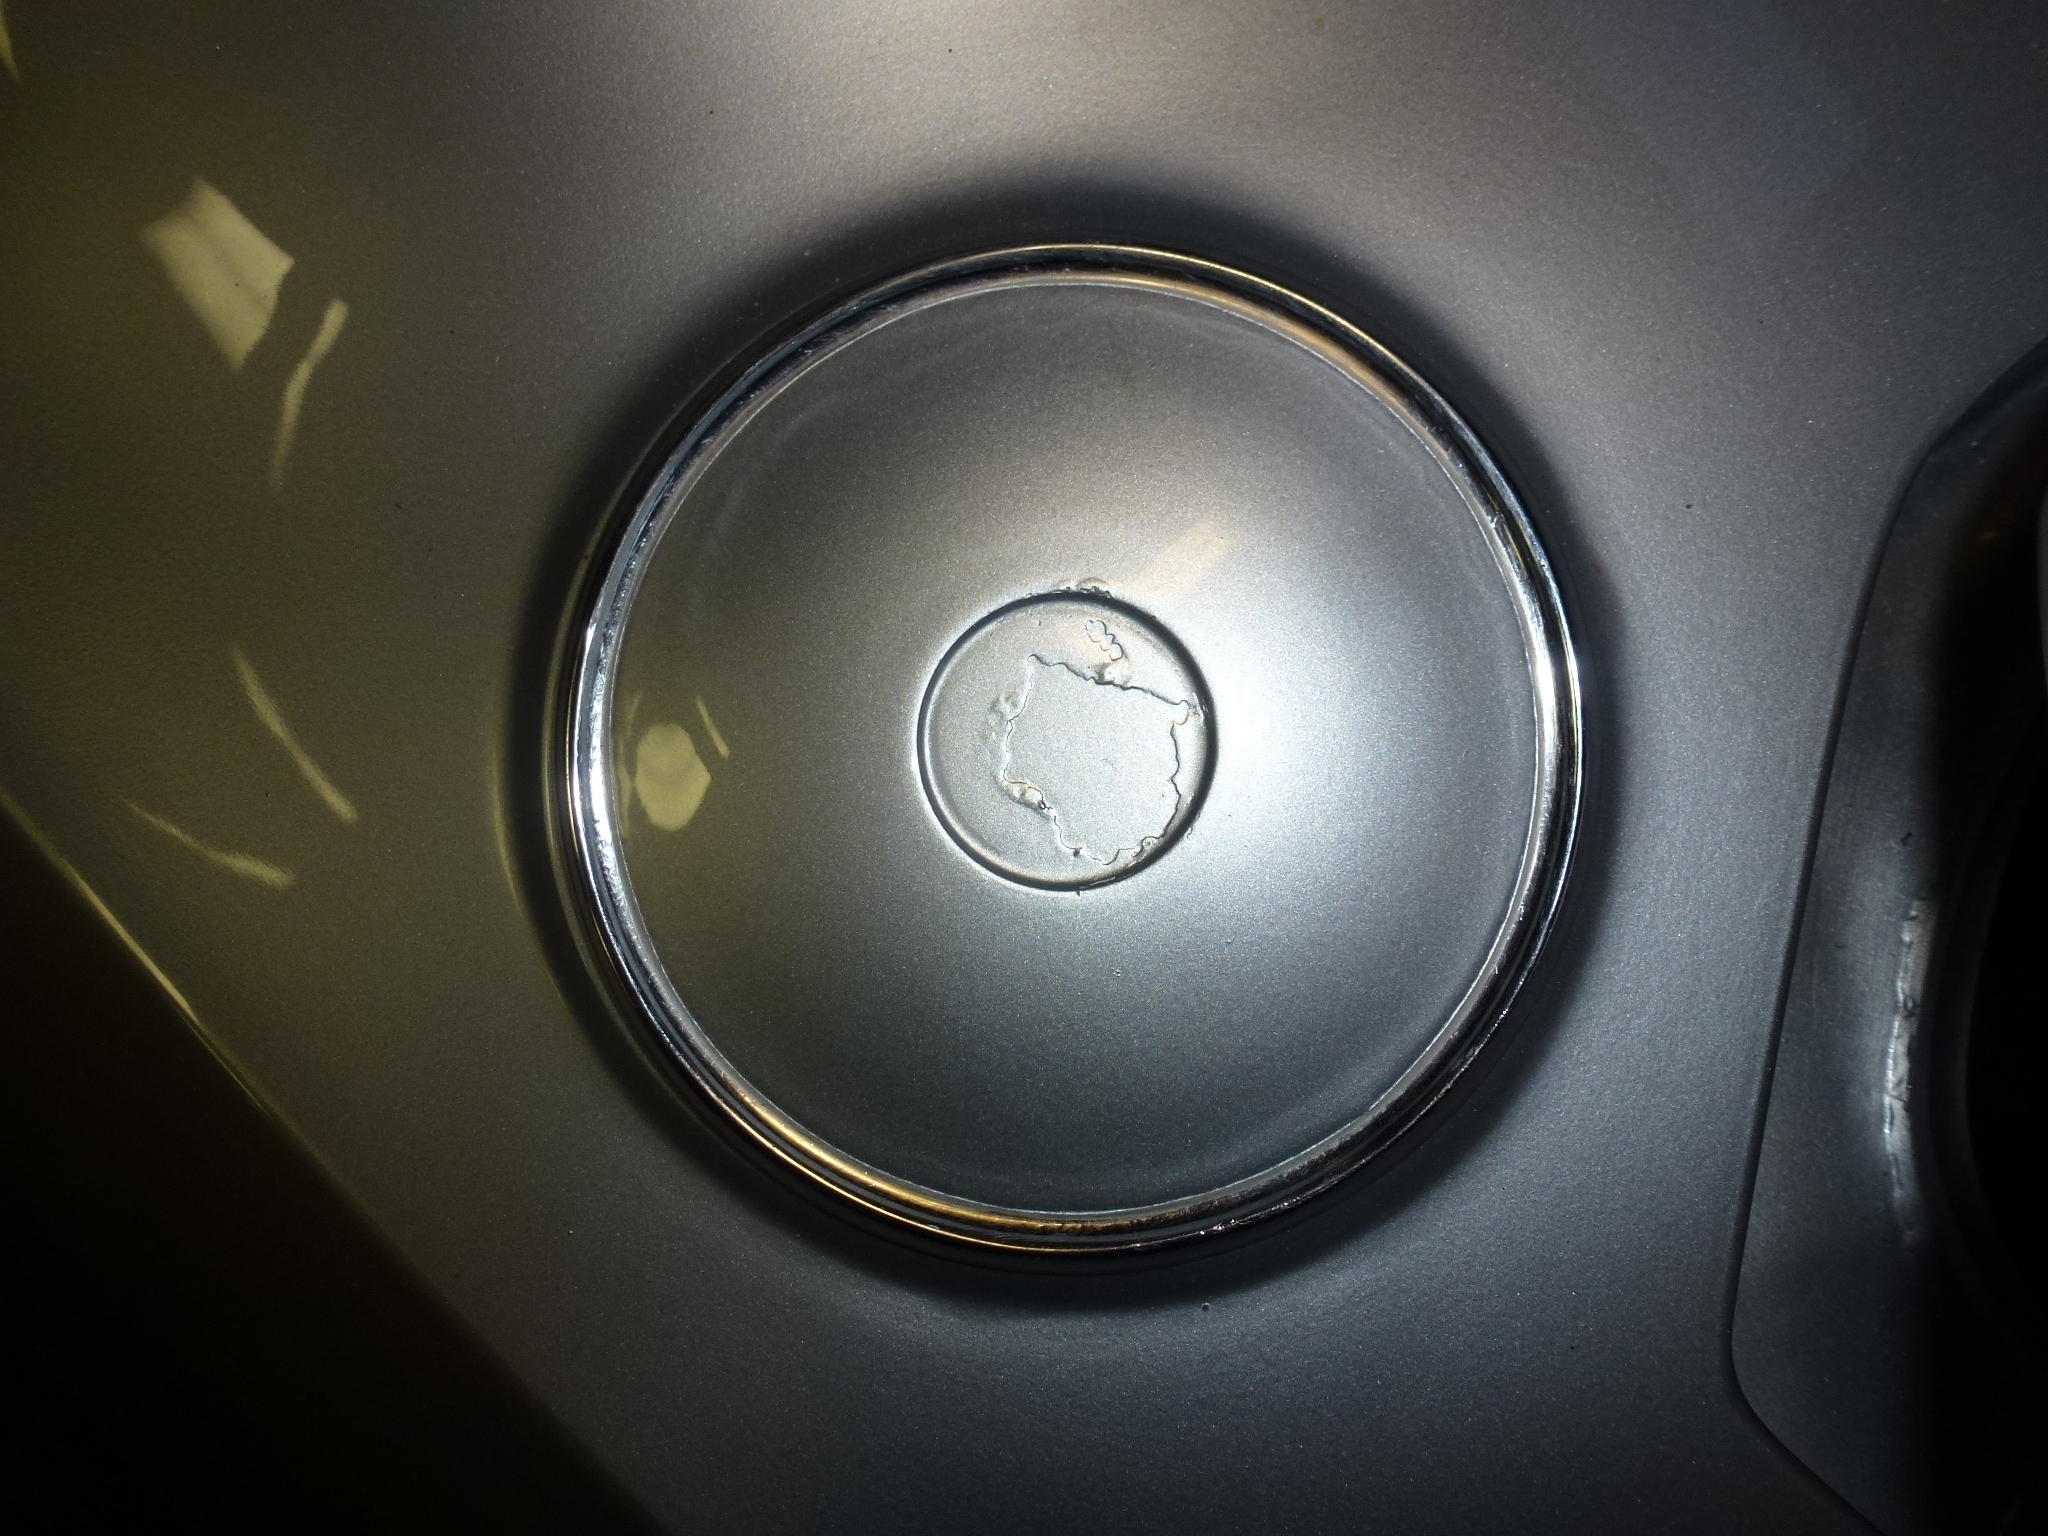
Notice that the fuel filler cap is painted body color with the chrome showing around the outside. There are a lot of 330 GTs where that area has been left natural, but that isn't right. So this part has to go with the car to the auto body shop.
I started on to install the fuel filler pipe, latch and cap. I noticed that the filler pipe could use some new paint, so I bead blasted, primed and painted it with Eastwood's under hood paint, a semi-gloss black.
I installed the fuel filler pipe and then realized that the lid wouldn't go into the cavity. I loosened the pipe and it moved just enough to get the lid into its cavity and installed. Then I put on the latch and tested everything. The lid wouldn't latch down. The new paint has more coats than when I painted the car and that thickness was just enough to keep the lid from latching. I fiddled with trying to raise the latch and lower the lid within the range of the screw holes, but to no avail. Eventually I removed the filler pipe since it made working on this issue difficult. I tried elongating the latch holes so I could raise it up more, but it ended up hitting the bottom of the filler body. I measured the distance from the rim to the bottom of the latch and from the bottom of the lid to the catch and found that it was only about 30 thousands difference. So I ended up using a cutting wheel on the Dremel to grind off a little of the catch. After a few passes, the fuel lid was latching properly.
Once that was done, I notice that the lid wasn't lined up over the opening correctly. If you look at the left picture, there is space on the left side and none on the right. I took it back out and bent the attachment arms slightly so the lid aligned better. Then I put the filler pipe back in and attached the hoses, replacing the modern screw clamps with the proper Cheney ones.
Here it is all assembled. The whole process took about 4 hours from stripping and painting the filler pipe to getting everything together, lined up and working properly. I hope that I don't have to do on the other myriad of parts or I will not get the car back together very quickly.
Note, you will notice that the fuel lid is body color except for the chrome rim. When these are stripped, the center inside of the rim is dull, not chromed so it can be painted. Sometimes, you will see a 330 GT with that dull surface showing, but that was not the way the body came from the Pininfarina factory to Ferrari.
I put the car up on the lift as that makes accessing various parts a lot easier (and easier on my back). With that done, I did several things around the front of the car. These included installing the hood badge and radiator overflow tank strap.
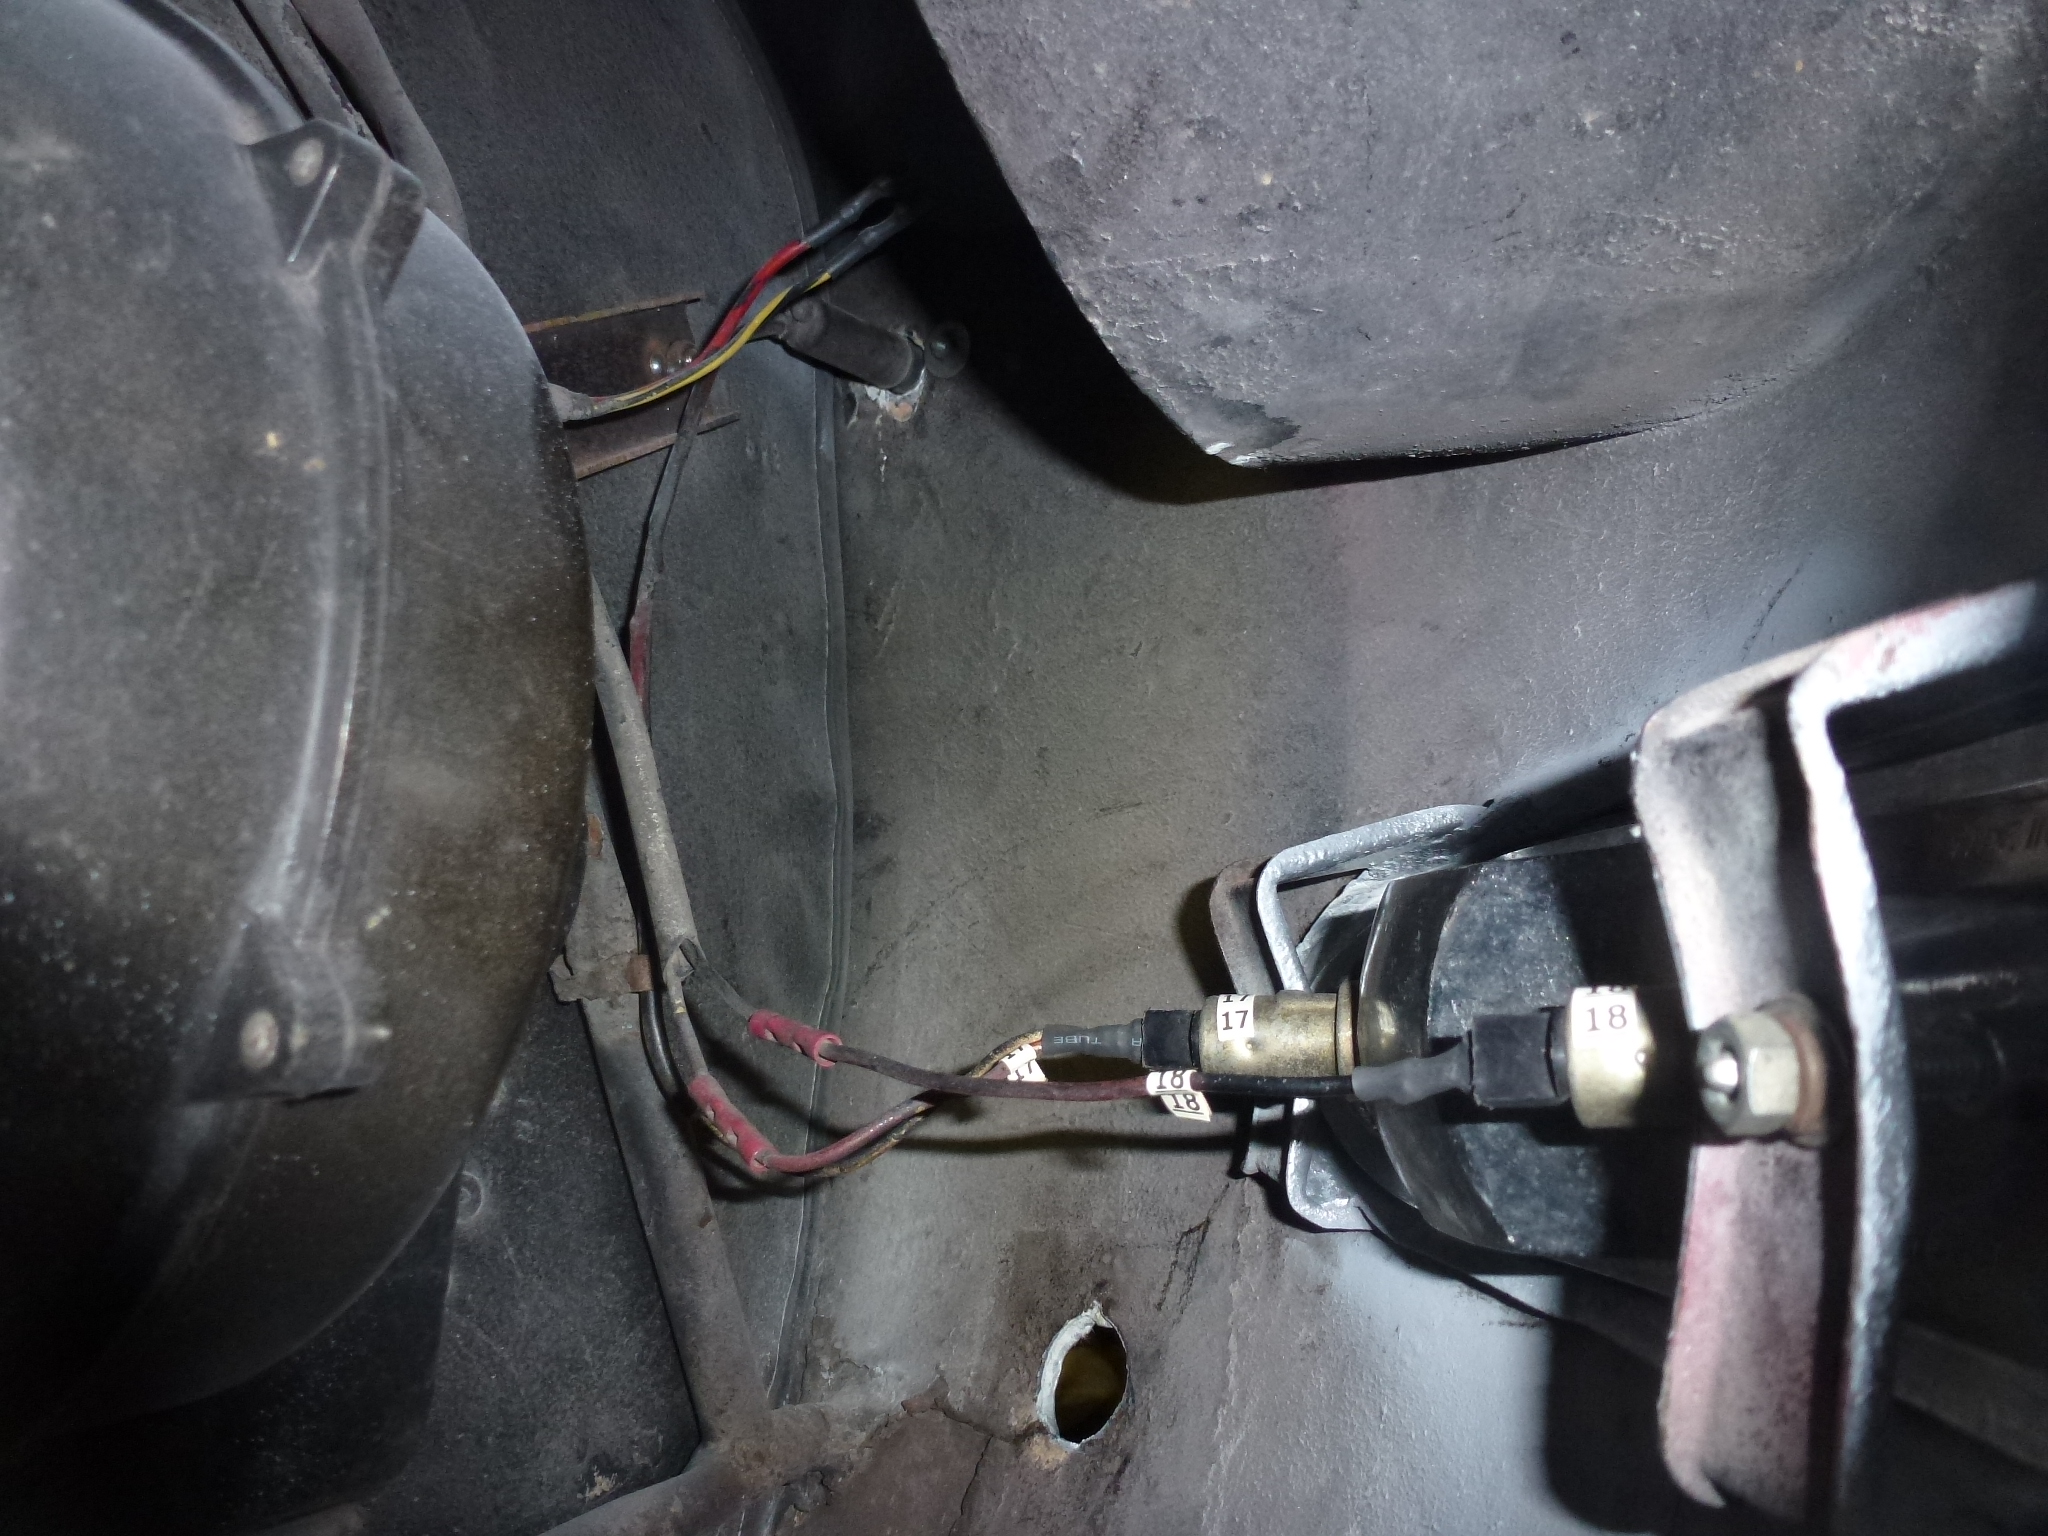
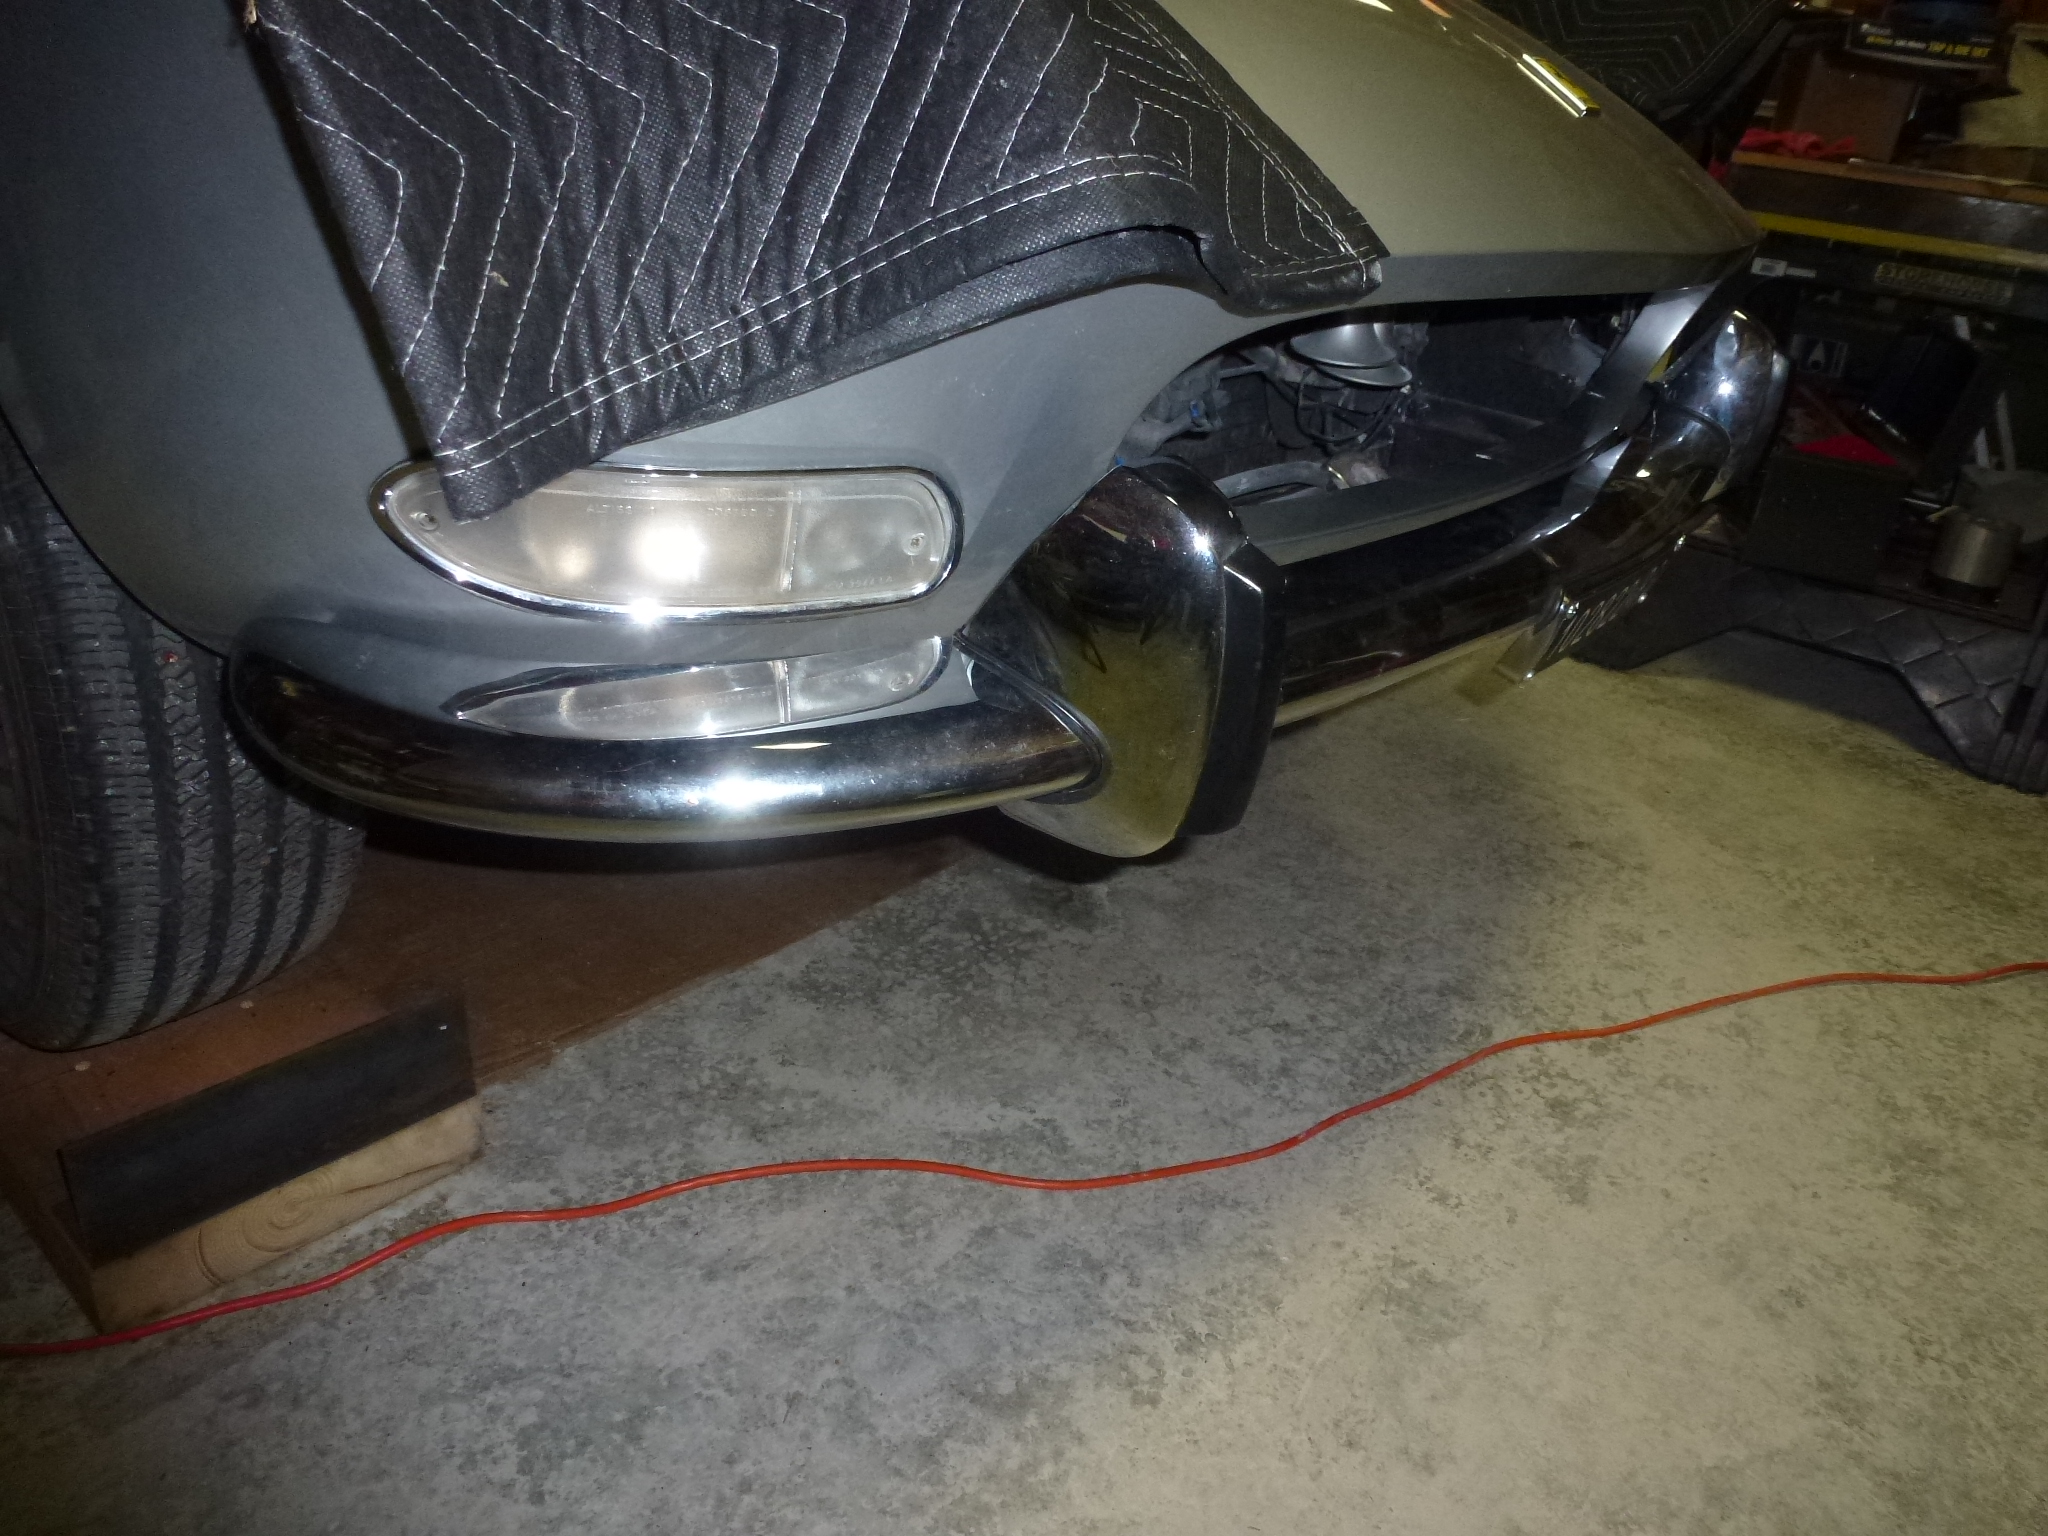
When I picked up the car, I quickly put on the front turn signals. Now I went back and put them in with washers and lock washers. In addition, I put on the side markers. On one side, the wire from the turn signal to the side marker had come off, so I had to put a new stake connector on. I also put shrink wrap around each stake connector, so if one comes loose while driving it can't short out. I was also missing my matching wire numbers, so I added those. It took some time at the paint shop testing to get the turn signals working. If I had the wiring numbers done, it would have saved quite a bit of time.
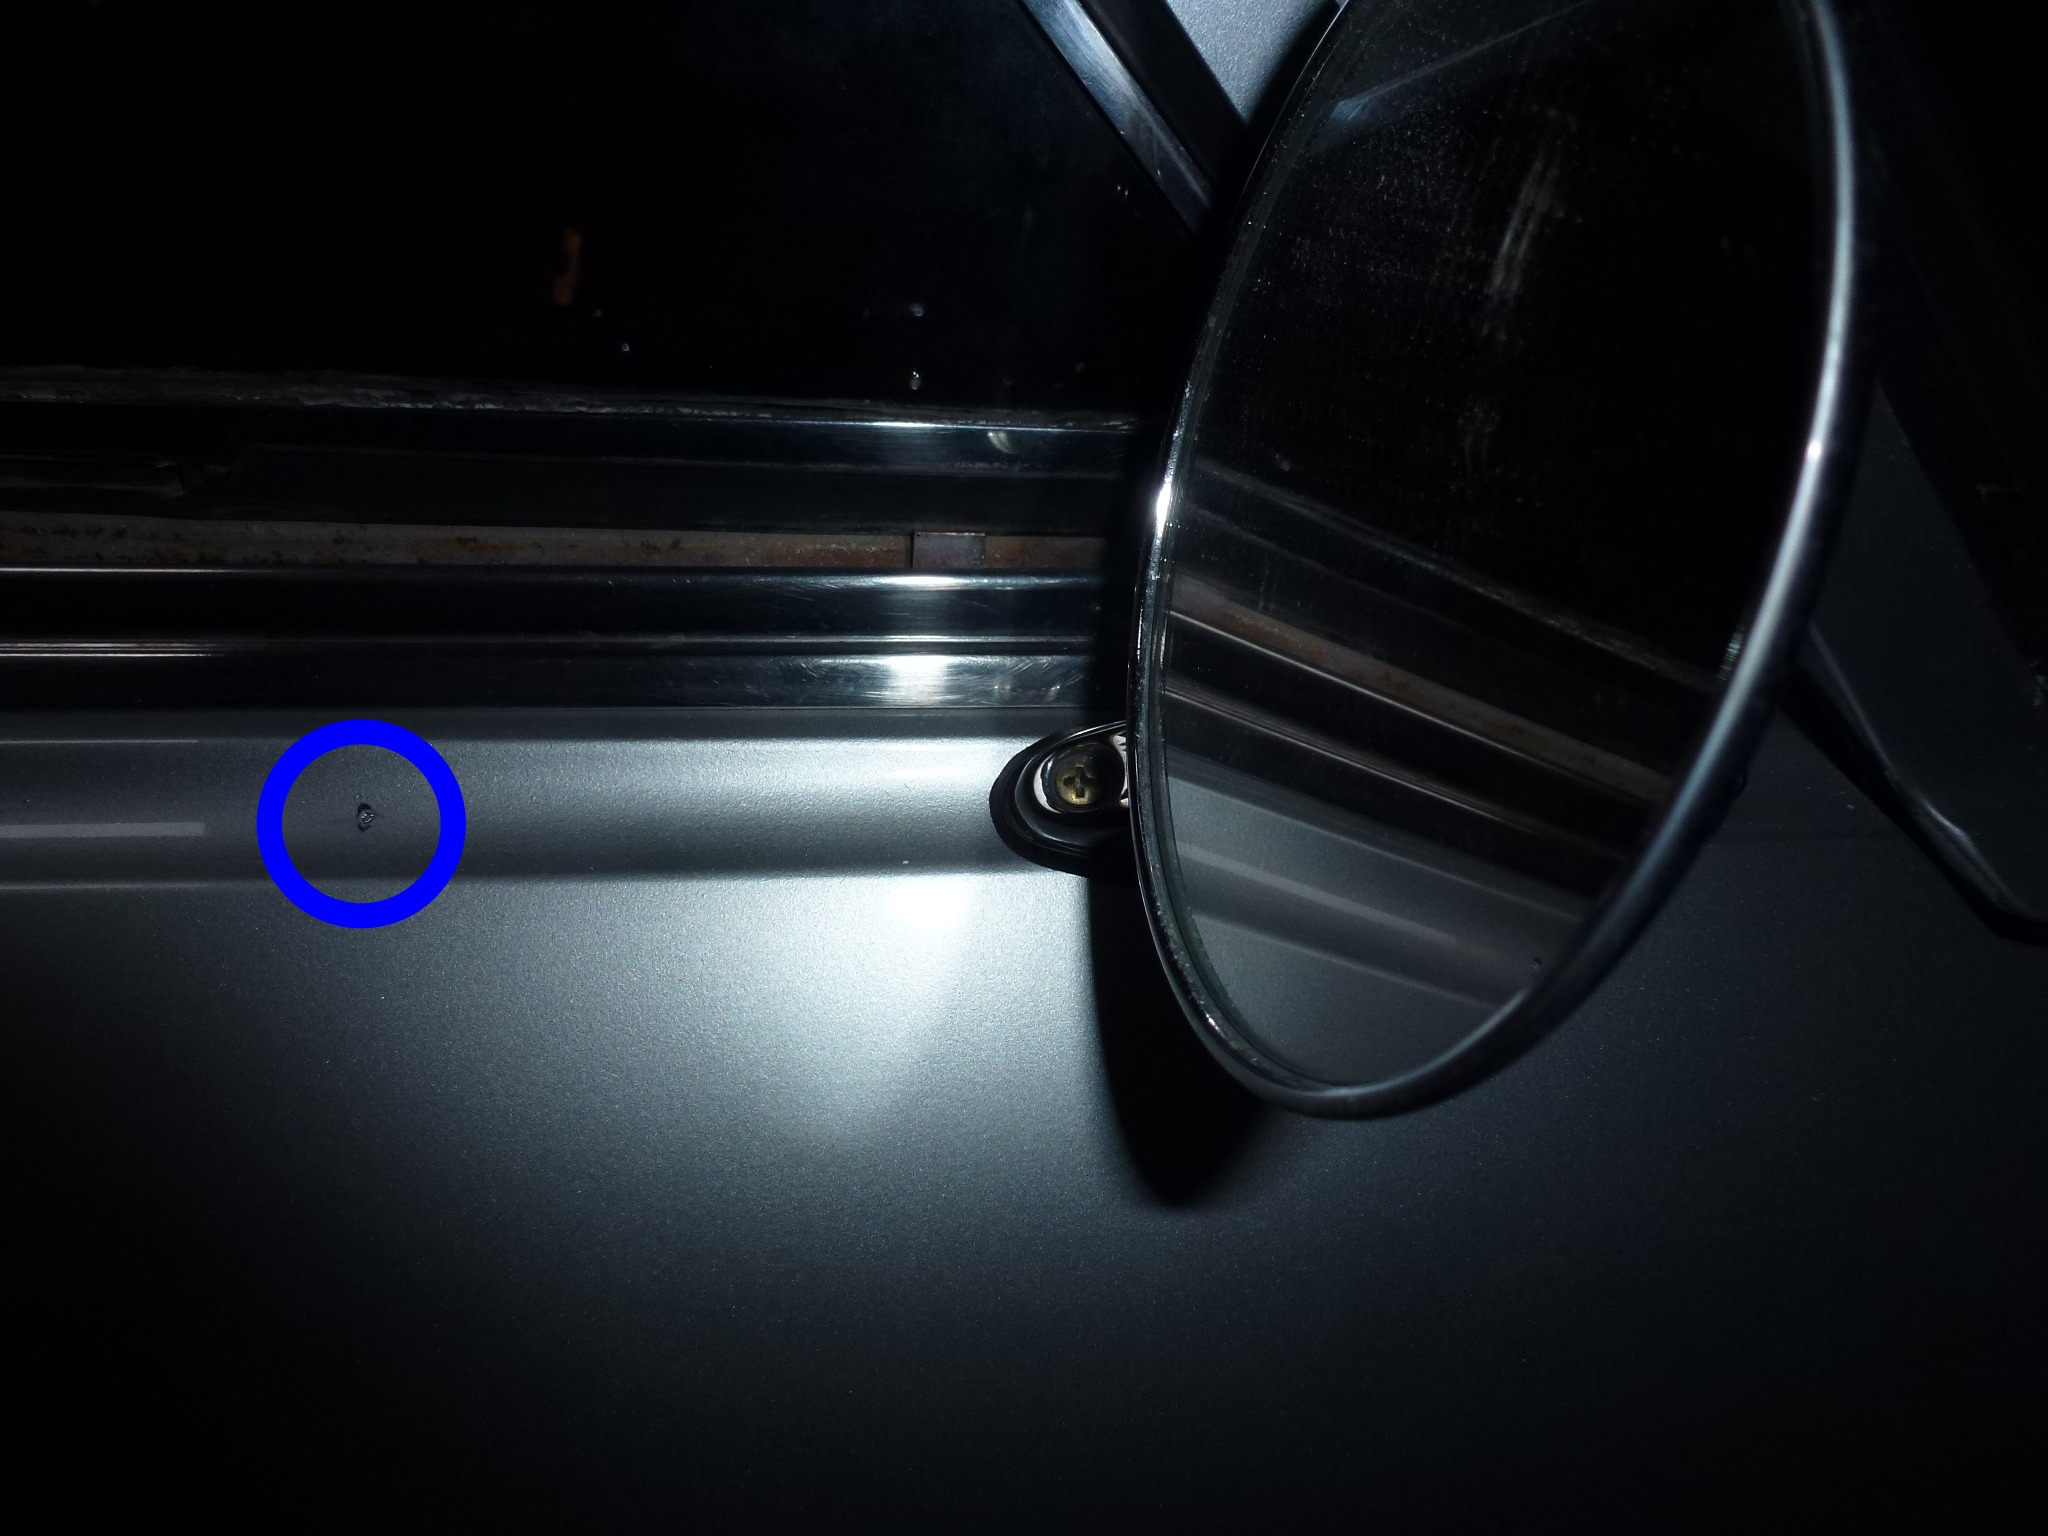
I installed the passenger side mirror. The was my first major screw-up. One of the holes was covered and painted over. So I carefully marked by laying the mirror pad over the one hold. Then I used a small (1/16th) drill bit to find the existing hole under the paint and filler. After a couple of tries, I kept hitting metal. Then I looked on the driver's side and realized that the mirror was mounted farther forward than I thought. So I re-marked with the rear hole of the pad over the existing hole. Then the drill went through the paint and filler into the existing hole the first time. Now, I have a minor mark that the paint shop will have to fix.
The next thing to go on was the rain gutter trim. This is stainless steel, so I spent a while polishing the edge to remove minor scuff marks. This clips onto the edge on the body and then is held on with 8 screws. After that I put on the weather-stripping for the quarter windows.
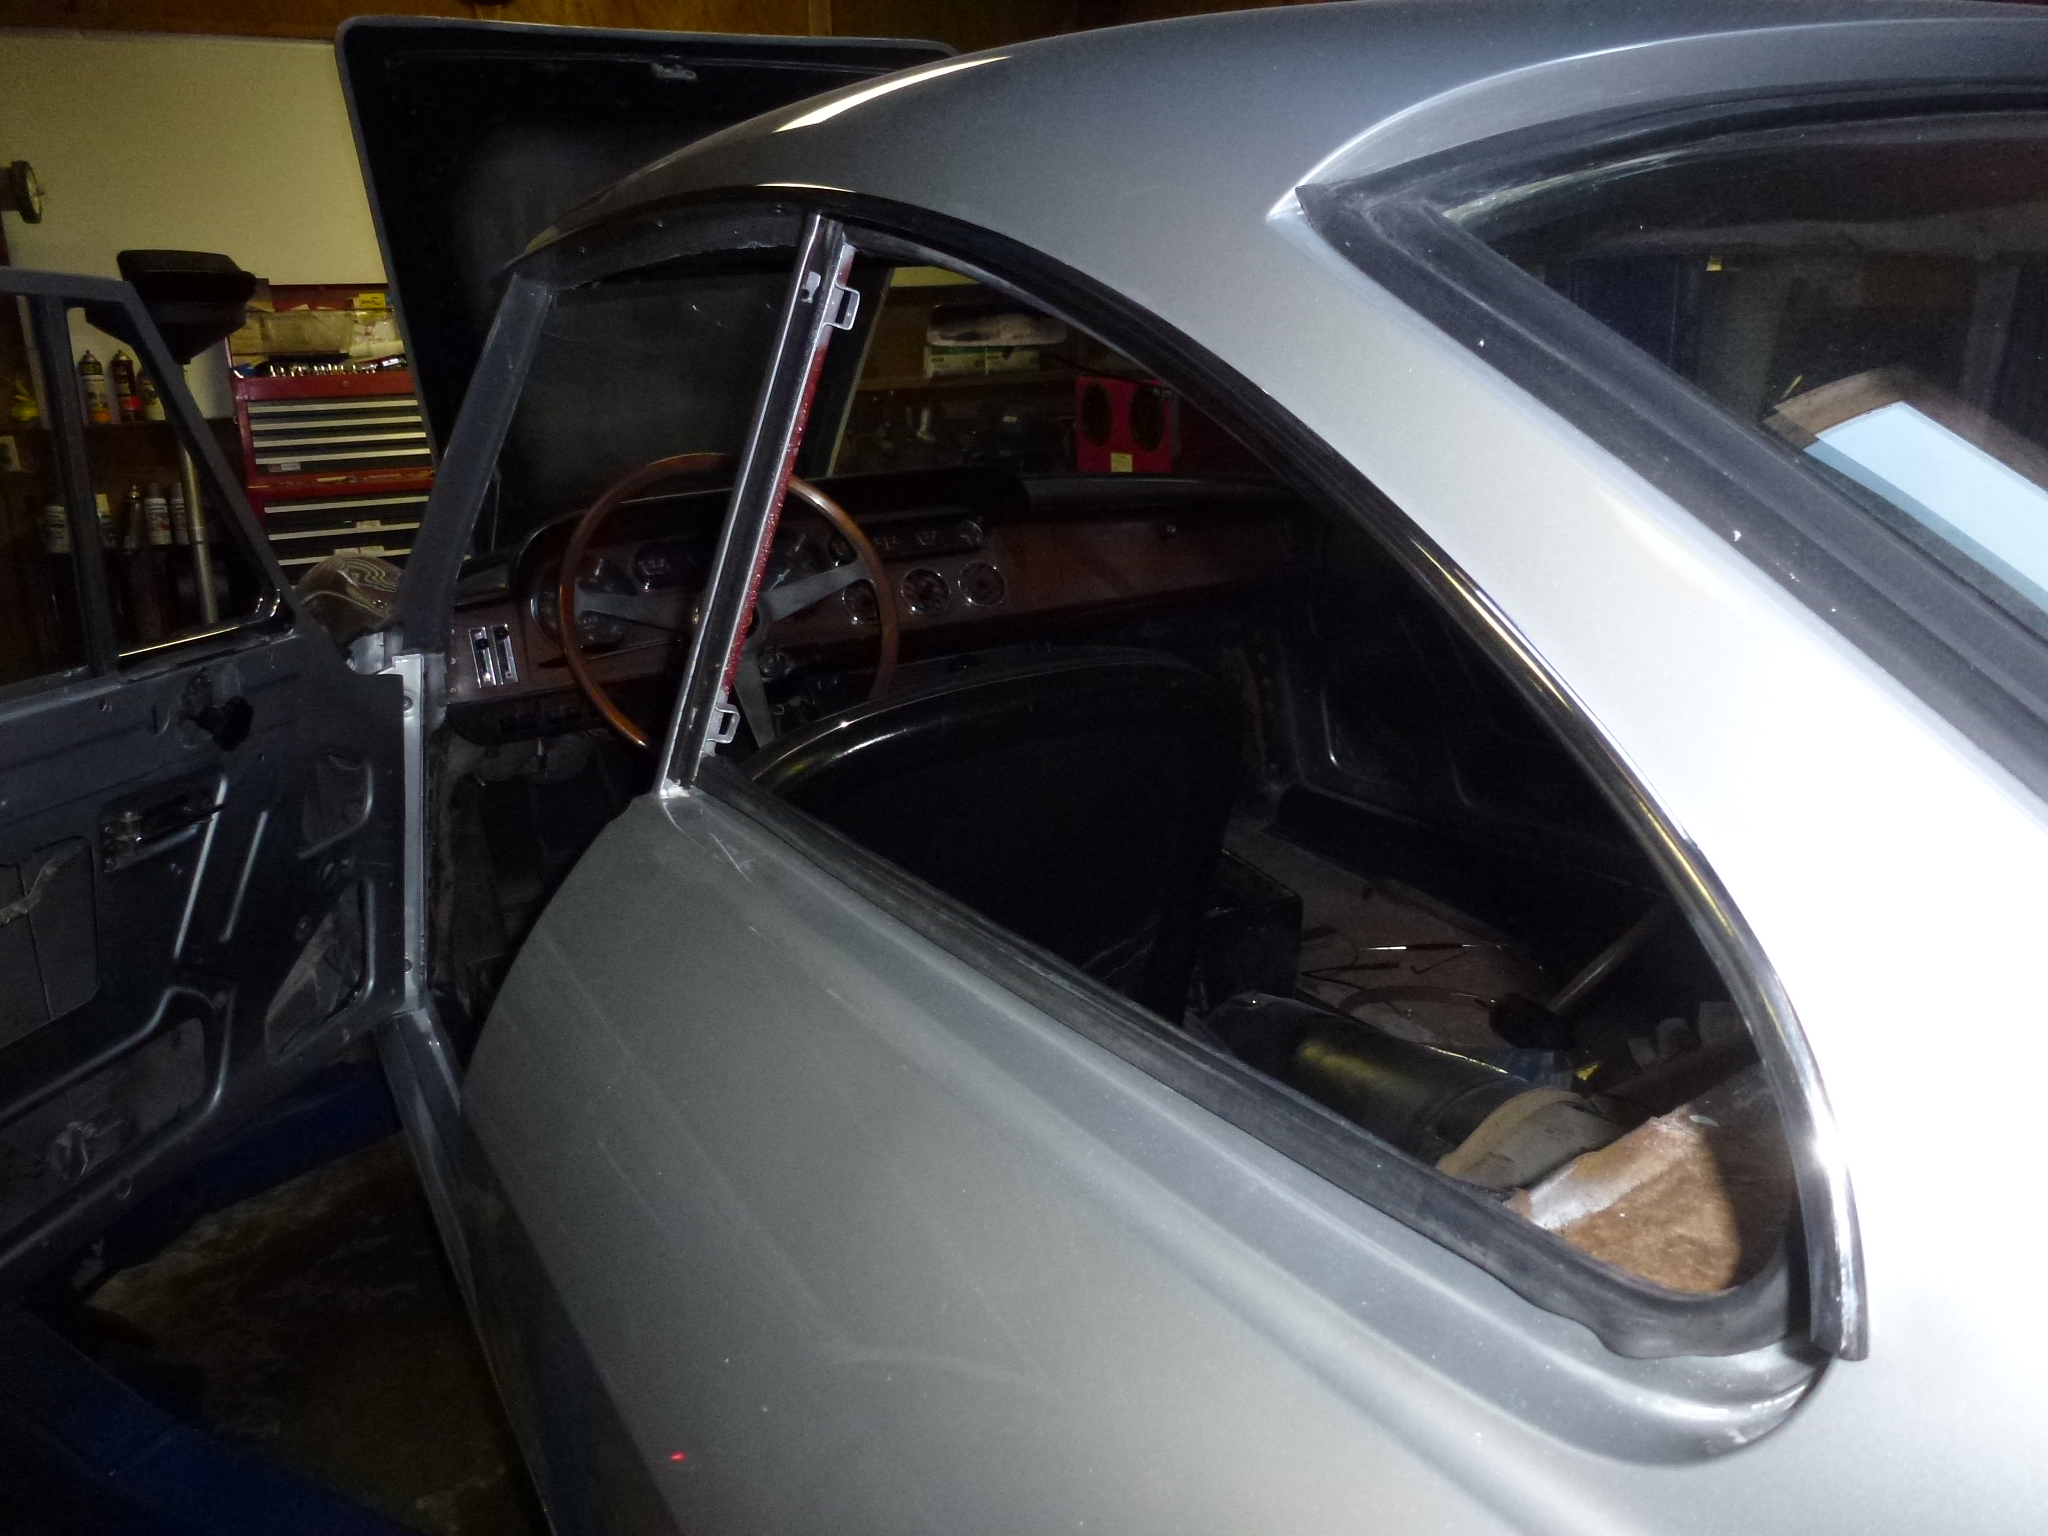
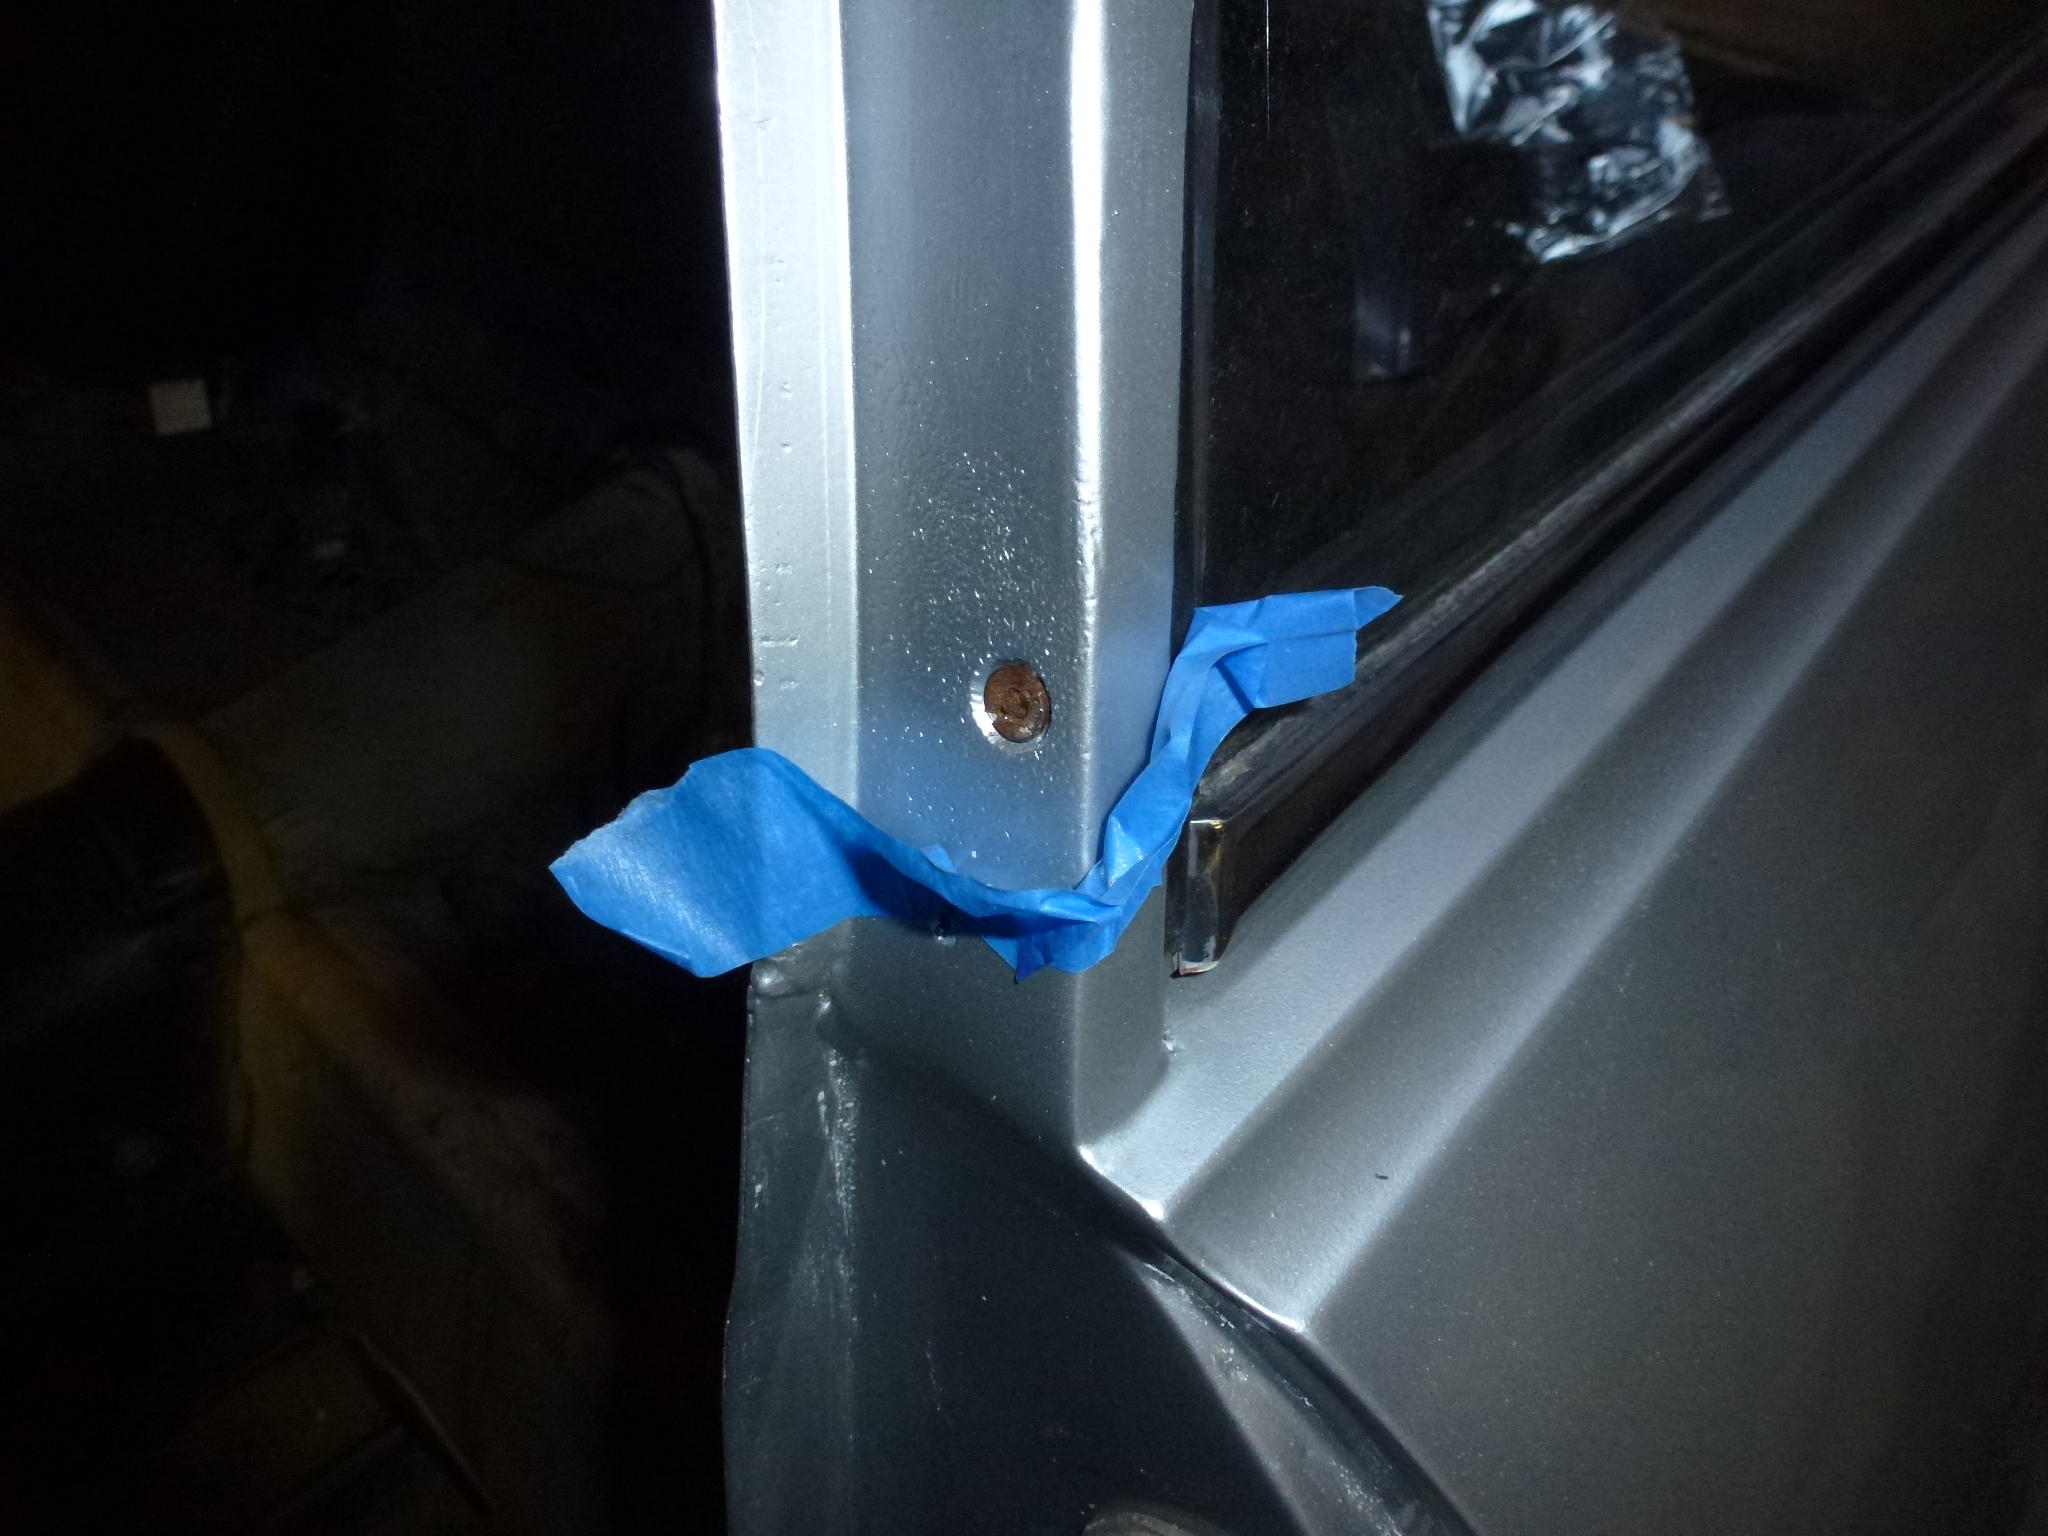
Once that was done, it was time for the quarter windows. These are hinged by a stud and the head of 2 flat head screws that have had a hole drilled and tapped in them. They are very easy to drop and when they do, the natural curve of the door jam sends them off to never-never land. I found that a couple pieces of tape preclude that possibility. Once the window was in place, I temporarily used a single screw for the lock as I don't have the interior panels installed yet.
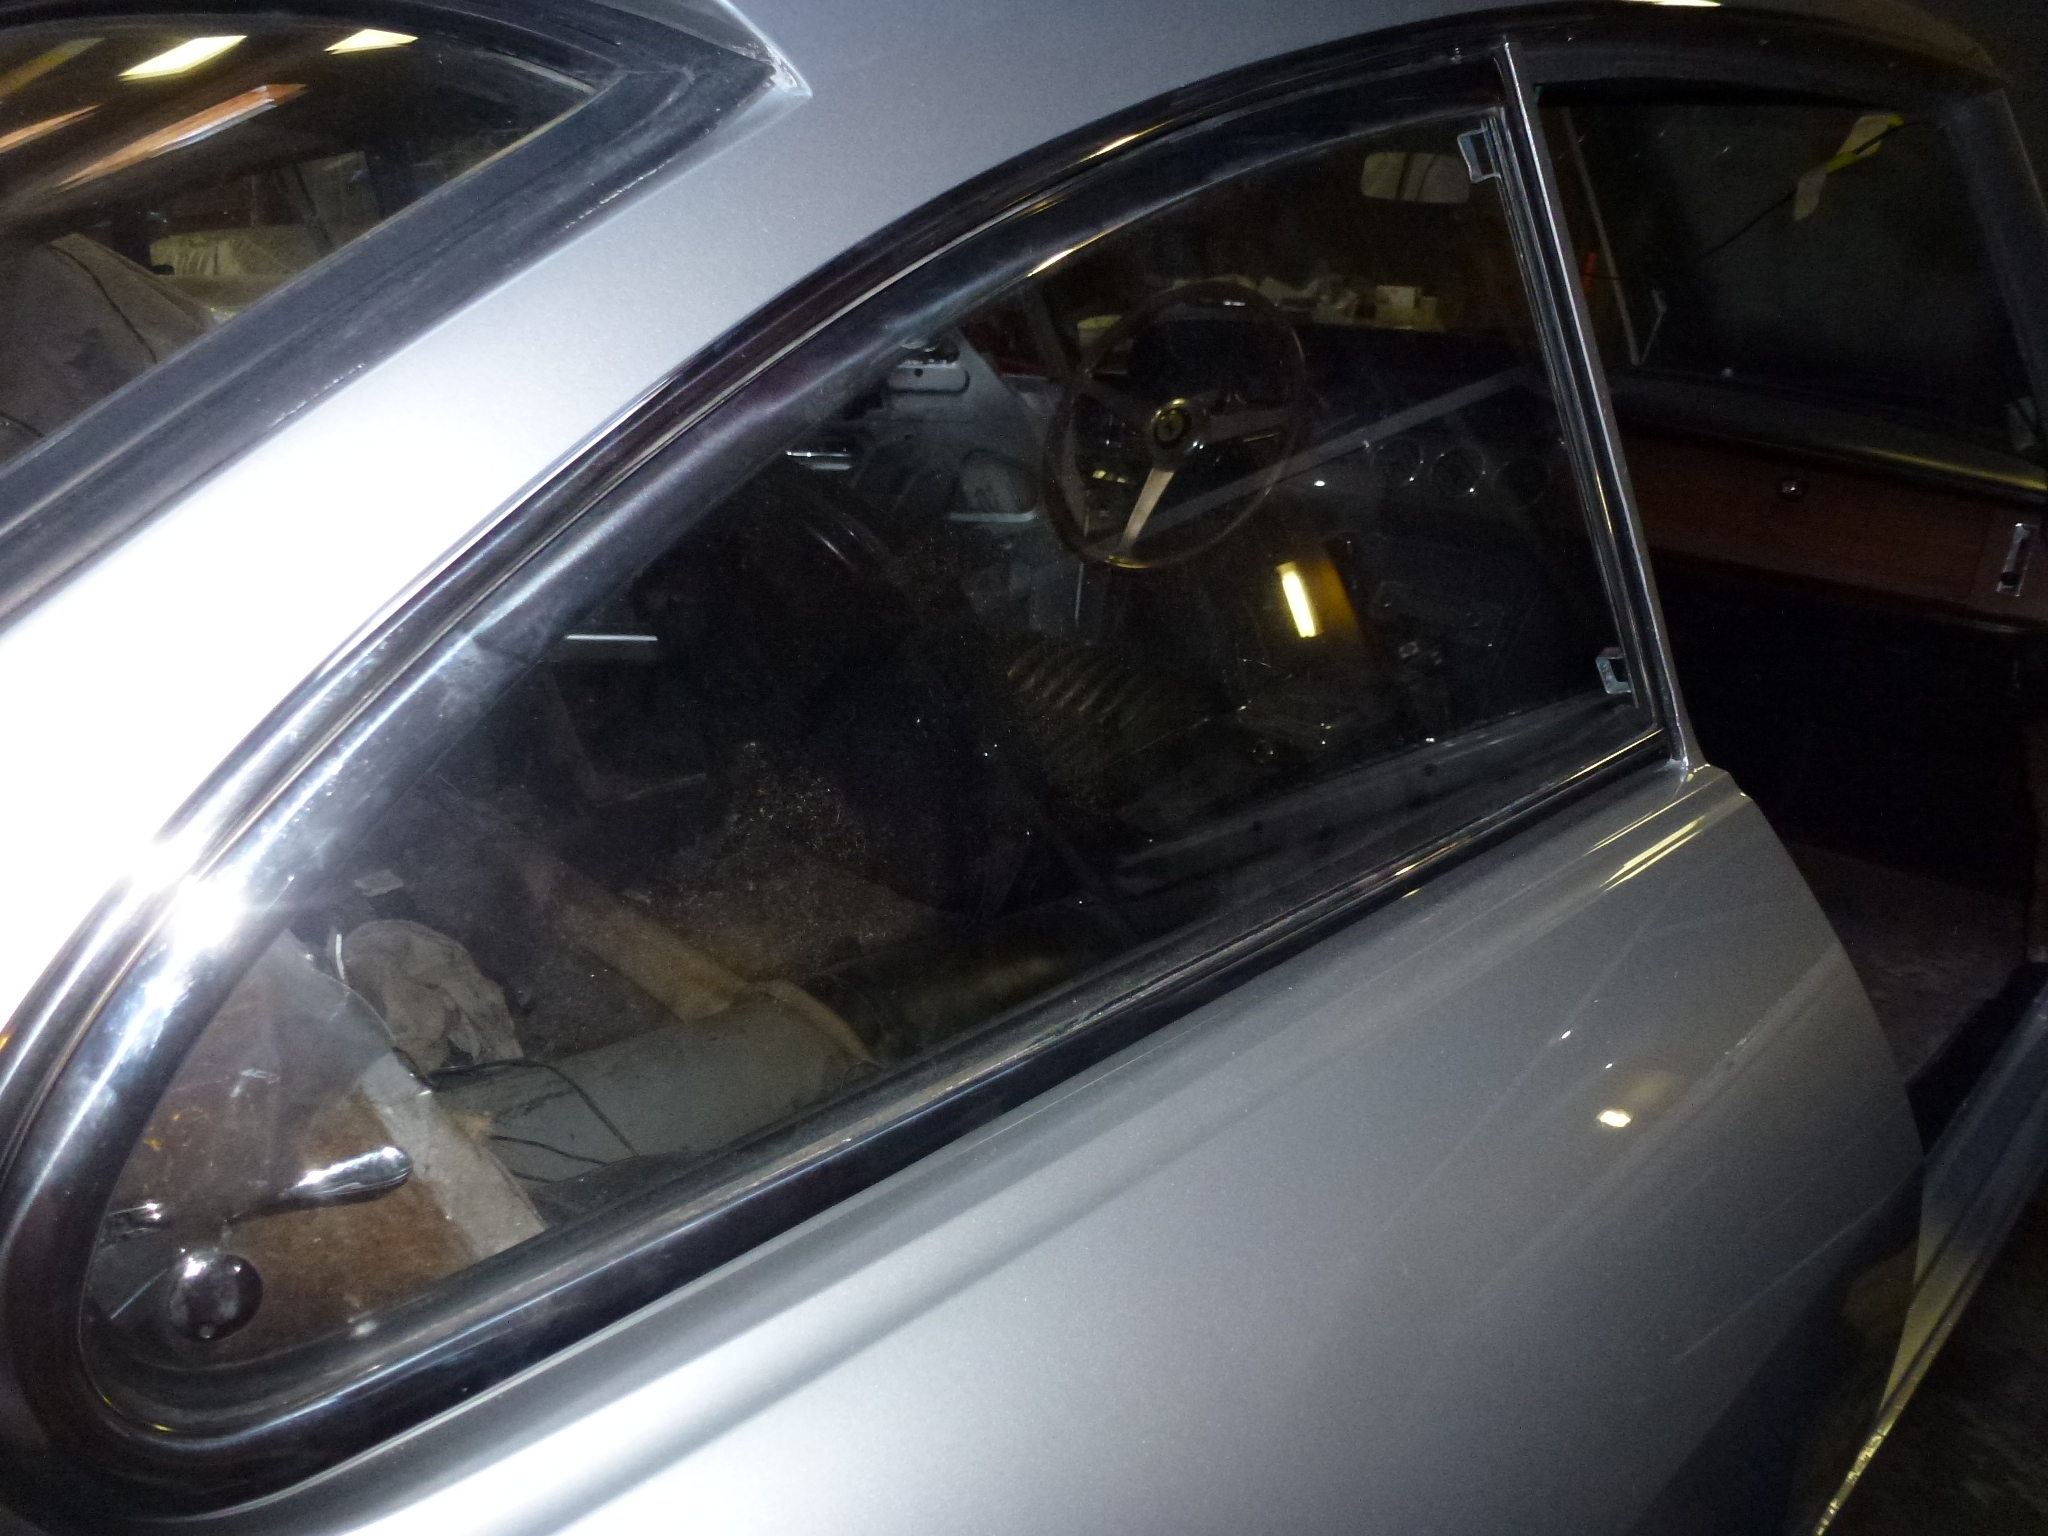
Of course, I let the window nick the paint, so now the body shop will have more fix-up to do.
I put the Pininfarina script and shields on the sides. I bought some new brass nuts for these. It is interesting in that the thread is 3mm, but the old nuts are use a 6mm wrench while the new ones are 5.5mm. Of course, 5.5mm isn't in your normal set of wrenches. I do have a set of metric ignition wrenches that have some ½mm sizes, but ended up ordering a 5.5mm socket at it is a lot easier to used in the confined spaces where the PF emblems stick through.
I also put the Ferrari script on the trunk. These are aluminum and originally, just have studs and are held on with push nuts. These are fine until you want to remove then and it is likely that you'll break off one of the studs in the process. So a while ago, I threaded the aluminum studs with a 3mm die. Now, I can just use brass nuts and washers to hold the script on.
I installed the headlights and trim rings.
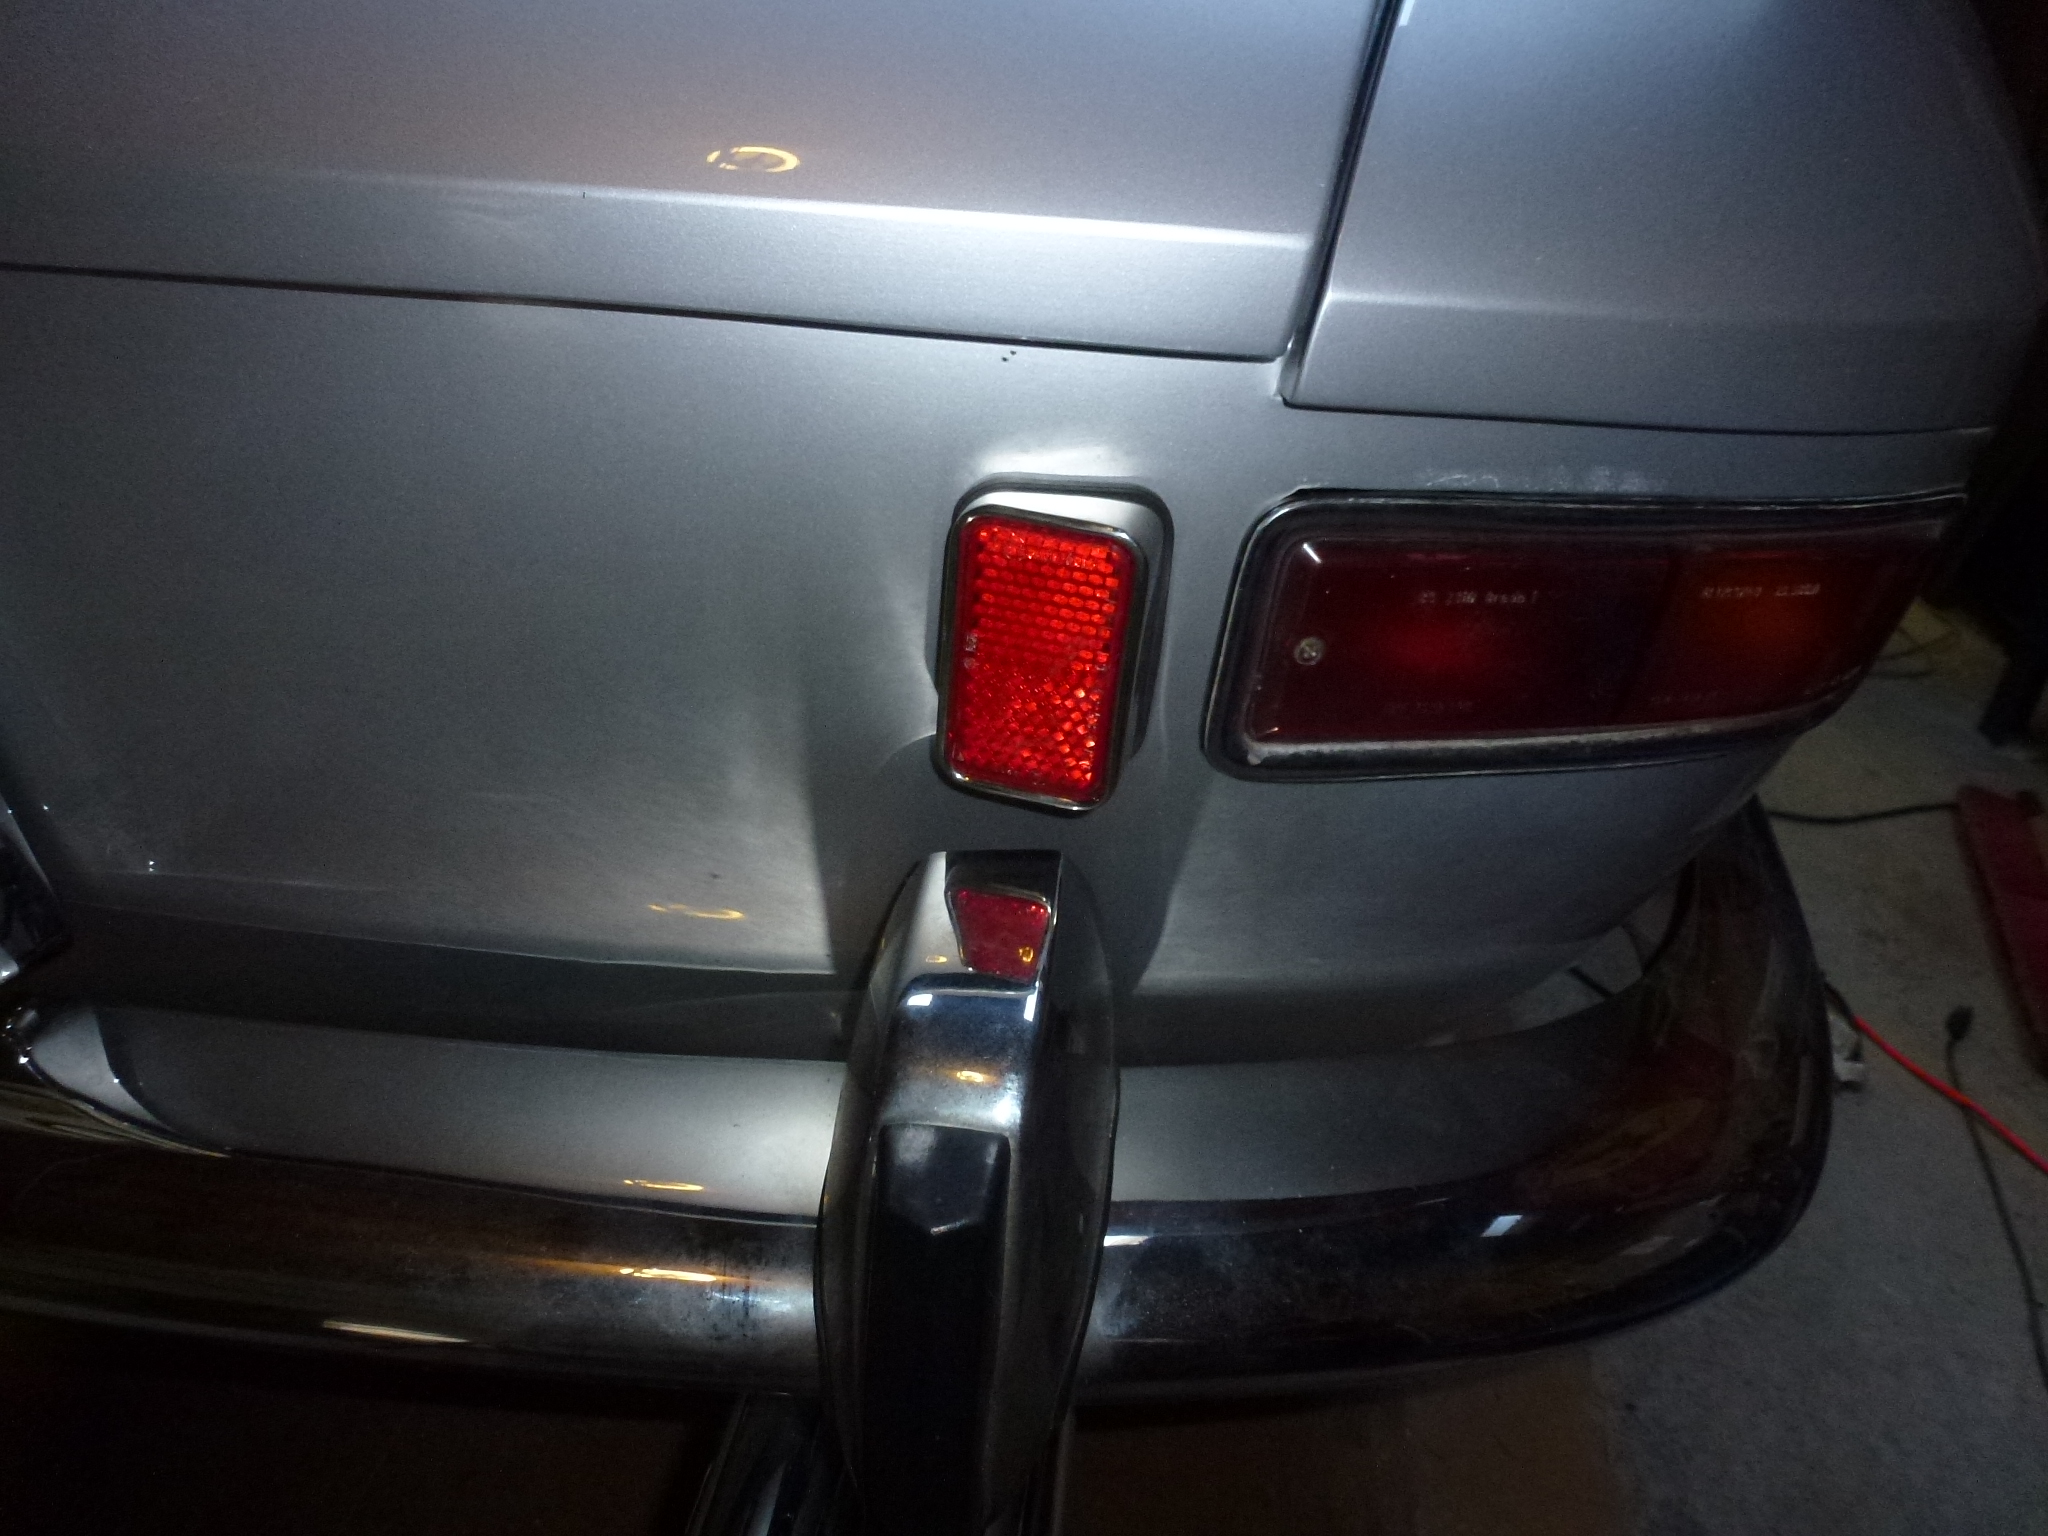
I put on the front bumper and rear reflectors.
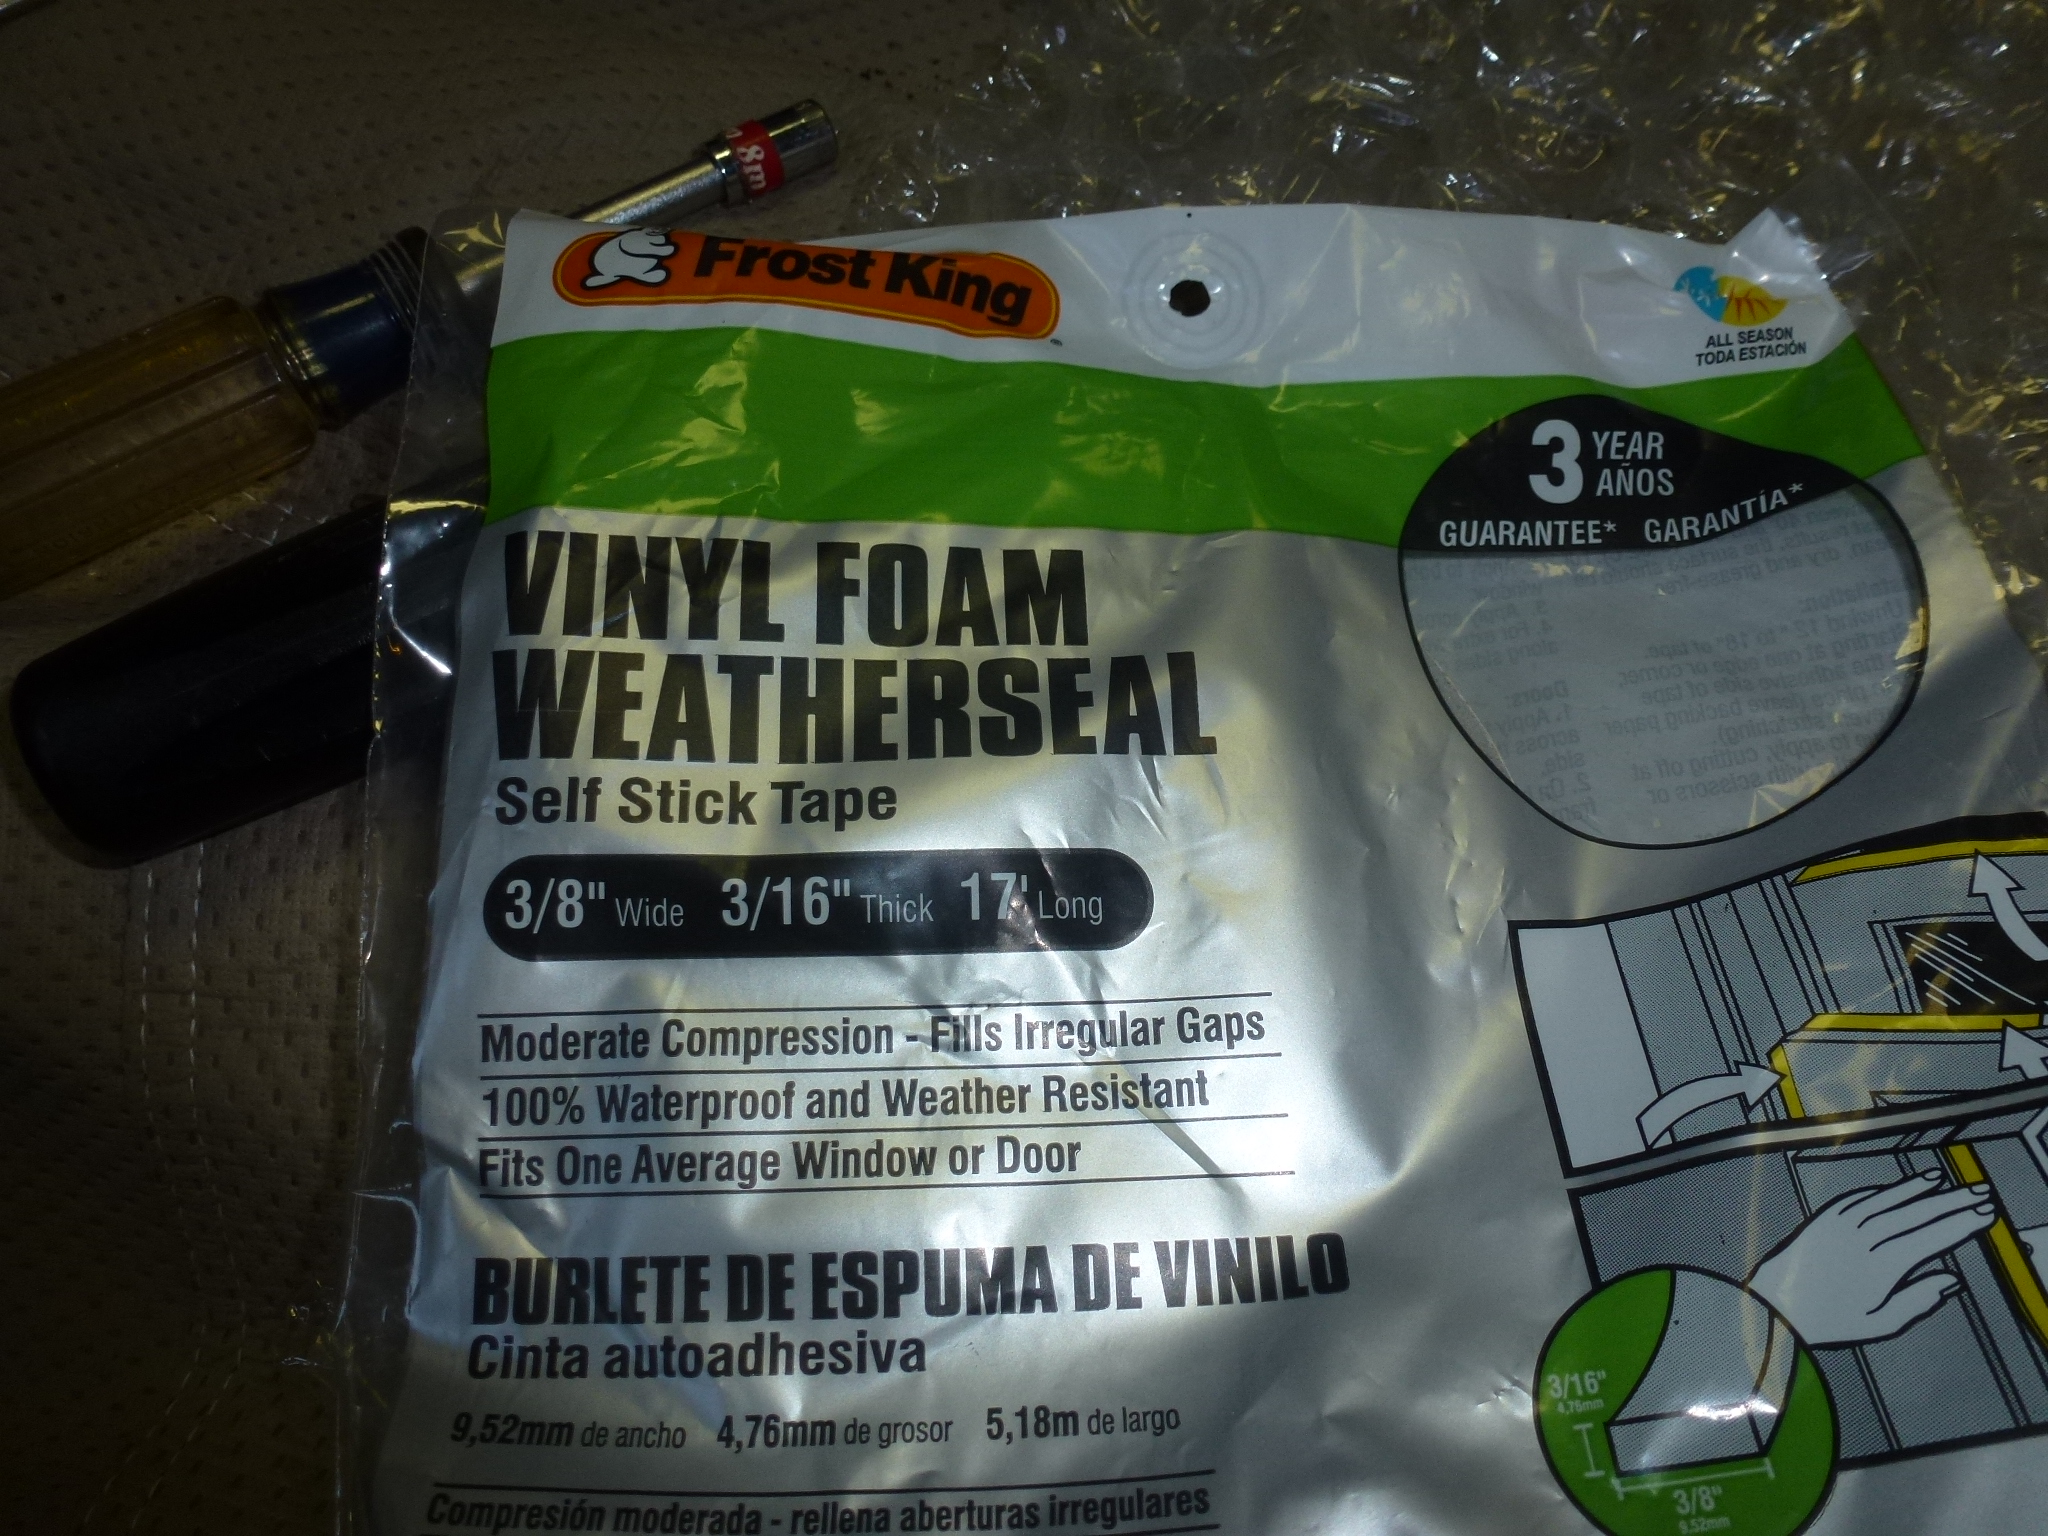
I installed the LH side fender vents. These are tricky to install. I use foam insulation tape behind them, with two layers needed. Then I put in the chrome vent surround, just starting the nuts so it is still loose. Starting with the rear vent, I fit it in by starting with it at about 45° and rotating it into position with the back edge covering the foam at the rear. Then I tighten the rear nuts, top and bottom. The 4 mm brass nuts that I have use a 5.5mm wrench. I finally ordered the correct socket from Sears, so now it is easy to tighten the nuts simply by turning the socket by hand. I don't think that need anything other than hand tightening. Next I install the front vent in a similar fashion, but a little trickier since there is the block off plate on it. I then tighten the front nuts. Lastly, I put in the center vent by rotating it into position and tighten the last 2 sets of nuts. By starting all of the nuts and the correct socket, this goes pretty fast.
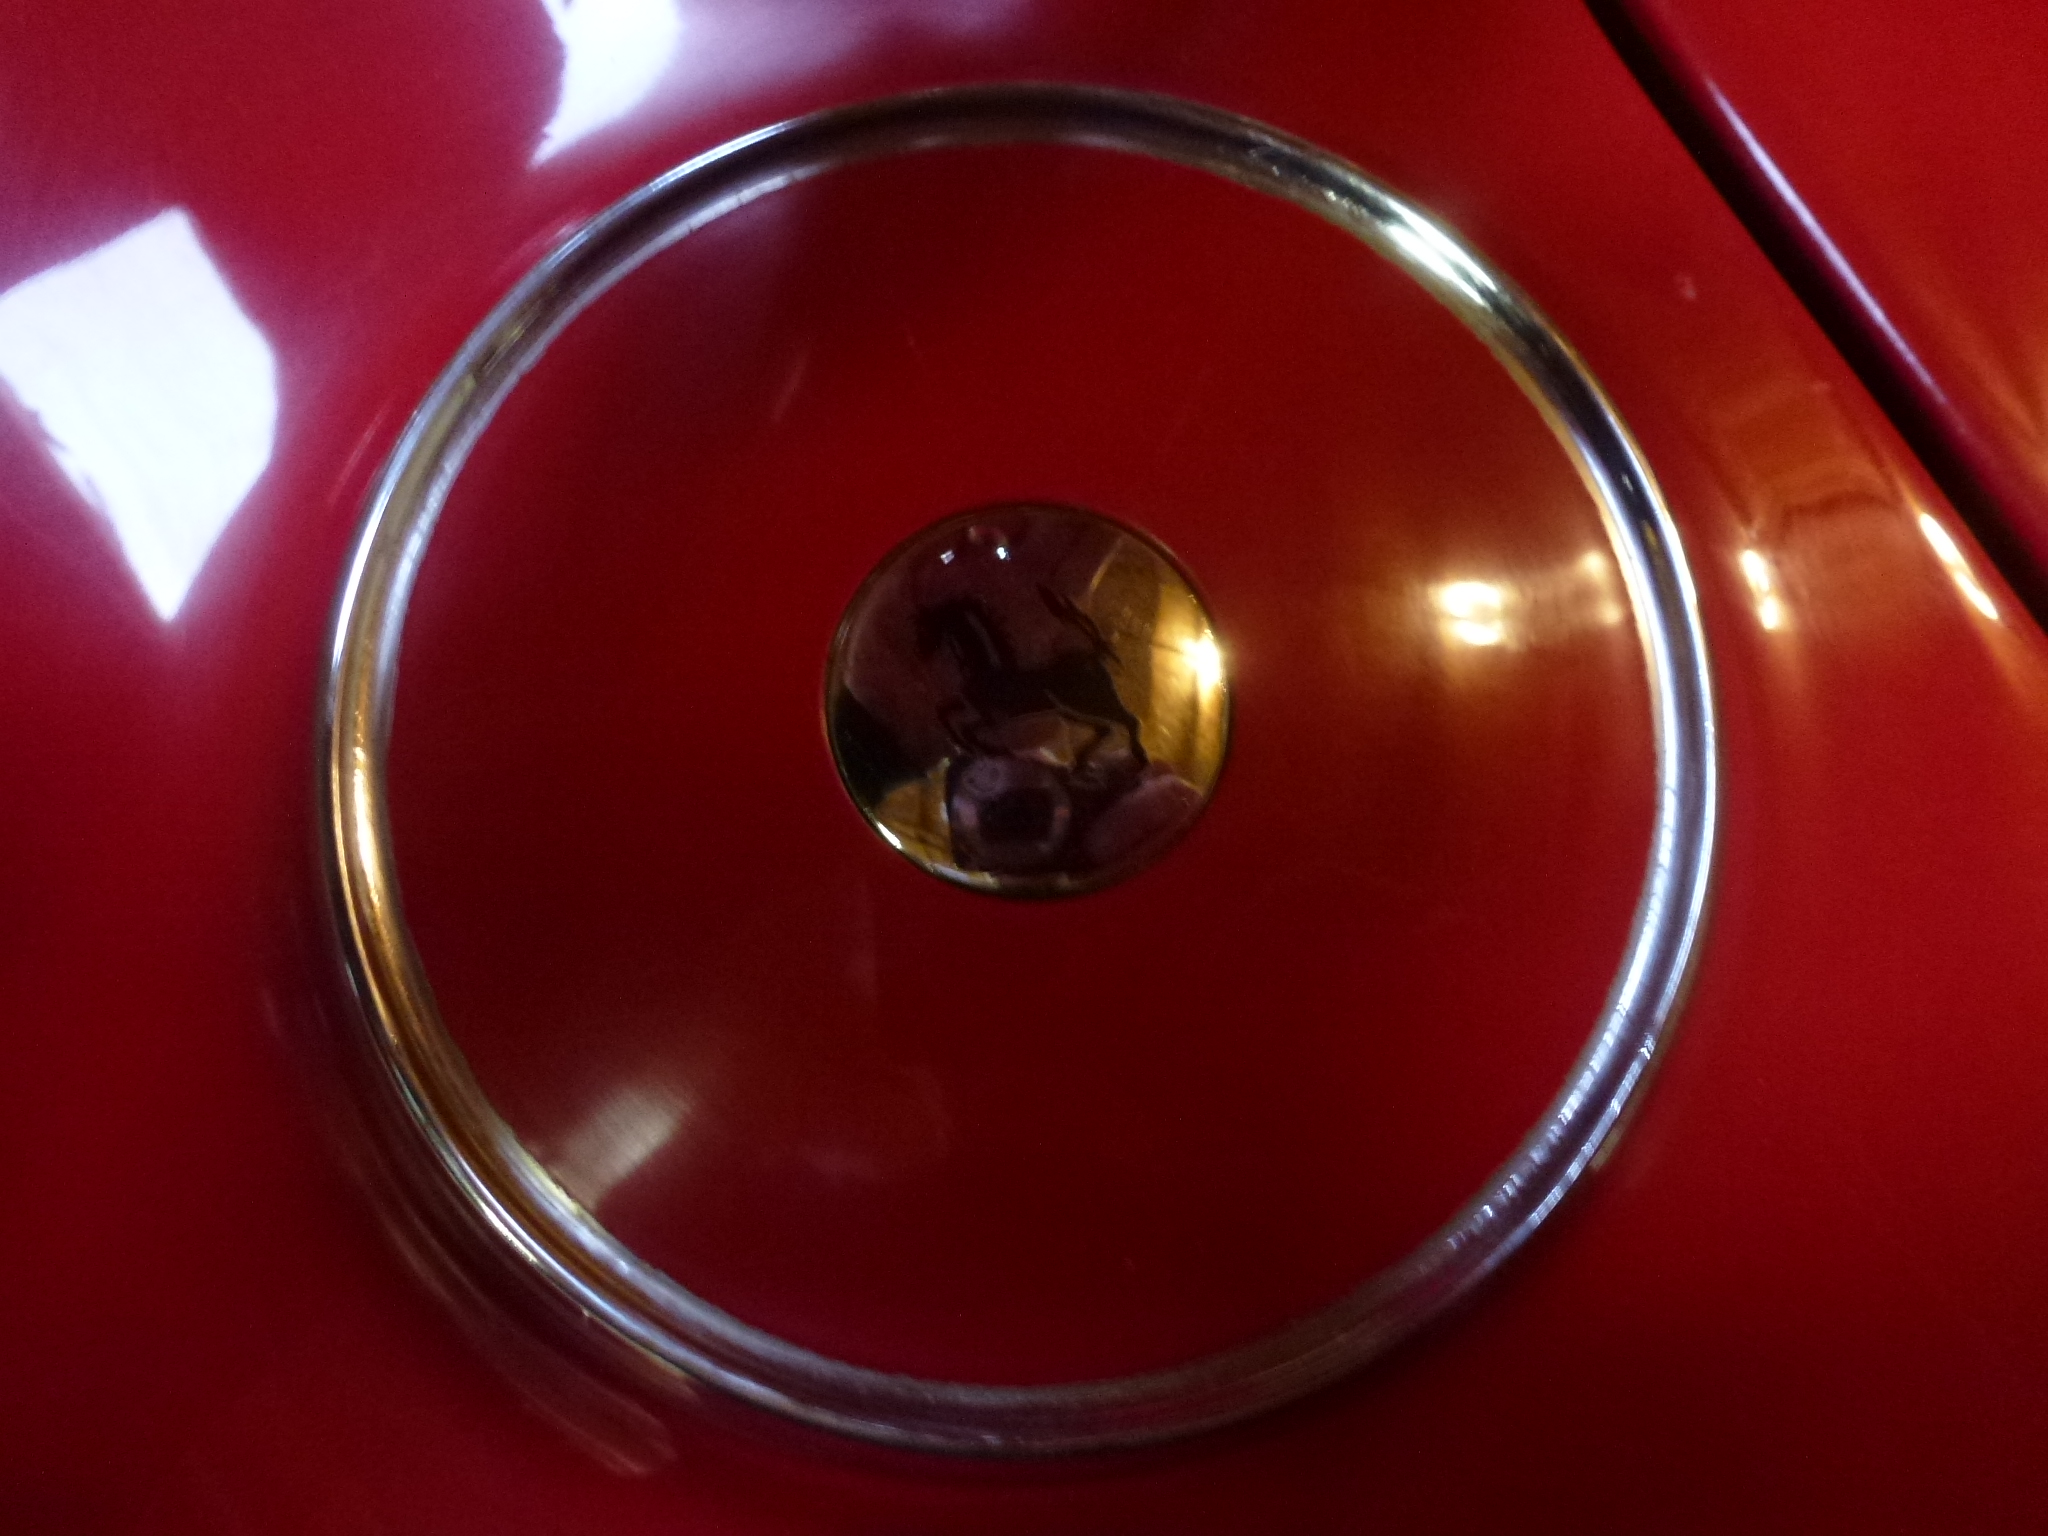
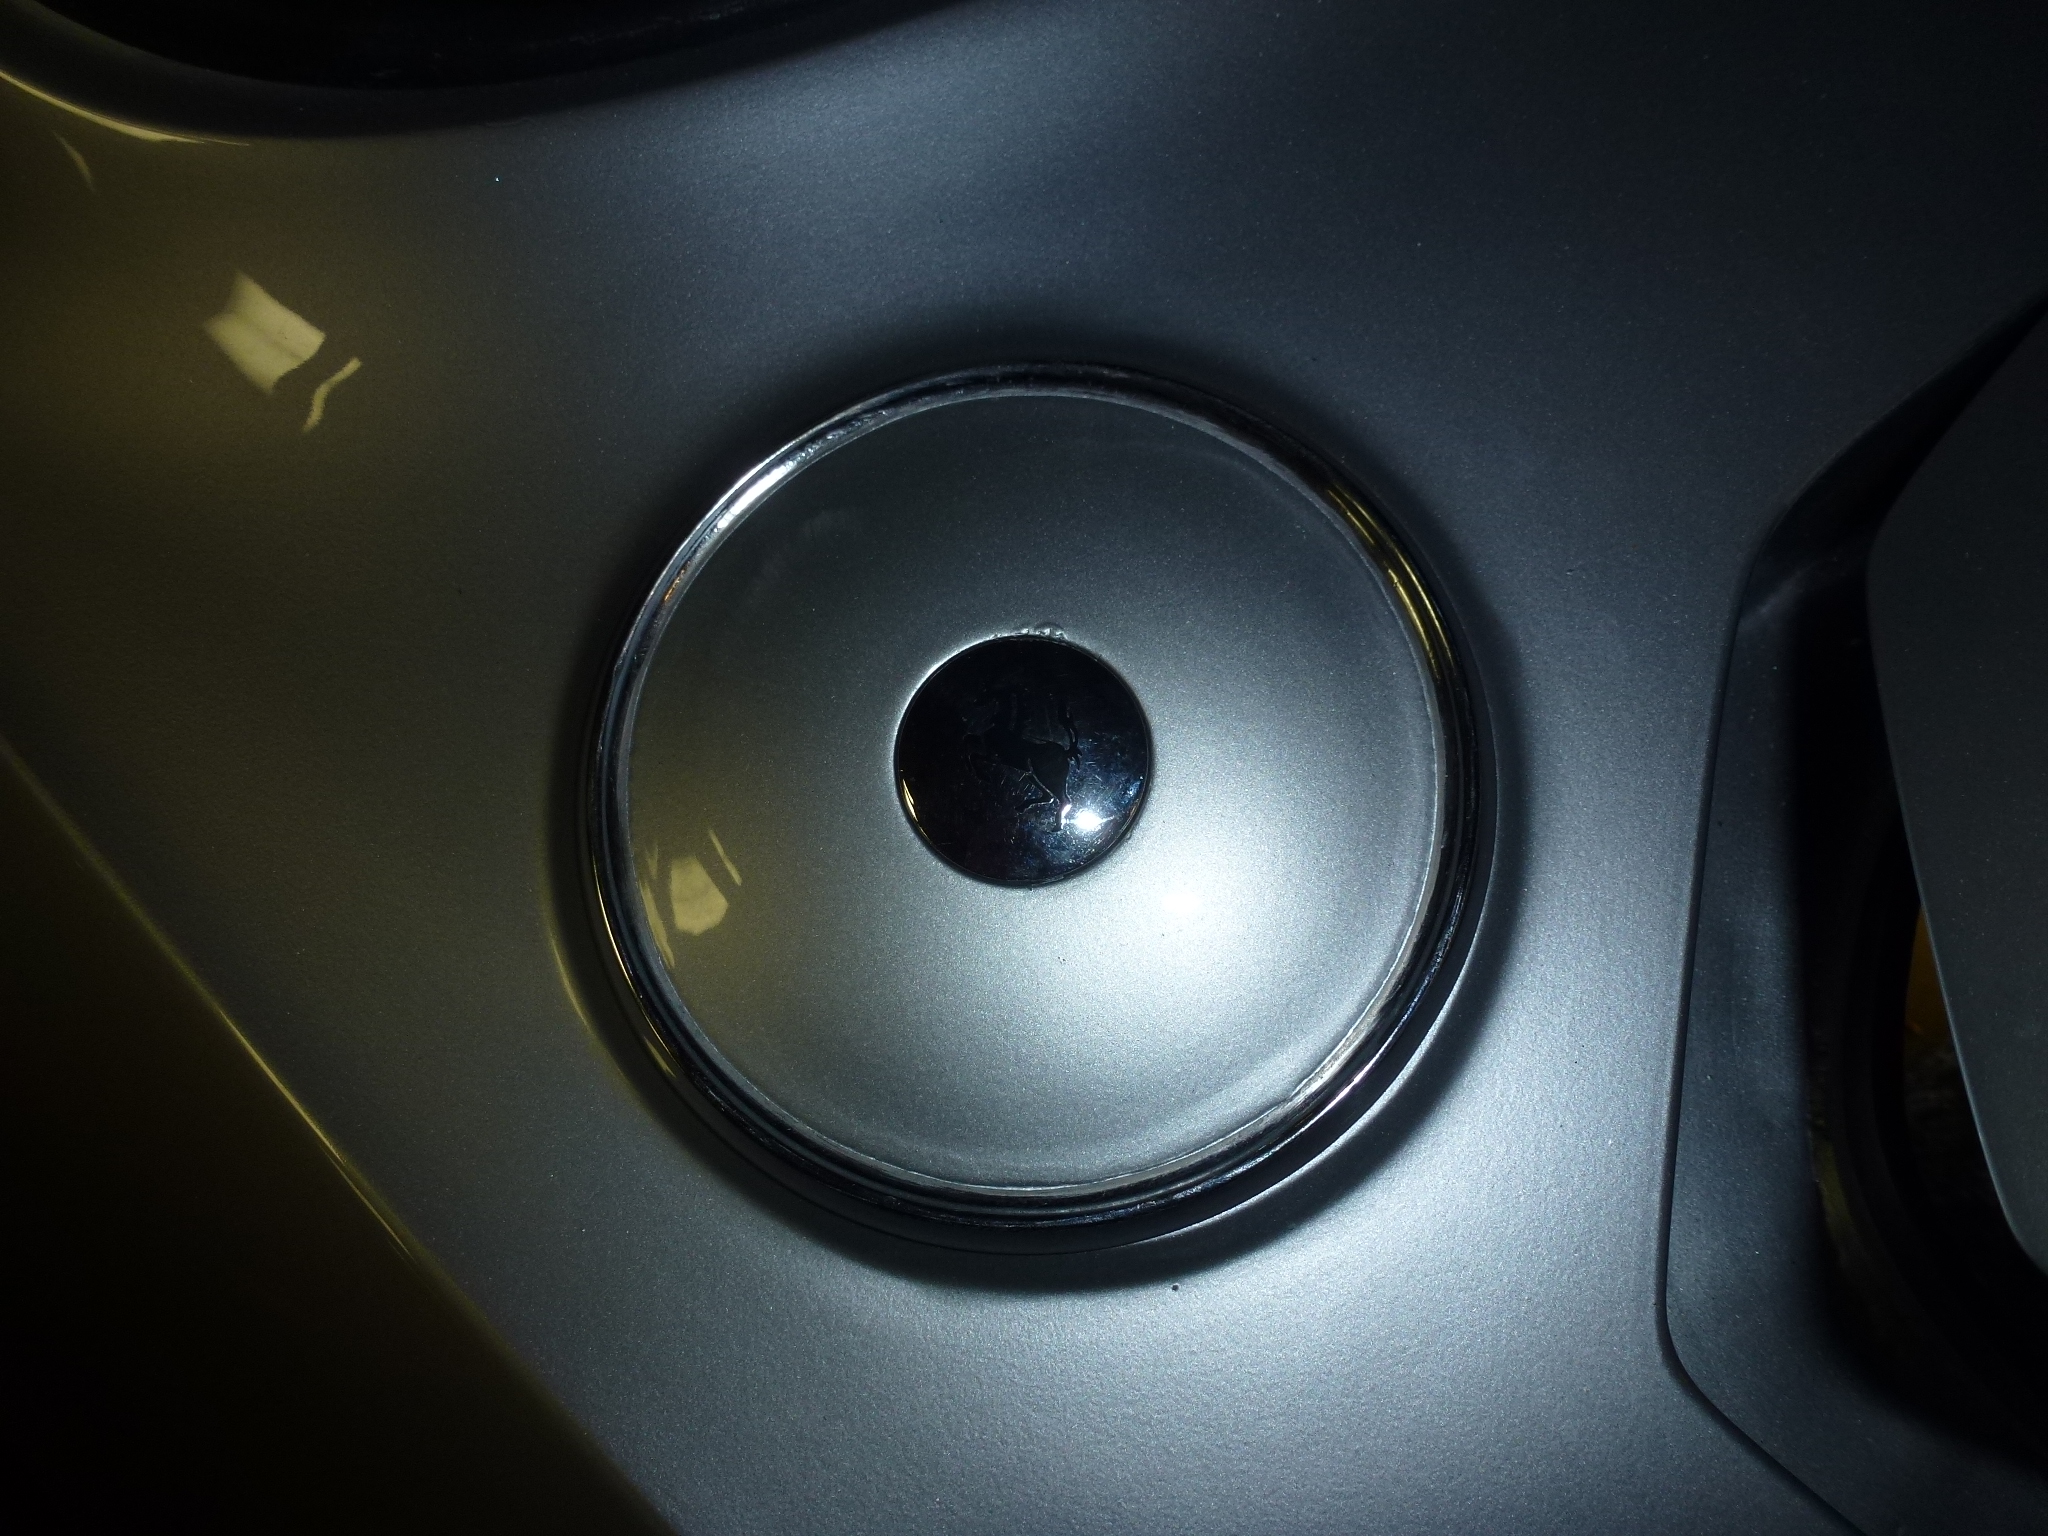
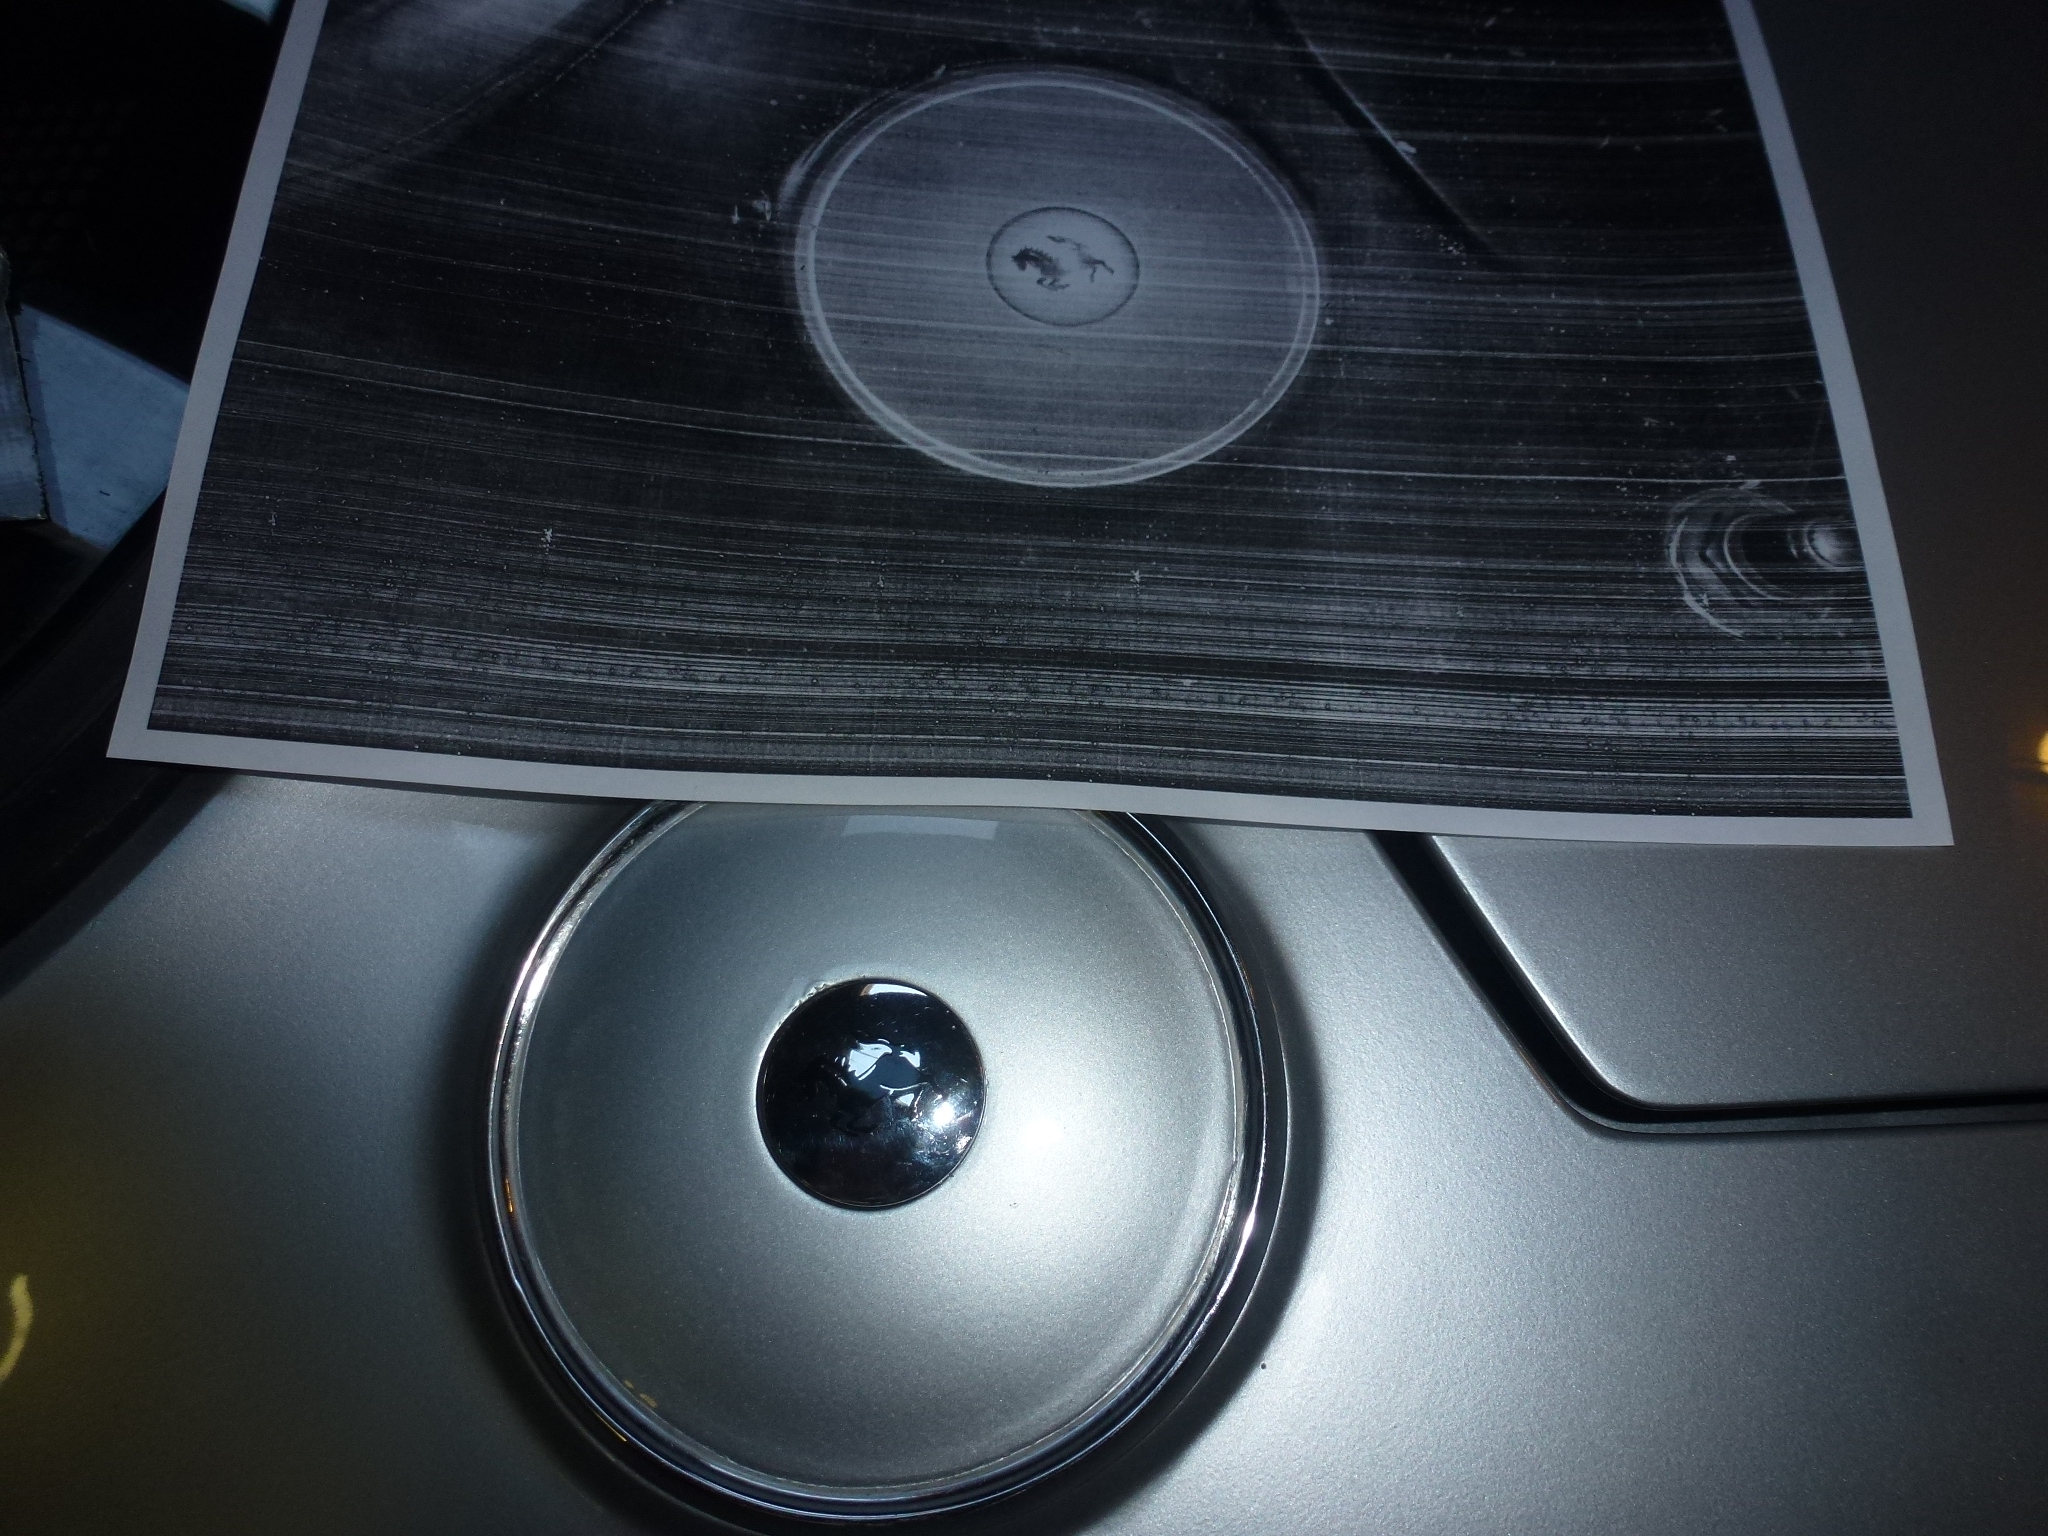
When I painted the car 30 years ago, it was before digital cameras, so I didn't take many pictures. Among others that I should have taken, was one showing the orientation of the Ferrari horse on the fuel filler lid. A couple of weeks ago, I went back to Tom Yang's and Richard Garre's Ferrari event. Recently I had been in contact with a long time owner who had bought his car in 1970 and parked it in 1977, where it has been ever since. I was able to visit the car and took a lot of pictures as the car is about as close to original as one can find. One picture was of the Ferrari horse orientation. This allowed me to position mine properly. Now, it is quite possible that Luigi simply sticks the horse emblem on as he sees fit when assembling a car at Pininfarina. Anyway, at least my car matches 9153's horse. I used some of the strip caulk from the vent window installation to hold the emblem to the fuel lid.
There are a lot of little parts on the exterior. Among others are the trim rings and nuts that fit under the wiper arms. As I am replacing the windshield, the arms won't be installed until later.
I took the car back to the paint shop to have them fix up the dings I made and a couple of errors on their part. In order to make sure that I didn't forget anything, I put blue painters tape with an arrow pointing to each place that needed attention. The day before I took it back, I drove the car to the local cars and coffee and everybody was asking why there was tape on the outside. There were two places that I thought (hoped) that could be fixed by a touch up, but when I got back from my trip, both they and I weren't satisfied, so I left it for a few more days while they sanded the areas down and re-sprayed. You can't see where the flaws were. So unless I screw up again, the paint is finished. The car gets a lot of lookers and several people always ask what I've gotten done since the last time they saw it.
I spent a few hours sanding and polishing the exterior B pillar trim. Sanding and polishing stainless steel parts is an exercise in futility. I got my first taste of this several years ago when I did the front and rear windshield trim. I'll tell you that it doesn't get any easier or less time consuming. I also spent some time sanding the trim that fits on the underside of the A pillar near the vent window. It still needs more sanding and polishing, so I only was able to install the B pillar pieces.
After the A pillar trim is done, then I have the thin strips that cover the outside of the door's window frame. There are ten of these pieces and some have some dents that I'll have to work out, file smooth and then sand out the file marks. I was able to buy two of these strips as NOS from Algar Ferrari a few years ago, so those two should just need a final buff. Sometimes, the chrome window frames on the 330 GTC sound awfully good. One just has to drop them off at a plating shop, pick them up in a couple of weeks and be prepared to write a big check as chroming is very expensive now. Of course, they would be glad to polish my stainless steel, but for their shop rate of $65/hours, I'll sit out back in the sunshine and sand away.
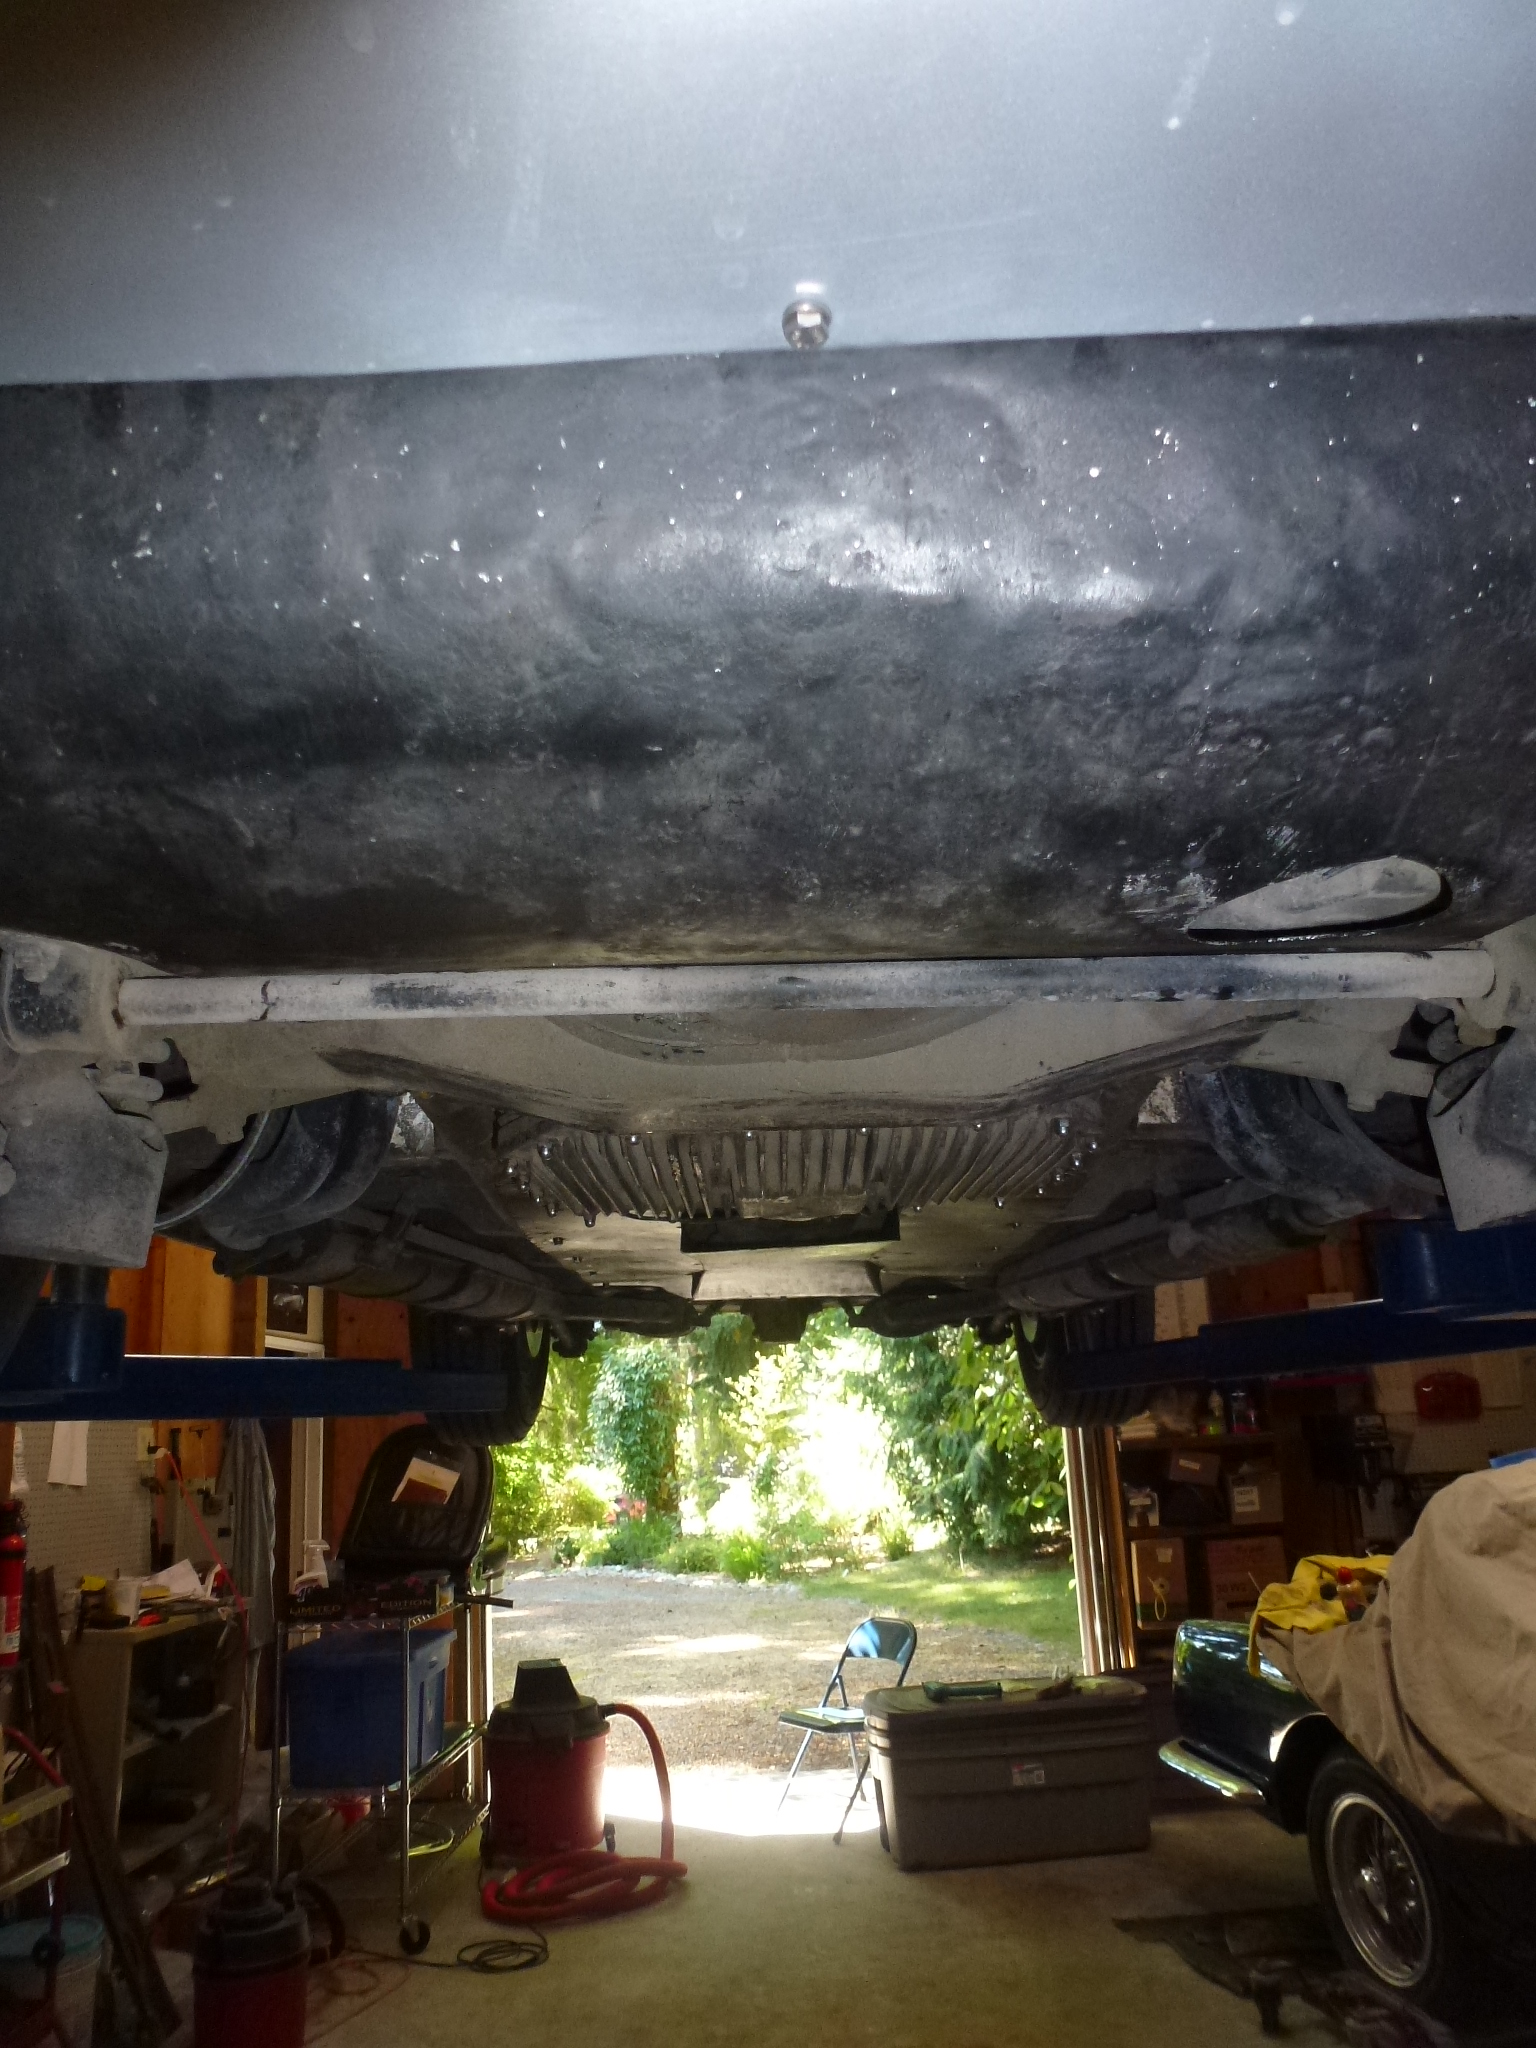
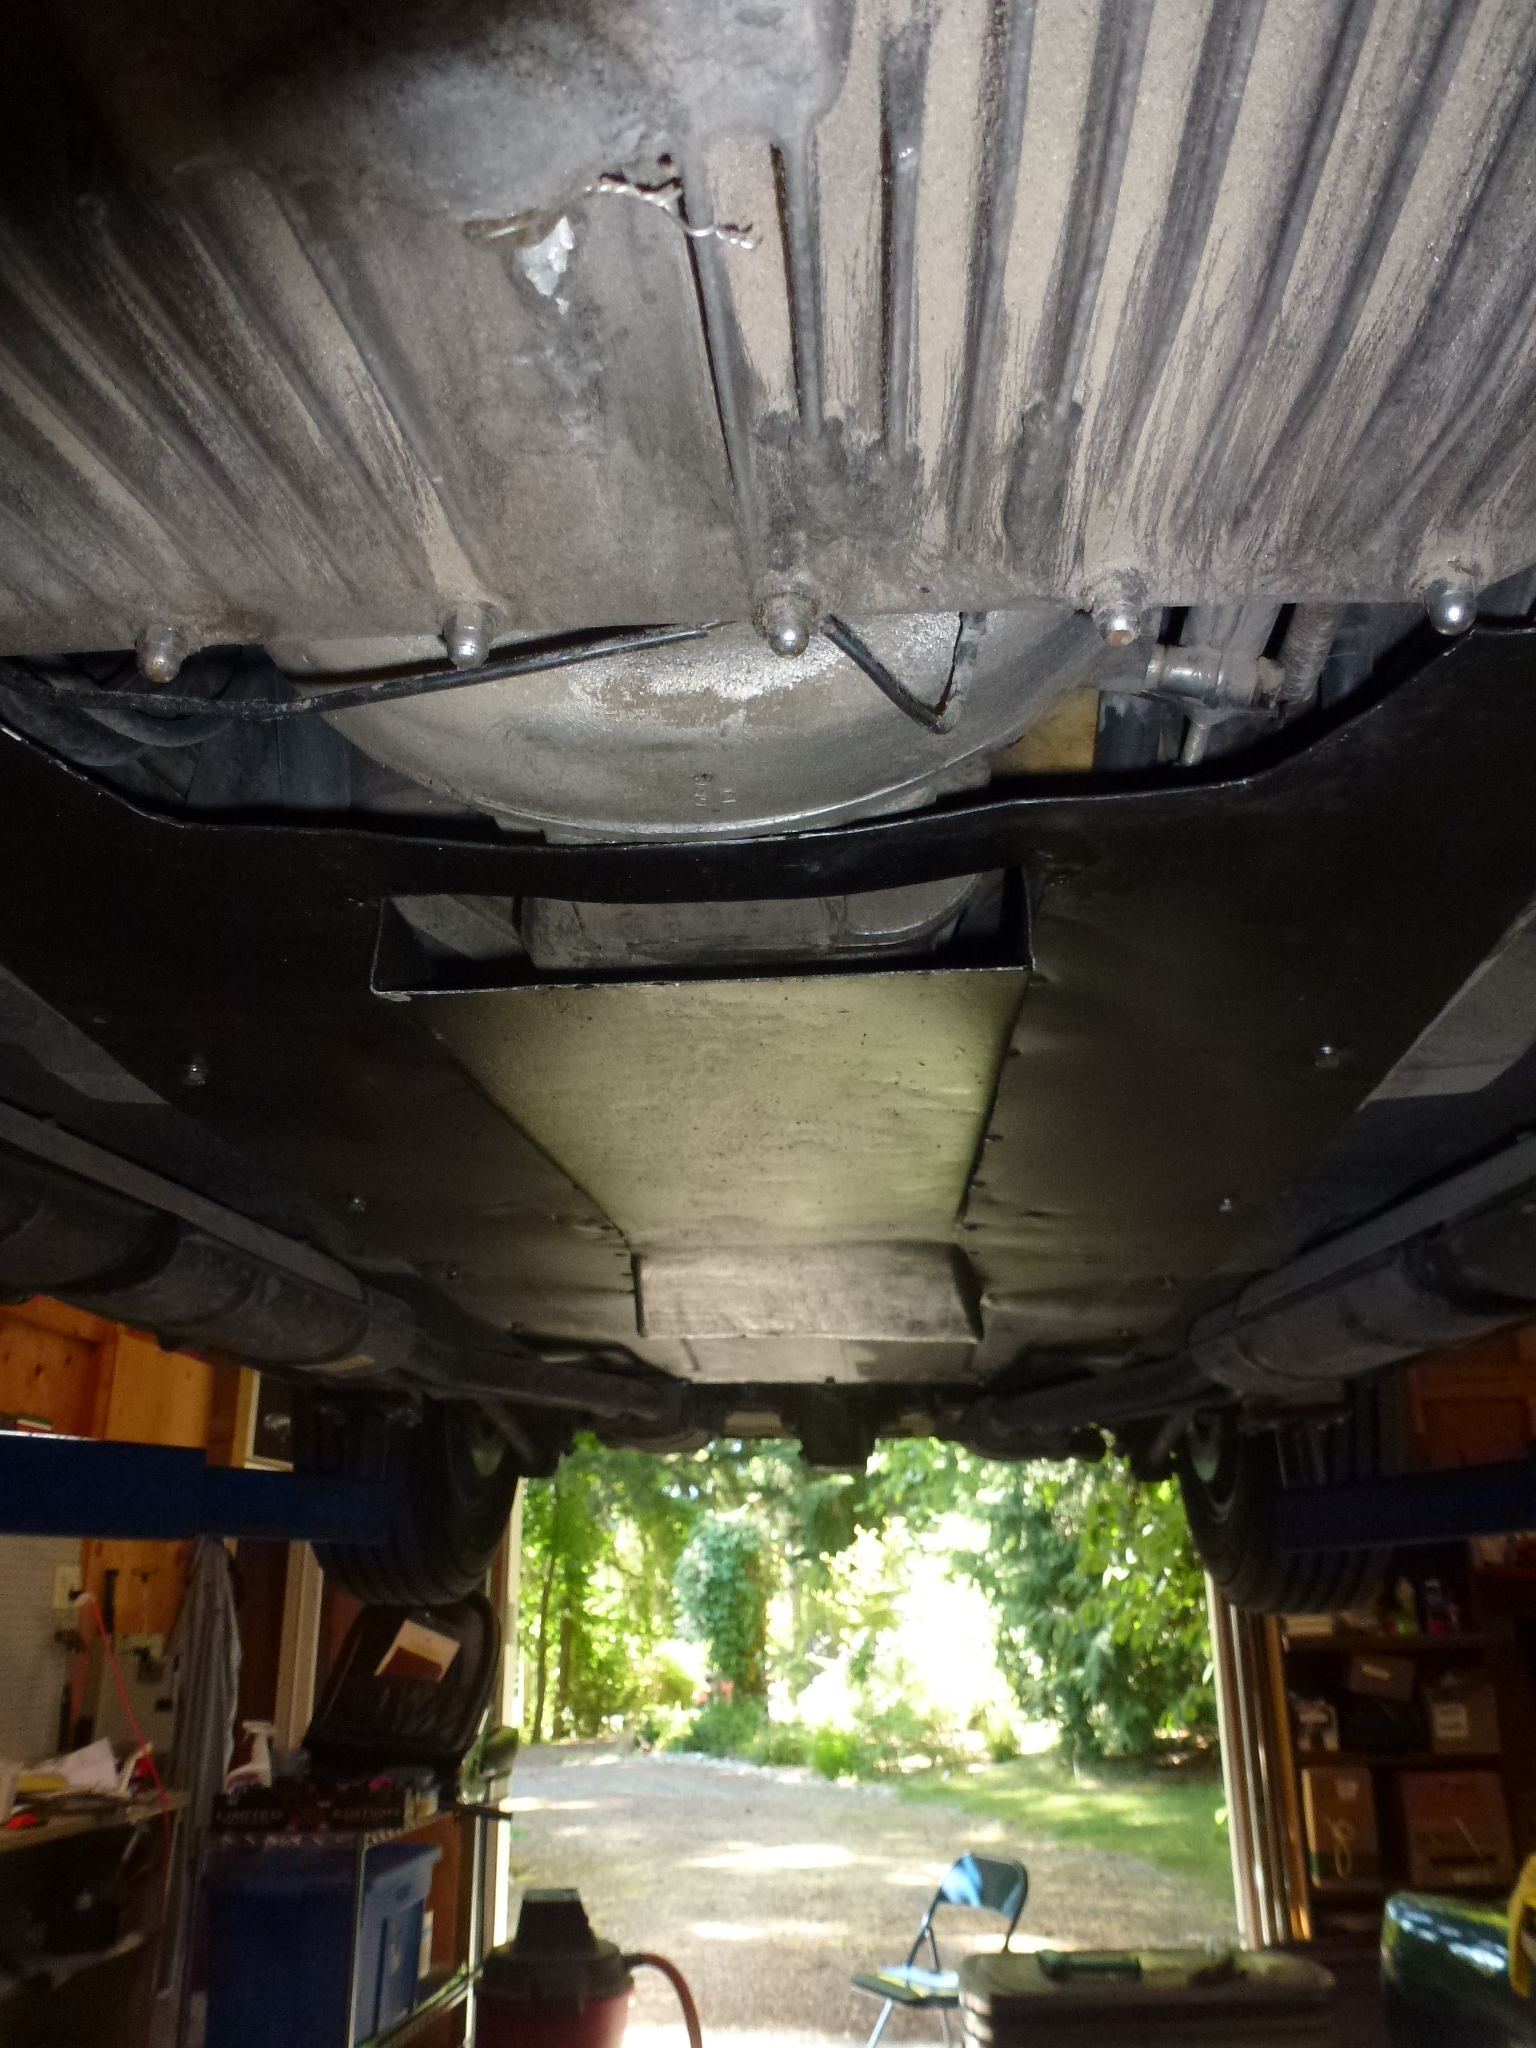
I put on the radiator shield and belly pan.
Then, I safety wired on the jack hole plugs.

Next I cleaned out the holes in the rear for the backup and license plate lights. I put in small grommets which were a pain. There is some thin filler over the whole car and the extra thickness doesn't go well with grommets. After several tries and drilling out the inside of the grommets, I was able to get the wires through with the grommets still in place. New wire ends completed this task, except that the backup lights didn't work. That'll be a project for another day.
I put on the stainless steel rub strips below the doors. Of course, I wasn't paying attention on one side and mounted it upside down (see the left picture), so had to remove and re-install it.
It was a cooler and overcast day, so I sat outside and worked on the stainless steel strips that cover the window frame on the door. Here's the set of strips that need to have dents removed, sanded and polished. The two that are in the brown paper are the NOS ones that I bought a few years ago.
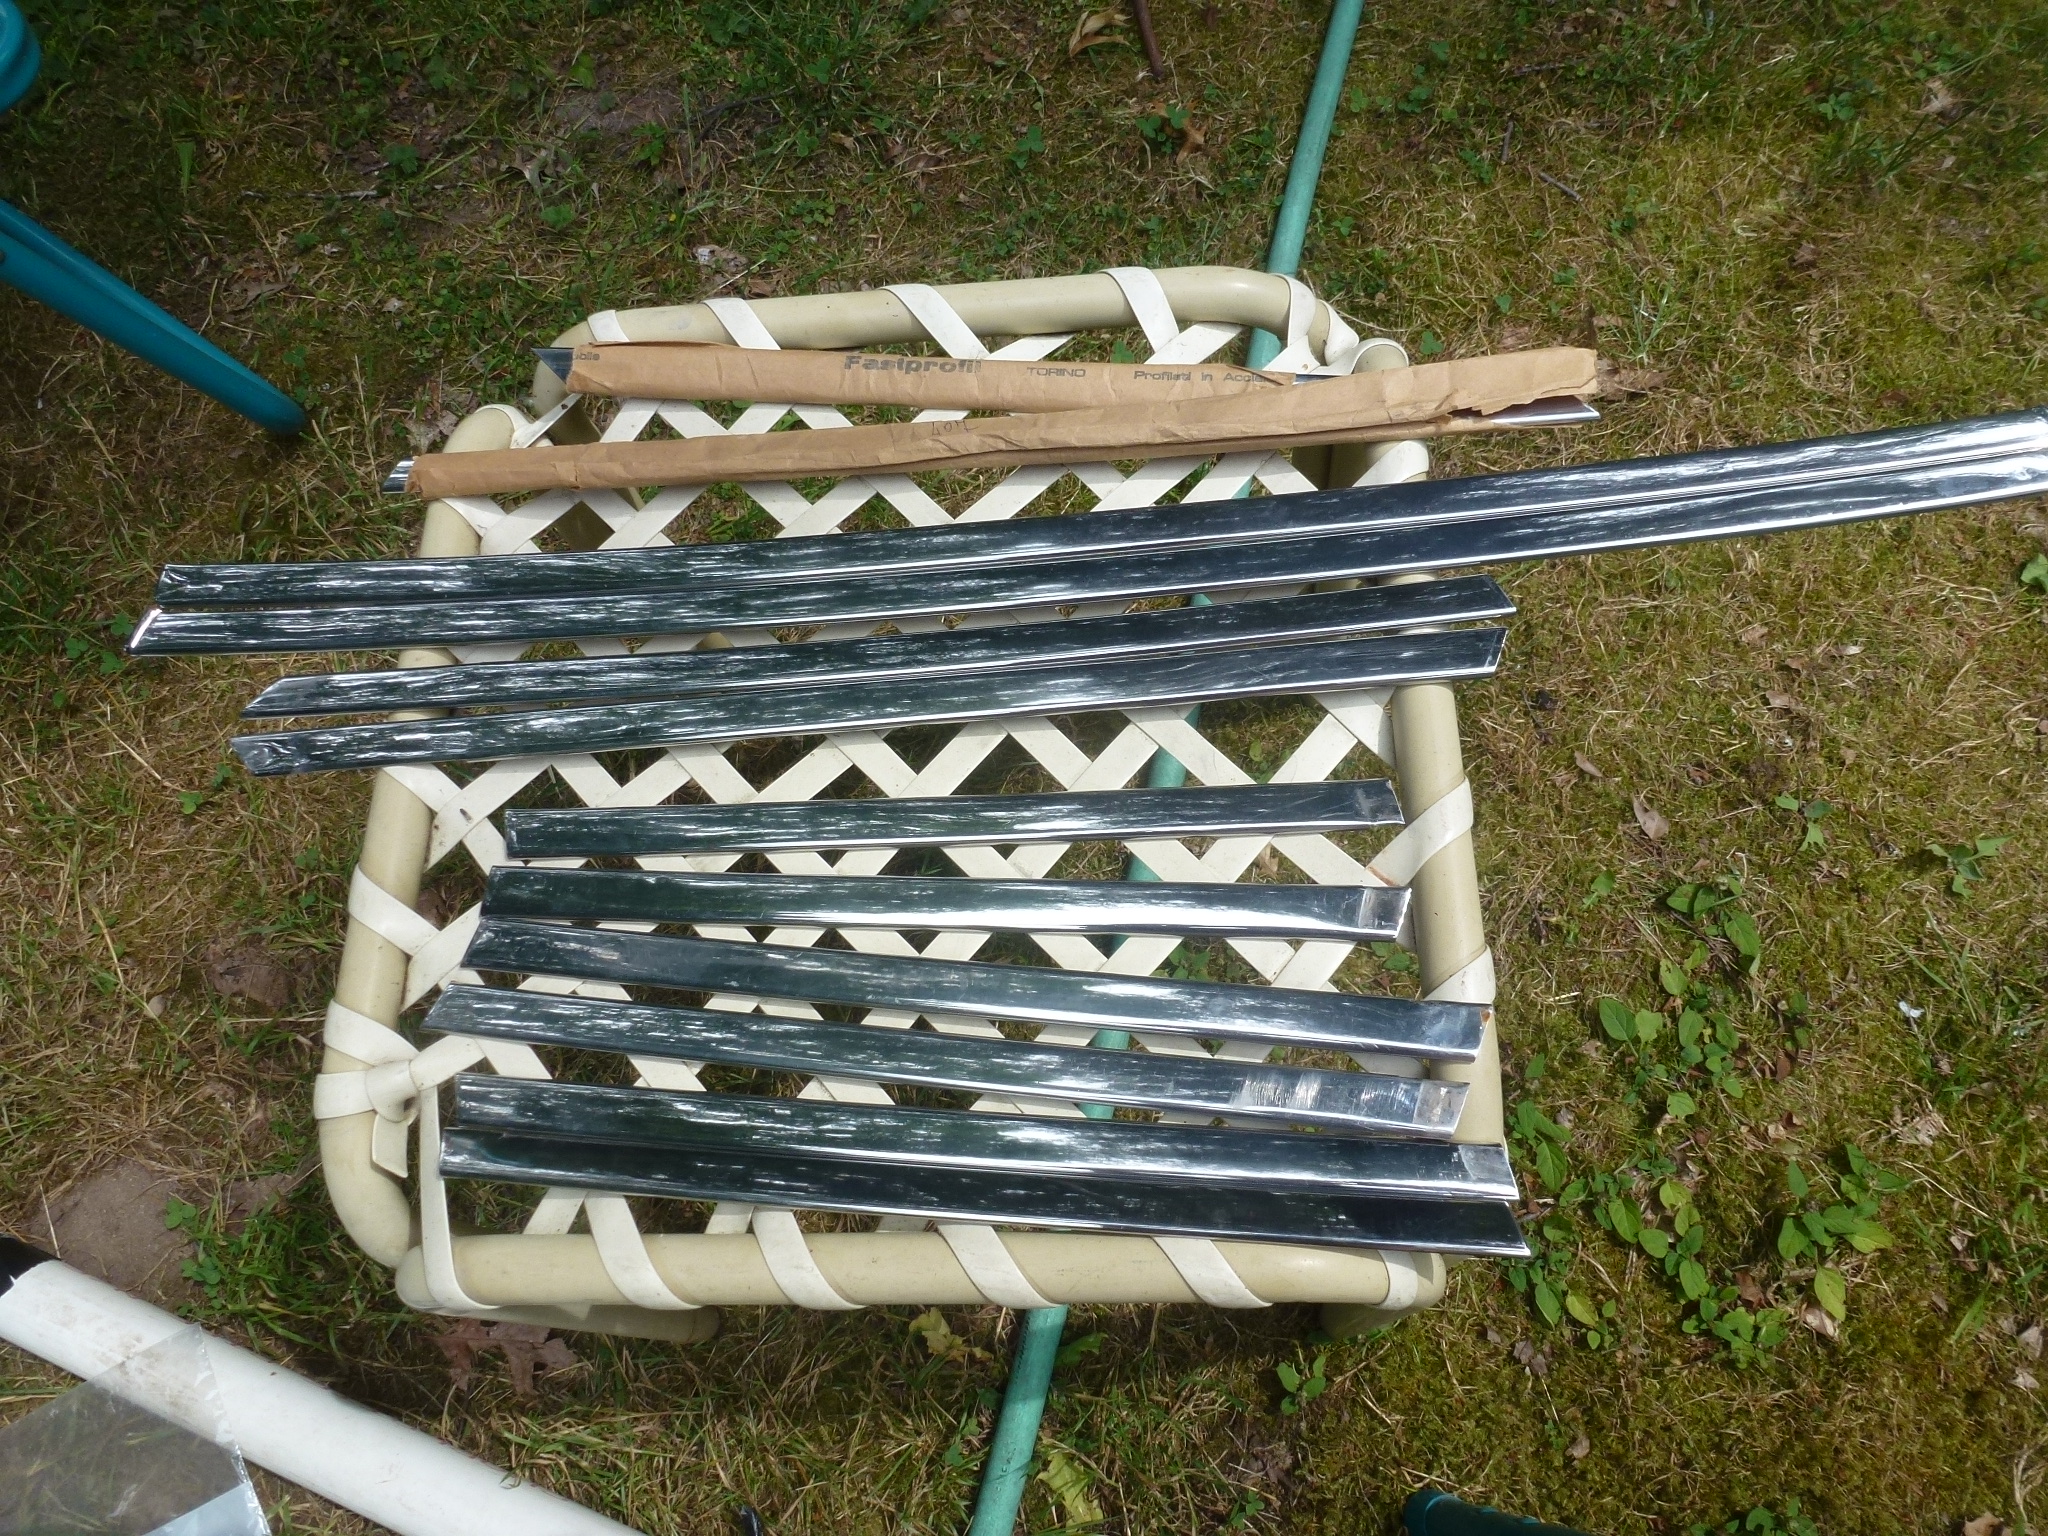
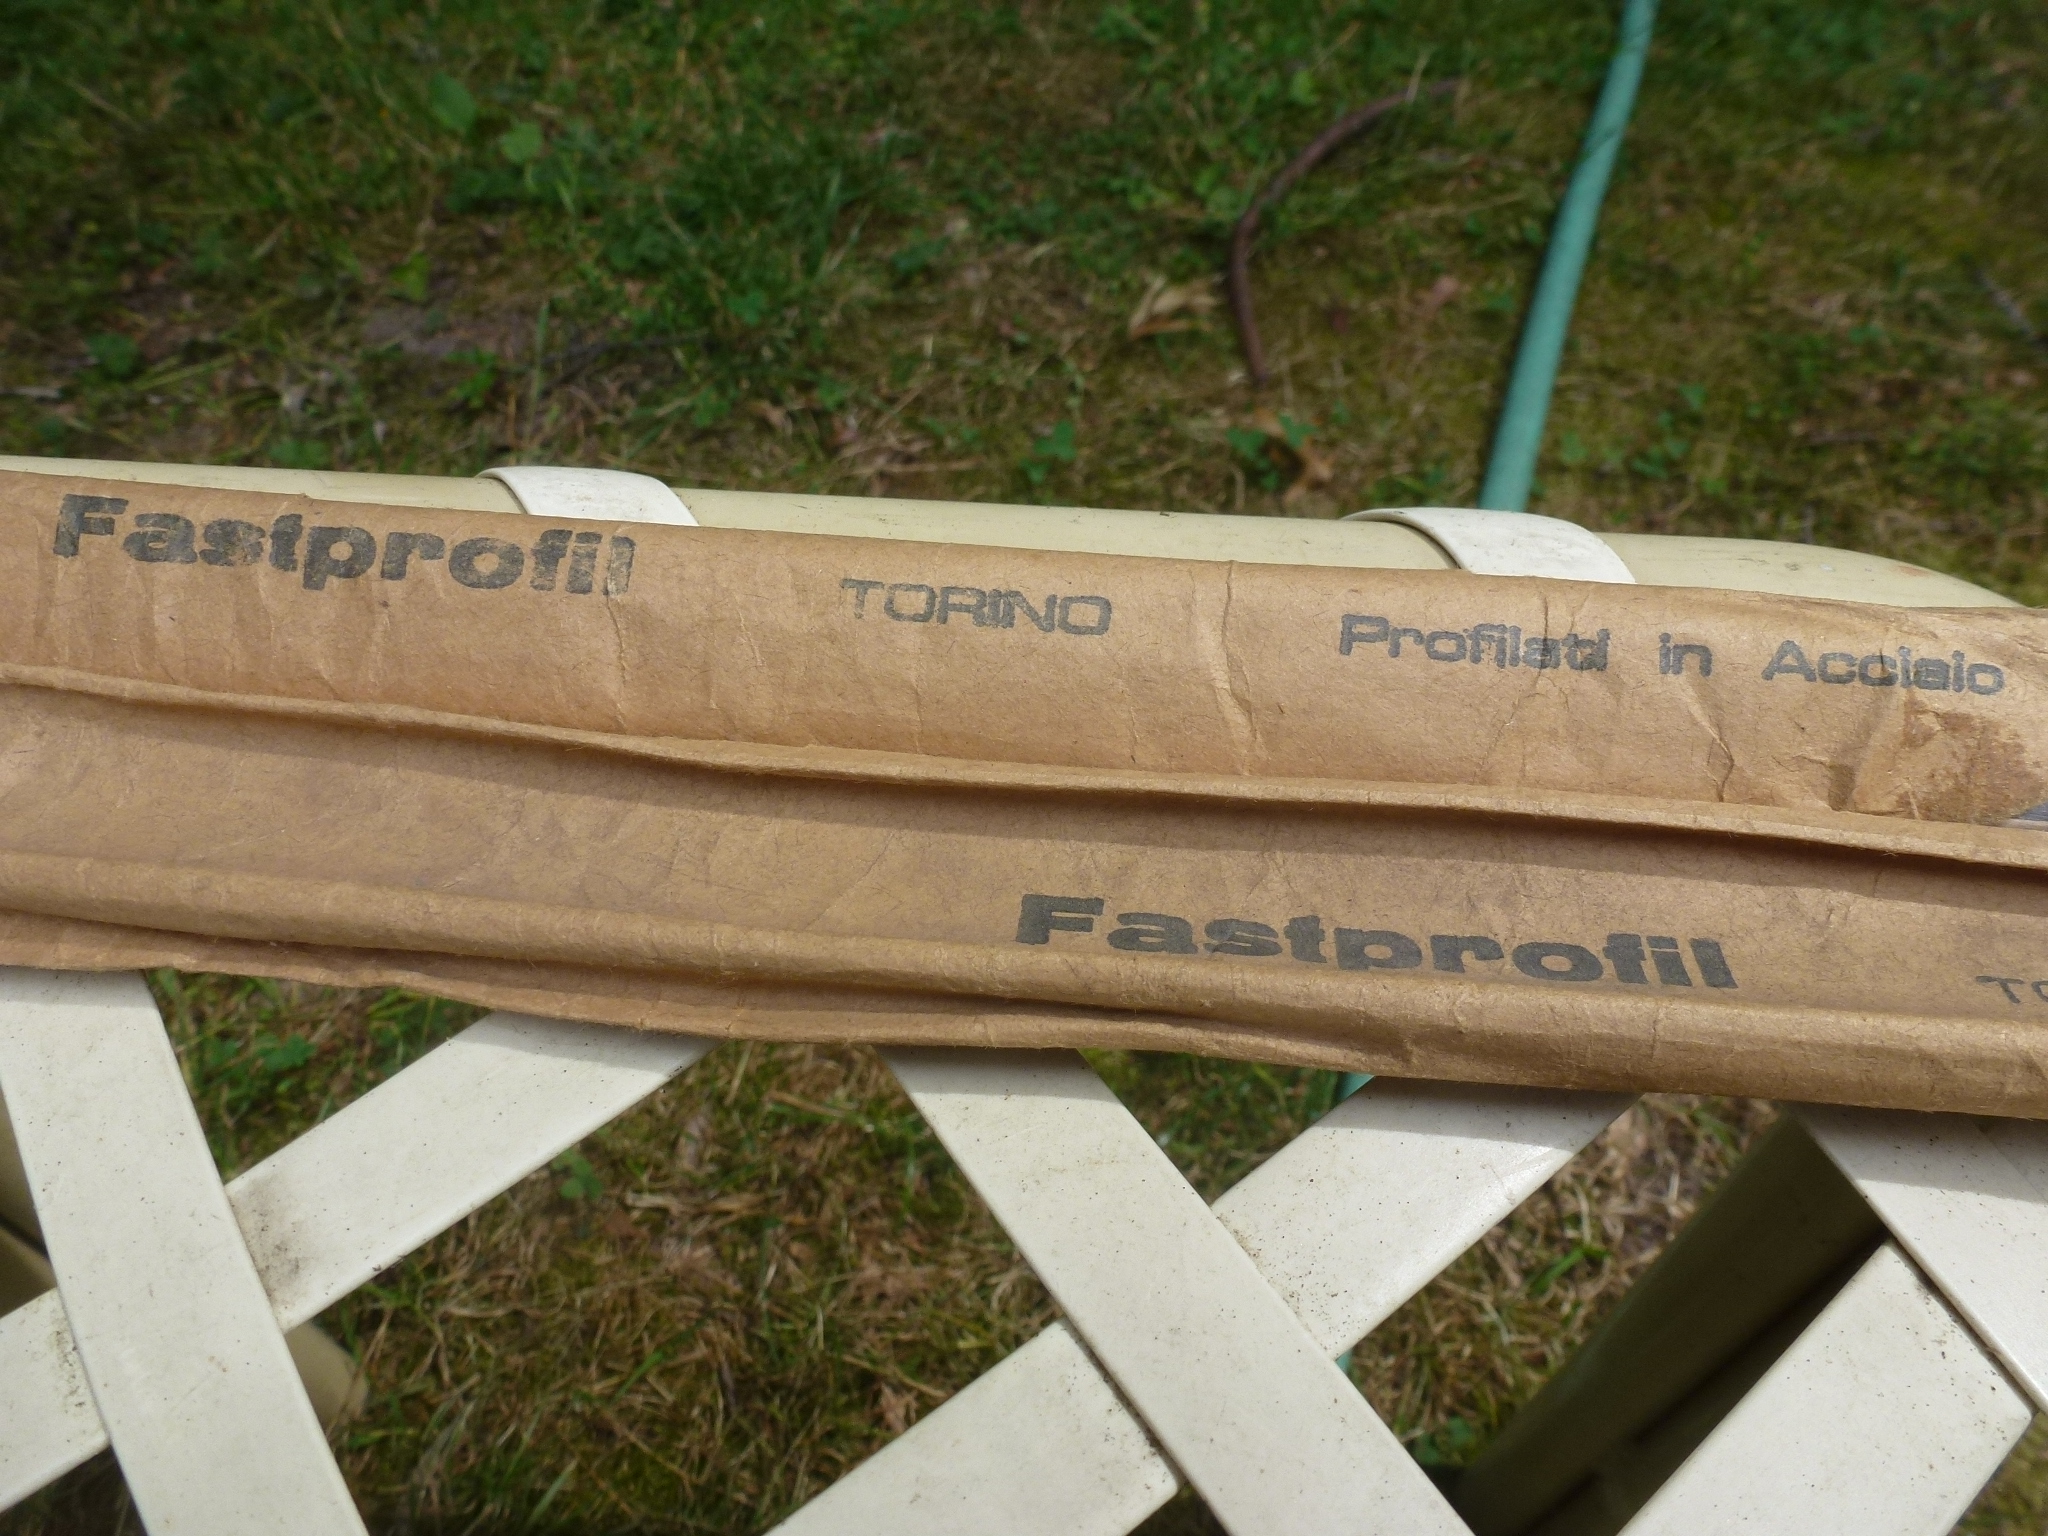
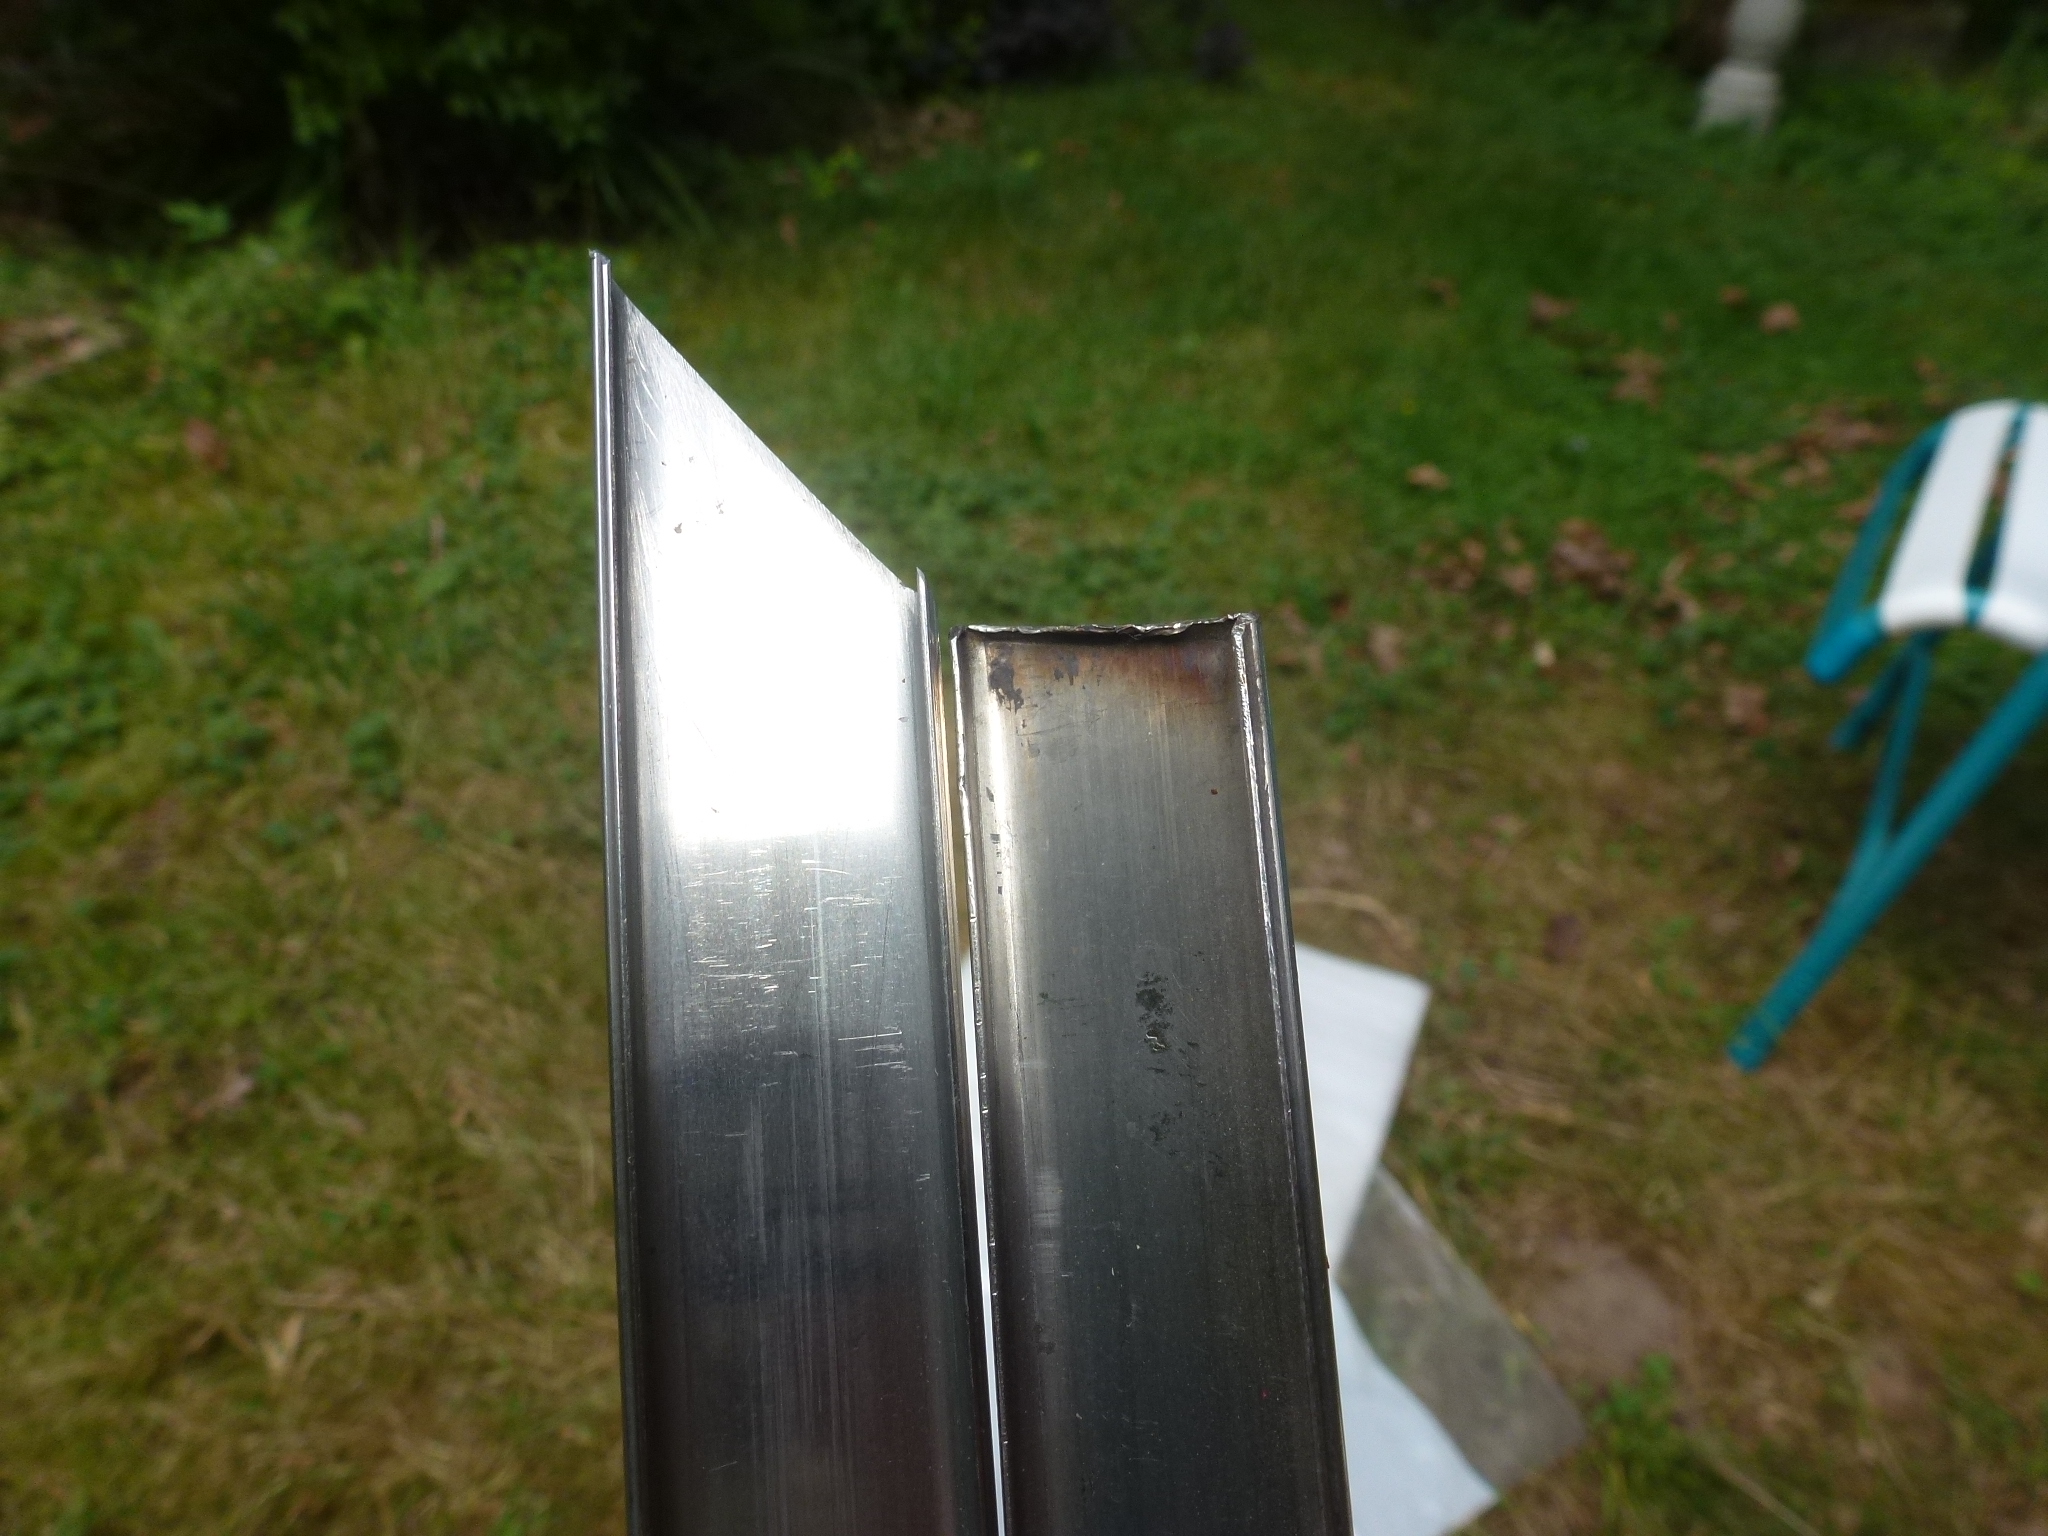
At least, one of the NOS ones will replace one with a dent in it, so less work for me to do. But even the new ones will require a little polishing as there are minor scratches. One of the NOS ones didn't match any of my existing strips, but when I compared lengths, I found a match except for the angled portion. You can see where the existing strip was cut off, heat marks and all. I'm not sure why, nor how the new one with the angled part will fit until I get them all done and ready to go back on the car. These clip onto the frame tightly, so I won't be doing a test fit.
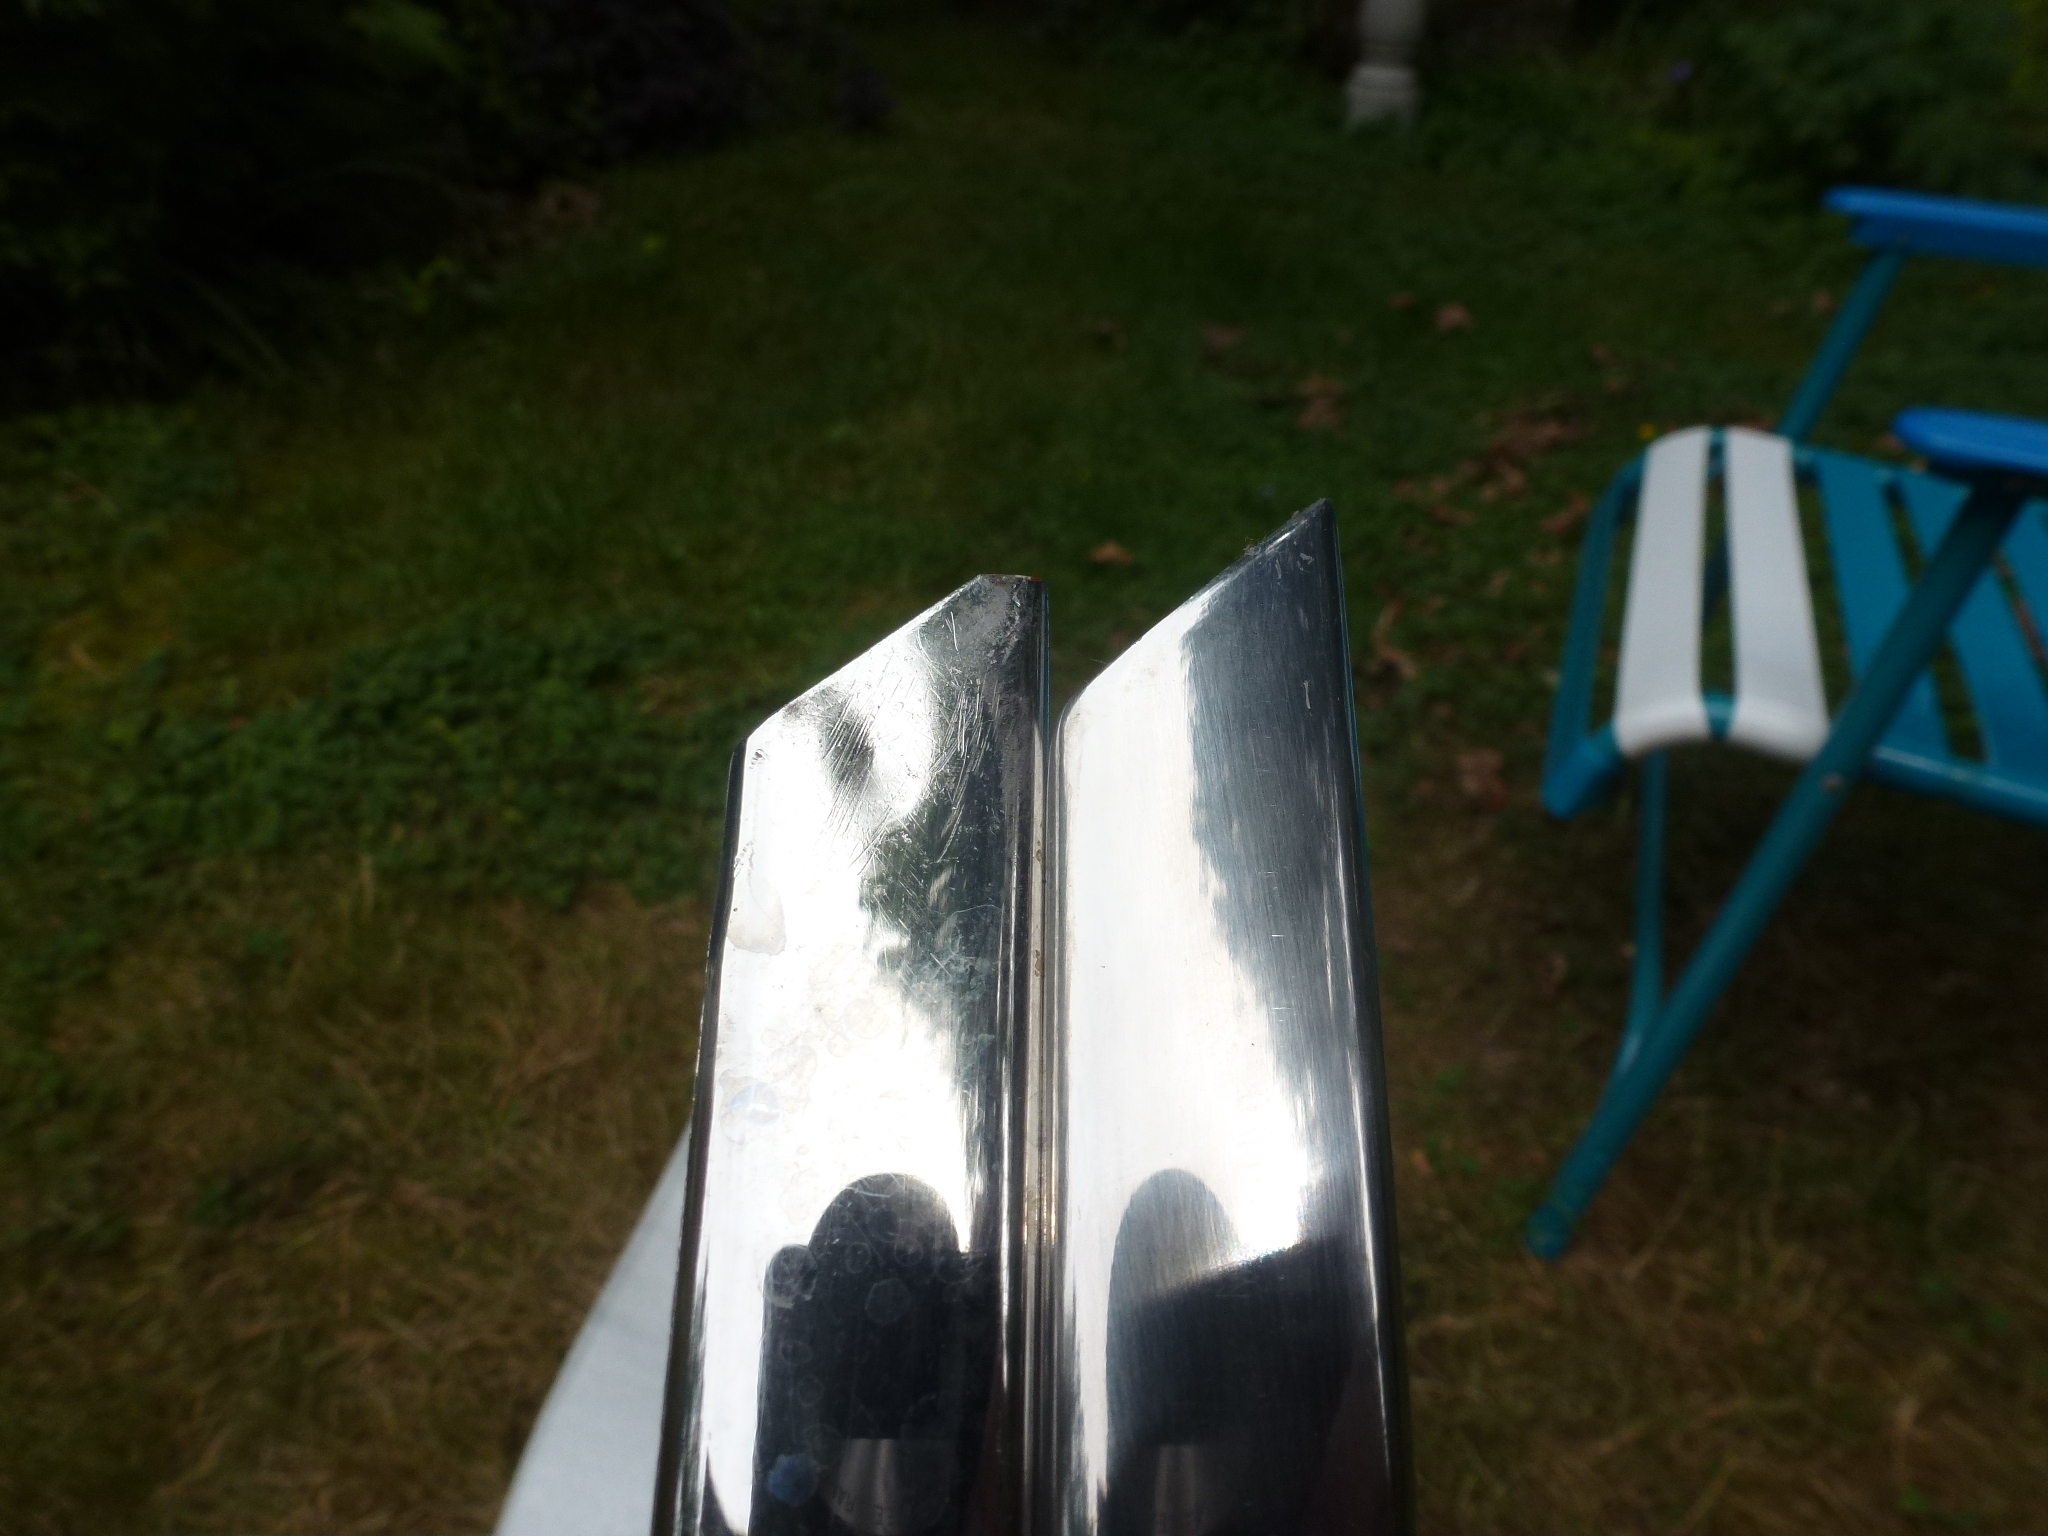
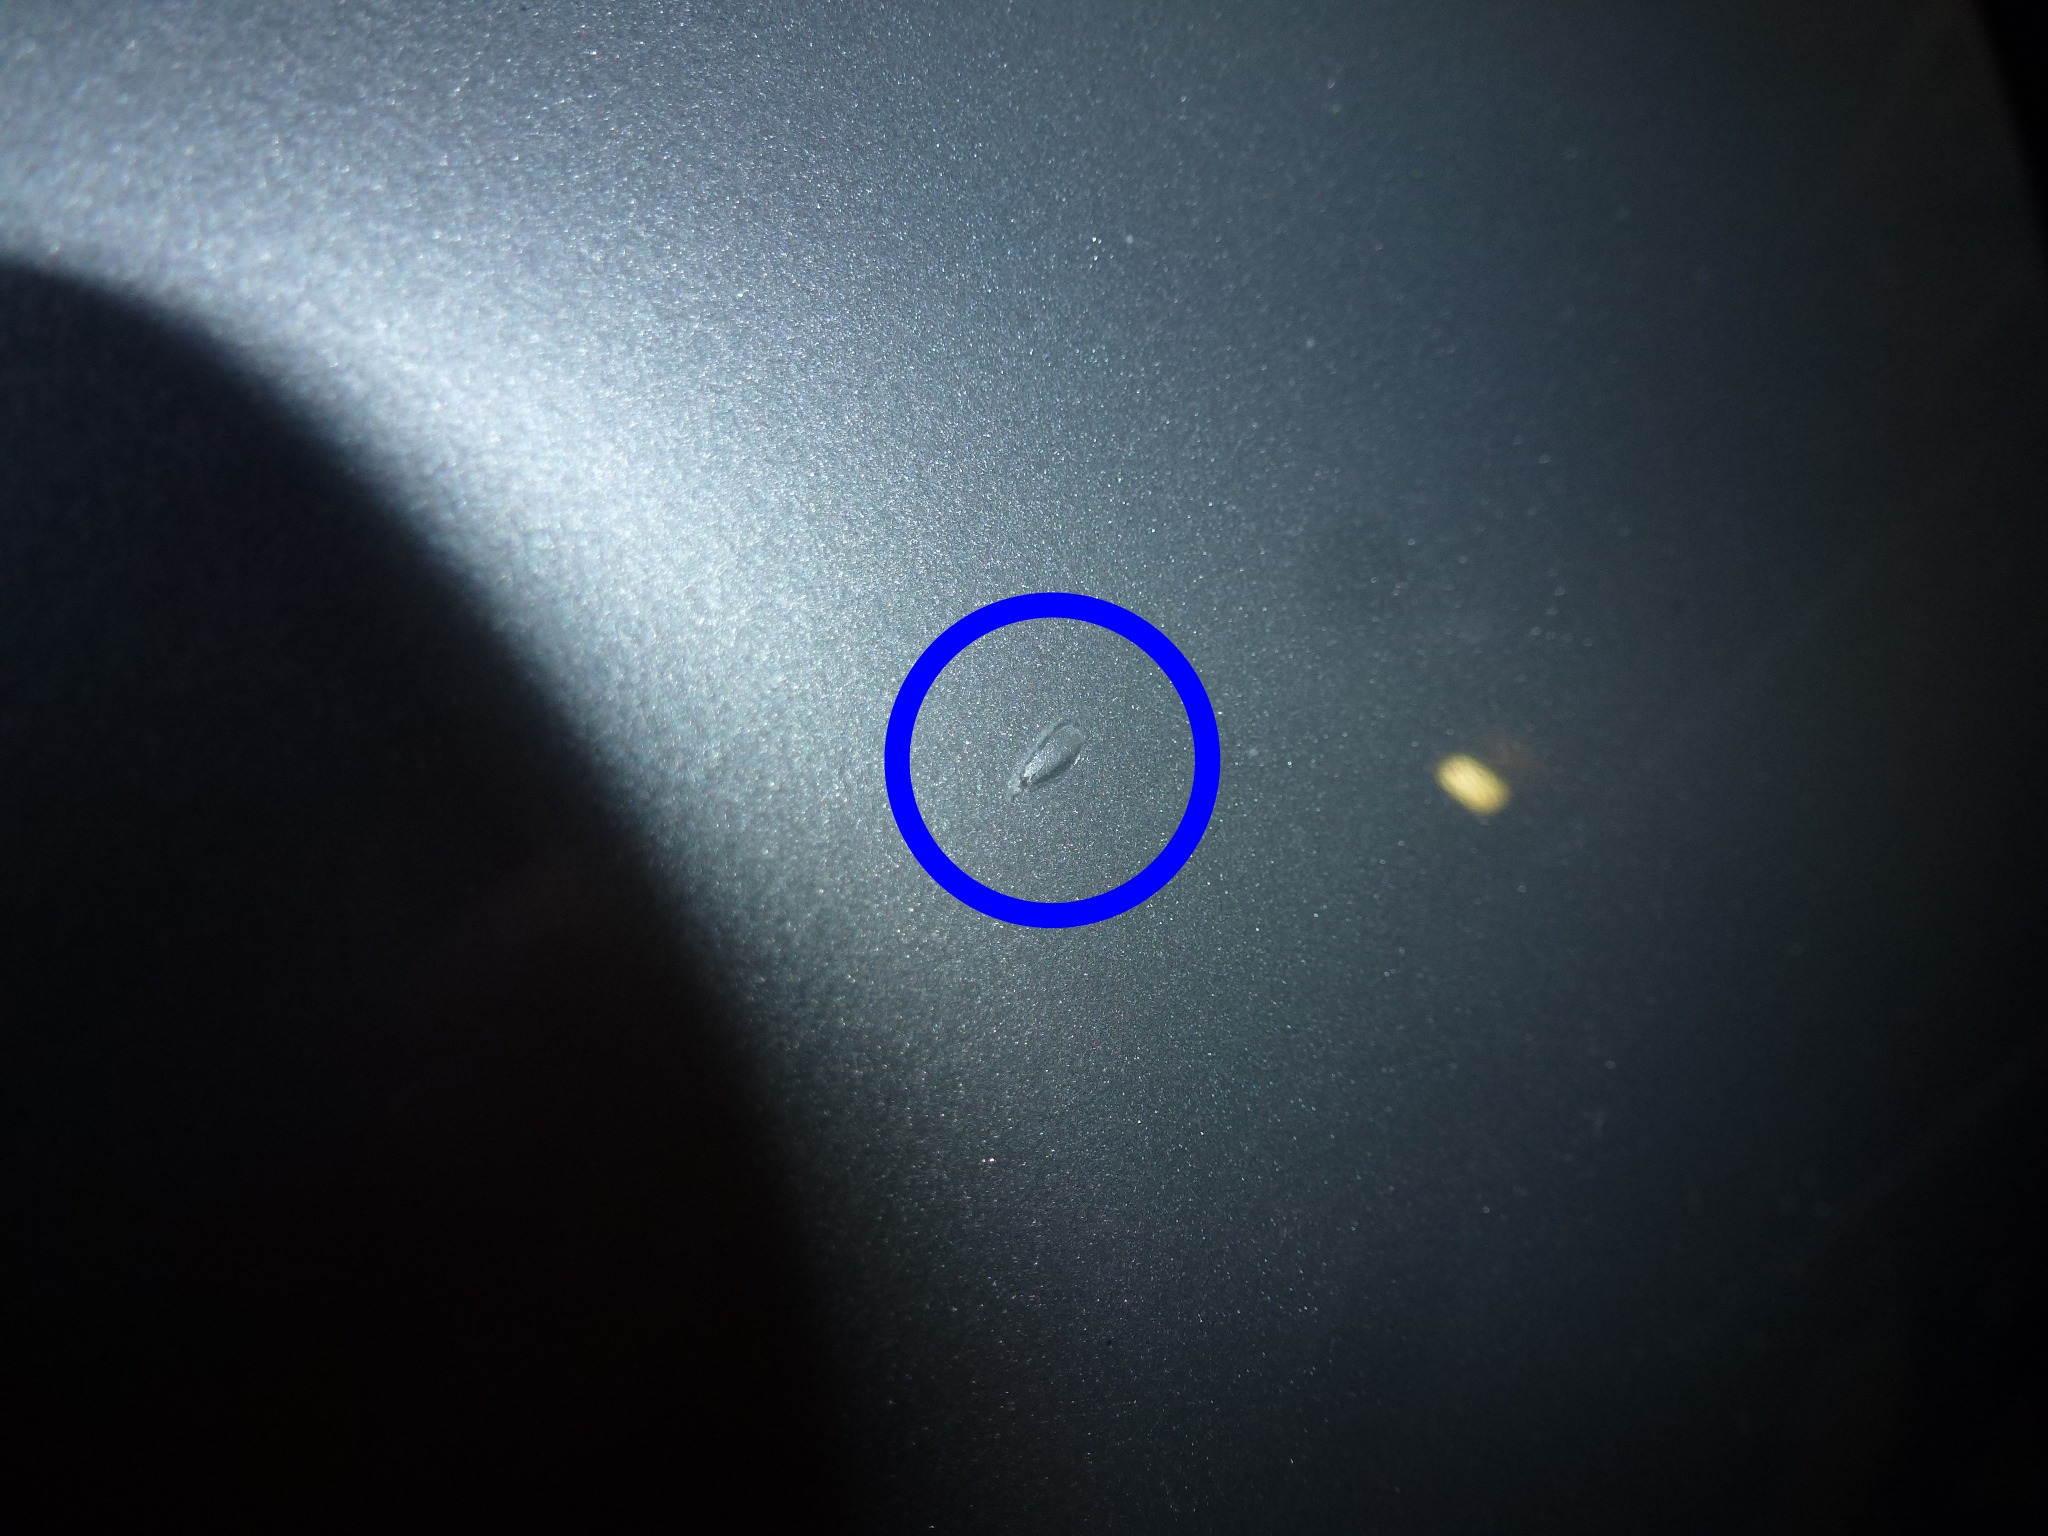
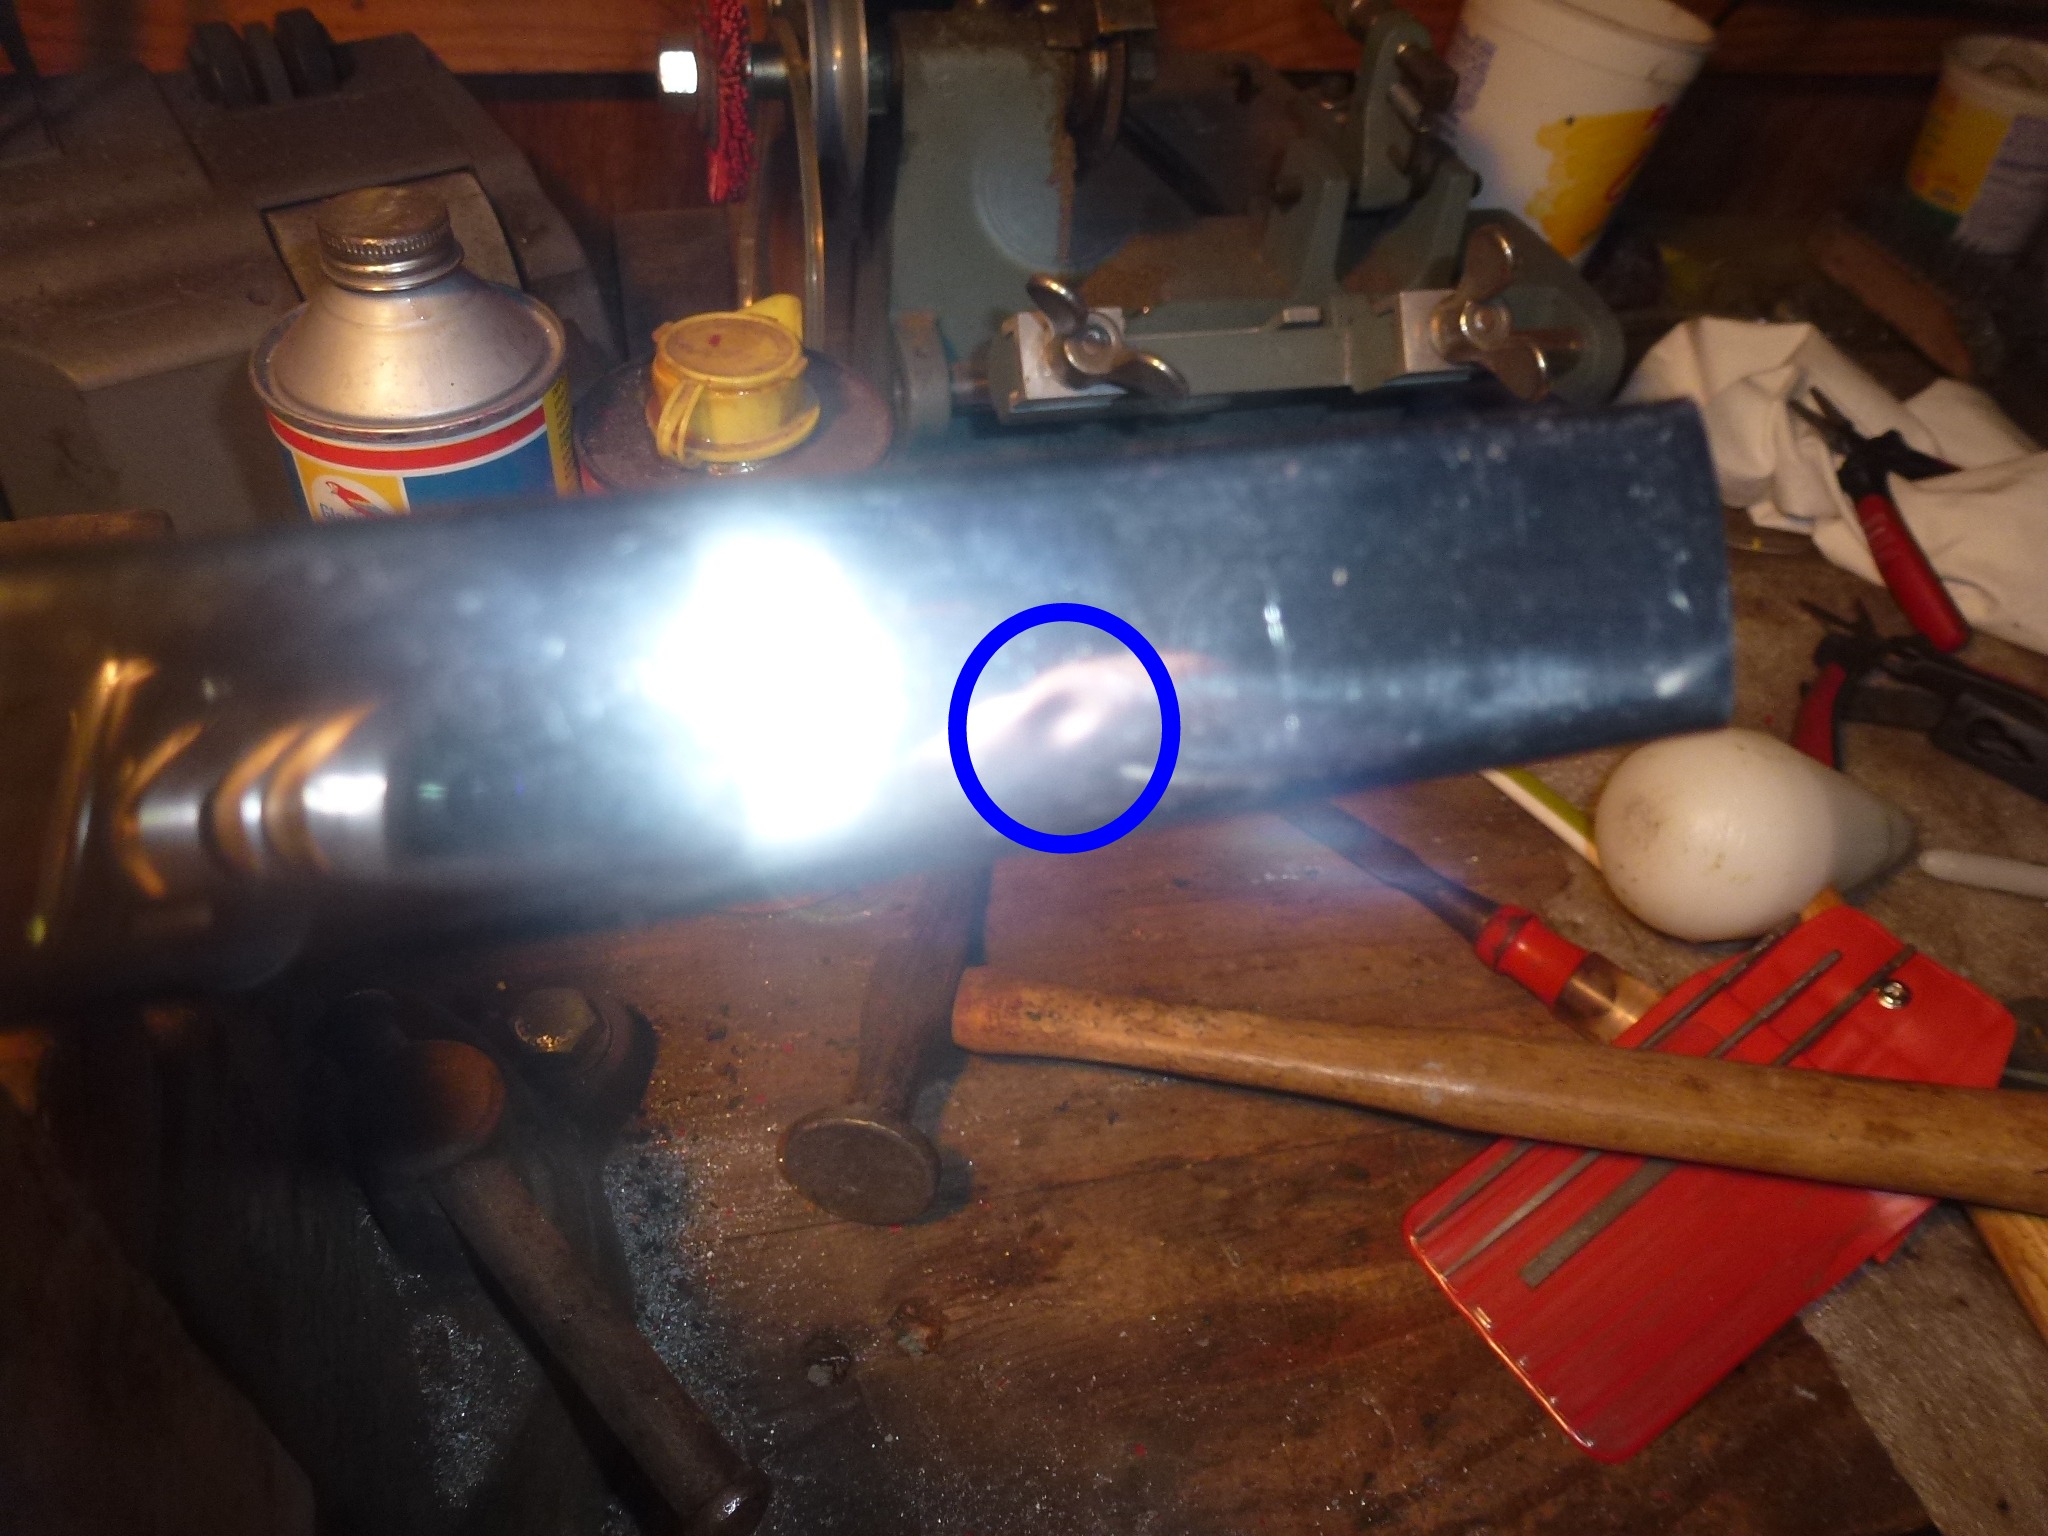
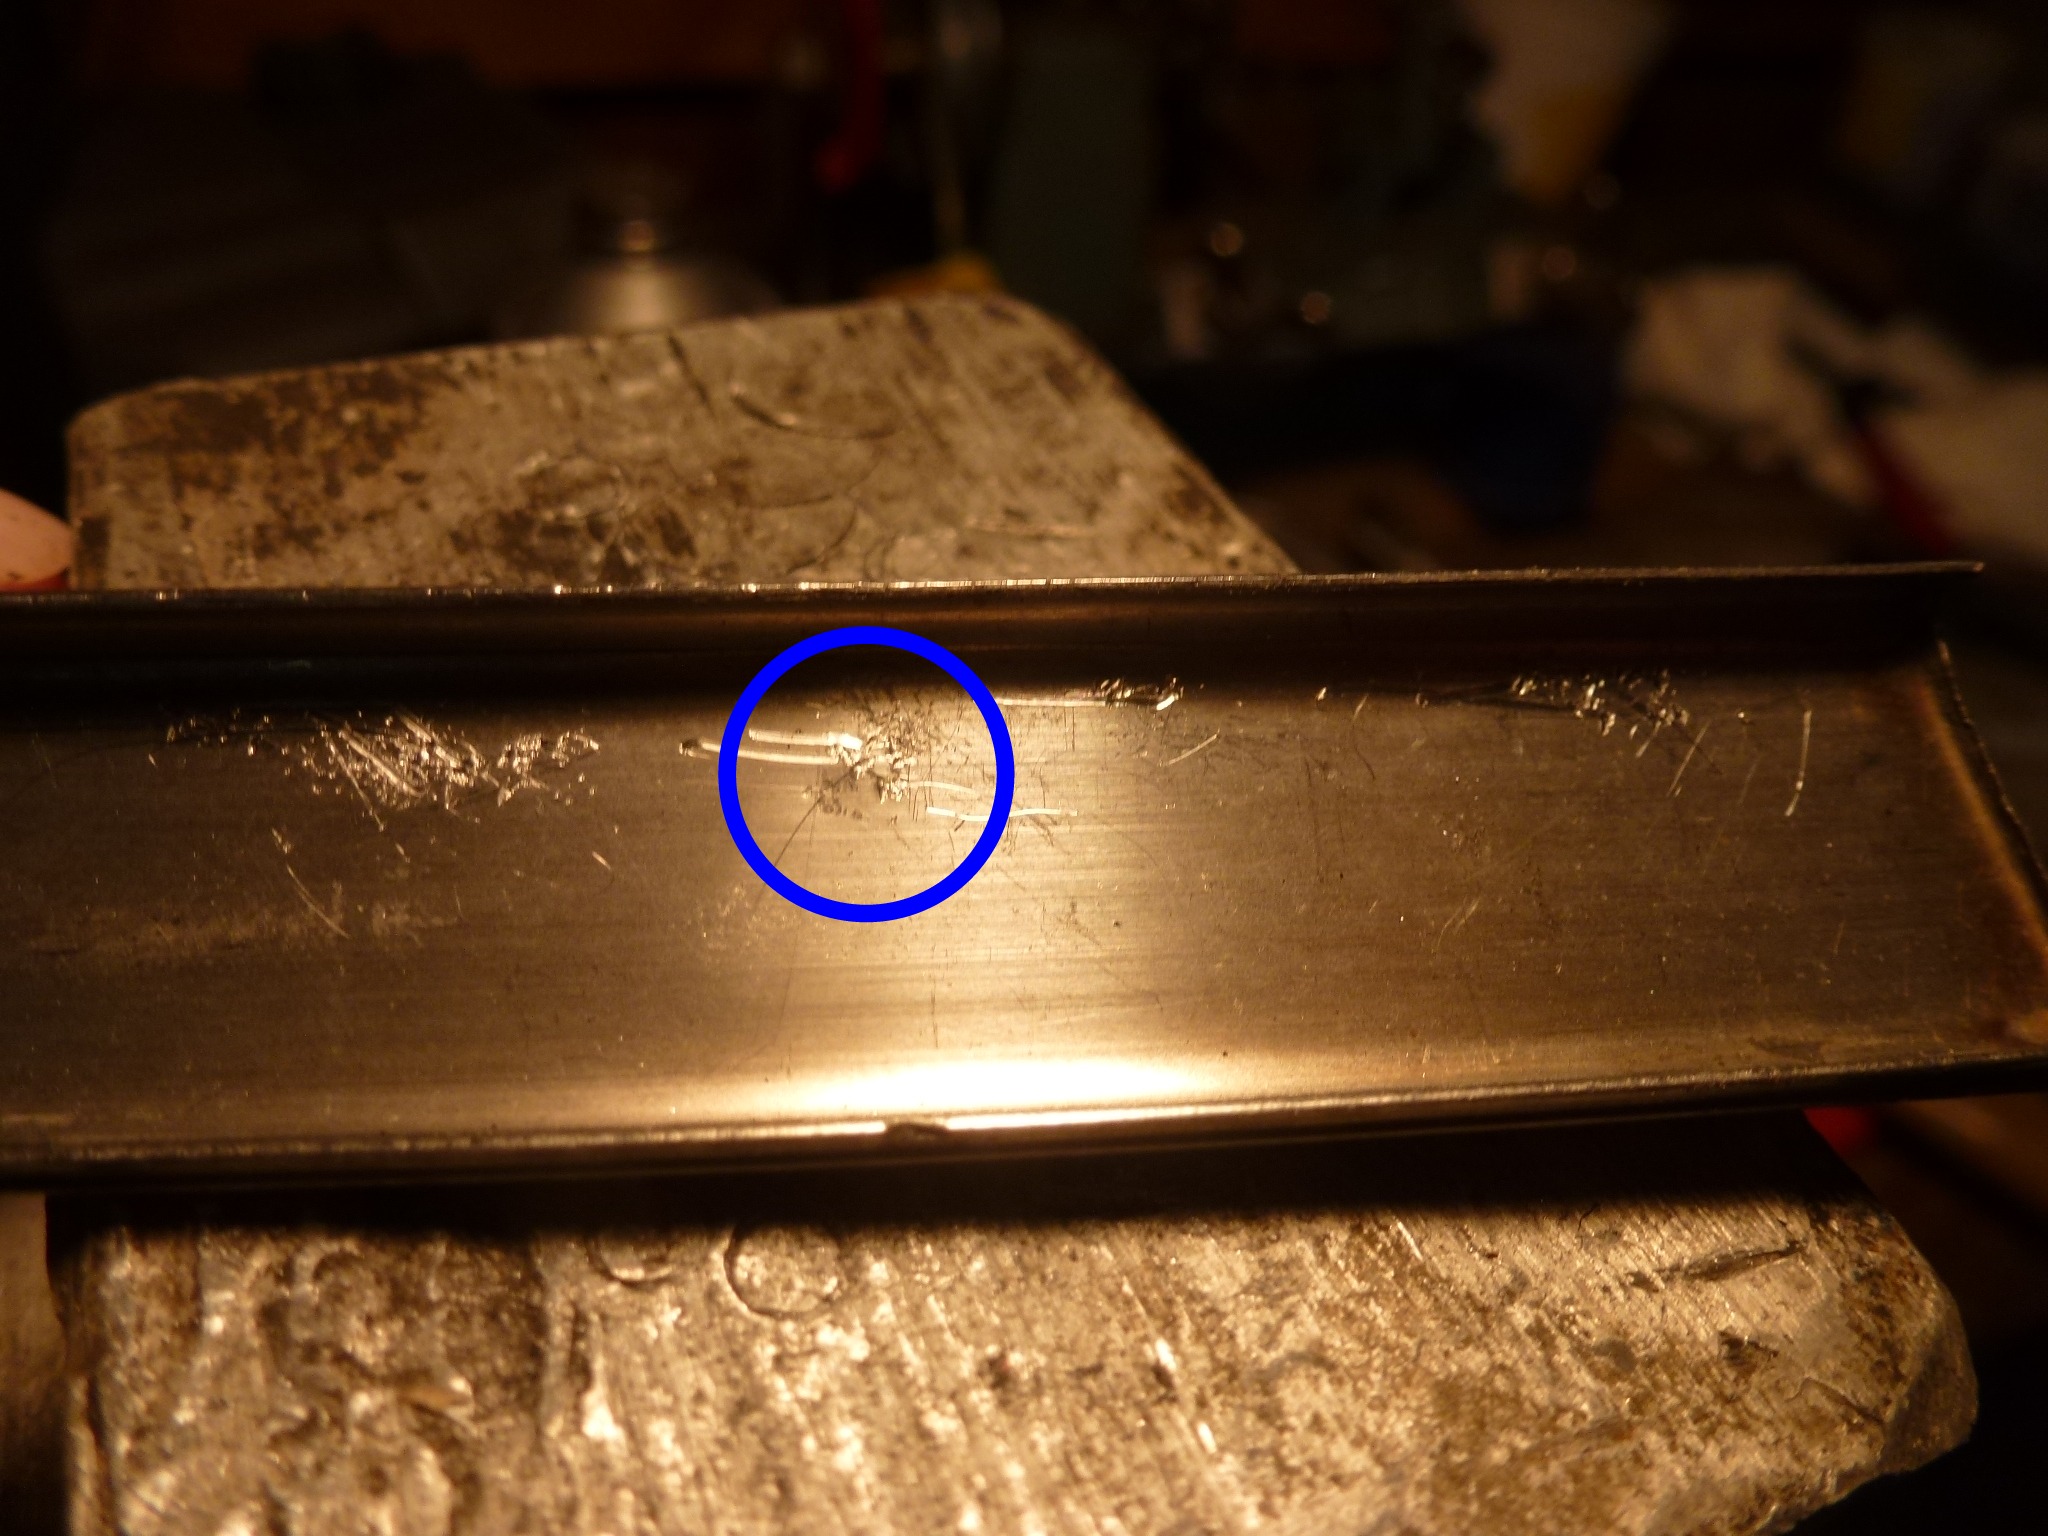
The dent removal is careful work. You look on the back side and lightly tap until the dented area (circled) is slightly higher than the surrounding portion. Then you use a fine file to file the material down the the surrounding area.
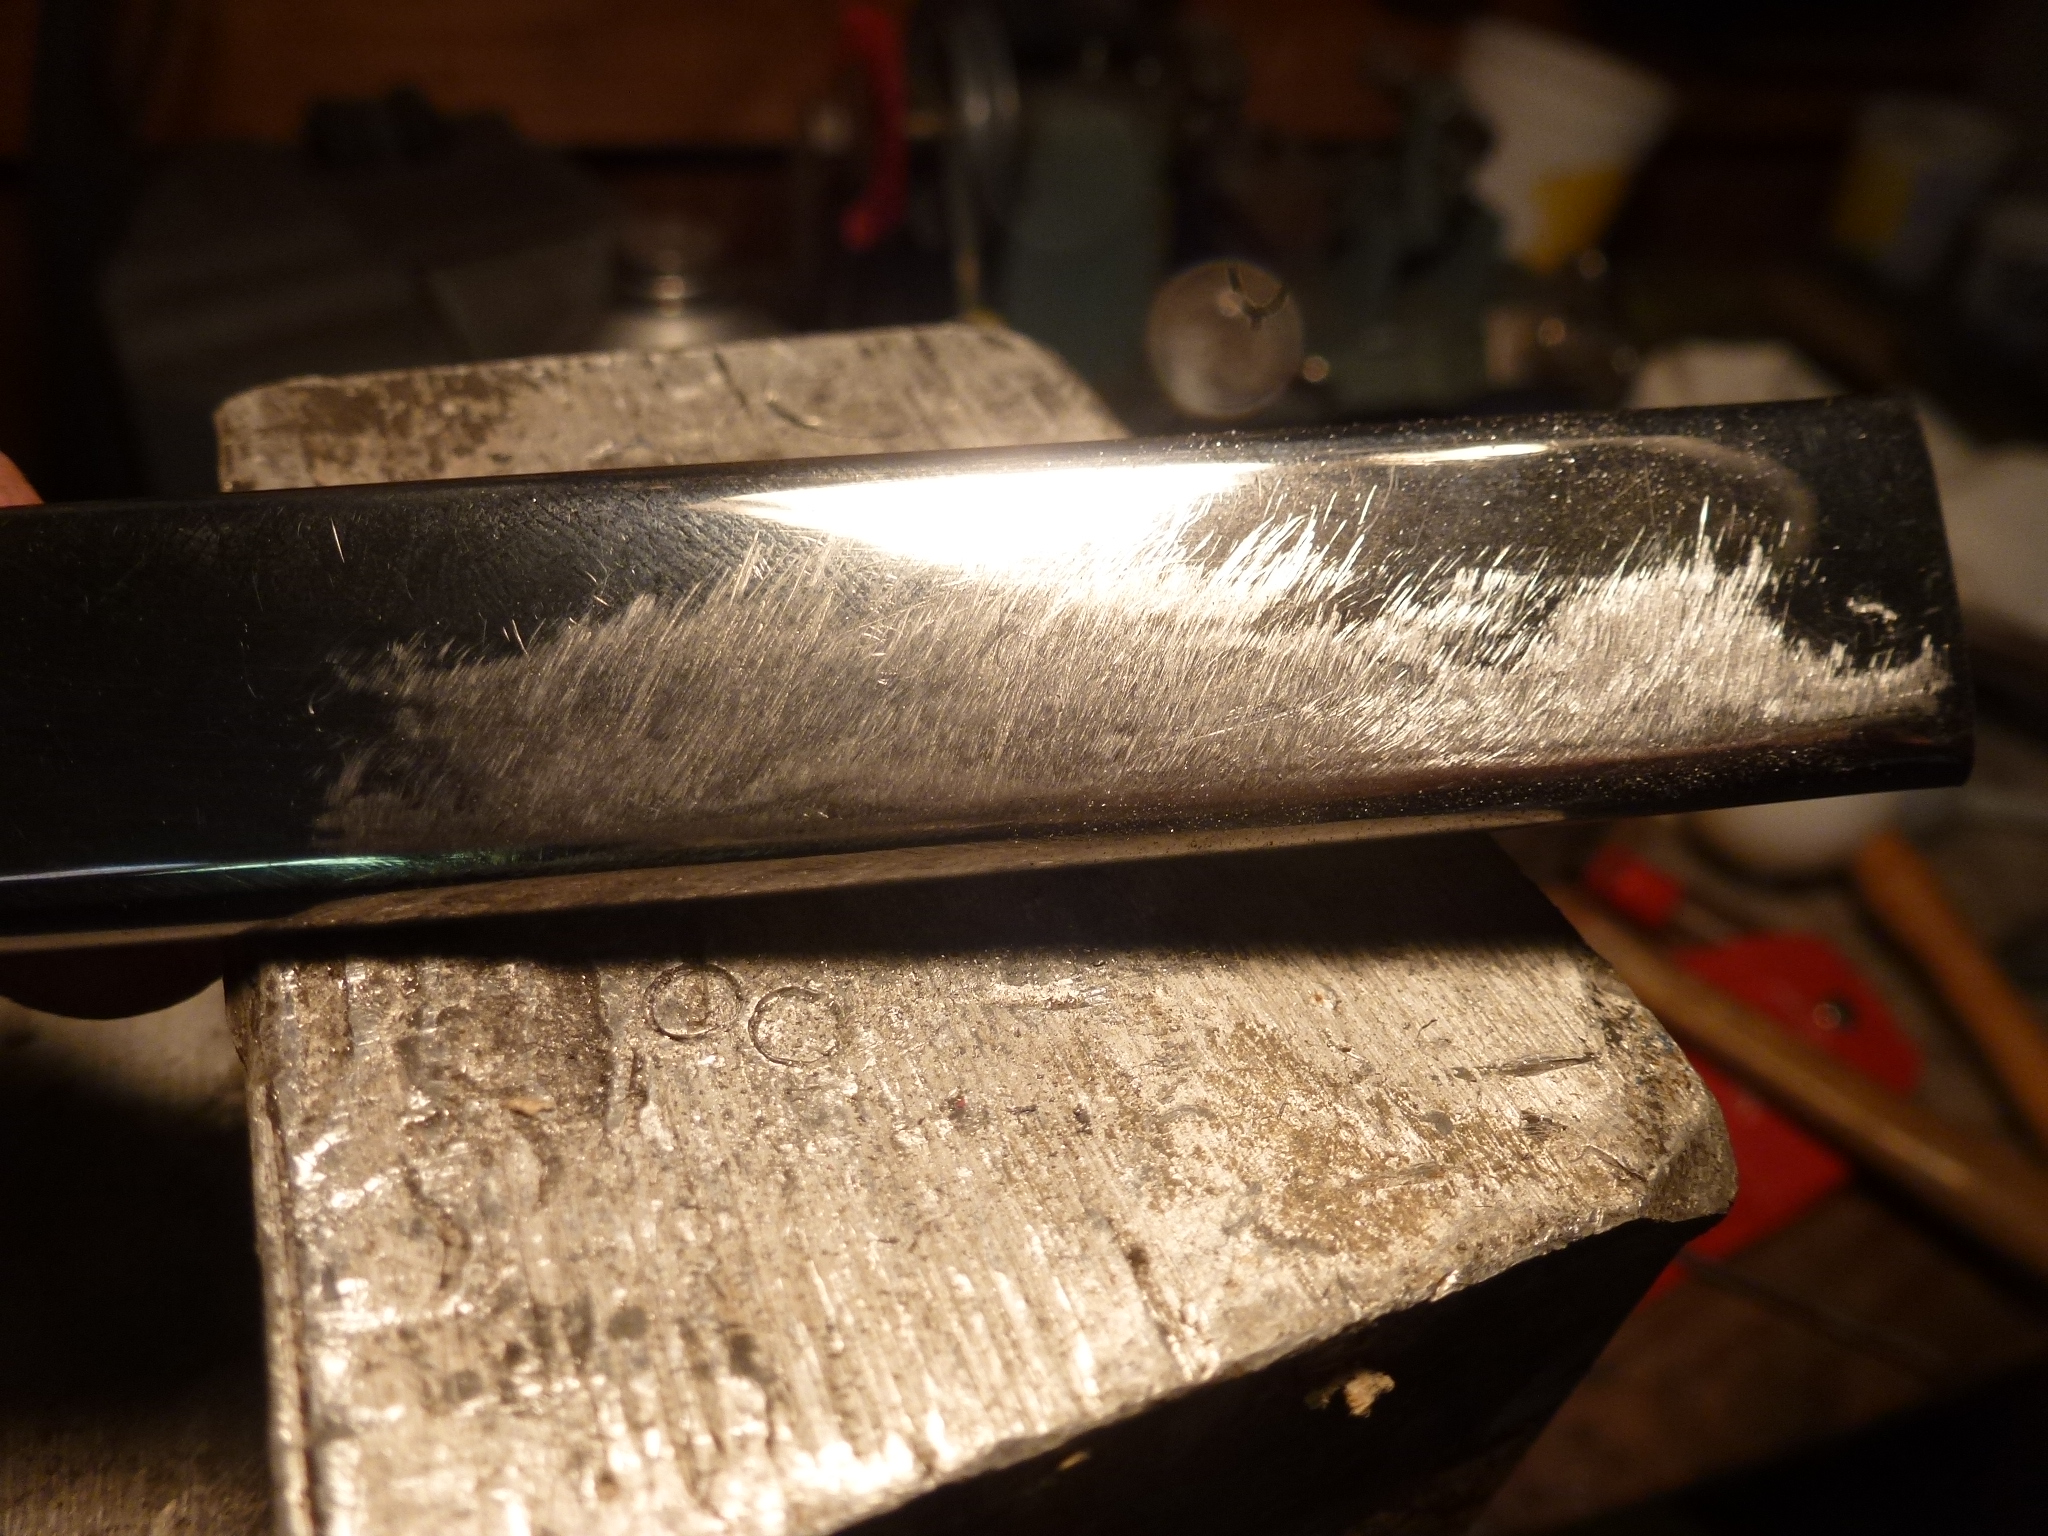
I managed to remove all of the dents and sanded out the file marks with 120 grit paper. The next grit will be 220, then to 320, 400 and 600, but that's tomorrow's project assuming that it isn't too hot outside.
Right below the rub strip on the door is the black trim that covers the pinch weld. When I was cleaning this up a while ago, I re-painted it and the new paint wrinkled the underlying old paint. At the same time, I was going to paint the screw heads, so they were pushed into a piece of cardboard. Well, when the paint wrinkled, I got involved and think that I ended up cleaning up and tossing the cardboard. Anyway, I can't find them, so a trip to Ace Hardware was needed to buy some new 4x20mm Philips flat head screws. Since the replacements were zinc coated (Ace didn't have stainless), I use black oxide to darken and protect them.
I also re-installed the splash shields behind the front tires.

Spent some more time sanding the trim strips with 220 grit. Now they are ready for the 320 wet sanding.
Finally finished up the trim strips and got them on the car.
In the process, I solved the problem of the new trim strip being longer than the one I took off. Unless you want to flatten the extended corner and cut the flange on the outside, it won't fit under the top trim strip. I agreed with Pininfarina and cut off the offending corner. Where you can see the scribed line where it needed to be cut.