Interior
I started removing some of the interior parts.
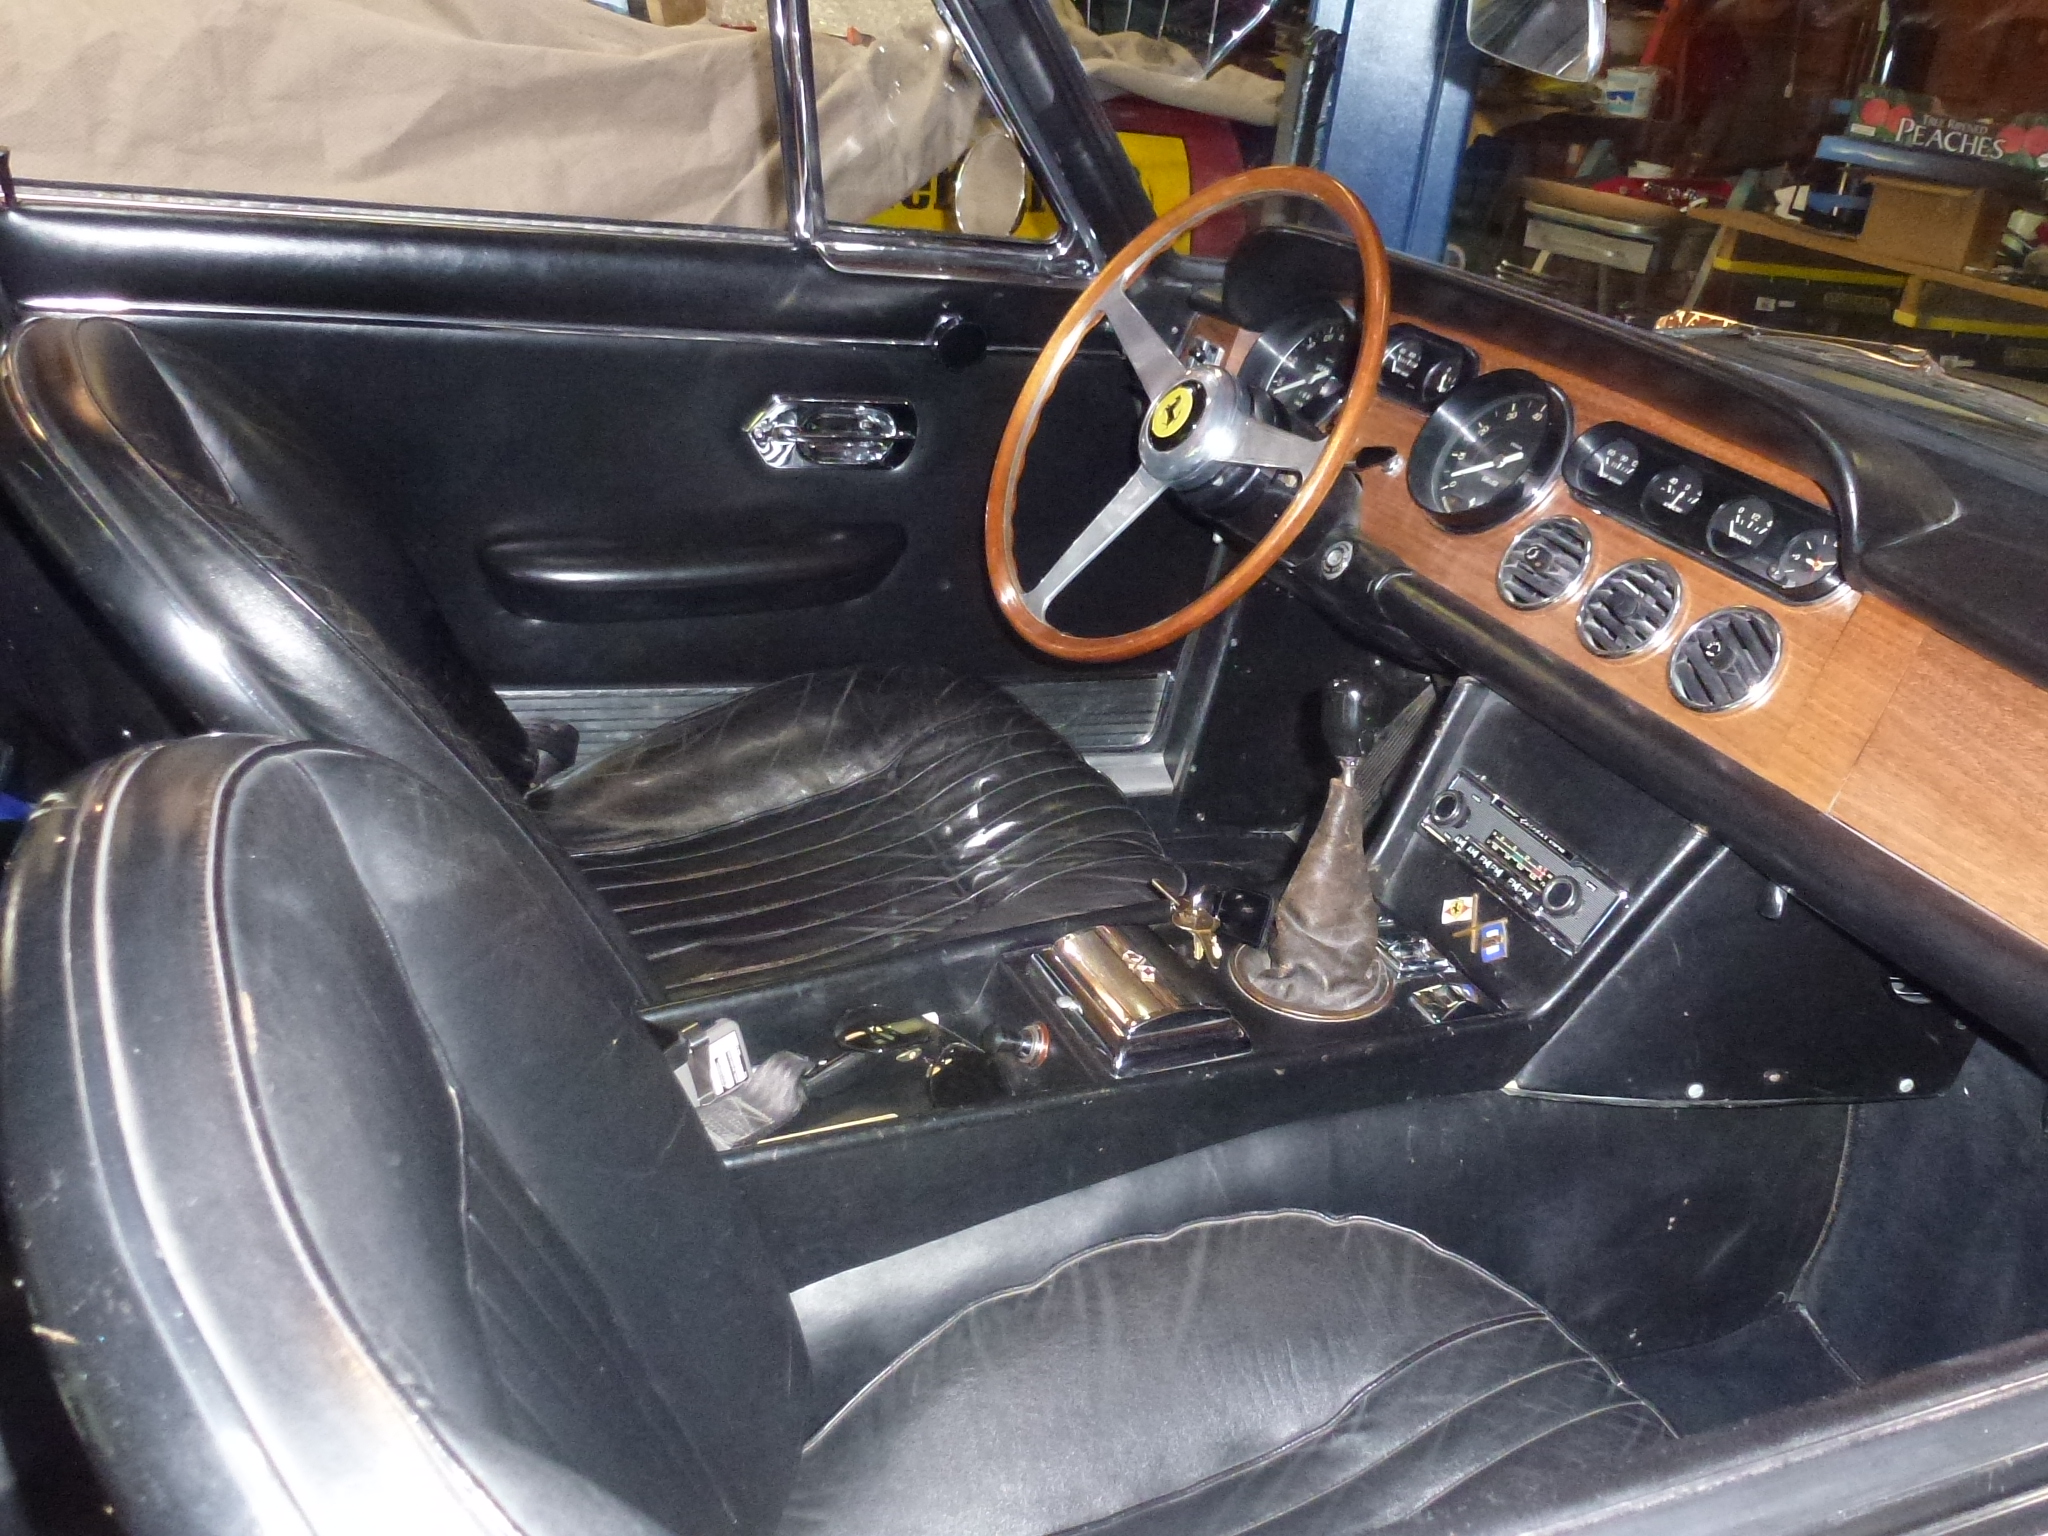
The passenger seat was first. There are four Allen head screws that hold the seat in. Two in the track at the front (seat needs to be slid clear to the rear to expose them) and two in the back.
Then I took out most of the carpet. There are a few pieces that are glued down that I'll leave in.
Next were the scuff strips on the door frame. Five screws in the outer one and four in the inner one.
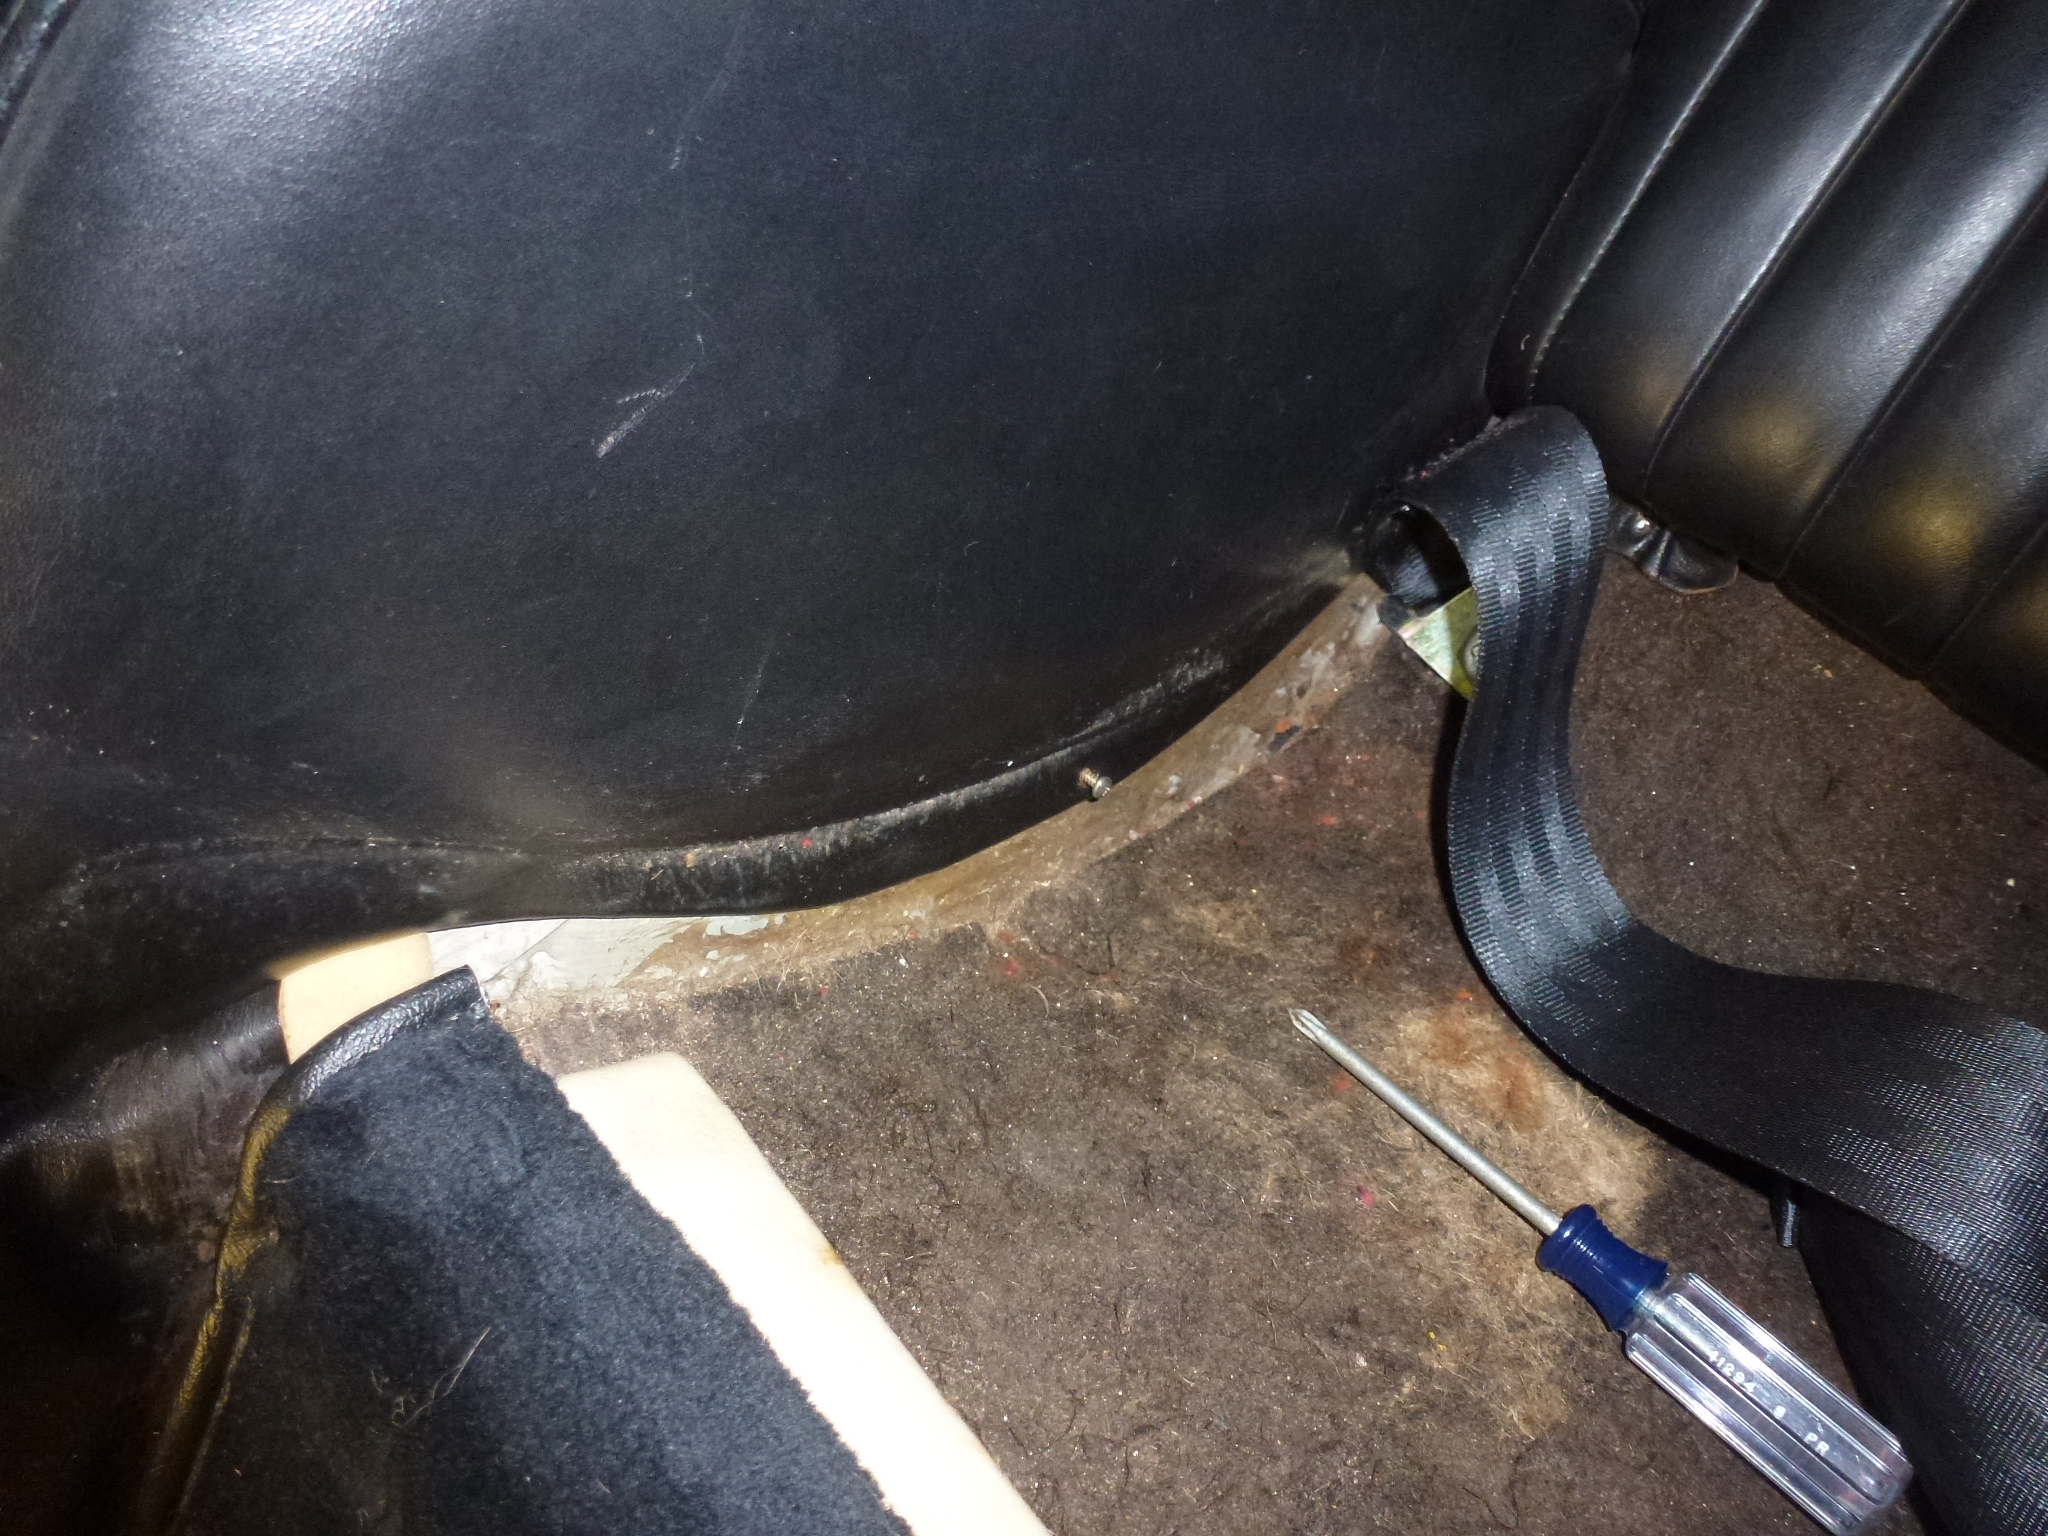
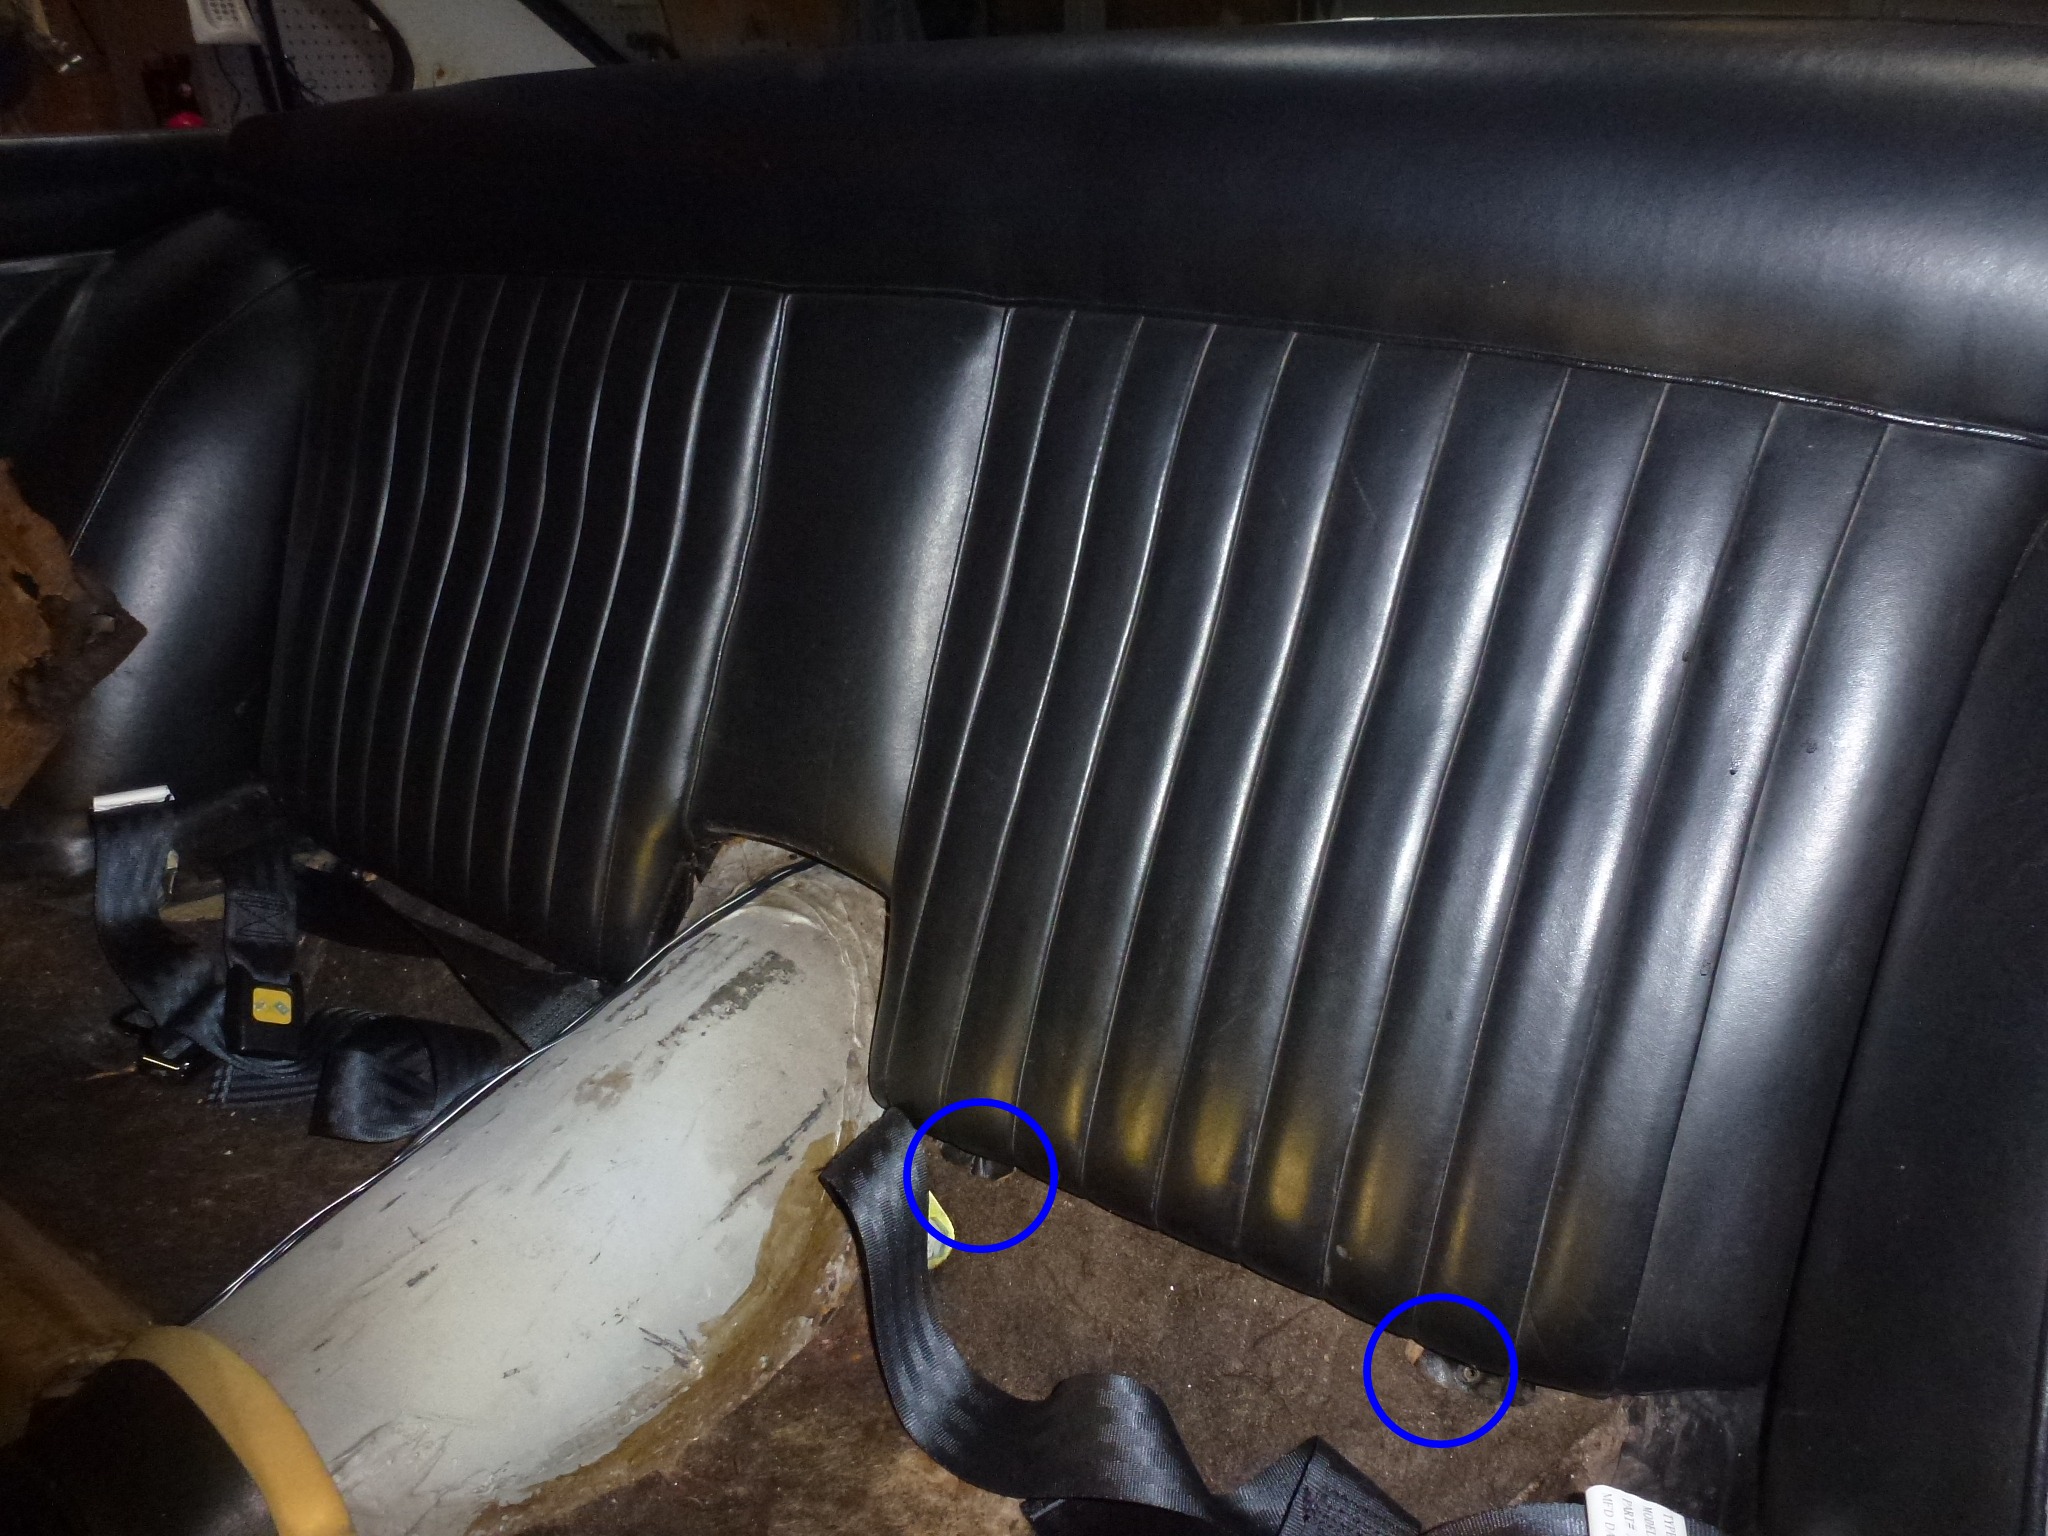
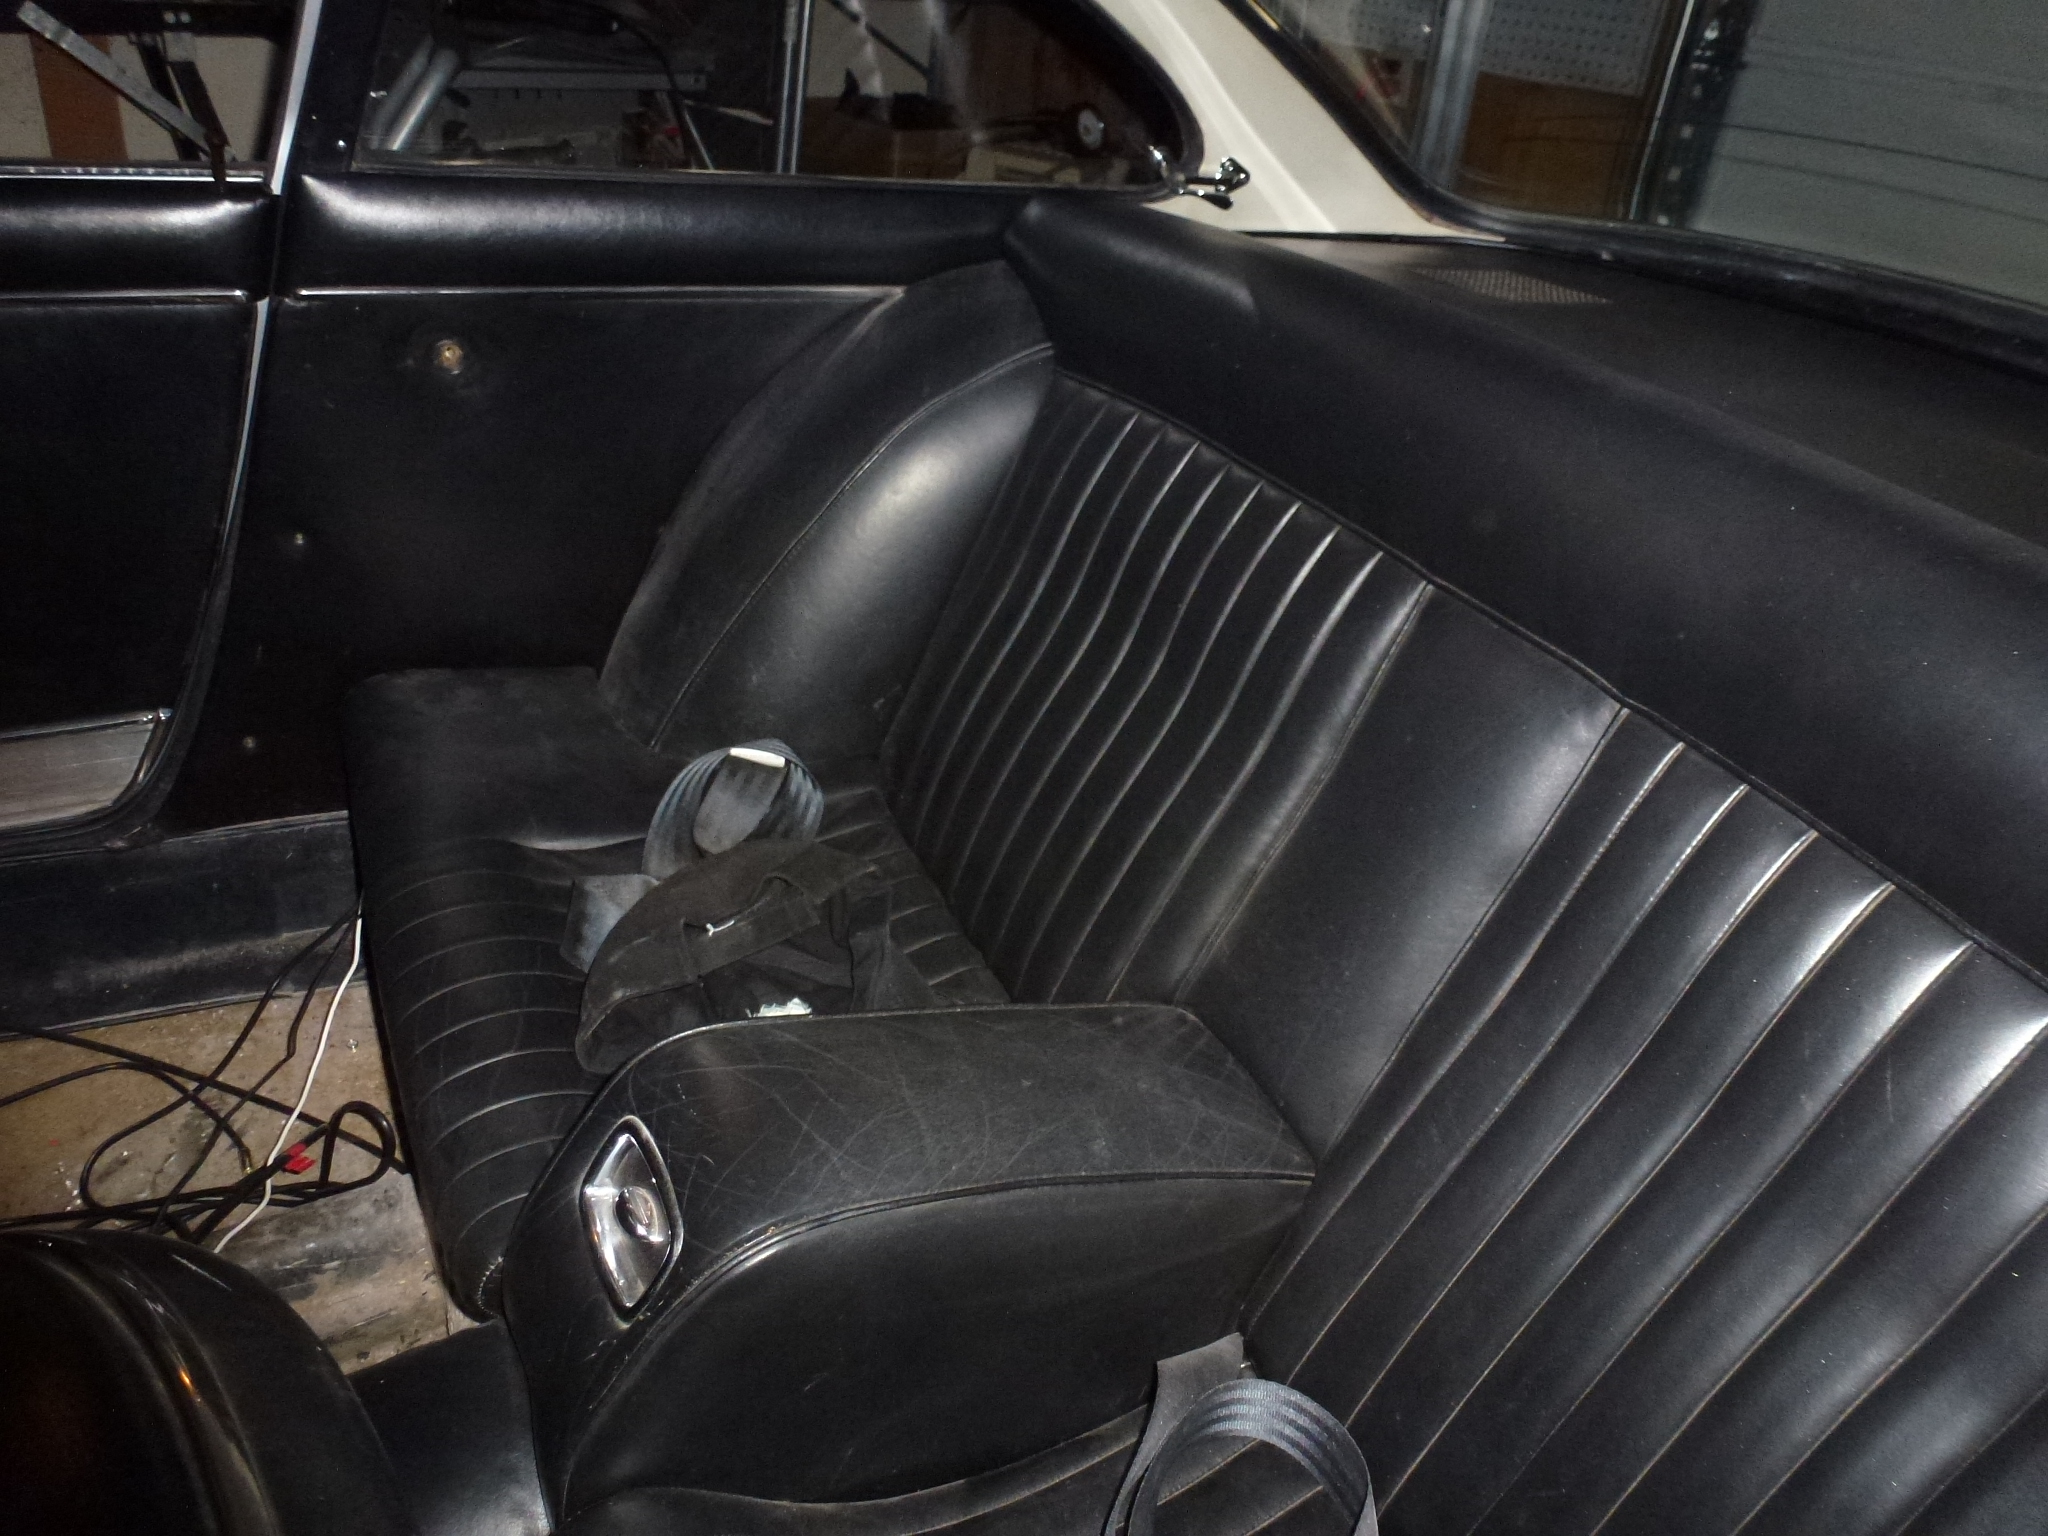
Then I removed the rear seat cushions. Each side just has two screws and then they lift out.
The door seals are just pulled off. Mine came off without having to remove any interior panels first.
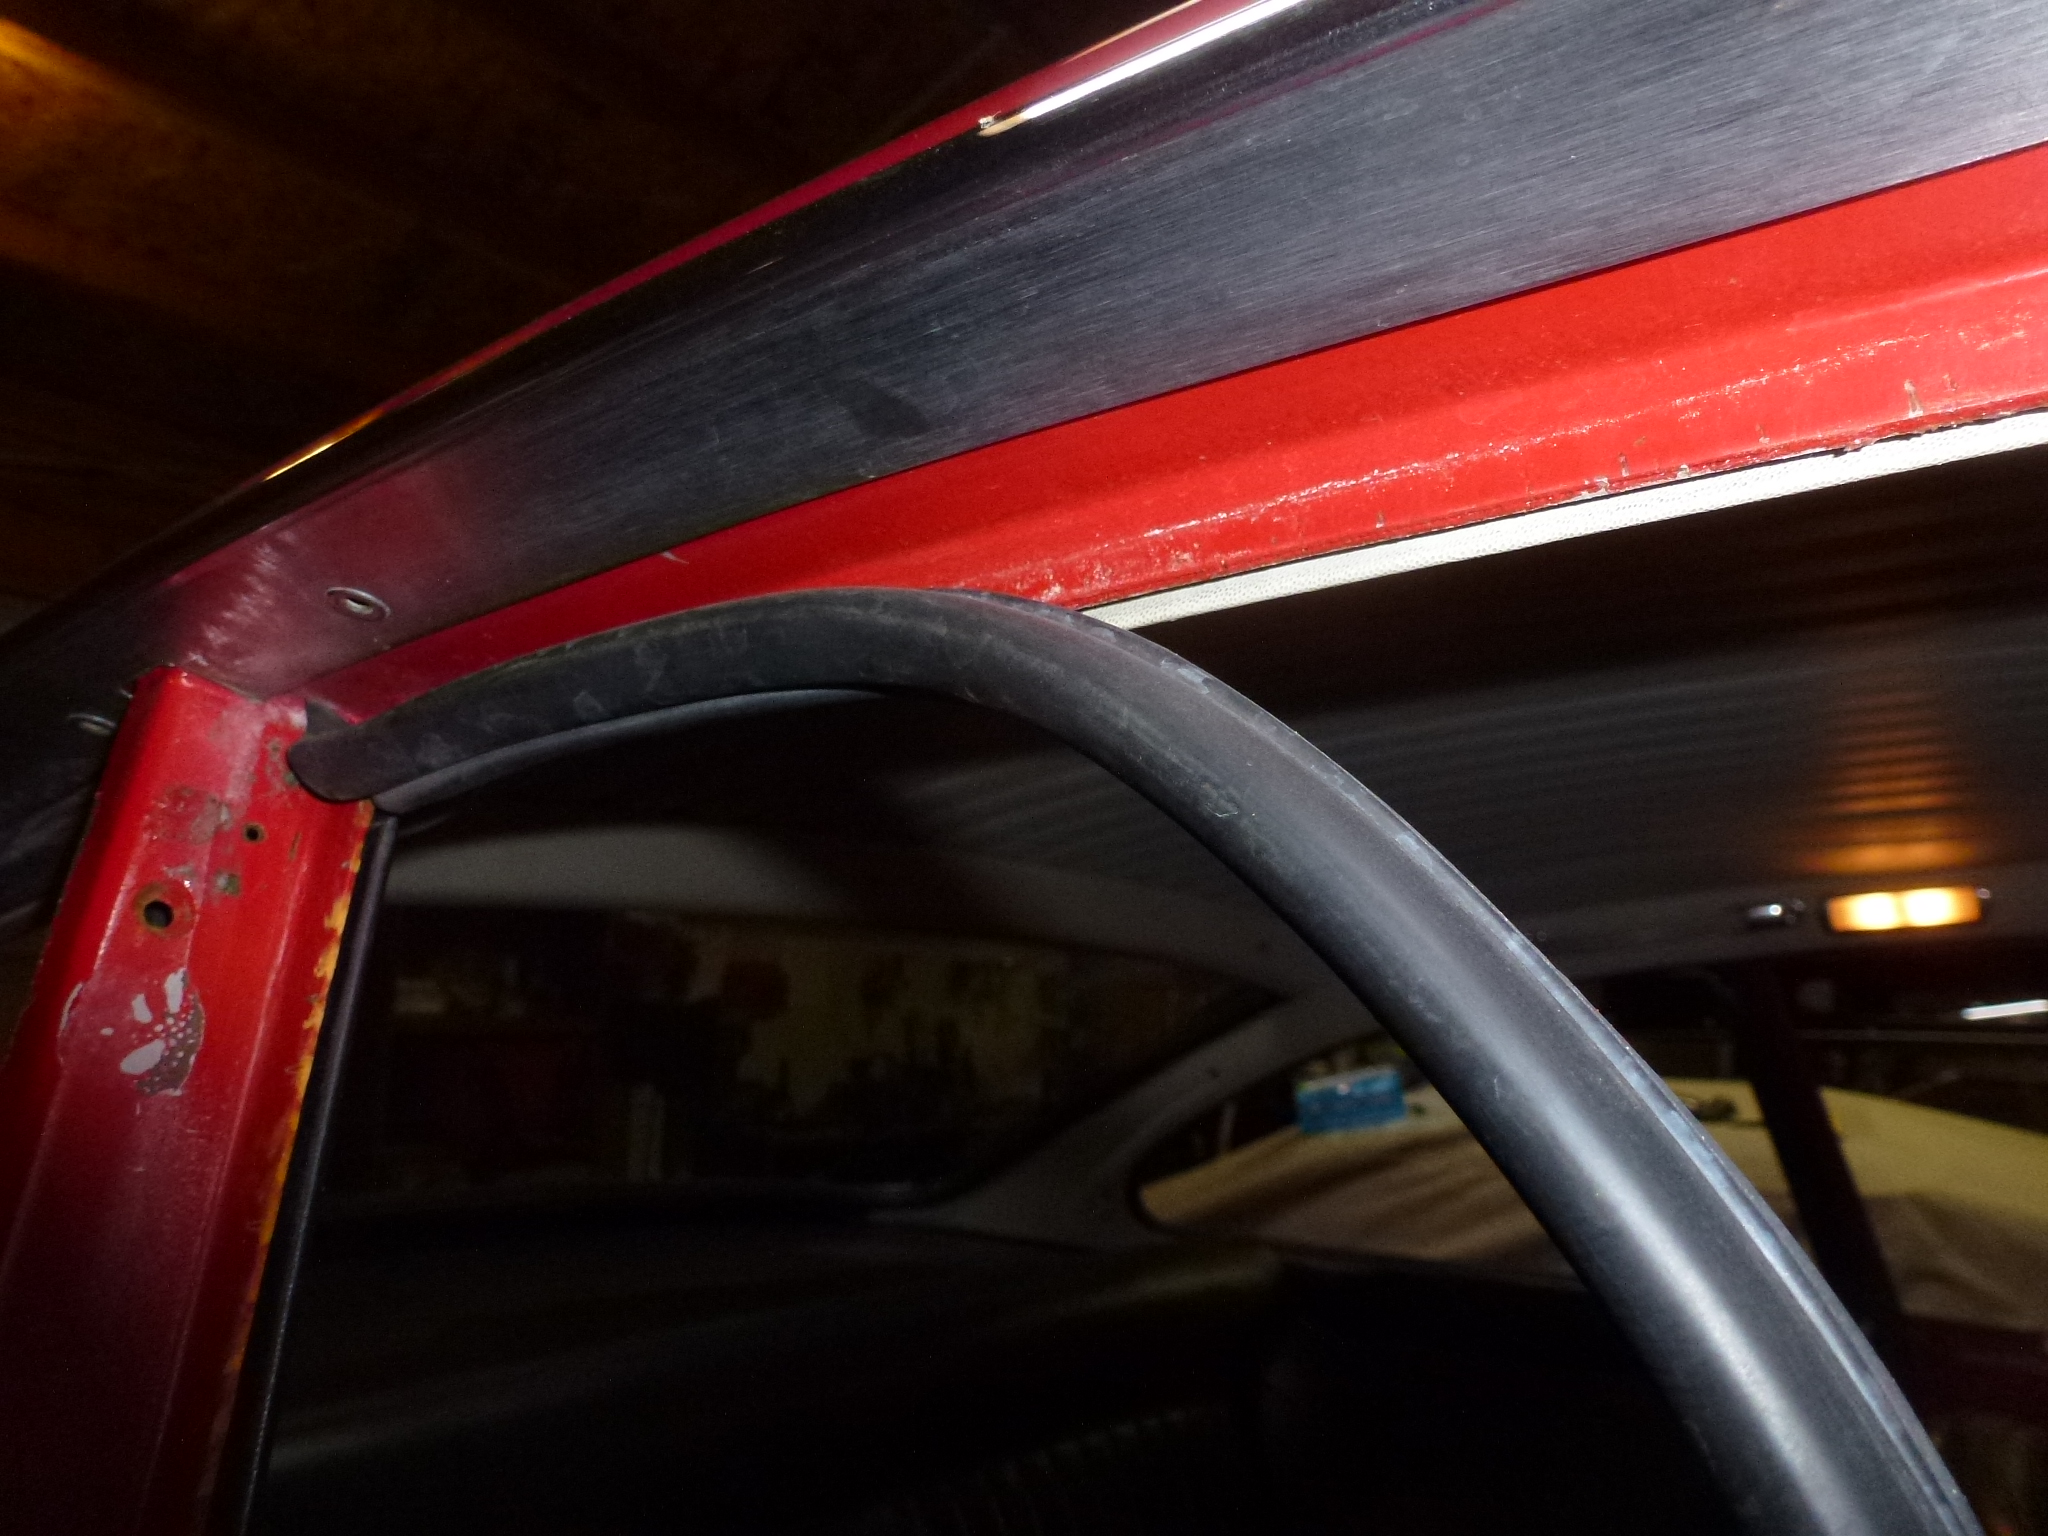
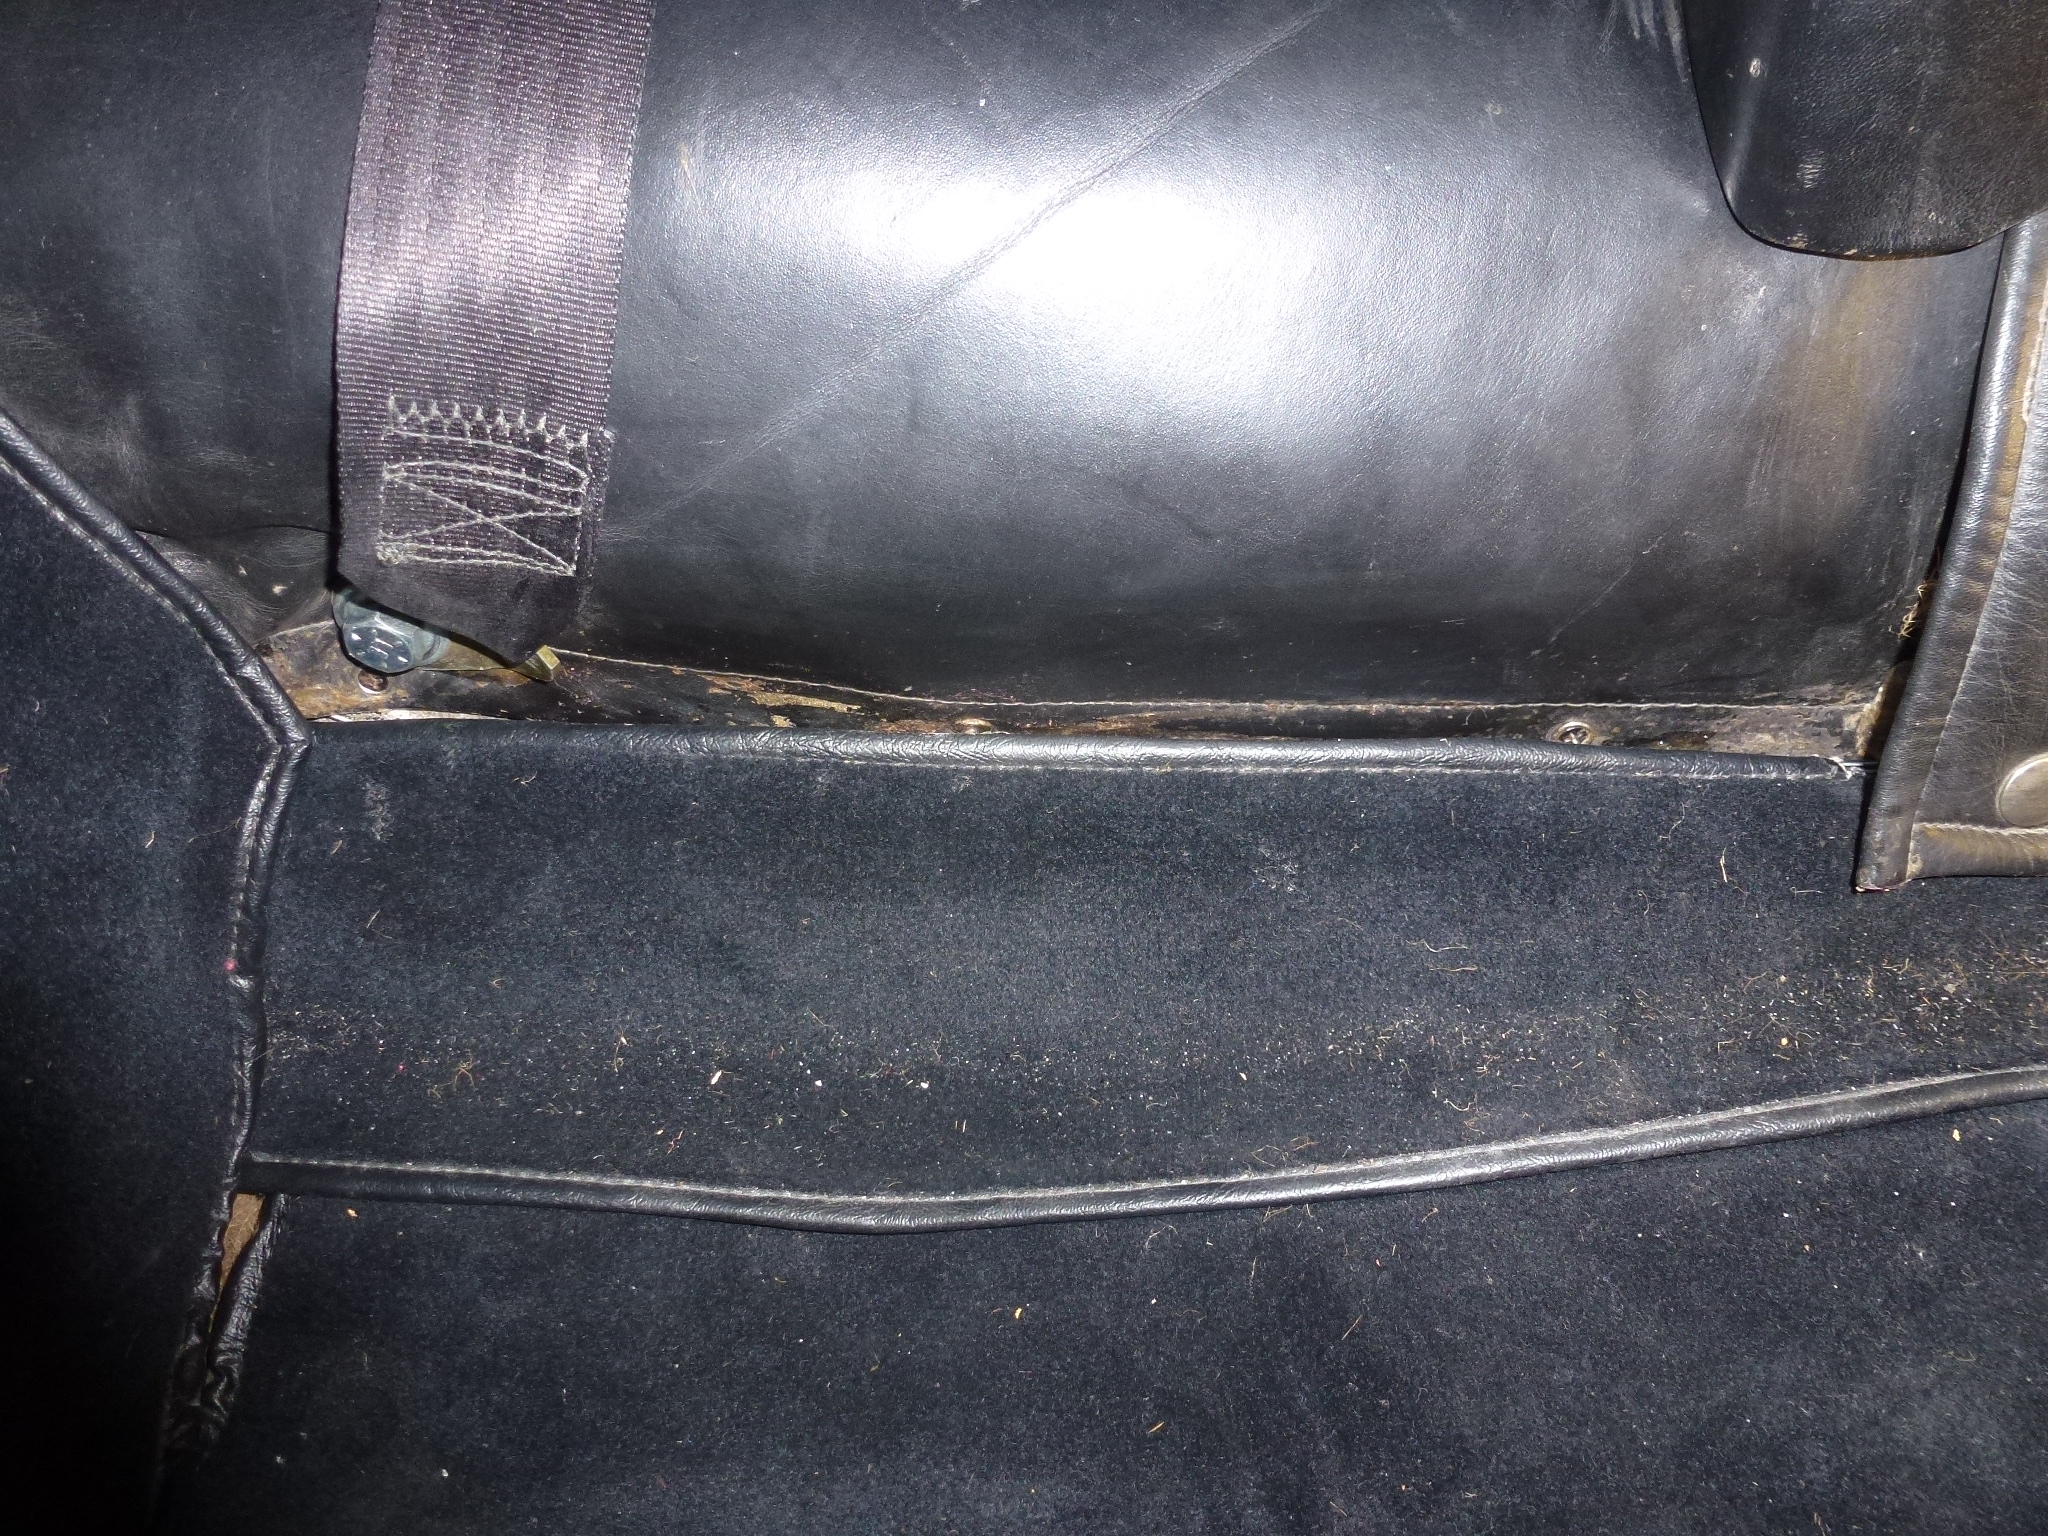
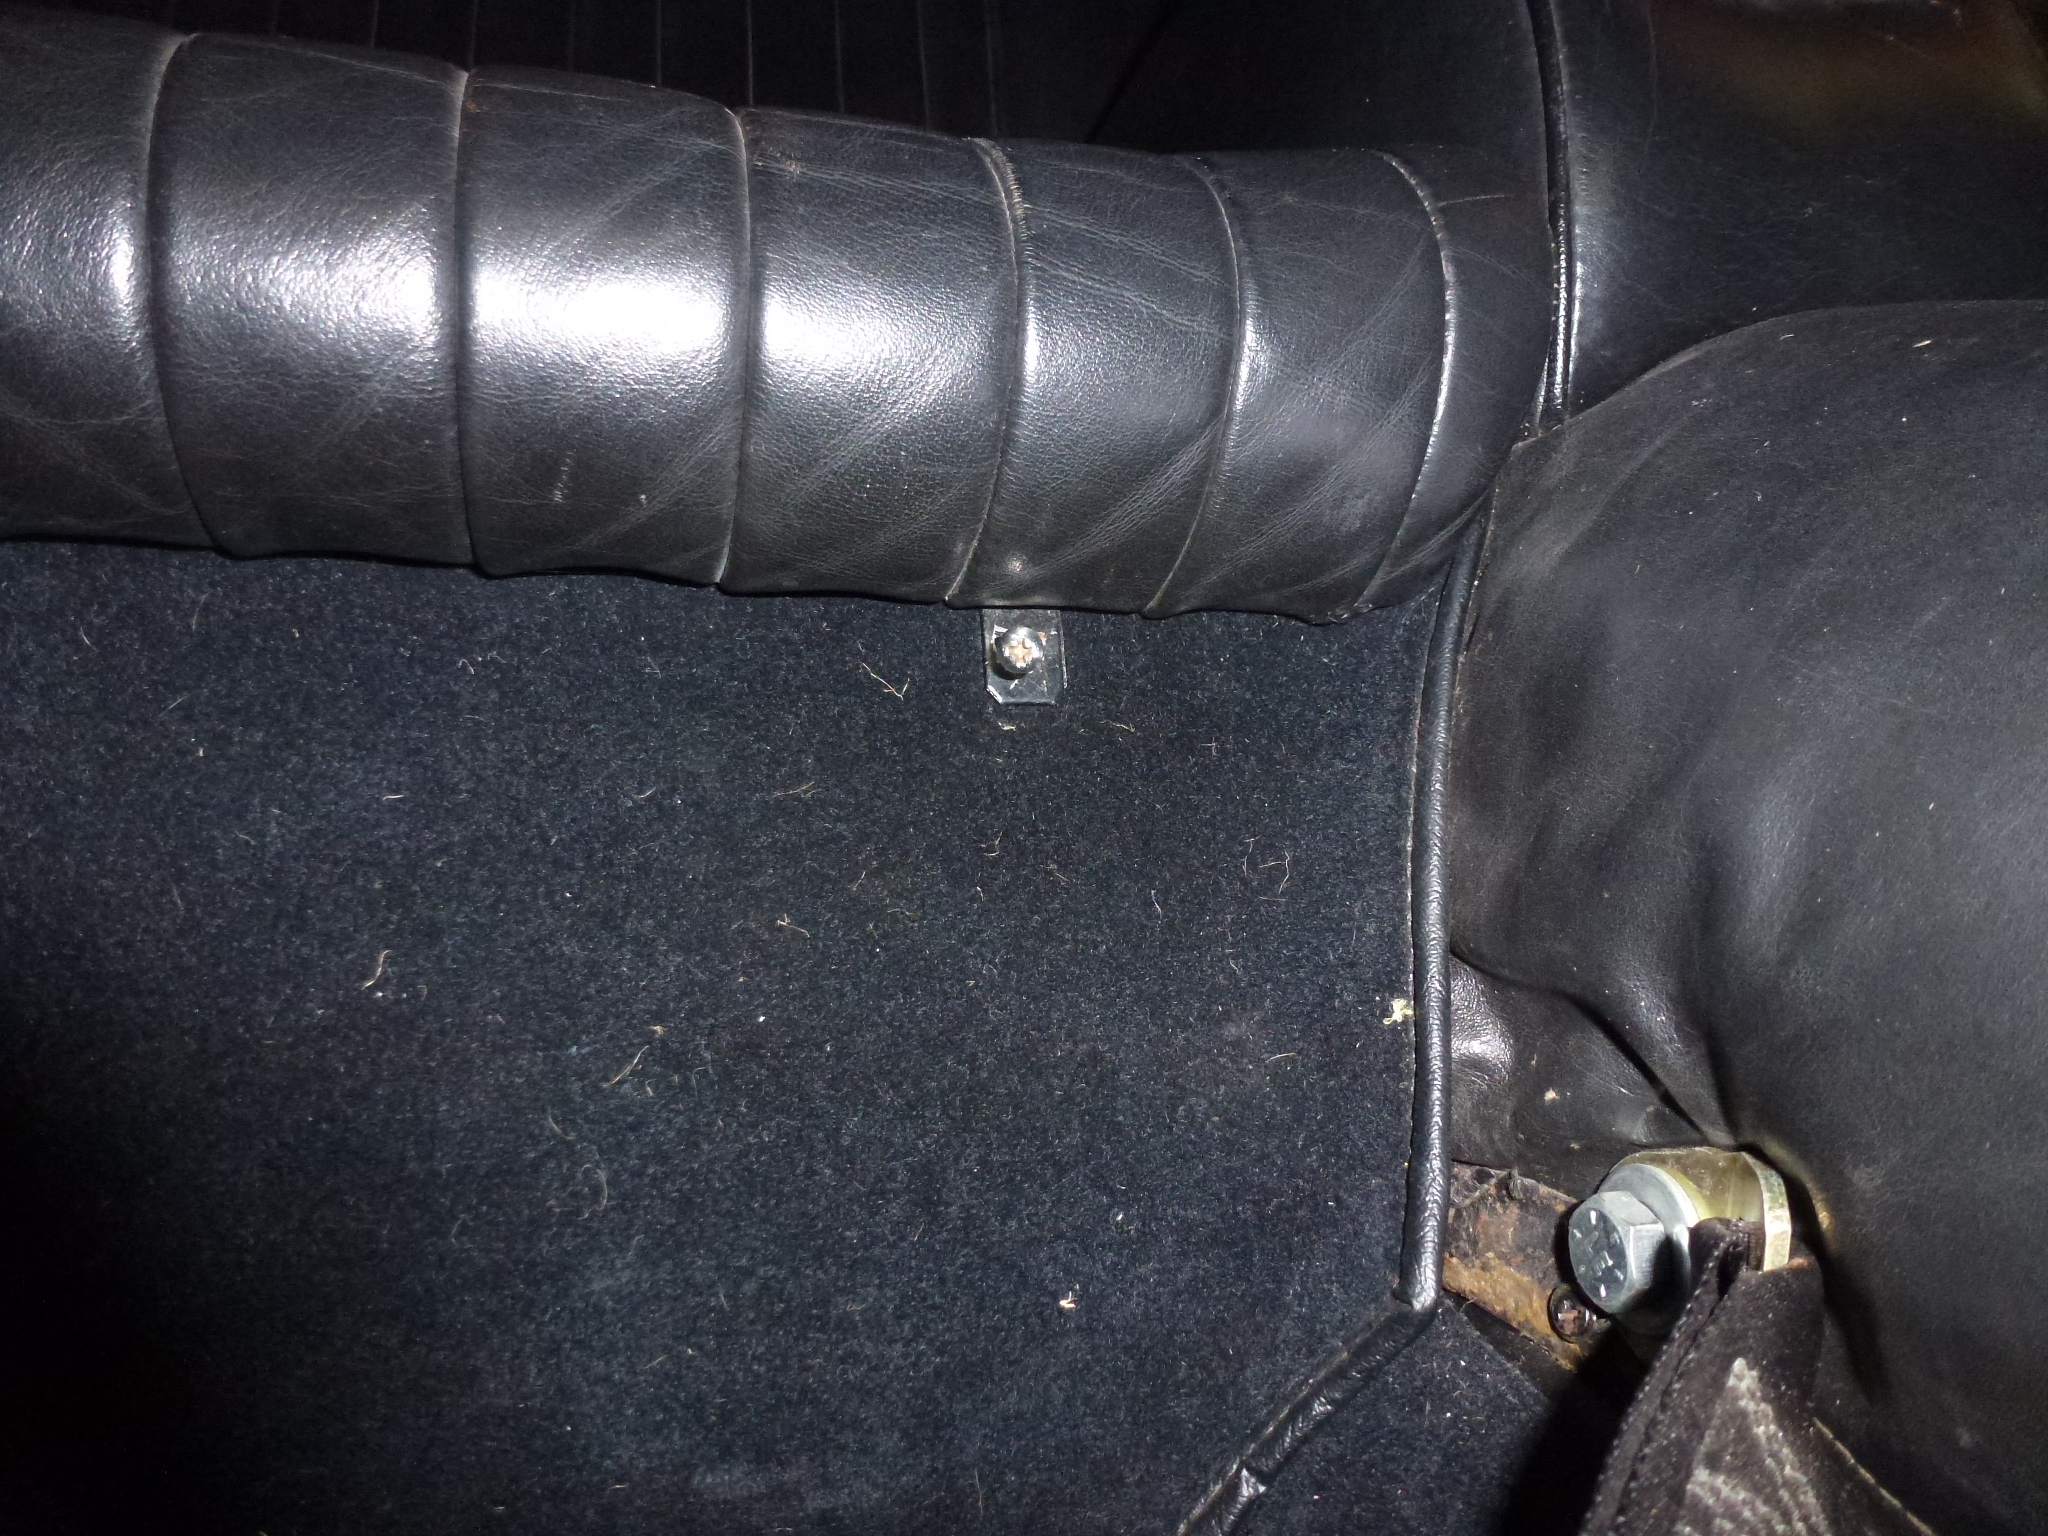
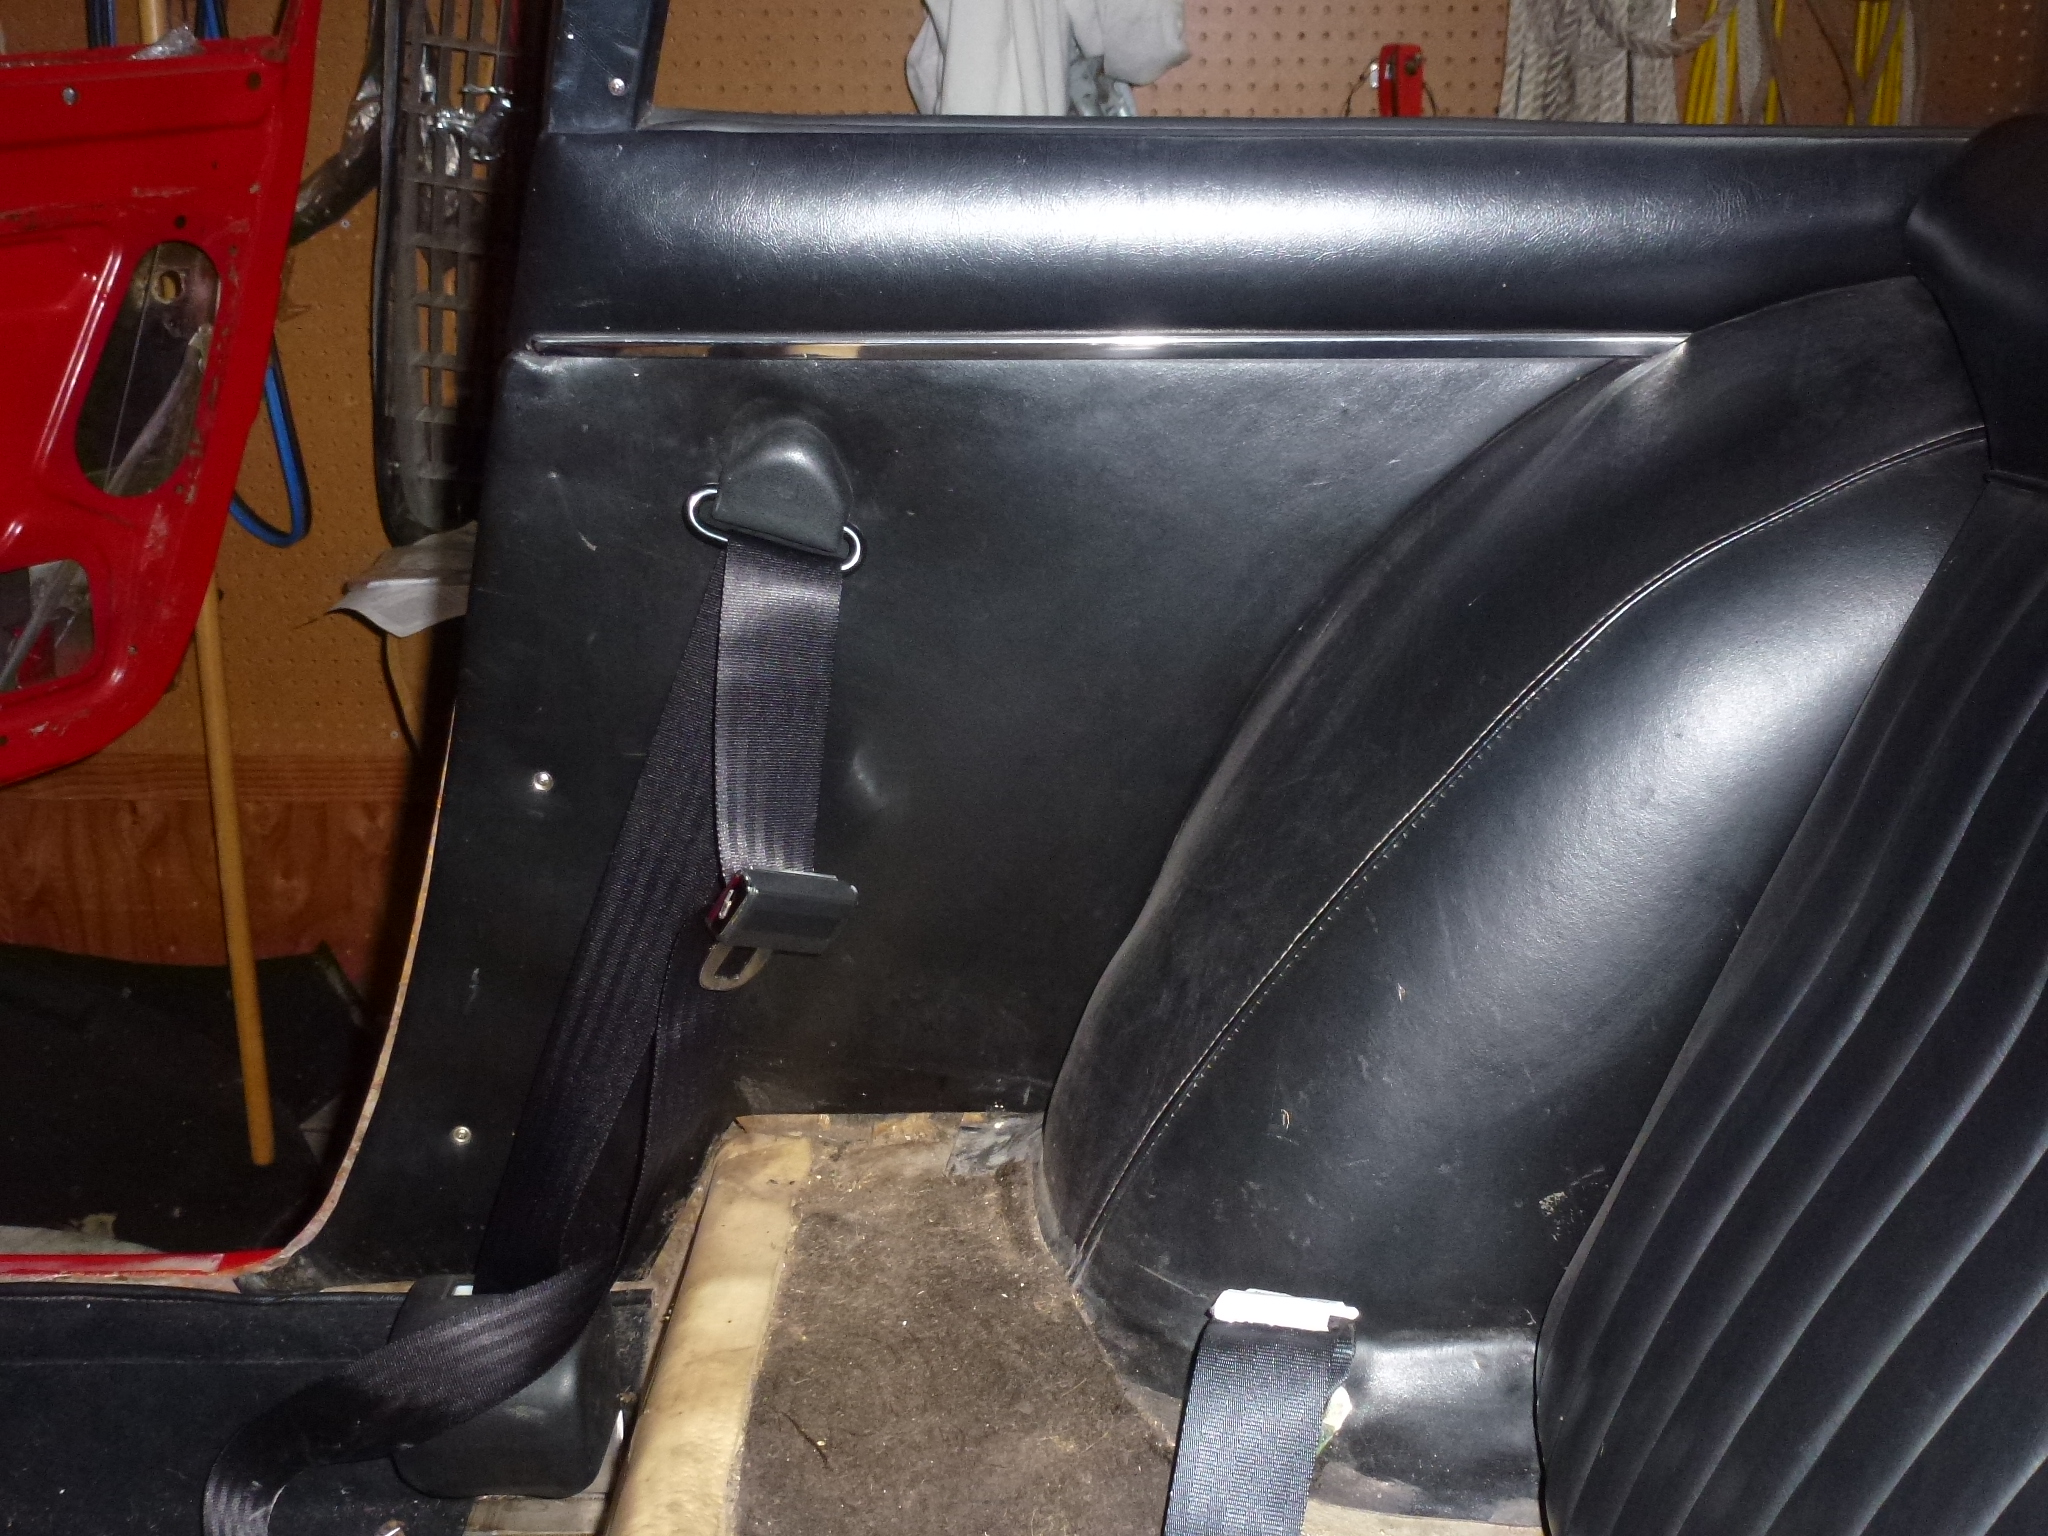
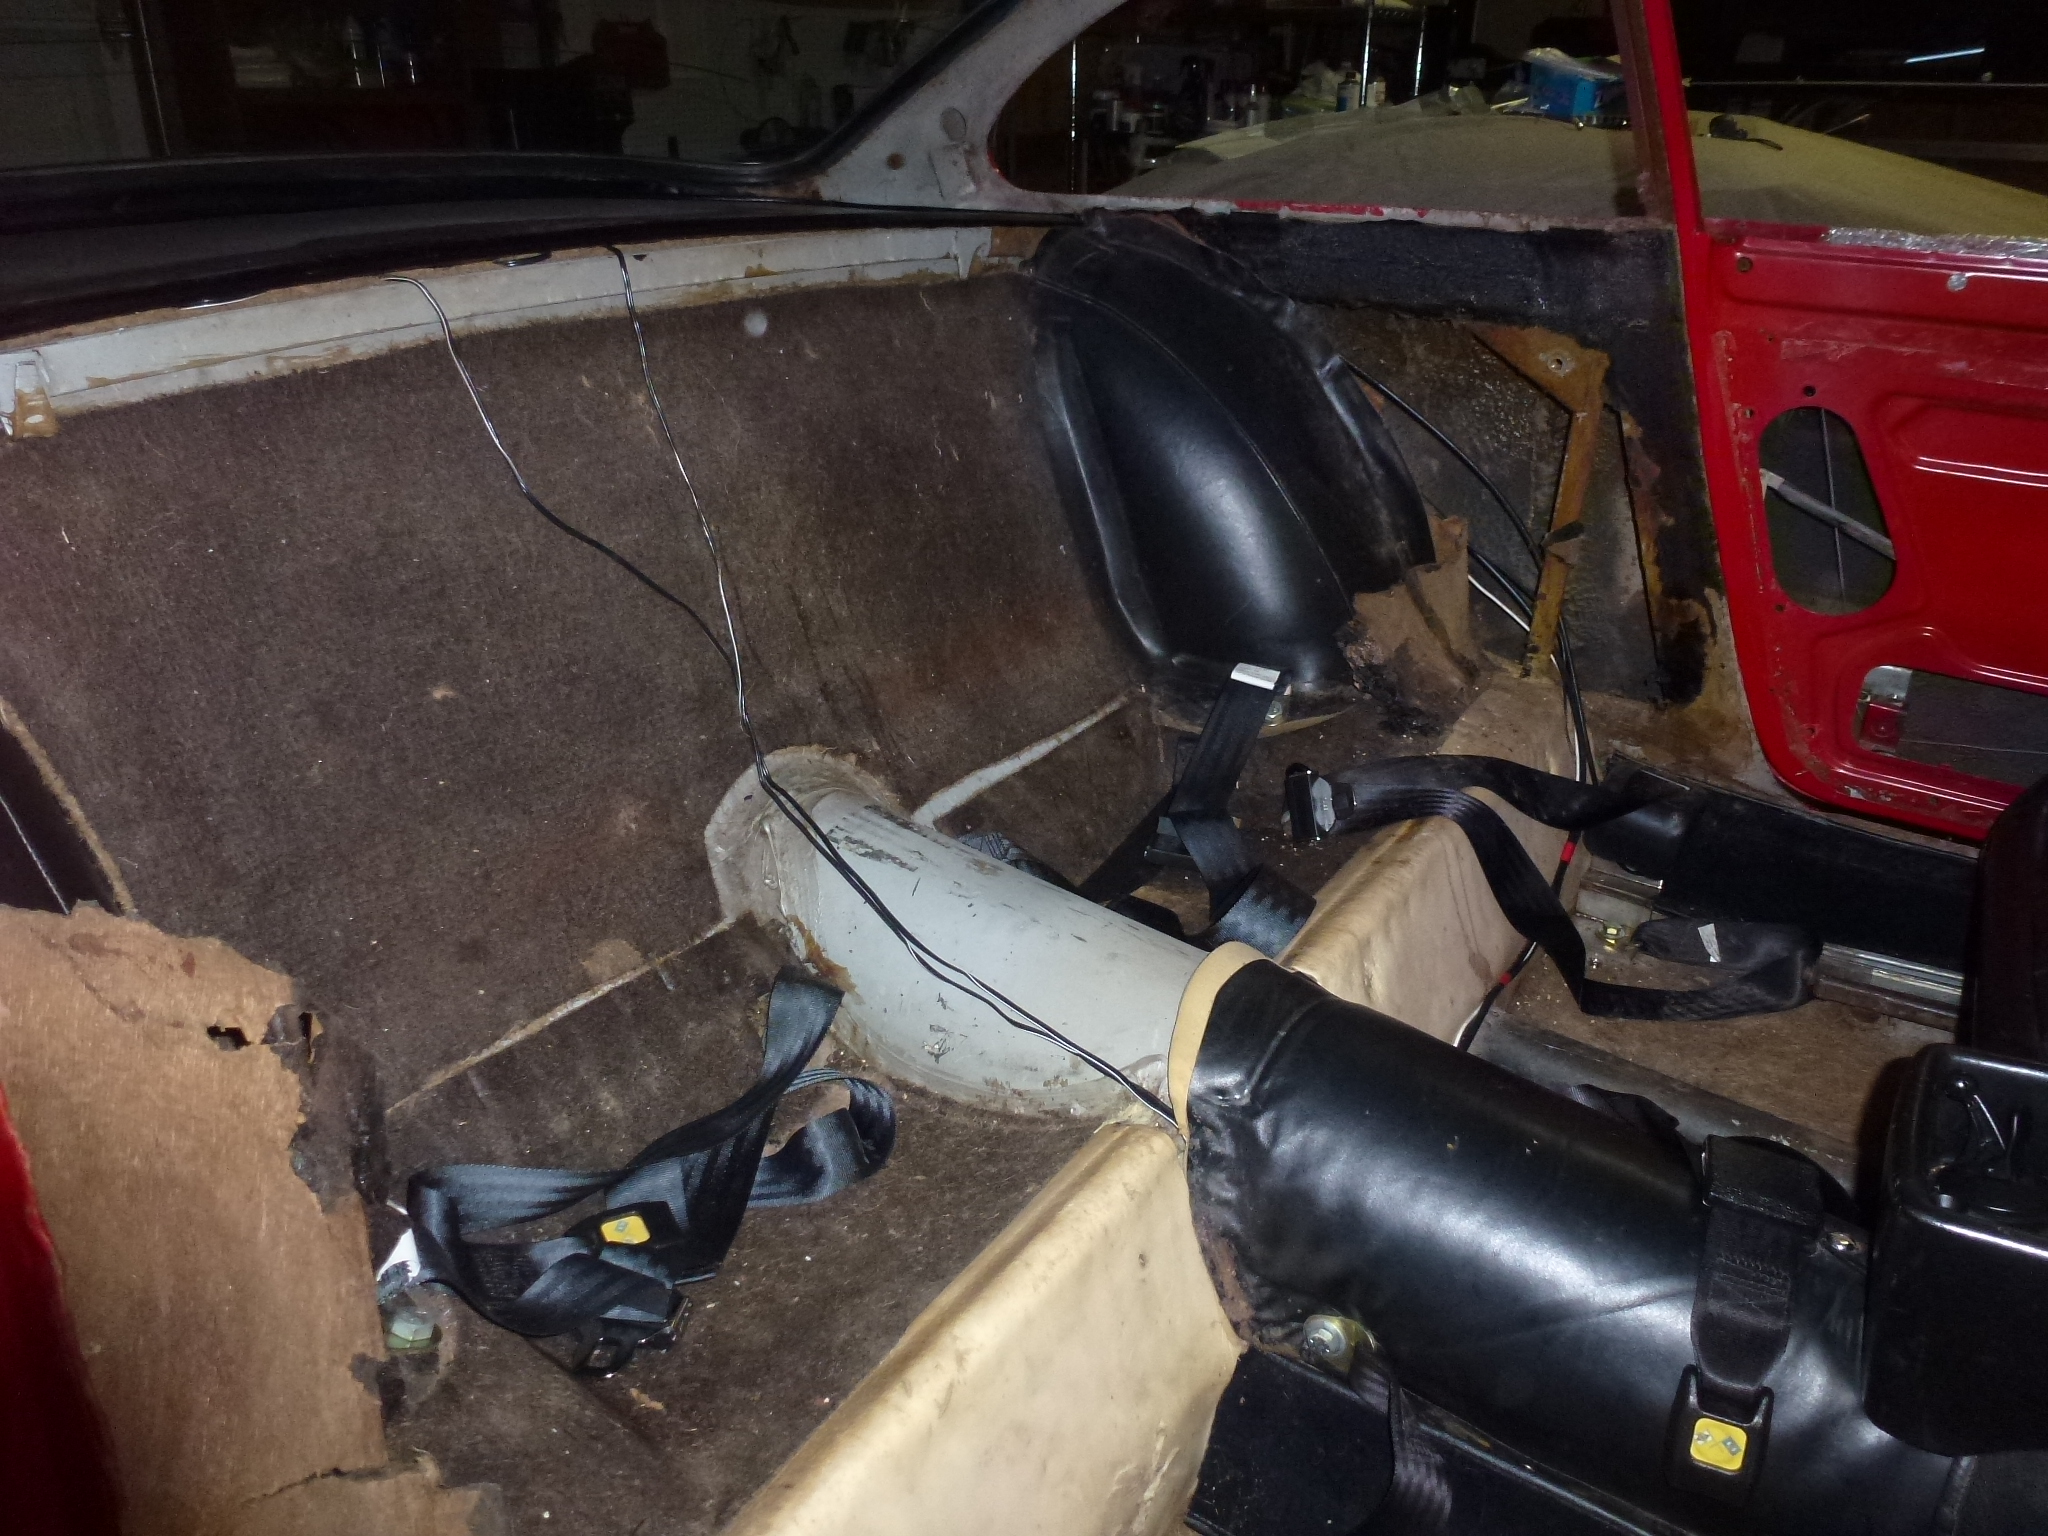
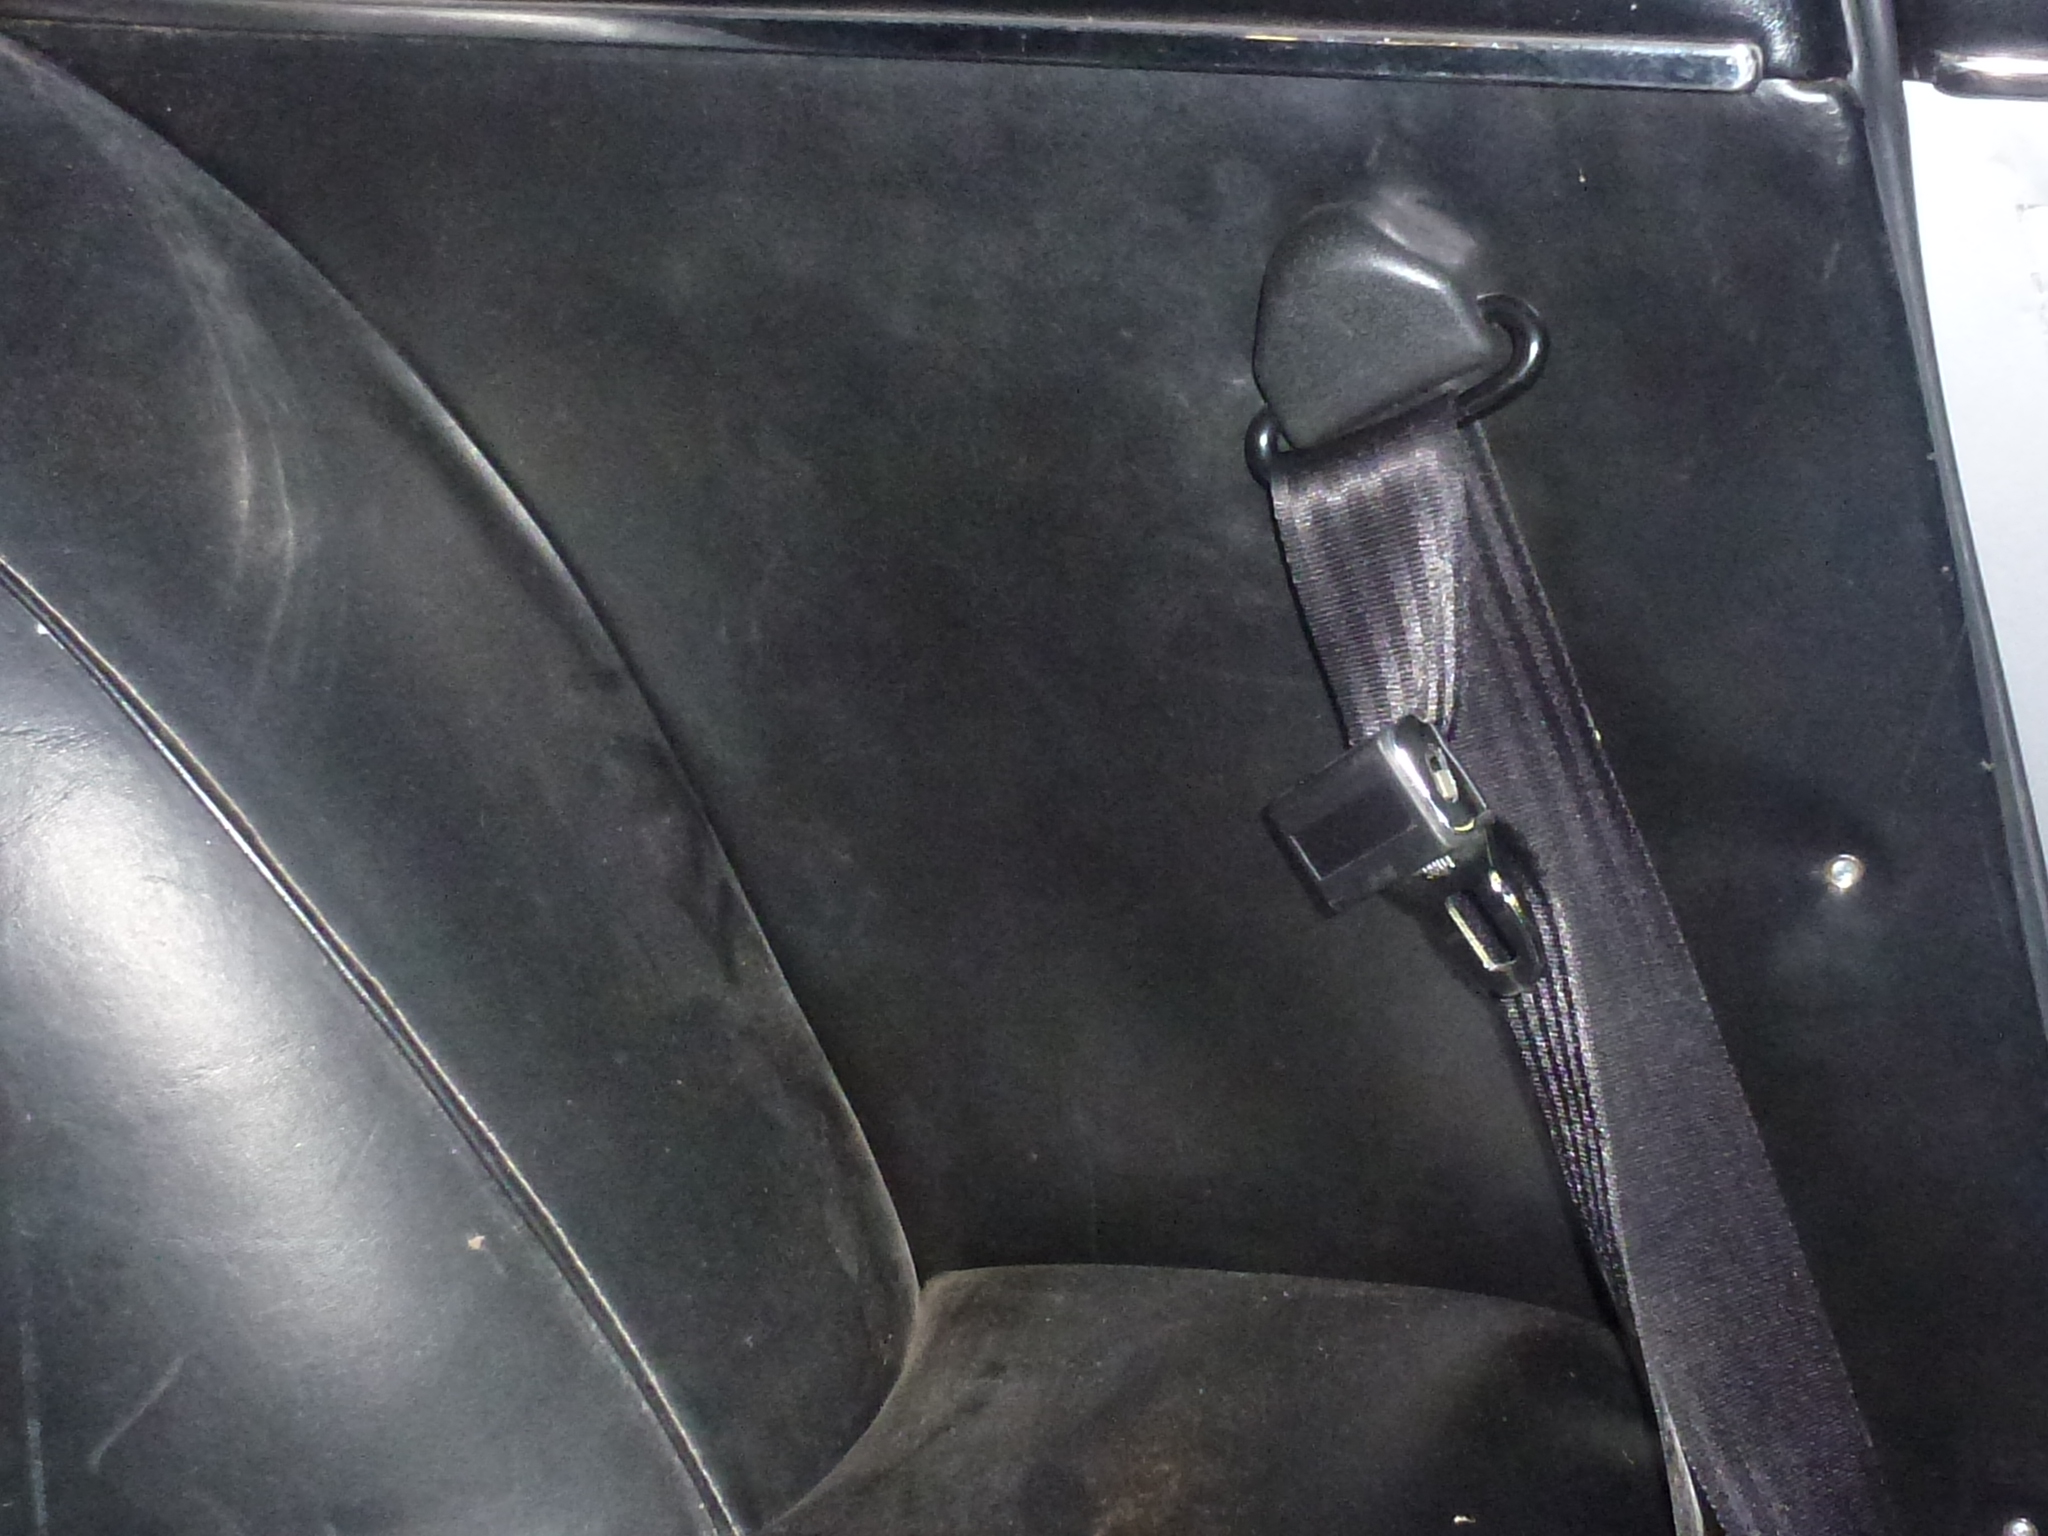
Now the dogleg panels could come off. I wanted these off so I could take off the PF emblems and script. First I had to remove the shoulder harness fitting. Then just two screws and the panel is loose. The trick is to rotate it down at the front so it just clears the bolster under the quarter window and then pull forward to remove it.
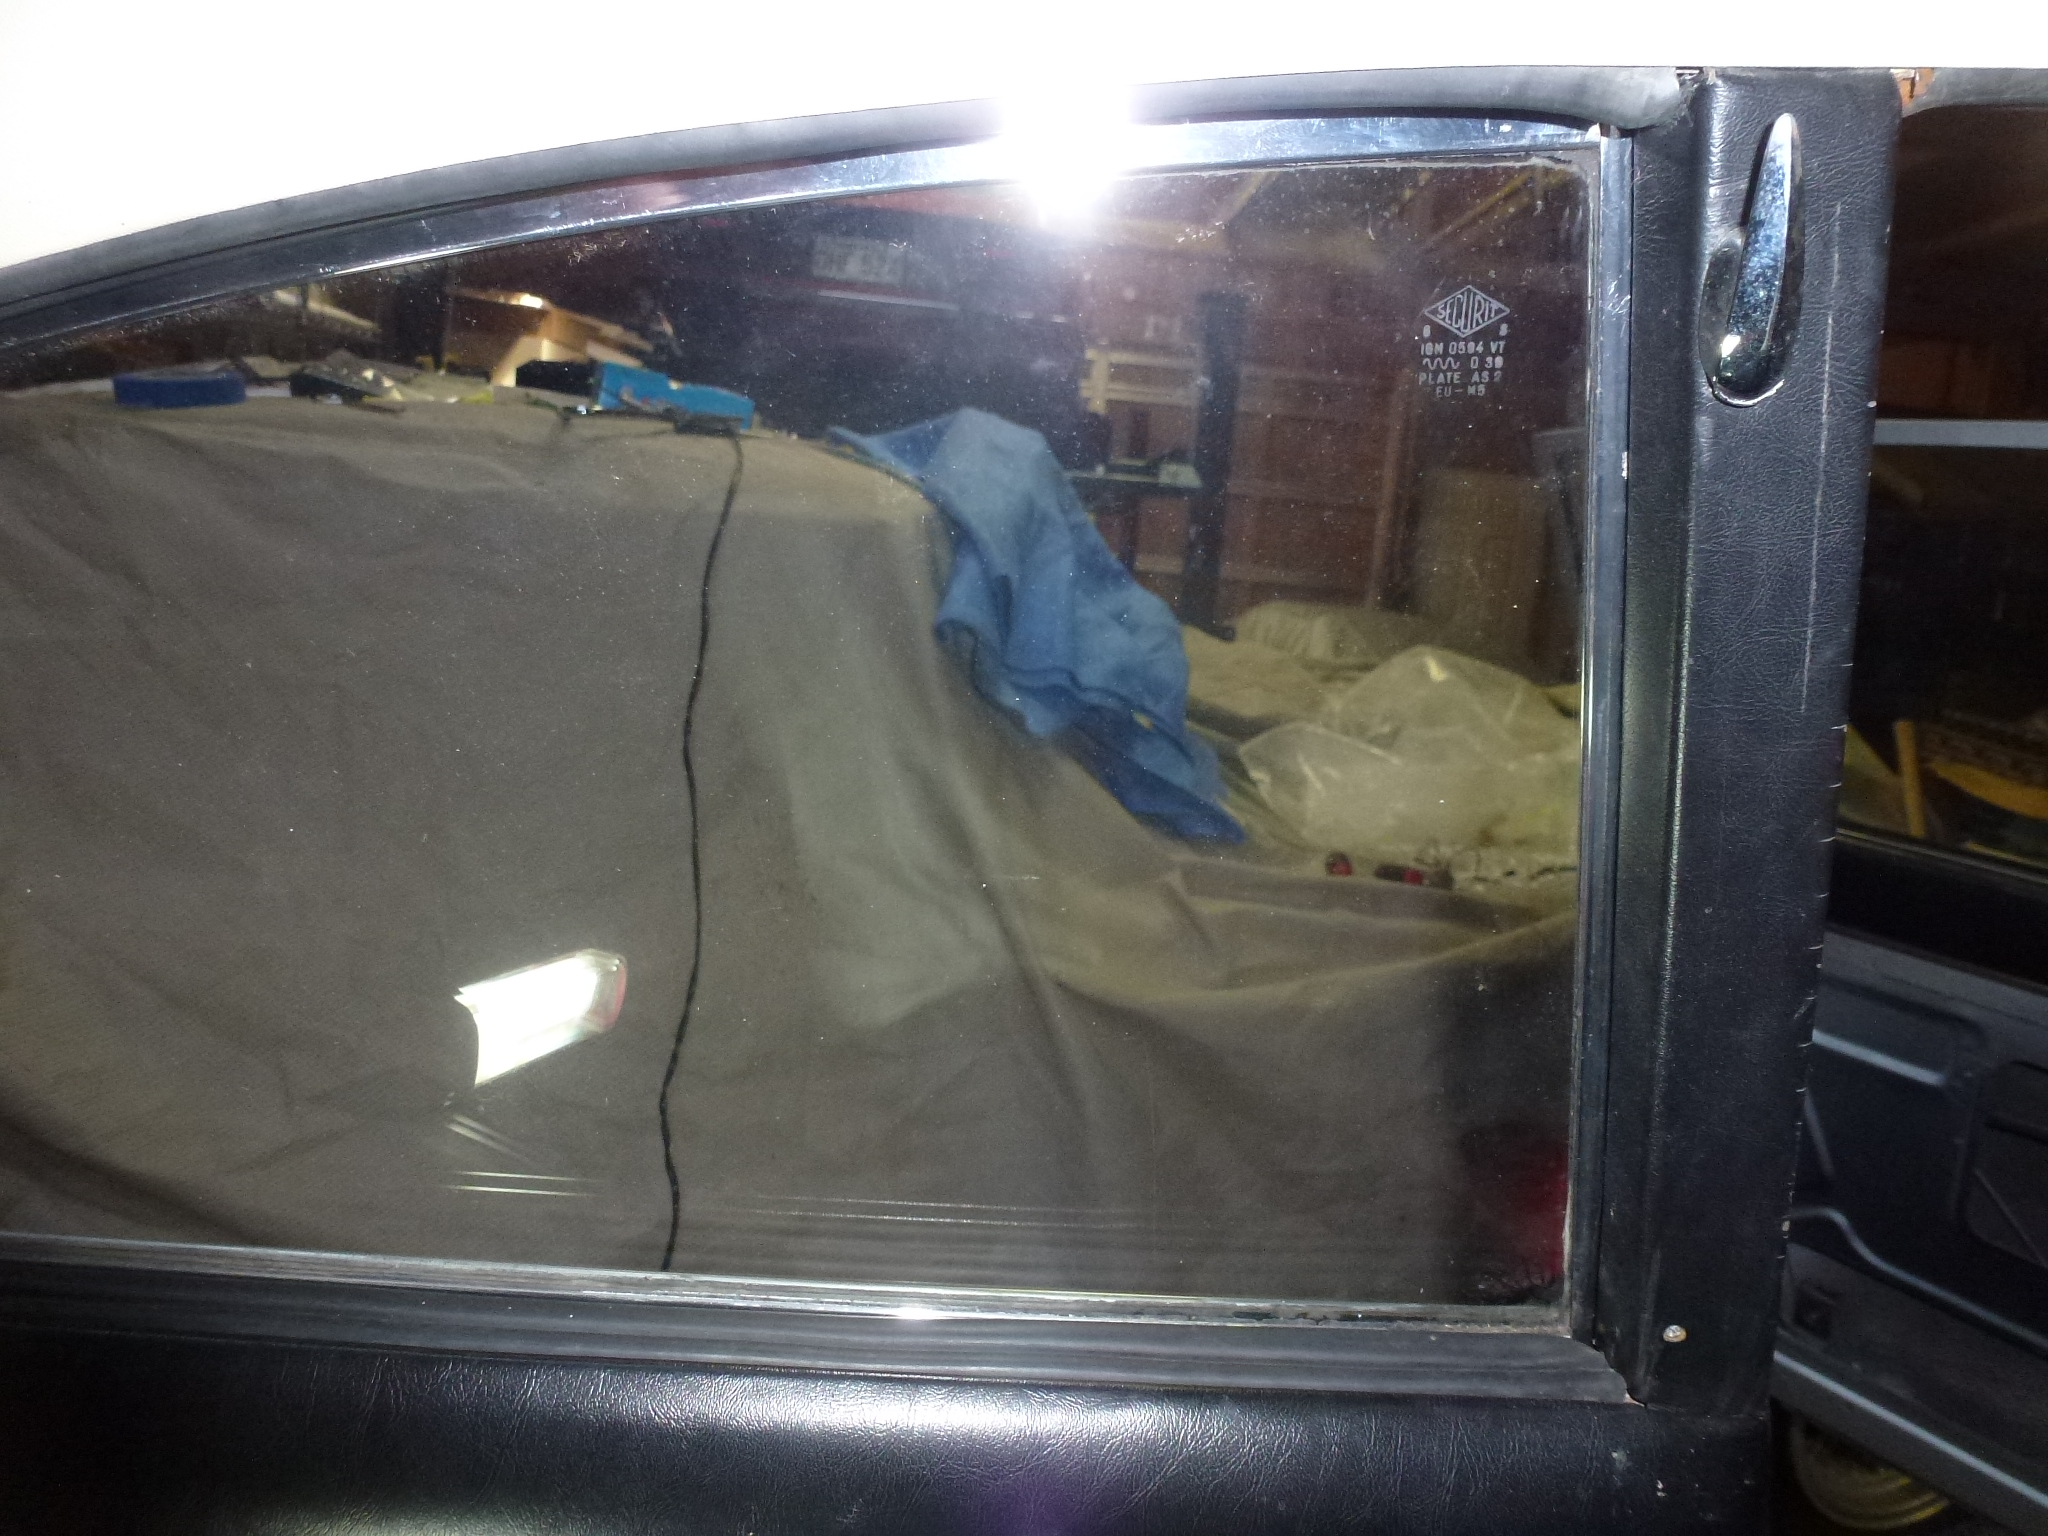
Once the dogleg panels are off, the two screws holding each quarter window bolster are exposed. After removing them, a tap upward on the forward end will free them up as they fit into clips at the top.
The arm rest between the rear seats is next. Just a single screw in each side and it lifts out.
Now that the seat cushions and arm rest are removed, the seat back can be taken out. Two screws on each side and then lift up to clear some clips and it is free.
The B pillar inside trim can come off after the quarter window bolster is removed. There is a screw at the bottom and two screws under the coat hook. Tap the coat hook upwards to remove it and expose the screws.
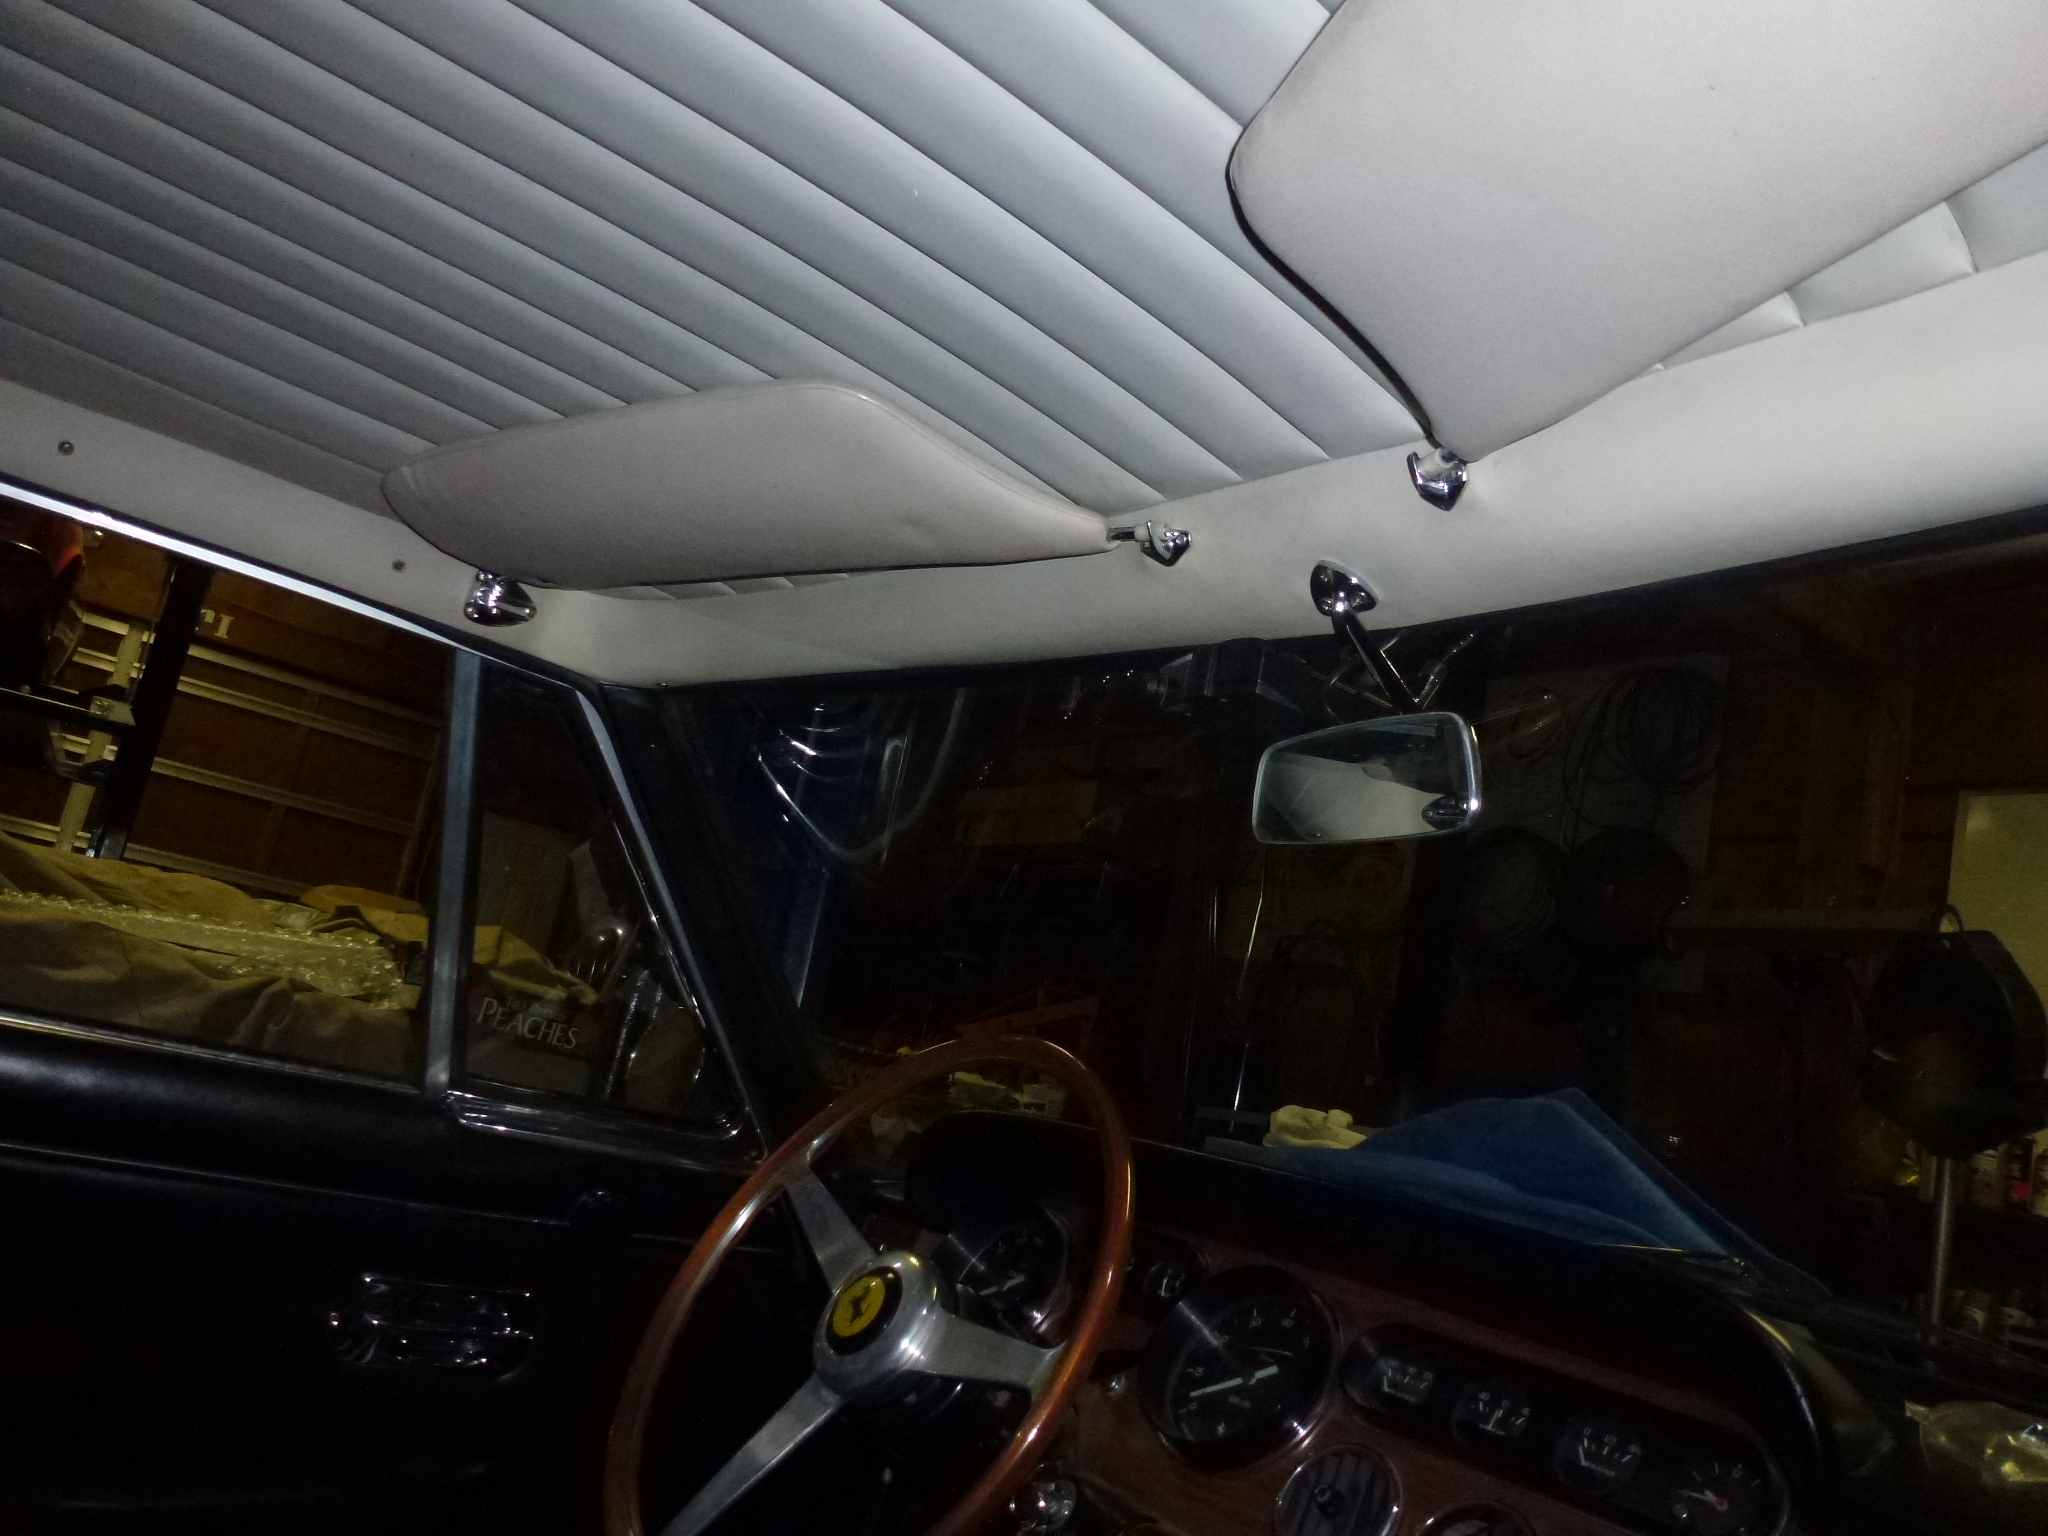
Before the trim by the headliner can be removed, several other items have to come off. The sun visors and end clips were next. Each visor has three screws and the end clips two.
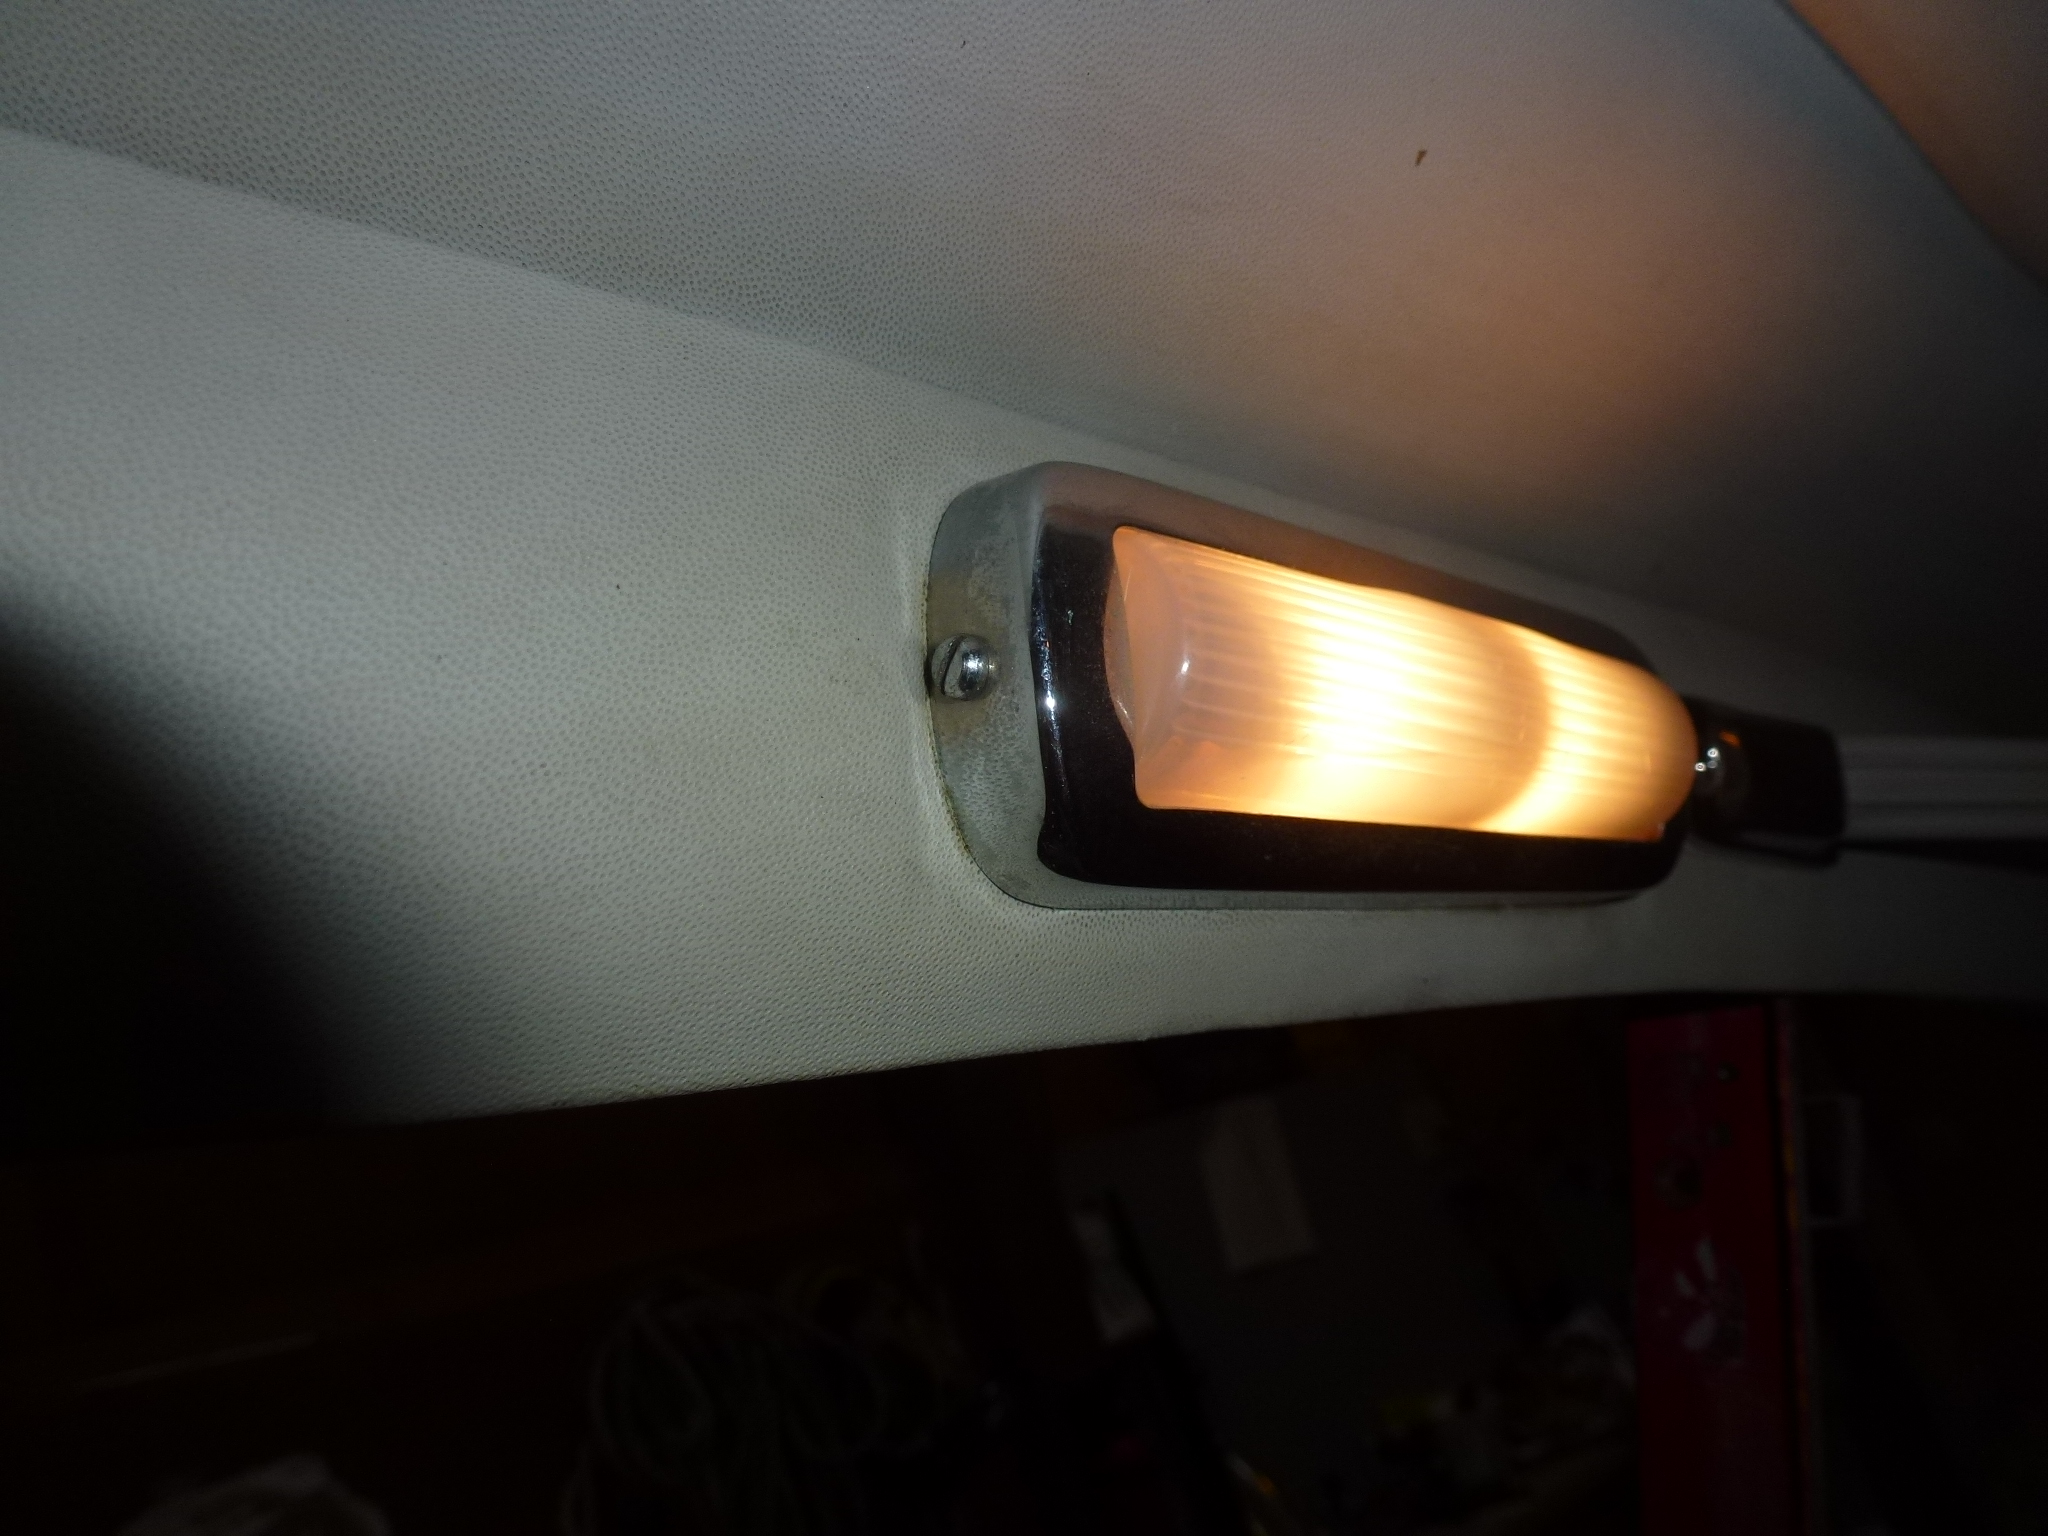
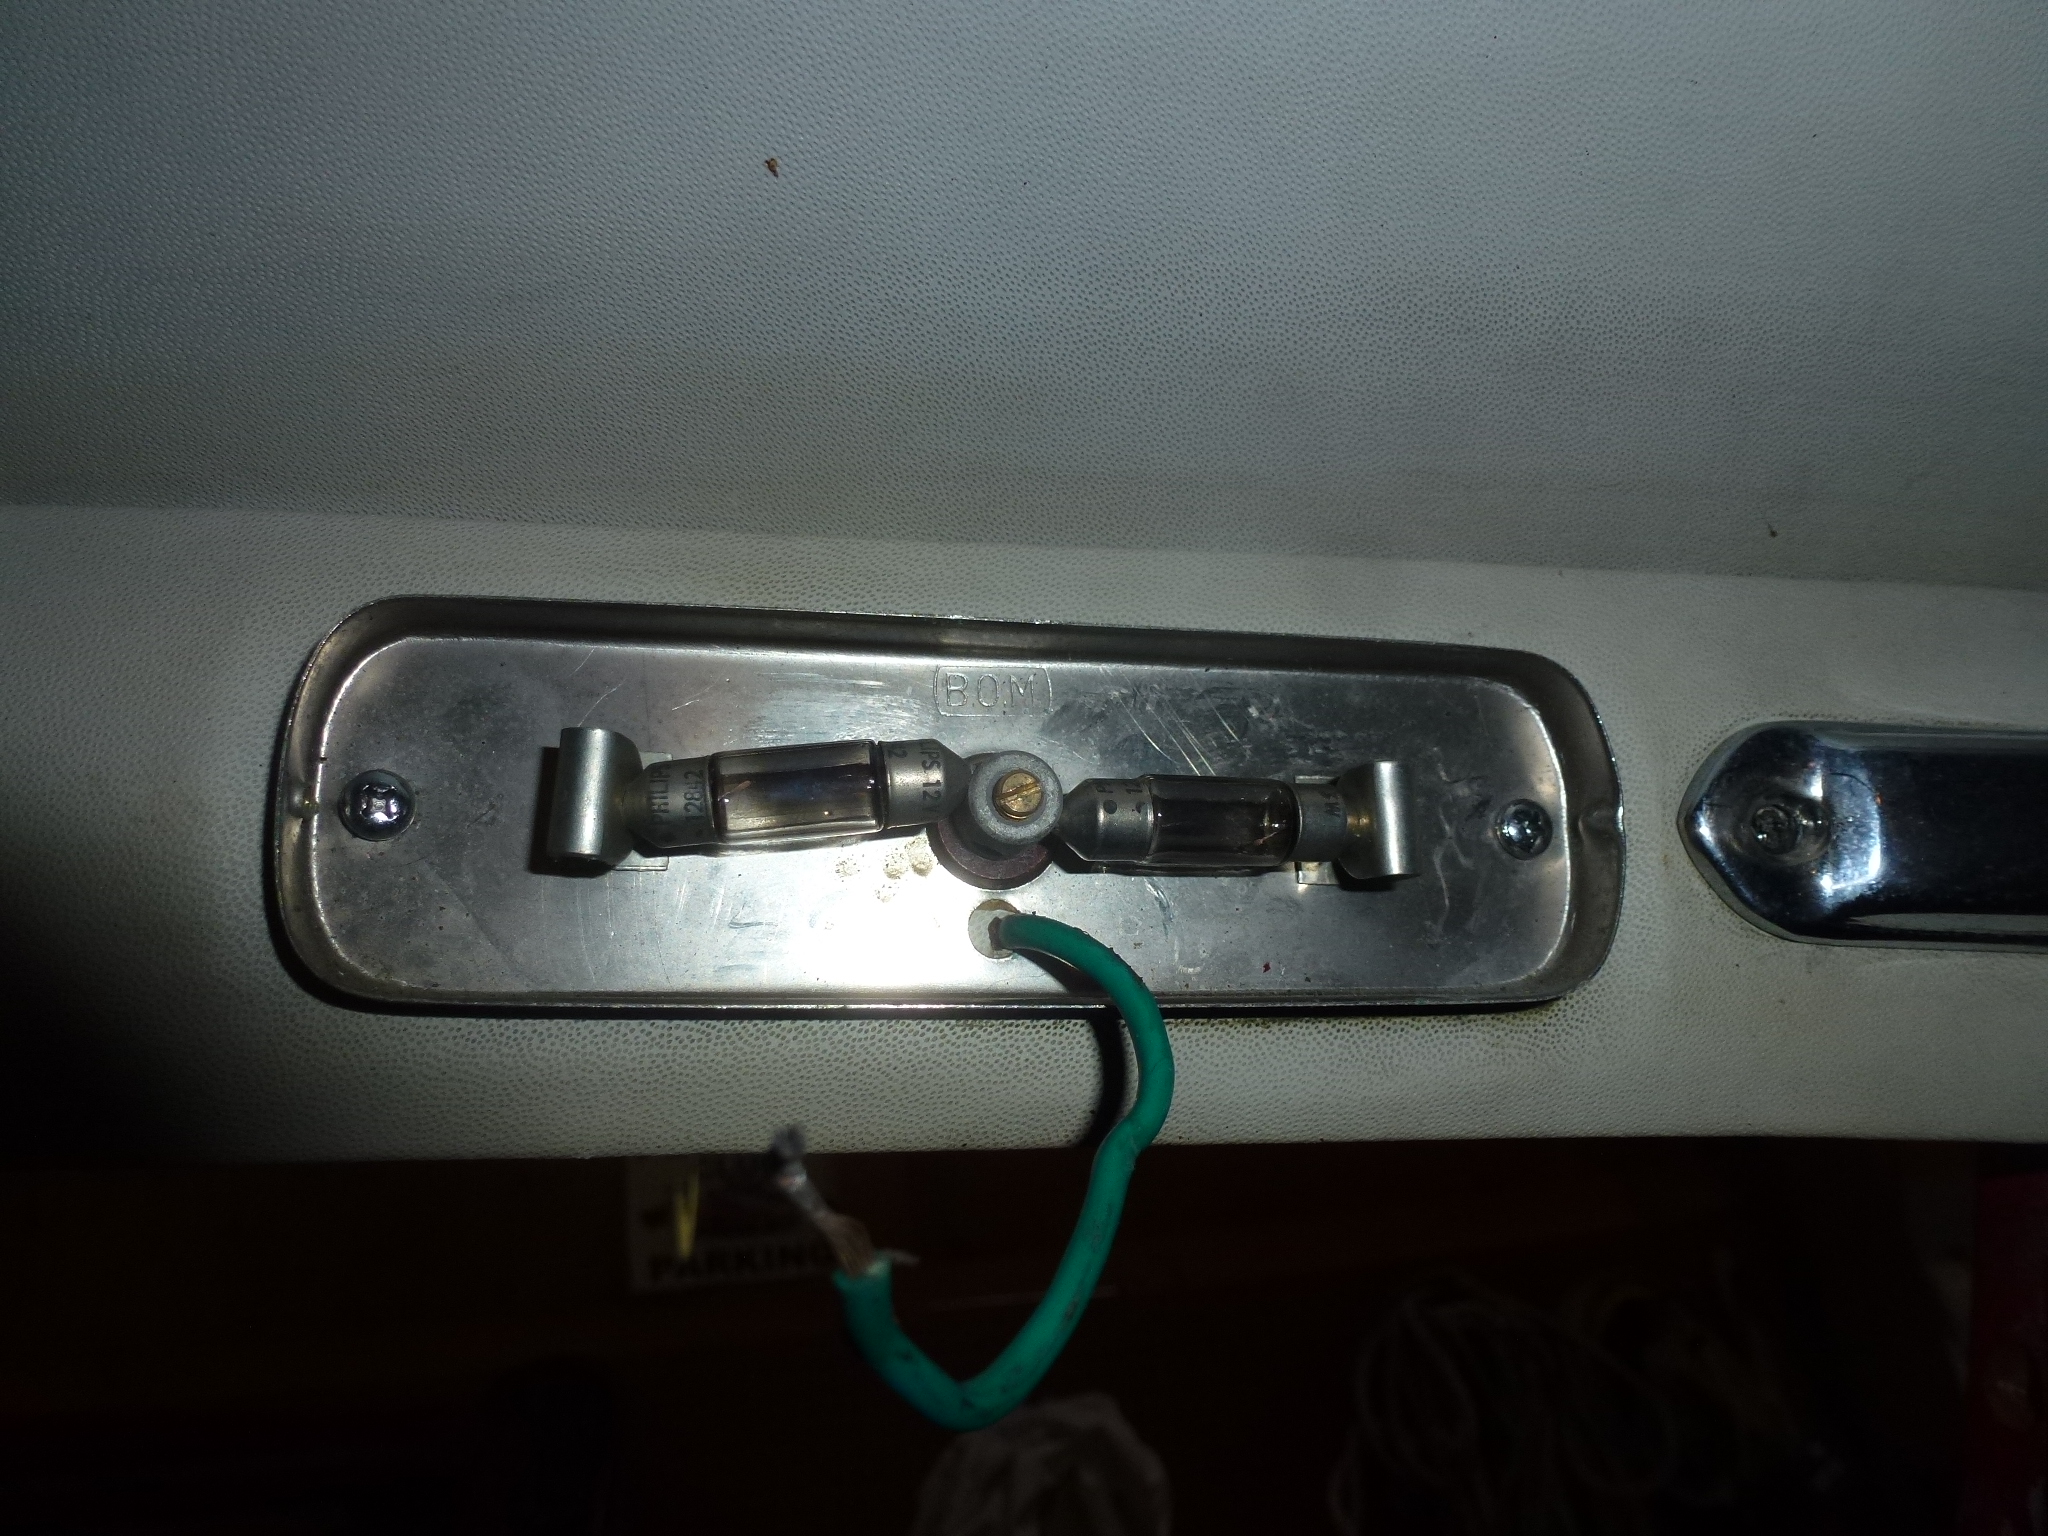
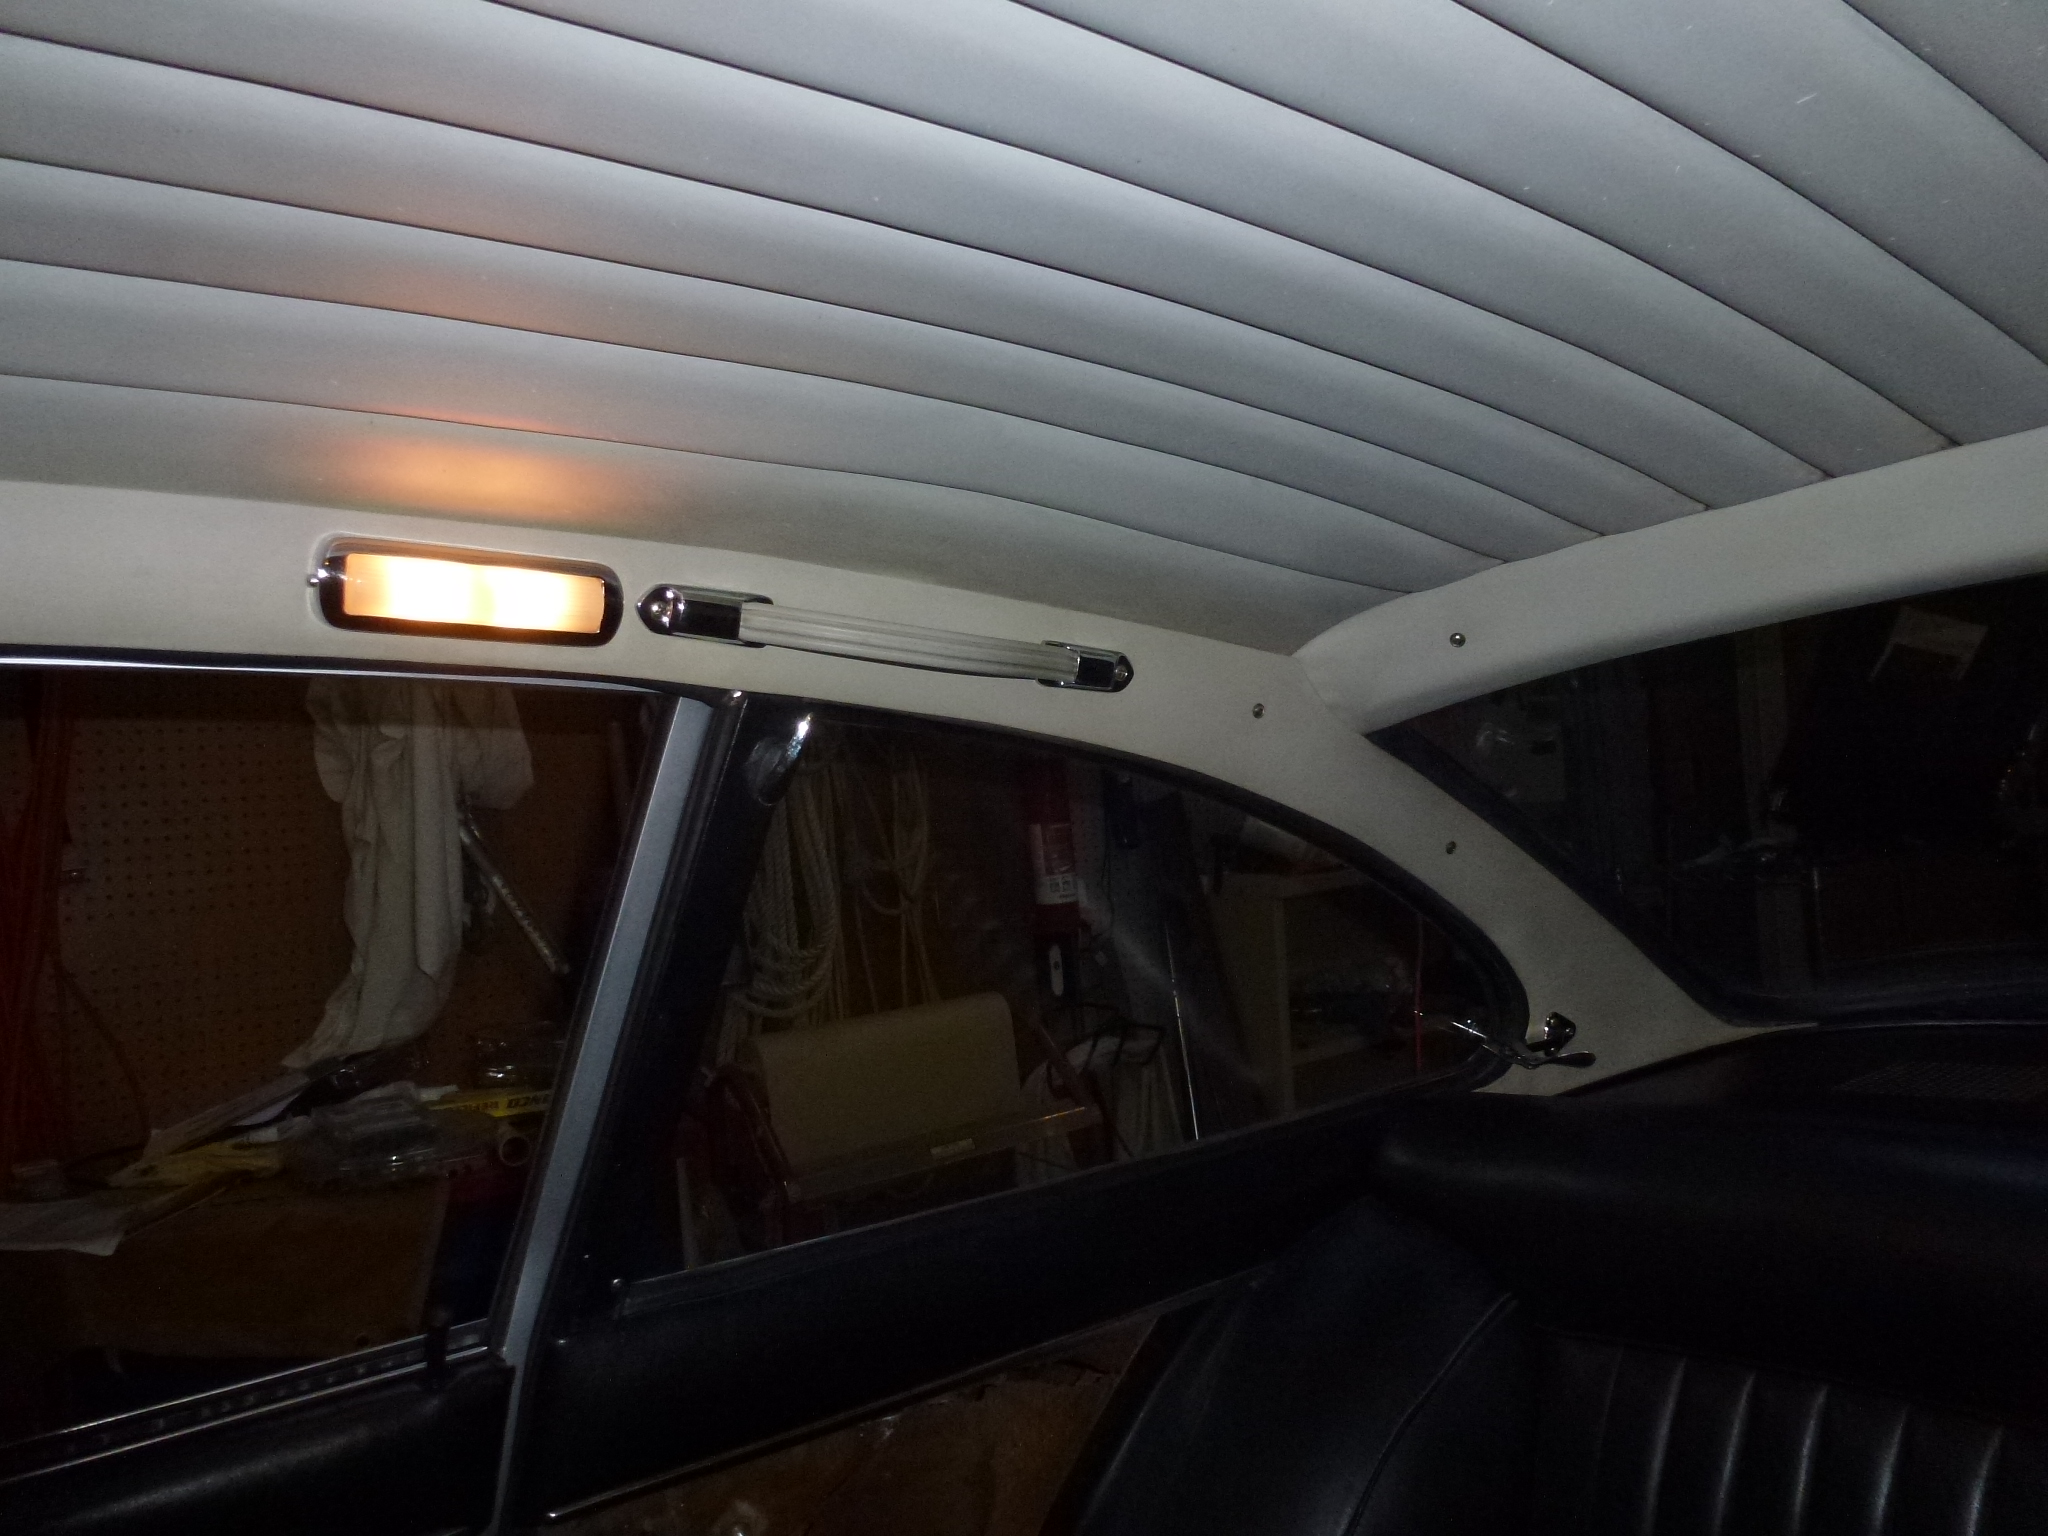
Then I took off the interior lights. There is a screw at one end and then the two screws holding the light to the body are exposed. If you haven't disconnected the battery, be careful to not short out the lead as it is hot if either door is open.
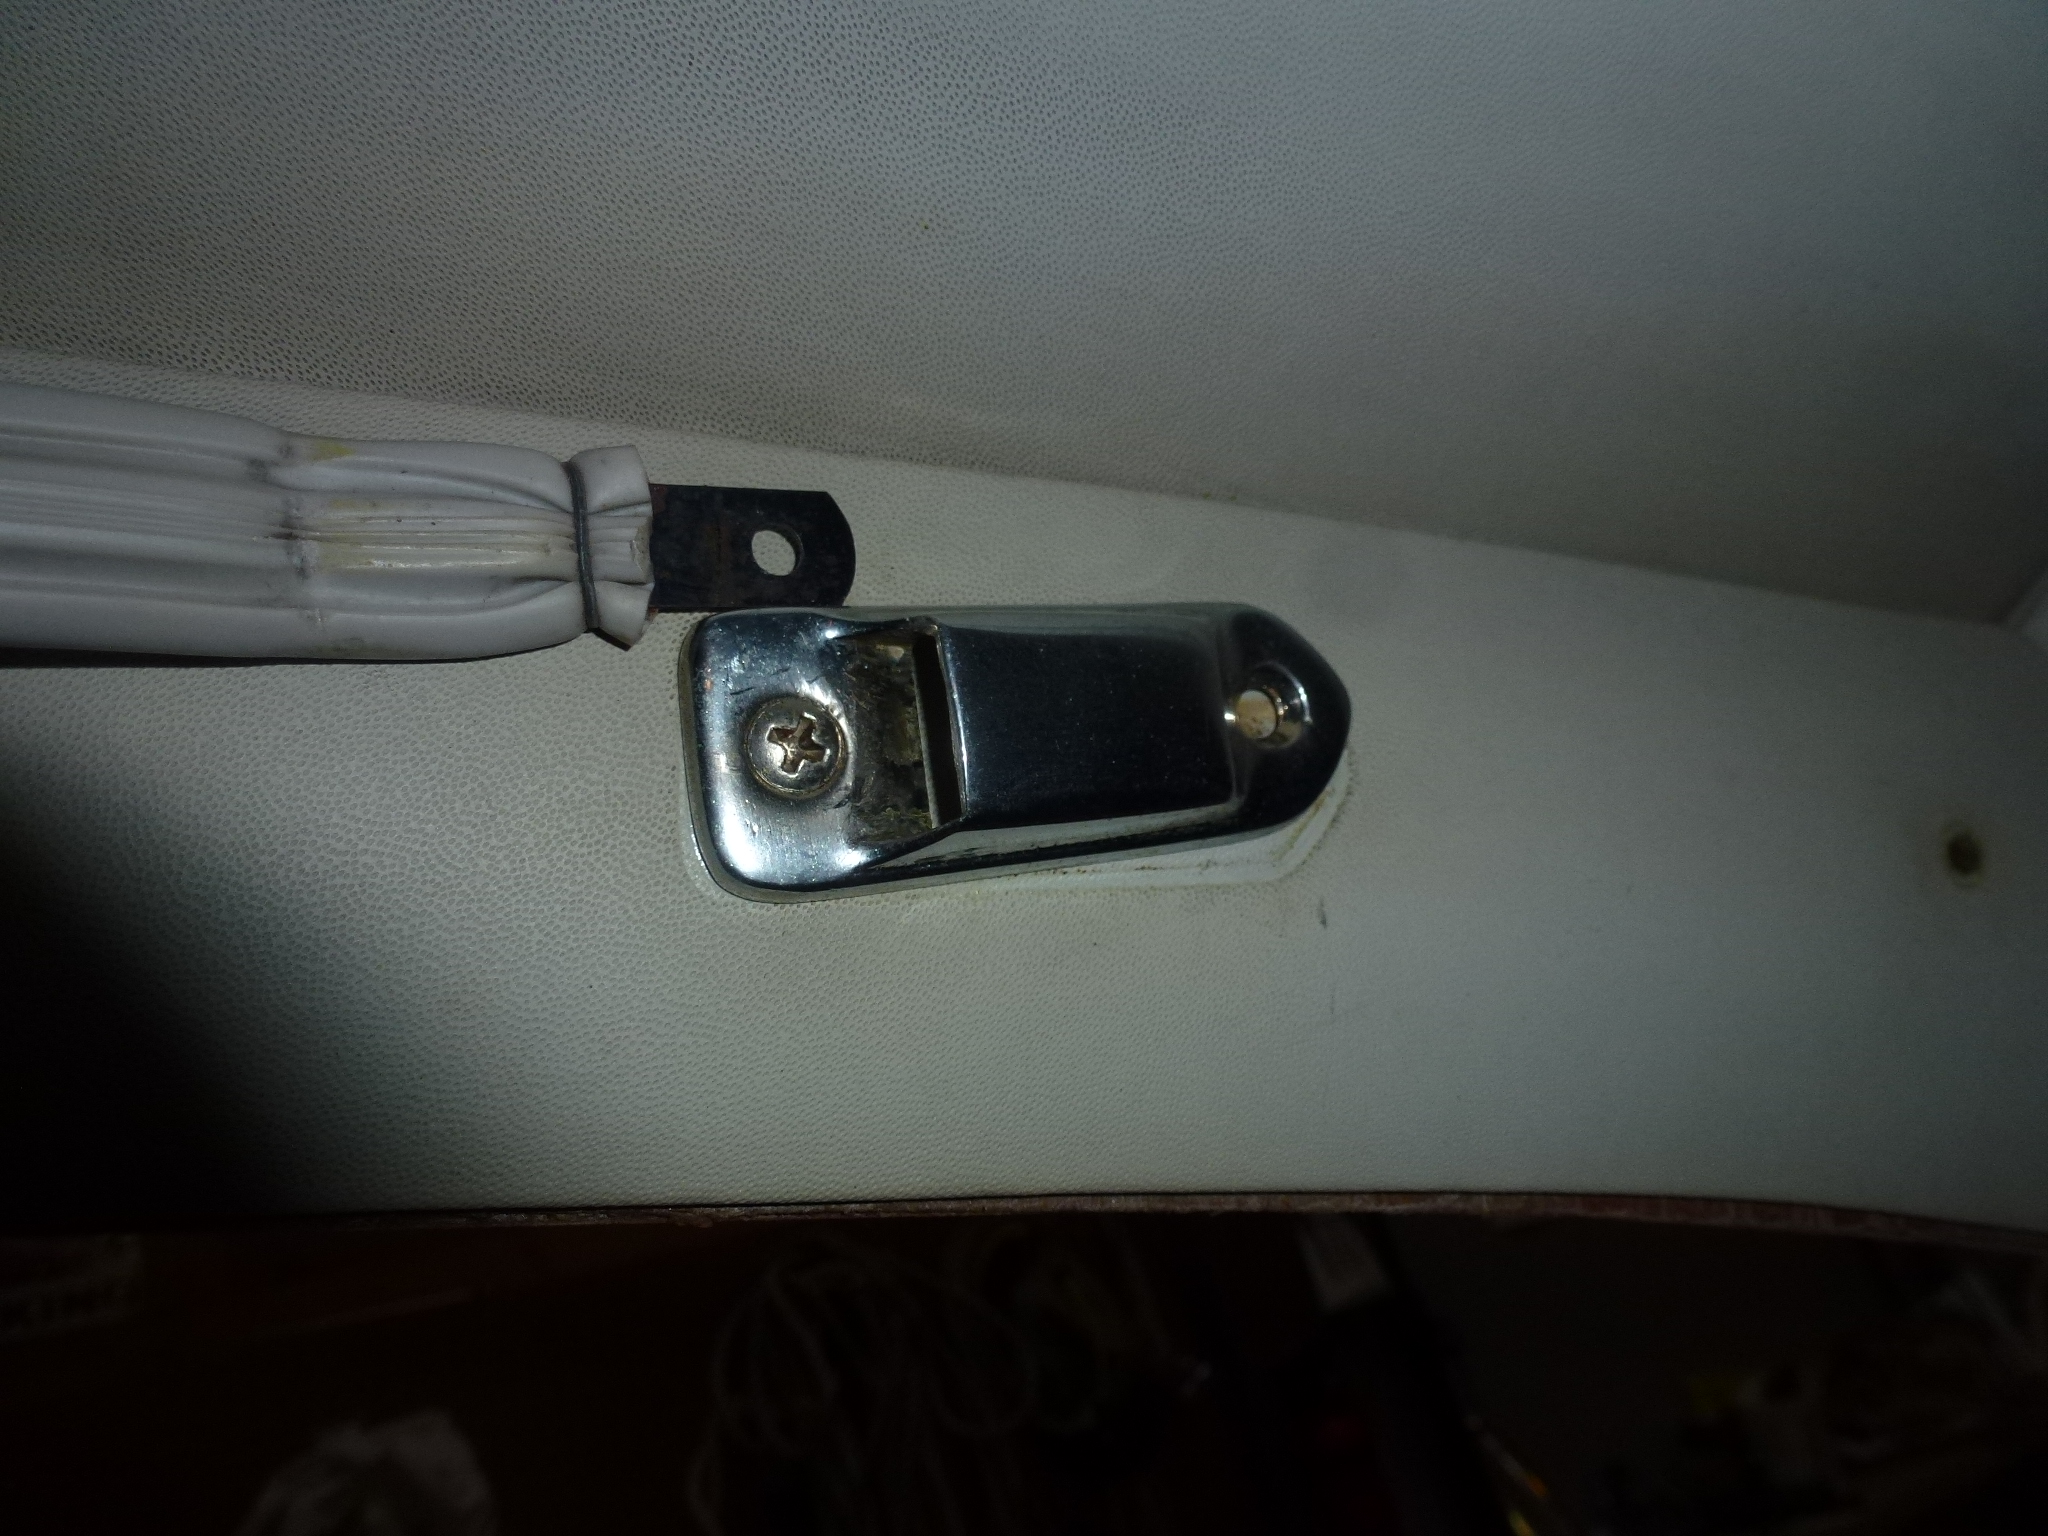
The grab bars also needed to come off. First remove the exposed screw and then pull out that end of the bar. That will expose the other screw of the holding cover.
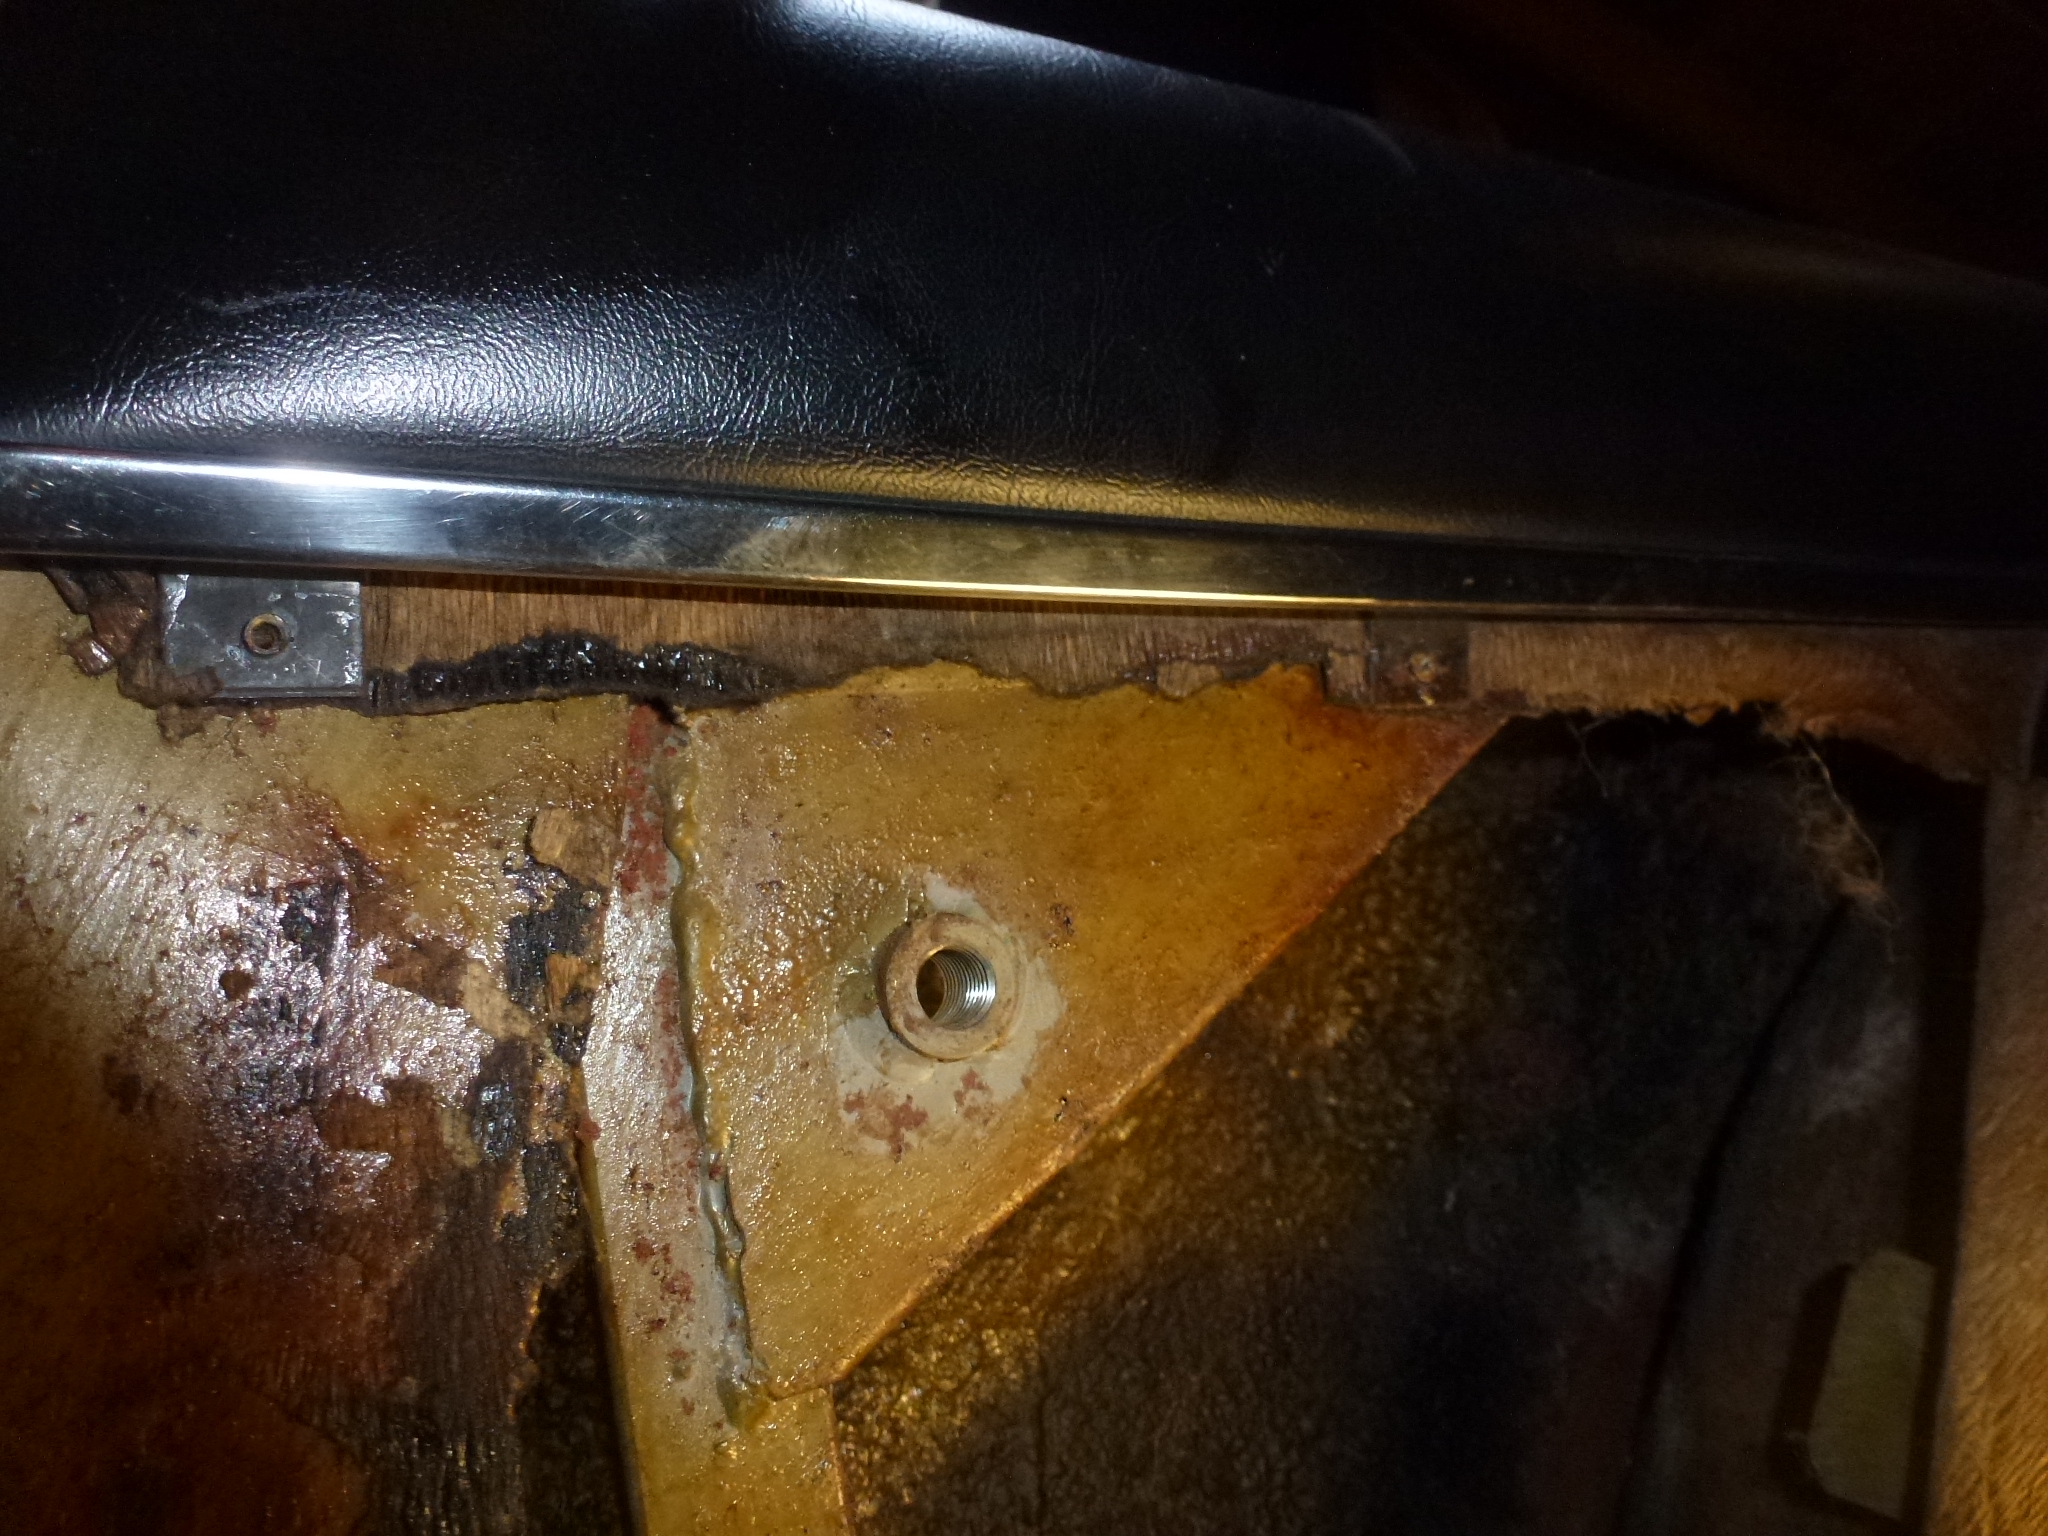
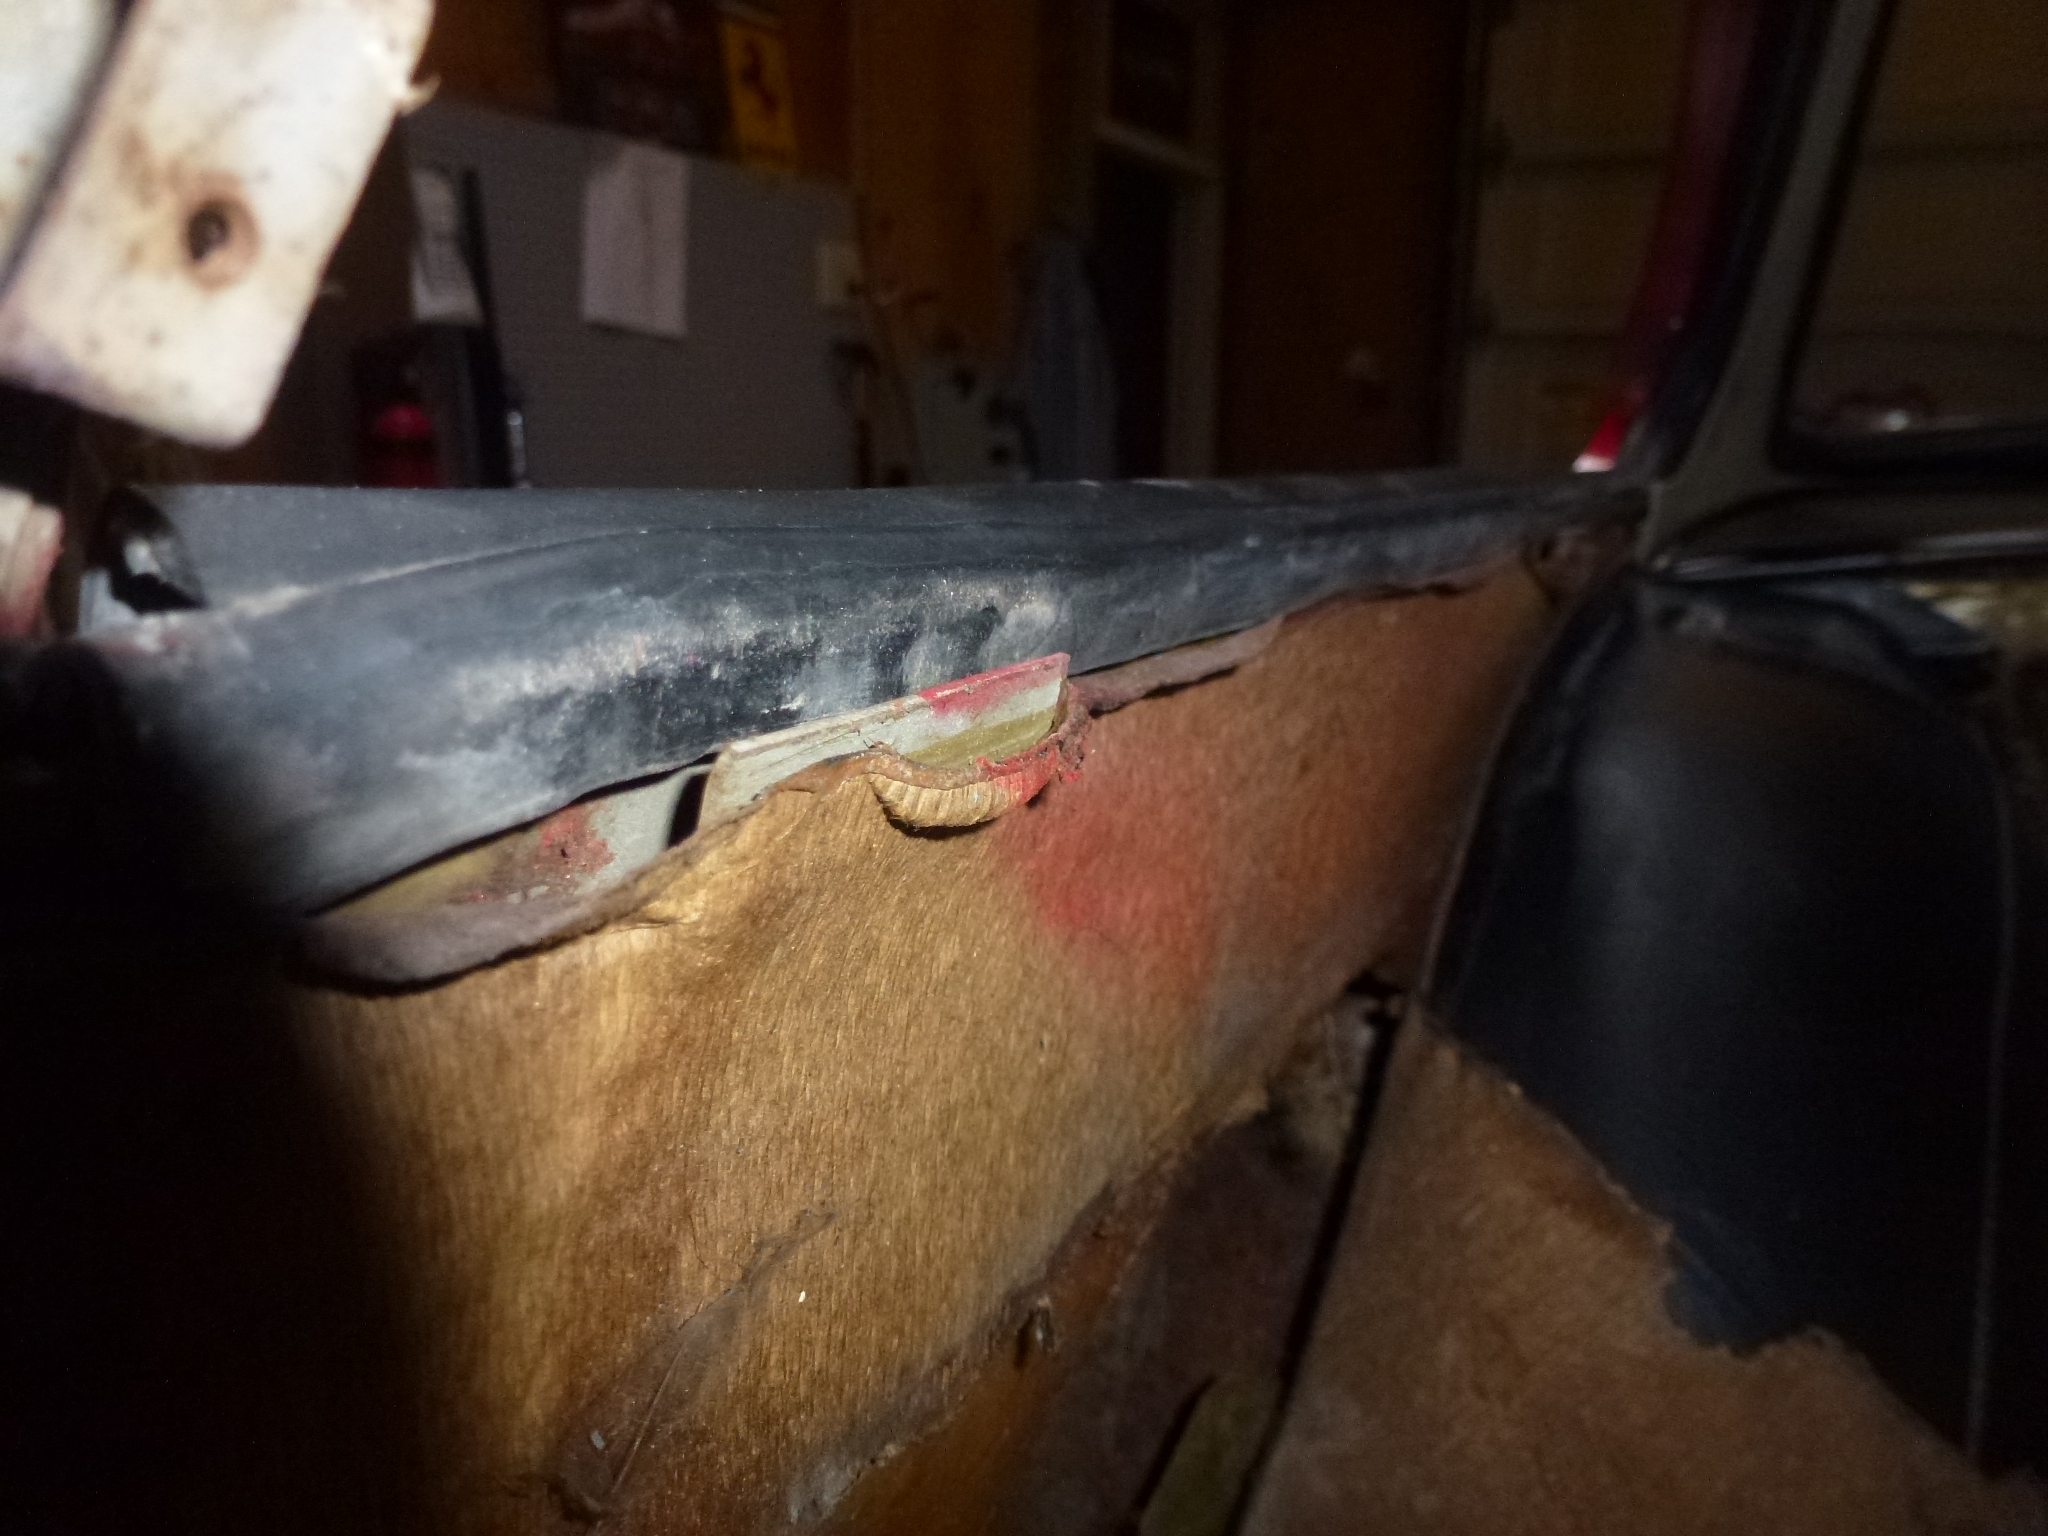
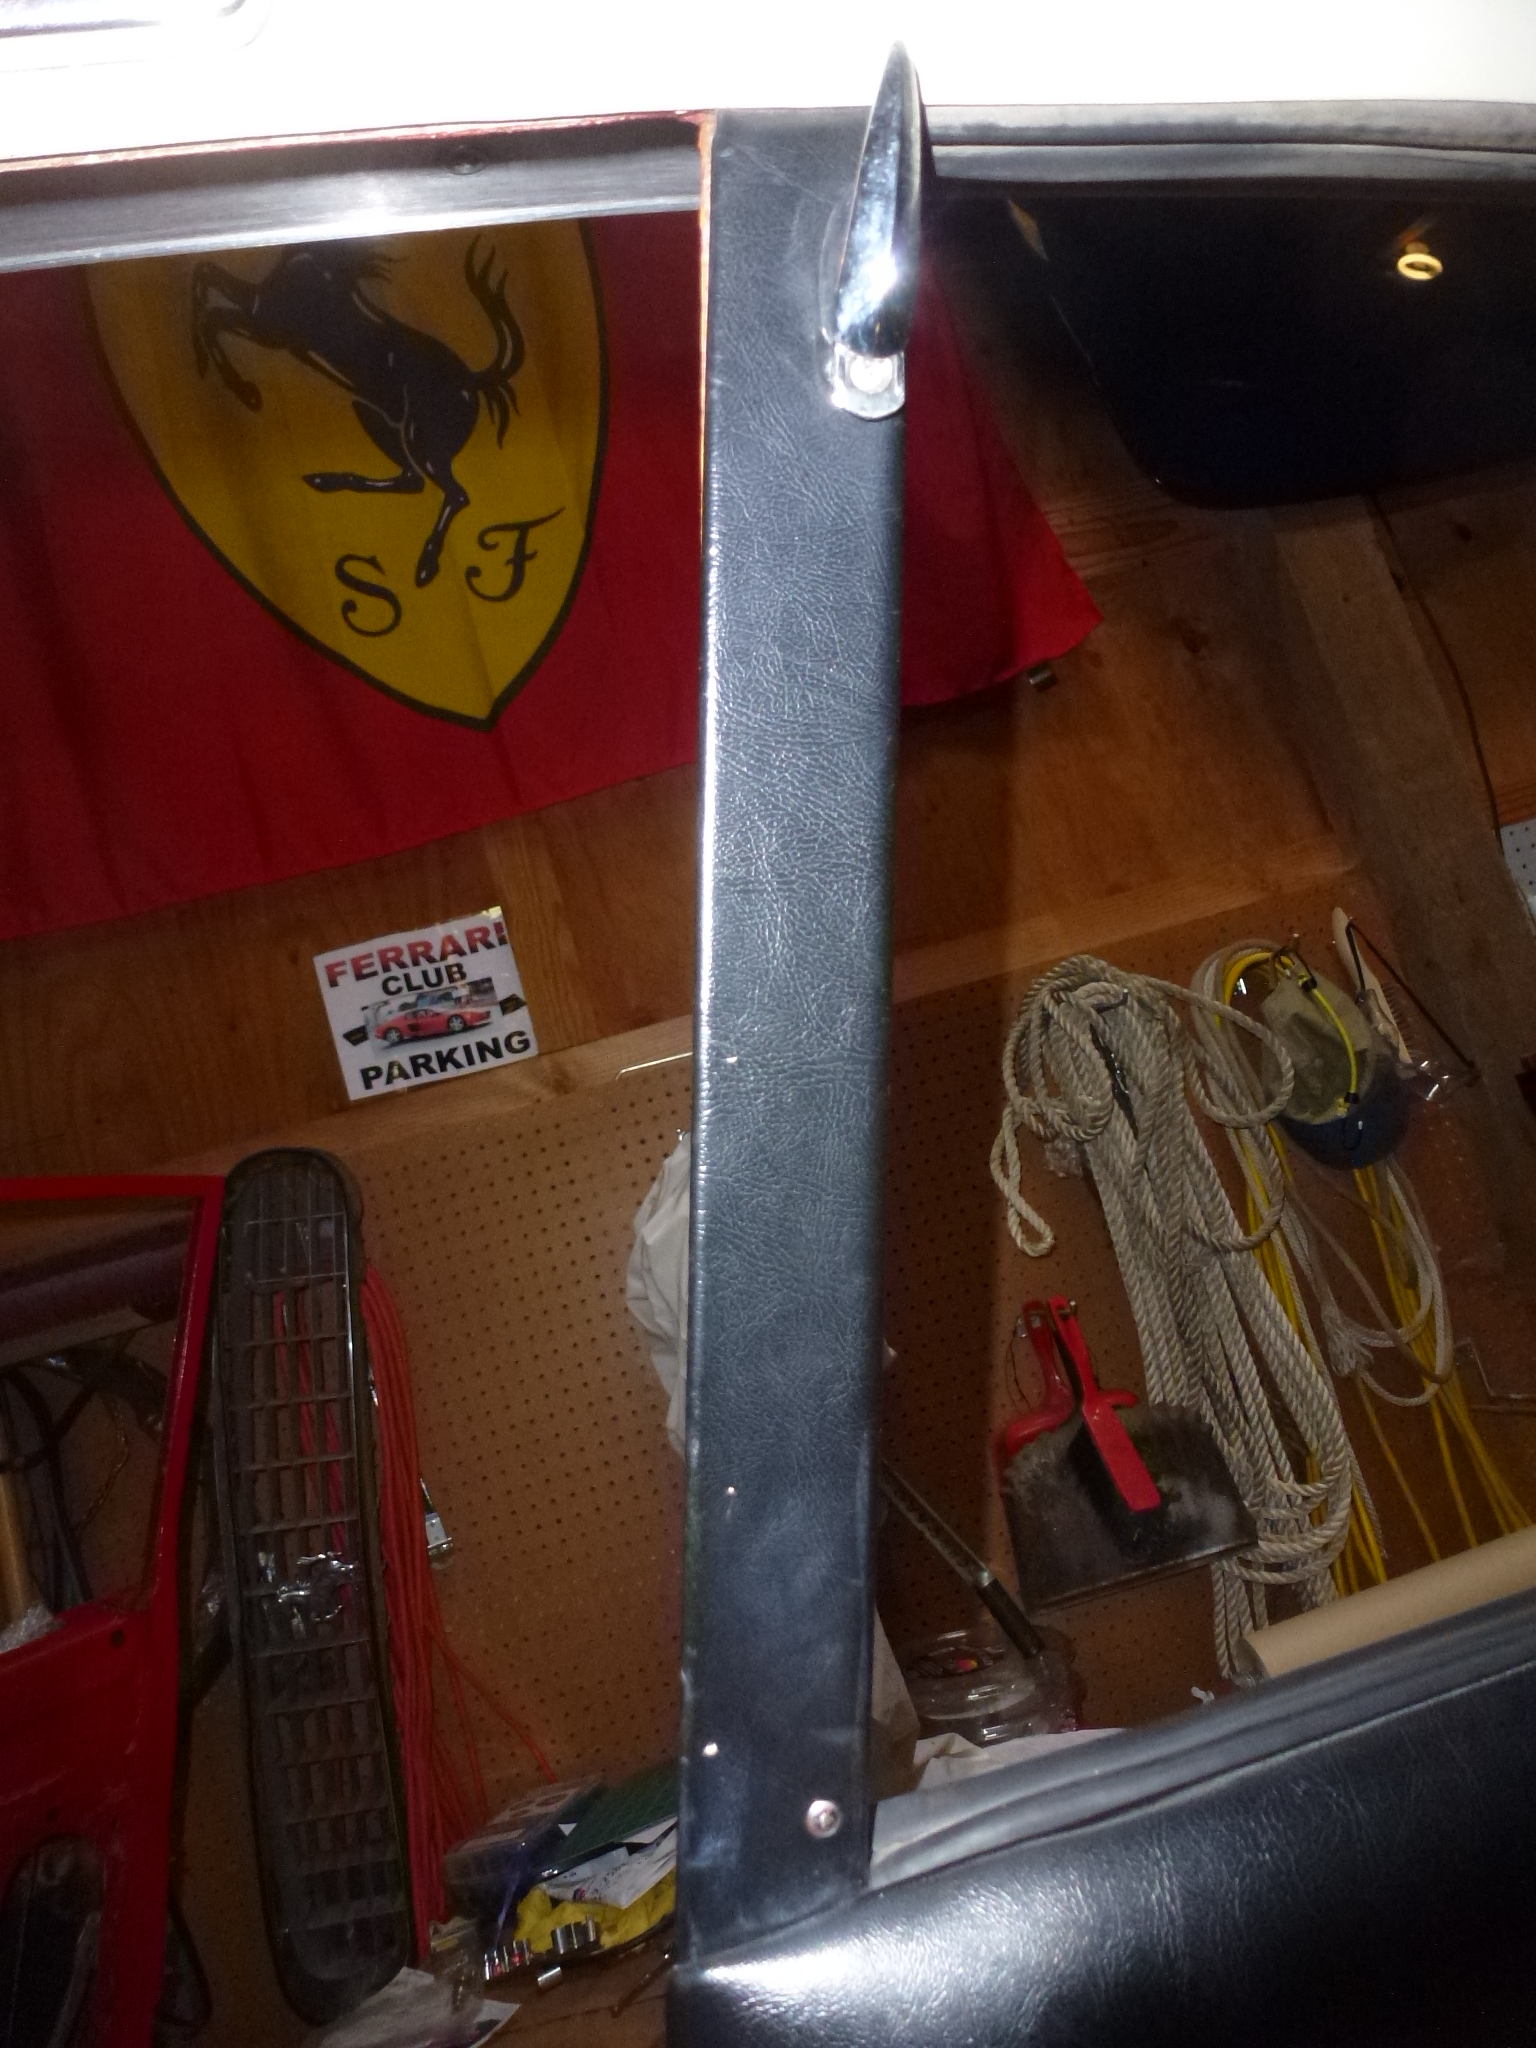
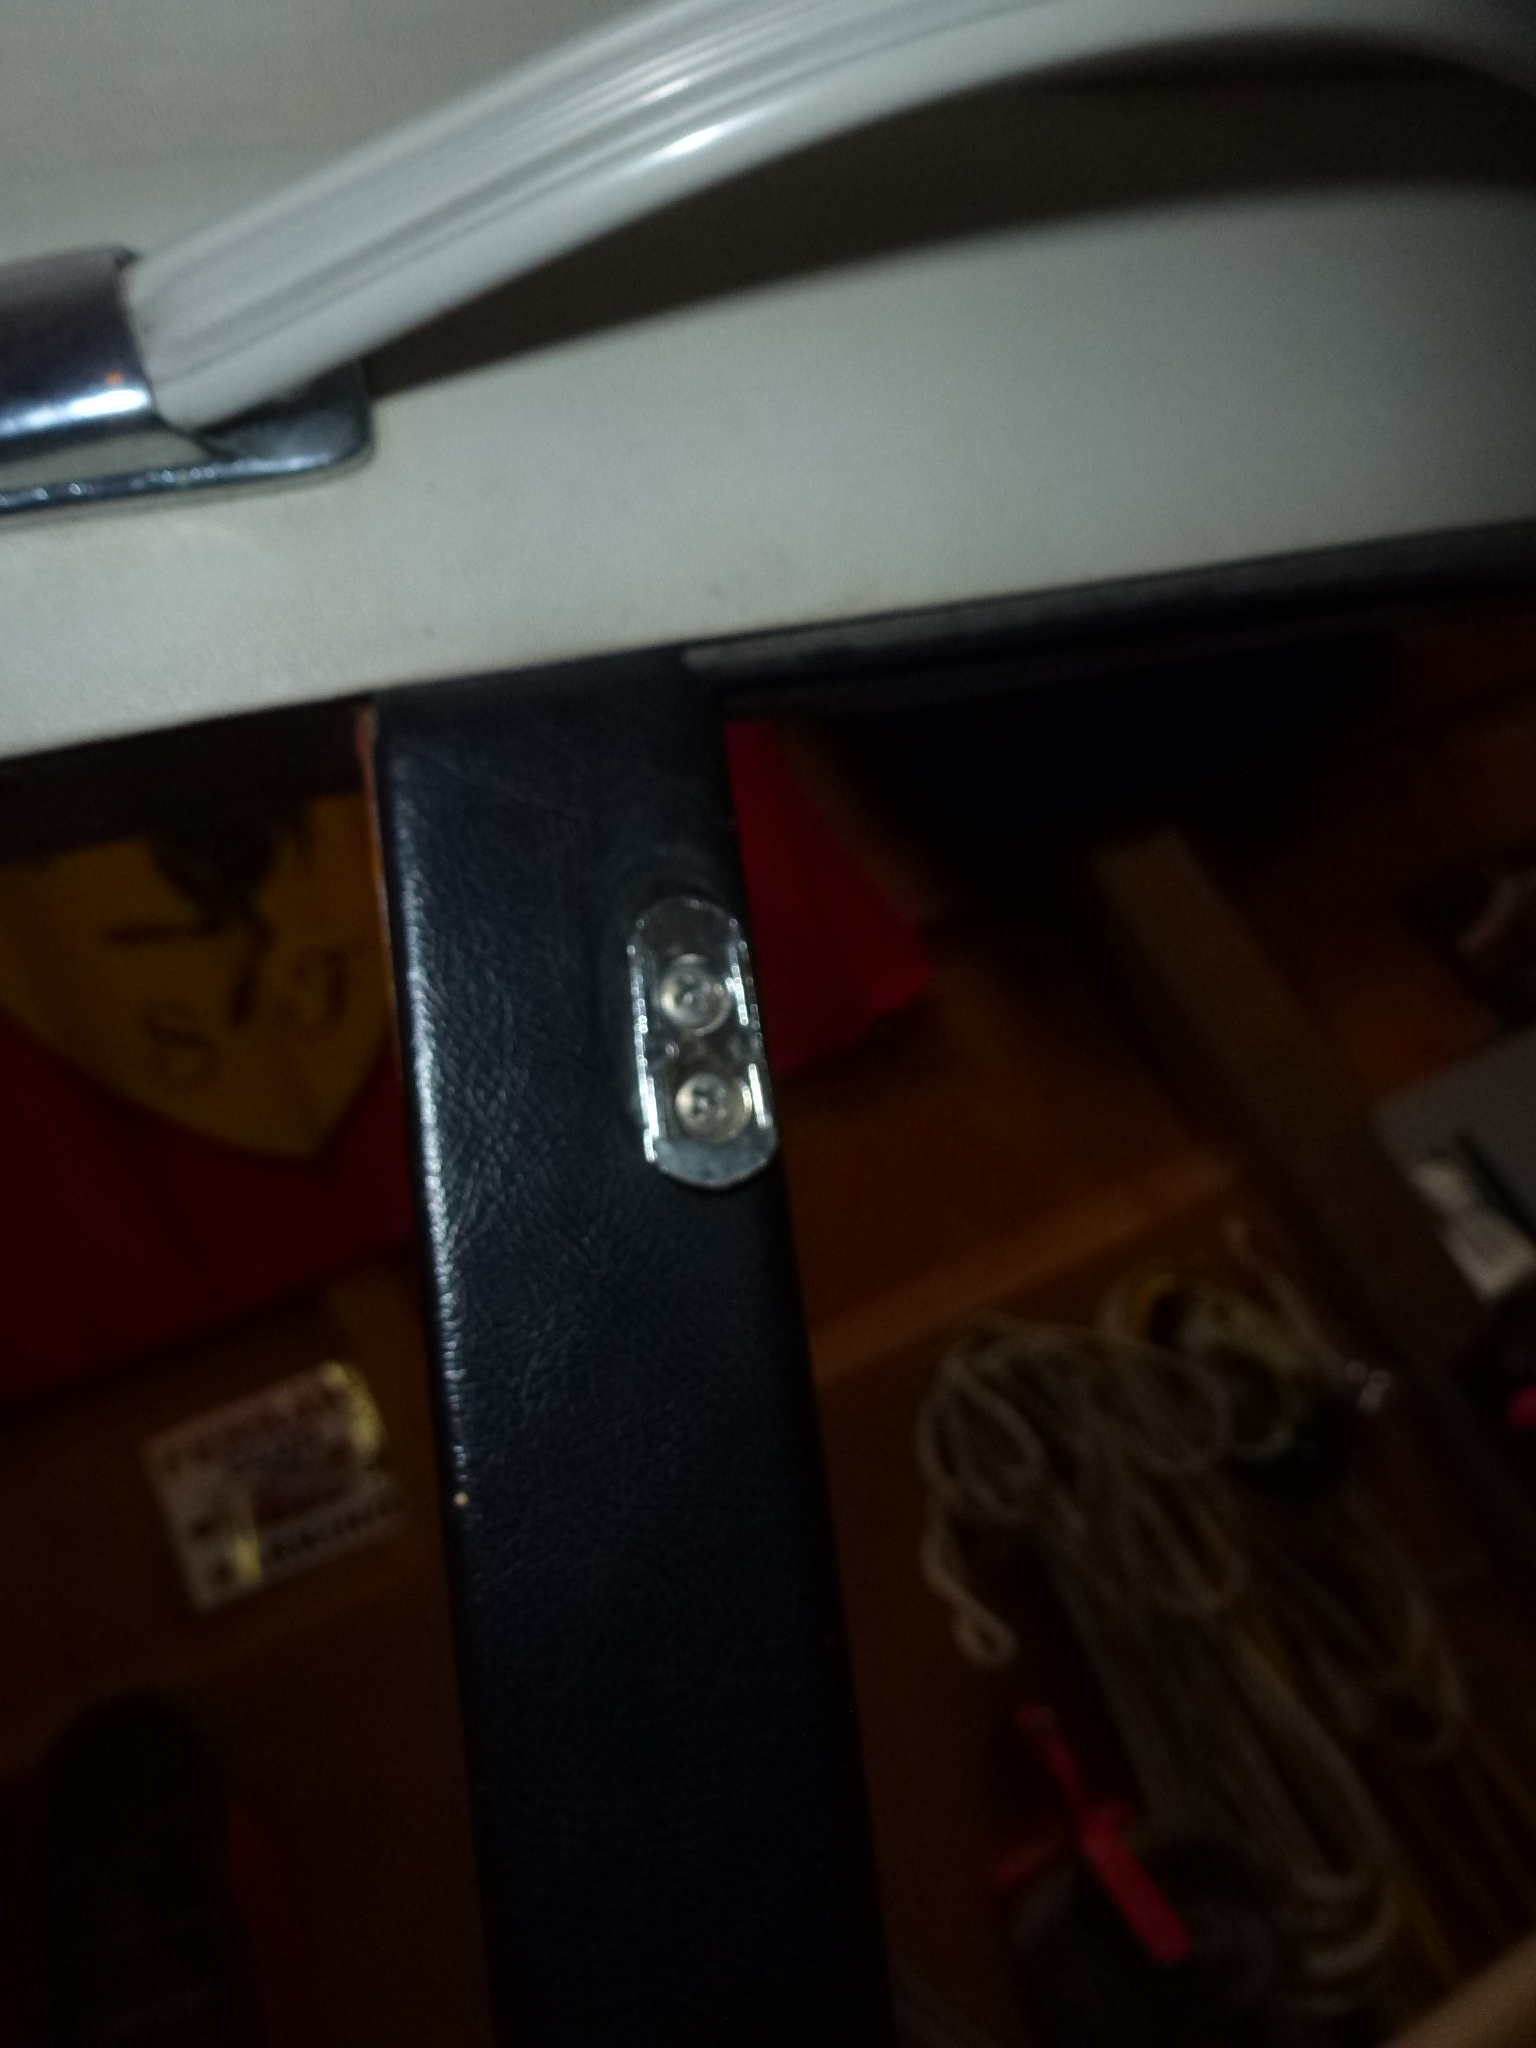
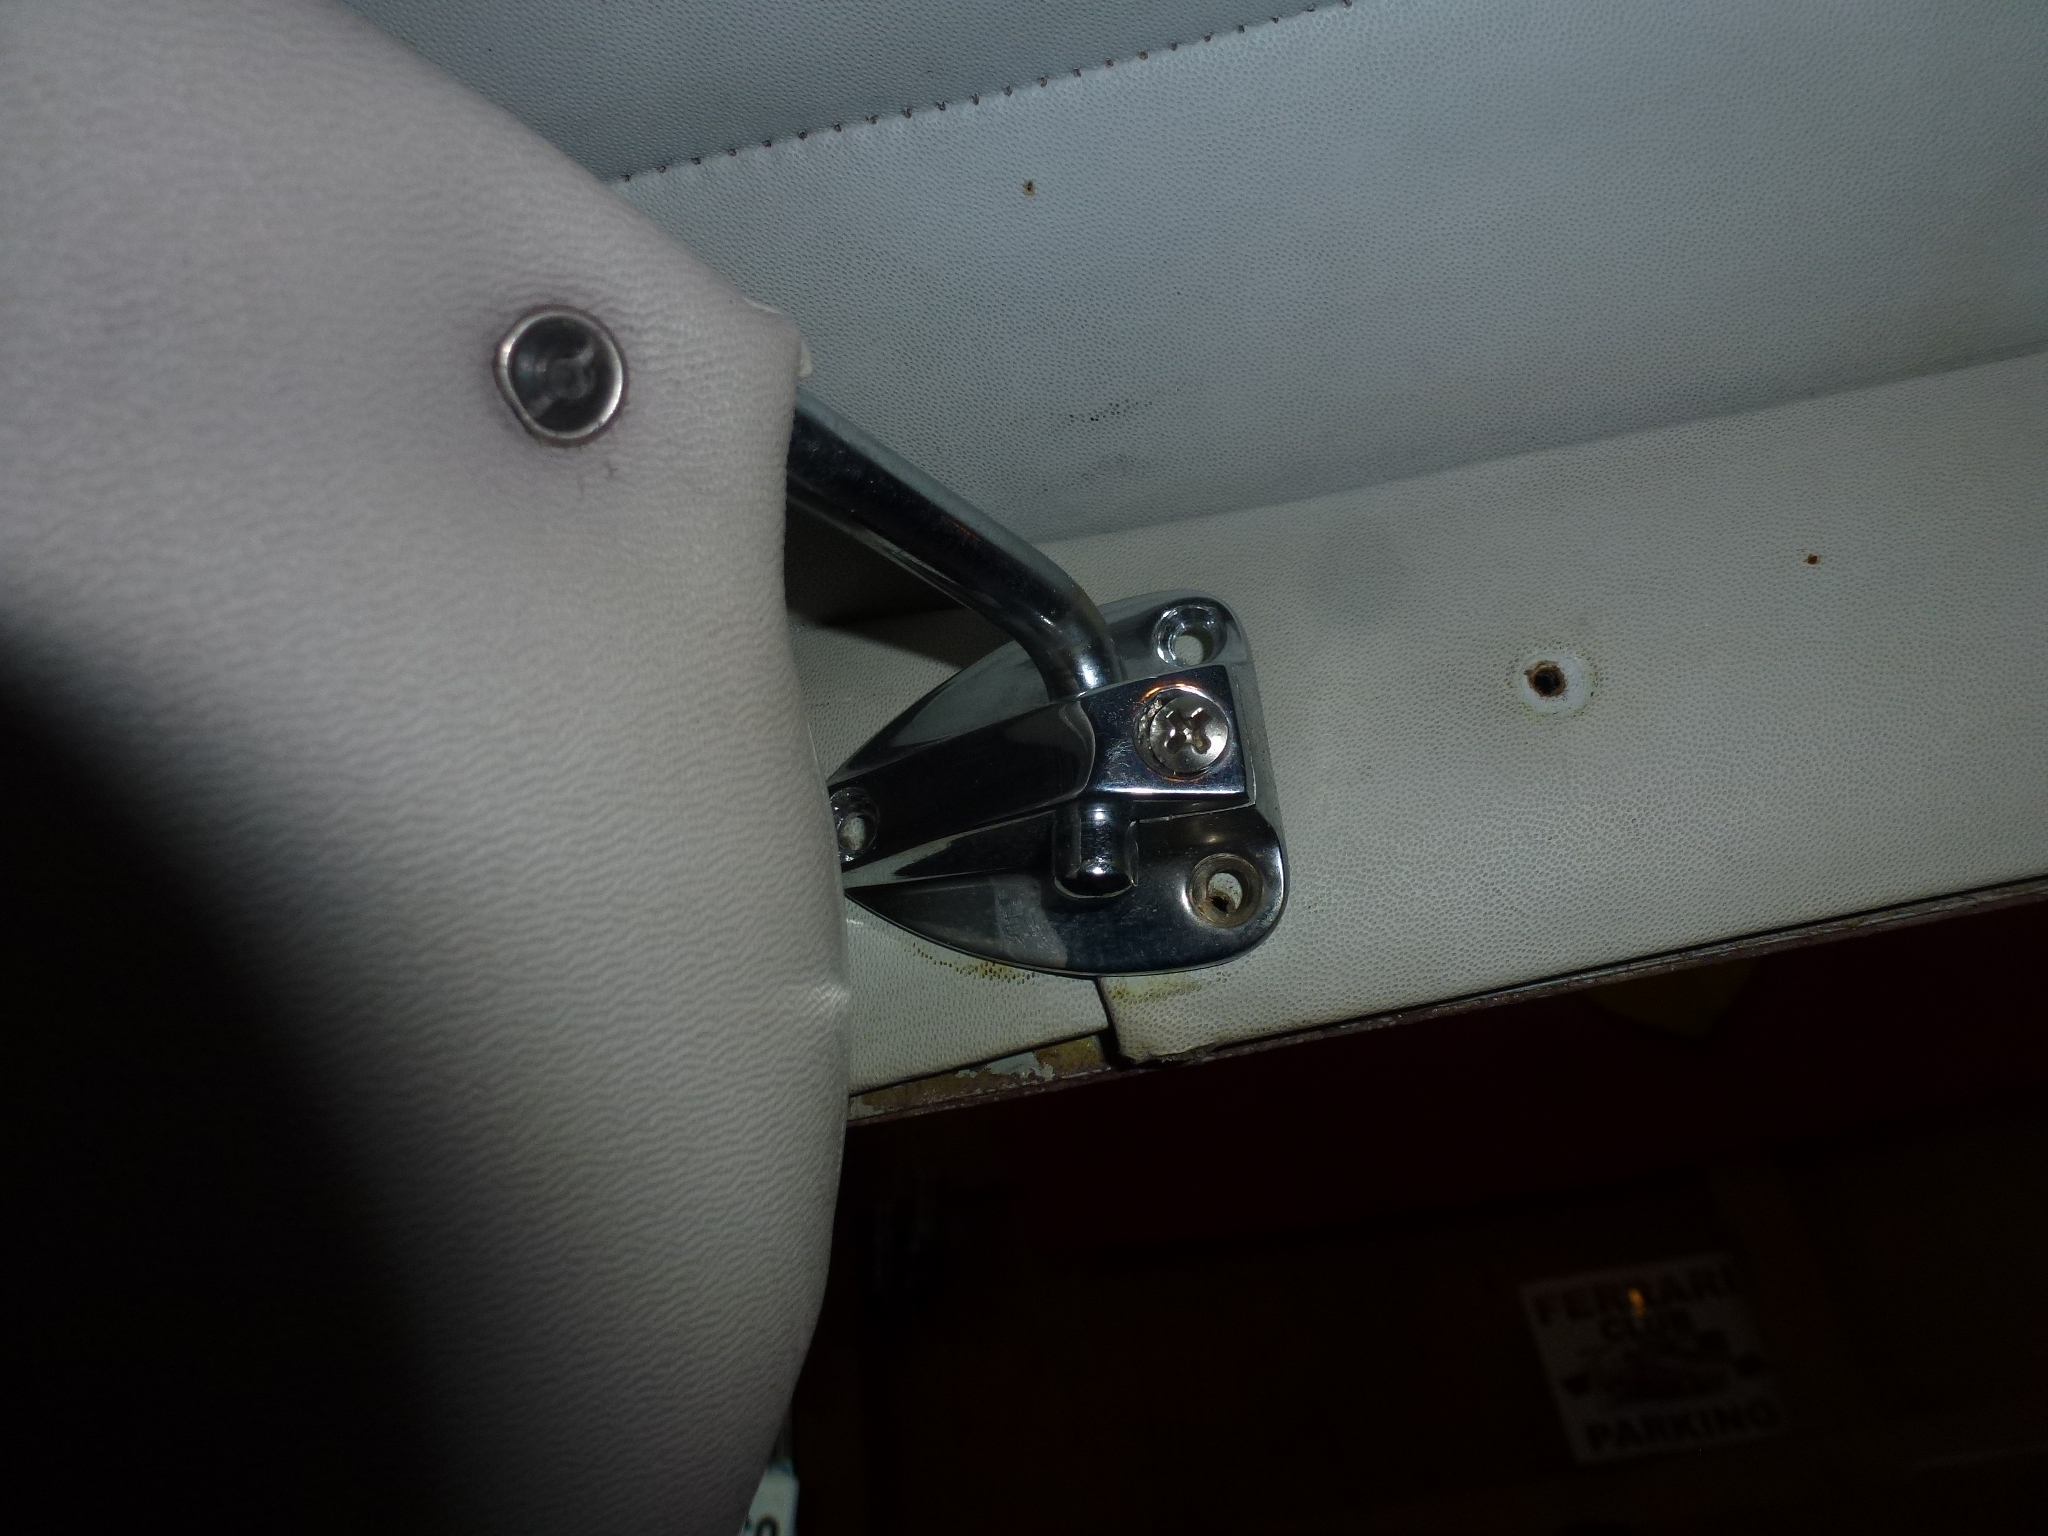
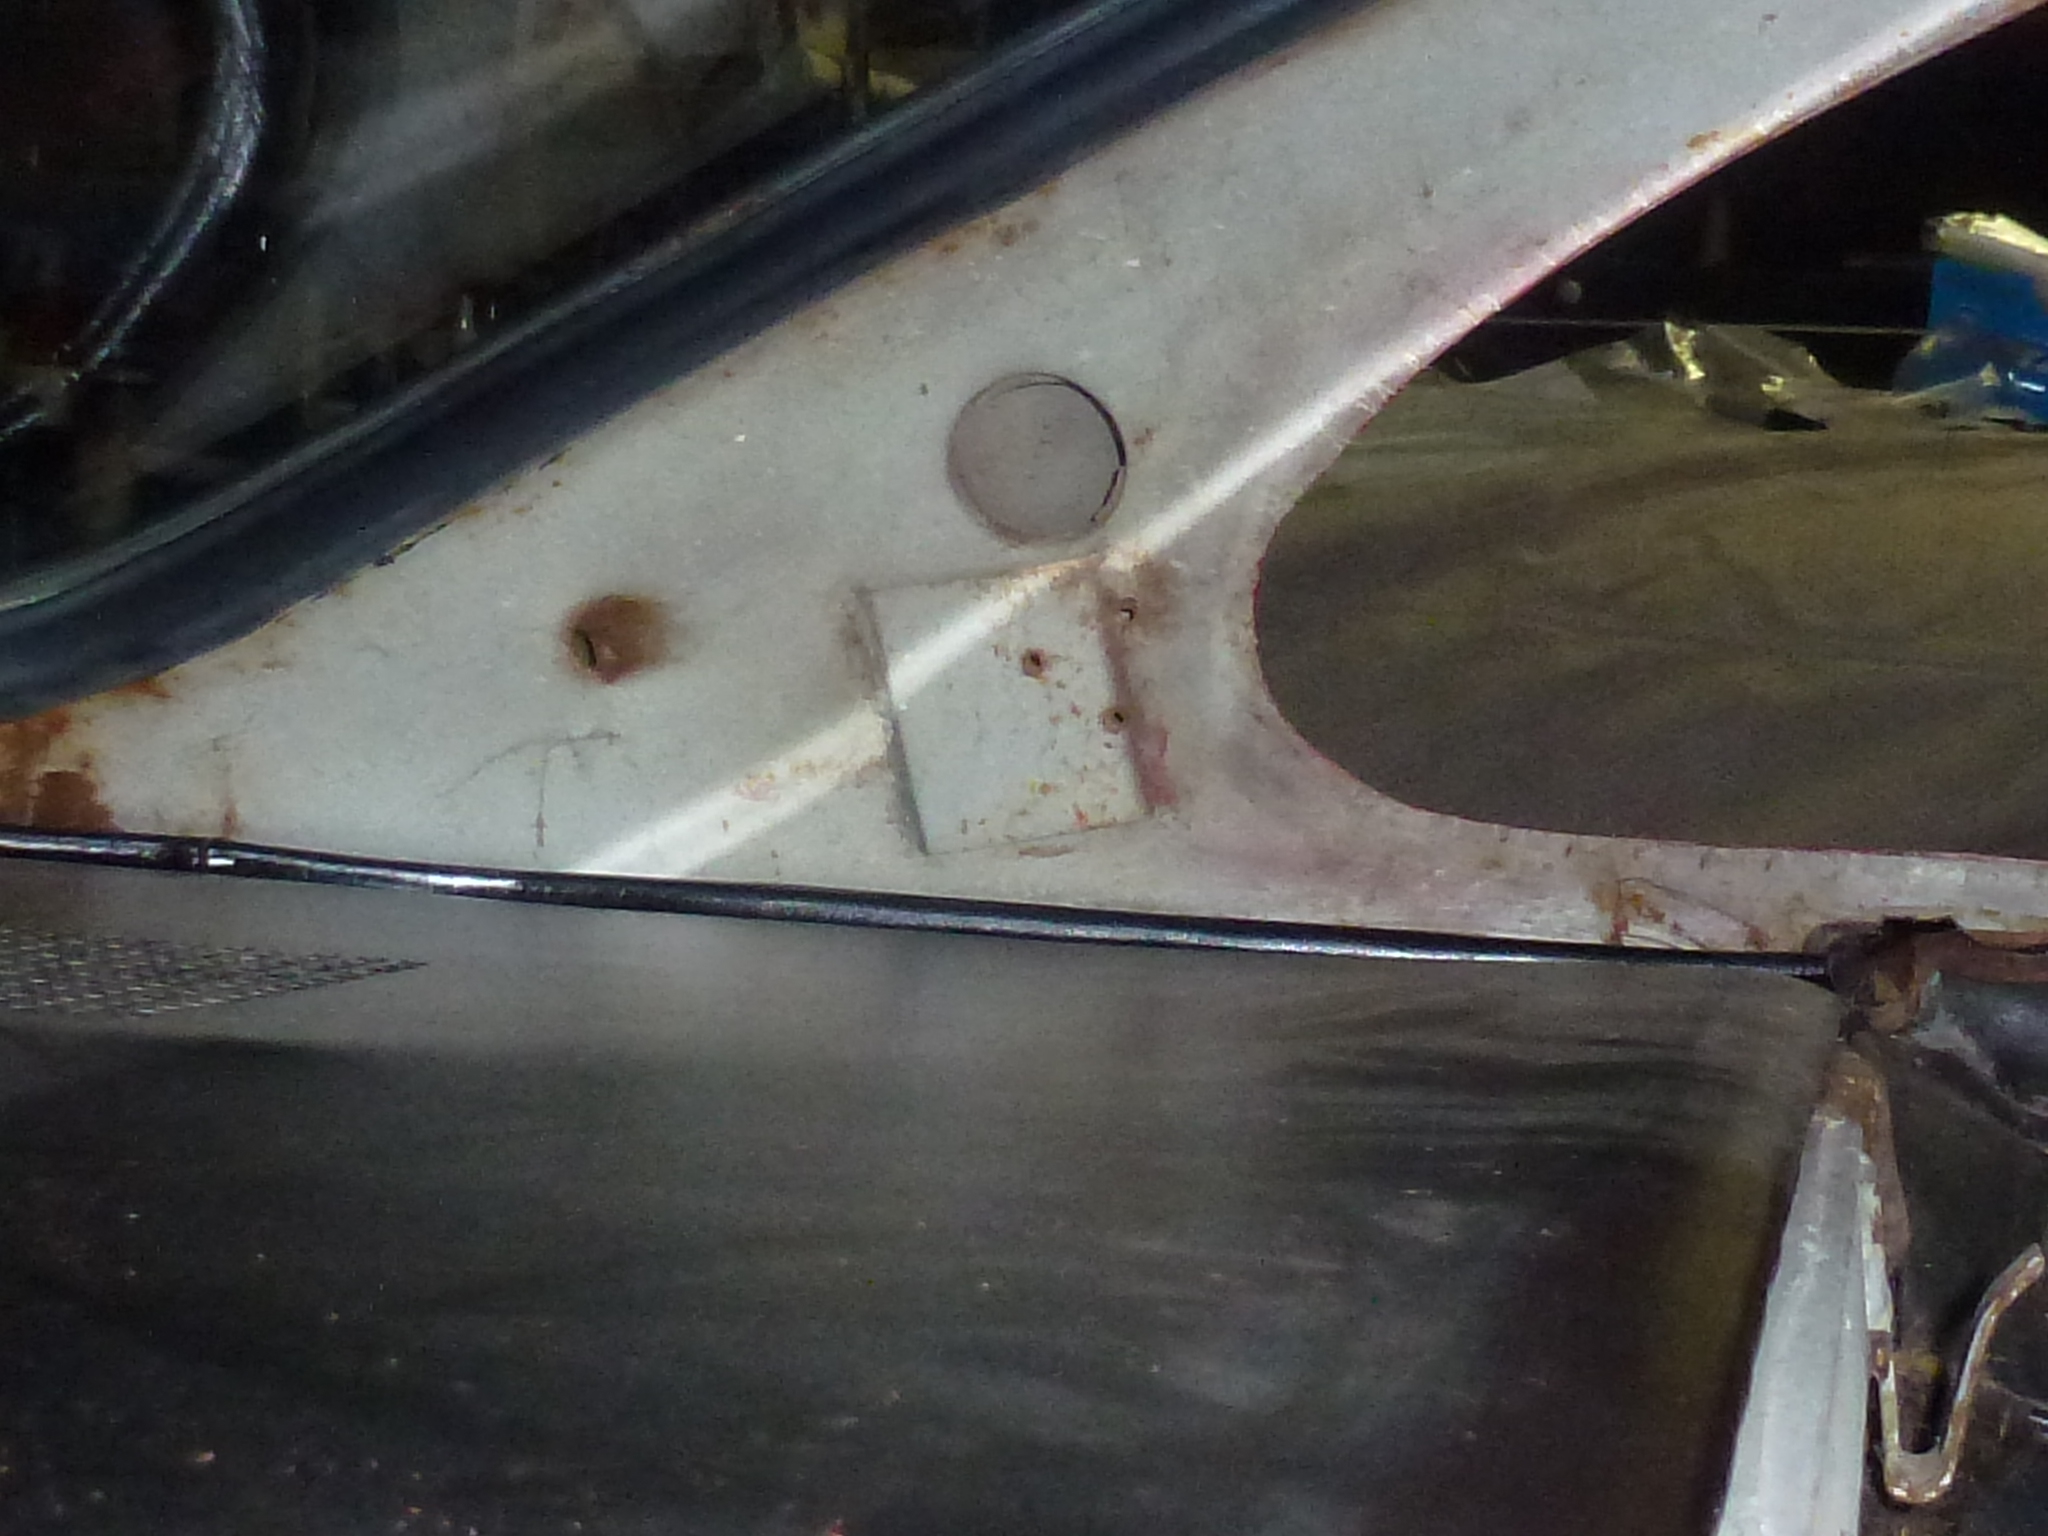
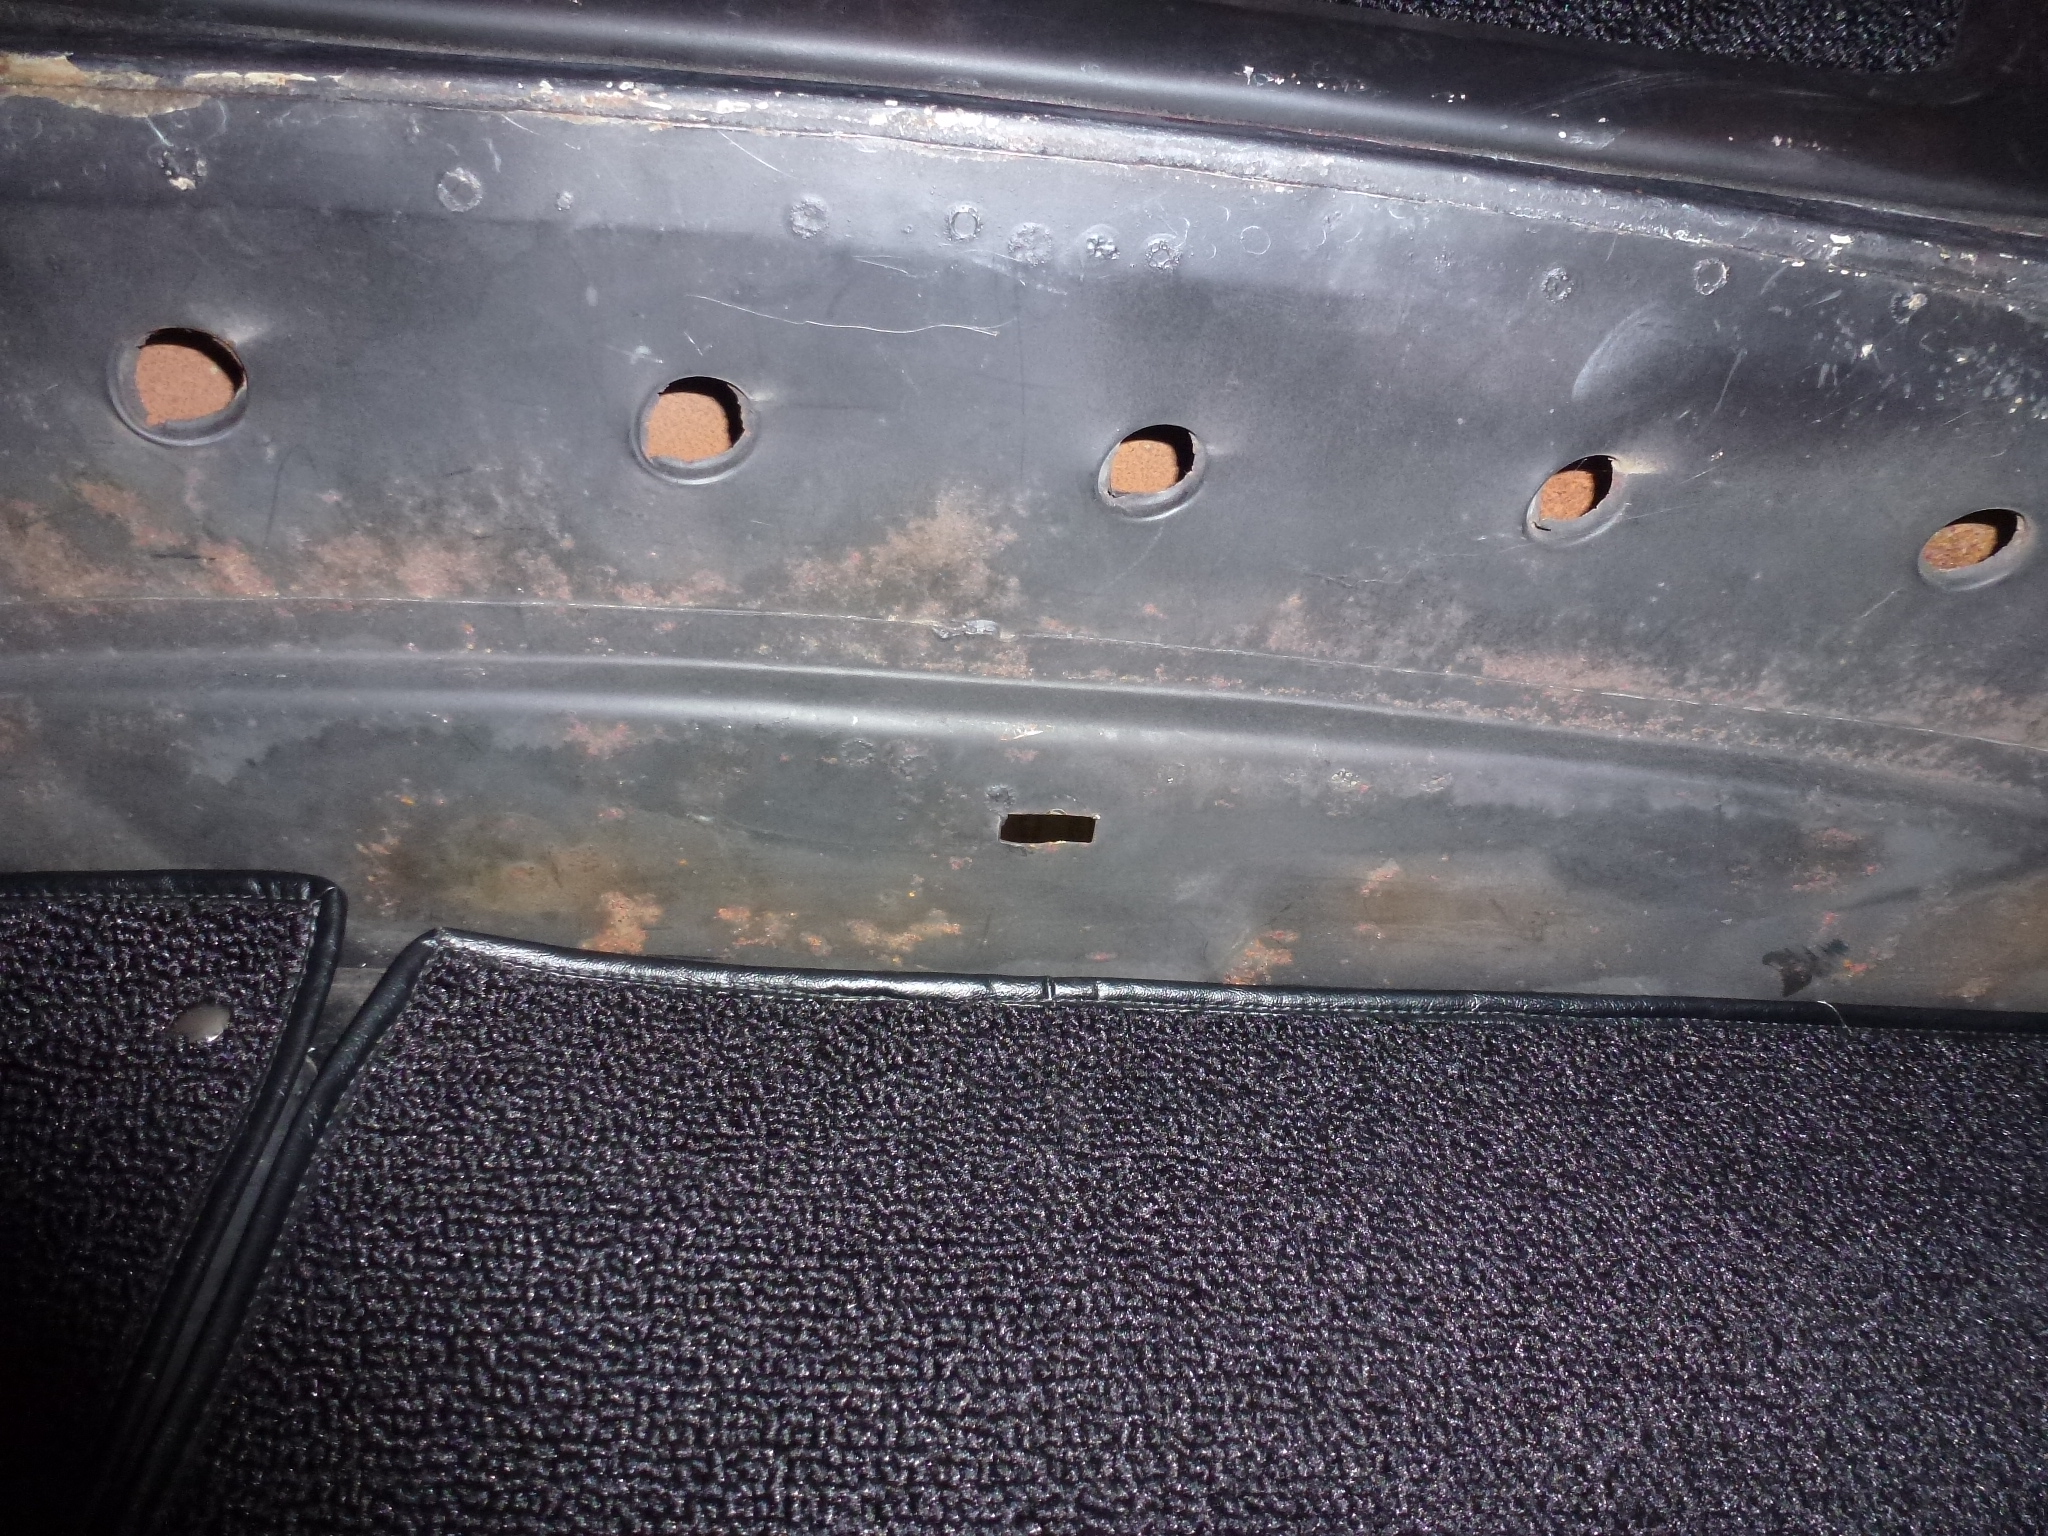
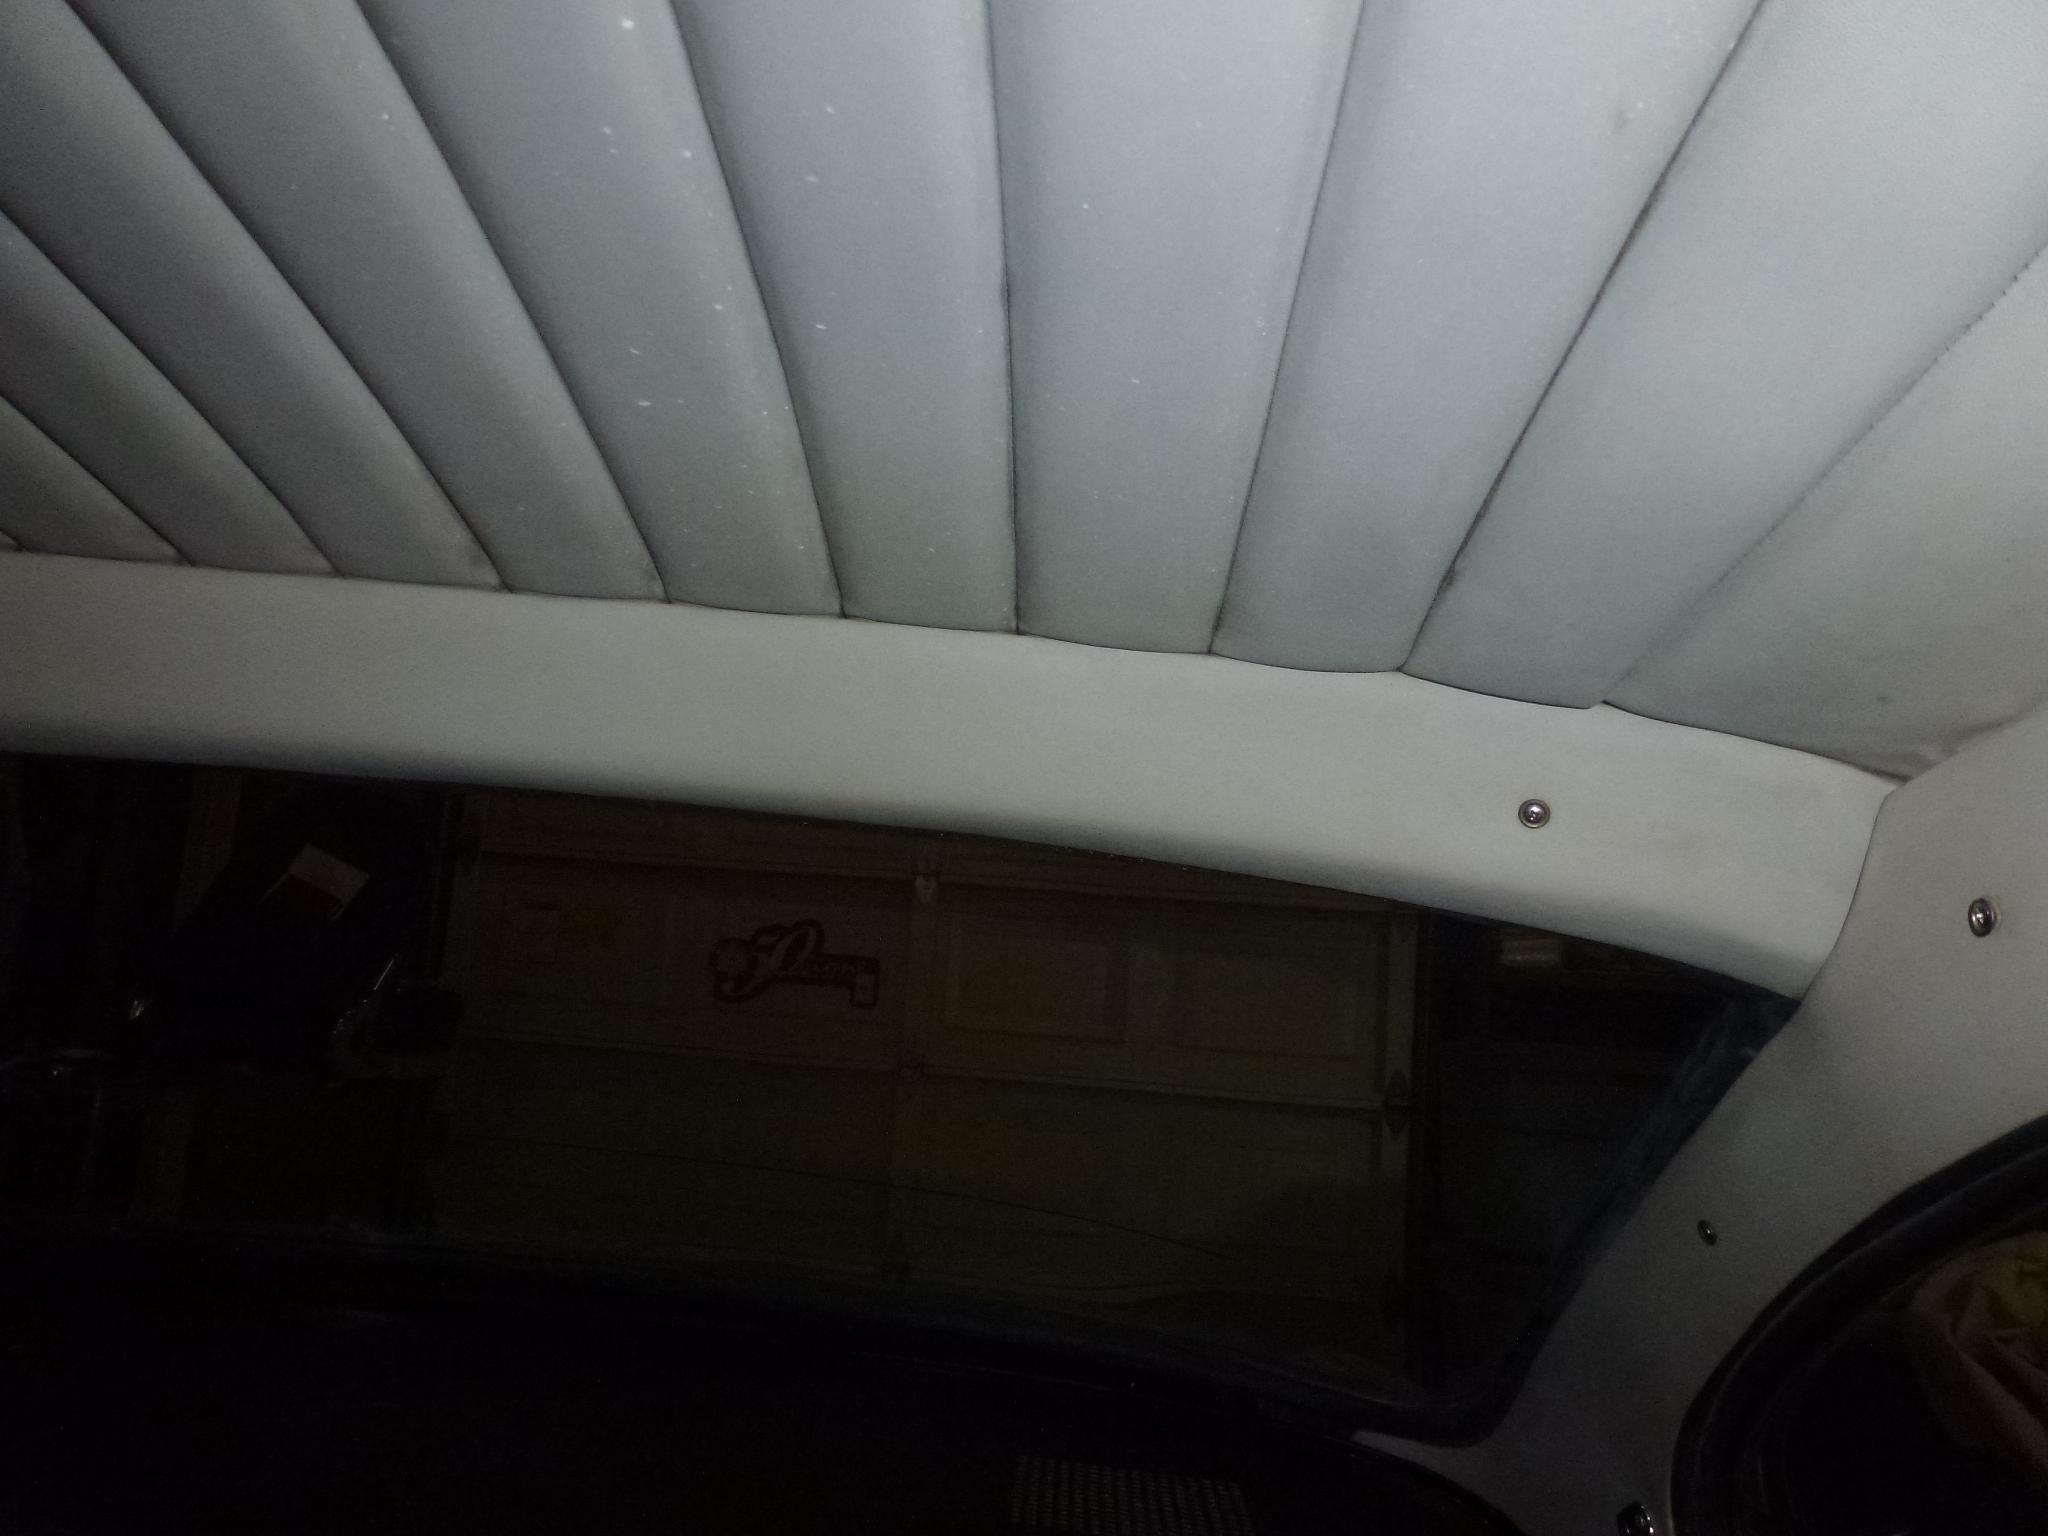
Now it is possible to remove the side trim. With everything else removed, there are only four screws holding each side on. One thing I noticed after getting the side trim off was the poor planning on Pininfarina's part. The three screws for the latch for the quarter windows is supposed to go into a panel welded specifically for that purpose. But as you can see, it is in the wrong place, so all of the screws don't hit it.

The front trim can now be removed. Just 6 screws get it free. I also temporarily removed the mirror and then replaced it as I am driving the car to the autobody shop.
The rear trim has only three screws.
The A pillar inside trim just has two screws on each side and they come off.
Except for the package shelf, console and tunnel cover, most everything I need to take out of the interior is off.
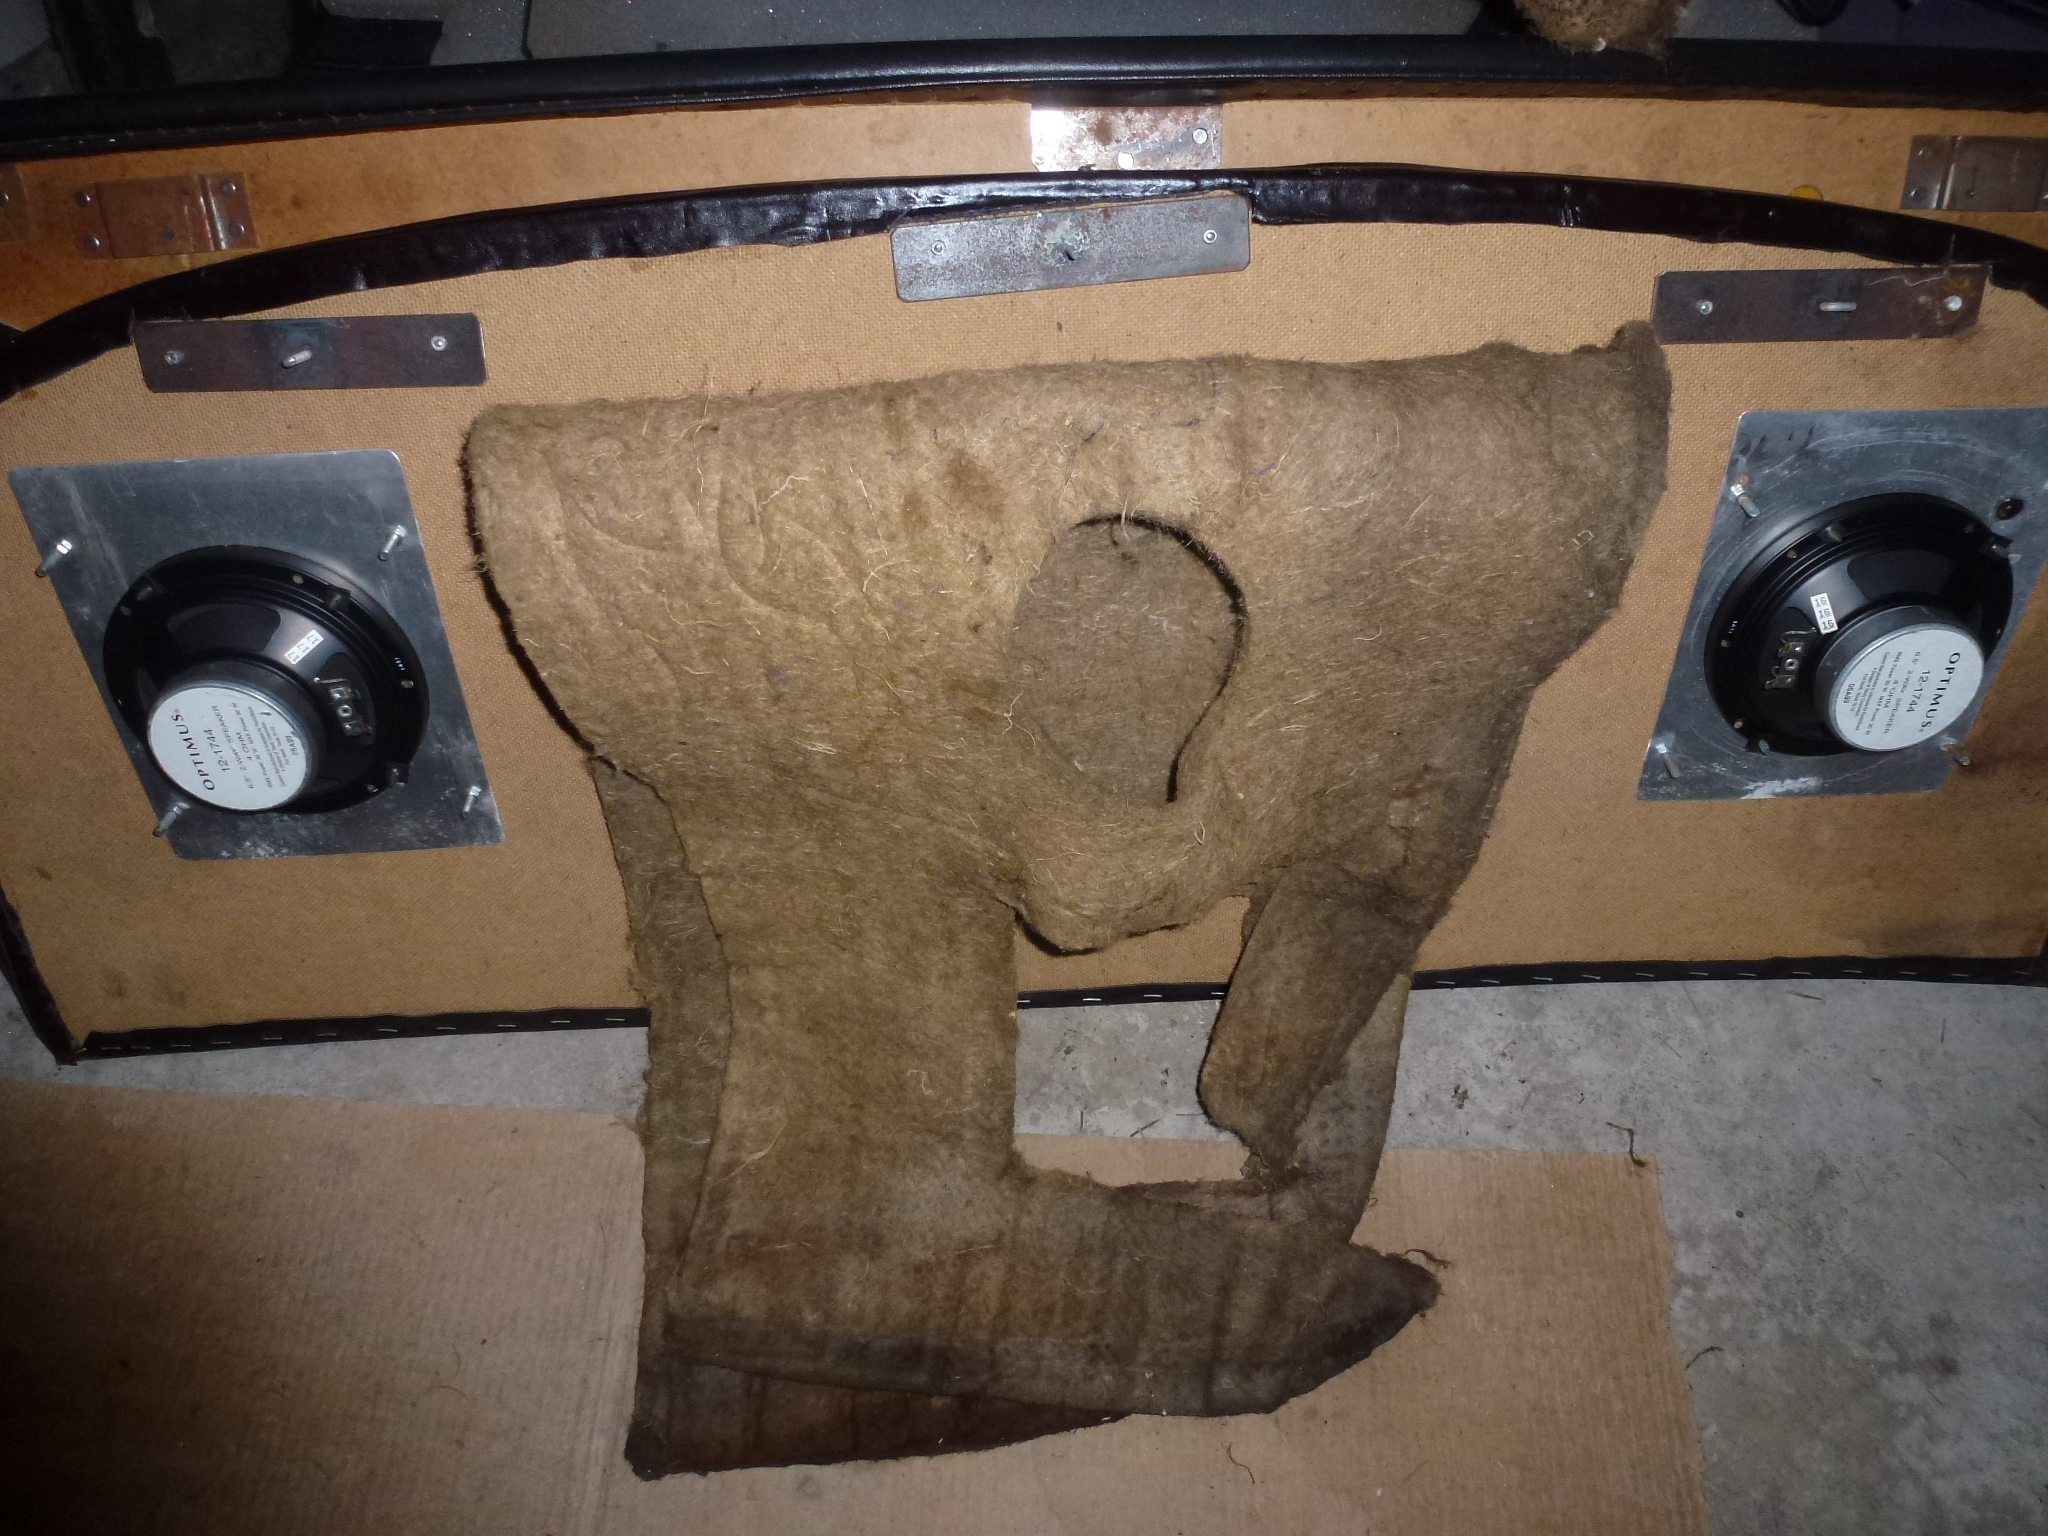
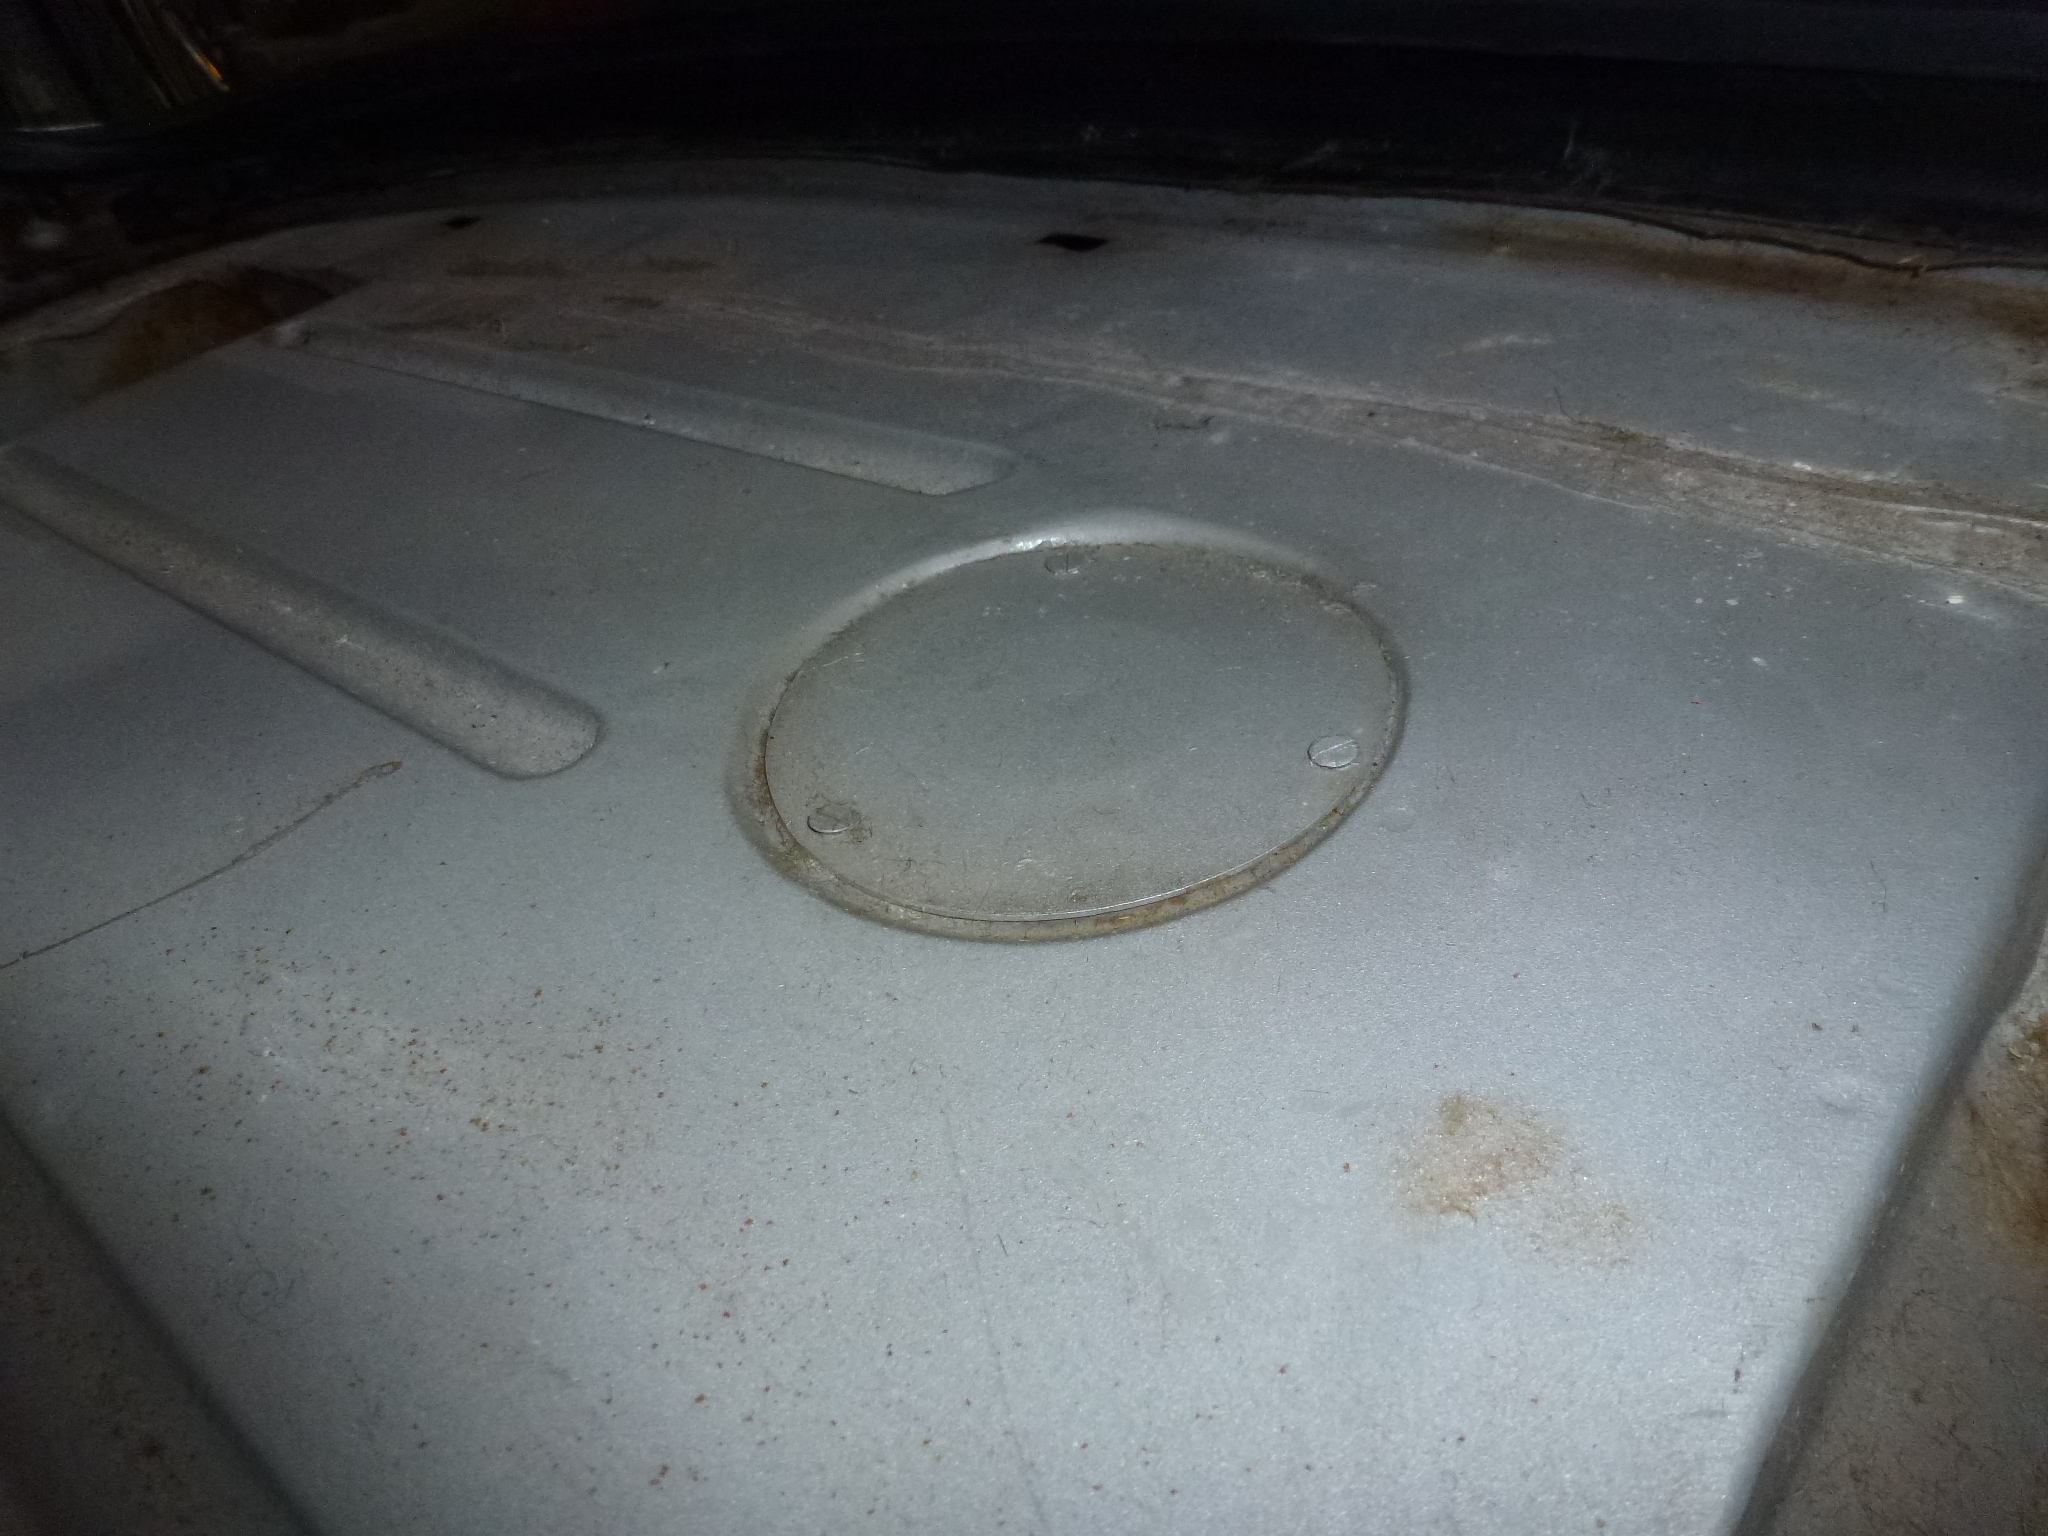
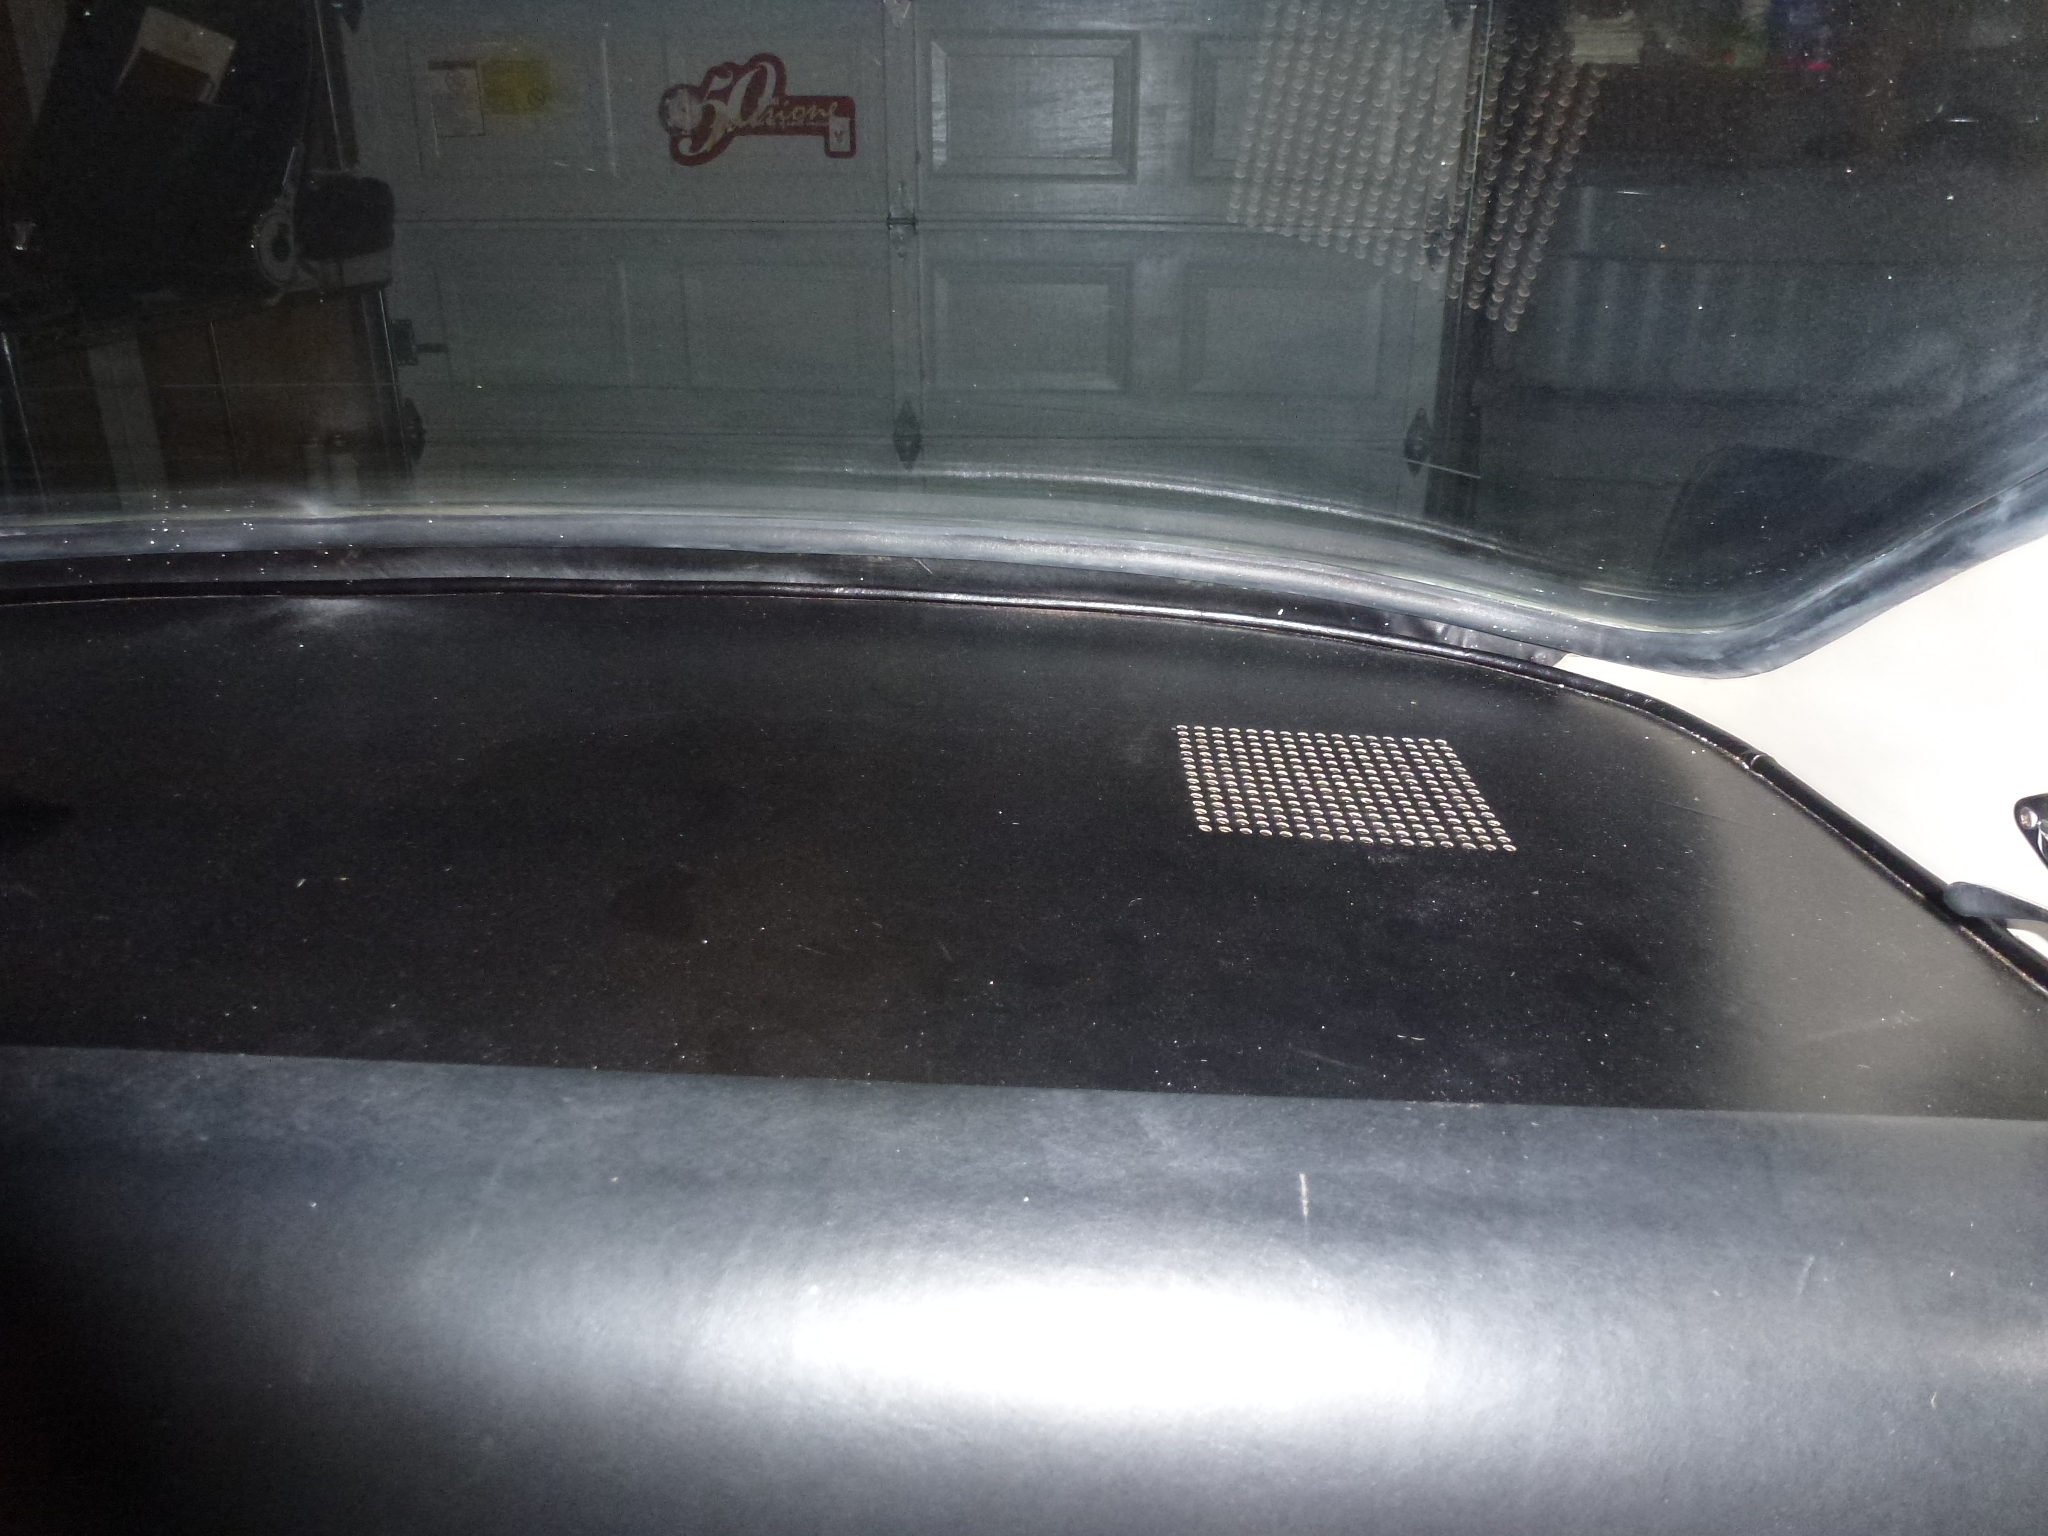
To take out the package shelf, there are three studs with wing nuts that are accessed in the trunk. Then the package shelf lifts up to free the studs and pulls forward to remove it. Here is the shelf and the original jute padding. The middle picture shows one of the slots where the studs come through into the trunk and the right picture is of the panel covering the access to the sender in the fuel tank. This allows servicing of the sender without having to remove the tank.
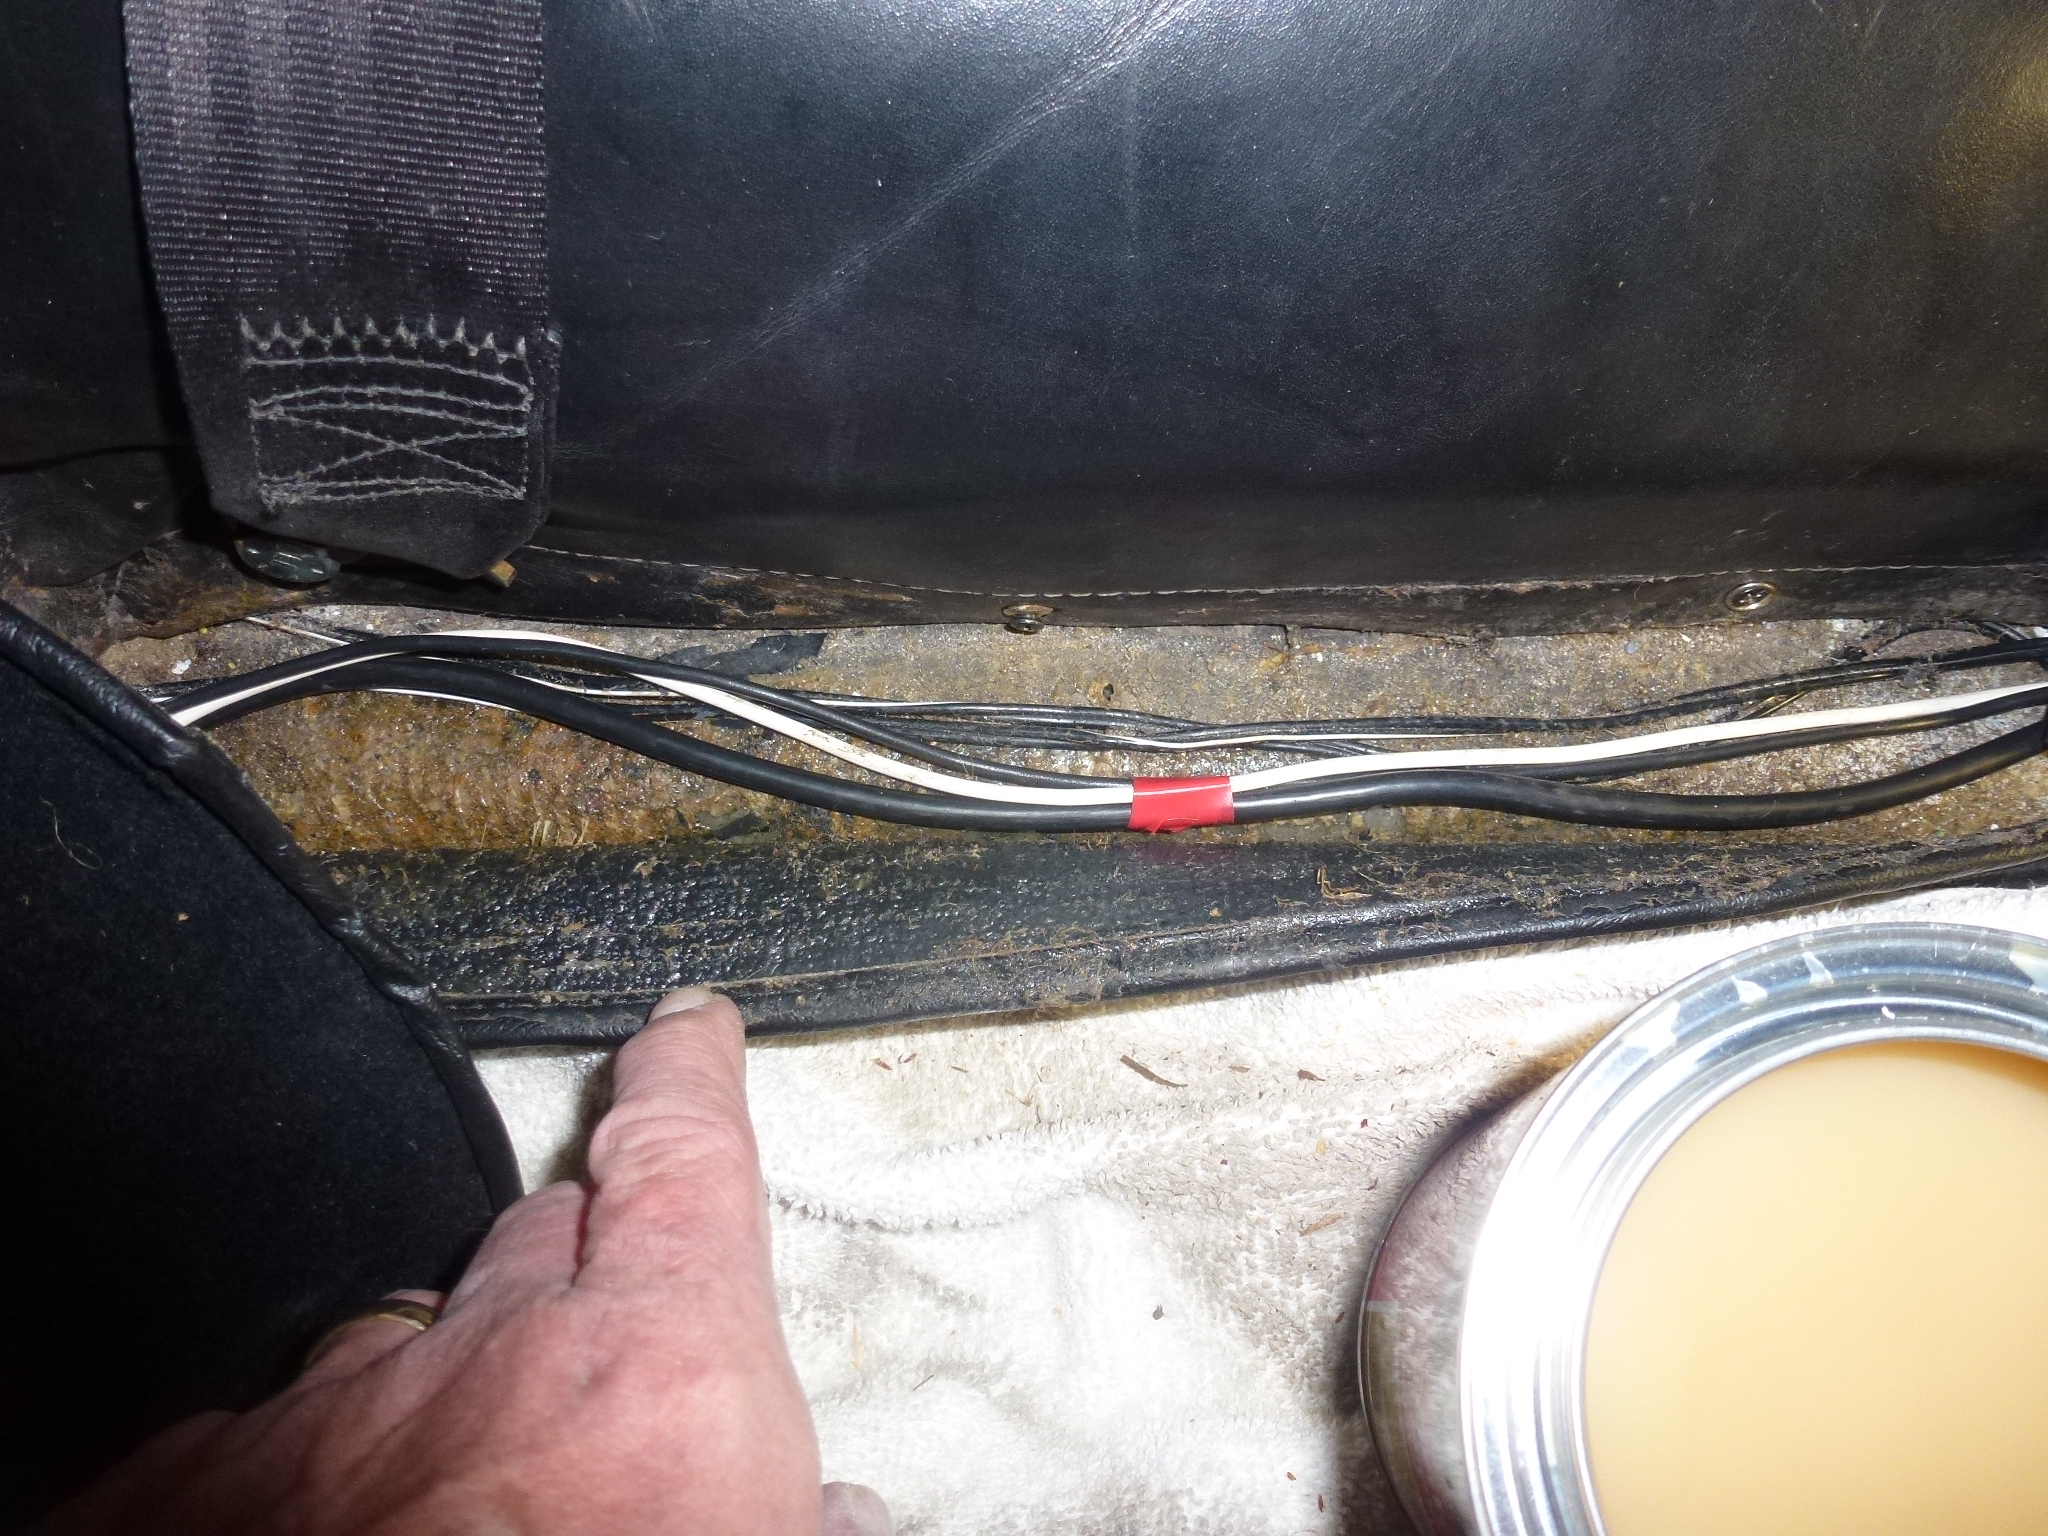
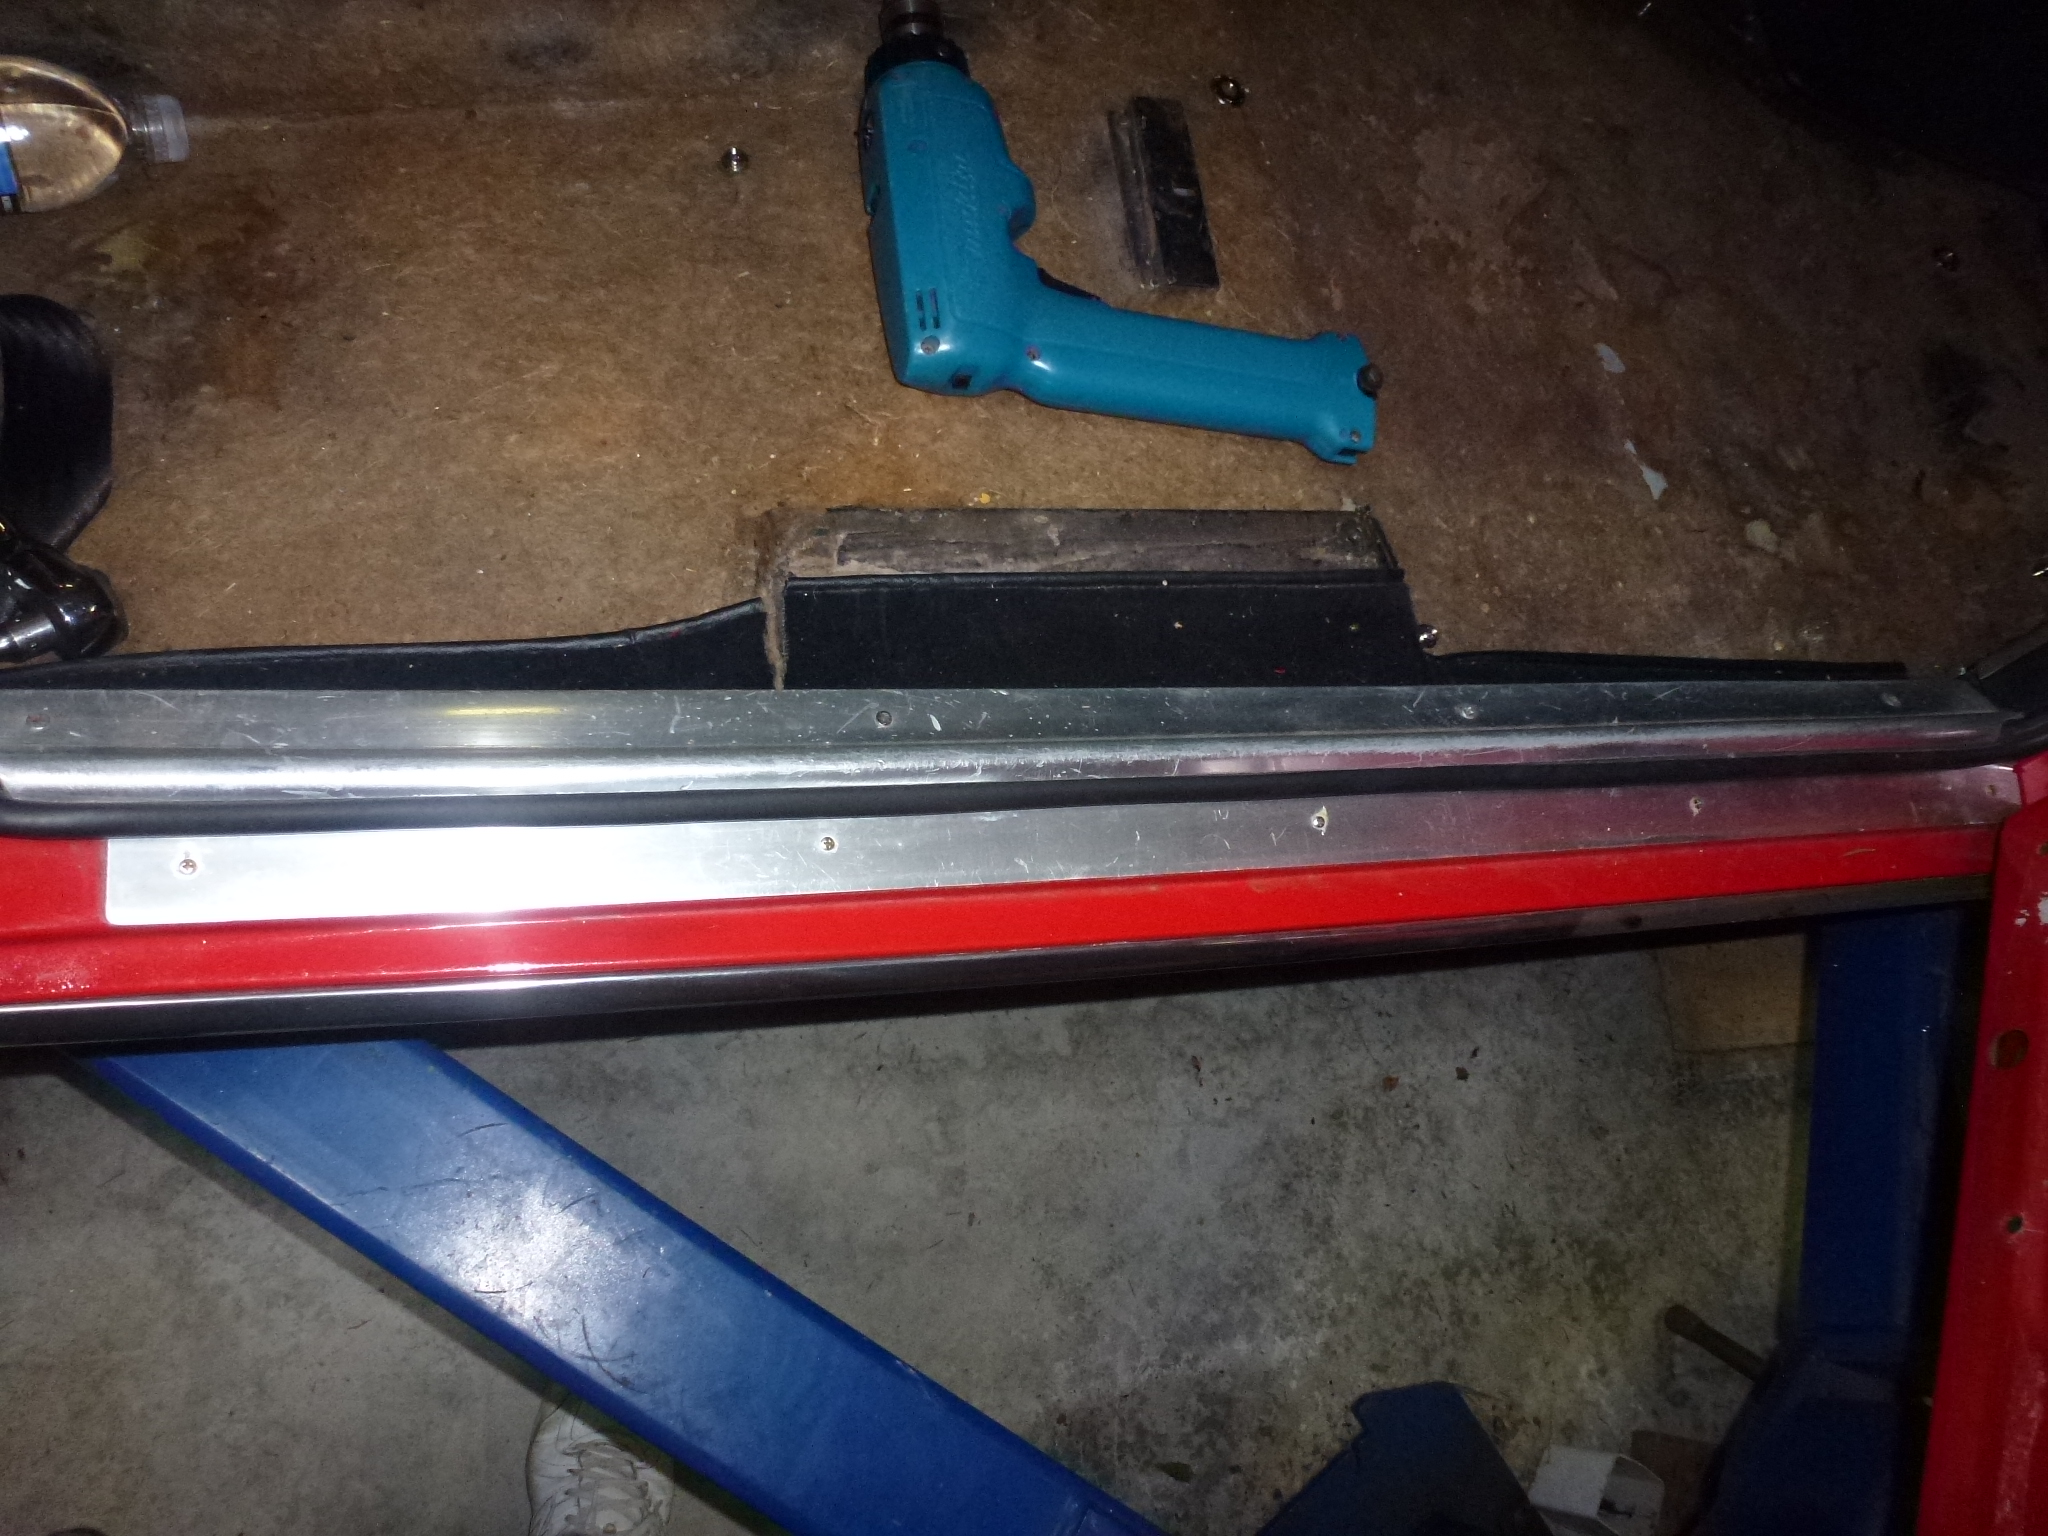
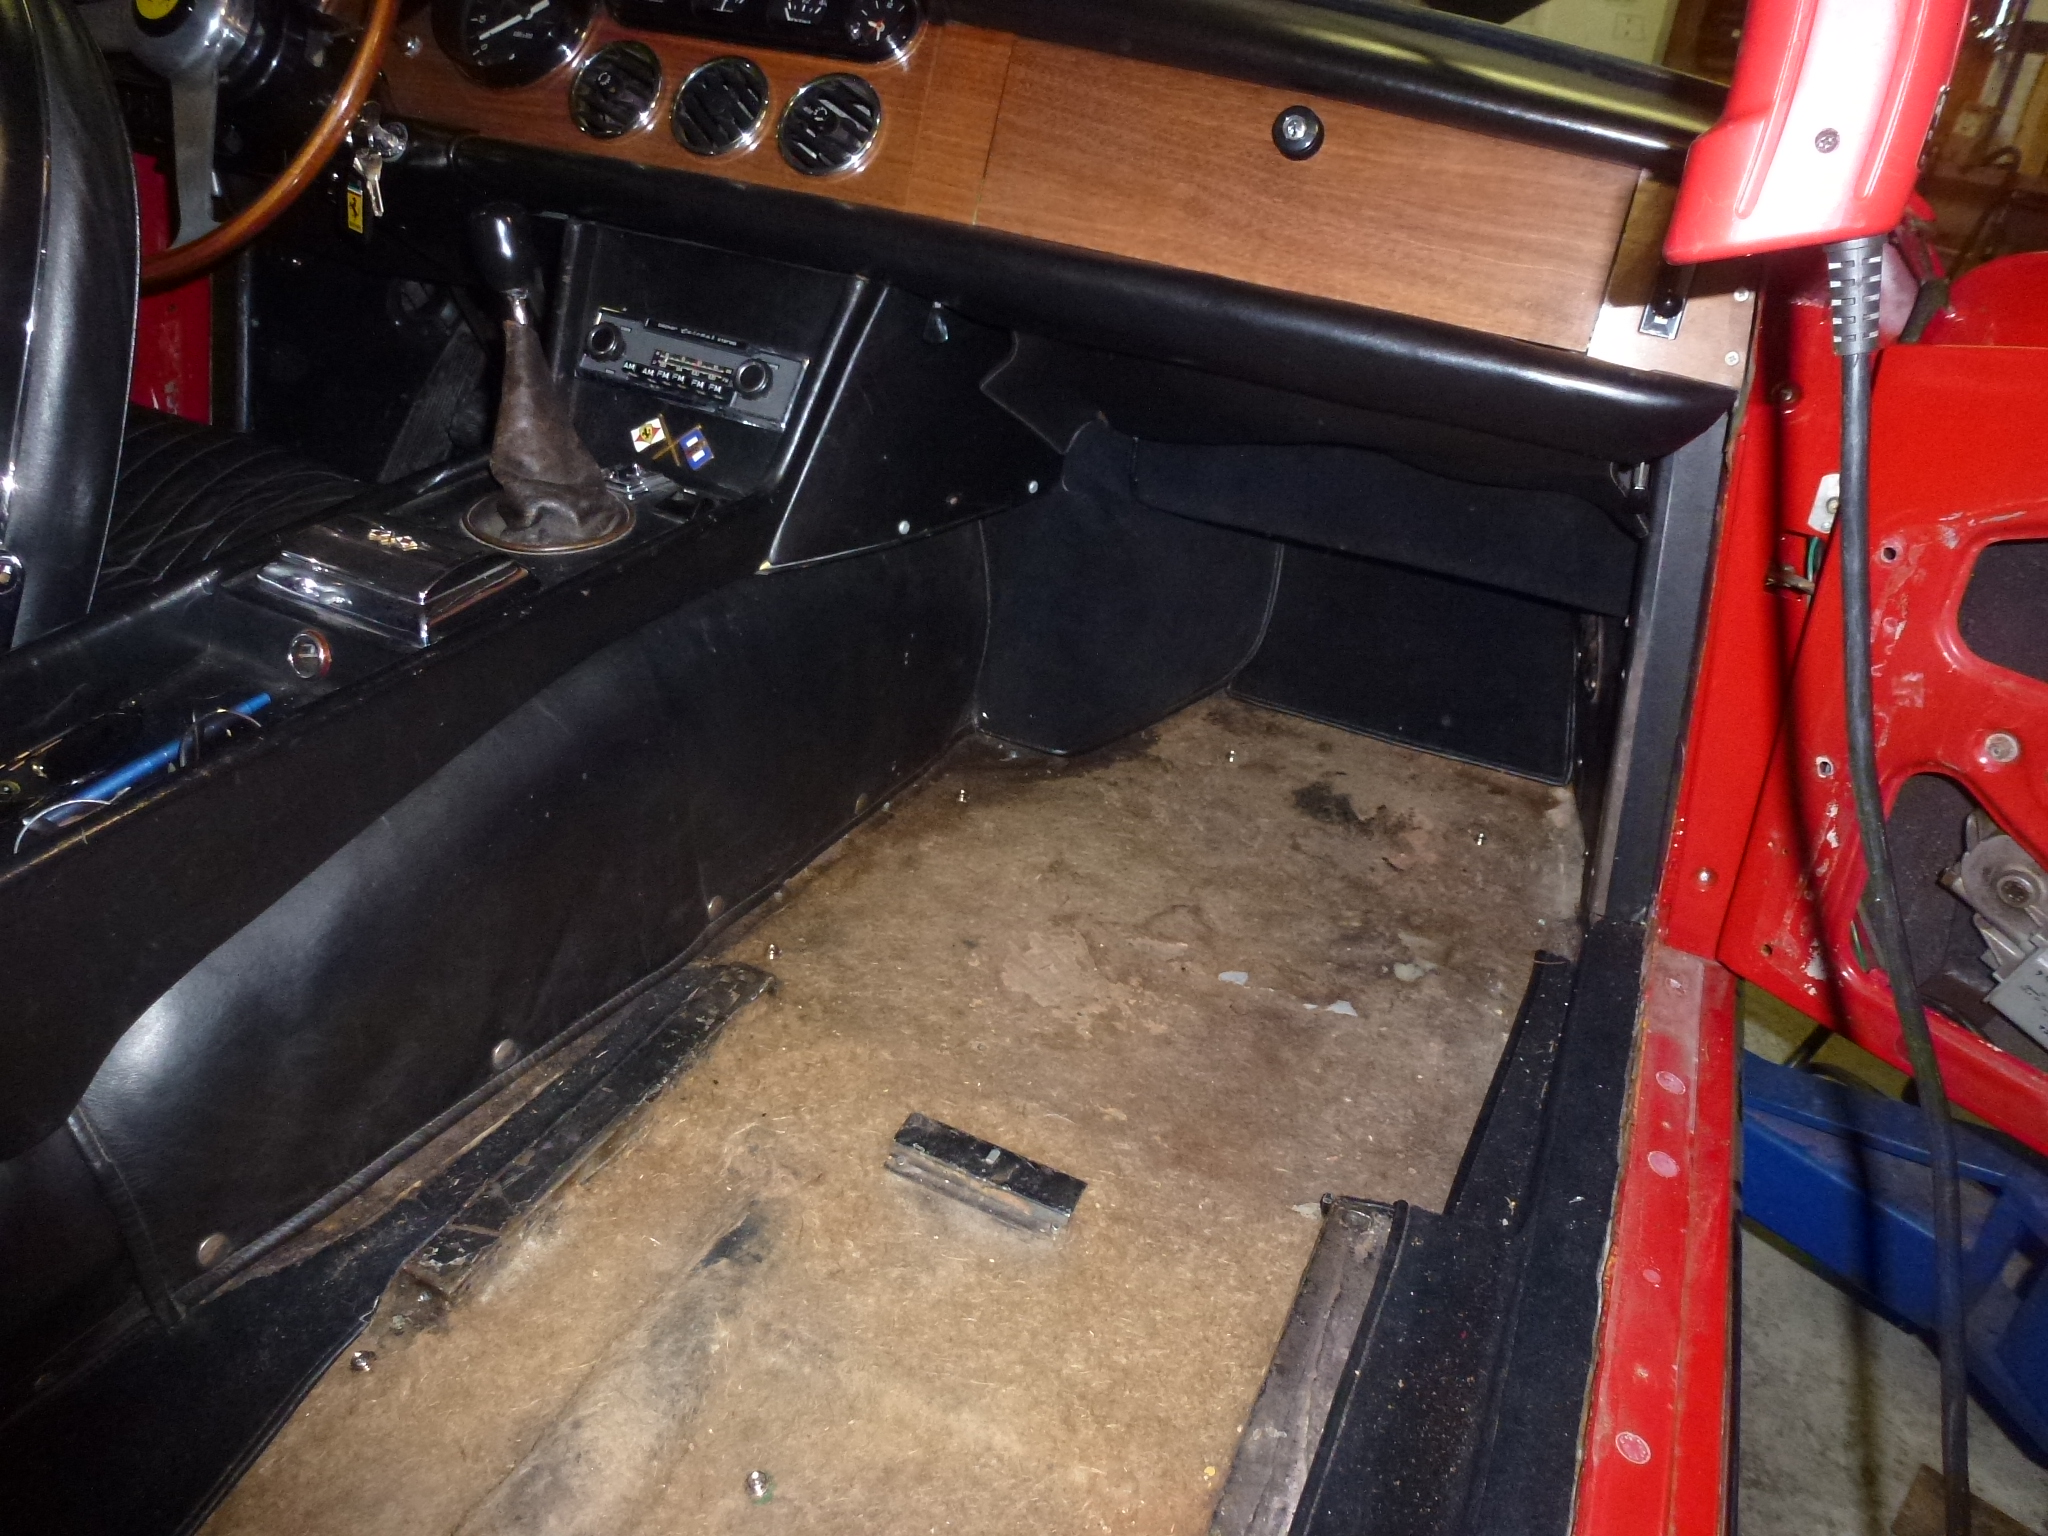
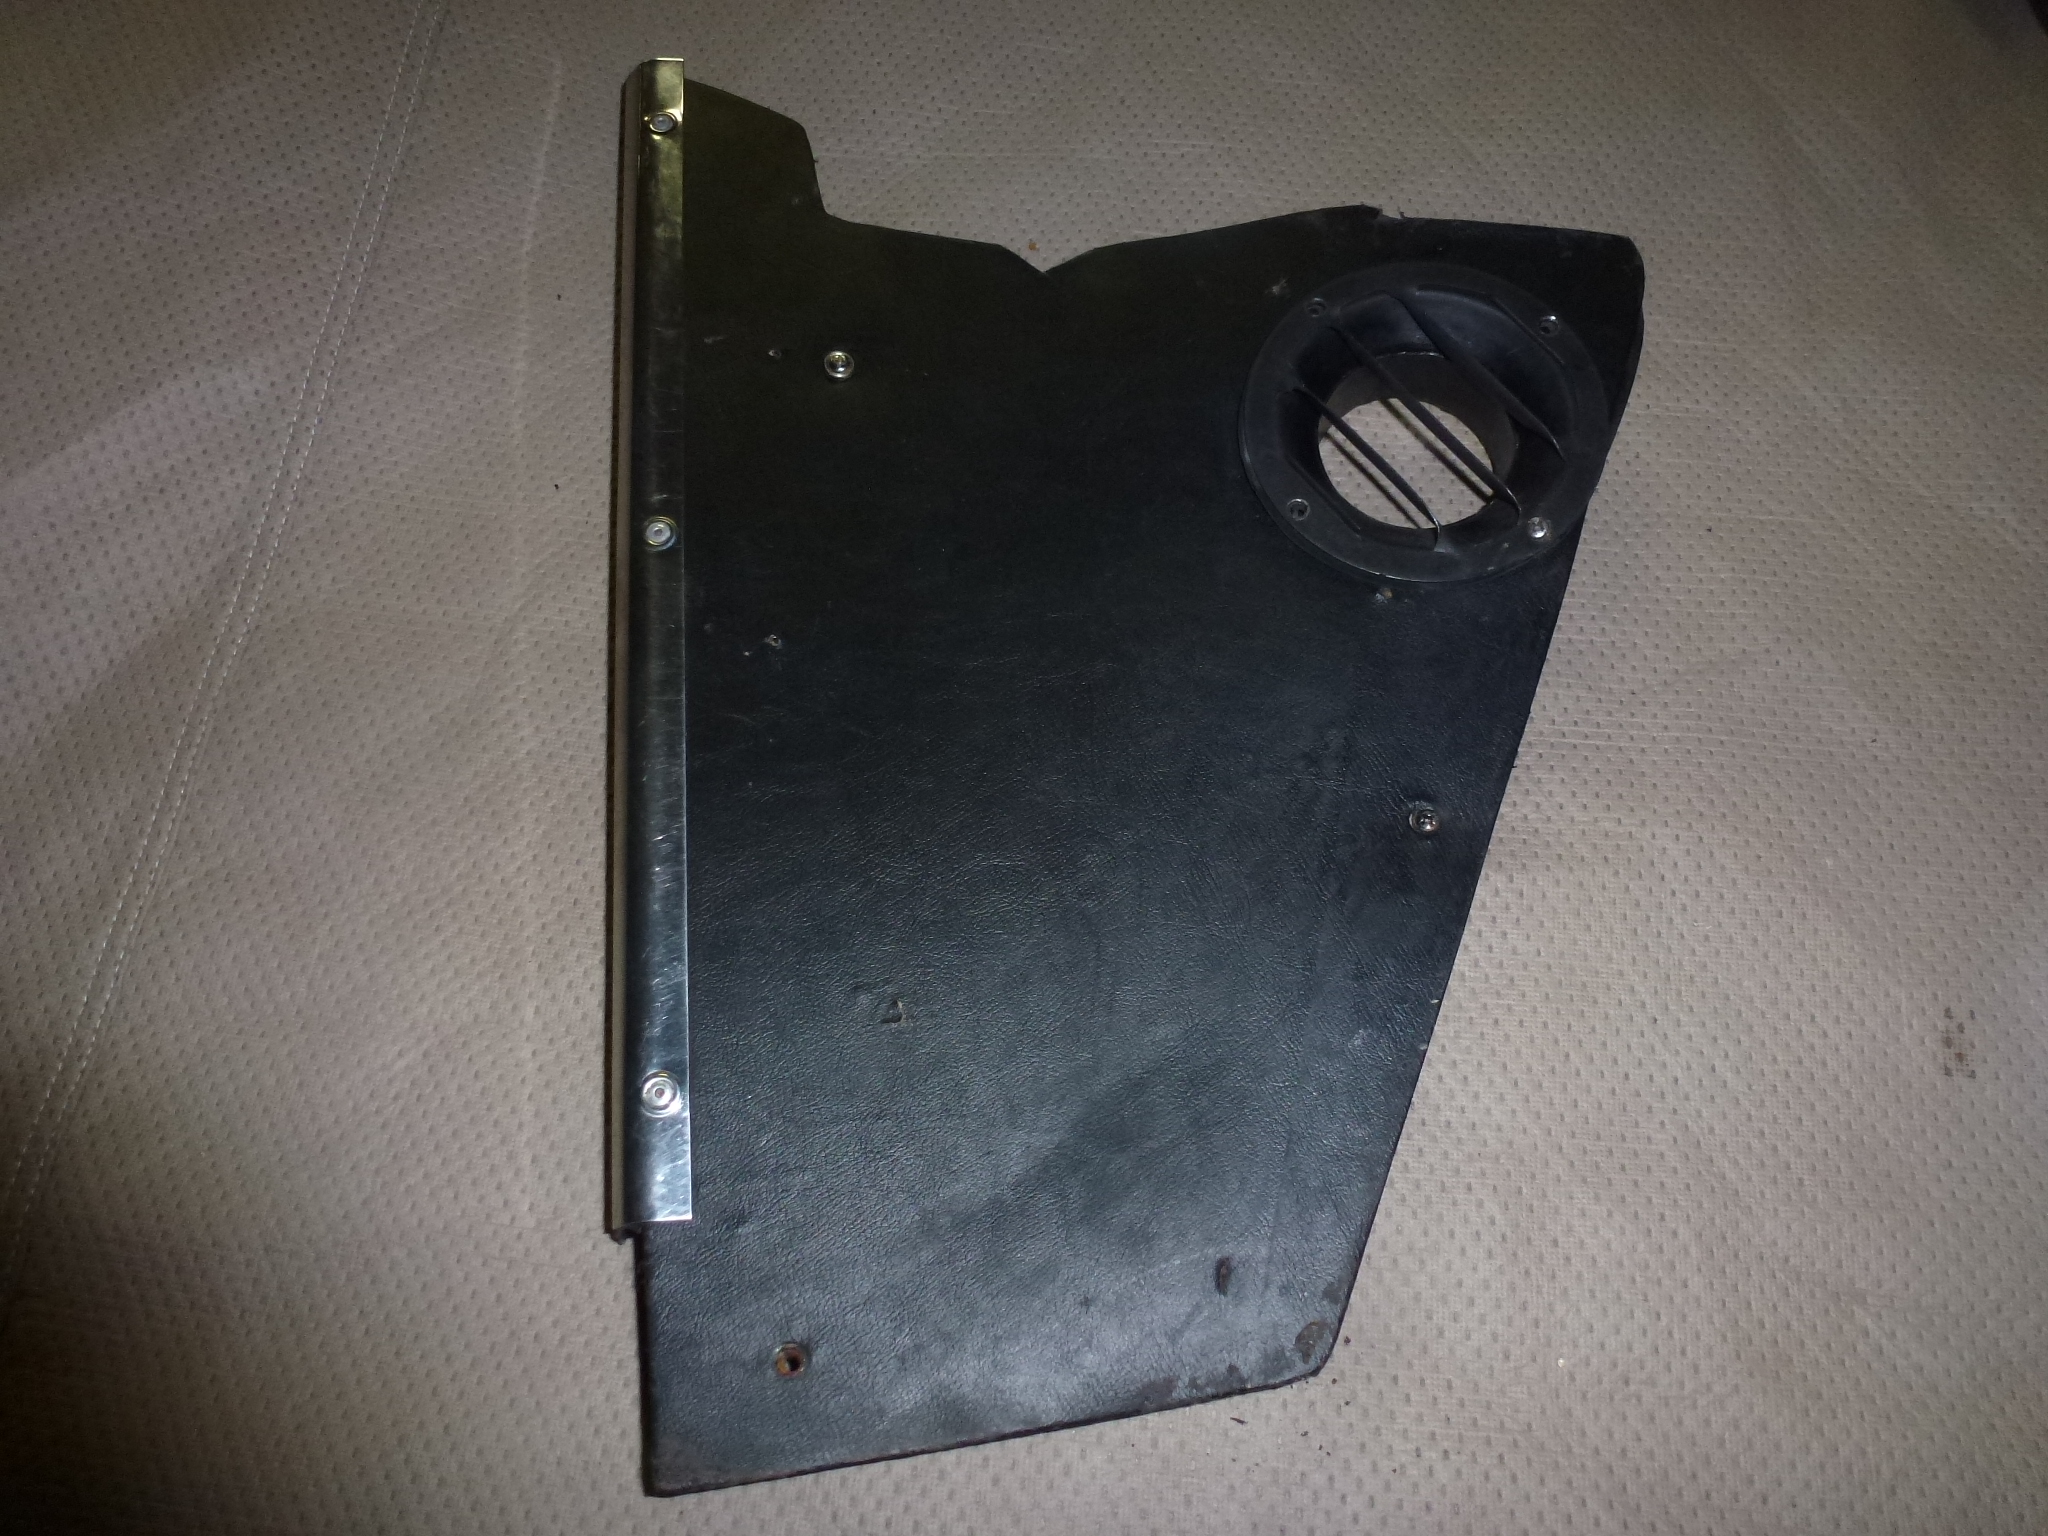
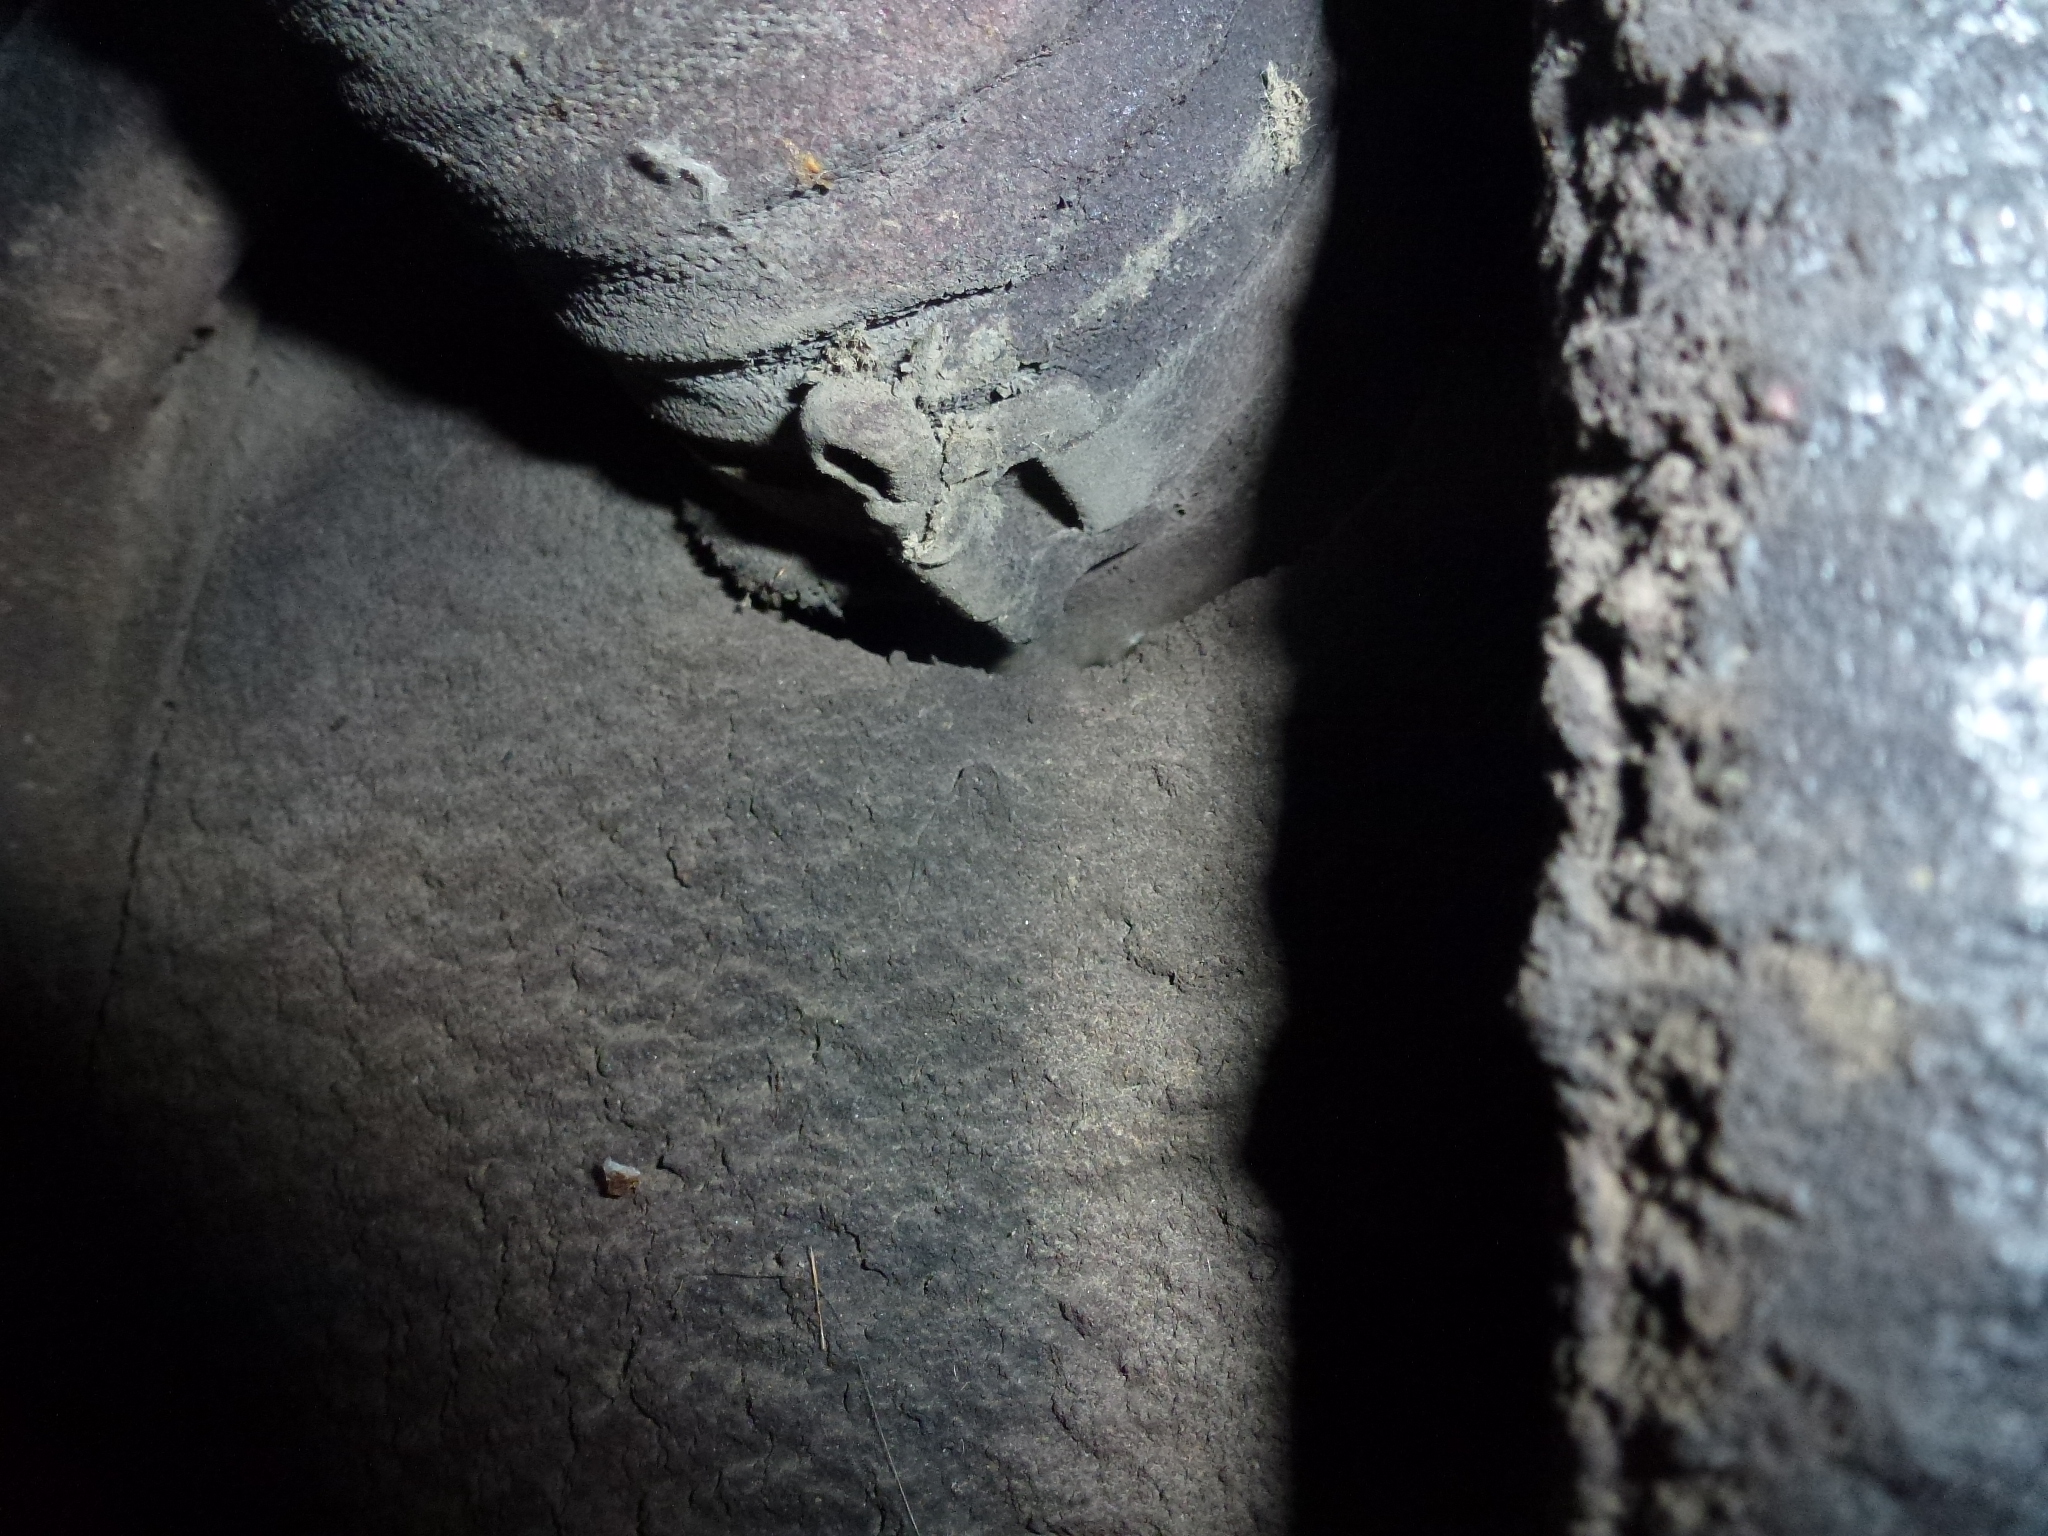
I ended up having to remove the kick panel in the left foot well. This had to come out to pull the wiring running to the door so it wouldn't get damaged by the media blasting. The only issue is to remove the hose leading to the heat vent. This is accessed through the fender vent opening. I noticed that the stainless steel strip along the edge has lots of scratches, so I'll take them off and polish them while the car is being painted. The panel on the right foot well wasn't as easy to come off. The air hose still had the copiglia clamp on it, so it may never have been of the car in 47 years. I loosened the clamp and then used a hot air gun from the inside of the car to soften the bond between the hose and metal vent. A couple of good jerks after it was hot did the trick.
The interior panels need to be installed in a certain order or else you will be either removing something already installed for fighting to get the next part put in.
The proper order is:
-
B pillar trim and coat hooks.
-
Upper trim across the rear window.
-
Side trim above the doors and rear quarter window.
-
Courtesy lights and grab bars.
-
Upper trim above the windshield.
-
Rear view mirror and sun visors.
-
Rear seat bolsters under quarter windows.
-
Package shelf and speaker wiring if so equipped.
-
Dog leg panels at side of rear seats.
-
Shoulder harness attachments if so equipped.
-
Rear seat back.
-
Rear seat center arm rest.
-
Rear seat cushions.
-
Kick panels in front of doors.
Of course, my installation order was a little bit different. I started with the rear and side upper trim pieces along with the courtesy lights and grab bars.
I didn't install the front upper trim as I am replacing the windshield soon and it would be just another piece to take off. I did put in the rear view mirror so I could drive the car, but not the sun visors.
Next the package shelf went in, followed by the seat back.
As I was putting in the rear seat cushions, I saw the speaker wires and realized that they weren't connected. So out came the rear seat back which allowed me to raise the package shelf enough to reach in and connect the speakers.
Then I realized that I should get the dog leg panels installed as the rear seat cushions might be in the way. But first, you have to install the bolsters under the quarter windows. It was at this time, I figured out that the B pillar trim needed to go in first as the bolster covers the bottom. Well, the upper trim covers the top, so I had to remove the forward ends of the grab bar to slide the upper end of the B pillar trim under the upper trim. The coat hook hold the upper end in with a screw at the bottom. One thing I noticed is that only the upper screw of the coat hook goes into the body. The lower screw is too low to hit the metal frame welded to the B pillar that's behind the coat hook. So the lower screw only screws into the trim piece
Then I put in the LH dog leg panel along with the shoulder harness attachment. I can't put in the RH panel yet as I moved the radio antenna the RH side of the trunk. When I was trying to pull the antenna wiring out from over the RH inner fender panel, the antenna plug caught and pulled off. So I need to get a new antenna cable before putting on that panel.
The antenna got installed, so I put the RH dogleg panel in along with screwing down the rear seat parts.
Now that the windshield is installed, I was able to finish the interior trim by the dash. This included the trim above the windshield, rear view mirror, sun visors and A pillar covers. I seemed to spend more time cleaning and polishing than installing.
The carpet and passenger seat were installed.
Due to the moving of the radio antenna from the LH to the RH side of the trunk, I had to pull up some carpet and re-glue it down over the wires.